Showing posts with label no sew. Show all posts
March 18, 2015
DIY No Sew Easter Door Hanger
This project is SO easy!!! It takes less than an hour and NO SEWING required!!!!!
What I Used
Felt - 5 pieces of white, 2 pieces of pink (the pink felt made the center egg)
Scrap fabric (made the eggs on either side)
Scrap ribbons (for the felt egg and to hang)
Double sided Heat N Bond
Hot glue gun (or fabric or tacky glue)
Step 1
Cut your fabric and Heat N Bond to fit the felt.
Step 2
Follow the directions to apply Heat N Bond to the fabric and 1 piece of felt.
Repeat for the 2nd piece of felt. (Both pieces go in back of the fabric)
Repeat for the other fabrics and/or felt.
Step 3
Glue your ribbons onto the solid felt (or fabric).
Step 4
Cut all 3 pieces into egg shapes.
Step 5
Glue the eggs together.
Step 6
Glue ribbon to the back for hanging.
ALL DONE!!!!
How easy was that?????
Now, you CAN zigzag stitch around the edges with coordinating or contrasting thread but it really isn't necessary.
If you have any questions, feel free to ask! :)
HAPPY EASTER!!!!! HAPPY CRAFTING!!!!
March 3, 2015
DIY St Patrick's Day Table Decor - NO SEW!!!
This project is sooooo super easy!! No sewing involved!!
What I Used -
1 yard of printed burlap
Green and gold trim
Heat N Bond Iron On Adhesive UltraHold
Glue gun (fabric glue can be used instead)
This is so easy that I feel silly doing a tutorial for it.
LOL
Step 1 - Cut the burlap to the size you need for your table.
Step 2 - Fold over the ends and press. Add the Heat N Bond inside the fold and press. Do this to all 4 sides. (You CAN use hot glue or fabric glue for the sides but the Heat N Bond is quicker, easier and less messy.)
Step 3 - Hot glue or fabric glue the trim down the sides.
You are done.
SEE HOW EASY????
Now, for the center pieces.
The Hubby found some great candle sticks for me at an auction. Less than $5 for all 6!! BUT I am having trouble finding green candles!!!! They aren't just for Christmas!!!!!
I went to The Dollar Tree and found bunches of green and green and white mums. I grabbed about 3 each. Then I grabbed the green bucket to put them in.
Last I grabbed the rock.
Y'know... I have some shamrock cutouts and some twine... I might add those to the candle sticks....
Simple, easy and CHEAP home decor!!!!
If you haven't checked out my Burlap Shamrock Door Hanger, you should!! ;)
How are YOU decorating for St Patrick's Day????
February 24, 2015
DIY St. Patrick's Day Door Hanger - No SEW!!!
I have something super easy for you right here! And for those of you that don't sew, don't worry, no sewing needed!!! Just grab your glue gun, tacky glue or fabric glue!!!
I have been seeing those cute burlap door hangers all over the place. Owls, hearts, you name it, but I didn't want to pay a ton of money for them. That's when I decided to try it myself. SO glad I did!!!
WHAT I USED
1 1/2 yards of printed burlap
Green ribbon
Gold ribbon
Hot glue gun
Poly fill
Paper bag to make the pattern
Step 1
I used a paper bag (think Kroger) and cut out a heart shape.
Step 2
Then I placed the heart on another paper bag and traced around it.
If I did this again, I think I would move the top heart up a bit more just for more definition.
Anyway...
Then cut out your pattern.
Cut 2 pieces from the burlap.
Steps 3 and 4
With a wrong side up, hot glue around the edges and place the other piece to it. Make sure to leave an opening at the bottom.
After the hot glue is dry, stuff it with poly fill or scraps or whatever you like.
Step 5
Cut your ribbons to whatever length you like and glue one end inside the clover.
Glue the opening closed.
Step 6
Hot glue the gold ribbon to the back.
Now if I had been thinking properly, I would have glued this to the inside of the darn thing. My mind rarely works properly......
ALL DONE!!!!!!!
Let me know what you think!!!!!
I think I might have to make some more of these burlap door hangers! ;) The possibilities are endless!!!
I will have another St Patrick's Day home decor post coming up soon! A table runner and table decor! :D
OH! Before I forget!! I finished the other Japanese Knot Bag!!!
I really like the way it turned out! :D And my customer can't wait to get them! YAY!!!!!
HAVE FUN CRAFTING!!!!!!!
July 28, 2014
DIY No Sew Burlap Valance Tutorial
I am very excited to bring you this SO SIMPLE, SO EASY tutorial. I am loving the way it turned out!!!
We moved and got new furniture so I needed something new for our windows. Our living room window is 9 ft long!!! And we have this amazing view that we didn't want to completely block. What to do.... AH!! A valance! But not just any valance! A chocolate burlap valance!!
Thank goodness Hancock's was having a 50% off sale!! I bought 7 yards of chocolate burlap for about $25!! Enough to do the valance and a straight panel for the other living room window.
I have sewn with burlap before and while it's a fairly easy fabric to work with, it makes a HUGE mess going through a sewing machine. That's when I decided to go no-sew with them!
I bought fusible bond for heavy fabrics.
This was my first time using the fusible bond so I was a little nervous at first. I should not have been. It was SO FREAKIN' EASY!!! You just iron it right in, it couldn't have been more simple.
For my 9 ft window I used about 4 yards of the burlap. It had a very wide width so I decided to turn it sideways and use the width as my length, if that makes sense.... In other words, the selvage became my hem.
All you do is cut the length of fusible bond that you need and place it between the fabric. Add a hot iron and VIOLA! You have a hem!
Since I was working with such a ginormous piece, it took several cuts of fusible bond.... LOL
This is what the hem looks like afterward.
For the space where the curtain rod goes, I just measured and folded the top over. Then I placed my fusible bond on the edges and ironed.
Easy Peasy!!!
After I put the valance up I took some gold toned ribbon and looped it under the valance, tying it at the top.
I have to say that I absolutely LOOOOVE it!!! The Hubby thinks I should pull it up even more. He wants to see more of the view.
I am still trying to decide if I like the other window.... It just looks a little wrong to me somehow. If I figure it out I'll post about it and let you know!!!
August 22, 2013
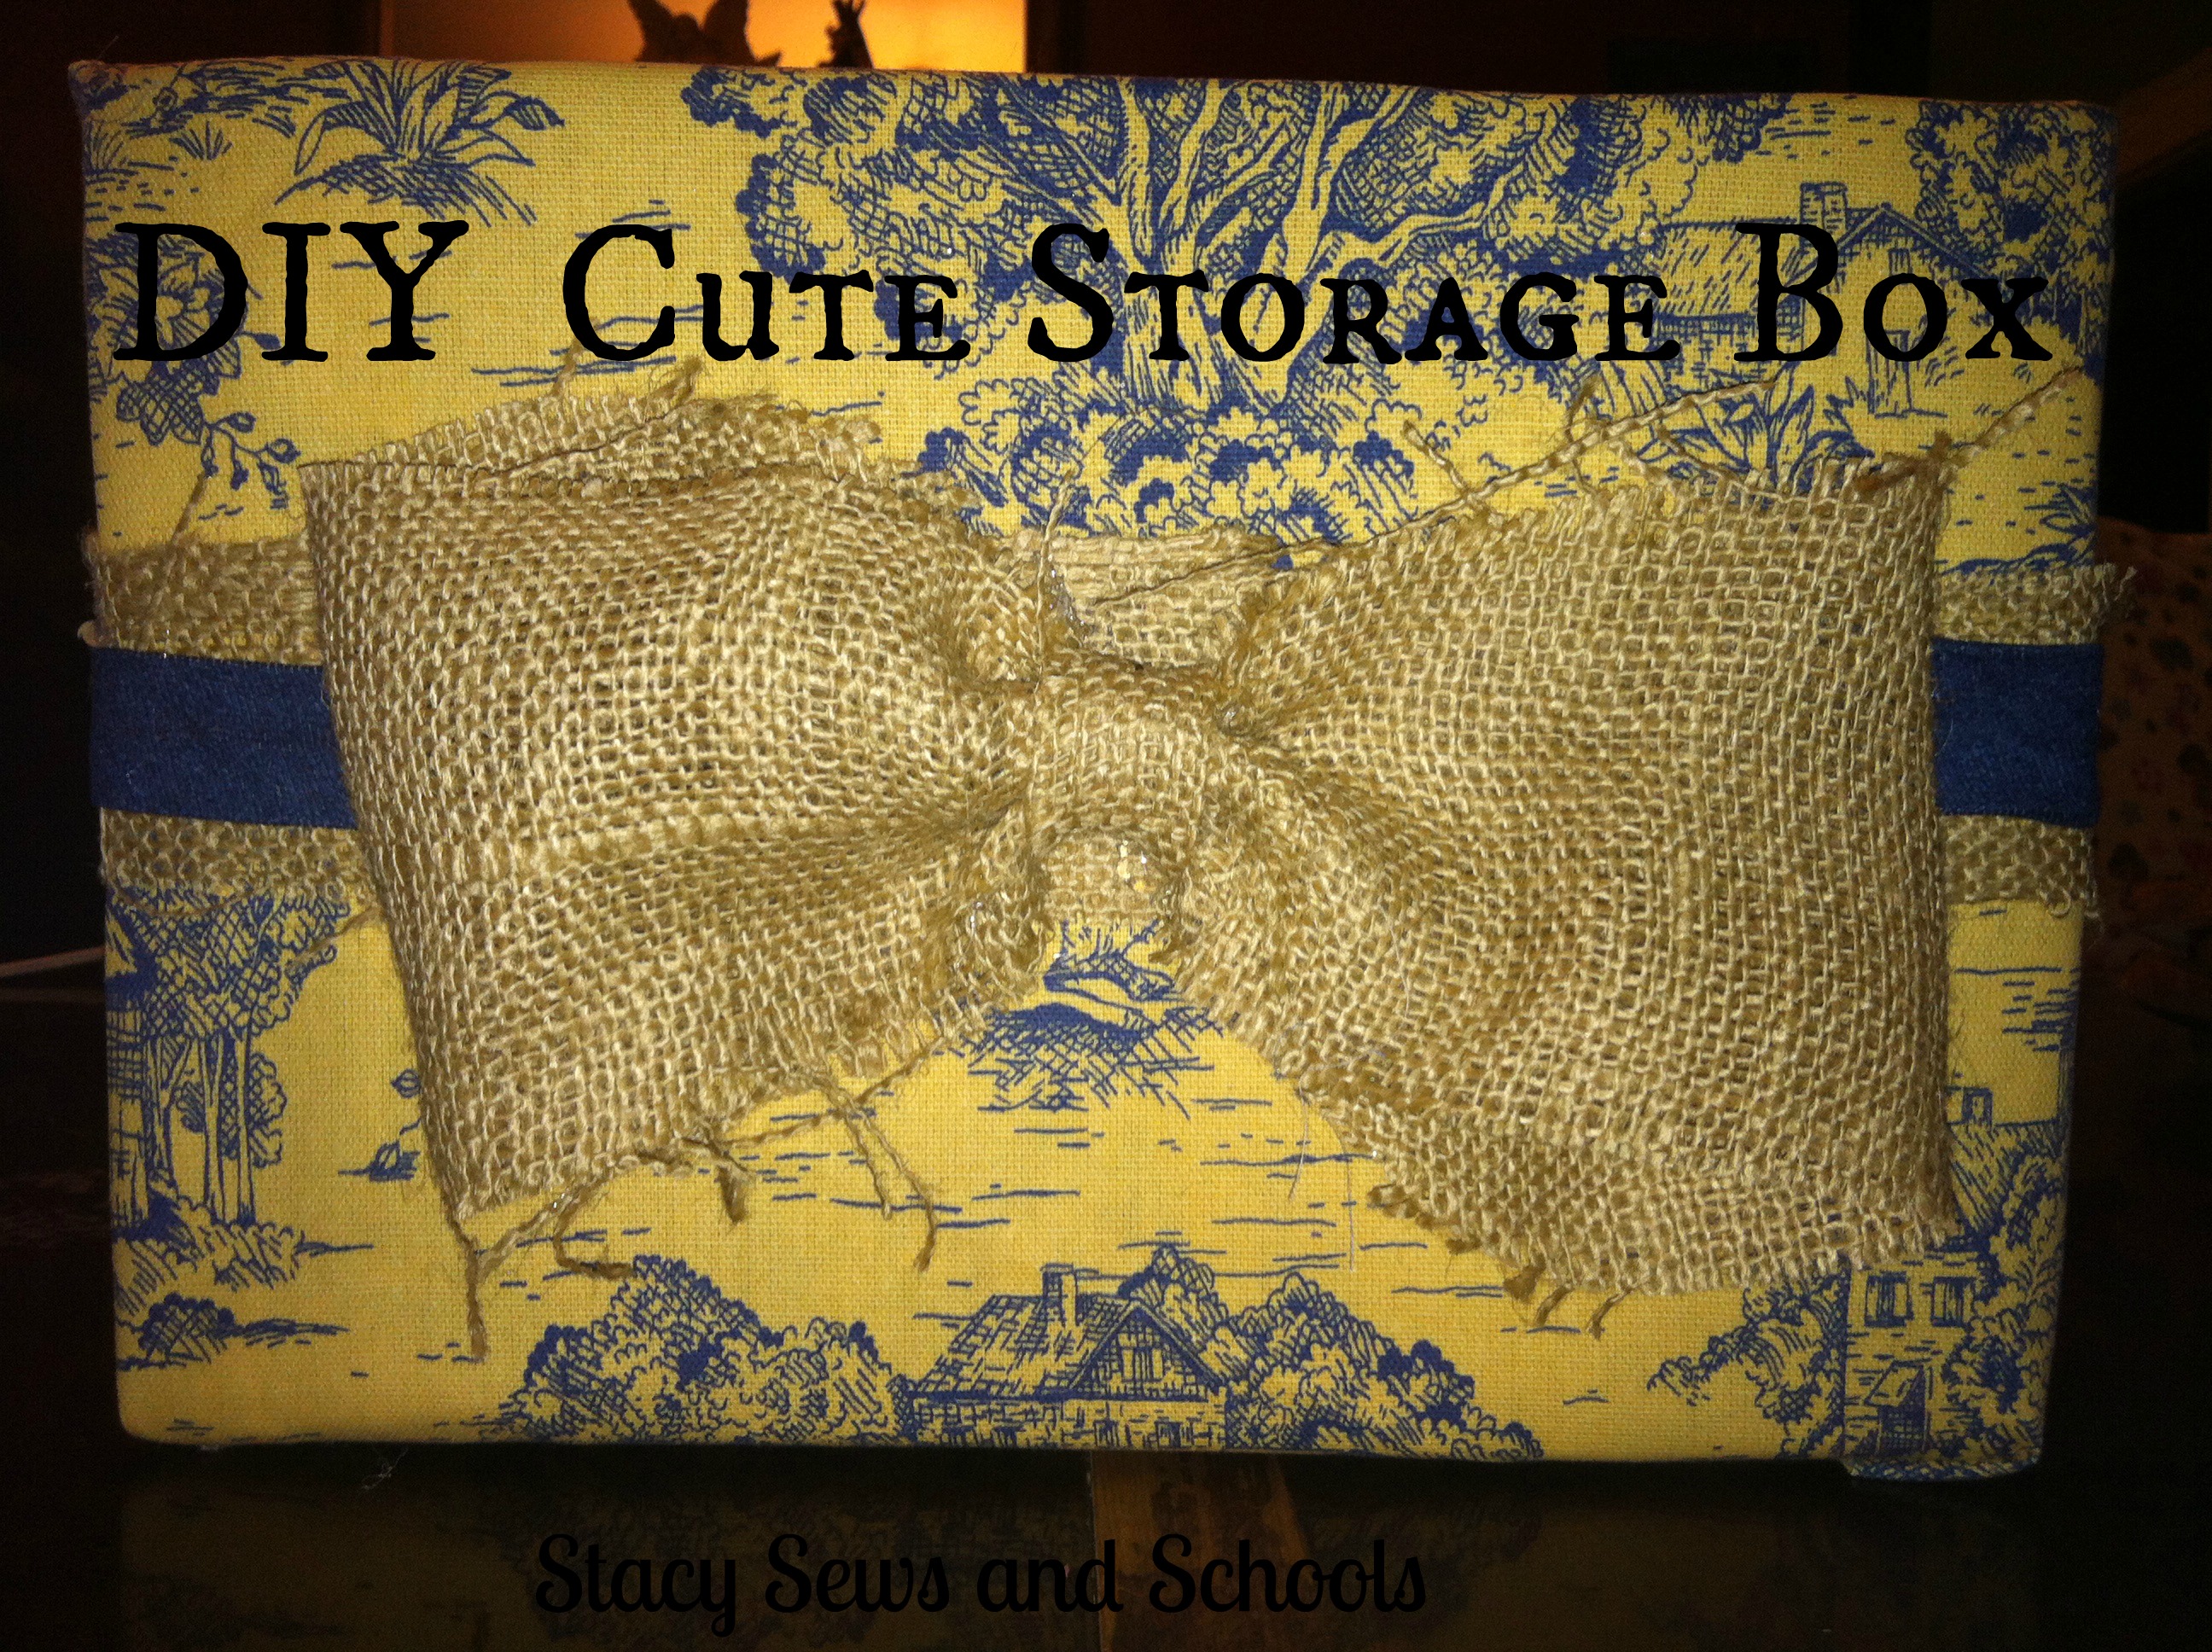
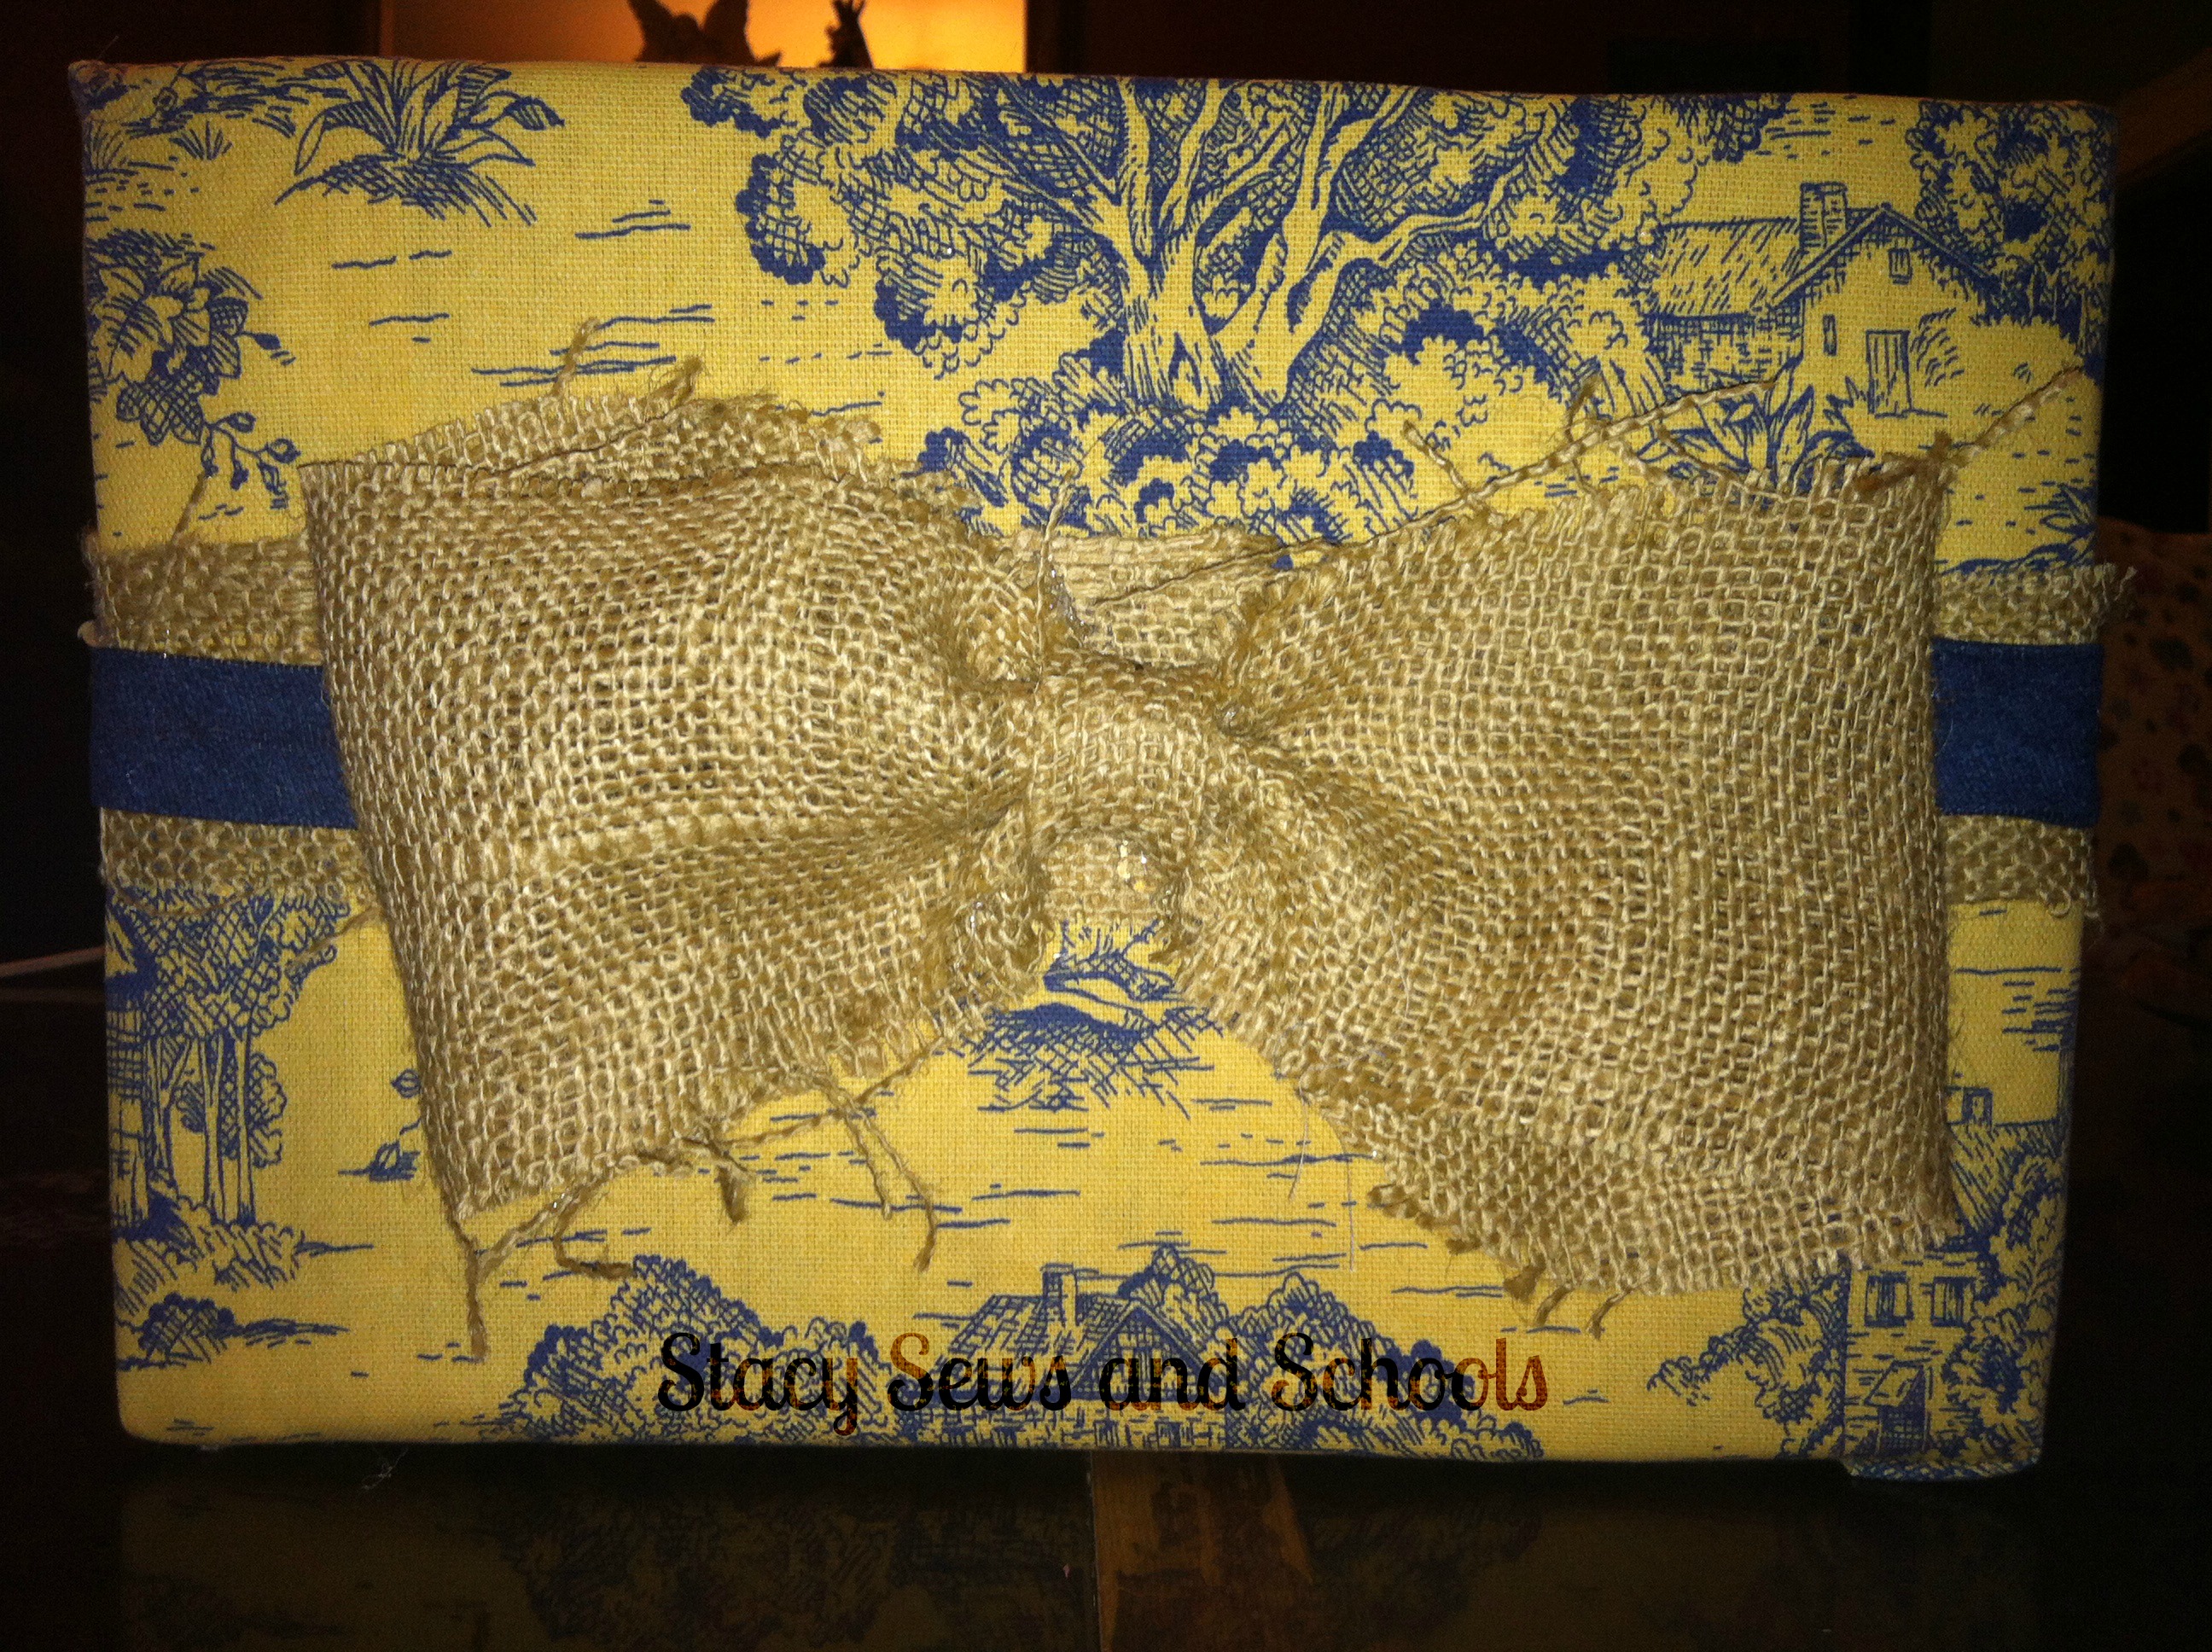
DIY Cute Storage Box - No Sew!!!
This is a fast and EASY way to turn a plain cardboard box into a cute storage box!!
There are tons of tutorials about sewing a cover for boxes BUT they require complicated math formulas. BLECK!!! I get enough of those homeschooling the kids! ;) With this one, you just need to measure and know how to multiply by 2. ;)
WHAT I USED -
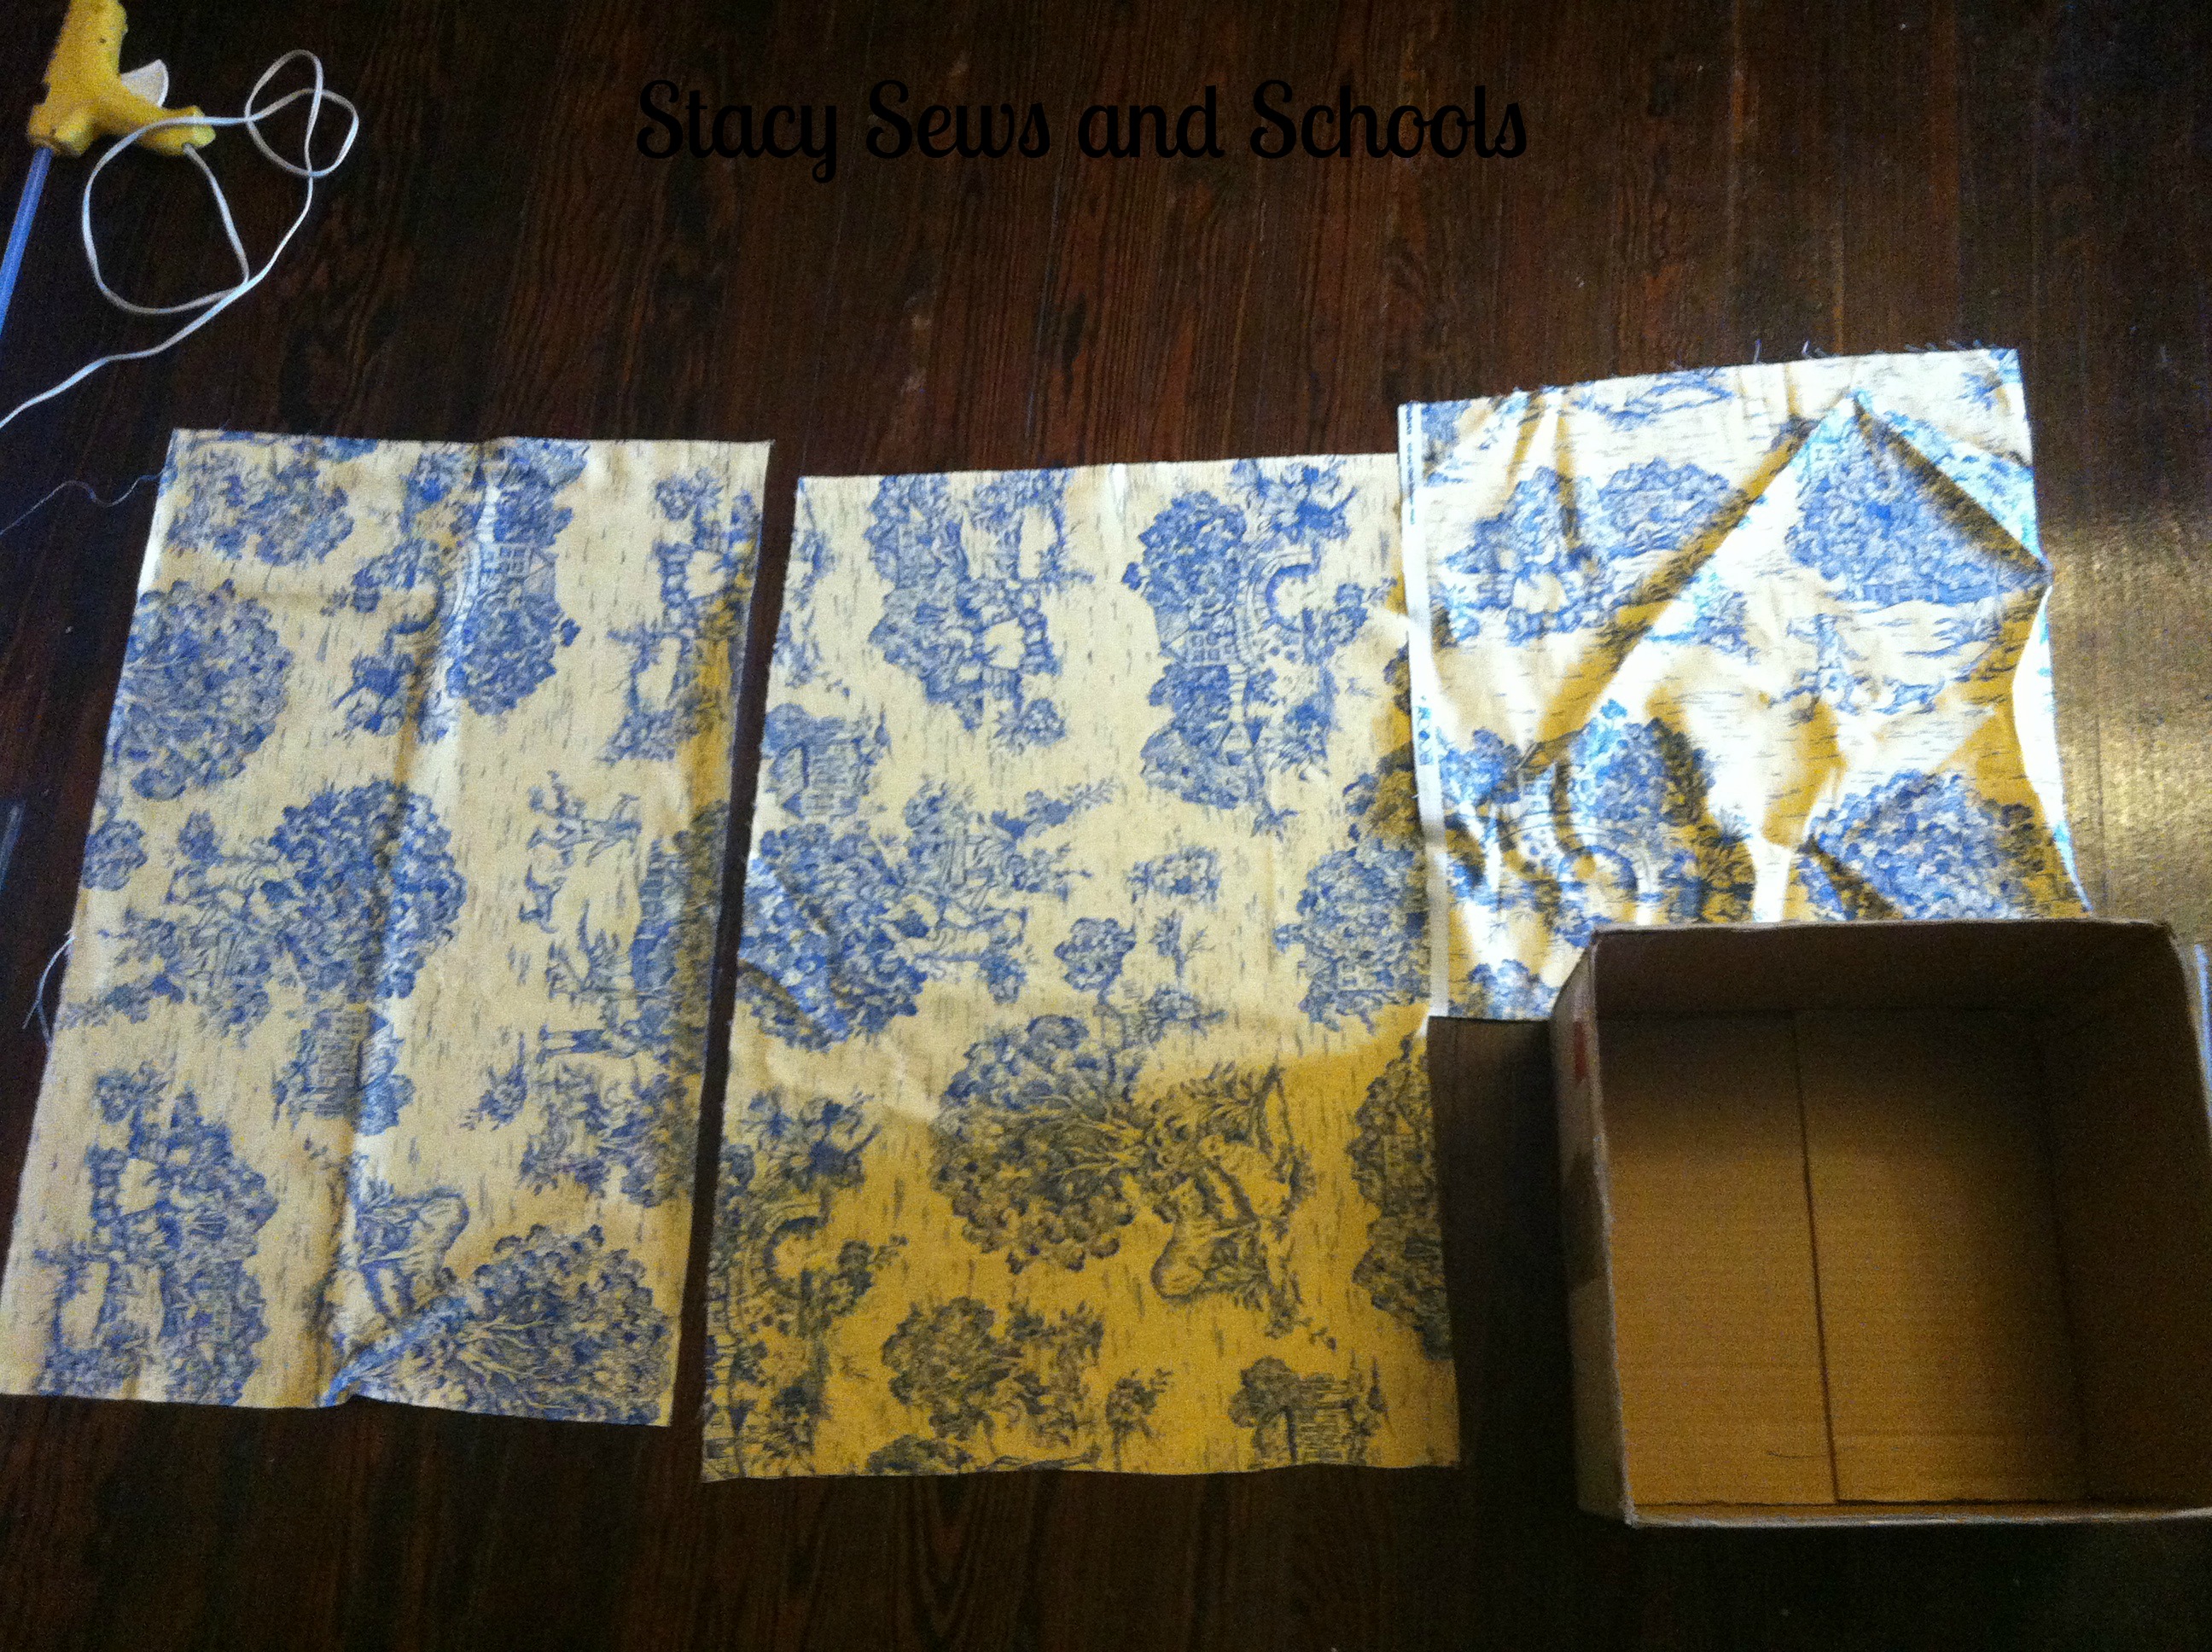
1 fabric remnant - toile
1 scrap piece of burlap
1 leftover piece of denim bias tape
smallish cardboard box - 8" deep, 12" sides
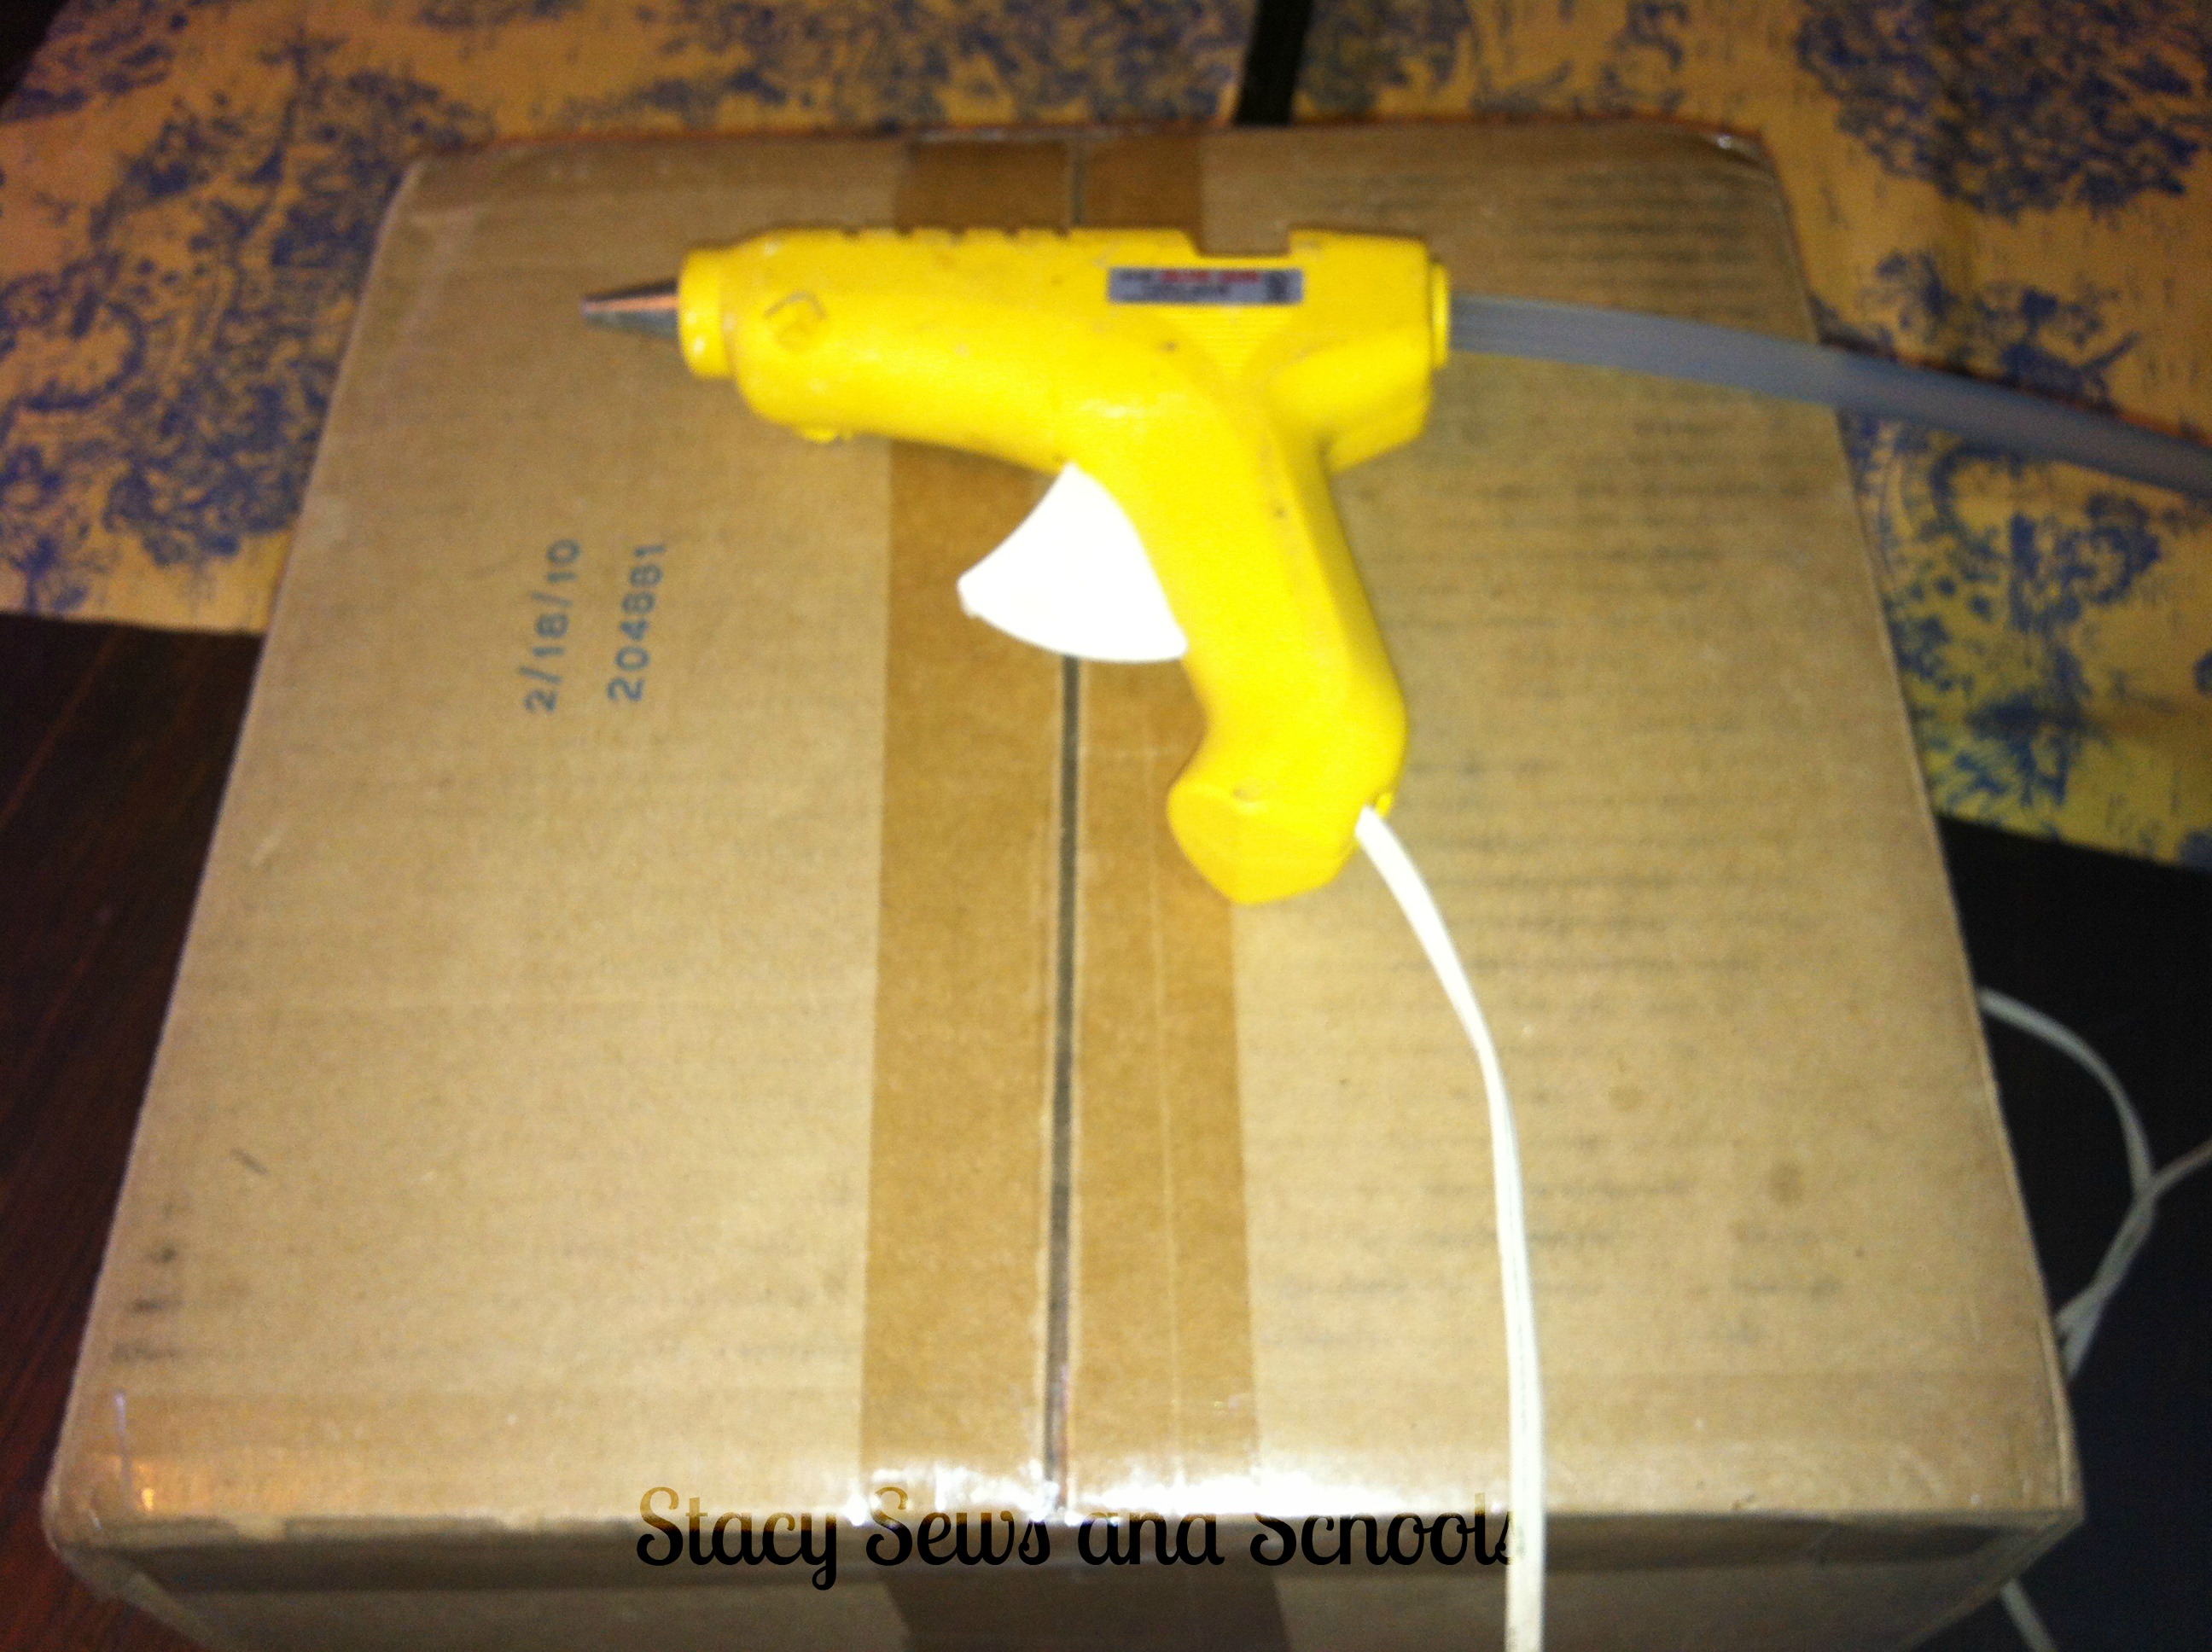
hot glue gun
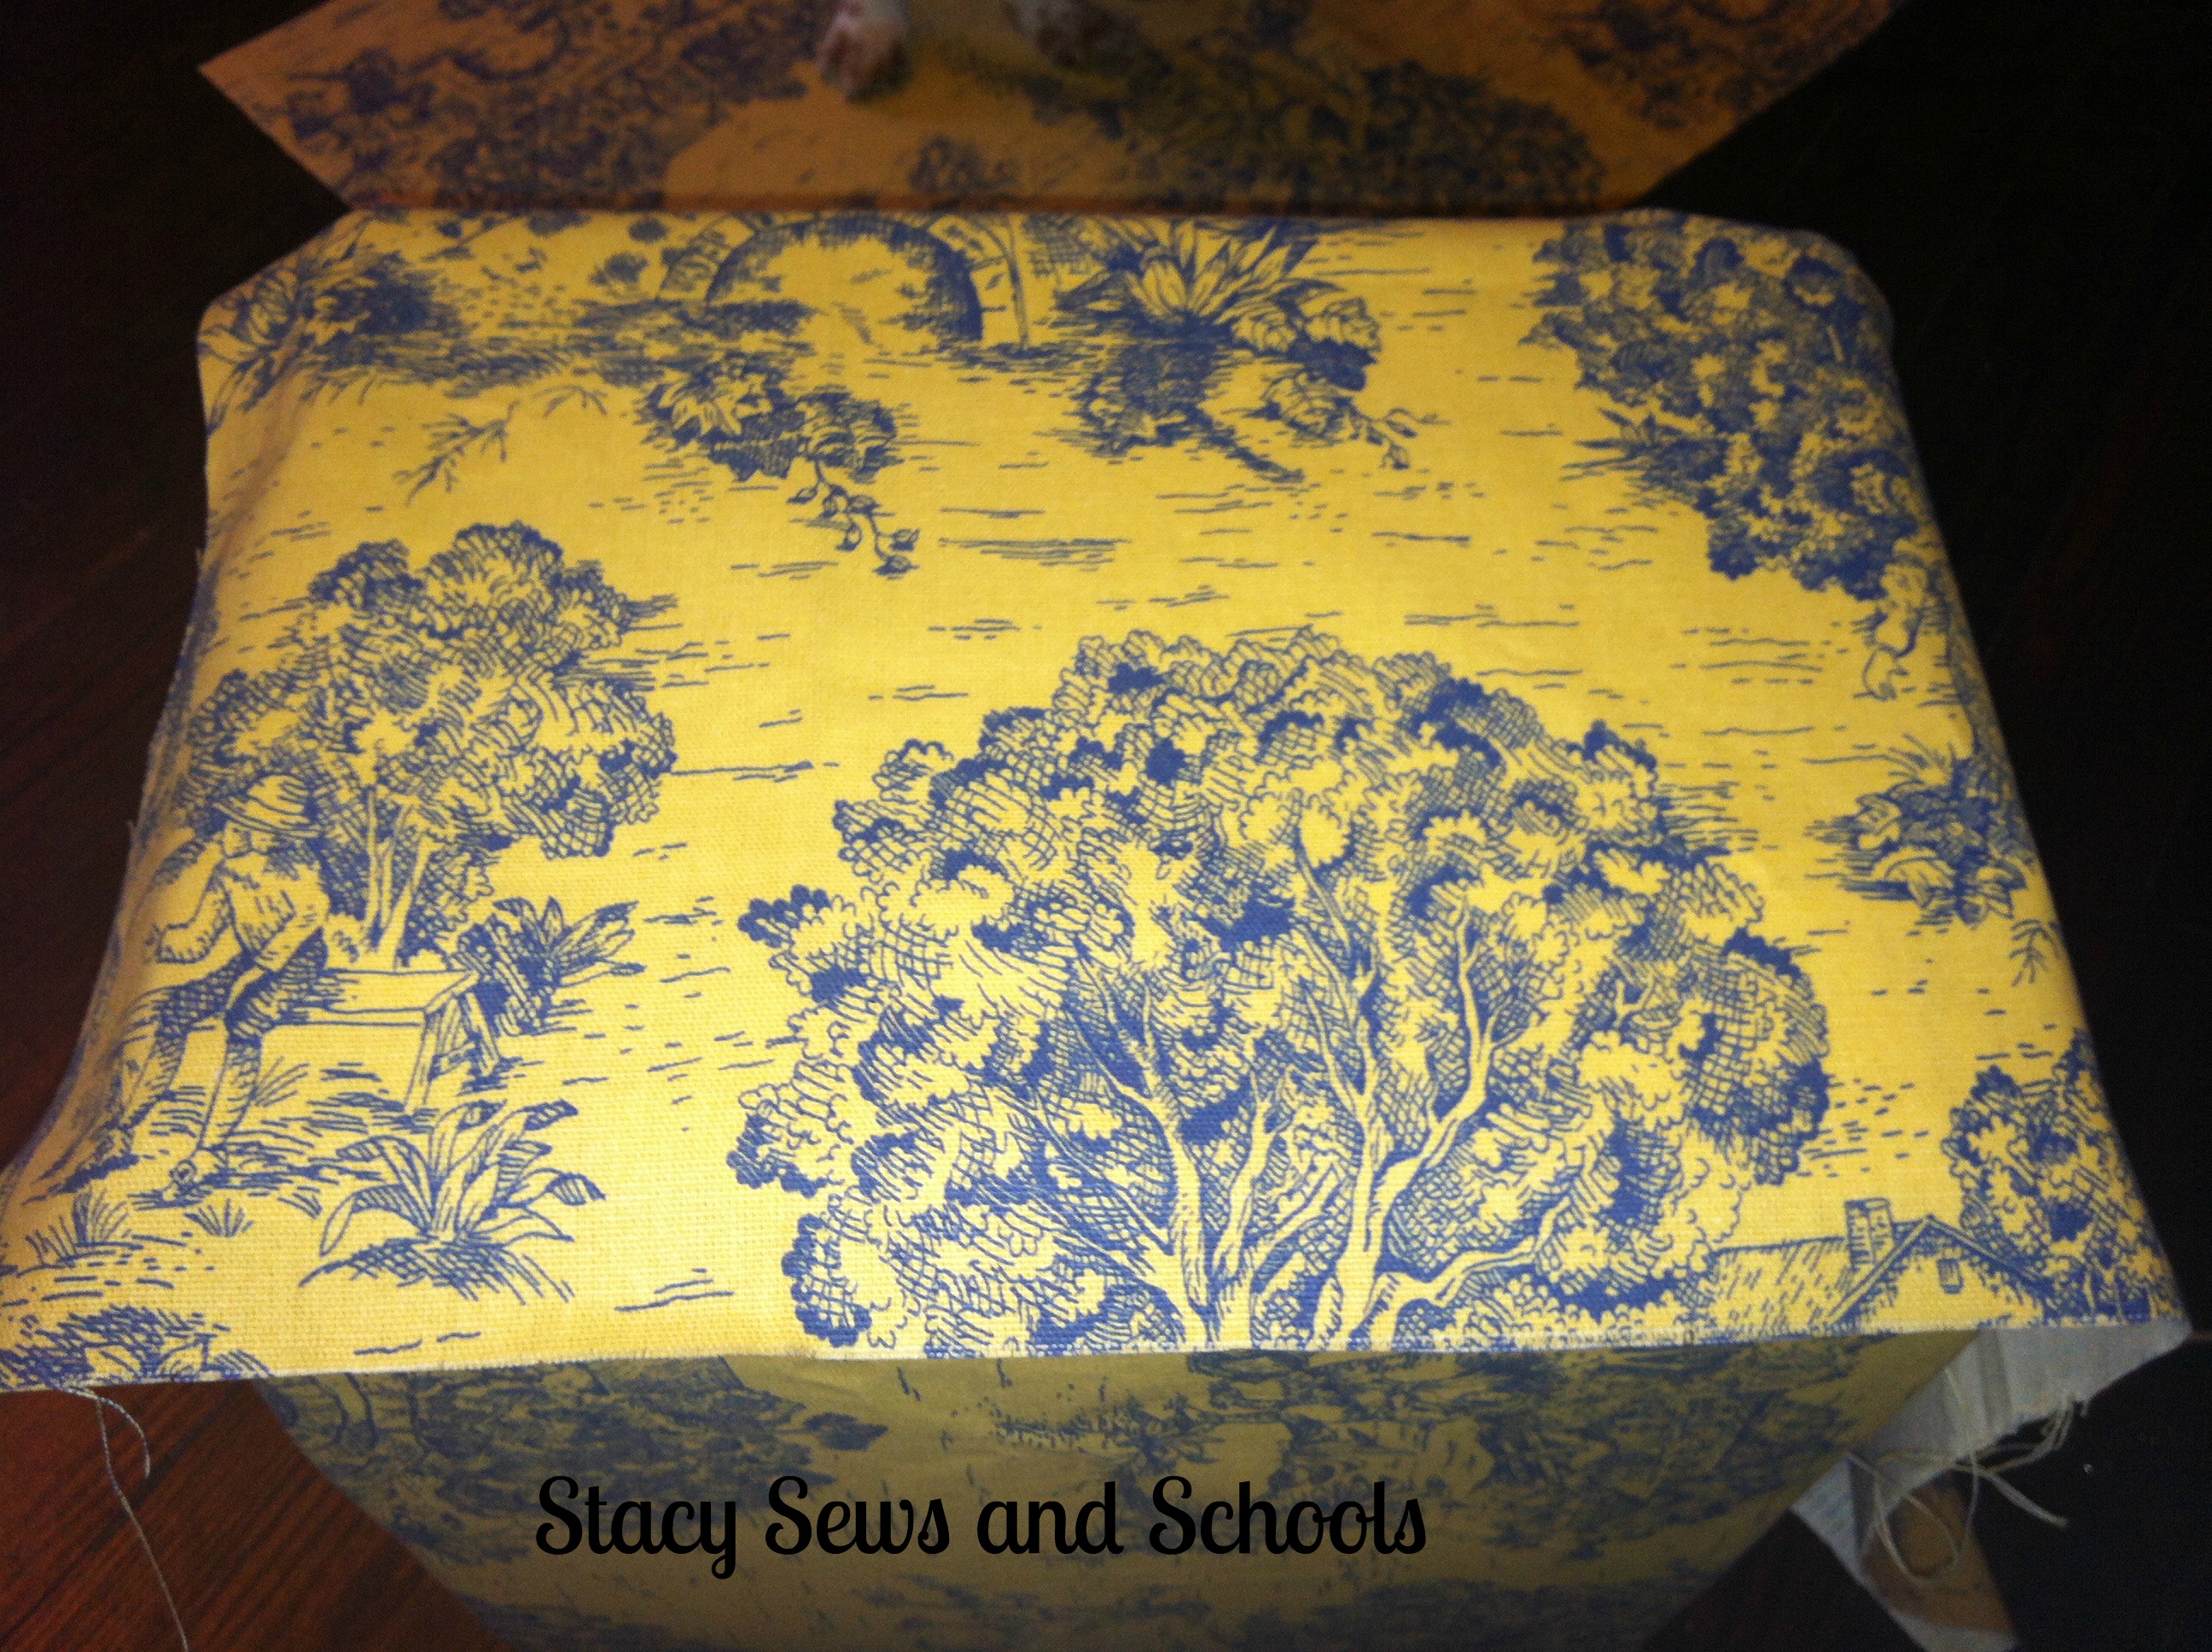
I cut 2 pieces 18 x 26 (2x + 2") and one piece to cover the bottom (can't remember the dimensions). You want the bottom piece to be able to go up the sides by 1".
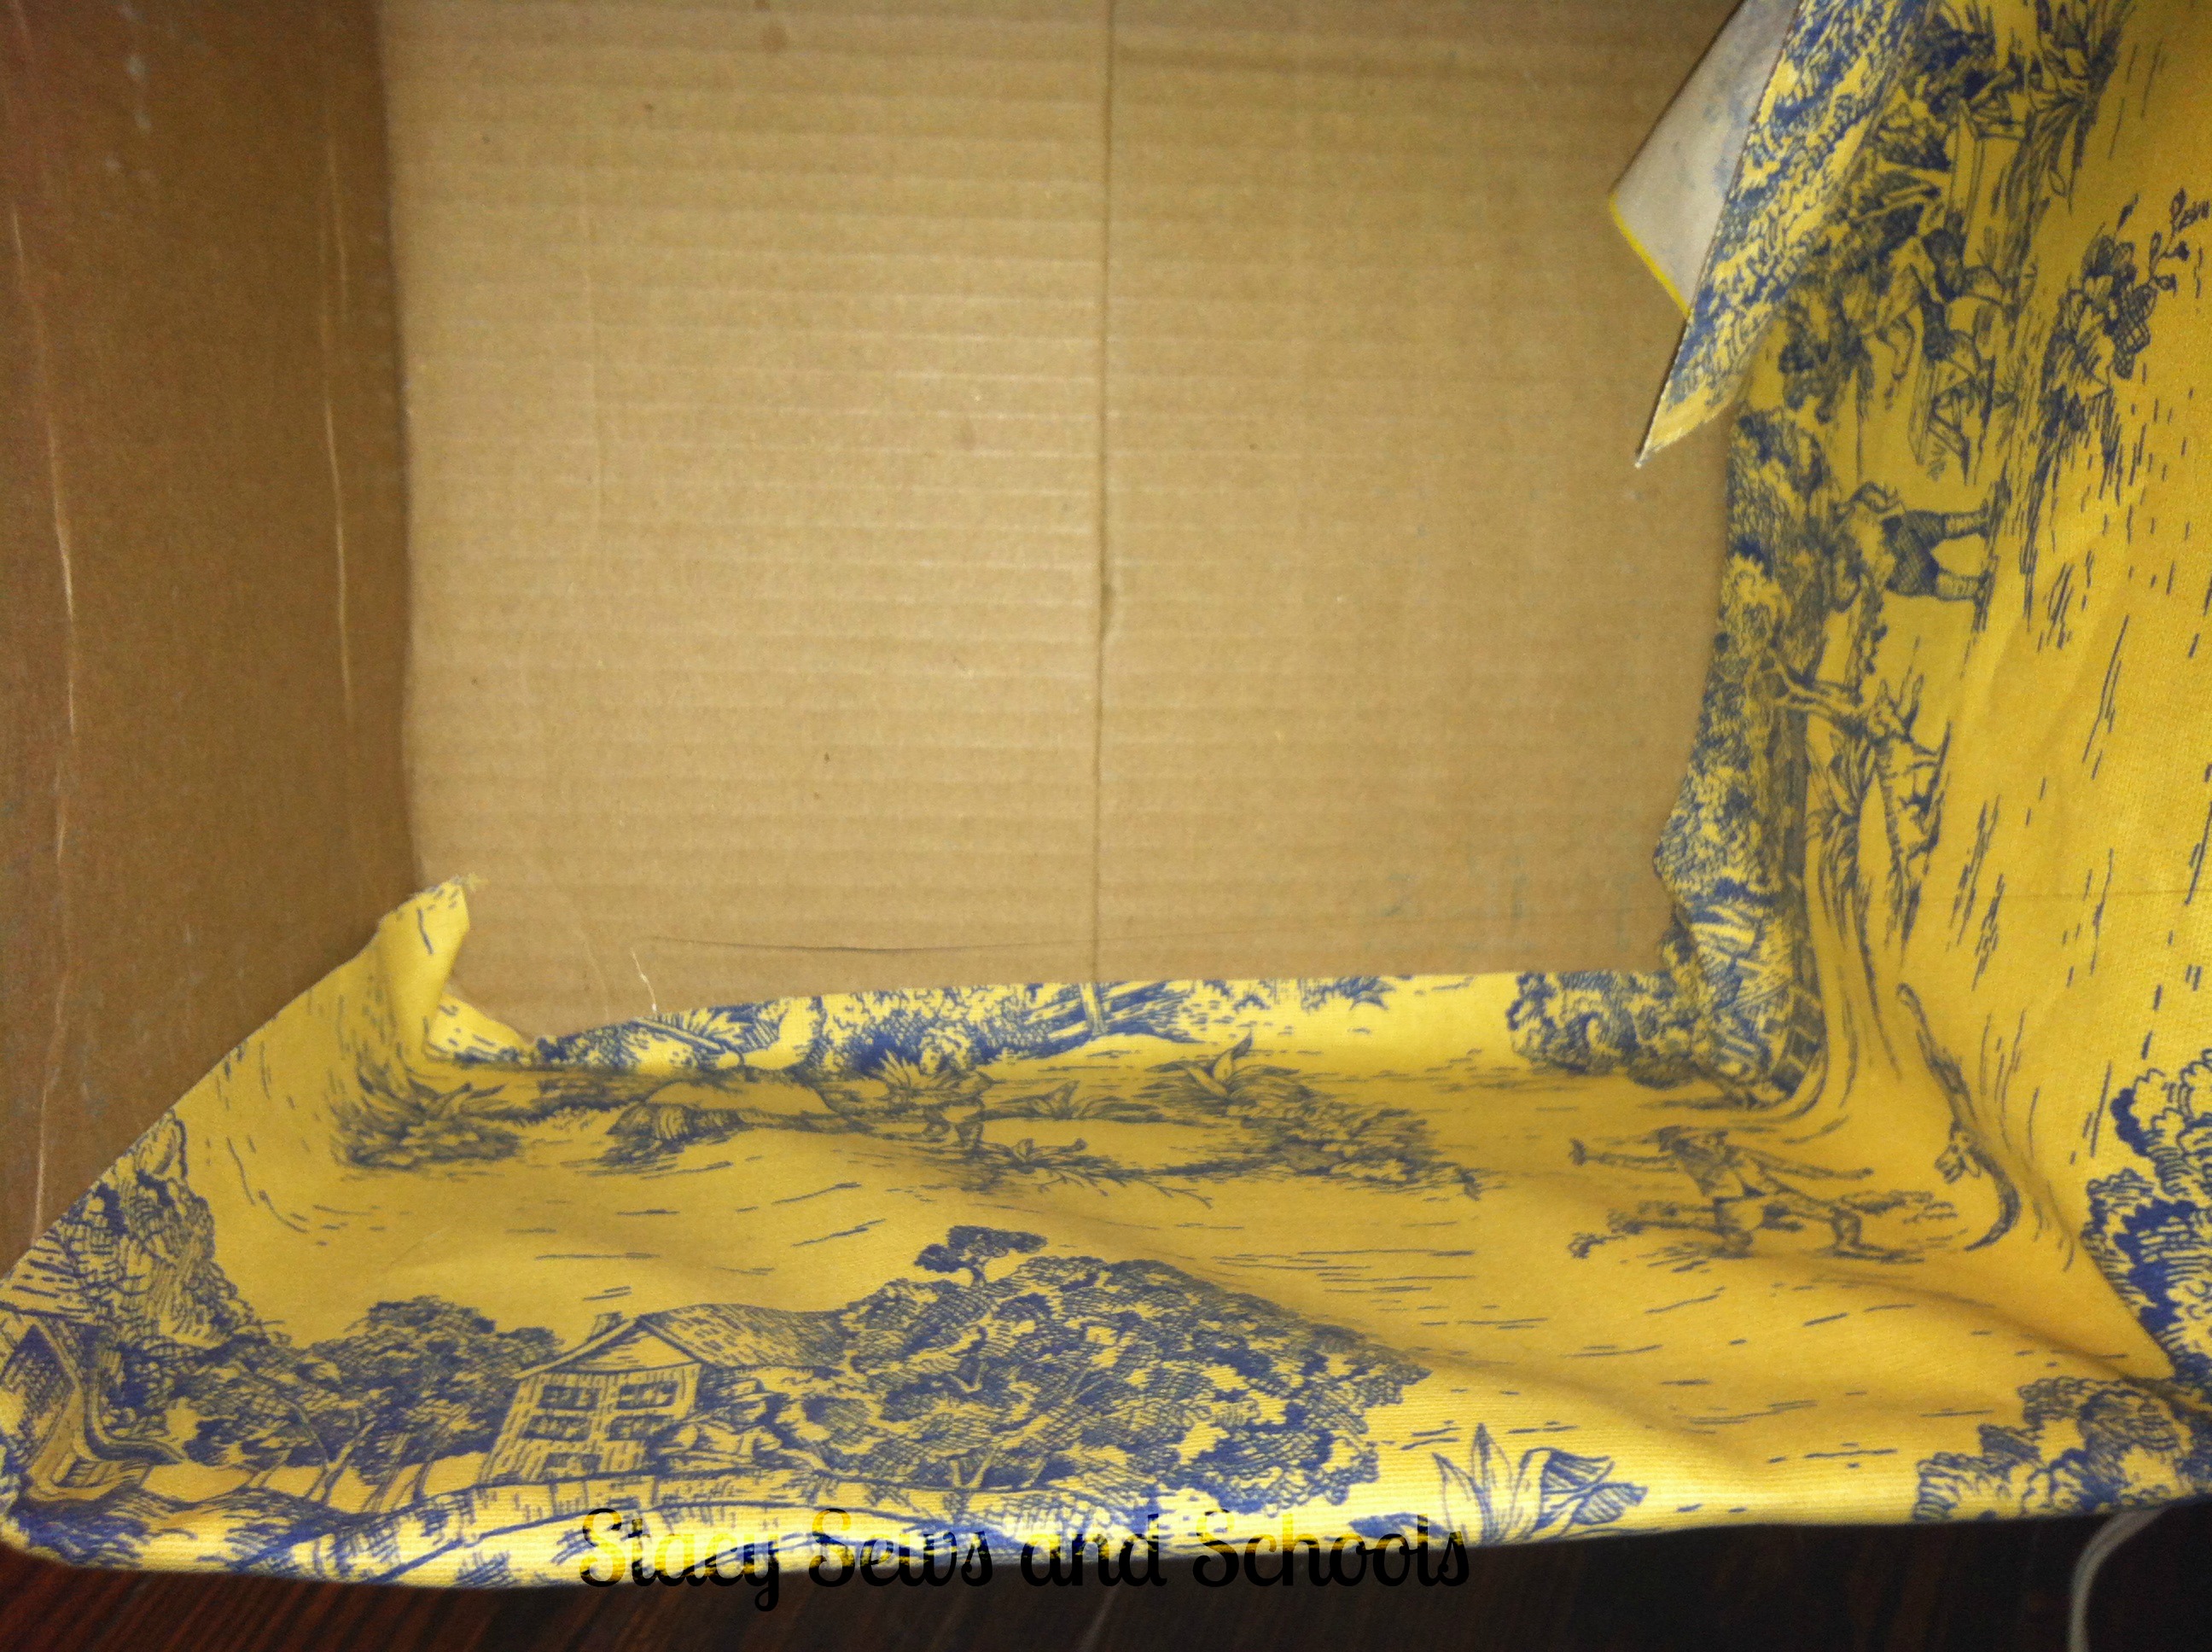
Start by hot gluing the bottom piece, making sure to glue it up the sides as well.
Now for the sides. Draping the fabric over the sides, you want to leave 1" at the bottom and both sides and slide the top down inside the box.
Gently lift the fabric to glue in place making sure of placement.
On the inside, put hot glue in the corners and on the bottom edge. Press the fabric into place and smooth (obviously not shown! LOL).
Now for the other 2 sides.
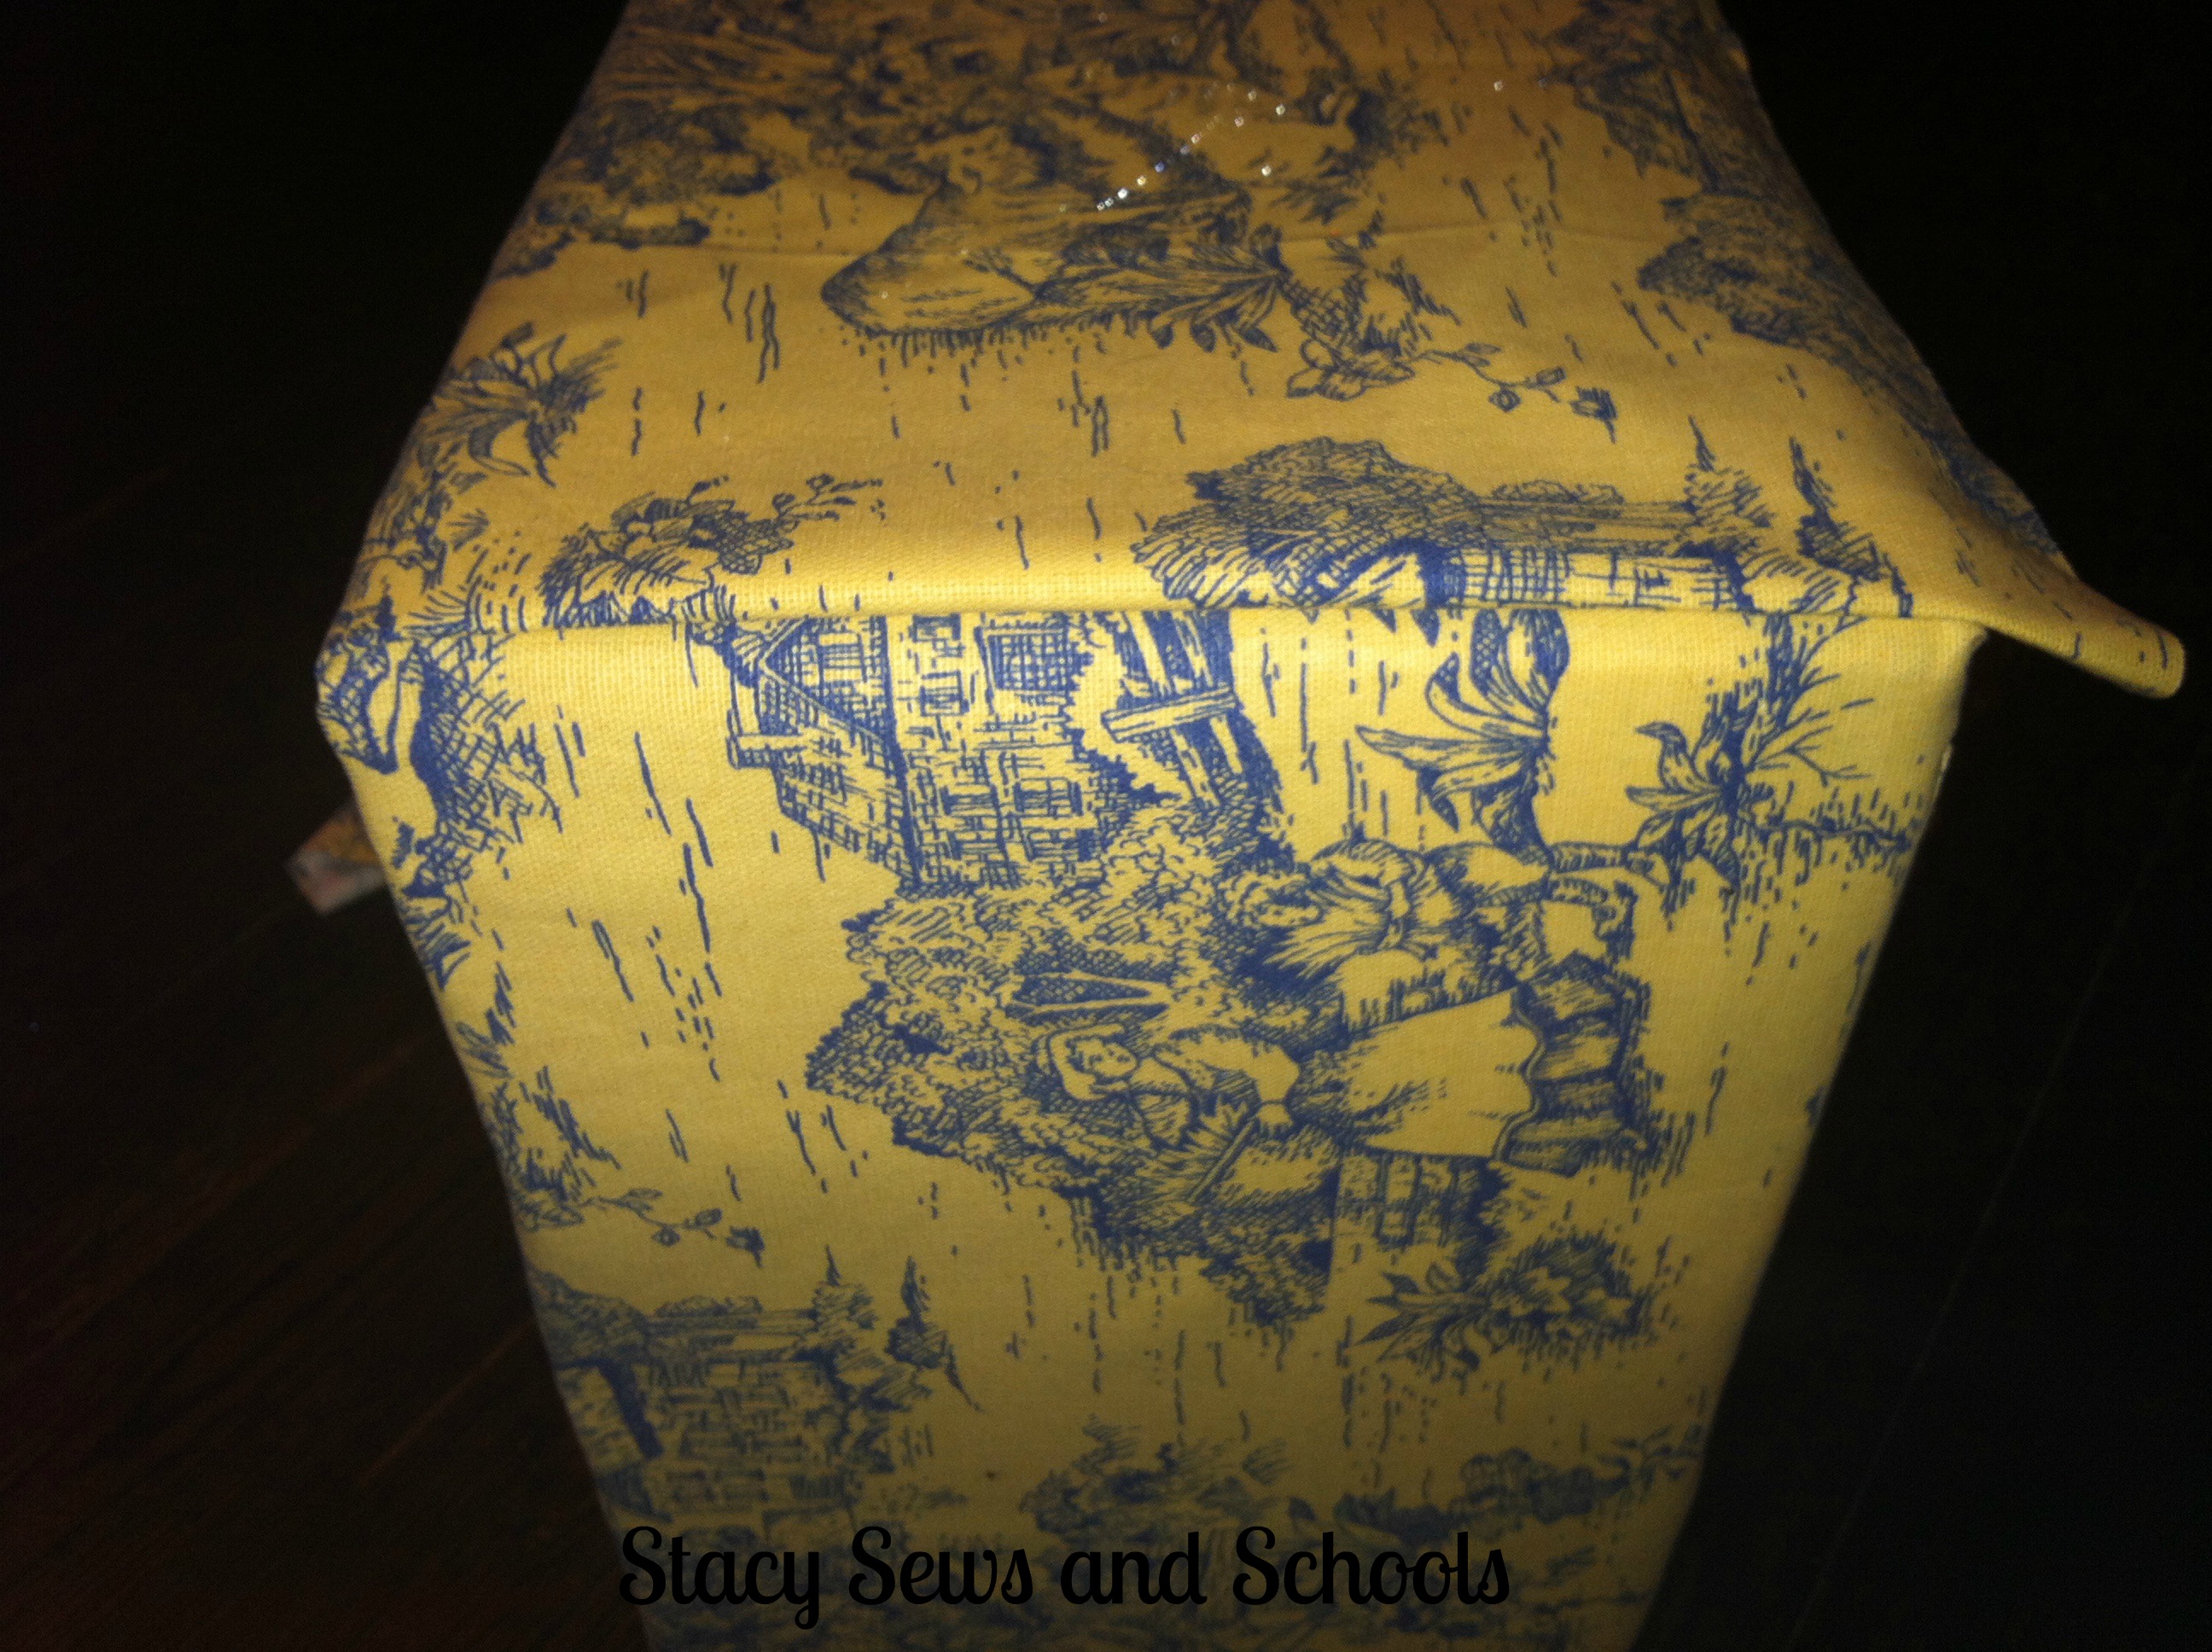
Fold the edge of the fabric over 1" and glue into place on one side.
Now glue 1" to the bottom of the box.
Drape the fabric over the sides and inside the box and start gluing in place.
When you come to the last side, fold over another 1" and glue in place.
Then do the inside of the last sides.
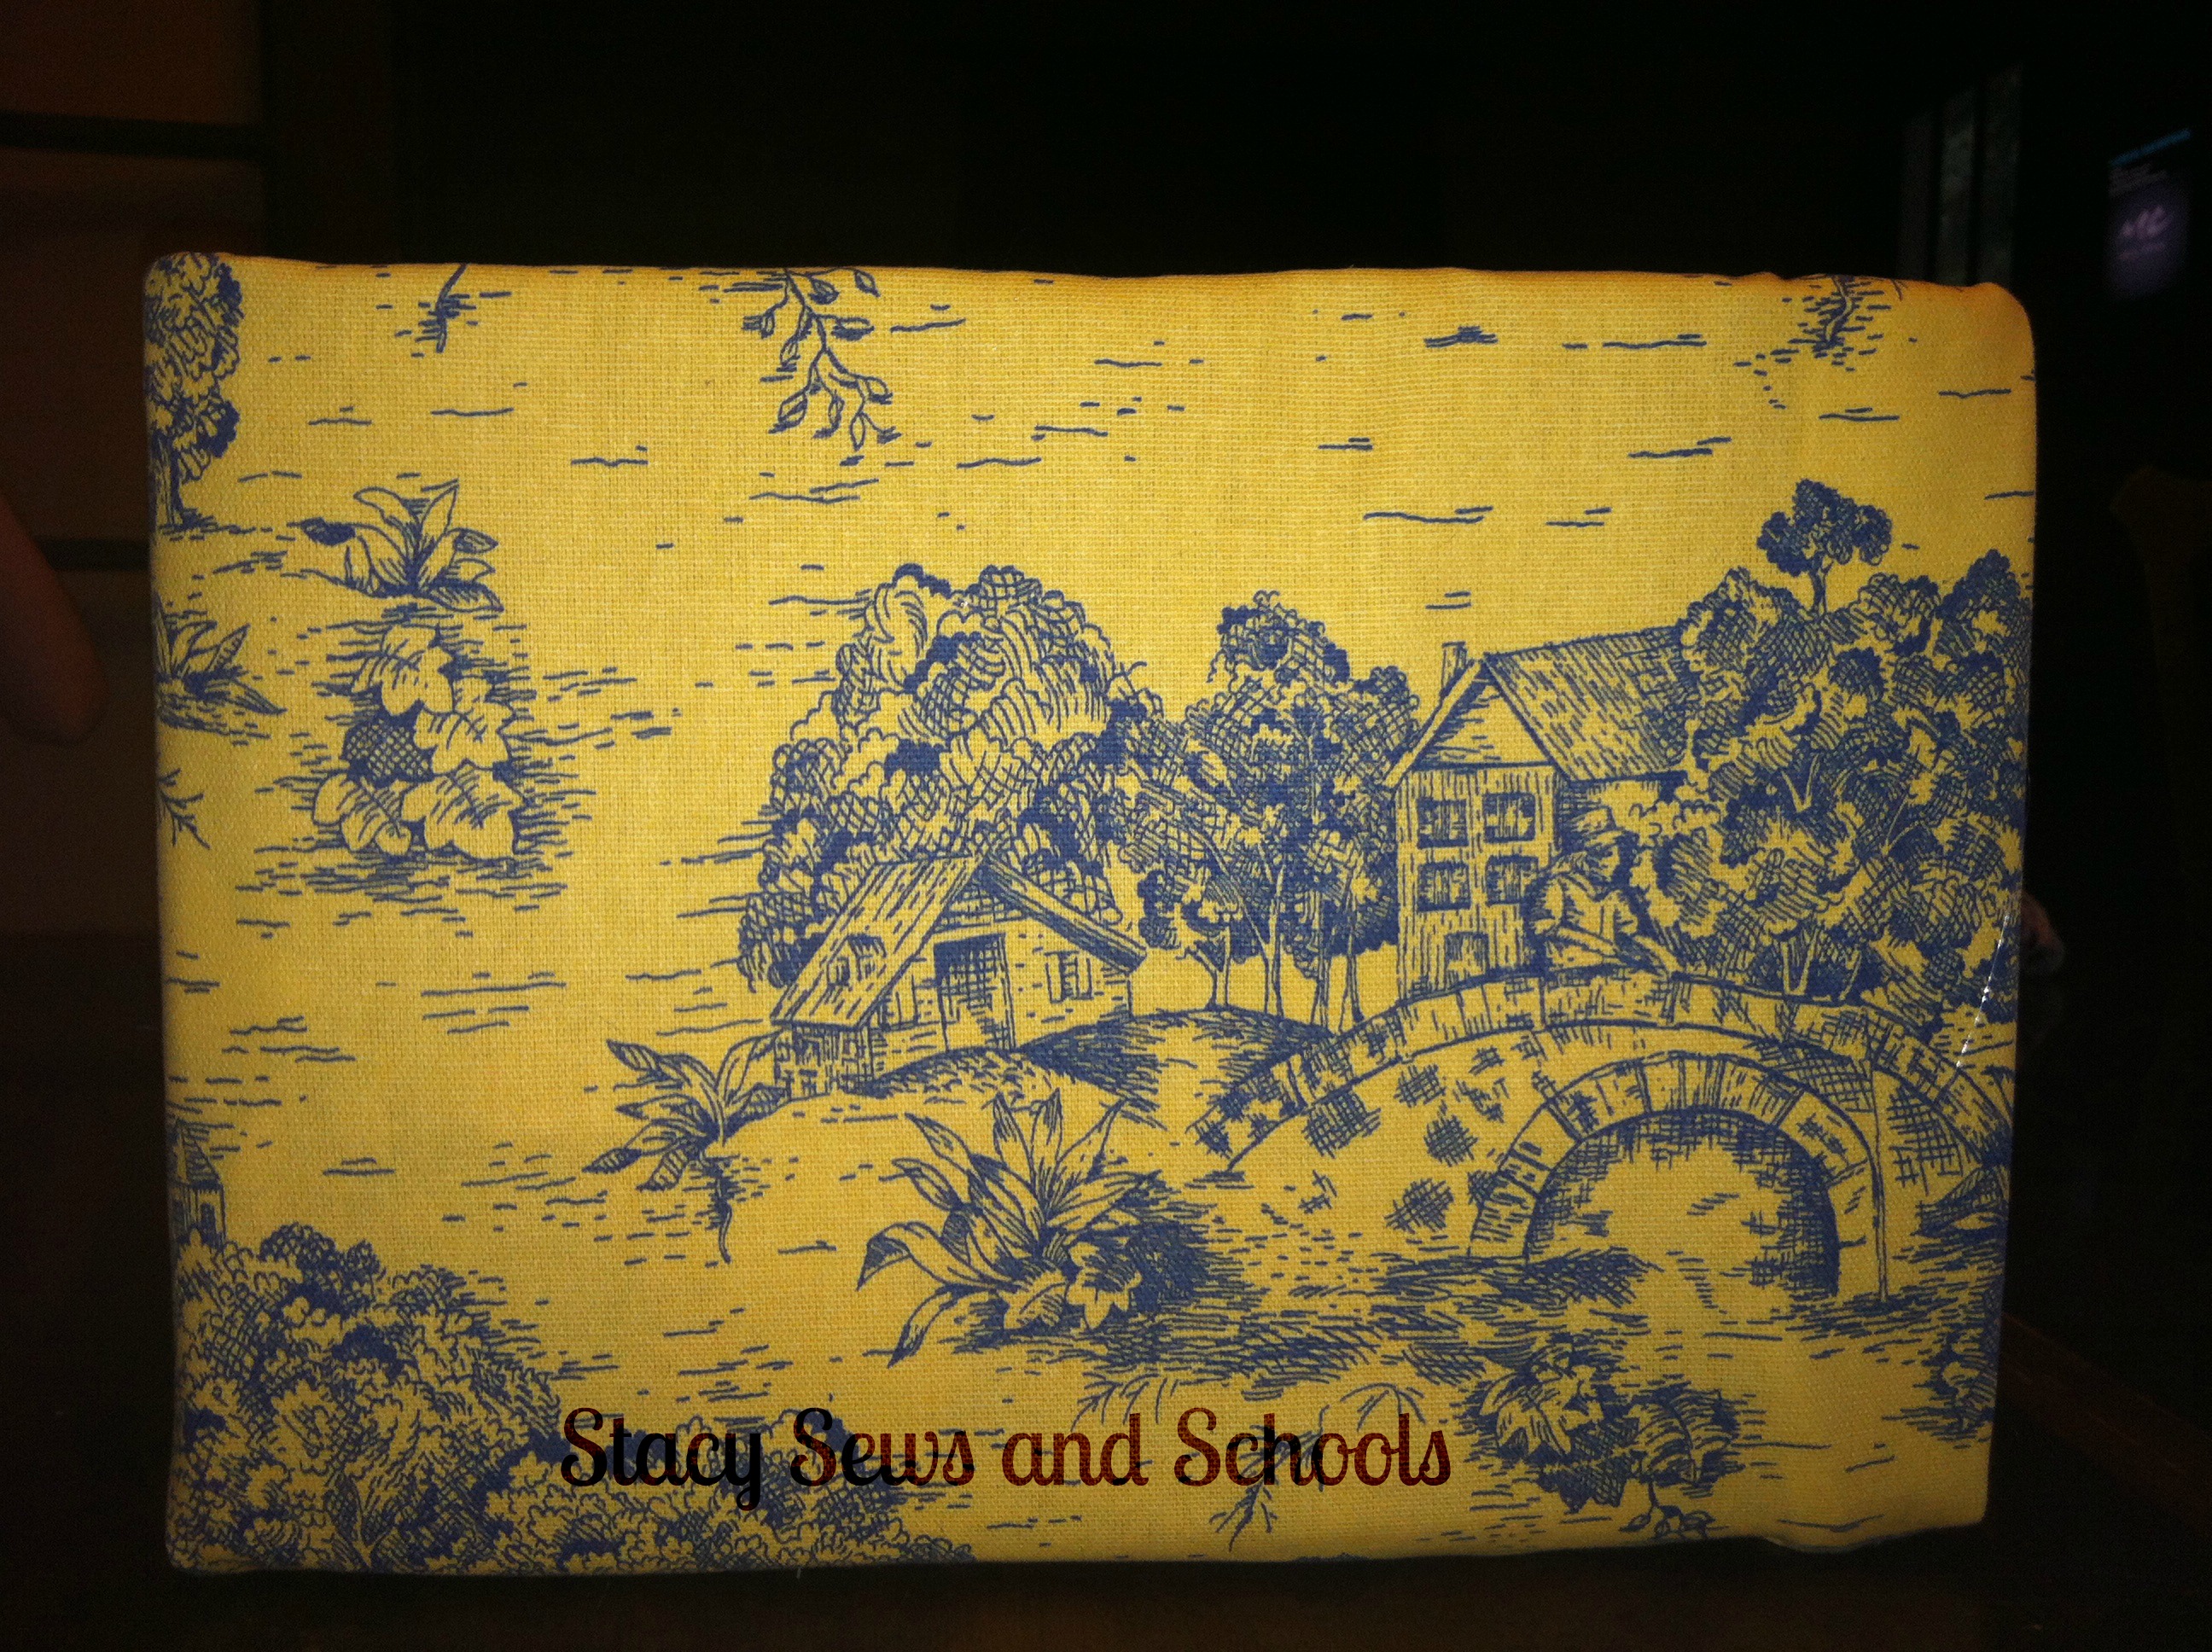
This is what you will have.
I then glued a strip of burlap all around the sides and added the denim bias tape on top of that.
Lastly, I added the burlap bow!
EASY PEASY and super fast!
If the inside bottom of the box is going to show, cut a piece and glue it inside. ;)
HAVE FUN CRAFTING!!!!
Labels:
burlap,
cardboard box,
cute,
DIY,
easy,
fabric,
fast,
no sew,
storage box,
toile,
tutorial,
Tutorials
August 17, 2013
Making Notebooks Pretty
Oh. my goodness! I have been SOOOOOO busy!!!! Between Wednesday and Friday, I printed out 500 pages for the first few weeks of school!!! GOOD GRIEF!!! I have been running around getting all the books and supplements and activities and and and together! LOL I'm exhausted and we haven't even started yet! LOL Someone remind me to get all the planning and etc. done at least a month before we start!
ANYWAY, I have been making some of their notebooks prettified for them! LOL
Here is the no sew cover tutorial that I did a few days ago.
And here is the sewing cover tutorial that I did a while back.
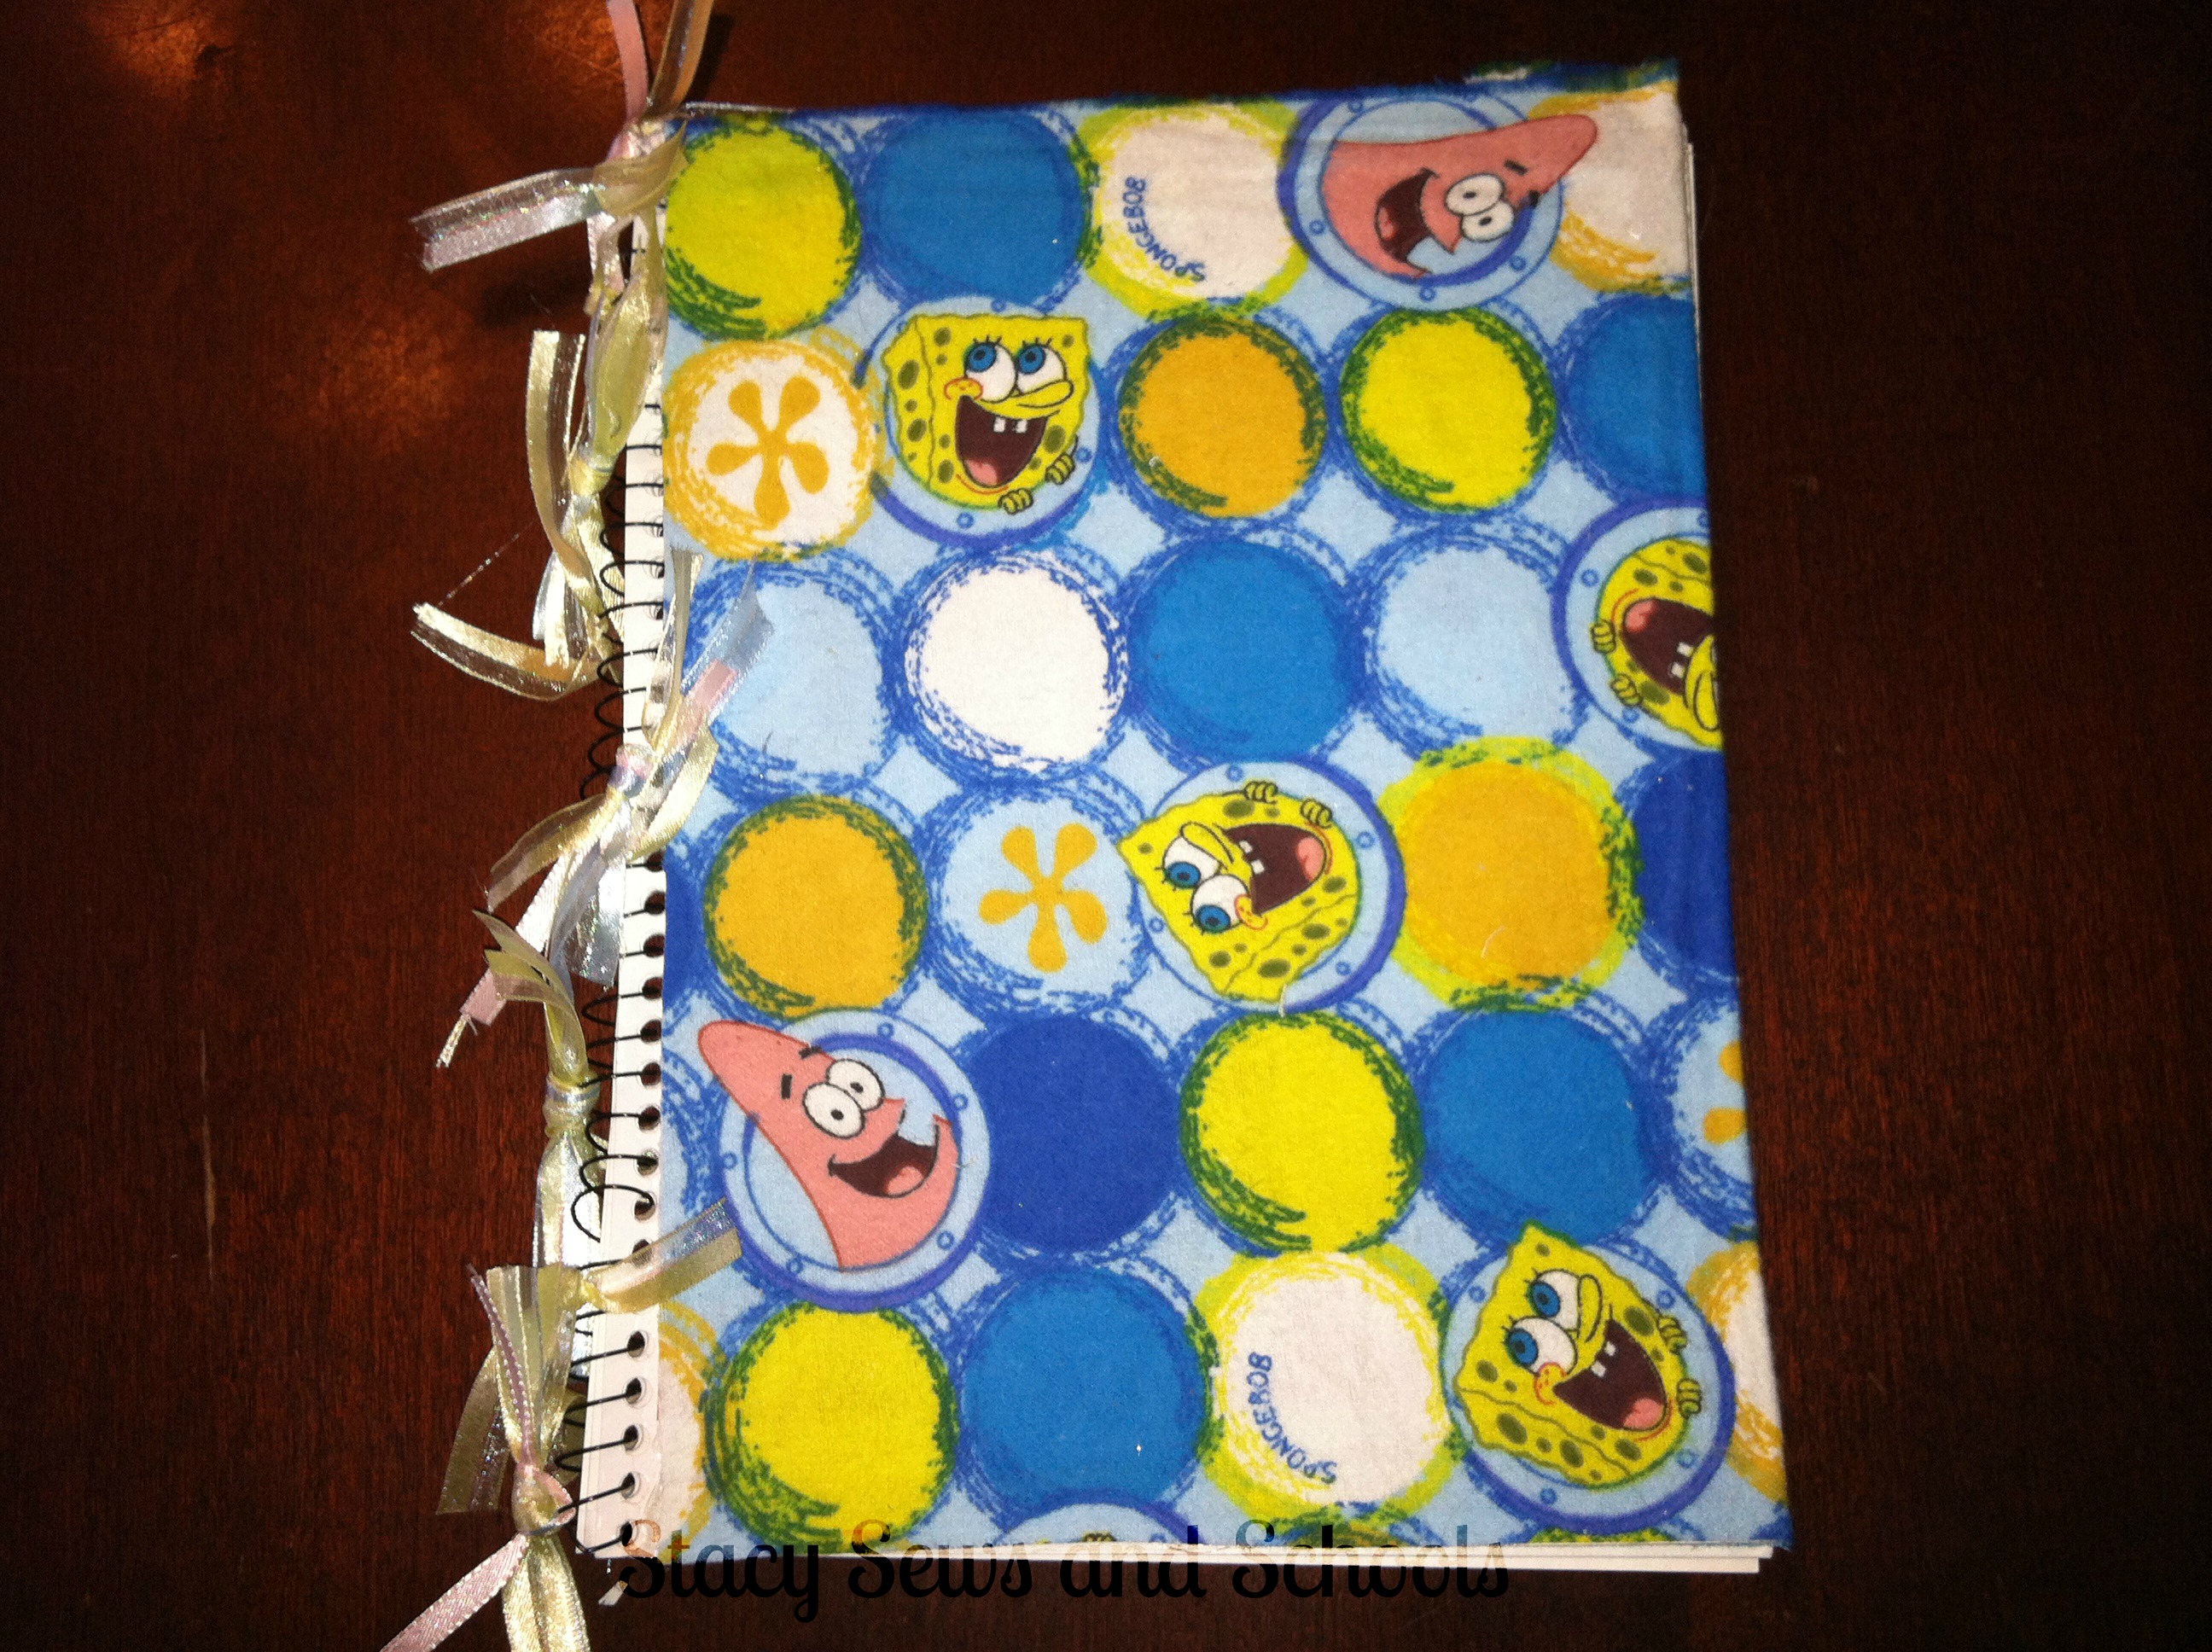
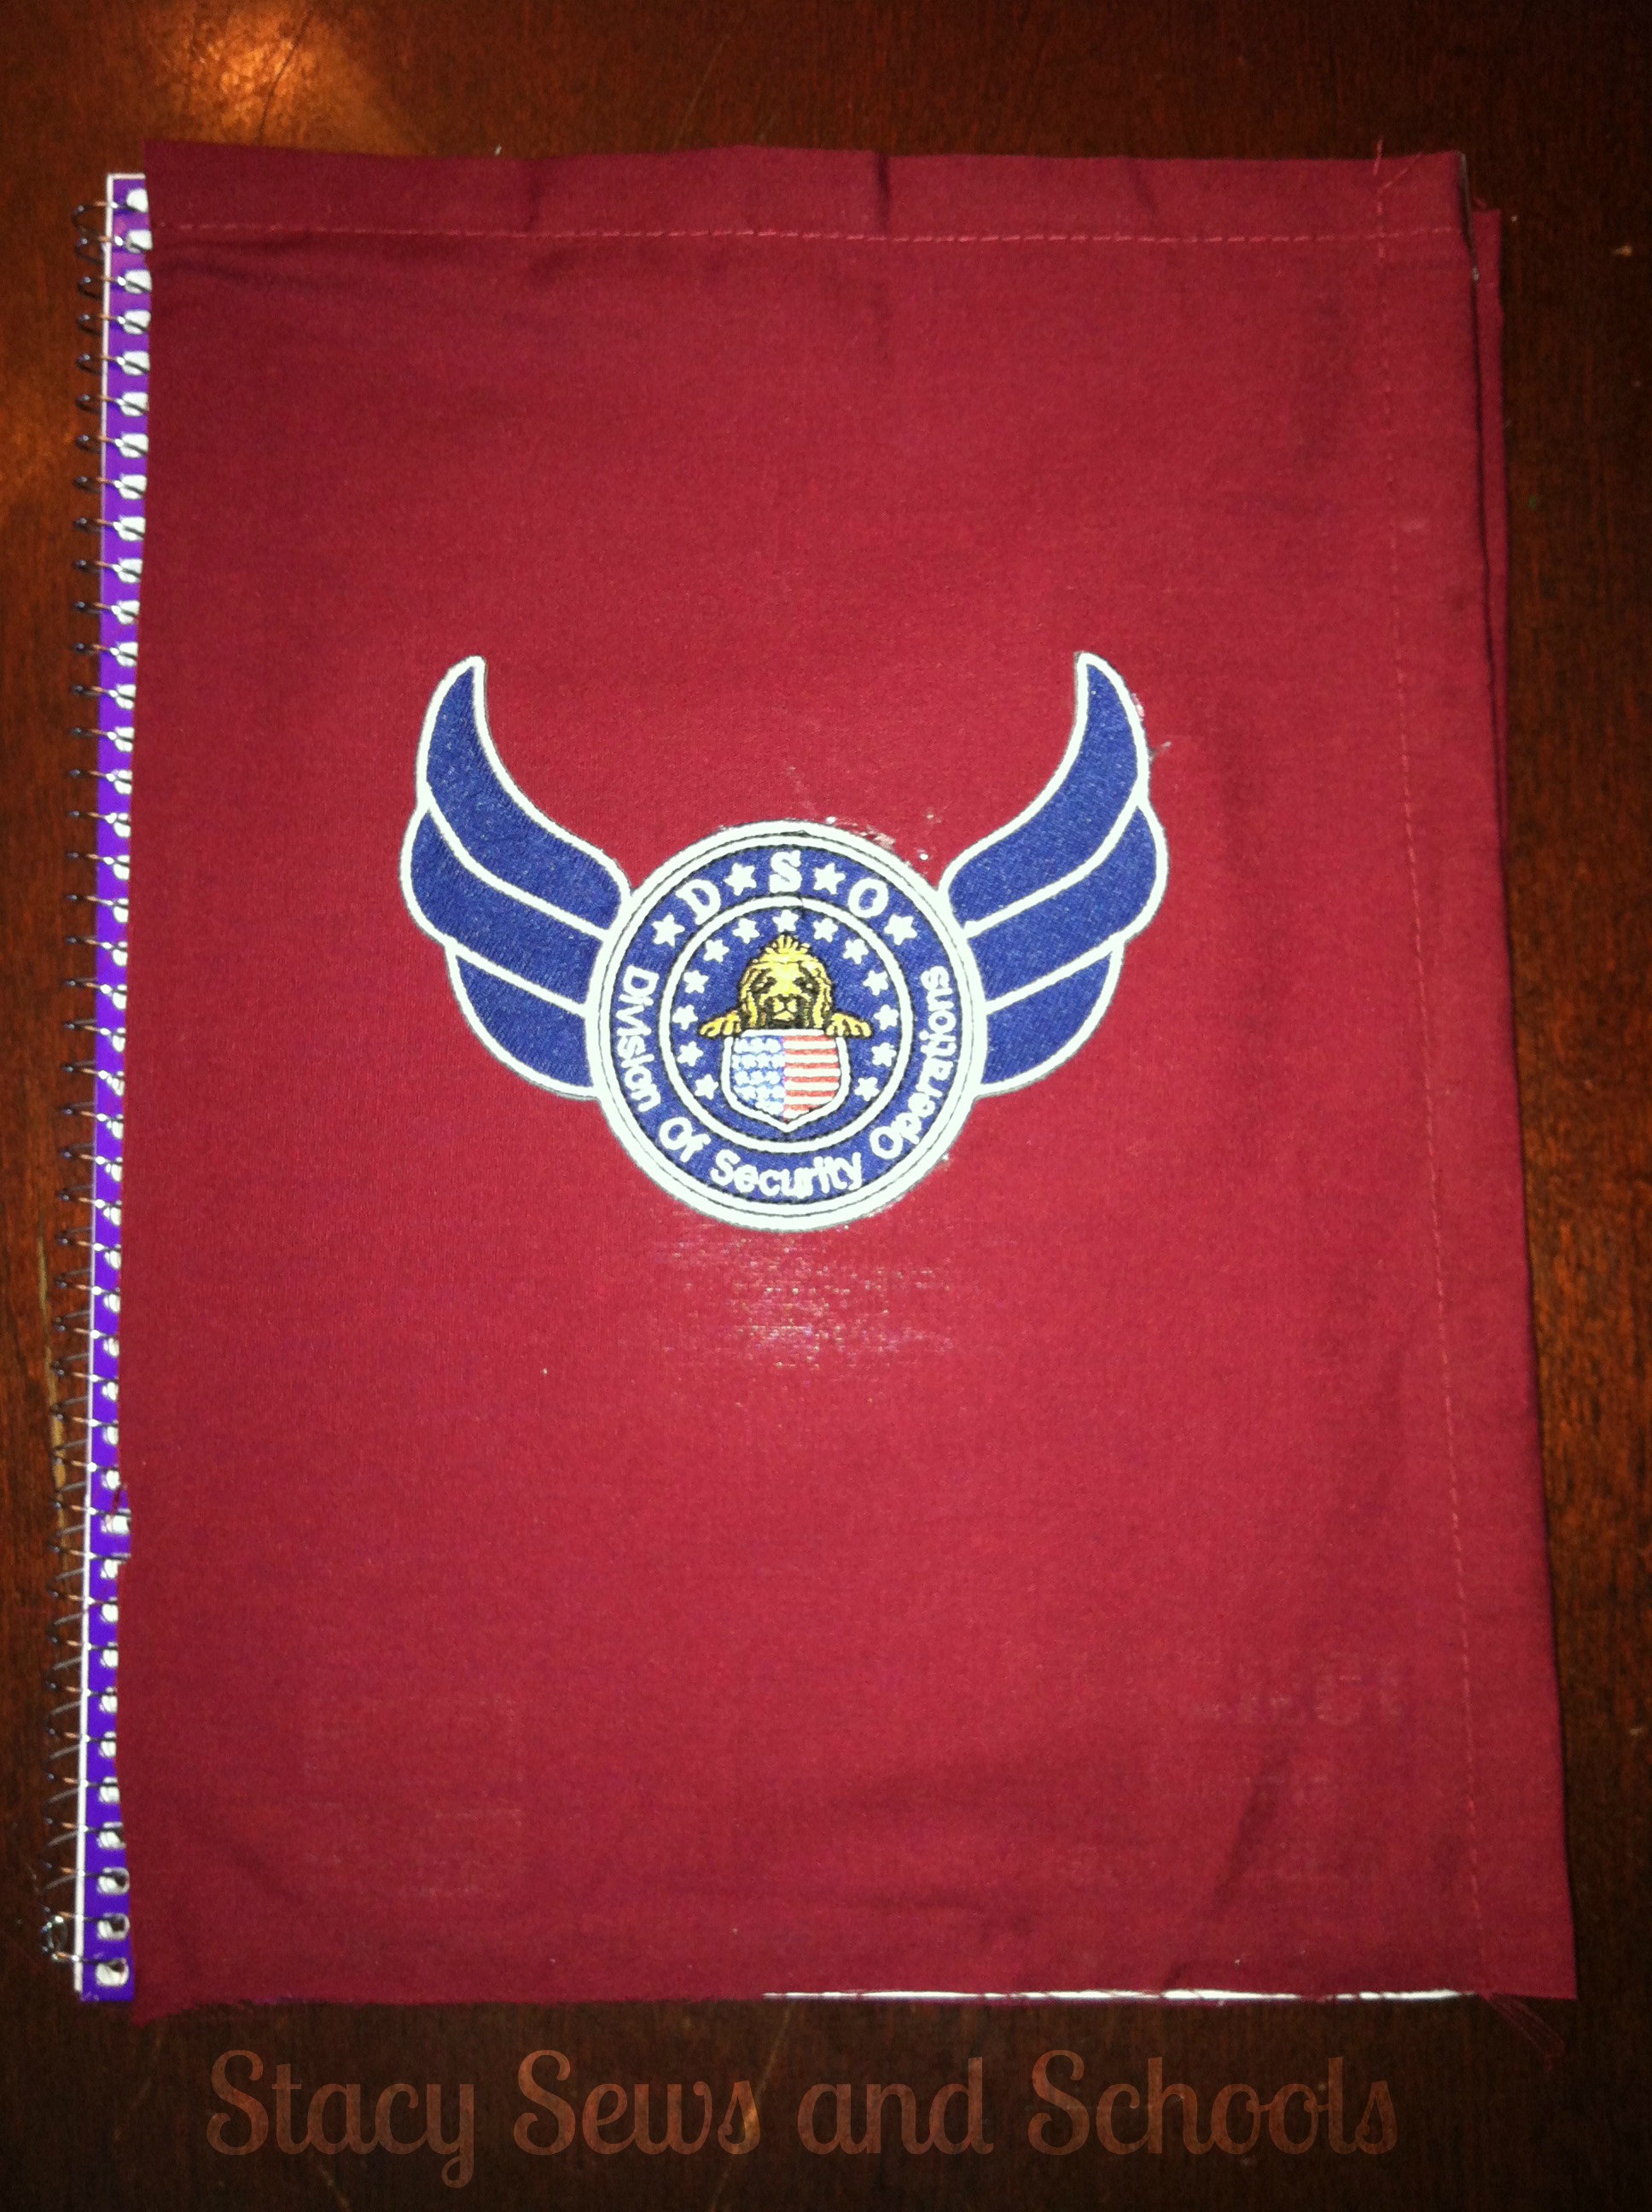
And here are the finished products that I did this week.
This one is just like the no sew cover except that I cut 2 pieces and left the spiral part exposed. Then I tied ribbons up and down the spiral.
This one is just like the above. I cut and hot glued 2 pieces. Then I hot glued a patch from one of Joshua's Resident Evil games to the front.
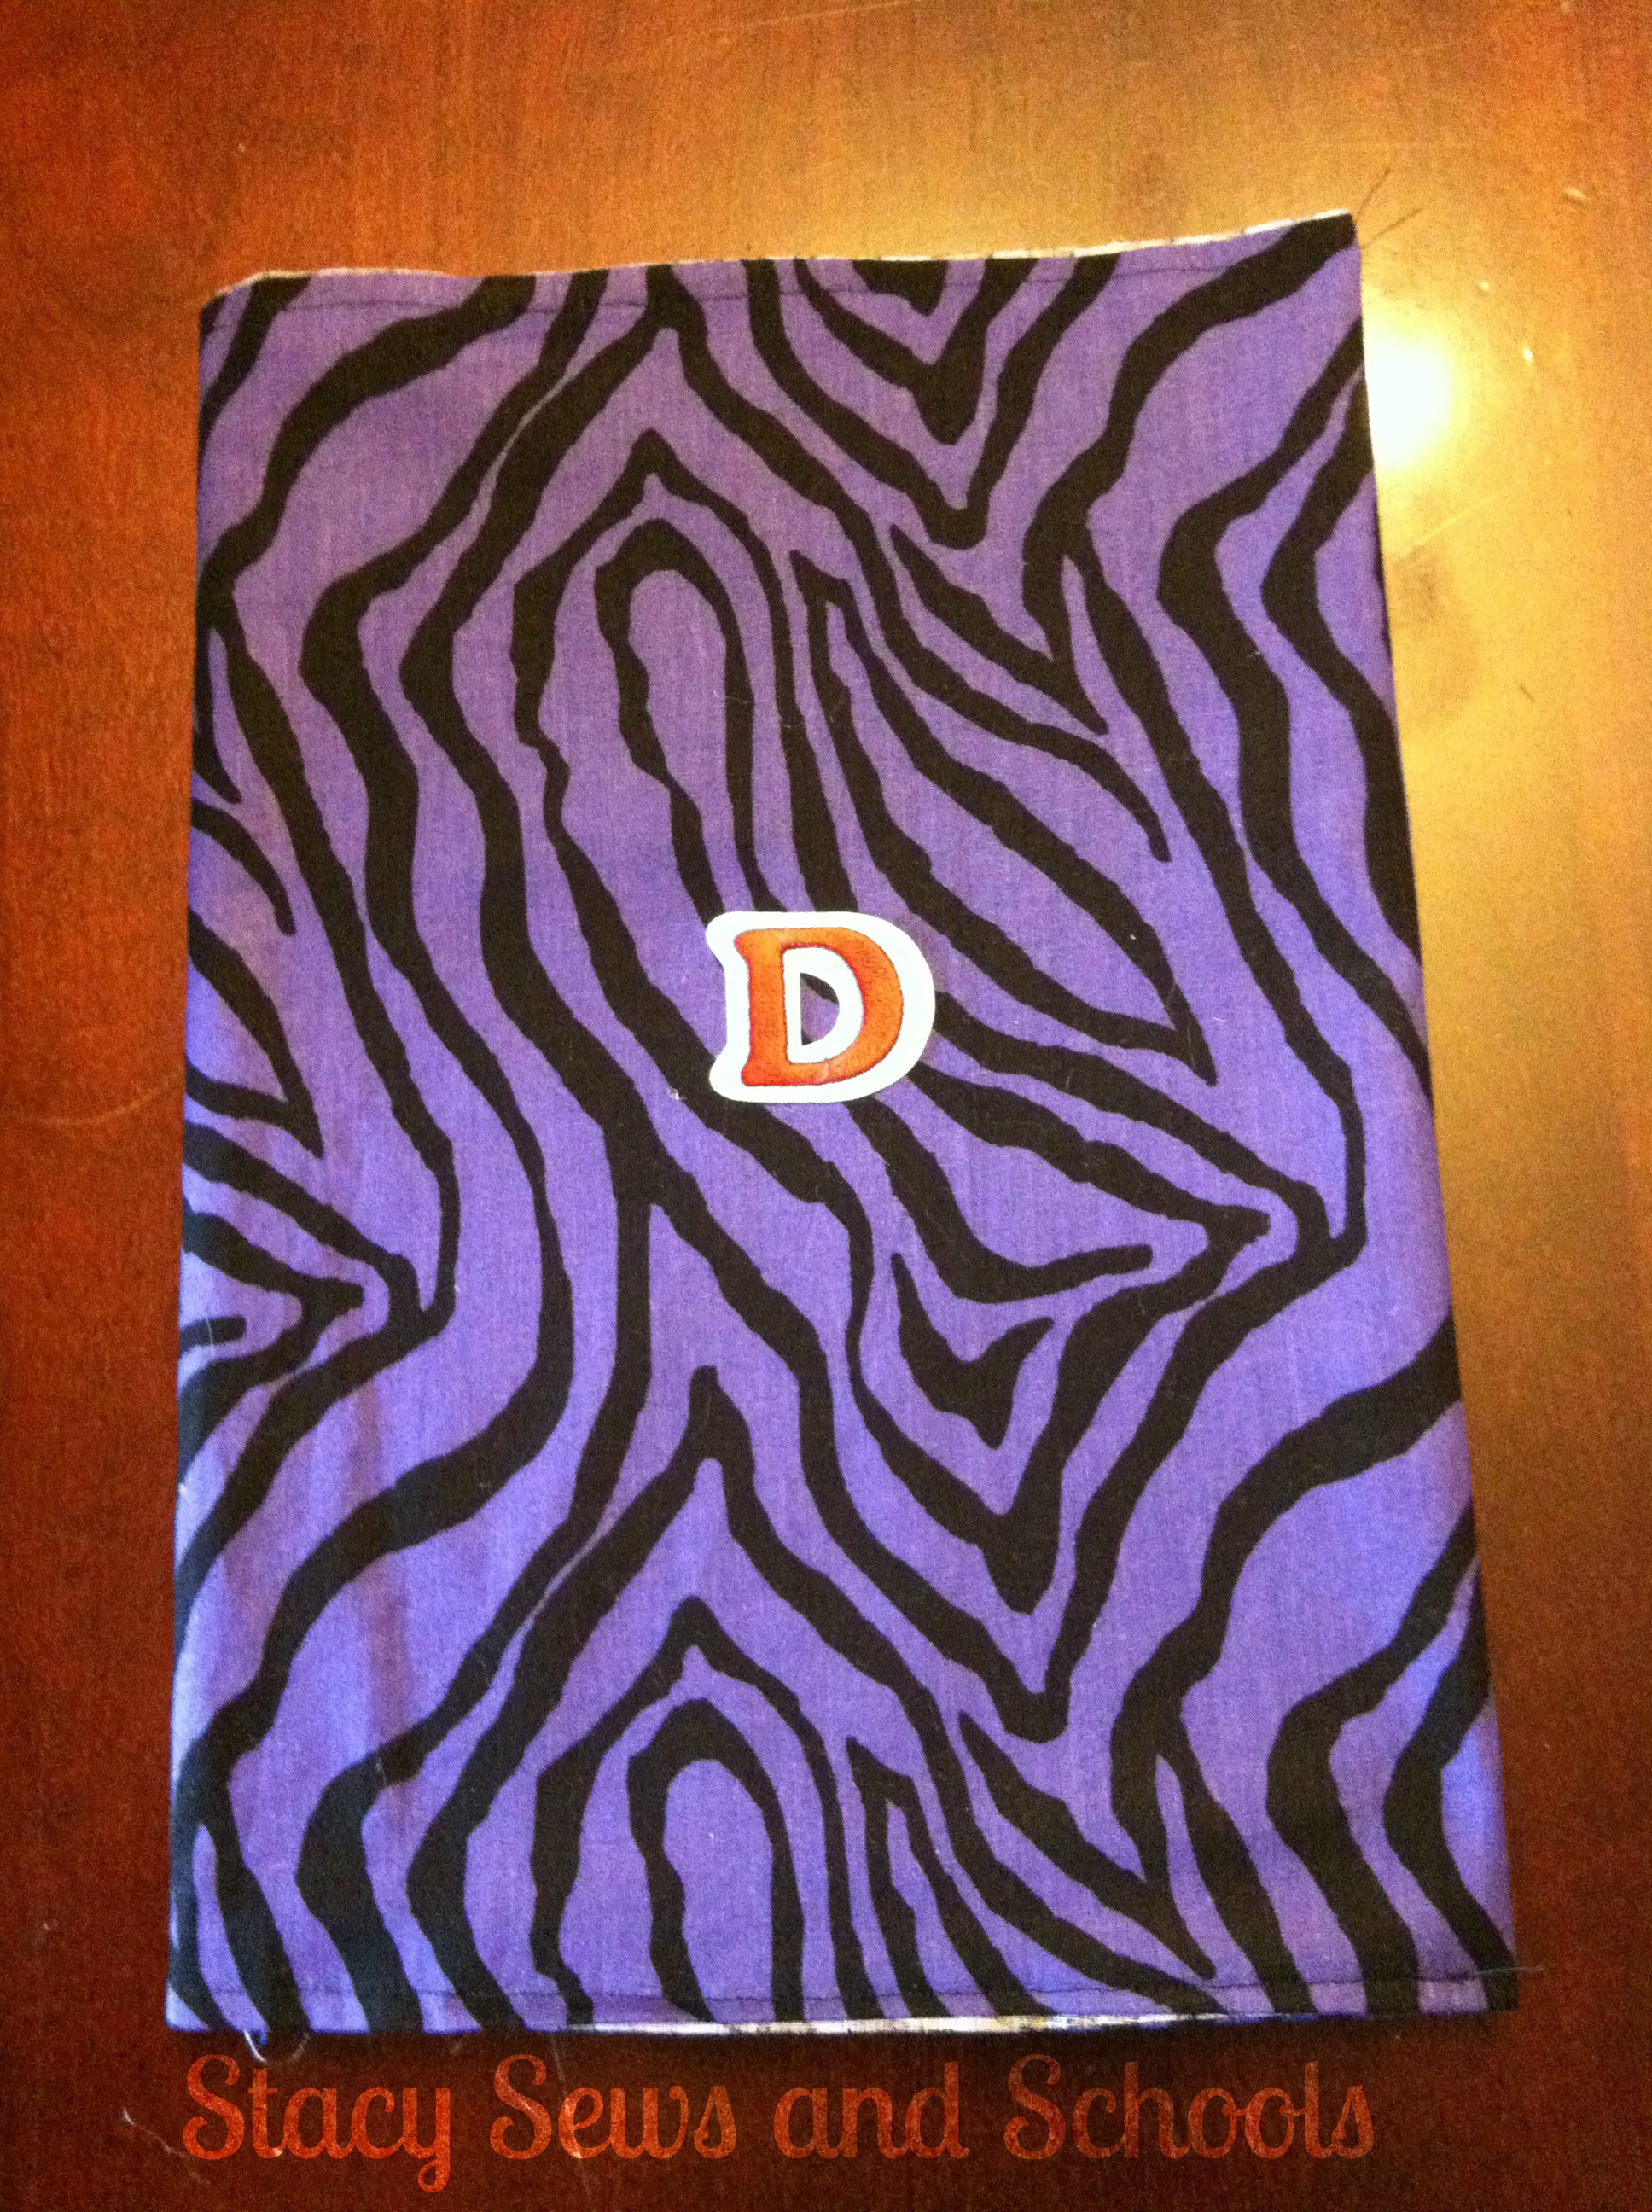
This is one of the sewing covers. I did it just like the book covers I did last year. Then I hot glued a big D on the front for Deanna.
There you have it! Very simple ways to personalize the very cheap notebooks! LOL The kids LOVE them!!!!
I have a couple of projects in mind. Hopefully I will soon be showing you a no sew box cover. FINGERS CROSSED!!! ;)
HAVE FUN CRAFTING, SEWING and SCHOOLING!
December 20, 2012
Sew or No Sew Stockings
Christmas is in a few days... HELP!!!!!! If you are looking for a last minute idea, here you go! These are super fast and super easy. I did 4 of them in an afternoon.
You can sew them or glue them or both. I did both.
What I used to make 4 -
1 1/4 yards of burlap
2 different spools of red, wire ribbon
1 partial spool of shiny, red rickrack
1 spool of gold cording
2 plastic snowflake ornaments
1 tiny bottle of Tulip Puffy Paint
hot glue gun
First I drew out a pattern. You can trace an existing stocking or free hand it.
Yes, I know this looks NOTHING like the stockings I made... I'll get to that. ;)
Place your pattern on the burlap, making sure the burlap is folded so you cut the front and back at the same time.
Yes, still looks different. I'm getting there. LOL
Sew or glue the front to the back.
Then hack off the curly toes when you realize that burlap is just too thick to turn right side out with that narrow of a space.... LOL
Now, that being said.... If you want to leave the stockings inside out, it DOES look really cute. The curly toes don't show up as well as expected but still very cute.
Too bad I didn't think about that BEFORE I got frustrated and hacked them off.....
Now, turn right side out and press. Use a cool iron if you've used hot glue. Or leave it inside out. ;)
Turn the top in about 1/2 inch and press. Again, using a cool iron if you've used hot glue.
Now, cut a small piece of the rickrack and pin in place OR hot glue in place.
Then either sew the top under and the rickrack in place or glue the top under.
This one I did with the sewing machine. The other 3 I just glued. Either way works just as well as the other.
Cut your ribbons to make as big a bow as you like. Cut a smaller piece, about 3 ", to use for the middle. Wrap it around the center of your bow and glue or sew it in place.
Glue or sew your bow in place. Then adjust the ribbons. ;)
Measure out the rickrack to go around the toes, cut and glue in place.
Now do the same for the heel!
Then write the name with the puffy paint!
It takes about 4 hrs for the paint to dry so I would suggest putting it up somewhere that the cats can't get to...... ;)
This is the first one I did.
Colin informed me that boys don't like big, red bows so I went with little gold bows and snowflakes for theirs. ;)
I hope you like the tutorial! Please let me know if you have any questions. You can leave a comment or use the Contact Me button at the top to email me! :)
Subscribe to:
Posts (Atom)