There it is, people, and it is NOT pretty. SIGH.... What a mess!!!! I am very disappointed in myself. This is SO NOT what I had in my head.
BUT, I will take this as a learning experience. LOL Now I know what NOT to do.
Cailey is happy, though. Really, that's what matters most.
Let me break it down for you.
The bodice. SIGH... And that's the 2nd try.
I embroidered the designs on the front. I do NOT have an embroidery machine but I do have a zigzag stitch. SO NOT THE SAME!!! LOL
Then there's the point that will not lie flat. Possibly it's the gold lame fabric to blame...
But that SKIRT!! Oh, my. What an epic fail!
I appliqued the flowers and the blue at the bottom. It's so sloppy and of course the shiny taffeta shows every little pucker.
So, what would I do differently??
One - I would buy the spray adhesive if I ever decide to applique slippery pieces to slippery pieces, again.
or
Two - I would use Paint and create iron-ons. LOL THAT seems like the best idea right there! WHY didn't I think of that sooner??? Too bad I'm out of fabric or I might give it a try.
Thankfully the cape turned out well and it hides most of the awful dress.
Have YOU ever had an epic FAIL???
On another note.....
I am a little behind on my posts. I've been dealing with a nasty toothache and abscess for a couple of weeks. I finally dragged myself to the doc. Then I proceeded to have an adverse reaction to the antibiotic. I ended up in the ER with massively swollen feet and ankles. I was told to put my feet up, get plenty of rest and drink lots of fluids. HA HA HA HA!! That hasn't happened. But I am feeling better! The swelling has gone down some and the pain is manageable again. Hopefully it is all gone by tomorrow night! I have to take Cailey and Colin around the neighborhood for to trick or treat!!
ANYWAY, this has put me way behind on my Halloween sewing and baking. Deanna still wants a high-low skirt and Mad Hatter's hat (fingers crossed that I can pull this off in a DAY). And I still need to make zombie cookies, a skull cake, and spider cupcakes. HELP!!!!!!
Remind me to start early next year... Like maybe JULY!!!! LOL
HAPPY HALLOWEEN!!!!
Welcome to another edition of Blog with Friends!
We have some GREAT stuff for you this month! Tons of Halloween goodness!

For my part, I am going to show you how to make a super easy, super warm Anna cape. You still have plenty of time to whip this up. (It would also make a great present.)
WHAT I USED
About 5 yards of fleece
4 yards of trim
1 frog enclosure
Small piece of black fleece
STEP 1
I used my go to pattern piece (made from one of Cailey's shirts) to cut the back of the cape.
I just sort of free handed the shape towards the bottom. It goes out and the bottom has a slight curve to it.
I added 27" to the pattern for the length.
Cut 1 on the fold.
STEP 2
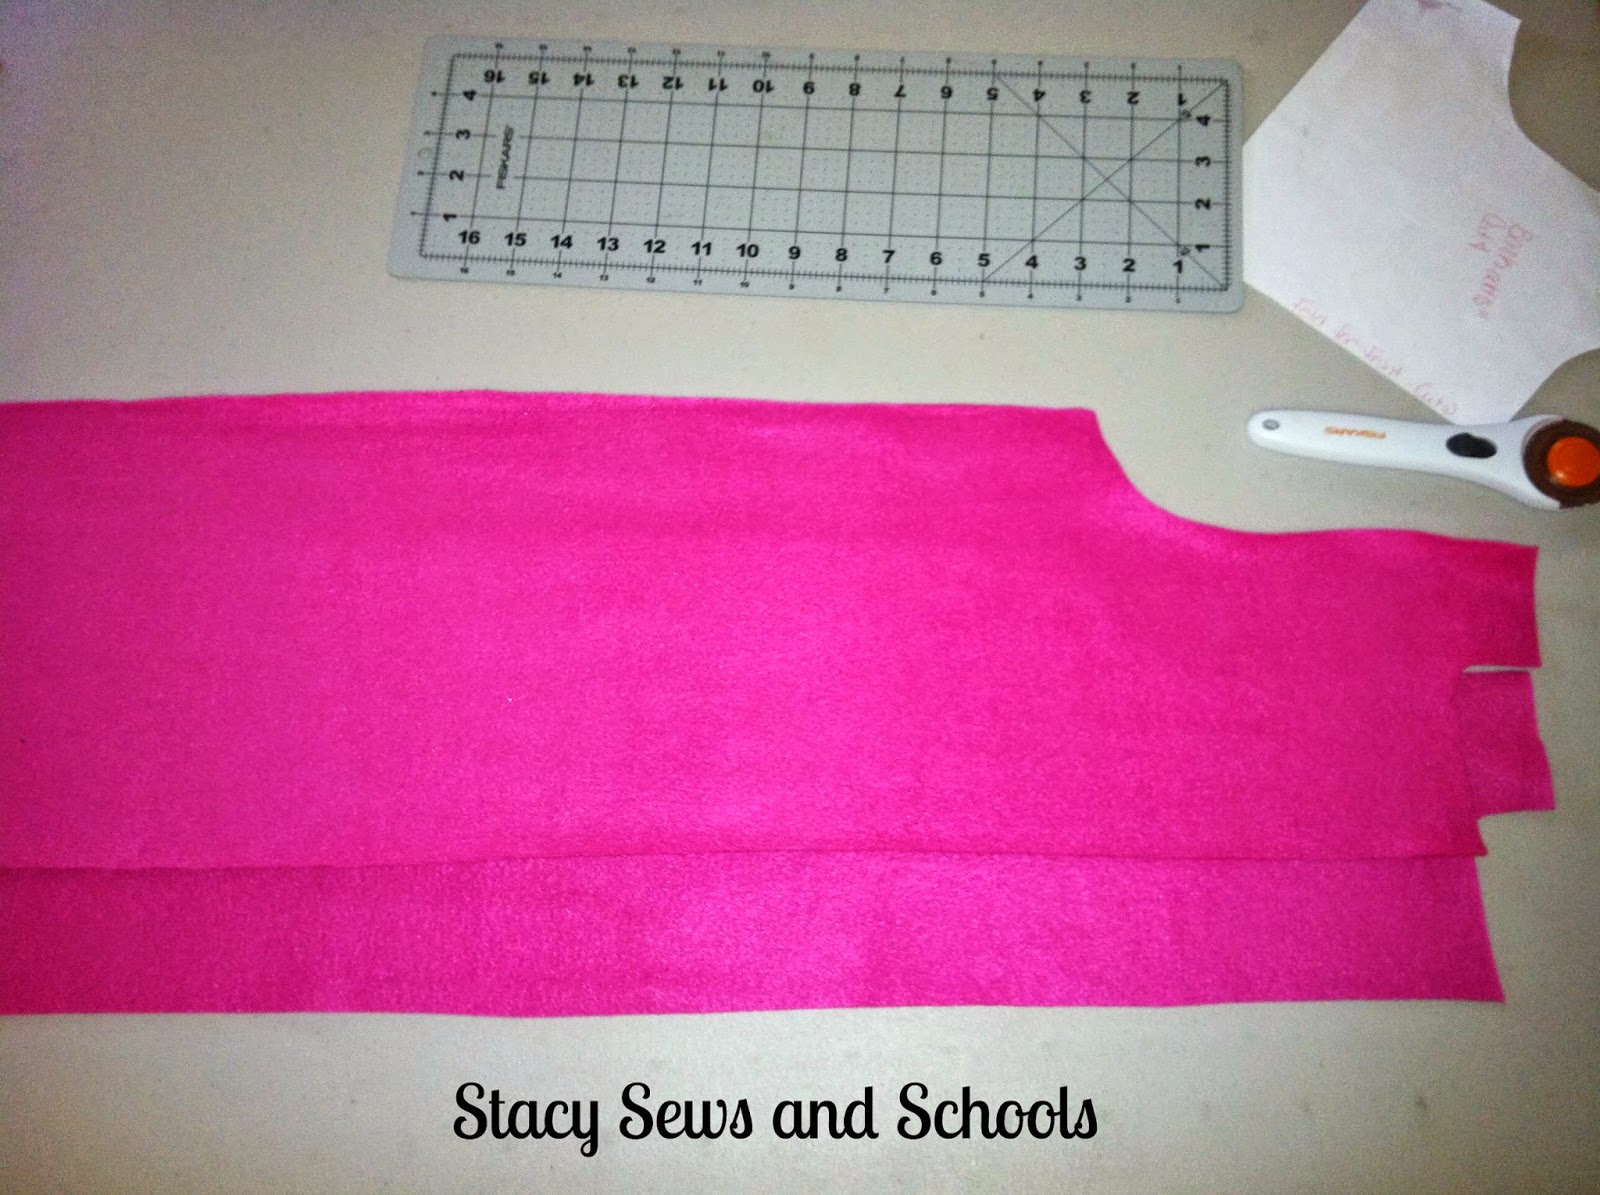
I cut 2 pieces for the front.
This picture shows the curve of the front pieces.
STEP 3
This is where you'll cut a circle for the top of the cape. I was scared of this at first but it was actually very easy!!
Fold the remaining fleece into fourths.
STEP 4
Measure from your child's neck to where you want this part to fall. For Cailey it was 17".
Place your measuring tape about a 2" from the corner and start marking a curve 17" down.
Cut a curve at the top and cut the big curve at the bottom.
STEP 5
Open it up and cut straight down the middle to the neck.
STEP 6
Pin the shoulders and sides together and sew the seams.
STEP 7
Now, the neck line was very large but that's good! I made a big pleat in the back and top stitched it down.
Why was that good? It gives the back a lot of volume while pulling the front and giving it even more of a curve.
STEP 8
Lay the circle part on top of the main cape, wrong side to right side. Pin it in place and sew them together.
STEP 9
I forgot to take pictures of how I cut the collar.
I cut 2 pink pieces and one smaller black piece.
Sew the pink pieces together and turn right side out.
Top stitch the black piece in place.
Cailey's collar was about 17" long and 3" wide.
STEP 10
Now, pin the collar to the cape, right sides together.
Sew in place.
This is how it looks when you're done.
You can always go back and stitch in the ditch if you like.
STEP 11
Next, I pinned the trim to the right side of the top of the cape, just along the curve. You can go all the way up the sides to the neck if you like, I just didn't buy enough trim. LOL I never would have thought that i would need more than 4 yards!!!!
STEP 12
Remove the cat from your work area and sew the trim in place!!
ARGH!!!!!
STEP 13
Pin the frog in place and sew the loops down with a zigzag stitch.
YOU'RE ALL DONE!!!
Well, you can go back and hem the cape if you'd like but fleece won't fray. ;)
Cailey absolutely loves it and asked if she could wear it all the time once Halloween is over. LOL
NOW! It's time to check out all the Halloween awesomeness from my friends! ;)

I LOVE THESE SOOOOOOO MUCH!!!!! They are Bloody Buddies from Karen at Baking in a Tornado. So stinkin' cute!!!!

Check out this gorgeous Nevermore Wreath from Someone Else's Genius. LOVE IT!!!!

This is the cutest thing!! A Halloween Gate from Shellybean at Follow Me Home.
I need to make this for my mantle!

Lydia at Cluttered Genius shows us how to decorate on the cheap!! I am allll for that!!! ;)

Melissa from Home on Deranged will show you how to have a VERY fun, Not So Spooky Halloween!! FUN!!
HAPPY HALLOWEEN!!!!!!