Showing posts with label backpack. Show all posts

June 2, 2013

And Even MORE Sewing......


SHEW!! I have been in a sewing marathon!! LOL

This is the bag I made yesterday -
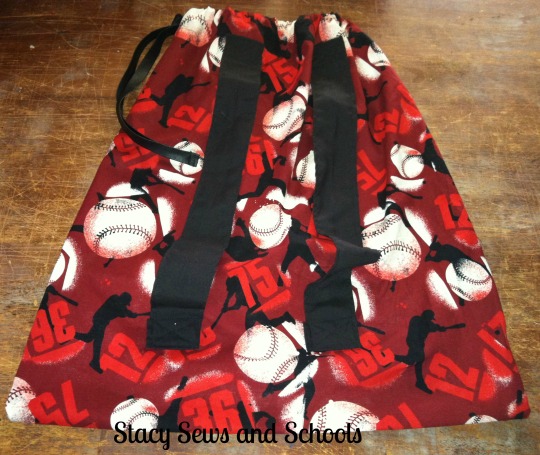
Sewing to Rebuild 1008


And here is what I made to go in it -


Sewing to Rebuild 2004


Since I don't have any size 4 little boys I used Squiggly Twigs Designs' Quick Pants pattern.  (I just LOVE seeing Cailey at the top of that page! LOL)


I also made a football from this tutorial -
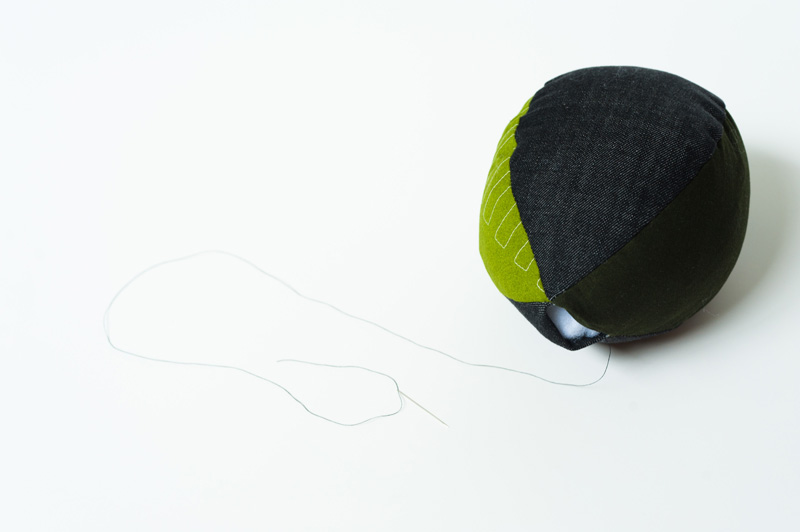


DIY Fabric Football from Made by Joel


Here is mine -
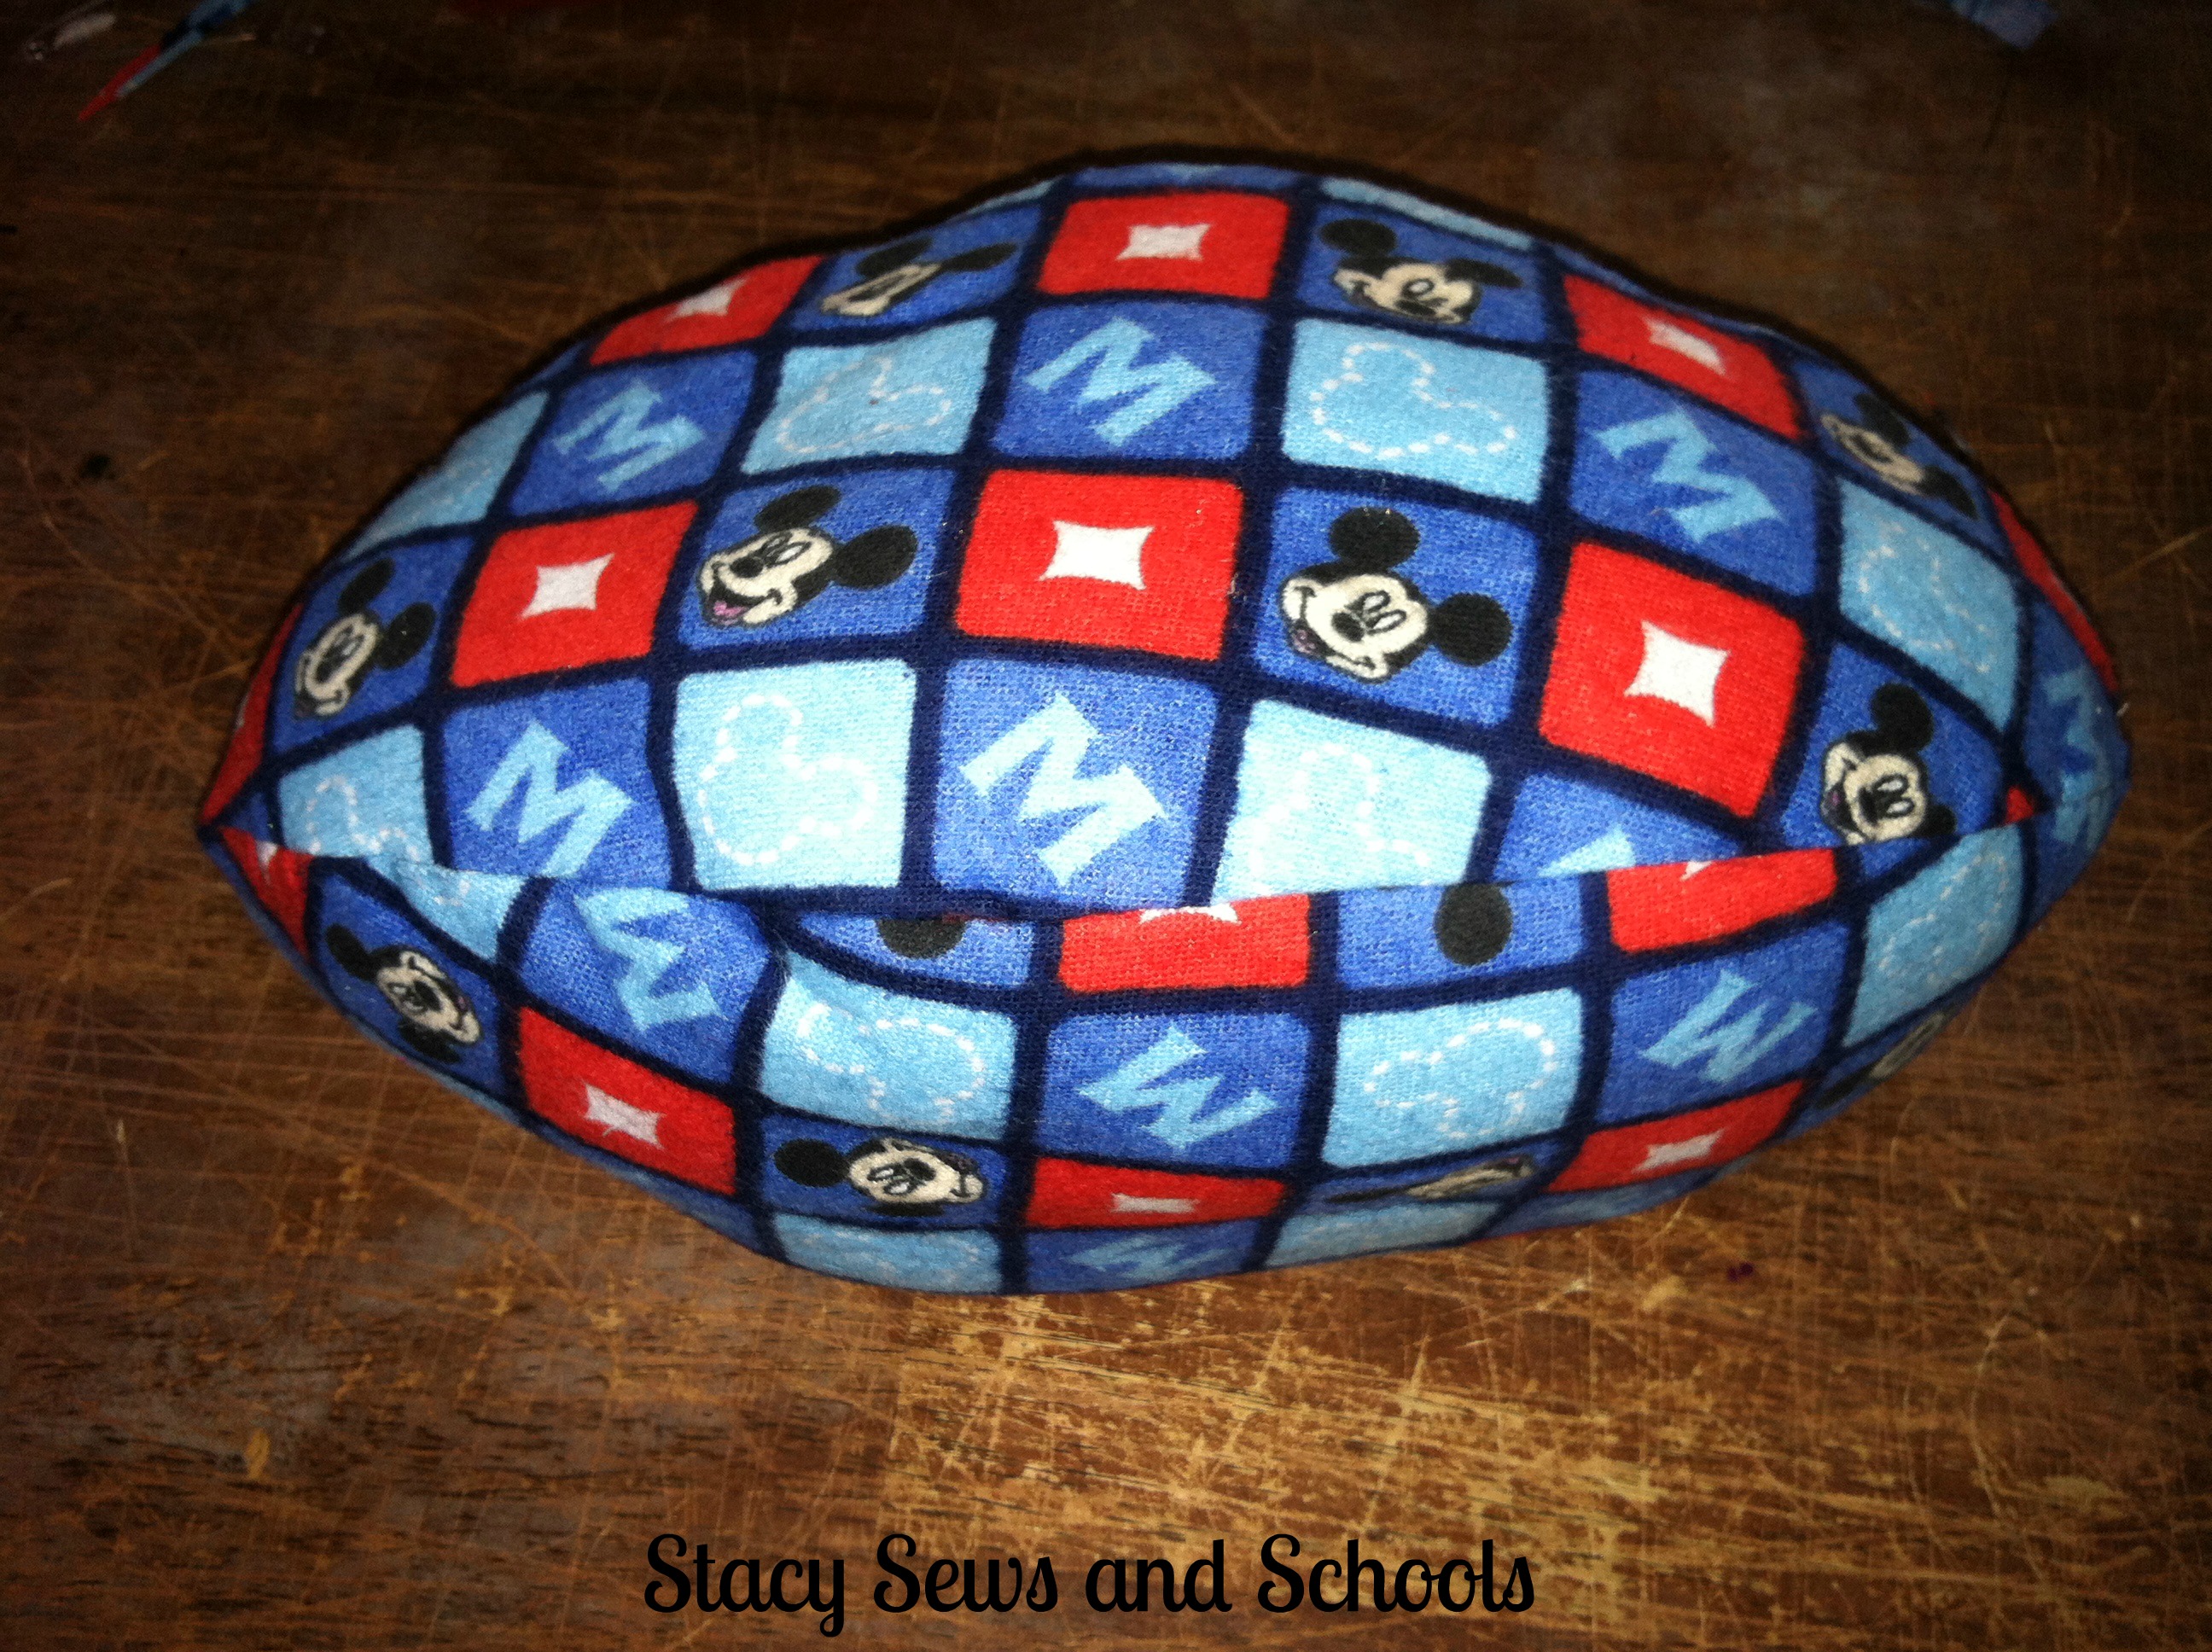
Sewing to Rebuild 2006


YAY!!!! I have now made 2 toys!!! YIPPEEE!! I can't tell you what an accomplishment that is for me!! :D I was so scared to try toys!!! Now, that football isn't the best in the world but I am still proud of it and I hope the little boy that gets it will love it.

I think I may try my hand at a doll for Cailey at Christmas. Maybe.... They still scare me a little... LOL


Now, on to the next bag, toy and clothes!!! Hmmm... I wonder what I should pick next.....


HAVE FUN SEWING!!!!!


June 25, 2012

Drawstring Backpack Tutorial AKA The D Bag


D asked me to make her a drawstring backpack. She hardly ever asks me to make her ANYTHING so I jumped right on it. LOL

You will need -

1/2 yard of main fabric

1/2 yard of contrast

ribbon, rick rack, something for the drawstring ;)


Step 1 - Measure how long you will need your straps to be. Fold fabric over to where you have 4" below the fold. Cut 2.


Step 2 - While still folded in half with right sides together, press, pin and sew.  Do the same to other strap.


Step 3 - Press flat with seam in the middle. Fold in half again, press and pin.  Do the same to the other strap.


Step 4 - Sew 2 straight lines down the straps, one on each side.  Do the same to the other strap.


Step 5 - Pin your straps to the outside of the main bag fabric.


Step 6 - Sew the end of the strap to the bag using a finishing stitch. Do that to all 4 ends.


Step 7 - Fold the strap down and sew a square with an X to reinforce it. Do that to all 4 ends.


Step 8 - Pin and sew the 2 sides of your bag.


Step 9 -  Cut a piece of contrast 4" wide by the width of both sides of your bag.

Step 10 - Fold in half and press.


Step 11 - Fold up 1/4" of one side and press. Do that to the other side.


Step 12 - Fold in ends and press.


Step 13 - Open the casing you just made and pin to the top of your bag.

Step 14- Sew the casing to the top of your bag, leaving the ends open.


Step 15 - Grab your drawstring, if uncut DO NOT CUT! Pin one end and insert into casing.


Step 16 - Pull out a good bit of the drawstring. Cut and sew the ends together. I used a tight zig zag stitch.


Step 17 - Knot.

You're DONE!!!!


Let me know if you found this easy to follow!! And if you make one LET ME KNOW!! :)