December 11, 2012

Busy As A Bee!

I am busier than I don't know what! LOL YAY!!!

I have my 2nd paying customer! YIPPPEEEEE!!!!! My cousin has hired me to make pajama pants for her and her boys.
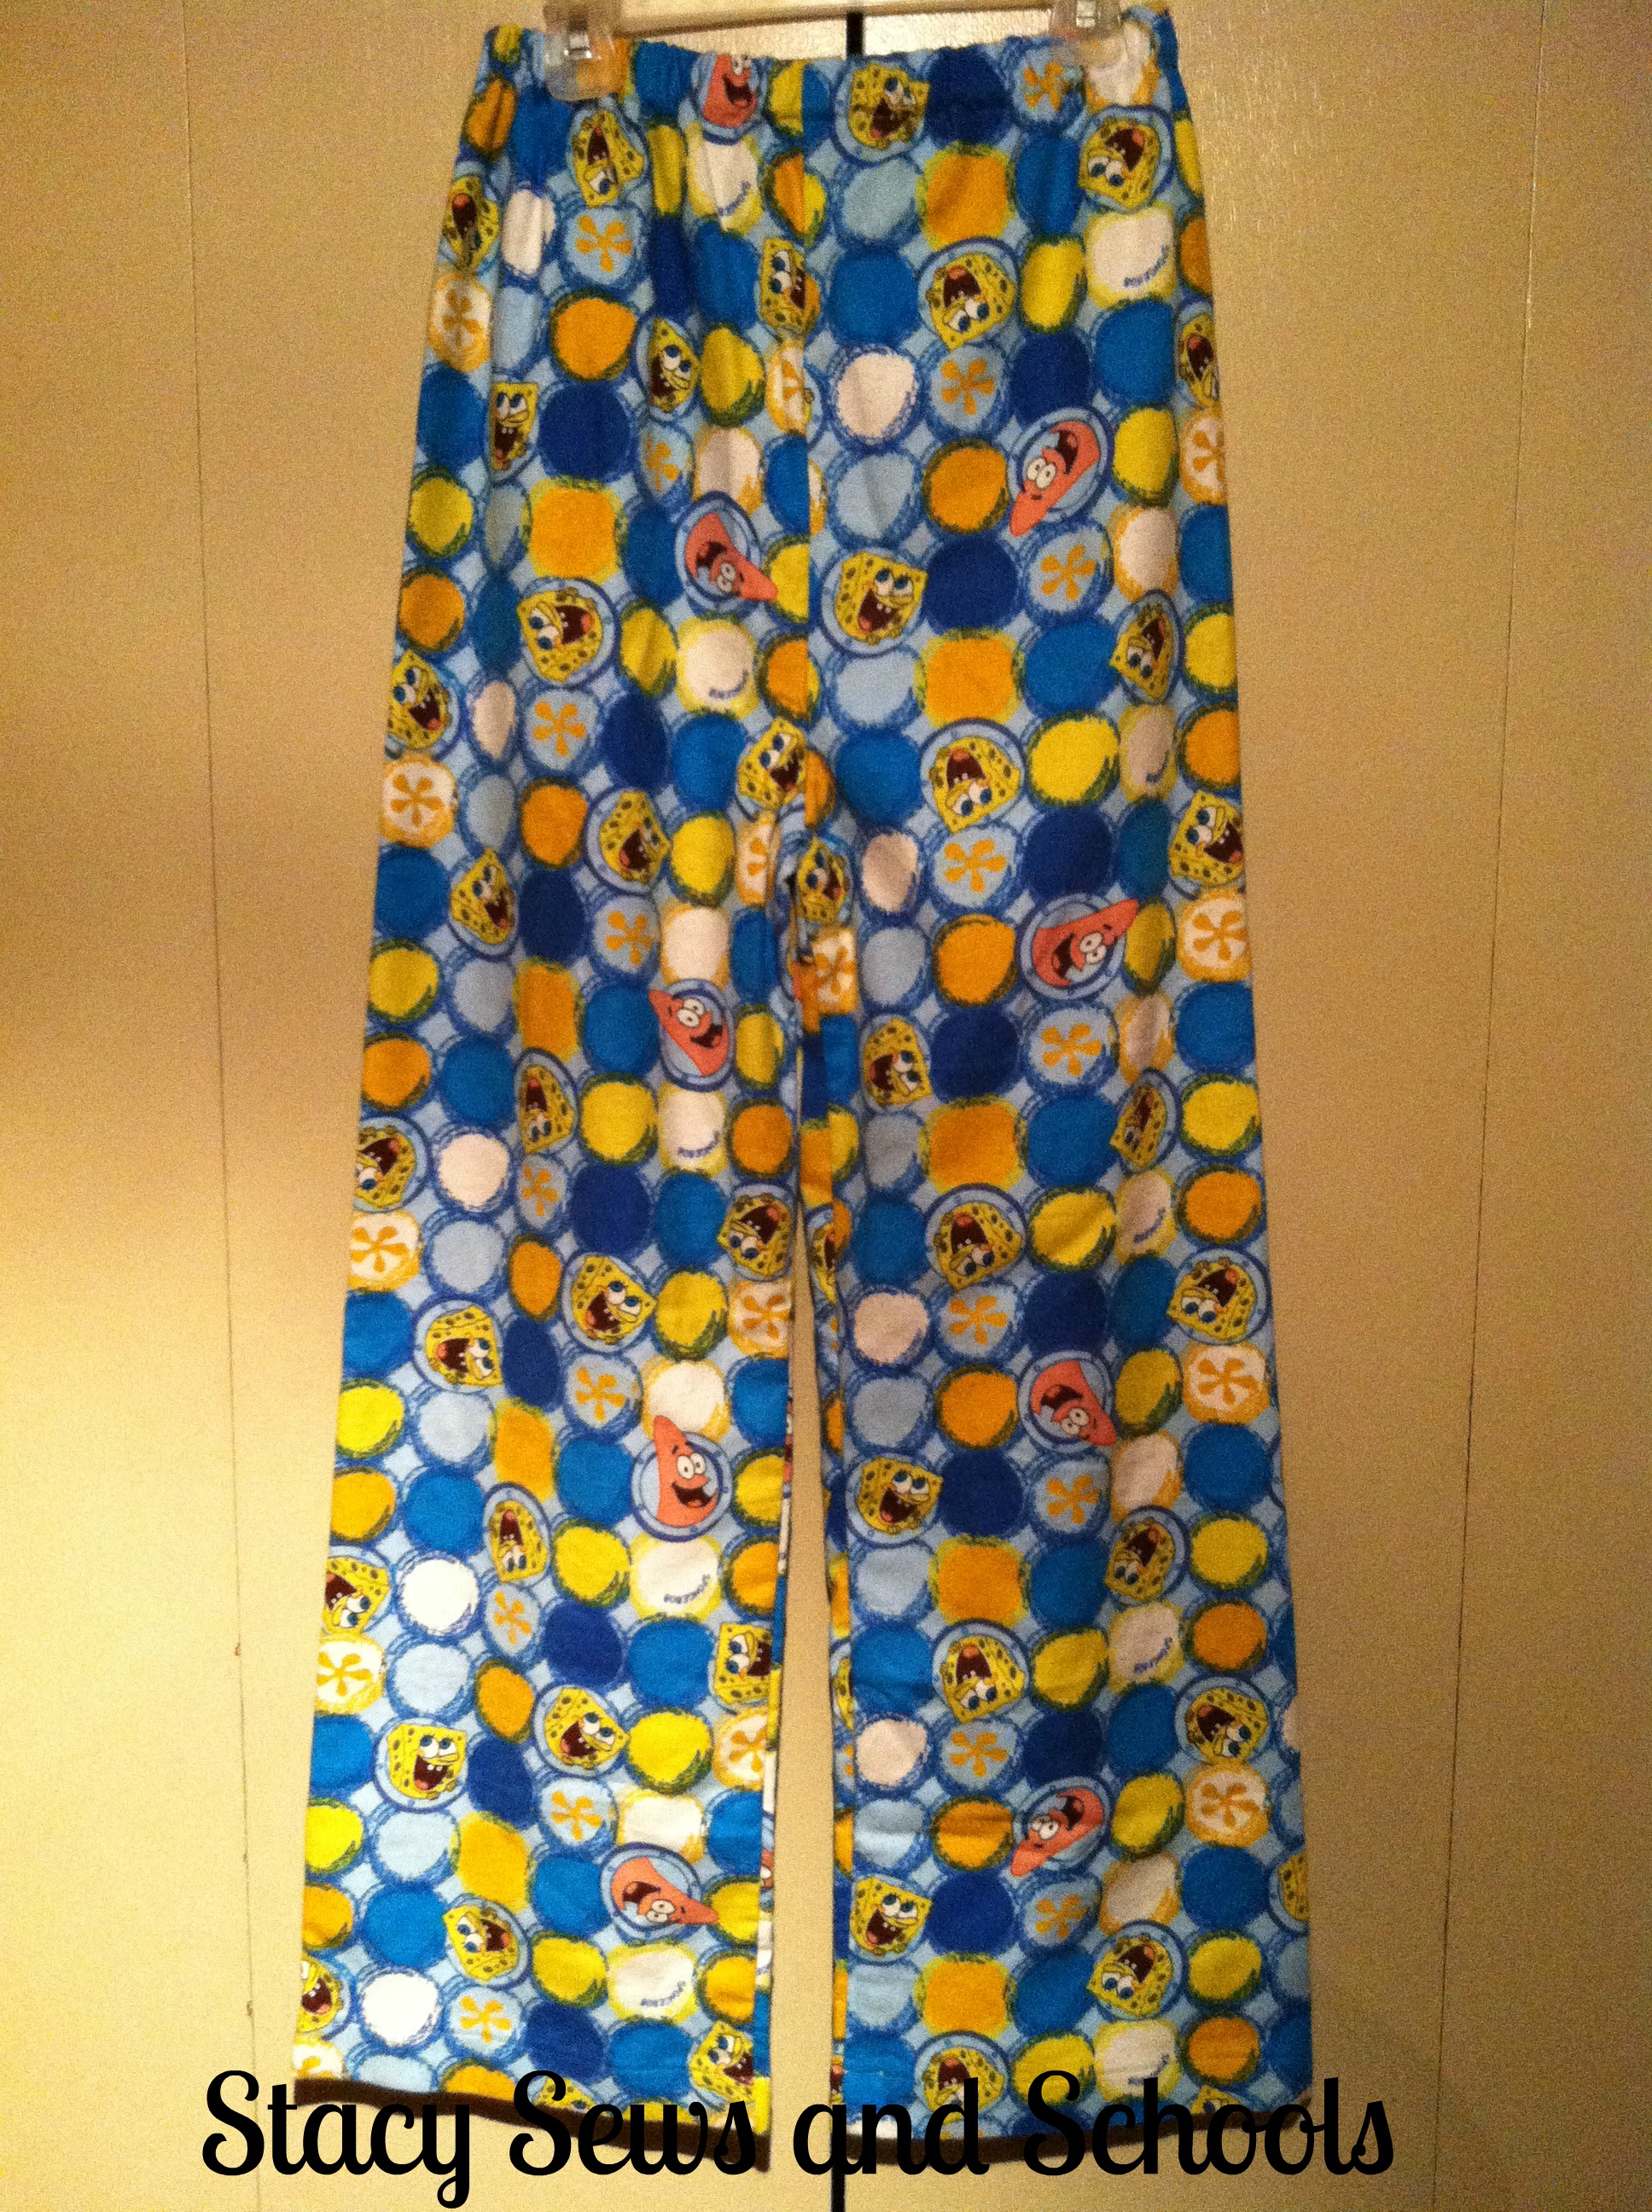


pajamas 002


Here's the first pair ready to go! :)
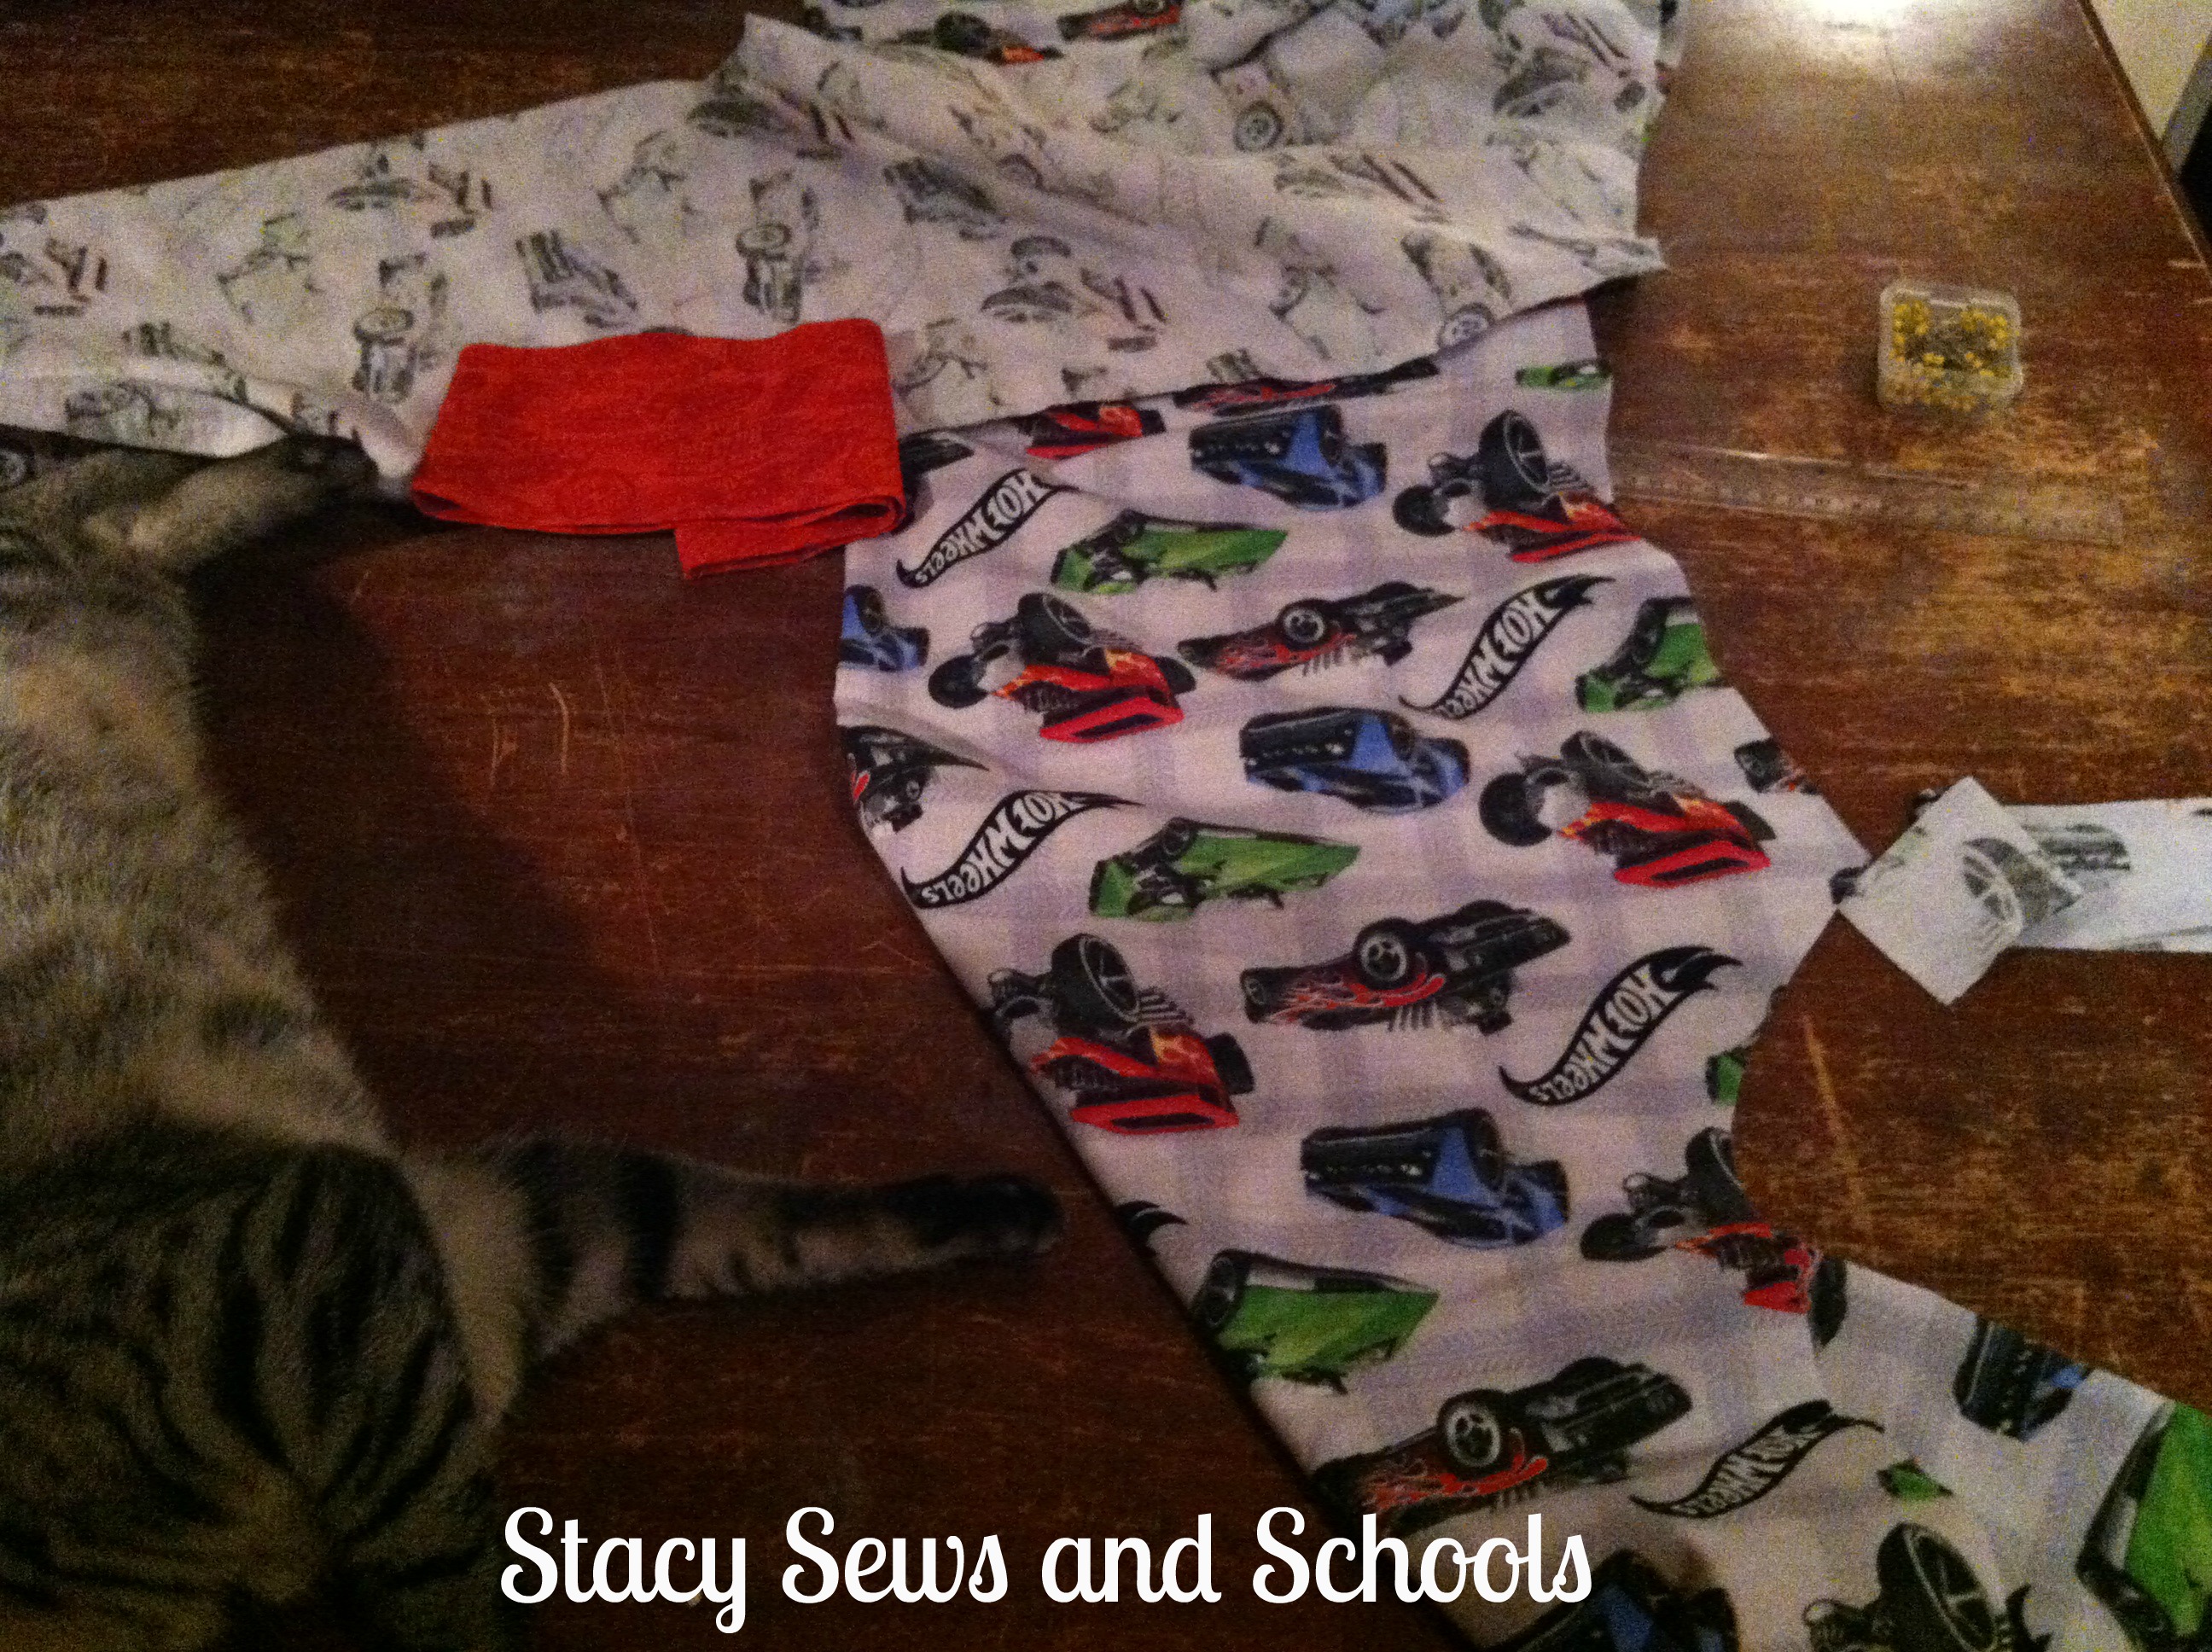


pajamas 007


Here's the 2nd pair in progress. There will be a bit of a surprise with this pair. ;) It was a one directional print soooo I wasn't able to make them as long as I would have liked (I like to make them a little big JIC). So, luckily I had some Hot Wheels fat quarters on hand and I will be adding cuffs for extra length.
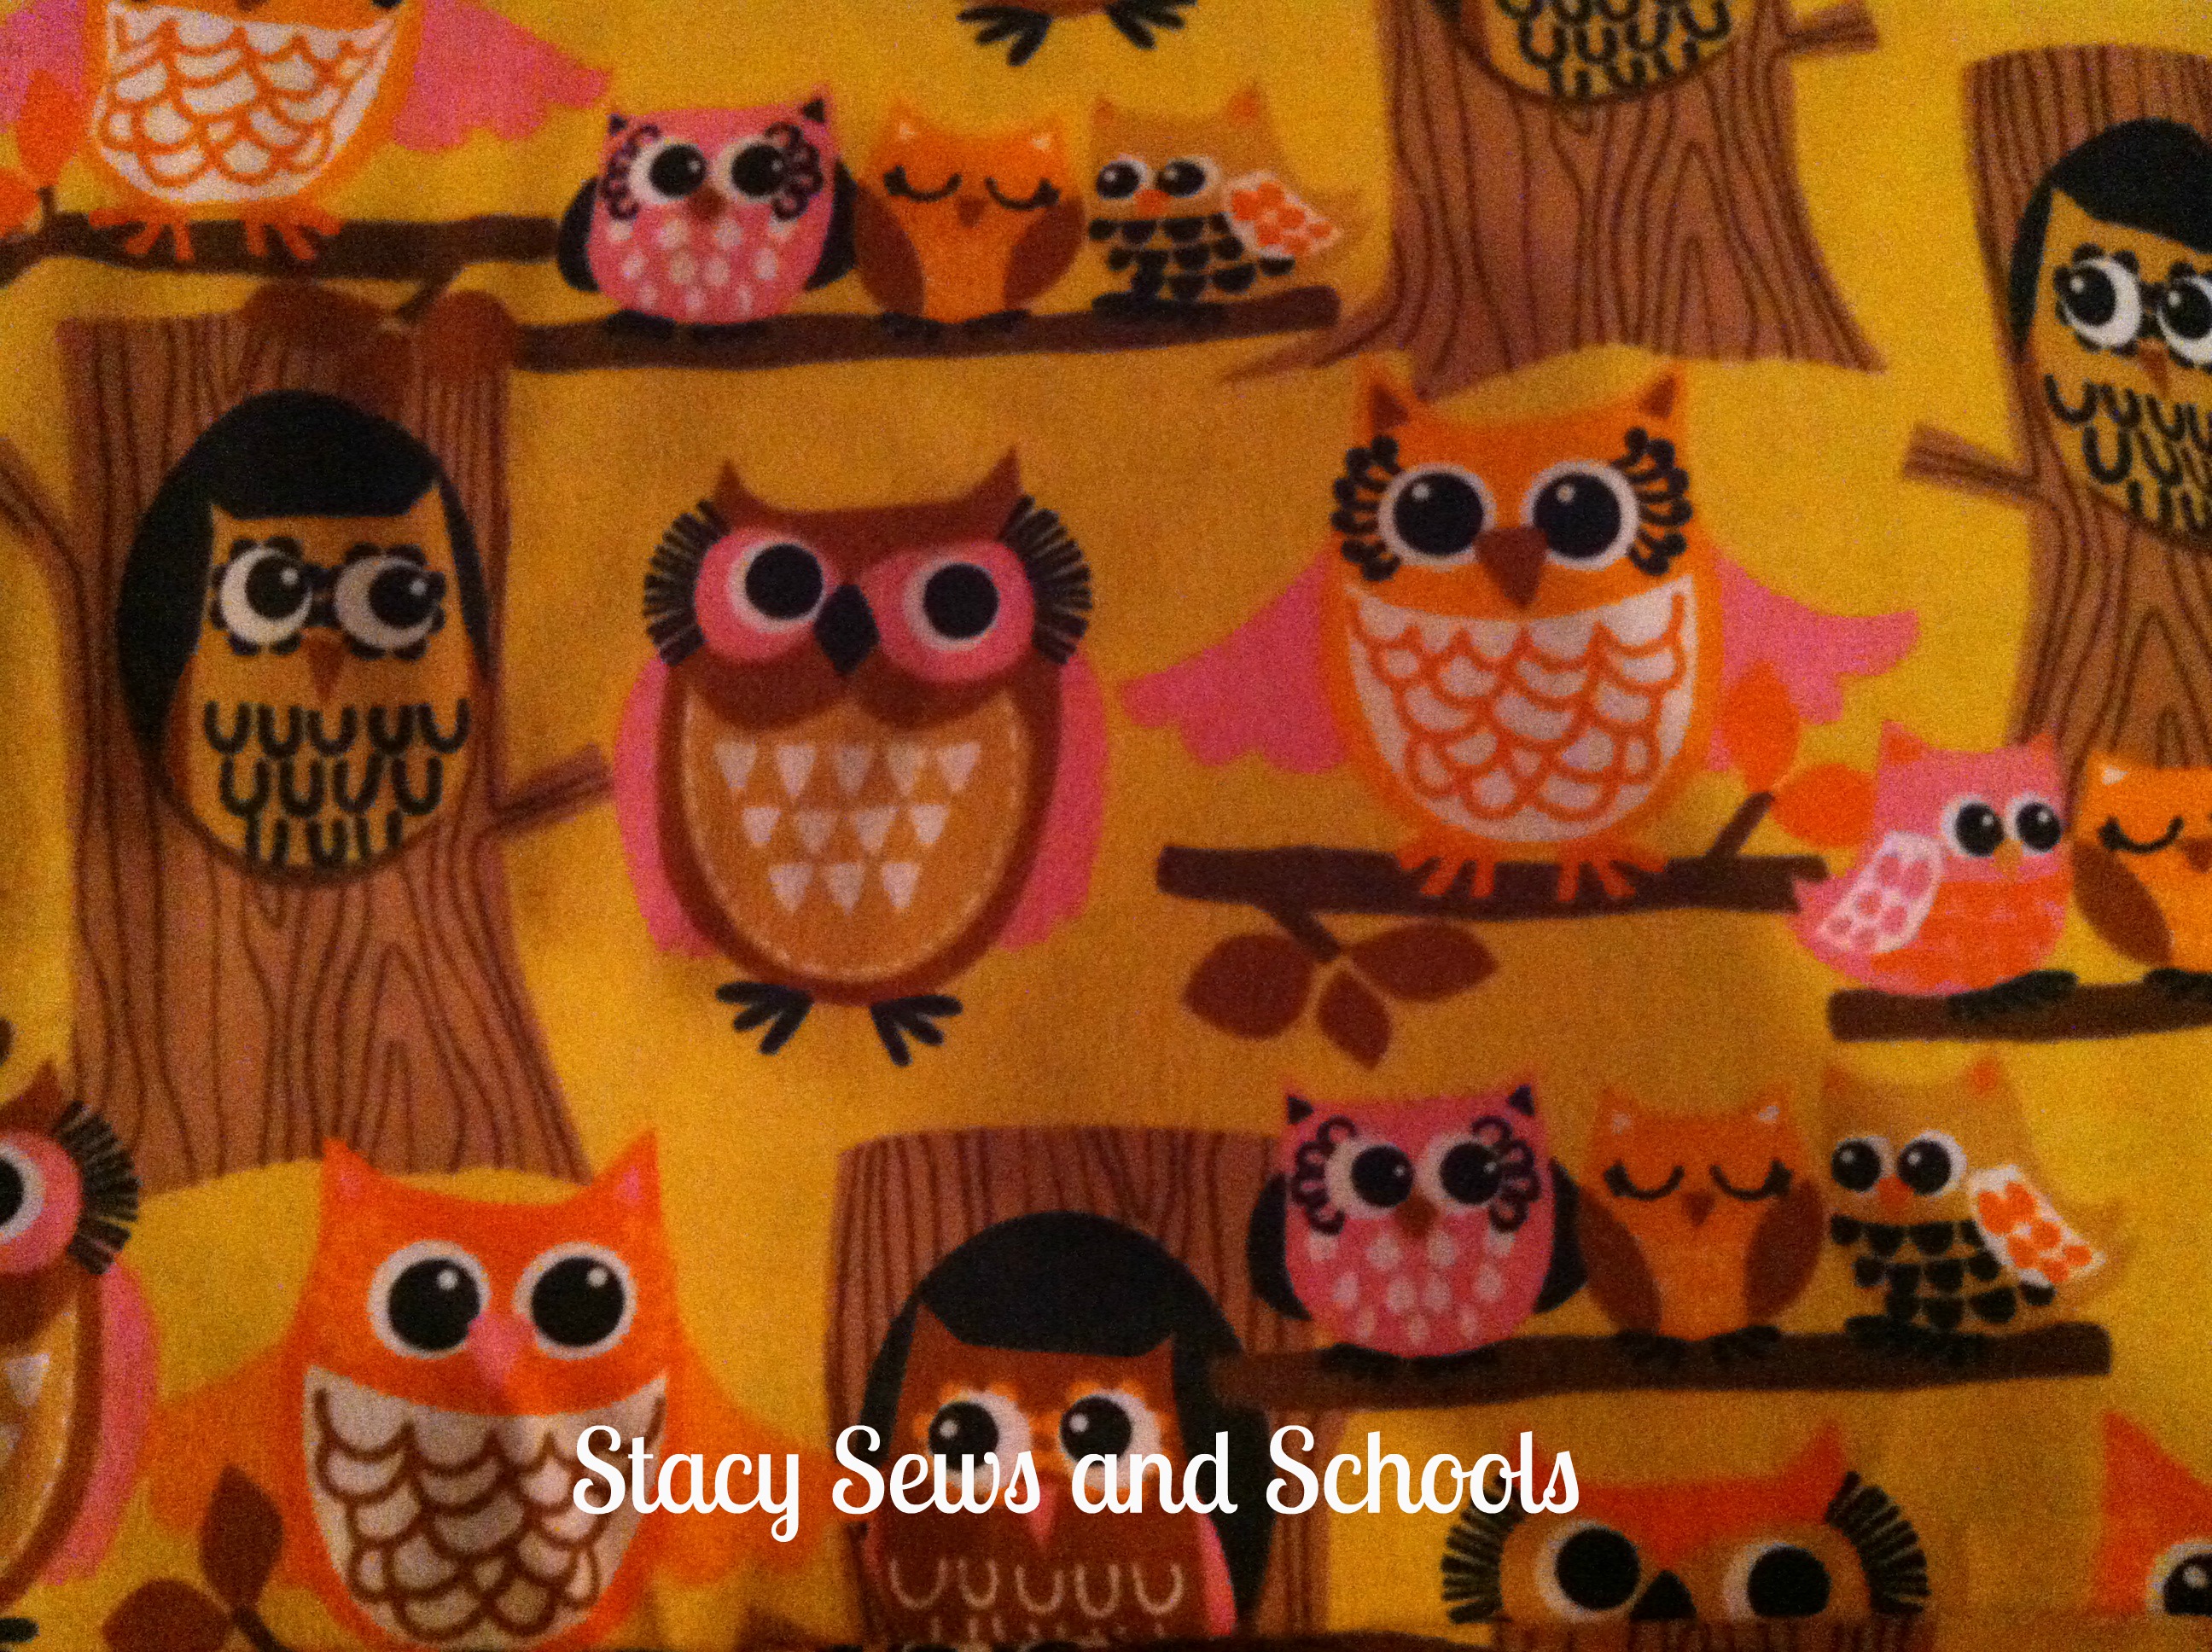


pajamas 004


Look at this GREAT flannel my cousin picked for her pj pants! LOOOOVE it!!!

There will also be a couple of surprises included but I'm not saying what. No, Amy! Not even a hint! LOL


As well as paying me for the pants she sent me this.
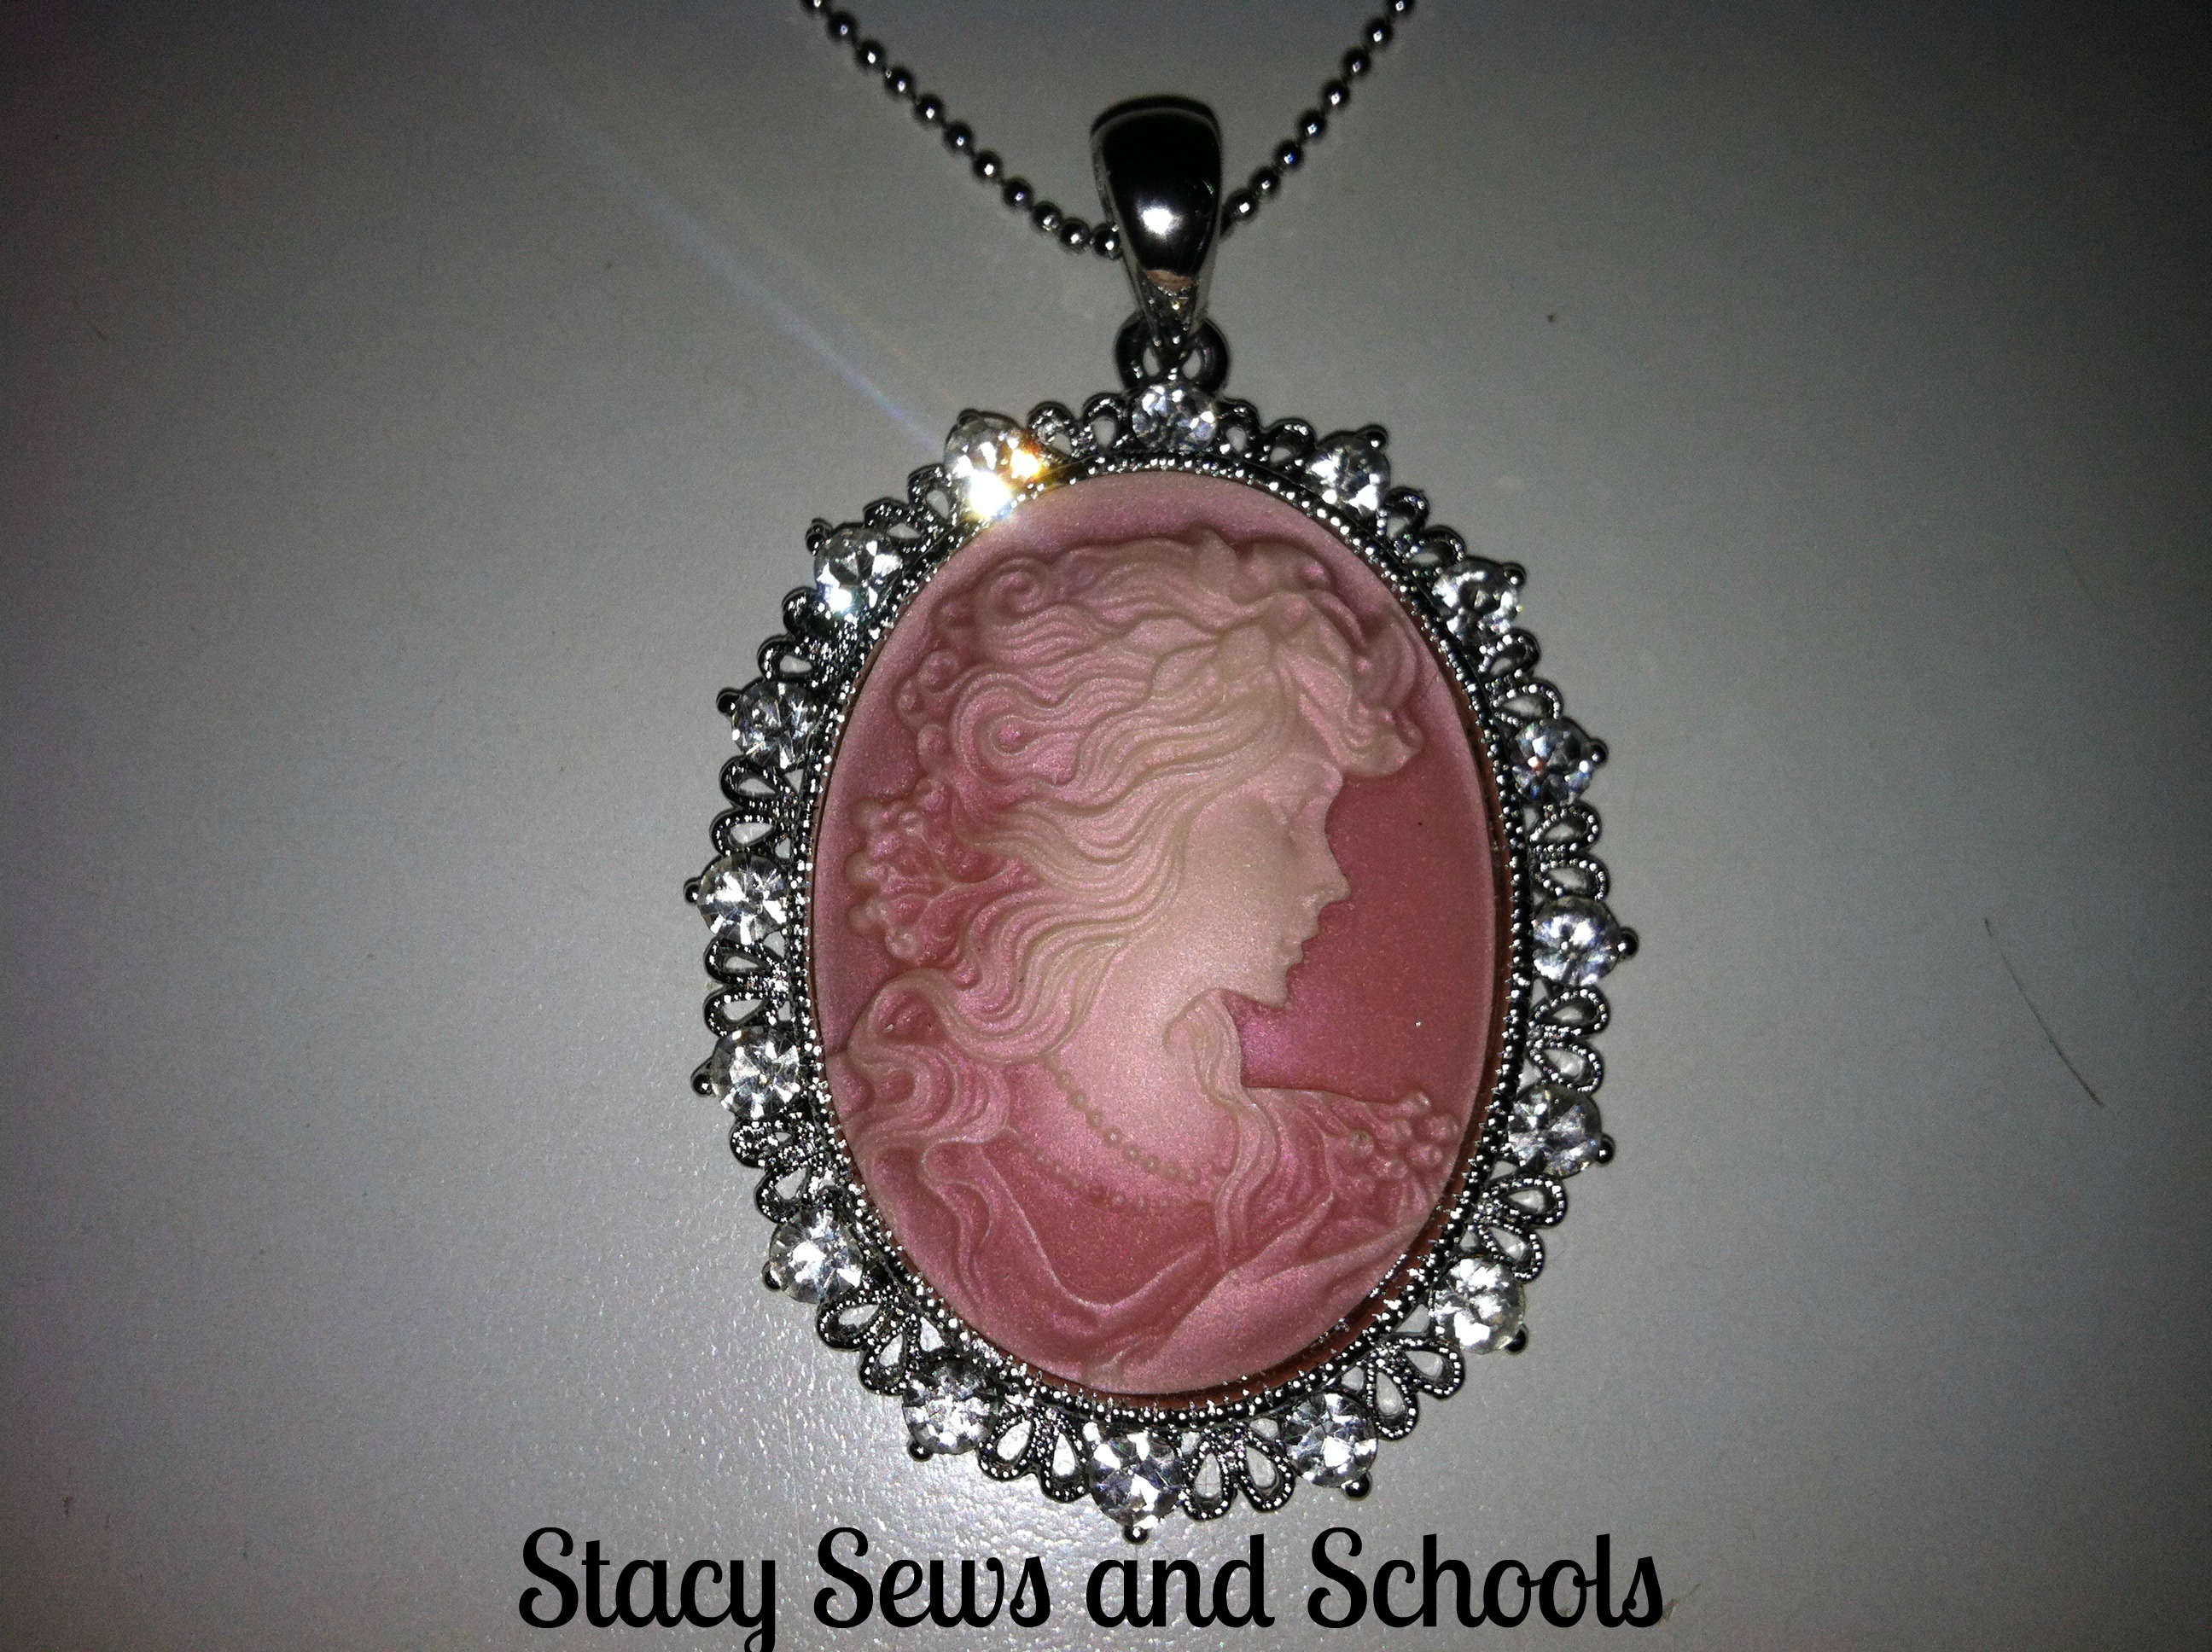


cameo 006


Isn't is GORGEOUS!!! I saw this advertised in some pics of the shop where she works and I was DROOLING!!! LOL


So, the pj pants are my current project.
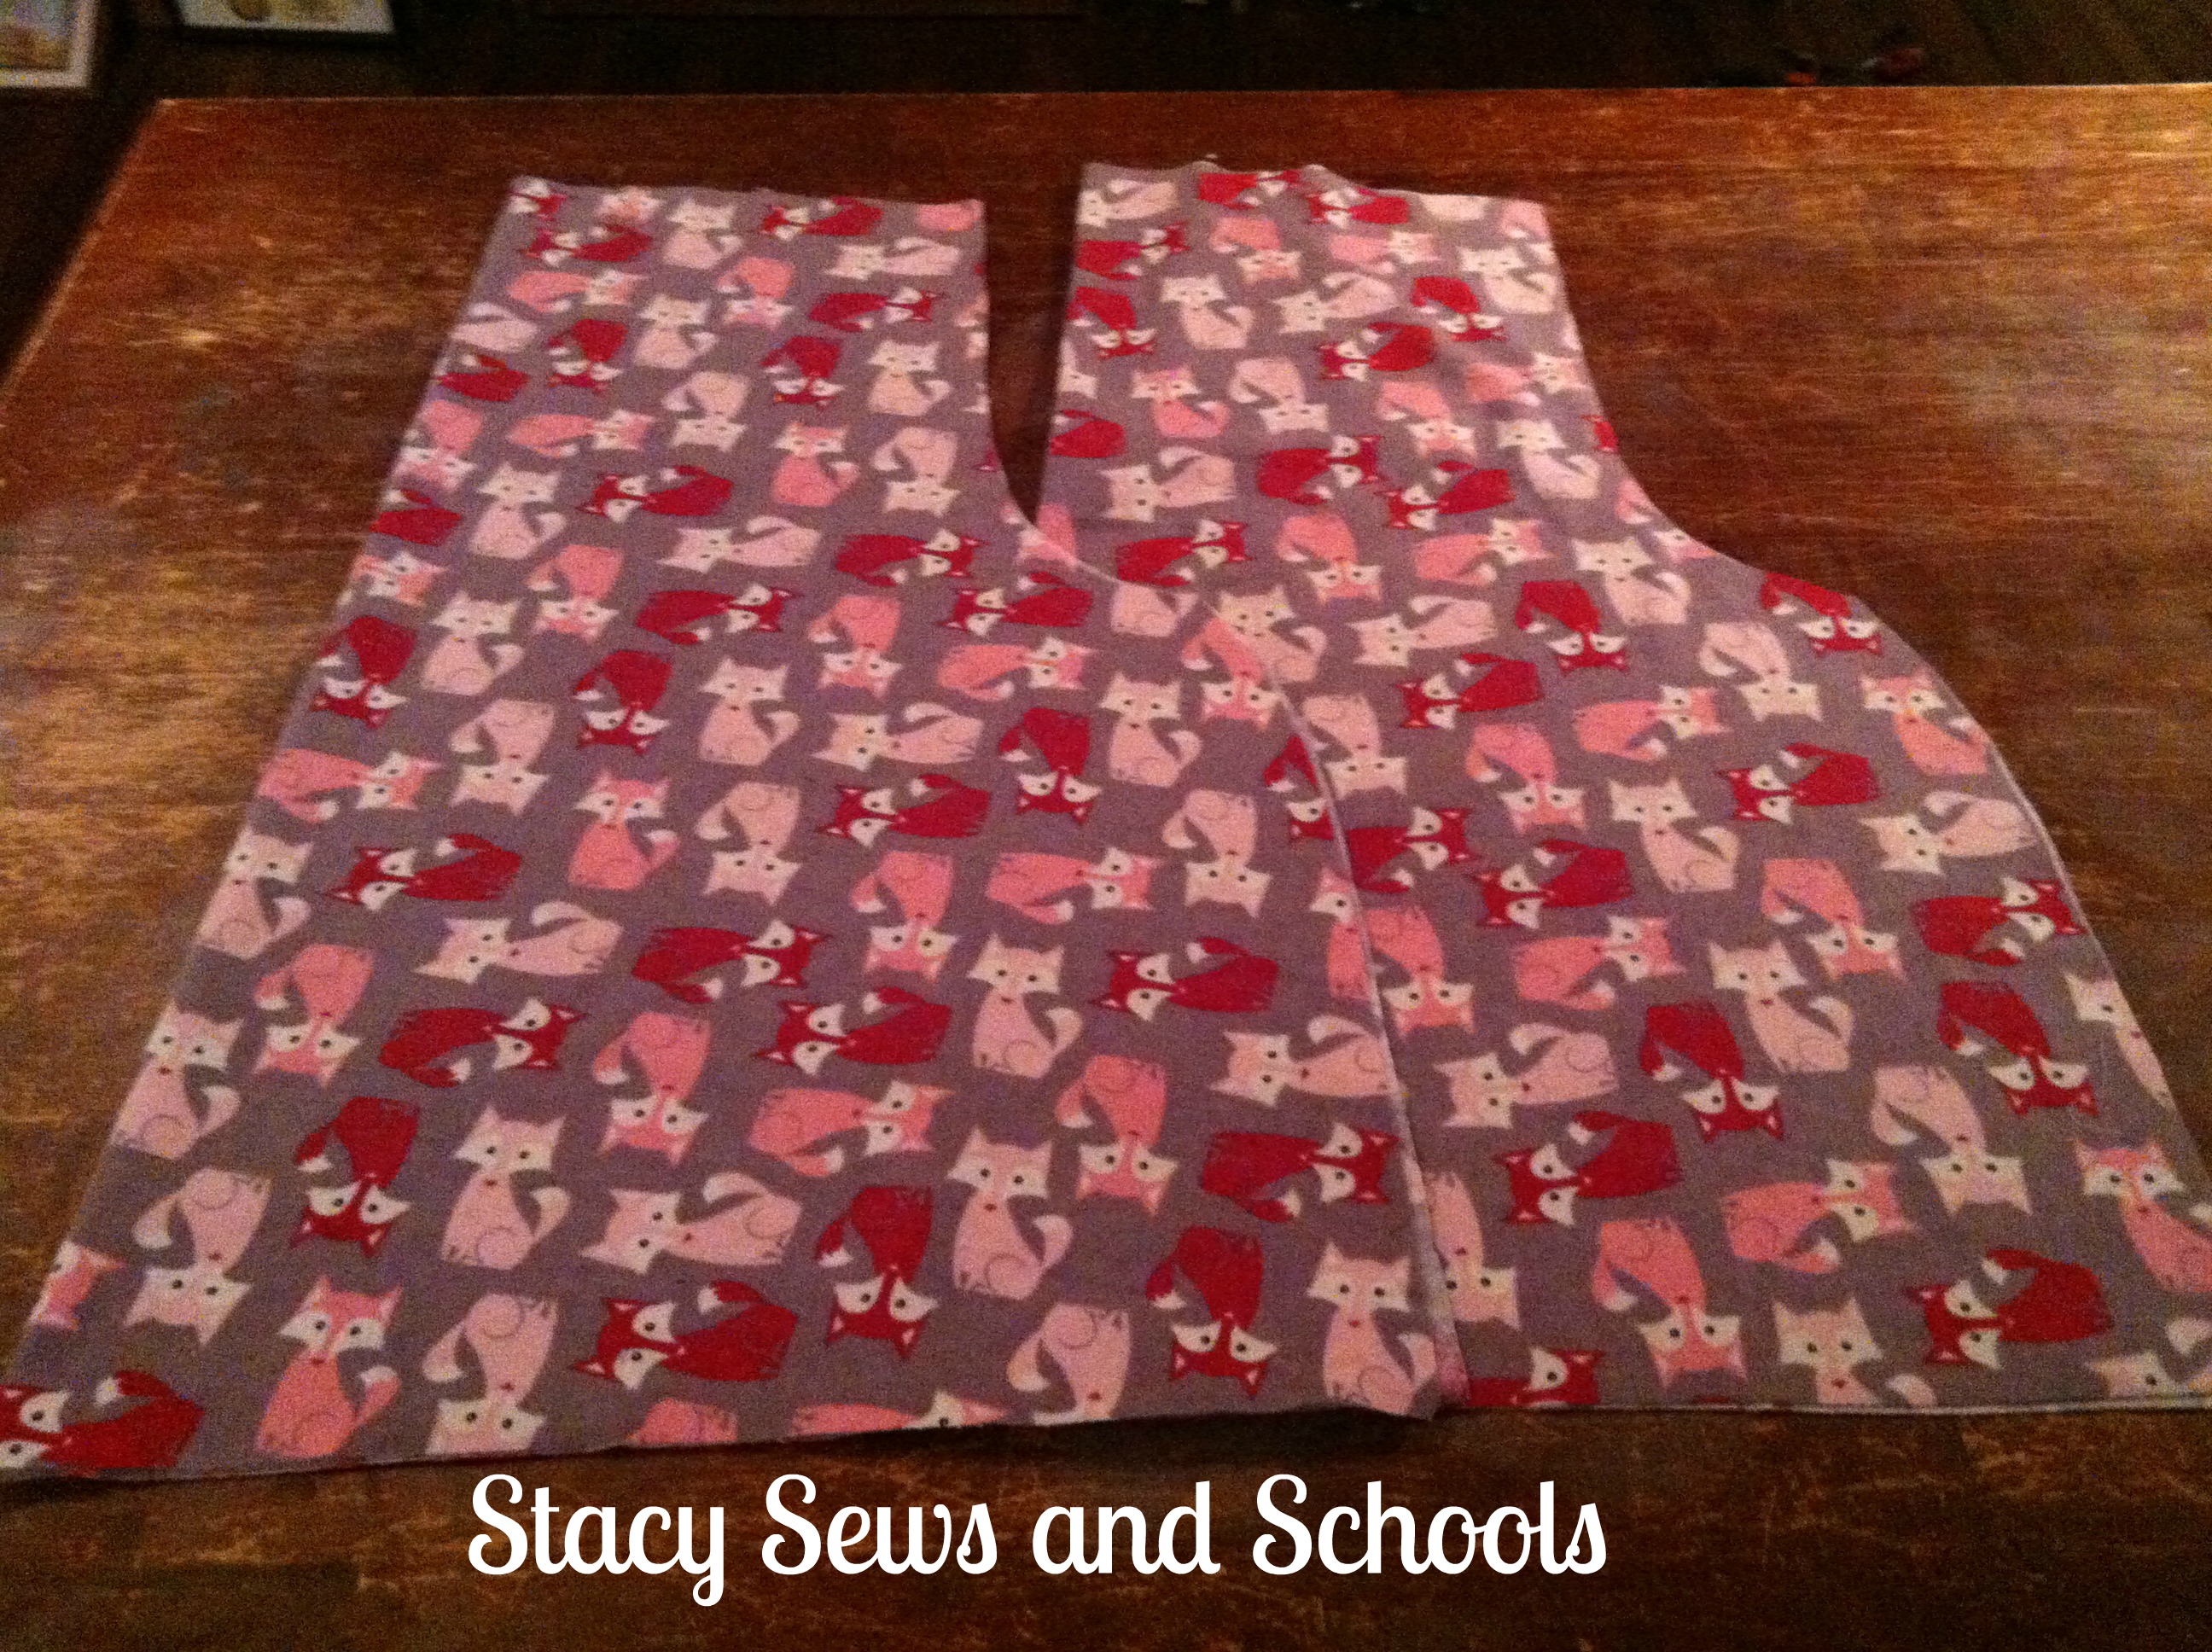


Fox Outfit 006


This is a sneak peek of my next project..... ;) I love that fox print! I would like to get some more but it's all sold out!!!! :(
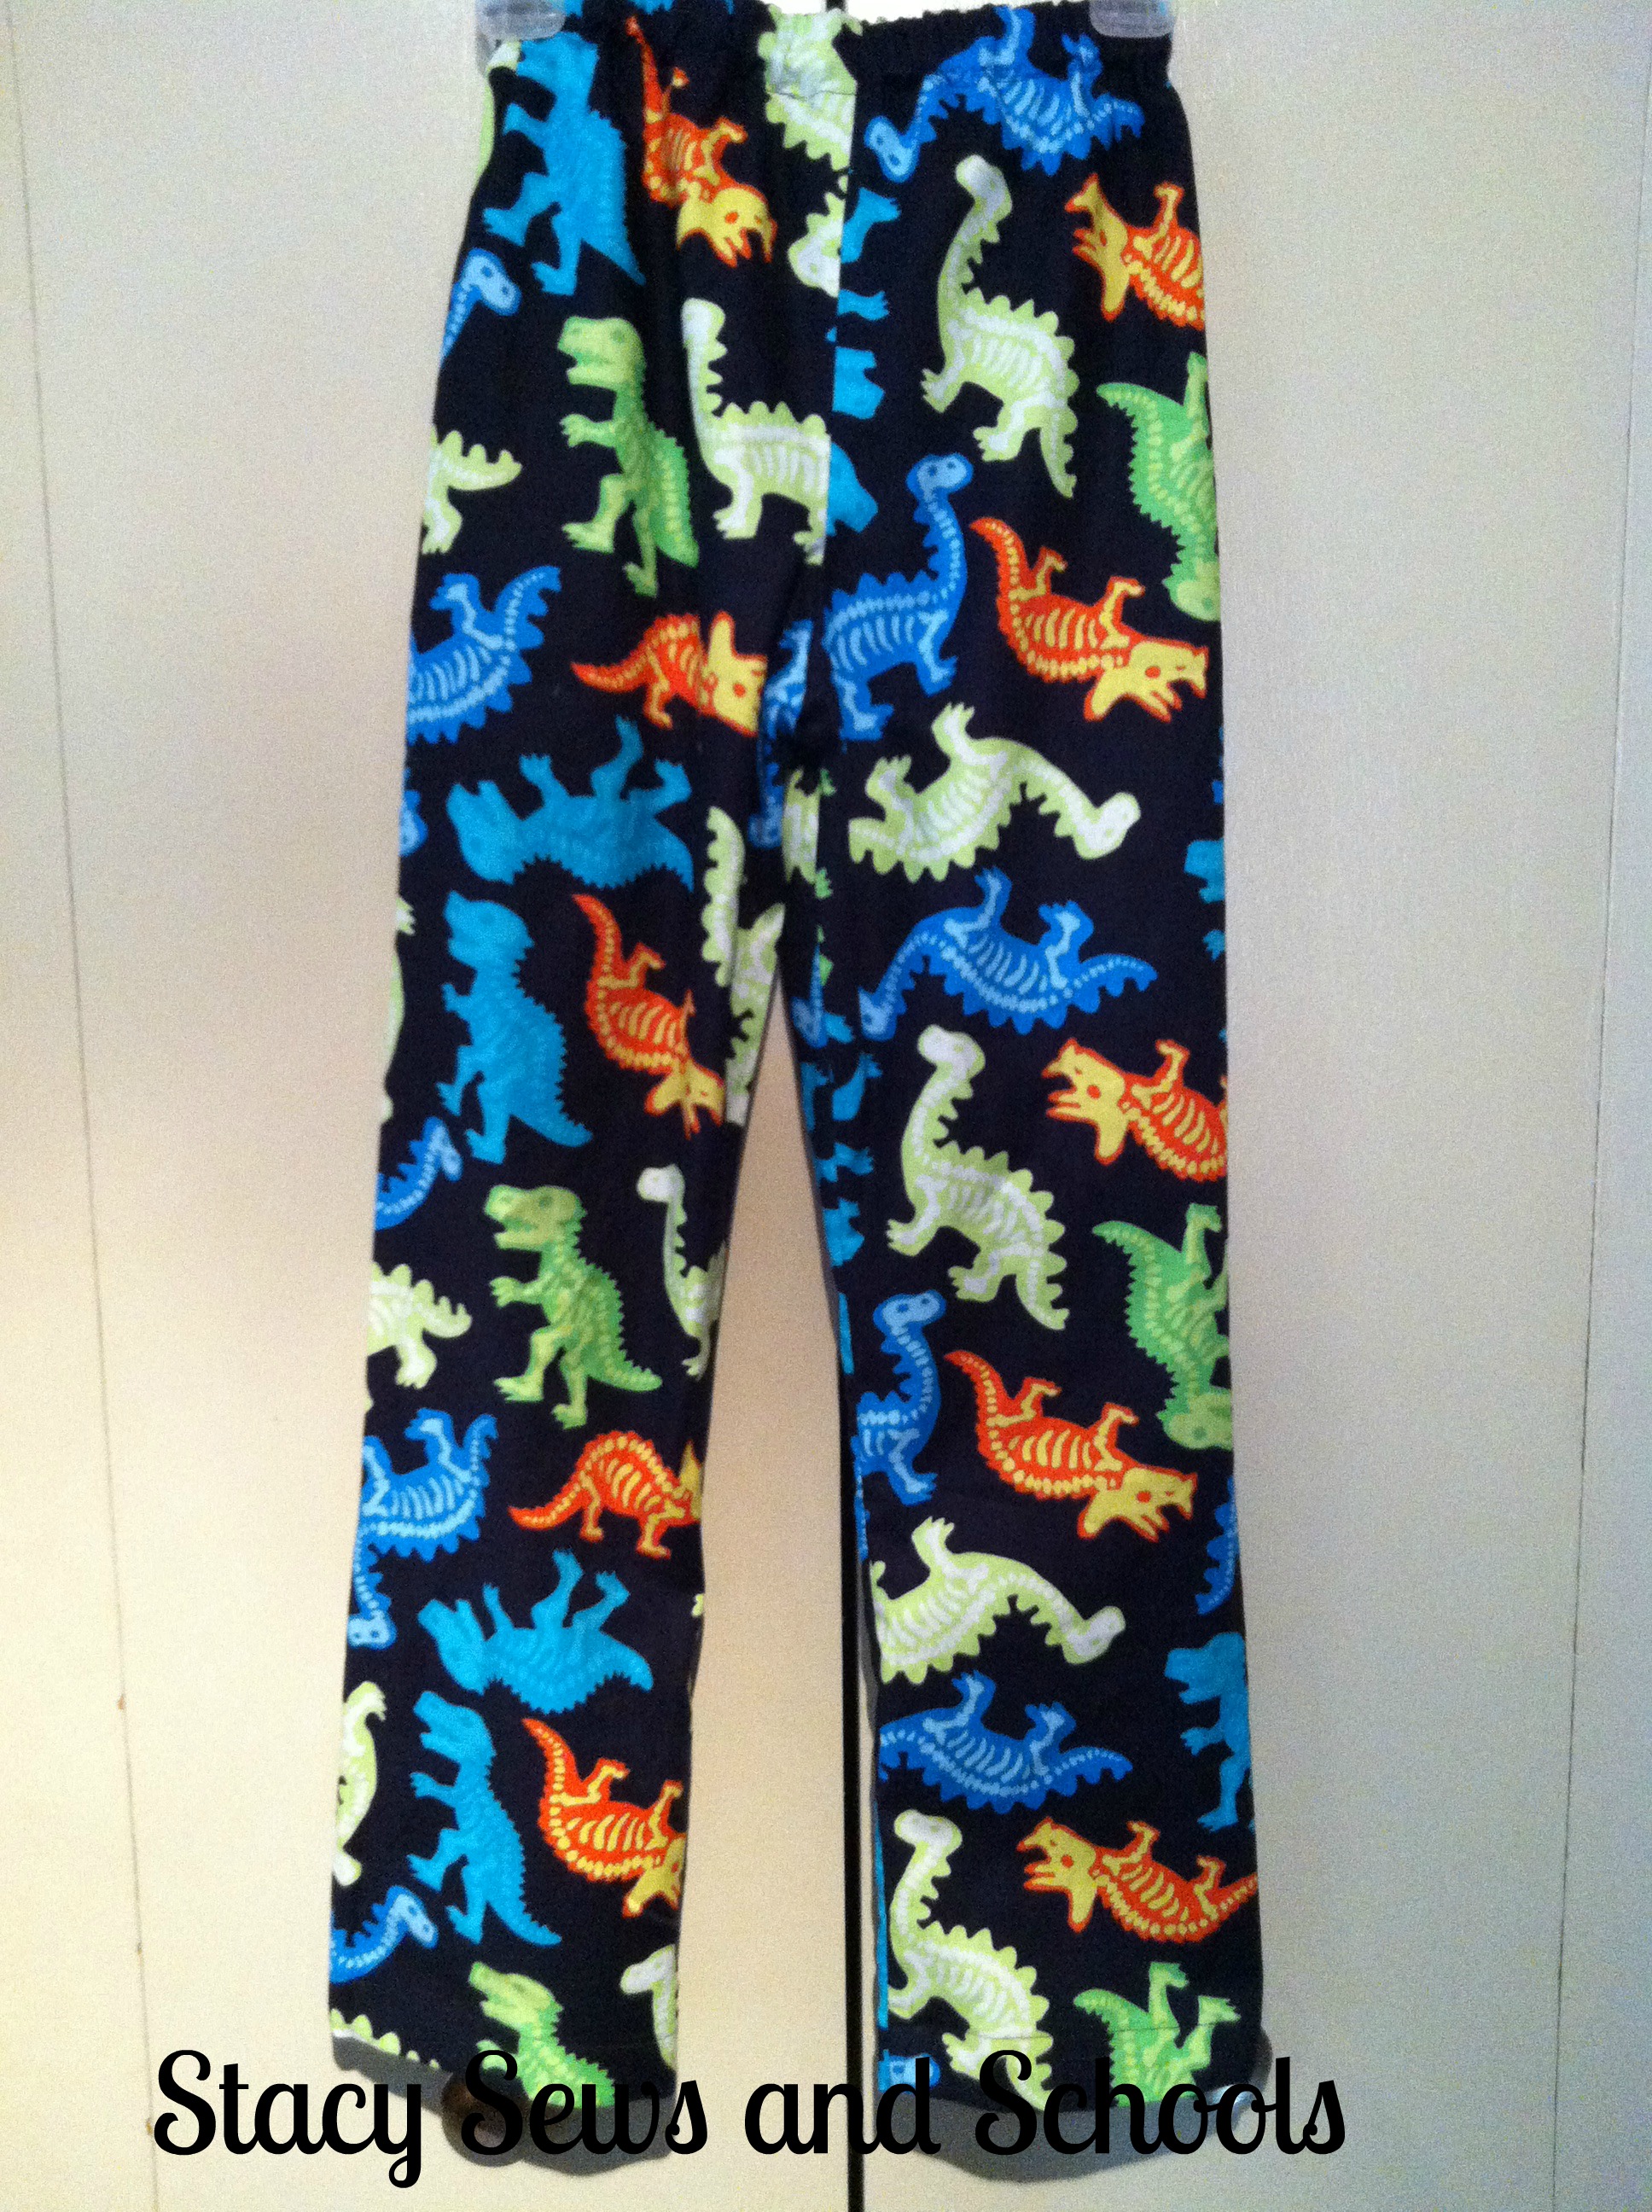


005 Busy Bee


And this is the pair pants that I made the day before yesterday for Colin. They glow in the dark! LOL


OH!! On top of the gorgeous cameo, my cousin also sent me some great remnants! Included in the stack was some burlap!!!! I am definitely making some burlap stockings this year! ;)

Another AND.... I have an IDEA for an outfit for my little cousin Liam.. But I will leave it at that for now. It's a super secret. LOL


So, that is what I have been up to!!

AND in a couple of days a new Secret Subject Swap will be UNLEASHED!!! OOOOOHHH!!! And I have an AWESOME subject.... I just need to fine tune it a little. ;)

If I'm not mistaken it should almost be time for another Fly on the Wall, too.... Just wait until you see what has been going on around here. Oh, my!!!!

I am starting to get a little CRAZED about Christmas... I haven't even STARTED shopping yet! Usually by this time I am almost completely done! YILES!!!!! And then there's the dinner to plan.... Jacob's tickets to purchase so he can be here with us...... I have to stop thinking about it... I'll go CRAZY!!! LOL

And we have been invited to The Hubby's boss's house for a Christmas party. DH is very.... ummmm..... welll... NOT social. Not exactly ANTIsocial but he definitely doesn't LIKE it. AT ALL. So, here I am trying to convince him that we HAVE to go. This is not a social occasion that is taken lightly in The South.... LOL  Heaven help me!!


December 9, 2012

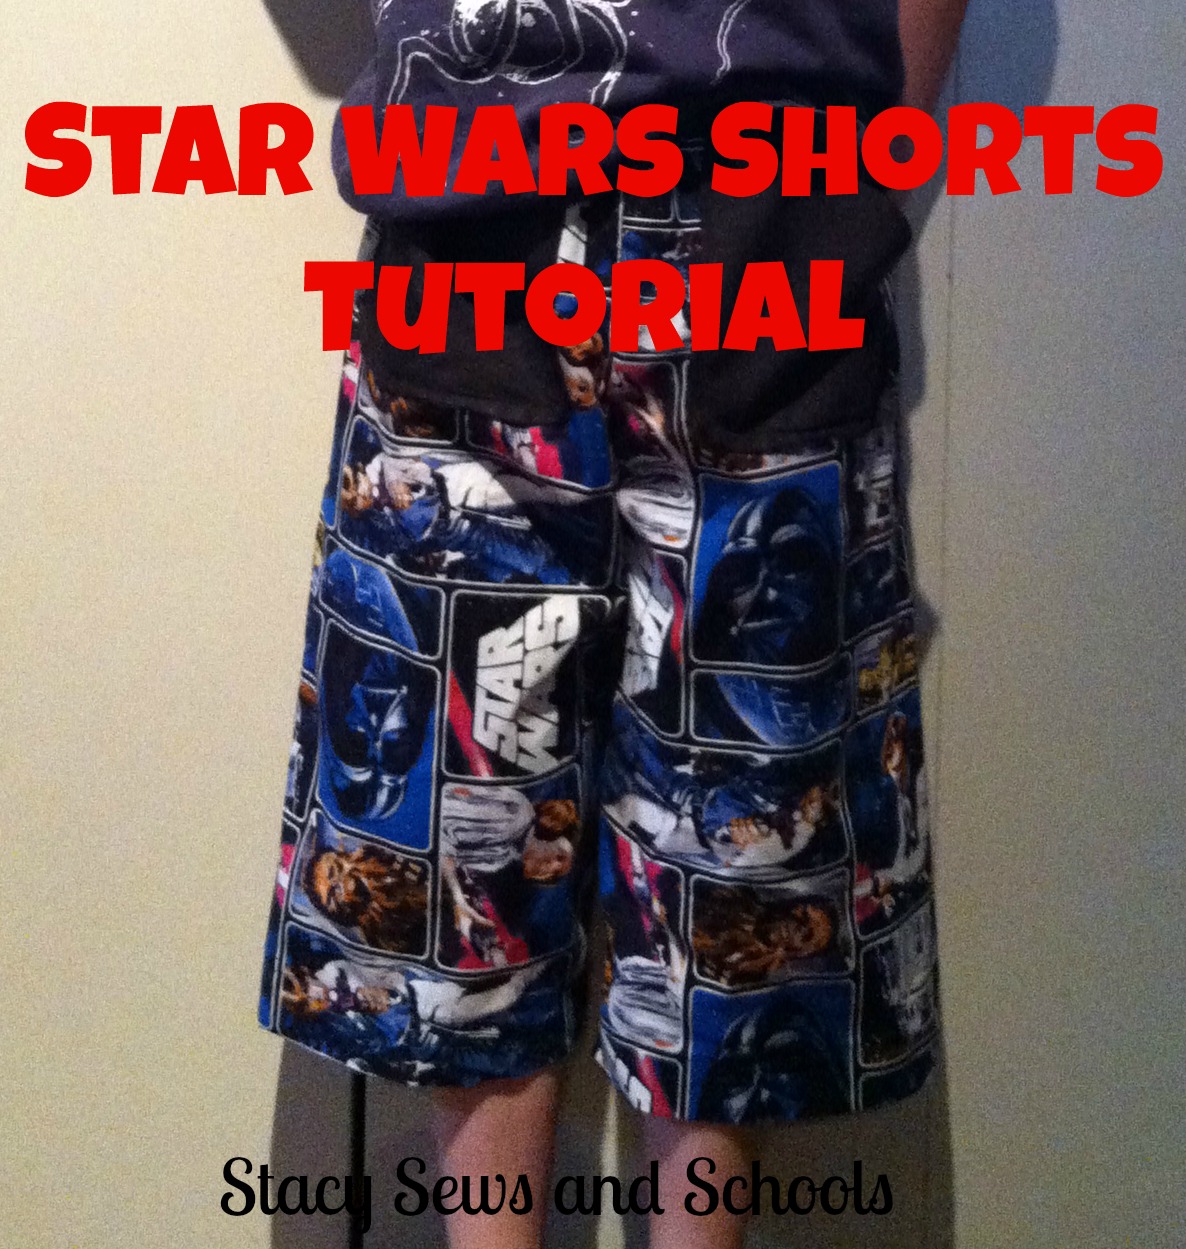
Star Wars Shorts Tutorial

Star Wars Shorts 00001


I know, I know... It's December. I should be doing more Christmasy type tutorials BUT I live below the Deep South.... LOL I live in the Bottom of the South! And it's WARM here... Today I have windows and doors open to let the air in.... Definitely still shorts weather. Besides, these are LONG shorts. LOL  And you can always adjust the length and make yours into pants. ;)


What I used:

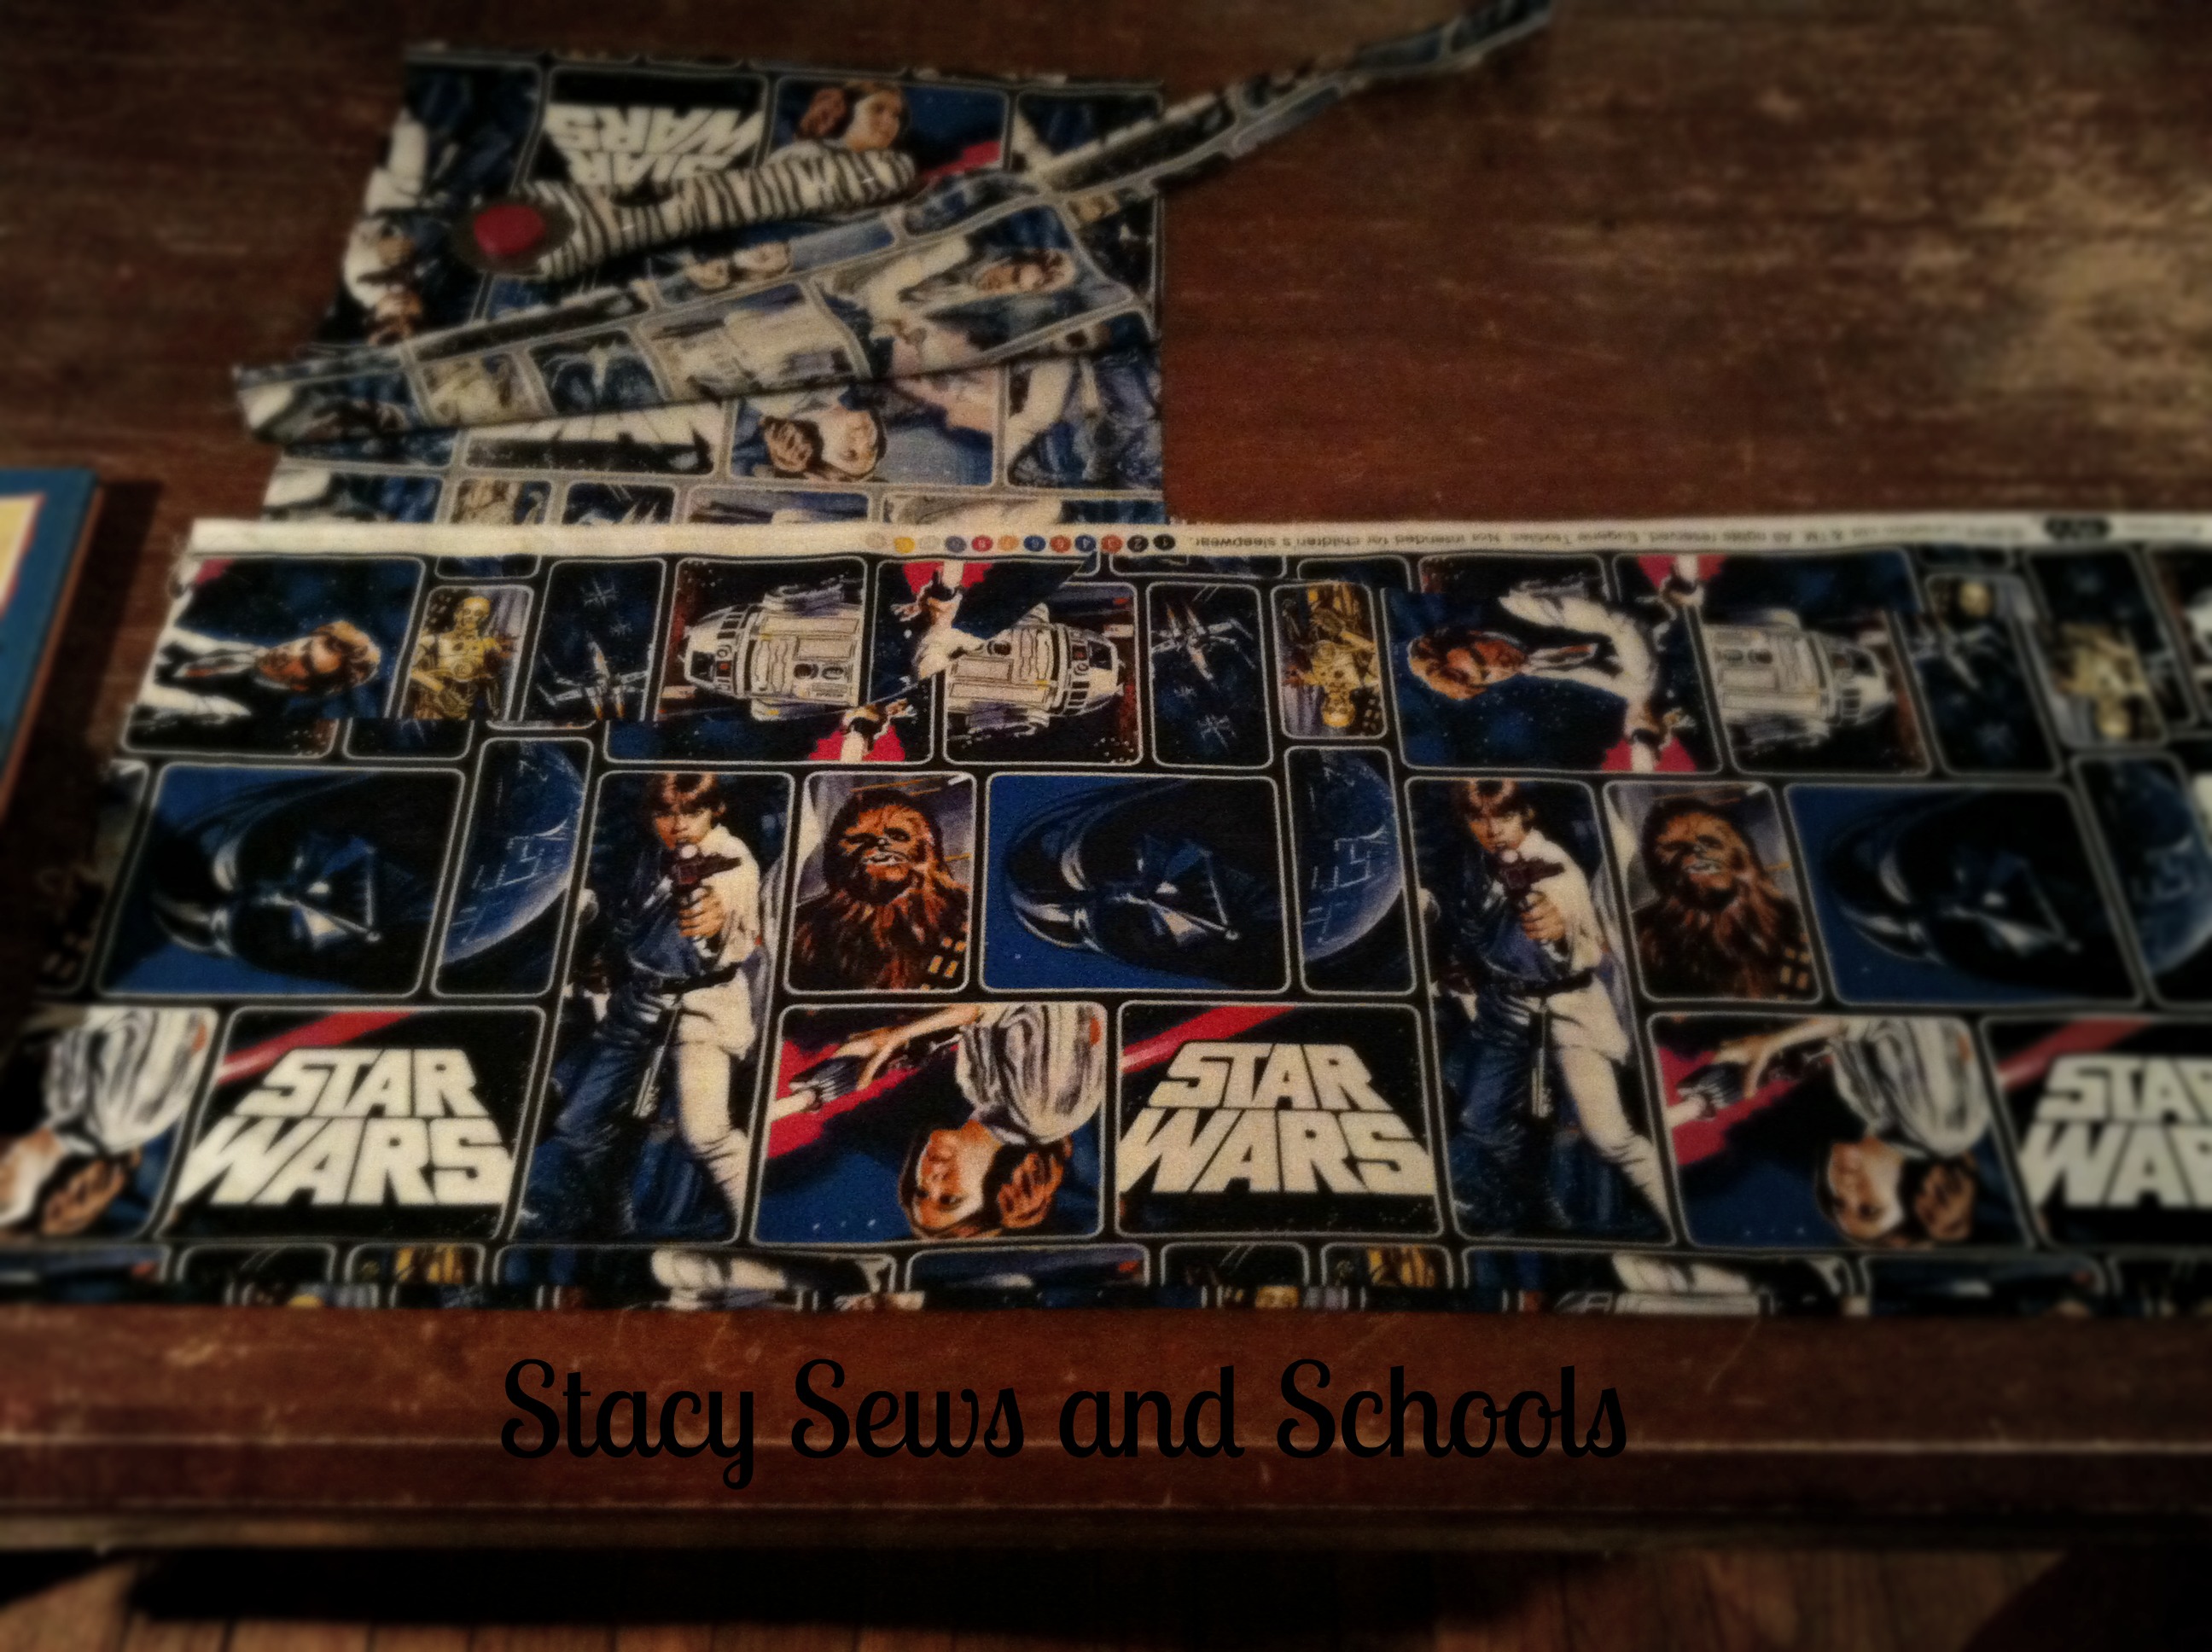
1 yard of Star Wars cotton

1/4 yard of black cotton for the pockets

1/2" elastic


Star Wars Shorts 001


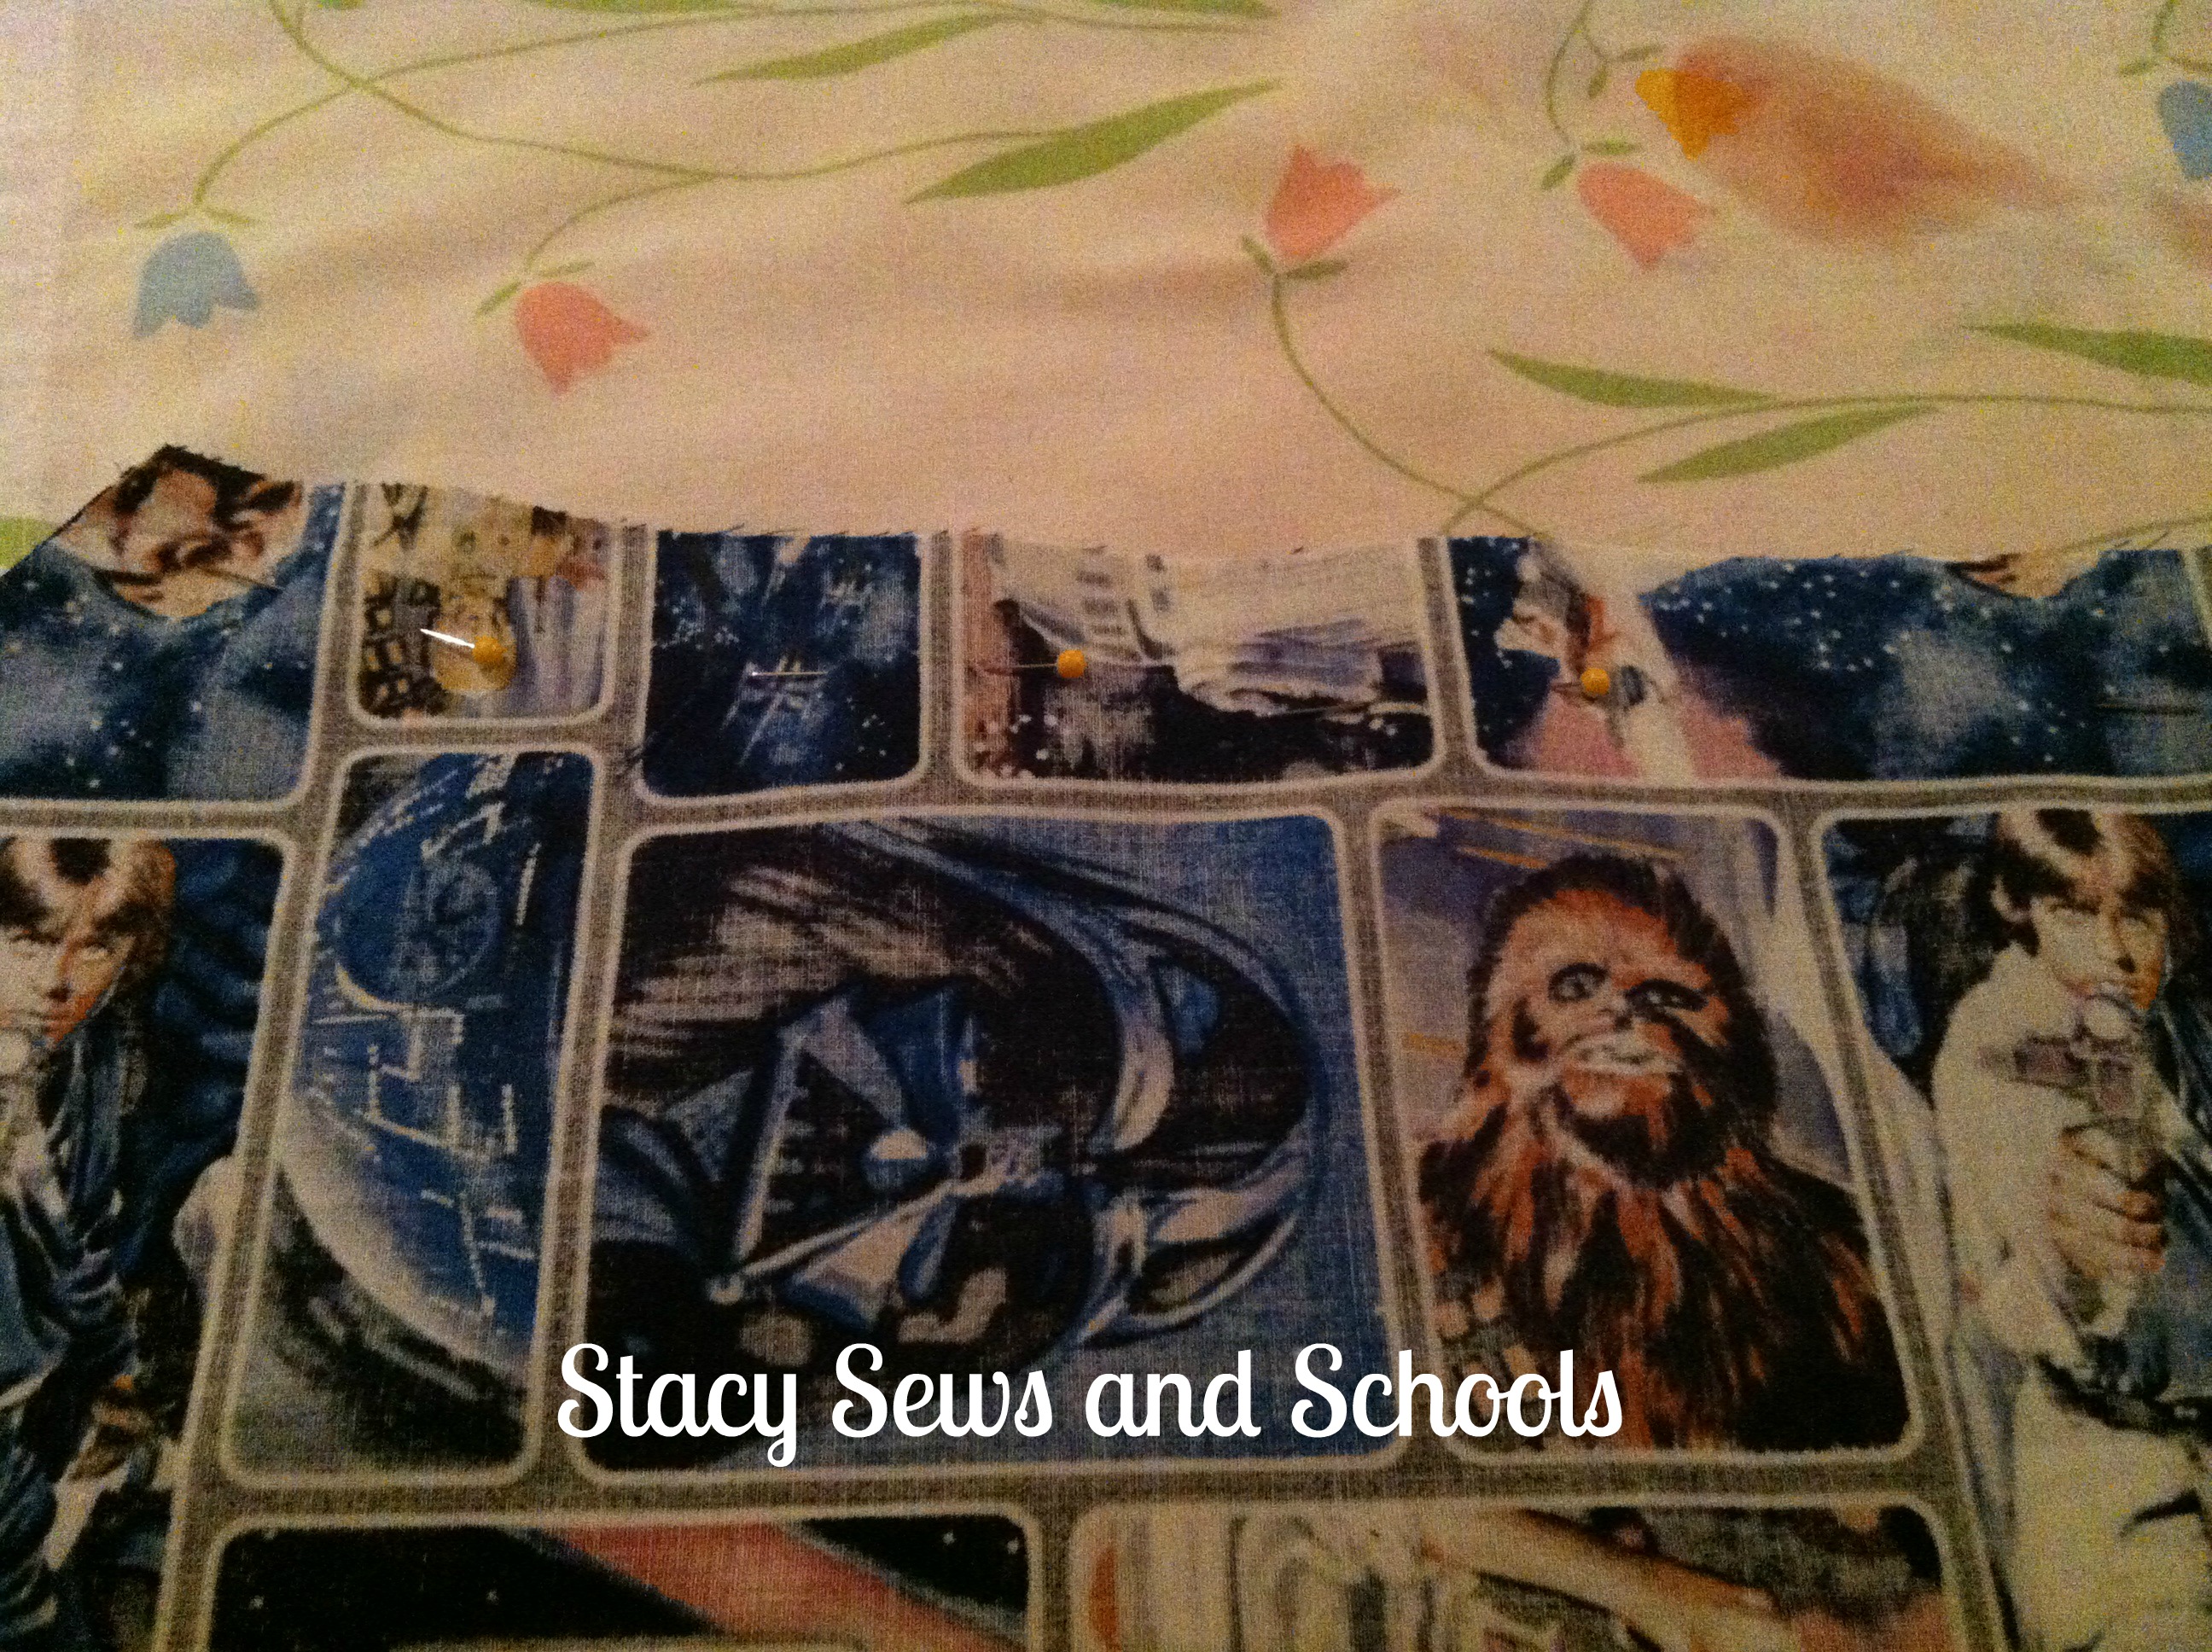
I took a pair of Colin's pants and folded the legs up a few inches. I put the side of the pants on the fold of the fabric. Then I used them as a template, cutting wide around them for seam allowance.


Star Wars Shorts 002


Using the leg I just cut as a guide, I cut the second leg.


Star Wars Shorts 004


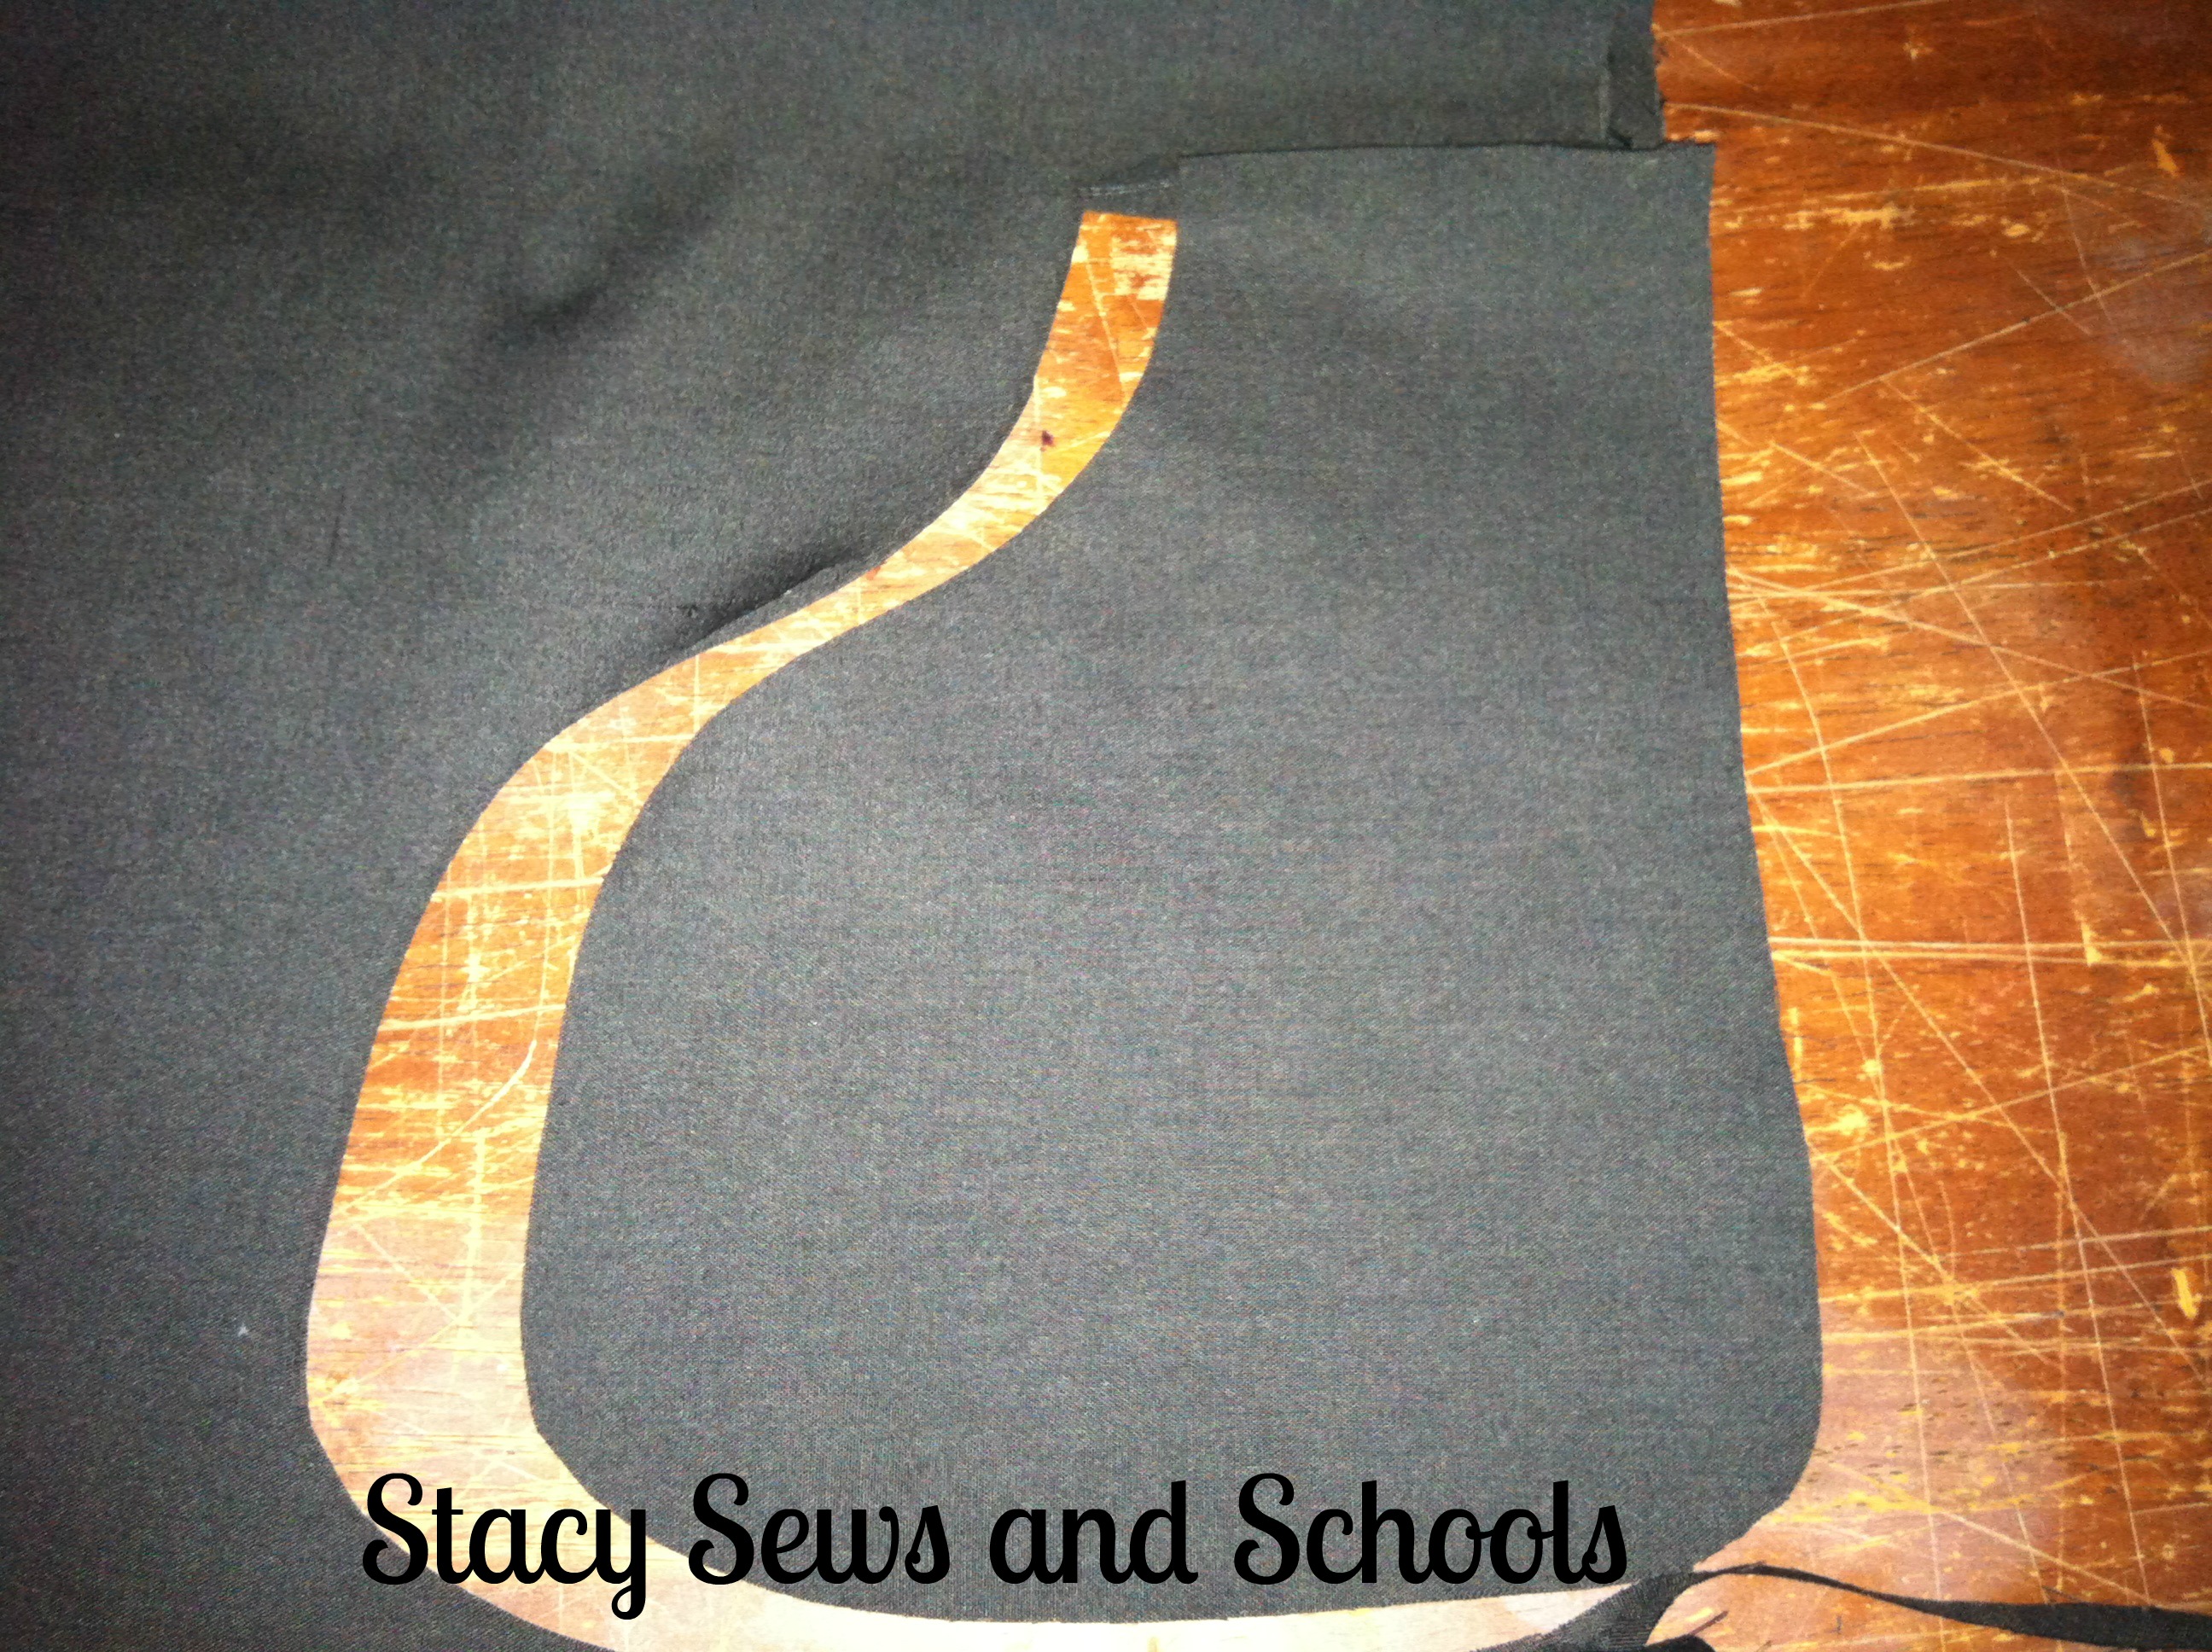
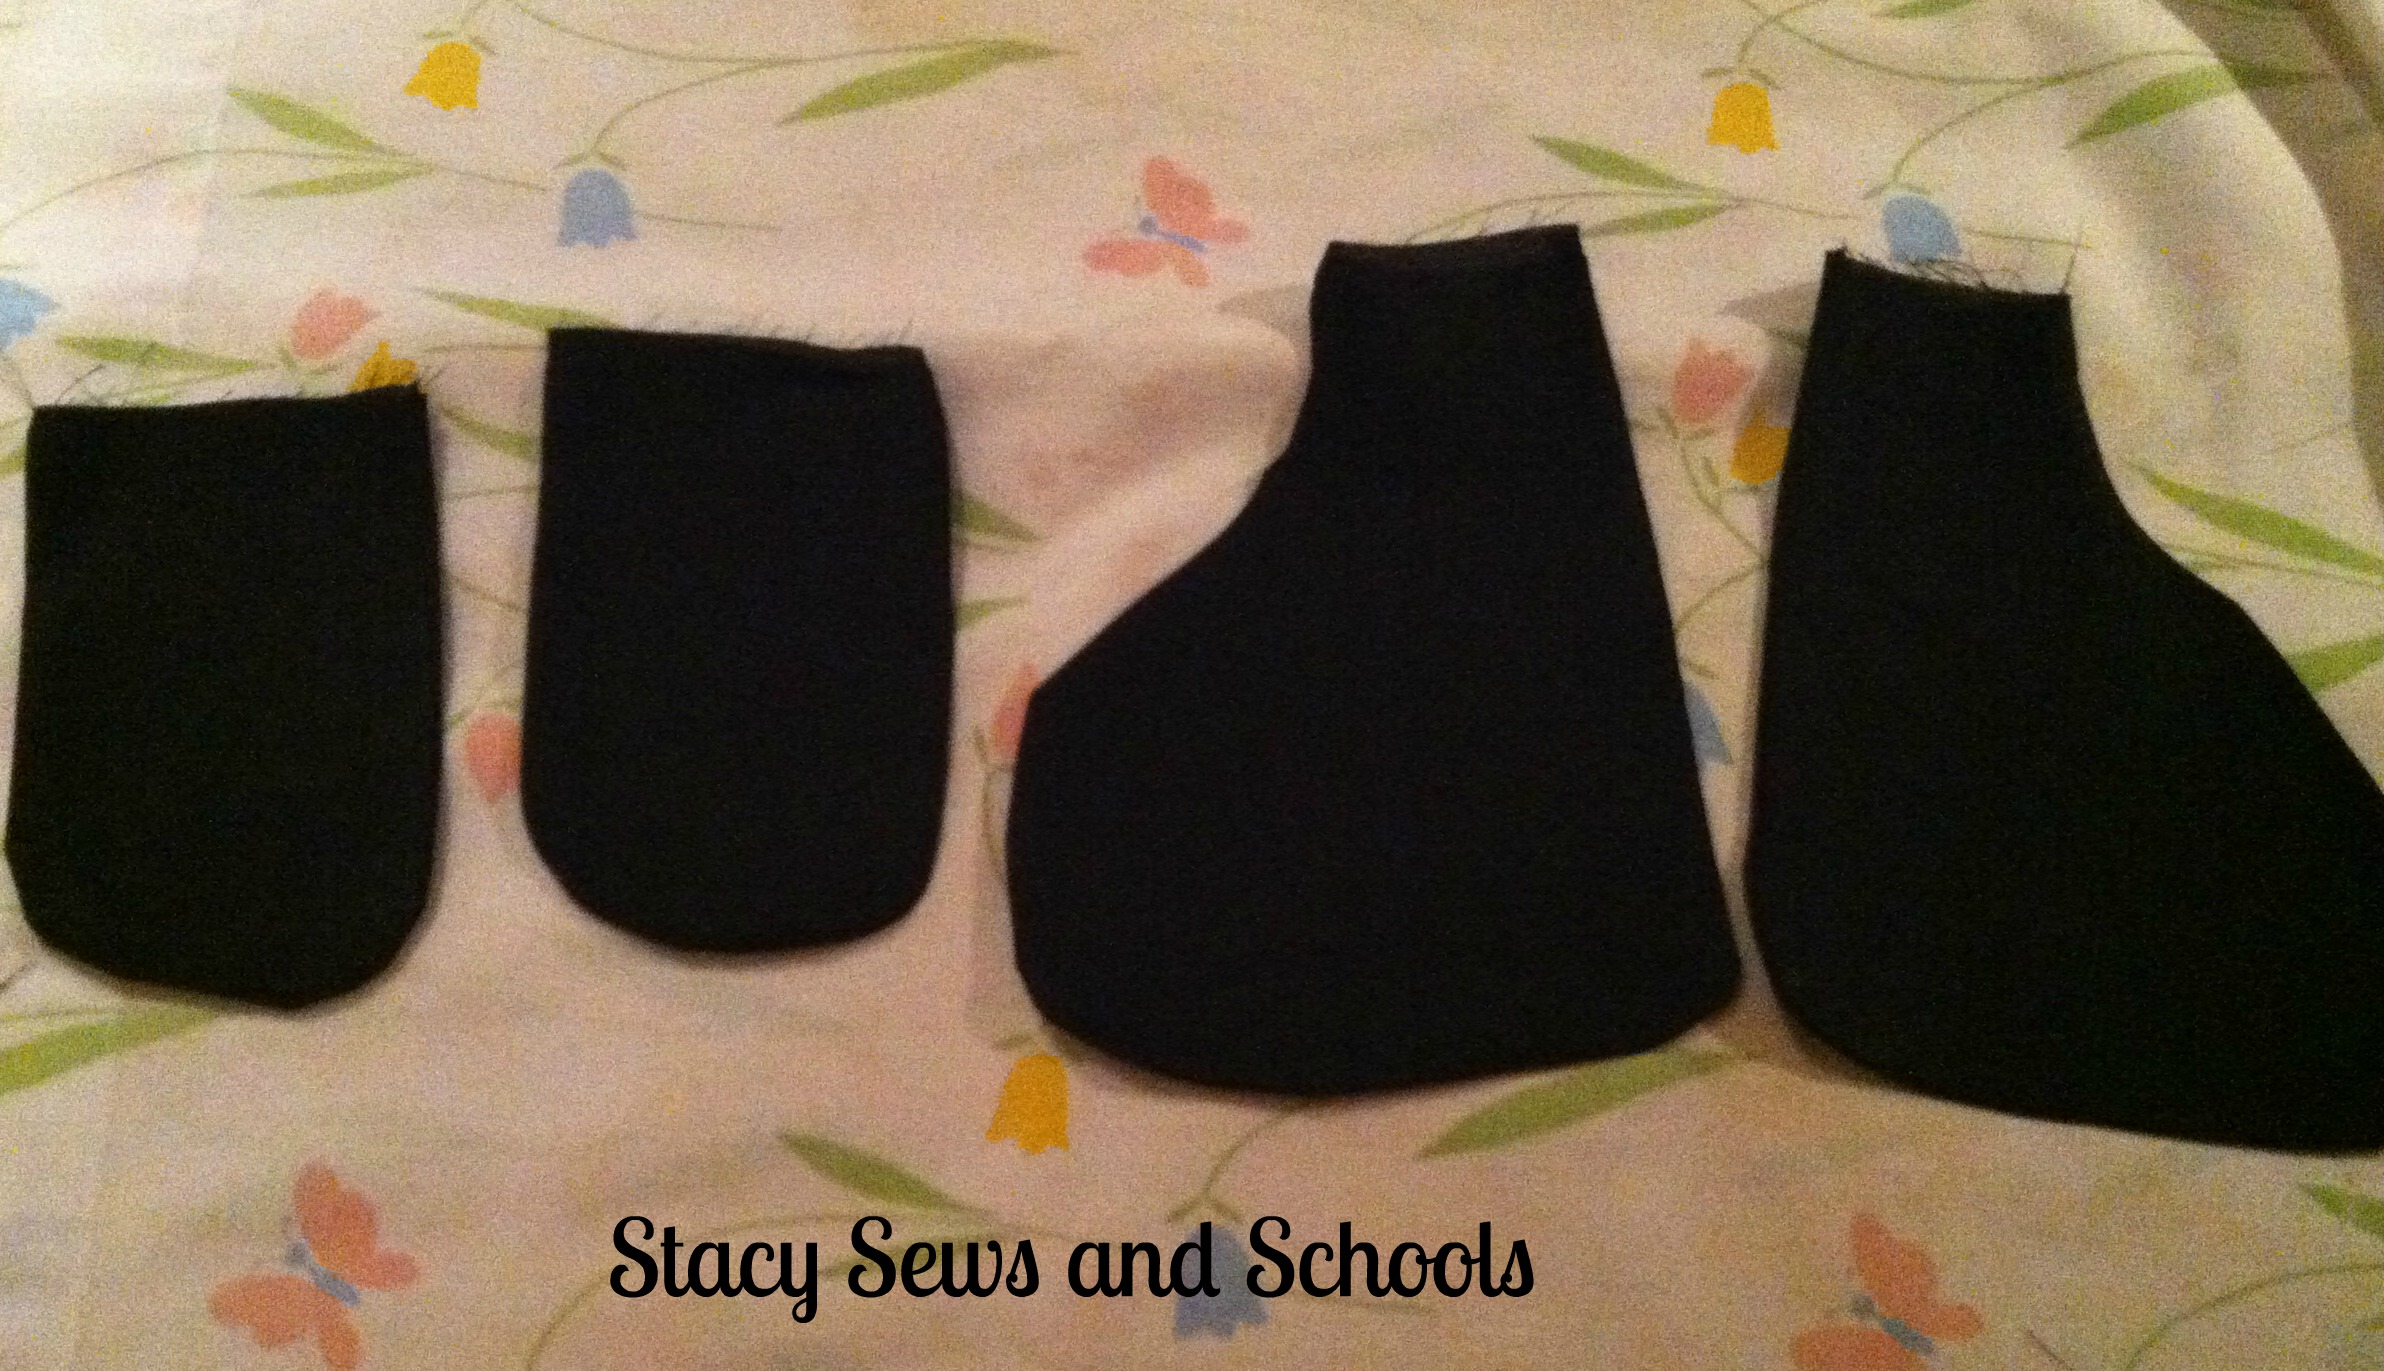
Fold up the fabric for the pockets into 4 layers. Cut out your front pockets. I just free style it. ;) But this way they are all the same.


Star Wars Shorts 005


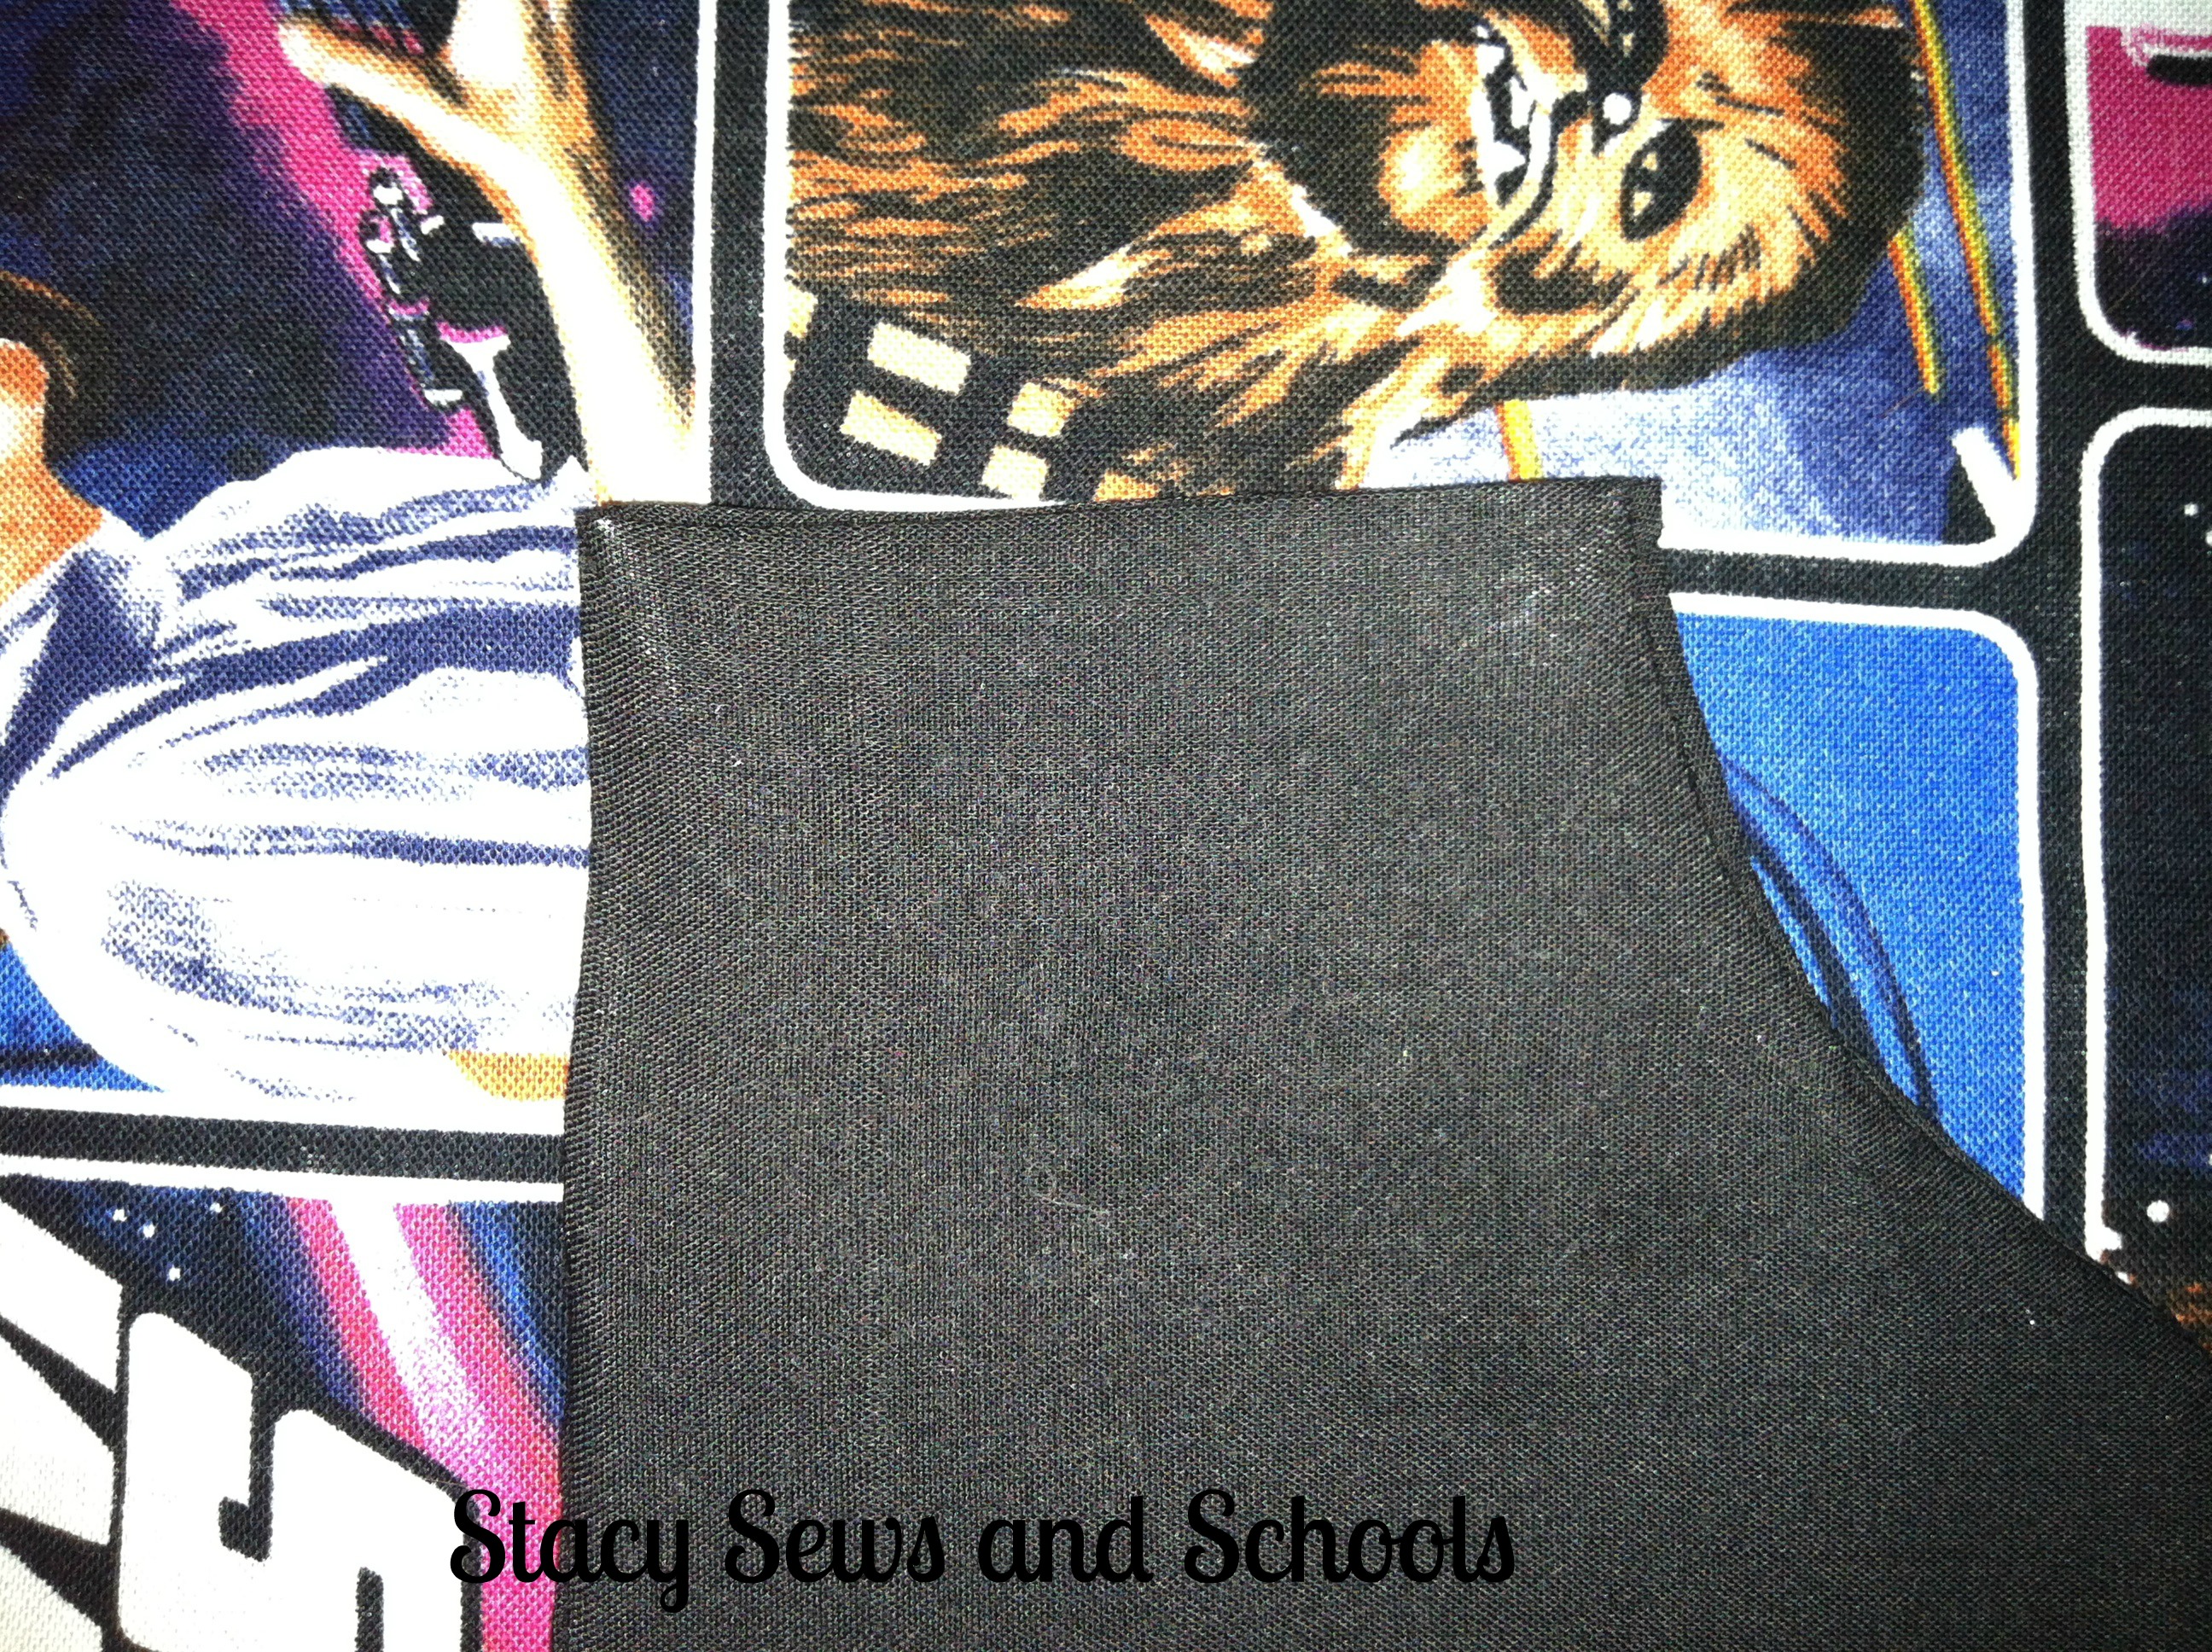
Now, while you still have 4 layers, cut out the back pockets.


Star Wars Shorts 009


Now, sew the 2 of the back pockets together, making one. Leave the top open! Turn right side out and press.  Keep going until you have 2 back and 2 front pockets.


Star Wars Shorts 012


Now, fold in the tops 1/4" and press. Sew the tops closed.


Star Wars Shorts 013


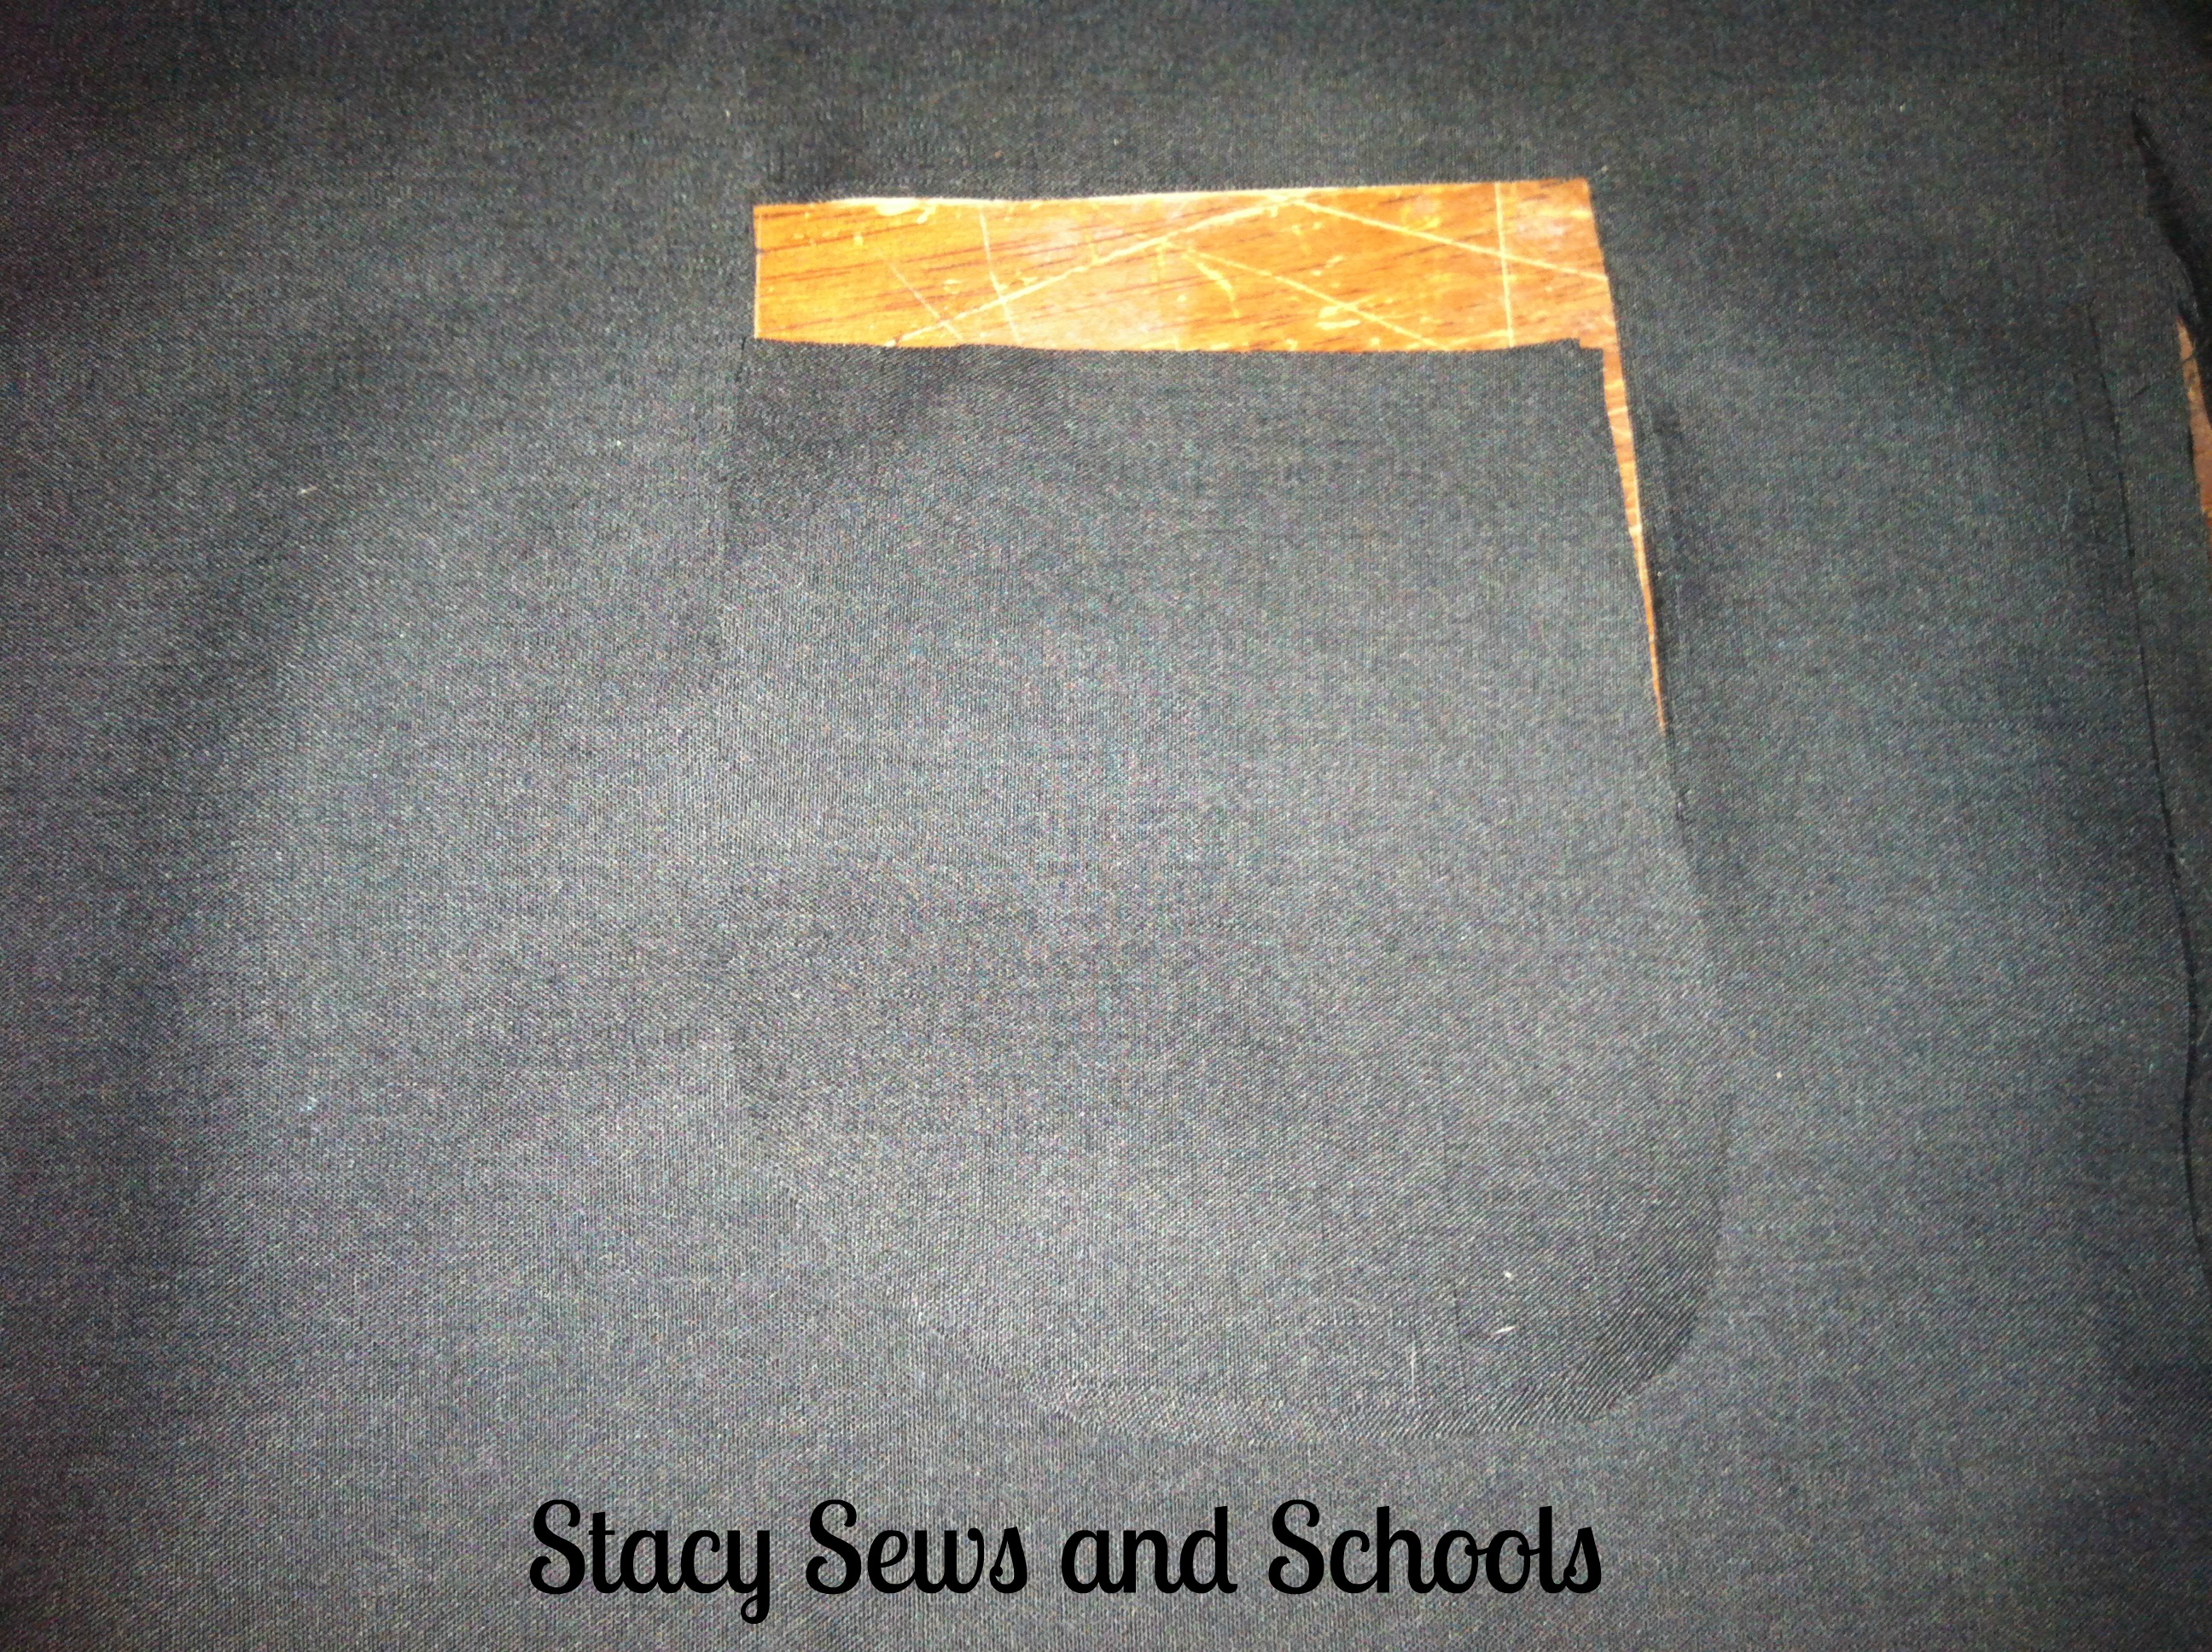
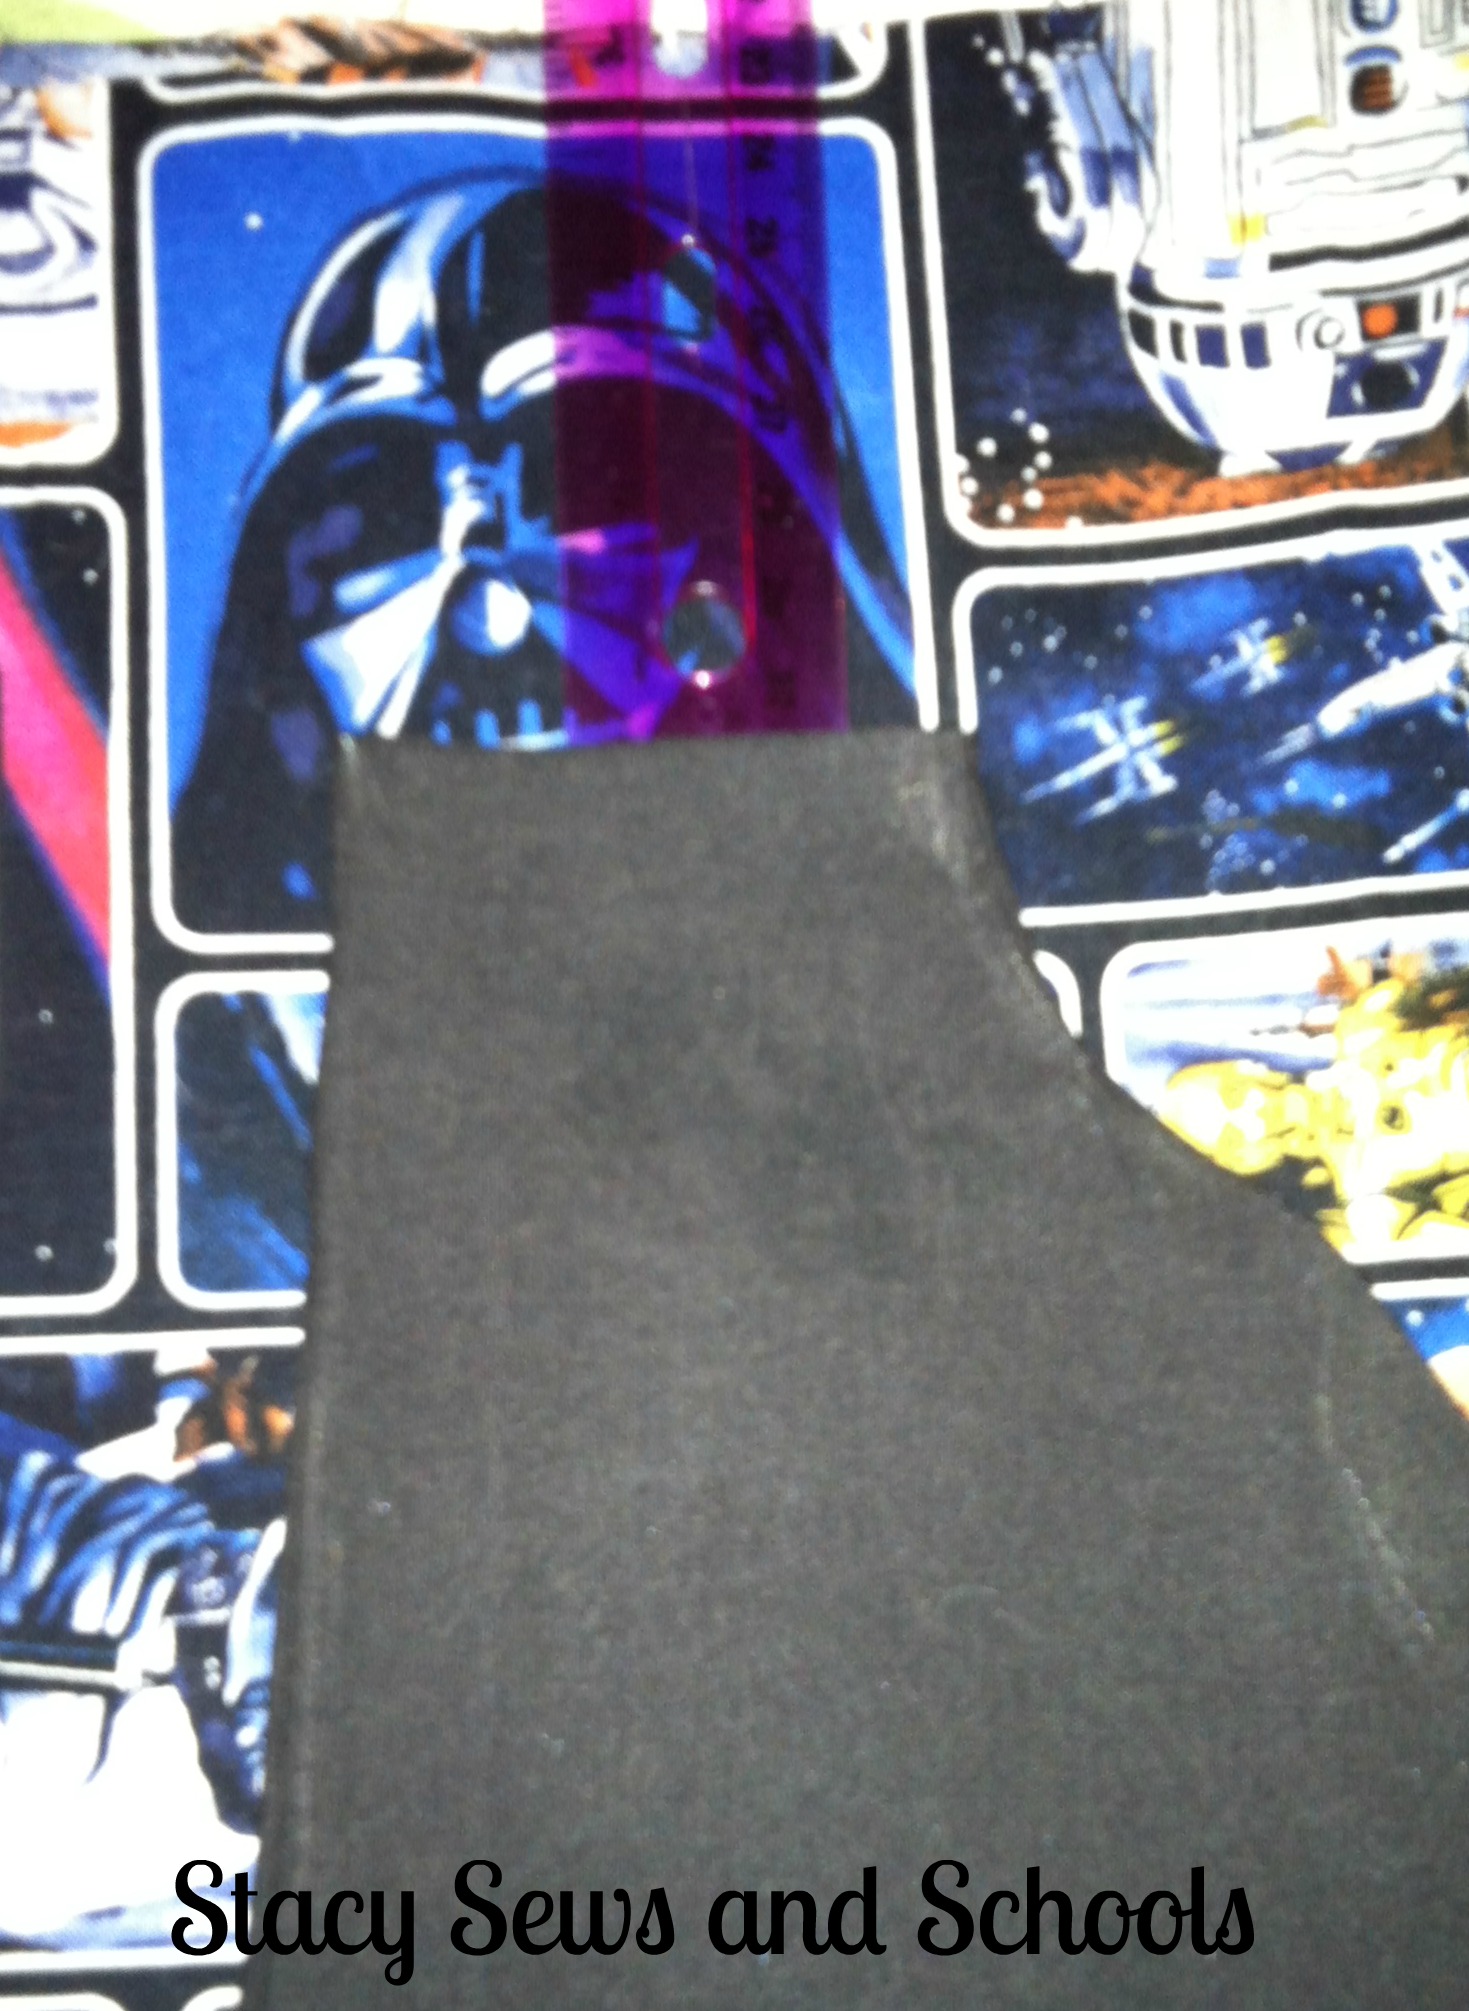
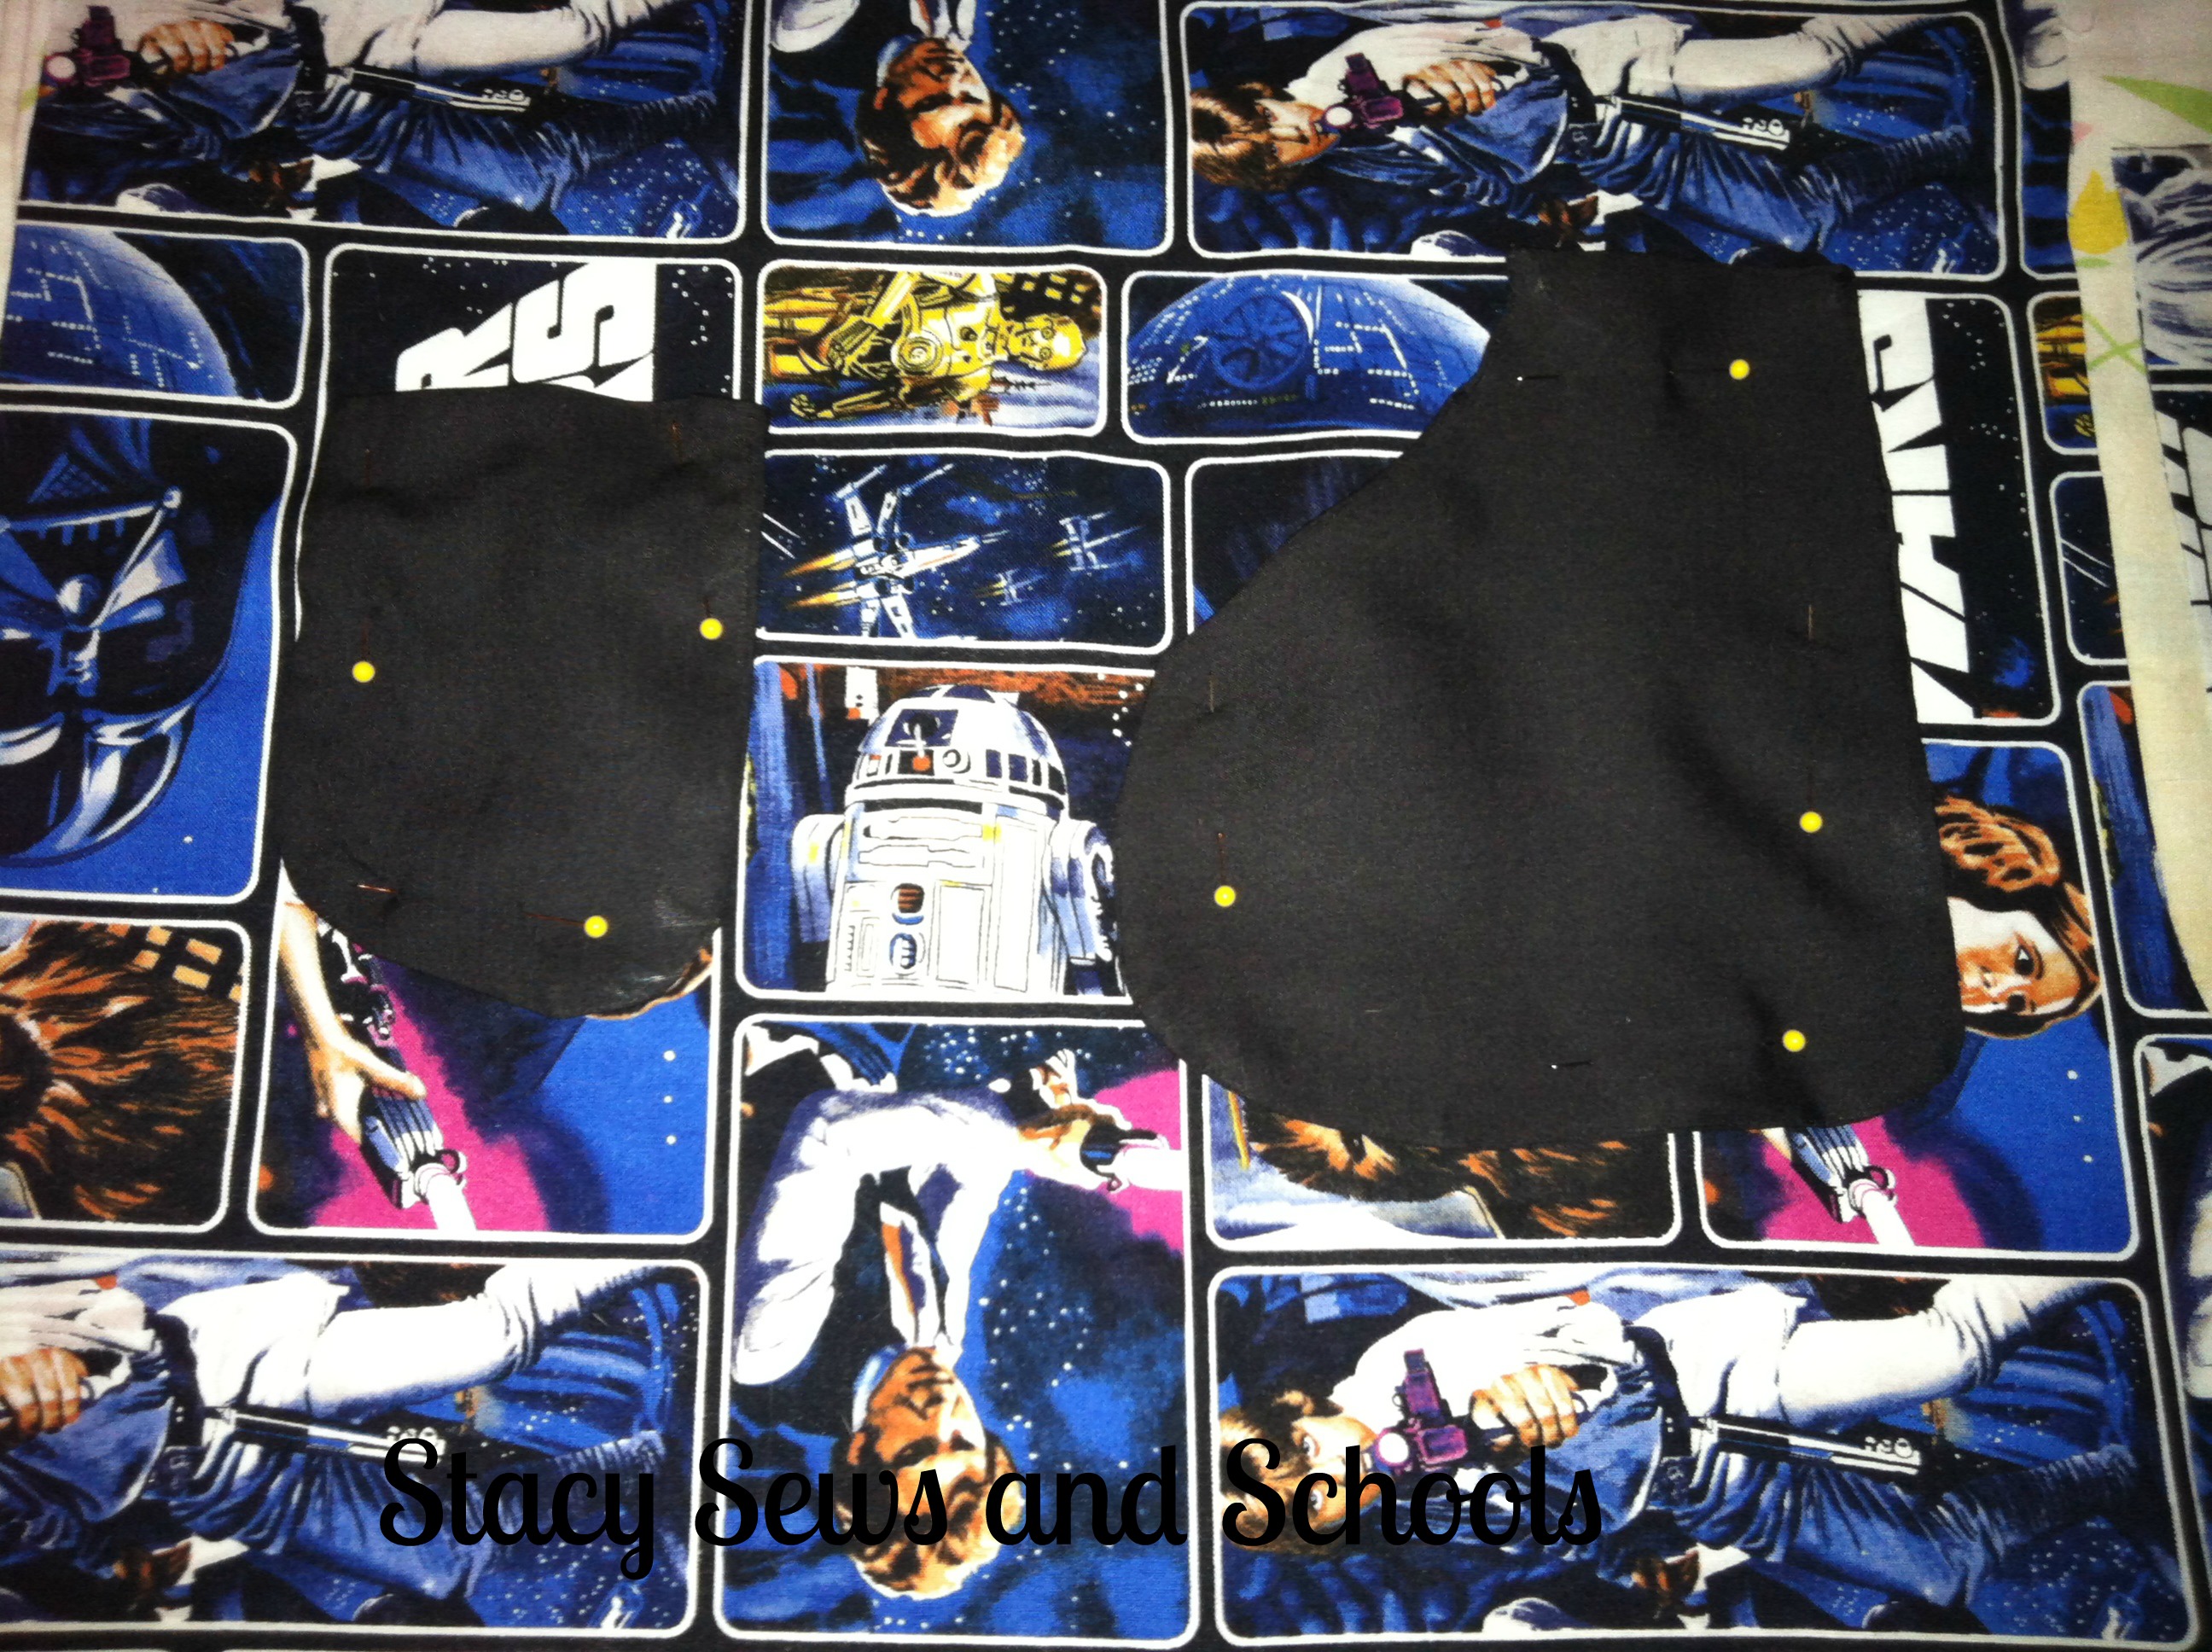
Now, place your front pocket where you would like it to be.  Mine is 3" from the top. Also, this helps to make sure both pockets are evenly placed.  Also measure the distance from the sides.


Star Wars Shorts 014


Now, pin your pockets in place and sew them on! :)


Star Wars Shorts 019


Now, fold one pants leg with right sides together, and pin up the inseam. Sew from the bottom of the leg up to where the curve for the crotch starts.


Star Wars Shorts 020


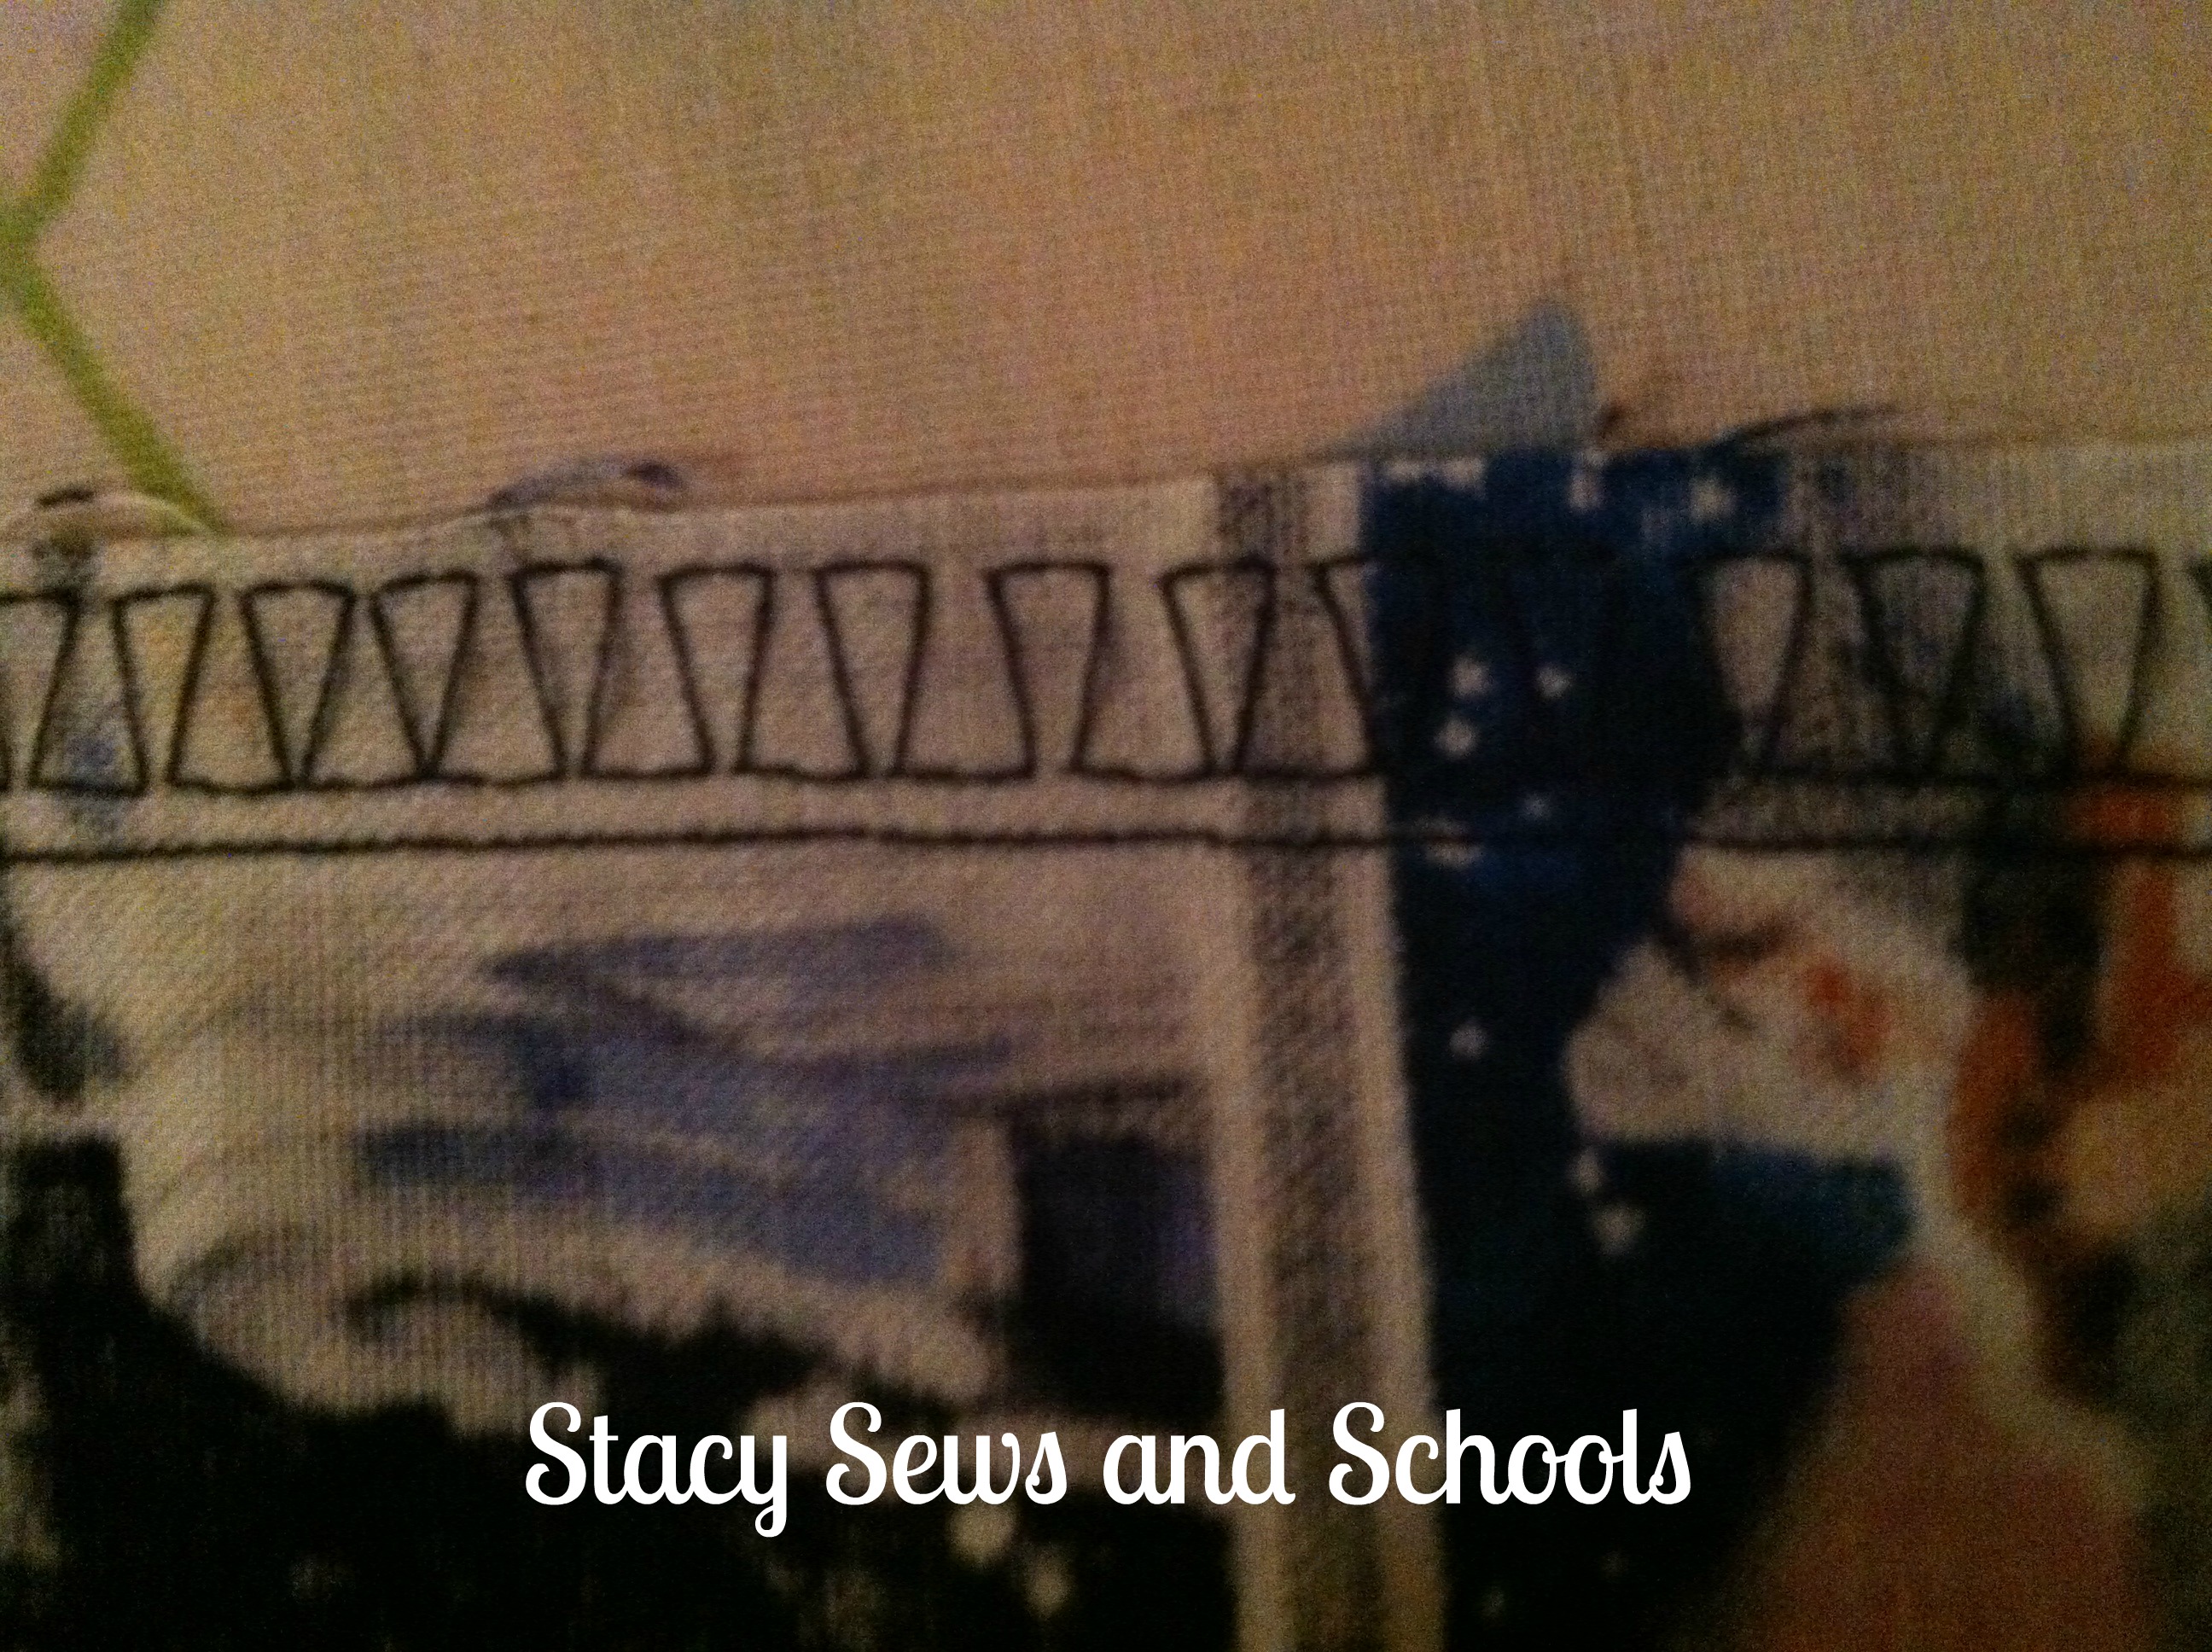
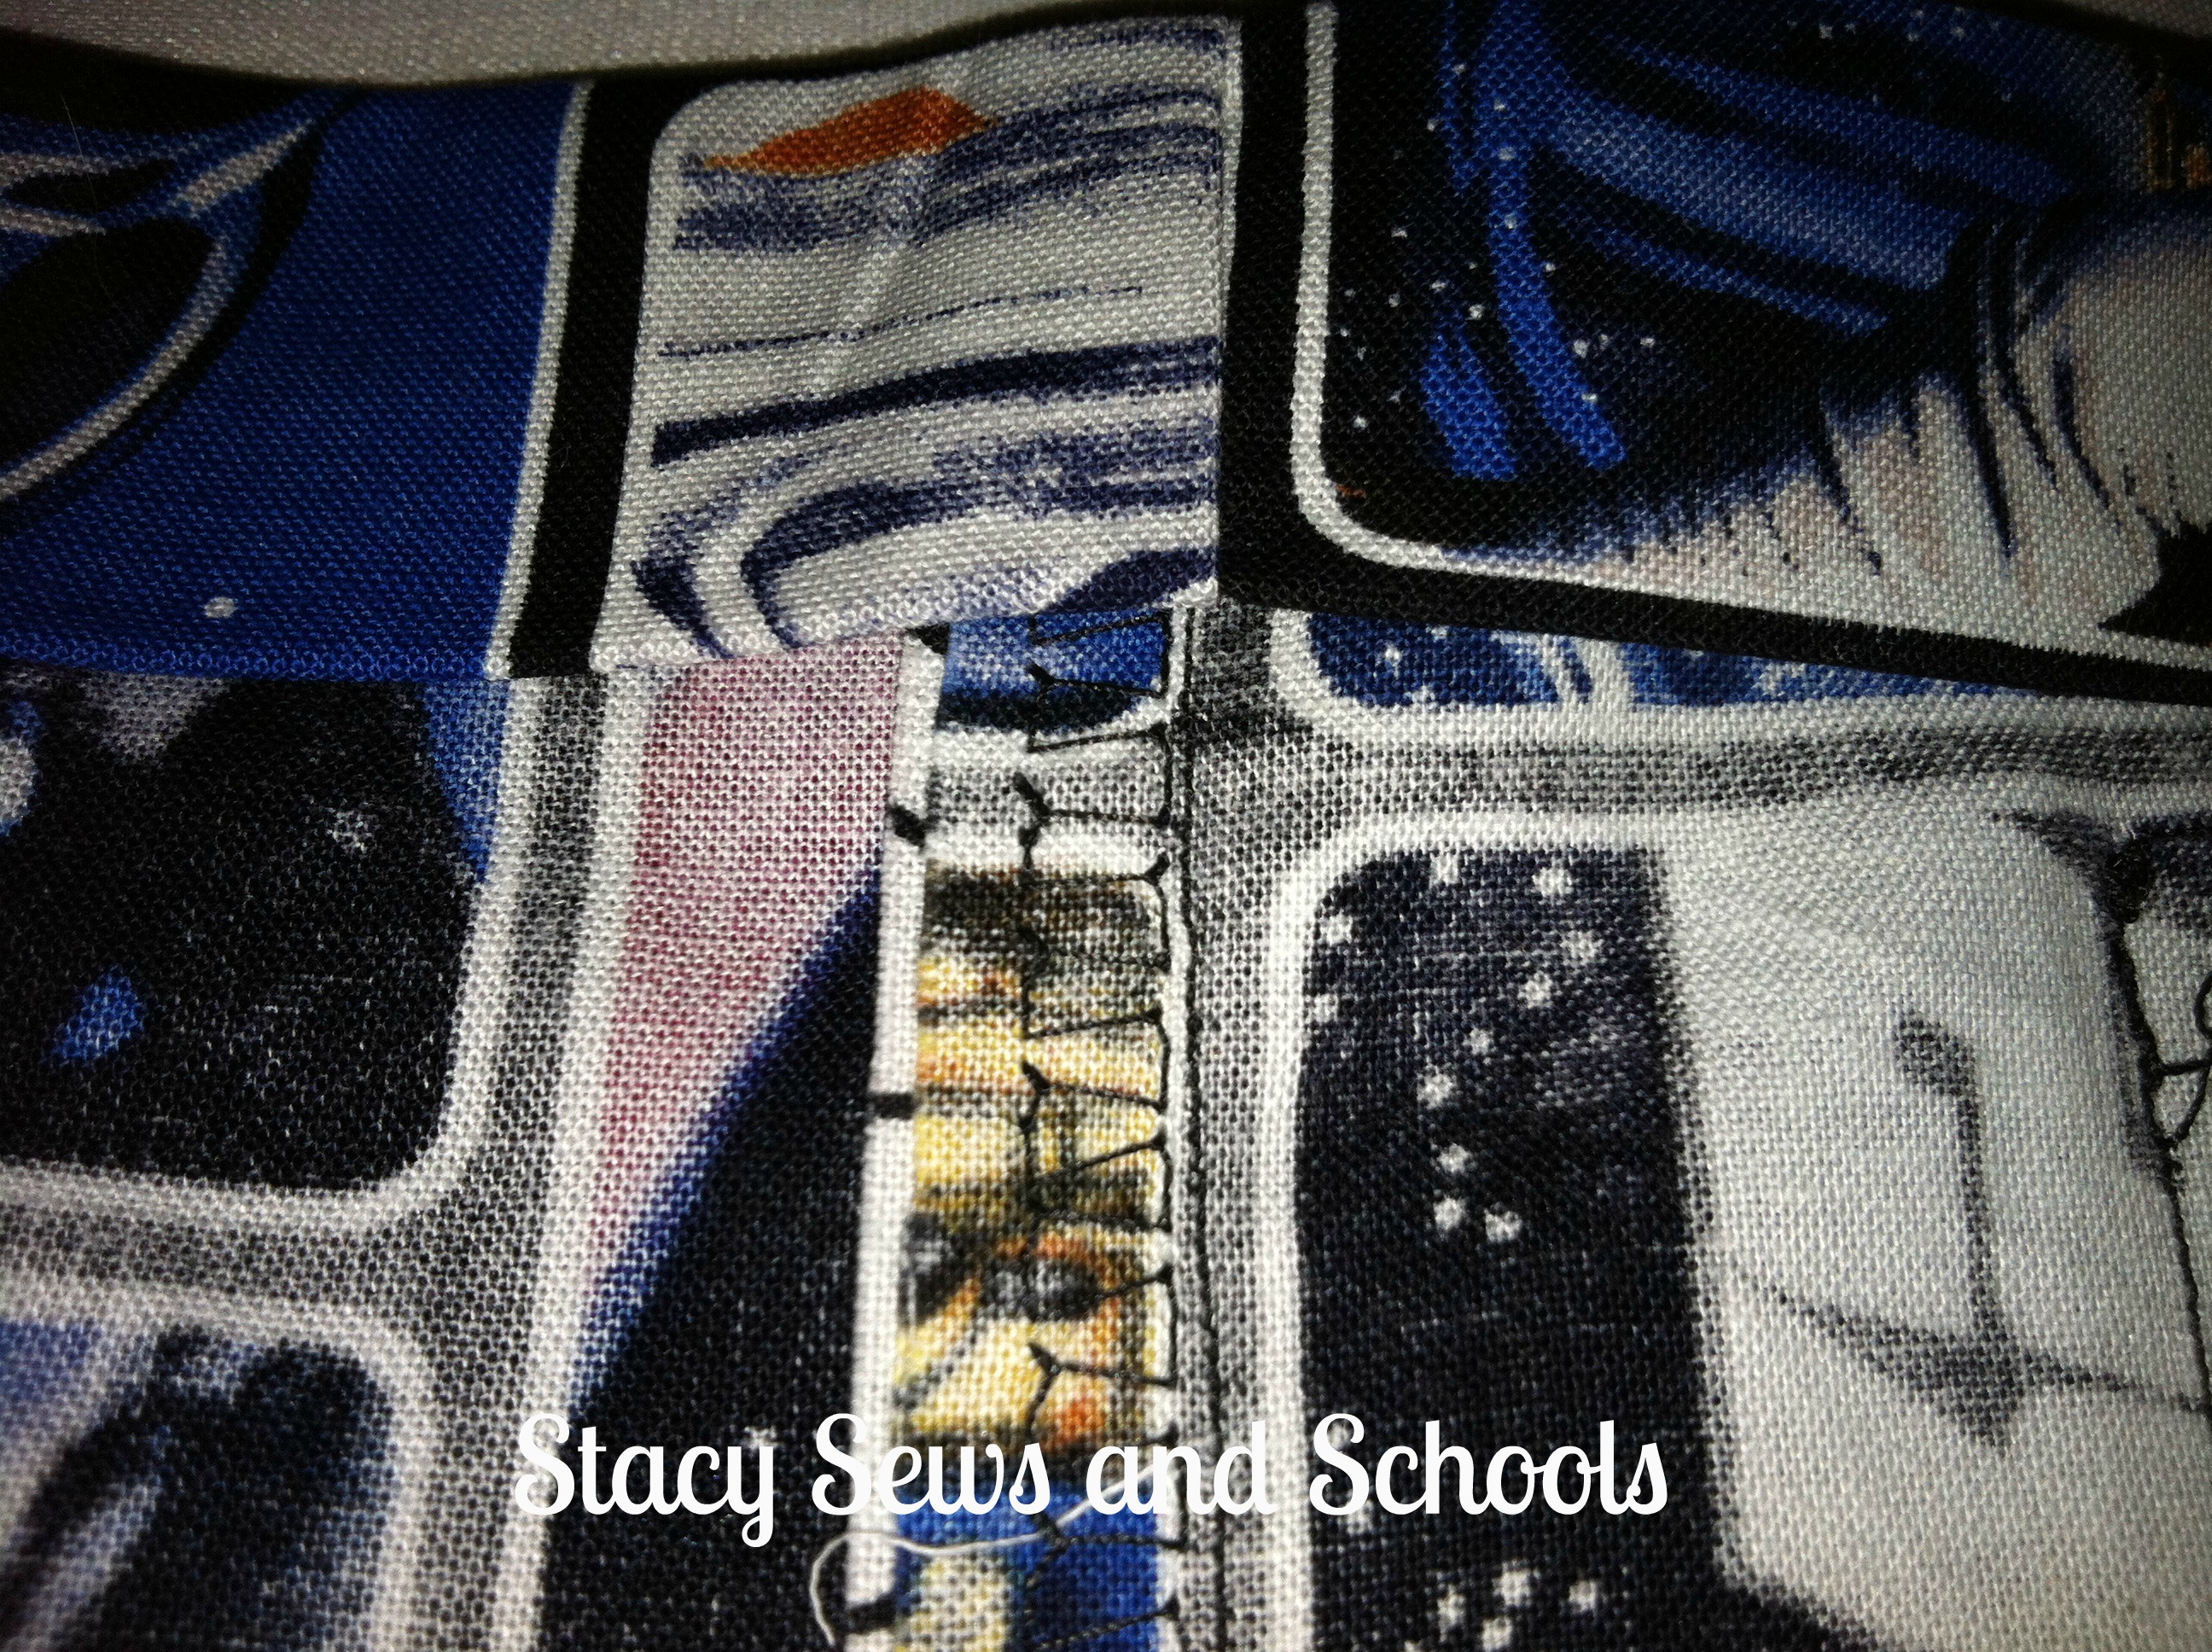
You are going to want to use a finishing stitch here. That way you won't have threads all over the place after washing. ;) Usually you want the finishing stitches to be closer to the edge but with my new foot, the feed dogs don't want to work well unless there is fabric between them and the foot.


Star Wars Shorts 022


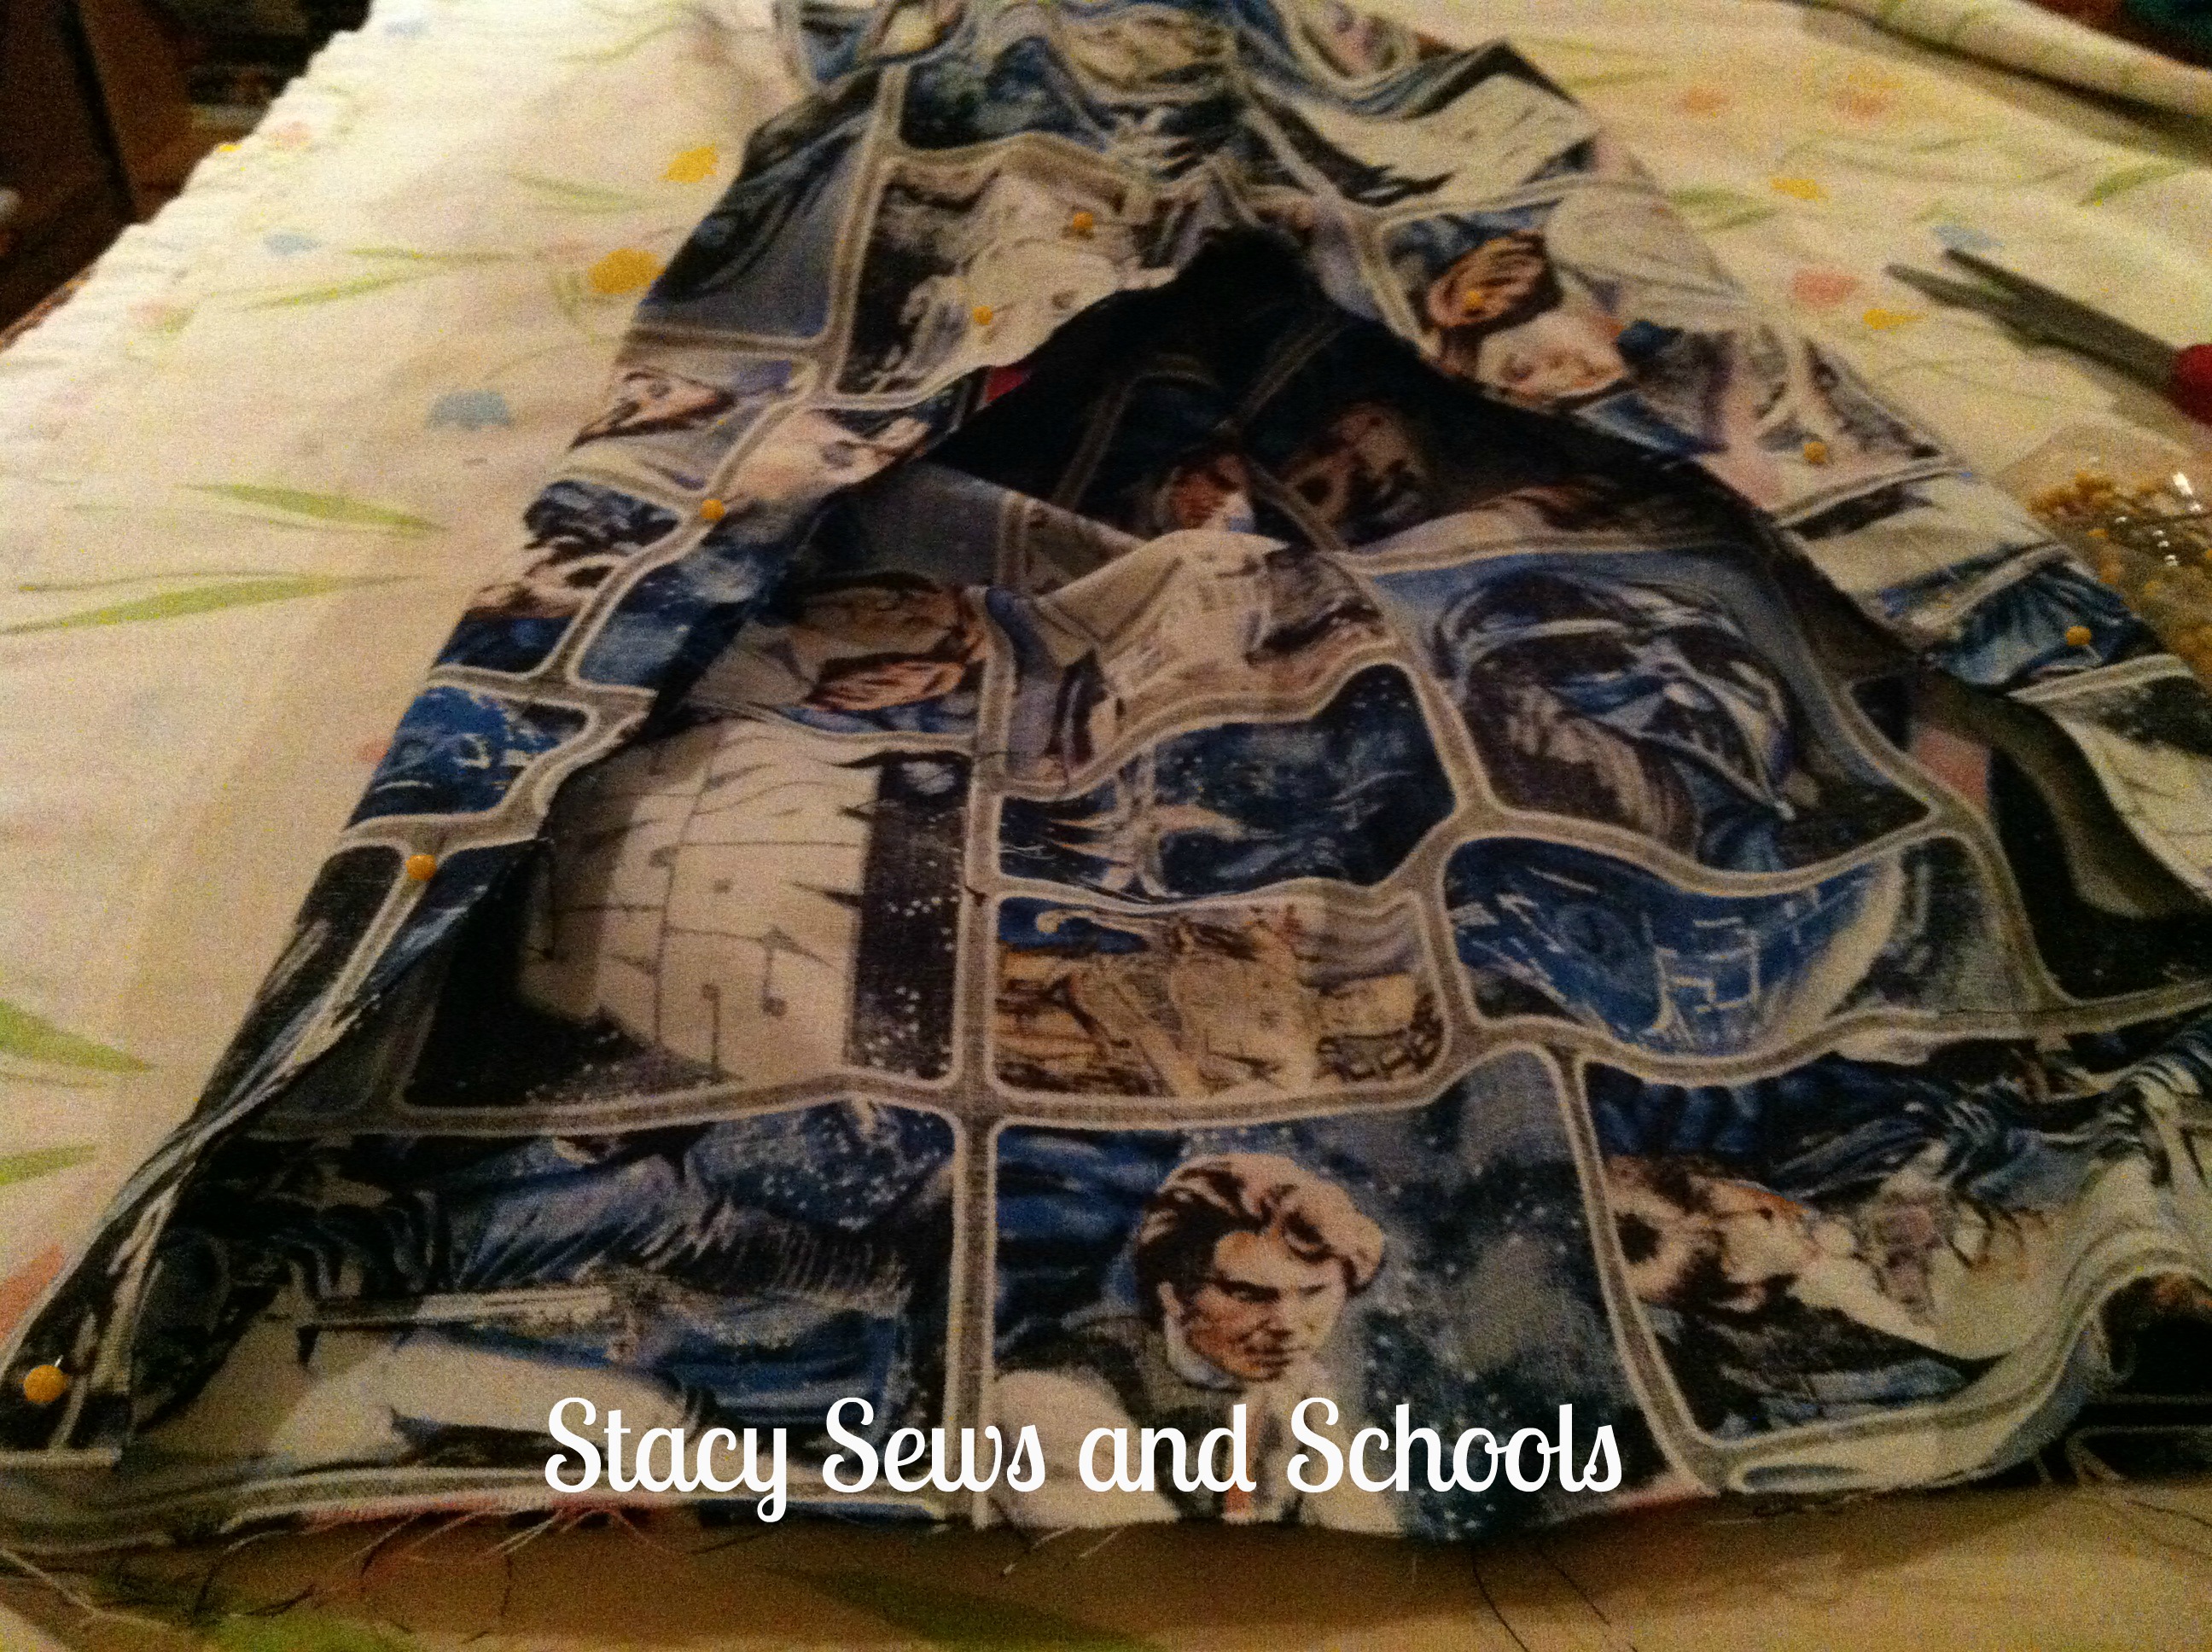
After you have both legs done, turn one right side out and slide it into the other leg. Pin around the crotch curve and sew your seam!


Star Wars Shorts 028


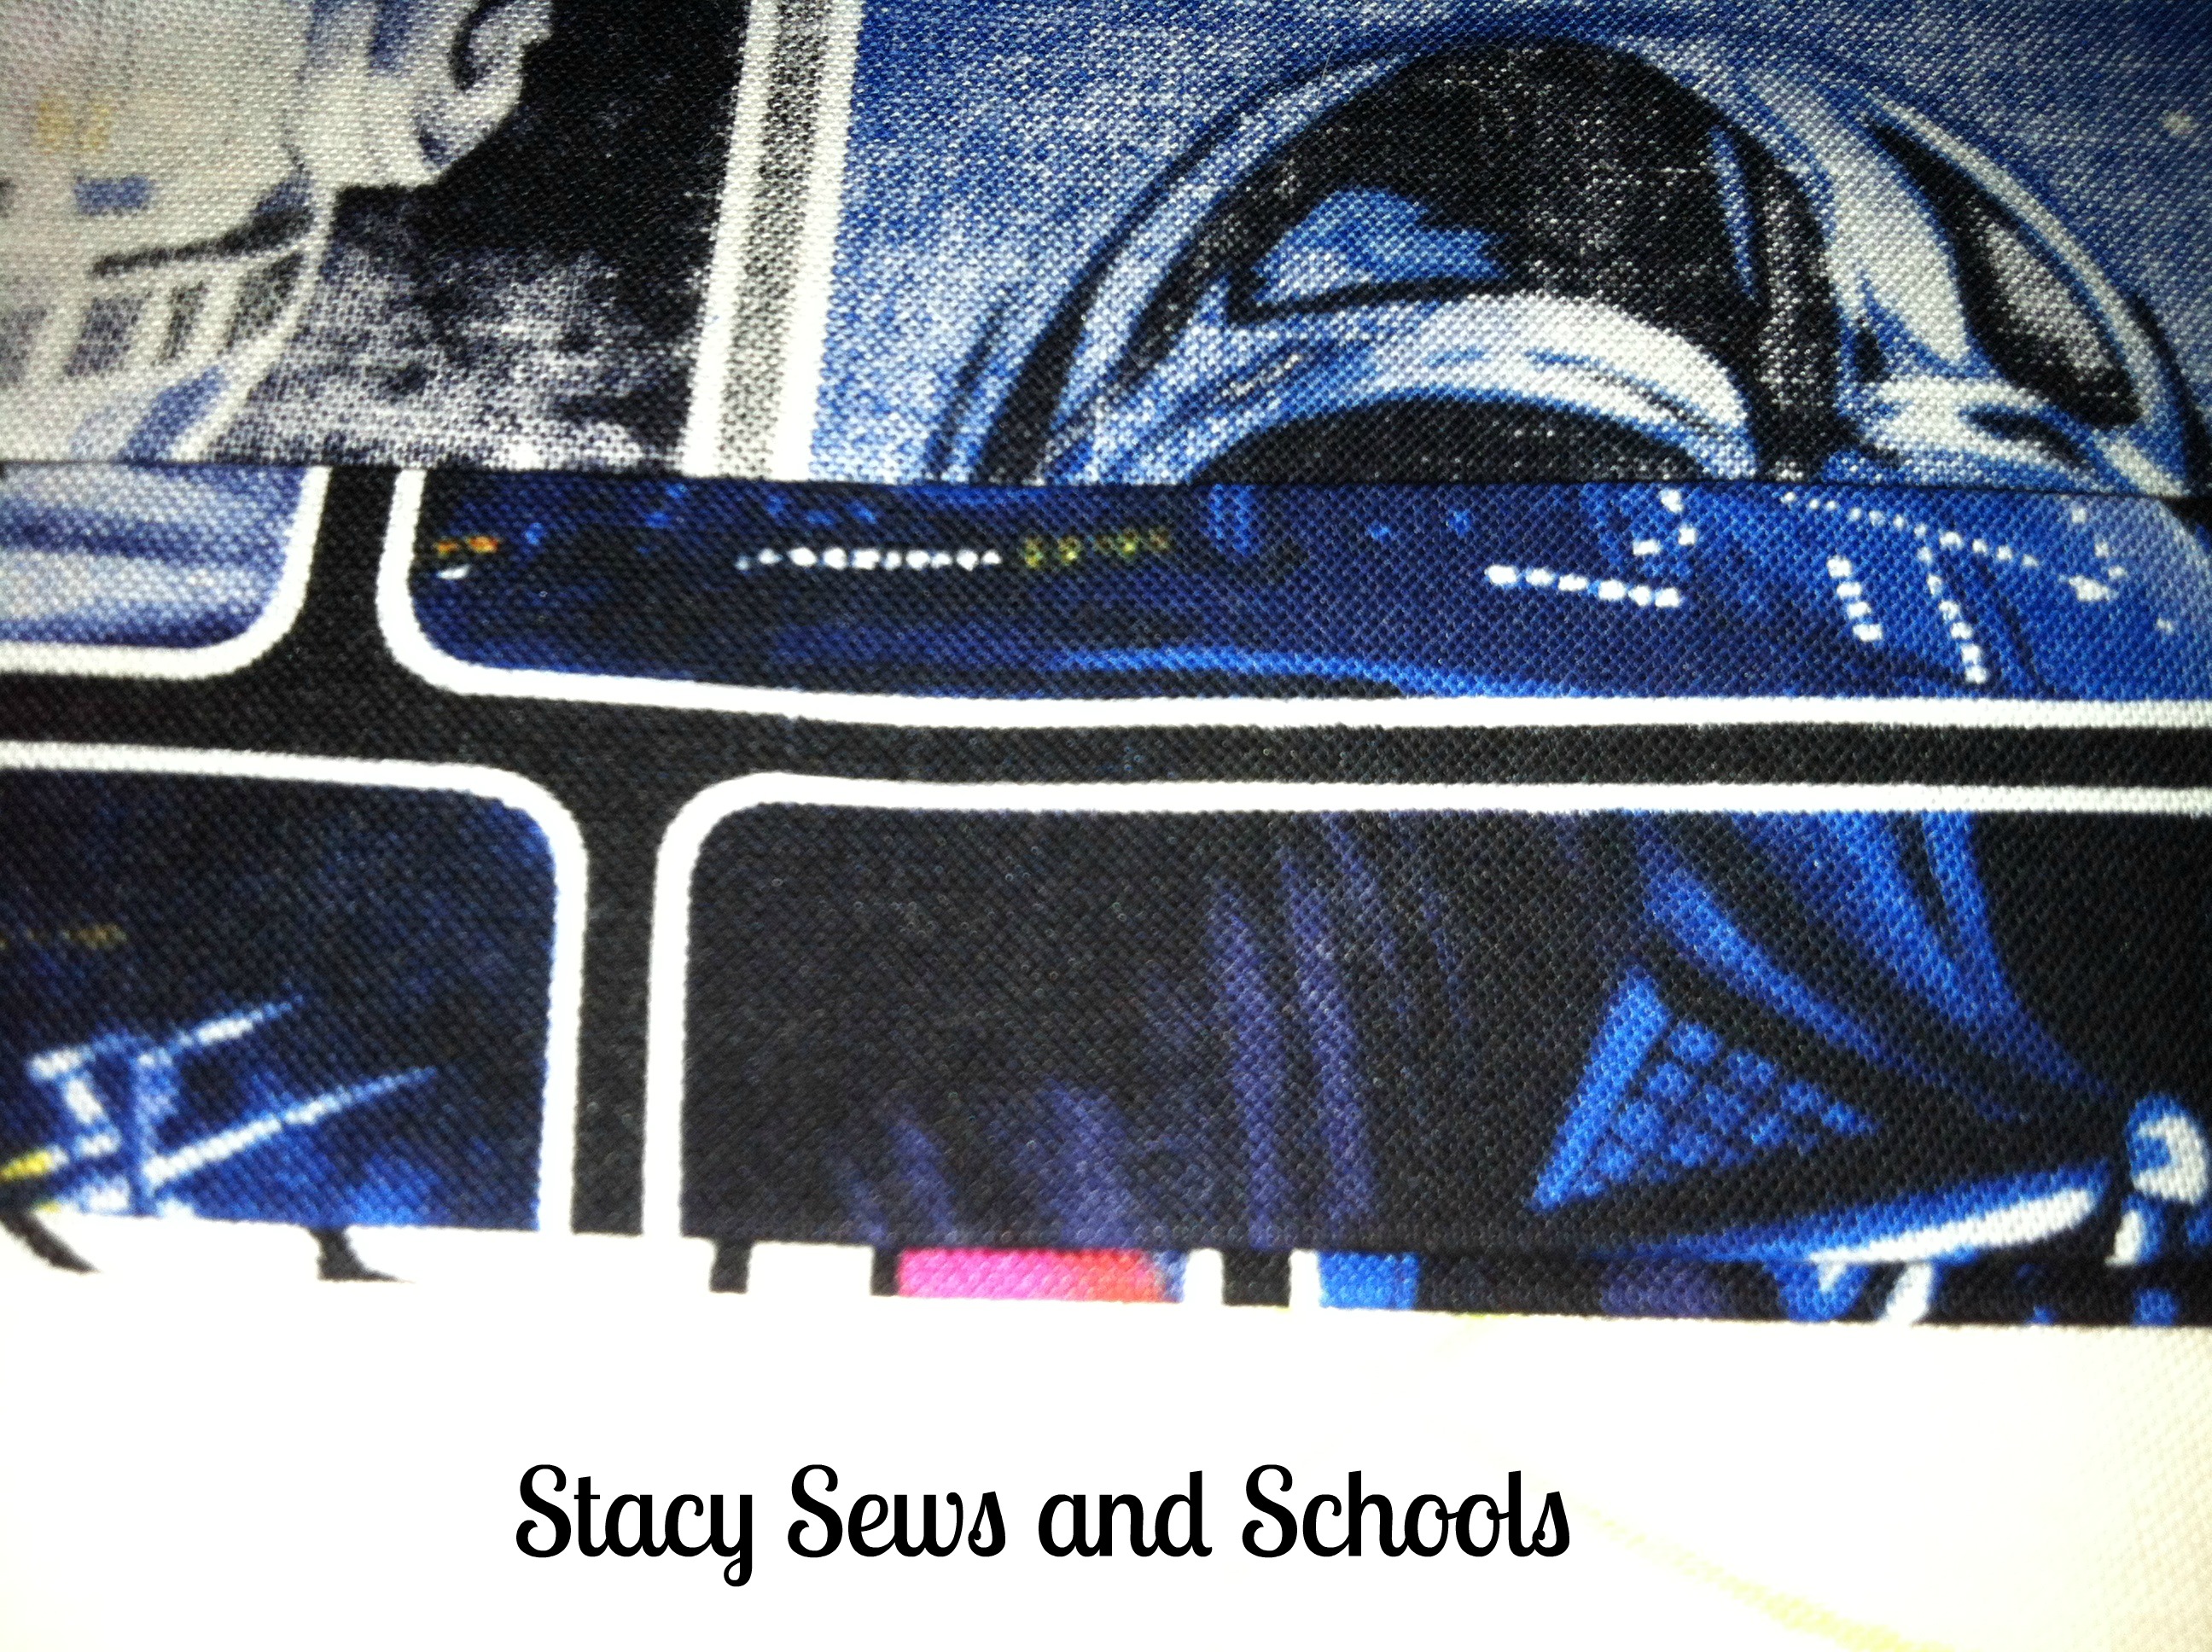
With the pants inside out, pin up the leg bottom by 3/4" and press. Then fold up again by 1" and press. Pin it and sew up the hem! :)


Star Wars Shorts 027


Still with the pants inside out, fold over the waist by 1/4" and press. Then fold again by 1" , press and pin. Now, sew along the edge, making sure to leave an opening to insert the elastic.


Star Wars Shorts 031

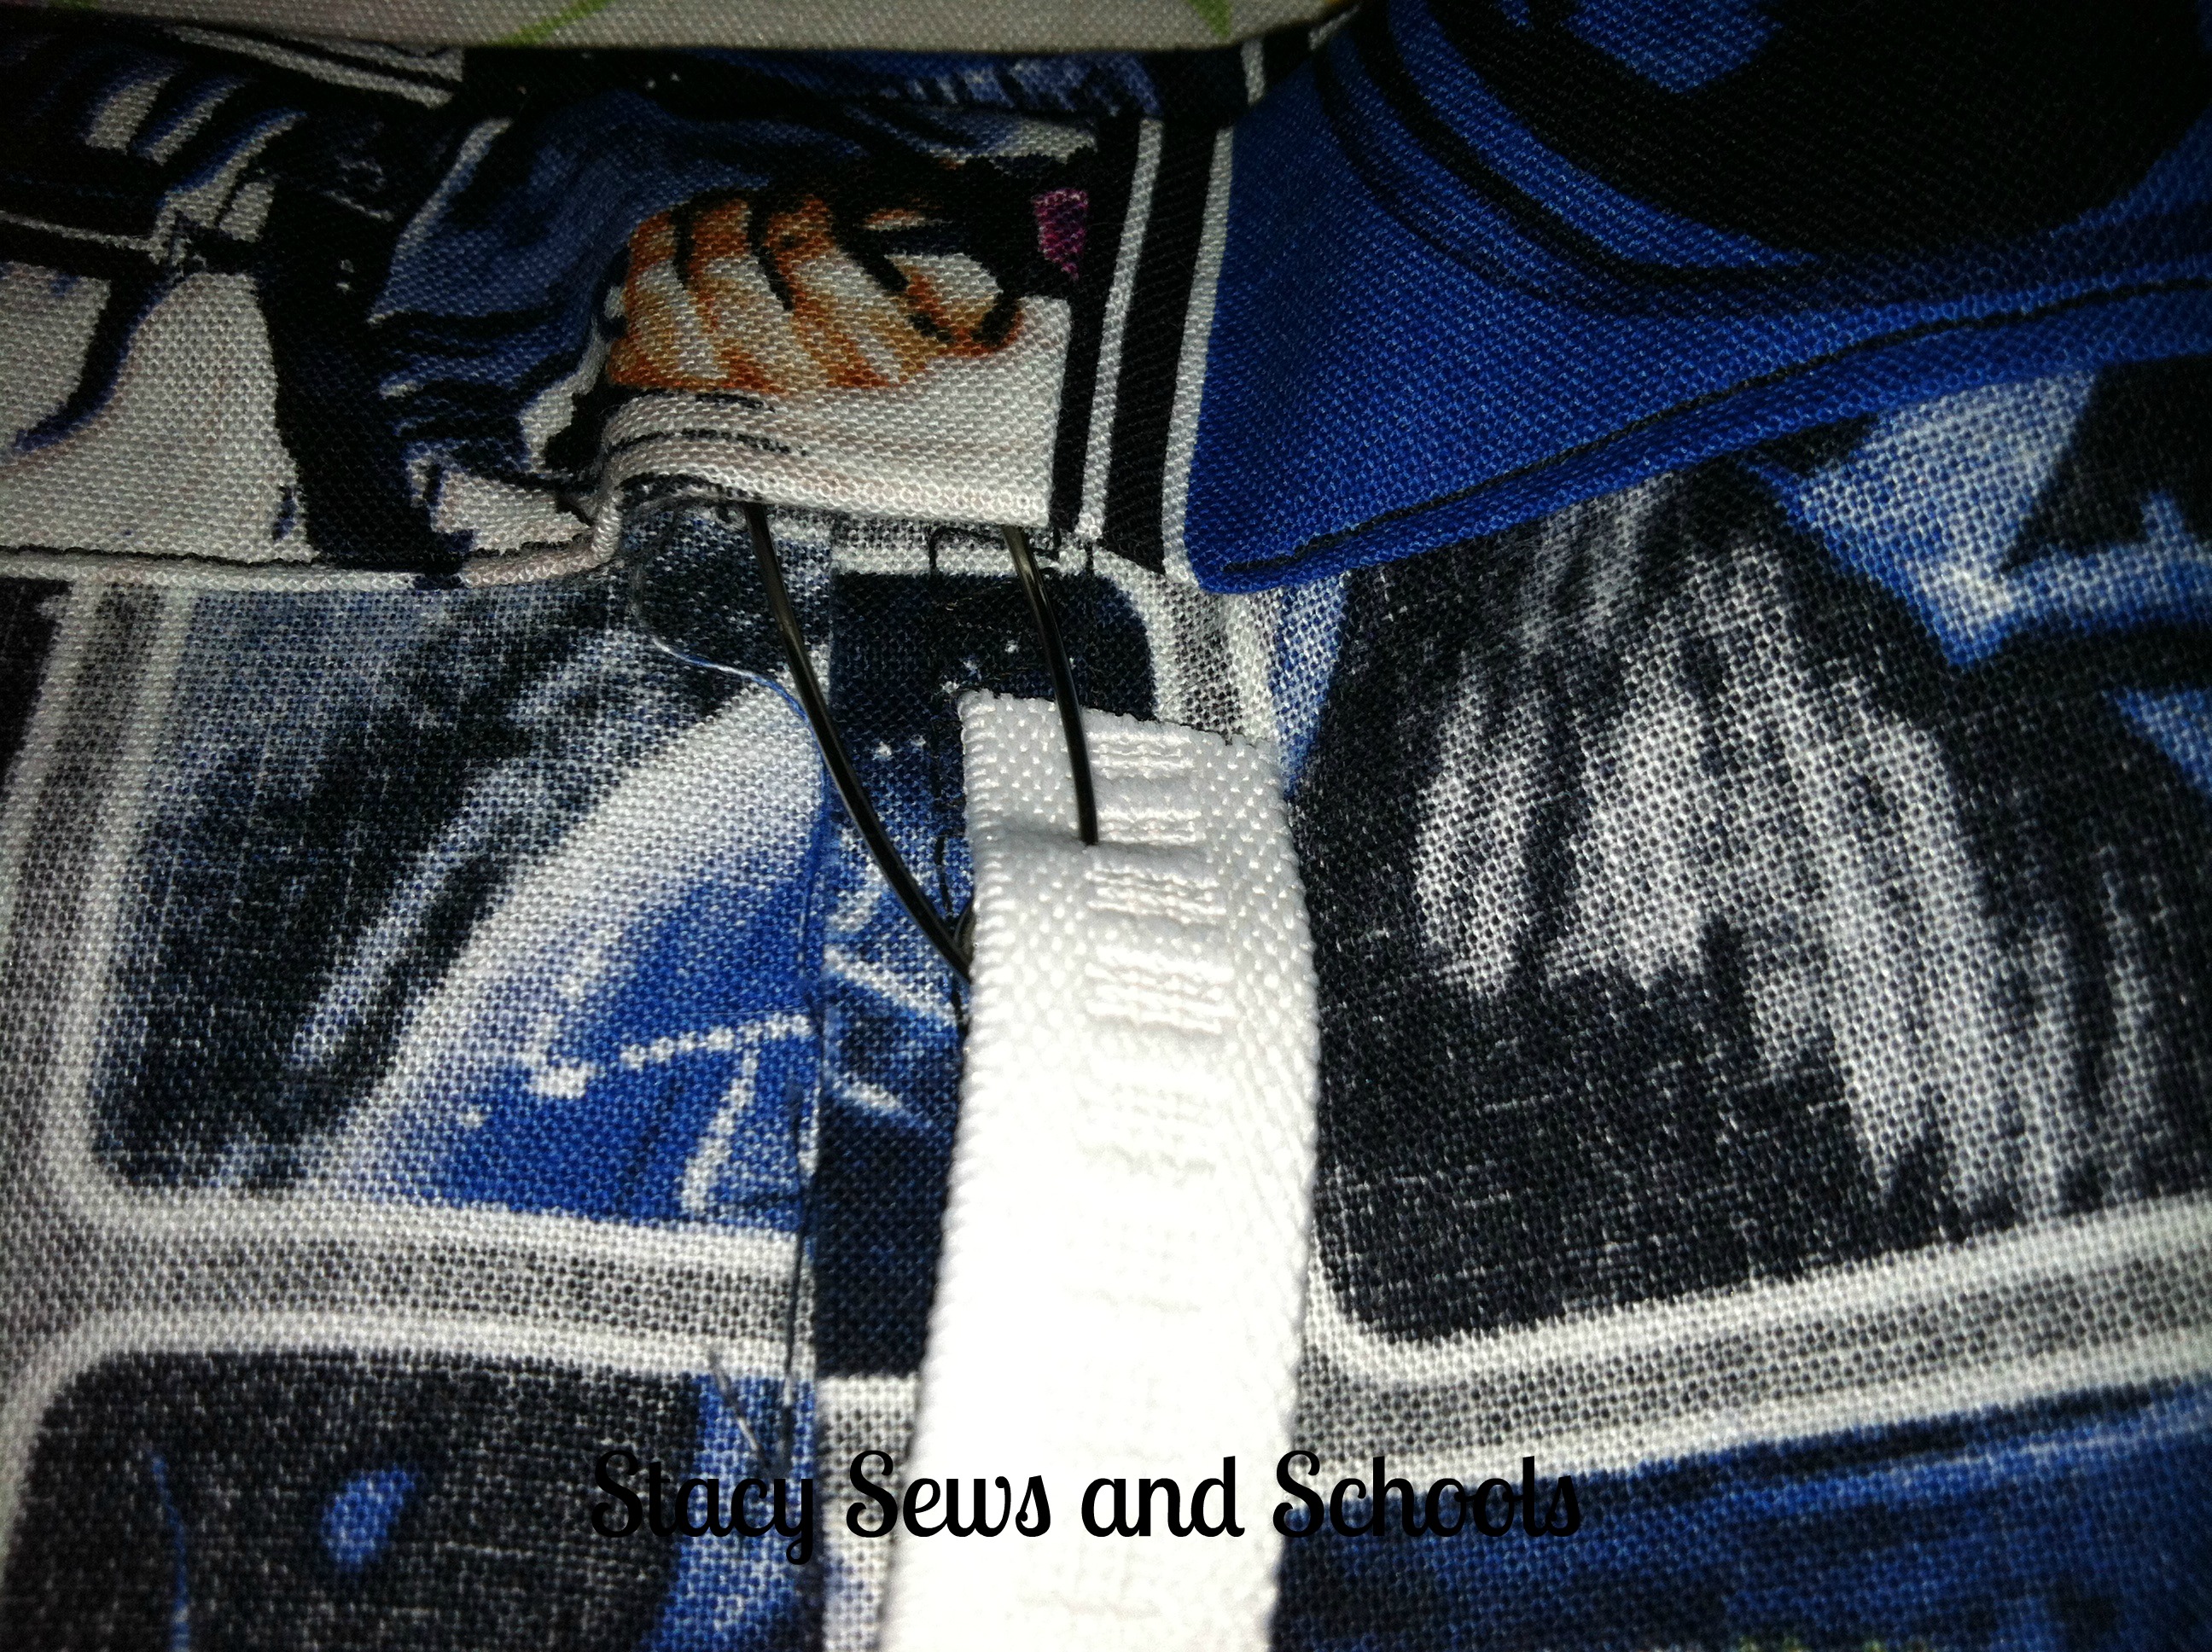
Now, pin the ends of your elastic with safety pins. You can either hold tightly to one end or pin it to the fabric or yourself.  You can also buy a handy dandy elastic inserter..... But seriously, the safety pins work very well.

Insert the elastic through the casing. Then pull out both ends.


Star Wars Shorts 032


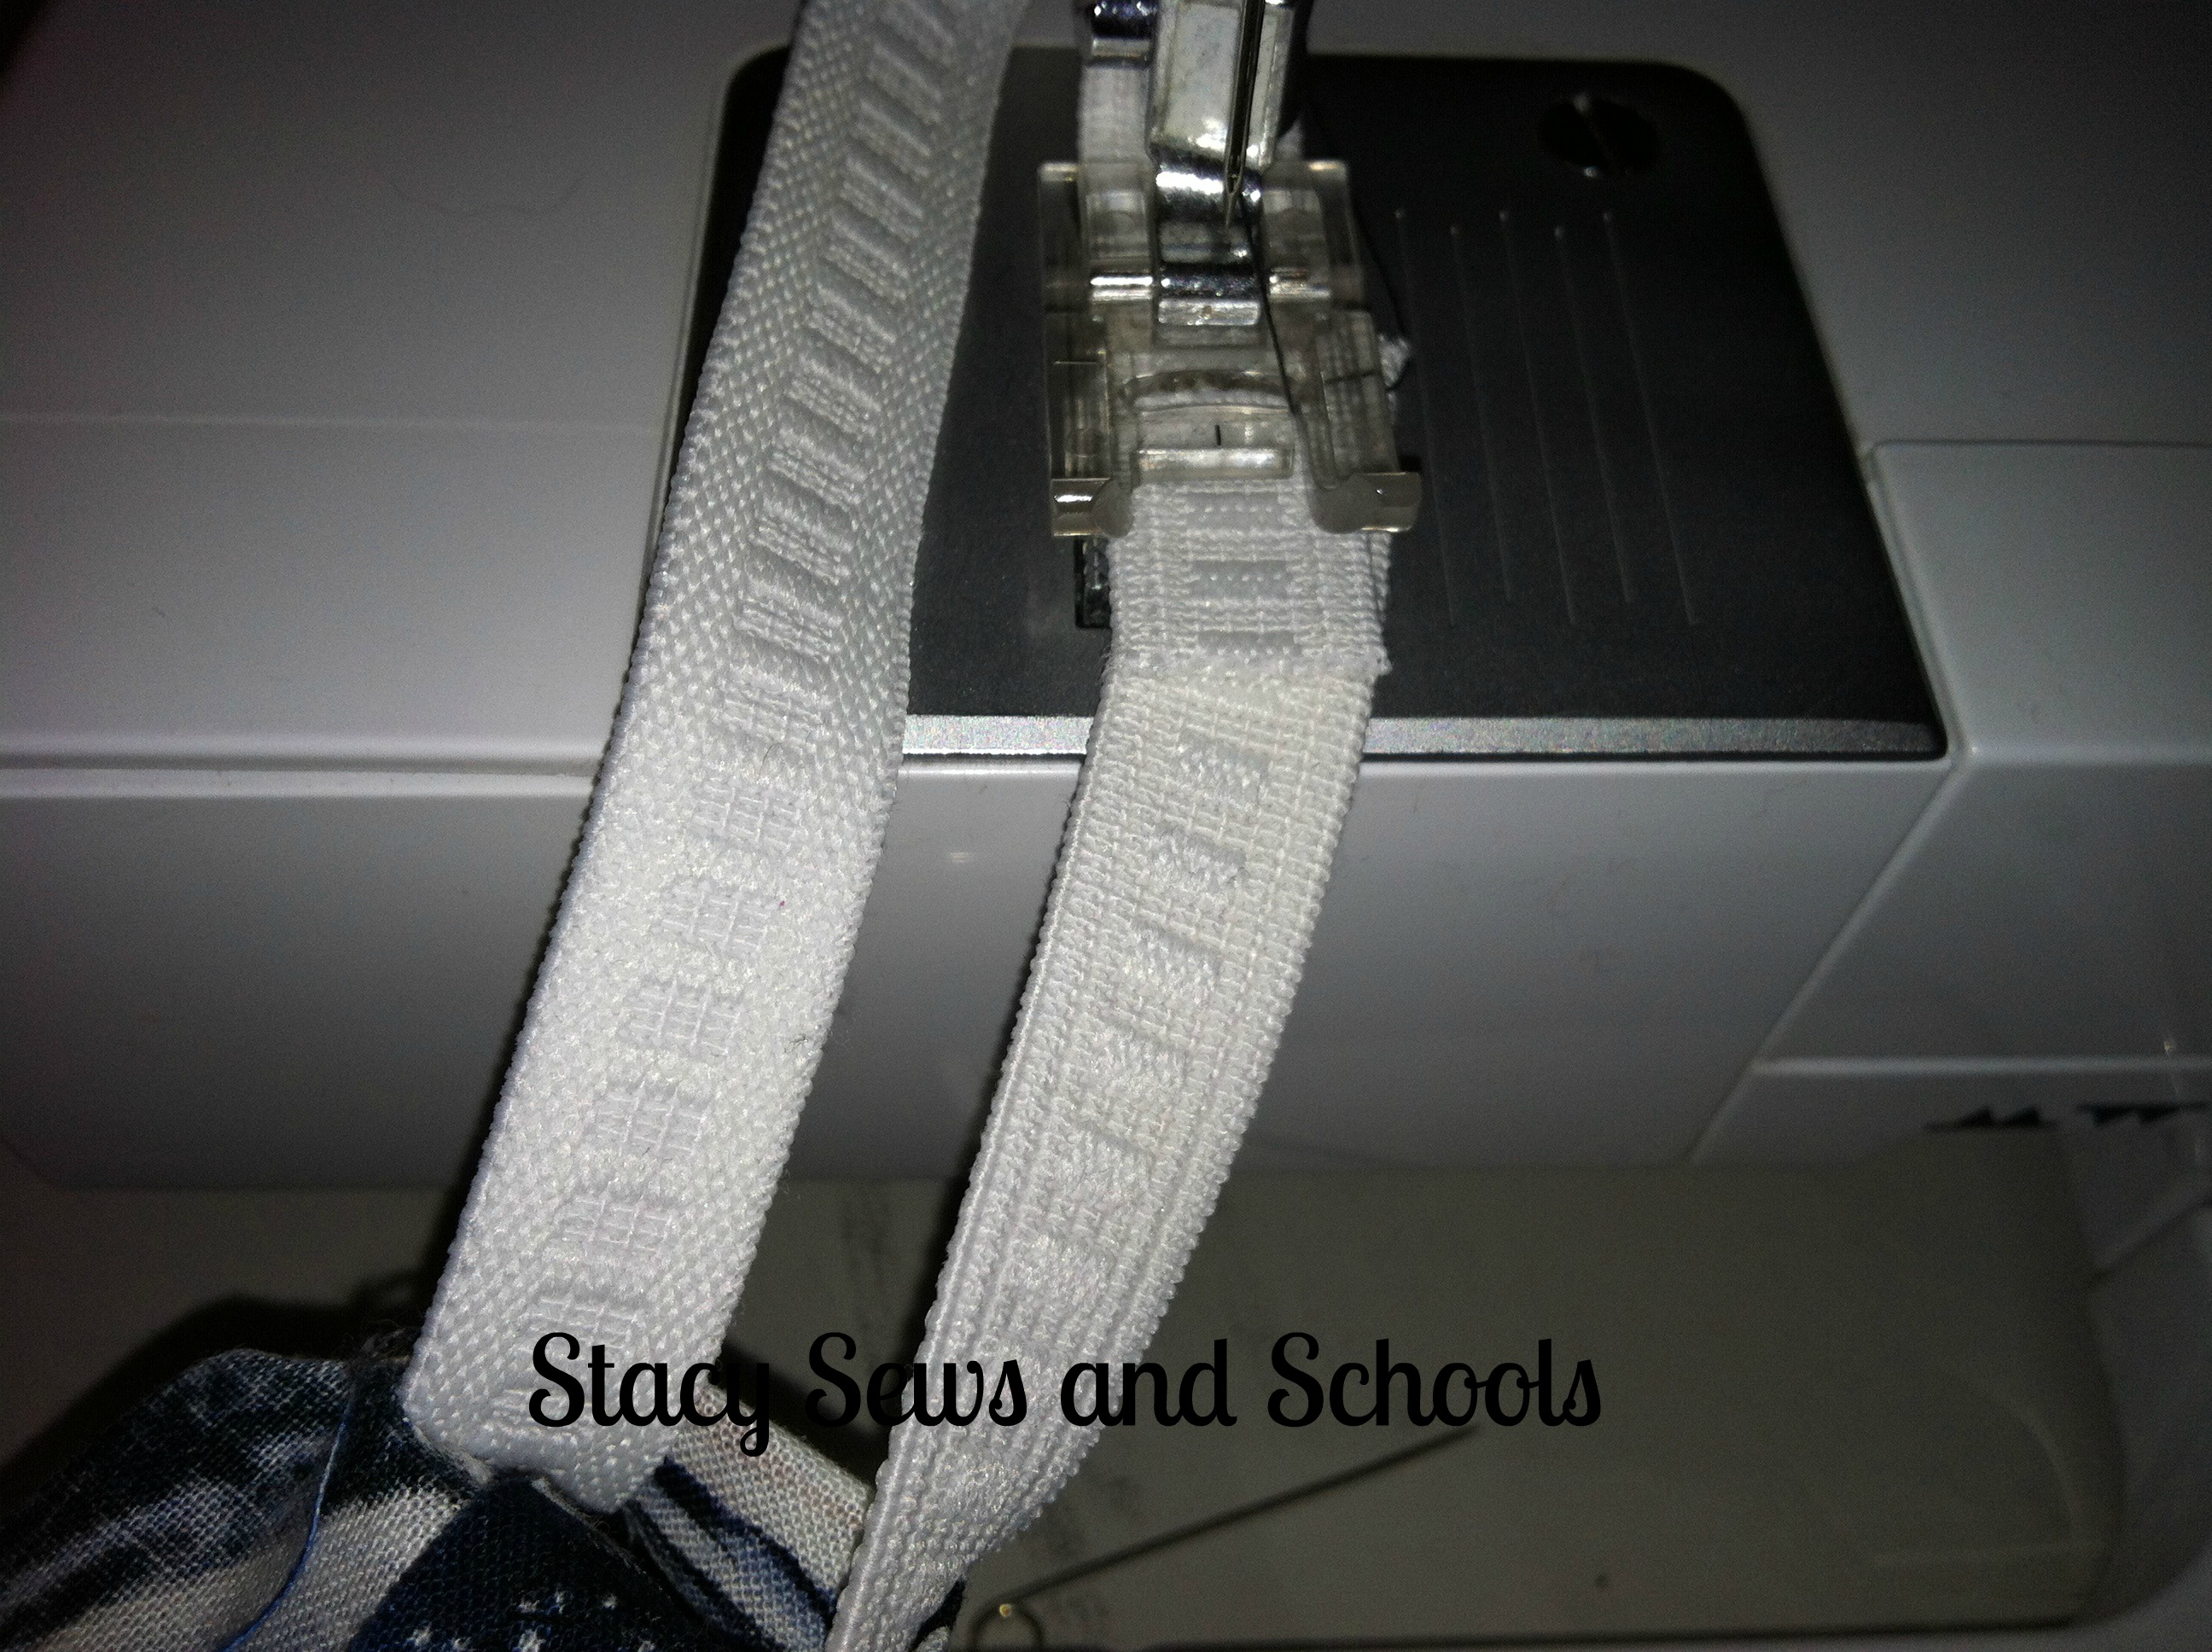
Now, sew the elastic ends together using a zigzag stitch.


Star Wars Shorts 035


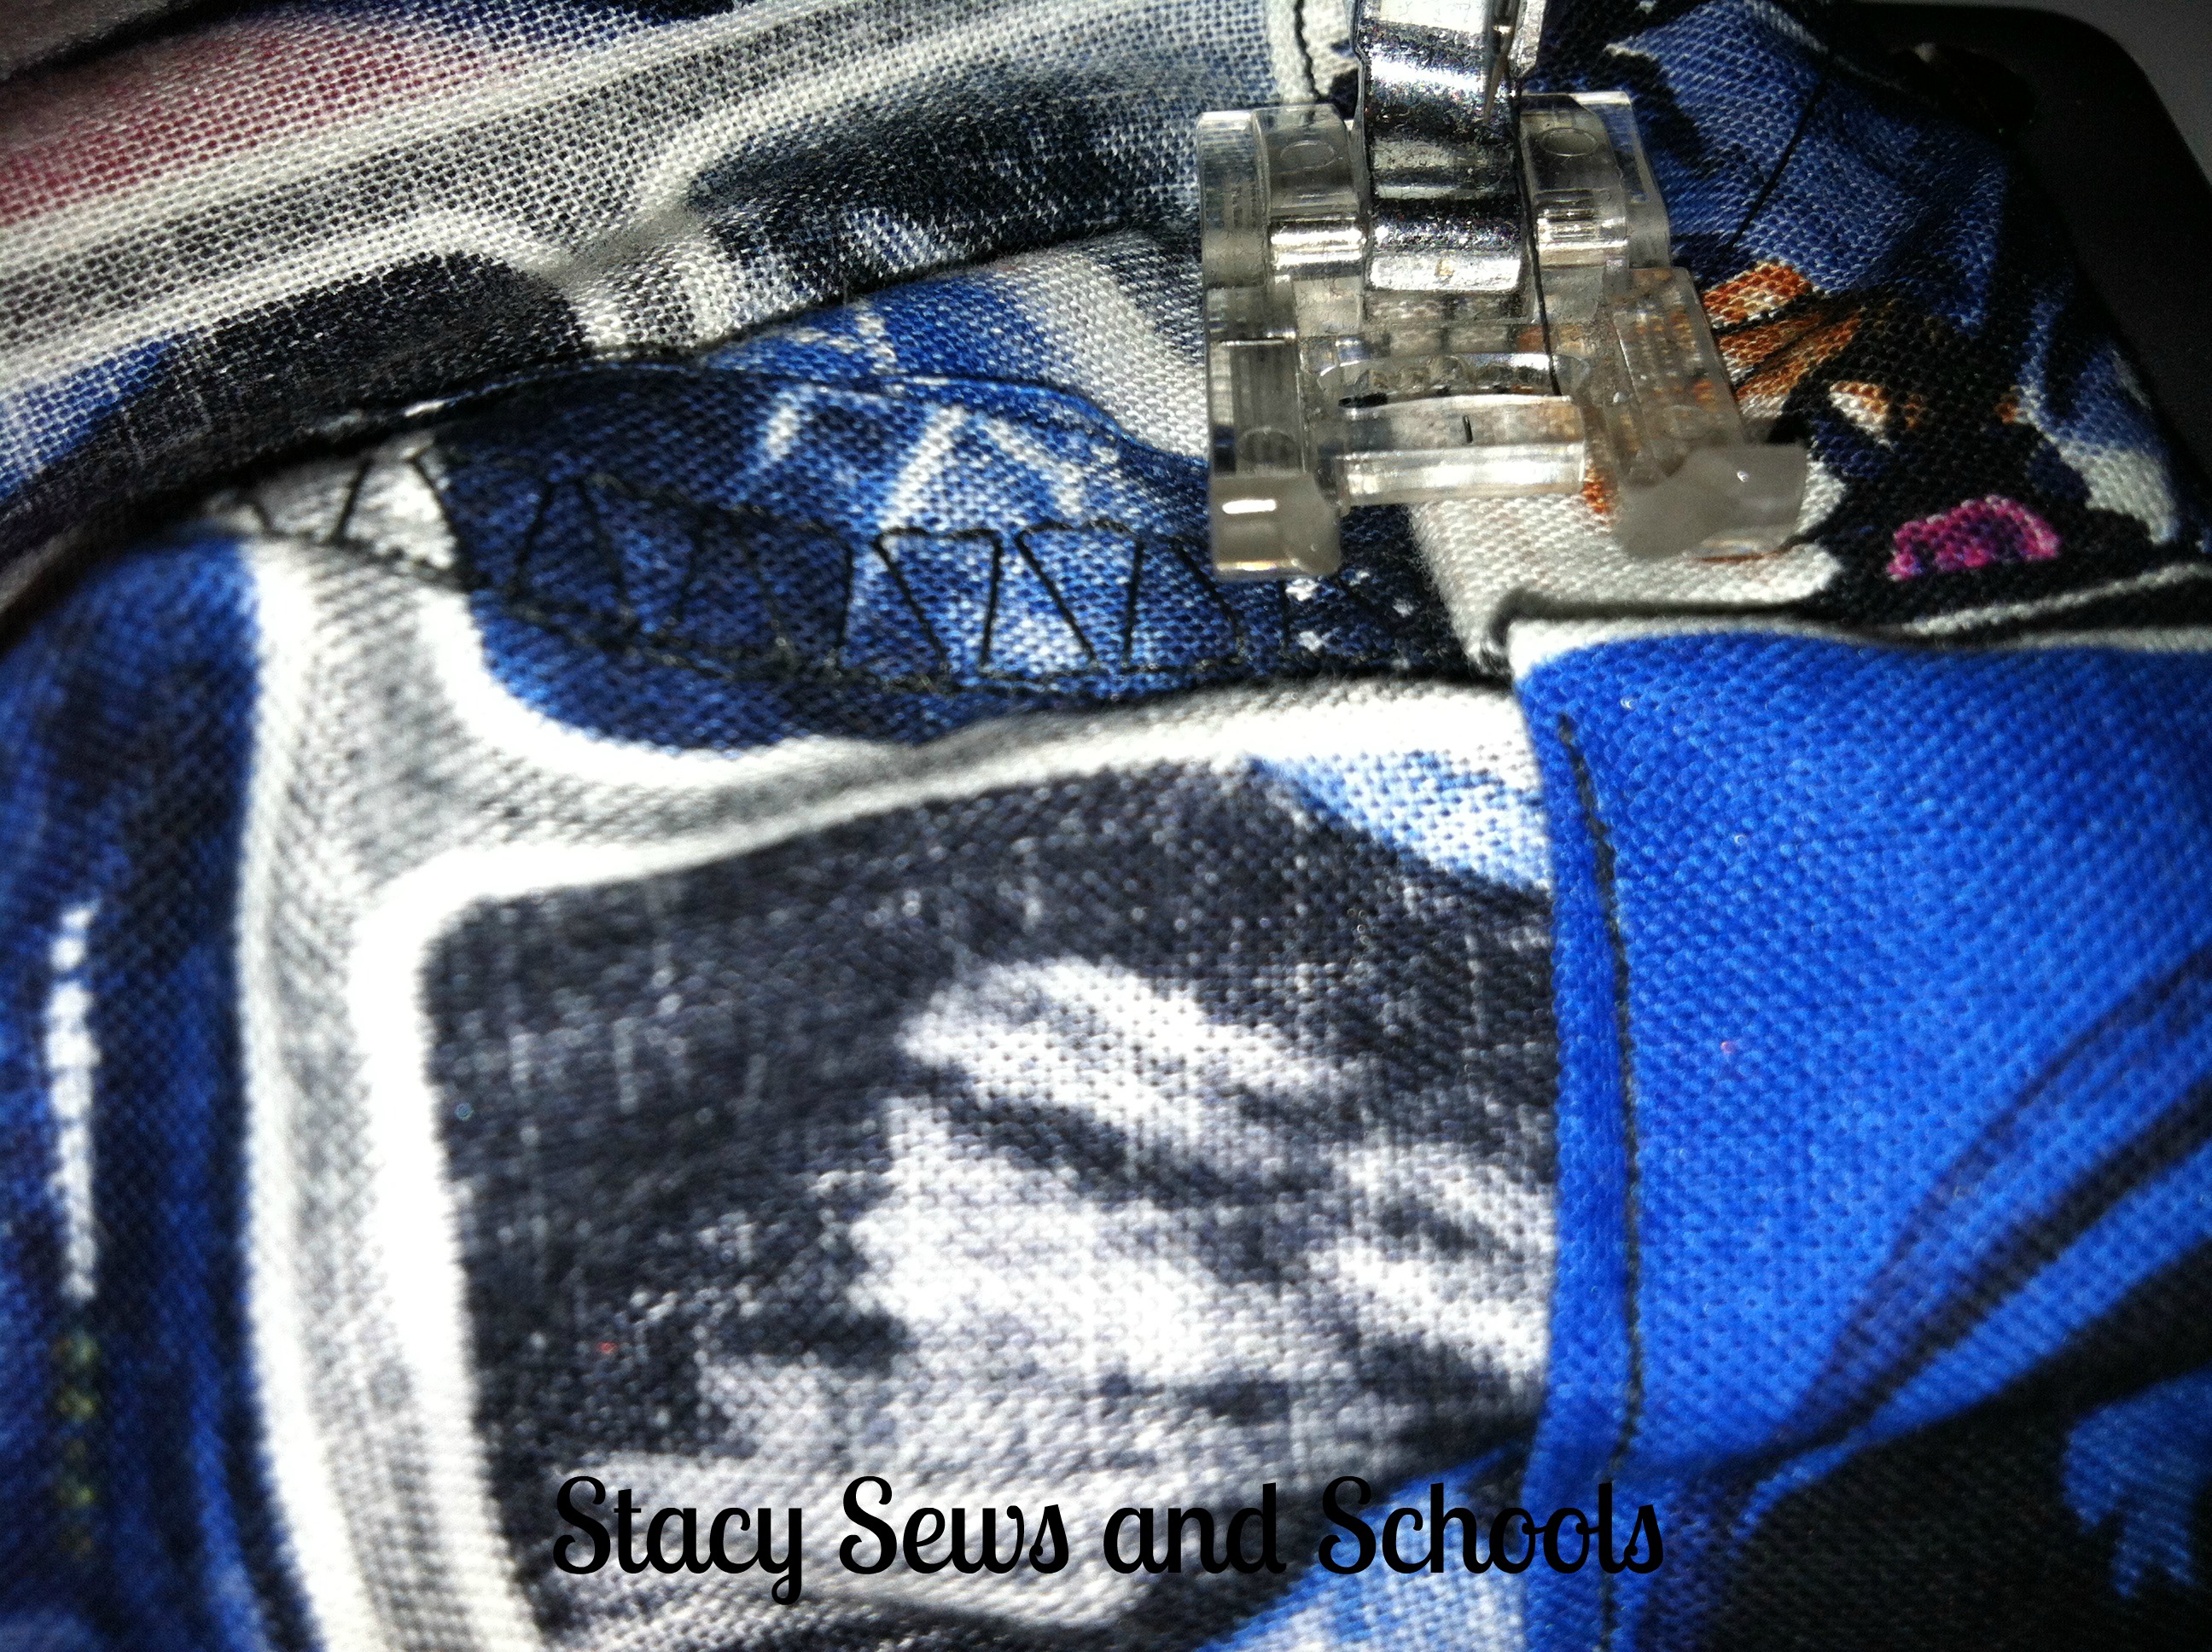
Sew your elastic casing closed!


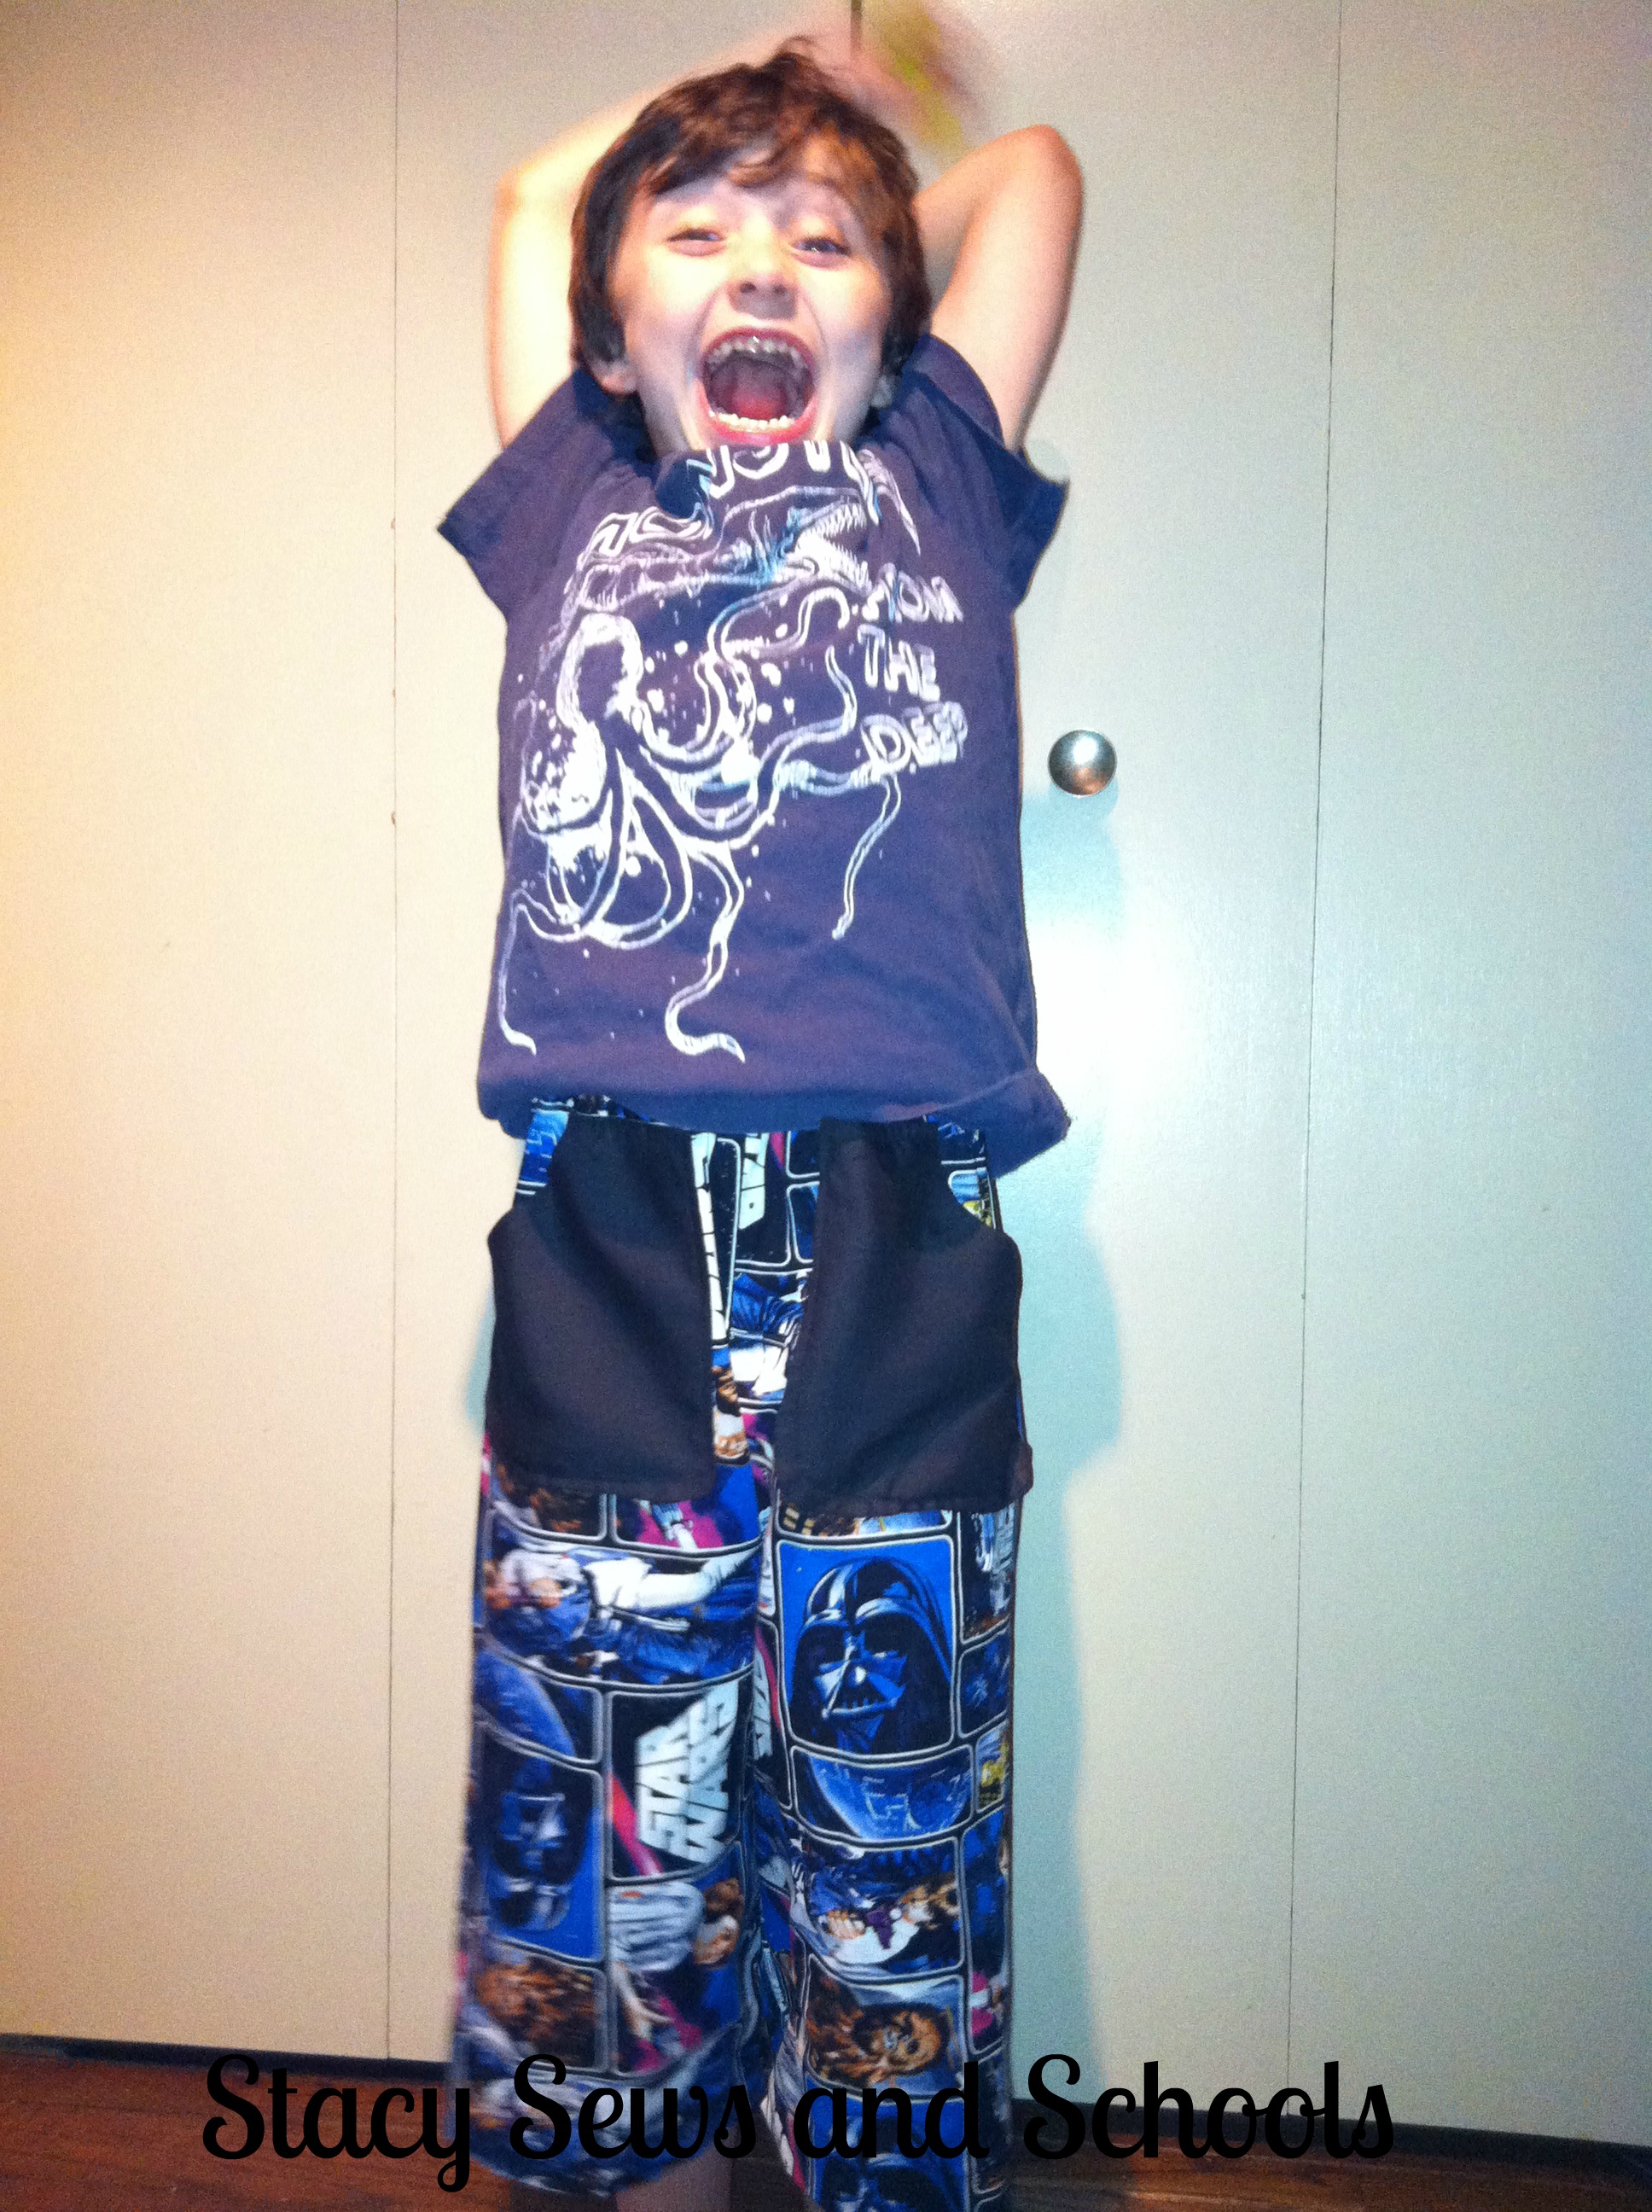
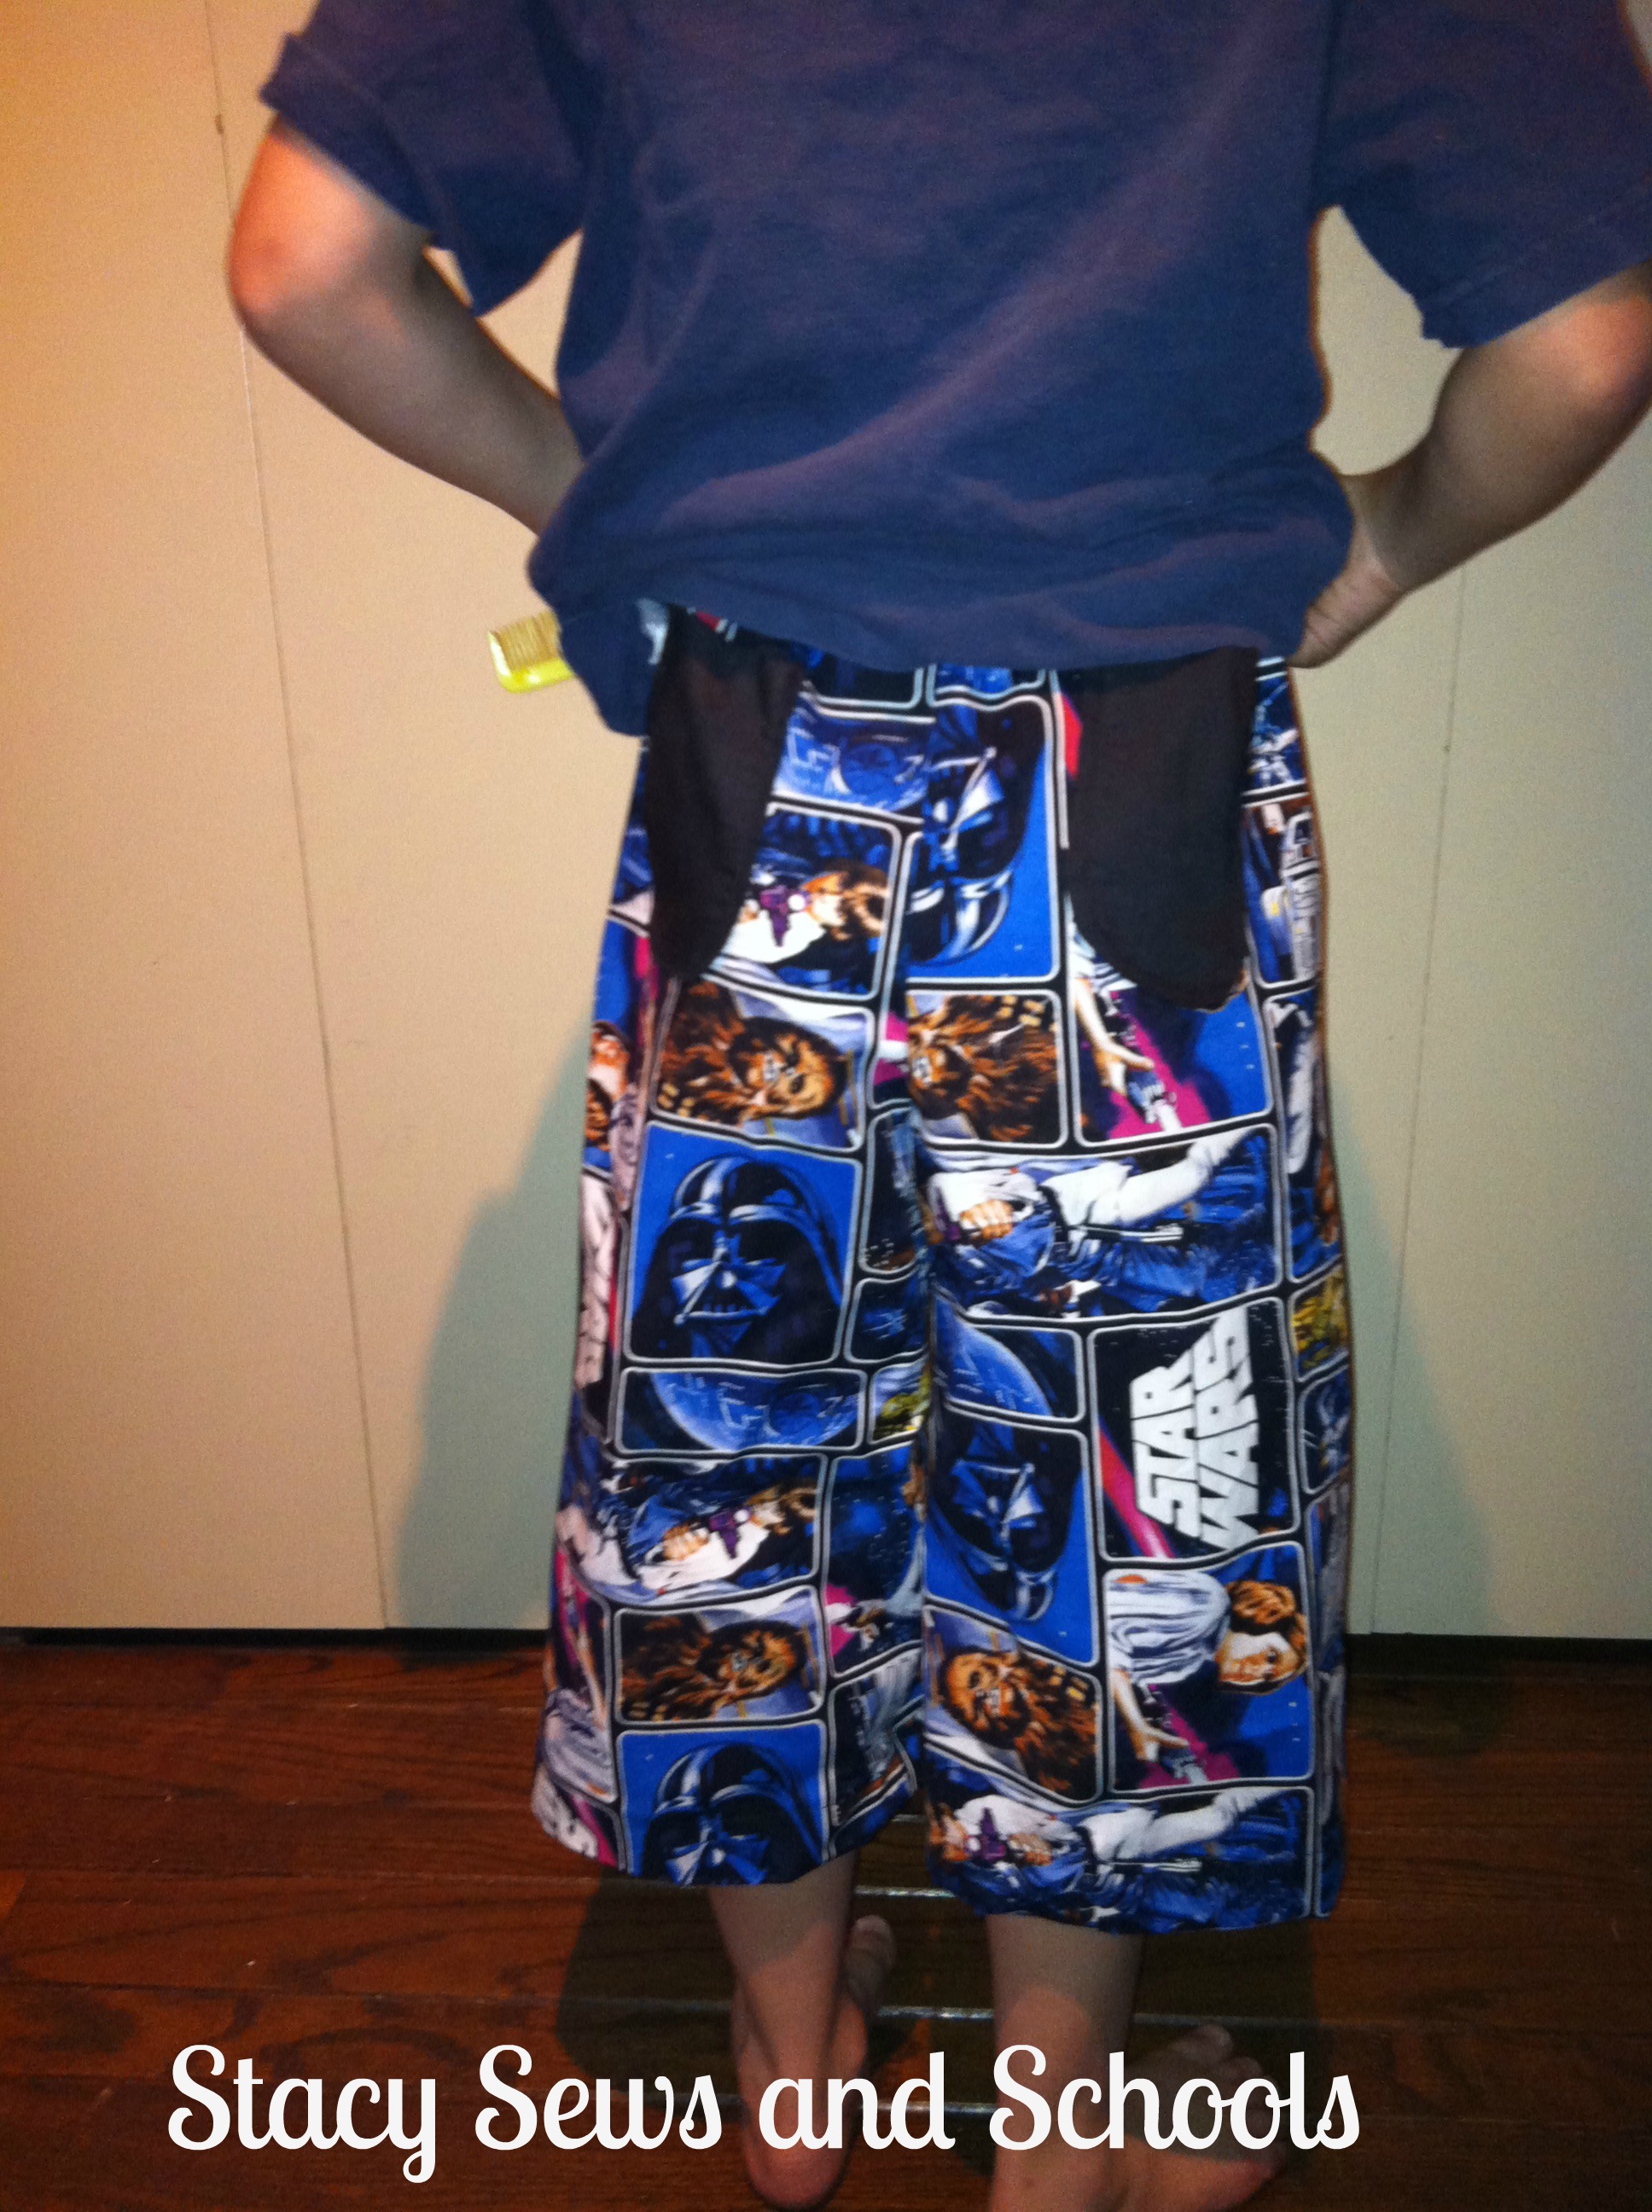
Turn right side out and you will have a happy little boy!! LOL


Star Wars Shorts 1005


Star Wars Shorts 1004


Now, this was not one of the tutorials that I had planned... LOL It just sort of happened.  I'm also making him some more dino pants today! LOL


Anyway, I hope you like the tutorial!!! :)


December 7, 2012

I Am a Sewing Machine!

Yep! That is what I am! LOL I finished 3 sewing projects today!! And I am patting myself on the back a little bit.... LOL ;)


Here they are!!
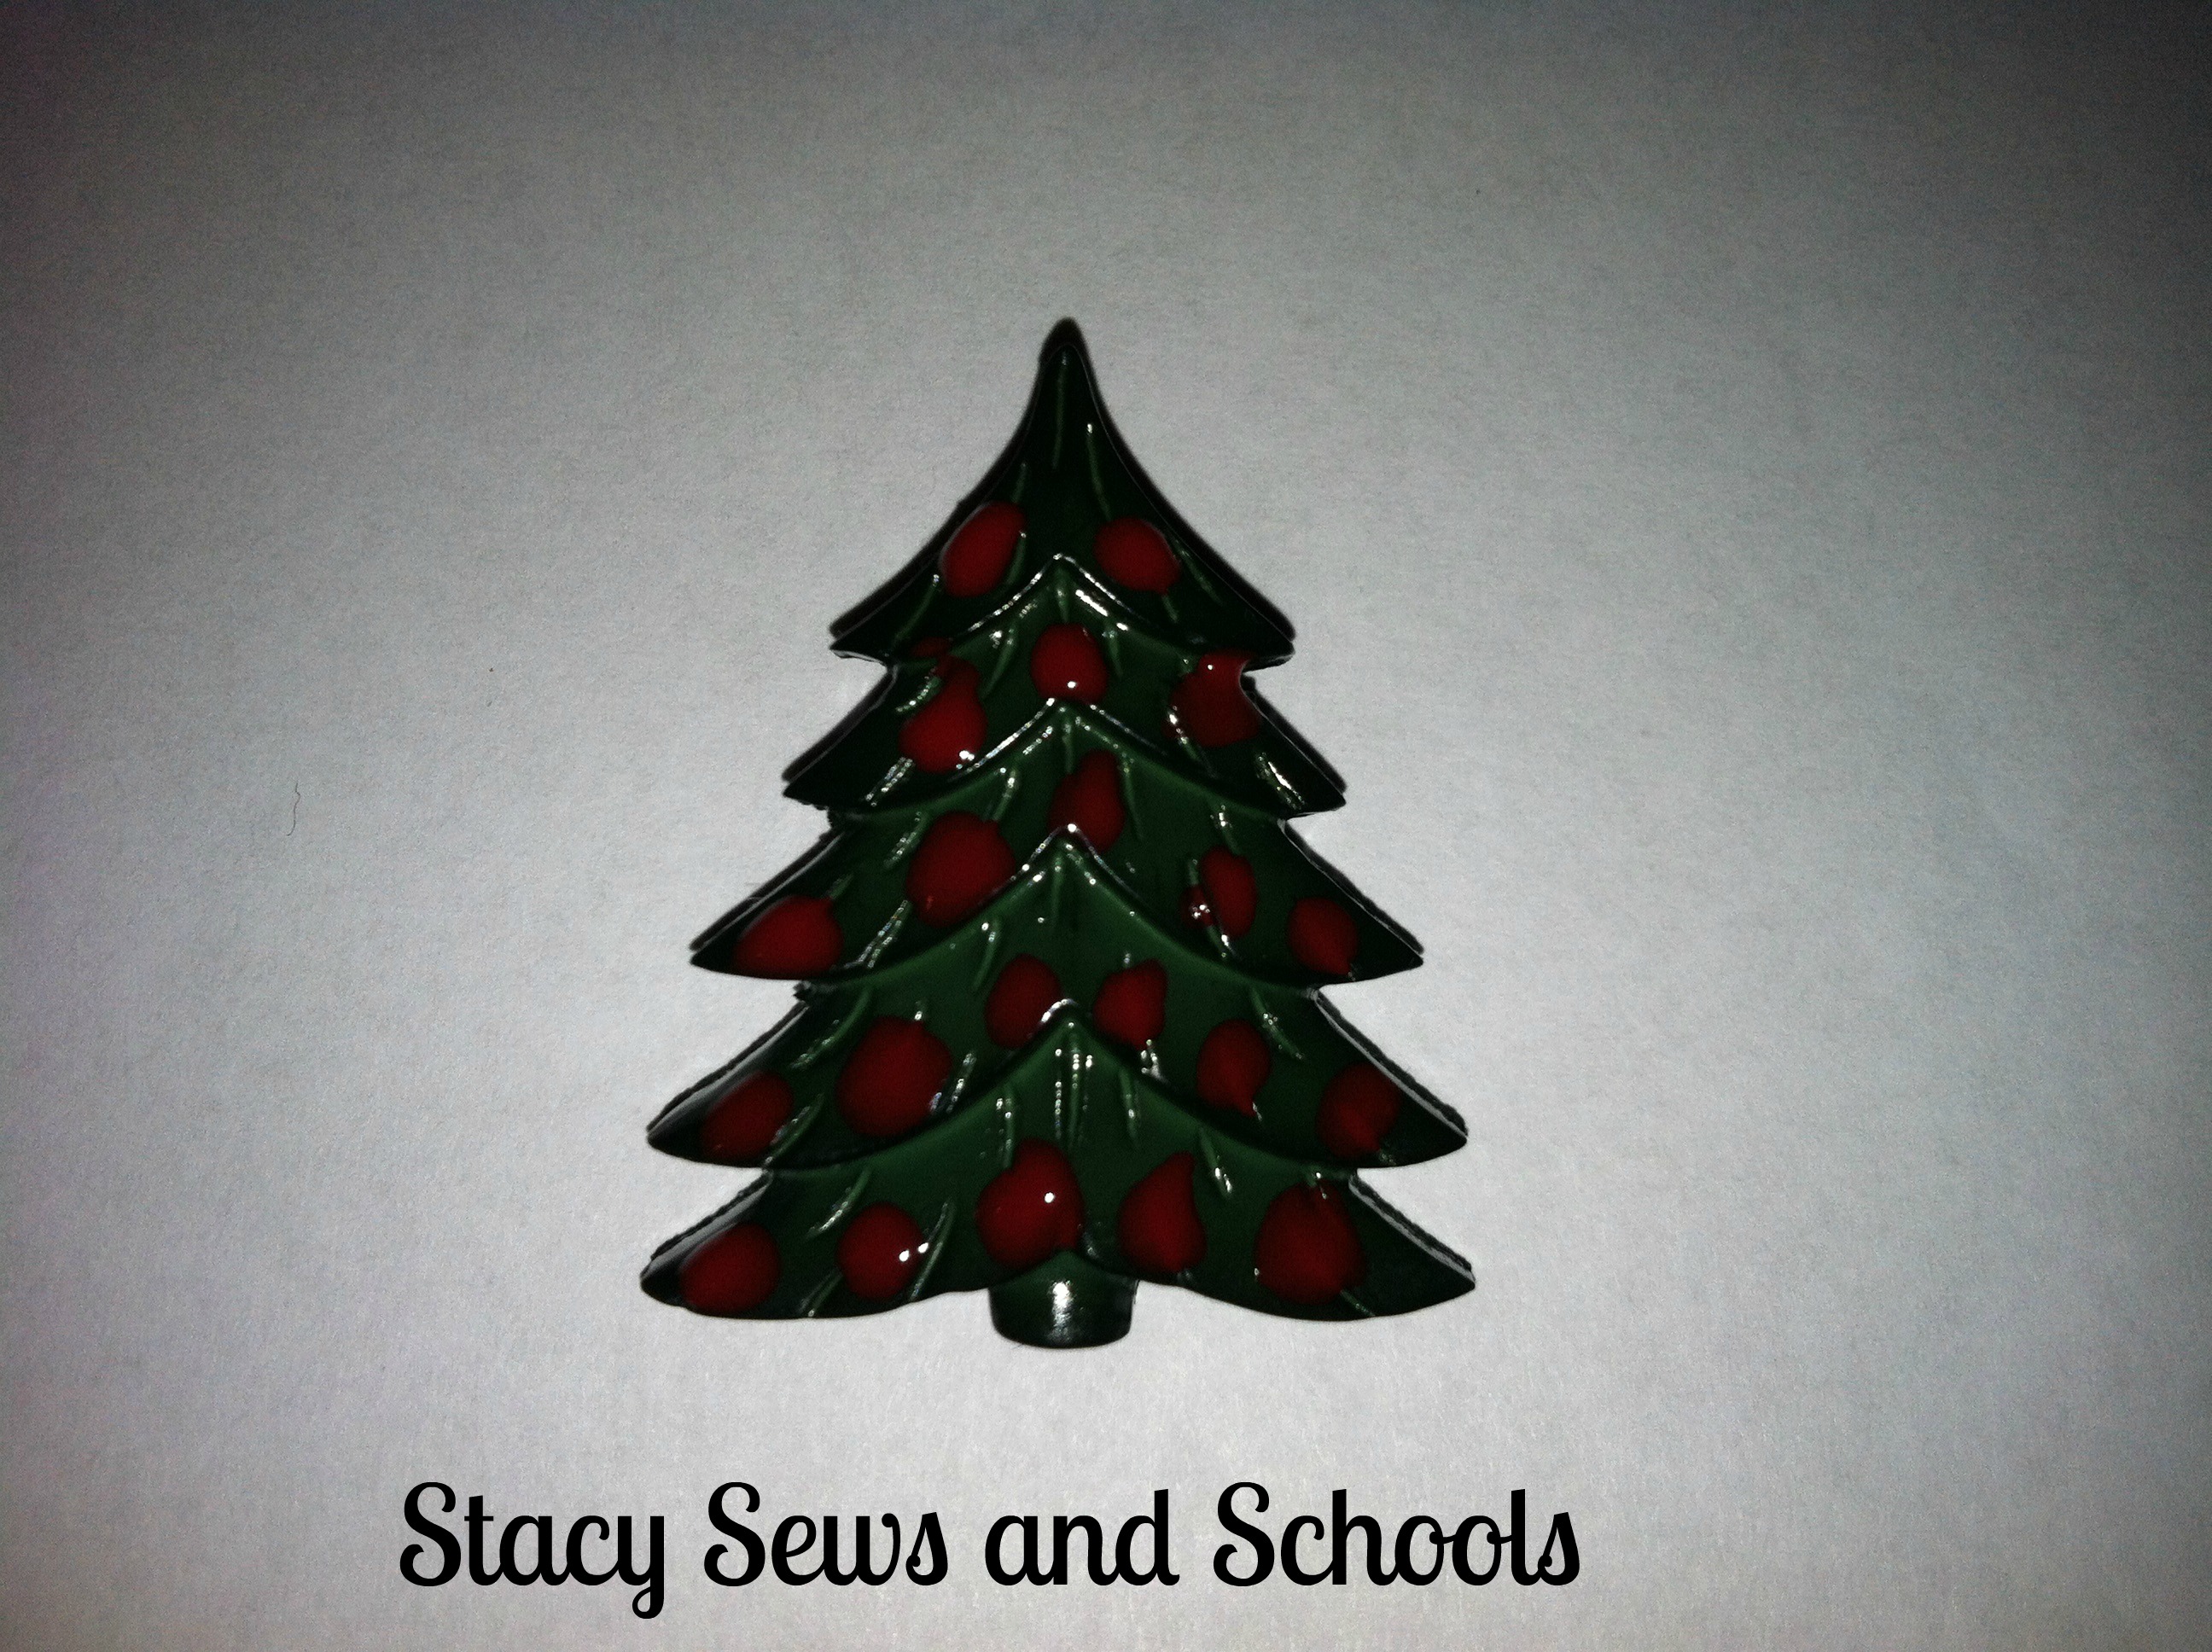


12-7-12 003


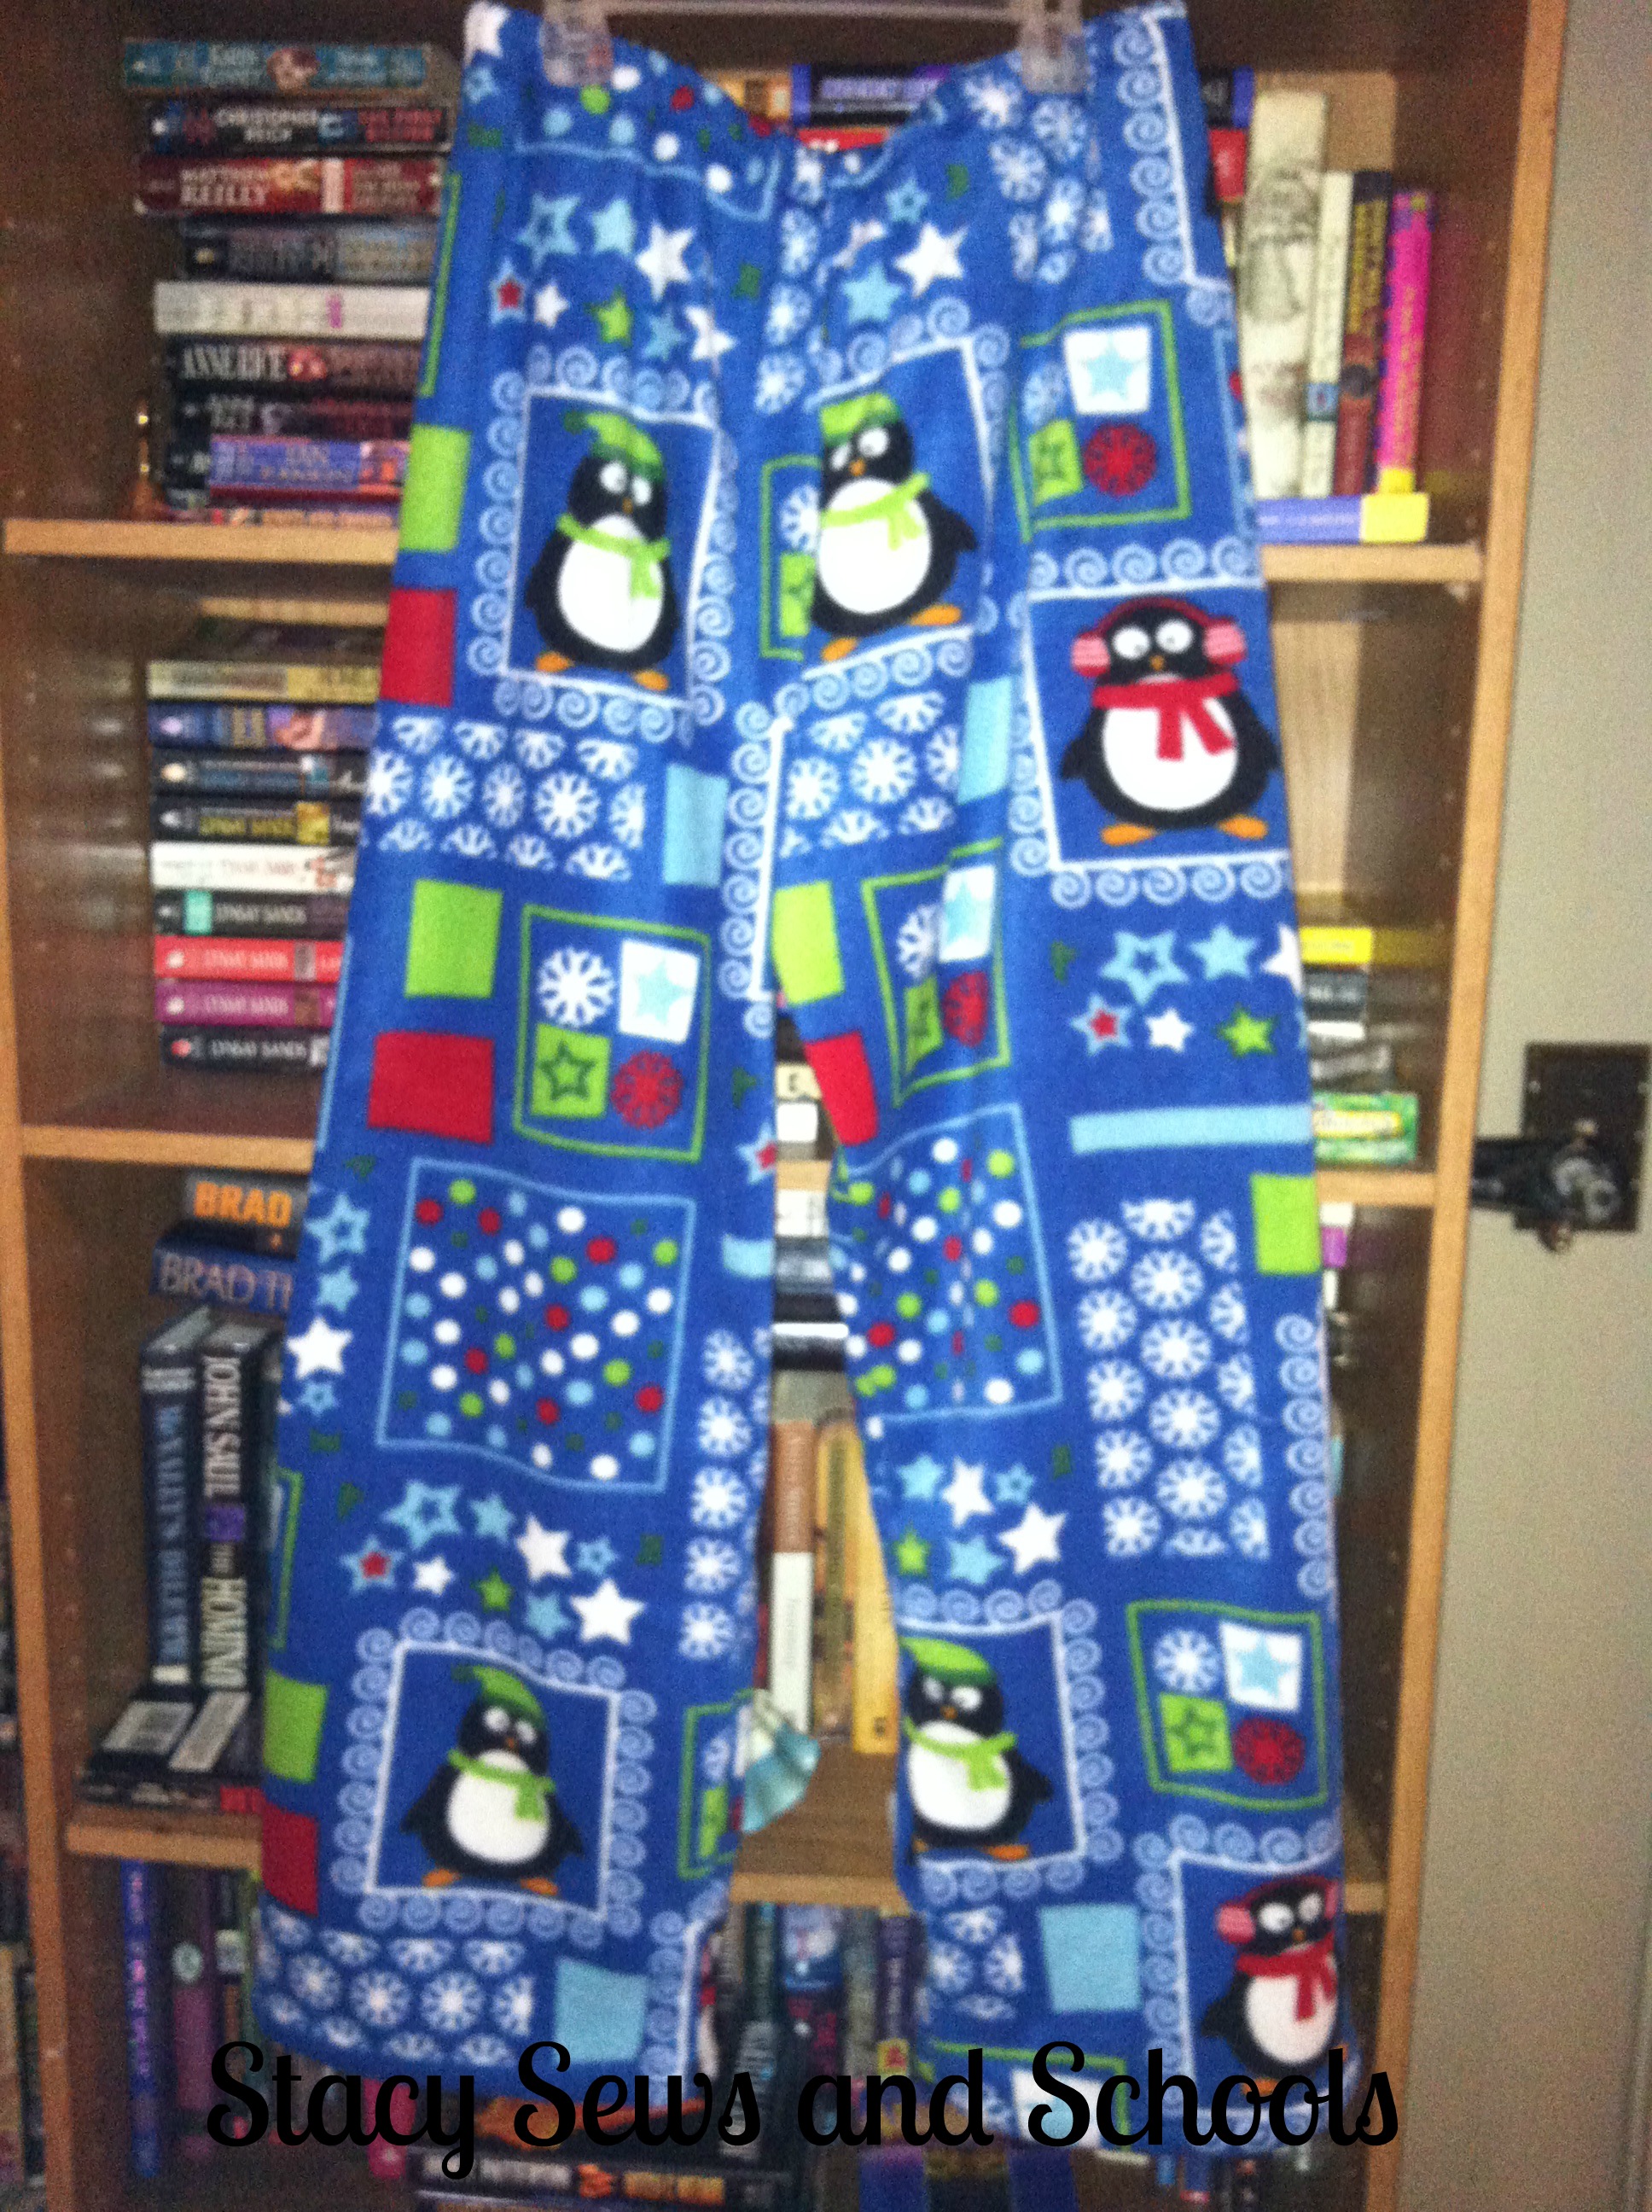
I made these pajama pants for a friend of mine. Another friend sent me the fabric just for these.  I hope they make her smile when she gets them. She has had a REALLLLY hard time lately. :(


12-7-12 004


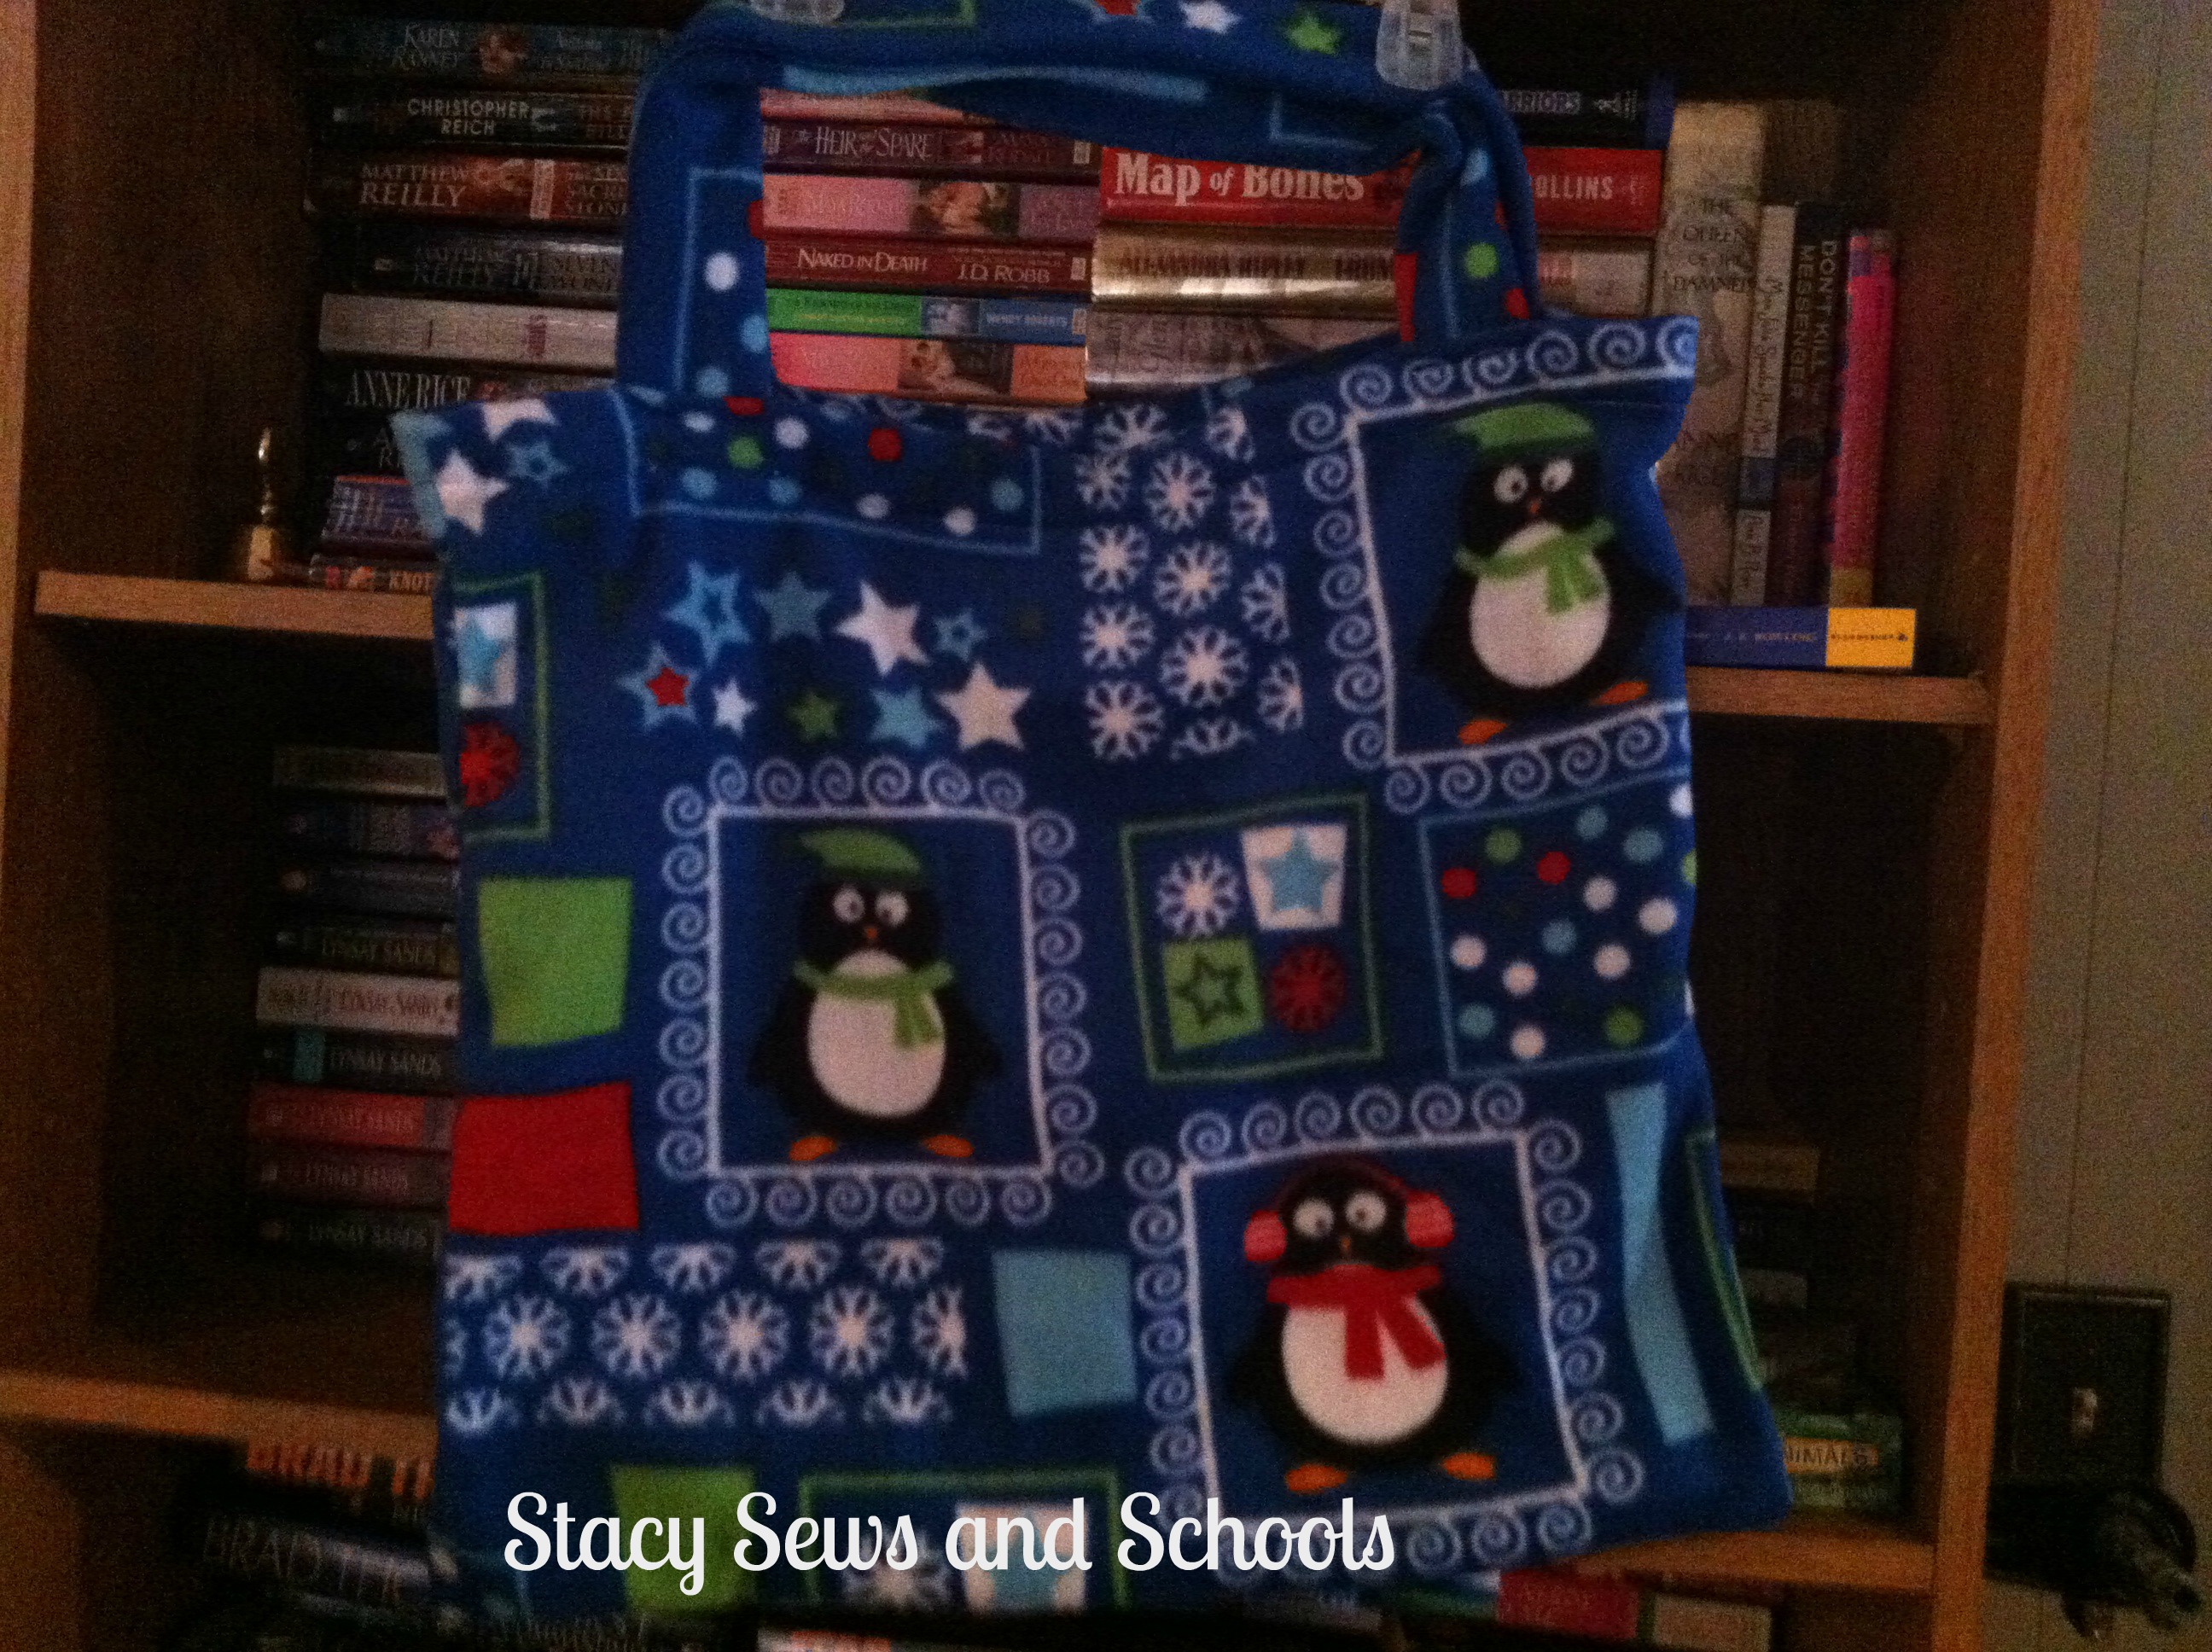
I had enough fleece left over to make her a matching tote bag.


12-7-12 012


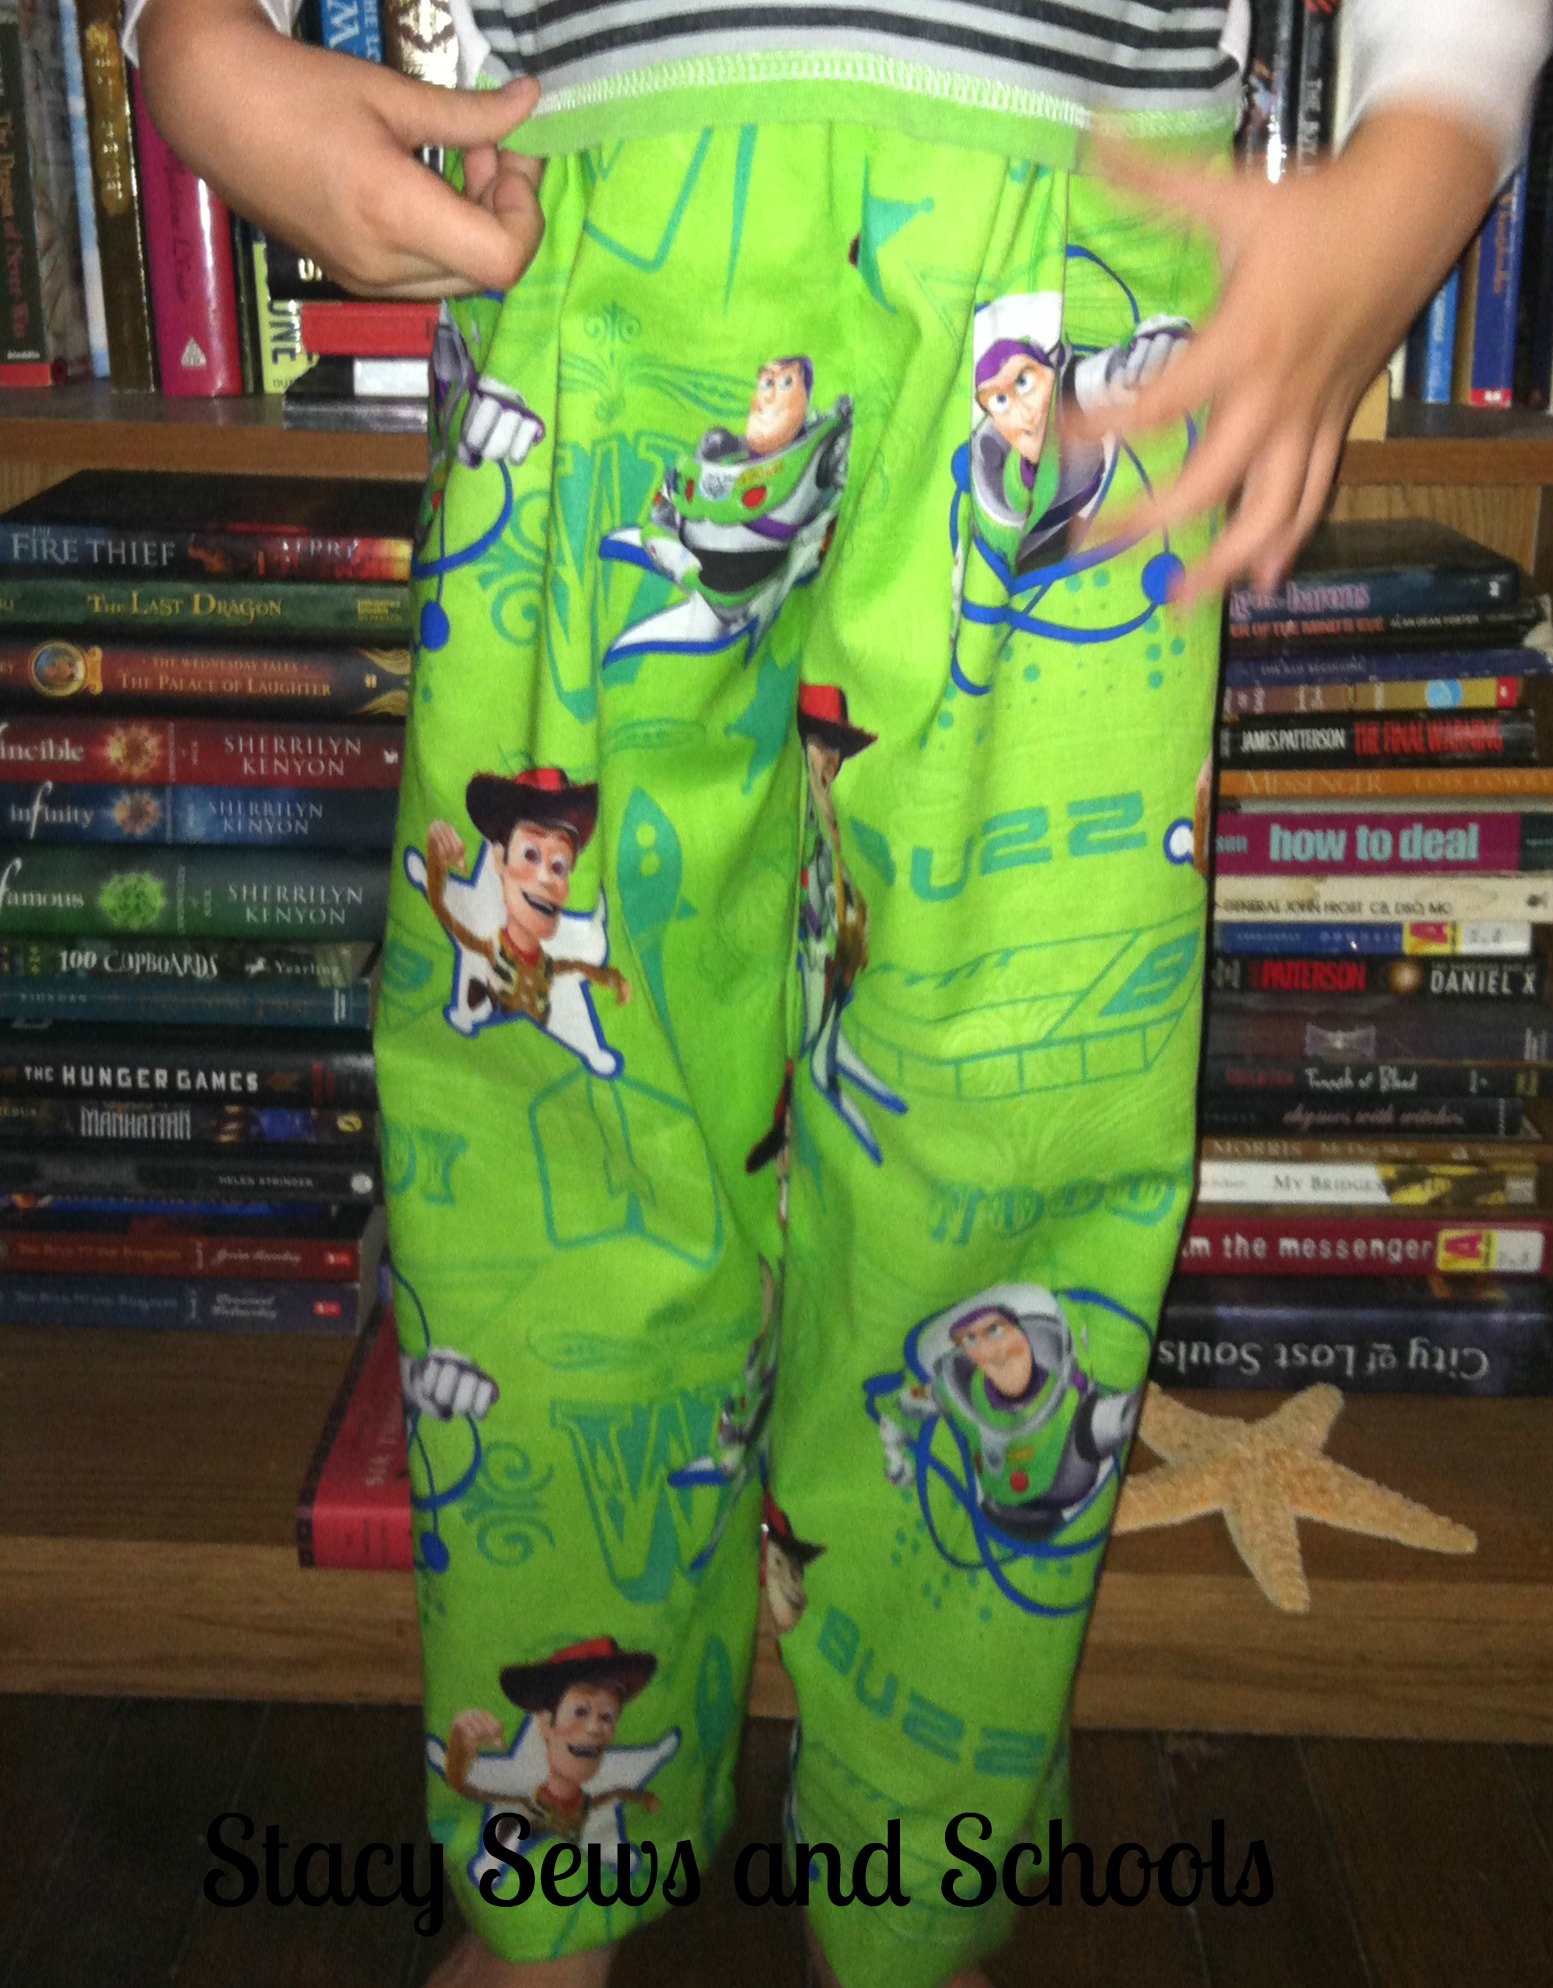
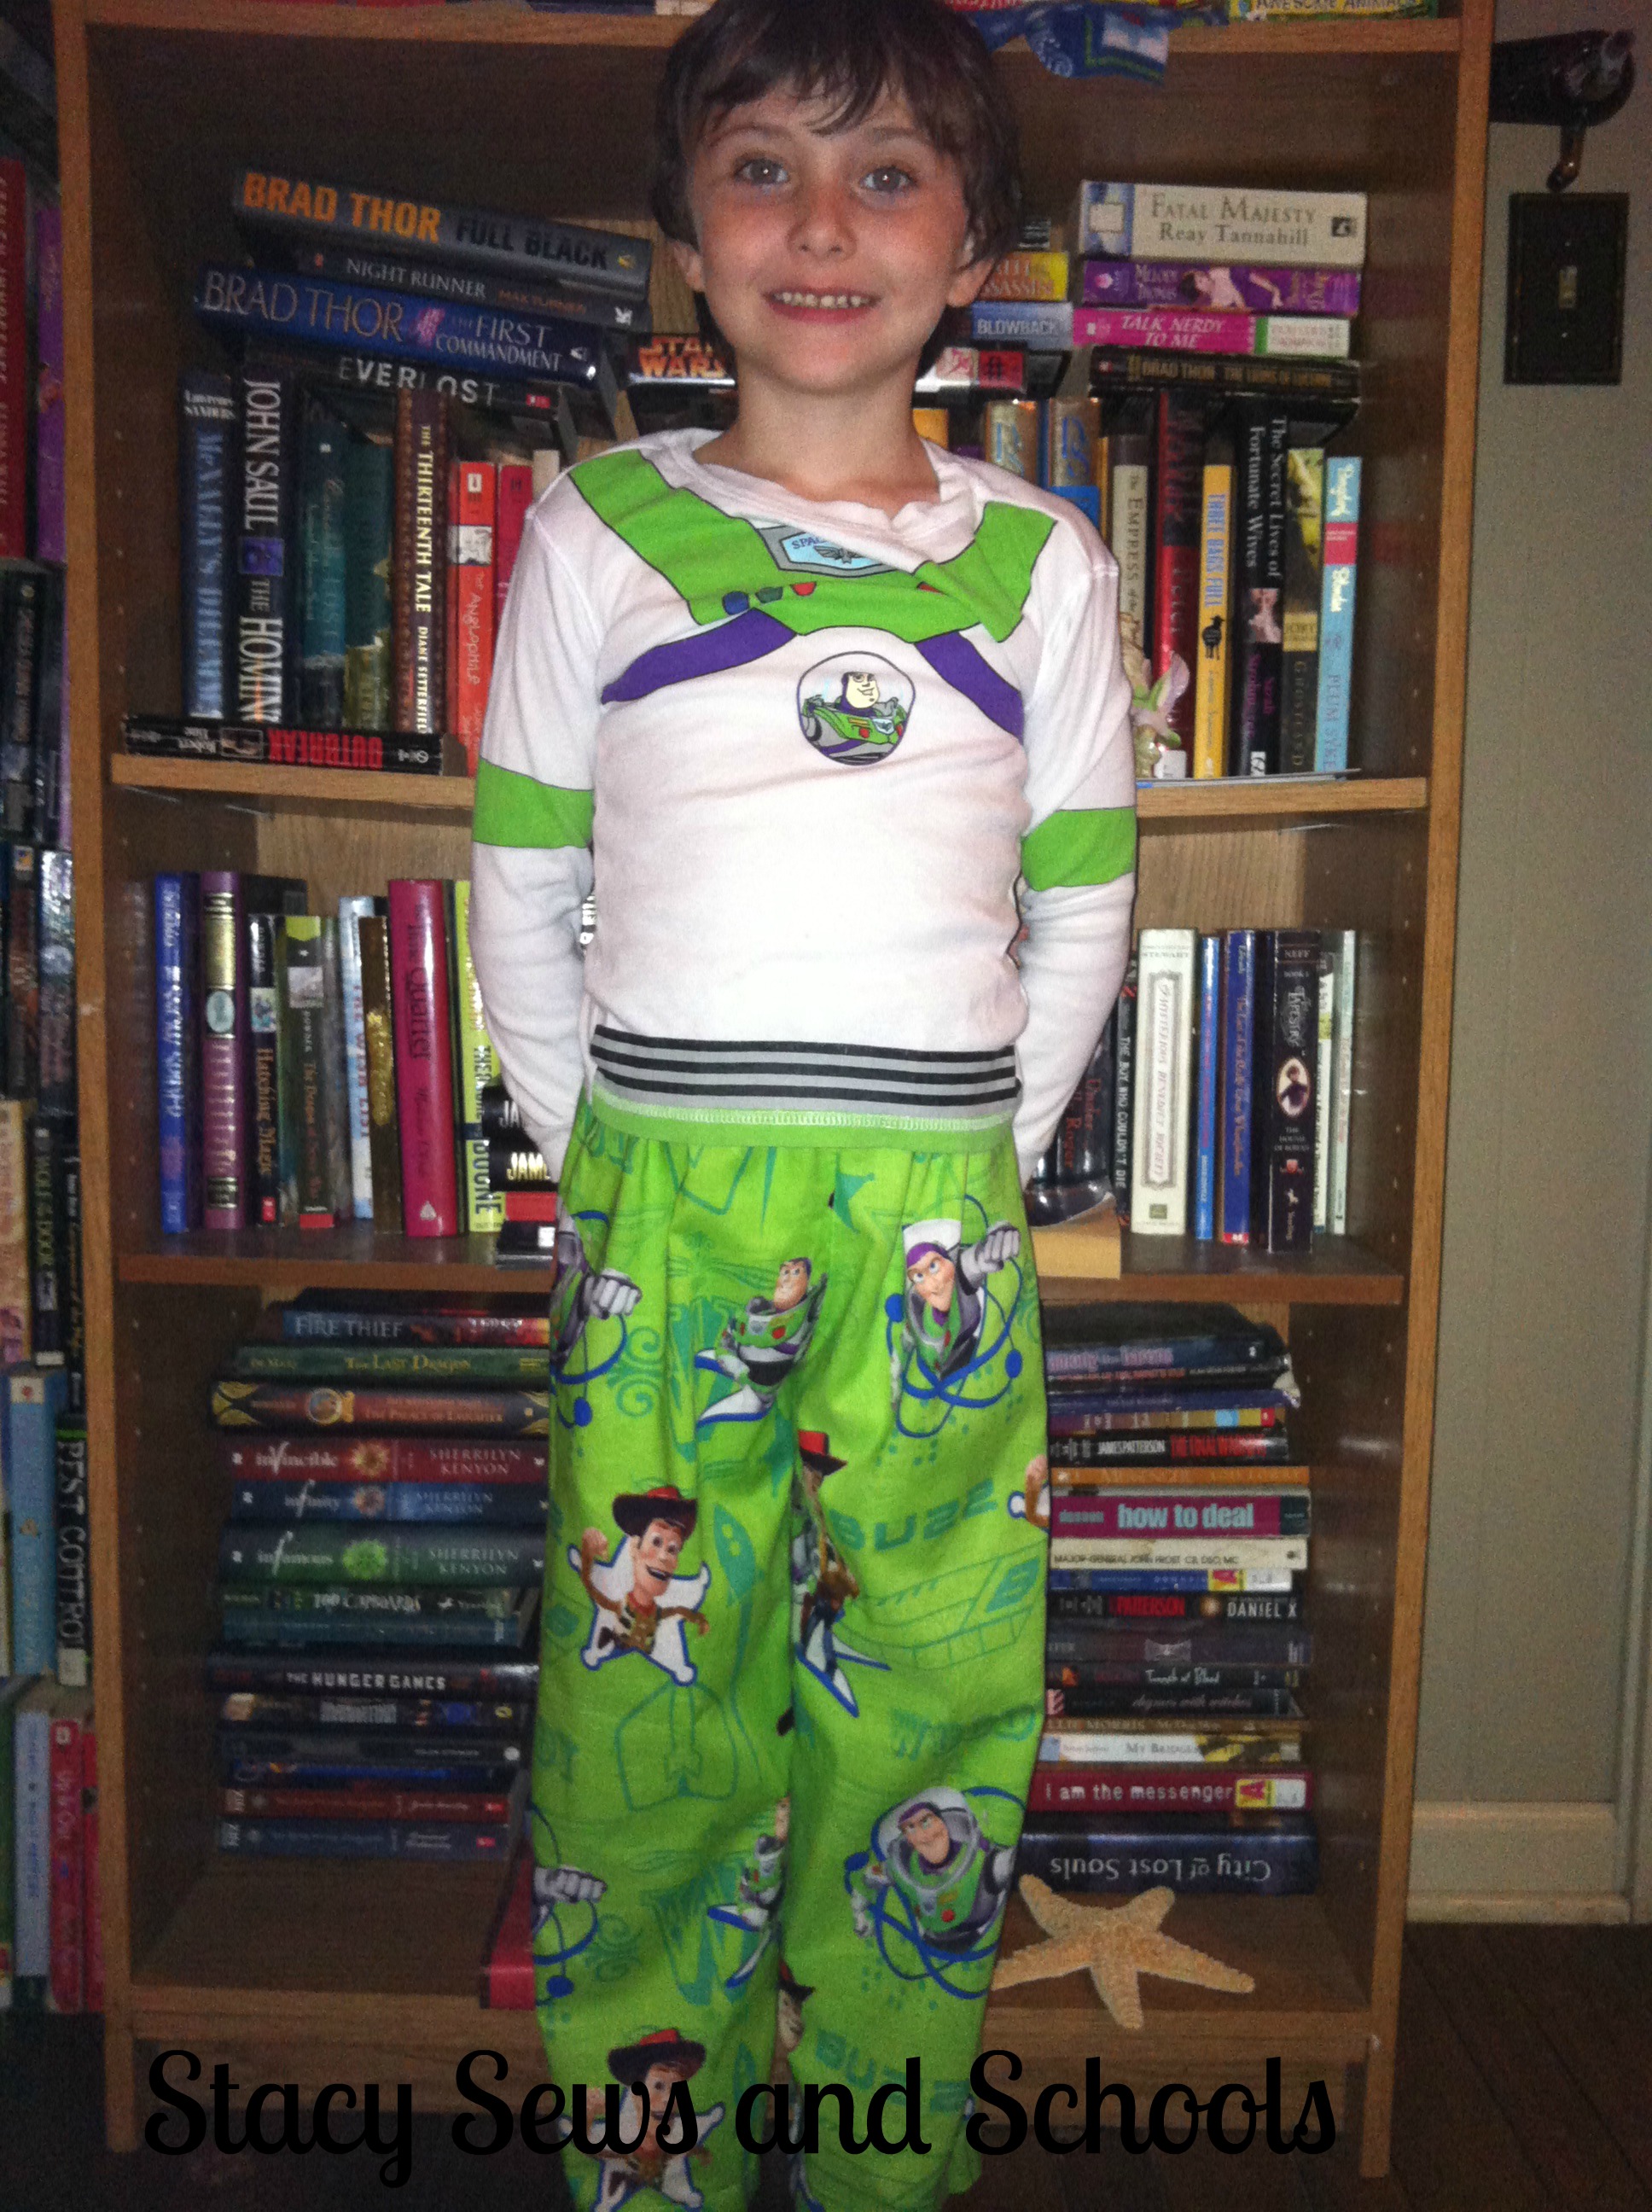
Then I made these Toy Story pajama pants for Colin. He had a Buzz Lightyear pajama shirt given to him by a friend but she couldn't find the pants. Enter a sale at Joann's! LOL I have had this fabric sitting in my pile for a while now.


12-7-12 013

One happy boy!!! Score a point for mom!!! LOL
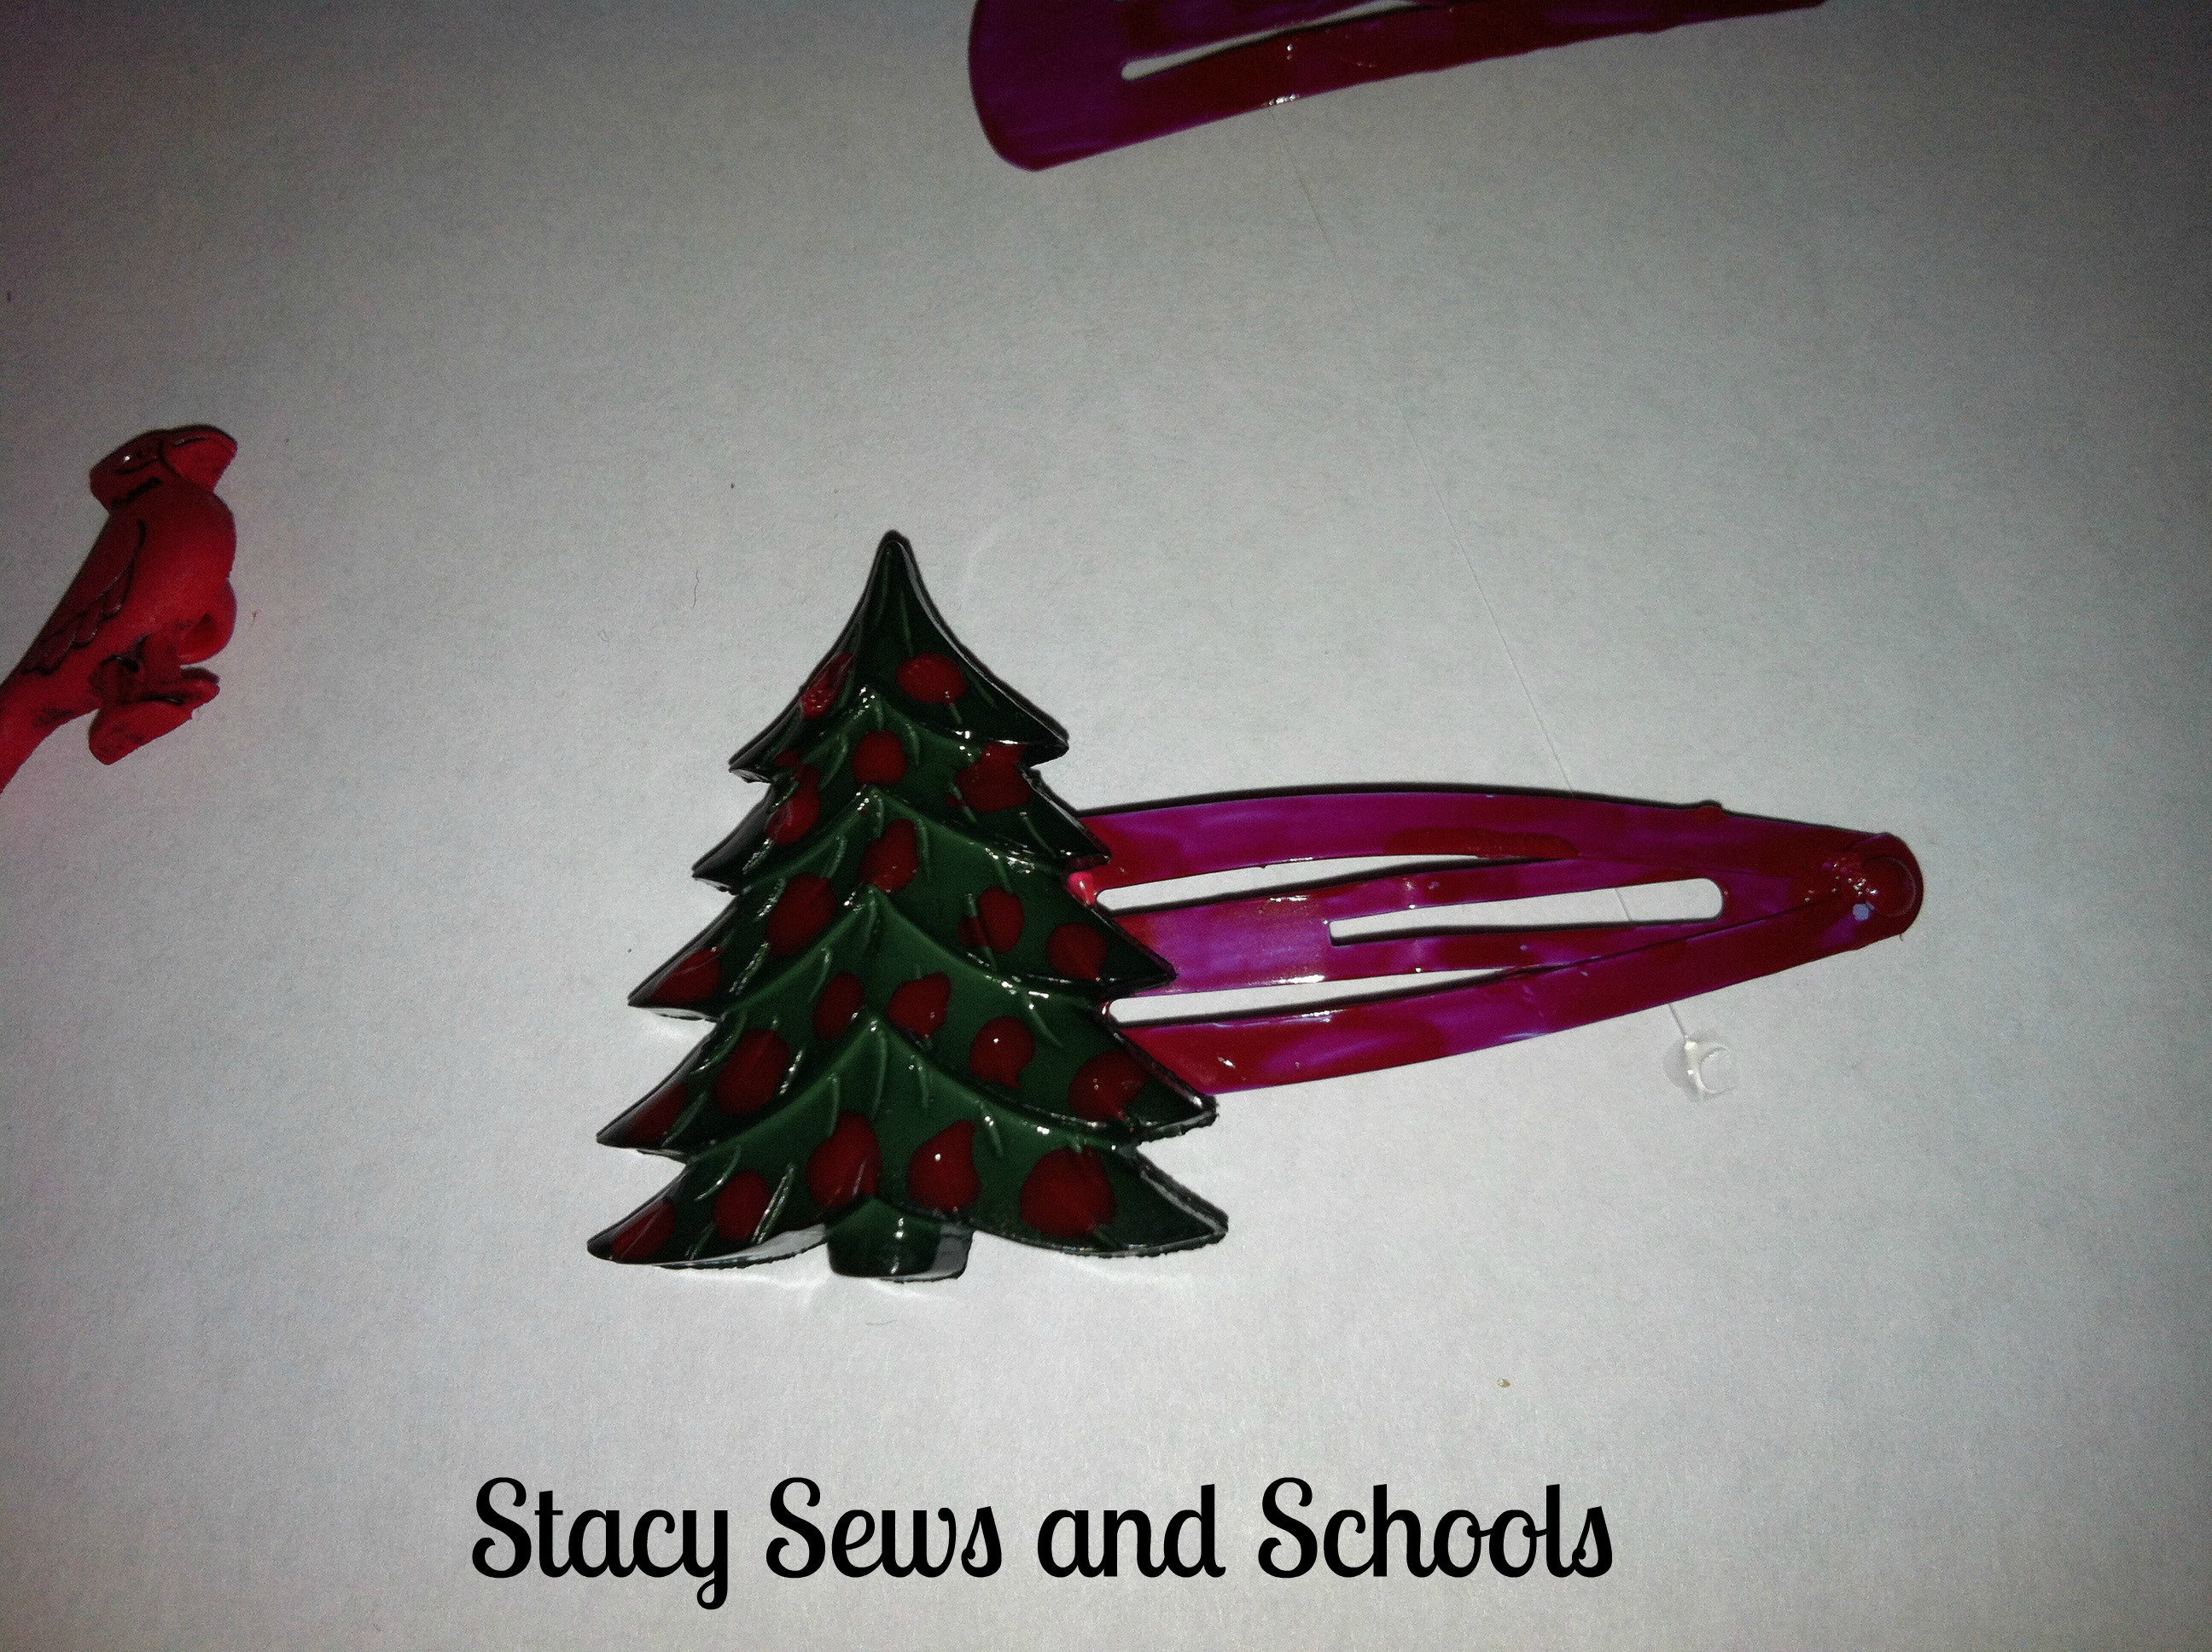


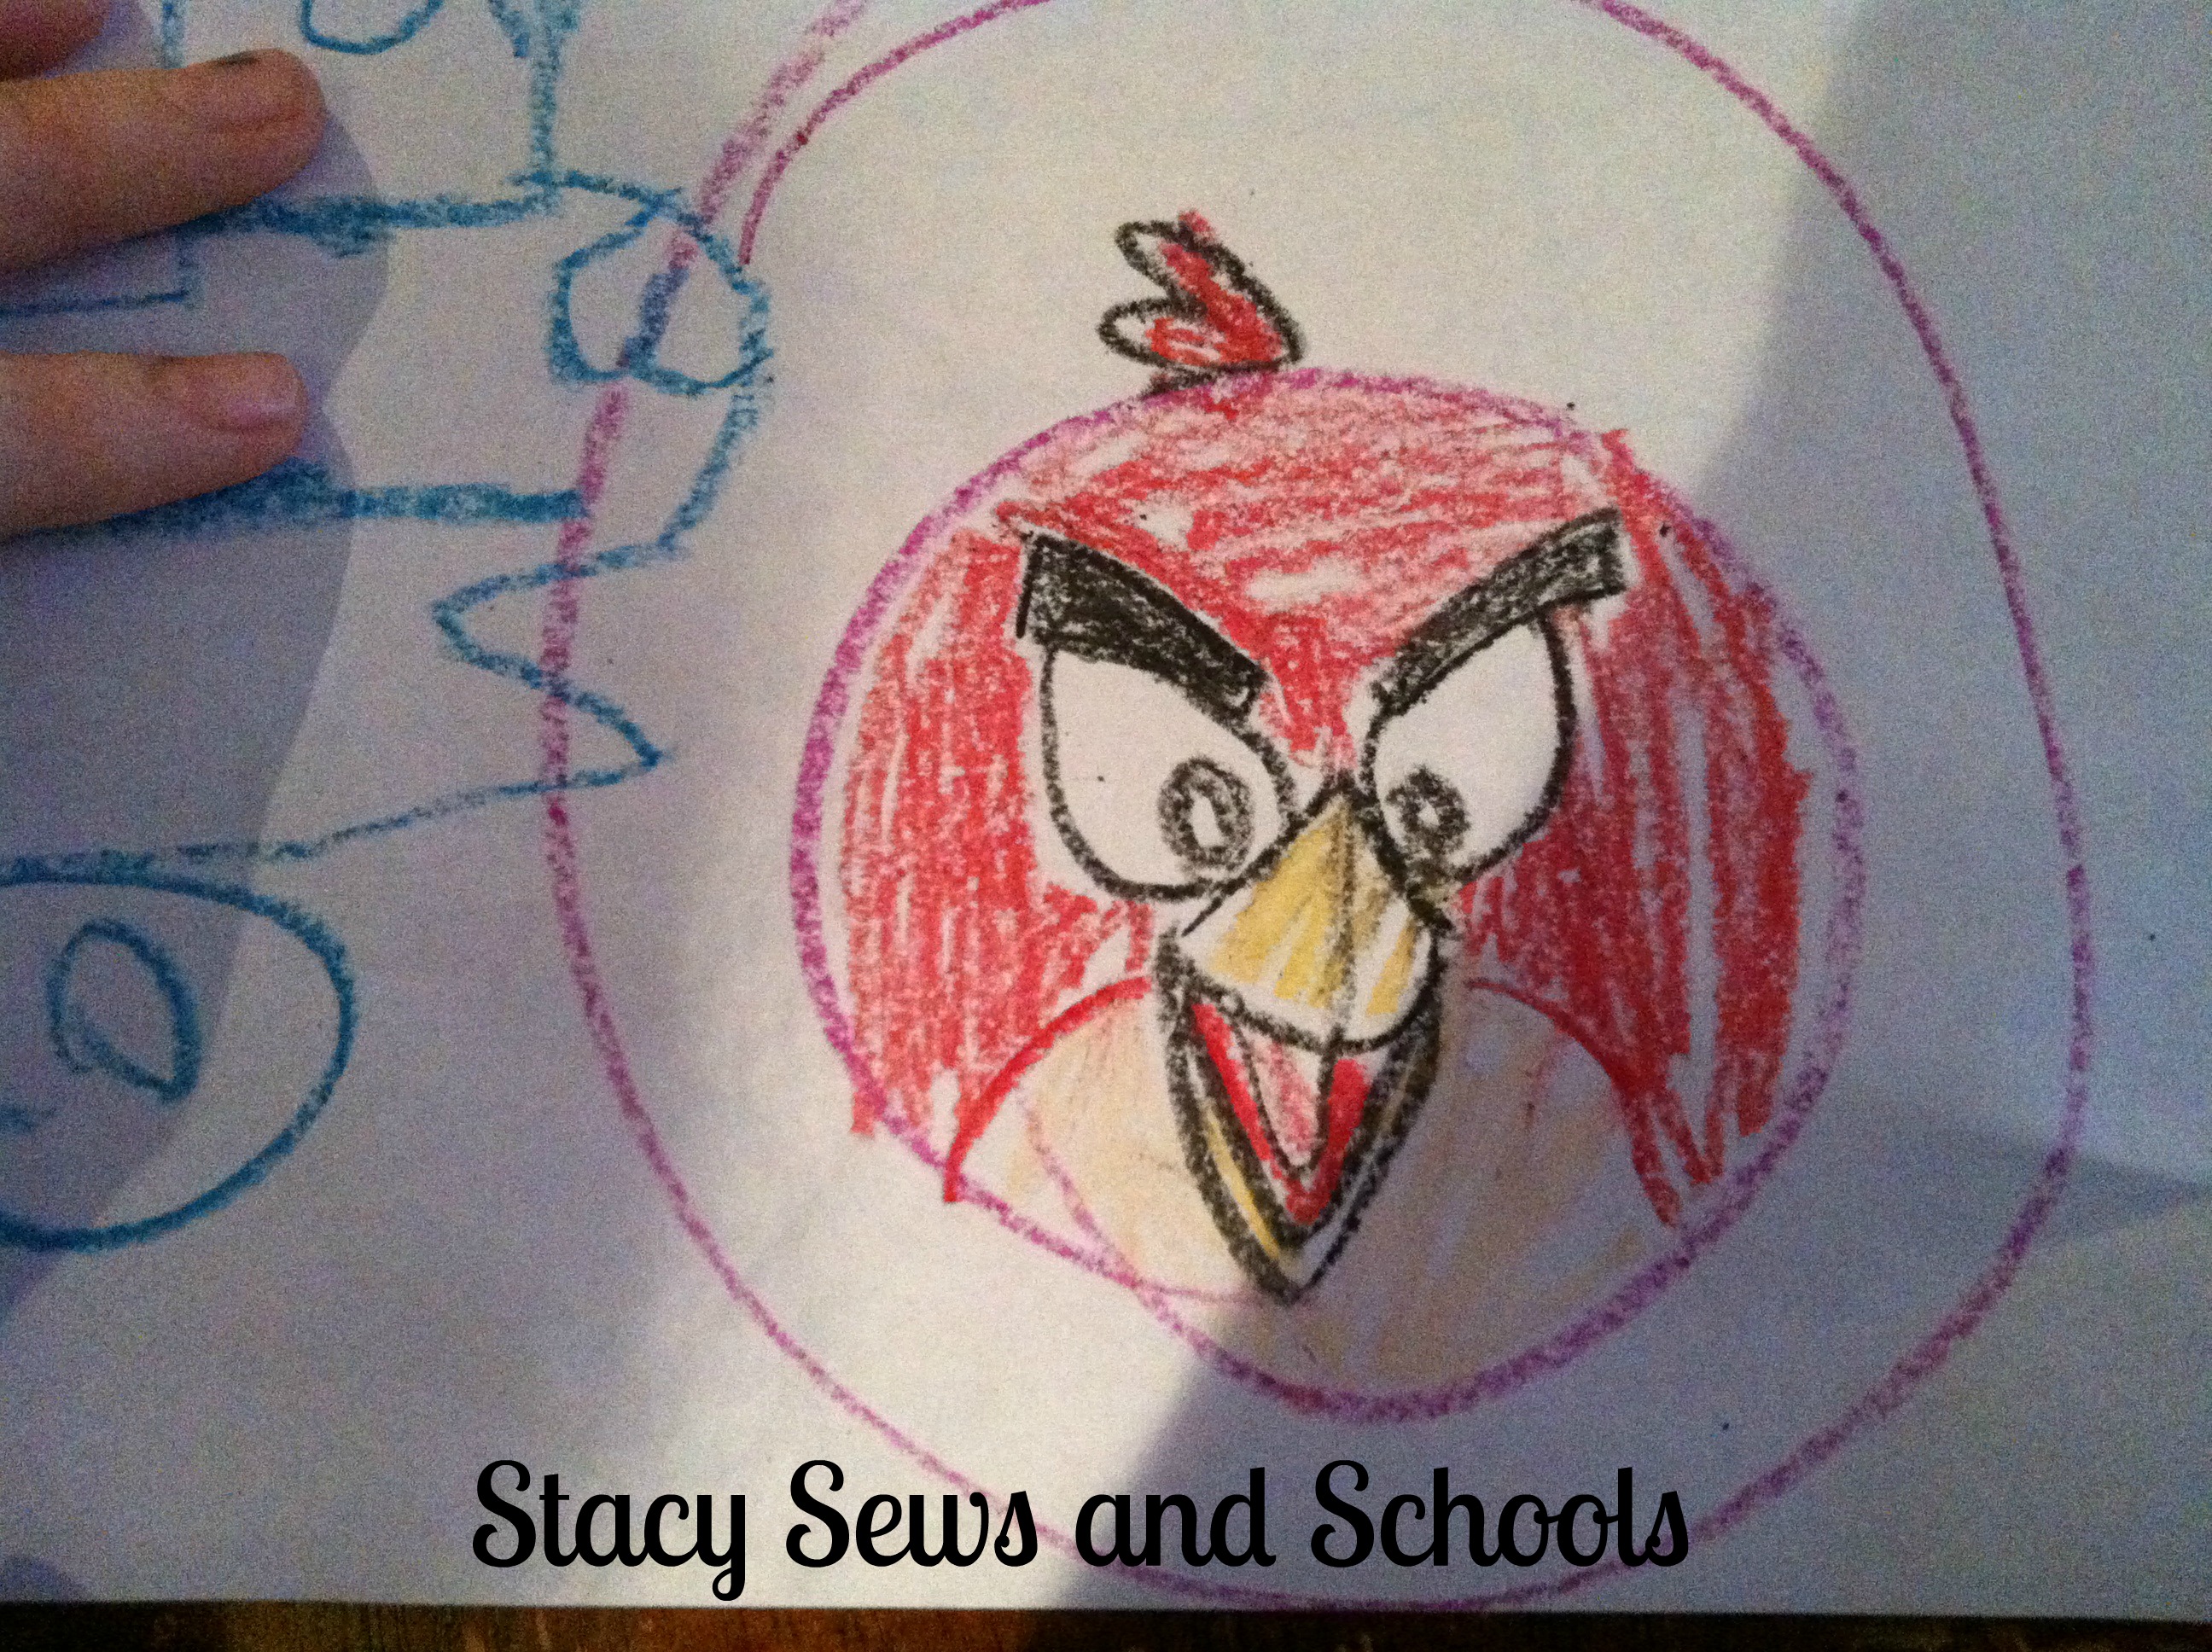
And I wanted to show you Cailey's latest artwork. Usually she prefers to draw with ink so this is rare... LOL


12-7-12 008


I have a few ideas brewing. Hopefully I can get them worked out and have a few new tutorials coming up for you! :)


December 6, 2012

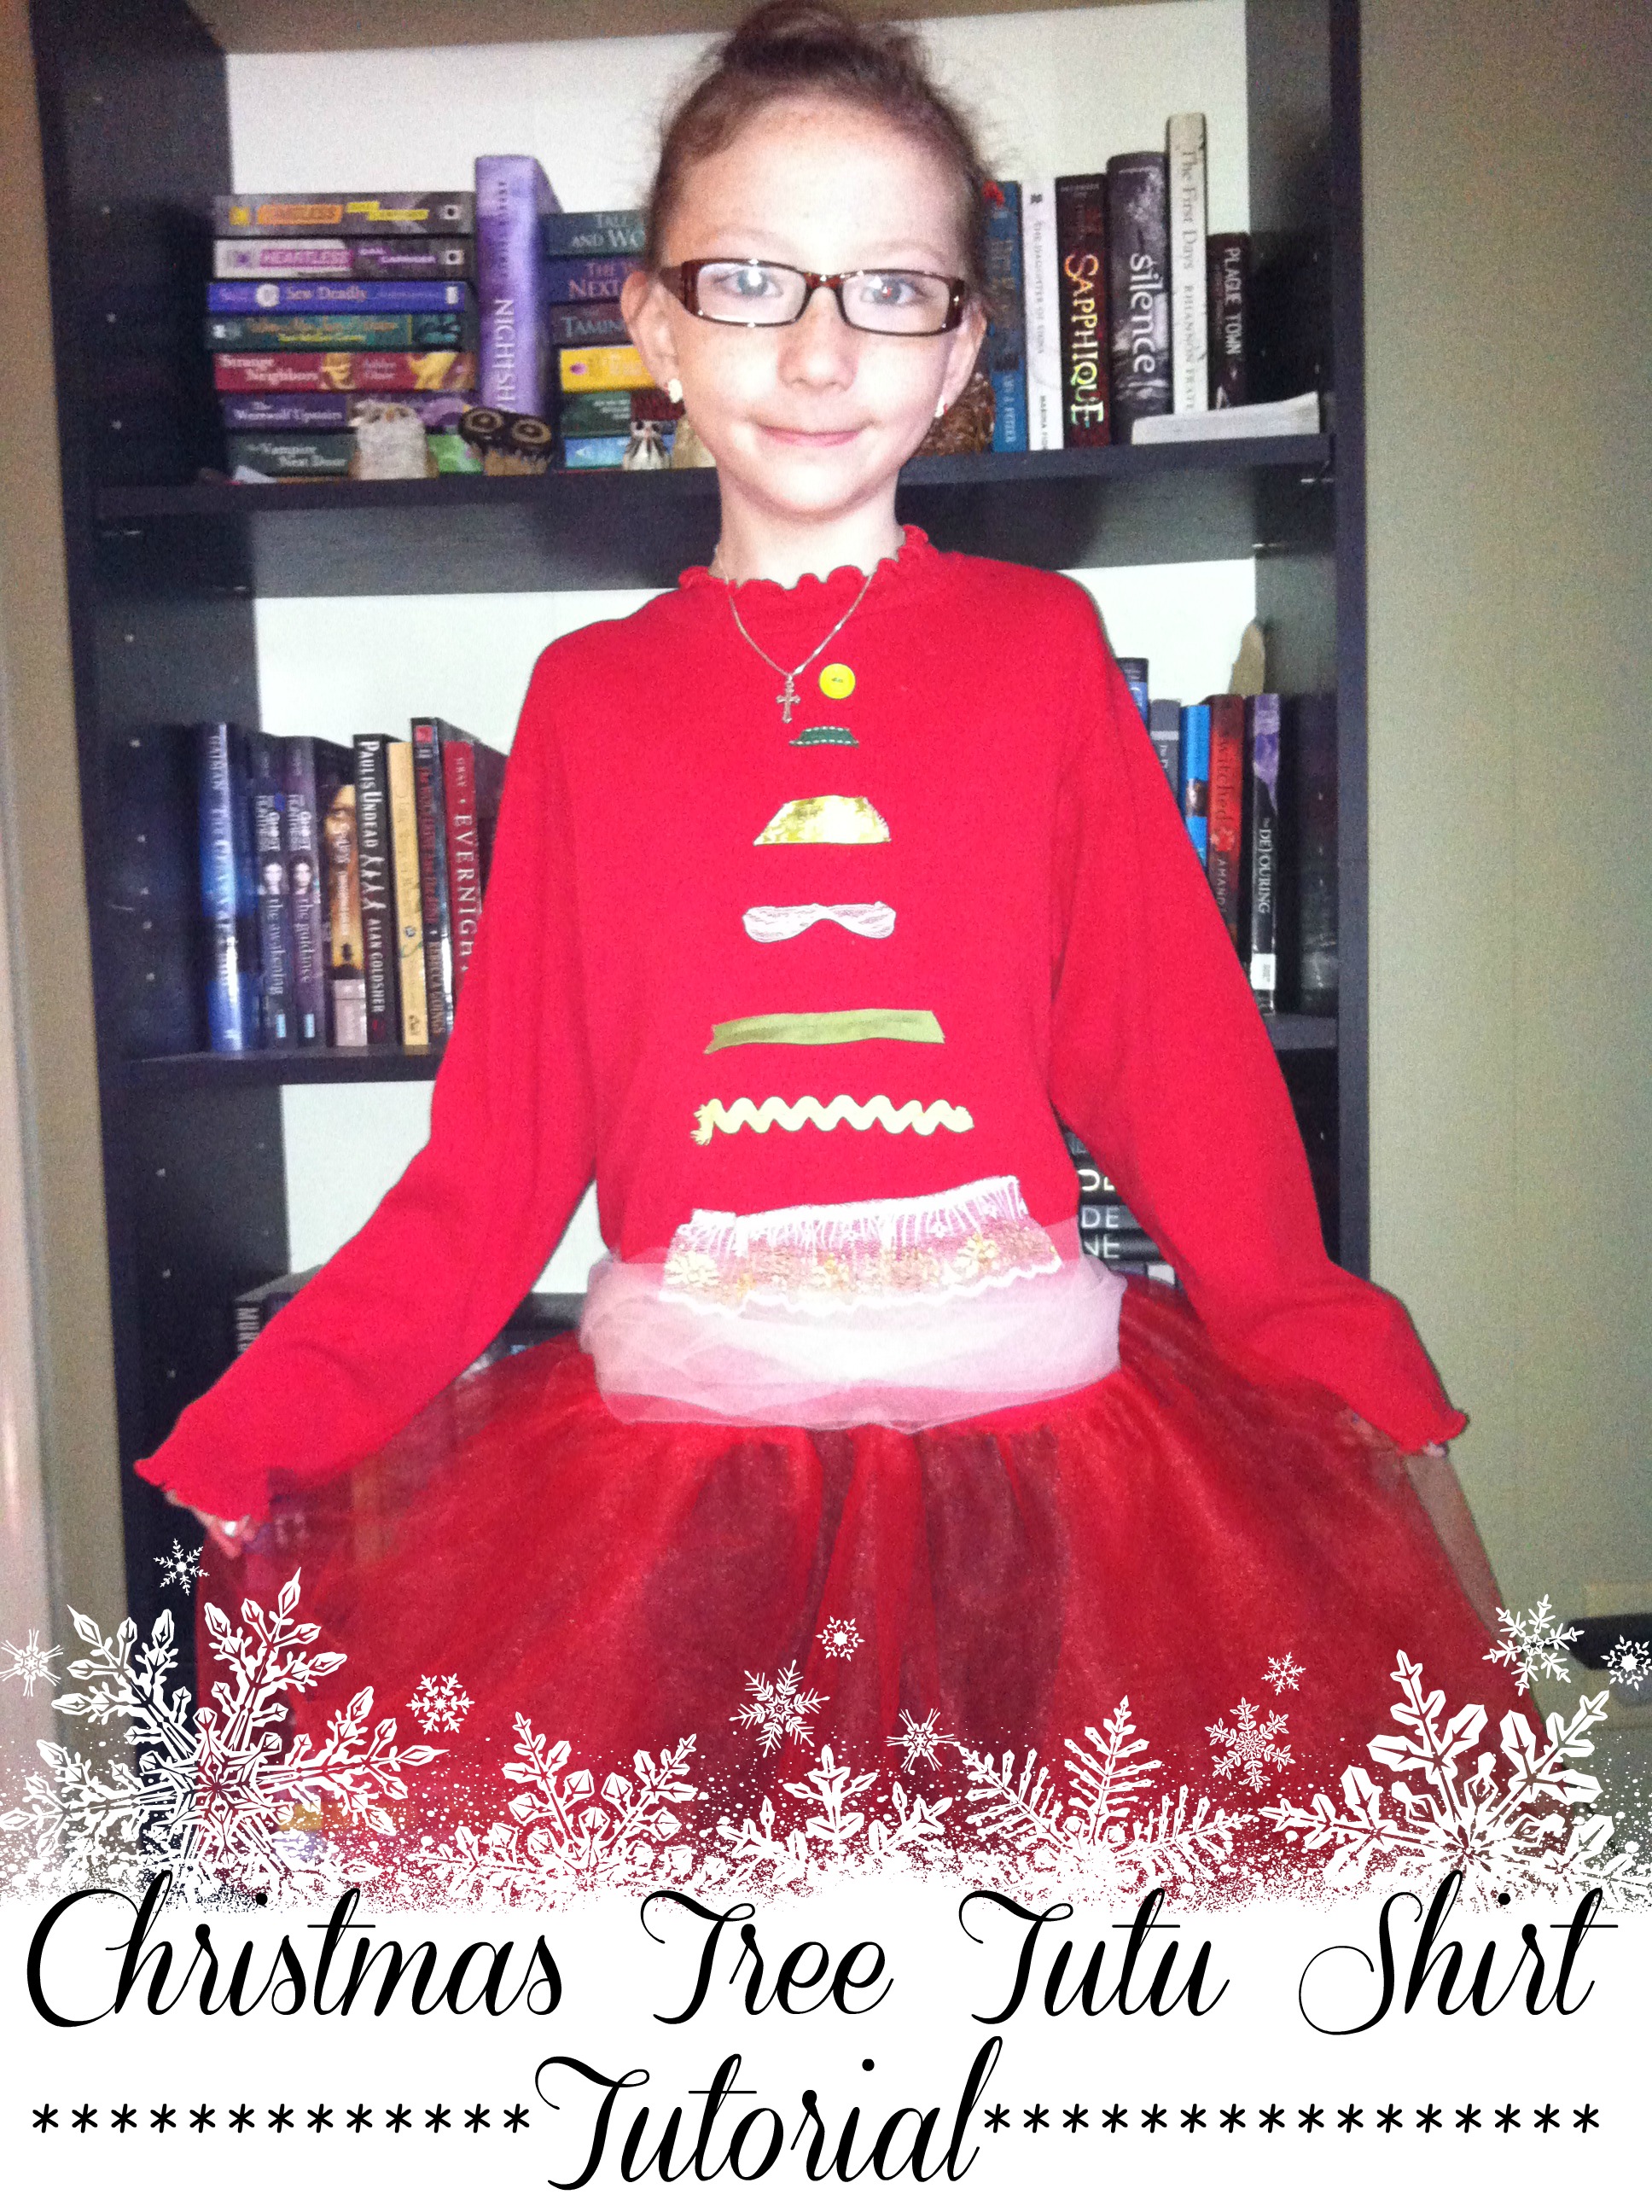
Christmas Tree Tutu Shirt Tutorial

HEY!! I have another tutorial for you! YAY!!!! :) And I will be adding in a couple of hair clips and another headband! ;)

Christmas Tree shirt 0001

This was SOOOOOO easy to make! I have been seeing shirts like this allll over Pinterest and thought that I would like to try it myself! ;) But then I had some red tulle and I just couldn't resist adding it to the bottom! LOL

Here is what I used-

Christmas Tree Shirt 000002

A red shirt

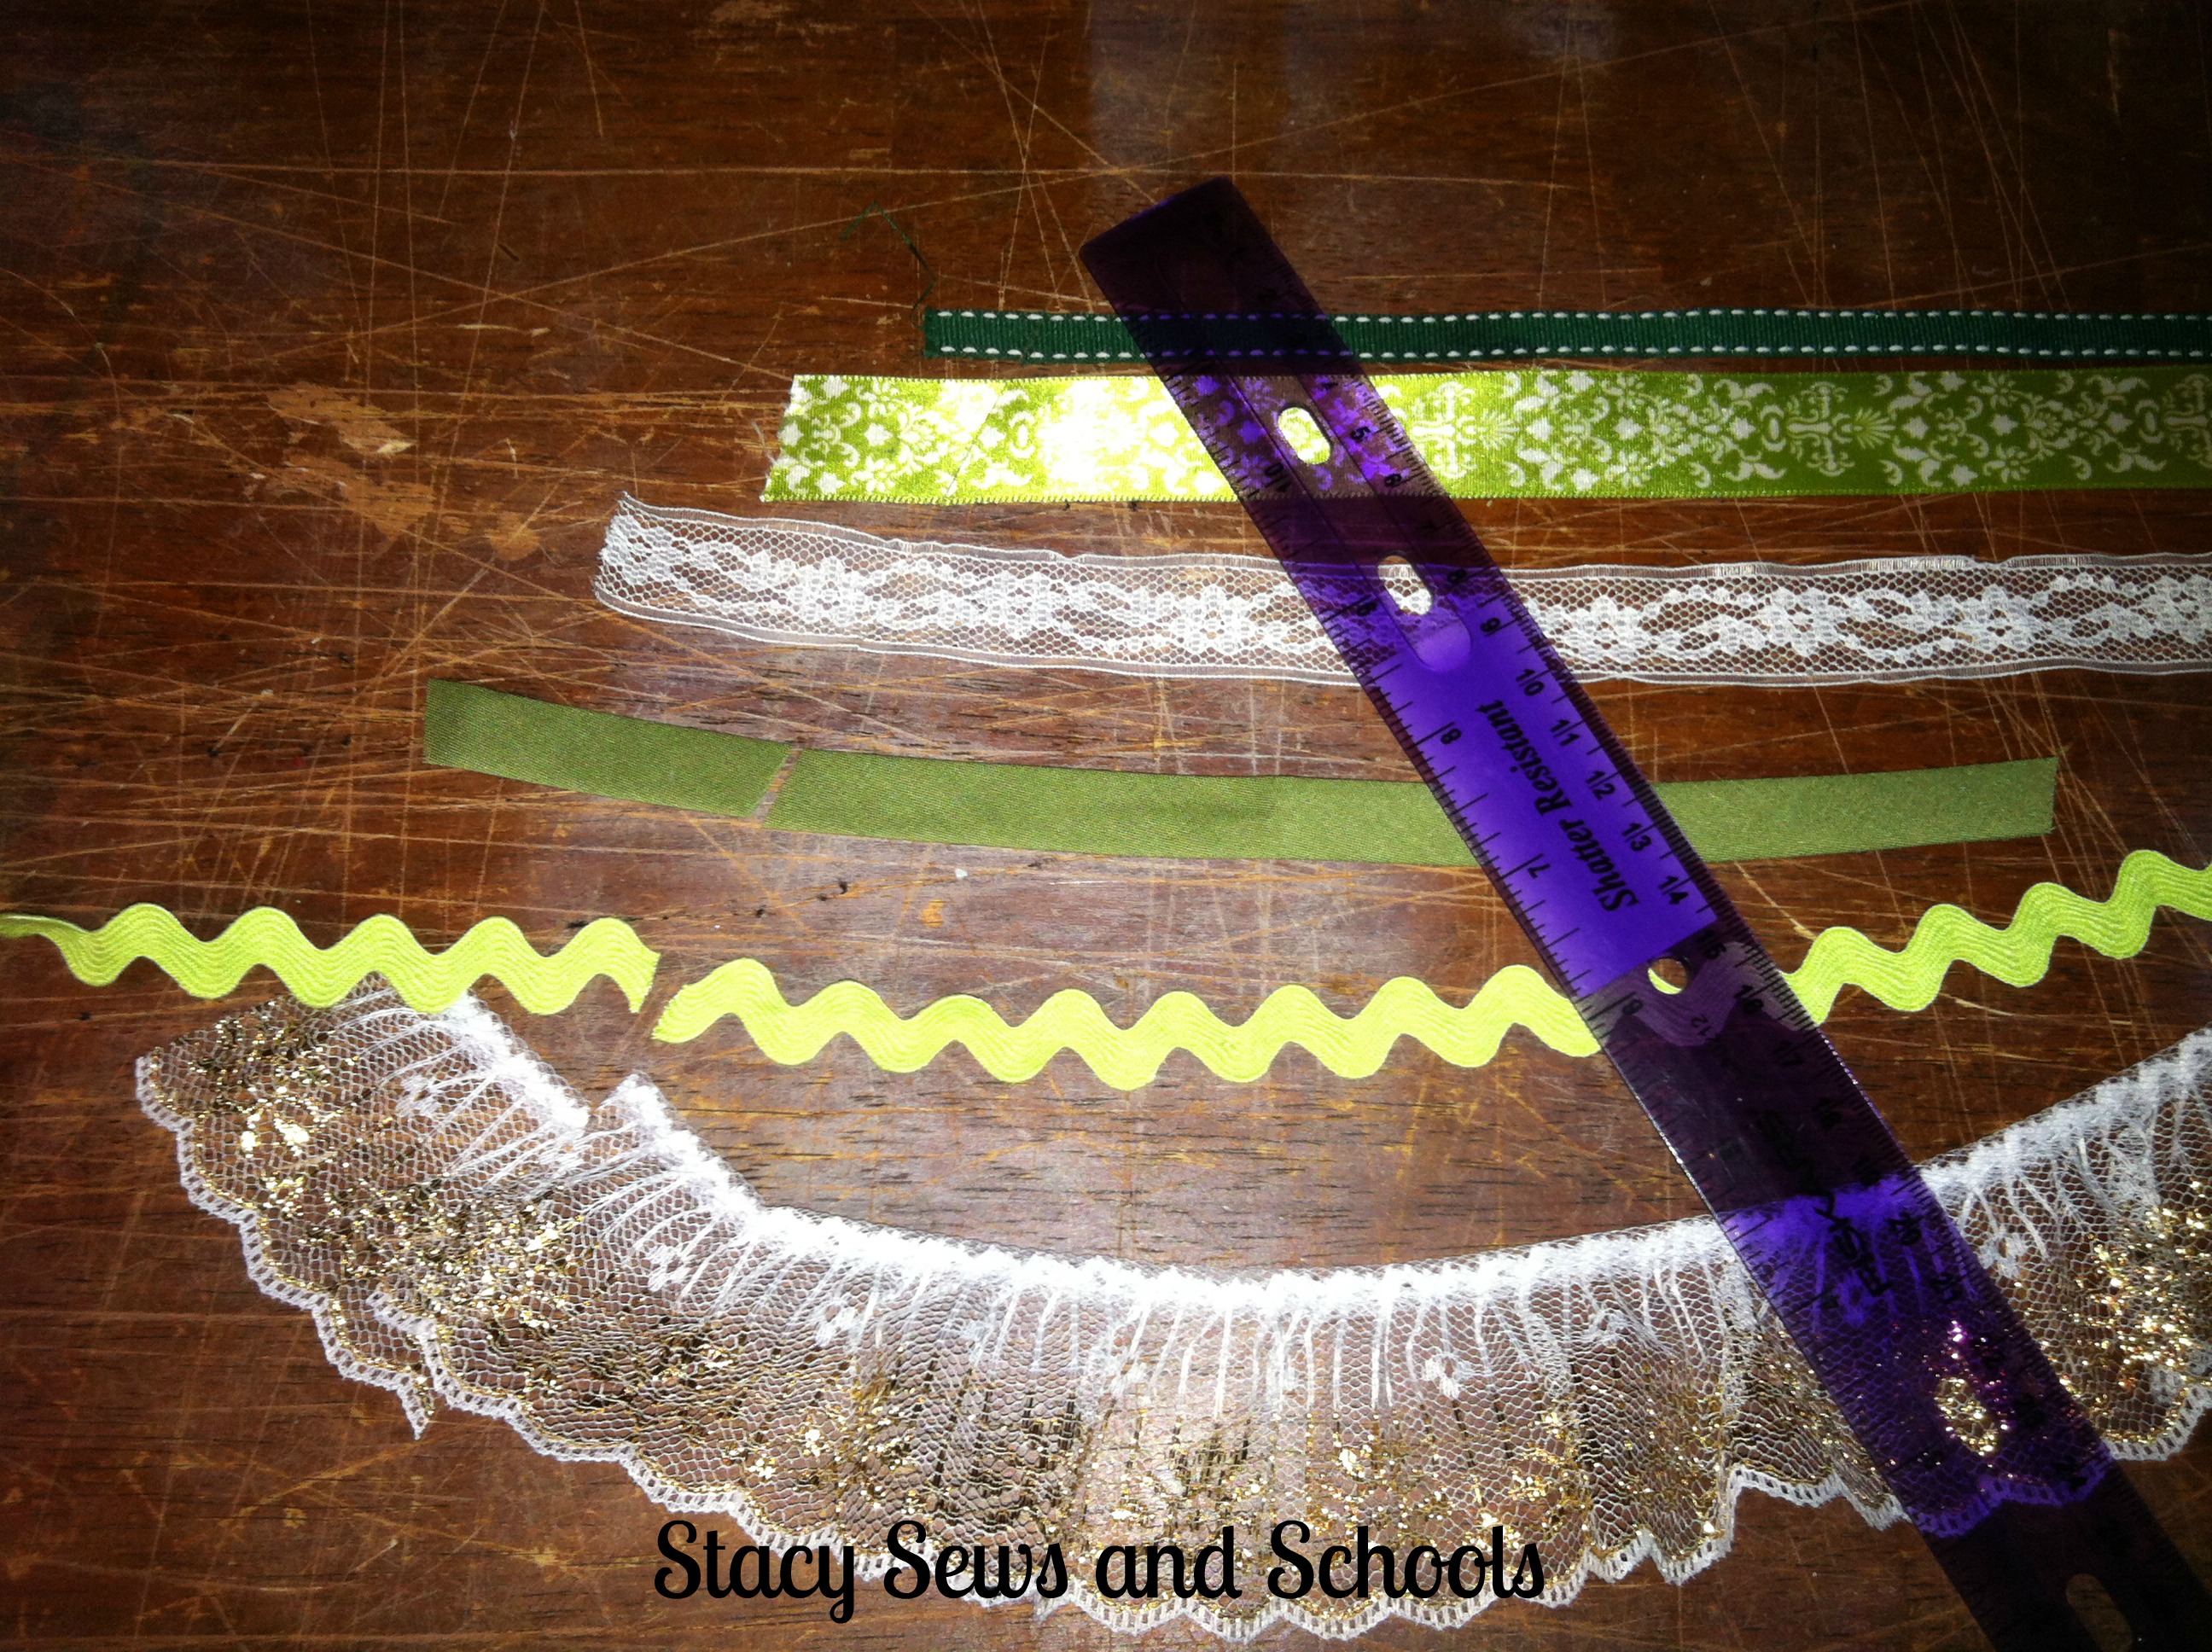
Different types of green ribbon and white lace

3 yards of red tulle

3 yards of white tulle 6" wide

1 yellow button

I promise that rickrack is a nicer color green... Not sure WHAT happened when I took these pictures! I realllllly need a camera other than my iPhone! LOL

Christmas tree shirt 004

Christmas tree shirt 005

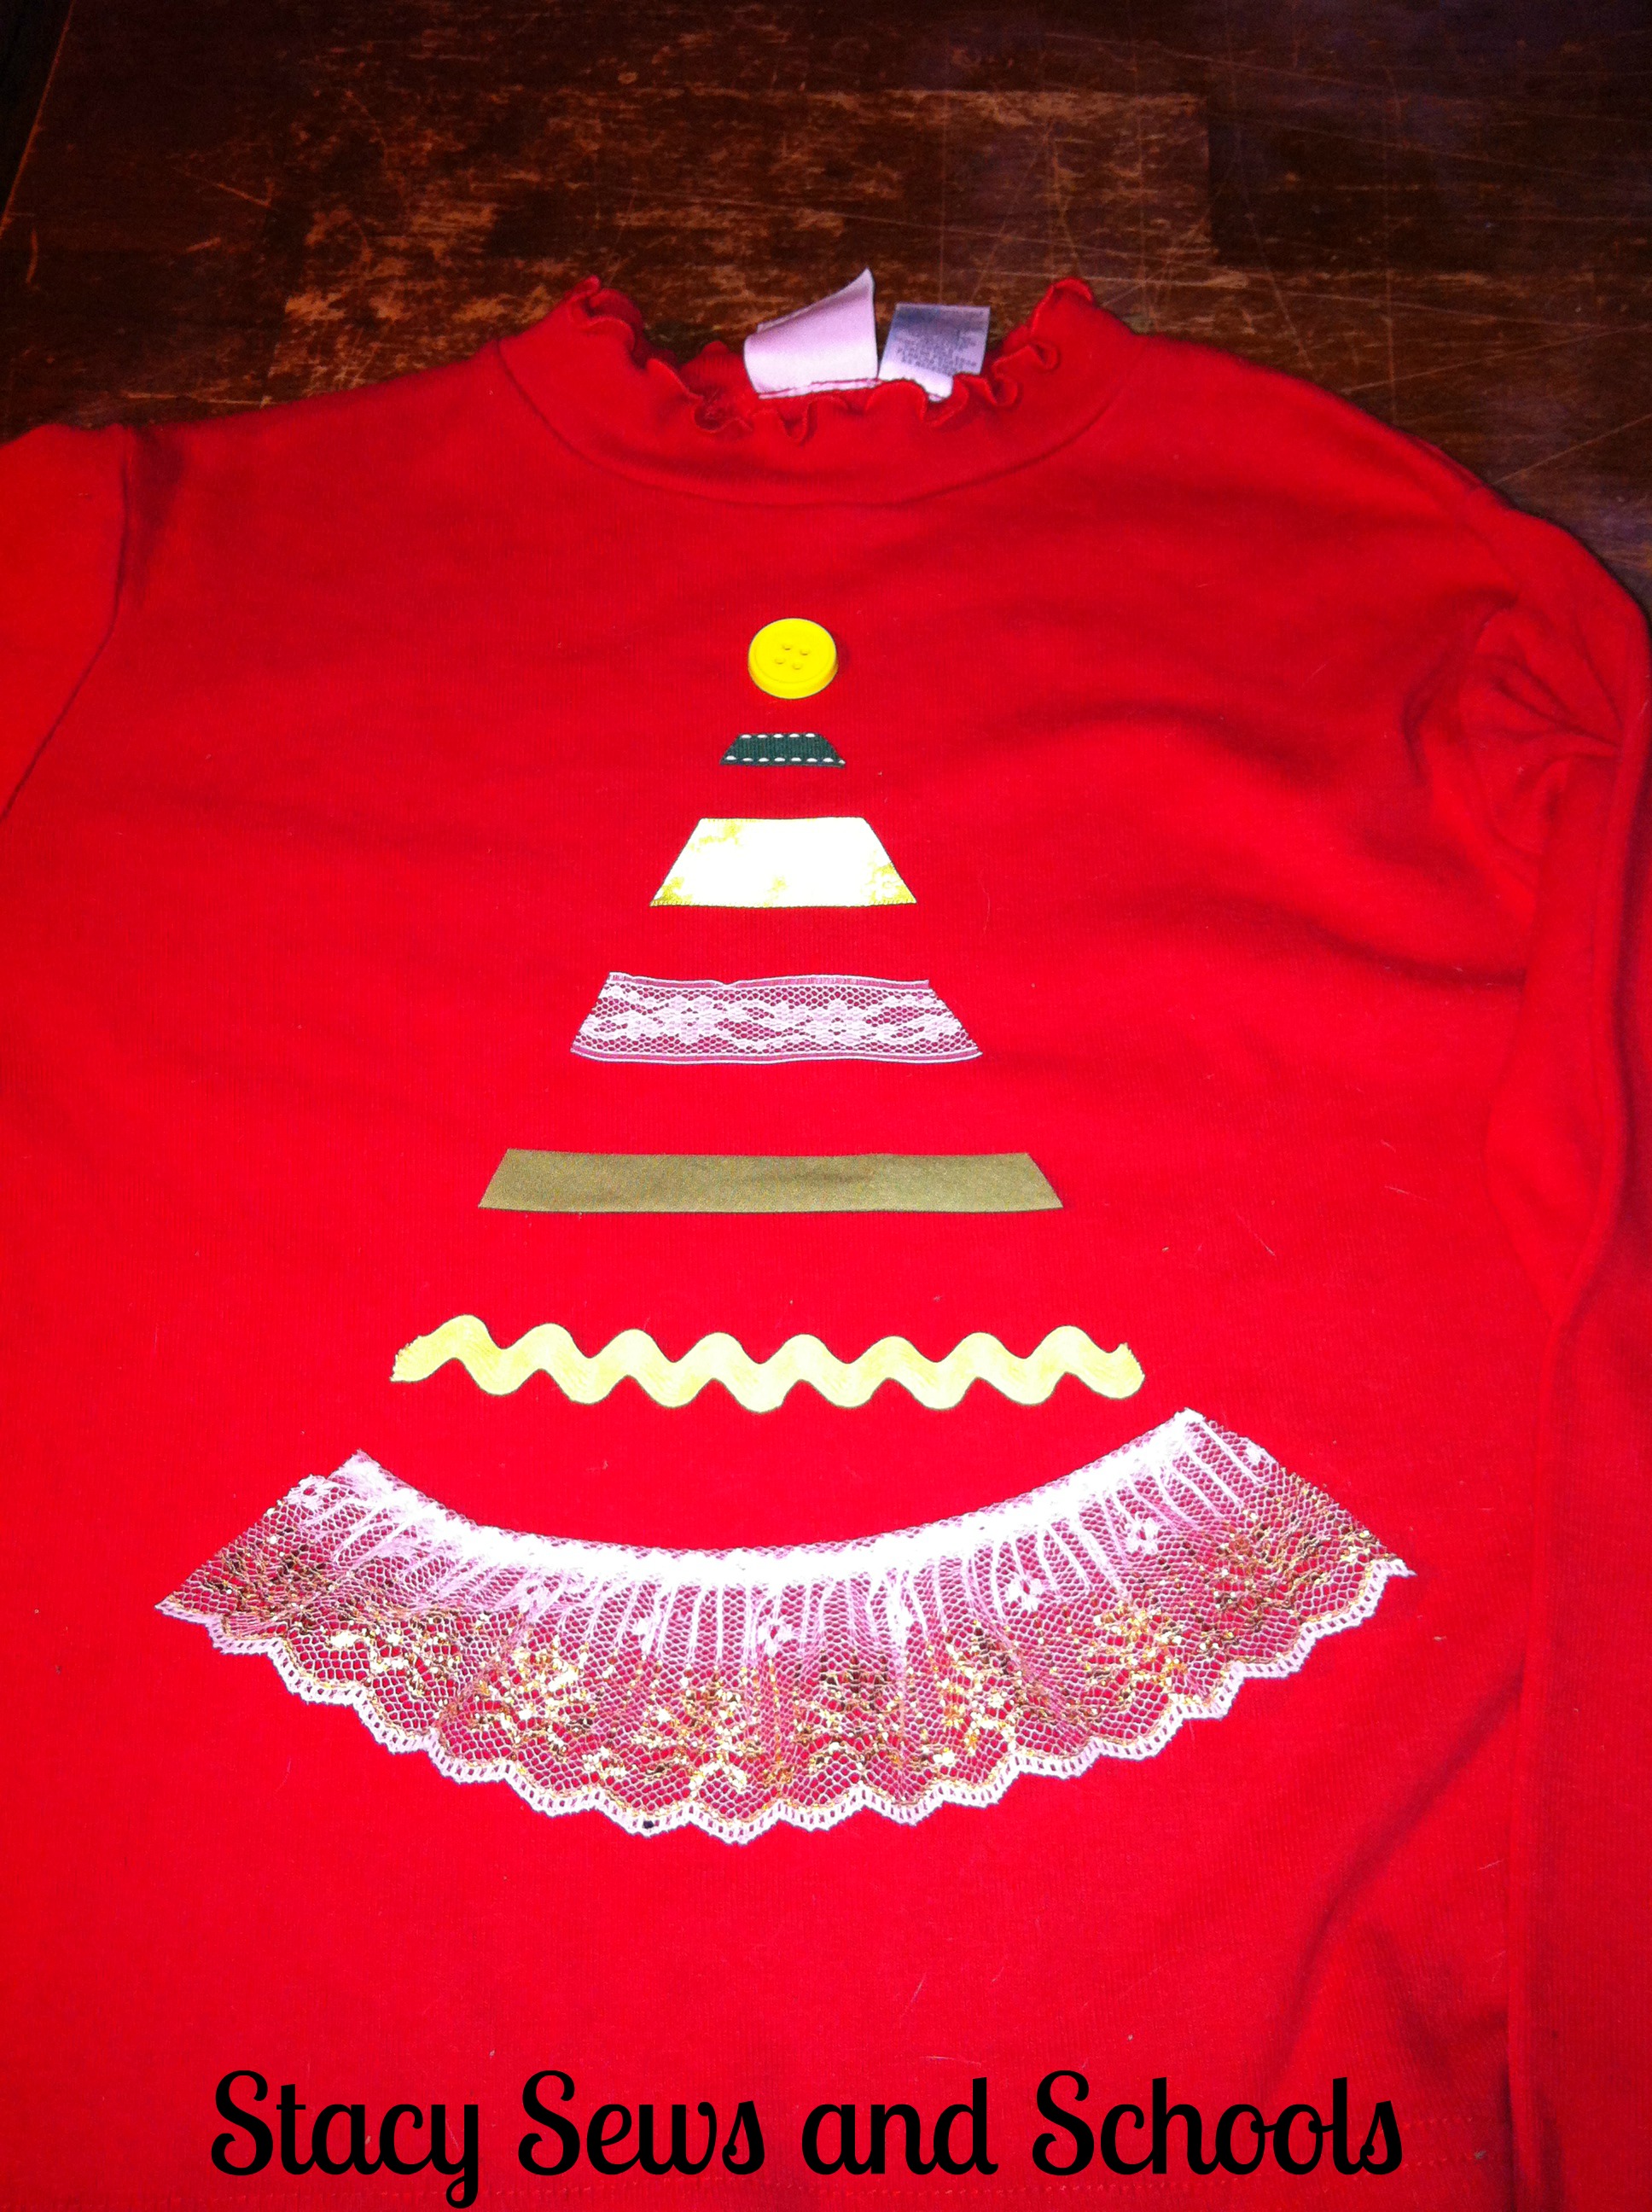
Line up your ribbons and laces in any order that suits you and cut both sides at an angle.

Christmas tree shirt 006

Line up the ribbons and laces in order and pin! Then sew them on! ;) Easy peasy!

Next, sew your button to the top!

Christmas tree shirt 015

Wrestle your tulle away from your cat...... SIGH....

I swear, I could put a wash cloth on the table and they would sleep on it!!!

Christmas tree shirt 019

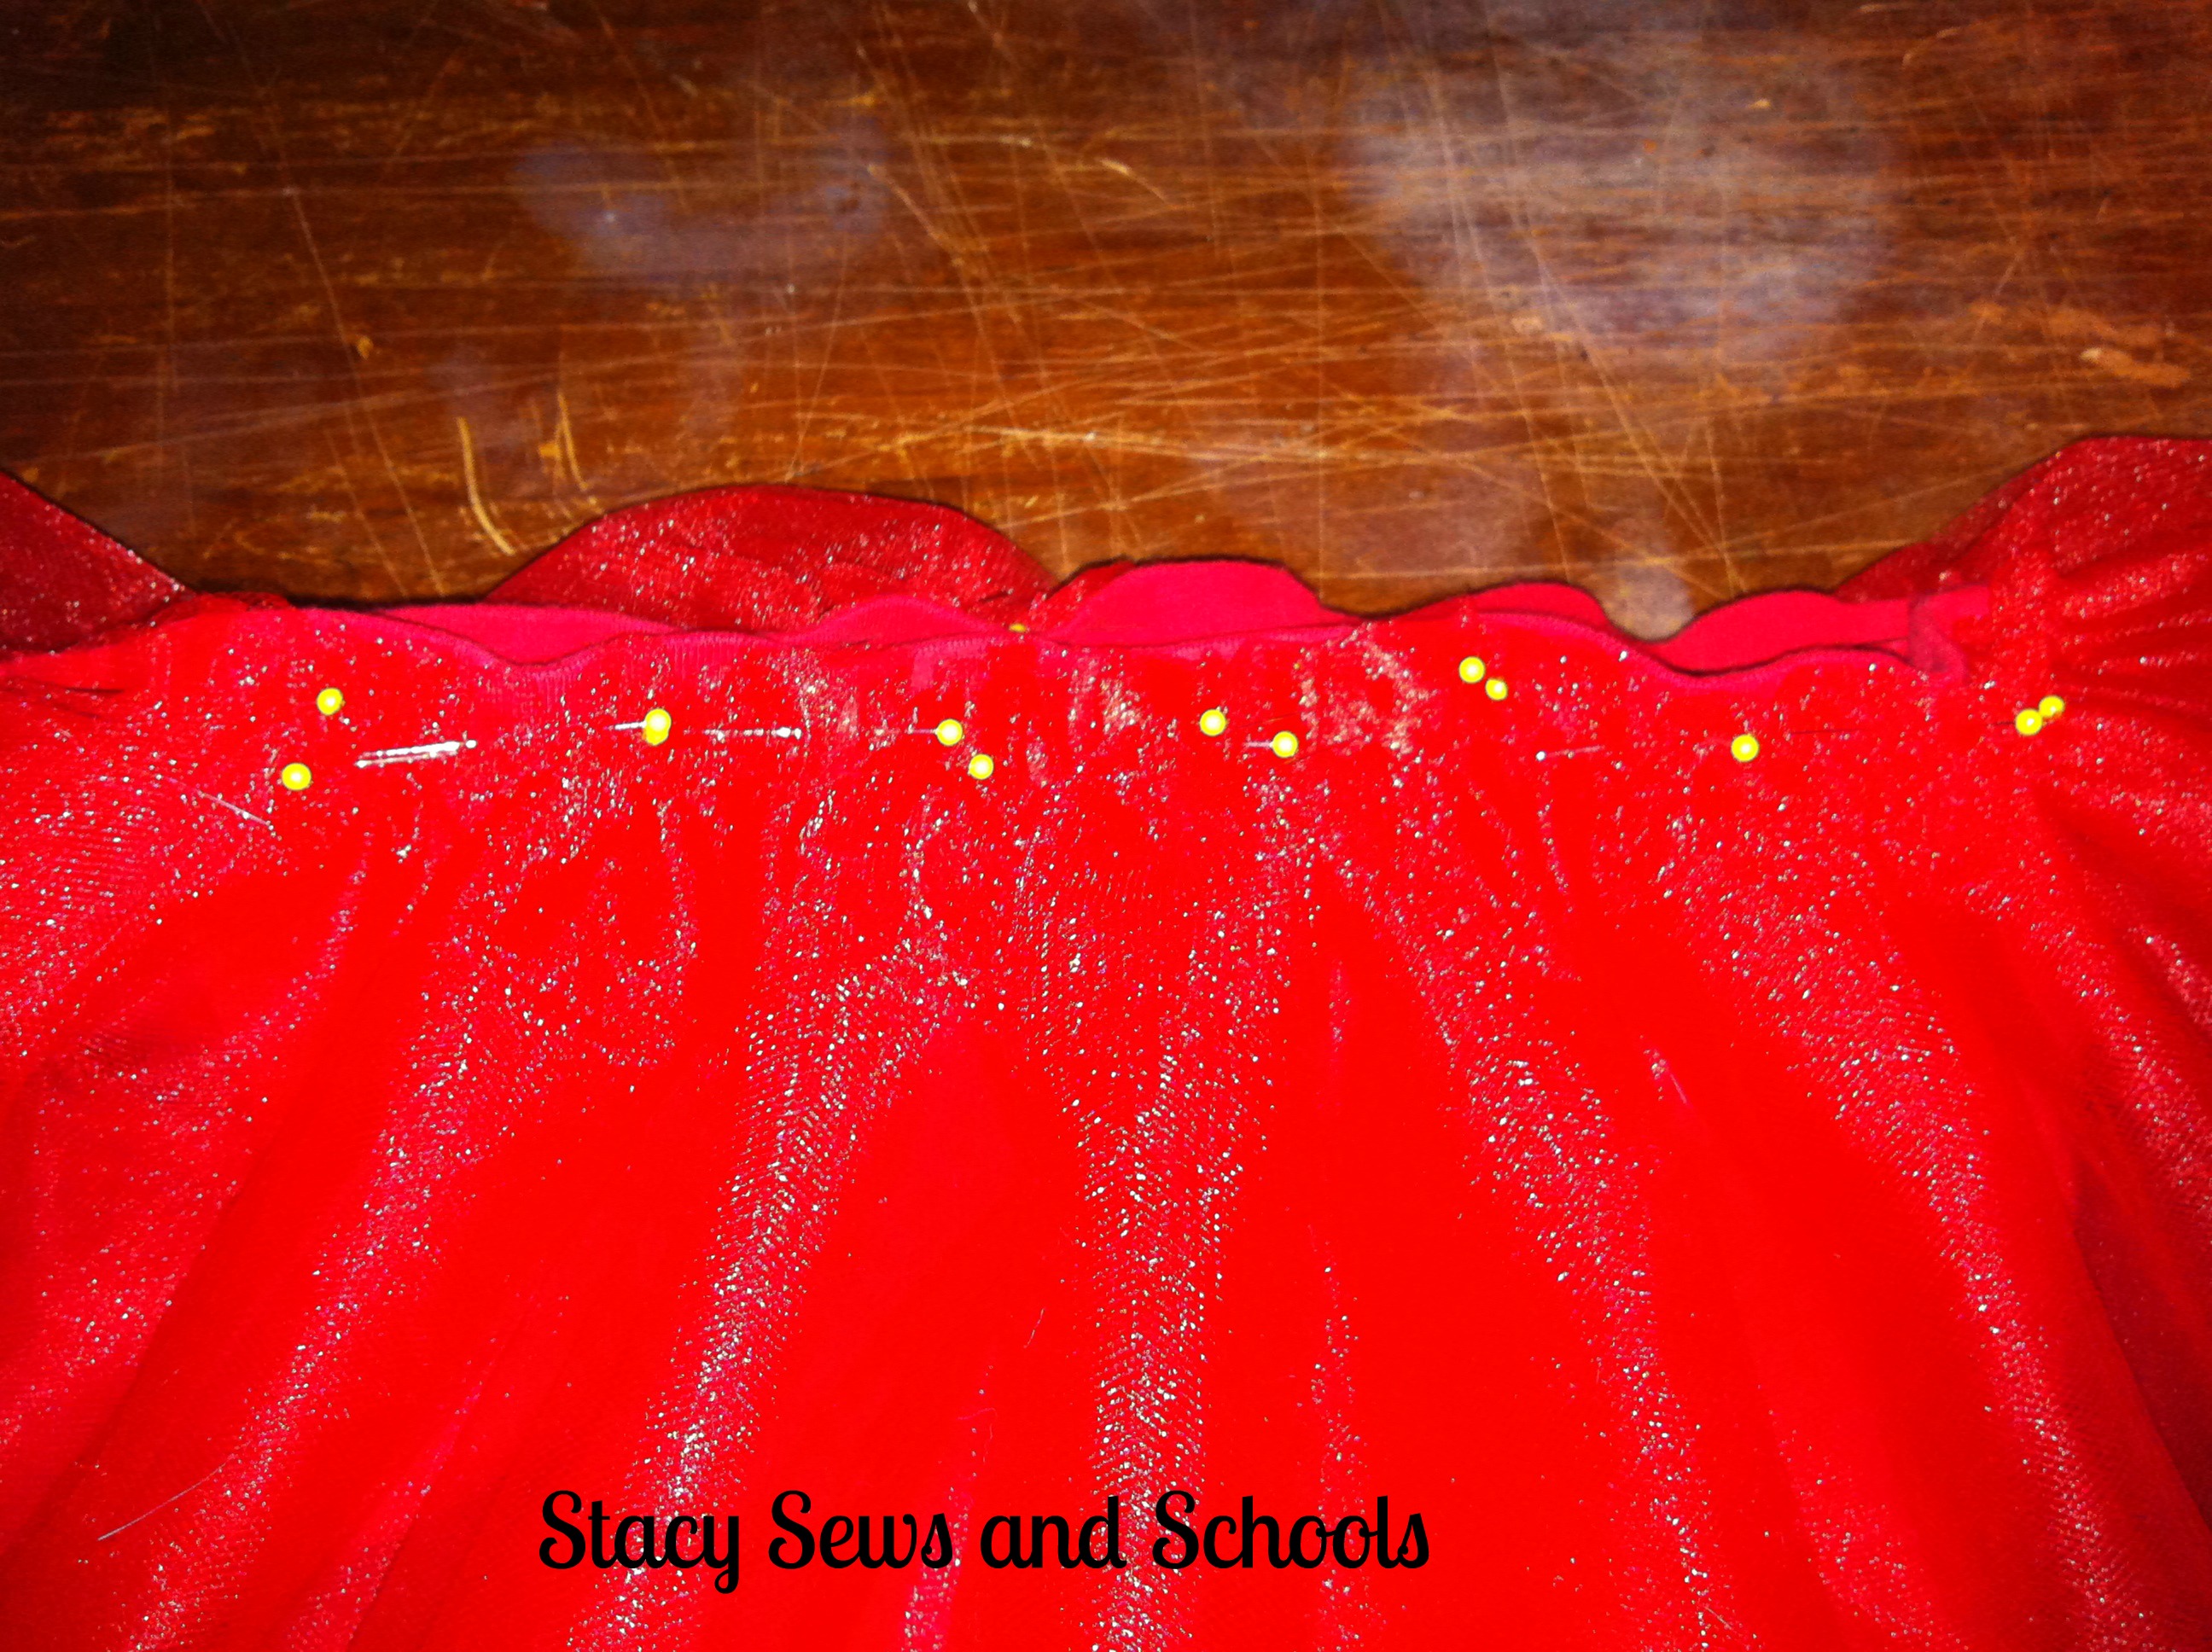
Now, fold over your tulle in half and then half again. Now it should be 3 yards long but wide enough for a tutu! ;)

Next, run a gathering stitch alllllllll along the top of it!

Then you are going to pin it to the bottom of your shirt.  With right sides together, slip the tutu over the shirt so that the top of the tutu will pin to the bottom of the shirt.

Next, sew it to your shirt! I used a zigzag stitch. ;)

christmas tree shirt 021

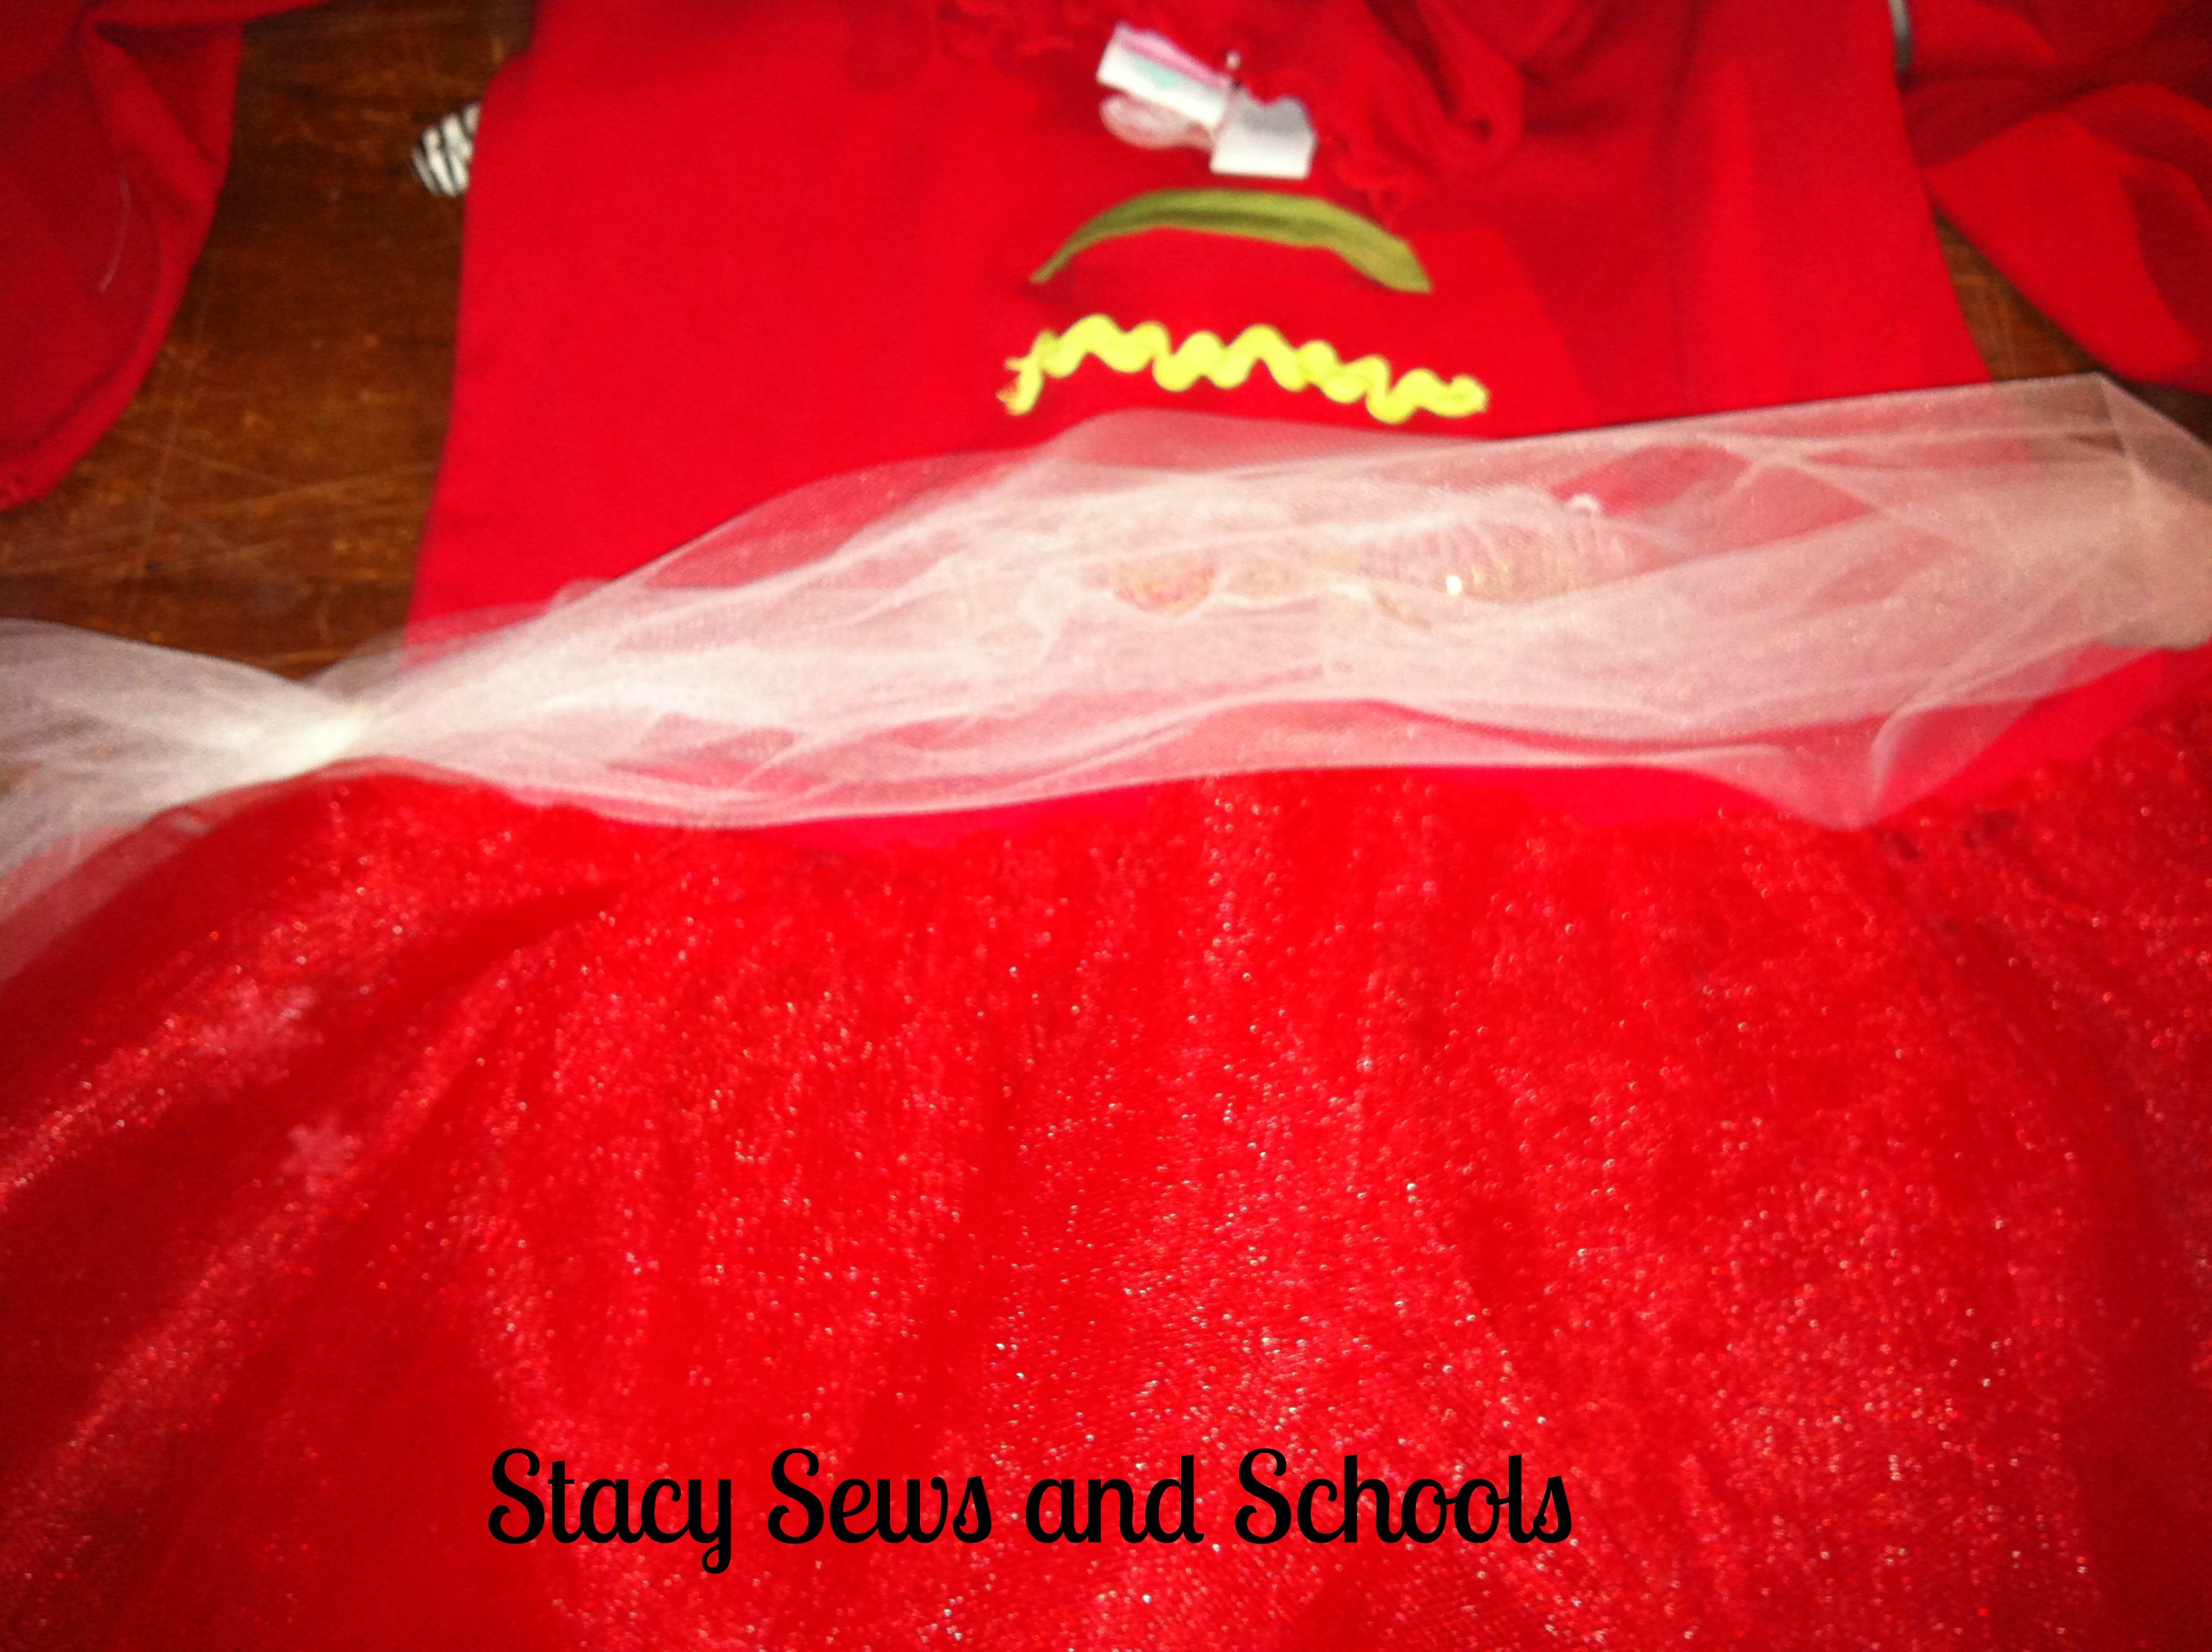
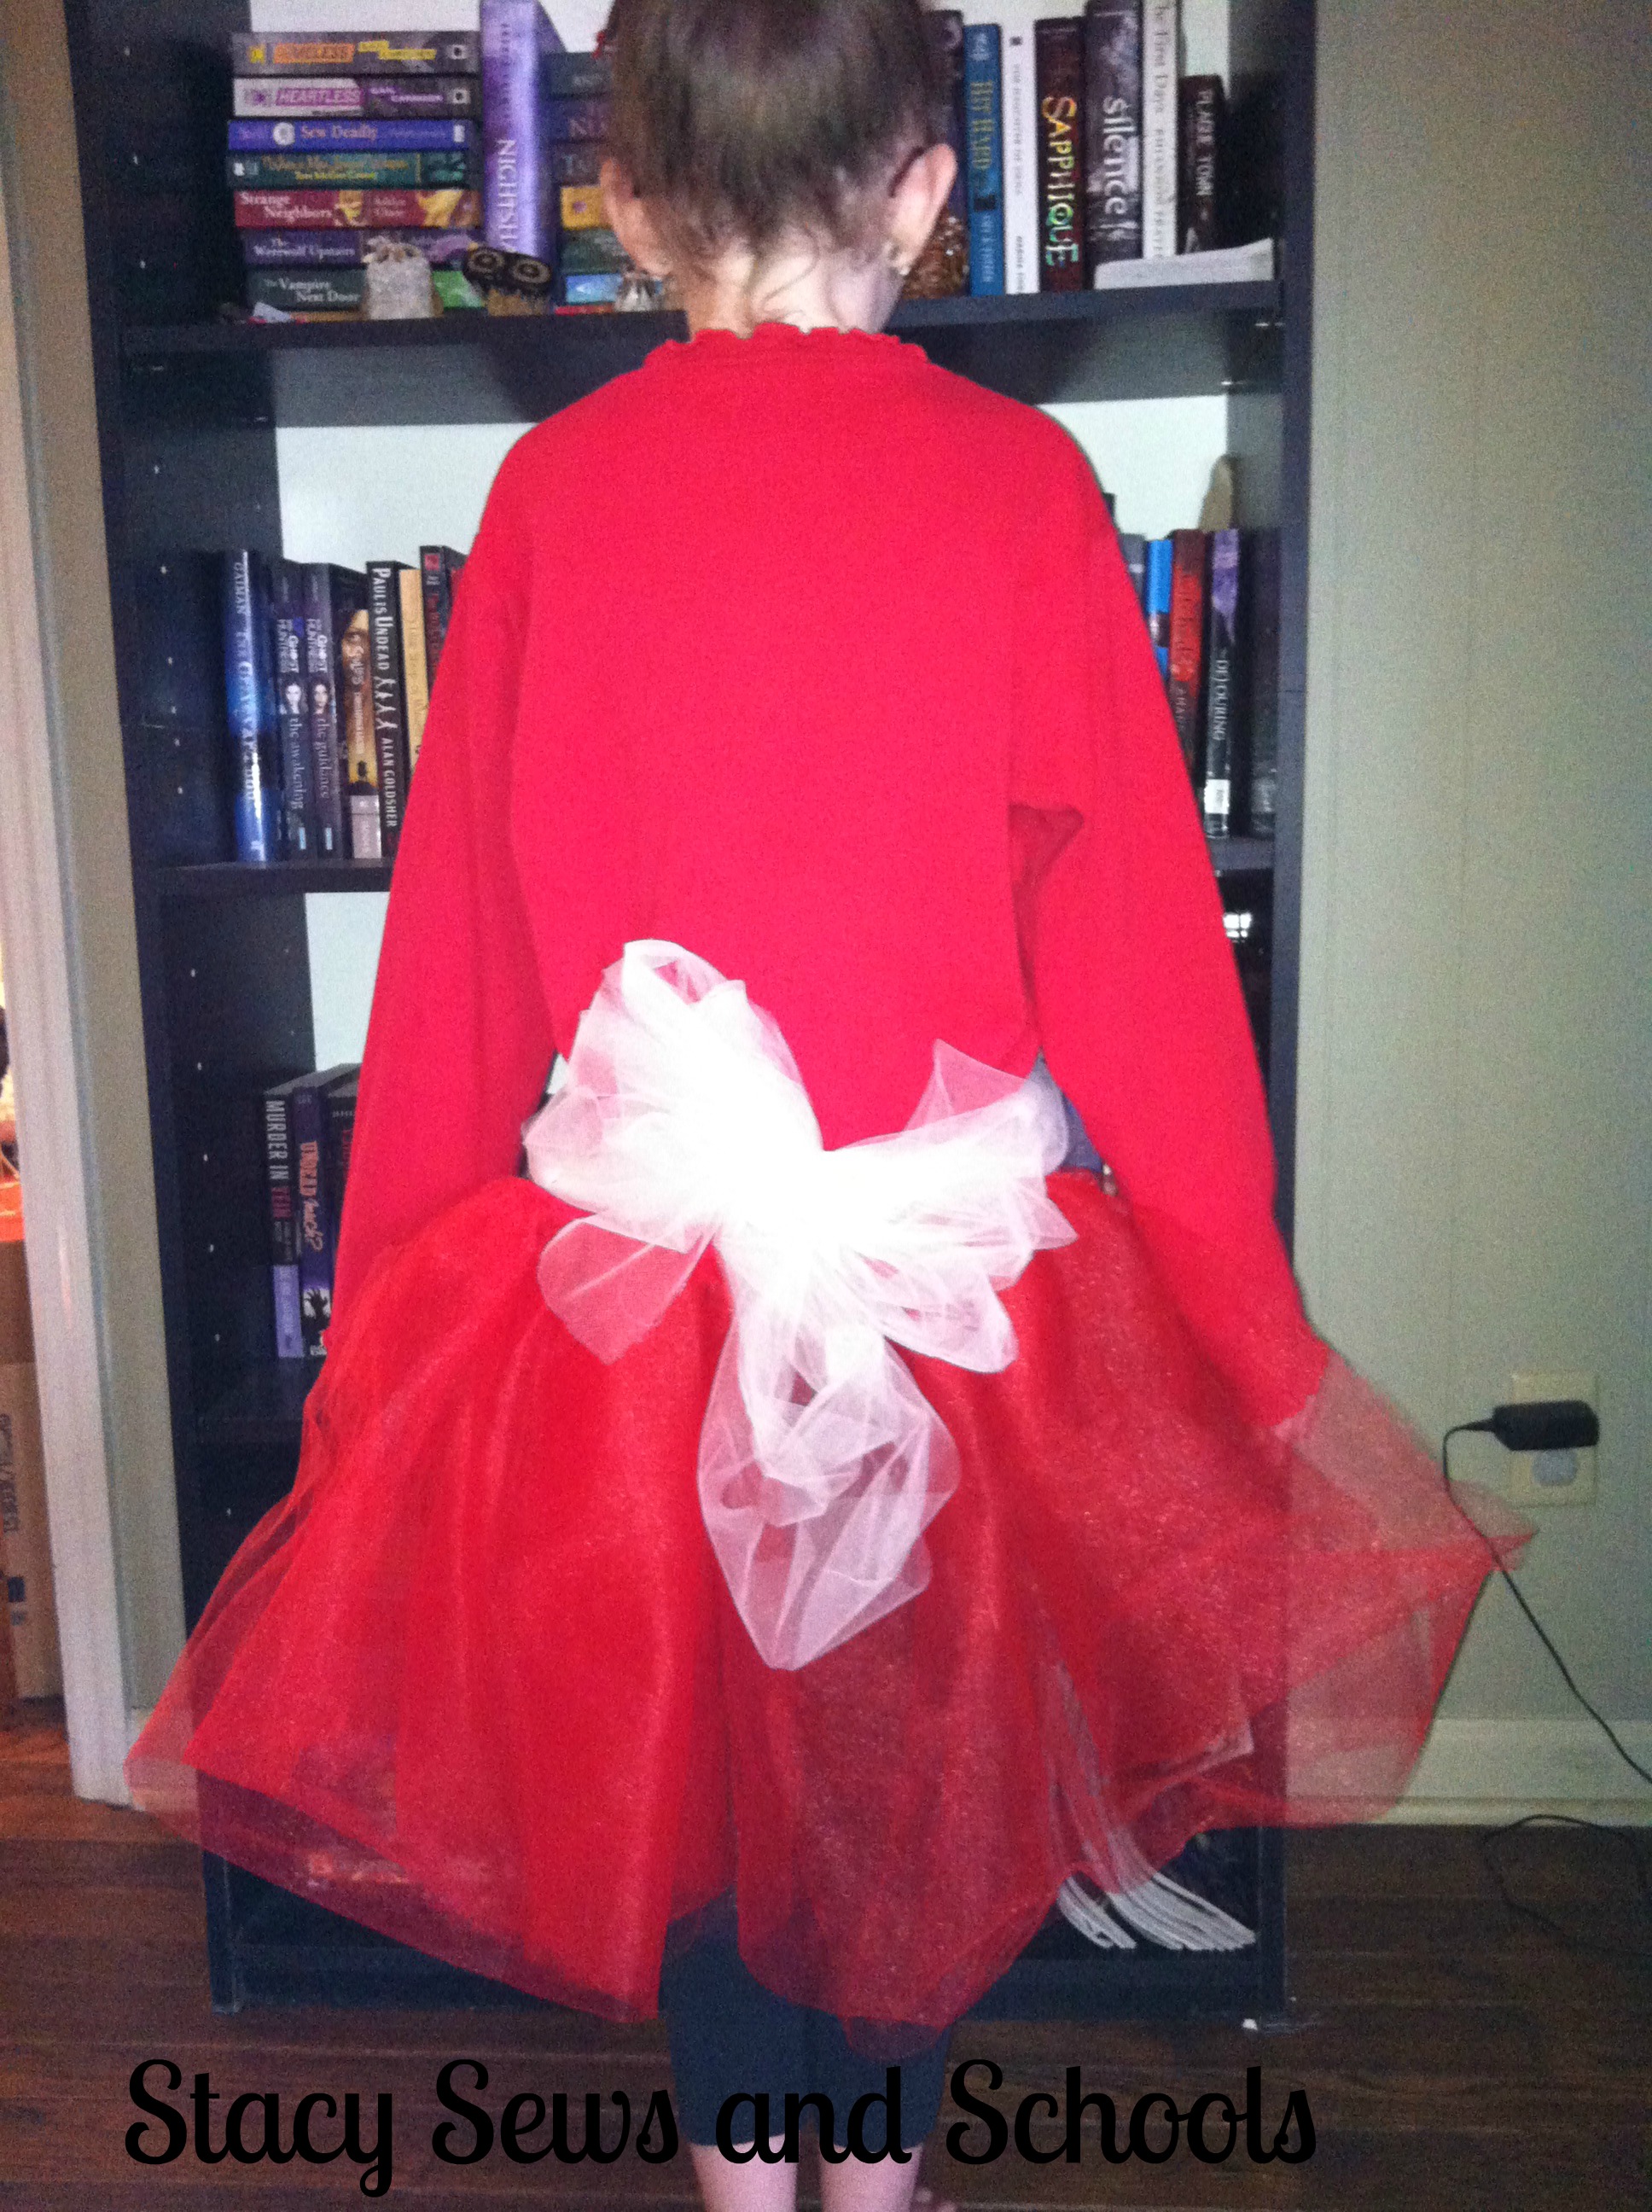
Now, pin the white tulle to the sides of the shirt, just above the tutu. Sew just the sides!

This makes a lovely bow in the back!

Christmas Tree shirt 0002

ALLLLLL DONE!!!

I wish I knew why the colors were off in the pics. :(

ANYWAY.... on to the hair clips and headband. This is sooooo easy, though!

Christmas Tree shirt 0104

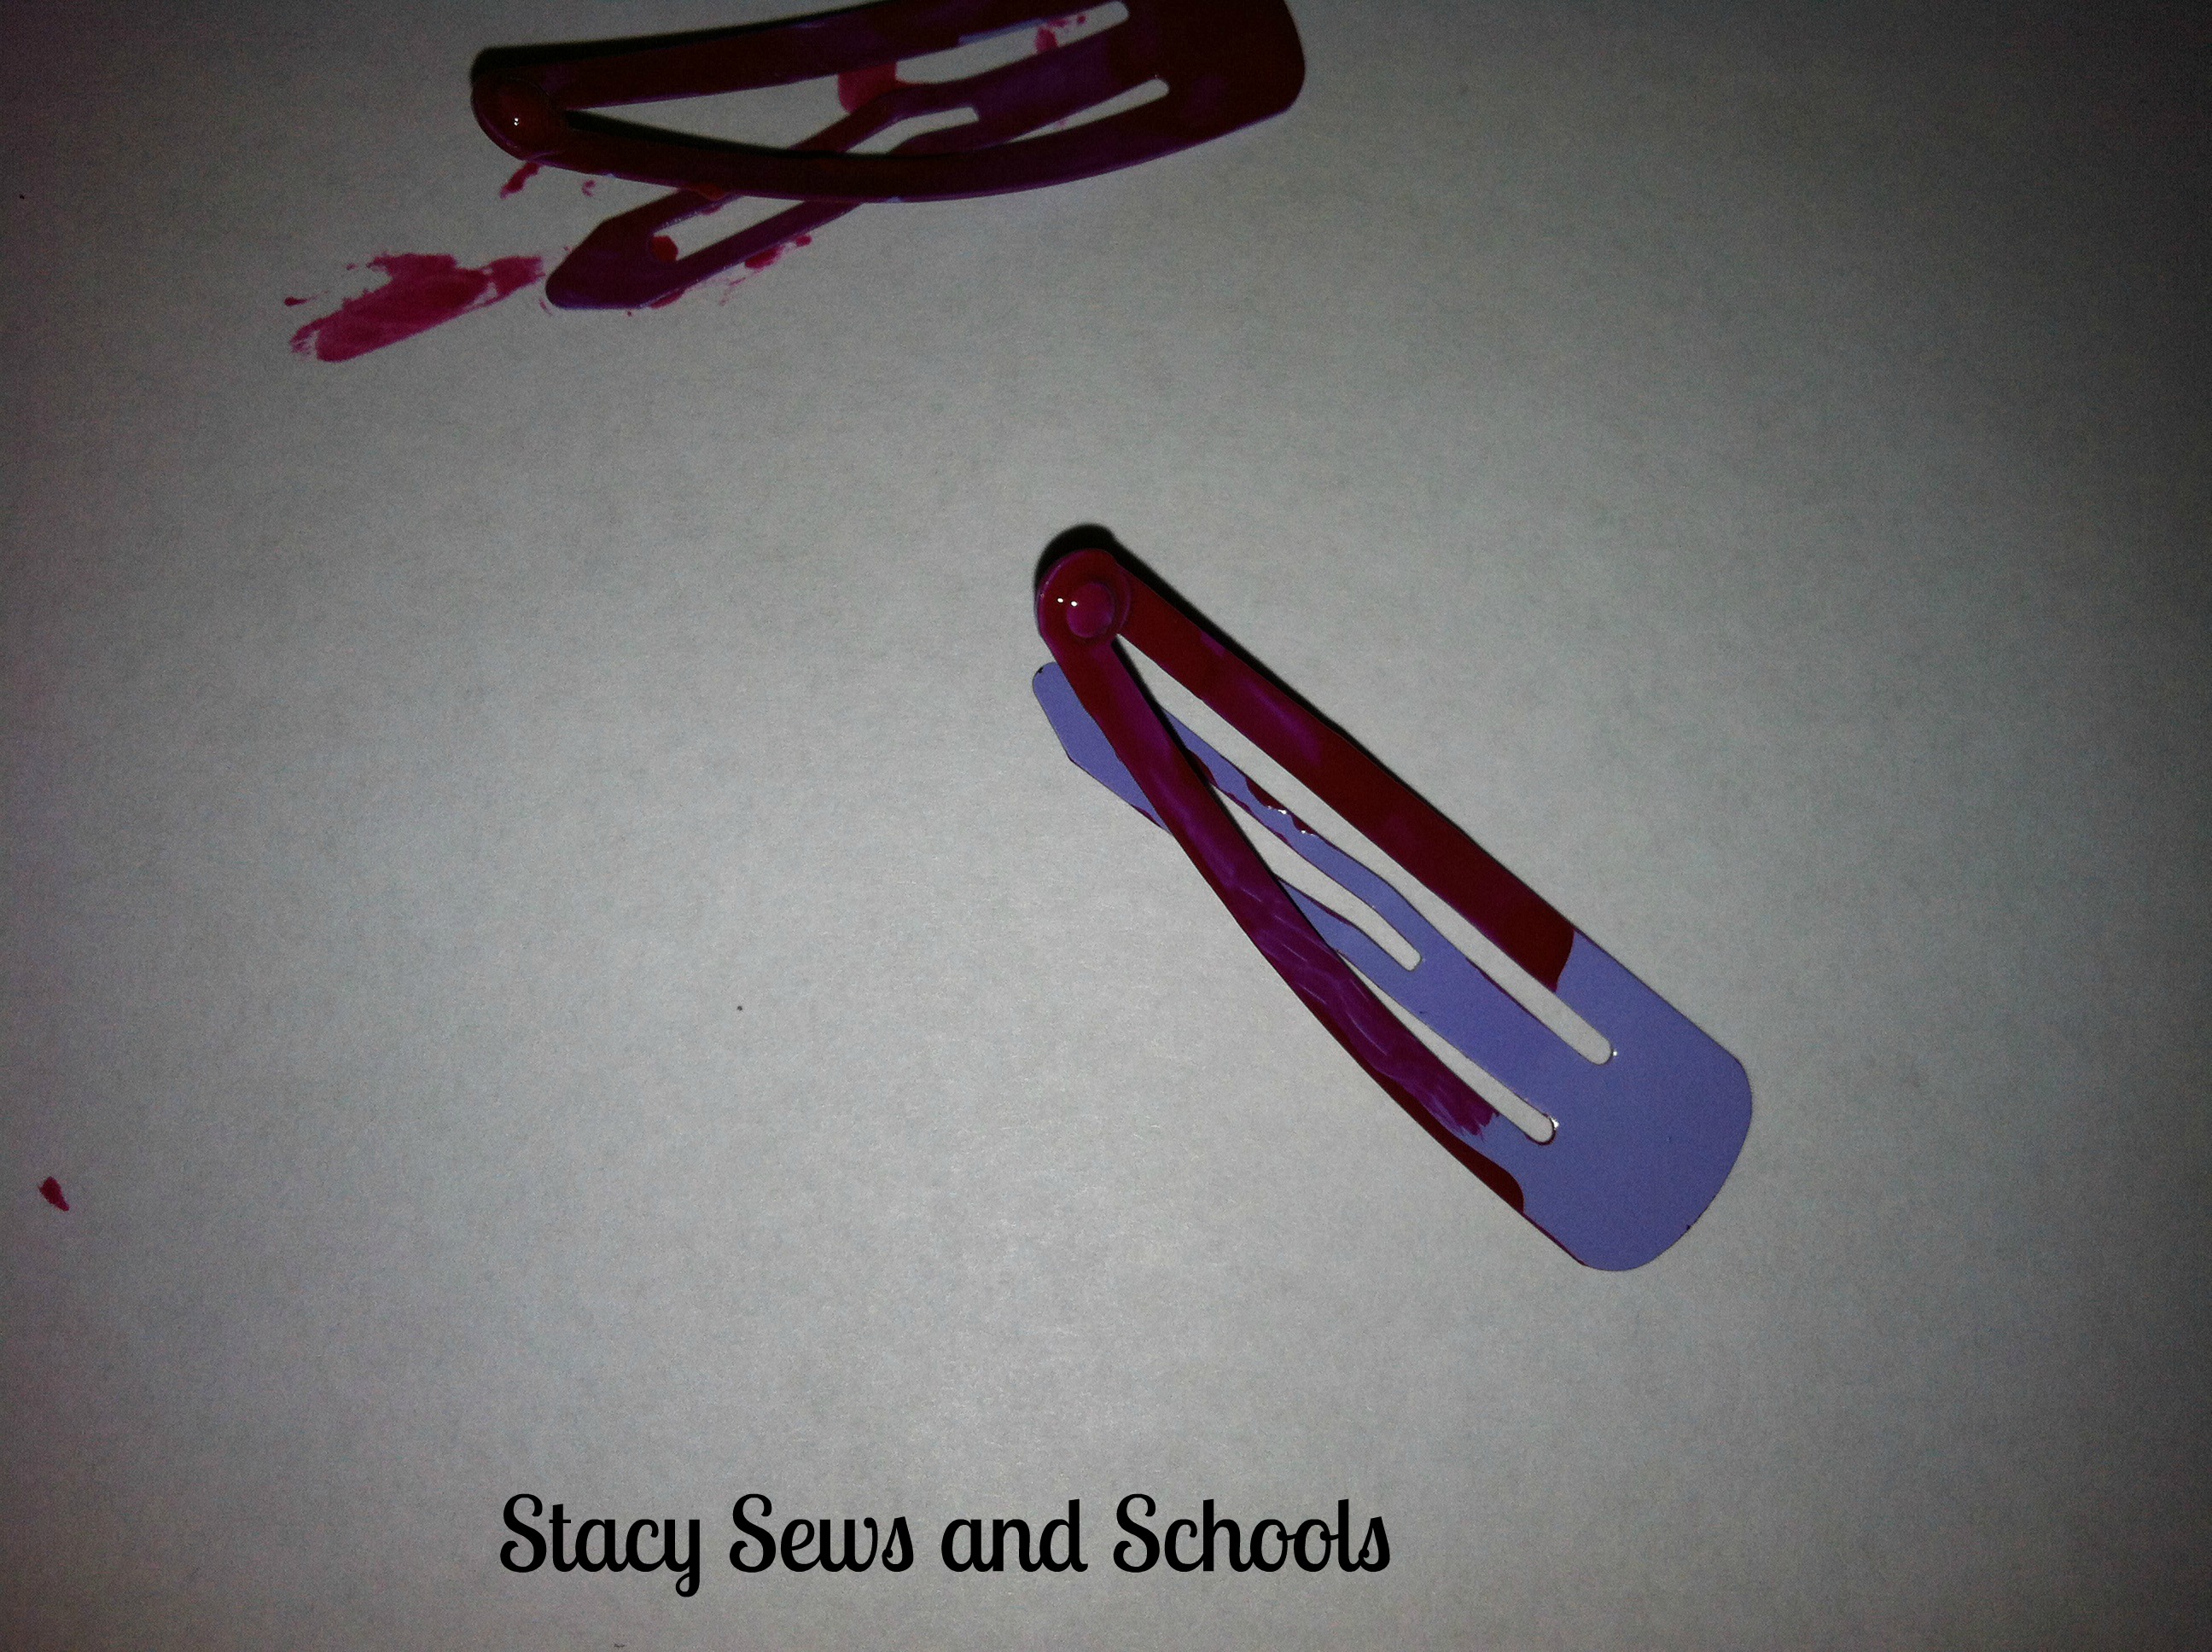
I took red fingernail polish and painted over the clips.

Christmas Tree shirt 0105

Then I used the polish to put decorations on the tree.

All the pieces that I used came from Walmart and were super cheap!!!

Christmas Tree shirt 0113

Christmas Tree shirt 0115

Then I hot glued the pieces onto the clips! Viola!

I swear, I had NO CLUE that the colors looked so bad until I started playing with PicMonkey..... Then I went back and added another coat of red. I think the flash brings out the flaws! LOL

002

MUCH better with a 3rd coat!!!! LOL

Christmas Tree shirt 01110

With this one, I just took a clear headband and hot glued the snowflakes on.

I told you it was easy! LOL

Now I want to show you some other projects that have been going on around here. ;)

CJs Dress 003

CJs Dress 005

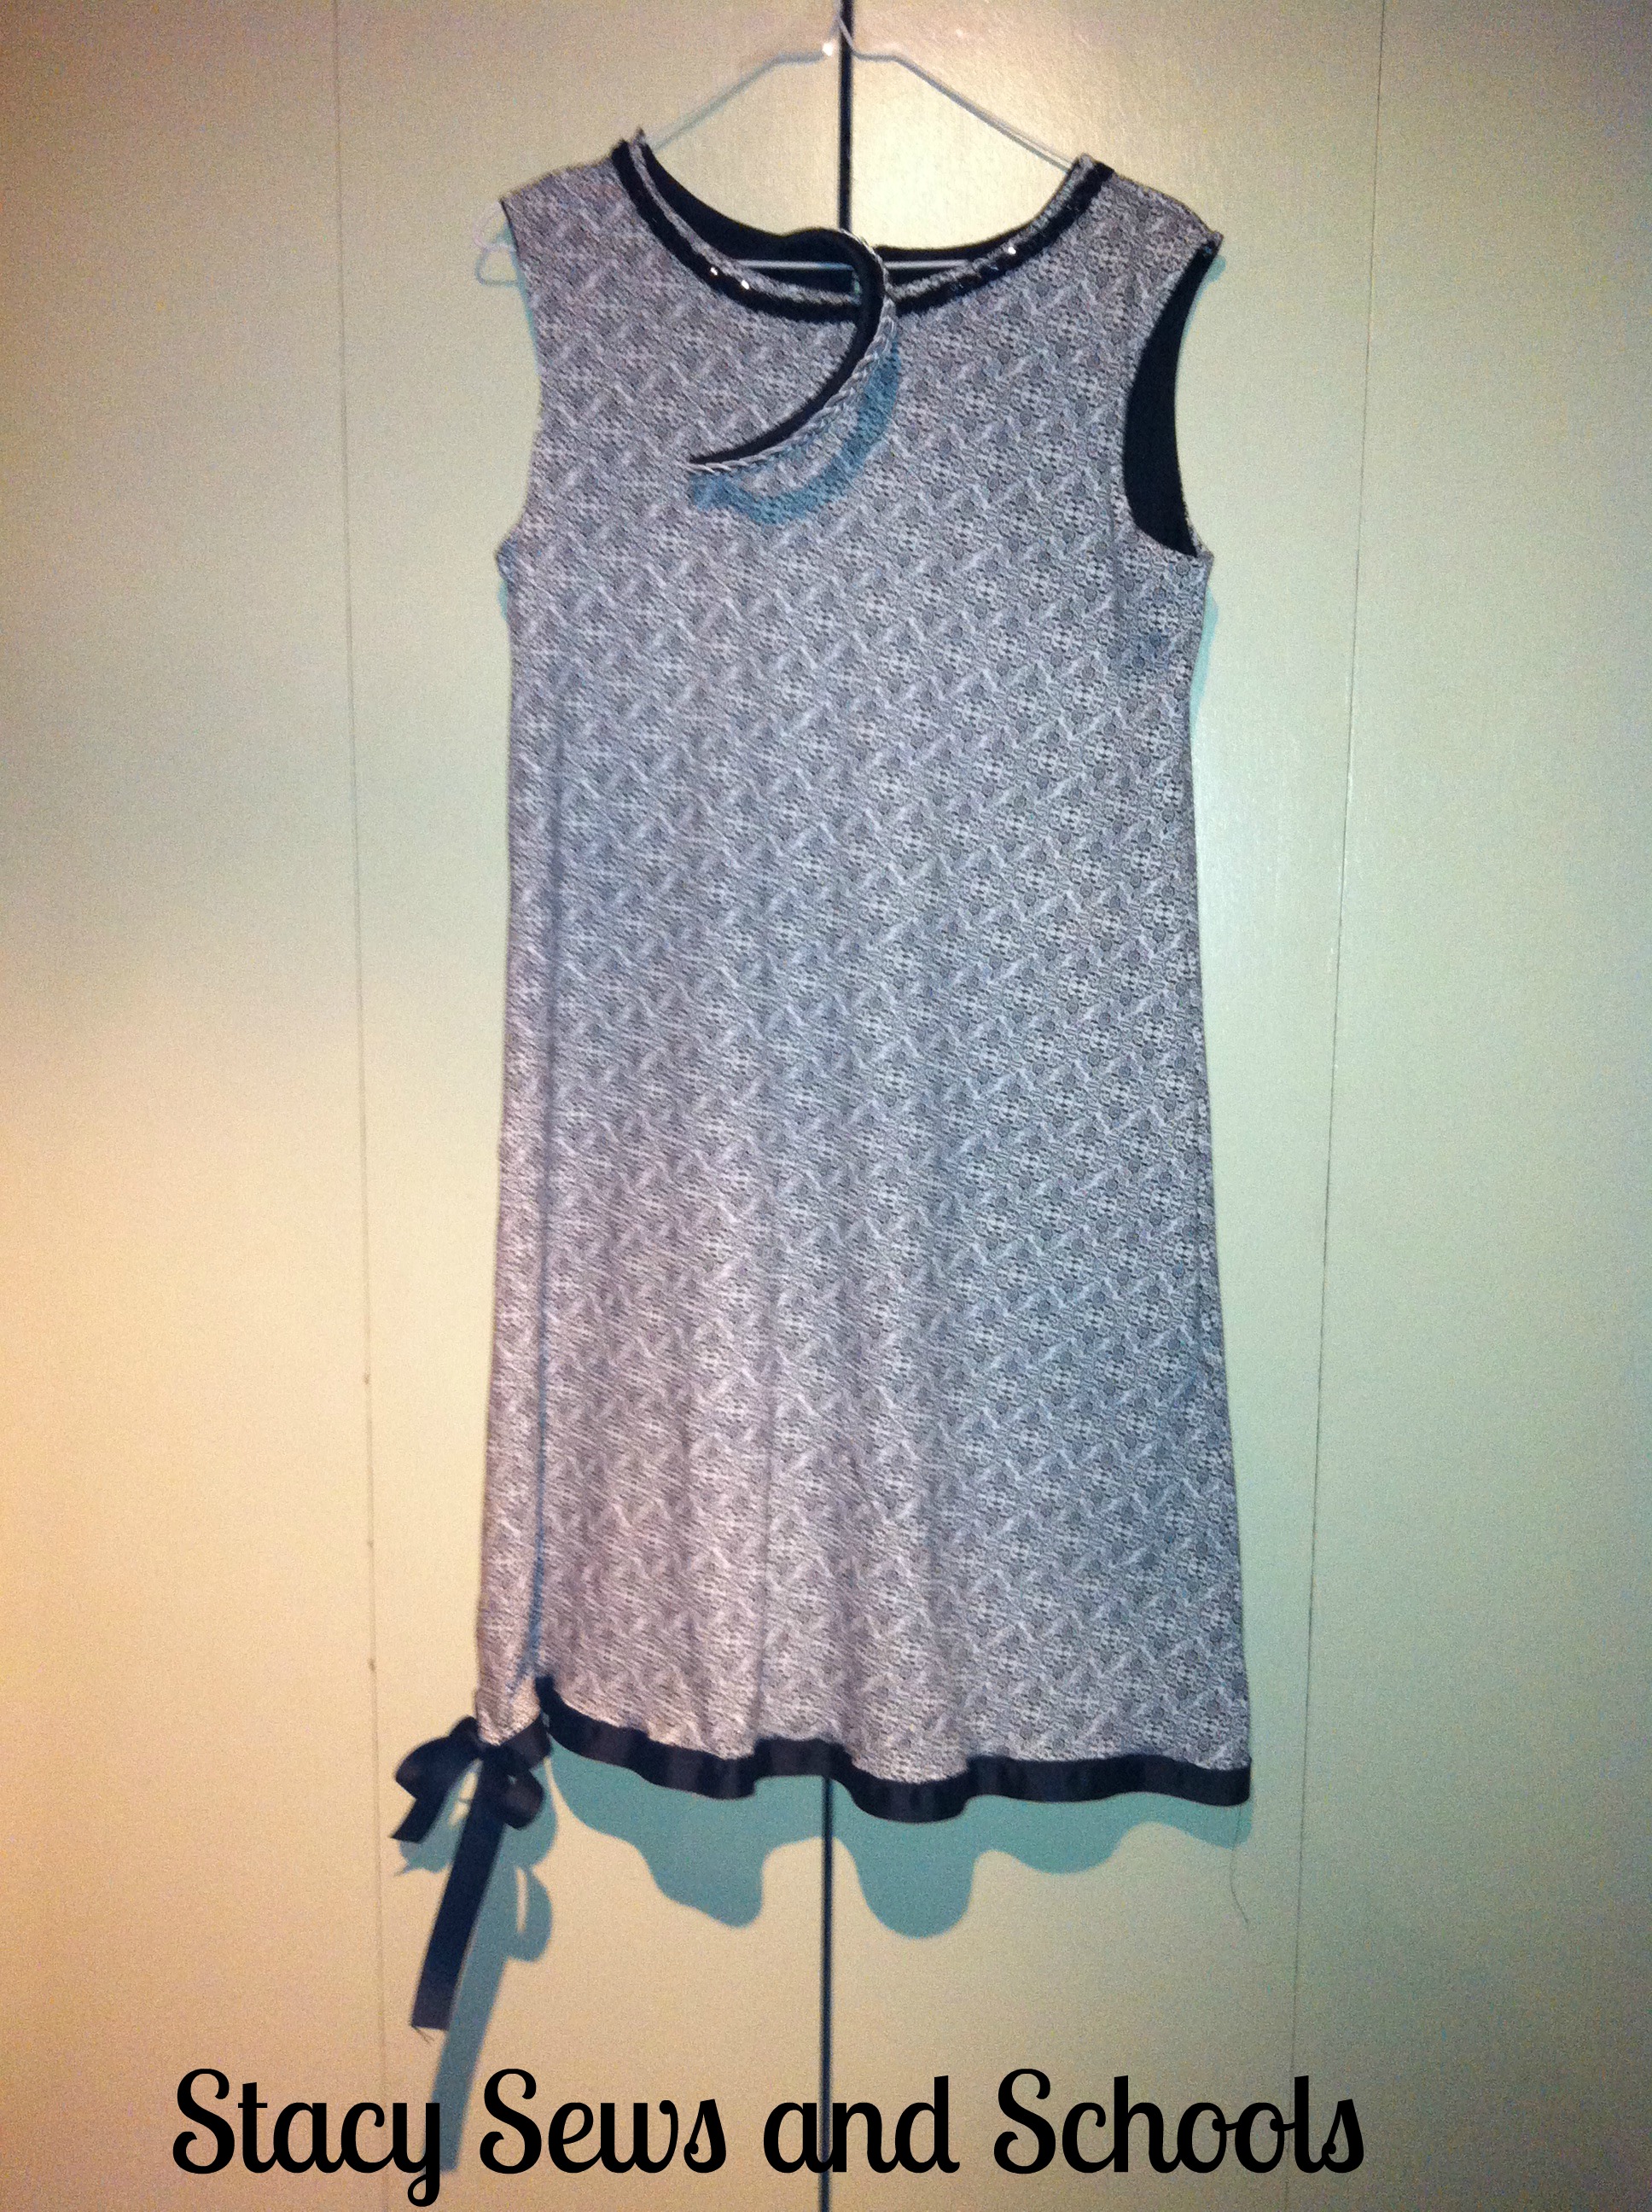
The dress is one I made for my Cousin CJ. My aunt brought the fabric and pattern that she wanted. Then I added the headband. I just wrapped it in black ribbon like I did Cailey's candy headband and then hot glued the black and white braid.

Here is the pattern that I used. I added the sparkly braid to the top and the black ribbon and bow to the bottom to give it a little extra umph! LOL

M6098

McCall's M6098

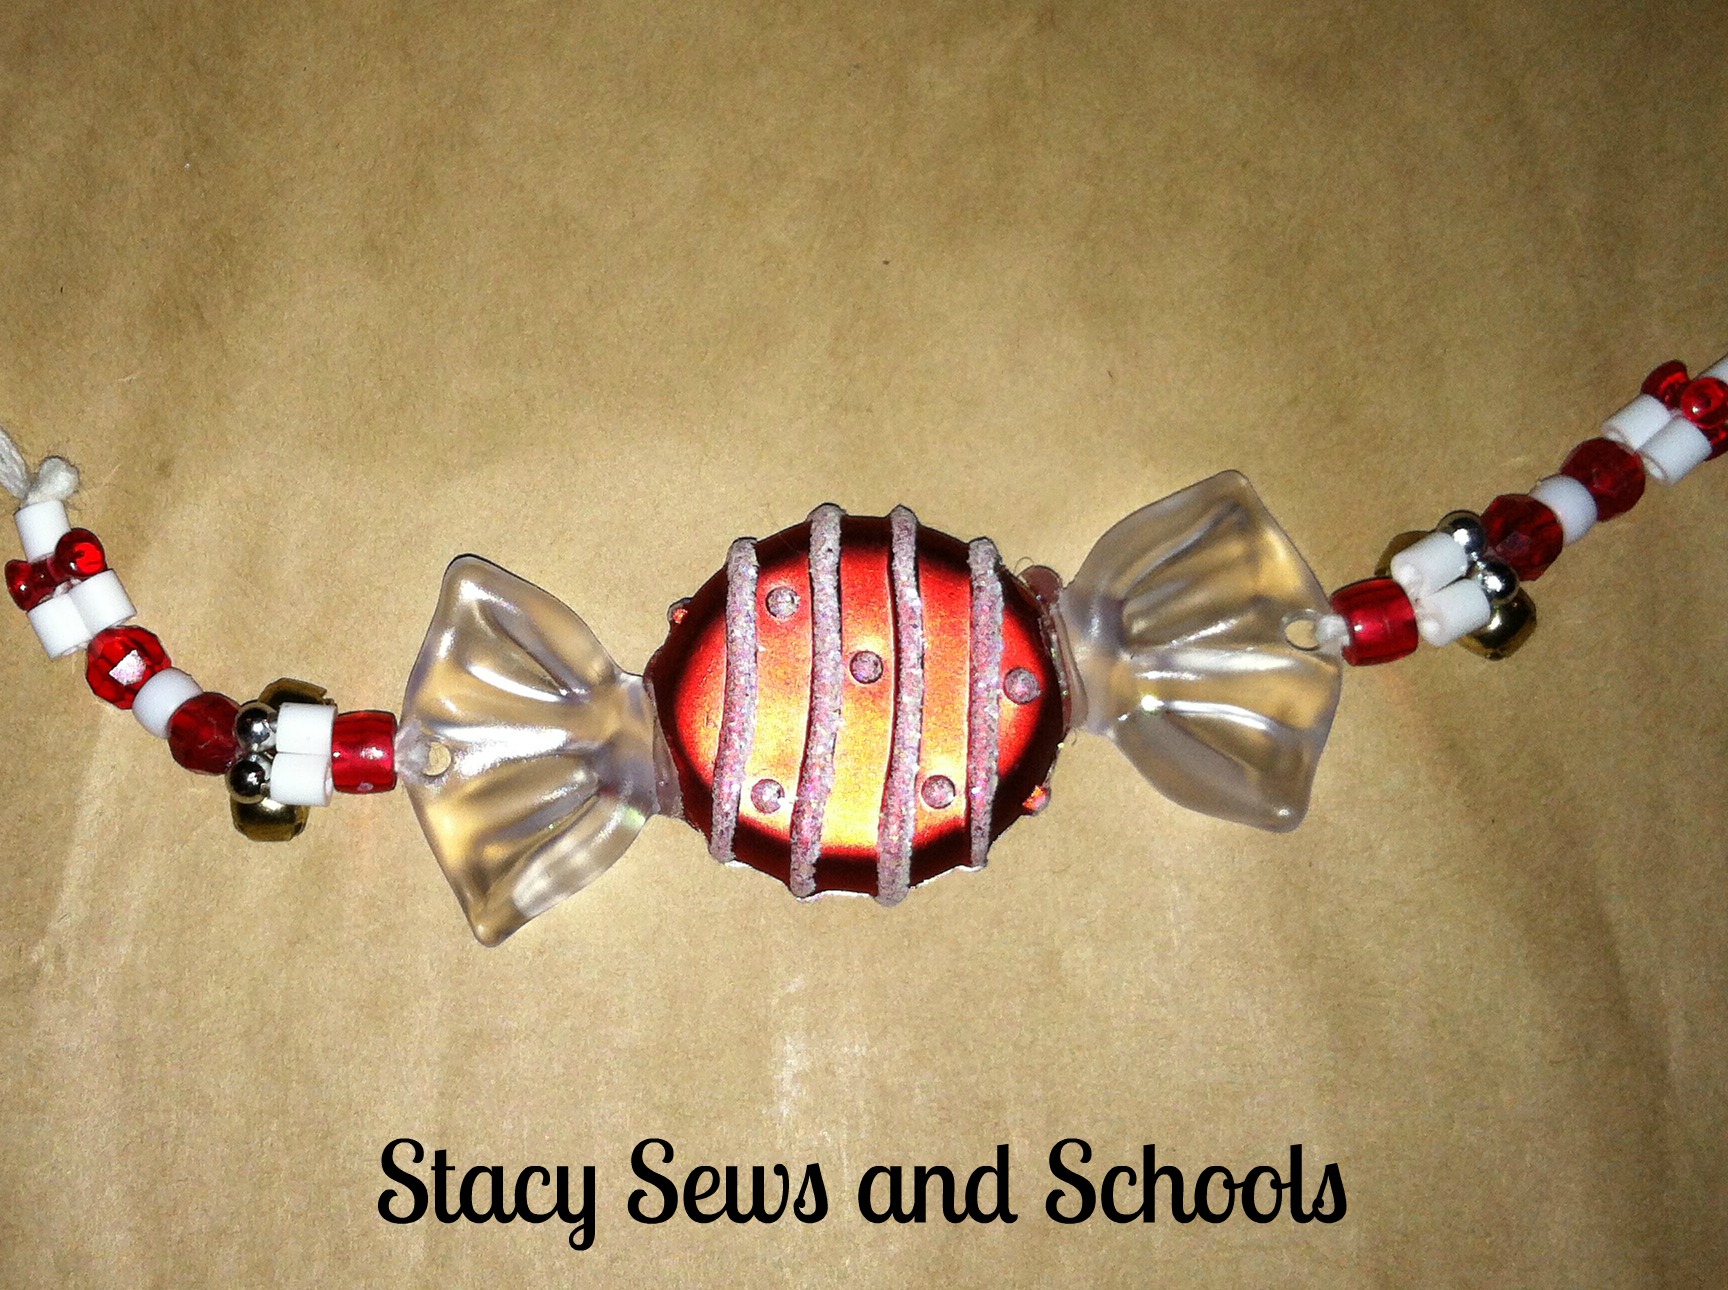
And here is the necklace that Deanna made for Cailey to match her candy headband.

Christmas Tree Shirt 1007

I hope you like the tutorials! As always, let me know if you have any questions!!!! :) And let me know if you decide to make one of these!!! :)


And for some reason the formatting on here is off kilter.... AGAIN!!! I wish I knew WHY it did that. Drives me nuts! I like nice spaces not everything crammed together. BLARGH!!!