
So, the first tutorial will be for the dress and then I will do the headband! That headband is so easy I am almost embarrassed about working up a tutorial for it.... LOL
Here is what I used:
1 shirt that fits your child well
1 yard of gingerbread men
3/4 yard of brown and white polka dots
1/4 yard of red for the sash
2 small pieces of 3/4" elastic
2 ft of red and white polka dot ribbon
1 ft of red rickrack
3 small red buttons
1 cheap plastic head band
1 cheap plastic candy ornament
1 package of white bias tape (you can use ribbon or whatever)
hot glue gun
Gingerbread Dress

Fold over the fabric you want to use for the bodice of the dress. Place the folded shirt on top. Cut around the shirt leaving excess all around for your seam allowance.
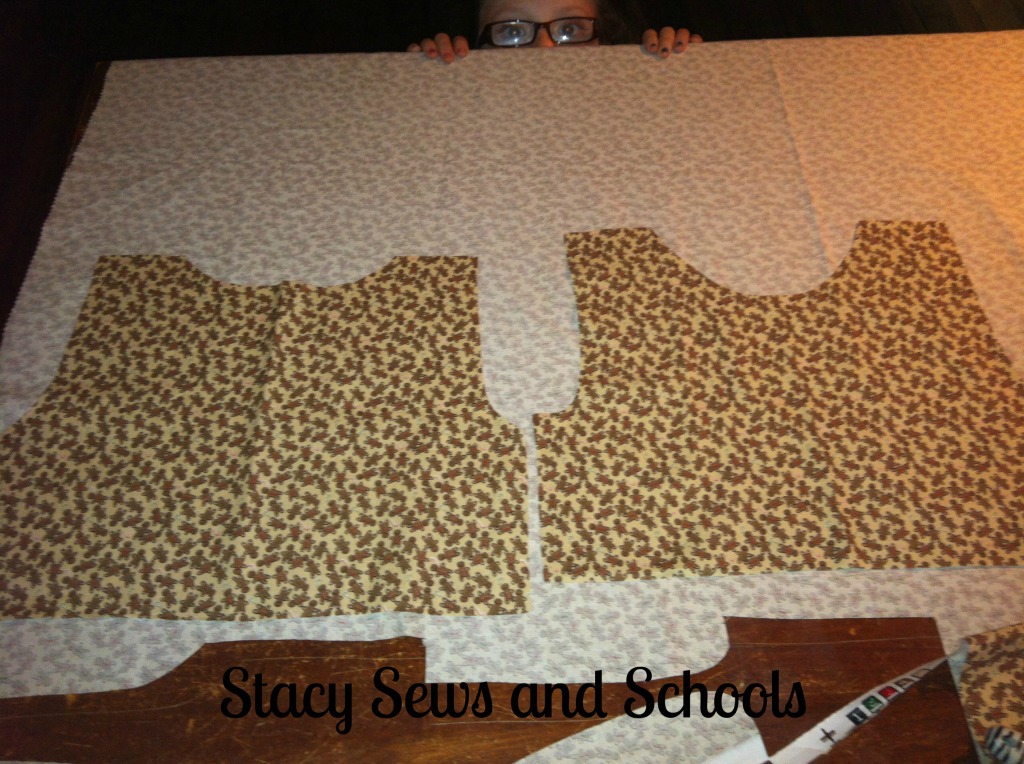
You will cut one back and one front. This is what they should look like.
Cailey is photo bombing! LOL
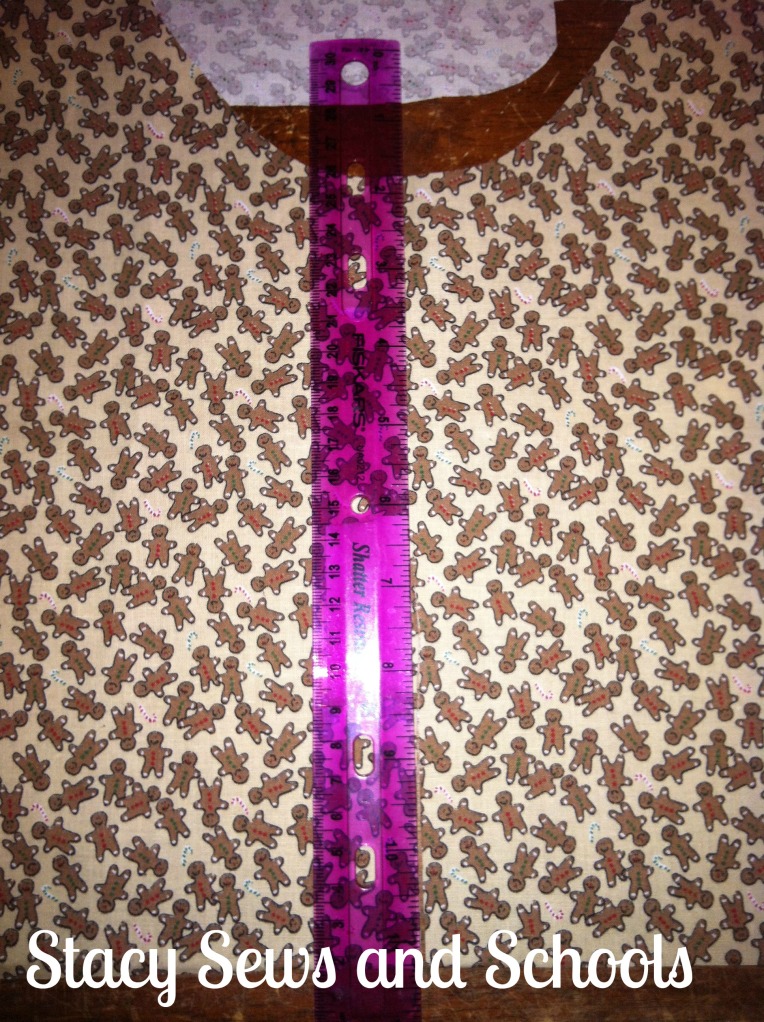
Now, take a straight edge and cut the front bodice piece right down the middle.


The bodice is fully lined so now you need to cut the lining using the bodice pieces you already have as a guide.
For the front bodice pieces it's easier to just place them wrong sides together to cut.
The back bodice piece can be placed on the fold.

Now, we are going to cut the fabric for the bottom tier. Just cut 2 even lengths of the same fabric you are using for the bodice. You can make it as wide as you want depending on the height of your child and how long you would like the dress to be.
I made my cuts where the white lines are.
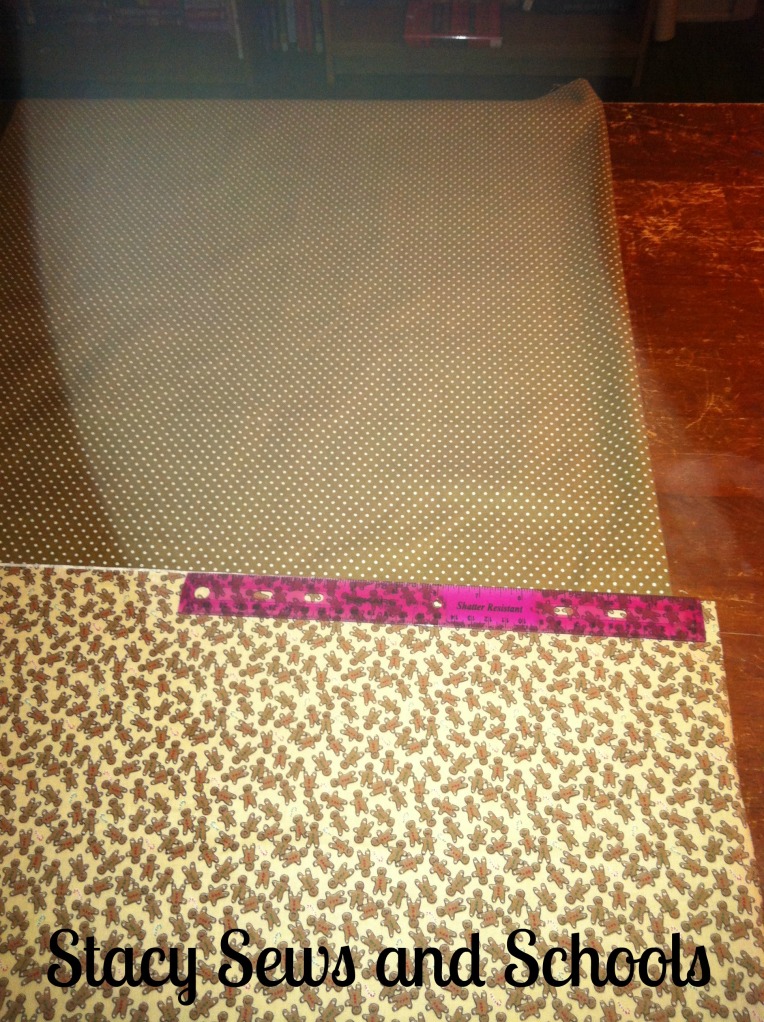
Now cut the top tier in your other fabric, making it the same width as the bottom tier.
You will only need one piece for this tier.

On to the sleeves! Now, I wanted short sleeves because it just is NOT that cold here in the DEEP South! LOL The length of the sleeve is all up to your preference, and any length will work just fine with the ruffle on the end. ;)
Using one of your bodice pieces as a guide, place your folded fabric under the guide and cut, leaving about 1/2 below the arm place on the bodice, and cut straight across.

Now you are going to cut the piece that makes up part of the ruffle on the sleeve. Cut 2 pieces that are 4 " wide and the same length as your sleeve is round.
In other words ________________ this way needs to be the same as the sleeve is when it is unfolded.
And 4" this way .
.
.
Make sense??? If not, just take a little peek at the picture at the top of the page and see how the sleeve is set up.
I am having a bad case of fibro fog today. BLECK!!!

Here are all the pieces that we have cut plus the red ribbon. :)

Pin your back bodice pieces with right sides together.
Sew up everything but the bottom. You can sew the shoulders if you want to. I didn't with this one.

Now, turn right side out and press!
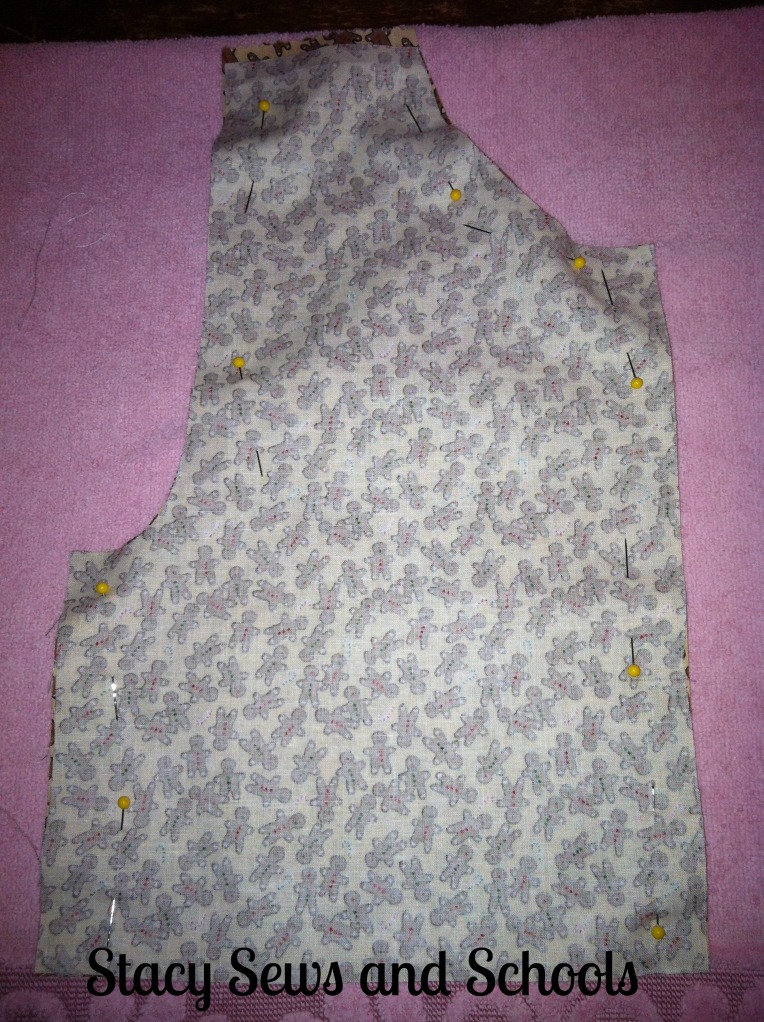
Pin your front bodice pieces with right sides together. Sew everything together except the bottom.
Do the same to the other 2 front bodice pieces.

Turn right side out and press. Do the same to the other bodice piece! :)
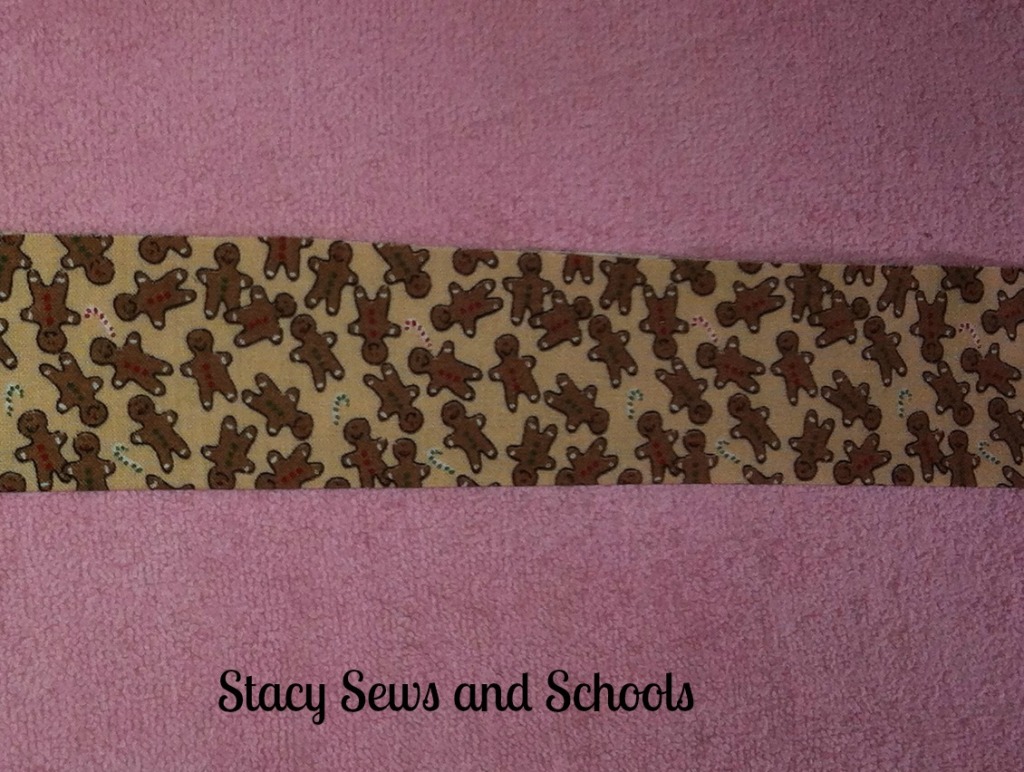
While your iron is still hot, go ahead and fold in half the long pieces for the sleeve edges and press.

Now, sew your front bodice pieces to your back bodice pieces at the tops and the sides.
Turn right side out and PRESS!!
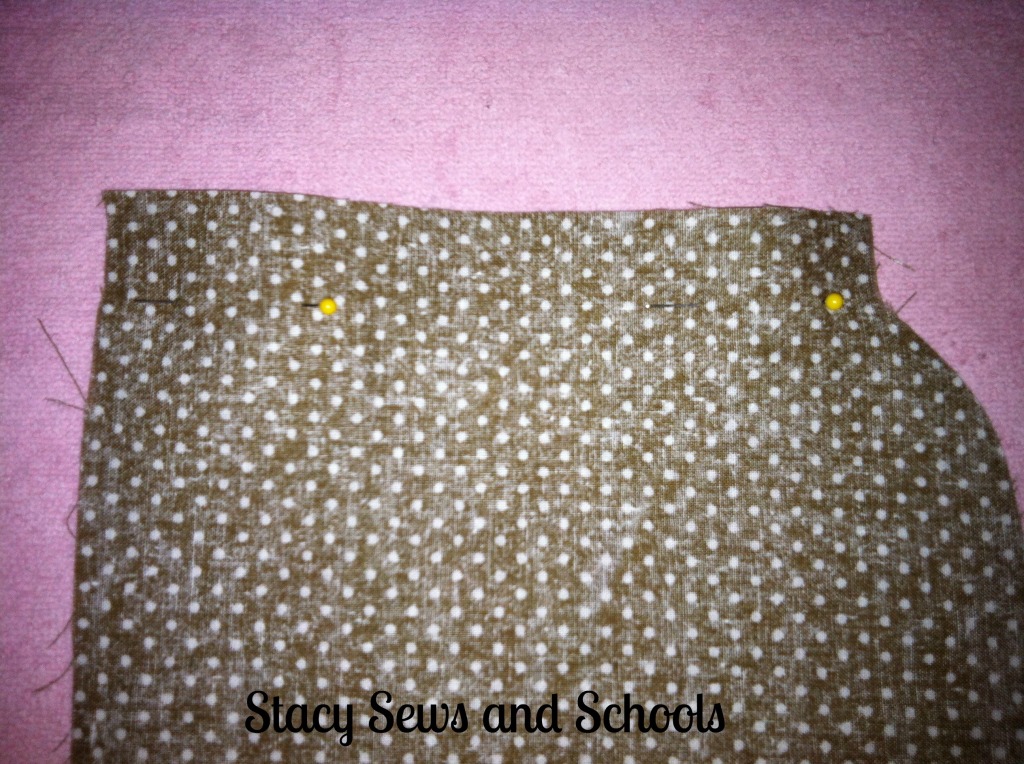
Time to sew up the sleeve!

Take your ribbon and pin it to the edges of the fabric strips that you cut for the sleeve embellishment.

Turn the sleeve inside out and fold up the end 1 1/2" and press. Turn the sleeve right side out and pin the ribbon and gingerbread strip inside of the edge of the sleeve. Sew in place.
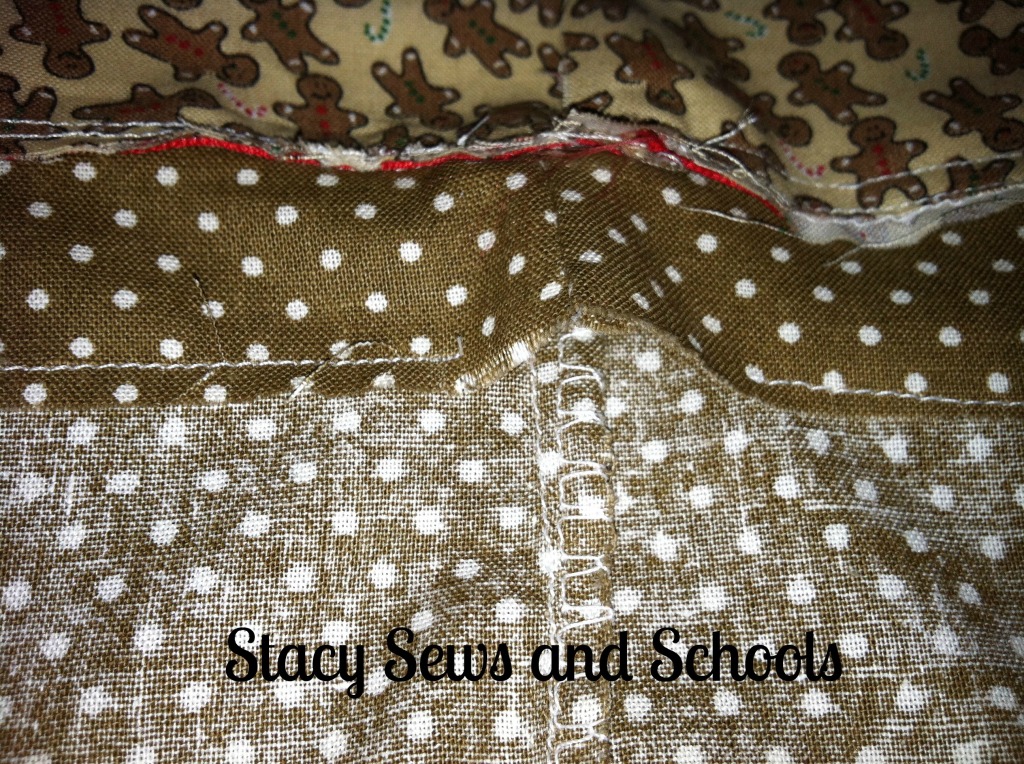
Now you are going to sew the elastic casing in the end of the sleeve, leaving about 1" for the elastic. Make sure to leave an opening to insert the elastic! ;)

Turn your bodice inside out and slide the sleeve into the armhole, pin and stitch in place!

Turn everything right side out and press! :)

Pin both ends of your elastic and either hold tightly to one end or pin it to you. ;)
Insert the elastic into the casing.

Zigzag stitch the ends of the elastic.

Stitch the opening closed! :)

Remove the cat from your work space! SIGH.......
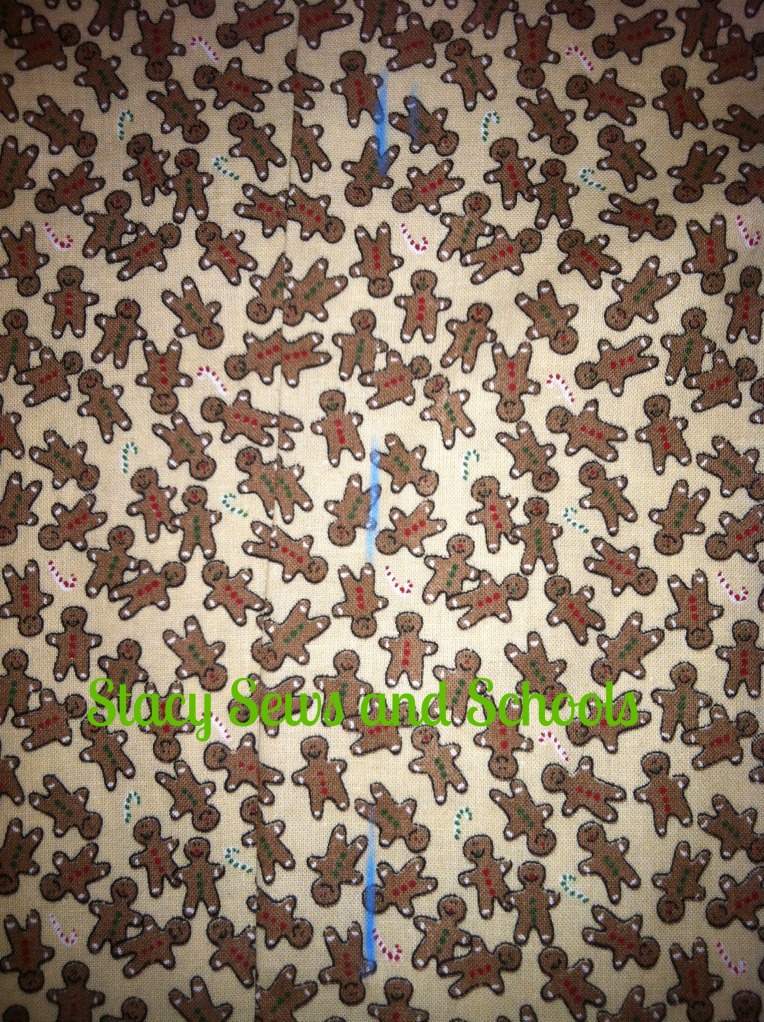
Time for the buttonholes! BLECK!! I can't stand my buttonholer. It only works right about 10% of the time.... :/ It did just ONE of the buttonholes on this piece. The other 2 I had to do myself. NOT fun but it can be done, just use the smallest zigzag stitch setting you can and a clear sewing foot helps tremendously!
Anyway, take your ruler (if you can find it, I had to use something else....) and mark out where you want your buttonholes to be.
Use your (hopefully) proper working buttonholer. ;)
After you get your buttonholes in place, close up the front of the bodice and mark through the buttonholes for proper button placement. :)
Sew on your buttons.

Pin the rickrack around the collar and sew in place. To save time you don't have to switch out your bobbin, just switch out your top thread to match the rickrack. ;)

Here is where we are now! Almost done...... :)
You can set aside the bodice for now!

Now, grab the 2 pieces that you cut for the bottom tier and sew them together on one side.
Next you need to run a line or two of gathering stitches at the top.
The way I do that is, I set all my stitch settings to the largest possible settings. This can sometimes gather the fabric for me. It didn't this time, though.... LOL
Now, gather it up and pin it to the bottom of the fabric you will be using for the top tier. Pin it with right sides together and gathers to bottom, adjusting the gathers as needed.
Sew in place!
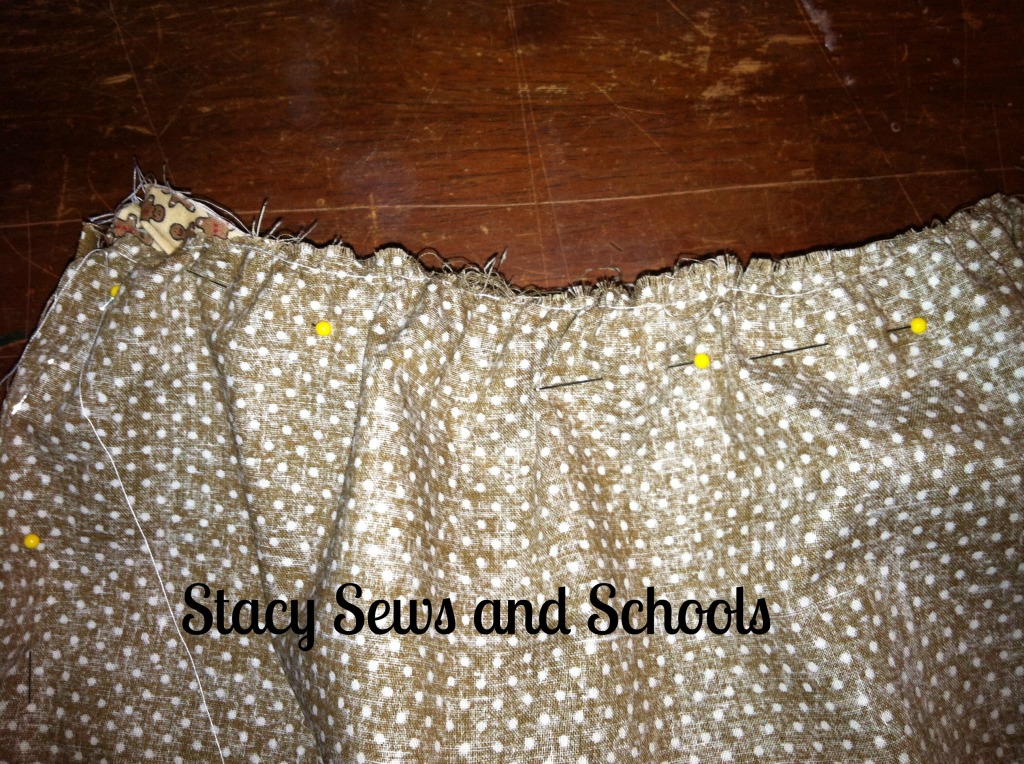
Now, run a line of gathering stitches in the top tier!
Next, pin the gathered edge to the bottom of the bodice, right sides together.
Sew in place.
Next, turn inside out and sew up the skirt's side seam! :)
Almost done!

Fold up the bottom of the skirt 1/2" and press, then fold up again 3/4" , press and pin. Now sew your hem!
Turn right side out and press!
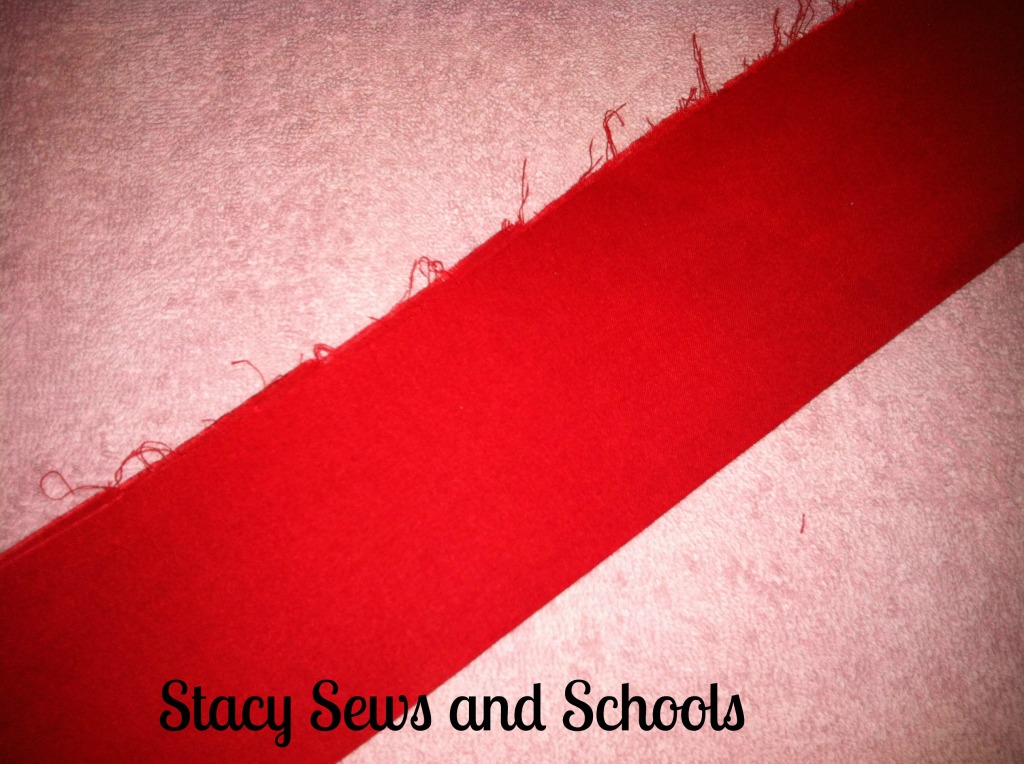
Time to cut the sash!
I cut from selvage to selvage for my length and 6" for my width.
Fold in half, press and pin.
Now you are going to sew the raw edges together and make a long tube.

Turn the tube right side out and press!
Turn the ends in by 1/2" and press.
NOW YOU ARE DONE!!!!! :)


Headband Tutorial


This is what I used. A $1 headband and $1 ornaments. Oh, and 1/2 a package of bias tape. But you can use ribbon if you have it in a matching color..... LOL

Put a glob of hot glue on the inside of the headband.

Now, stick the end of the bias tape/ribbon/whatever into the glue.
Just start wrapping the bias tape/ribbon/whatever all the way around the headband.
Oh, yeah.... this is just sooooo hard.... LOL
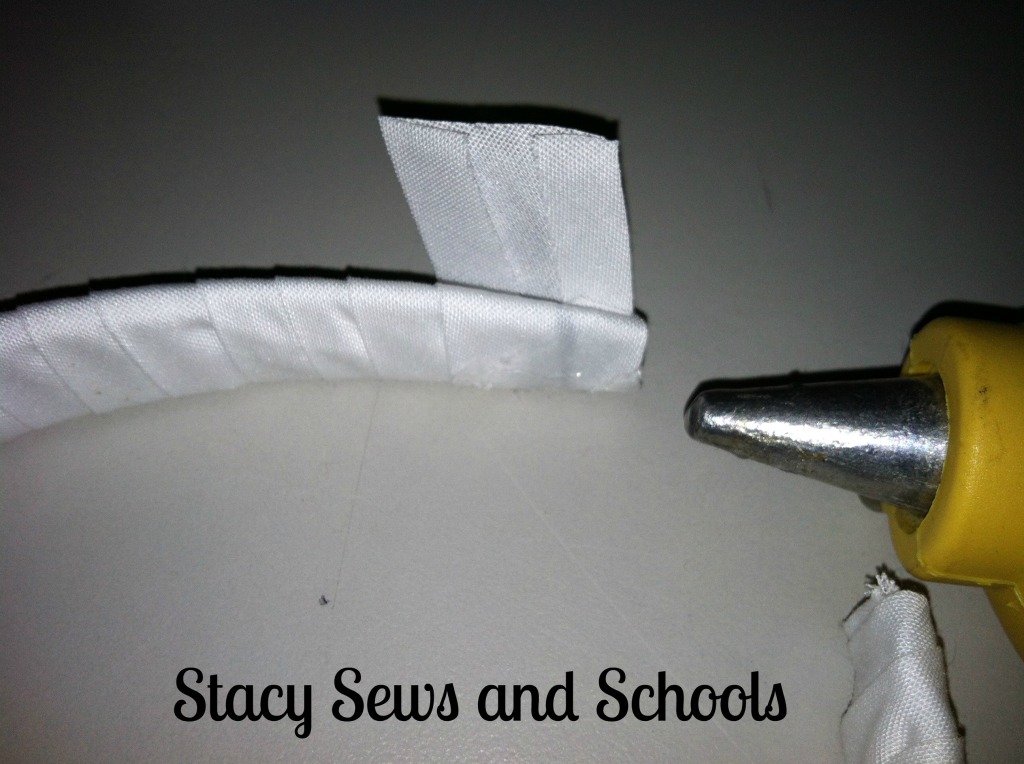
When you get to the end of the headband, put another glob of hot glue on the plastic of the head band. Then cut off the bias tape/ribbon/whatever and add another glob hot glue and smoosh the end of the bias tape/ribbon/whatever into it.

Now put a ton of hot glue wherever you want to place your ornament and smoosh the ornament on.
Viola!
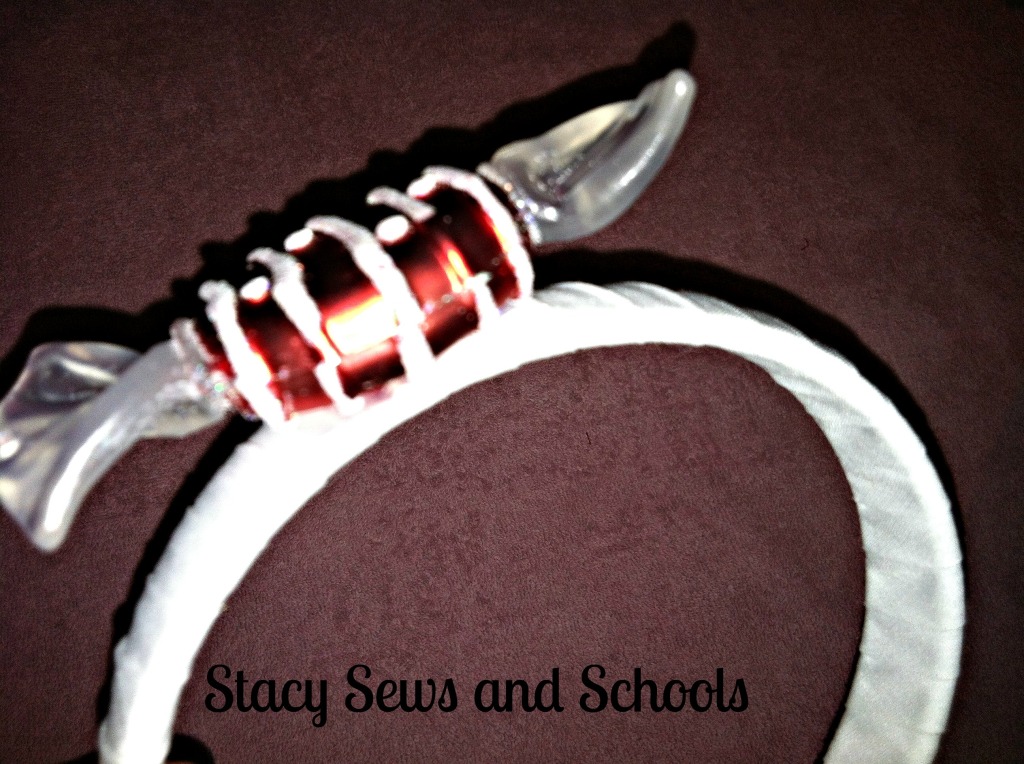
Deanna is making Cailey a matching necklace with the other ornament. :)
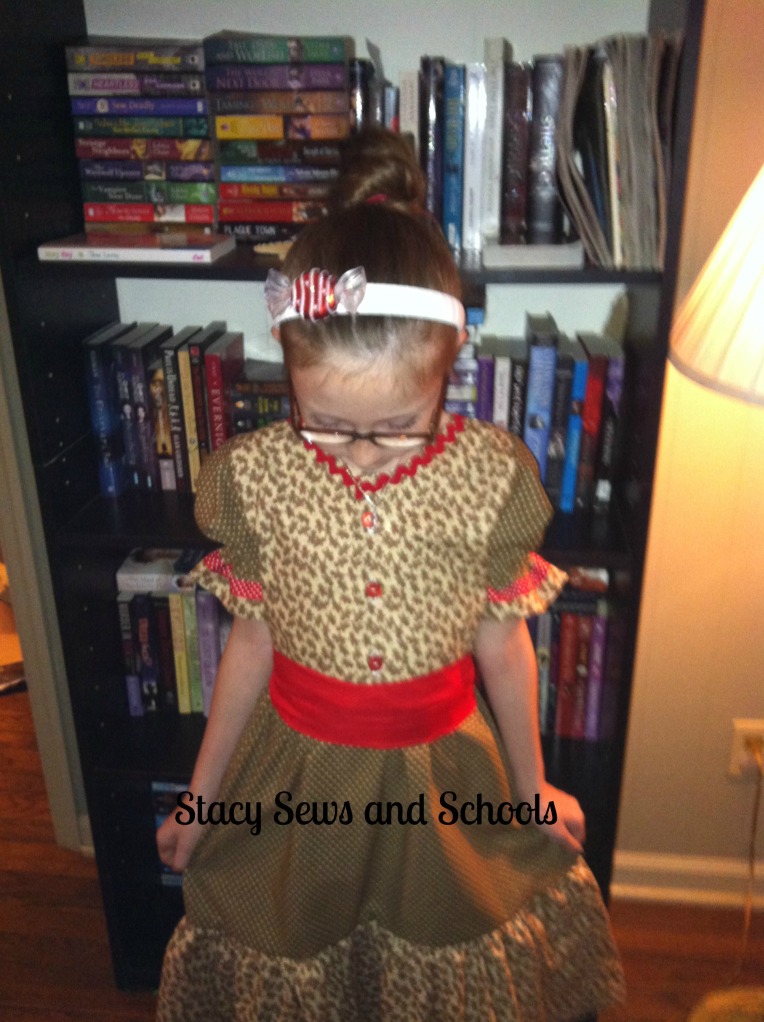
As always, let me know what you think of the tutorial. Was it easy to follow??? And if you make this dress PLEASE PLEASE PLEASE let me know!!!! LOL
I hope everyone has a wonderful Thanksgiving tomorrow! We will just be here at home. My Dad and Stepmother won't be able to make it down to celebrate with us. :(


Love it! Adorable!!
ReplyDeleteTHANK YOU!!!!!! :)
ReplyDeleteJust too stinkin' cute!!!!
ReplyDeleteThank you, Lambie!!!!
ReplyDeleteNow you see why I have been so quiet in the Brathouse! LOL ;)
I like the dress...it looks good on Cailey(sorry if I mispelled her name!)
ReplyDeleteThank you, Kim!! :)
ReplyDeleteYep, that's exactly how I spell it!! :)
Stacy, that dress is adorable!! And the headband is so cute. I miss having a little girl to dress up :(
ReplyDeleteI hope you'll get back to blogging about the things you love. People love tutorials and your passion for sewing.
Have a beautiful Thanksgiving..
Cute and a half! I never do anything without a pattern... you're amazing.
ReplyDeleteWow! What a mesmerizingly adorable dress on your precious daughter! Your work is impressive as always. Thank your for the details! I hope you and your family a very nice Thanksgiving.
ReplyDeleteThank you SO much, Michele!!!!! :D
ReplyDeleteThank you SOOOO MUCH!!!!!!!!
ReplyDeleteI can't tell you how much that means coming from you!!!!
THANK YOU!!!!!!
ReplyDeleteHappy Thanksgiving to you, too!!!!
Happy Sewing! :D
That dress is SO pretty! I also love the hair accessory.
ReplyDeleteThank you, Cathy!!!!!! :)
ReplyDeleteCute little dress and girl! :-) I also homeschool my children.
ReplyDeleteThank you very much, Amy!!
ReplyDeleteYAY! Another homeschooler!!! :)
Very cute idea! Your daughter is the best model!
ReplyDeleteThanks for linking up this week!
Stacey of Embracing Change
Thank you VERY much, Stacey!!!!
ReplyDeleteThis is so cute! Would love it if you linked up on my blog hop www.w-t-fab.com/search/label/bloghop. Also let me know if you'd like to follow each other!
ReplyDeleteAmazing dress. And a fabulously detailed tute to boot. Brilliant! :-)
ReplyDeleteTHANK YOU!!!!!!! :)
ReplyDeleteThat is such a cute little dress. So many details and i love the candy head band
ReplyDeleteThank you SOOOOO much, Mel!!!! :D
ReplyDeleteThank you SO much!!!!
ReplyDeleteSorry that I am just now replying! Your comment got sent to my spam. :(
Checking out your blog now!!!
Oh my gosh, too cute! I love that fabric, and the dress is just adorable. :-) Thanks for sharing at The Fun In Functional!
ReplyDeleteYAY! Thank you so much, Jessi!!!! :D
ReplyDeleteI love this dress!!!! I love the gingerbread fabric. Awesomely fabulous job!
ReplyDeleteT'onna
Submarine Sunday Link Party @ http://navywifeypeters.blogspot.com/2012/11/submarine-sunday-8.html
Thank you SO much!!!!!!!!! :)
ReplyDeletewow, fabulous dress, love the red accents, especially that polka dot ribbon! Thanks so much for sharing on Craft Schooling Sunday! I hope to see you again when the party resume on the first Sunday in January! Have a joyous holiday season!
ReplyDeleteThank you VERY much!!!
ReplyDeleteHappy Holidays!!! :D
This is so cute. i will have to see if I can find a similar fabric and make one for my little girl.
ReplyDeleteTHANK YOU!!!!!!! :) You will have to let me know if you do!!!! :)
ReplyDeletesuper cute! I love the material and the ric rac around the neck :o) Just popped over to check out my competion for run and play!
ReplyDeleteLOL!! Thank you so much, Emily!!!
ReplyDeleteHmmm... I think maybe I should do the same... ;)
[...] entered the Gingerbread Dress in the open auditions for the next season of Project Run & Play. Wish me [...]
ReplyDeleteOh I love dresses like this! So darling.
ReplyDelete-liZ
ps---And the comment on your side bar about N. Sparks books made me laugh...I'm not a fan either...
Thank you SO much!! :D
ReplyDeleteLOL! SOOOO glad to know that I am not the only one.... BLECK!!!!!!
Great job on this dress, and what a wonderful fit!
ReplyDeleteThank you SO much, Shannon!! :D
ReplyDelete[...] And here is the necklace that Deanna made for Cailey to match her candy headband. [...]
ReplyDeleteCute dress! Love all the details. Thanks for sharing at I Made It! Monday. Can't wait to see what you link up this week.
ReplyDeleteThank you VERY much, Amanda!! :D
ReplyDeleteI am just learning to sew (started in Summer 2012), so I am sorry if my questions seem redundant. =(
ReplyDeleteI can pretty much follow everything except for the sleeve pattern - the picture of how you cut it doesn't really show the shape, and did you mean 1/2 inch below the bottom of the sleeve guide? Sleeves seem to be my biggest challenge to wrap my brain around. I think I know how to do everything else. My oldest daughter is so excited that I am finally making her another dress - she is my biggest fan. =) I hope to get it done this week!
YAY for learning to sew!!!!
ReplyDeleteThe sleeves are basically a square except for the curve where it goes into the arm hole.
You leave an extra 1/2 inch on the bottom for the seam allowance.
GOOD LUCK! :)
[...] the fabrics and the Gingerbread Dress turns into an Easter [...]
ReplyDeleteLovely dress, wonderful instructions!
ReplyDeleteThank you SO MUCH!!!!! I hope you have fun creating your own! :D
ReplyDeleteLove the dress! it's adorable and looks stunning on your beautiful daughter! Although, I am confused to what you did after you cut the bodice in half. I want to make this dress for my little sister, but I got lost at that one part. Also, I want to use a cute green fleece and some red fabrics, but I am not sure where to use them. Suggestions!
ReplyDeleteThank you, Kat!
ReplyDeleteWell, the front bodice piece was cut so that you can button up the front.
It's fully lined, so what I did after that was cut the lining using the front bodice pieces as a guide.
Then I continue cutting the pieces. I always want all my pieces cut before I start working on them.
If you have a solid and a print, I would use the print where the gingerbread men are and the solid in place of the polka dots.
HAVE FUN SEWING!!!
OH!! And if you are using fleece, just skip the parts about lining the bodice! ;)
ReplyDelete