Showing posts with label boys. Show all posts

June 2, 2015

Simple Summer Tank and Shorts Pajamas Tutorial


Hi, all!!! How's the weather where you are?? Here it has been HOT!!! BLECK! I am NOT ready for summer. SIGH... We won't be spending any time around a pool this year and let's face it, that's the only good thing about summer. 

Anyway, Cailey was complaining to me the other day that she didn't have enough summer PJs. Well, I knew exactly what to do about that! Time to make some!!!!

I got that cute print from The Fabric Fairy and it was on SALE!!!!! Can't beat that!!! 

It's such a light weight knit that I knew it would perfect for some summer PJs. I just needed to decide what KIND of PJs. 

Since the print is sorta busy, I decided to go with something simple. 

I am SO GLAD I did. I LOVE IT!!! I can see myself making more like that and for Colin, too!!! This is absolutely unisex! 


WHAT I USED

Light weight knit fabric (less than 2 yards)
3/4" elastic
Coordinating thread 
2 large safety pins

Let me start out by saying this: I had started out using matching thread. I thought I found this great deal on Etsy.... Yeah, you've heard if it sounds too good to be true it probably is???? Yeah... That's what happened... This thread was a NIGHTMARE. It kept breaking after every few stitches. GRRRR!!! So I had to go with a coordinating thread. Oh, well. The print is busy enough that you can't really tell anyway. LOL

Ok, here we go!

*NOTE* Make sure to always press your seams after you've sewn them!!! I always forget to say that! ;) 

*NOTE* When sewing knits, it's always good to use a stretch stitch. 

*NOTE* The only "special" thing you need to sew knits is a ball point needle. ;) 


STEP 1


Grab a shirt that fits your child well. Just make sure yours is cat fur free, unlike mine... YEESH!! It didn't look THAT bad in person. SIGH...
Use the shirt as a guideline to cut your pieces. 


When you cut the front piece, make sure the neckline dips in a bit more. ;)


STEP 2


Take a pair of shorts that fit your child well and use them as the guide for cutting your shorts legs. 
Make sure to leave about 1 1/2 inches extra at the top for the elastic casing! 


This is what they look like. 


STEP 3


Cut 3 strips that are 2" in width and at least as long as your arms holes and neckline. 


STEP 4


Now, with right sides together, pin and sew the shoulder seams.


STEP 5


With right sides still together, pin and sew the side seams. 


STEP 6


Now, fold the hem of the top about 1/2" and press.
I then turned my right side out and pinned. Then I top stitched the hem. In my opinion it just looks nicer that way. ;)


STEP 7 


Fold your fabric strips in half and press. 

Now, starting at the center back of your neckline, pin the strips with right sides together and raw edges touching. 


As you sew them together, pull gently. It will give the neckline a nicer look. 


STEP 8


Do the same thing with both arm holes. 
Start your pinning at the side seam. 
That is what it looks like when they are done. 


YOUR TOP IS DONE!!! YAY!!! Time to move on to the shorts! :D


STEP 9


With right sides together, pin the inseam.
You are just sewing from the bottom of the leg to the beginning of the curve of the crotch. 

Sew the seam. 
Repeat on the other leg. 


STEP 10


Take one of the legs and turn it right side out. 
Slide it down into the other leg. (Right sides will be touching.)
Make sure to match up the seams. 
Pin in the place and sew the curve. 


STEP 11


Time to make the elastic casing!
Turn your fabric down 1" and press. 
Sew close to the bottom edge. 
Make sure to leave an opening to insert your elastic.


STEP 12


Take 2 large safety pin and pin one to each end of the elastic.
Push the elastic through, holding on to the opposite end.
Pull both ends out of the opening and sew them together. 
Push it back inside the casing and sew the opening closed. 


STEP 13


Almost done! We just need to sew our hems!! 

With the shorts right side out, fold the bottoms in 1/2" and press.
Pin in place and sew the hem!
You CAN do this wrong side out, I just think the hems look neater when they are top stitched. ;)


ALLLLLLLL DONE!!!!!!!!!!!!!!!!!!


Now you have some cool and comfy summertime pajamas!! YAY!!!!

The great thing about this is that you can make them for anyone of any age. I think I might make myself some! ;)

If you have any questions, don't hesitate to ask!!!!


HAVE FUN SEWING!!!!!


April 7, 2014

Stars and Stripes Shorts Tutorial


I can't tell you how good it feels to be sewing again!!! I missed it SO MUCH!!!! I just want to sit and sew for days at a time. Too bad the family won't let me. ;)

Colin has grown so much since last year. I had to give all his old clothes away. Most of the jeans looked like they had never even been worn! 

I started to go through his warm weather clothes to see what he had. Well, most of them must still be packed away somewhere... I can't find his Star Wars shorts, his pillowcase shorts or his madras shorts! YILES!!!! I don't even know where to start looking.

I figured that I had better get a jump start on some shorts!!

Cailey informed me the other day that she will also be needing new summer clothes and the ones we just bought her all need to altered. SIGH.....

My babies are growing too fast!! MAKE IT STOP!!!!


ANYWAY!!! I wanted to do something different than plain elastic waist shorts. Sure, these still have the elastic waist BUT they also have a faux fly and inset pockets. I will be showing you how to do both.

I have another faux fly tutorial on here, with those I used denim. 

You can find ALL of my tutorials on my Sewing Tutorials Page! (Including the Star Wars and Madras shorts.)


WHAT I USED

3/4 Yard of a sheet (the main)

1/4 Yard of navy with stars 

1/2" elastic


This was my first time using a double needle!! WOO HOO!!! It was very easy. Not sure why I was so intimidated! LOL


Step 1


You are going to cut the front pieces of the shorts. I used a pair of Colin's swim trunks that I knew would still fit him well. 

When you cut the fronts, you need to cut in the flap for the faux fly. 


Step 2


Now you are going to cut the back pieces. I used the front pieces with the faux fly flaps tucked under. 

Be sure to cut 2. 


Step 3


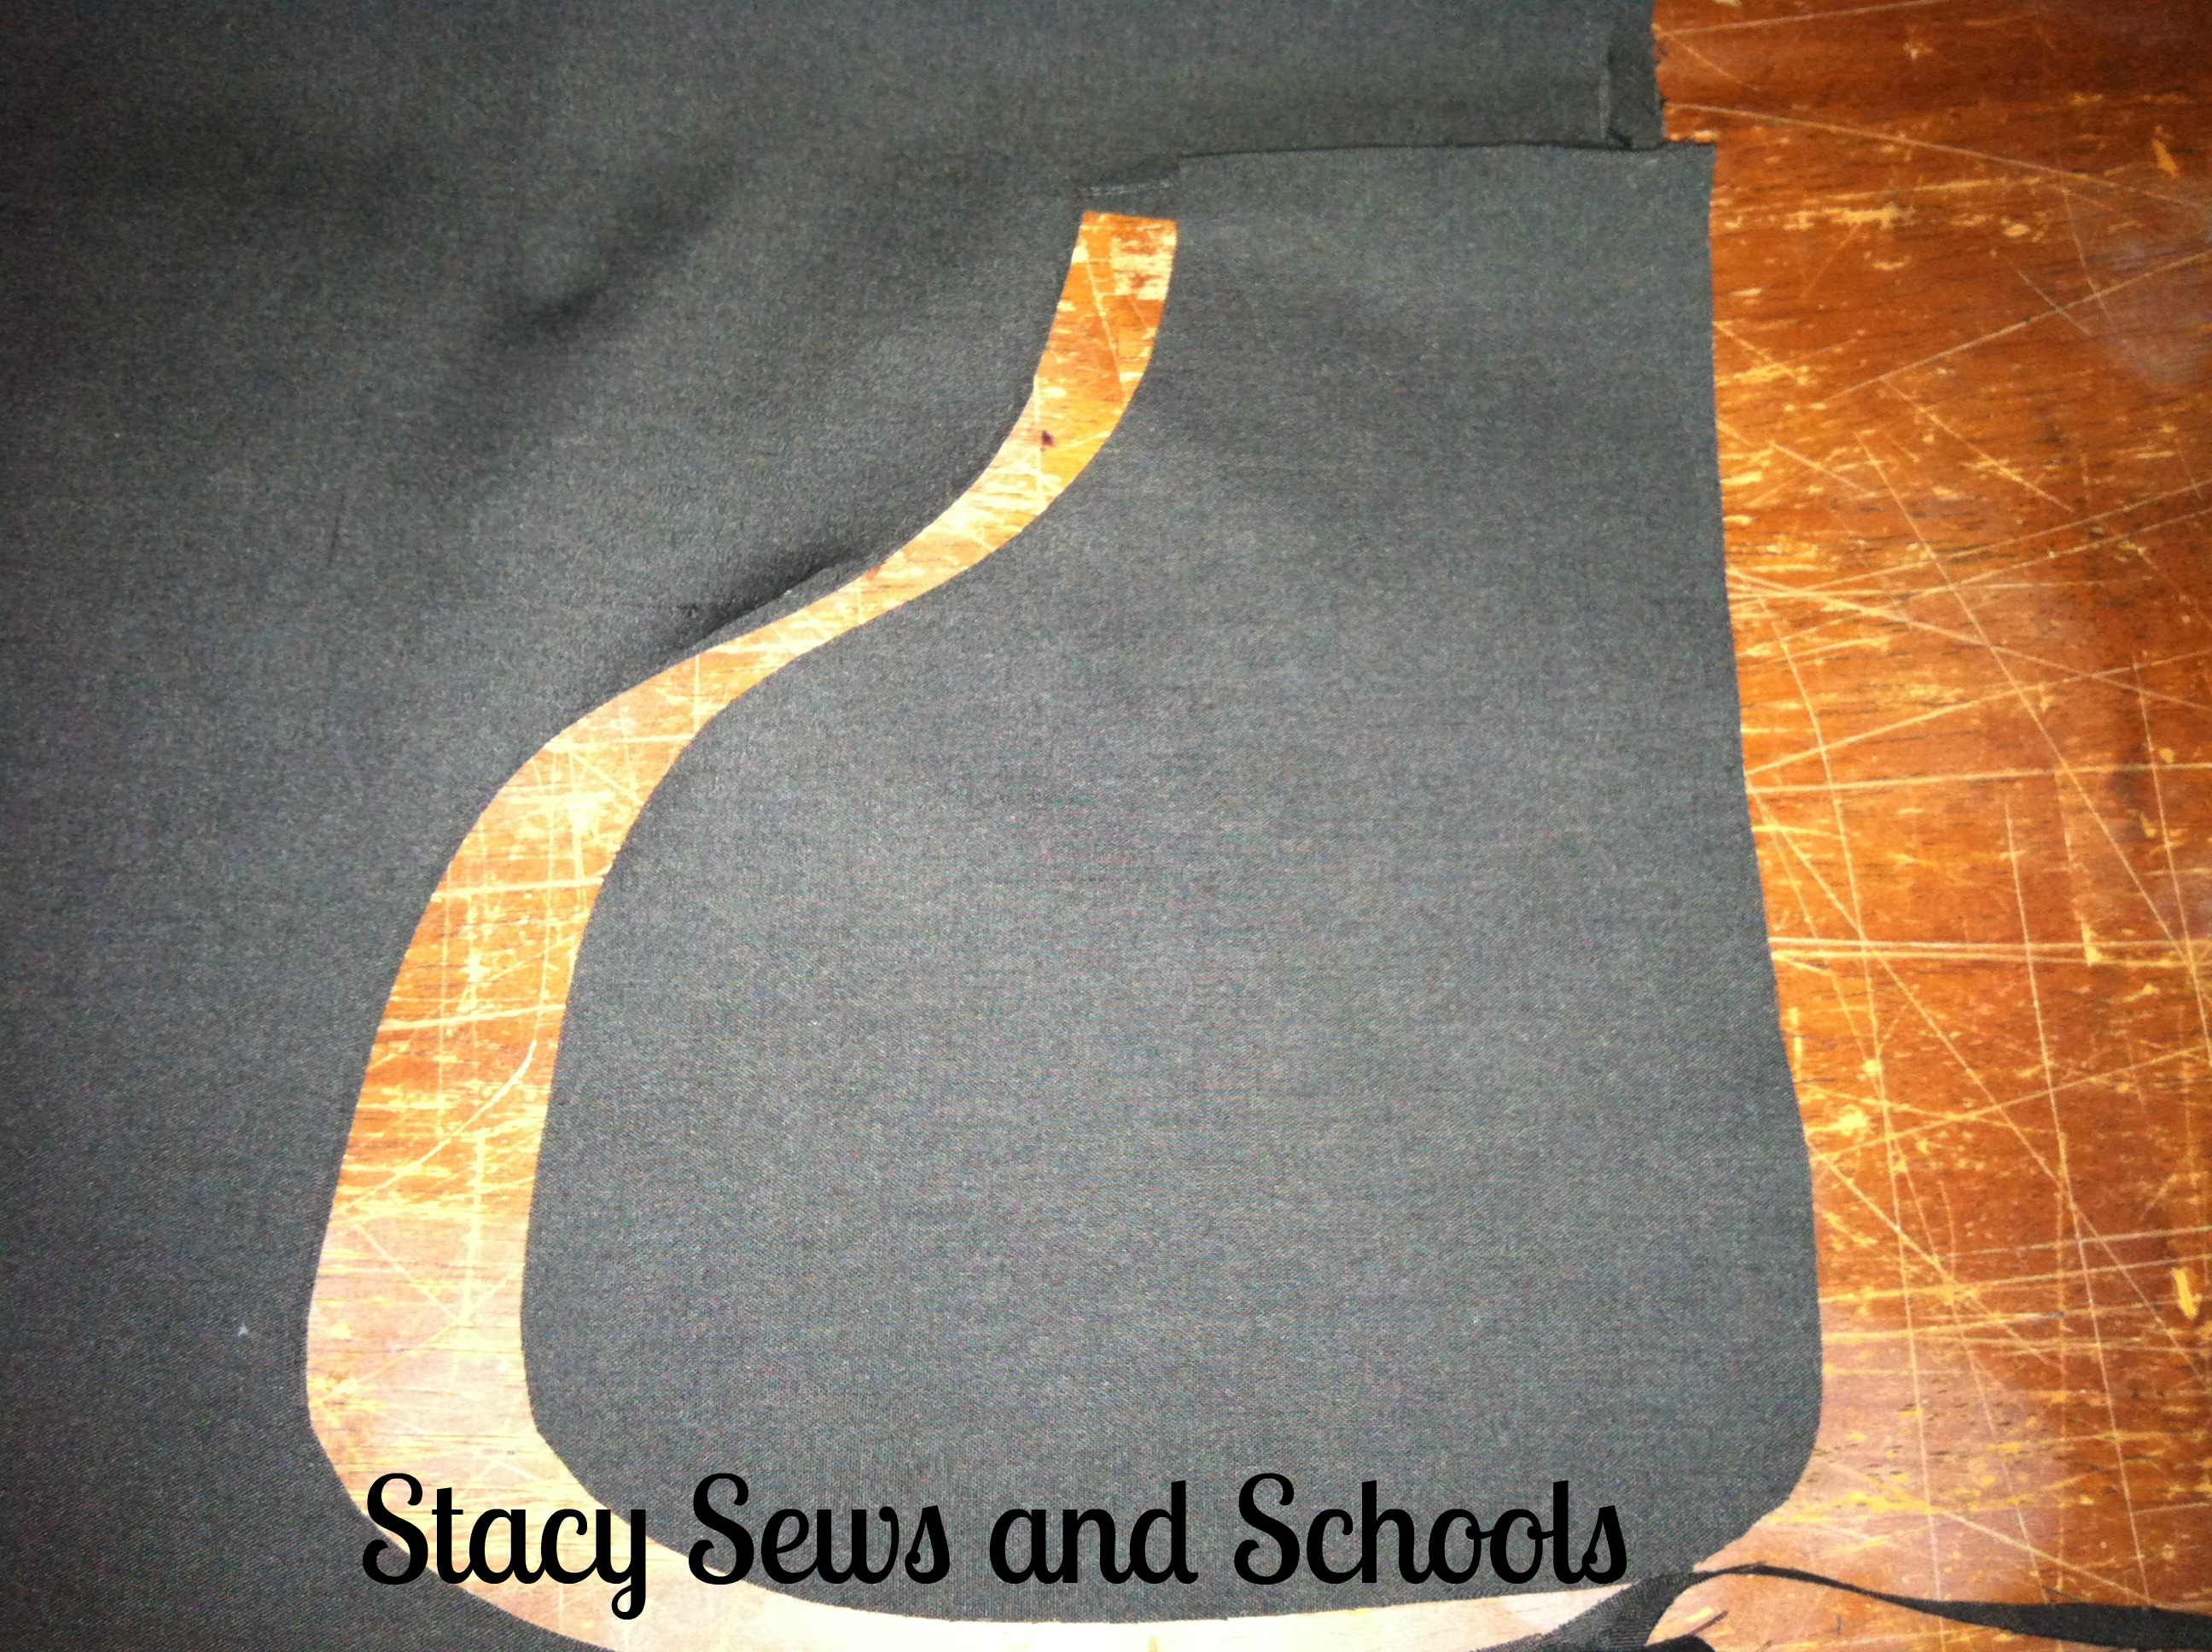
Now on to the pockets. I traced around Deanna's hand and then cut 4 pieces.


Step 4


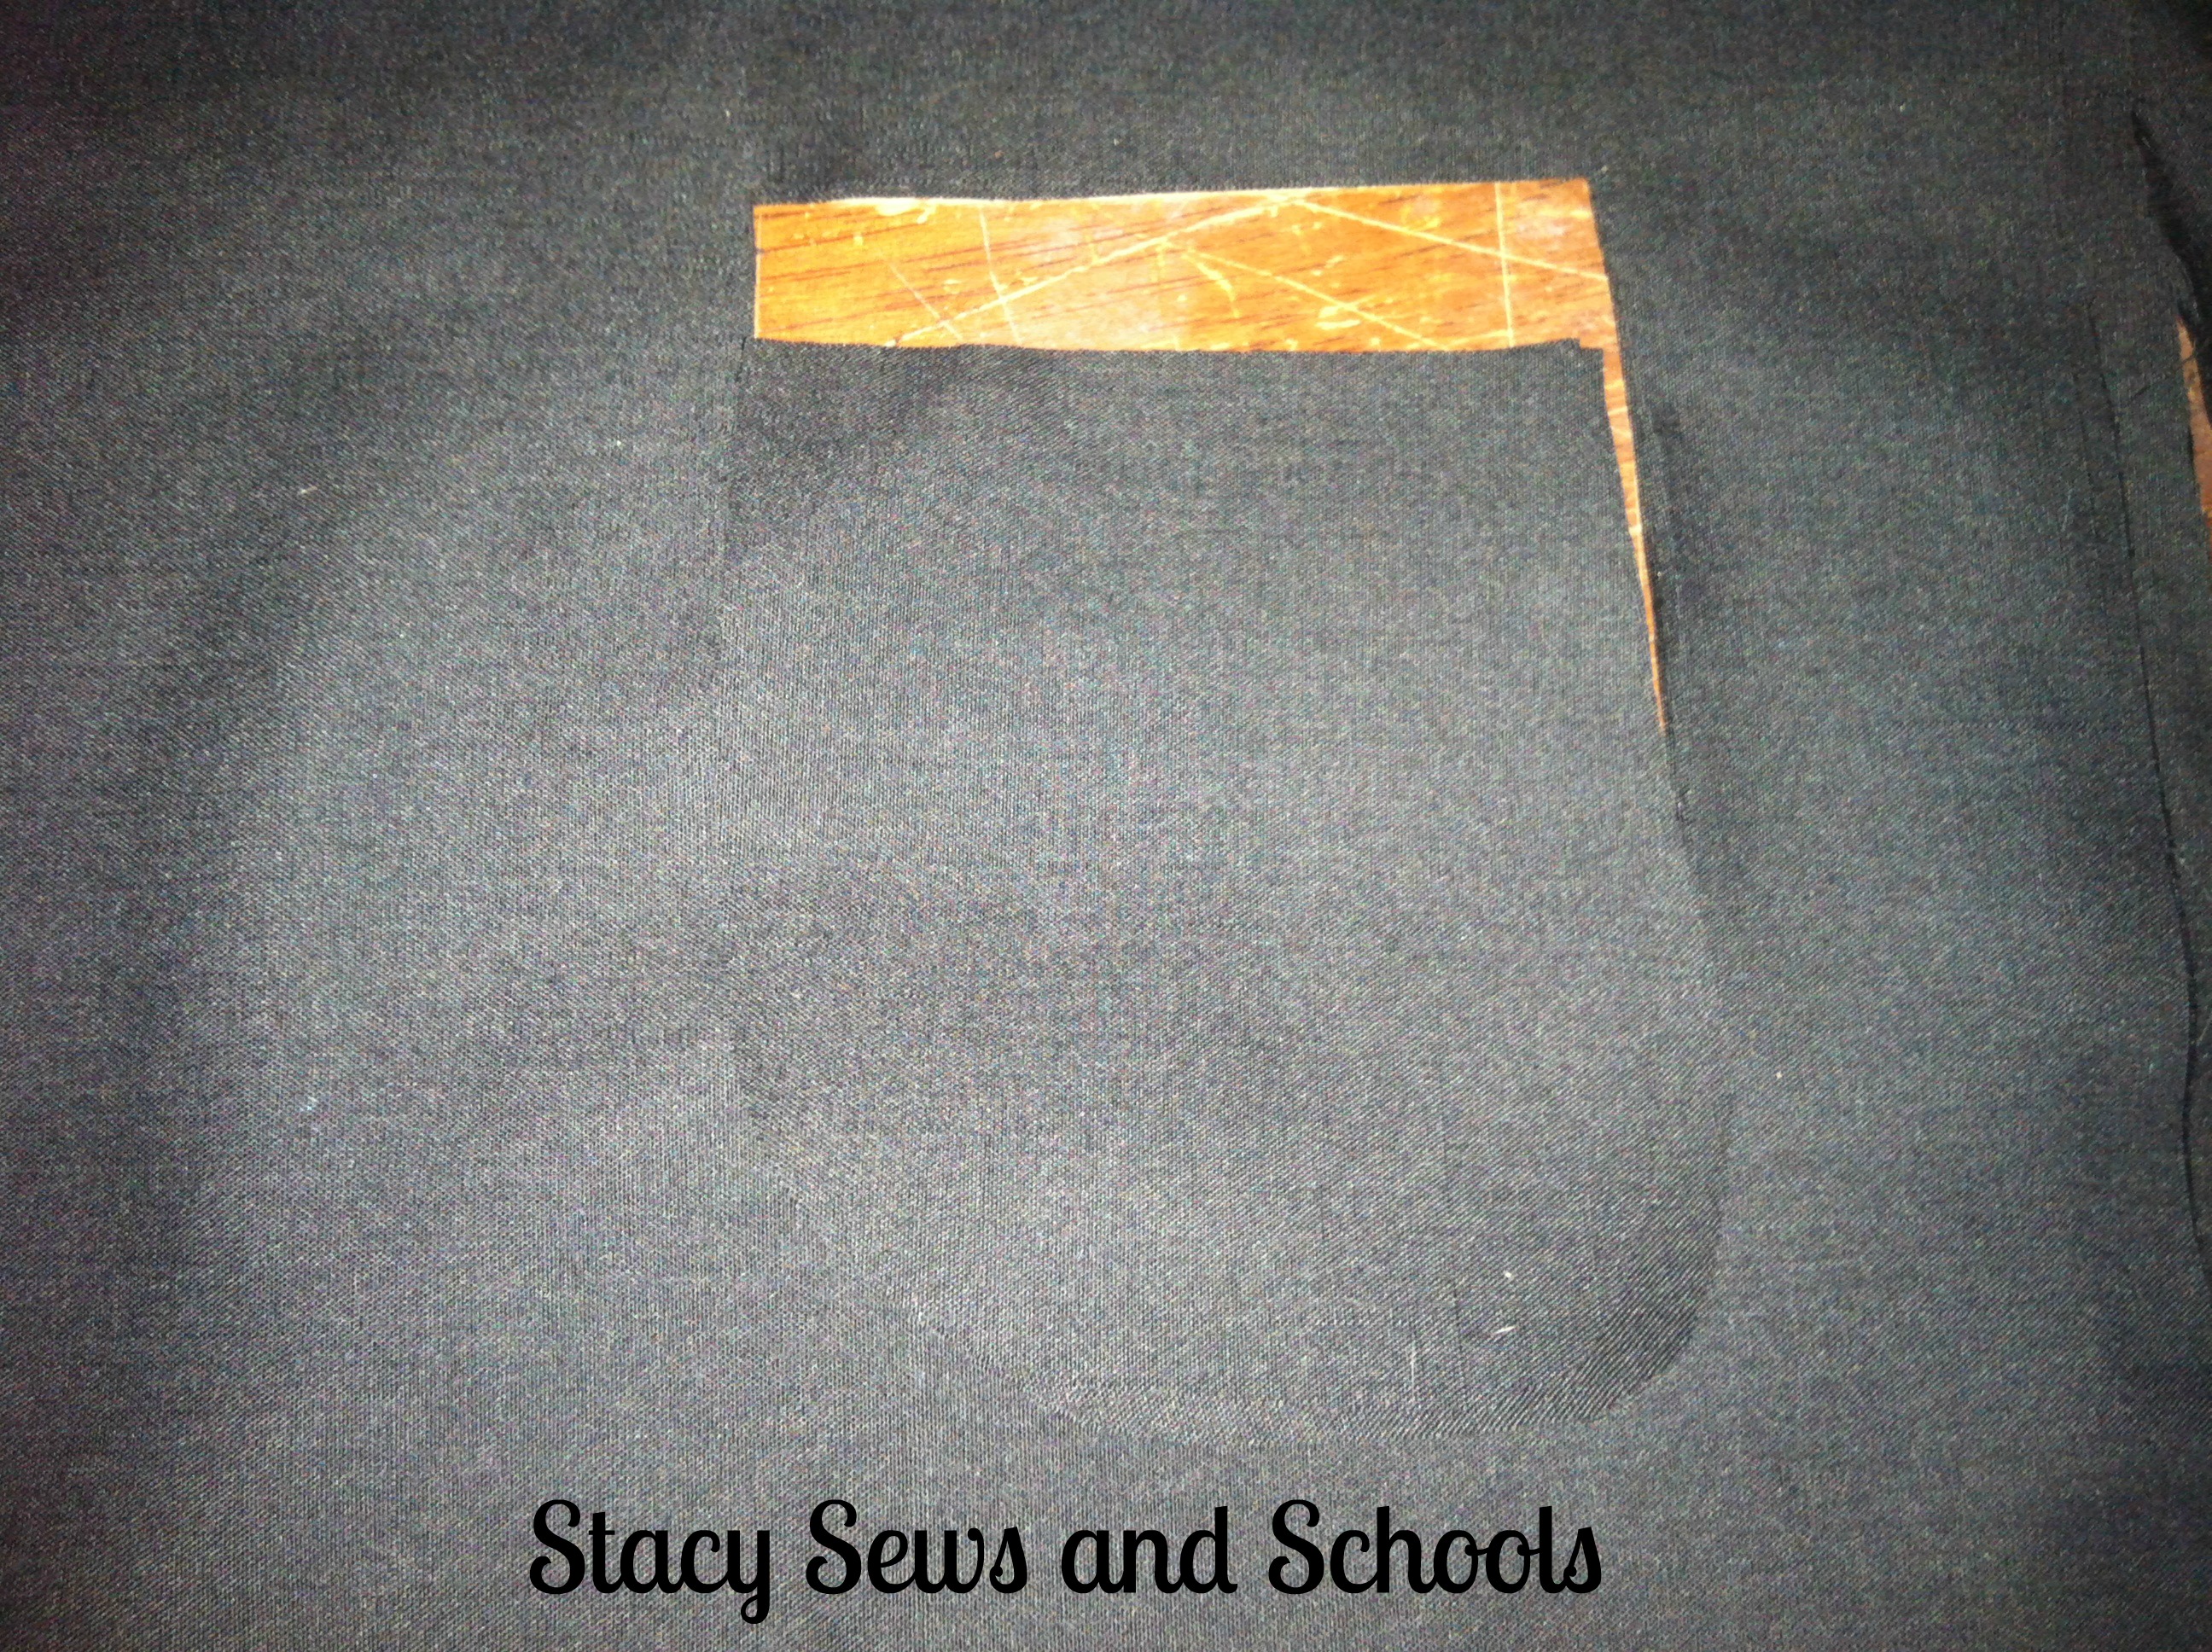
For the back pockets, I cut 2 rectangles. Each of those squares in the background are a square inch.


Step 5


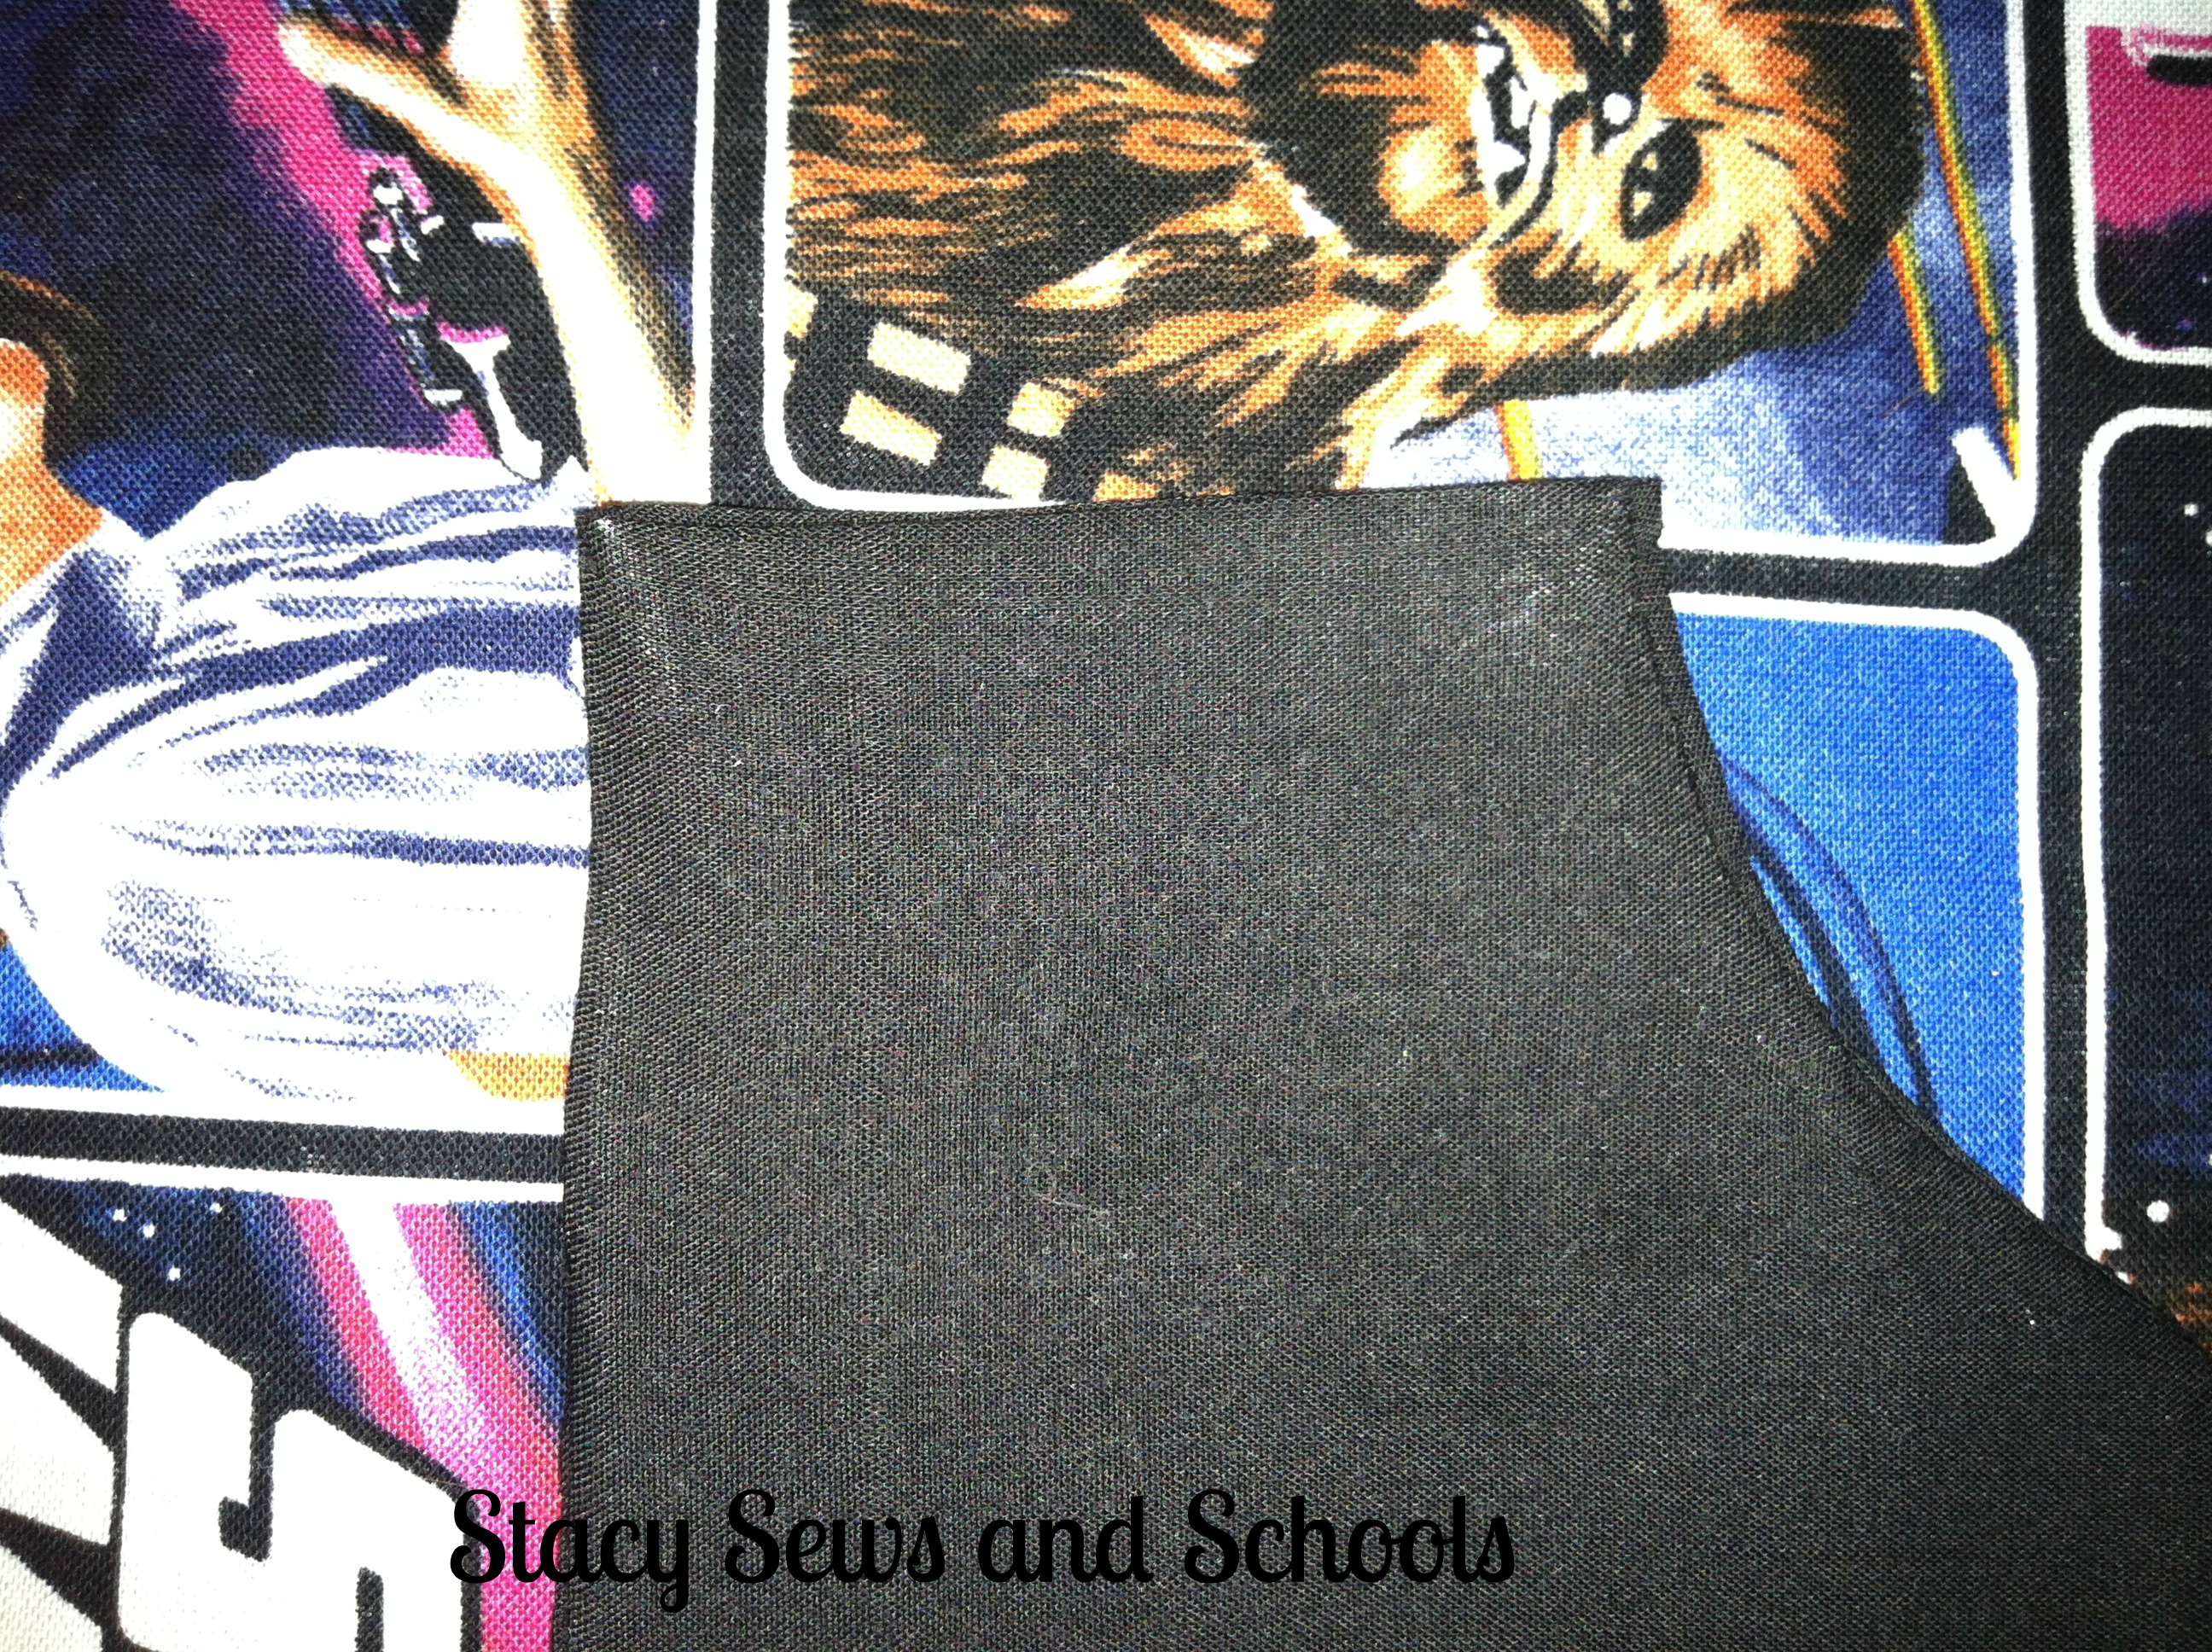
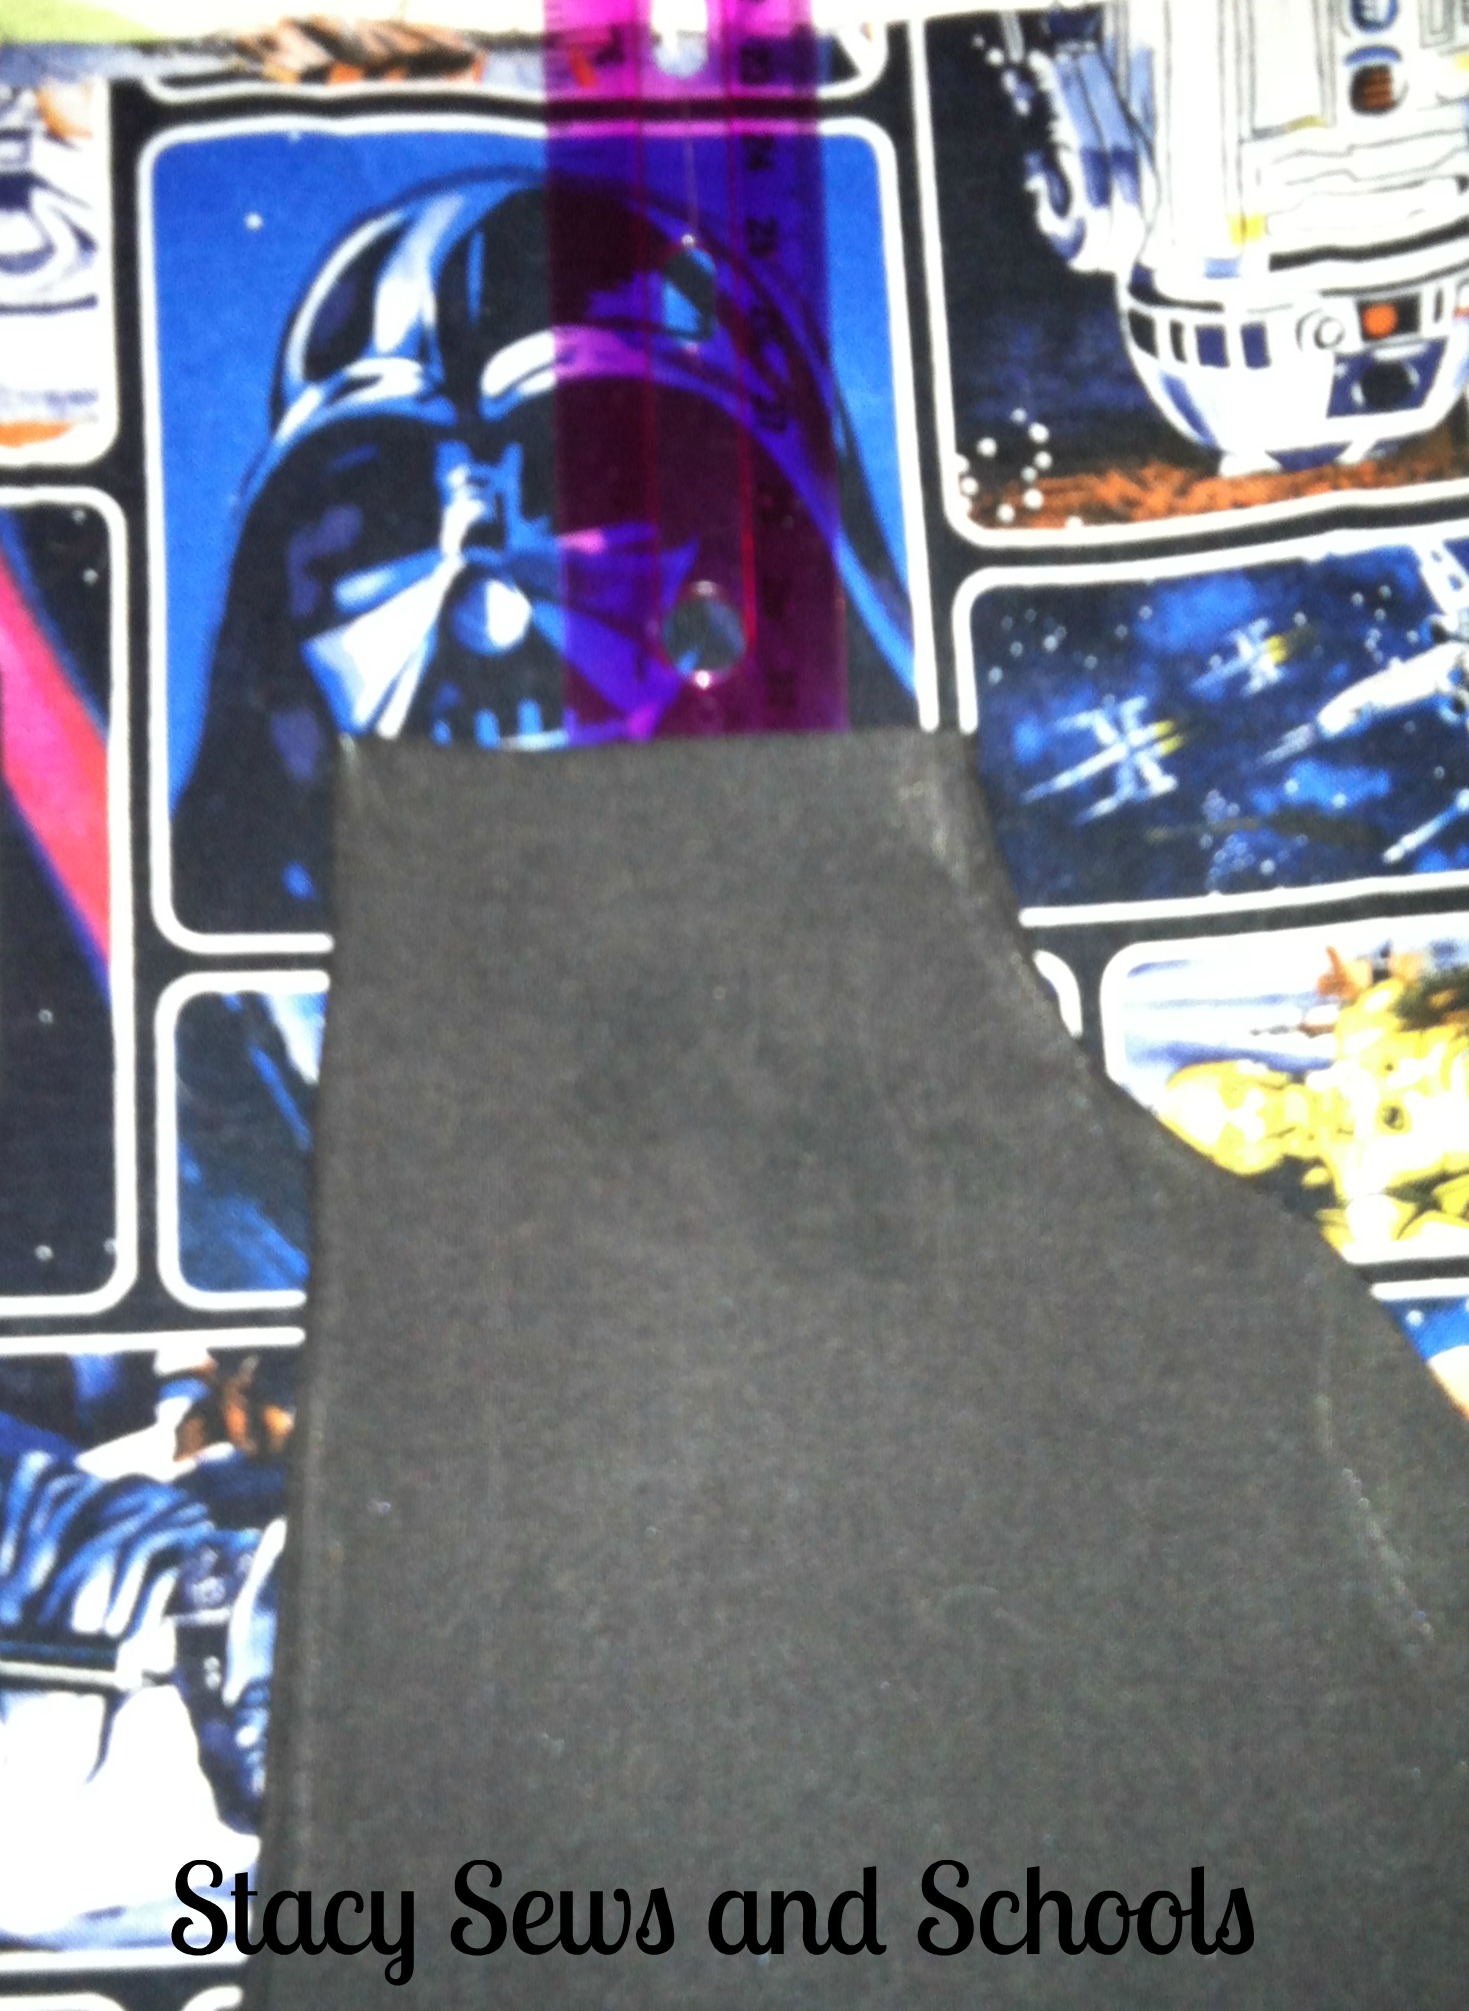
I cut 2 pieces for the cuffs. The fold is along the bottom. Once again, the squares are a square inch. 

Now all the pieces are cut and ready to sew!


Step 6


Pin along the faux fly flap and stop at the bottom of the crotch curve. 

Sew the seam!


Step 7


Now, turn right side up. Tuck the faux fly flap in and fold over.


Here is where I used the double needle to top stitch the faux fly in place. 
You do NOT have to use a double needle. Instead, just top stitch 2 rows.

Now you have your faux fly!! EASY PEASY!


Step 8


With right sides together sew the backs together. Sew from the top to the curve of the crotch and stop.


Step 9


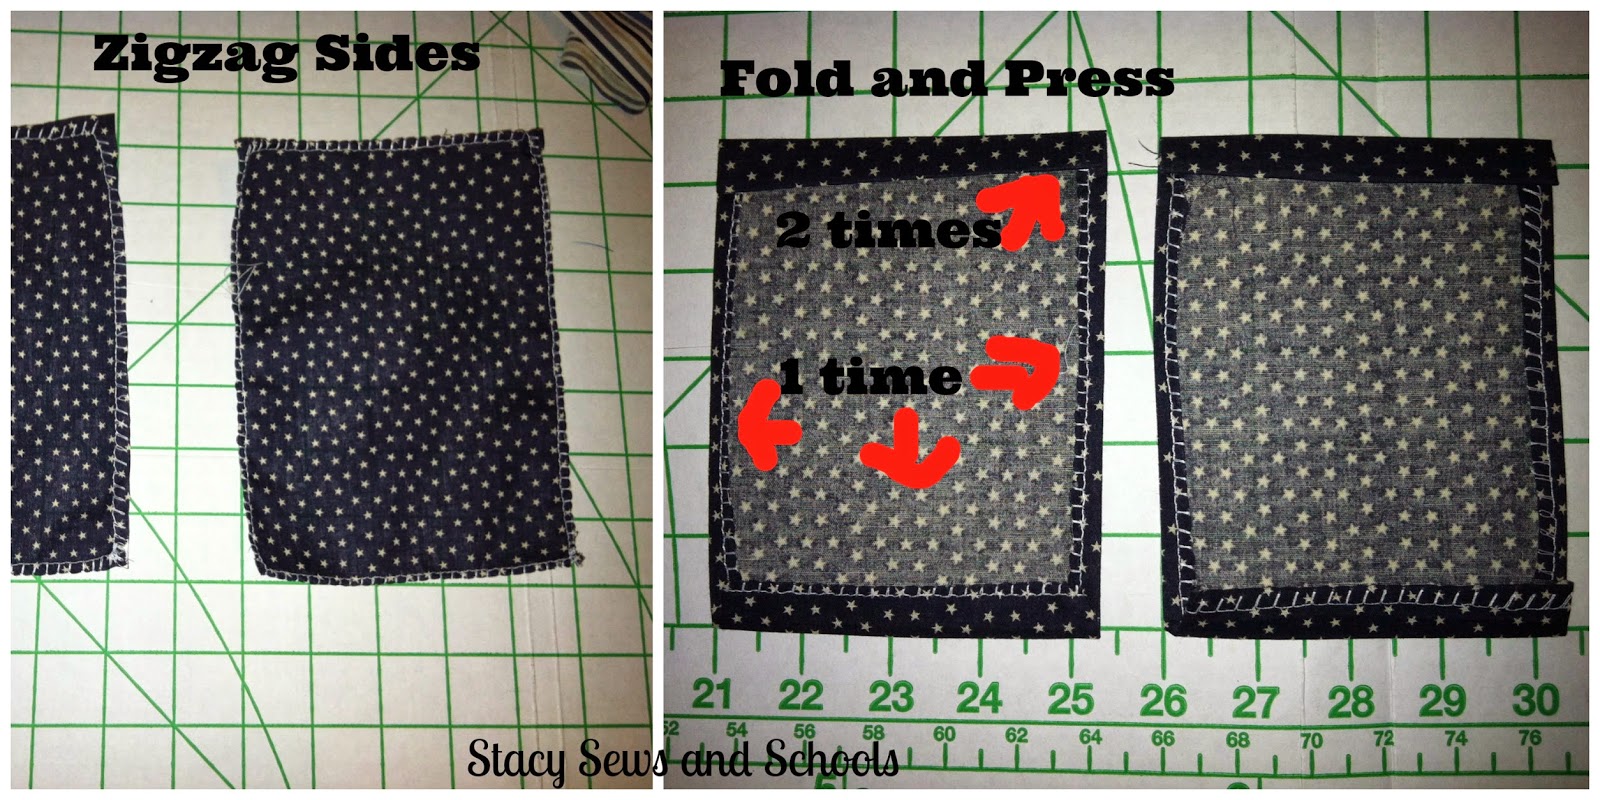
Now you need to zigzag the sides of the back pockets. This makes them a little sturdier and you won't have to worry about fraying.

Next, fold over the sides and press. Fold over the top, press, fold again and press. 


Step 10


Line your pockets up, pin and double top stitch in place.

You might want to reinforce the top corners of the pockets.


Step 11


Now it's time to sew the crotch. 
Ride sides together, pin and sew the seam. 


Step 12


With right side facing wrong side, pin the cuffs in place if you already have a hem (which I do since I used the sheet). If you don't have a hem already, fold 1/4", press, fold 1/2" press, pin and sew the hem.

OR you can pin the cuffs right sides together with the pants and sew the seam.

If you already have the hem, top stitch the cuffs across the hem stitches. 


Step 13


I sort of missed taking a picture of one of the steps... Imagine this has one piece of pocket pinned right sides together with the side of the pants....... Stitch in place, fold over and press. Do that to all 4 pocket pieces. 


Step 14


With the pants turned right sides together, pin all along the sides and sew. 


                        Here's what you have so far!


Step 15


Time to make the elastic casing!

Fold over the top of shorts by 1/4". Fold over again by 3/4". Sew all around but make sure to leave a space to insert the elastic!


Step 16


Safety pin the ends of your elastic. Insert one end into the space. Pull through and out the other side, making sure to hold tightly to the ends. 

Sew the ends of the elastic together.

Now, sew the space closed. 


There you go!! ALL DONE!!!


Let me know what you think!! 


HAVE FUN SEWING!!!


July 8, 2013

Colin's Madras Shorts

Colin's Shorts 004


It is SOOOOOO hard to get pictures of Colin sometimes. Especially when it has to do with clothes.... LOL He just doesn't stand still for long. I end up taking more than 20 pictures and very rarely get the "perfect" shot. LOL

I made these shorts for him the same way I always make shorts and pants. Just use the search bar on the right side if you would like a tutorial.

The only difference is in the way I did the pockets. I cut them on the bias and left the edges raw. :)


Colin's Shorts 006 Colin's Shorts 012


He LOVES them!!! They are so nice and cool! Perfect for the summer IF it ever stops raining!!!!! LOL


Today I will be back to skirt sewing for Skirting the Issue!!! :)


HAPPY SEWING!!!!!


January 20, 2013

DinoROAR

DinoROAR 1

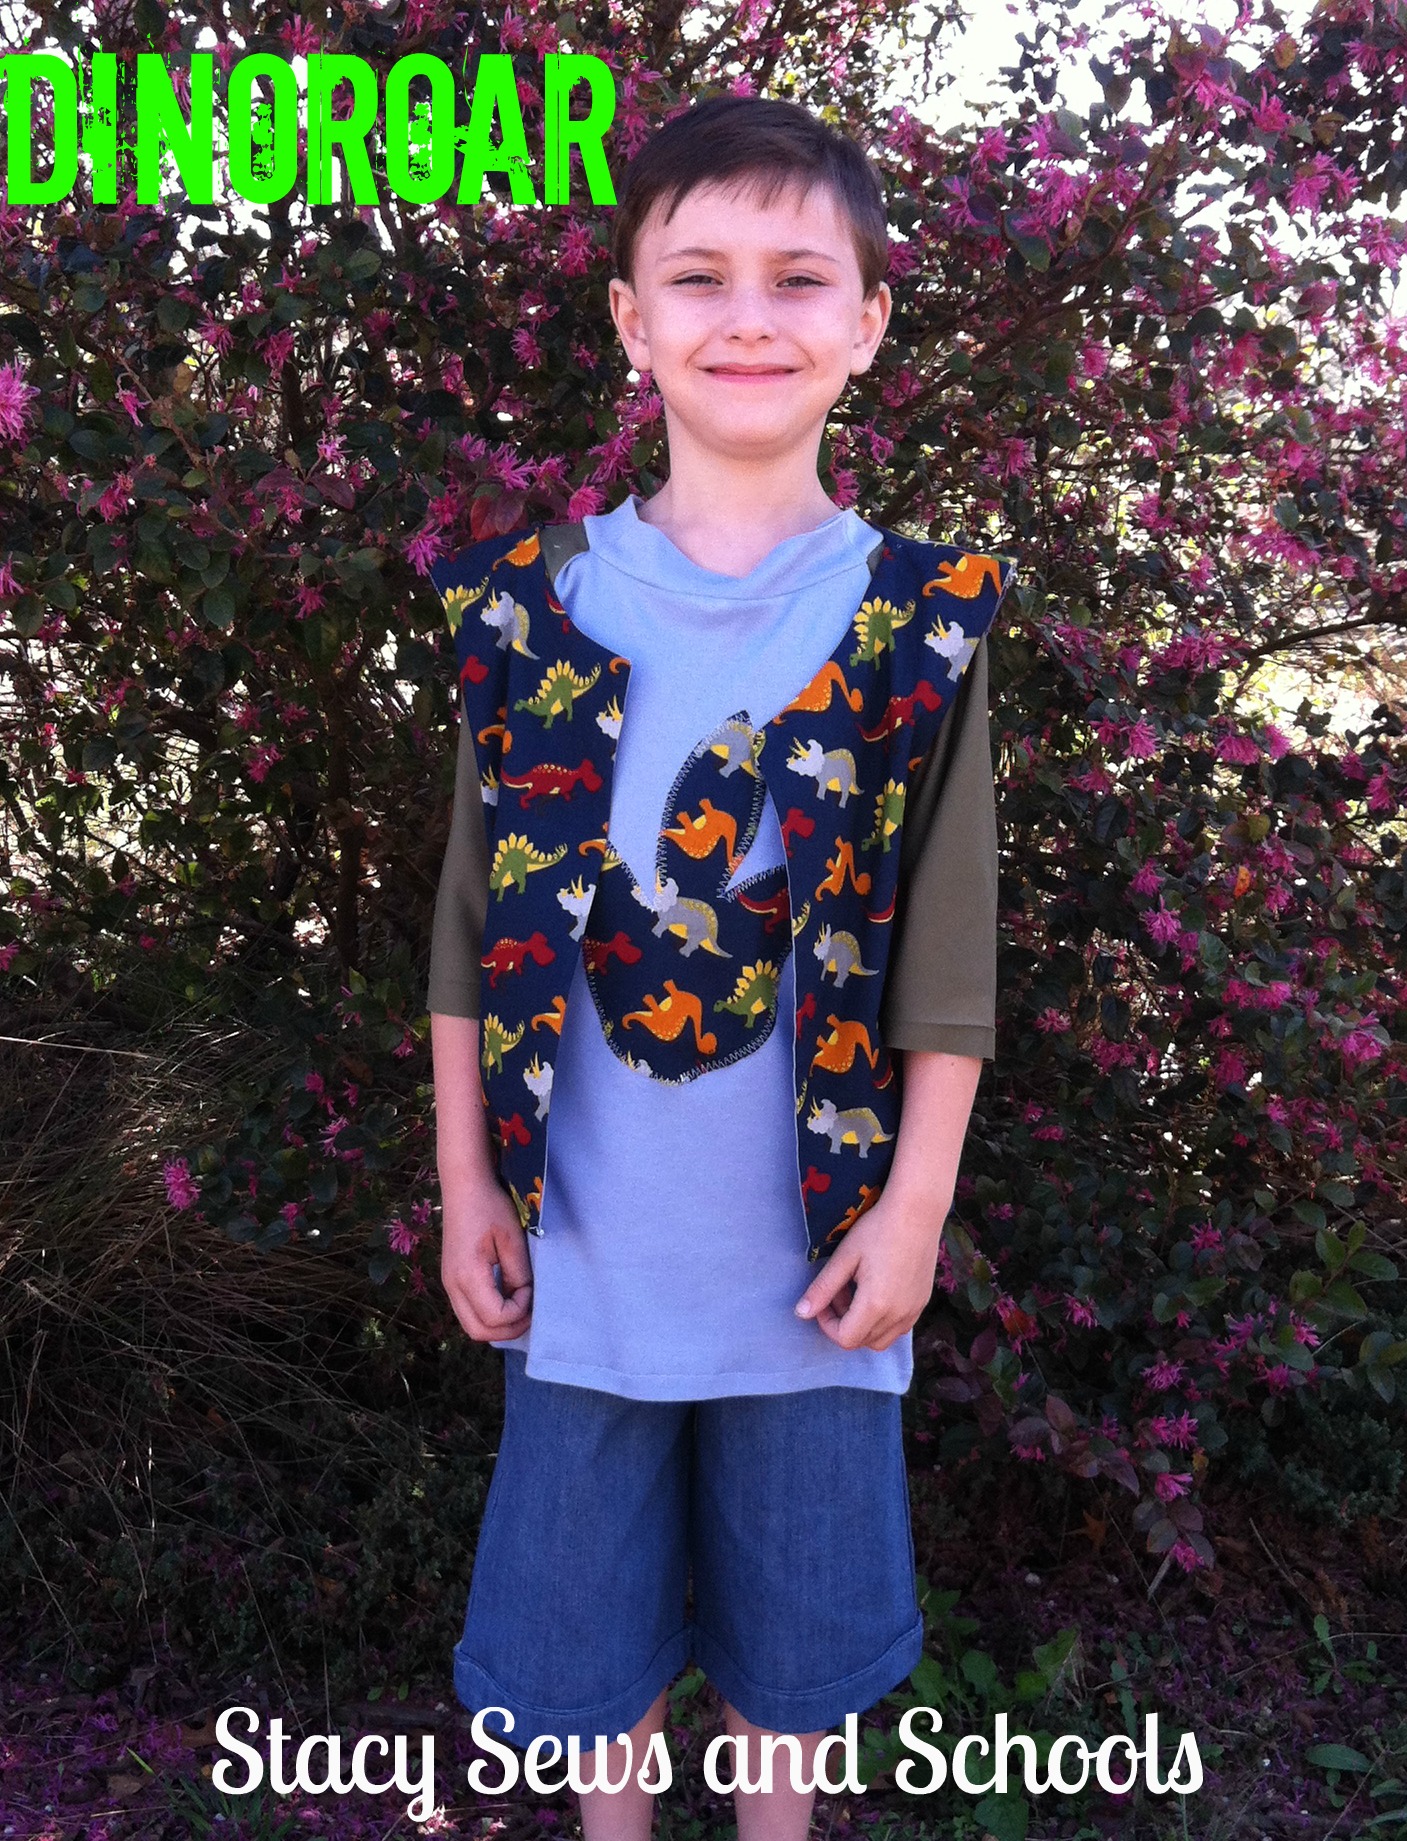
If you've been following my blog then you know I have been sewing along with Project Run & Play this season. It is SOOOO much fun!! I have been using up my stash and challenging myself. This outfit was by far the most challenging and I definitely made the mistakes to prove it! LOL BUT I think it still turned out well. ;) Colin LOVES it. He never asks to keep something on after pictures but this time he did. YAY!!!!!!
DinoROAR 2

I made 3 coordinating pieces - the denim shorts, the raglan tee and the vest. All 3 pieces have the dino print on them. ;)

It is SOOOO hard to get him to hold still and smile for the pictures! LOL He would rather be in motion.

DinoROAR 4

I printed out a dinosaur footprint to use as a guide in cutting the applique.

This is my very first raglan tee!! I found it to be very much like making a peasant blouse.

DinoROAR 3

Here are some more firsts!

First time working with denim (other than patching).

First time making inset pockets (without a pattern) and I think that next time I will cut the a bit bigger. They are functional but I think it would have looked better if more of the print was showing.

First time making a faux fly. That was soooo much easier than I thought it was going to be! LOL

I'll be linking this up at Project Run & Play tomorrow! Be sure to go check out all of the other boy looks!! :D

On Tuesday I will be putting up the tutorial!

I wonder if I can bribe him into letting me take more pics.... LOL


December 9, 2012

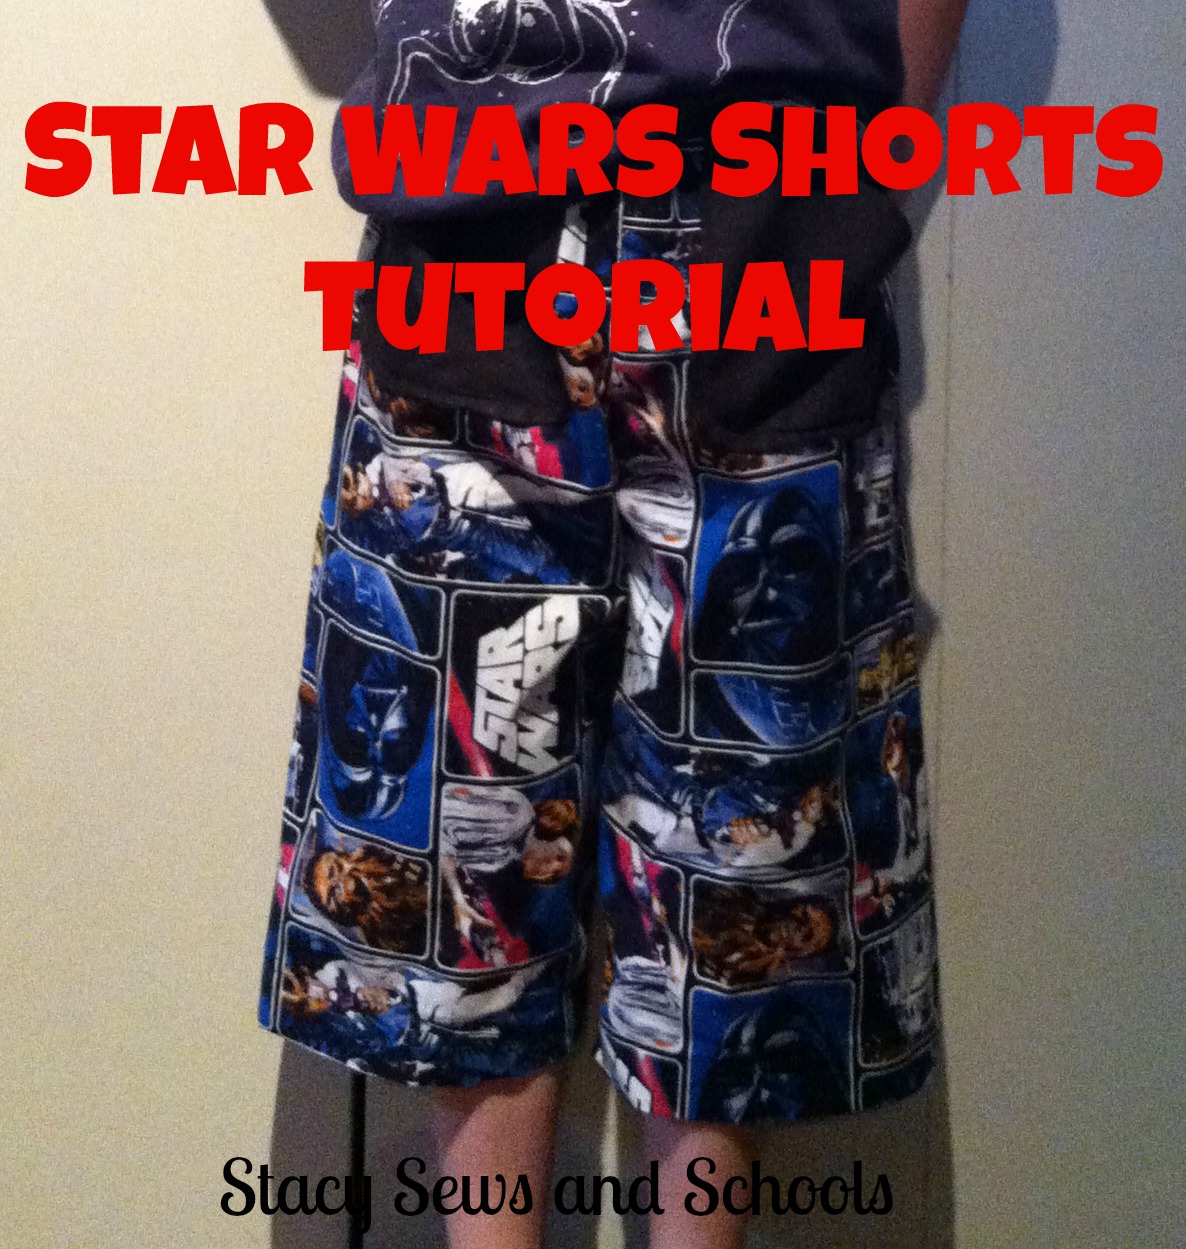
Star Wars Shorts Tutorial

Star Wars Shorts 00001


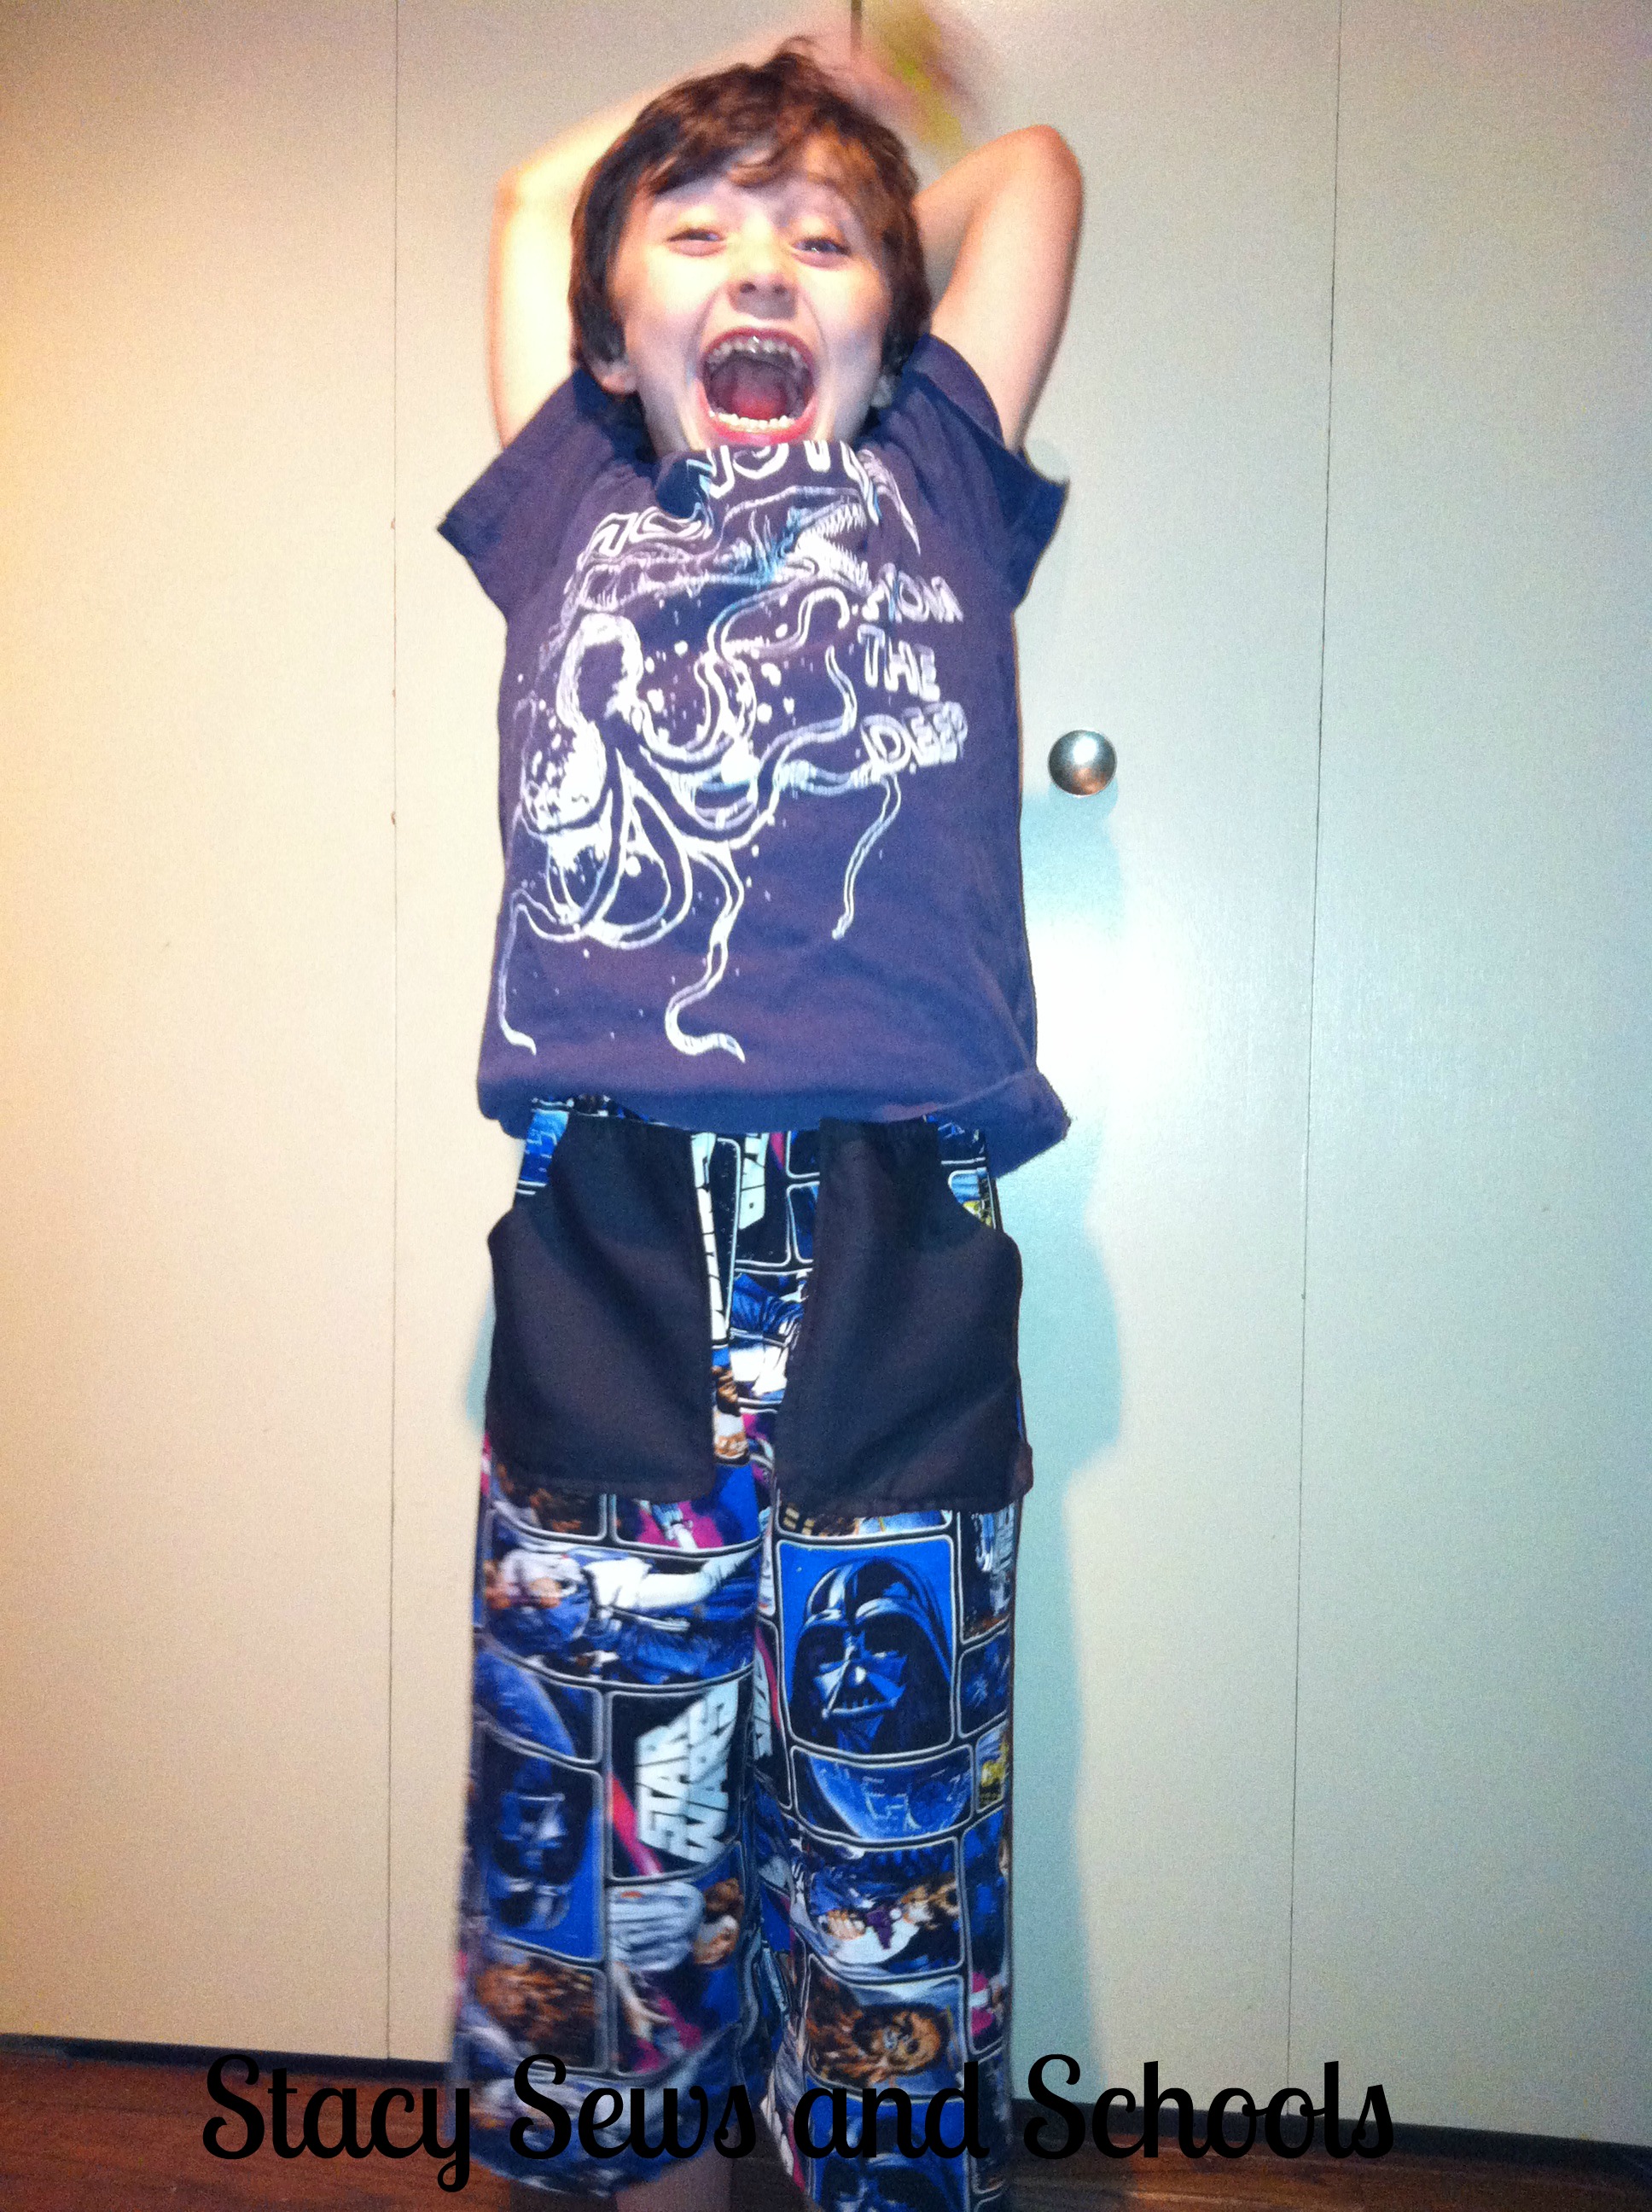
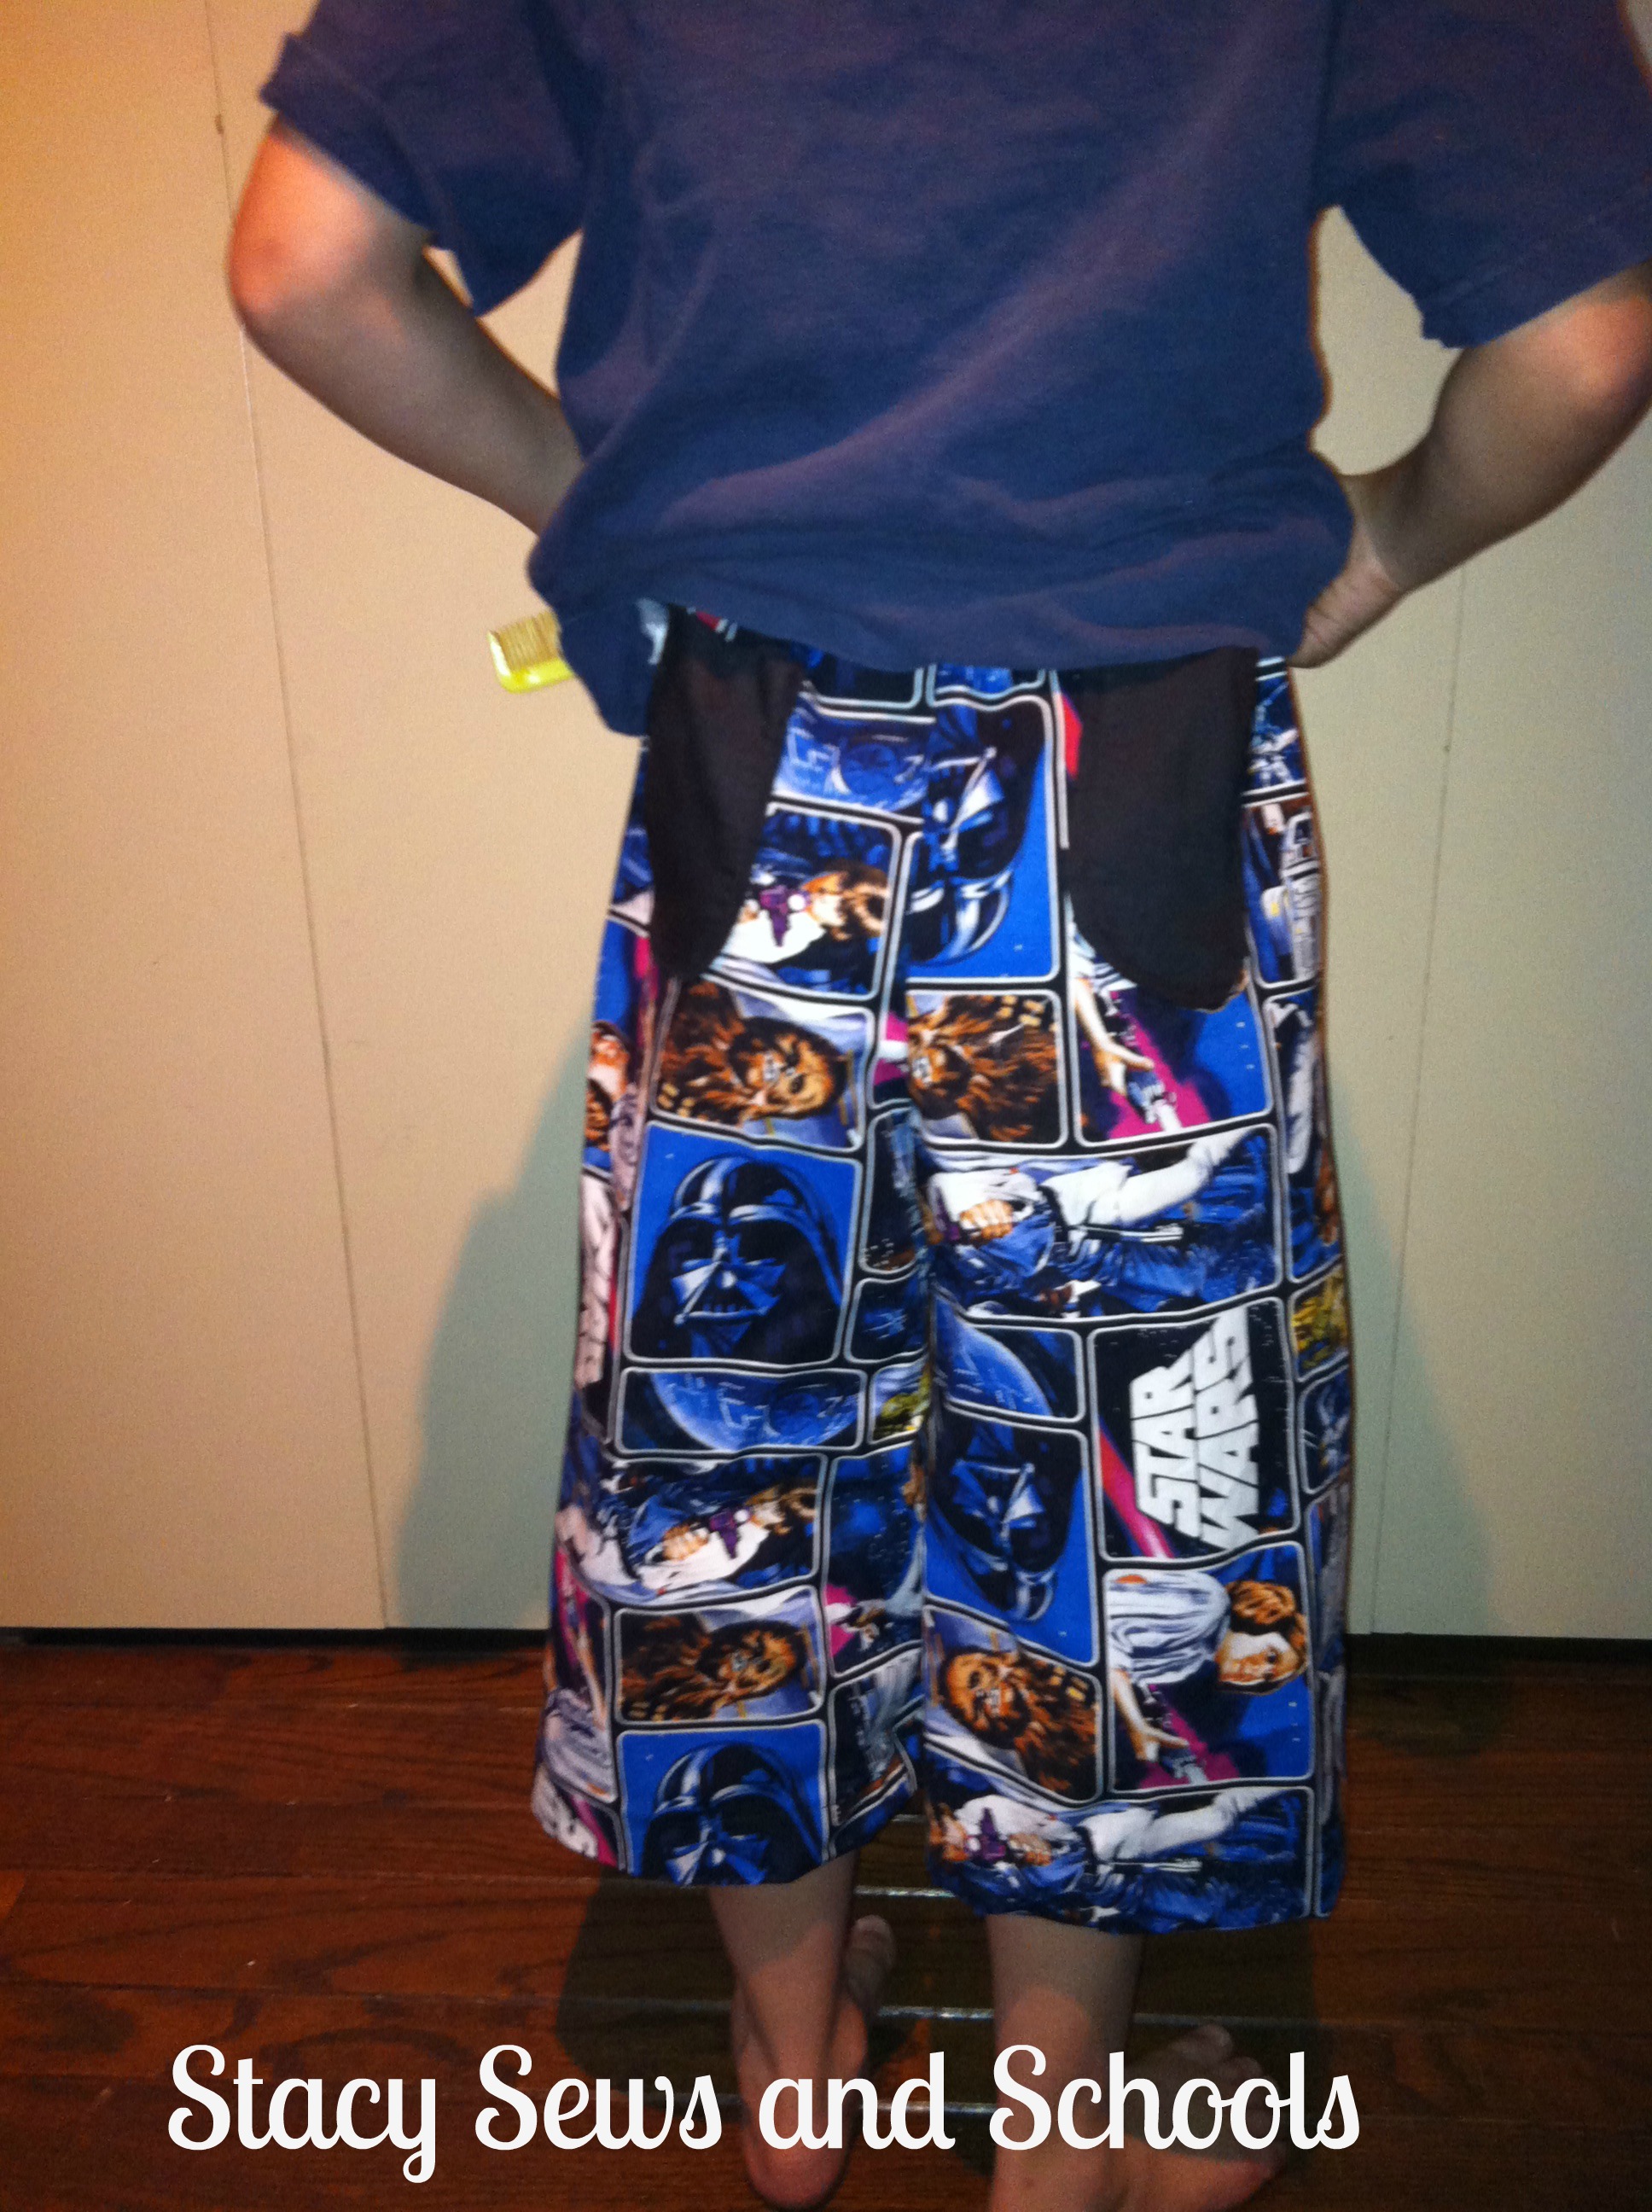
I know, I know... It's December. I should be doing more Christmasy type tutorials BUT I live below the Deep South.... LOL I live in the Bottom of the South! And it's WARM here... Today I have windows and doors open to let the air in.... Definitely still shorts weather. Besides, these are LONG shorts. LOL  And you can always adjust the length and make yours into pants. ;)


What I used:

1 yard of Star Wars cotton

1/4 yard of black cotton for the pockets

1/2" elastic


Star Wars Shorts 001


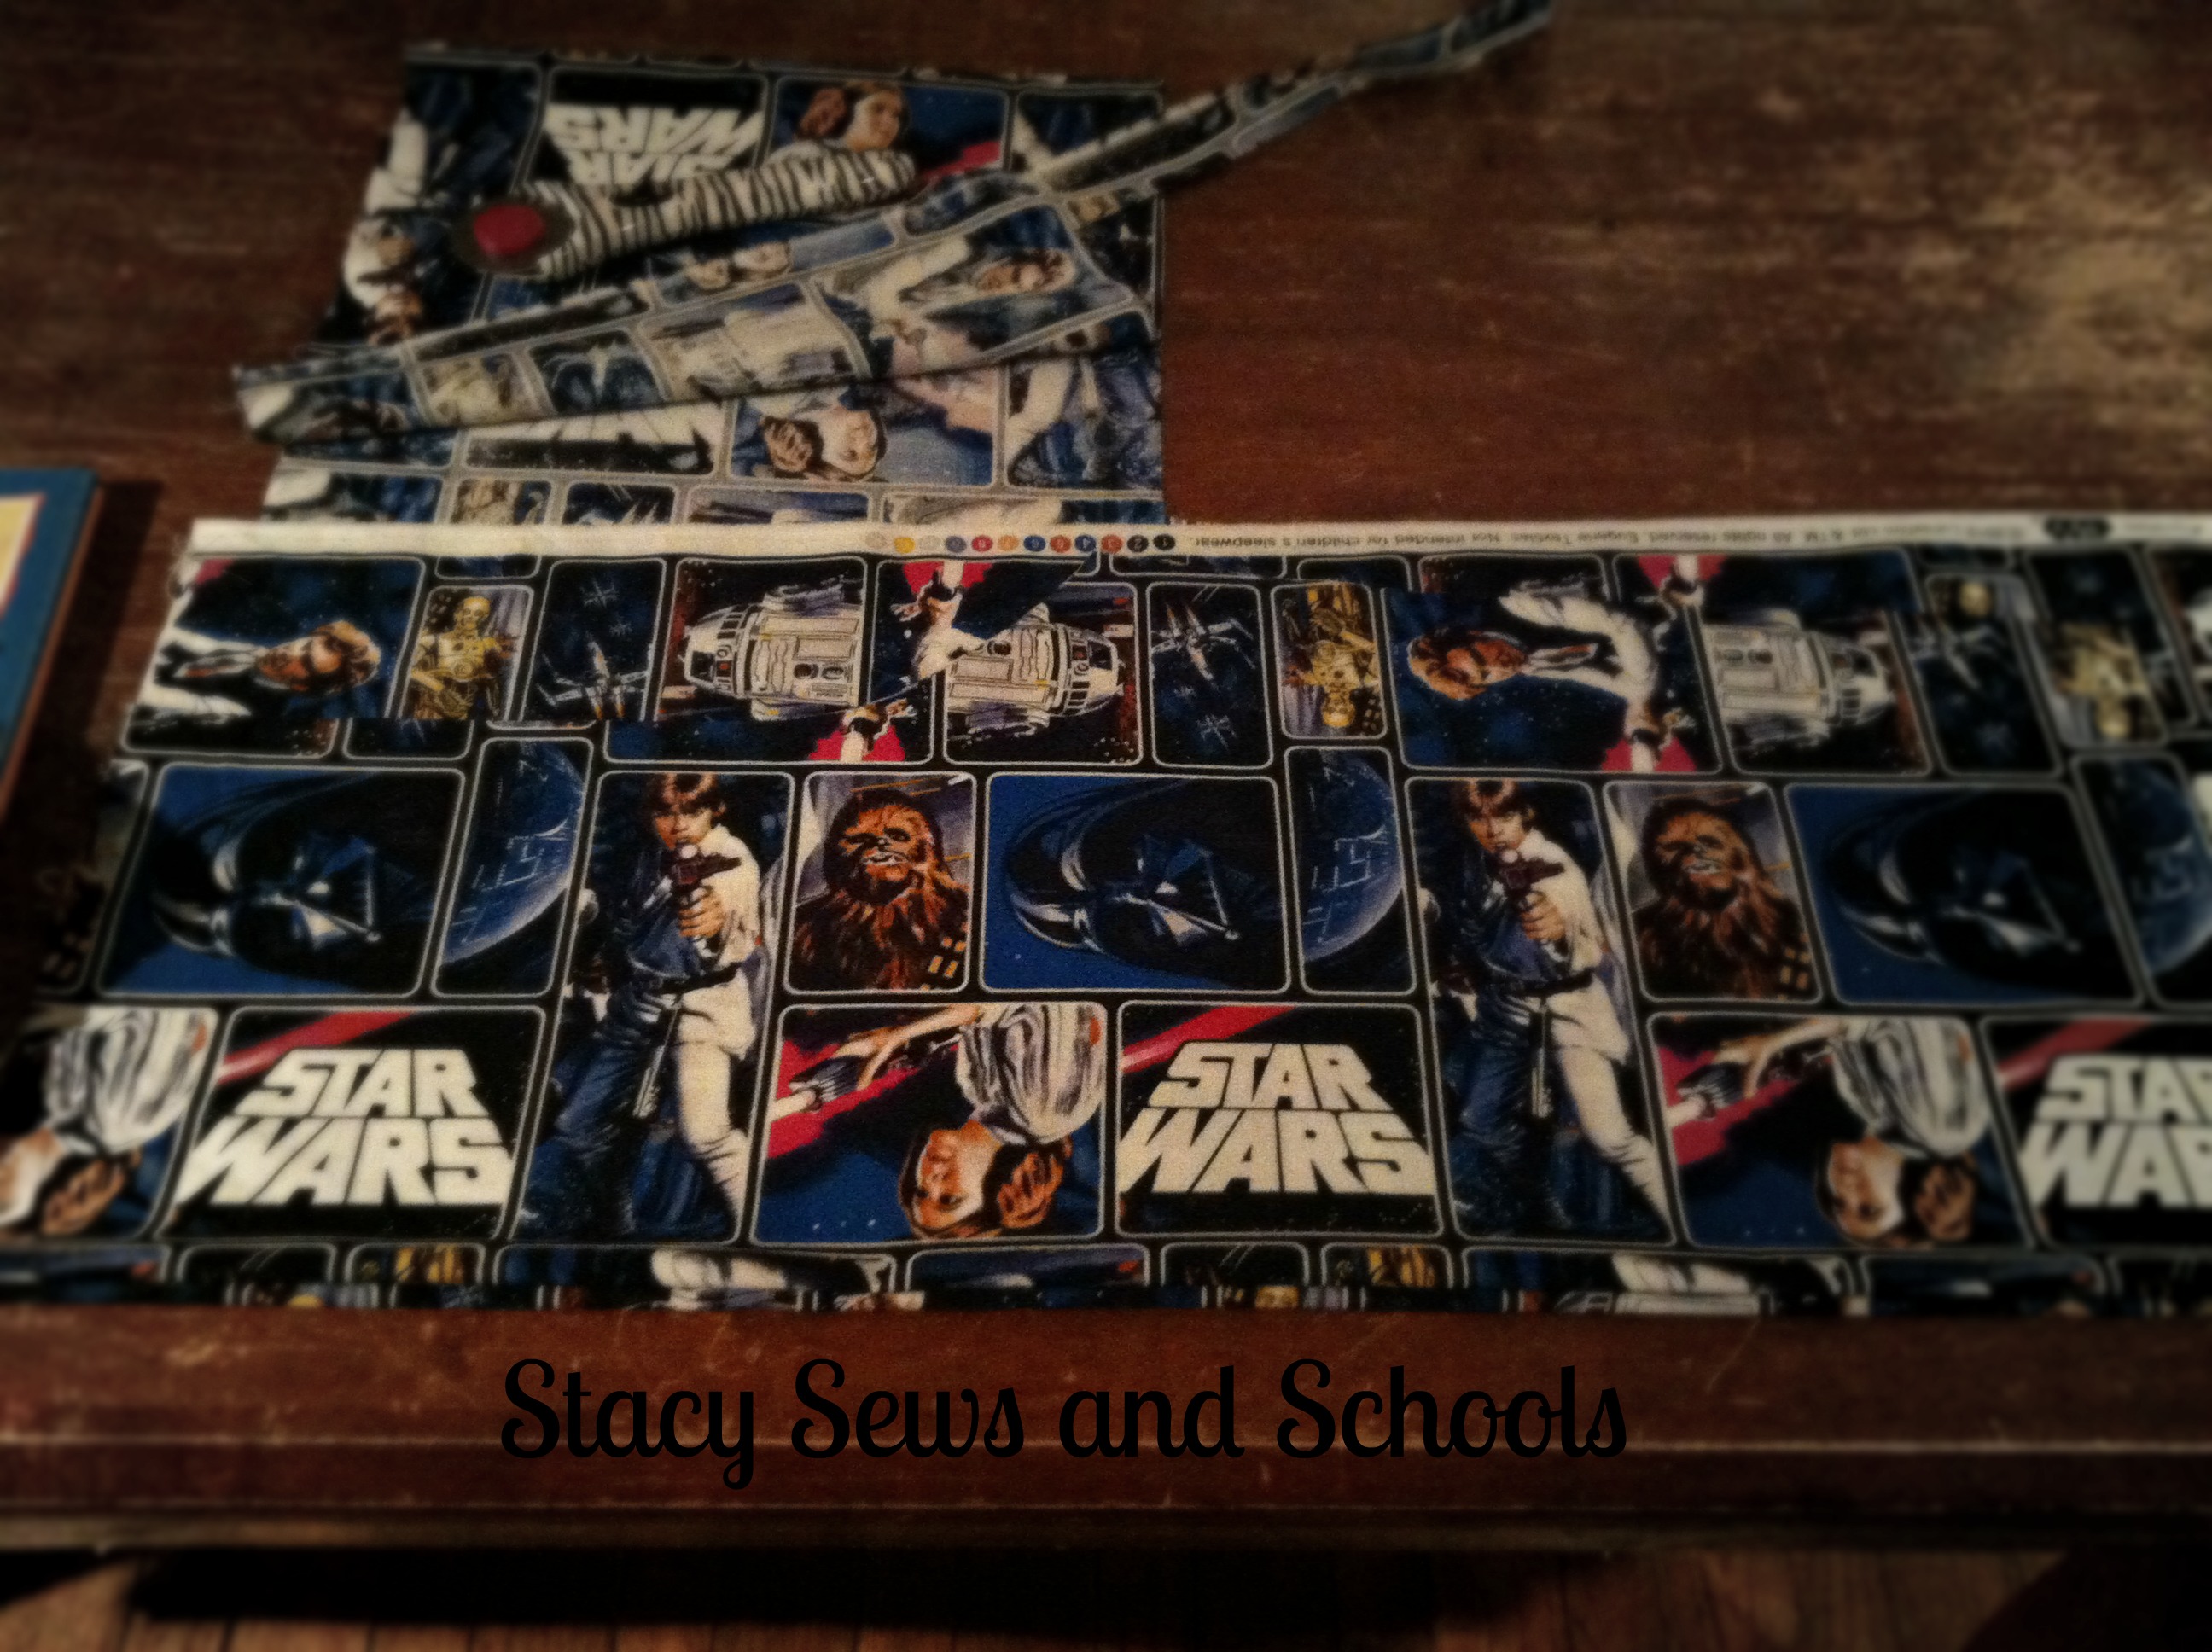
I took a pair of Colin's pants and folded the legs up a few inches. I put the side of the pants on the fold of the fabric. Then I used them as a template, cutting wide around them for seam allowance.


Star Wars Shorts 002


Using the leg I just cut as a guide, I cut the second leg.


Star Wars Shorts 004


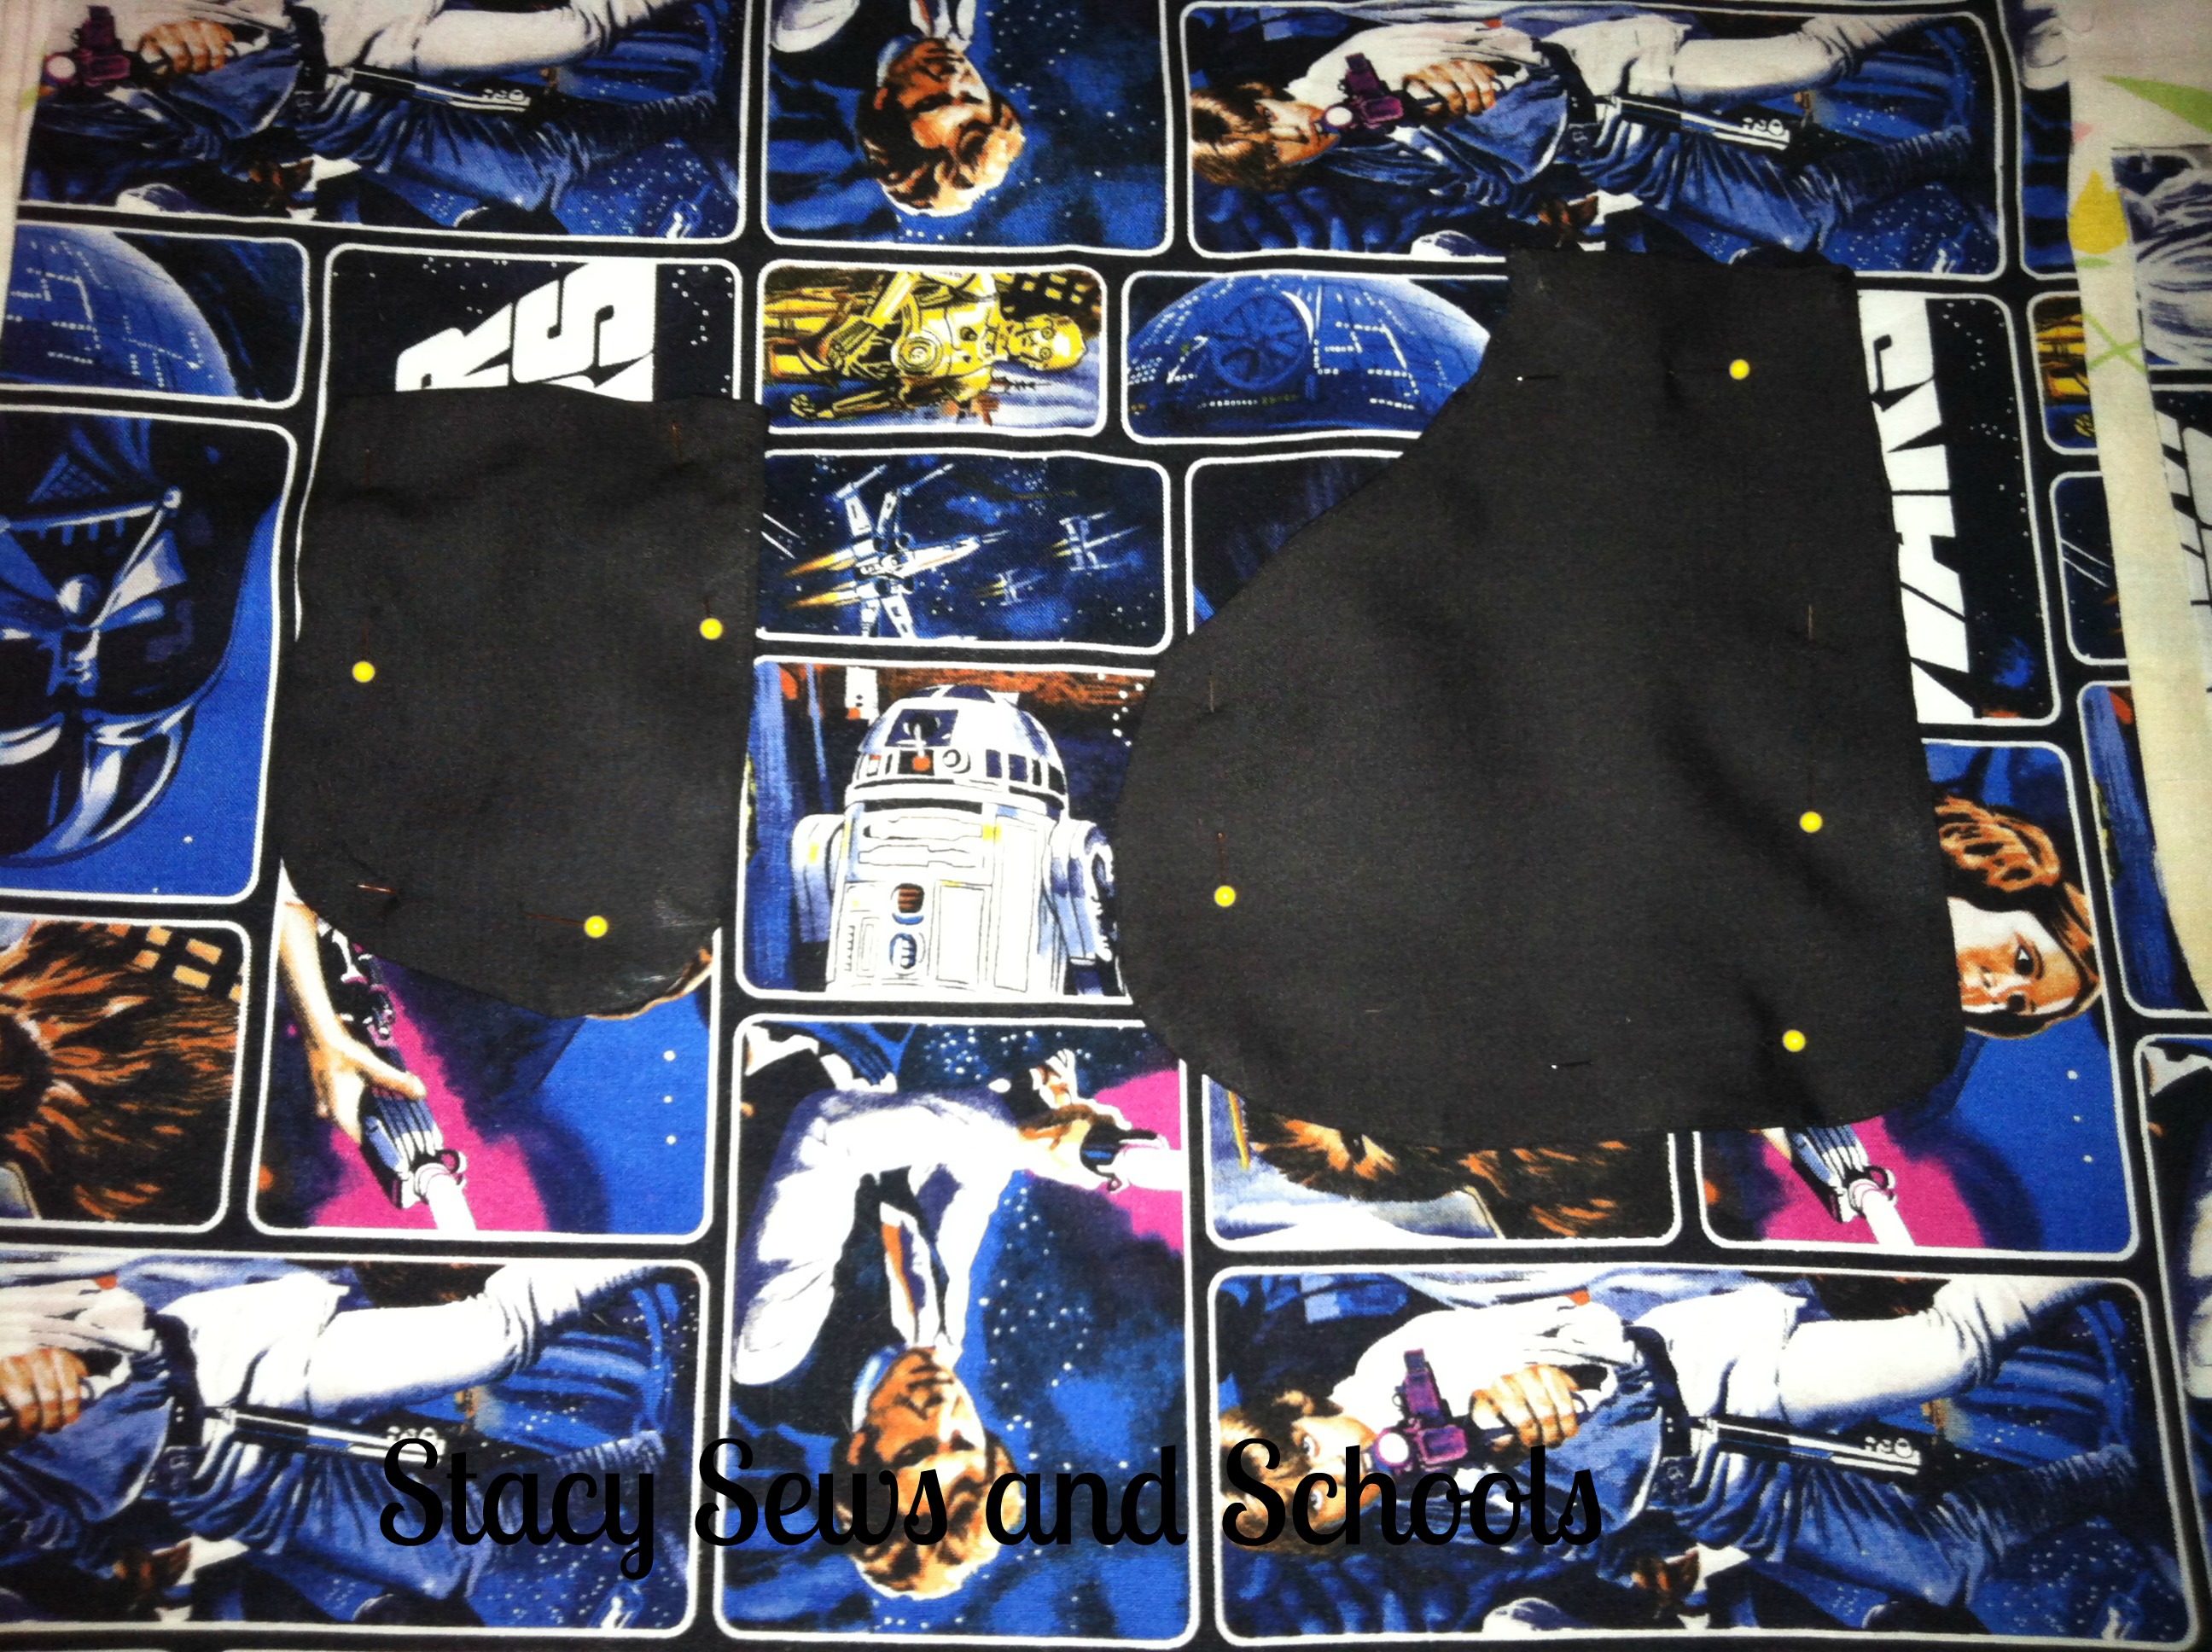
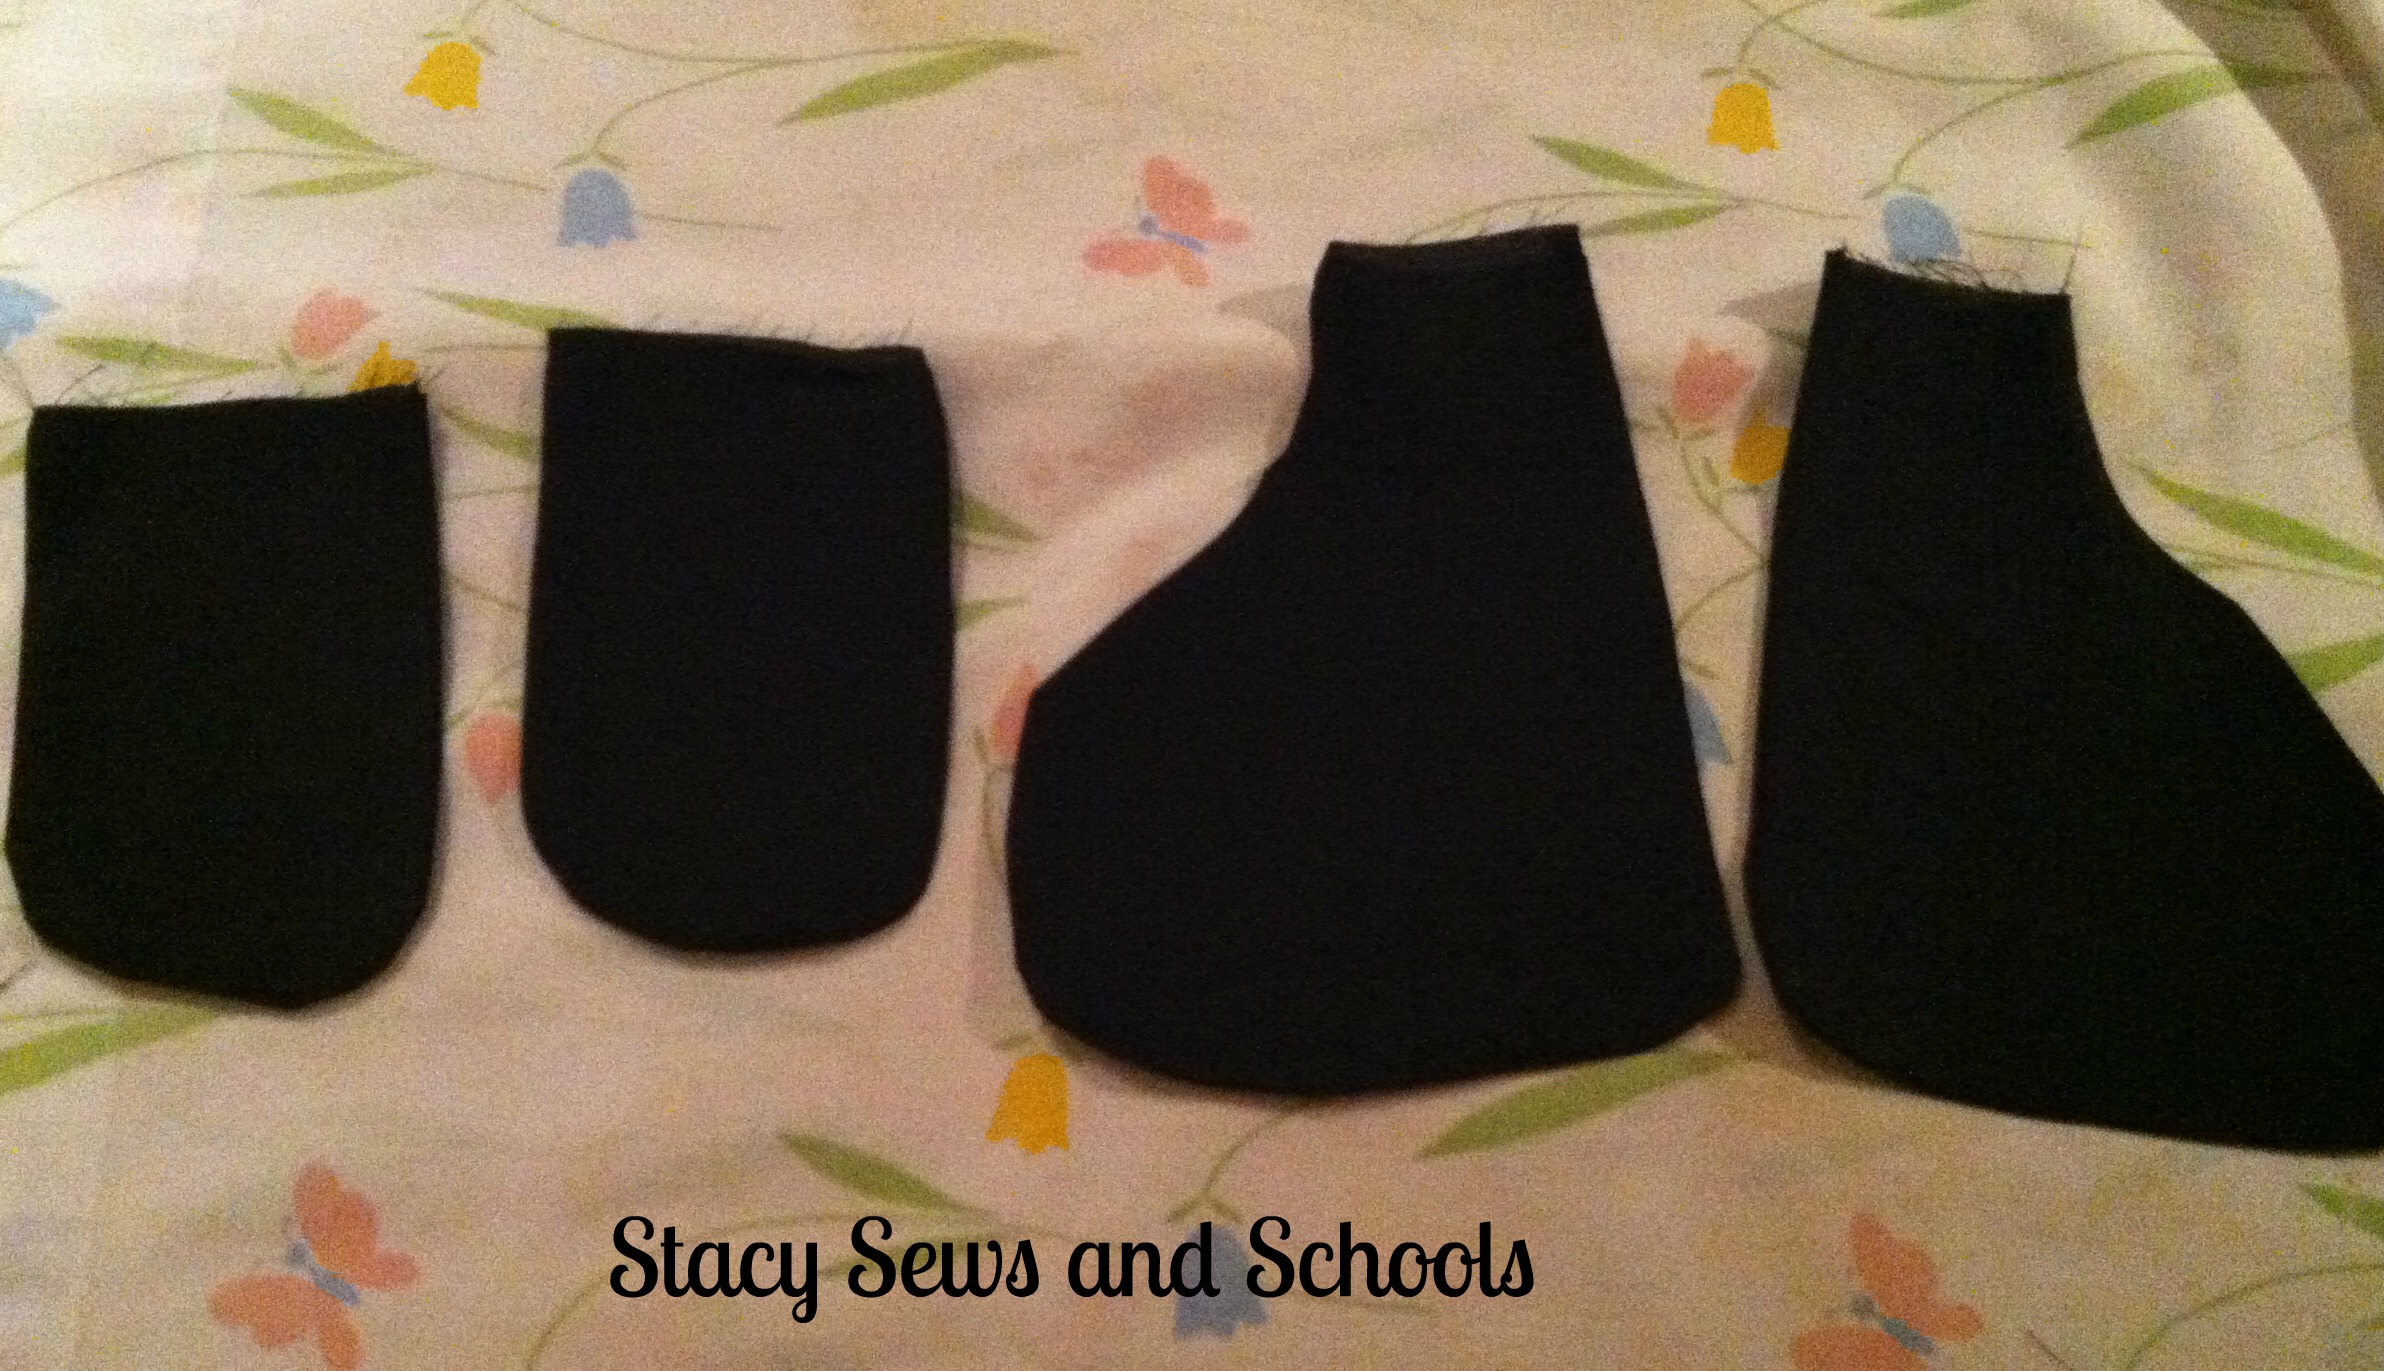
Fold up the fabric for the pockets into 4 layers. Cut out your front pockets. I just free style it. ;) But this way they are all the same.


Star Wars Shorts 005


Now, while you still have 4 layers, cut out the back pockets.


Star Wars Shorts 009


Now, sew the 2 of the back pockets together, making one. Leave the top open! Turn right side out and press.  Keep going until you have 2 back and 2 front pockets.


Star Wars Shorts 012


Now, fold in the tops 1/4" and press. Sew the tops closed.


Star Wars Shorts 013


Now, place your front pocket where you would like it to be.  Mine is 3" from the top. Also, this helps to make sure both pockets are evenly placed.  Also measure the distance from the sides.


Star Wars Shorts 014


Now, pin your pockets in place and sew them on! :)


Star Wars Shorts 019


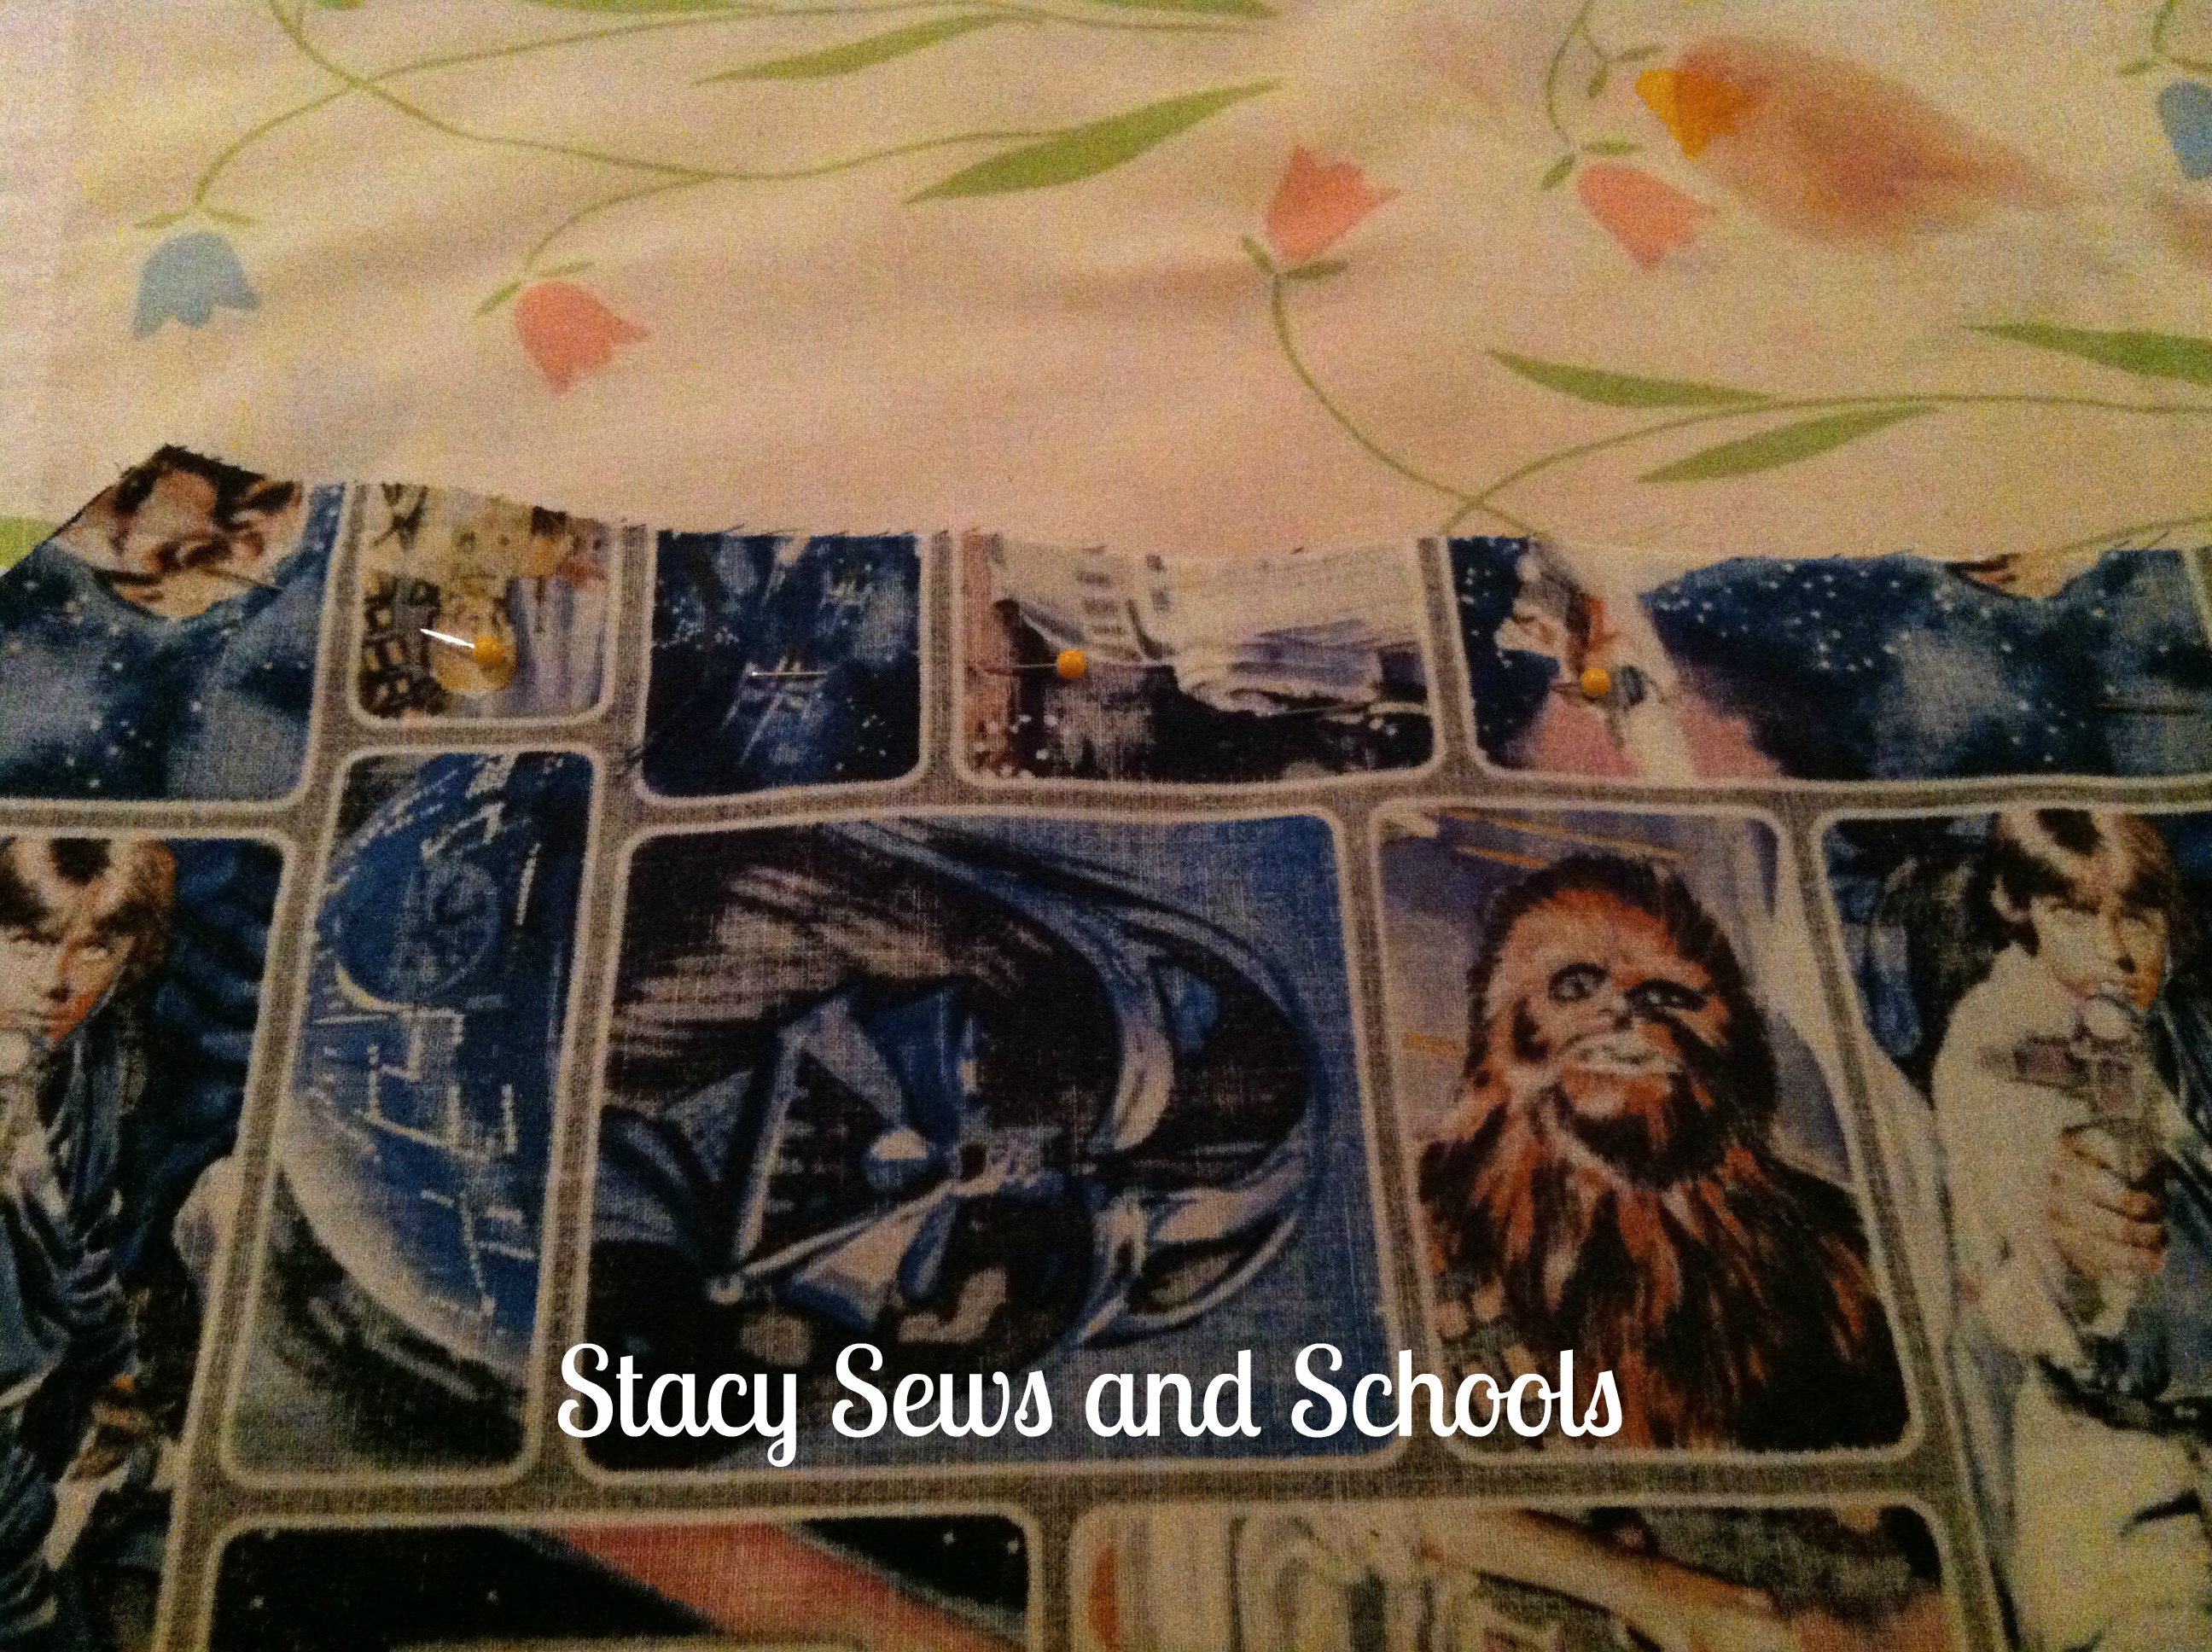
Now, fold one pants leg with right sides together, and pin up the inseam. Sew from the bottom of the leg up to where the curve for the crotch starts.


Star Wars Shorts 020


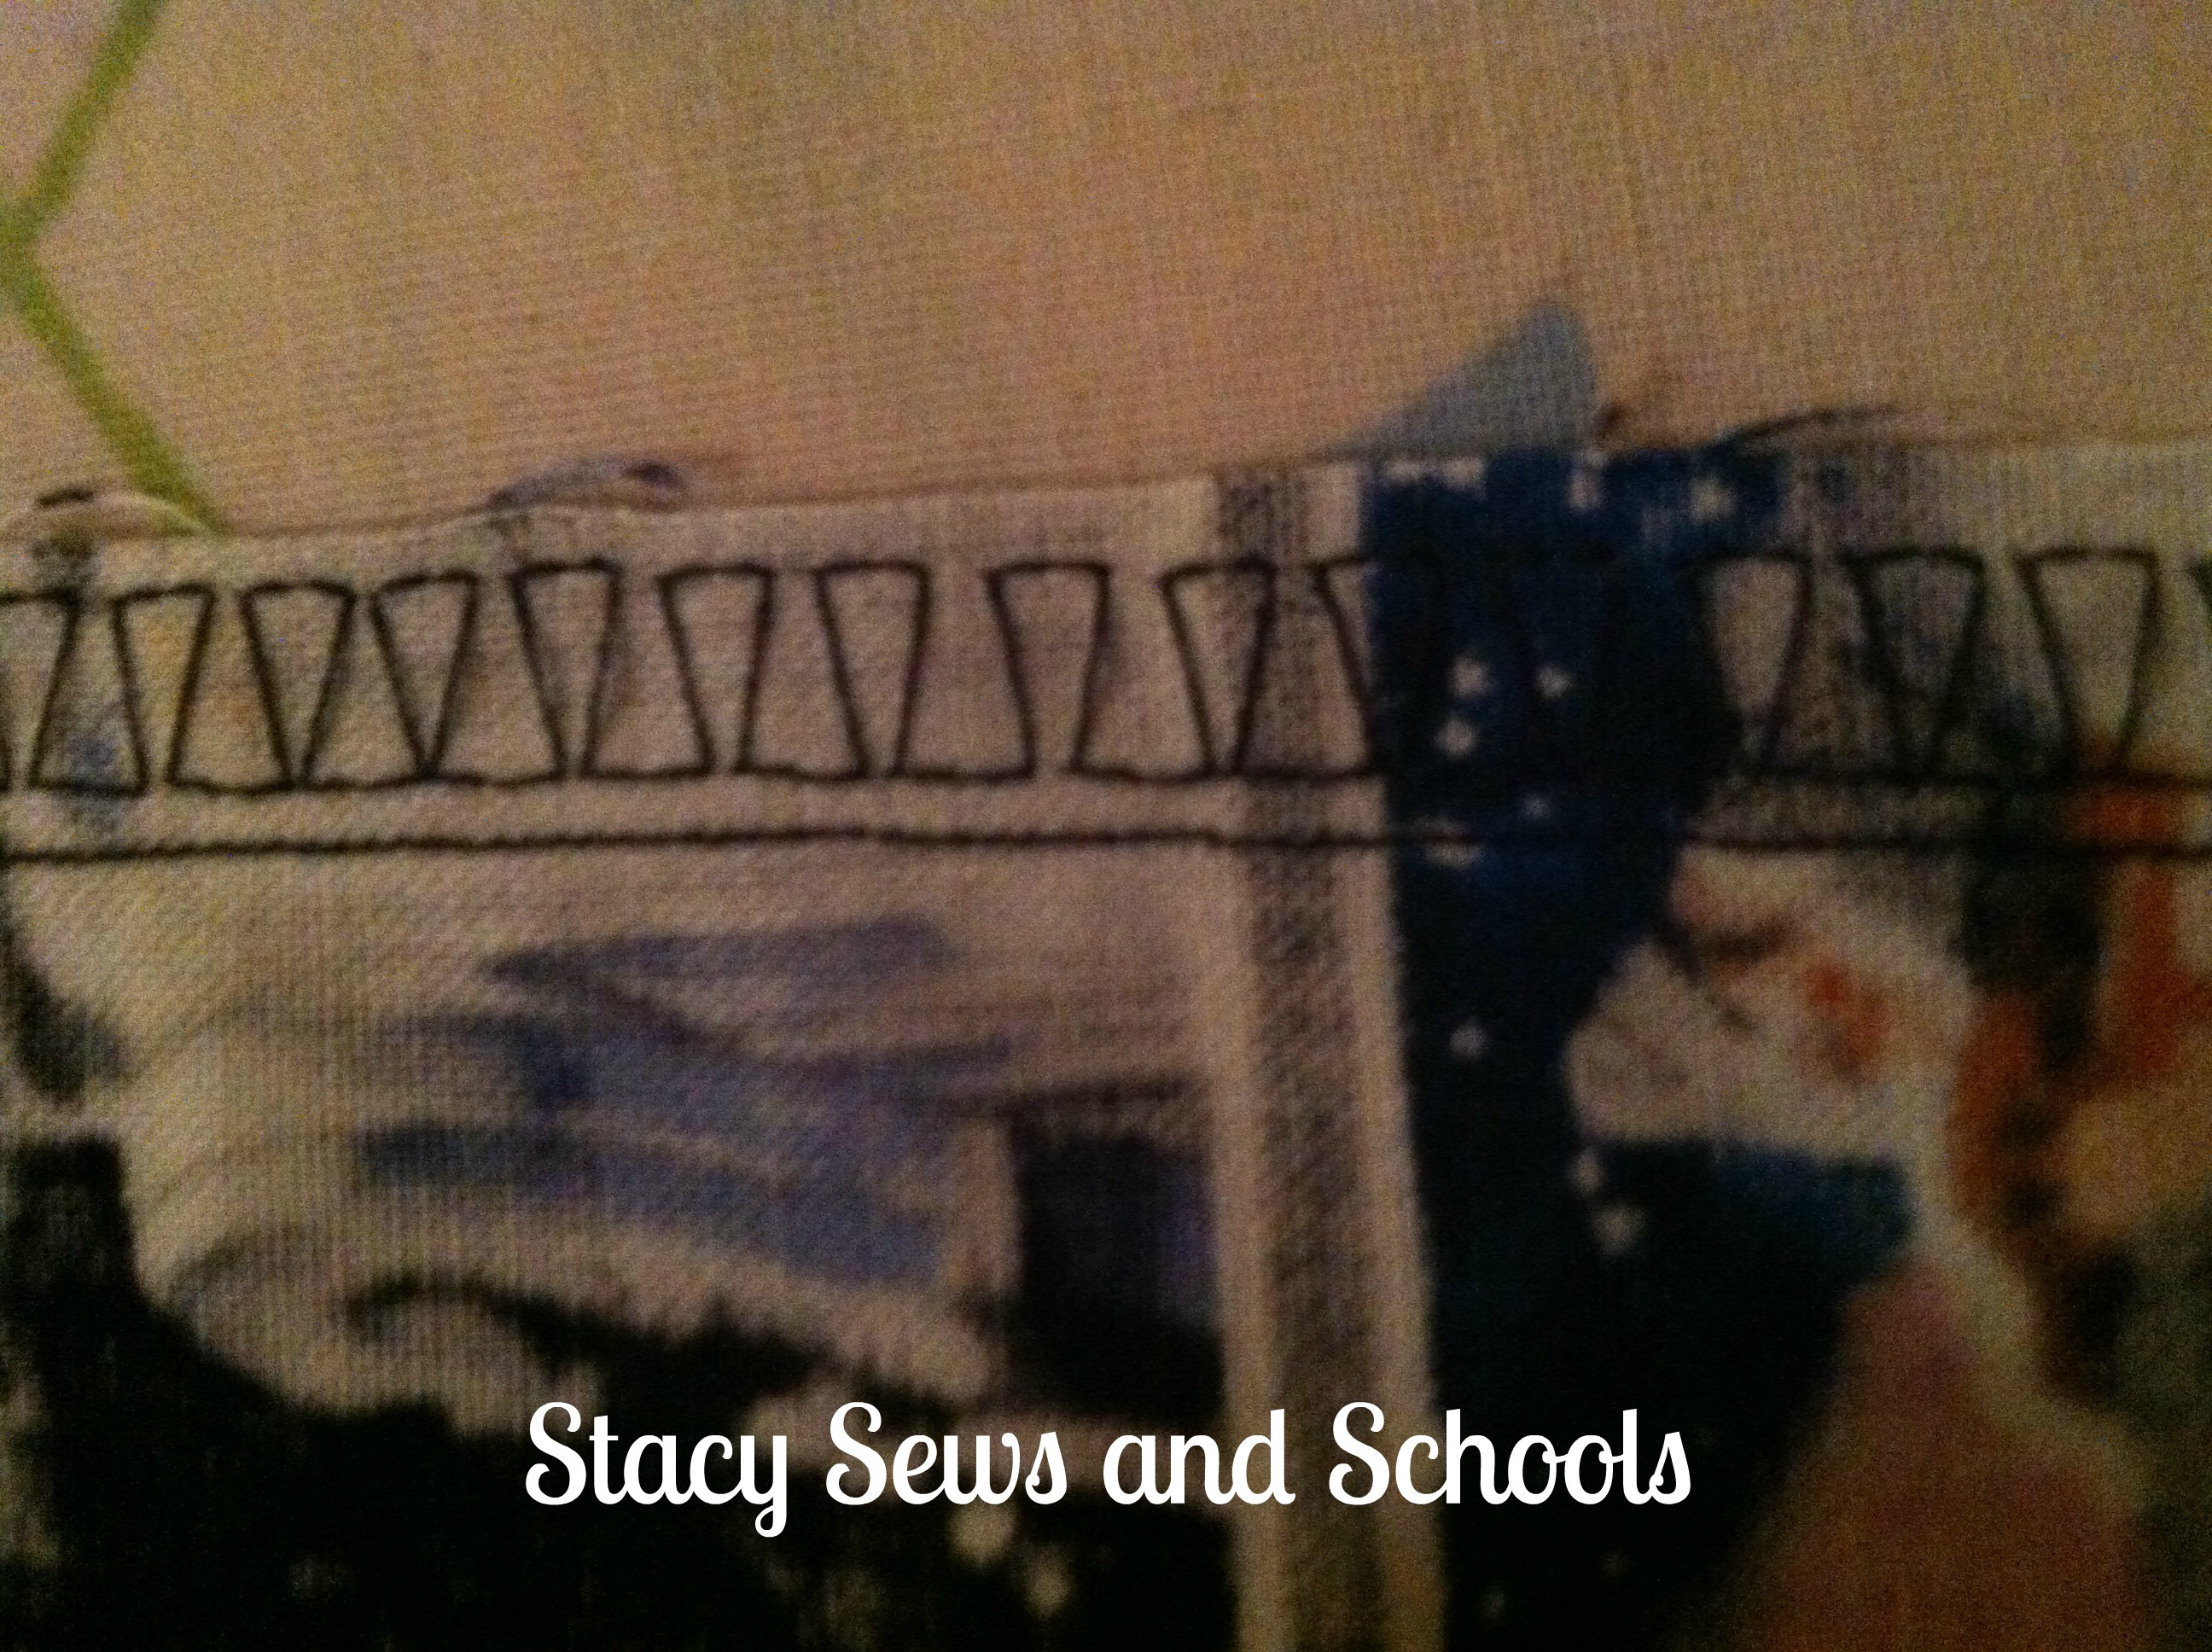
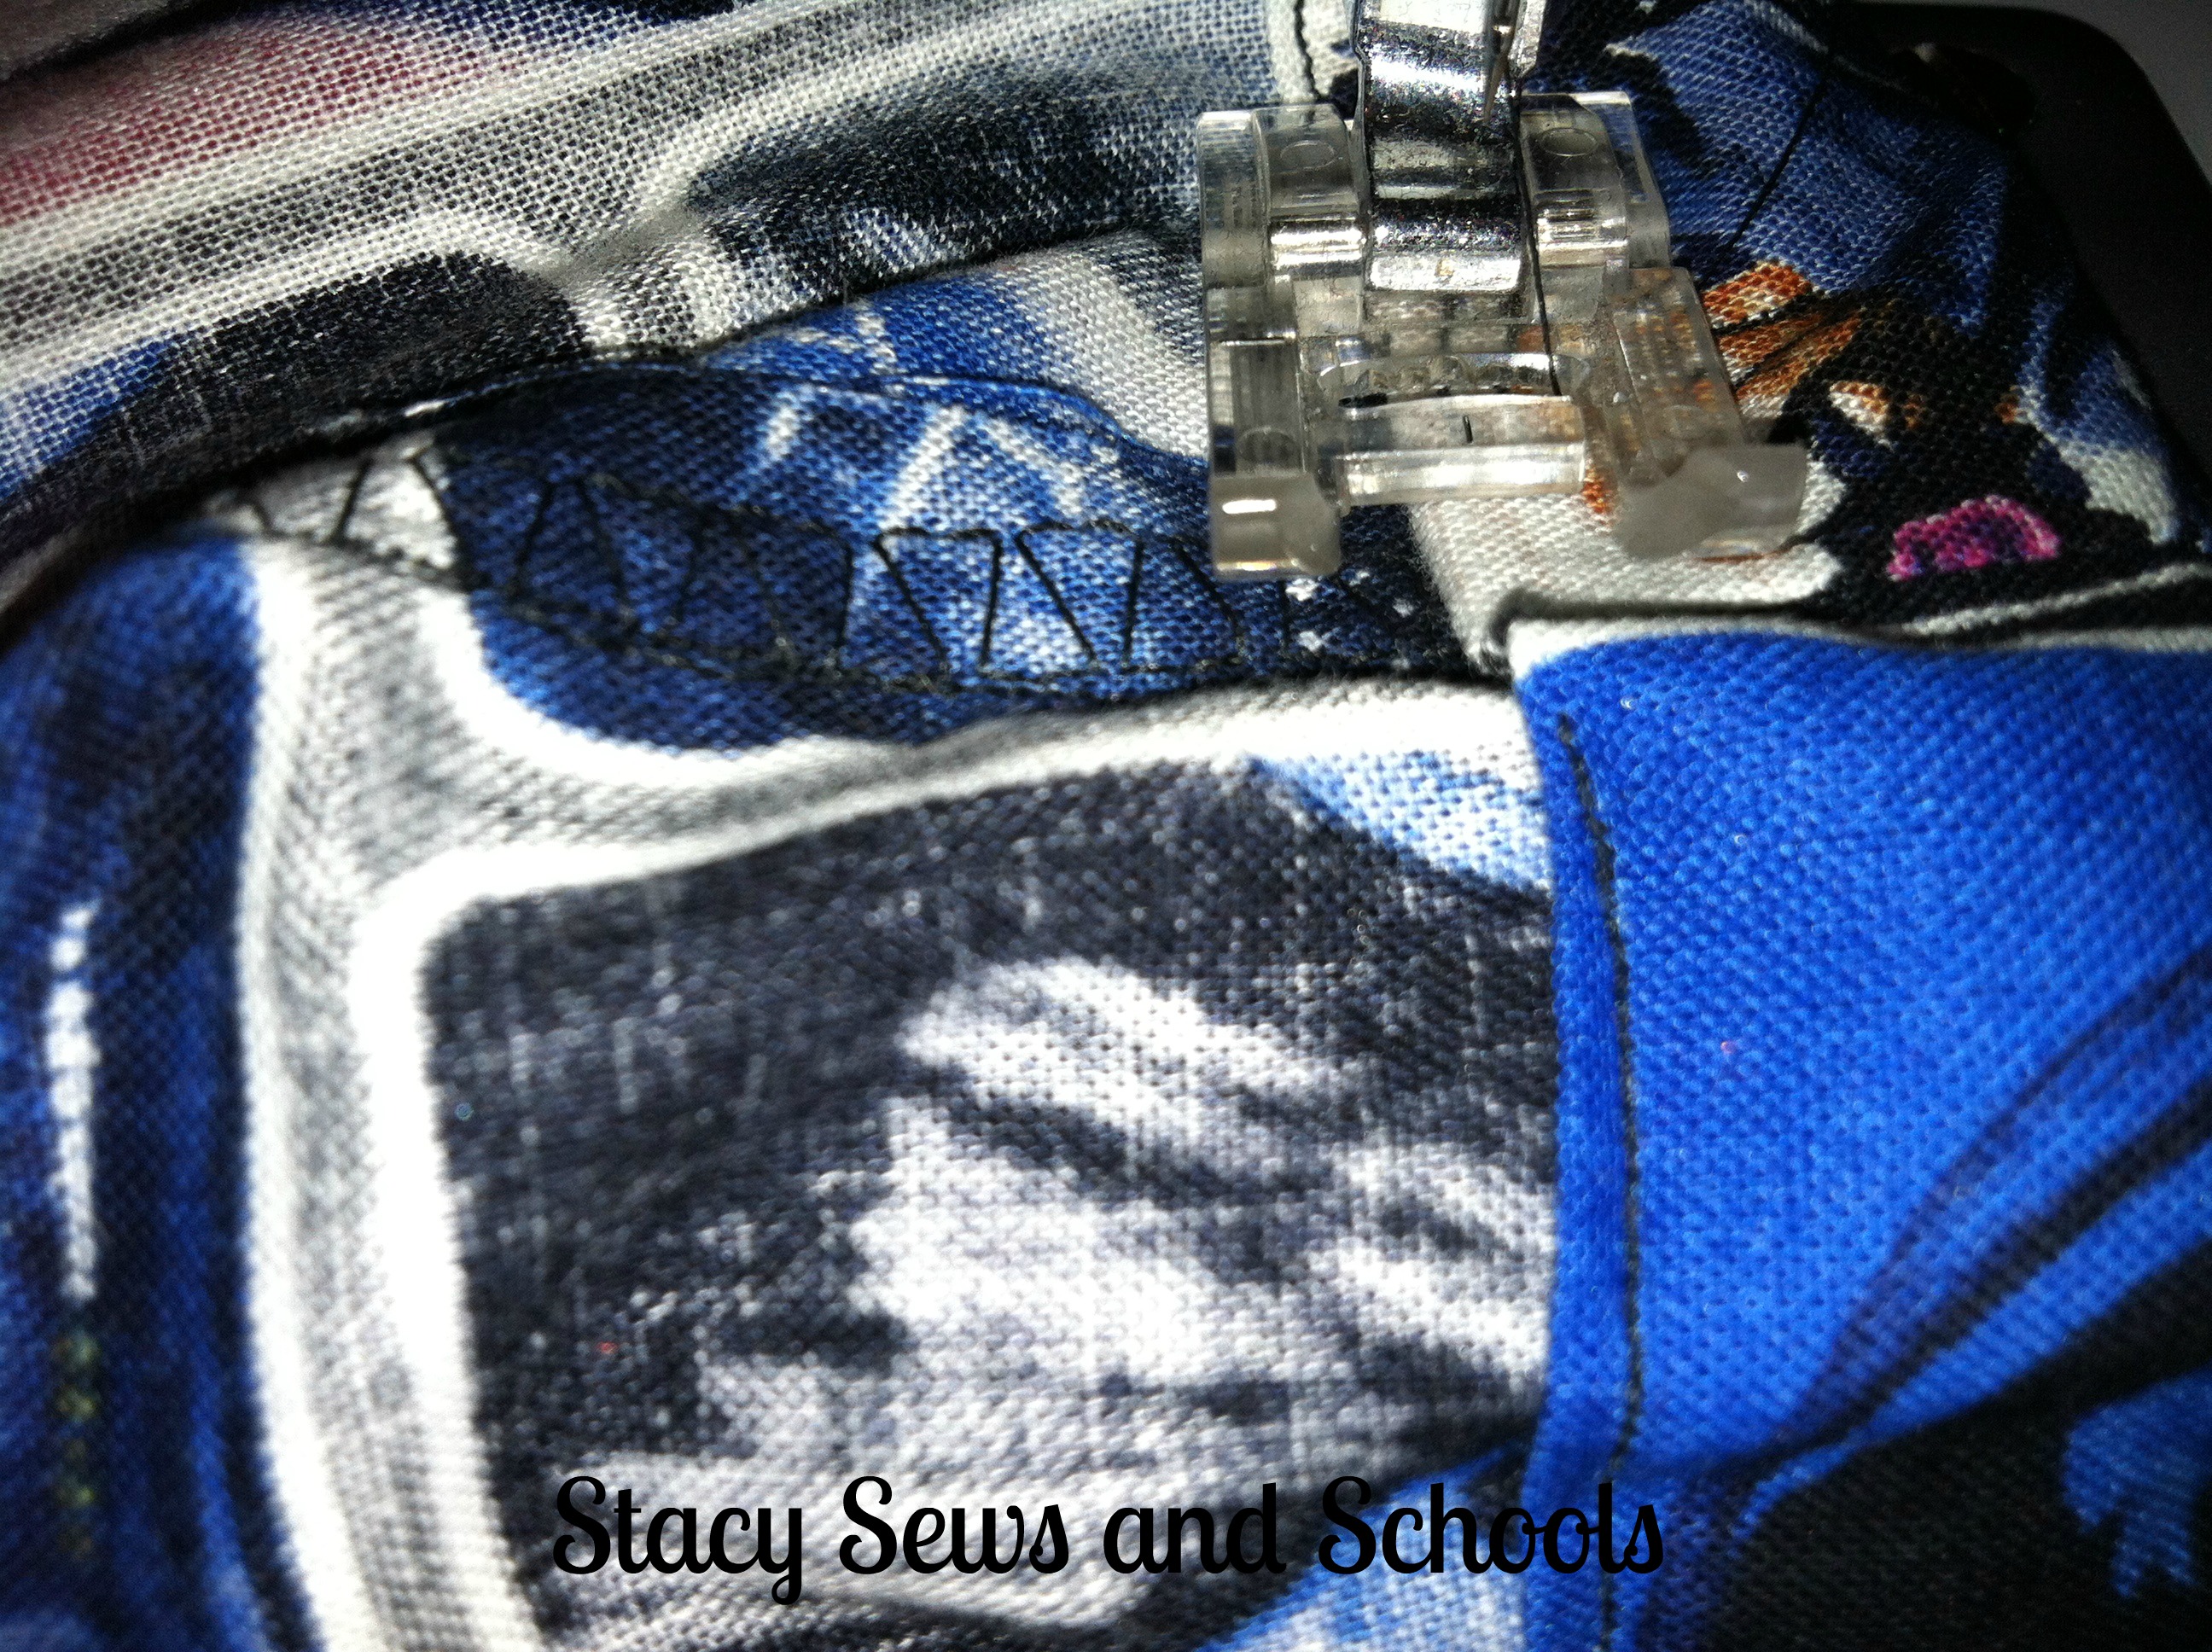
You are going to want to use a finishing stitch here. That way you won't have threads all over the place after washing. ;) Usually you want the finishing stitches to be closer to the edge but with my new foot, the feed dogs don't want to work well unless there is fabric between them and the foot.


Star Wars Shorts 022


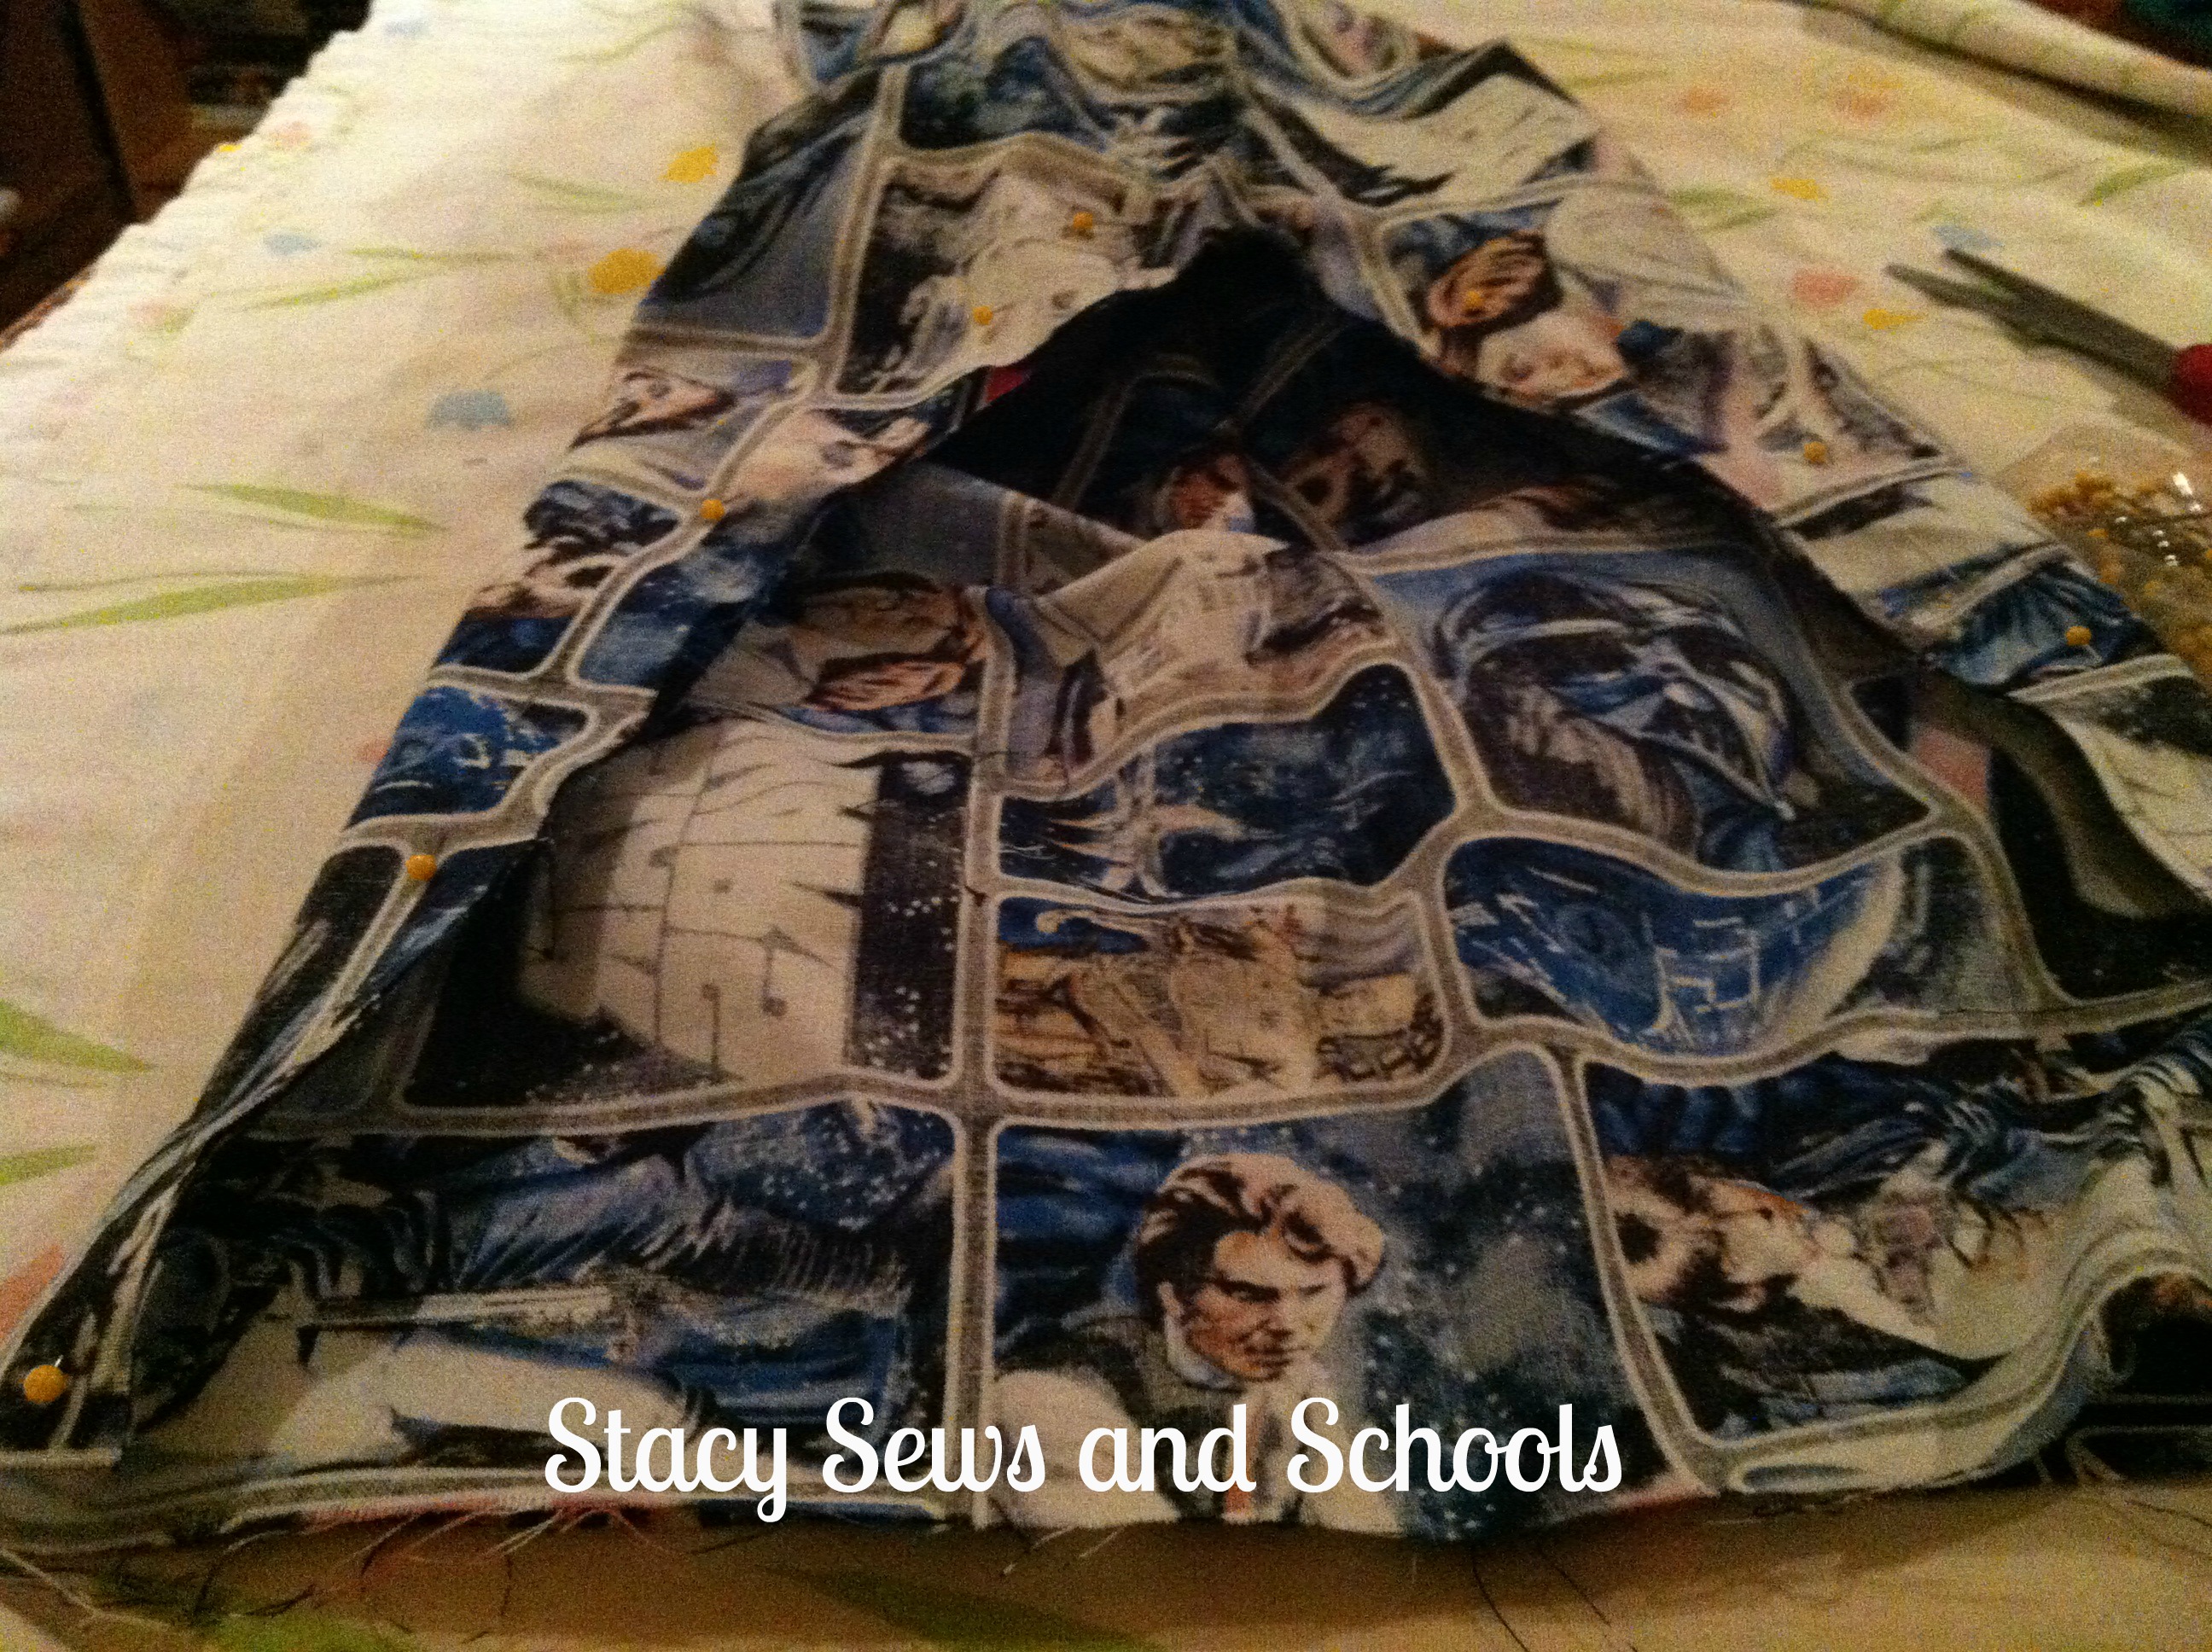
After you have both legs done, turn one right side out and slide it into the other leg. Pin around the crotch curve and sew your seam!


Star Wars Shorts 028


With the pants inside out, pin up the leg bottom by 3/4" and press. Then fold up again by 1" and press. Pin it and sew up the hem! :)


Star Wars Shorts 027


Still with the pants inside out, fold over the waist by 1/4" and press. Then fold again by 1" , press and pin. Now, sew along the edge, making sure to leave an opening to insert the elastic.


Star Wars Shorts 031

Now, pin the ends of your elastic with safety pins. You can either hold tightly to one end or pin it to the fabric or yourself.  You can also buy a handy dandy elastic inserter..... But seriously, the safety pins work very well.

Insert the elastic through the casing. Then pull out both ends.


Star Wars Shorts 032


Now, sew the elastic ends together using a zigzag stitch.


Star Wars Shorts 035


Sew your elastic casing closed!


Turn right side out and you will have a happy little boy!! LOL


Star Wars Shorts 1005


Star Wars Shorts 1004


Now, this was not one of the tutorials that I had planned... LOL It just sort of happened.  I'm also making him some more dino pants today! LOL


Anyway, I hope you like the tutorial!!! :)