It's Blog with Friends time again!! WOO HOO!! I am so happy to be back with a new tutorial for you!! It feels like it has been AGES since I had a new tutorial!! I think the last one was a Blog with Friends!
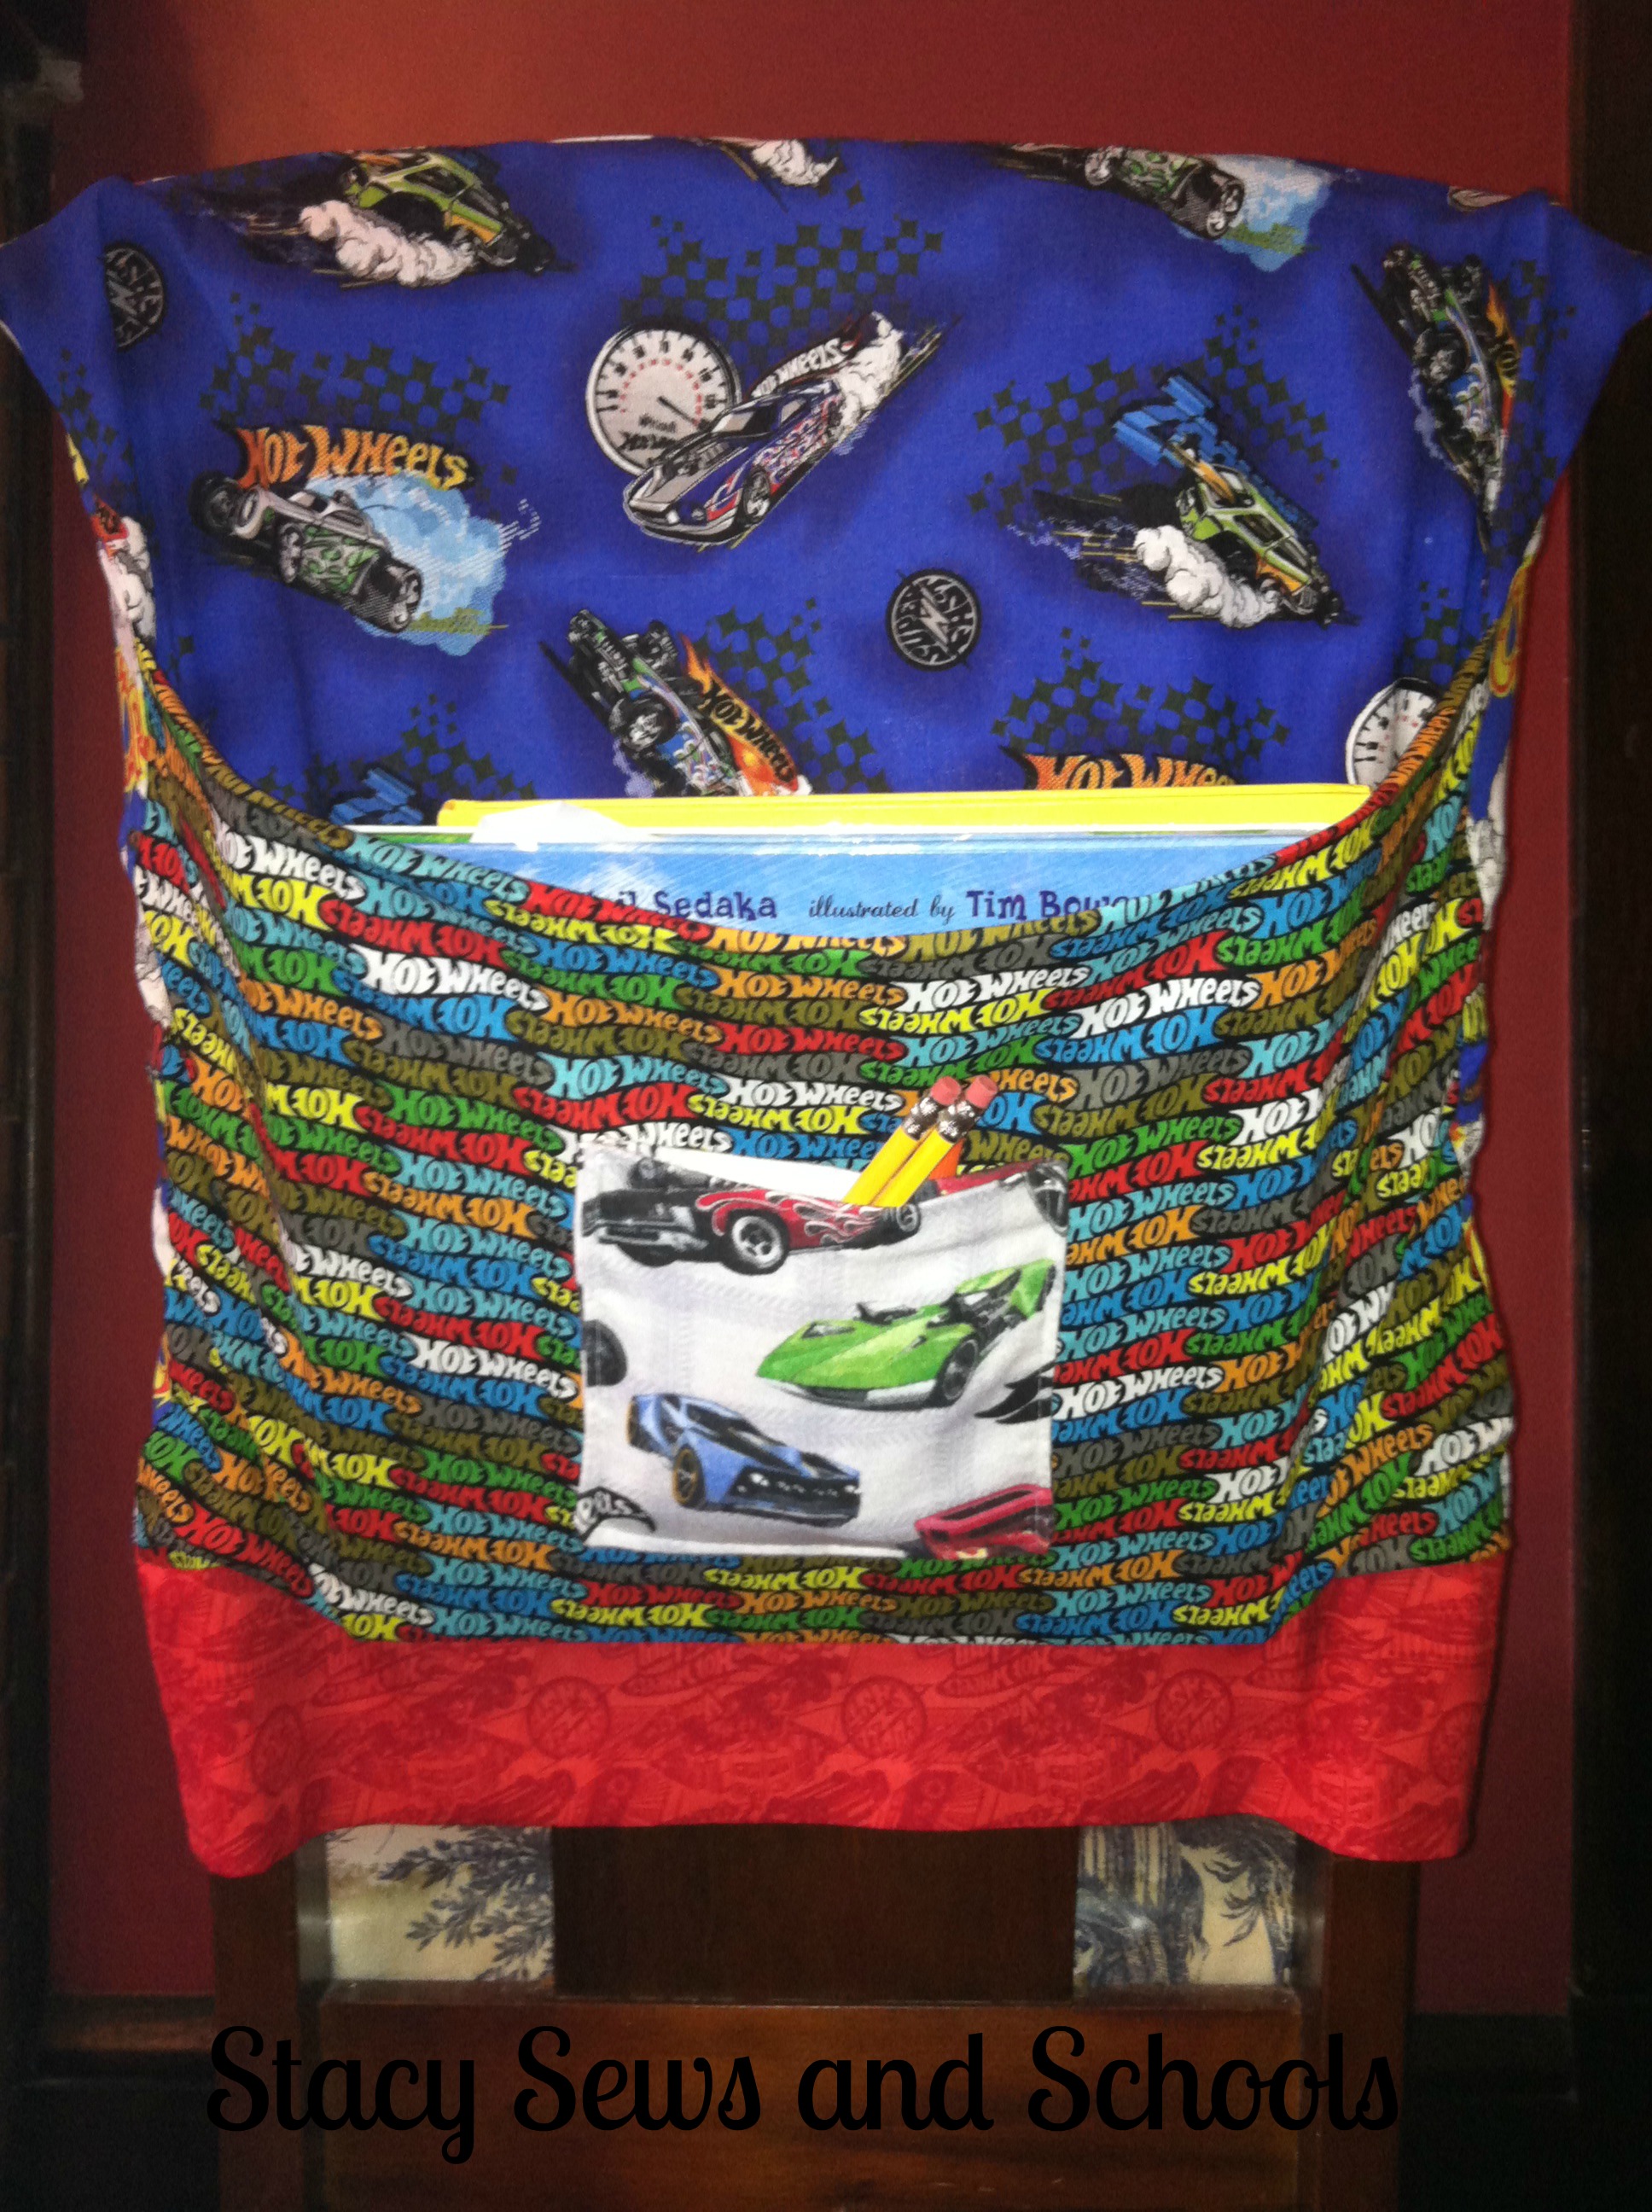
Anyway, this time around I have an easy peasy nap mat cover for you. Super fast, super easy!!!
My cousin's little boy is starting preschool and they requested that the parents have covers for the kids' nap mats.
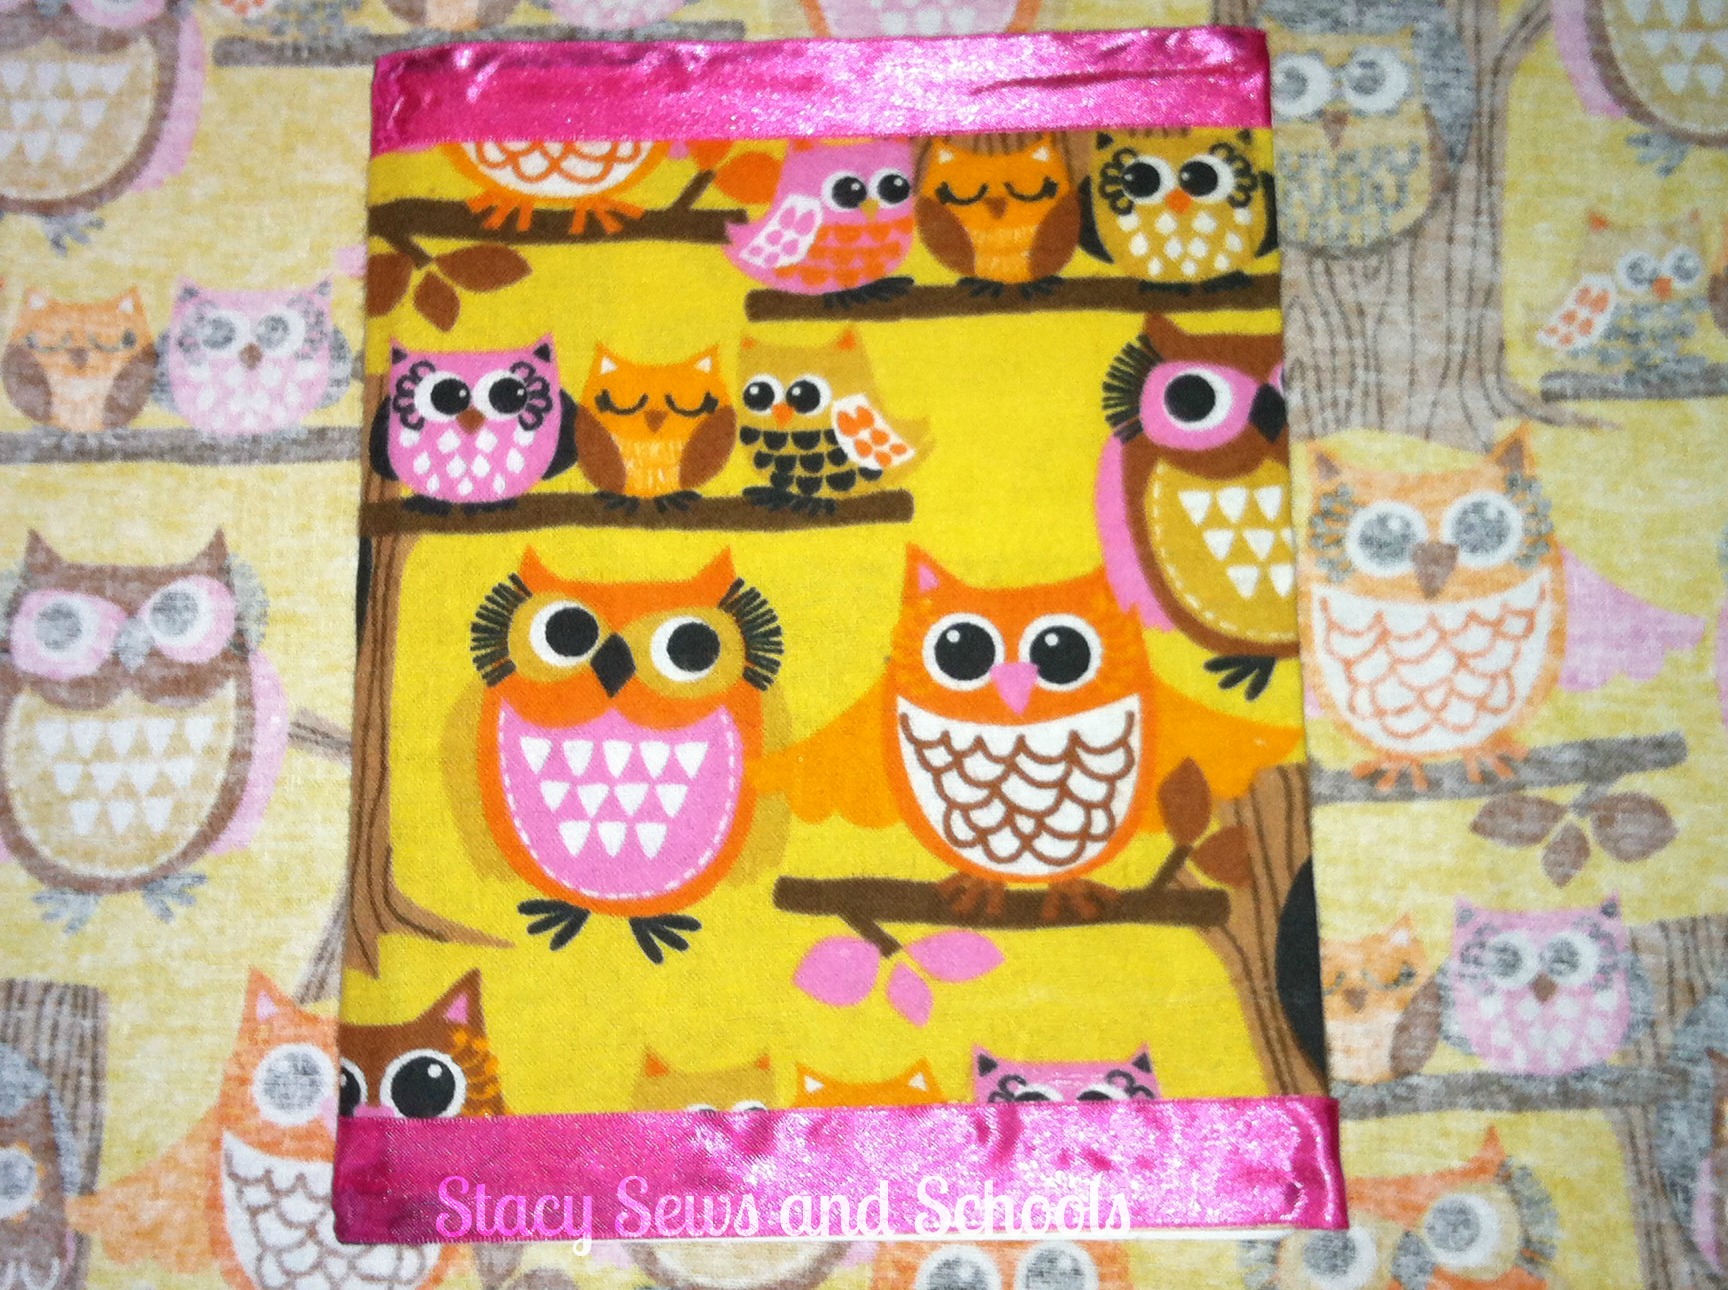
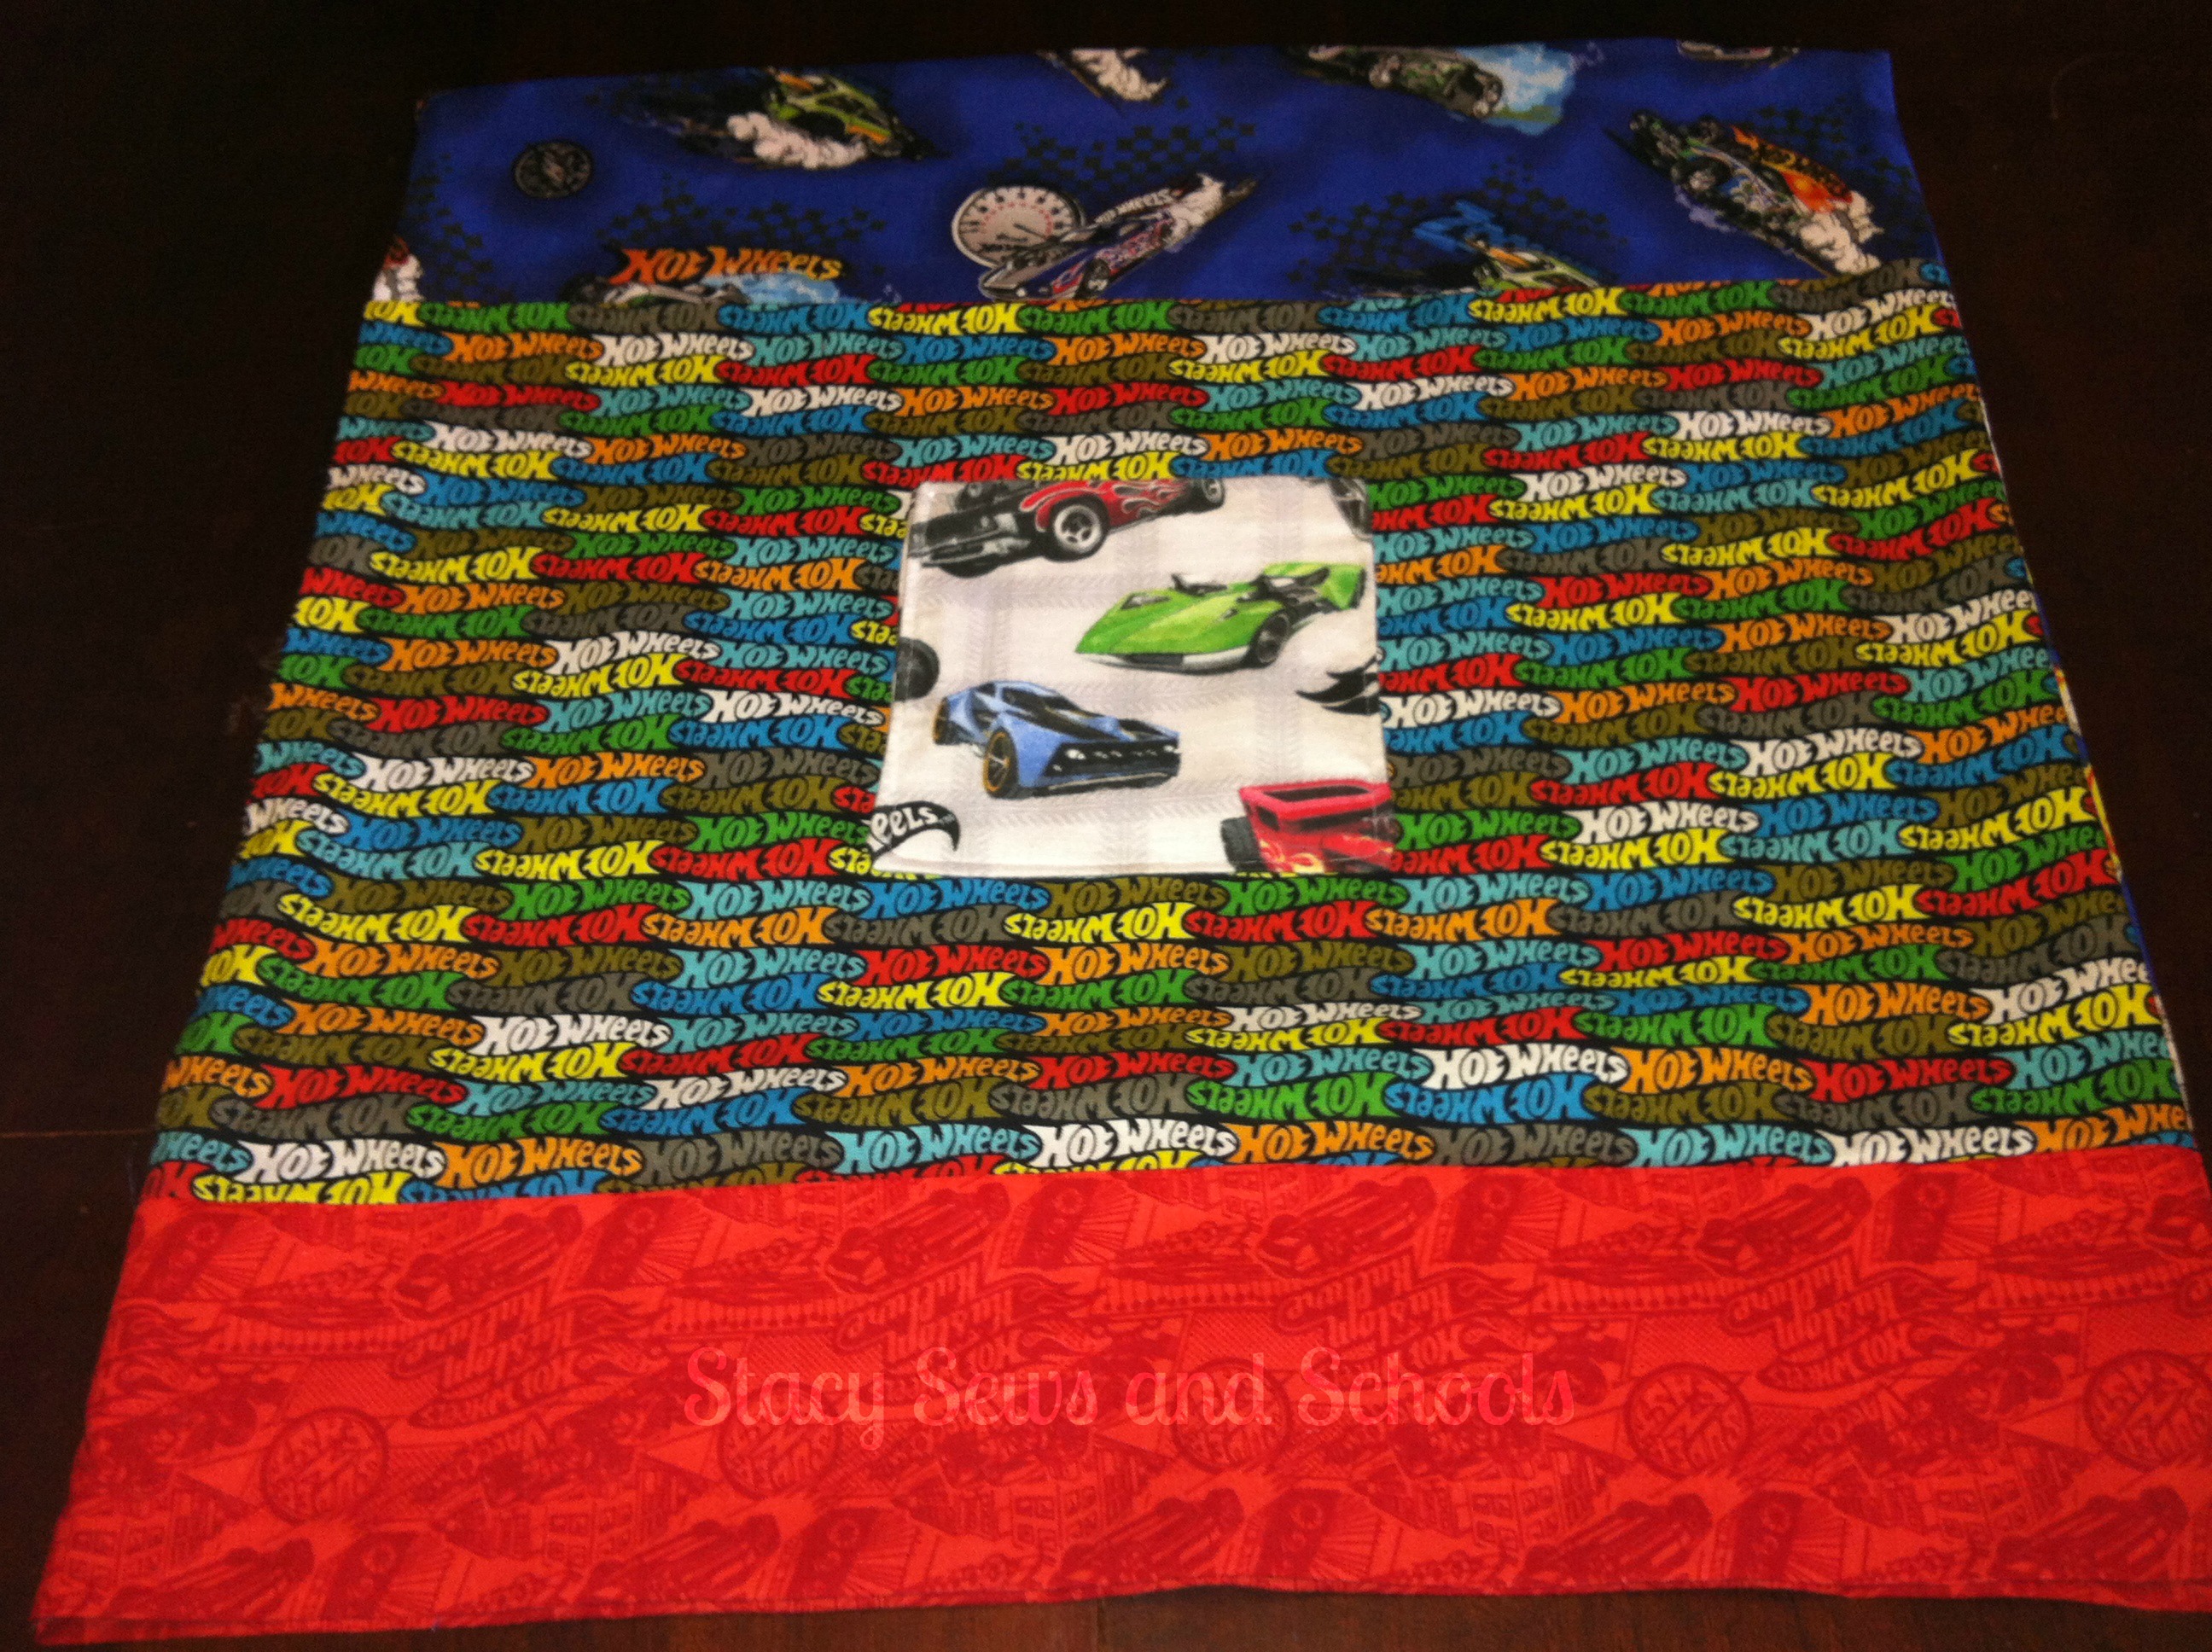
Viola!

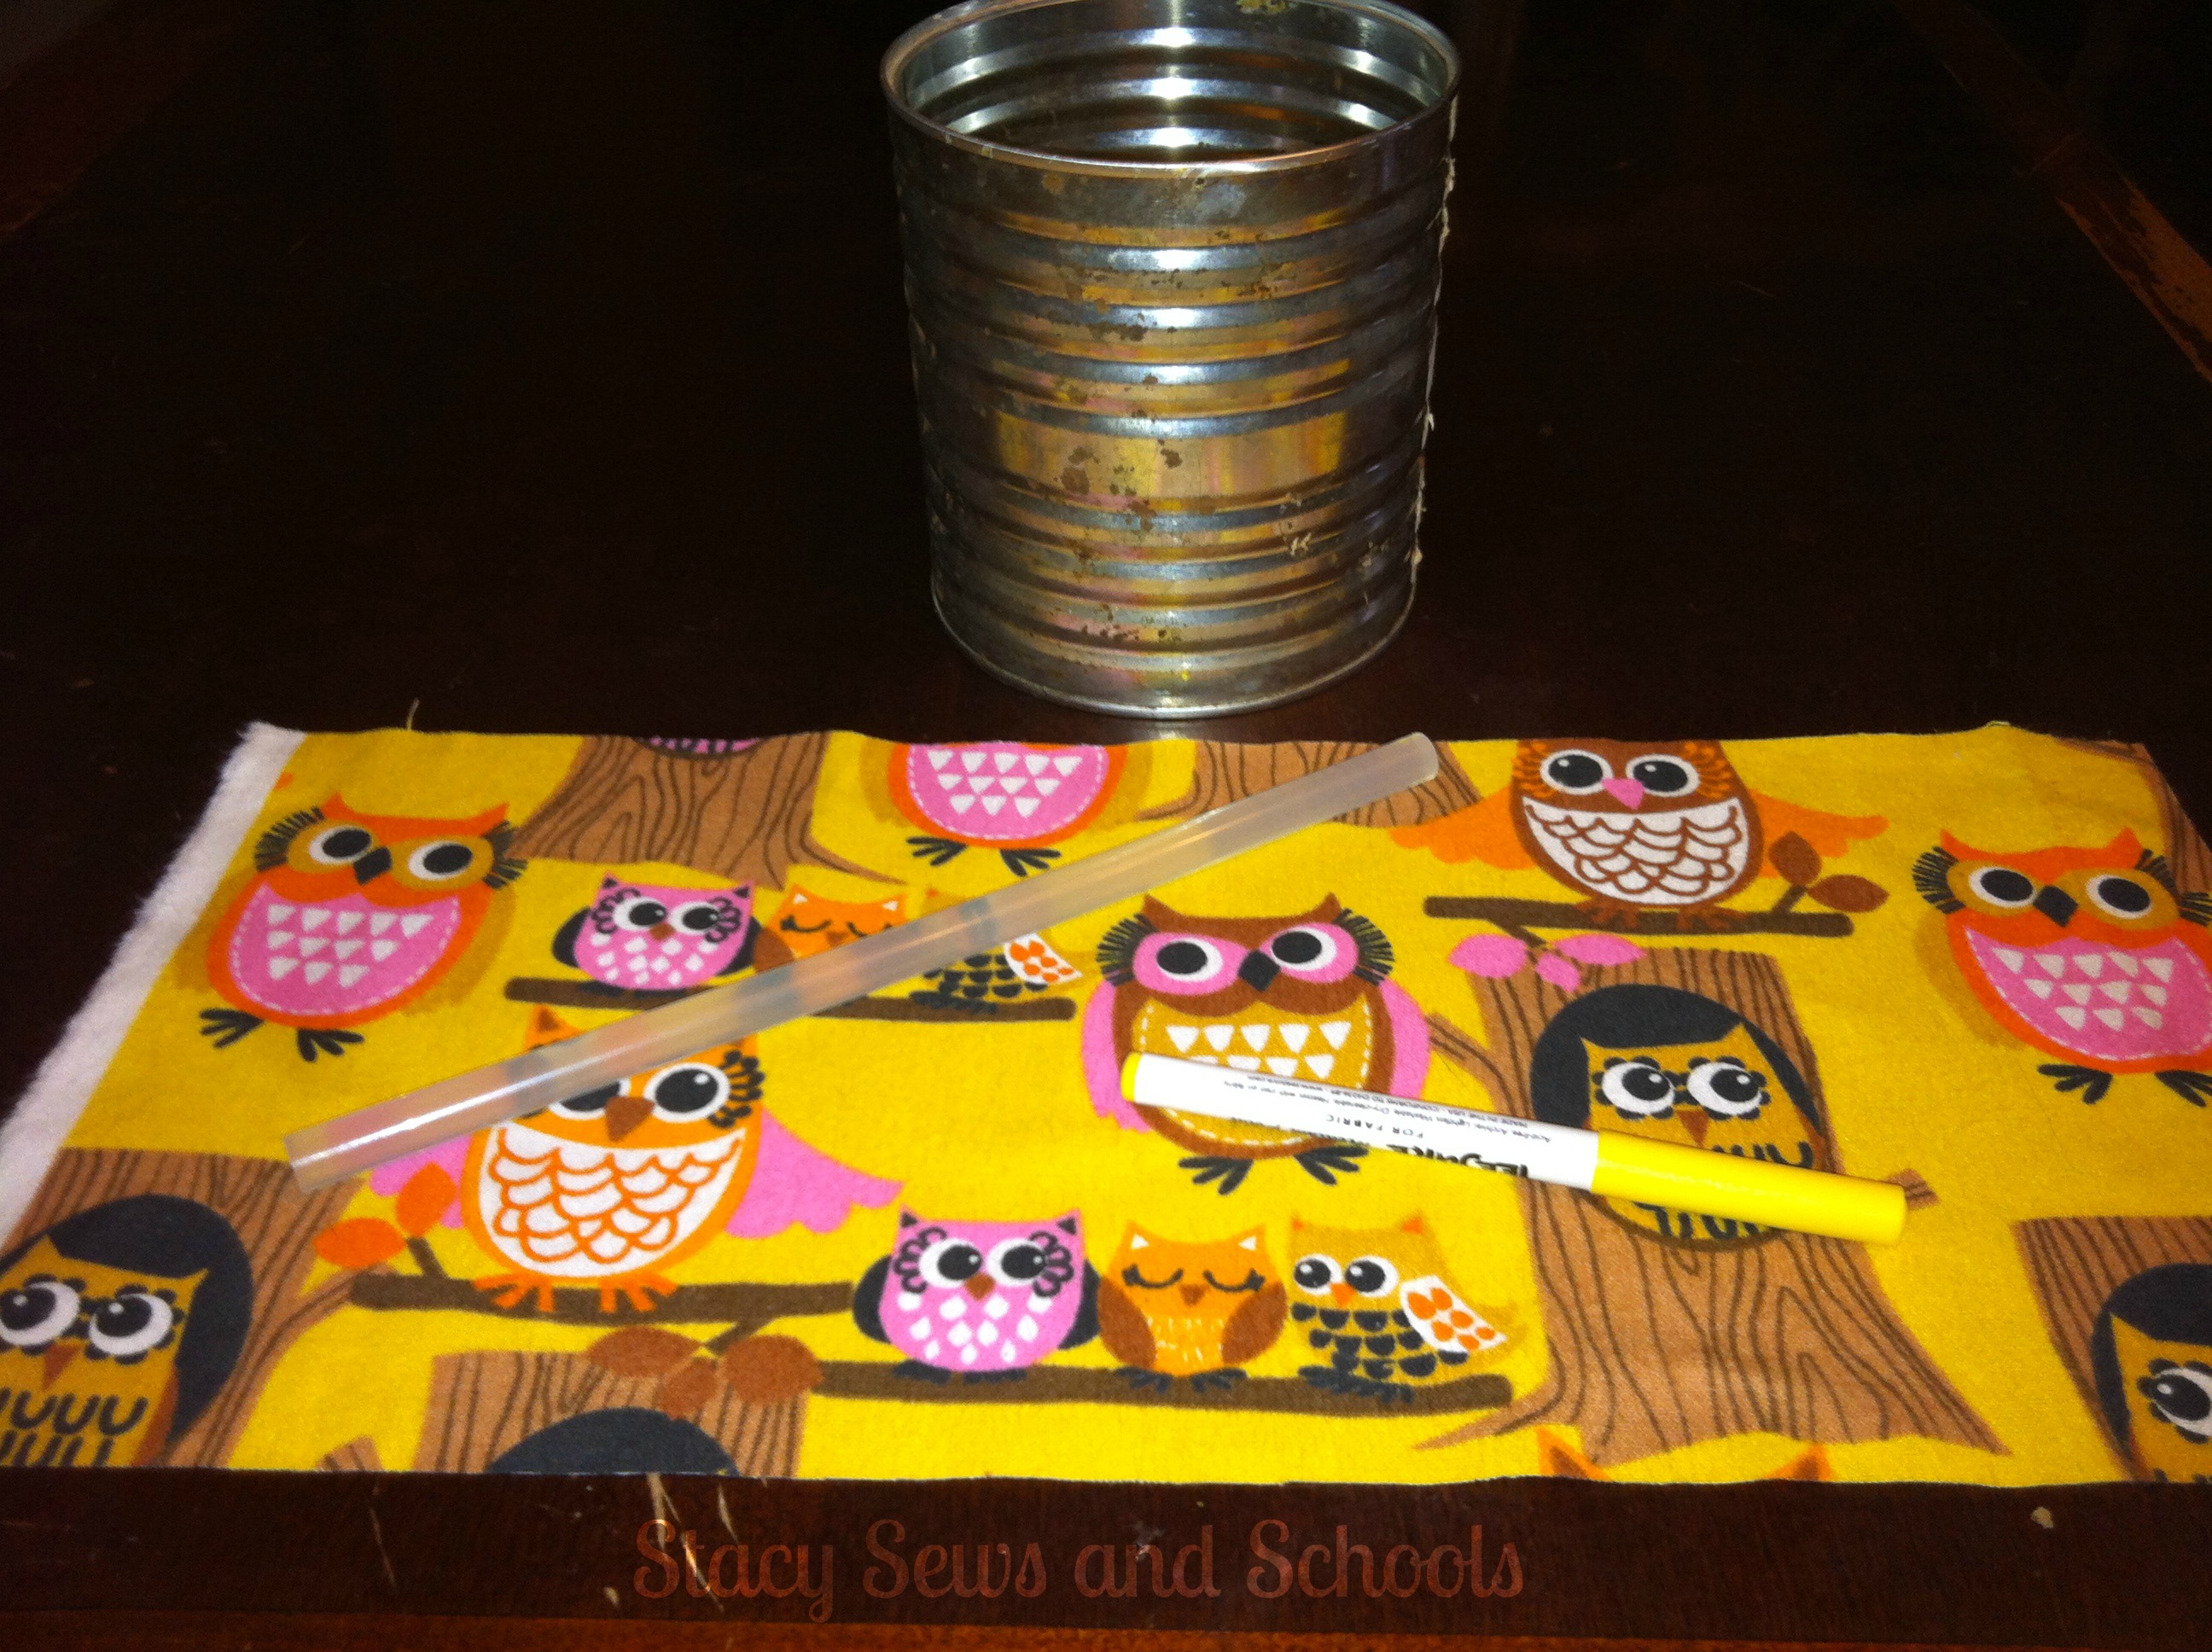
What I Used
Less than 2 yards of fabric
Zipper
Coordinating thread
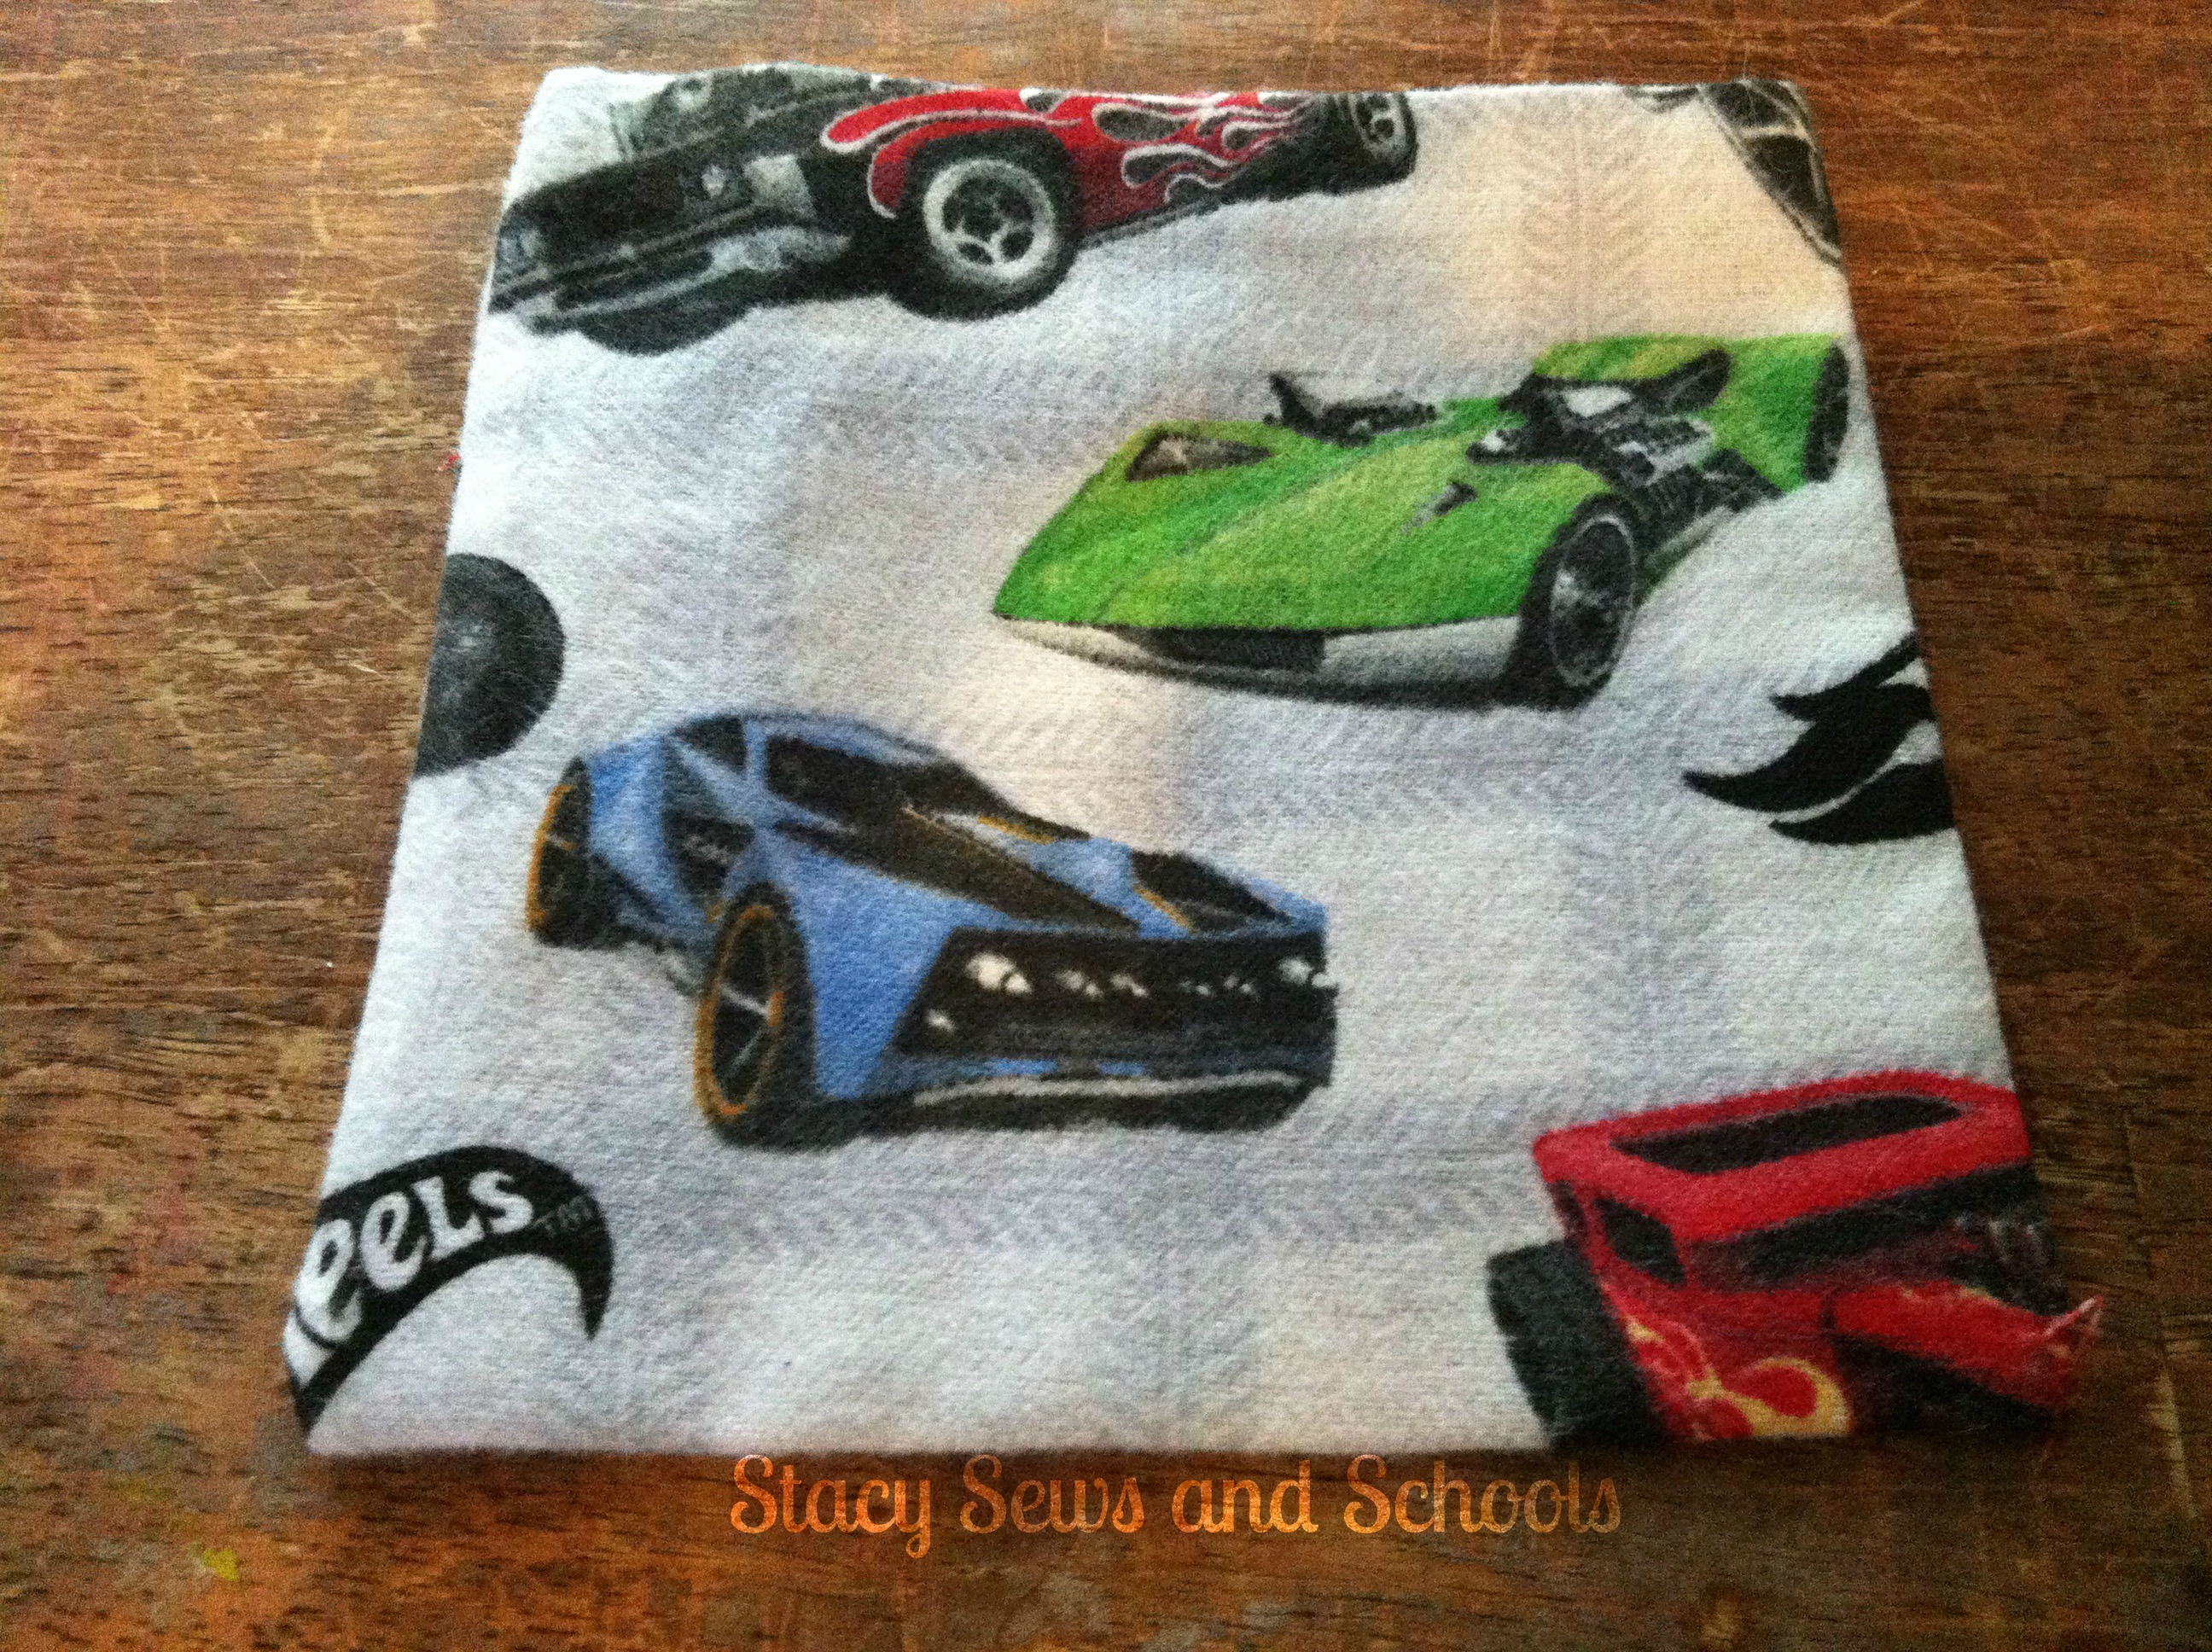
STEP 1

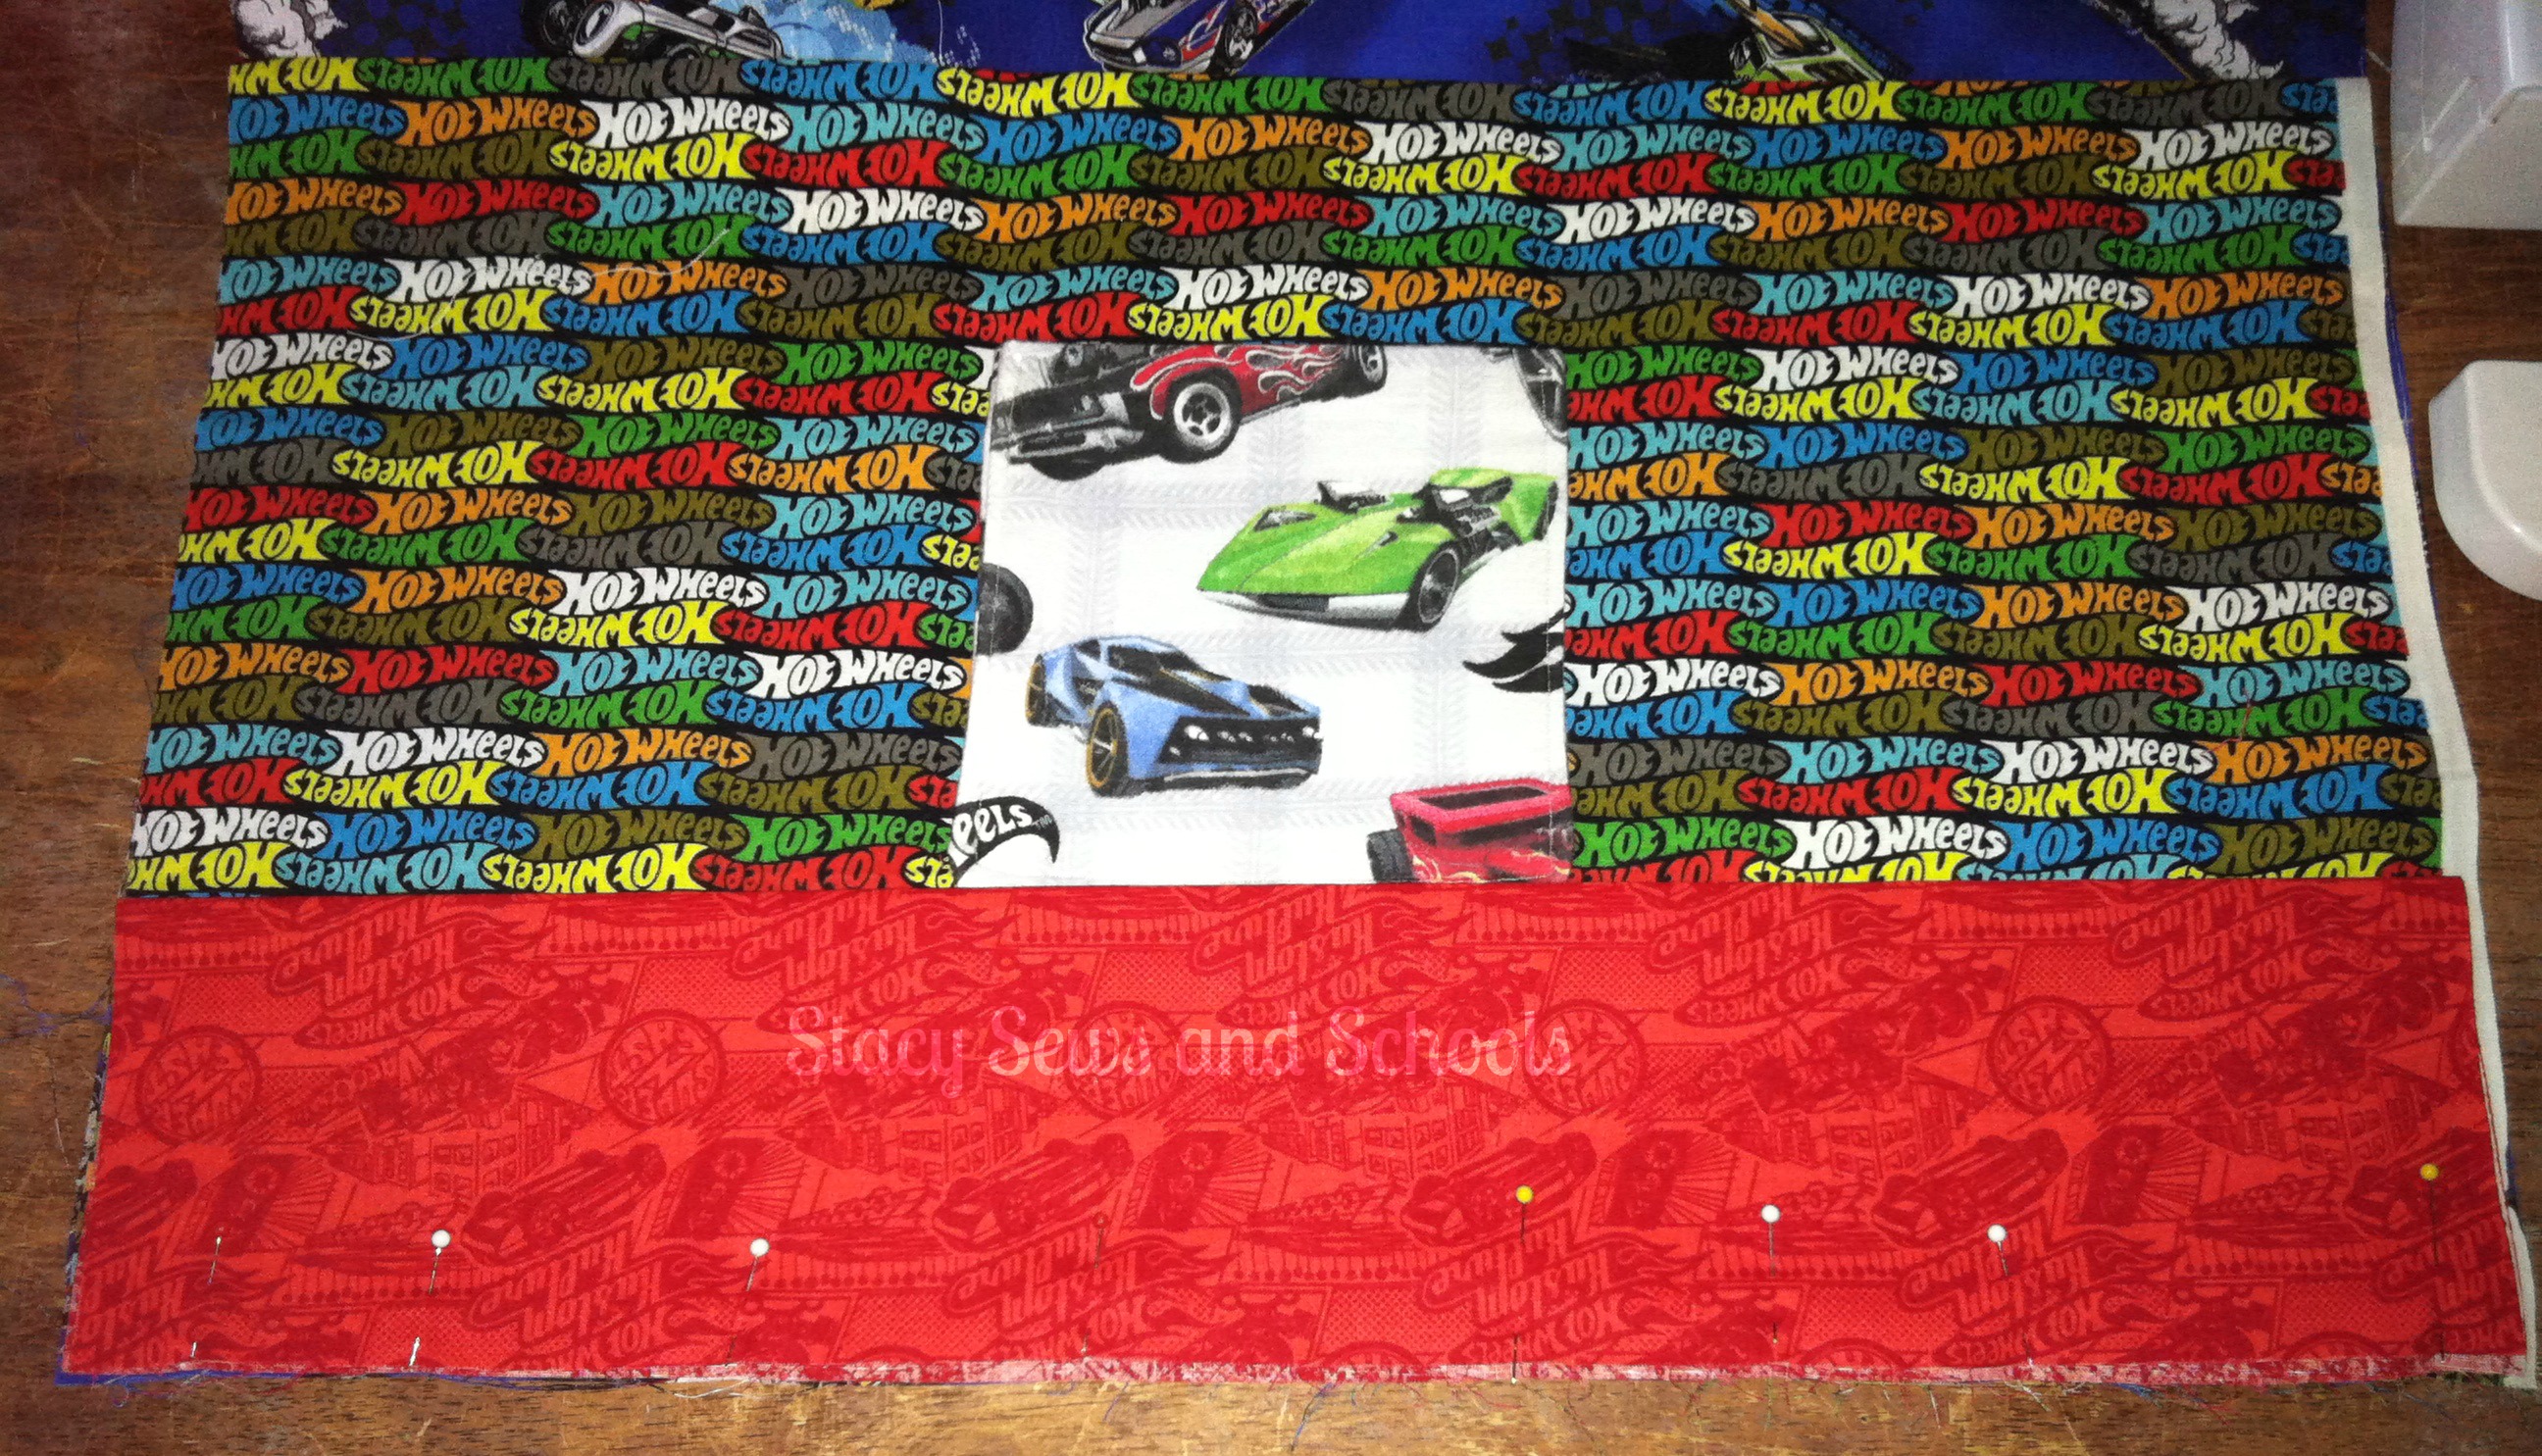
With the fabric folded in half, like it comes off the bolt, I put the nap mat on it and cut the fabric.
You want to leave several inches at the top and bottom as well as the sides for seam allowance, room for it to be folded, and room for it to spread out when the child lies down on it.
Make sense??
STEP 2

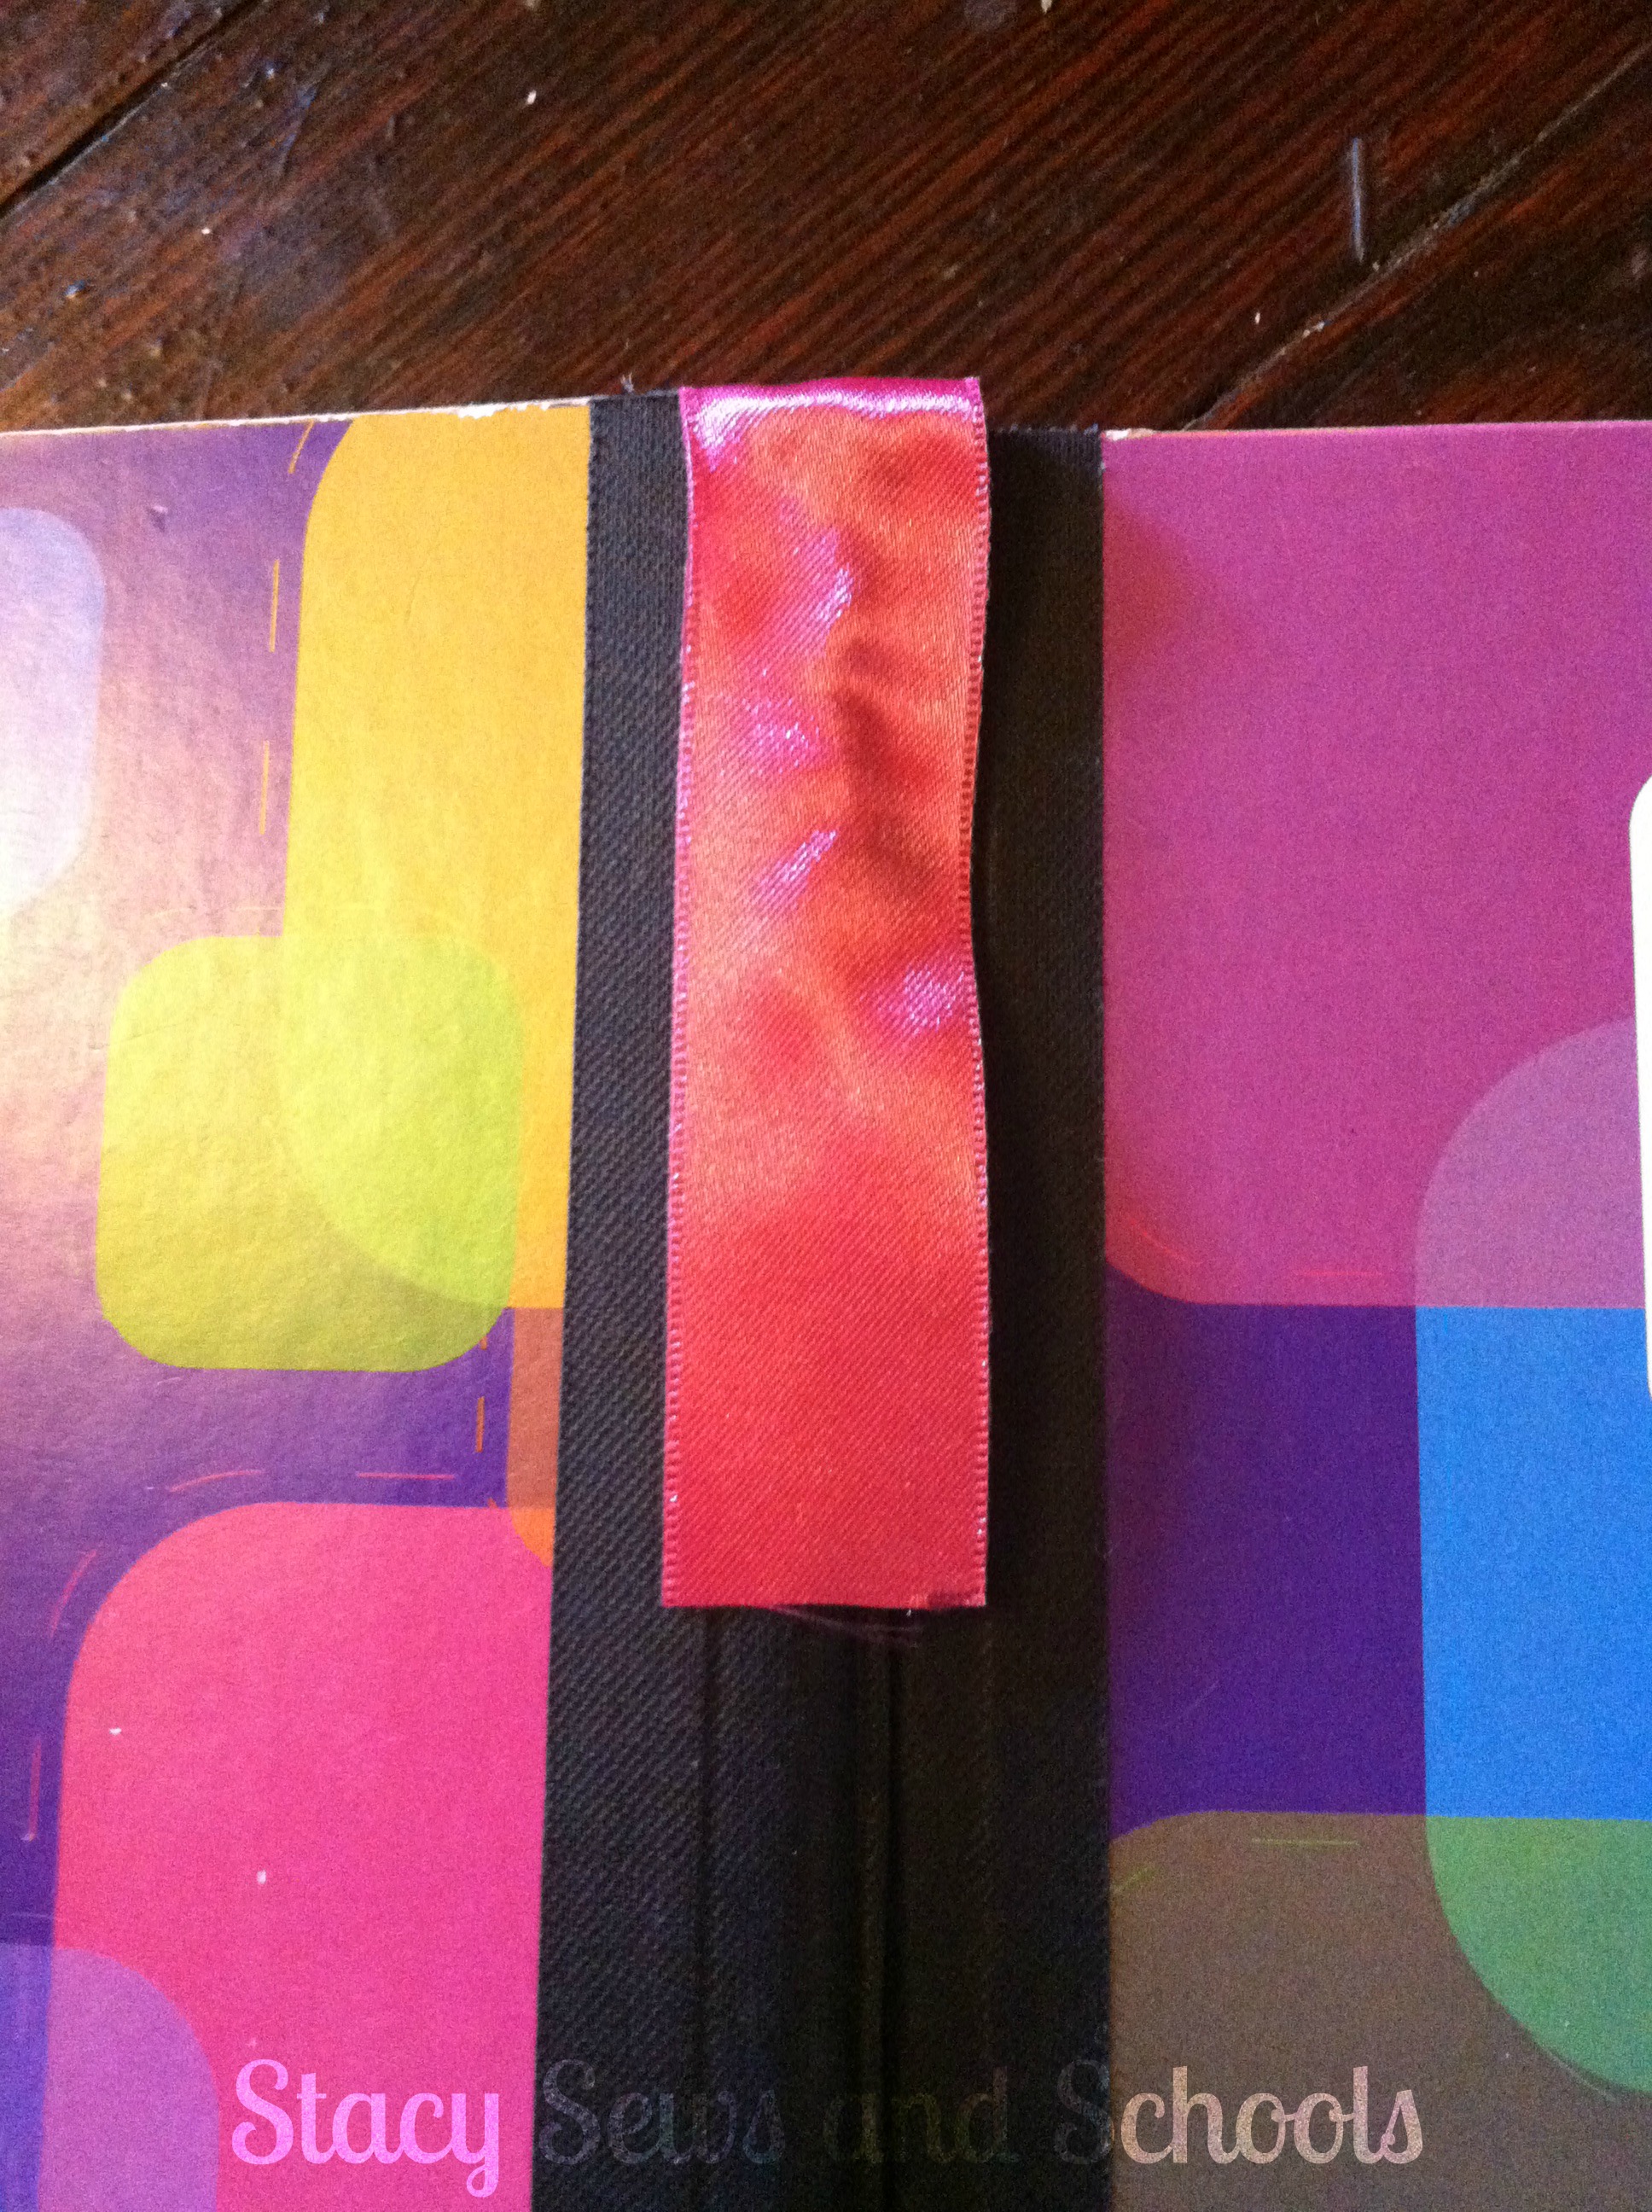
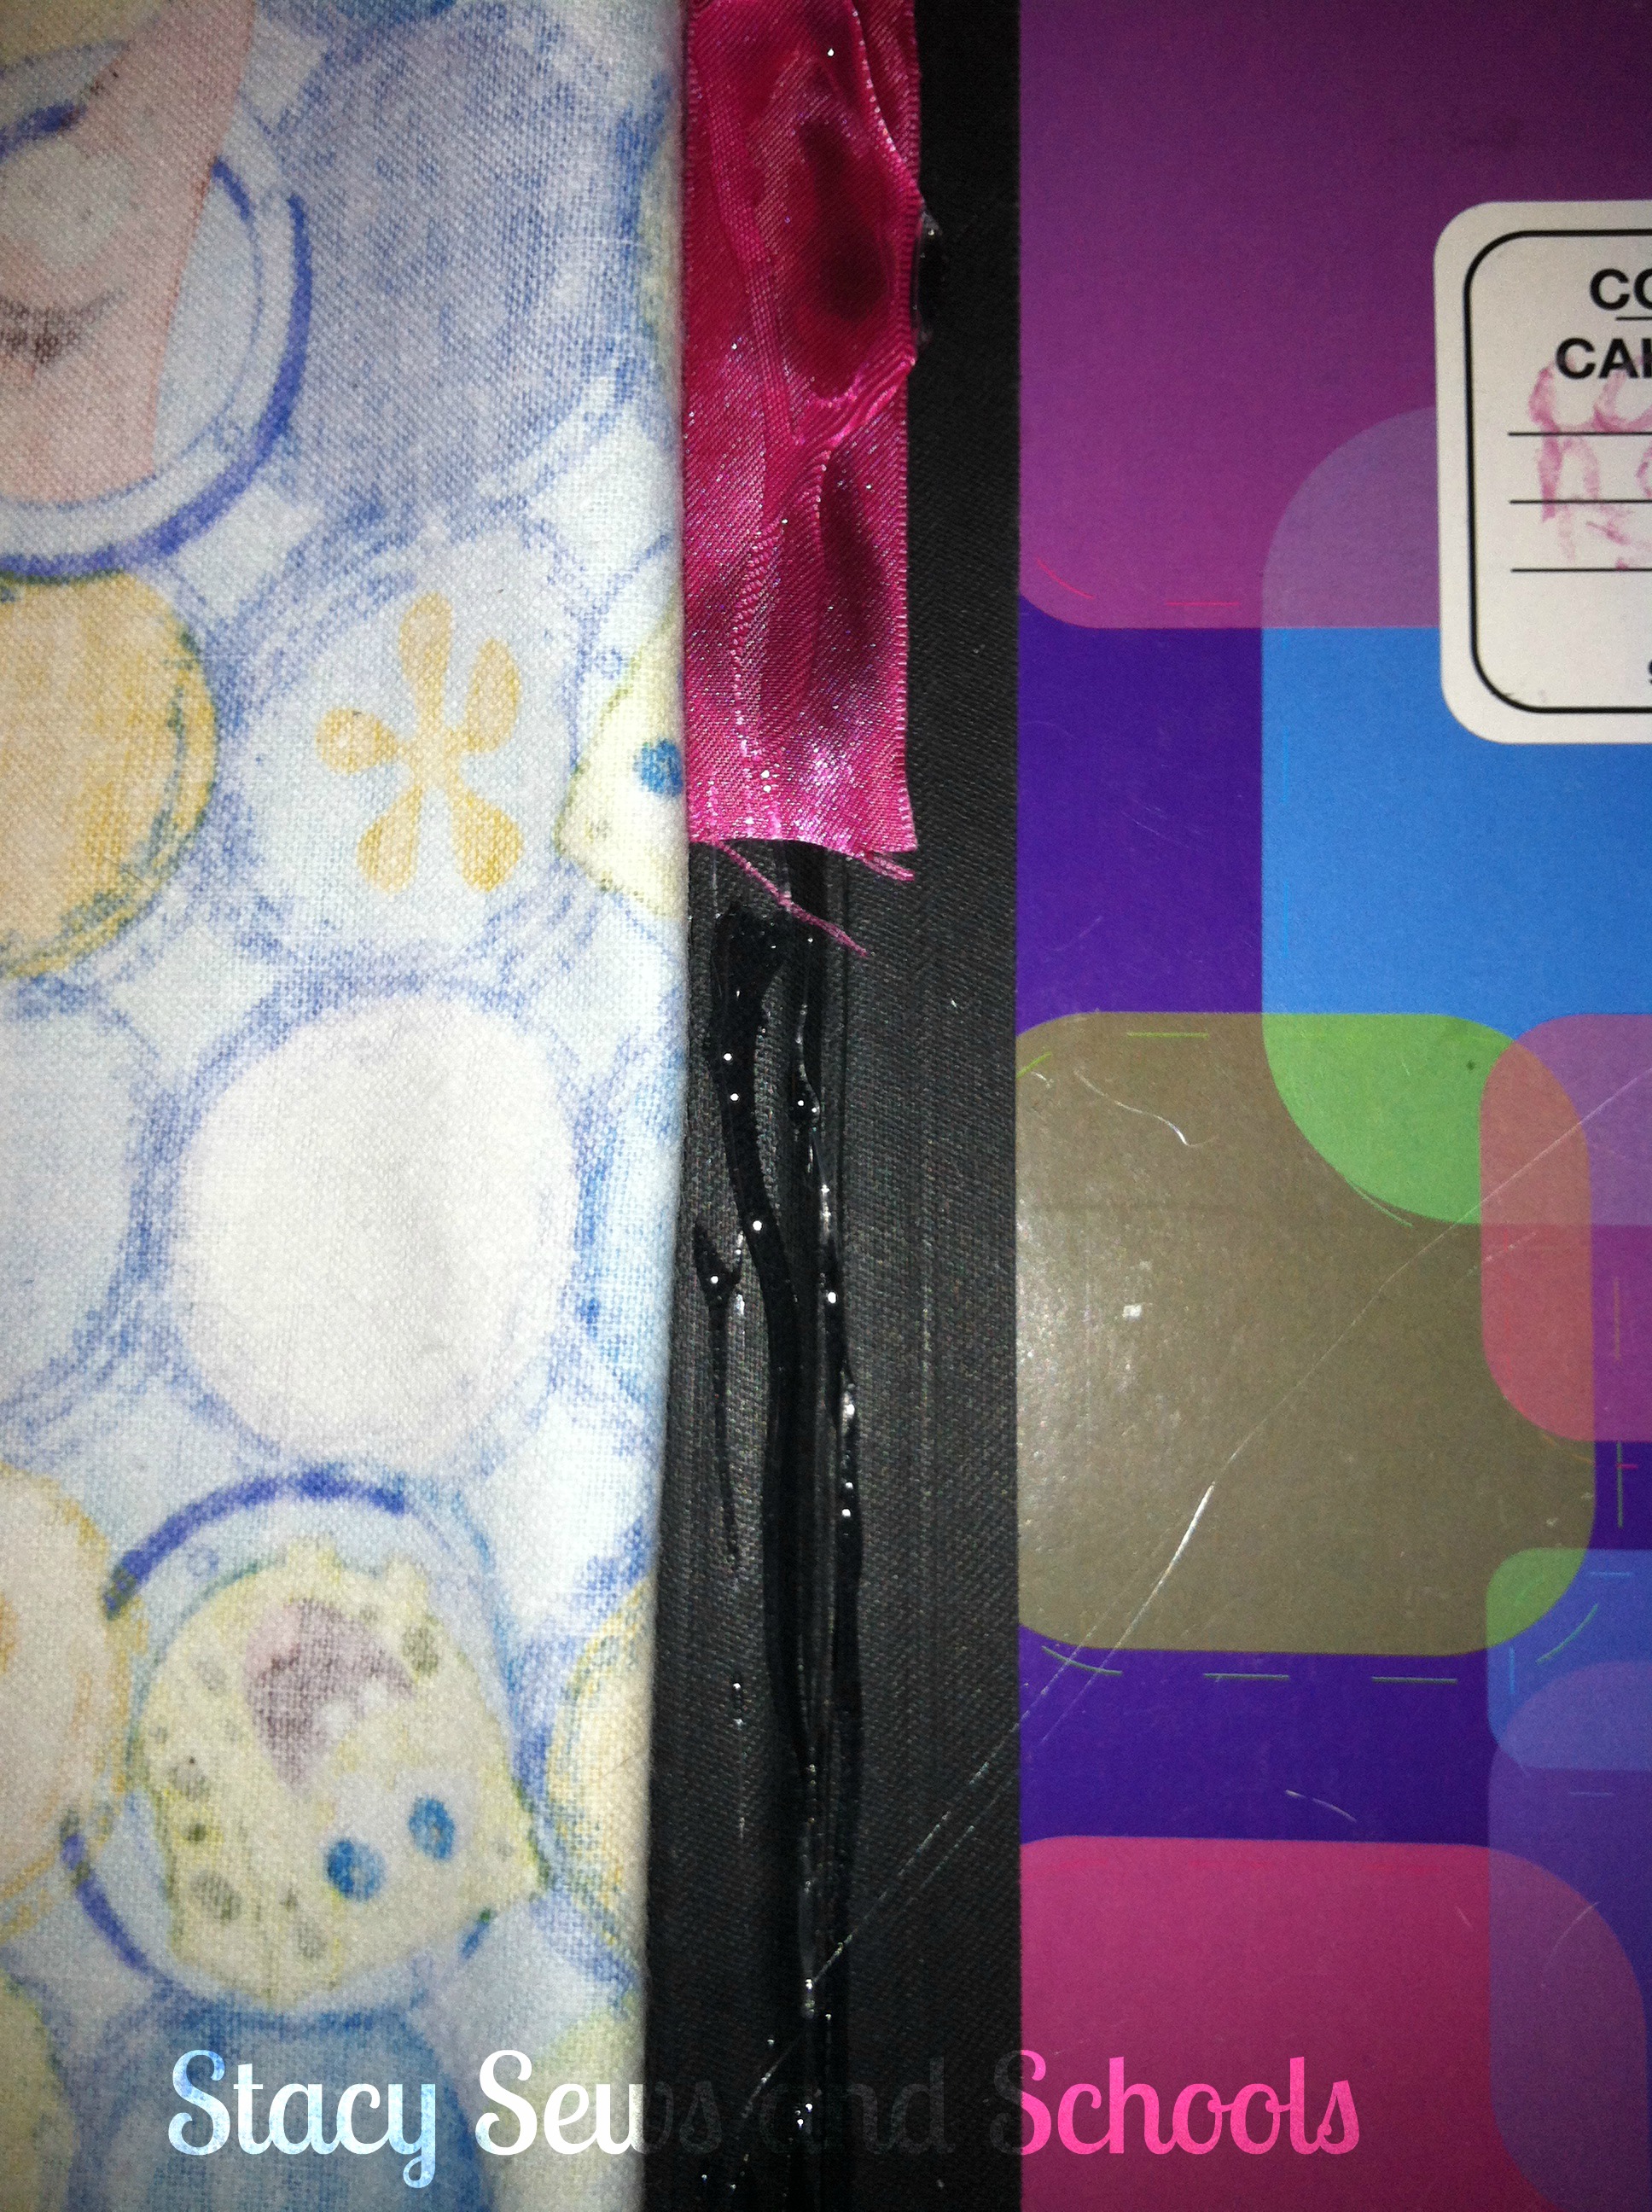
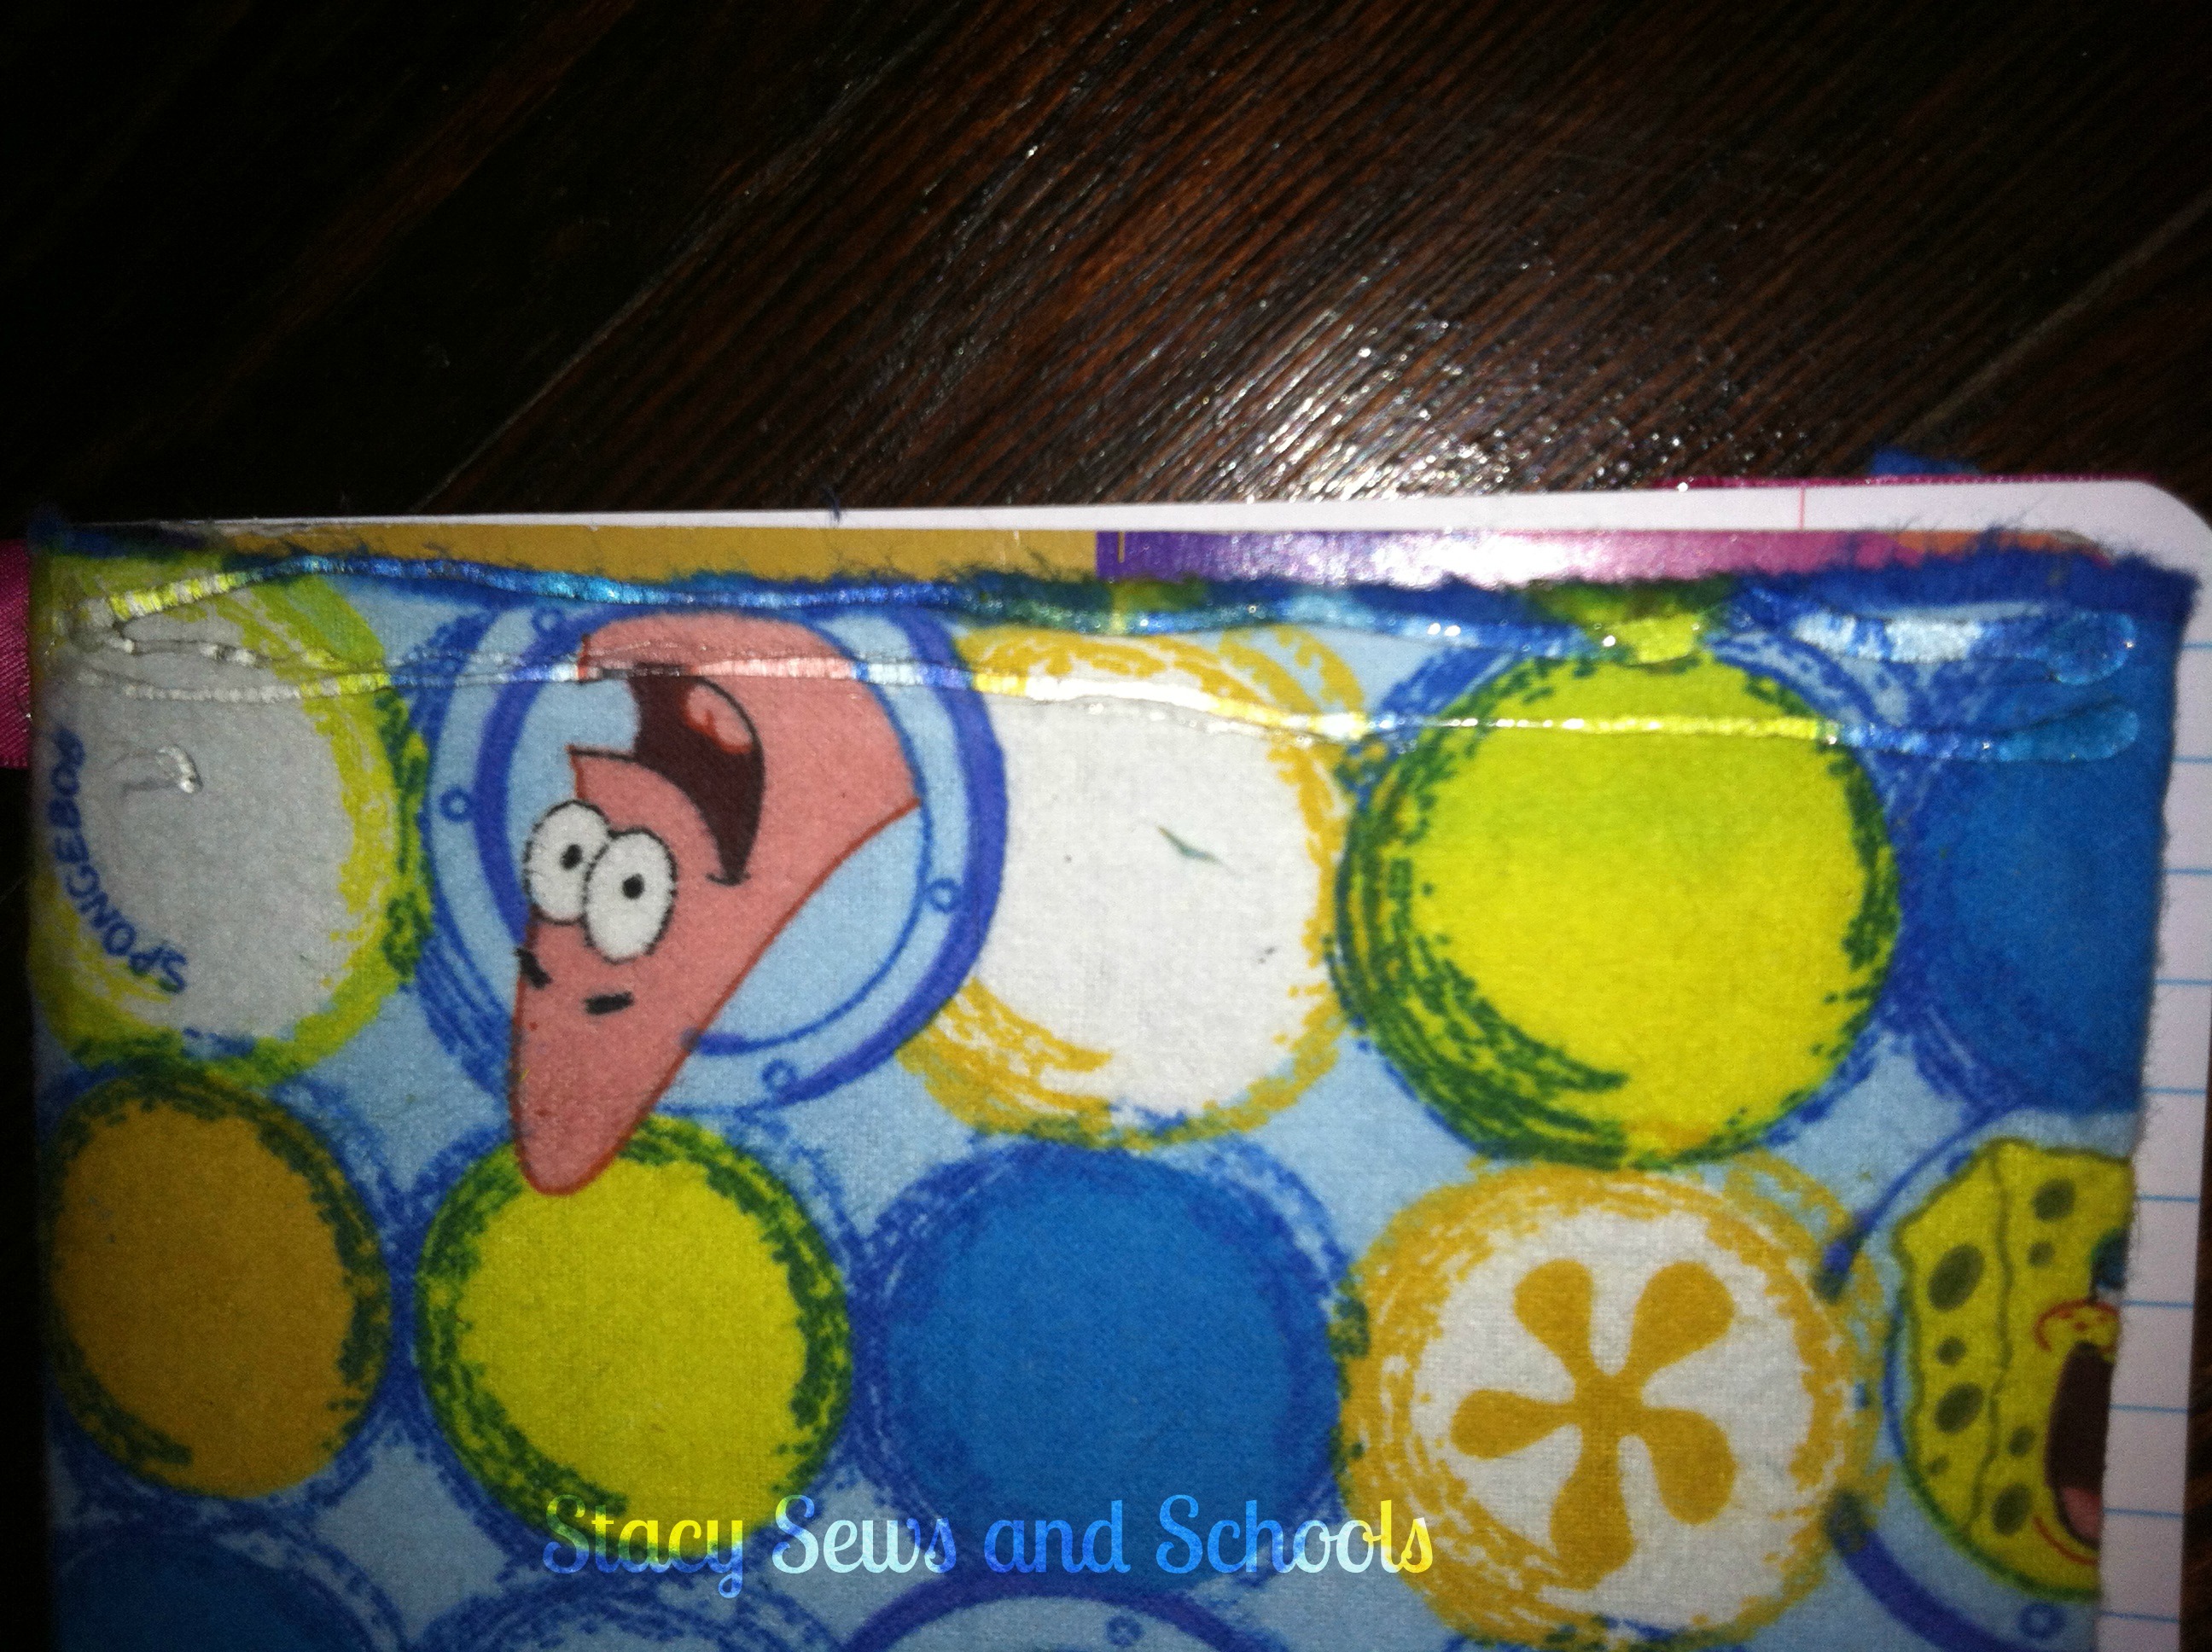
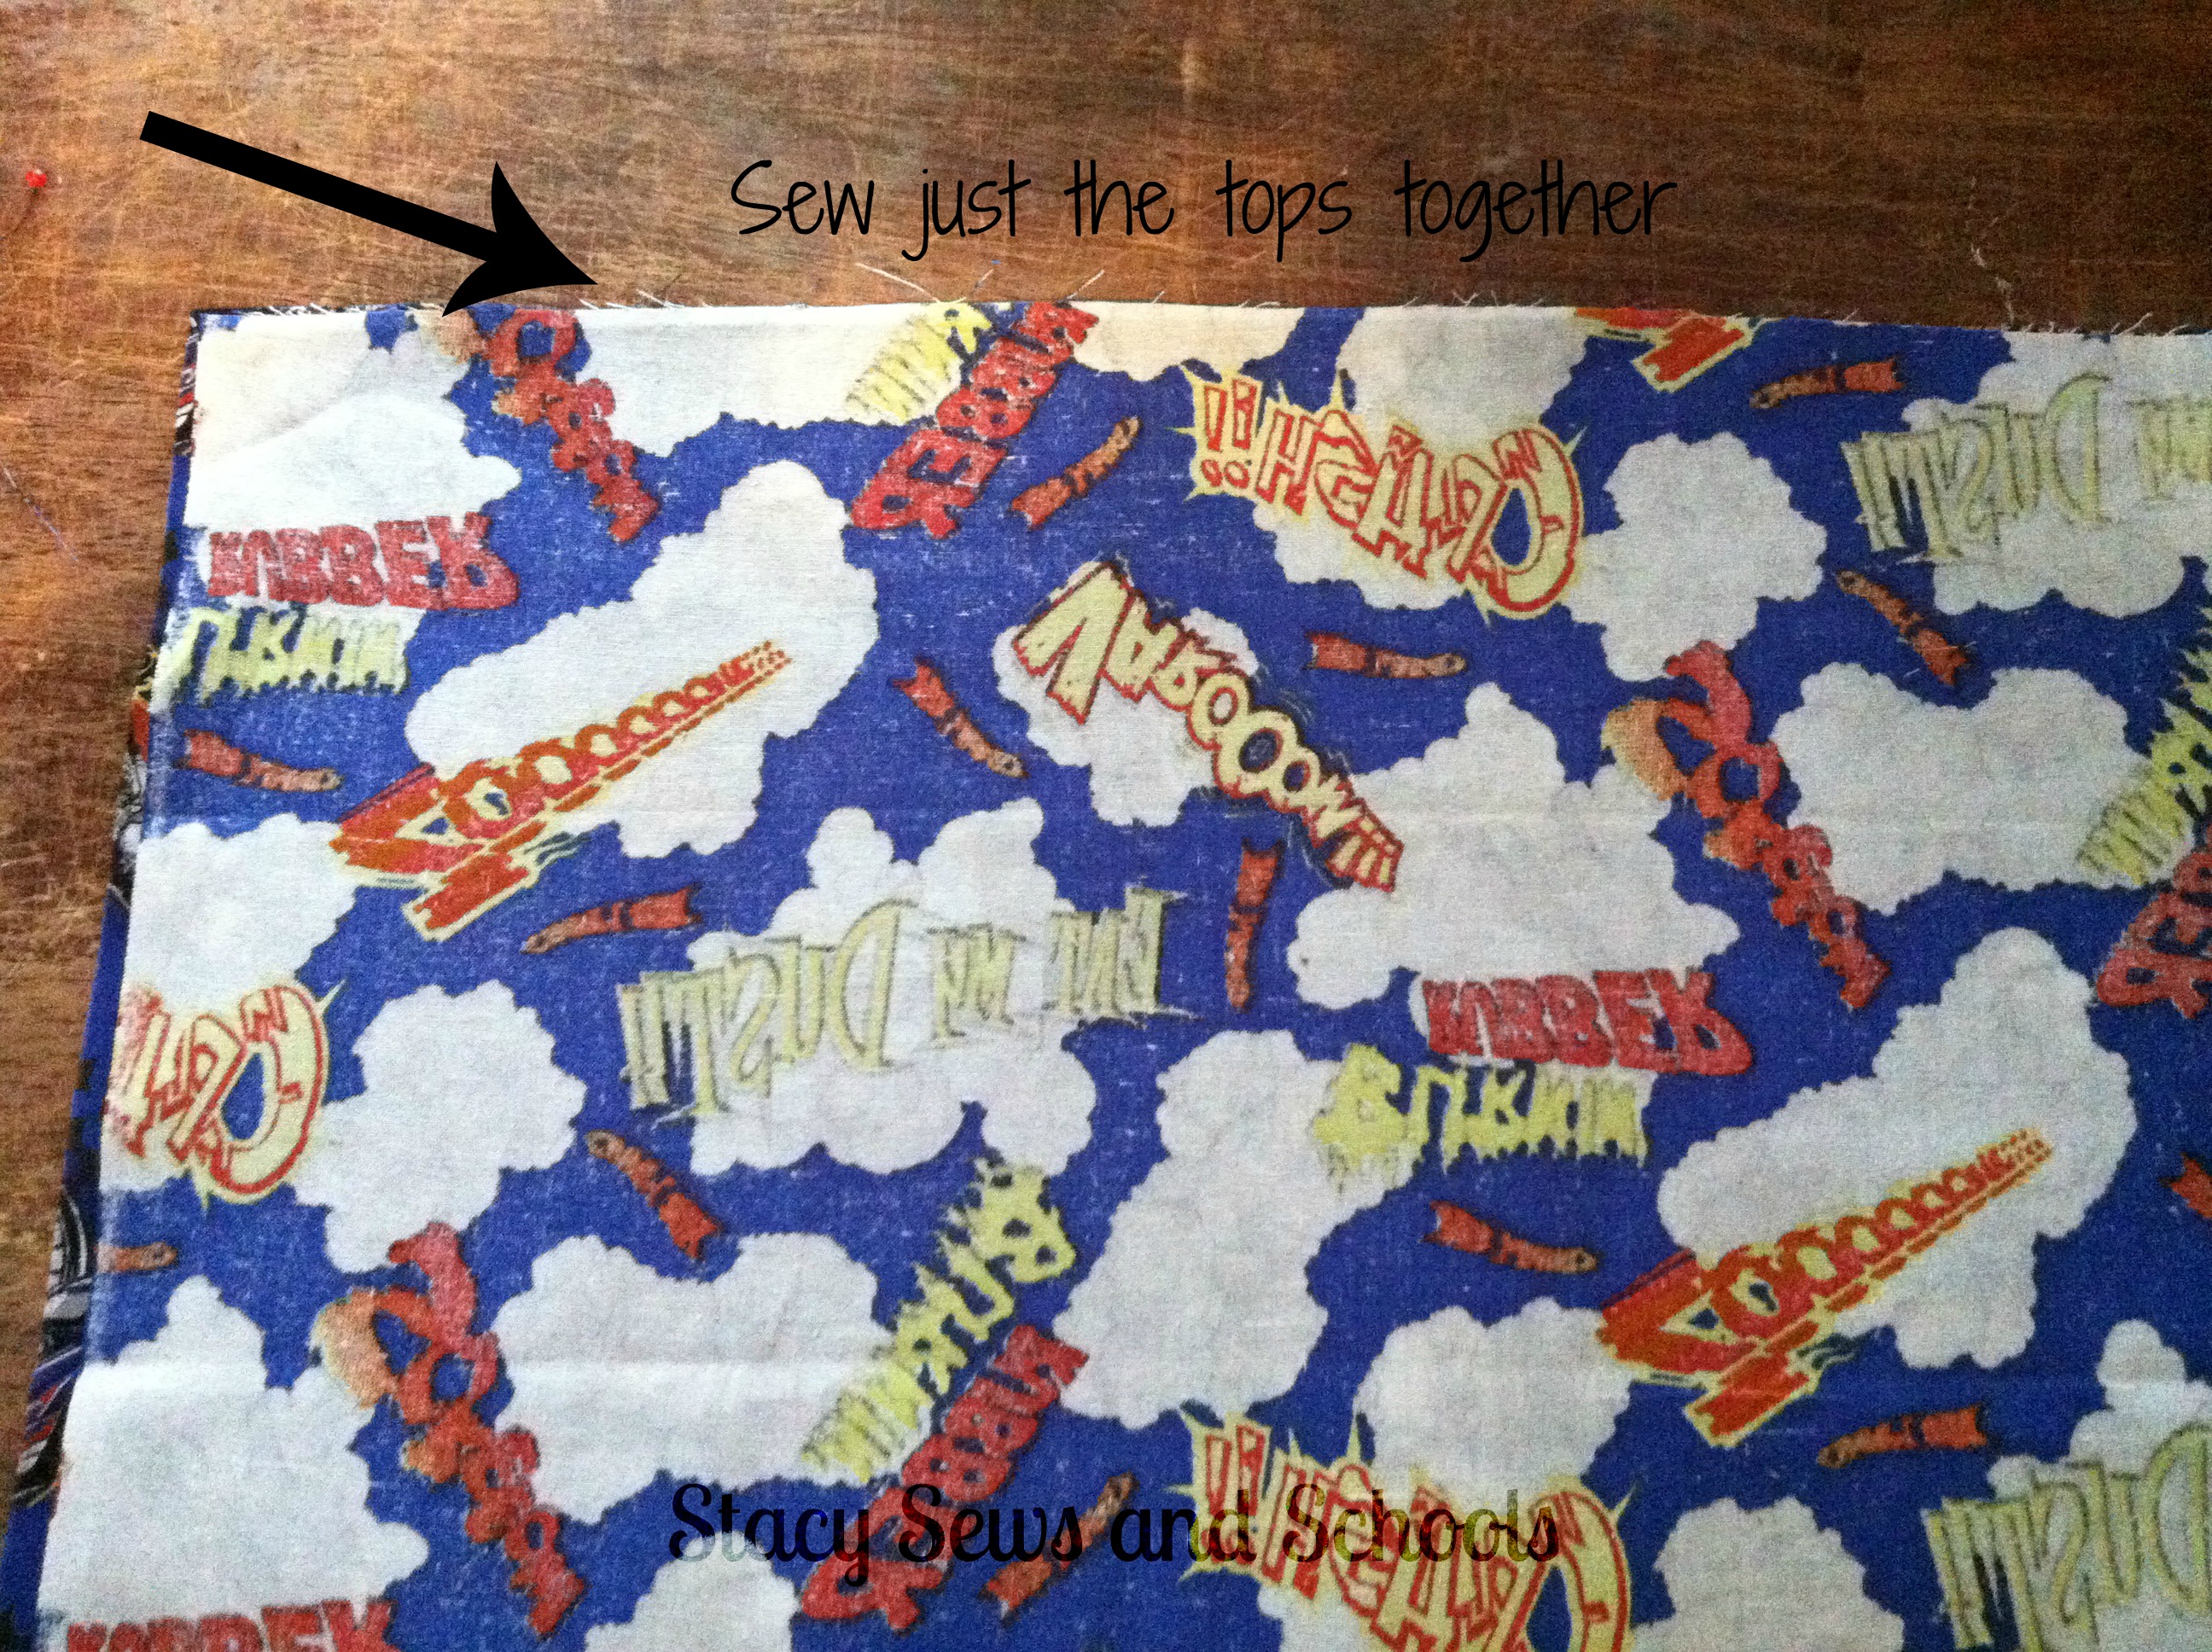
Sew the zipper in the top.
I guess I'm a little rusty at this tutorial thing because this is the only picture I took of the zipper process.
You are going to fold the fabric over at the top by 1/4" and press.
Fold over 1/2" and press.
Place the zipper on the wrong side of the fabric and pin in place.
Sew the zipper.
I did a double row of stitches for reinforcement.
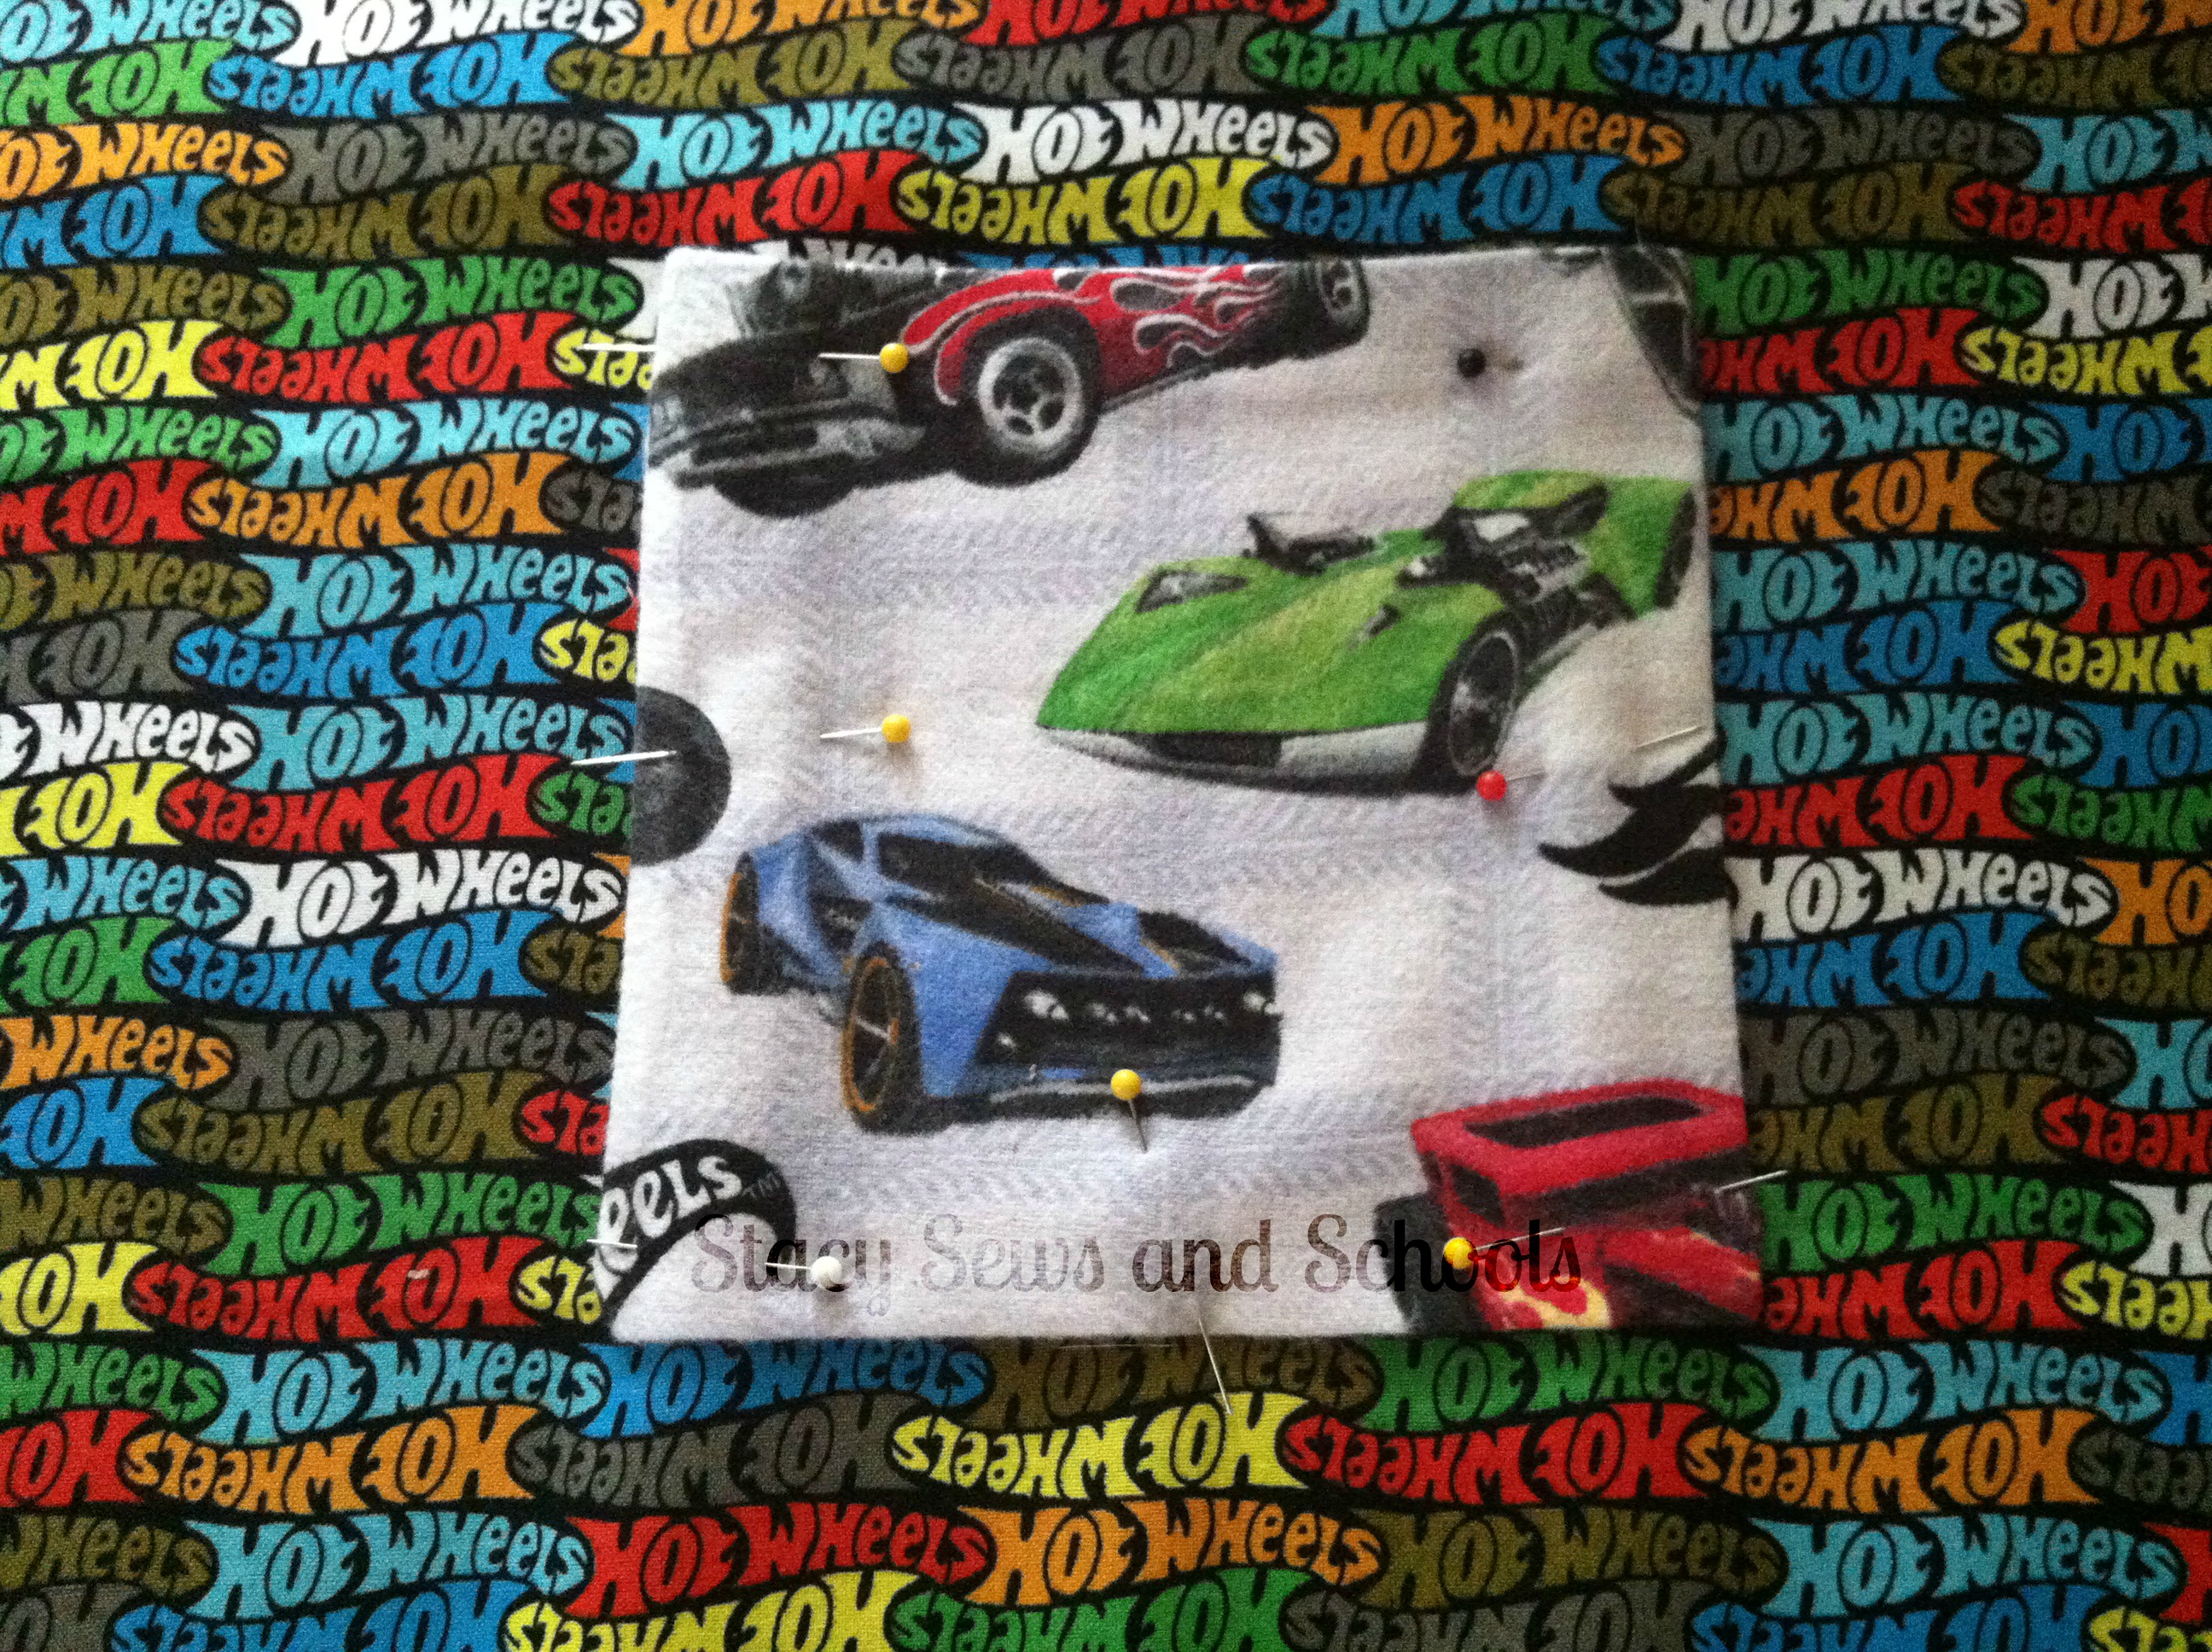
STEP 3

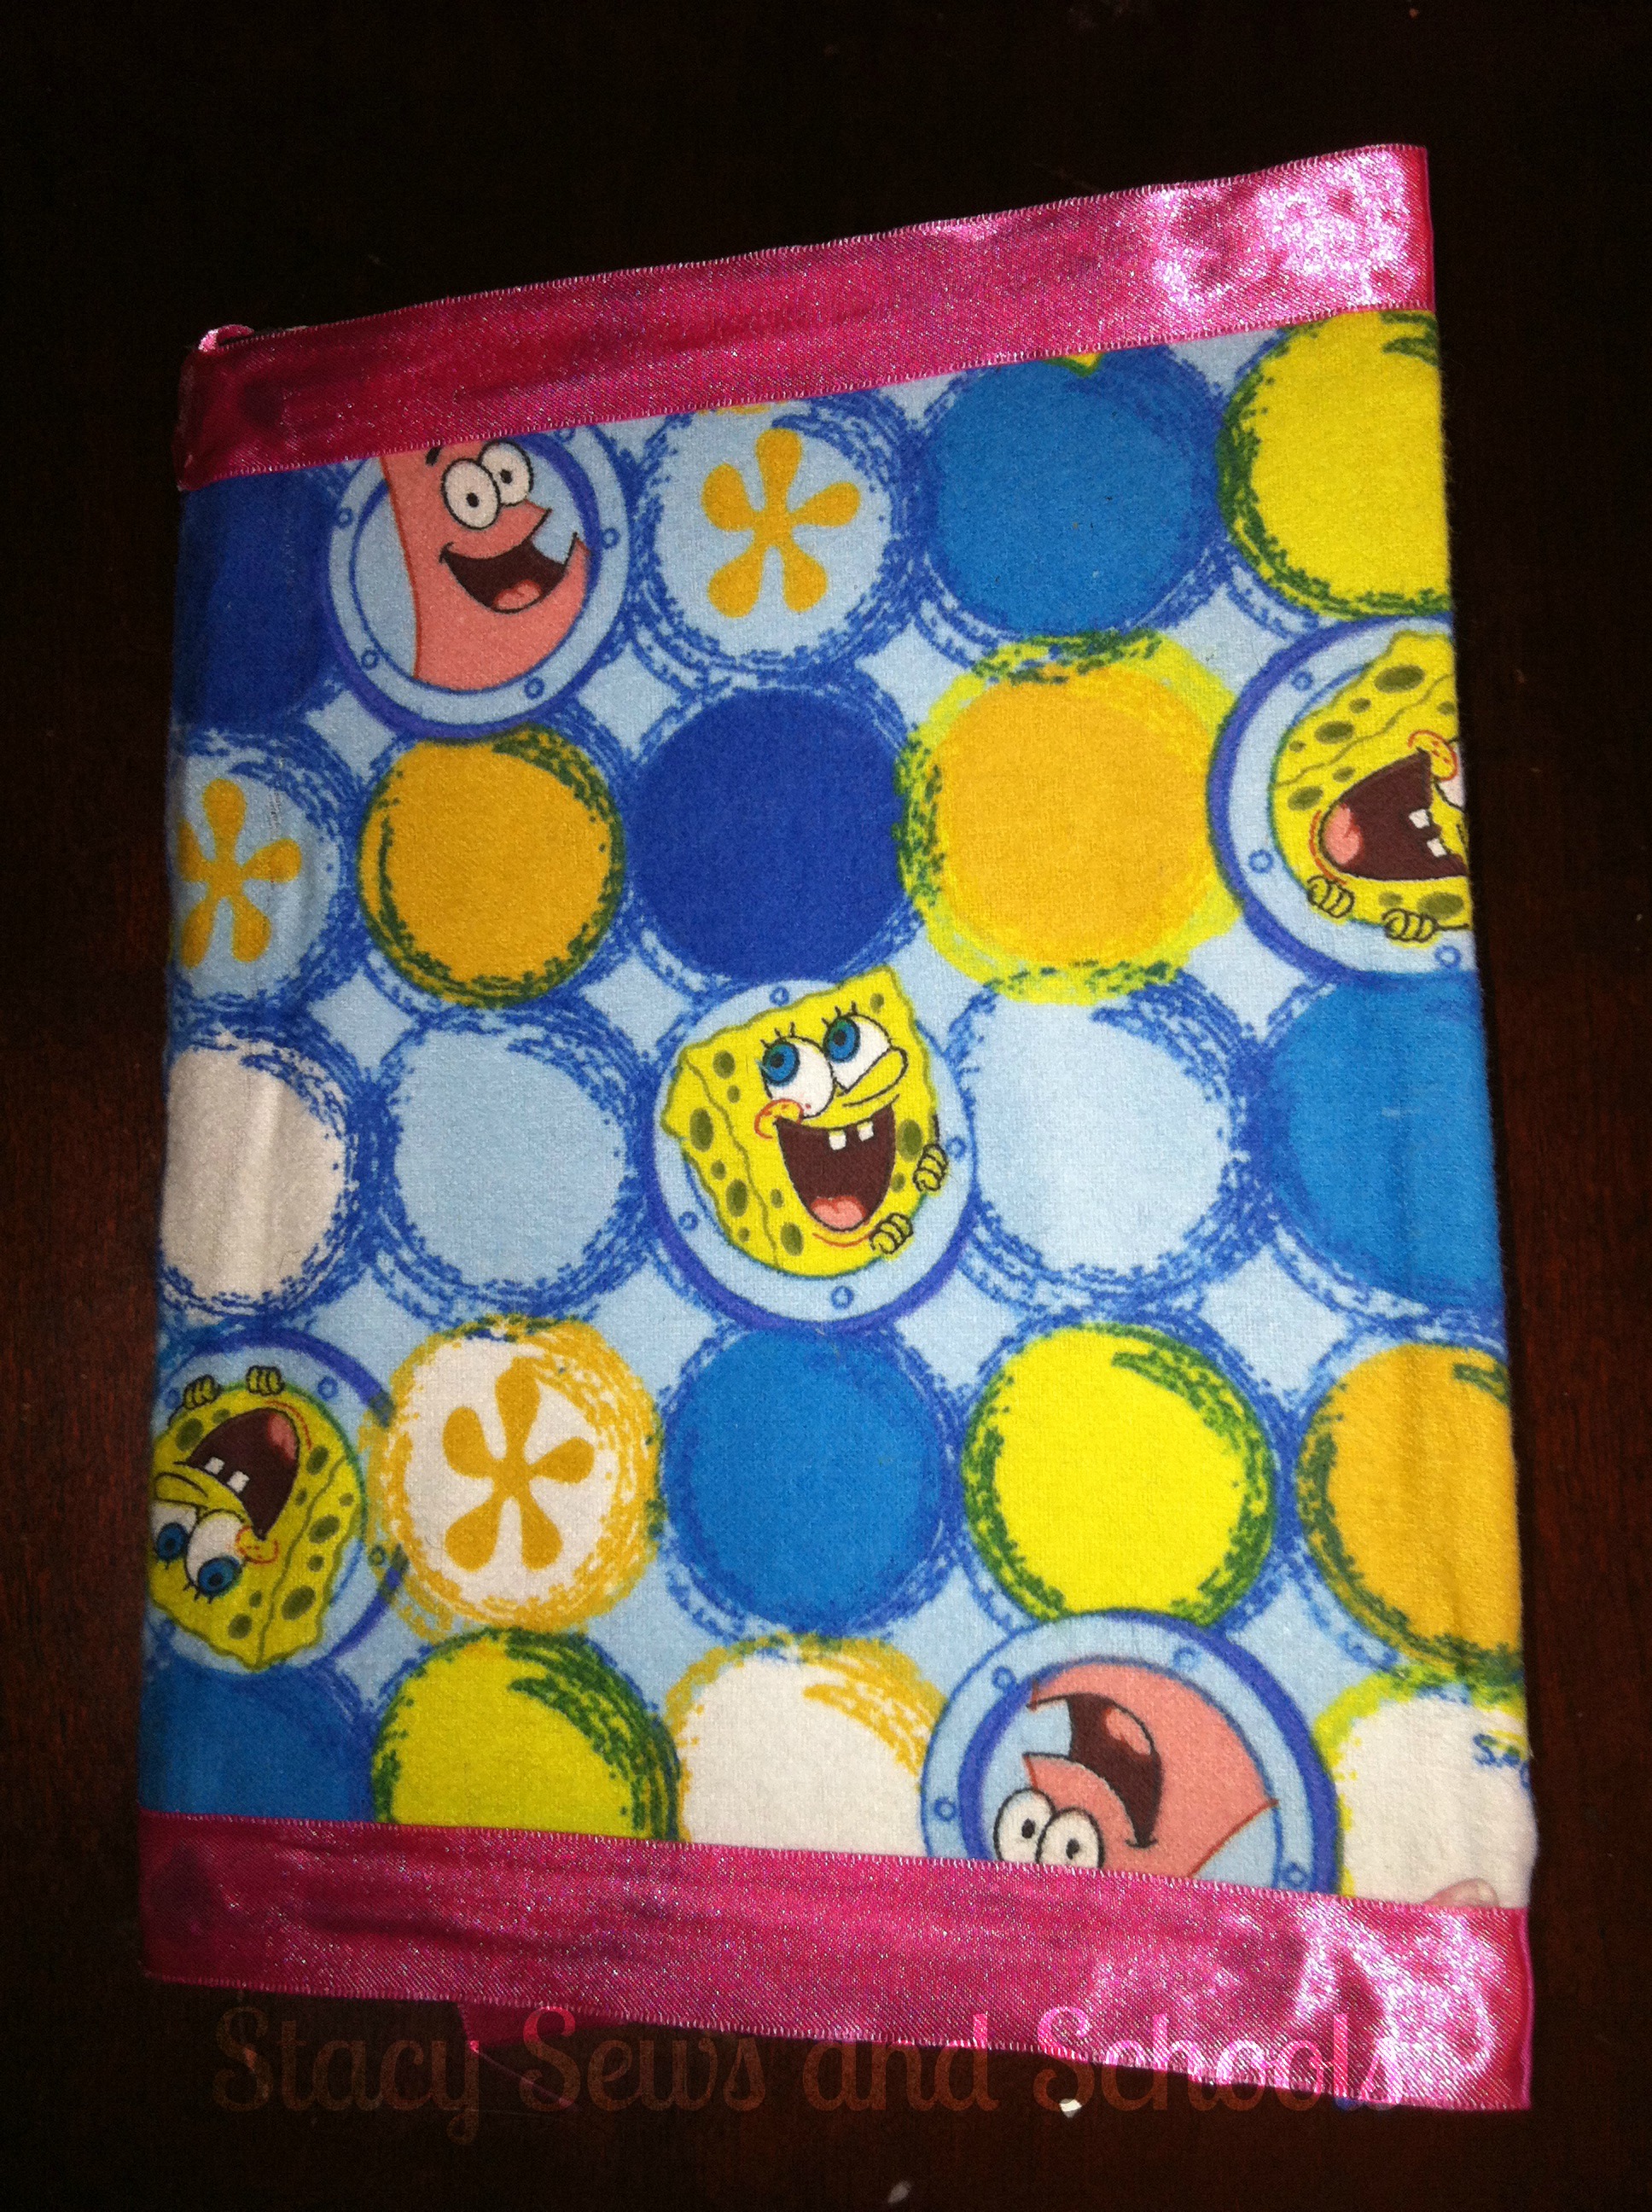
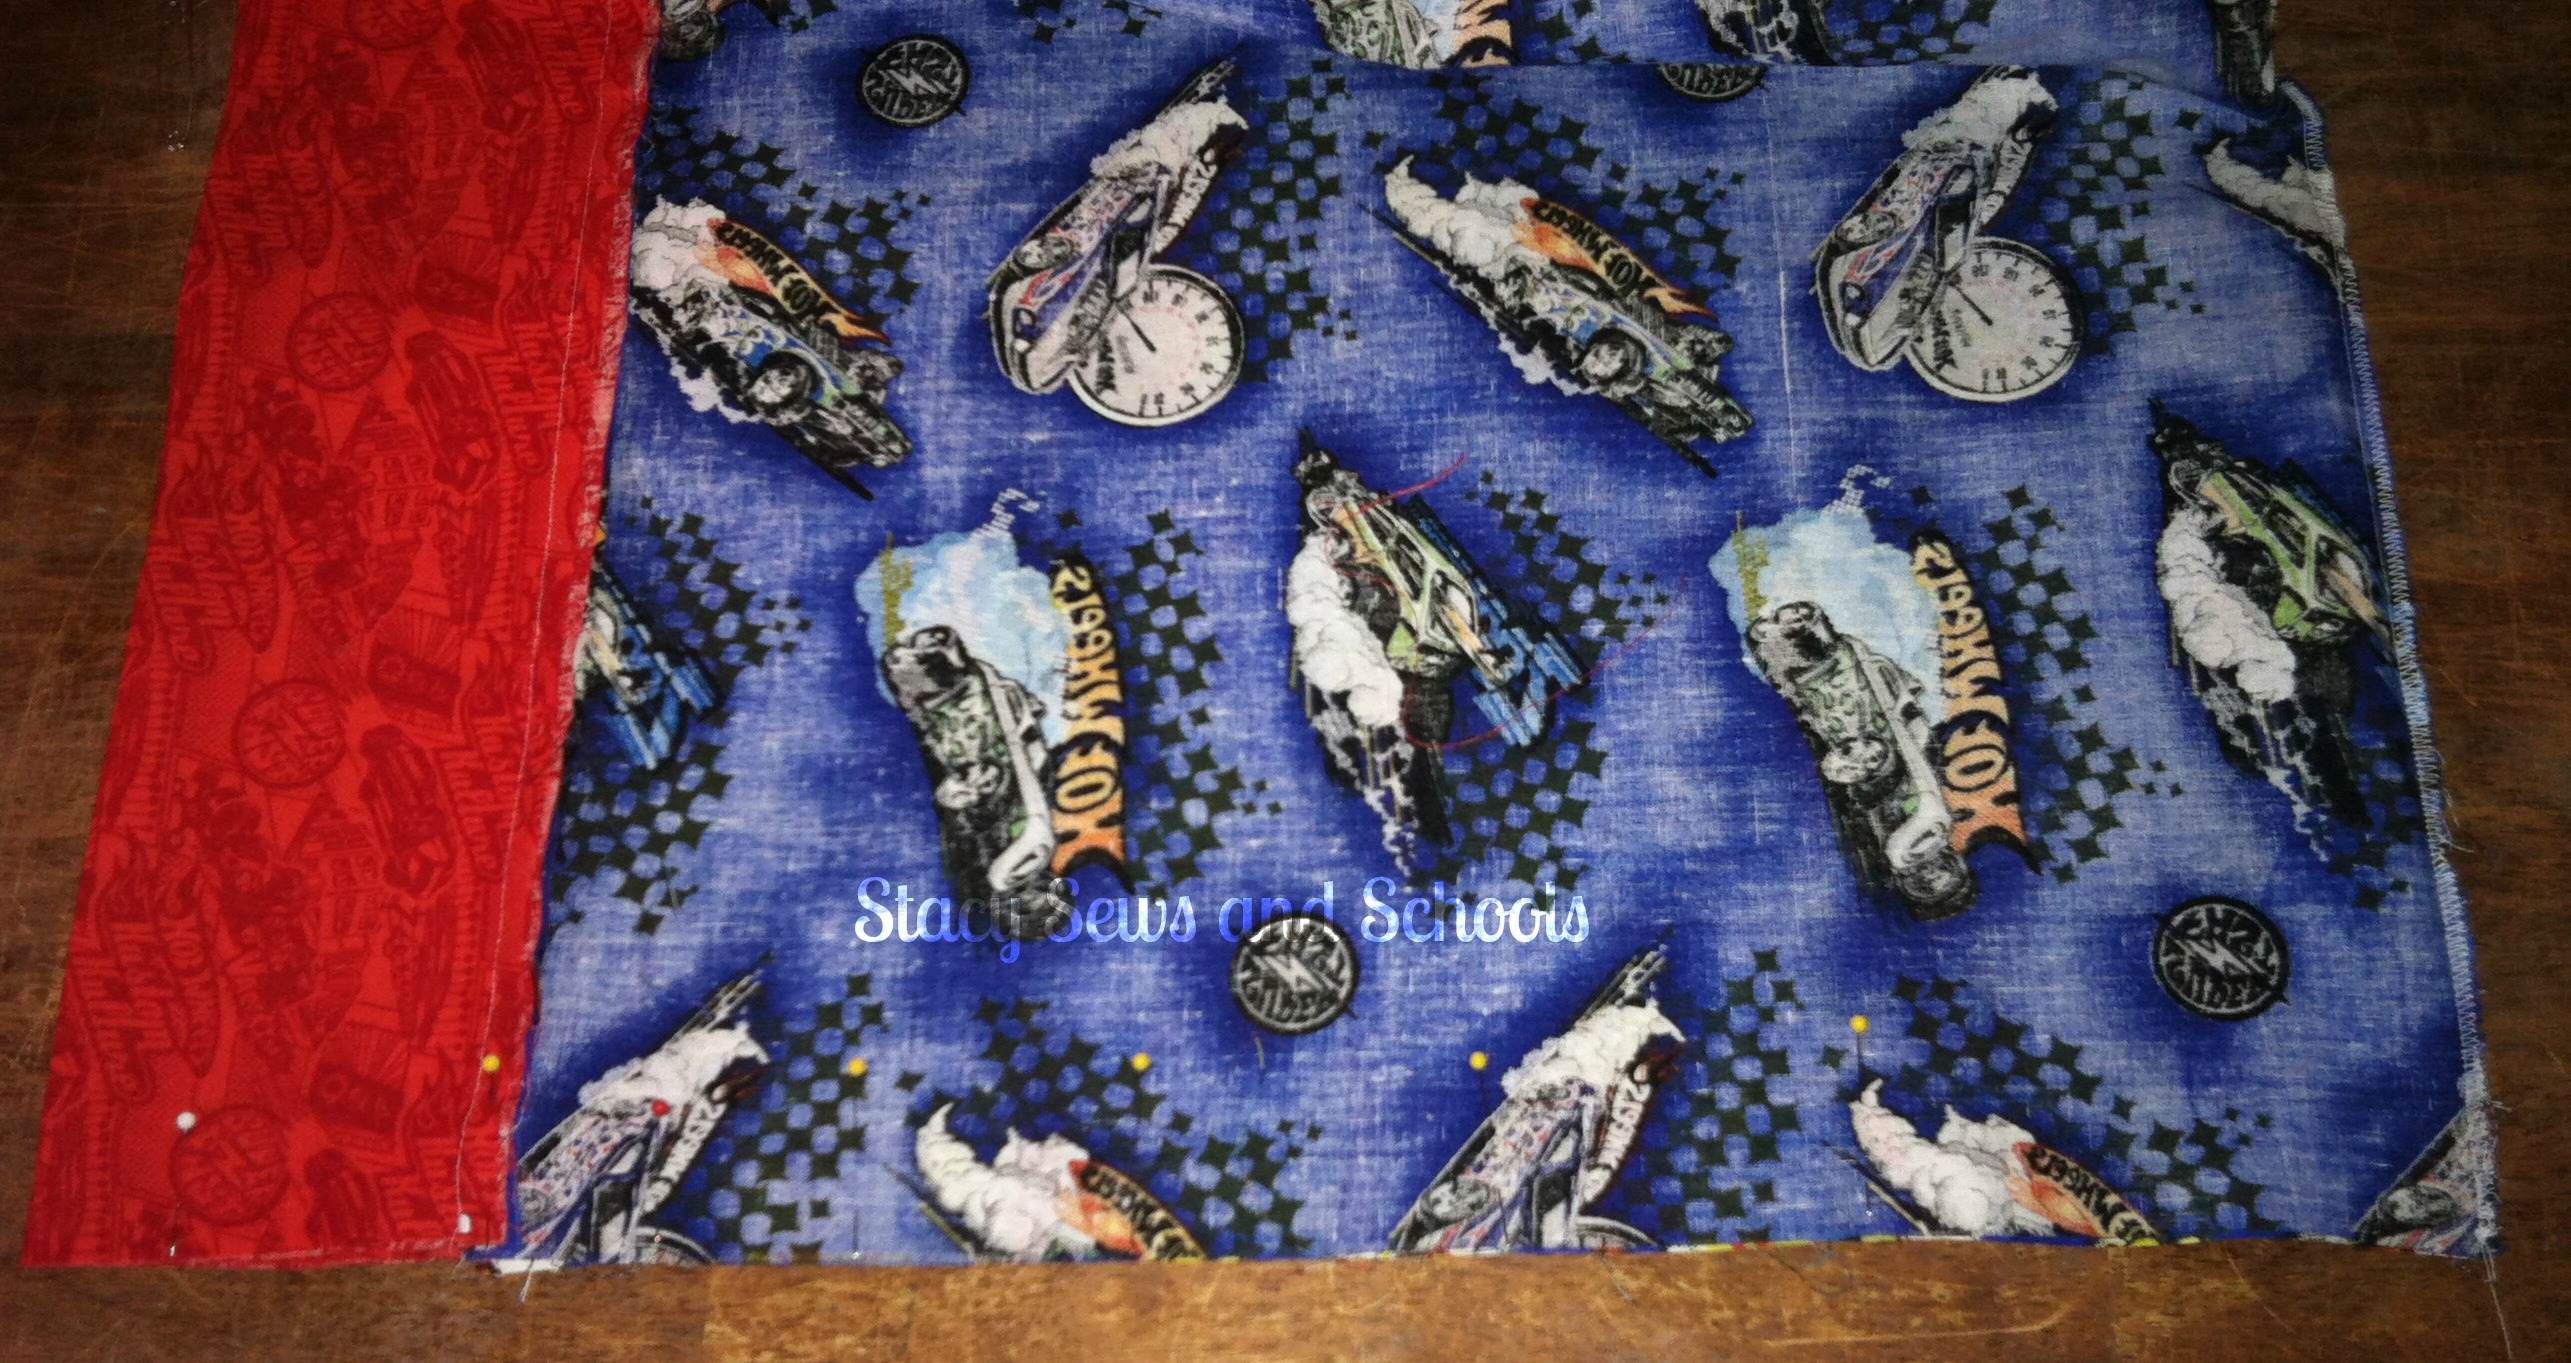
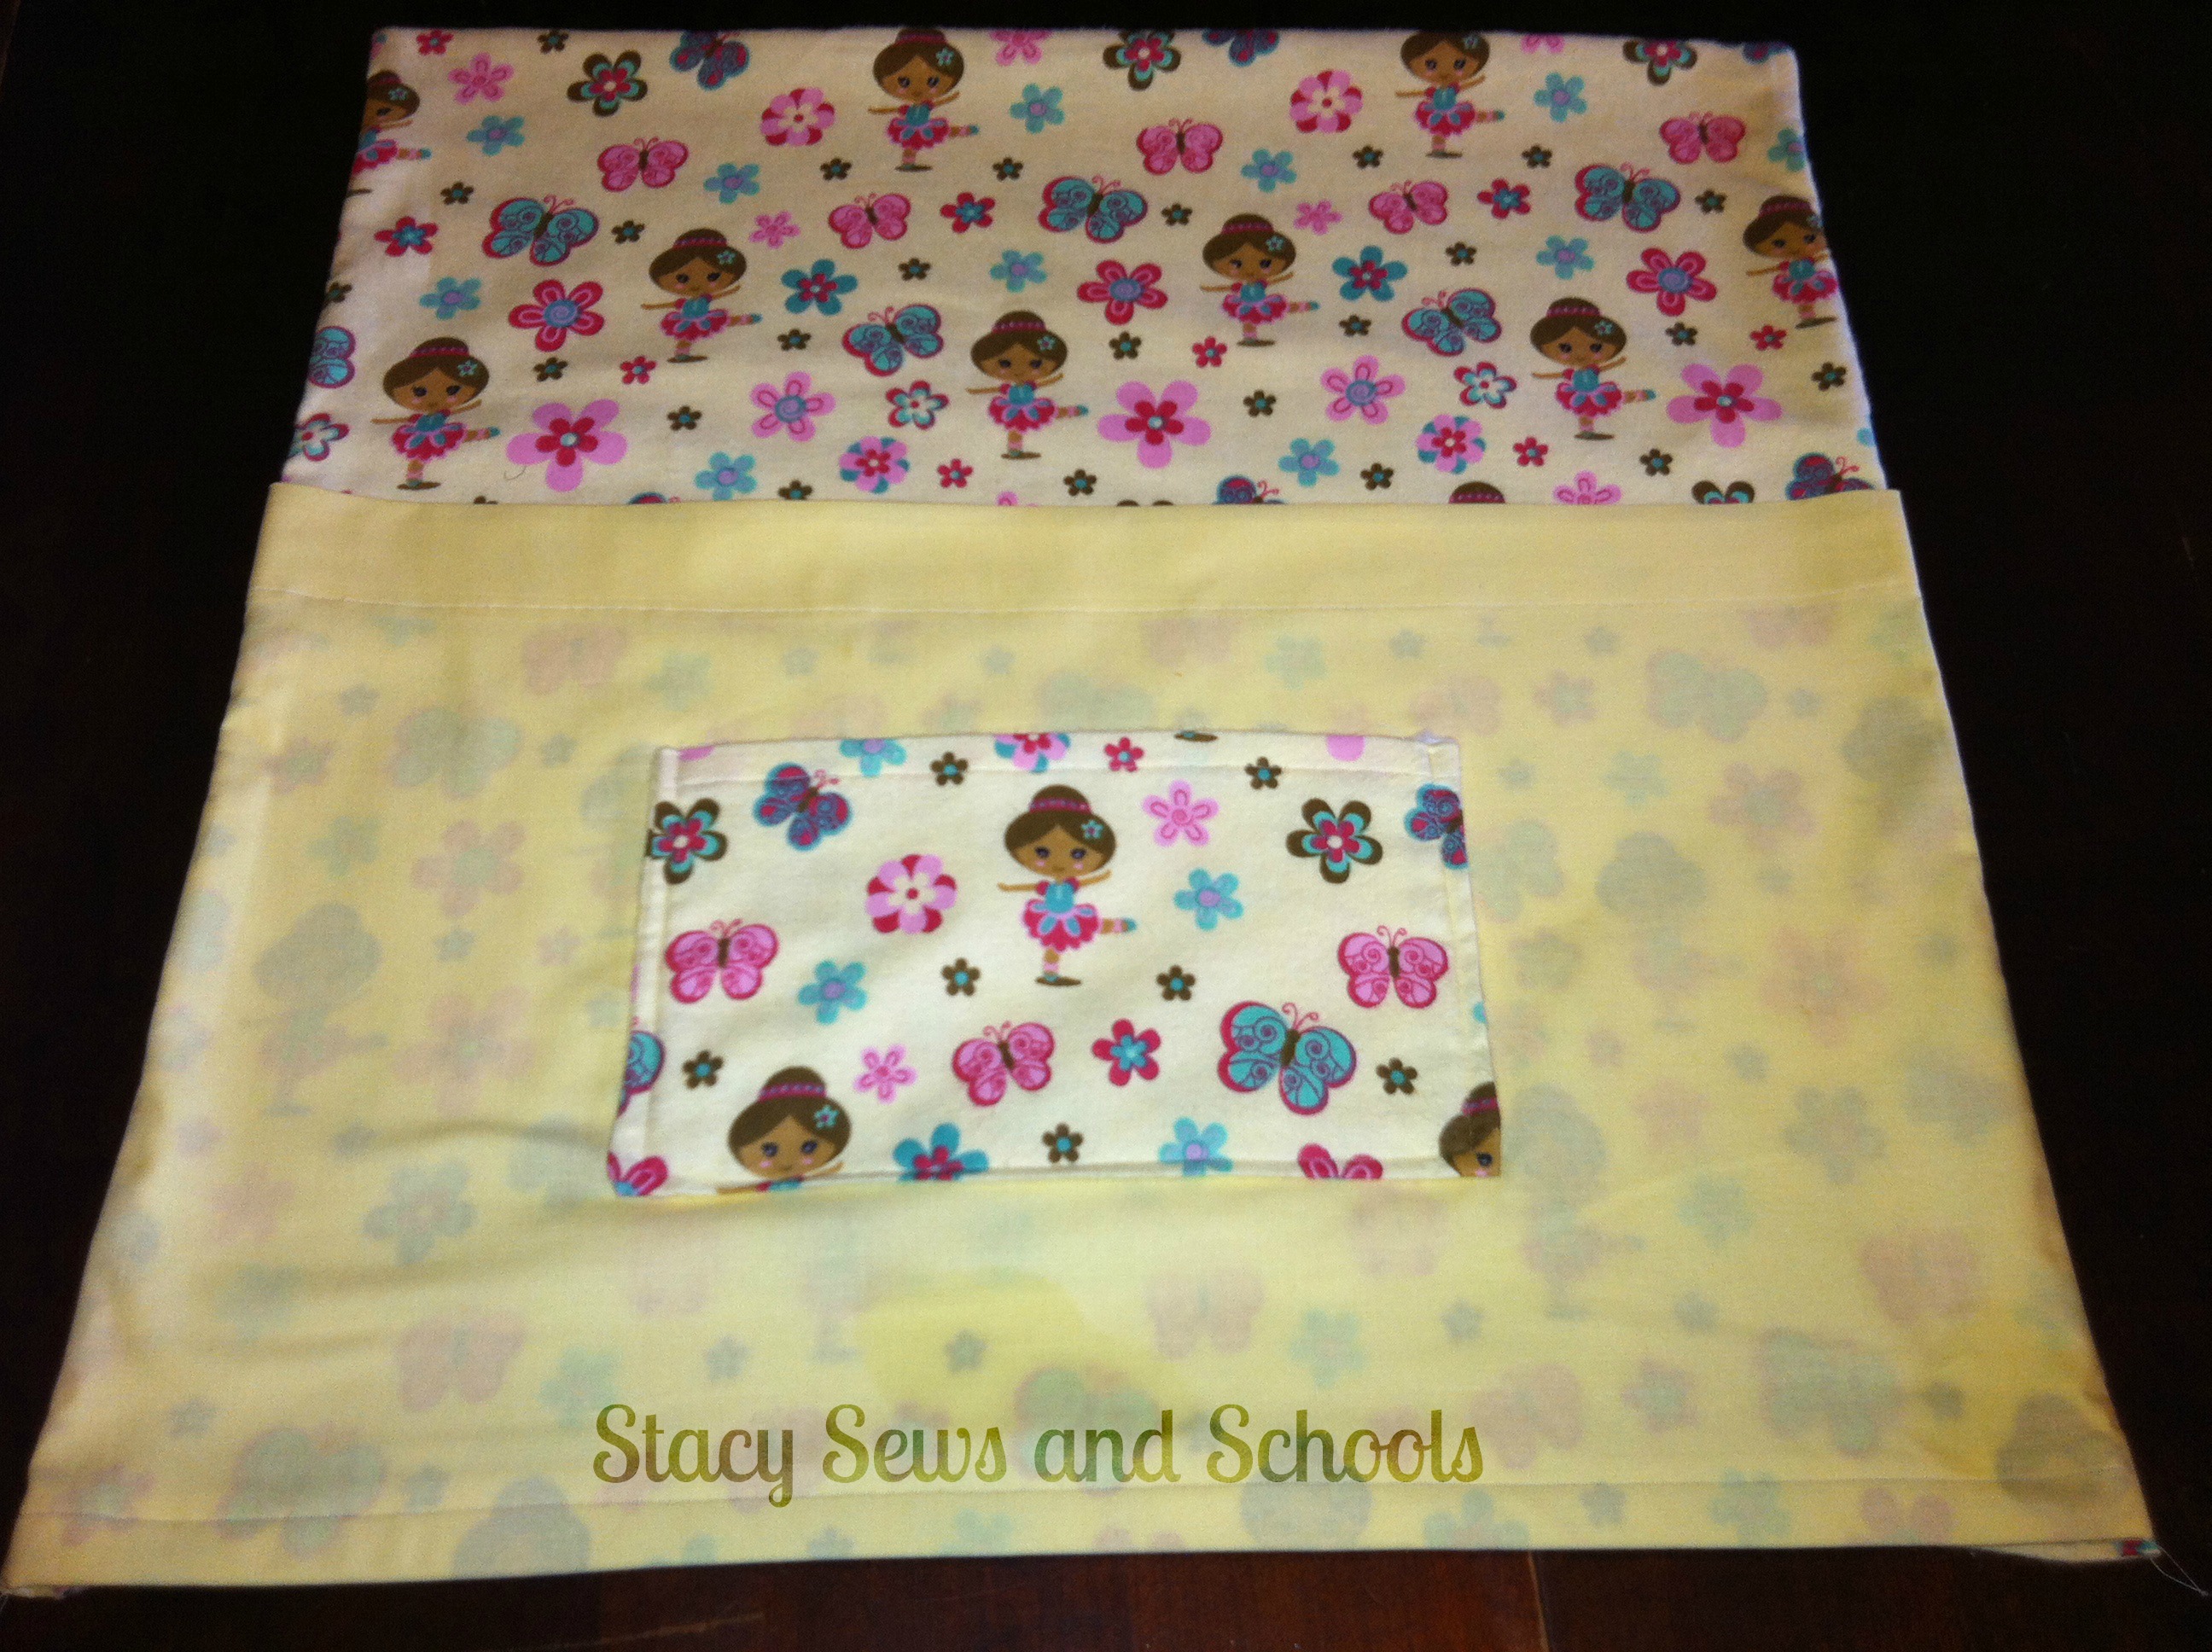
With wrong sides together and your zipper open, sew the 2 open sides together.
Turn right side out!
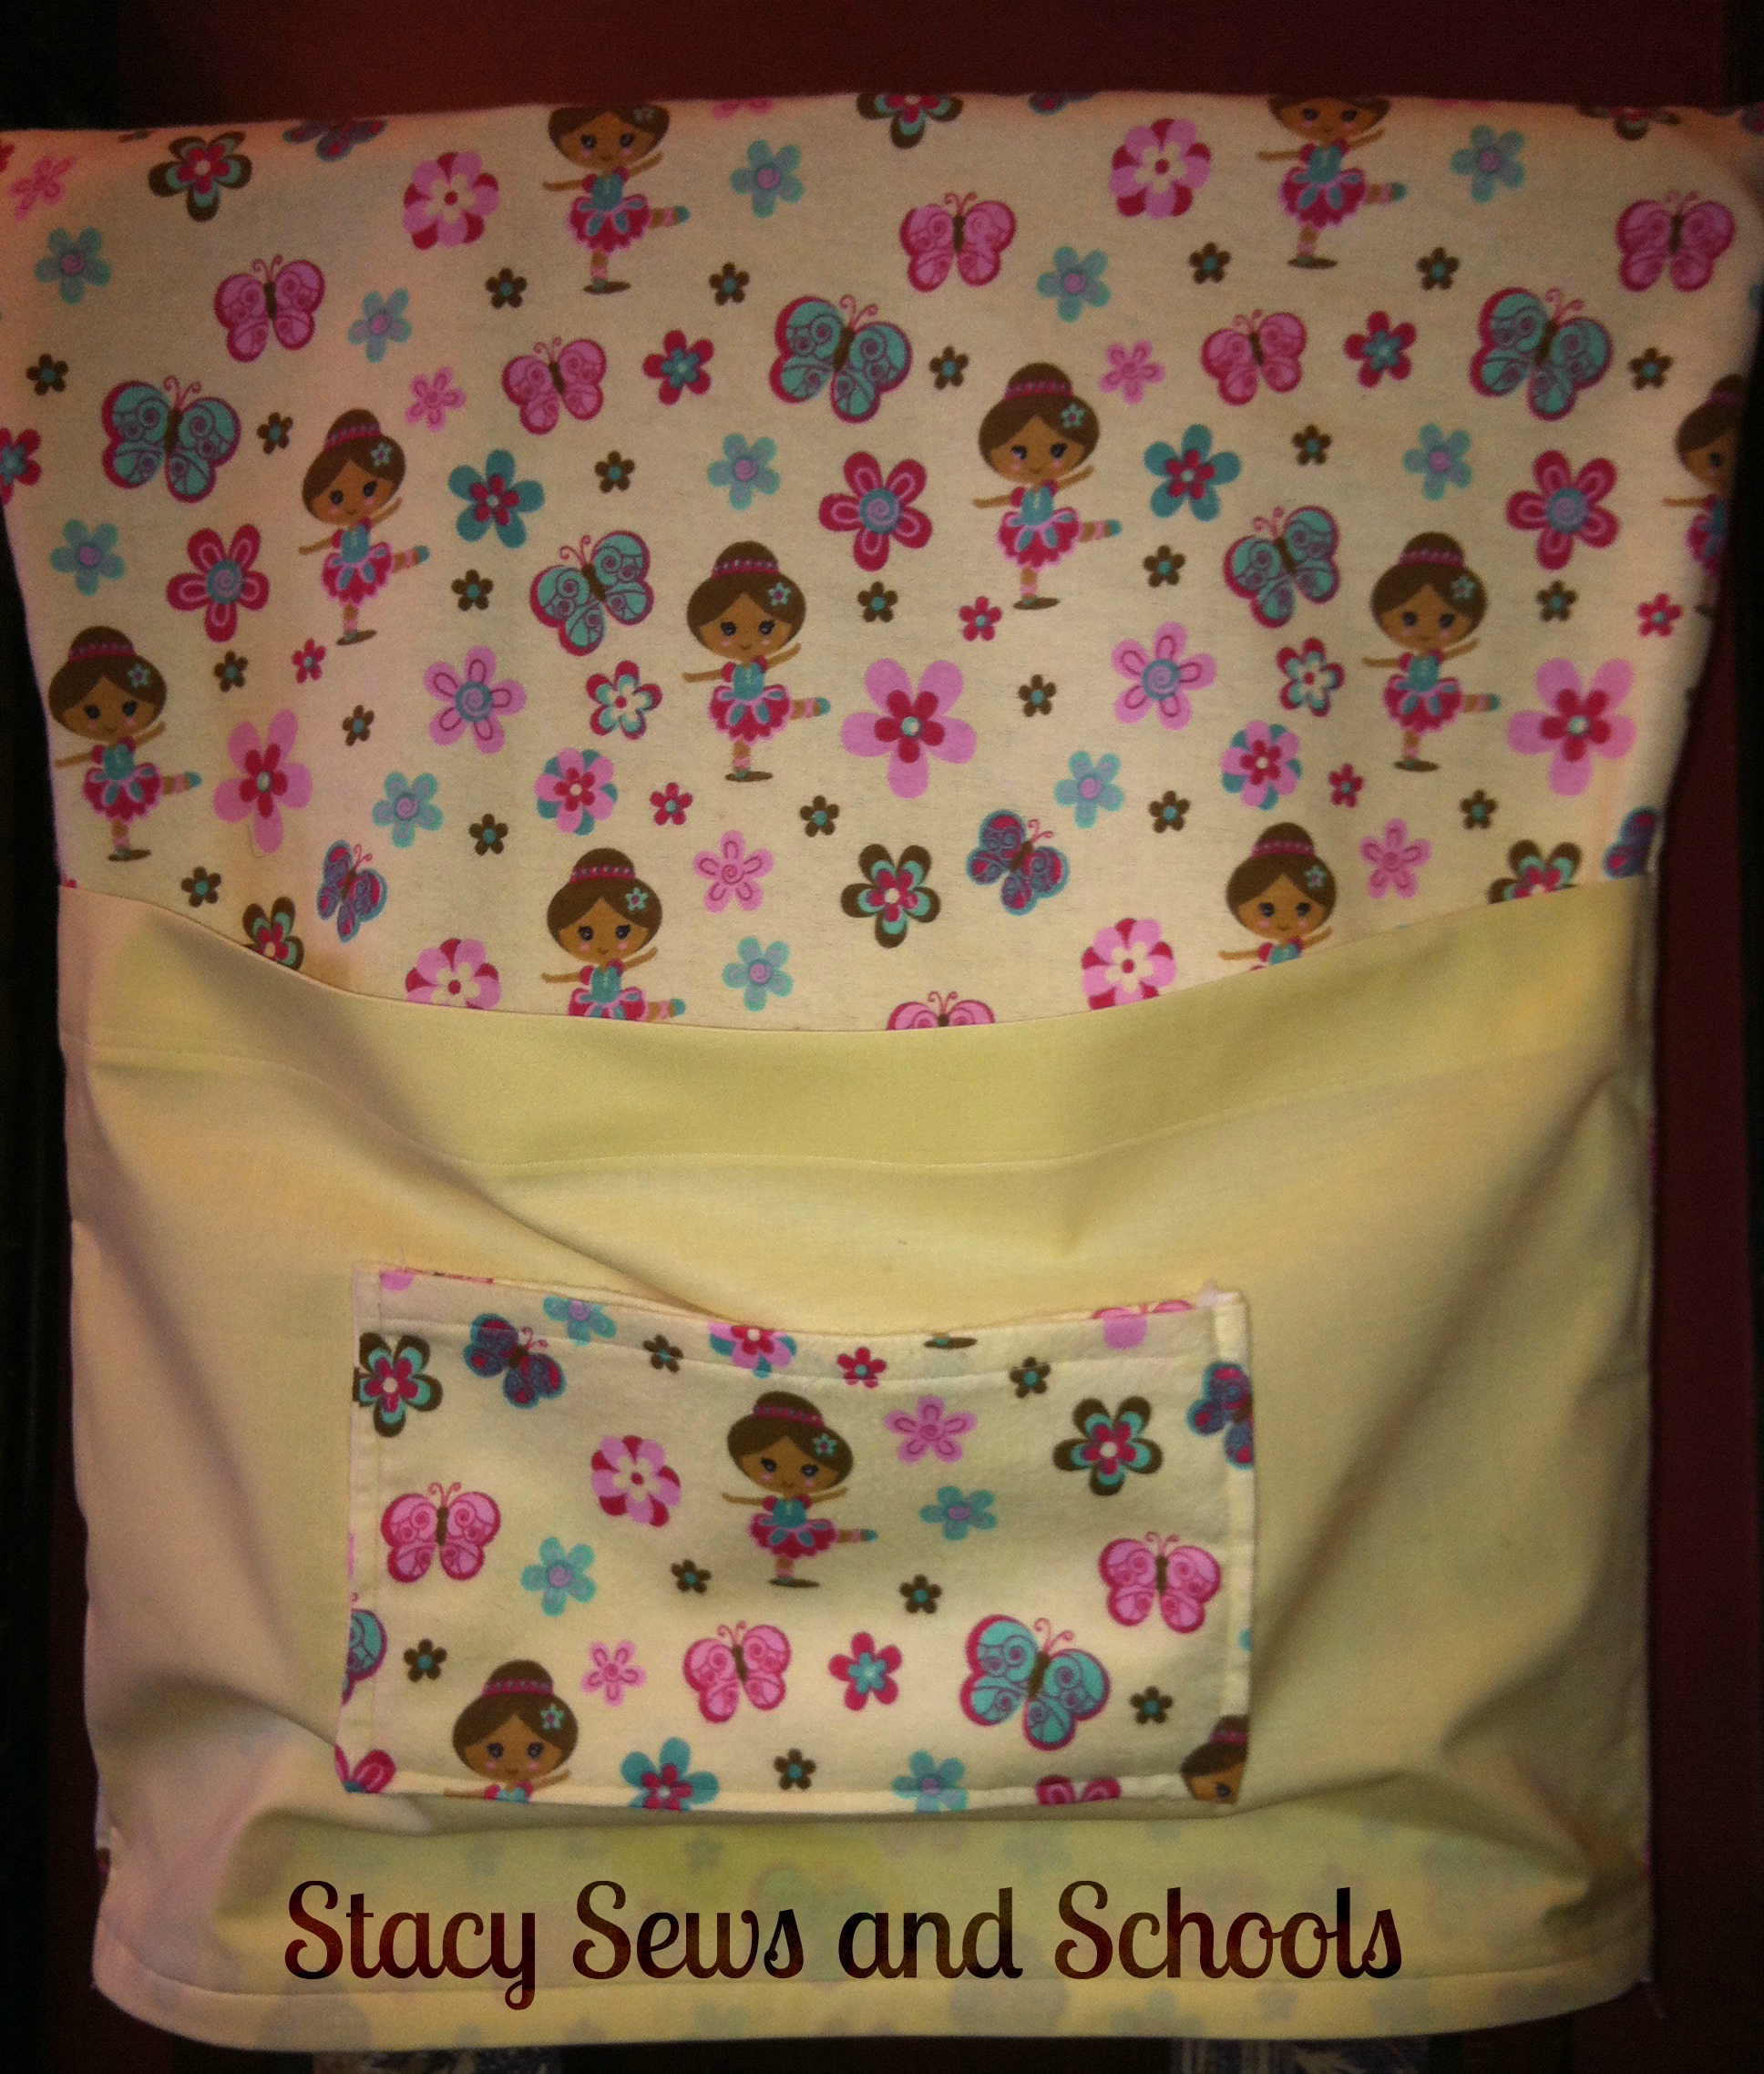
Slide your mat inside.
Zip it up!
You're done!!!!!

So, what do you think?? Fast and easy????
Don't forget to click the links to all the other posts!!! You know they're going to be AWESOME!!!!!

Karen at Baking in a Tornado has this DELICIOUS recipe for Kit Kat Brownie Bars. OMG!! I NEEEEED THESE!!!!

Lydia from Cluttered Genius has the perfect list for you - Favorite Sites for Teaching Online. As a homeschooler this is AWESOME!!!!

Melissa from Home on Deranged has a great post about Apps to Use and Apps to Lose for the School Year.

The Lieber Family has a great tutorial for making a Personalized Pencil Pouch AND a More Organized School Year. AWESOME!!!!

Eileen from Eileen's Perpetually Busy has a wonderful tutorial for making a special display for Take a Trip Back in Time.

Robin from Someone Else's Genius has an awesome tutorial for this GORGEOUS Back to School Wreath! Love it!

Joy at Evil Joy Speaks has a tutorial for a Back to School Homework Table! SO cool!!!
Make sure you click on all the SUPER AWESOME links!!!!