Showing posts with label owls. Show all posts

July 30, 2014

Owl Print Kitchen Curtains

So, I needed some new kitchen curtains. We moved and all my old curtains were worn out! My kitchen here is very retro.... That's just my way of saying OLD!!! LOL Seriously, the stove is older than I am!!! My cabinets are those really old dark wood with the hammered metal handles... Yes, it's THAT old! LOL But I think I can work with it. At least there's a new dishwasher, right???

Anyway, I bought a really cool owl chalkboard with the gift certificate that Jacob gave me for Mother's Day.


I wanted to use it in the kitchen and I wanted my curtains to tie it in.

I mentioned the other day about the recent 50% off sale at Hancock's, well, I bought about 4 yards of white broadcloth to use with an owl print that I have had in my stash forever!!

Here is the result!


I am so pleased at how they turned out!! They brighten the whole kitchen up!! And I think they go well with the age of the kitchen. Very late 60s, early 70s, yes??

I used flowered nails to hang the valance over the sink and the panel on the door. I really like the way it looks. The nails match the hammered metal on the cabinets. 

I also made some very simple little flower buckets to use on my dining room table.


I bought the buckets at Target for $1!! They already had the chalkboard stars on them!! Then I grabbed a $3 set of yellow flowers. I pulled all the flowers off and placed them in the buckets. Simple, cheap but cute!! Well, at least I think so! ;)


Next I'll be working on some simple black curtains for Joshua's room. After that the girls need new curtains. Wait until you see the print they picked out. OH, BOY!!!


August 10, 2013

Cute and Easy Can Craft

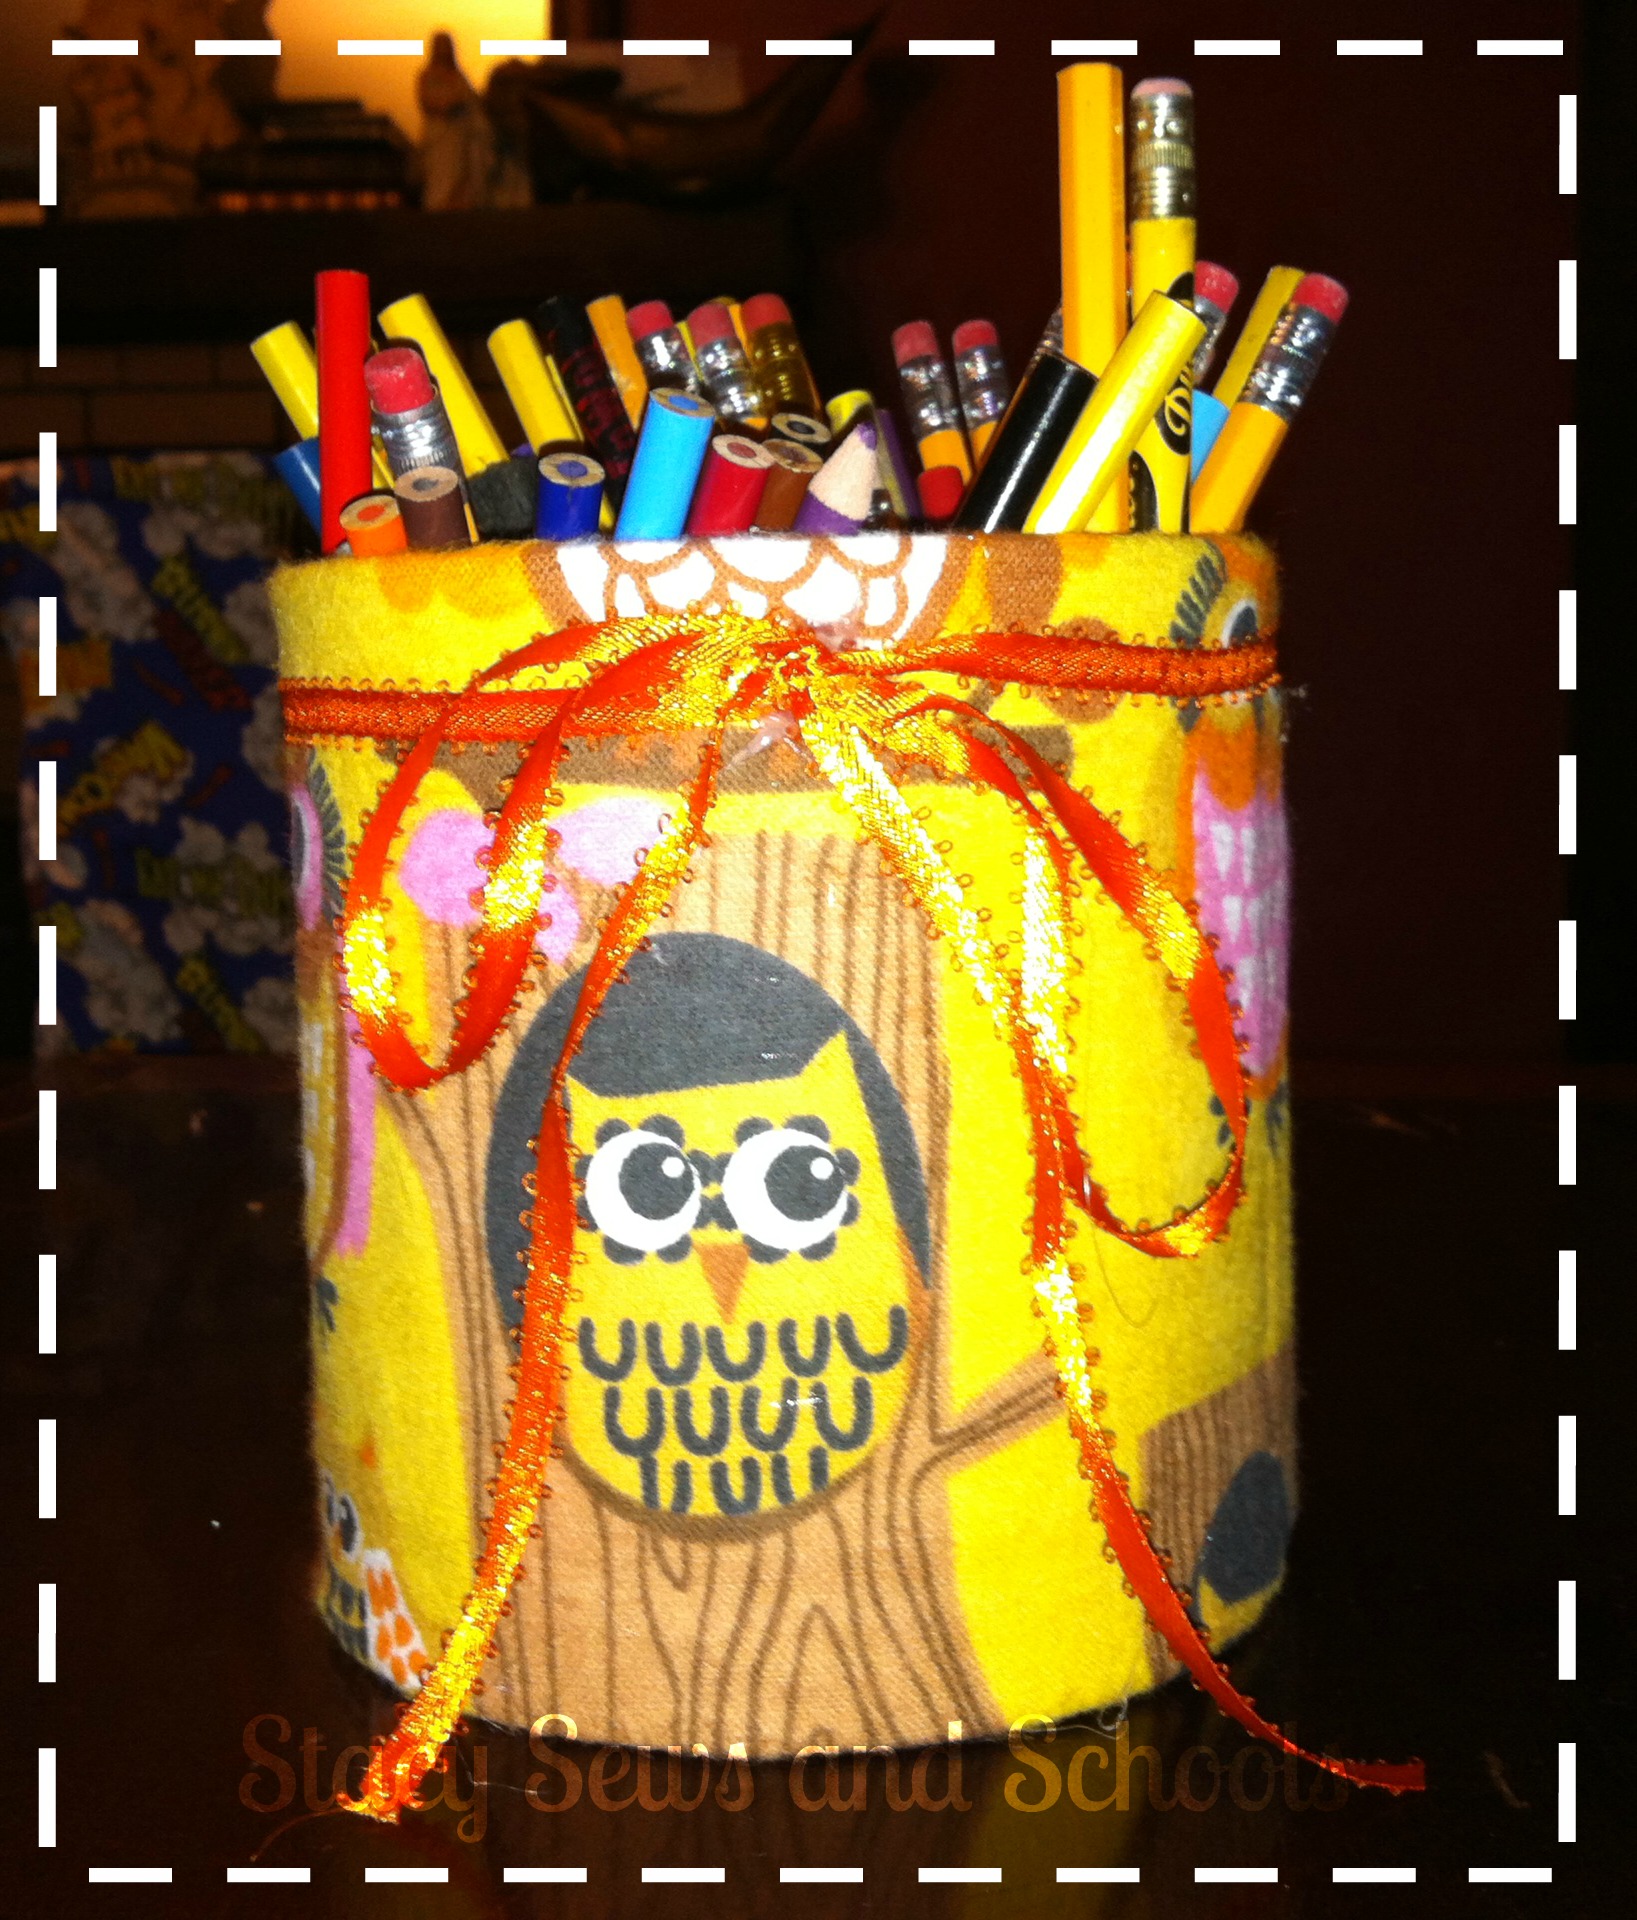
owl pencil can 005


I had this old tin can sitting around with all our pens and pencils in it. It was so ugly!! I decided to pretty it up a little bit so it could sit on our table for the upcoming school year.


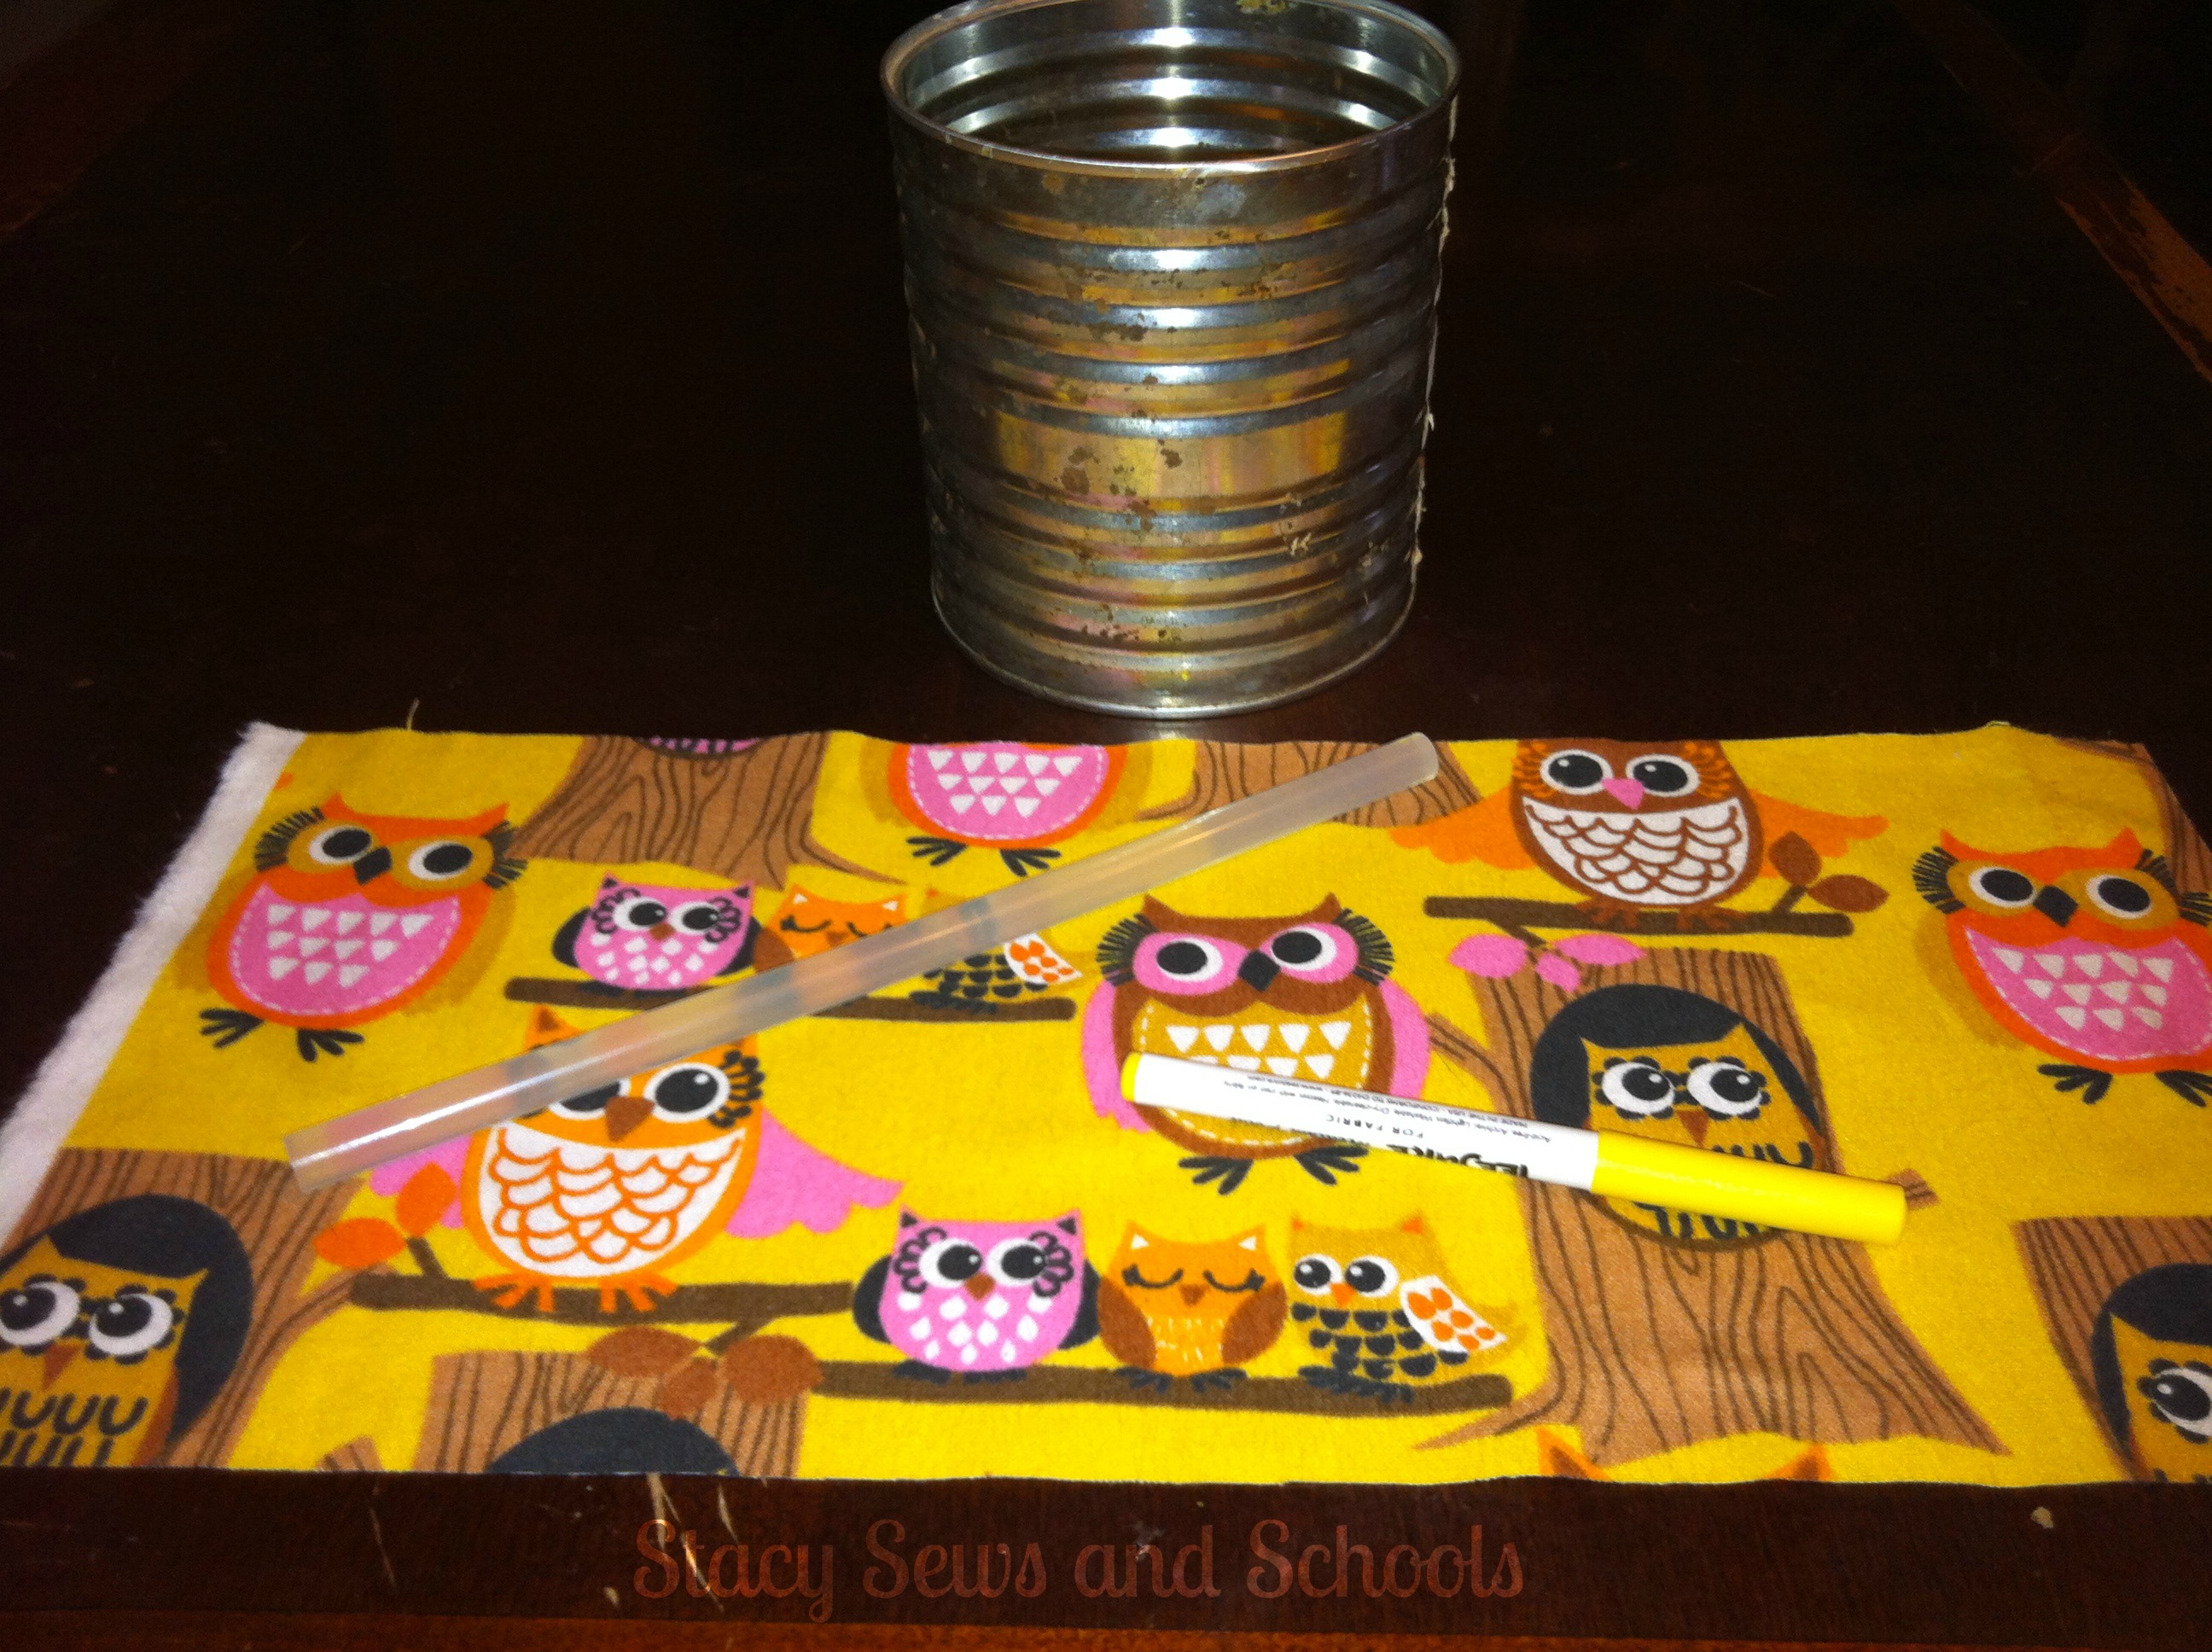
owl pencil can 001


I had a bit of scrap owl fabric left over from my cousin's pjs and I thought it would be perfect for this!

I used a fabric marker to mark the measurements. I left an inch at the top and bottom.

Next I took my trusty hot glue gun and glued the fabric around the side. I folded over the fabric at the end and glued it in place.

Then I folded the remaining inch at the top into the can and glued it. After that I folded over the remaining inch at the bottom and hot glued it.

I decided that it needed a little something else and added the ribbon (hot gluing it in place, too).

Now I have a cute pencil can for our table!  Simple, easy and cute! ;)


HAVE FUN CRAFTING!!!


February 12, 2013

Owls Animal Study


For our next animal study we will be studying OWLS!! YAY!! LOL My favorite!

Once again, all the resources I use are either free or cheap.

BOOKS-

Owl Babies: Candlewick Storybook Animations

Owl Babies

All About Owls (All About Series)

All About Owls

The Capture (Guardians of Ga'hoole, Book 1)

The Capture (Guardians of Ga'hoole, Bk 1)

Night Creatures (Scholastic Reader Level 2)

Night Creatures

Owls! Learn About Owls and Enjoy Colorful Pictures - Look and Learn! (50+ Photos of Owls)

Owls - Kids Look and Learn - 99cents - Kindle

A Picture Book of Snowy Owls

A Picture Book of Snowy Owls - $2.99 - Kindle

Owls (Read it book for Children 4 to 8 years)

OWLS - 99 Cents - Kindle

Little Owl's Night book cover

Little Owl's Night  - read for free at WeGiveBooks.org

See How They Grow: Owl book cover

See How They Grow - Owl - read for free at WeGiveBooks.org

When Night Falls in Tinga Tinga Tales book cover

When Night Falls in Tinga Tinga Tales - read for free at WeGiveBooks.org

Magazines -

Your Big Backyard - Whoooo's There - October 2010

Ranger Rick - Special Halloween Issue - October 2012

PRINTABLES -

Owl Babies Lapbook - Homeschool Share

Owl Lapbook - Squidoo

Owl Lapbook - Hands of a Child - $7

Owl Coloring Pages

Owl Crafts and Printables - DLTK-Kids

Animal Research Organizer - The Curriculum Corner

Owl Activities, Crafts and Printables -  Activity Village

All Owls - A Fun Study - Currclick - $1

Owl Copywork & Fun - Currclick - 50 cents

Online Resources -

Owl Videos on YouTube

Owl Nest Watch

Owl Pages - info and nest cams

Fun Owl Facts for Kids

Facts about Owls

Owl Crafts for Kids - Squidoo

Owl Crafts and Learning Activities - Danielle's Place

To Buy -

Owl Pellet Kits

If you don't like the idea of REAL owl pellets, Hobby Lobby sells fake pellet kits. The kids LOVED them, even though they knew it wasn't the real thing. ;)


July 8, 2012

Tutorial Love

OK, here's where I admit to being a bad blogger, again... SIGH.... I haven't actually sewn anything today. I am sooooo sore from the sunburn that I can barely move. :/ Don't worry, though. I should be much better tomorrow and I will finish up that blouse!! LOL Then I have a couple of things floating around in my head that I will be working on. That means more tutorials for you! :) In the meantime I thought I would leave you with some tutorials that I Pinned. :) Hopefully I can get this post out before the power goes out, again! We are in the middle of a storm! Thankfully it should be bringing us MUCH cooler temps for next week! YAY!!


Petal Top Tutorial from Elegance & Elephants


Spring Board Ruffle Apron from The House of Smiths


How to Create Elastic Shirring  from Craftstylish


DIY NAUTICAL INSPIRED ALTERED TOTE by Lil Blue Boo


Summer Shirts from  Sew in Harmony at Project Run and Play

Placemat Clutch...with a Nautical Twist at Midwestern Girl


And don't forget MY tutorials!! ;)

May Flowers Skirt

Image


What a Hoot Skirt


Eyelet Tank 

Image


I believe the rest of my tutorials can be found under the tutorials button at the top of the page.


June 4, 2012

What a Hoot Skirt and Tutorial

This is the best I can do by way of pictures tonight. I promise to take a better pic tomorrow and this time I will actually be wearing the skirt! ;) I just wanted to get this on here tonight!


So here we go!!


I started with 2 yrds of midnight blue taffeta. Then I gathered a few scraps to use for the tree, moon, leaves and owls. You will need at least a 4" zipper.


Step 1- Measure your waist.

Step 2- Find the middle of the fabric (while folded in half, long ways)

Step 3- Fold over again

Step 4- Mark your measurements on the fabric with pins (this will be 1/4 of the total measurement you took plus 1/4" for seams)


Step 5- From your measure take a straight edge and mark a slant on the fabric.


Step 6- Cut the slant.


Step 7- Open up and cut the pieces in 2 making the front and back of the skirt. Put the back aside for now.

Step 8- Grab a brown paper bag, wrapping paper or whatever you have to draw out your tree pattern. Draw it and cut it out.

Step 9- Take your tree pattern and place it on your green scraps. Cut a half circle around the branches.


Step 10- Now pin and cut your tree from your brown fabric.


Step 11- Find something round to trace your moon onto your yellow fabric. Cut it out and then cut it into a crescent.


Step 12- Cut out your owls or birds from your scraps.


Step 13- Pin your green "leaves" to the front of your skirt. Zig-zag stitch all the way around.


Step 14- Pin your tree to the front of the skirt and over part of the leaves. Zig-zag around.


Step 15- Pin your moon and zig-zag it to your skirt.

Step 16- Pin your owls, birds, whatever and zig-zag those to the branches of the tree.


Step 17- Grab the back of your skirt and pin one side to the front with right sides together. Sew your seam.

Step 18- Take the whole measure of your waist and cut a long strip in that length by about 4". This will be your waistband.

Step 19- Fold waistband in half and press.


Once again, remove cat from fabric. SIGH.....


Step 20- Pin the waistband to top of skirt, right sides together. Stitch.


Step 21- Grab a 4" zipper and pin then stitch to the other side of the skirt (where you haven't sewn a seam yet)


Some people sew the seam first, I prefer to do the zipper first. It's much easier for me that way.

Step 22- Pin and stitch the other seam.

Step 23- Pin and hem!

Turn it right side out, press your hem and you are DONE!!! :) Easy peasy!

I left the edges raw instead of zig-zagging right on top of them. I think I like the look of it better that way.

I hope you like it! Give it try!

Let me know if this was easy to follow or not. I never know if I am clear enough or take too many (or not enough) pics! LOL