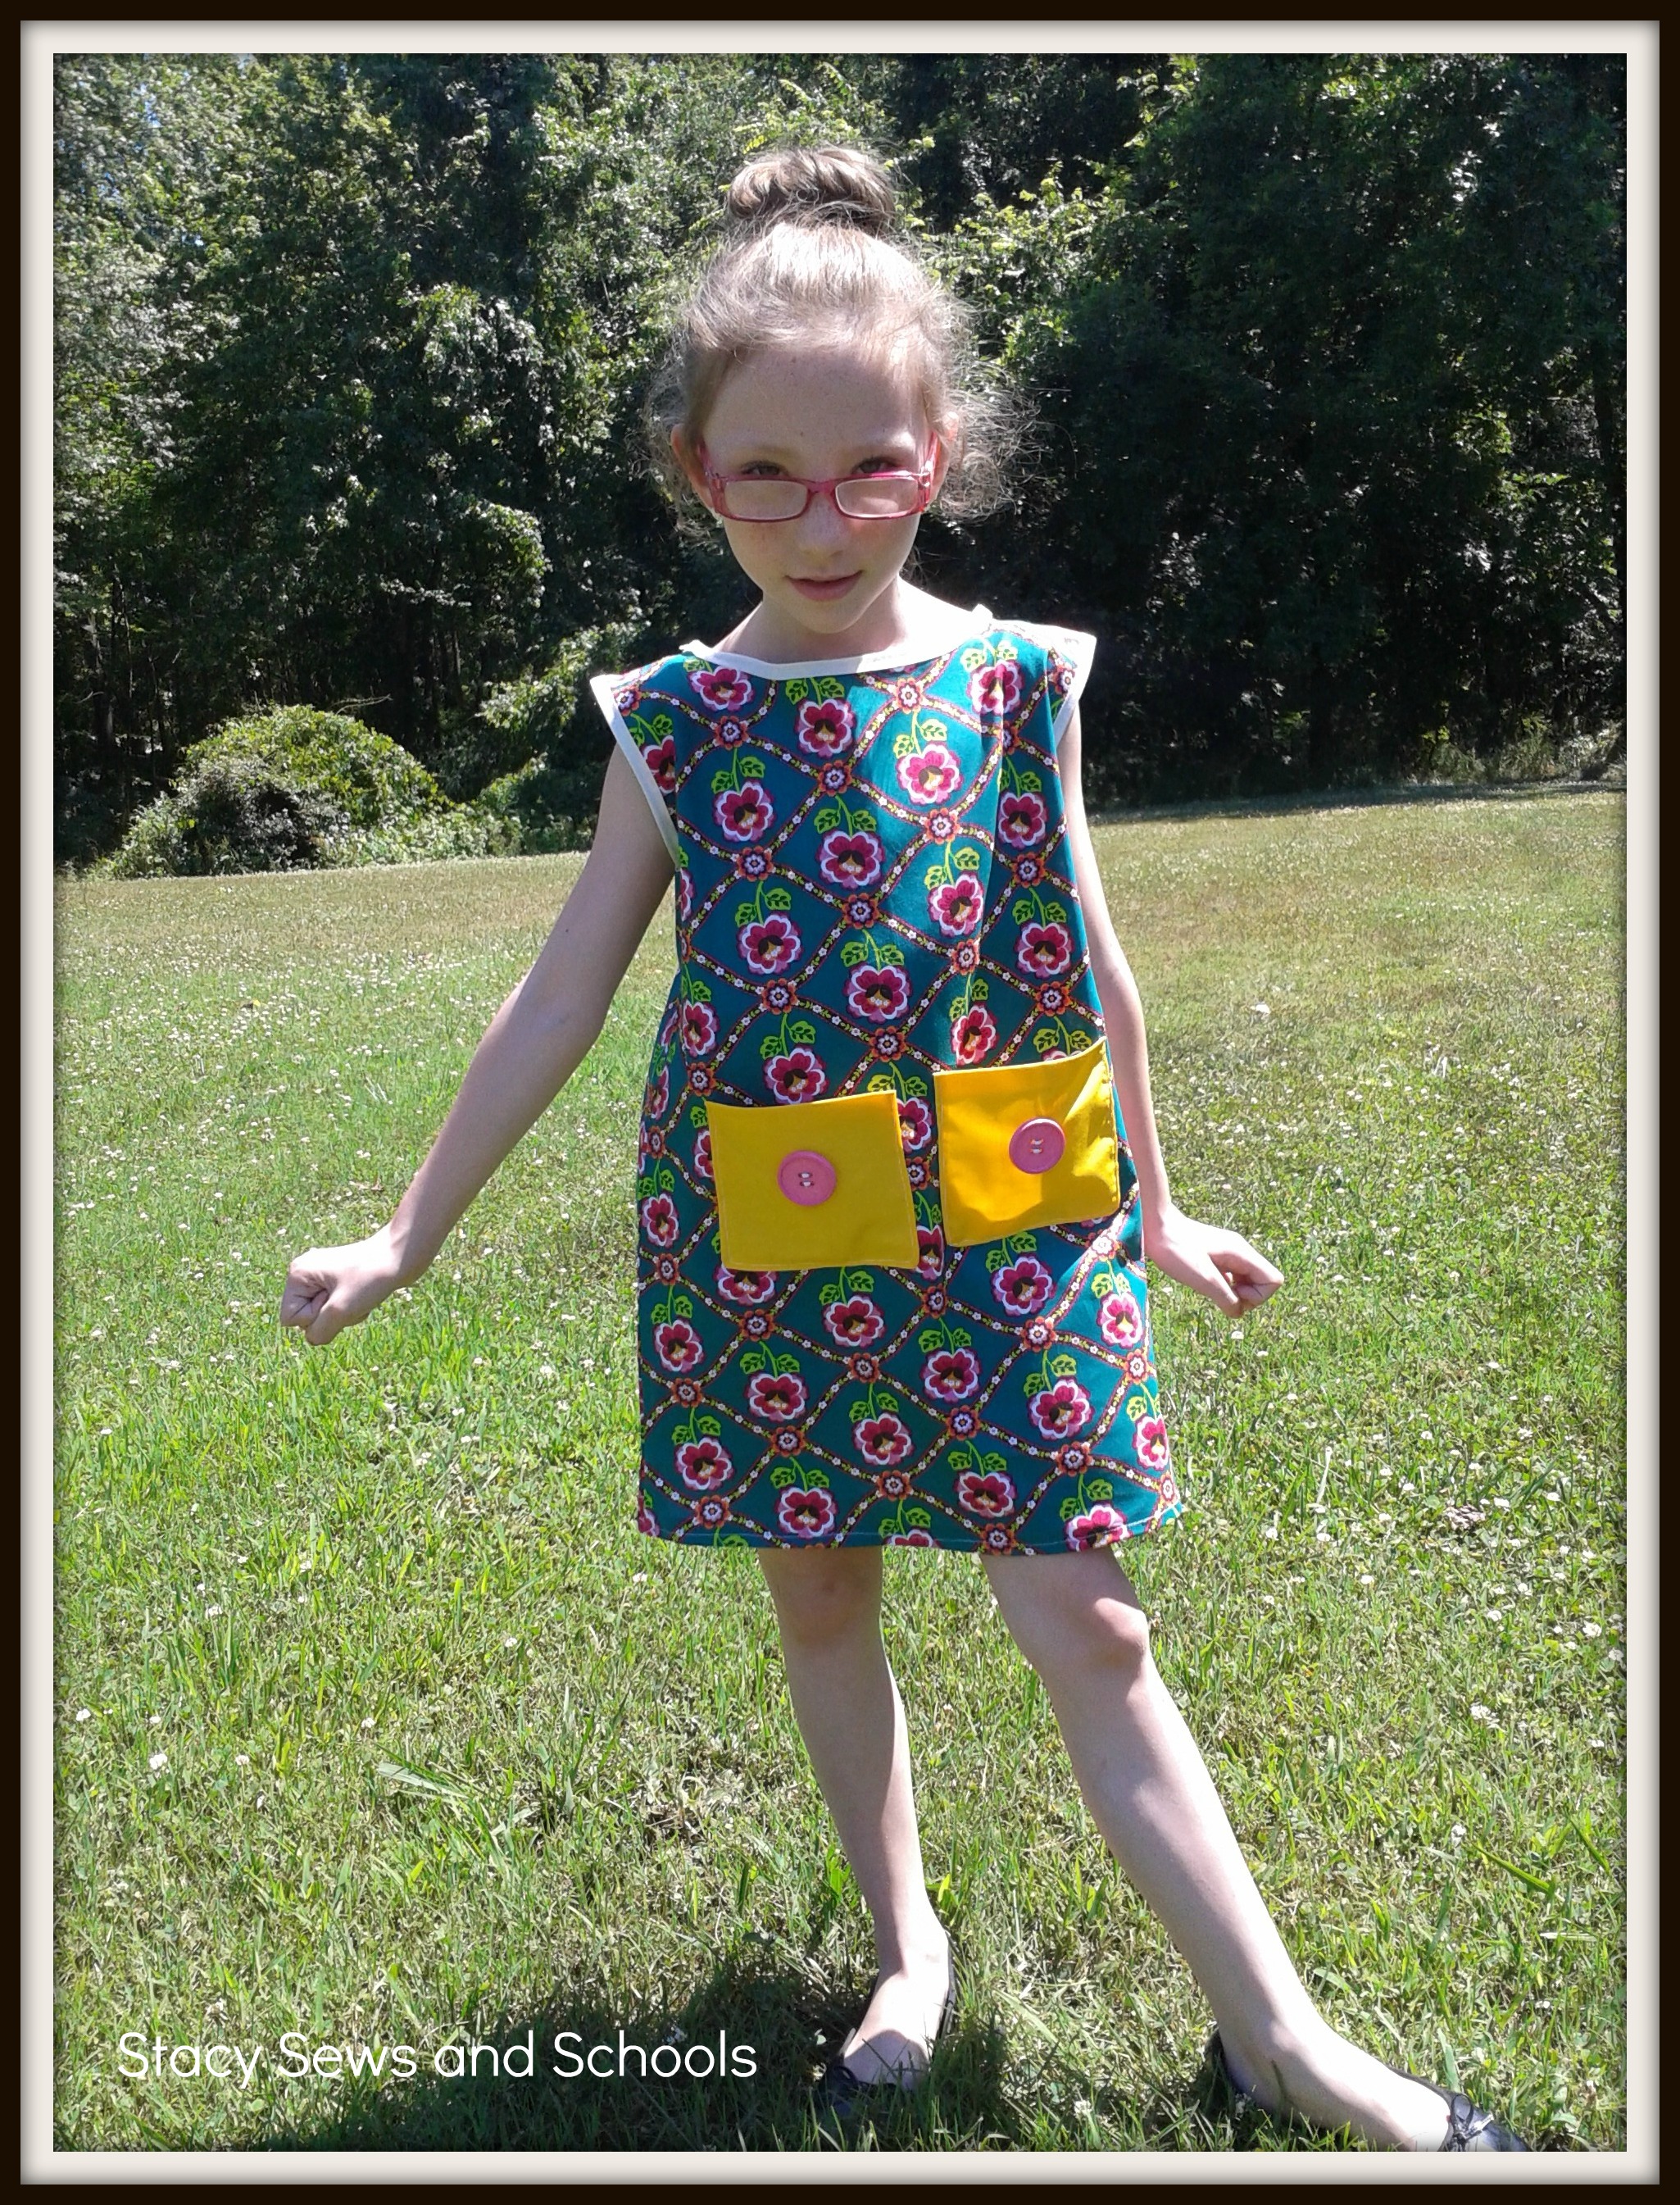
The Fab Mod Dress
Here it is! A new tutorial! :)
What you will need -
1 yard of fabric
2 buttons
Double fold bias tape
Scraps of coordinating fabric (for pockets)
Measurements - child's chest, length for armholes and length of dress
Step 1 - Remove cats from fabric!!!
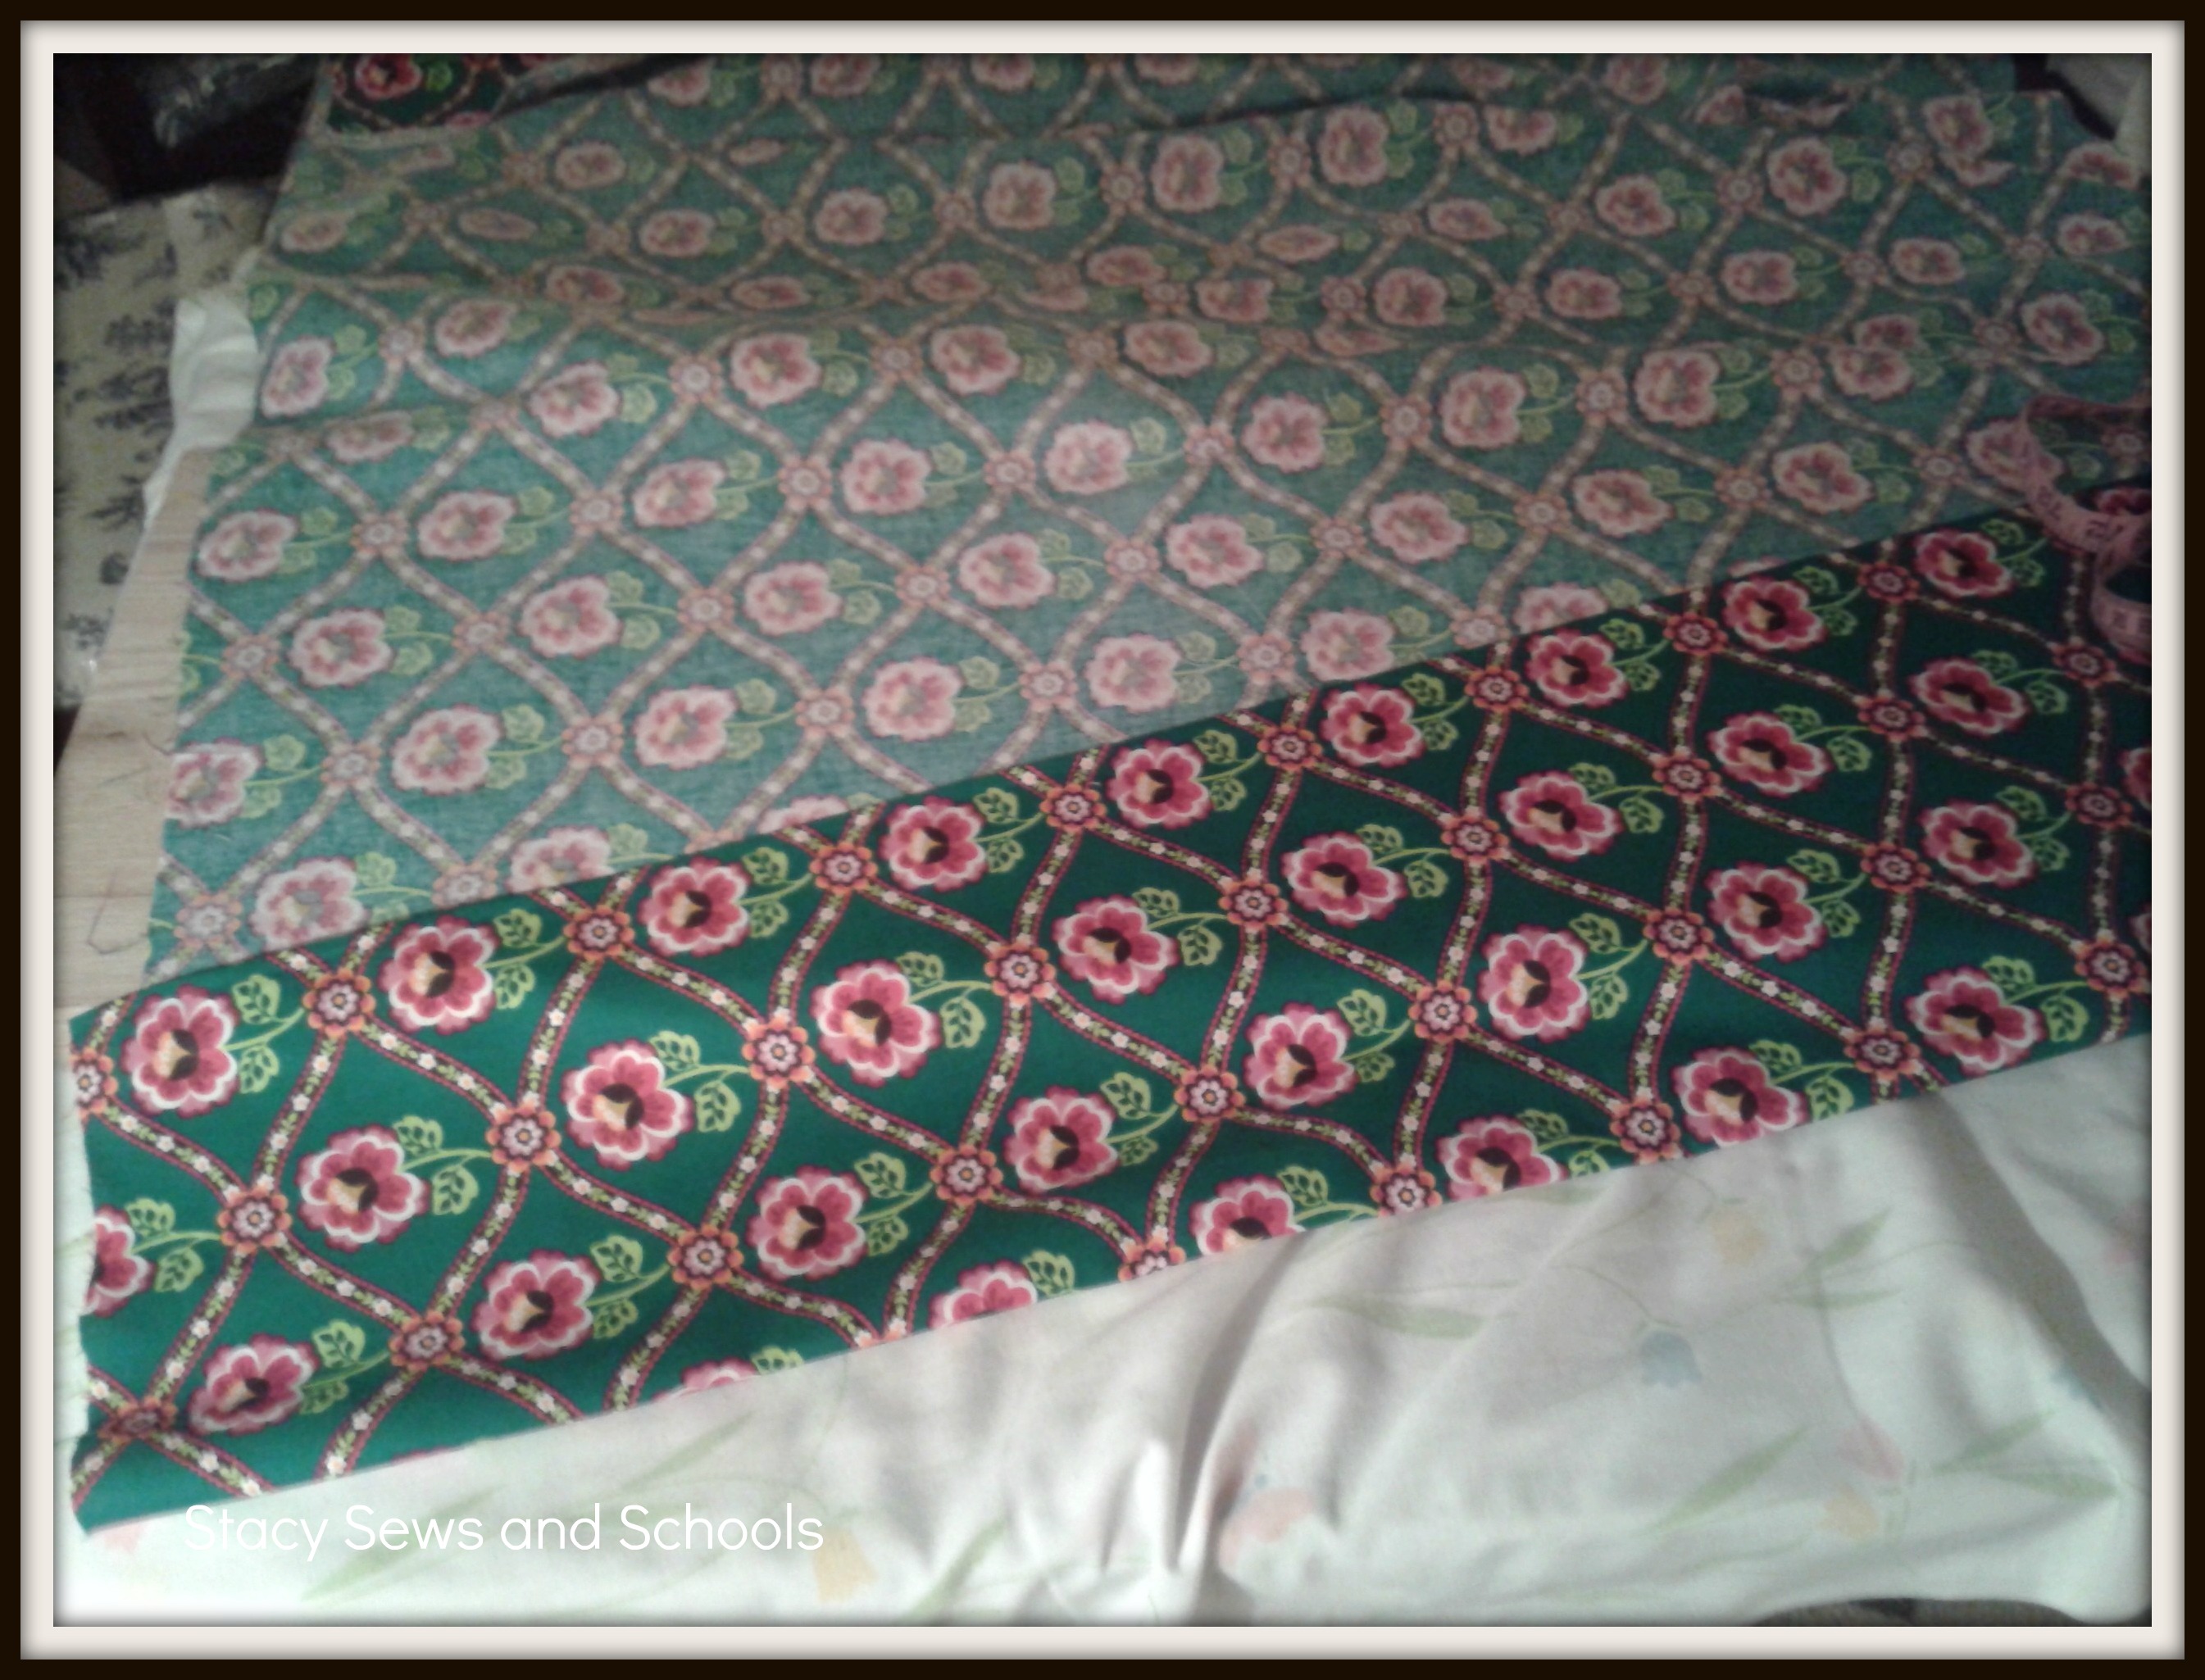
Step 2- Fold fabric 1/4 width of chest +1/2". Fold going into a slight slant. (The dress is slightly A-line.)
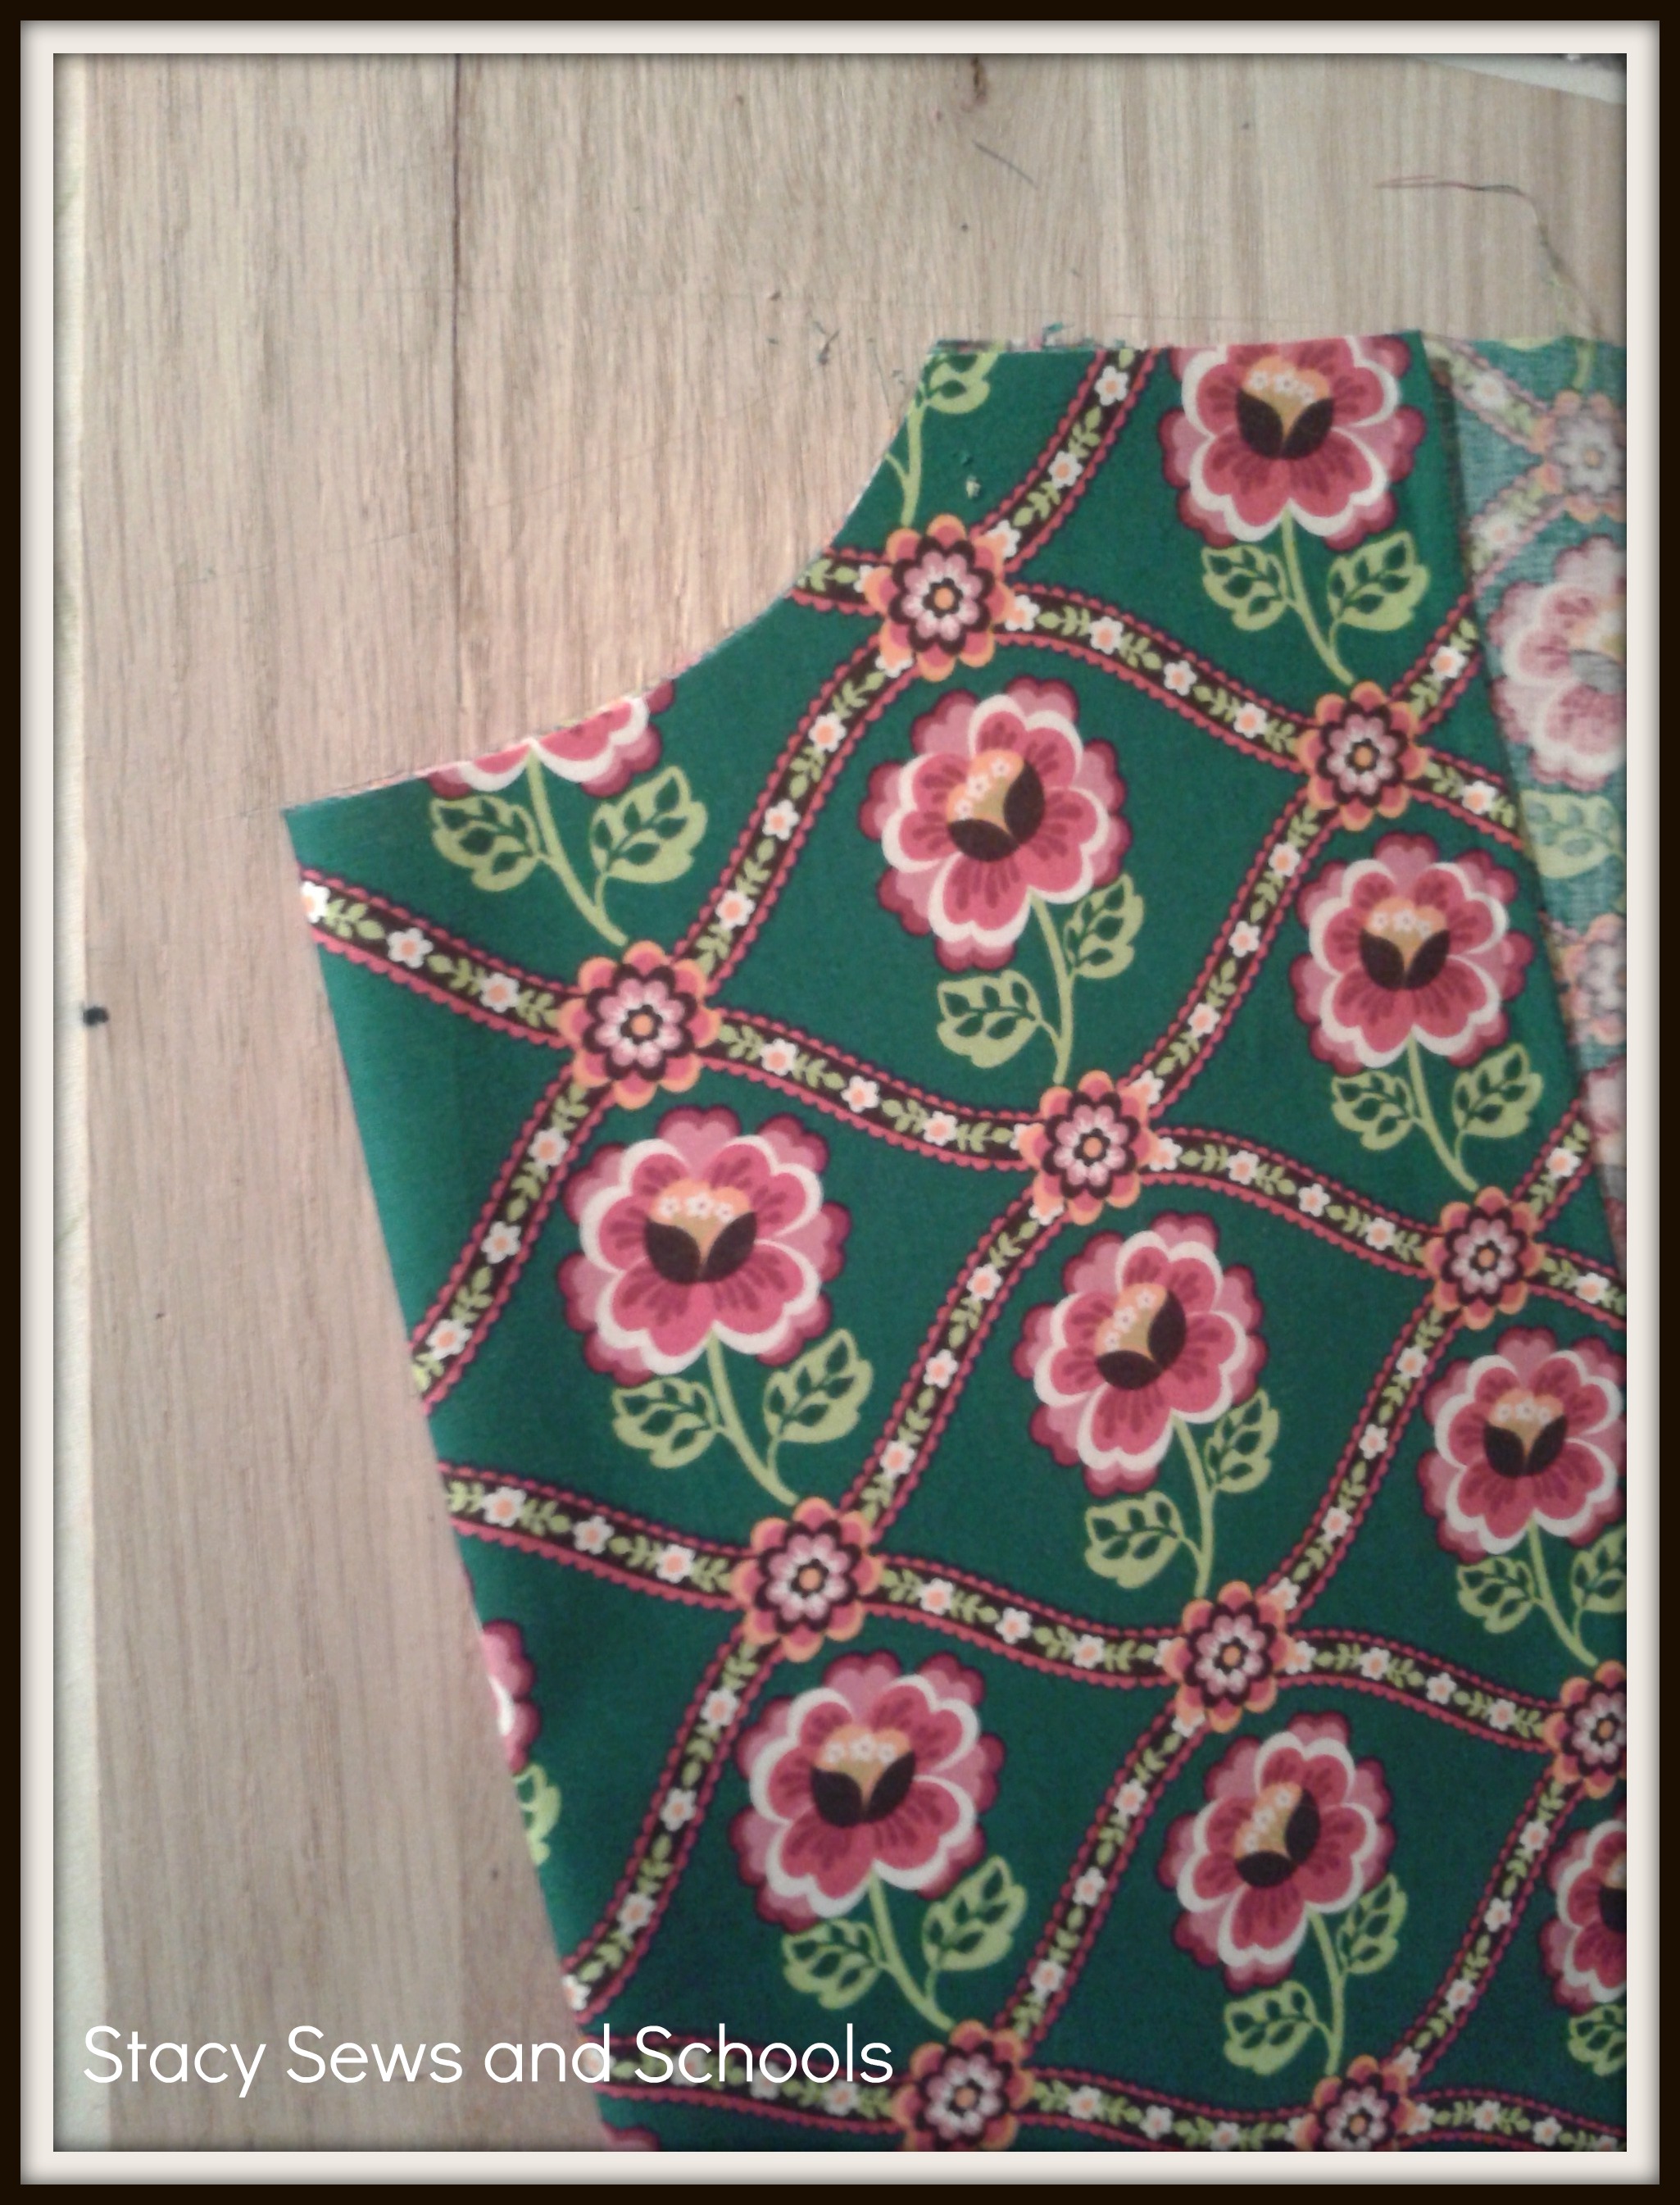
Step 3 - Cut length, width and neck line
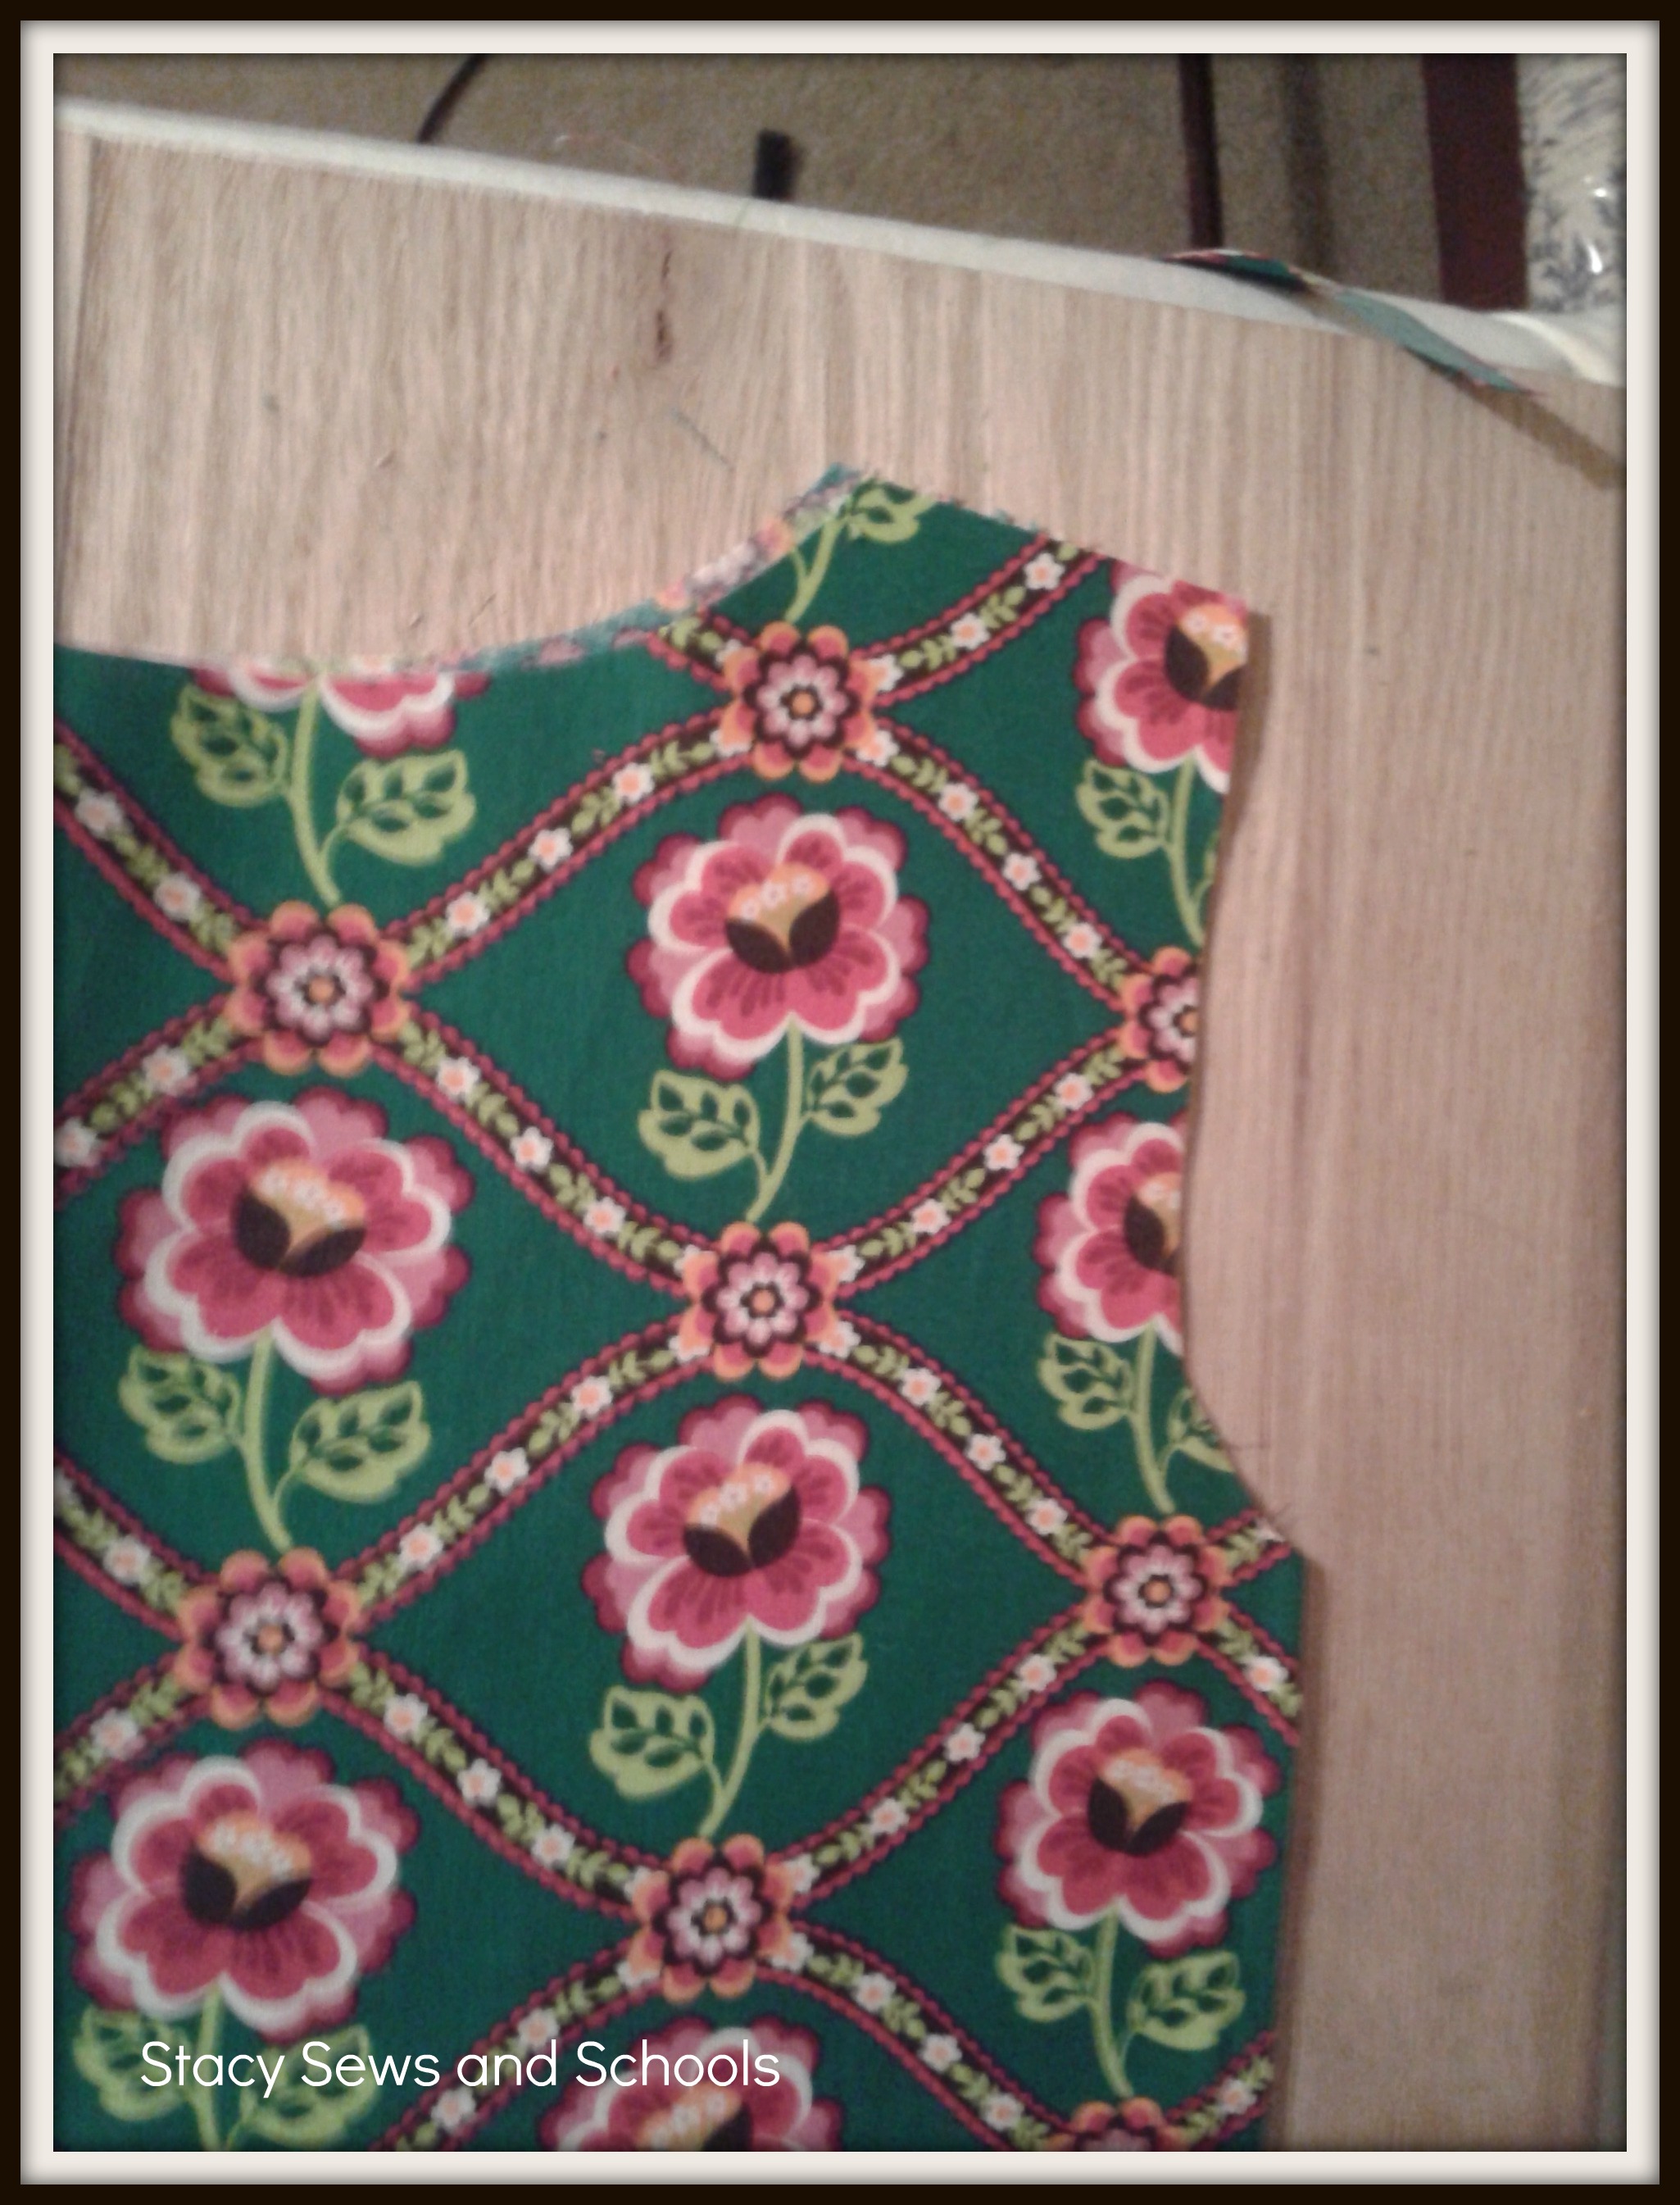
Step 4 - Cut armholes
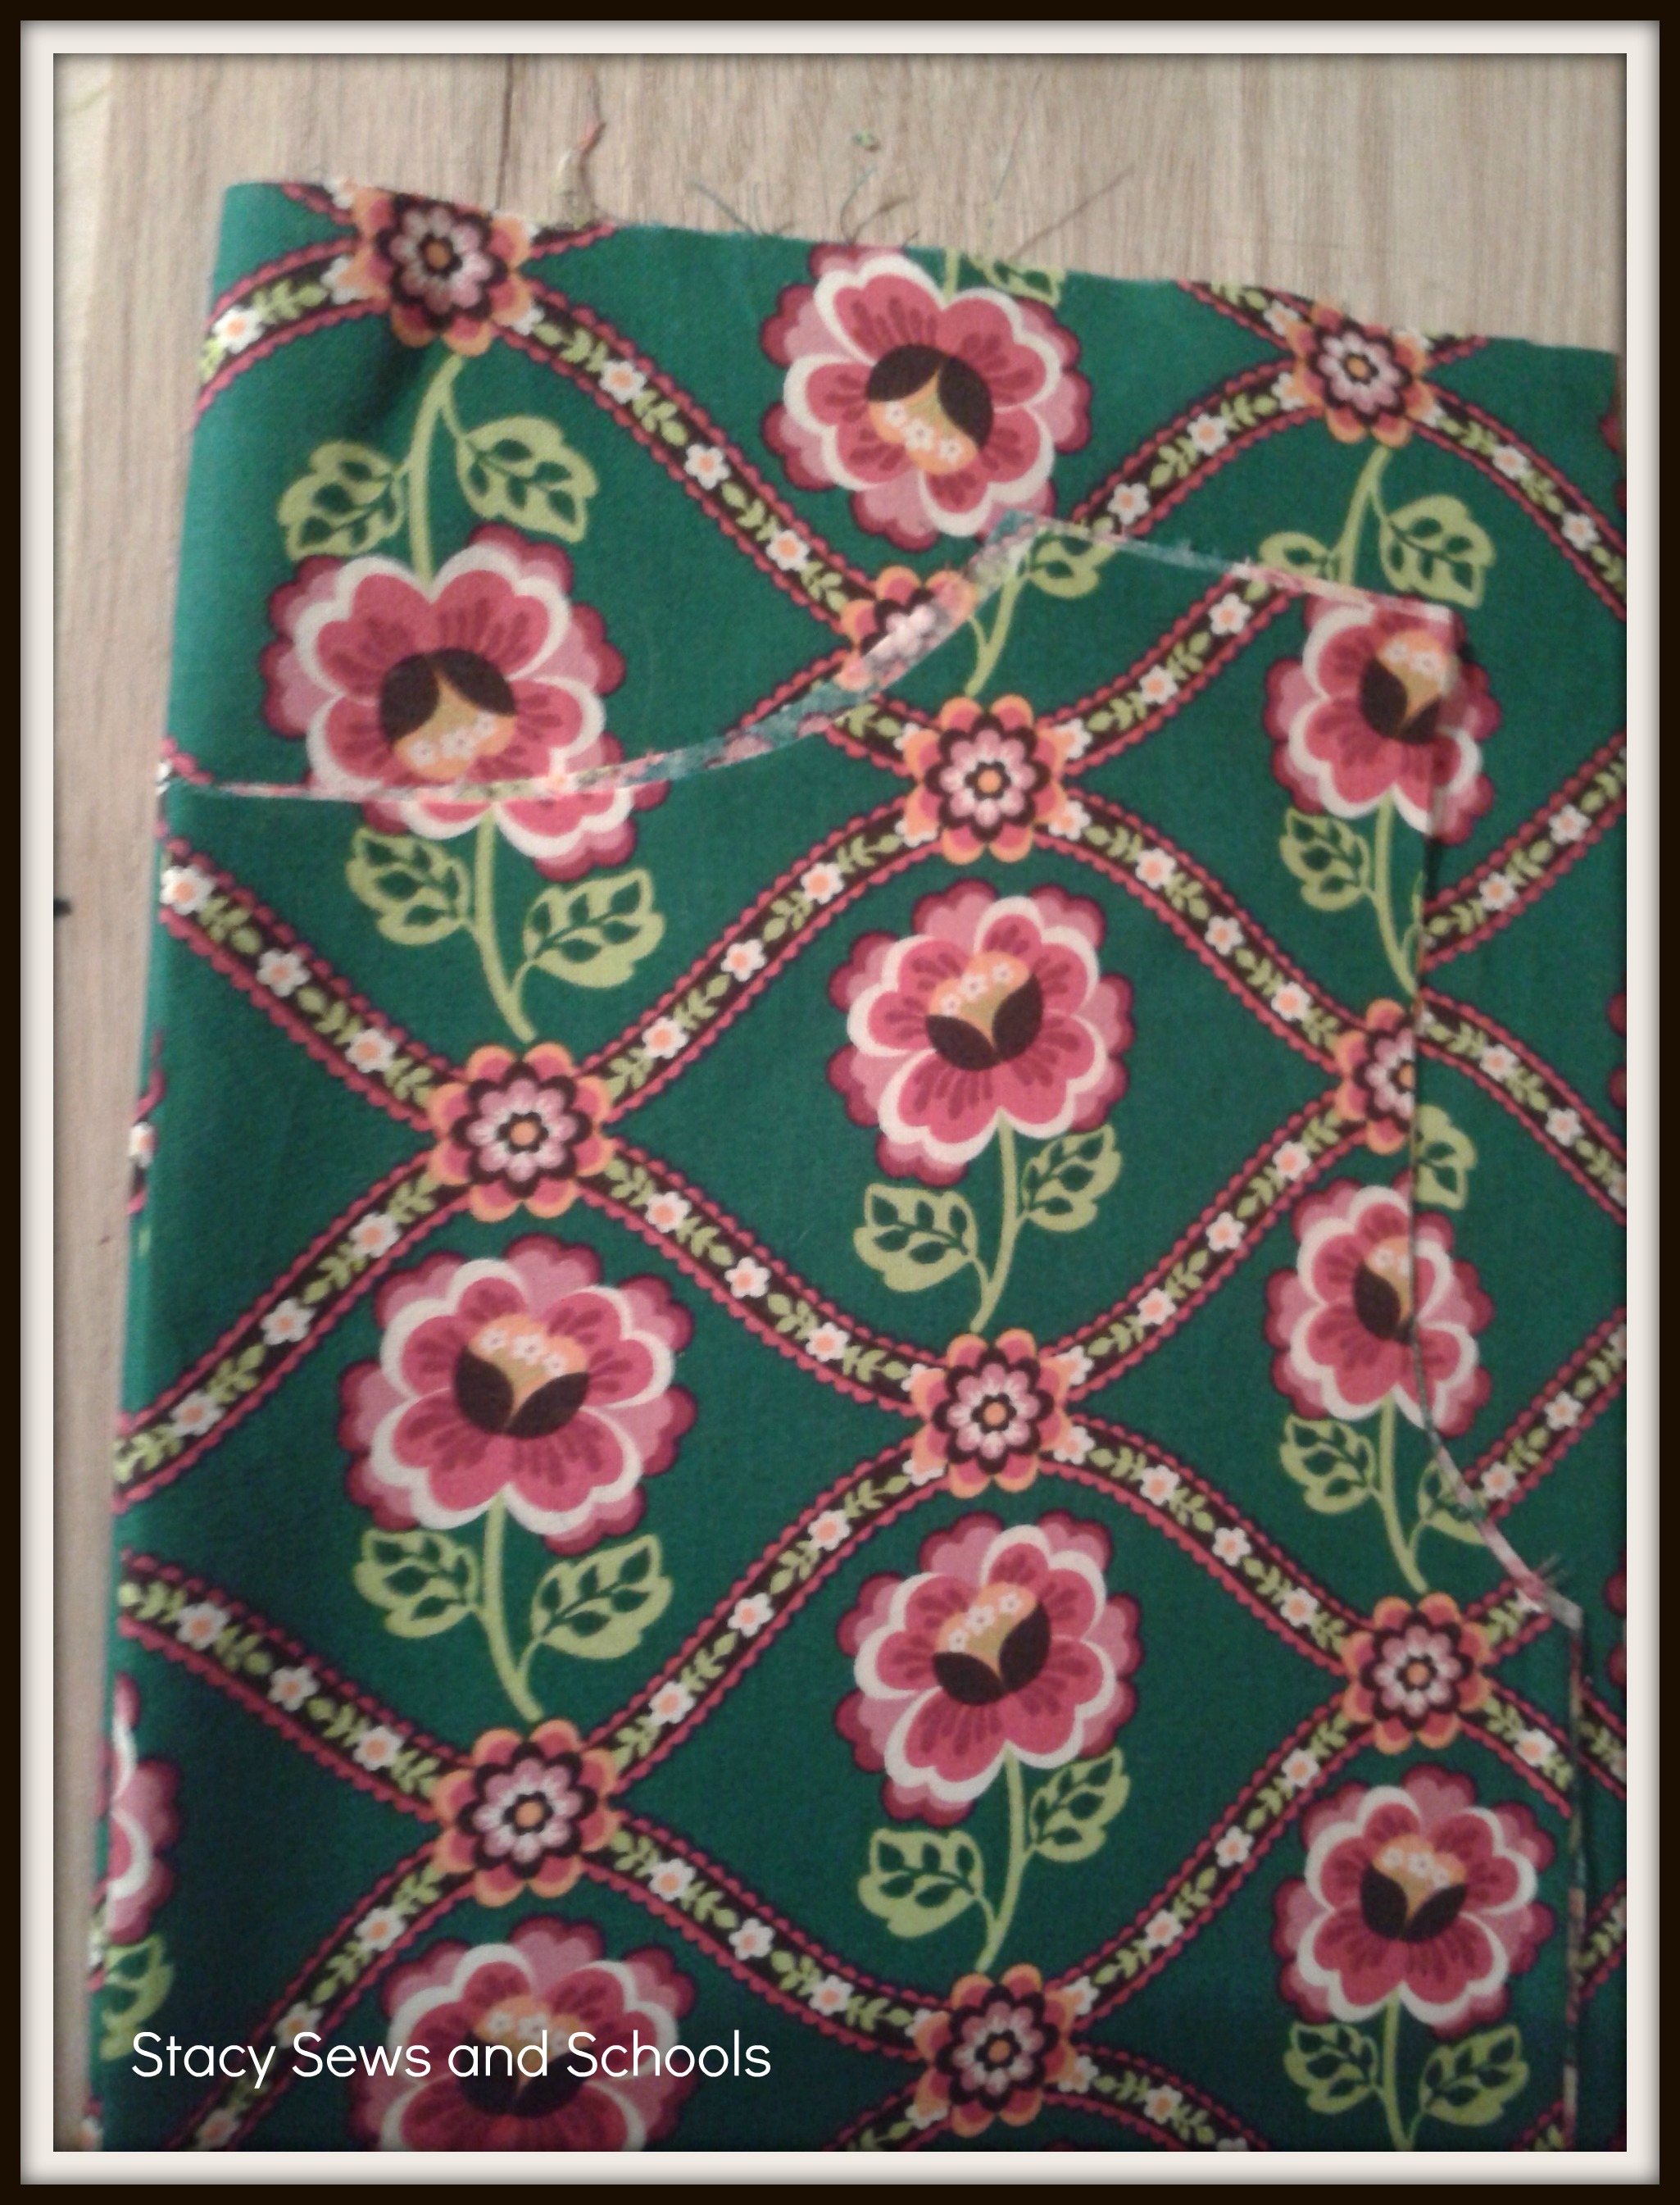
Step 5 - Take front dress piece and place over folded fabric. Cut back piece while using front piece as a guide. You may want to pin it.
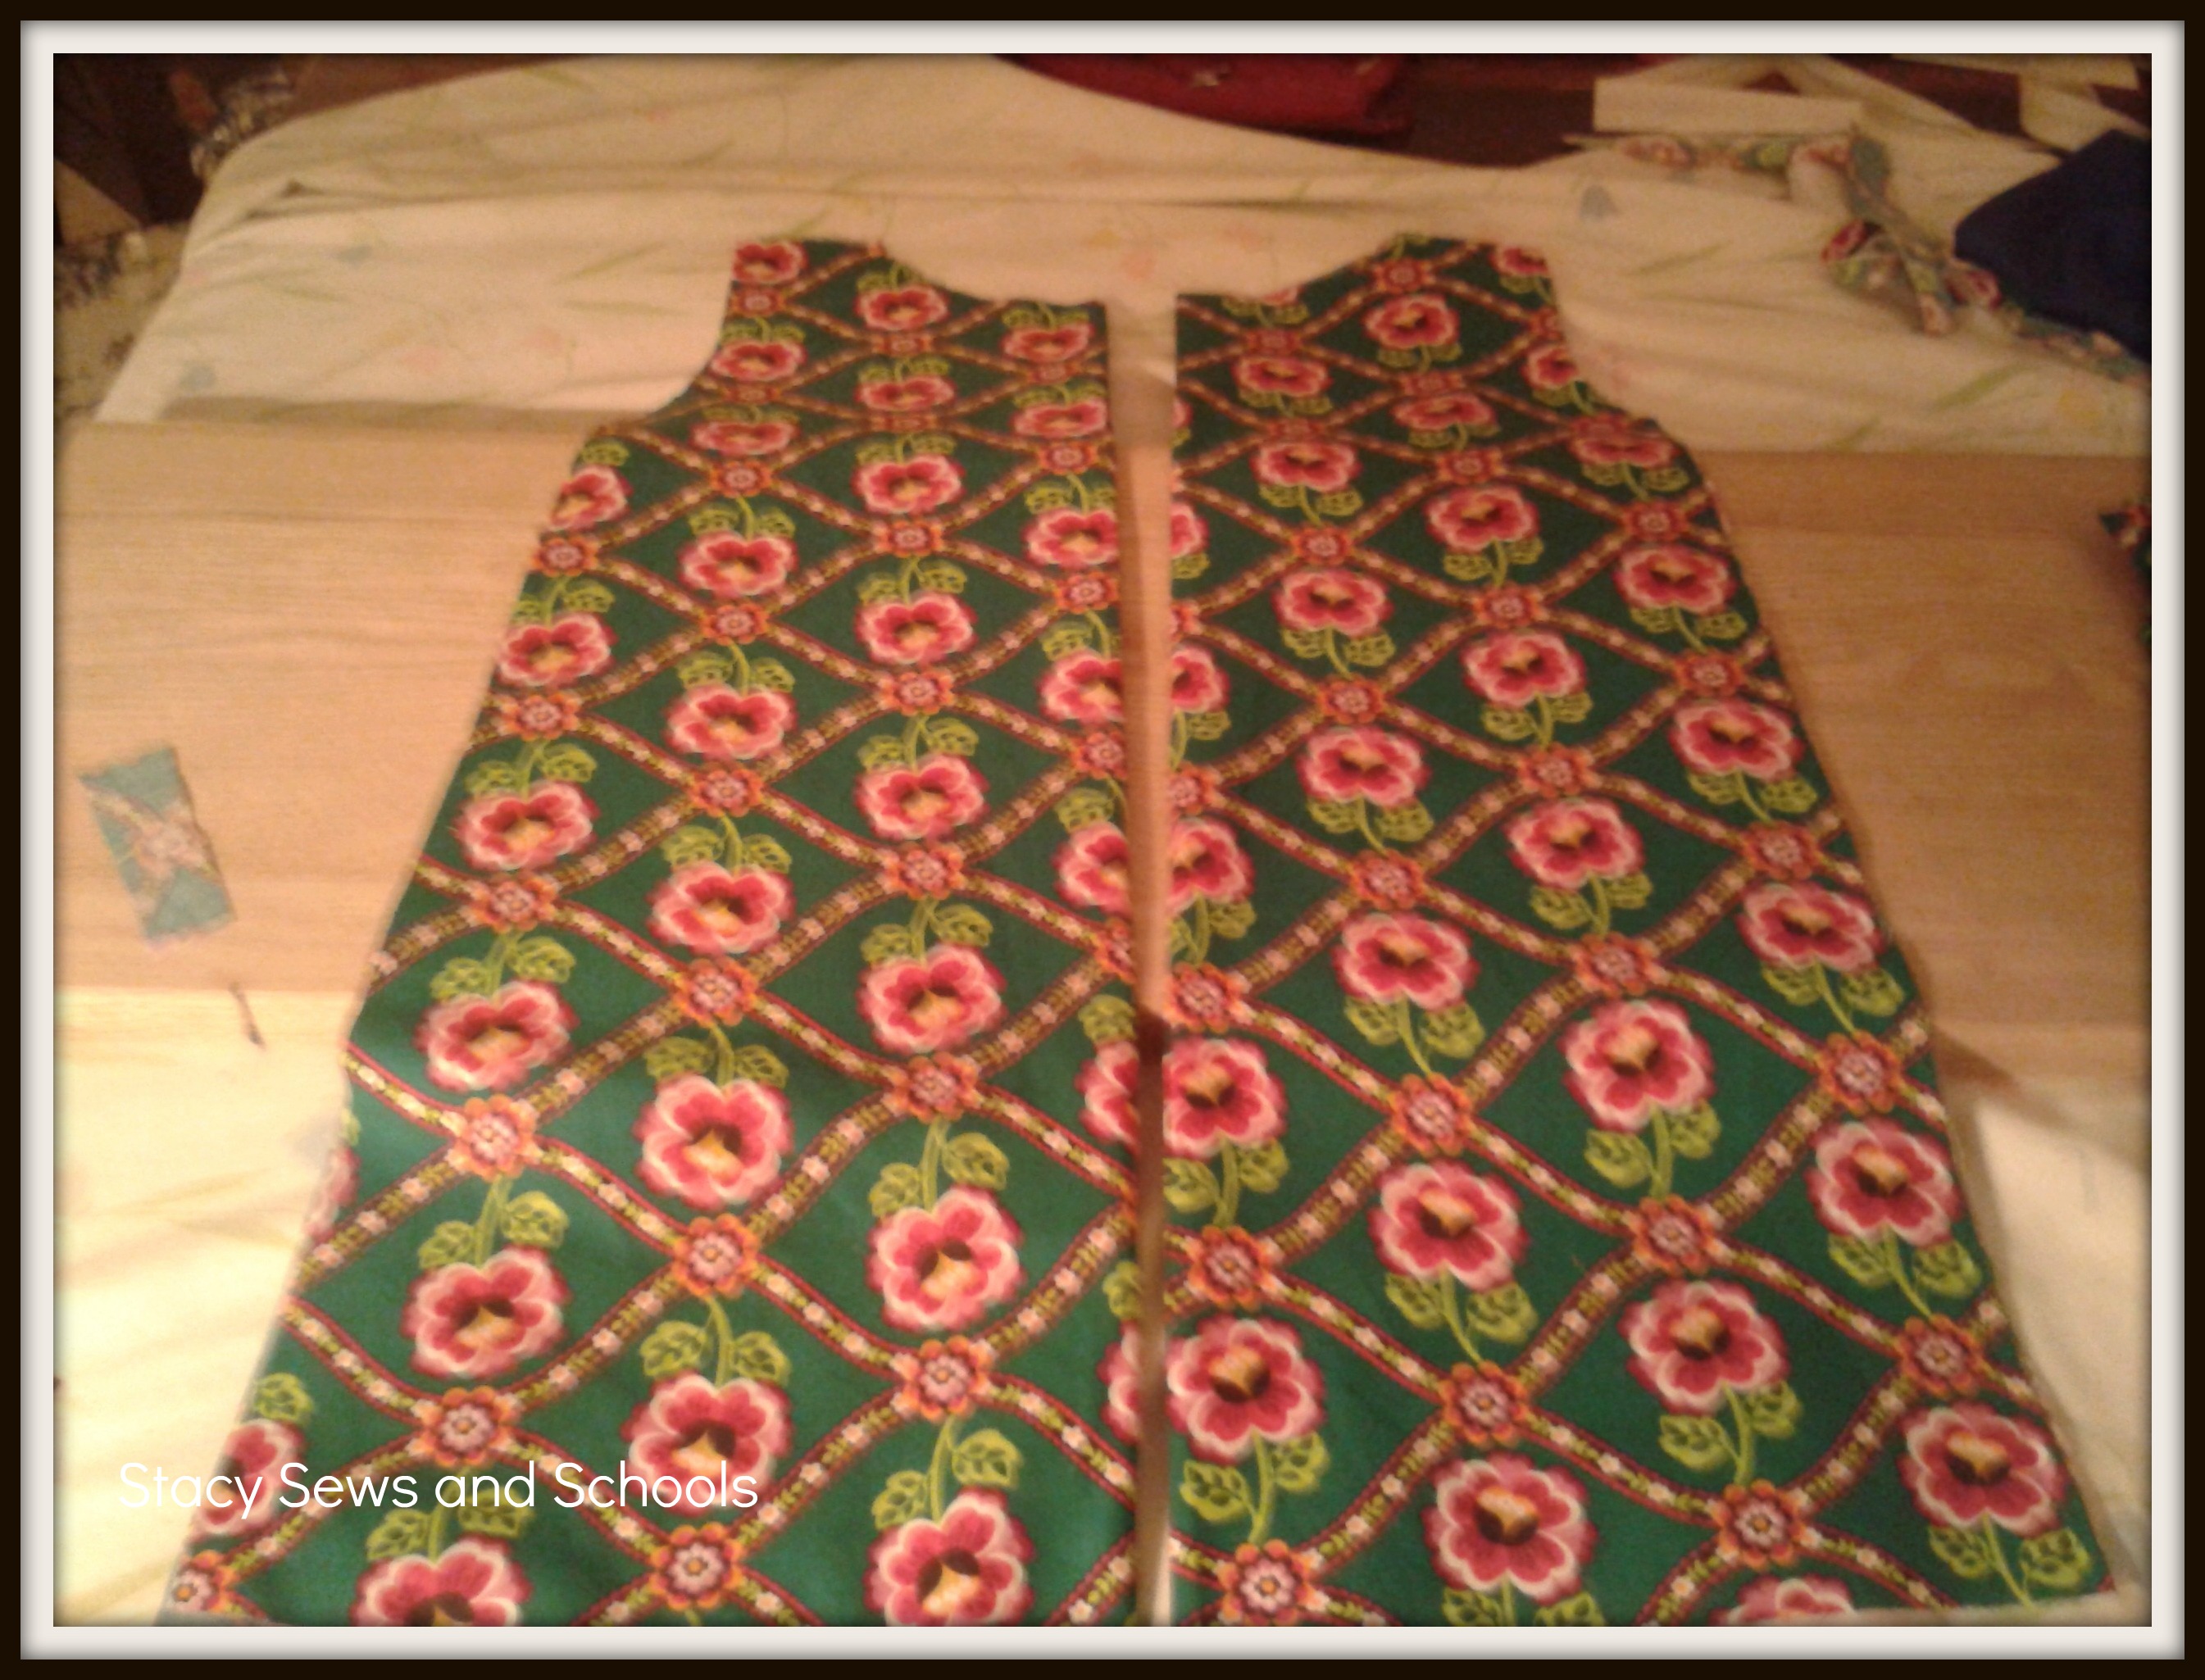
This is what you should have.
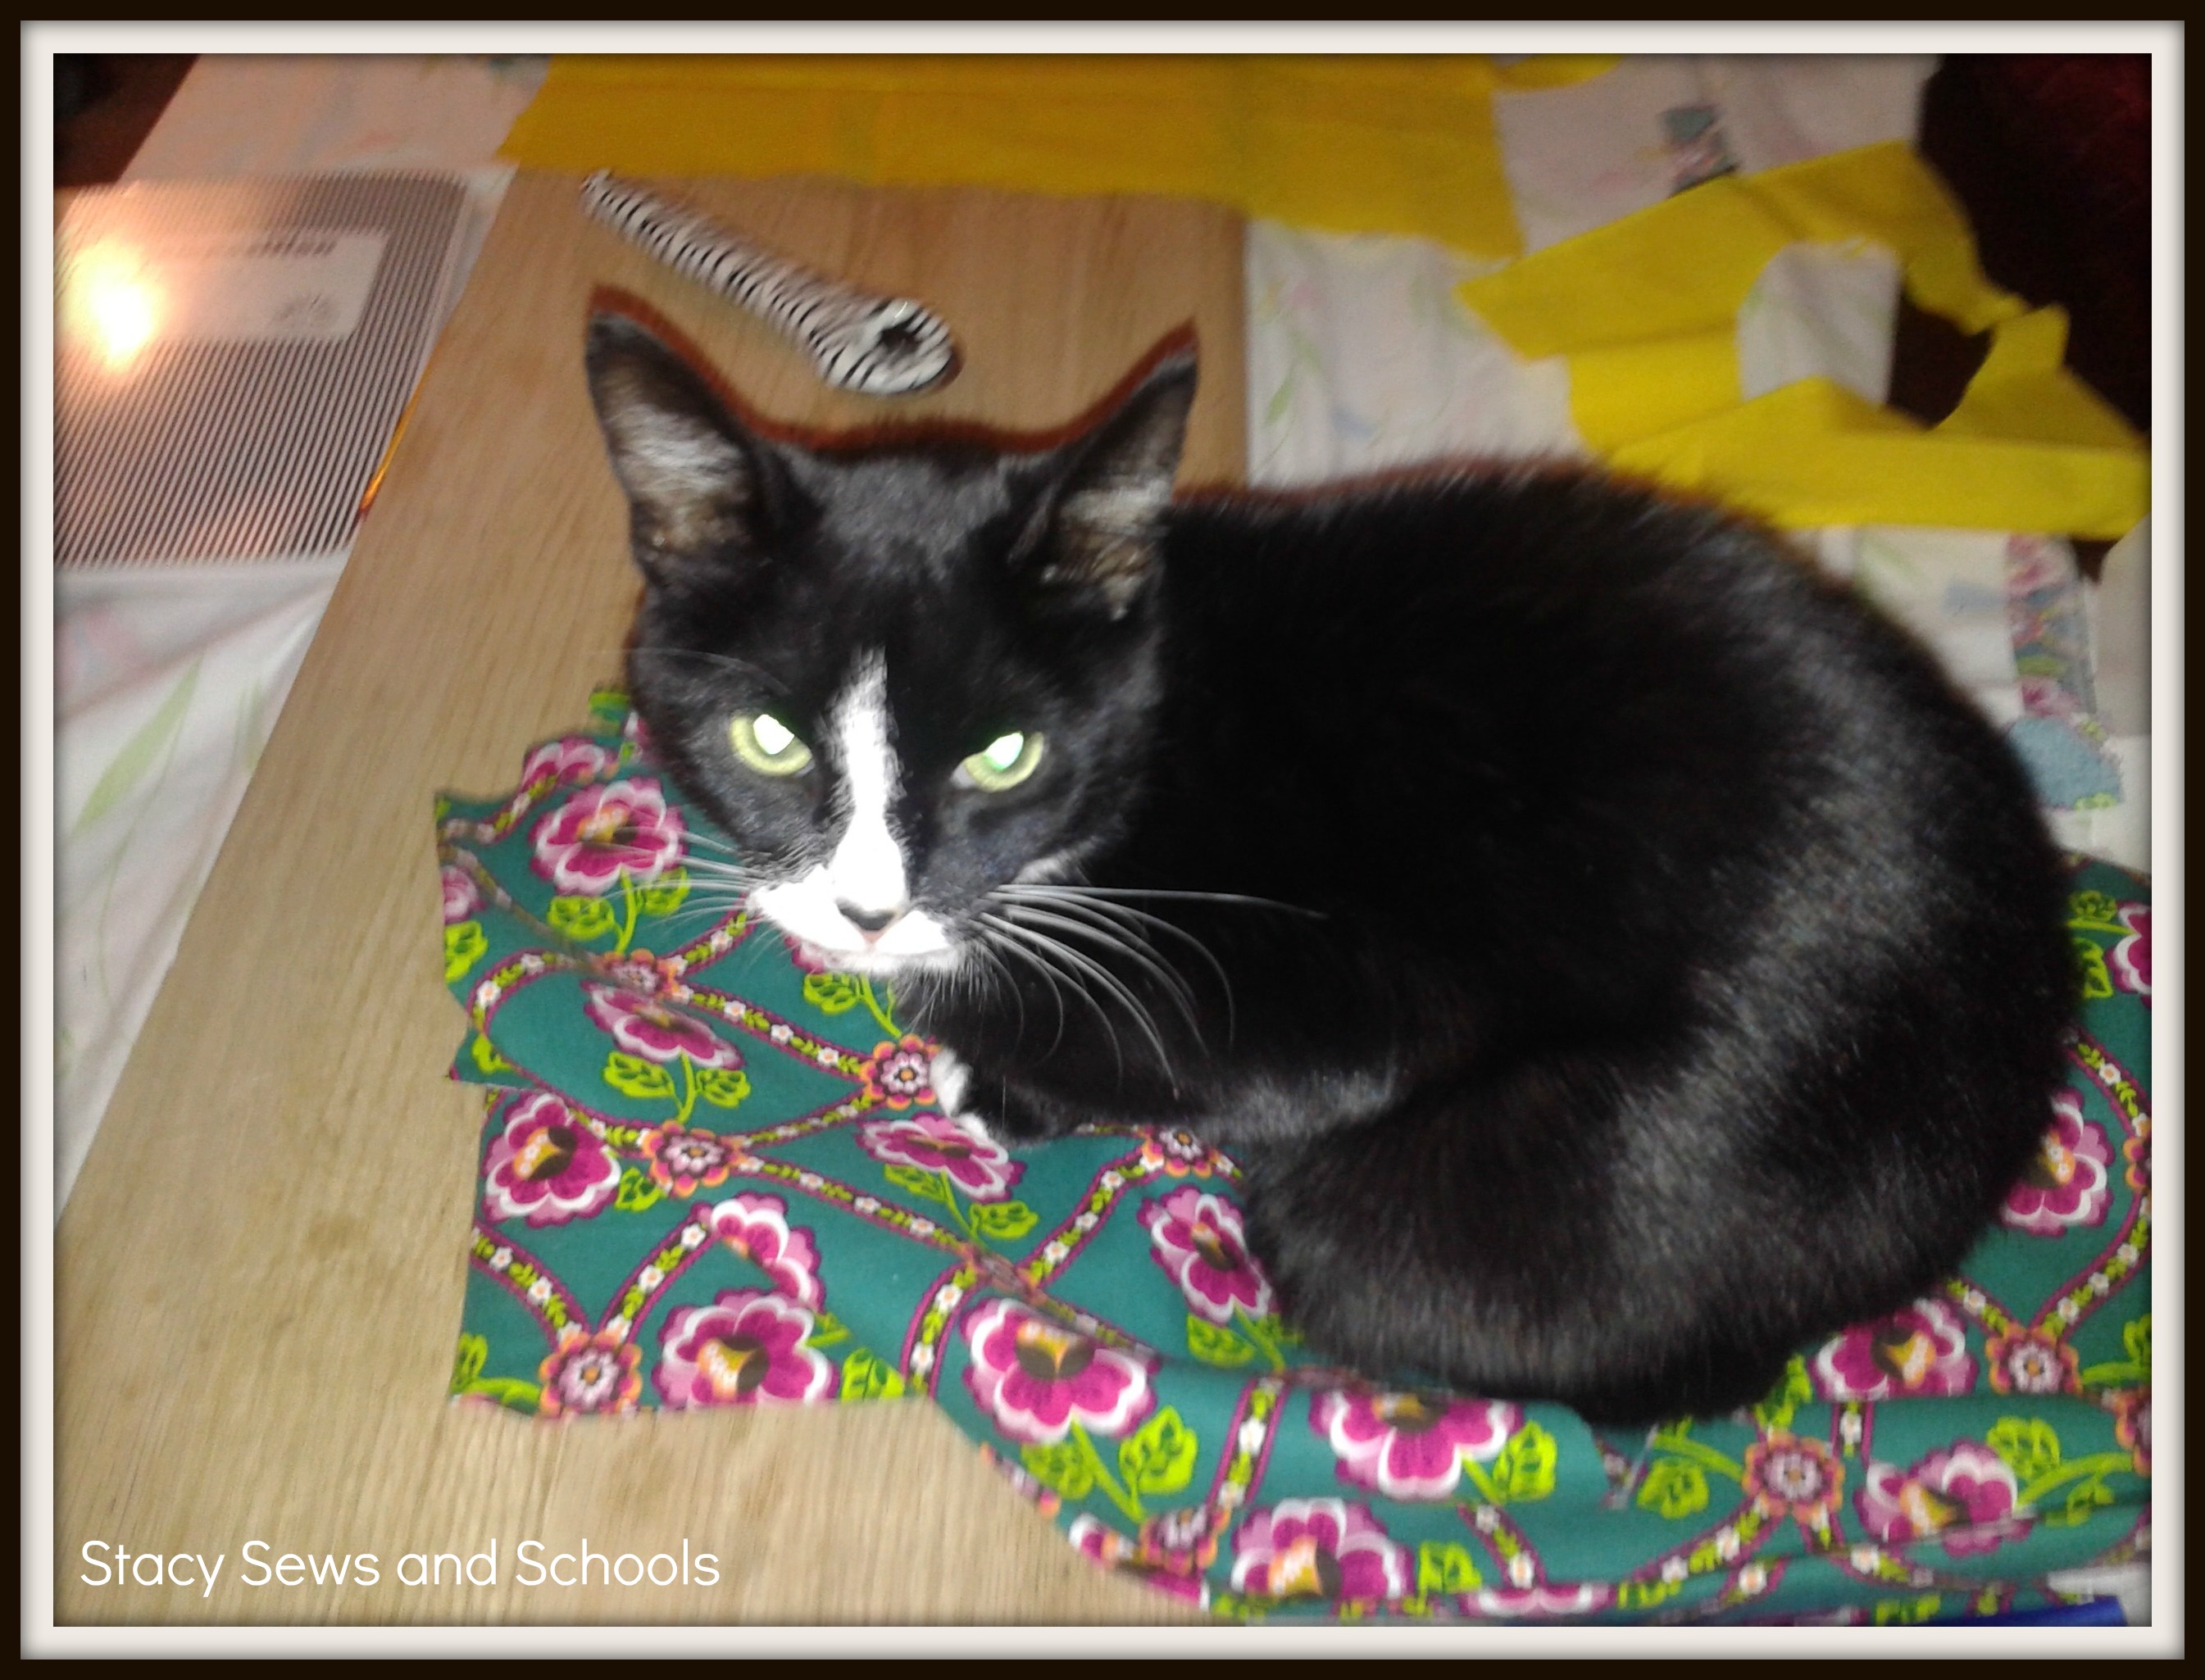
Step 6- Remove cat from your work area!
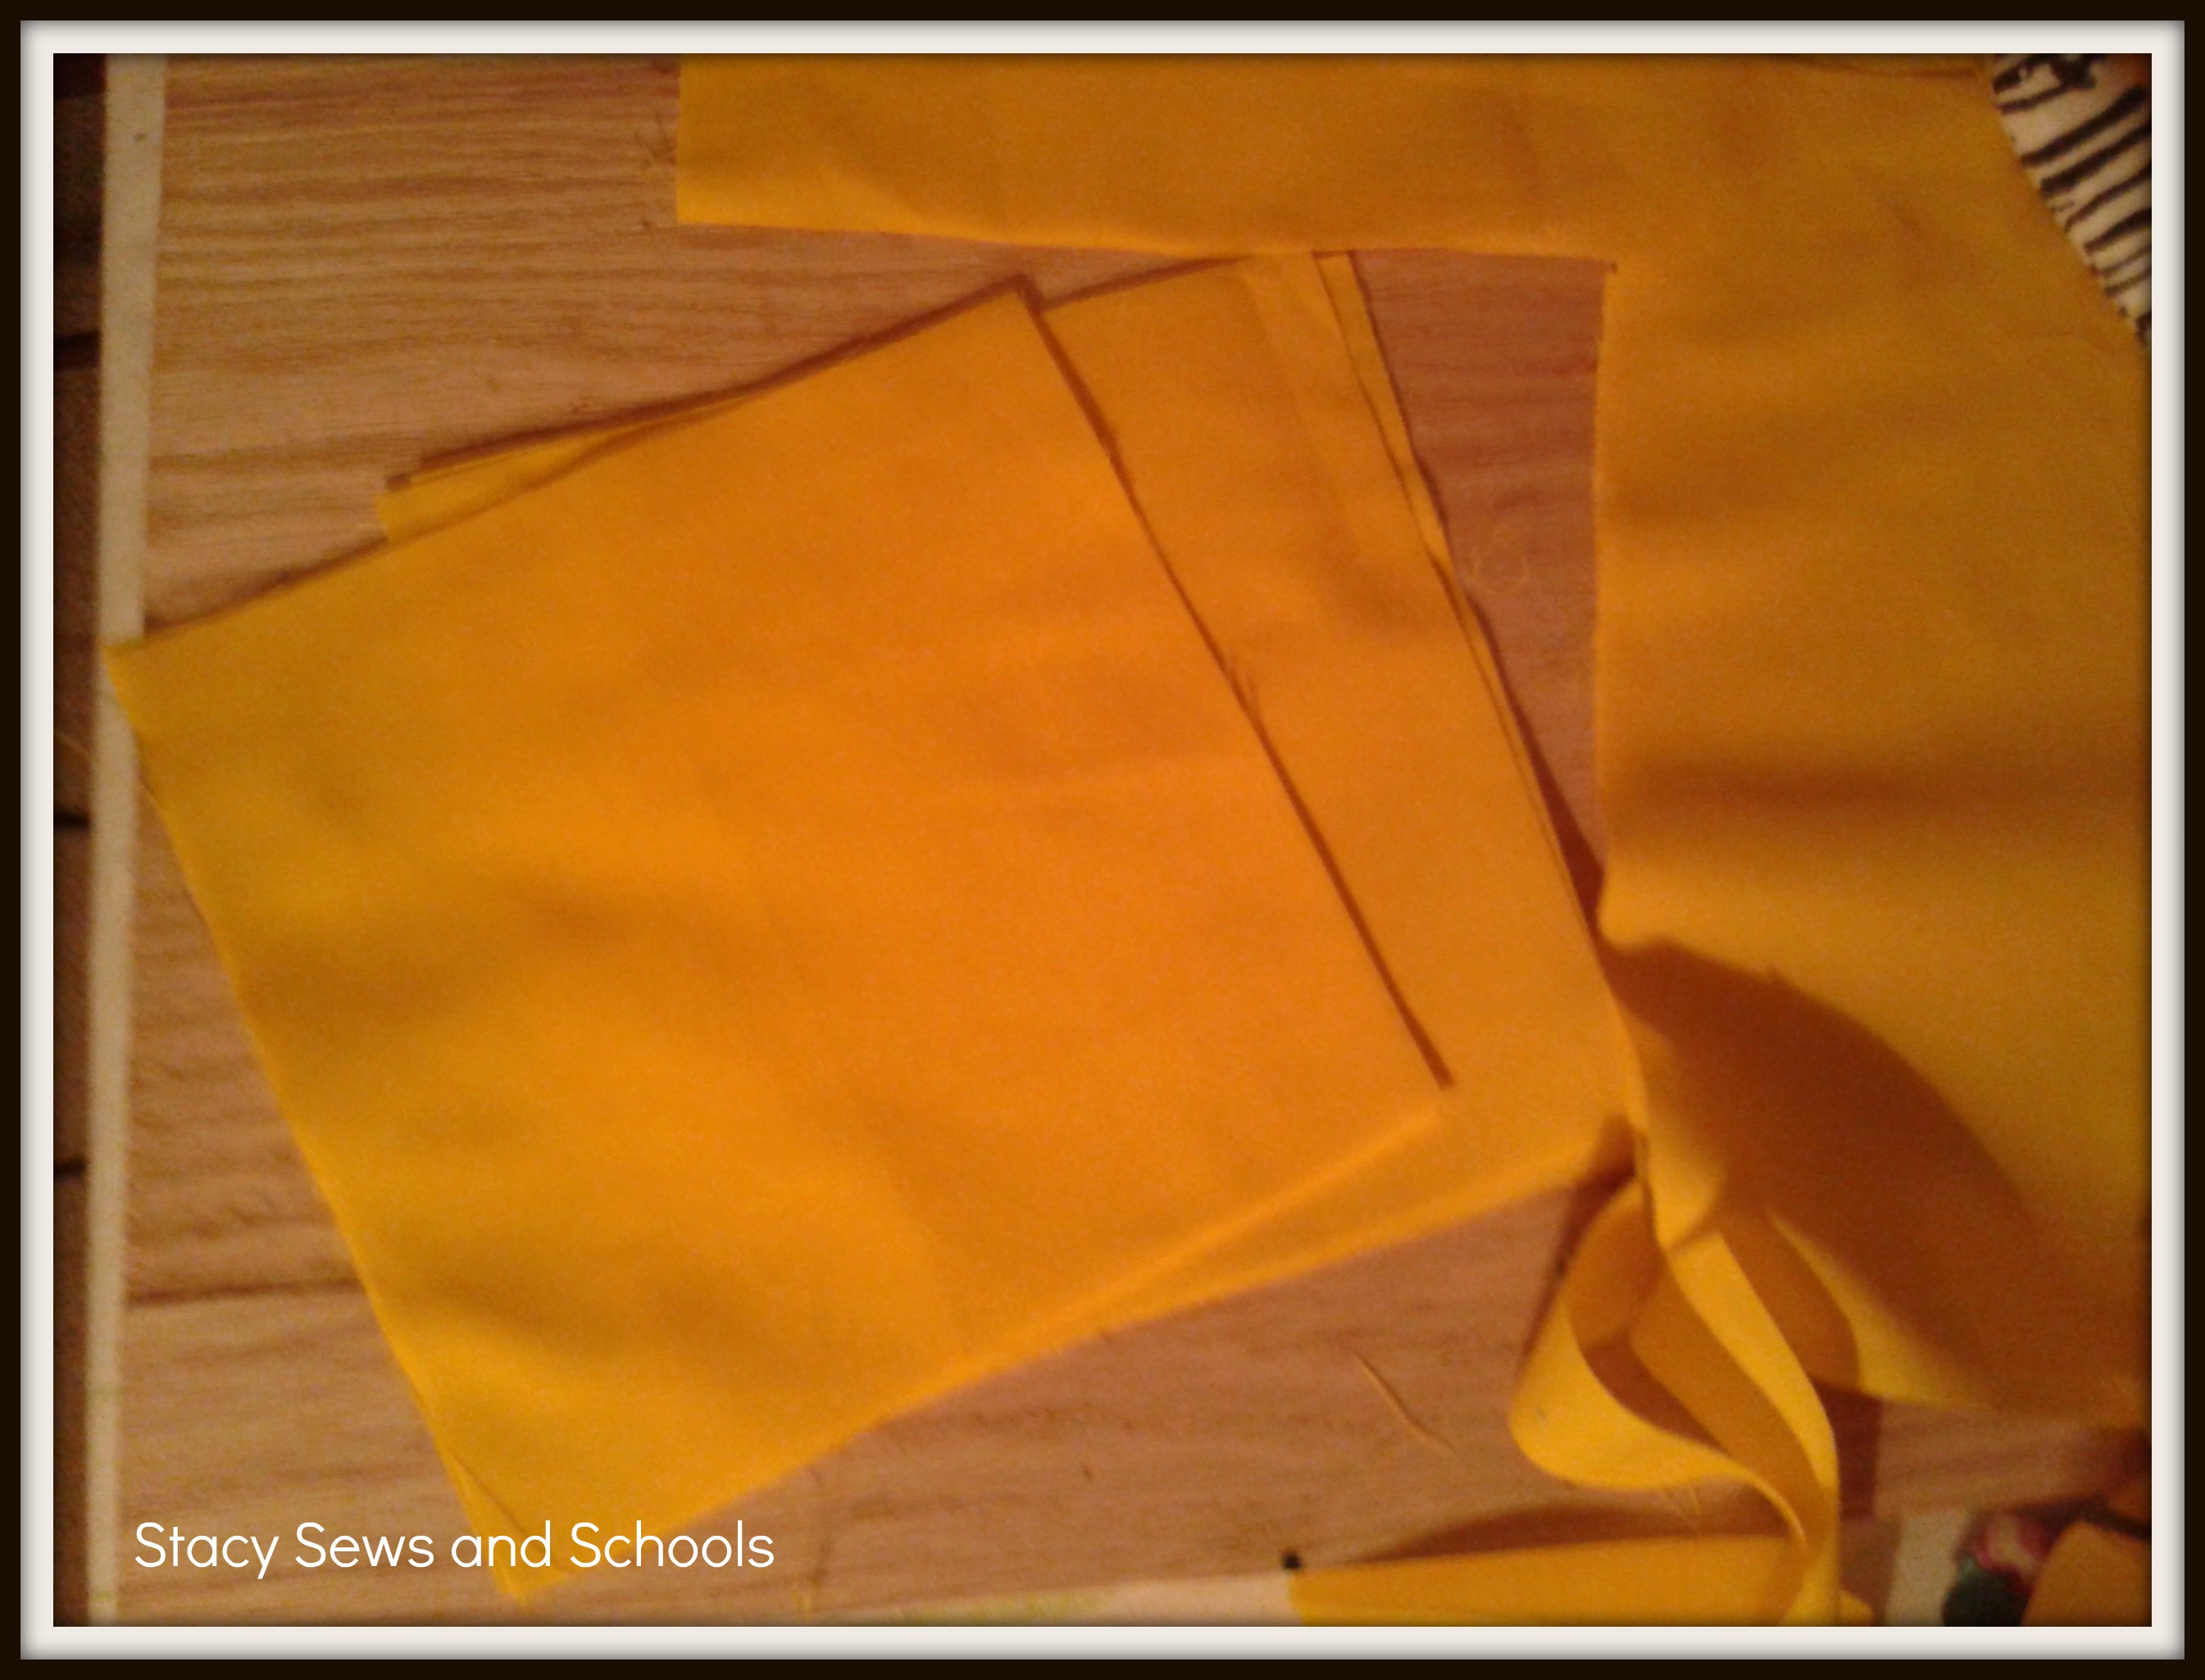
Step 7 - Take your scraps and find something to use as a guide to cut them in the shape you want them to be. Well, I guess you could just eye-ball it.... LOL Cut 4.
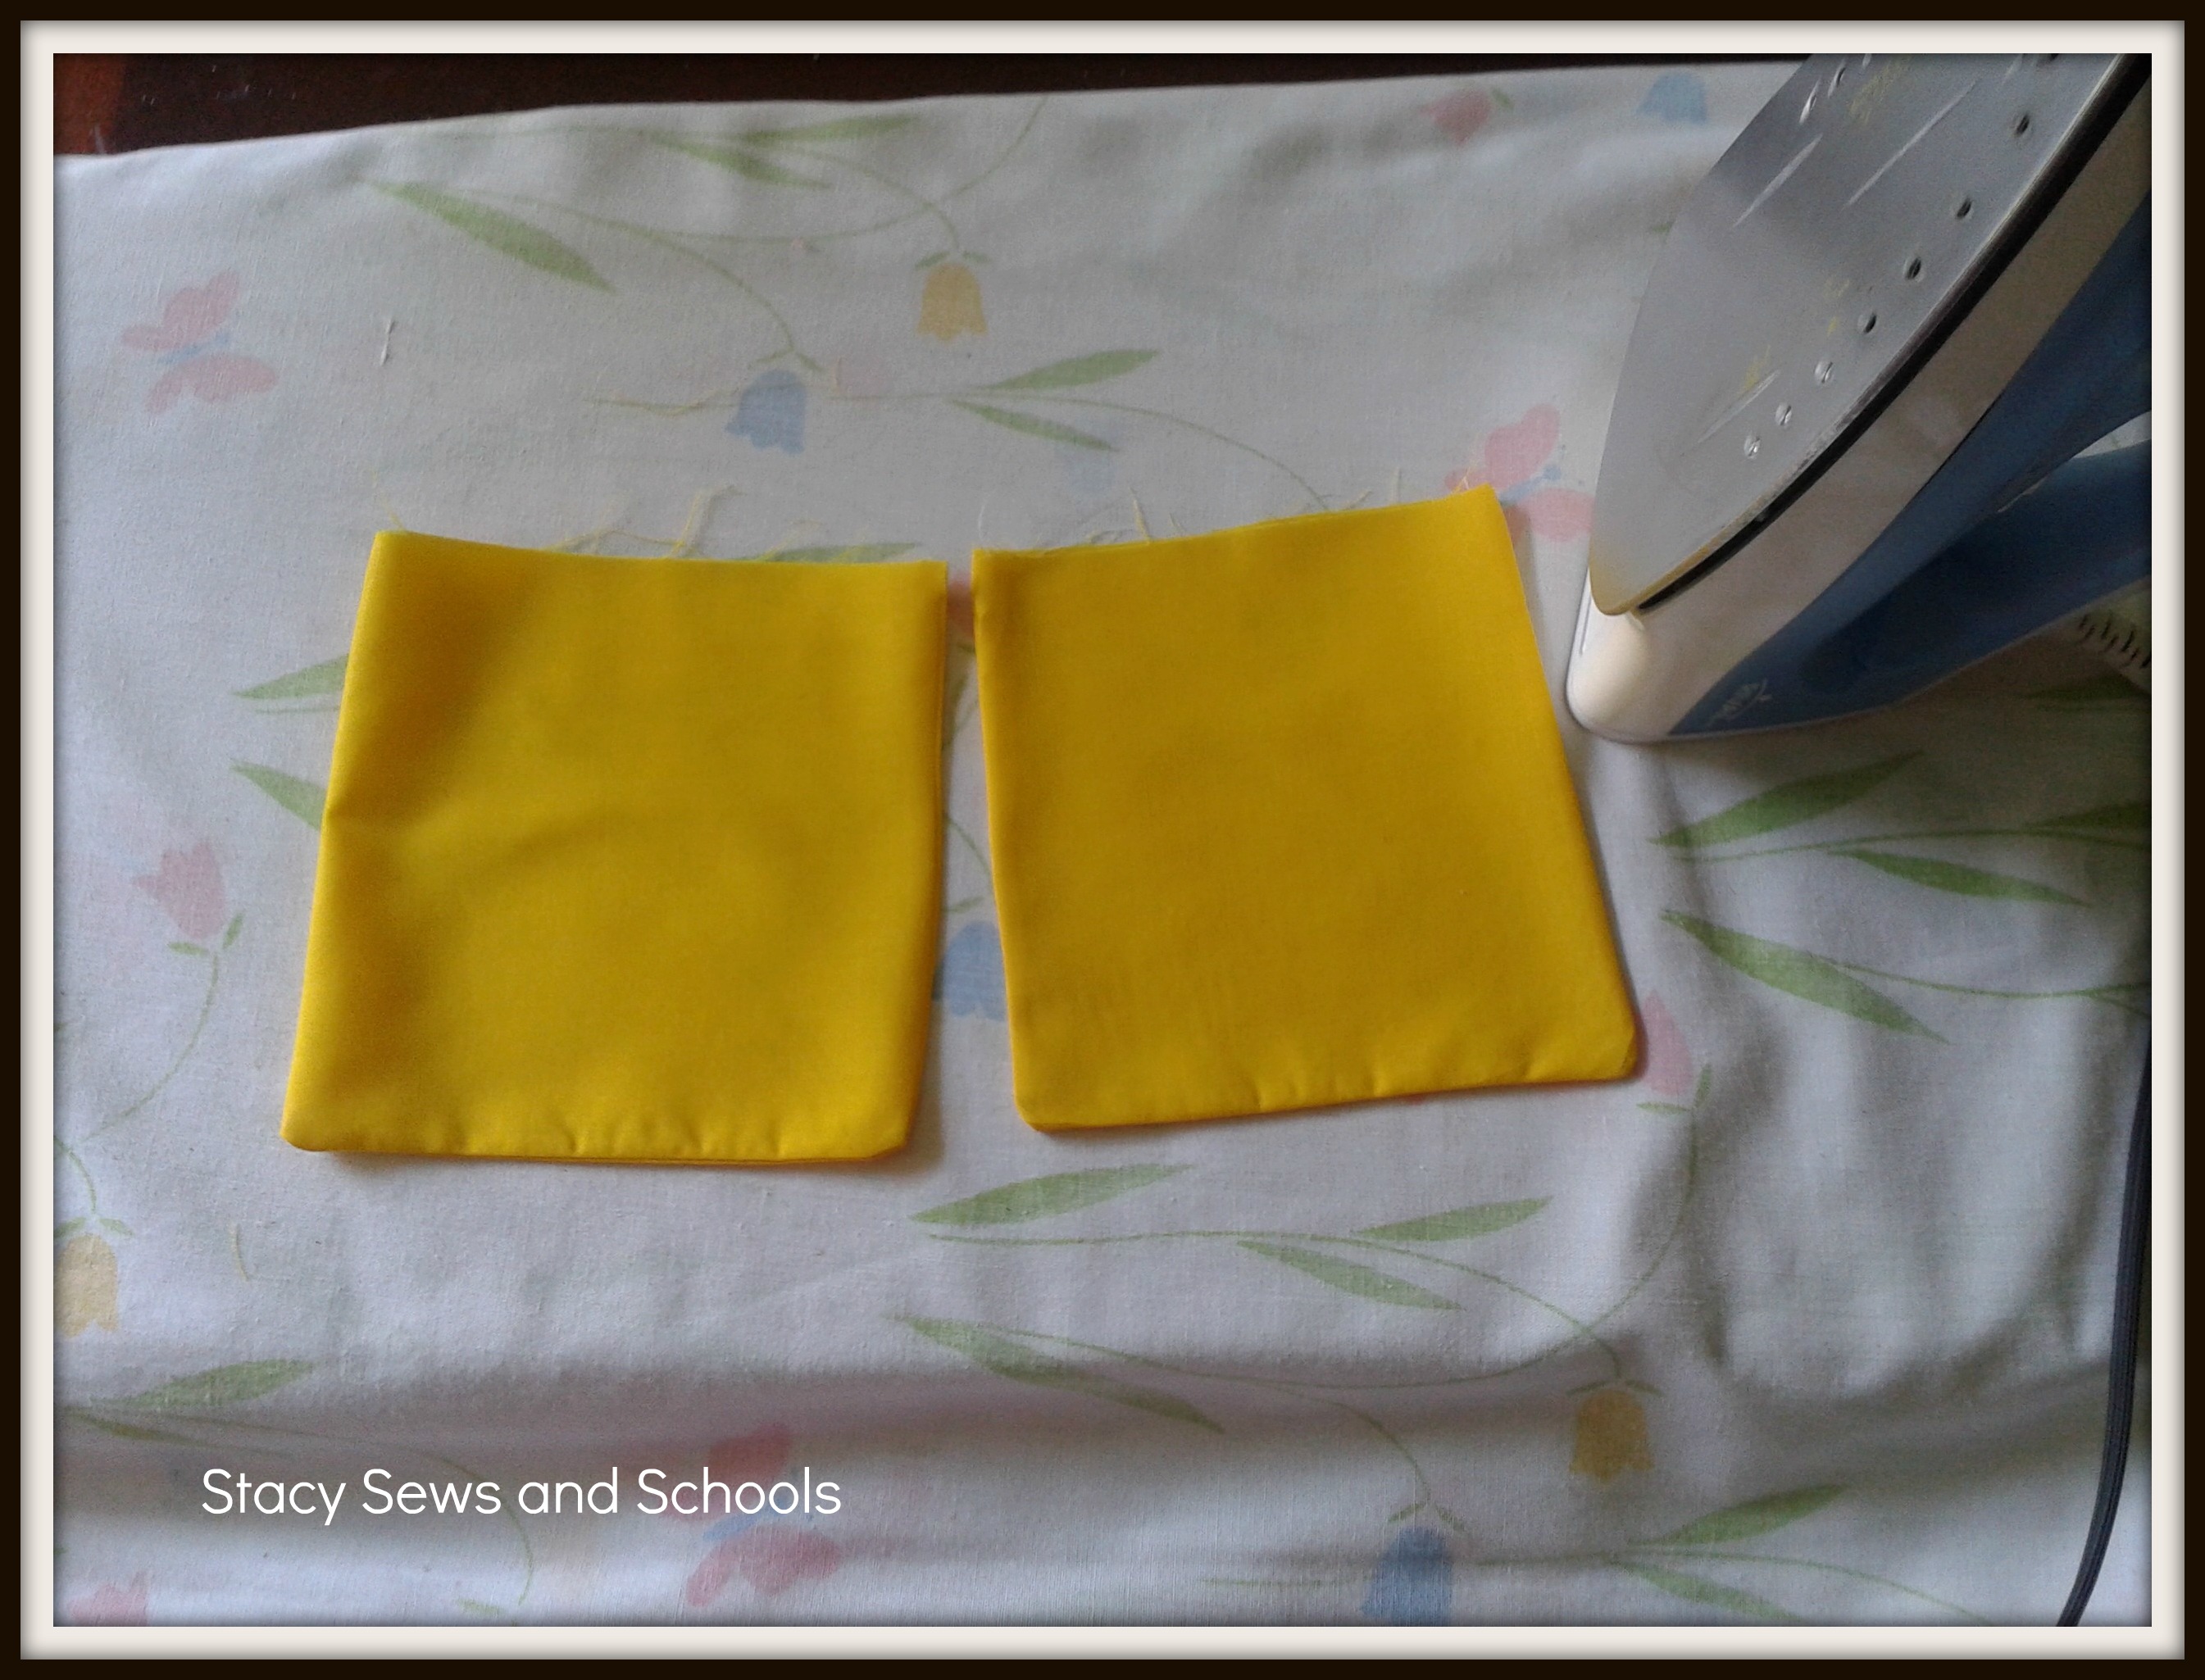
Step 8 - Pin 2 pieces together and sew up 3 sides. Do the same to the other 2 pieces.
Turn right side out and press.
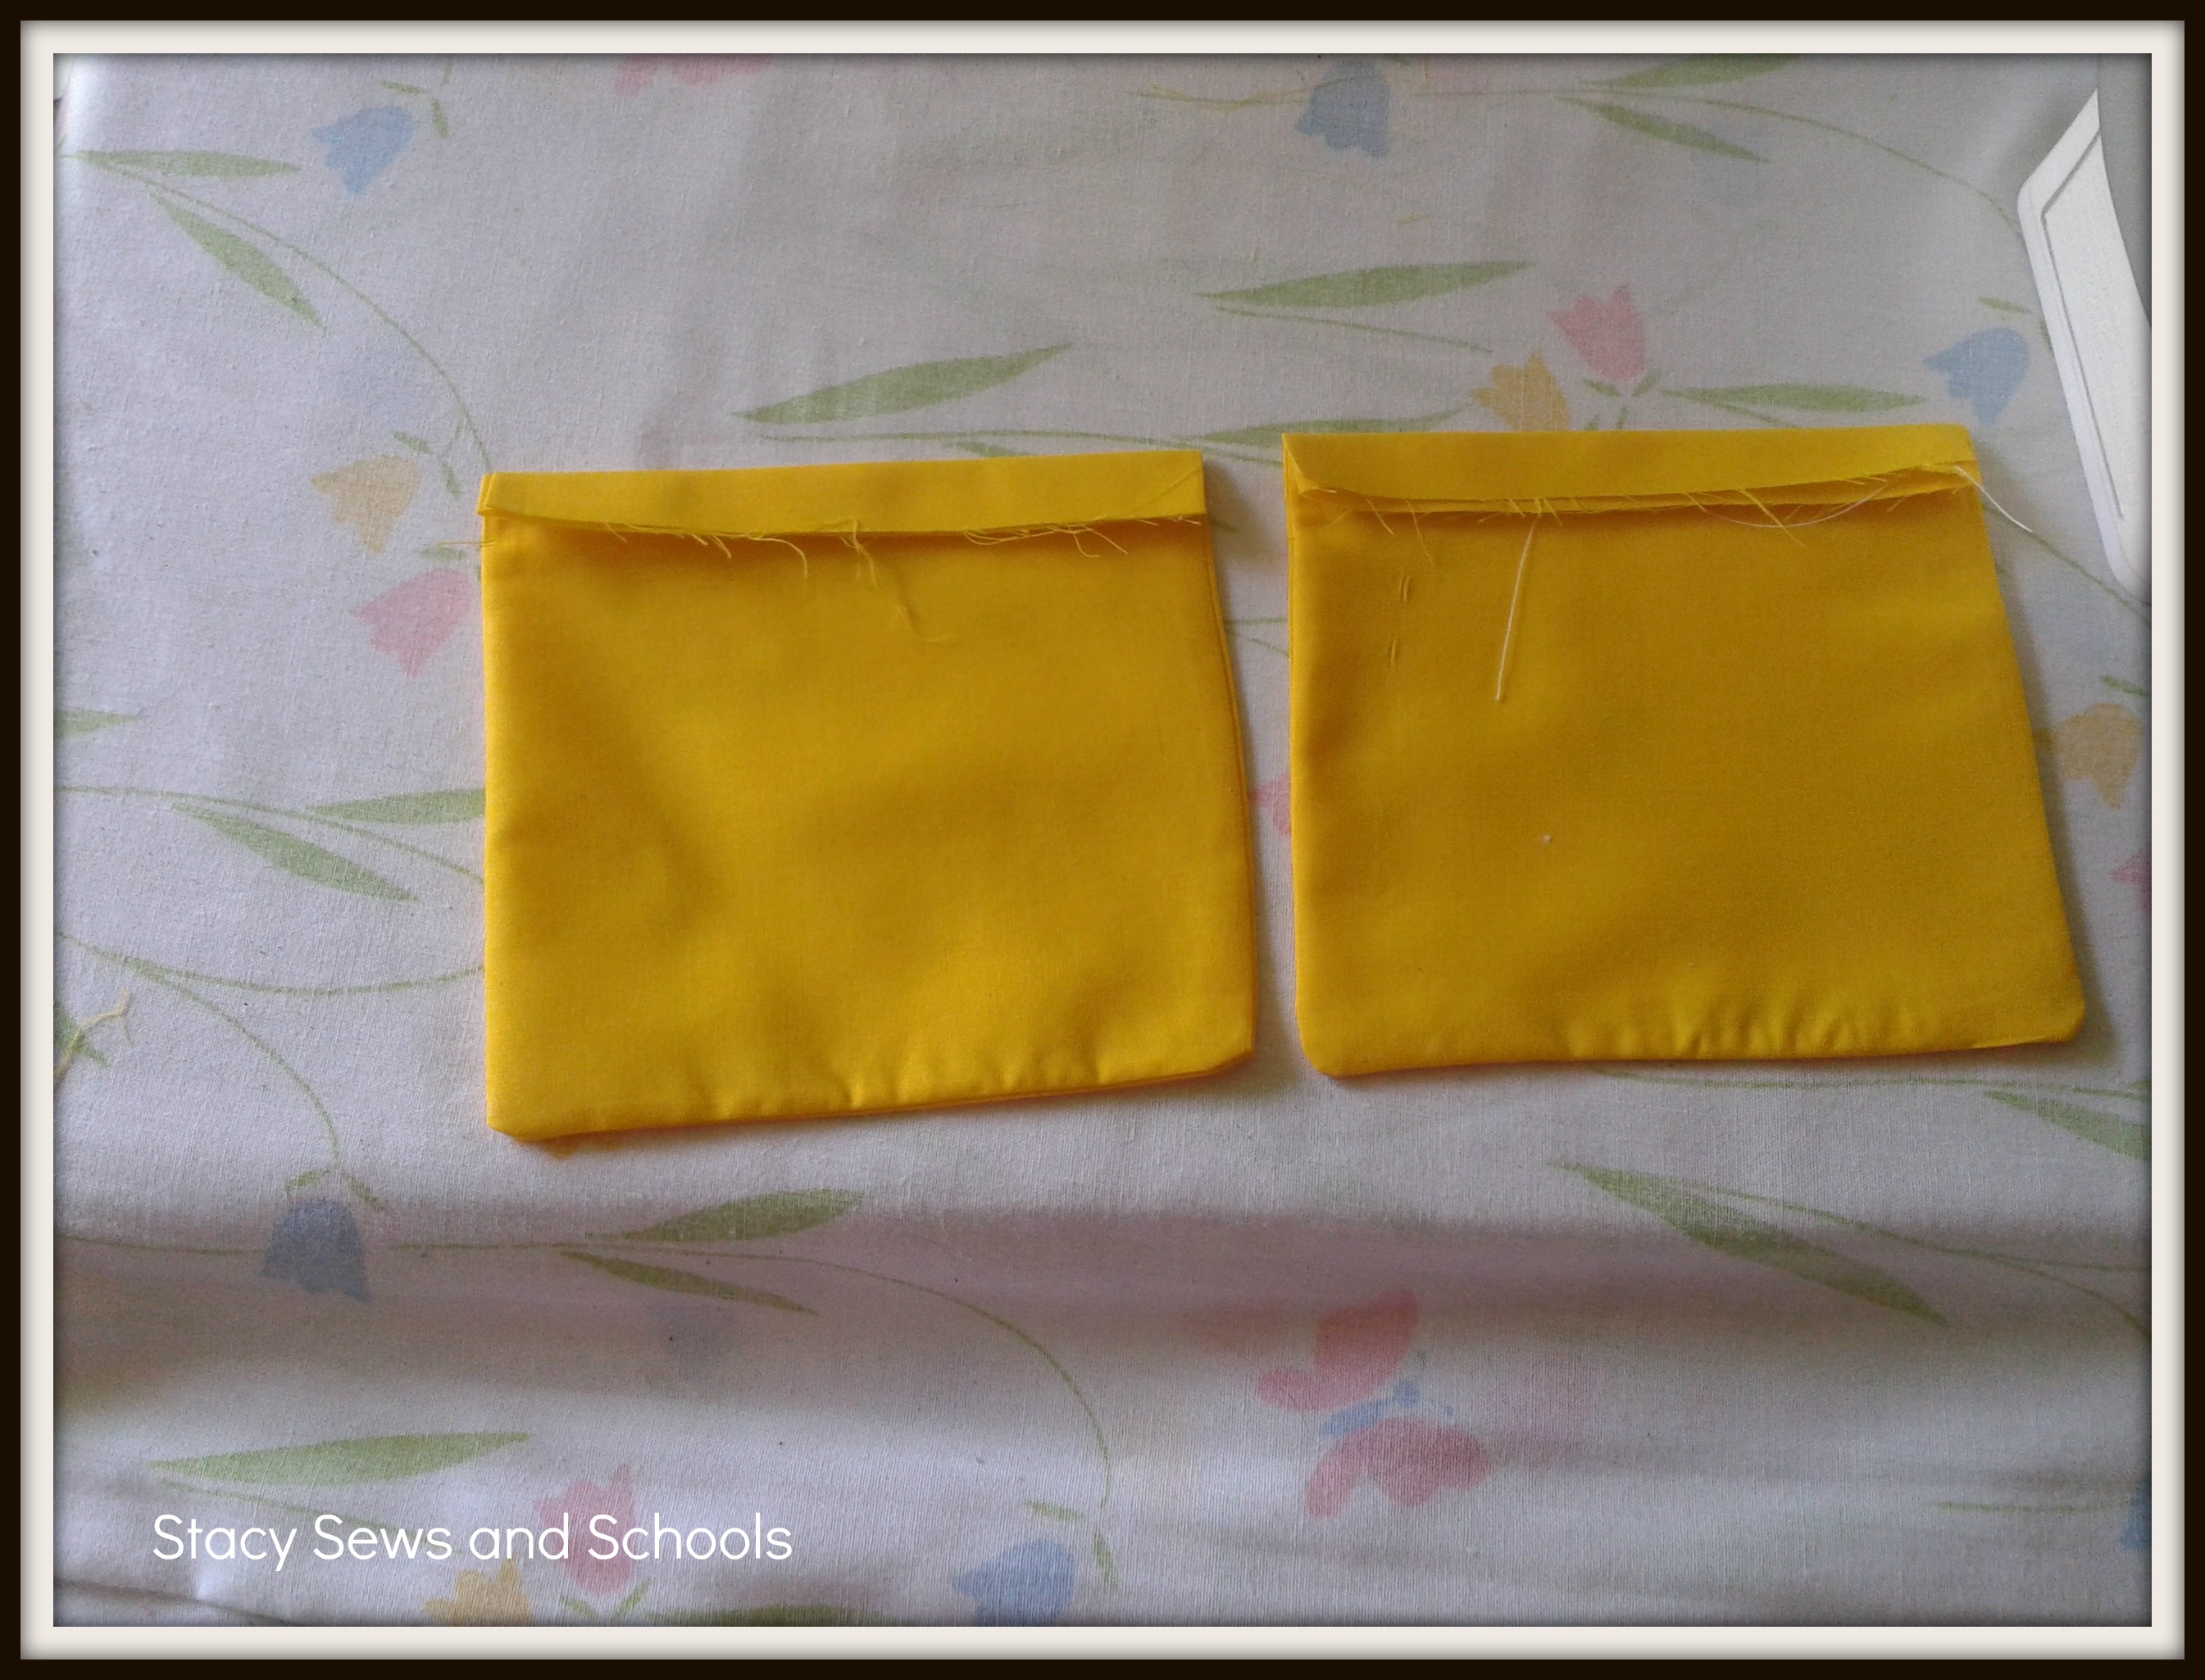
Step 9 - Turn down 1/2" from the top and press.
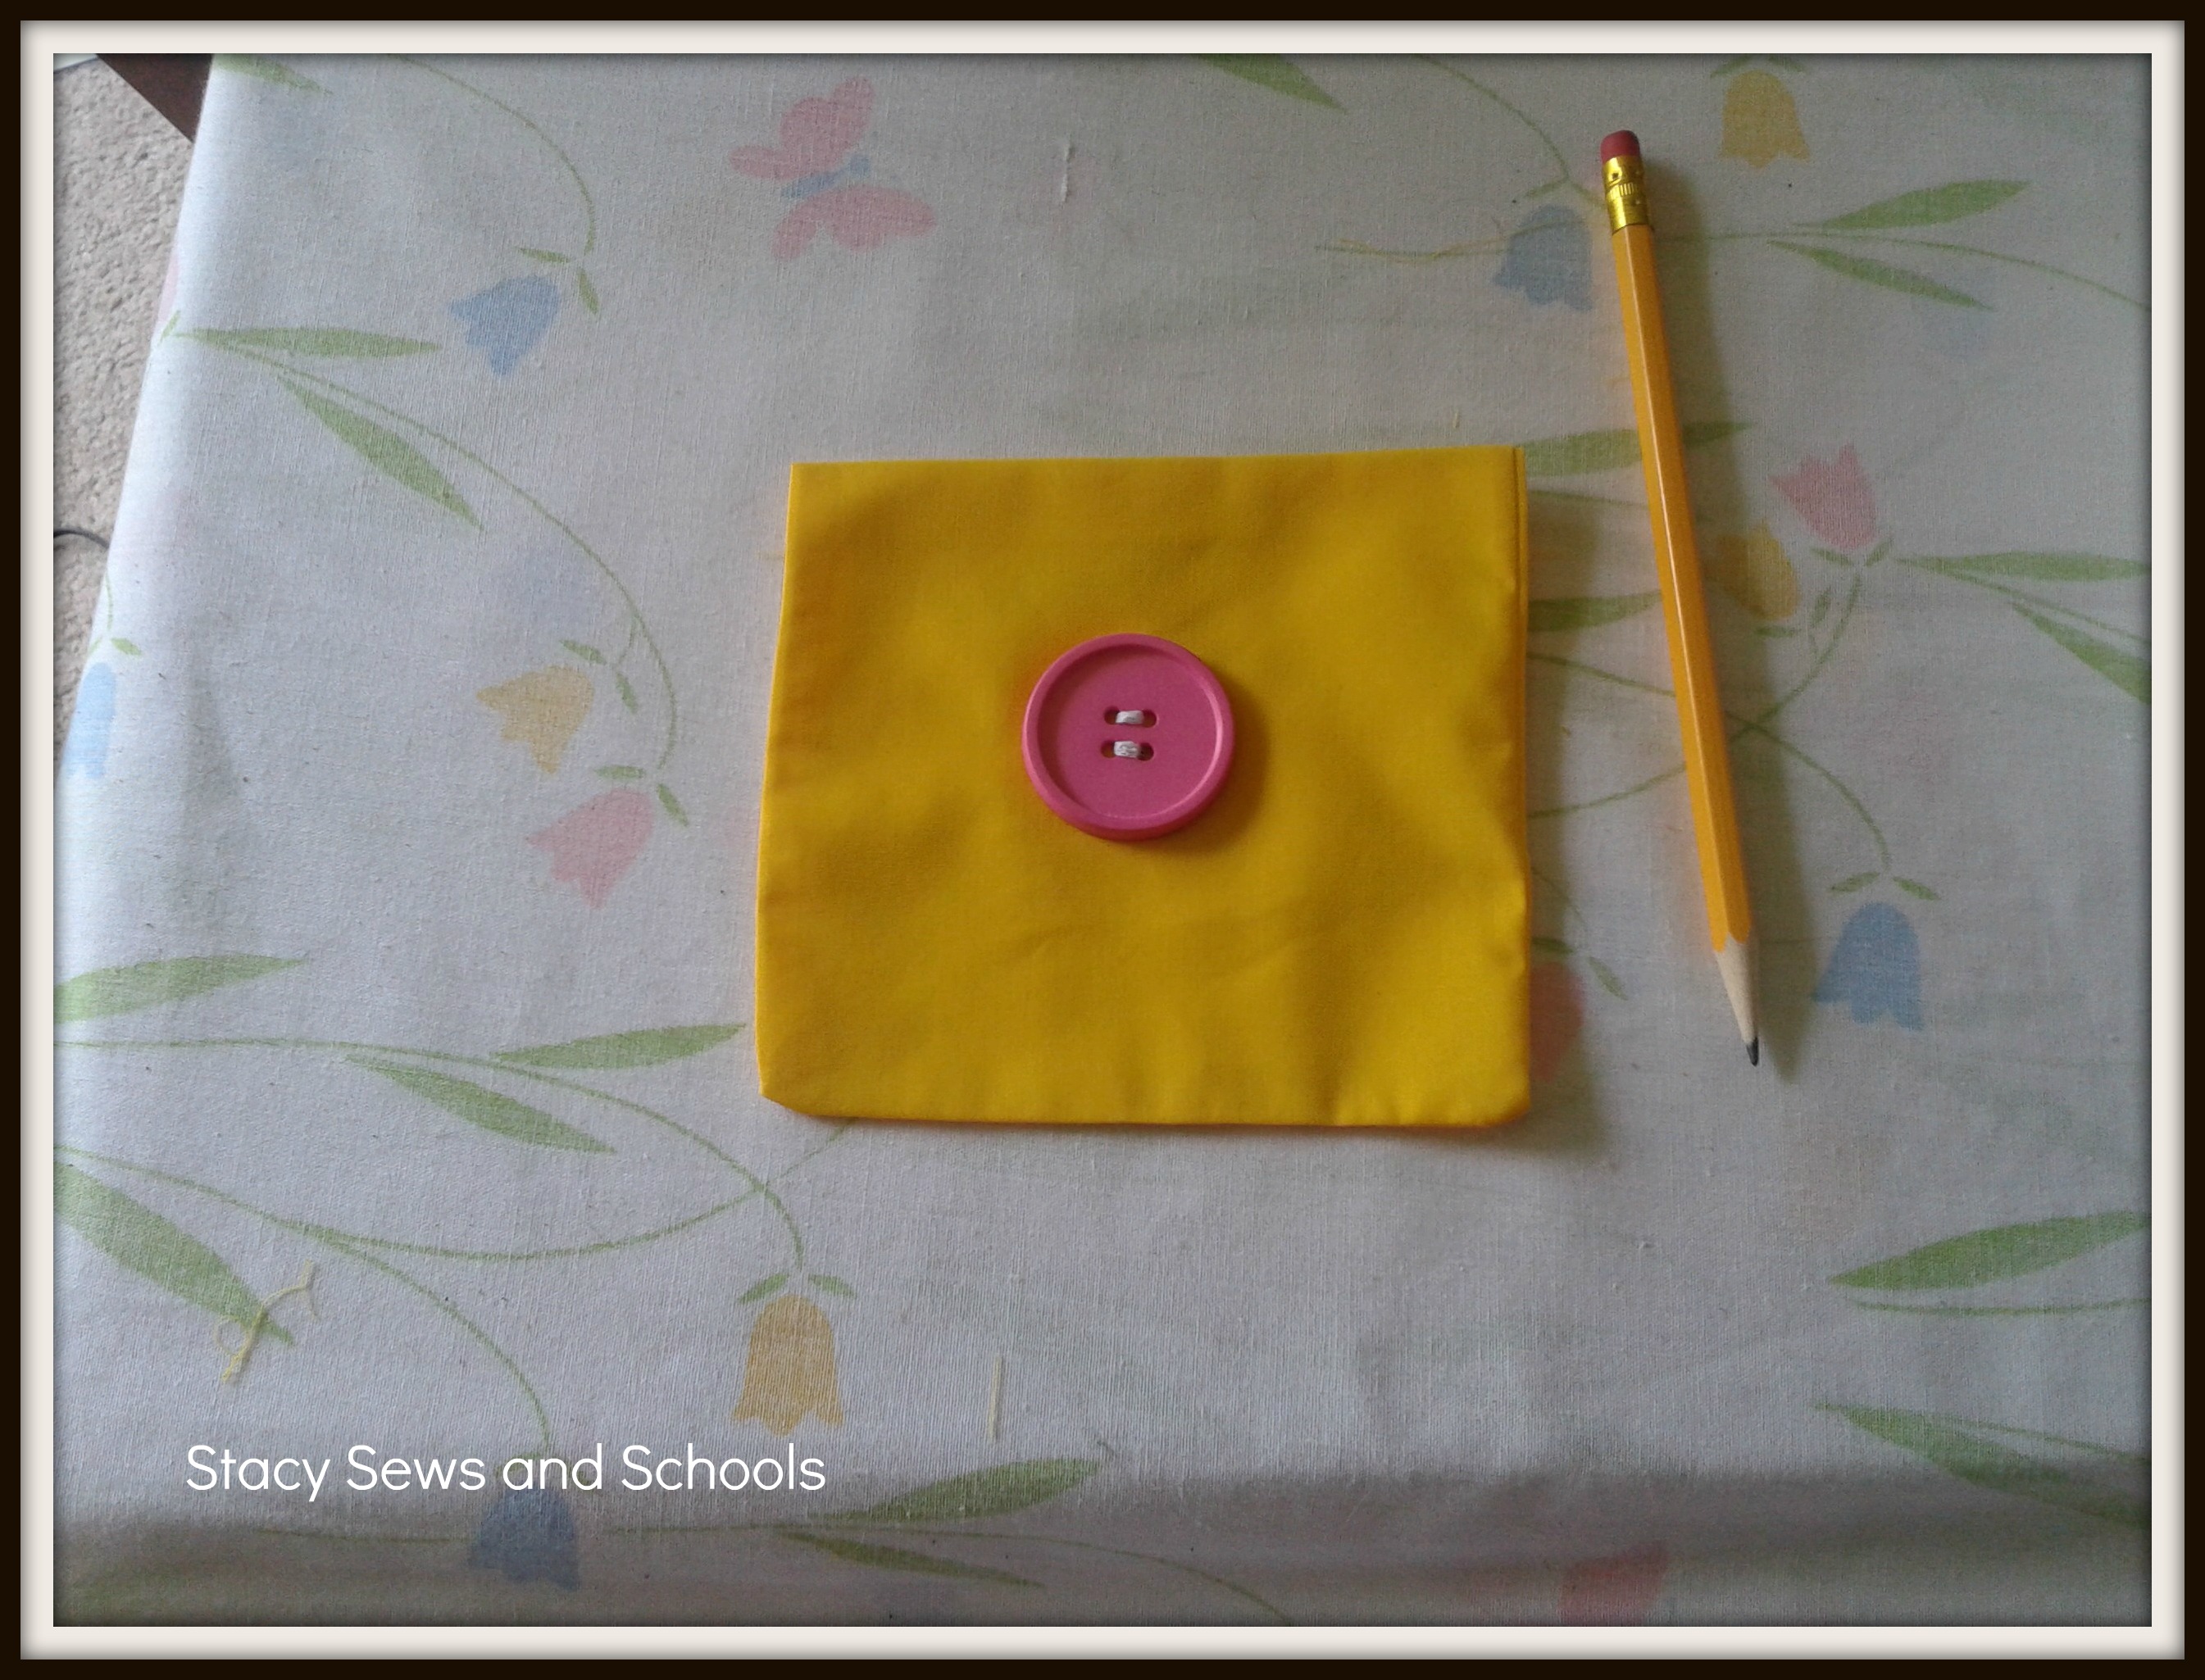
Step 10 - Figure out where you want to place your buttons on the pockets. Sew the buttons on.
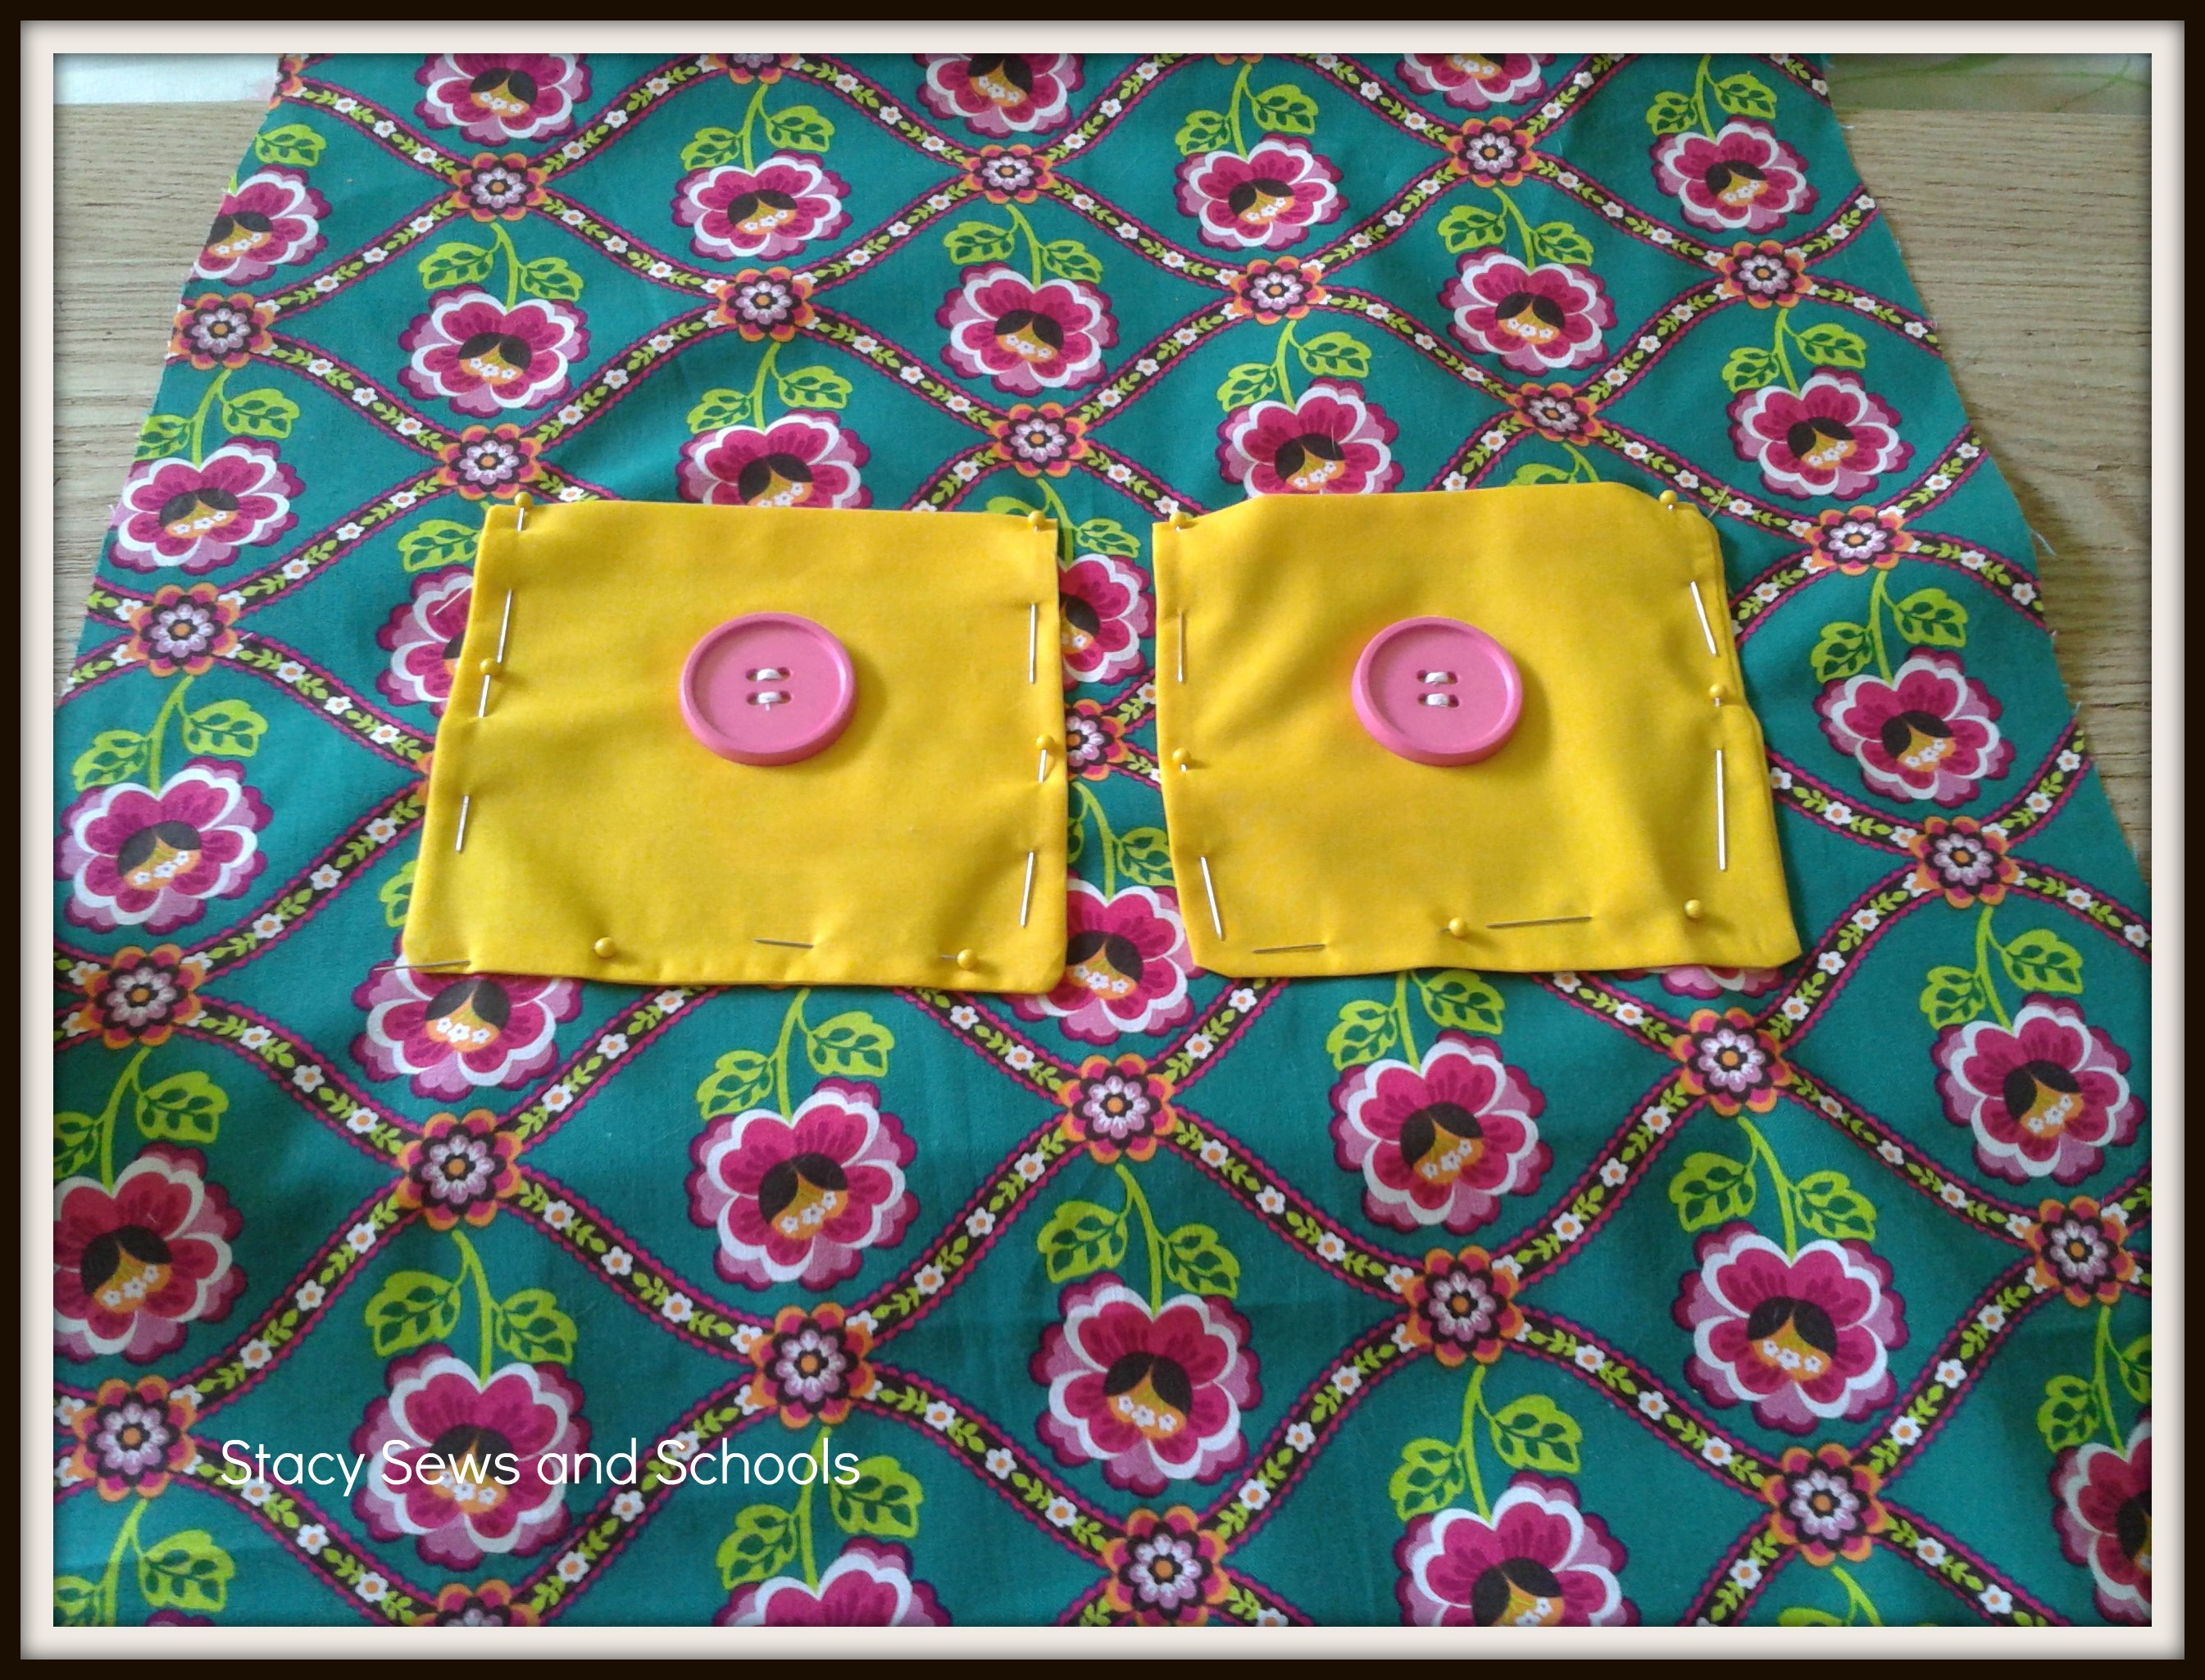
Step 11 - Pin the pockets on the front and sew the 3 sides.
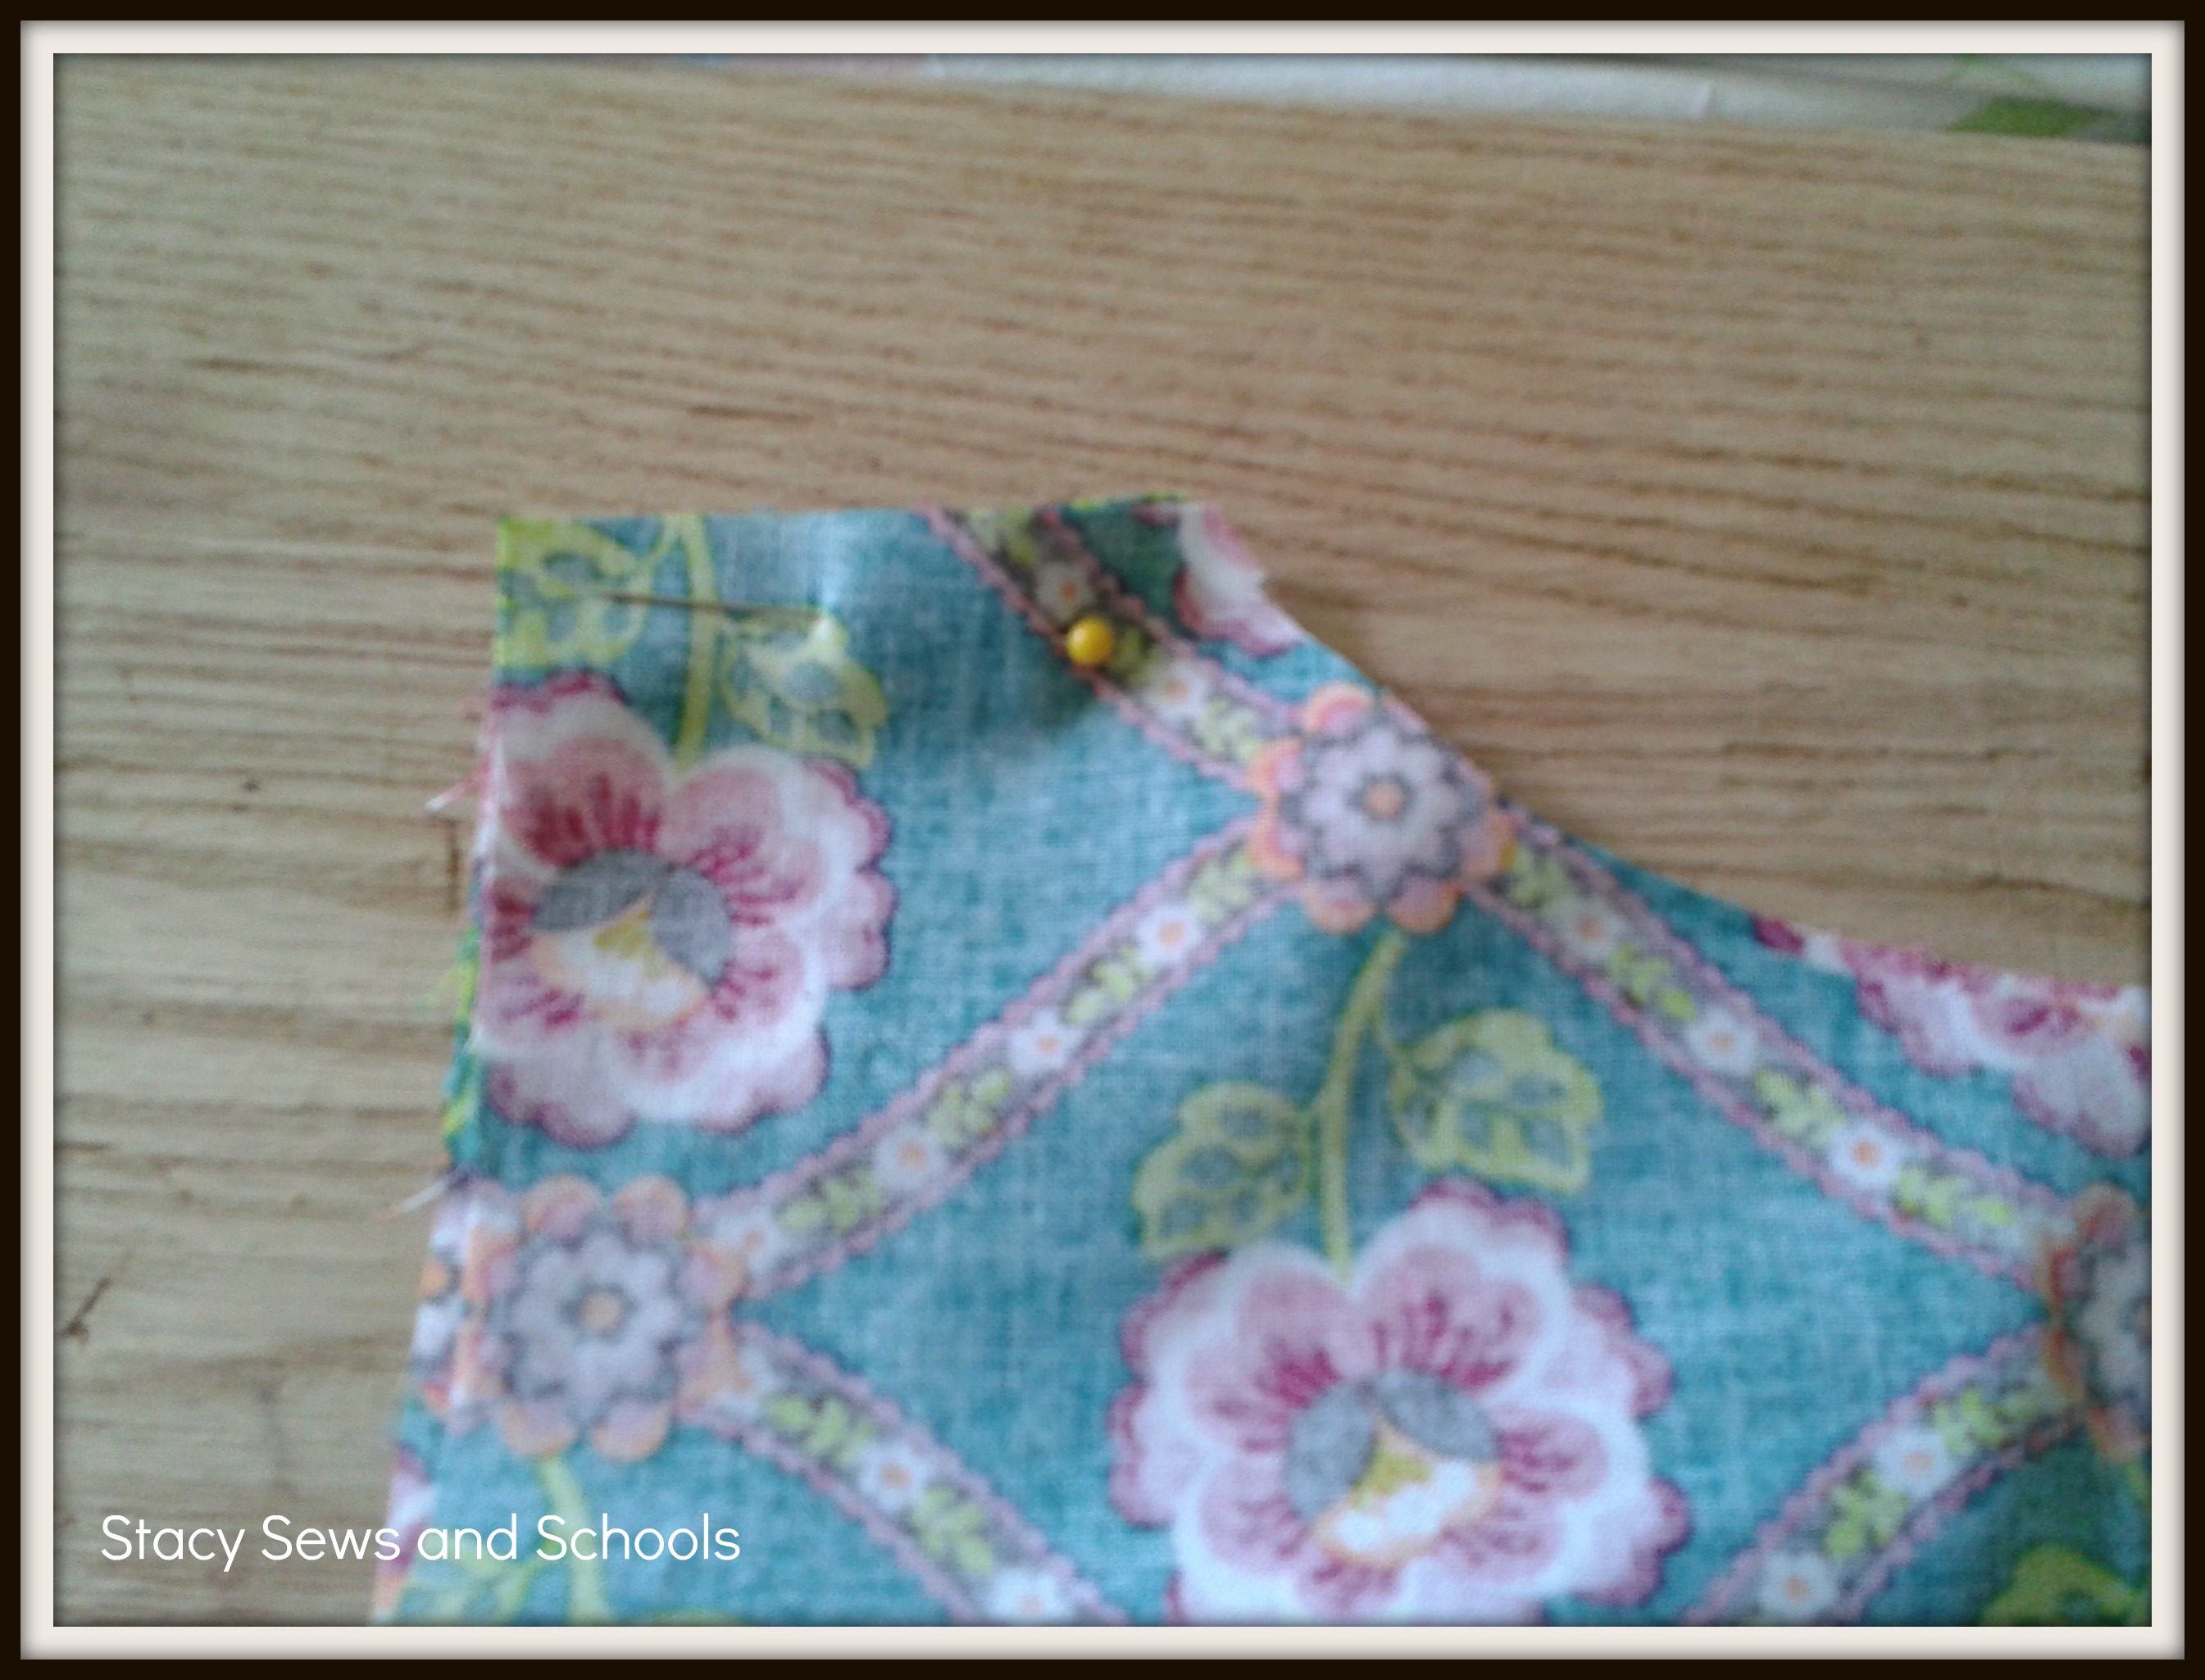
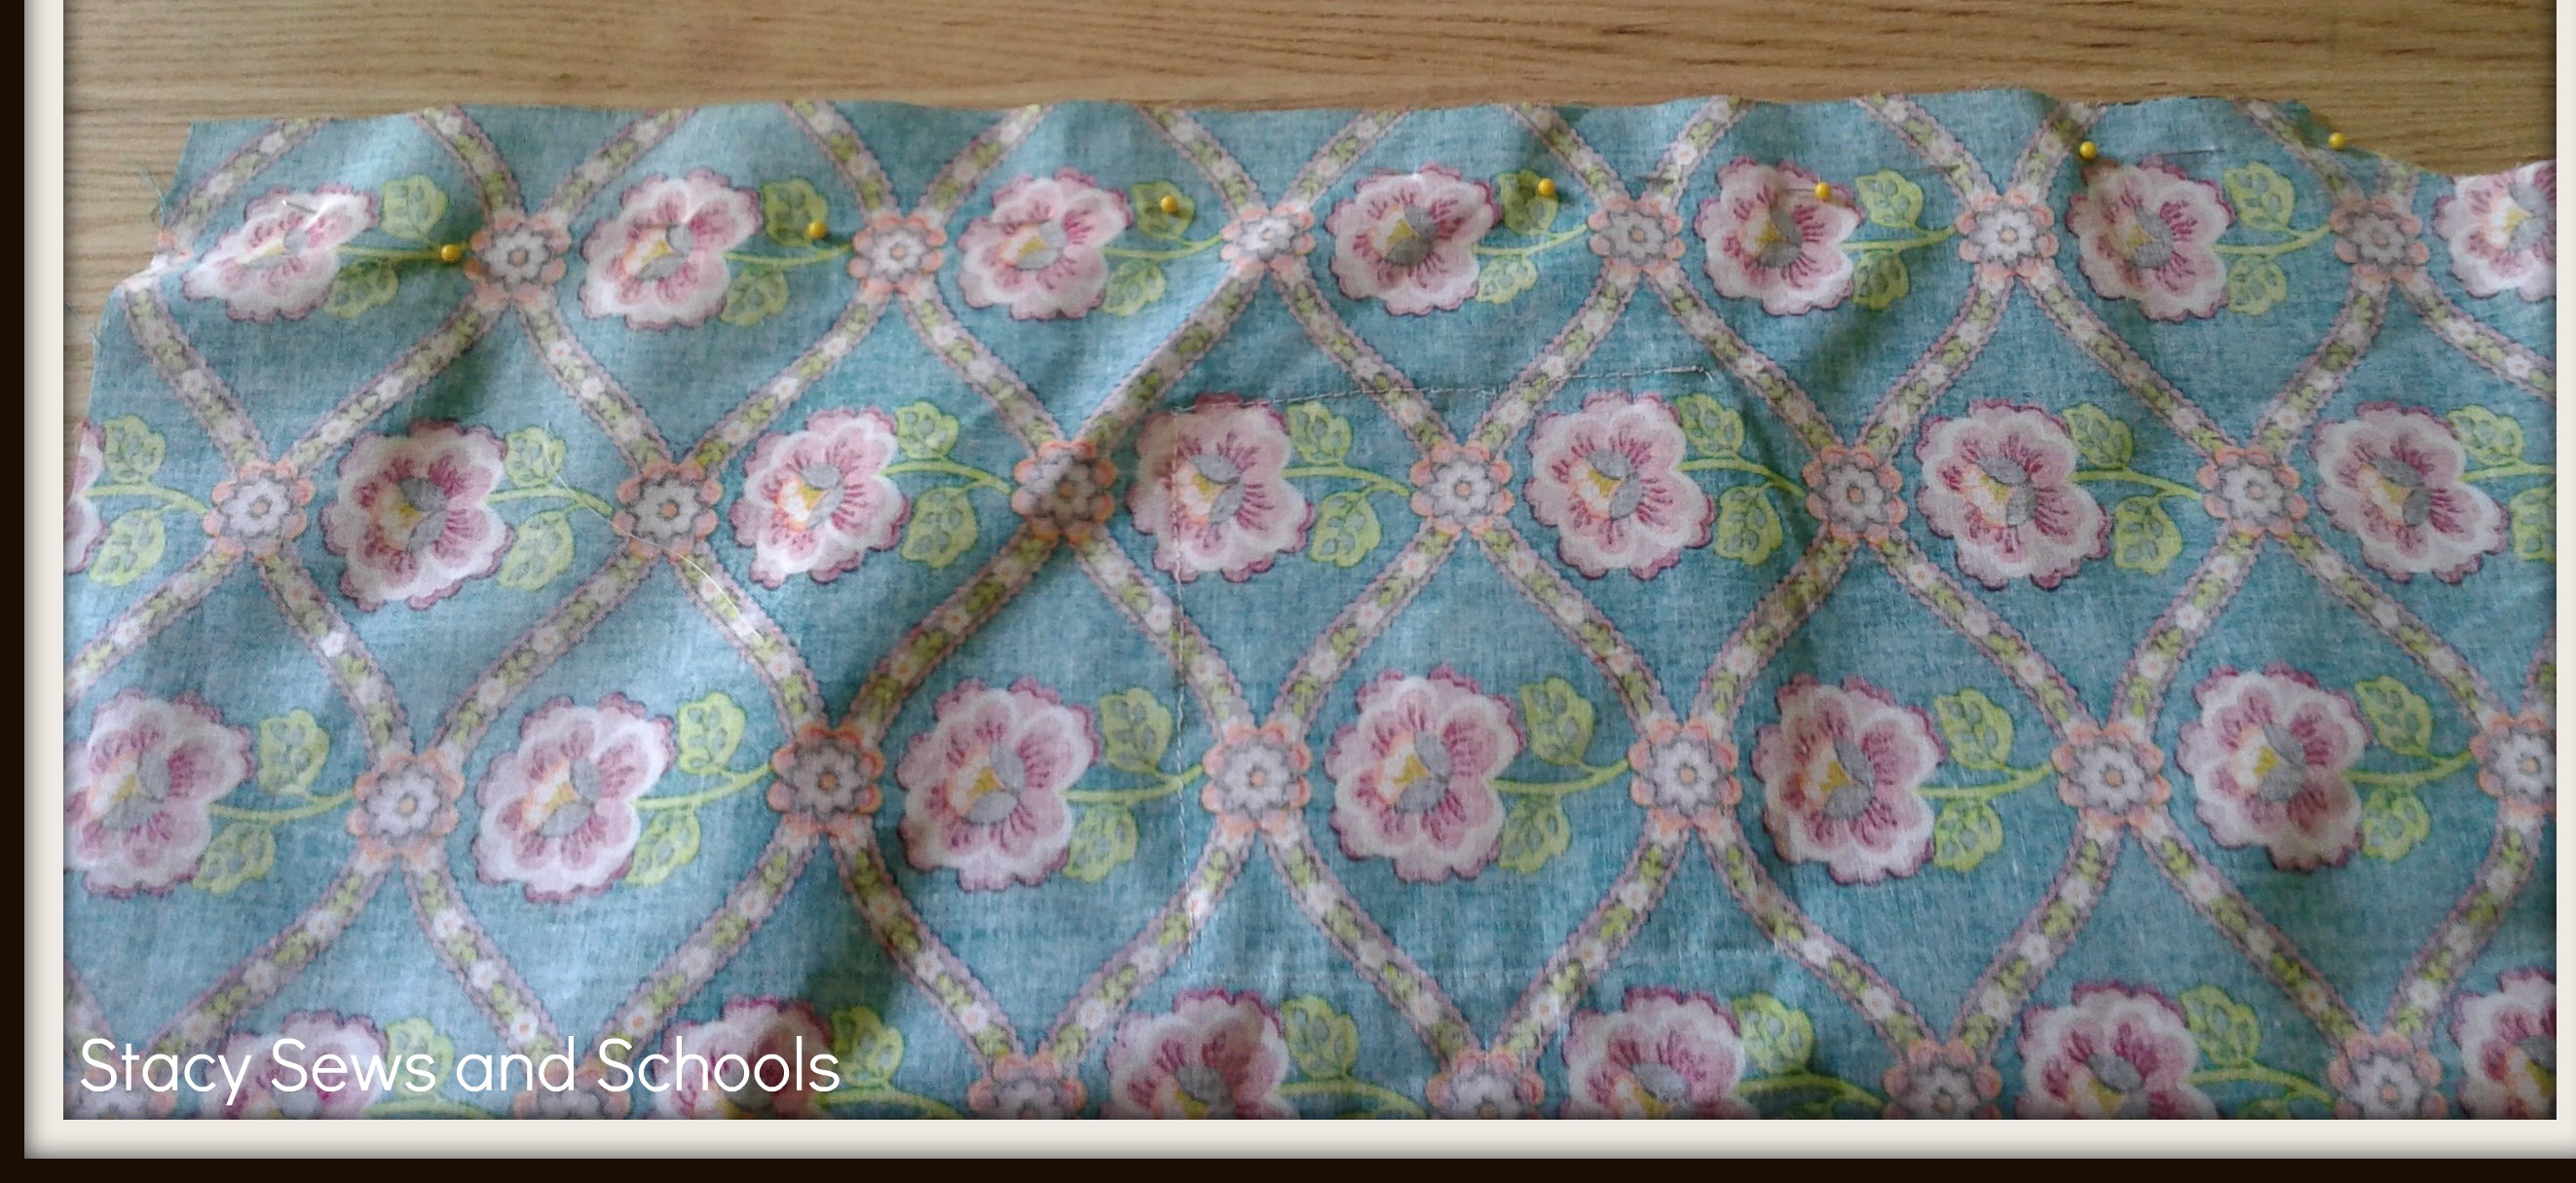
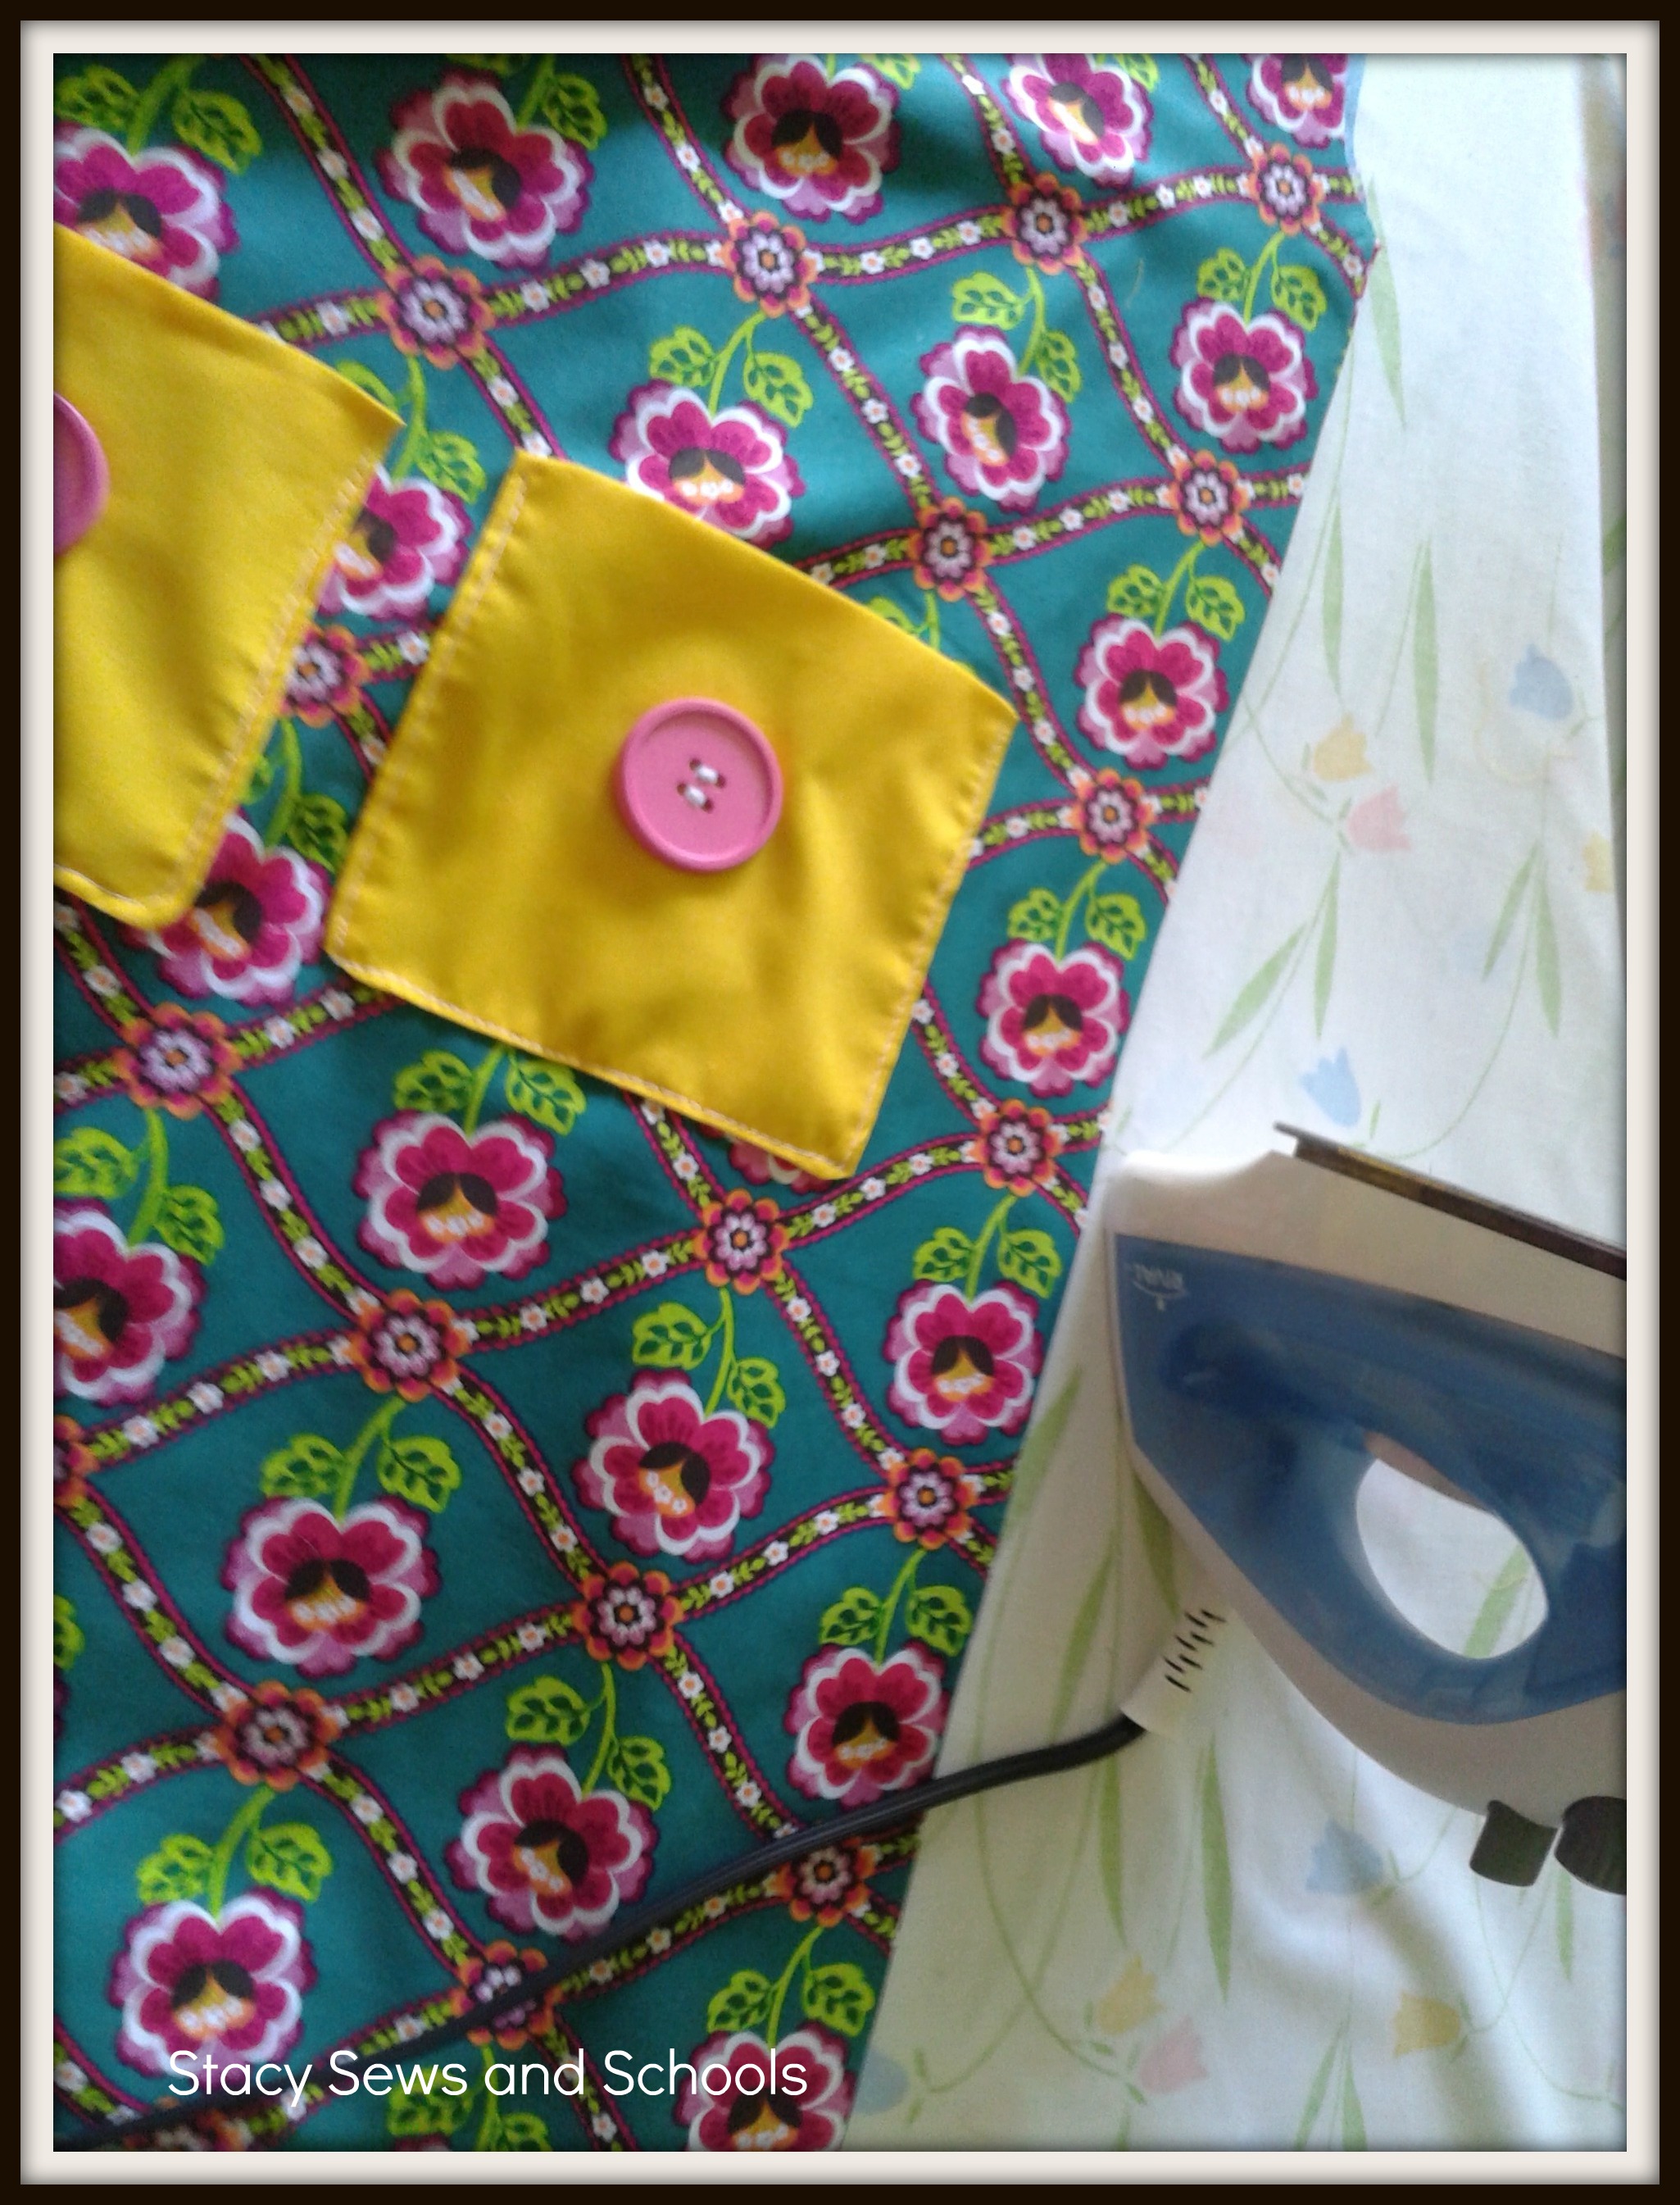
Step 12 - Place the front and the back right sides together. Pin the tops of the dress and both sides. Sew them together. Press your seams.
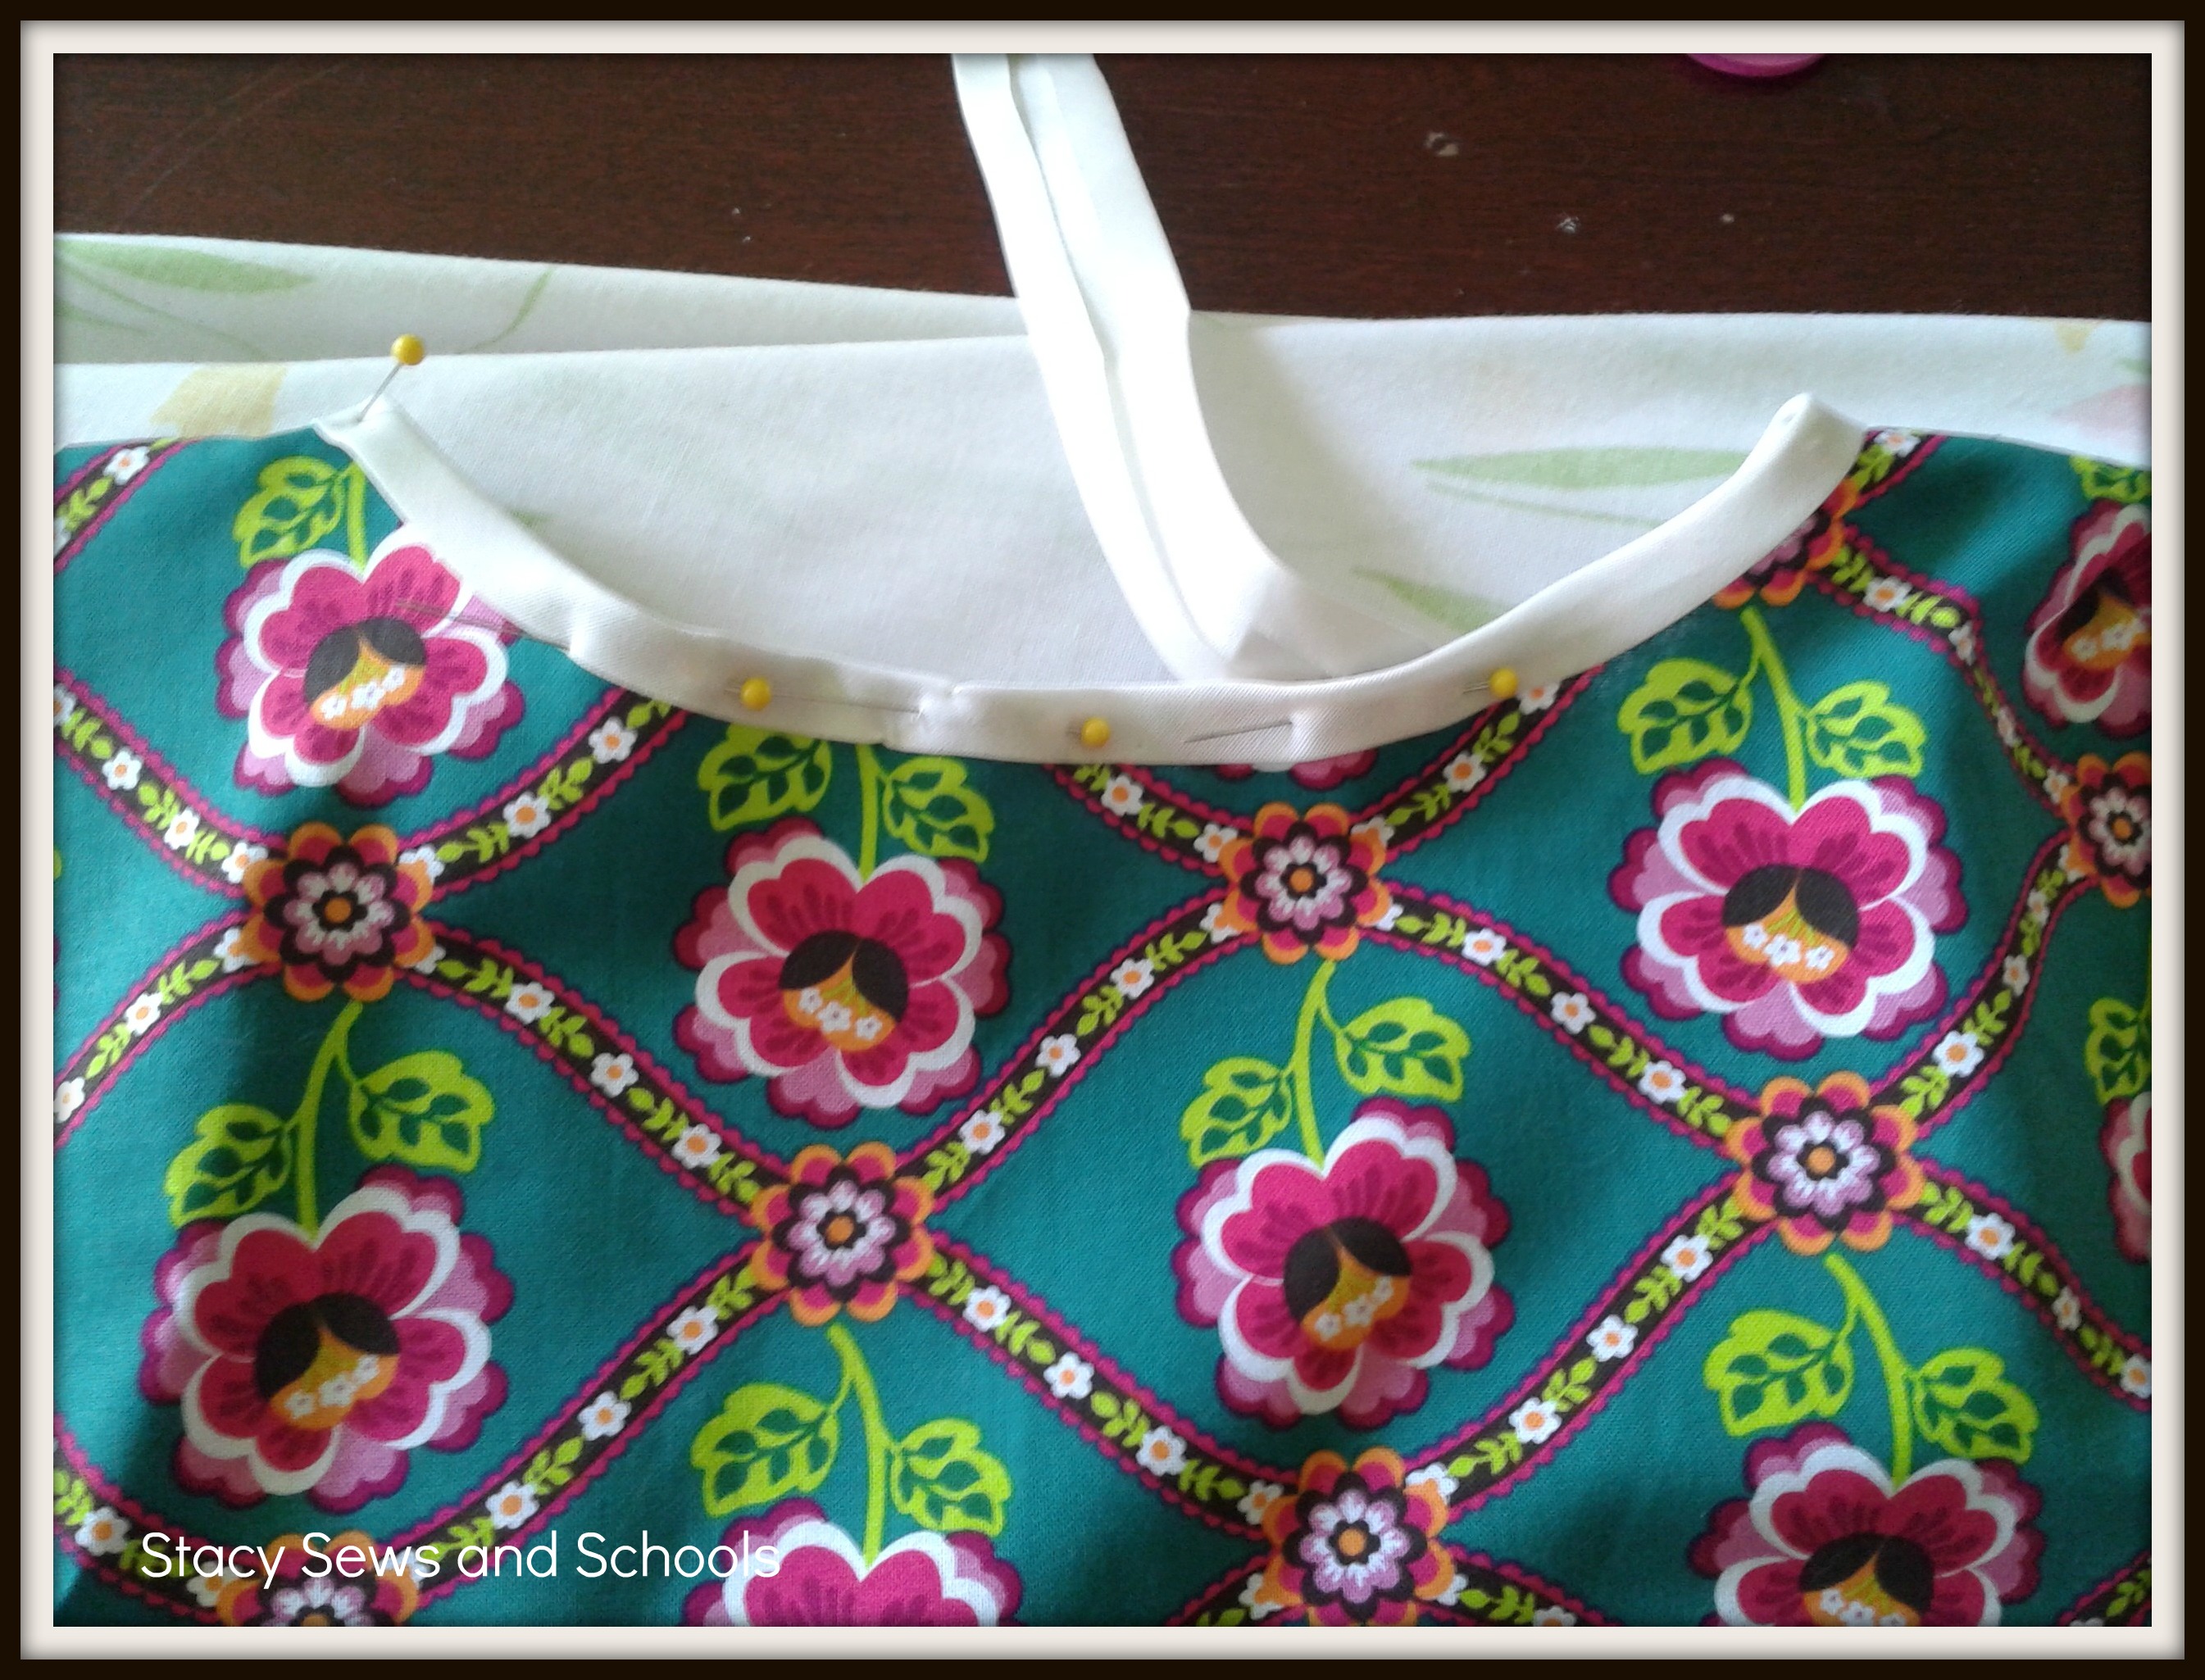

Step 13 - Open your bias tape and pin it around the neckline and armholes. Sew it in place and press.
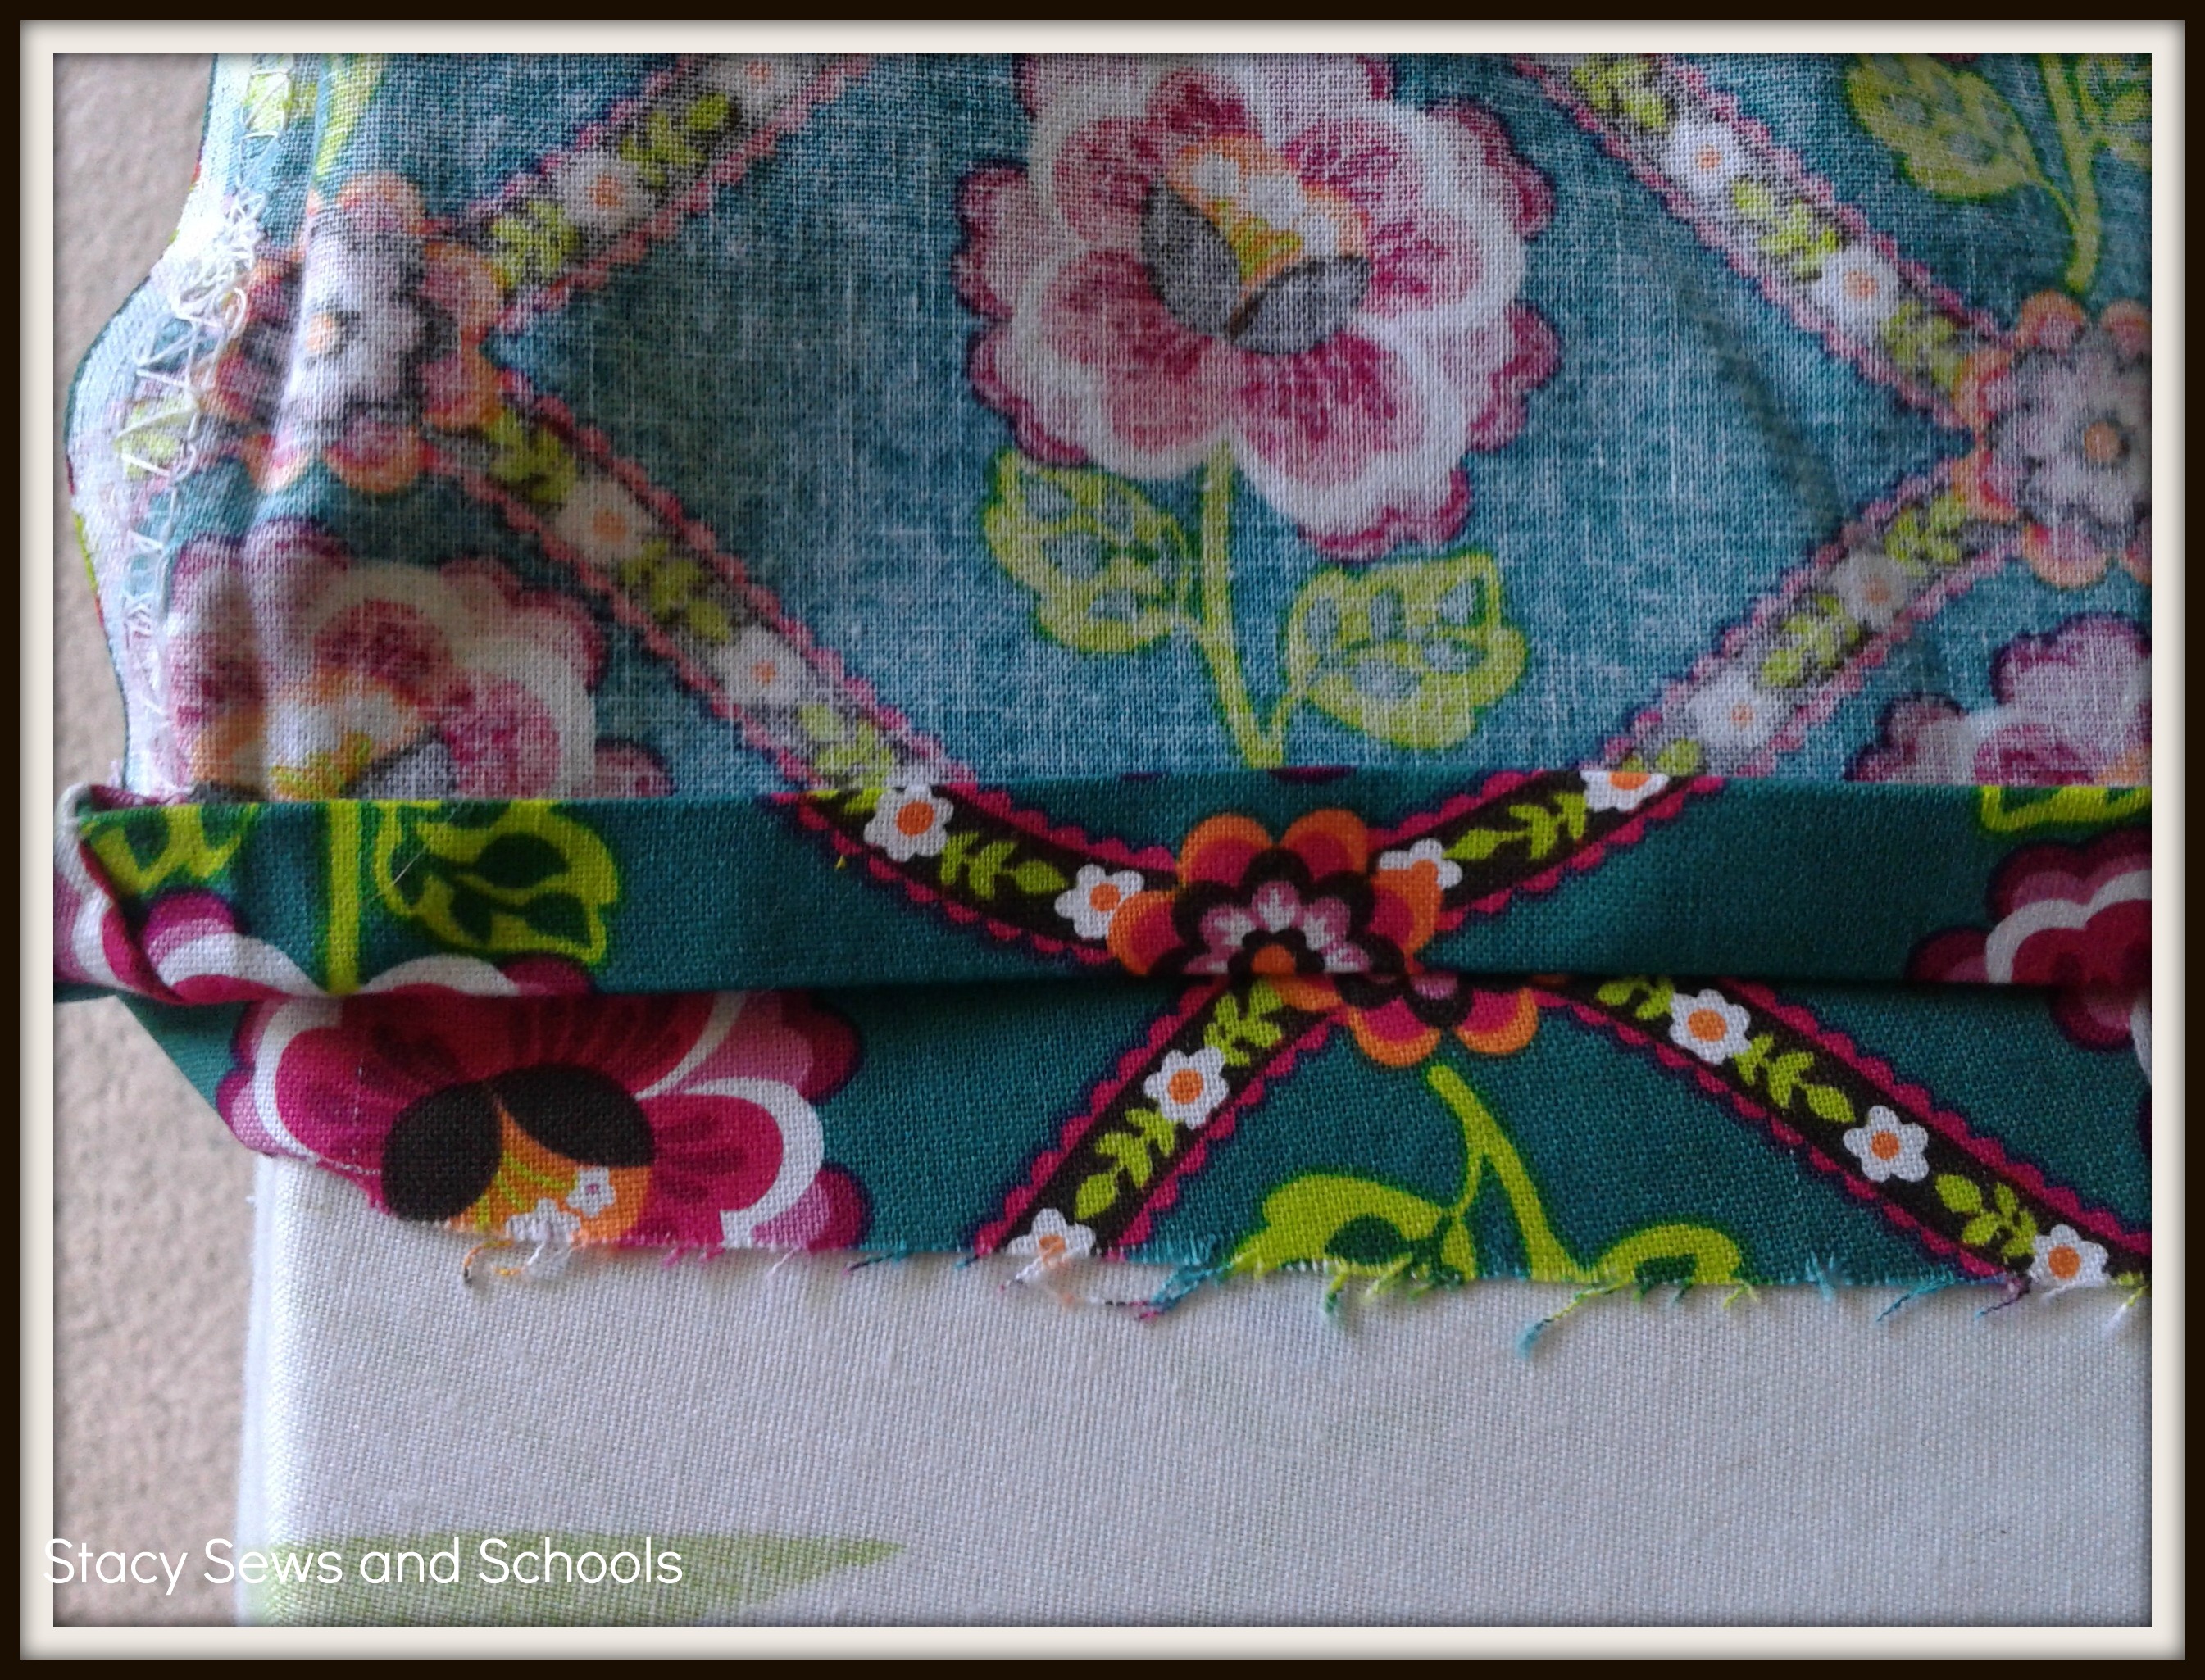
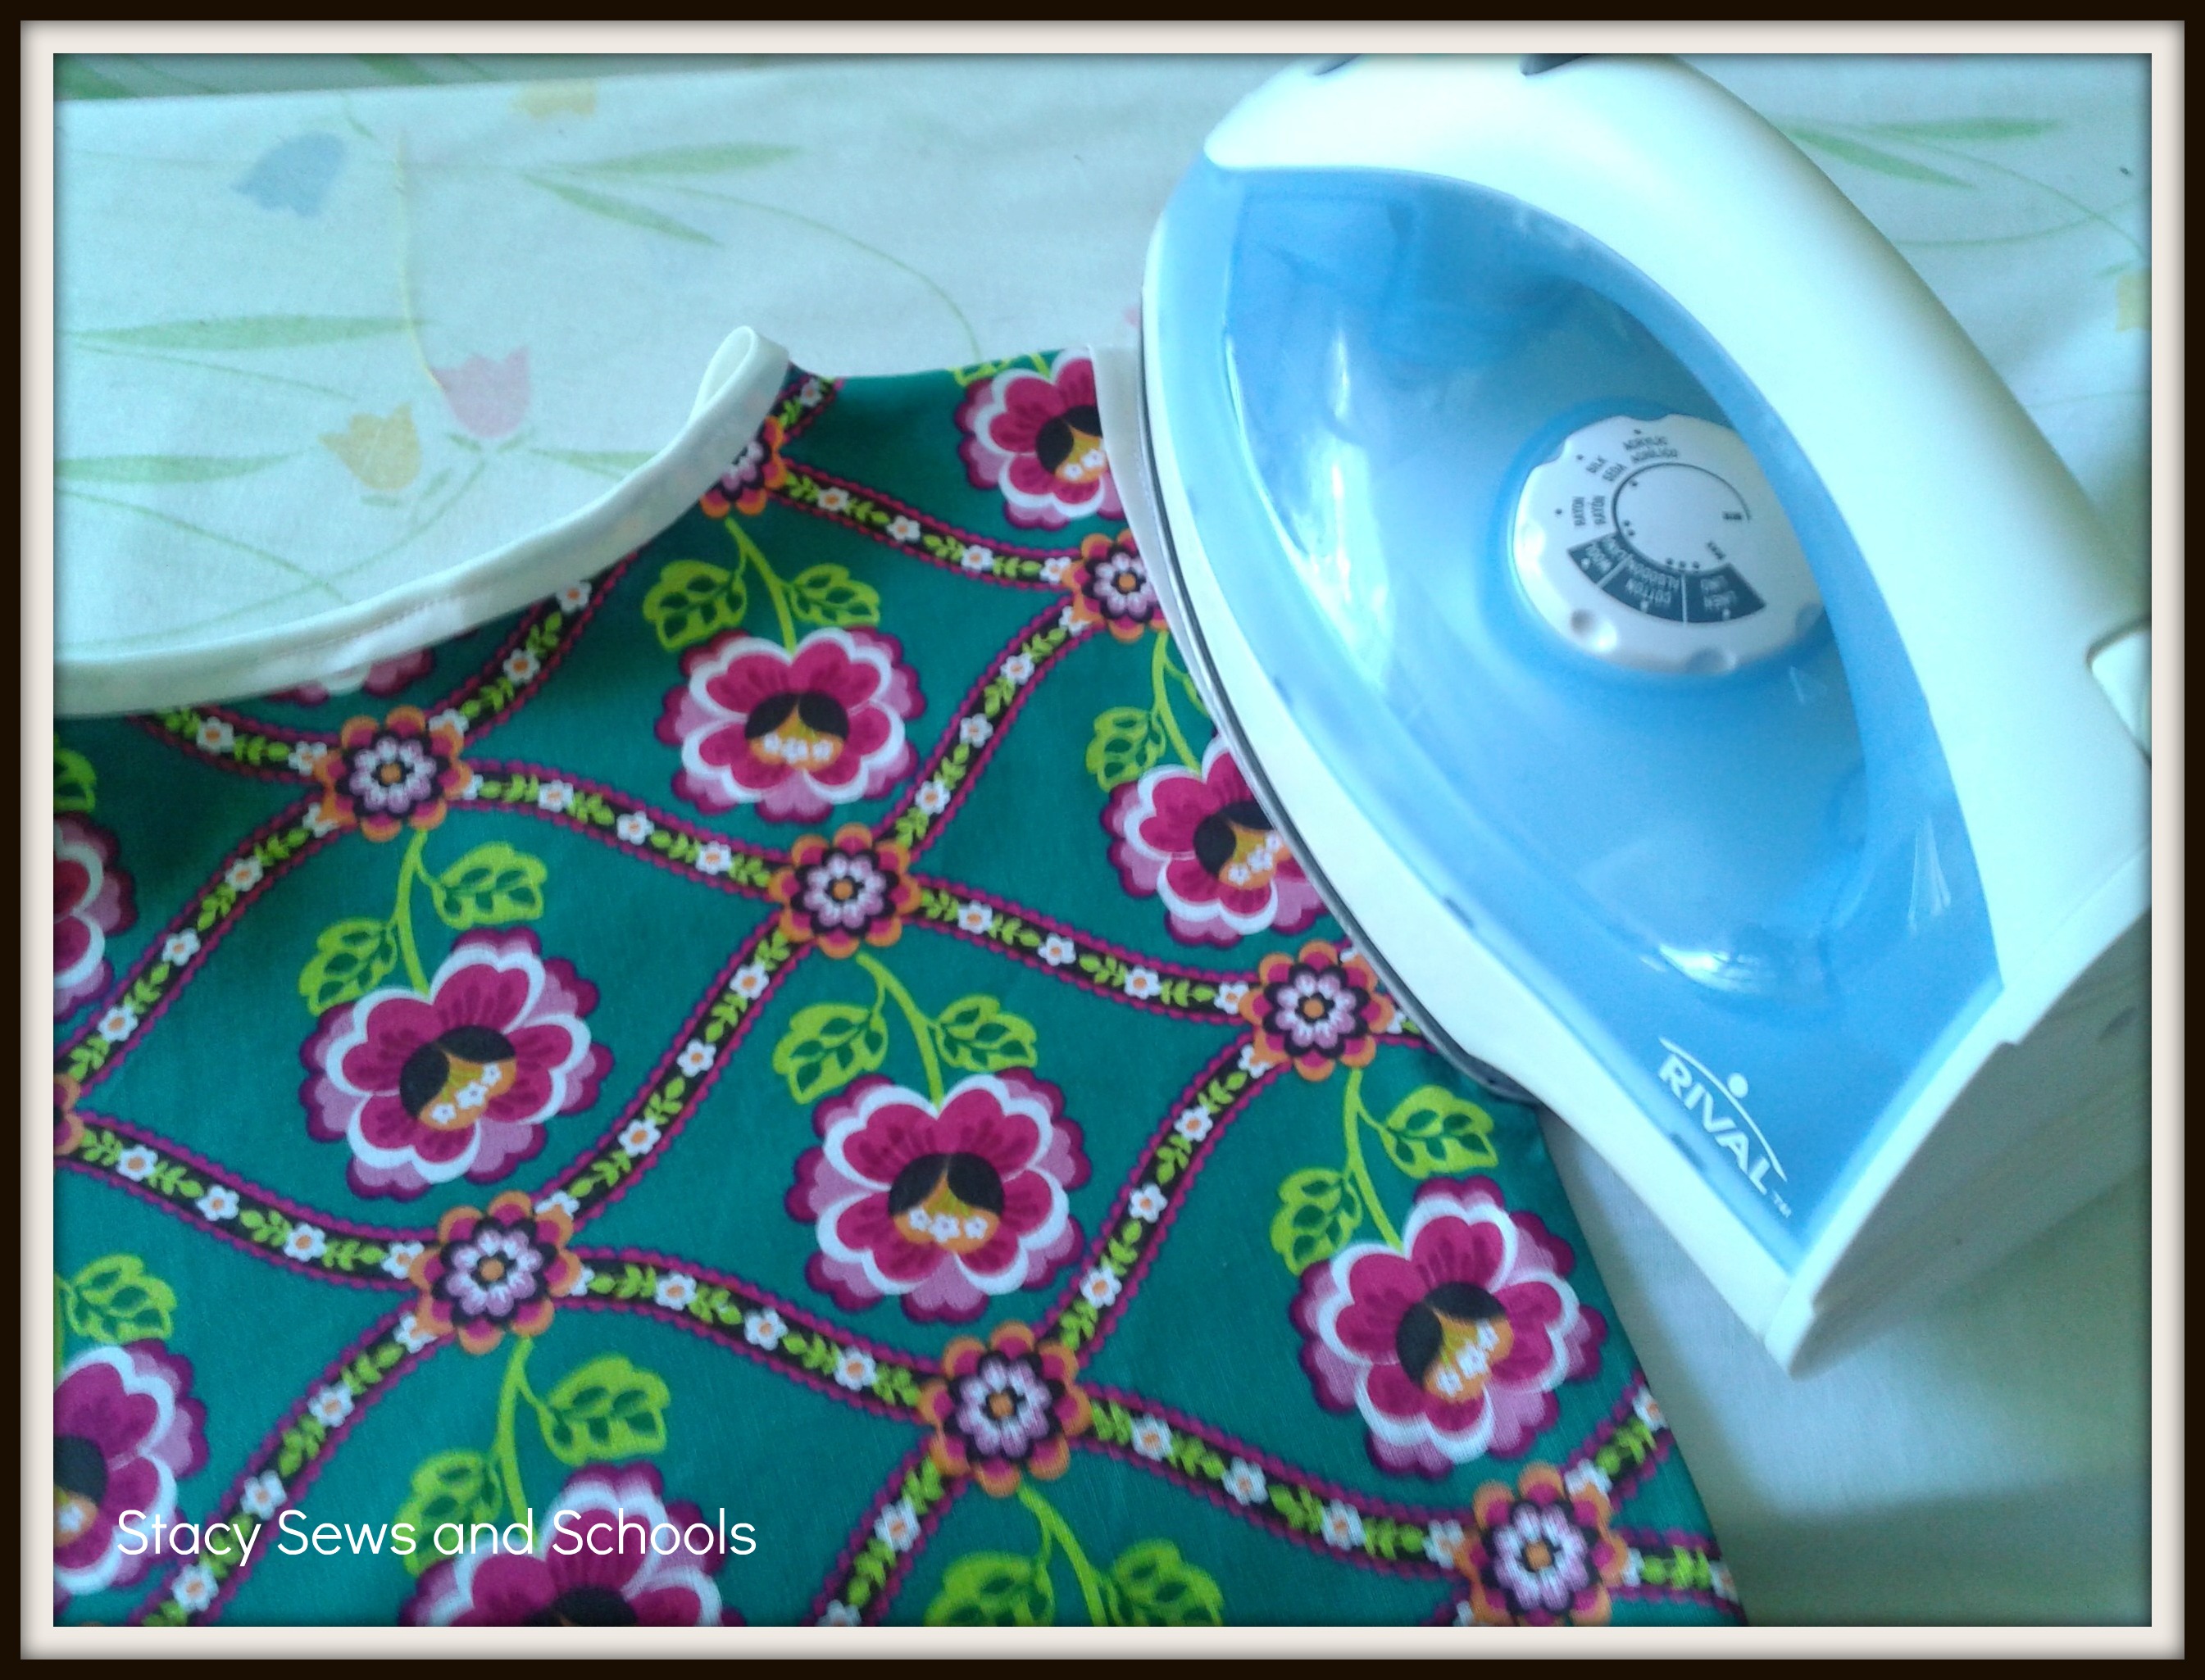
Step 14 - Turn a 1/2 over on the bottom, press and turn it in another 1/2". Press and pin. Sew your hem and press again! (I pressed the whole thing one more time.. LOL)
Now you are DONE!!! You just made the Fab Mod Dress!! :)
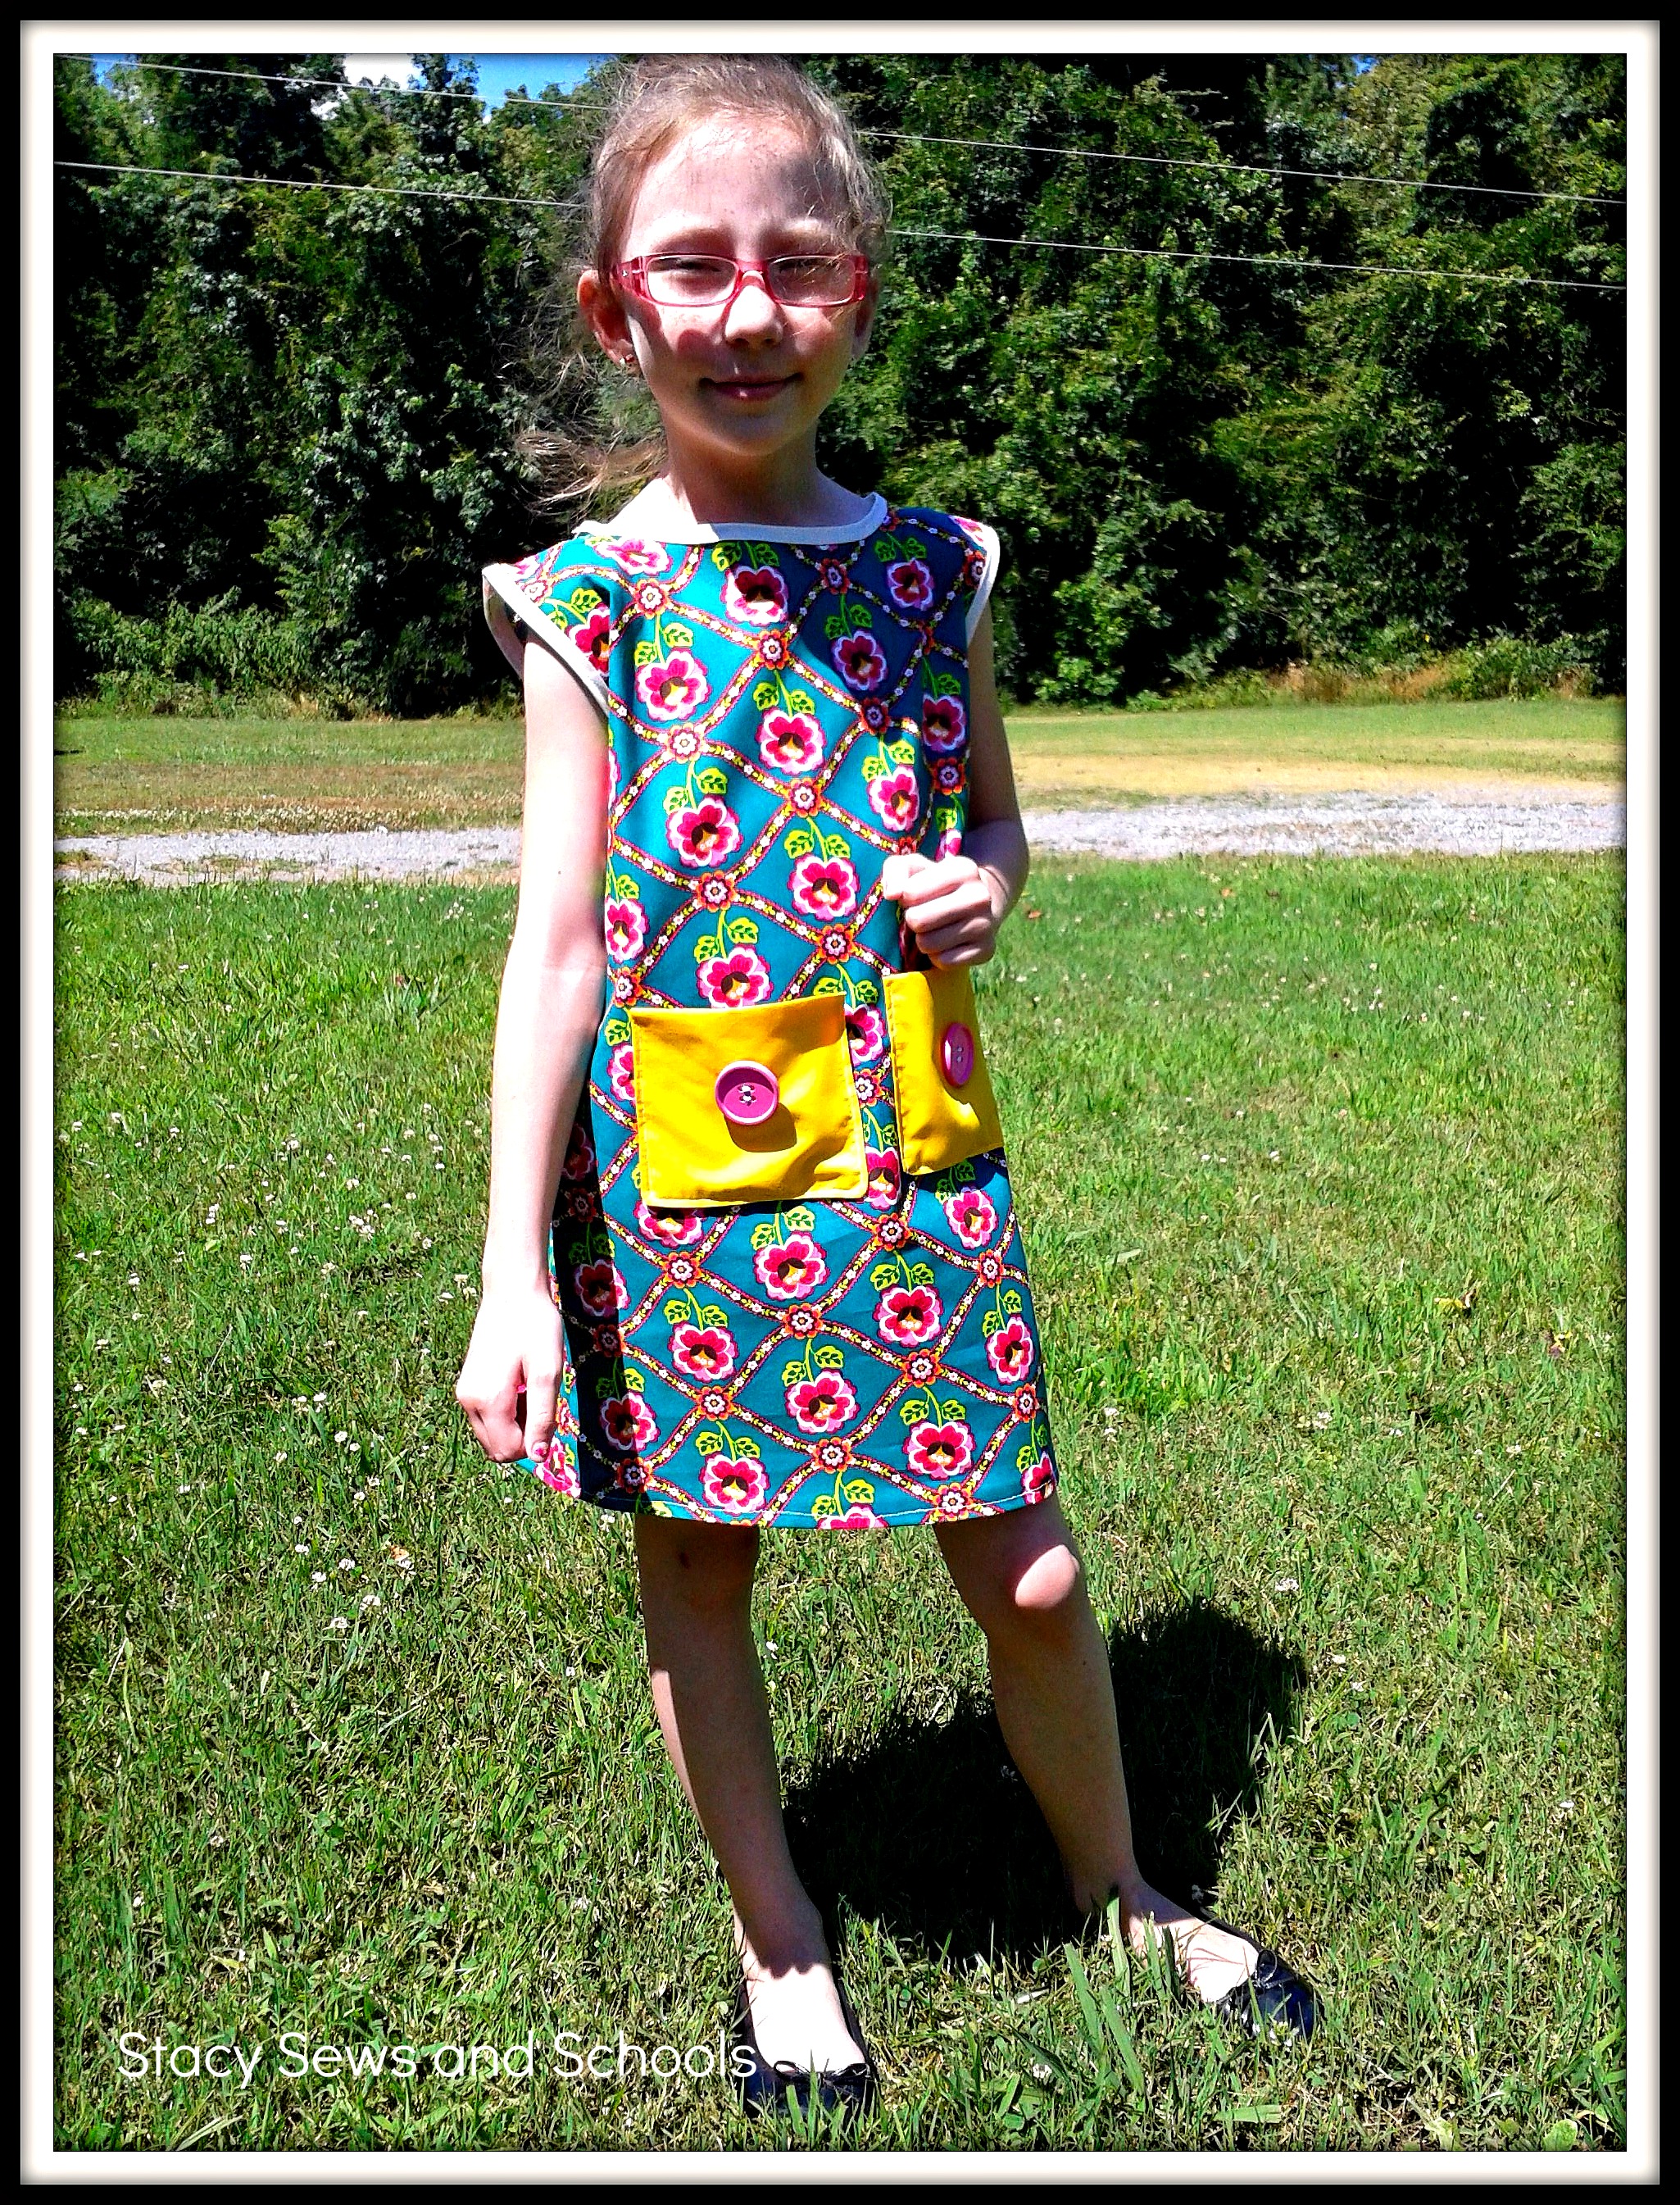
I hope this was easy to follow! Let me know if you make it! I would love to see it! :)

