Showing posts with label vintage. Show all posts

June 4, 2013

Vintage Coolness

I have reallllly been hating on my kitchen lately. It's a VERY VERY VERY bright green. At first I thought THAT was the problem. Now, I'm not so sure. I think it might just be that the curtains in there are AWFUL with the bright green. So, I've been thinking about making over the kitchen without painting it.

I have some green gingham and some bright white fabric that will make very cute curtains (and will MATCH). Then I started thinking about how to style the kitchen. I was thinking about my bathroom as well. I think it's a special bathroom that still has it's original 1920's feel with claw foot tub and stained glass (faux) window. I need to work WITH that. ;)

As I was perusing Pinterest I came upon a ton of vintage ads. PERFECT!!!! I am thinking about printing some of them out and using them in the kitchen and bathroom.  I have a couple of Norman Rockwell prints already and I am going to use those, too.

Here are a few that caught my eye.


These are just a few that I am thinking about using.

I am probably going to use vintage ads/prints throughout the hallways, as well. Might as well make a thing of it! ;)


Once I get the kitchen done (after the Sewing to Rebuild) I will take some pictures and show you what I come up with!


In sewing news, I am humming right along. I have another bag and toy made. Today I will be working on the clothing to go with them! I will be showing you all of them tomorrow!


April 14, 2013

<3 Pattern Love <3


While we are packing and packing and packing, I have nothing new on the horizon. :/ It's been sooooo long since I did any kind of sewing!! I am starting to go through withdrawals now!!! LOL To tide me over, I have been looking at and Pinning patterns. I thought I would share some of them with you! :) You know, I am SUCH an enabler!! LOL


B5901

Isn't that DARLING????? Butterick B5901

It's under things but I'm thinking it would be cute as an outfit if the bodice was lined!


M6689

McCall's M6689

I love this silhouette!!


M6735

McCall's M6735

That looks perfect for summer!!


Now for the grown ups! ;)

B5881

Butterick B5881

Not crazy about the color but I love the silhouette!! I would probably pair it with leggings. ;)


M6758

McCall's M6758

I LOVE THIS!! It has a definite 60's Megan Draper vibe, don't you think???


B5895

Butterick B5895

There is absolutely NO WAY that I could ever pull that look off BUT I love it!!!!!  And I reallllllly want those shoes!! LOL


Simplicity 1609

This is a remake from the 60s.... Yeah, I'm going to have to get this one!! LOL


Here is a link to my sewing board on Pinterest where you can find tons of patterns and sewing inspiration! ;)


July 11, 2012

Easy Peasy Apron Tutorial


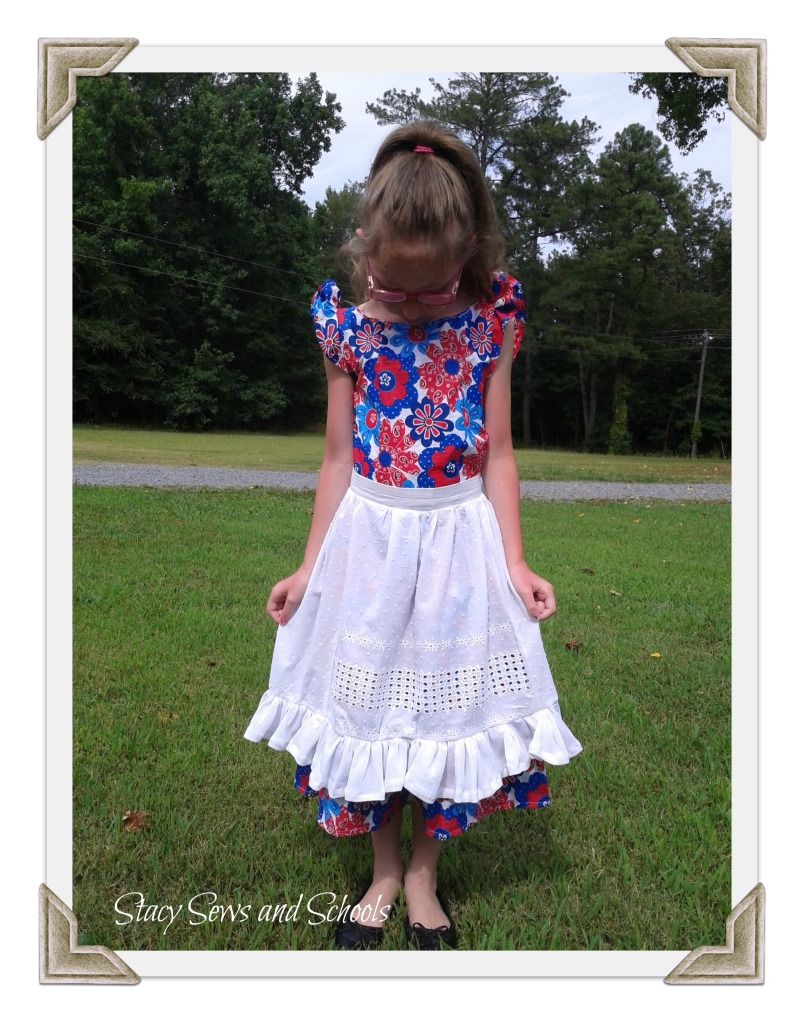
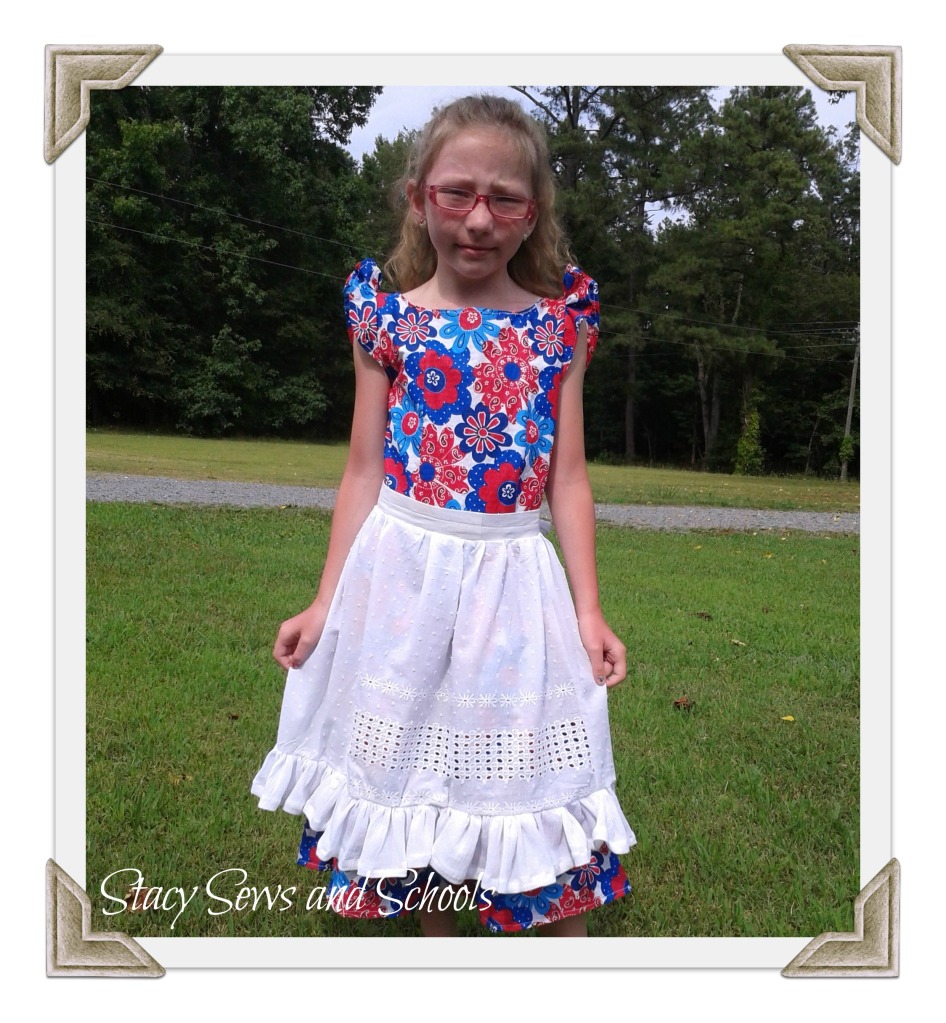
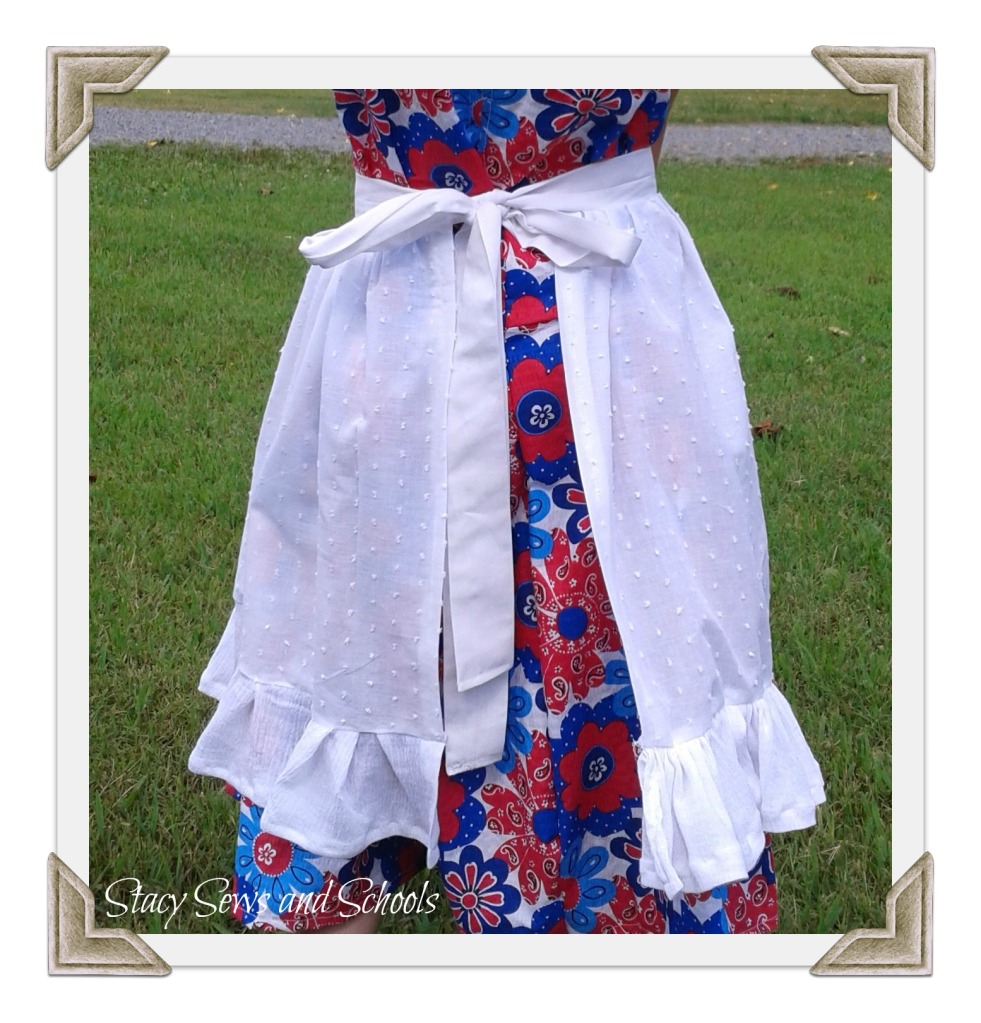
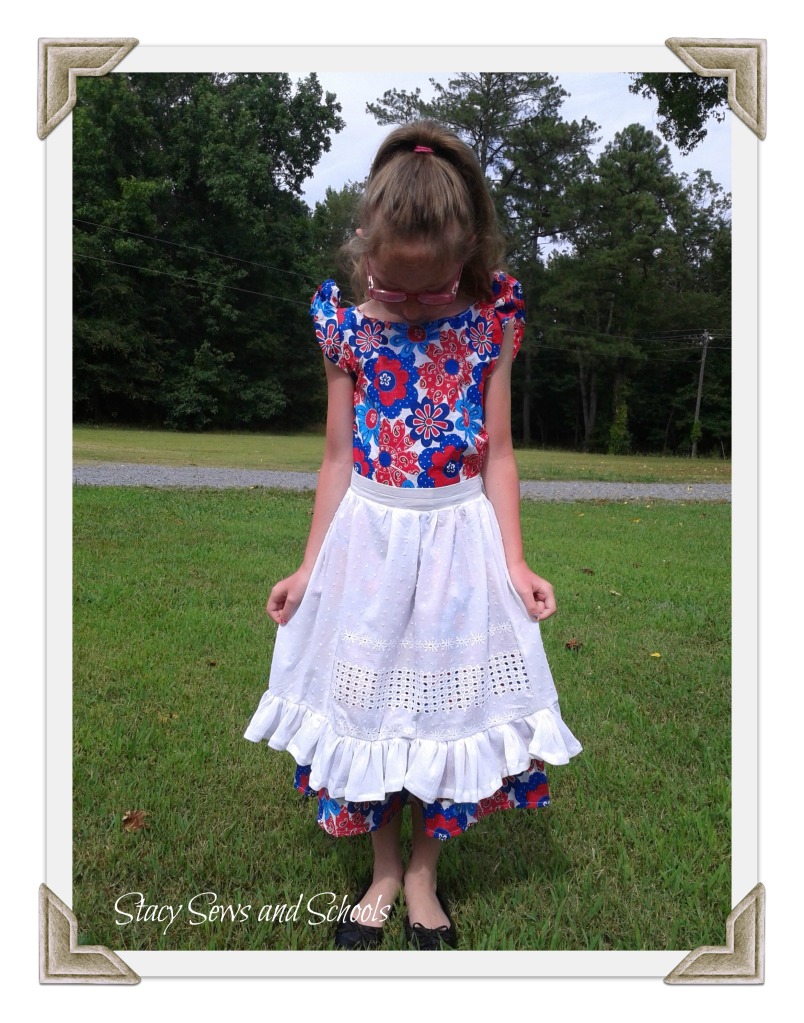
Here it is!! The part 2! :) Actually, I was going to do a pinafore but when I saw how well the apron turned out I decided to leave it. What do YOU think?? Should I leave it as is or go ahead and turn it into a pinafore?? Leave me a comment and let me know!


What I used -

1 yard by 12" cotton Swiss dot eyelet stuff (I am soooo technical!) I got it for a $1 at Hancocks in the remnants bin!! ;)

3 yards by 5" cotton gauze (leftovers)

2 yards by 4" cotton sheet (leftovers)

So in all this little apron cost me a dollar. ONE DOLLAR!!! :)


When I take pictures for the tutorials I usually take 3 shots per step just in case. Well, in this case all 3 shots of the first few steps were blurry. GRRRR!! I think I must have had something on the lens. SIGH... So, I will be telling how but I won't be able to SHOW you for the first couple of steps. But don't worry! This is super easy!!!
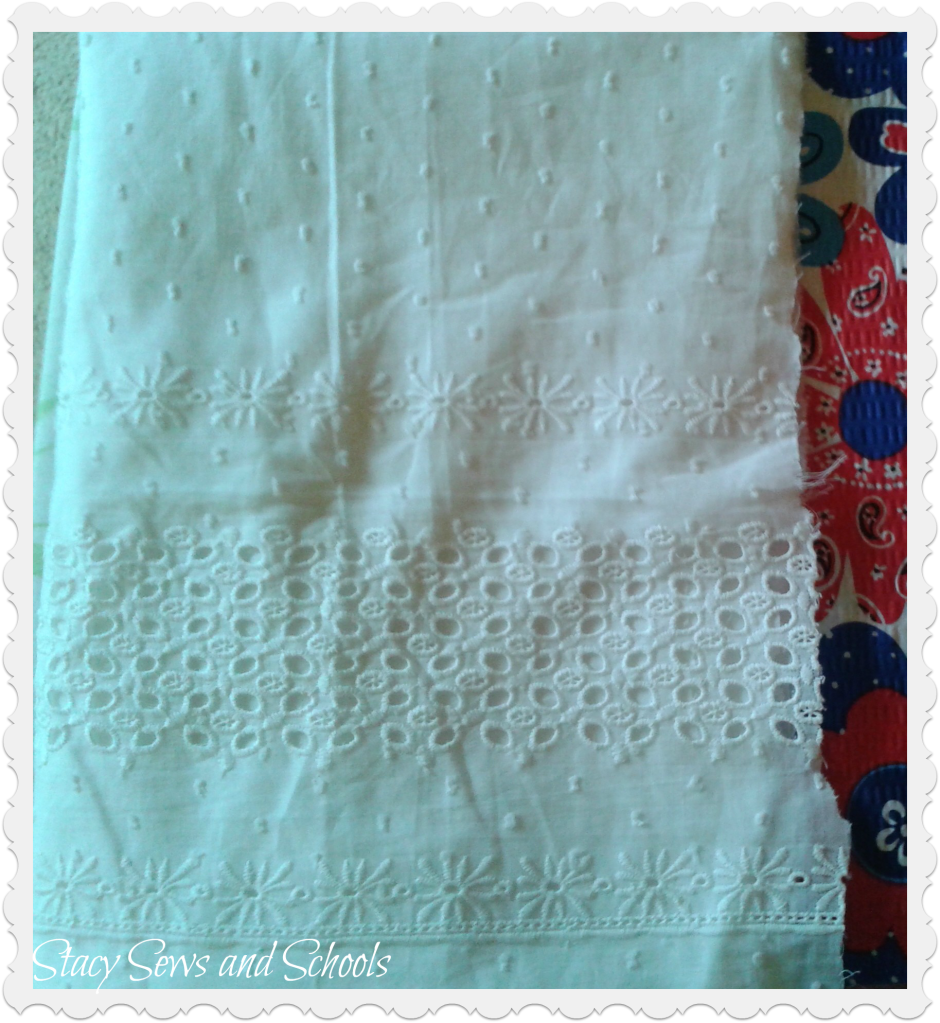


Step 1 - I cut my yard of Swiss dot stuff into 4 equal sections.


Step 2 - Sew 3 of the pieces together with the lace part in the middle. (You can look at the pic of the apron above to see what I mean).


Step 4 - Sew a hem on the 2 sides. NOT the top and bottom.


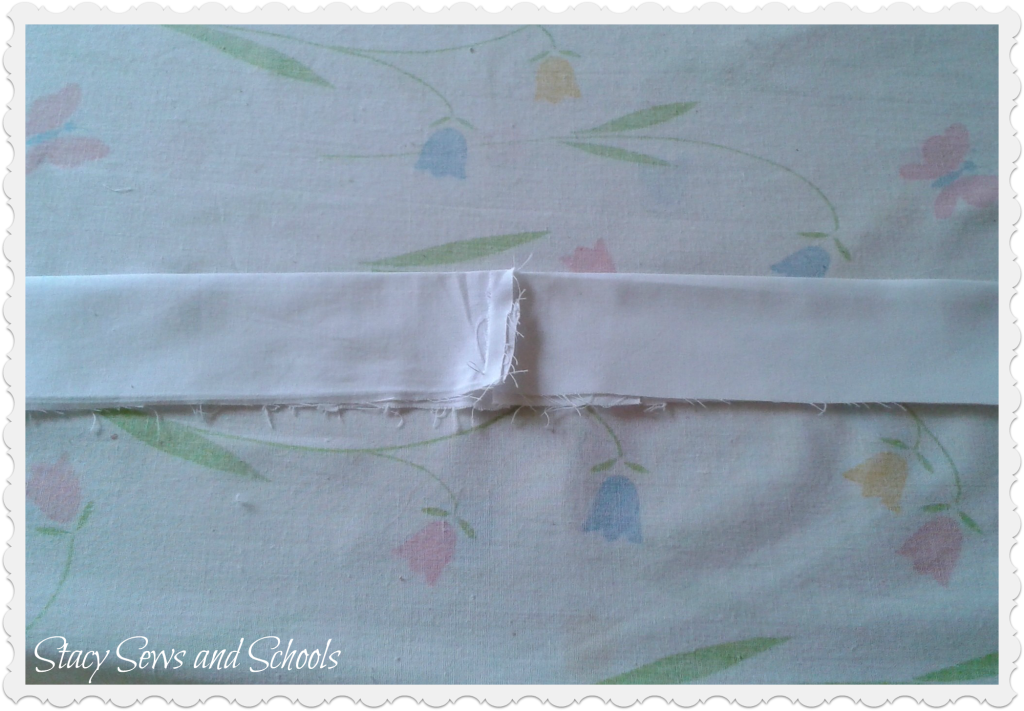
Step 5 - My 2 yards of leftover cotton sheet was in 2 pieces so I needed to sew those together.

Step 6 - Then I folded it down the middle lengthwise and pressed. Pin and sew the sides together. If you had to use more than one piece to get the 2 yards make sure your seam is on the outside when you sew the sides together.


Step 7 - Turn fabric tube right side out (SORRY!! I hate that part, too!!) and press with the seam in the middle.


Step 8 - Tuck in the ends, press and sew closed. Sorry this one is blurry. :/


Step 9 - My 3 yards of cotton gauze was in 3 pieces so I had to sew the ends together.
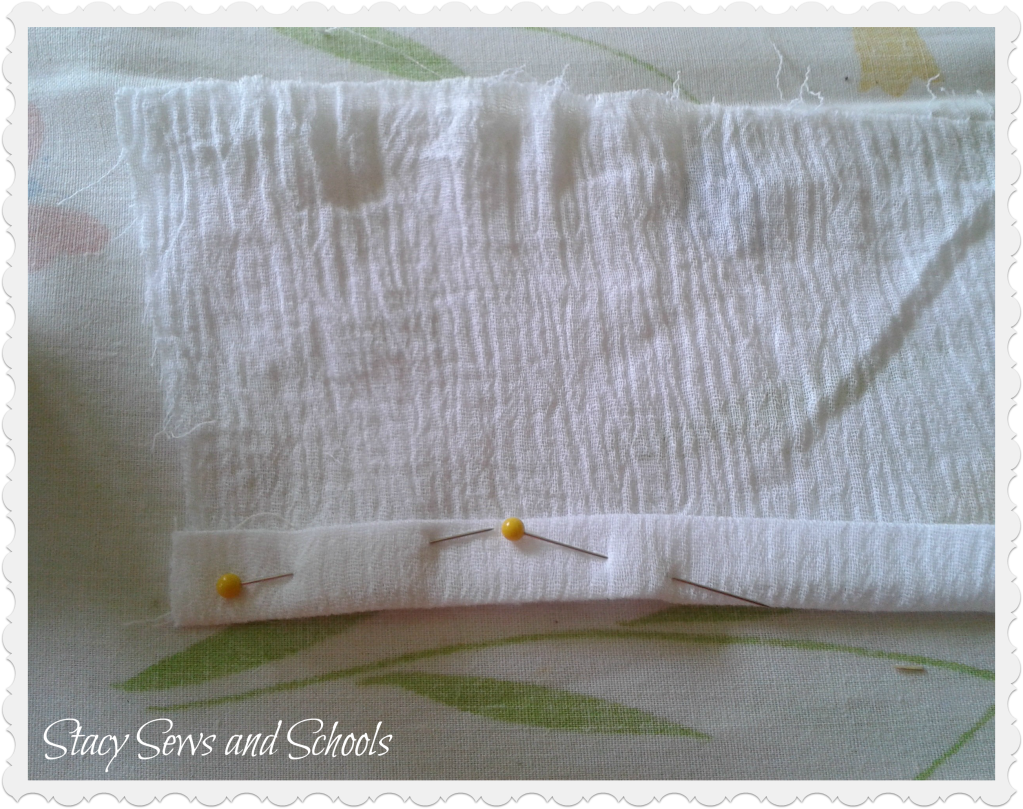


Step 10 - Fold up 1/2", press, fold up another 1/2" press, pin and sew hem.  Do the same to the 2 sides.

Step 11 - Sew a gathering stitch across the top of the gauze strip. To sew a gathering stitch on my machine I set both stitch dials to the highest setting.


Step 12 - Remove the DARN CAT!!
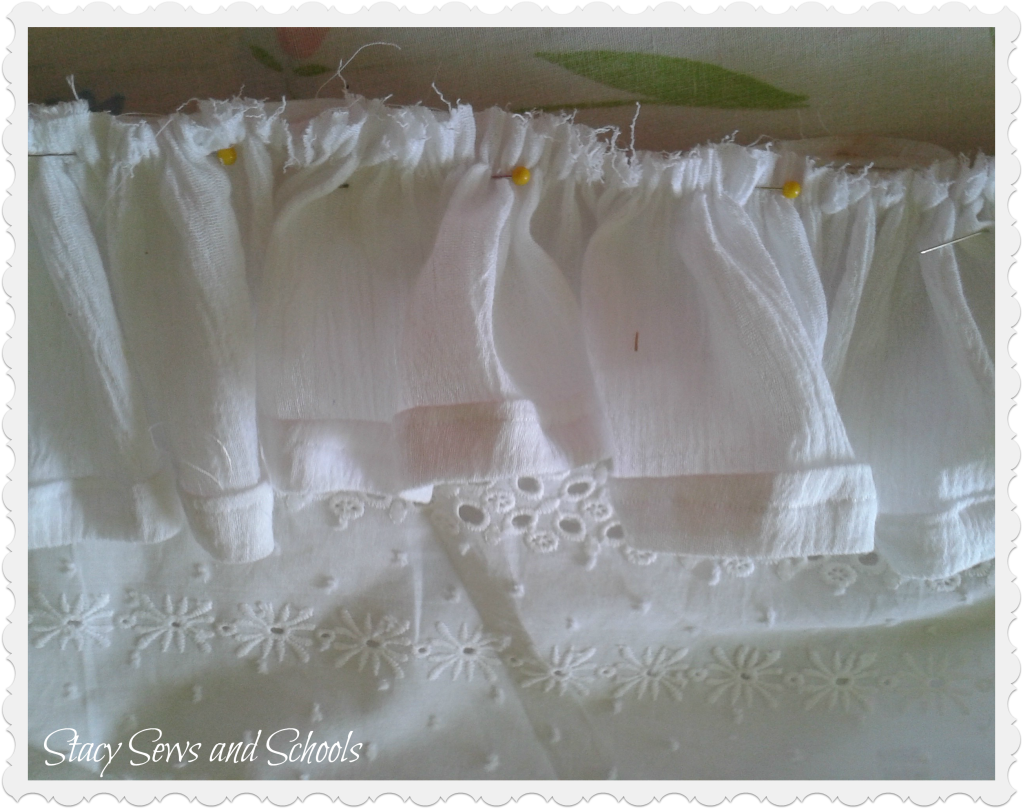


Step 13 - Pin the top of the ruffle to the bottom of the apron with right sides together, adjusting gathers as needed. Sew.
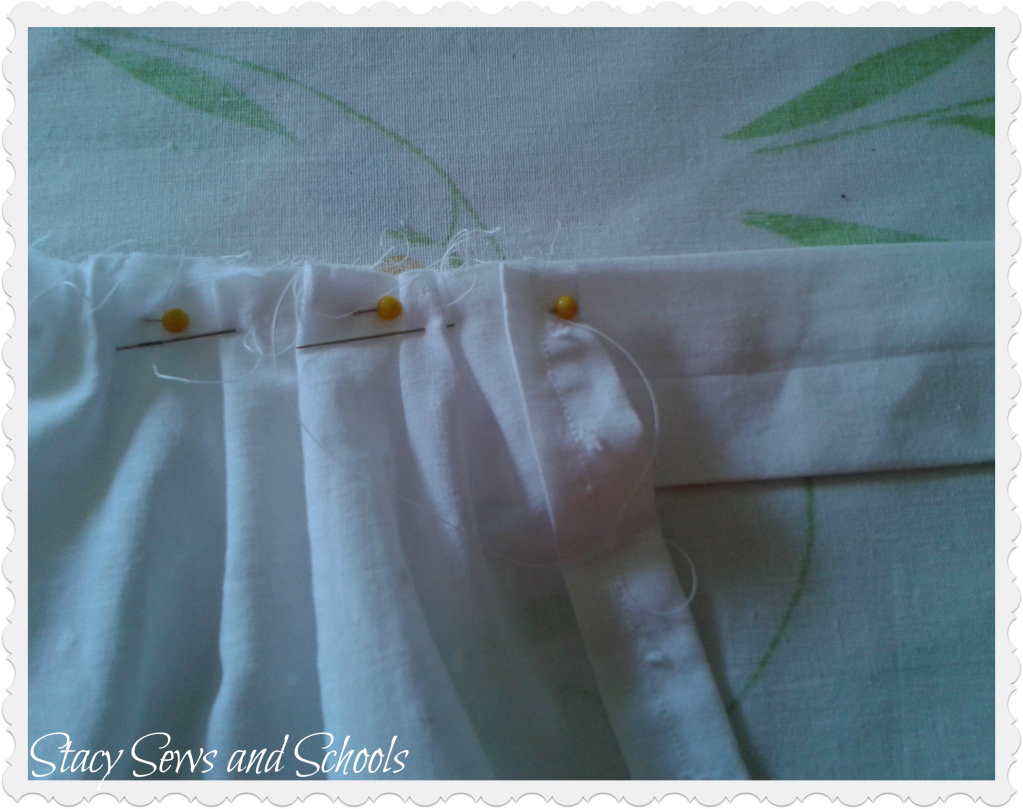


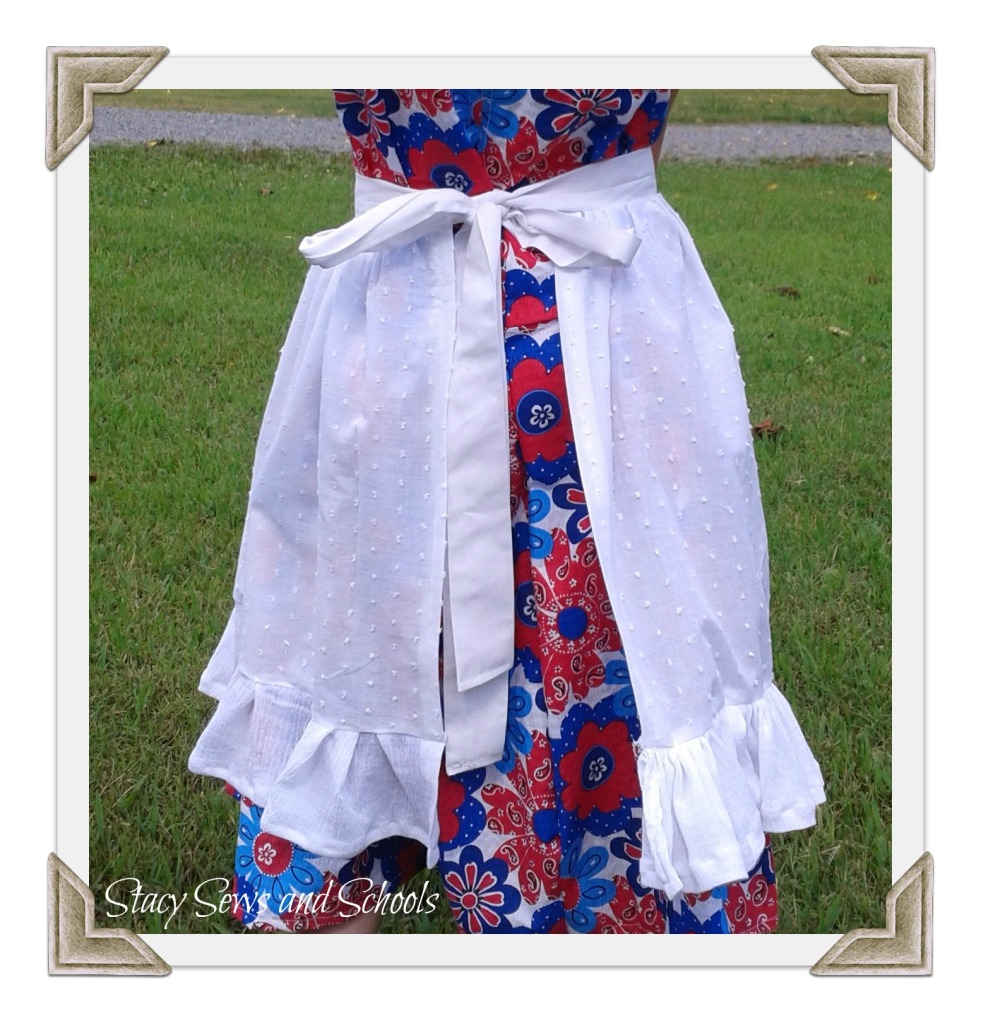
Step 14 - Run a gathering stitch across the top of the apron. Pin top of apron to the bottom of the ties, right sides together, adjusting gathers as you go.


Step 15 - Flip over and press the back side.


YOU'RE ALL DONE!!! :)
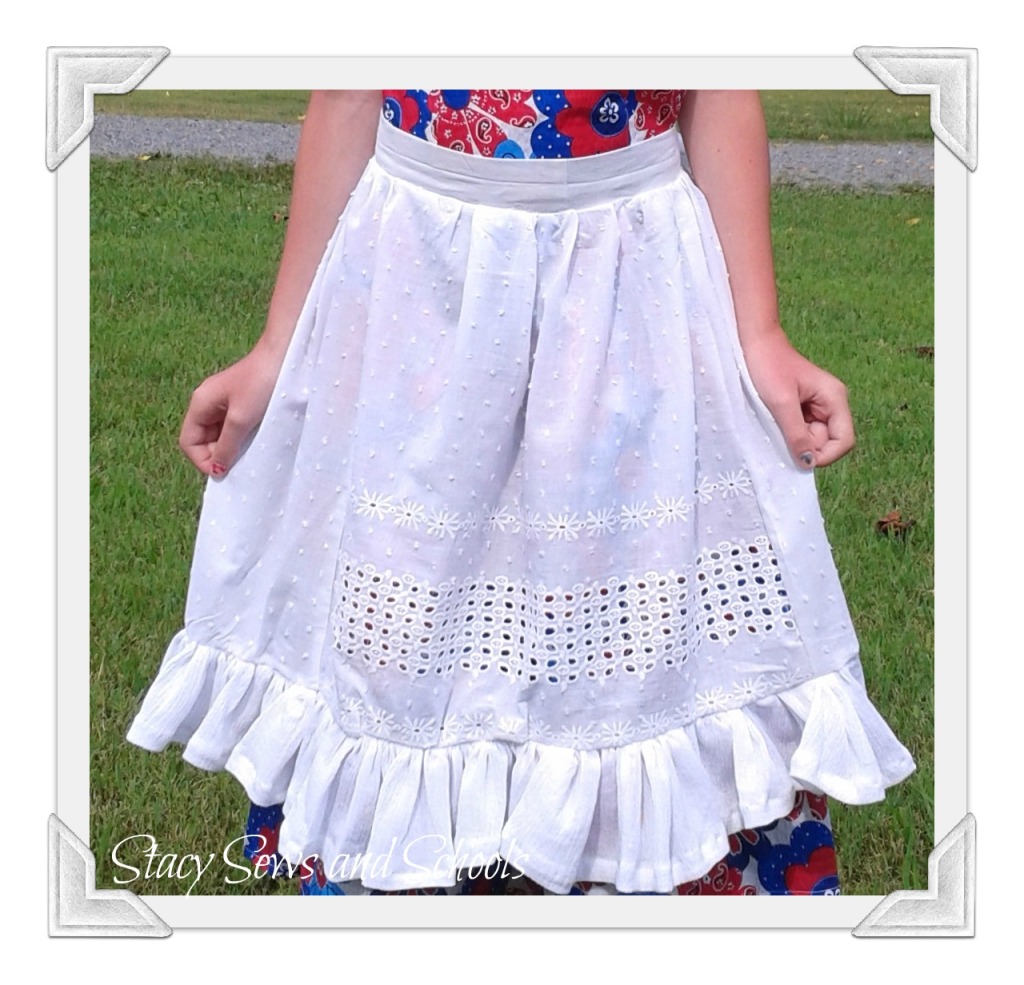


I think the apron gives the dress a vintage/retro/old-fashioned look. What do you think??


As always, let me know what you think. Was this easy to follow? If you have ANY questions, just ask! I would be more than happy to answer them.

Let me know if you make this!! I would love to see it!!


July 2, 2012

Retro Butterick '47 Is DONE!!!!

YAY!! It's all done! :) Well, I think I need to add a couple of snaps above the zipper, but other than that, IT'S DONE! :)


As you can see, there's a bit of a gap over on my left side where the zipper is located. I'll just add a couple of snaps there above the zipper and it'll be just right! :)

Apparently this is pattern is very flattering for my body type. As soon as I came downstairs d said, "Ooh! It makes you look thinner!" I may need to make 10 or 100 more from this pattern. ;)

Check out those shoes!! Those are the pair that I got FREE from Sears for using my reward points!! YAY!!

Here's a back view of the Retro Butterick '47 B5209


The dress is a little bunchy in the back but that's due to me being so short-waisted! LOL

So, there's another vintage/retro pattern to mark as done! YAY!

Next up will be my purse. And if things go well I'll be posting a tutorial for that tonight or tomorrow. Wish me luck! ;)

Here are the fabrics I'll be using.


I had a lovely navy blue that I wanted to use but it picked up SOOOOO much lint that I decided not to use it! The blue here is what is left over from the What a Hoot skirt and the gold and cream is what I won from Handmade by Hilani. I'm a little nervous about this... I have never made a purse before and I don't think it will be as simple as d's bag.... But I'm gonna try! ;)

I think after the purse and tops for me I will make some play clothes for the cs. I'll be sure to post tutorials when I do!