Showing posts with label fabric. Show all posts

June 9, 2015

Fabric Extravaganza

This is usually where I have a tutorial of some kind for you. Well, not today. I have been SUPER busy and have been trying to get my next Blog with Friends project done. Sooooo, today I am going to show you my last few fabric purchases. Because I know you want to see them, right??? You're all fabricholics, too, right??? 

This is how bad it is, I went into Joann's the other day just to get some elastic, I SWEAR!!! And I walked out with the elastic + 8 yards of fabric. I couldn't help myself!! And Cailey found 2 things that she just HAD to have. ;) 


2 different TARDIS prints!! Who could pass those up???


Starry Night. One of my favorite paintings. 


Cailey saw this Disney Princess toile and LOVED it!!!!


This is the other one that she picked. 


Guess you can figure out who this is for!!! 


For some reason this one reminds me of melting popcicles. It's just a tad brighter in person. 


LOVE this bright yellow!!! Might have to make myself something out of this!


I bought 3 yards of this knit. LOL Cailey and Colin both want something made out of it!!!


Last but not least, this gorgeous water color Disney Princess print. I am actually working it with right now. Well, as I am writing this. By the time this posts I had BETTER be done with it!!! LOL 

Have you bought any fabulous fabric lately?????


HAVE FUN FABRIC HOARDING!!!!!


April 30, 2014

OOOOH! Look What I Won!!!


A couple of weeks ago I entered a contest on Facebook and I was one of the winners!!! WOOOOO HOOOOOO!!!! My prize came from Knits & Giggles. 
I am so excited!!! I was just thinking that I really needed some knit prints!!!! I have a little bit of plain but I really love a great print!!! 

I already have something planned for 2 of the pieces. Colin loves the purple chevron and wants some p.j.s out of it. 


See Cailey's dress???? It's her absolute favorite. She has been asking for more like it. Problem? We bought it at Justice for about $45.... I am hoping to turn the pink hombre animal print into a dress almost exactly like it. 
Wish me luck!!!! LOL

The pink zebra hasn't been claimed yet. Maybe I can make myself something for a change??? Maybe??? 


In more sewing news, I am currently making Cailey another dress from the SquigglyTwigs Pretty Peasant Pattern. I made one Pretty Peasant Tunic with the Quick and Easy Pants capri option. Then in October I made a Halloween dress from the Pretty Peasant Pattern. This time I am making it with an Americana theme. I can't wait to show it to you! :)
I ran into a little problem at first. ALL of my PDF patterns were on my old laptop. They are now GONE!!!! Thankfully I kept the 1 pattern piece you need for the Pretty Peasant. SHEW!!!  

I can't say how absolutely thrilled I am to be sewing again!!!! 


HAVE FUN SEWING!!!!


August 22, 2013

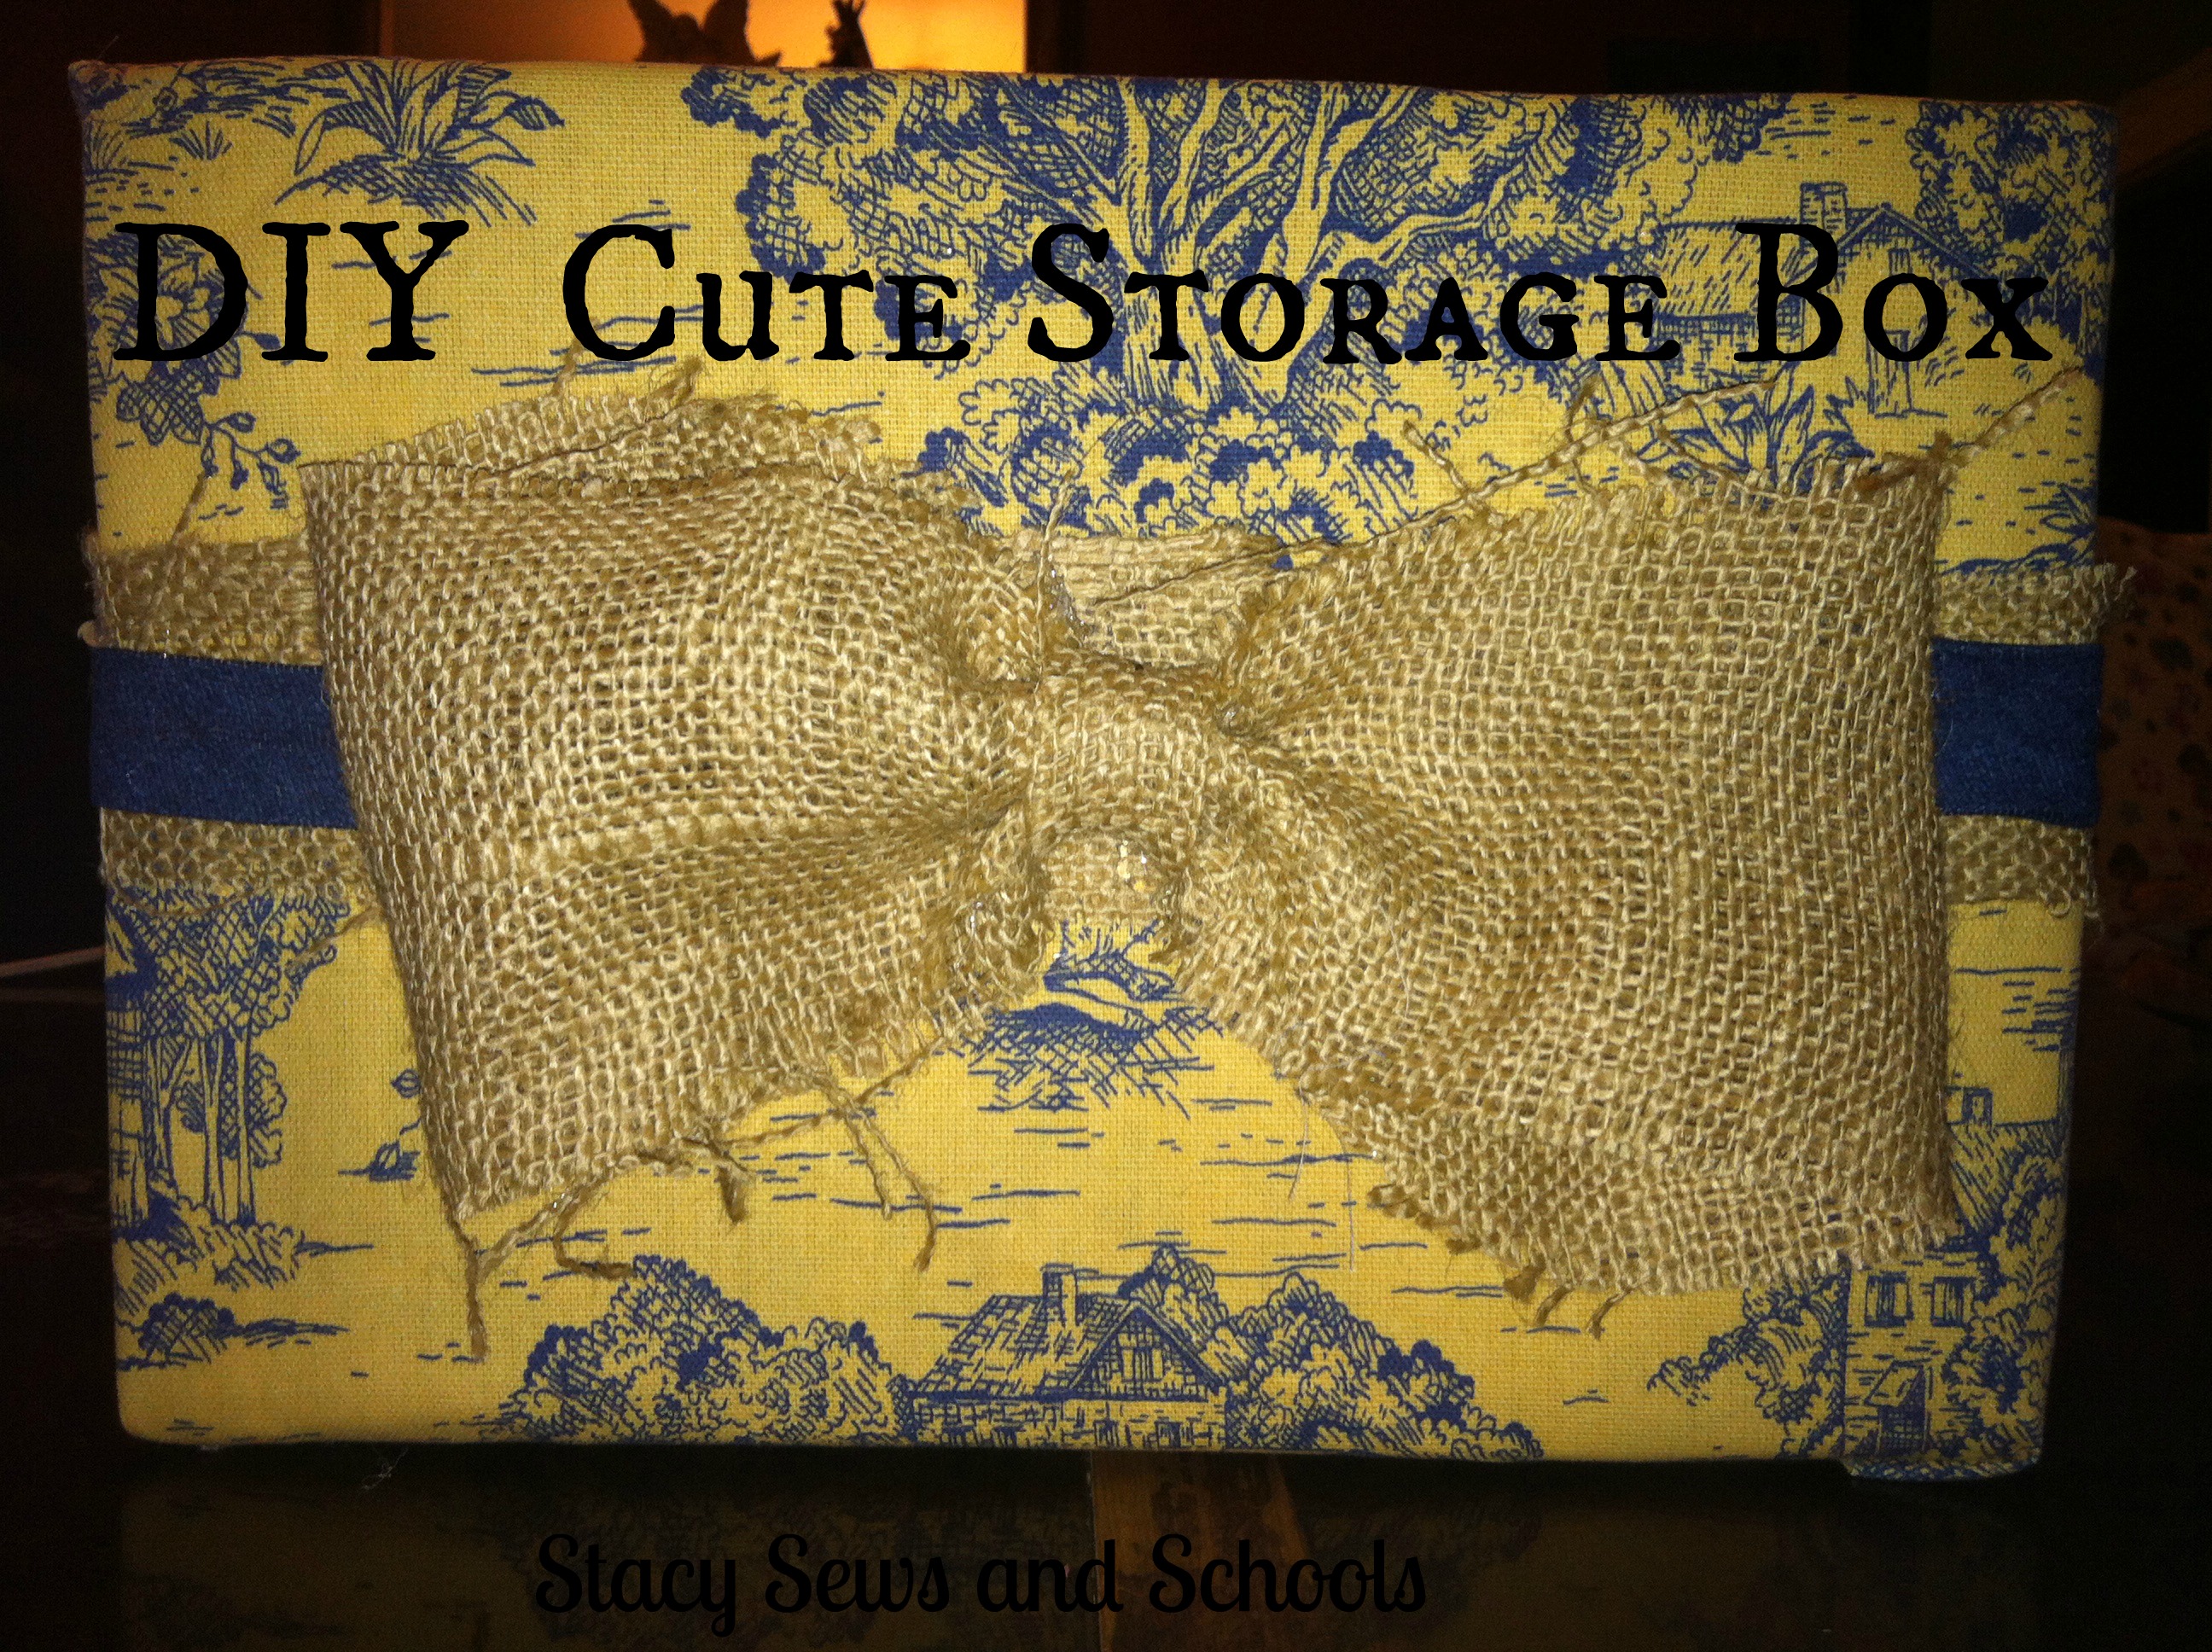
DIY Cute Storage Box - No Sew!!!

DIY Cute Storage Box 01


This is a fast and EASY way to turn a plain cardboard box into a cute storage box!!

There are tons of tutorials about sewing a cover for boxes BUT they require complicated math formulas. BLECK!!! I get enough of those homeschooling the kids! ;) With this one, you just need to measure and know how to multiply by 2. ;)


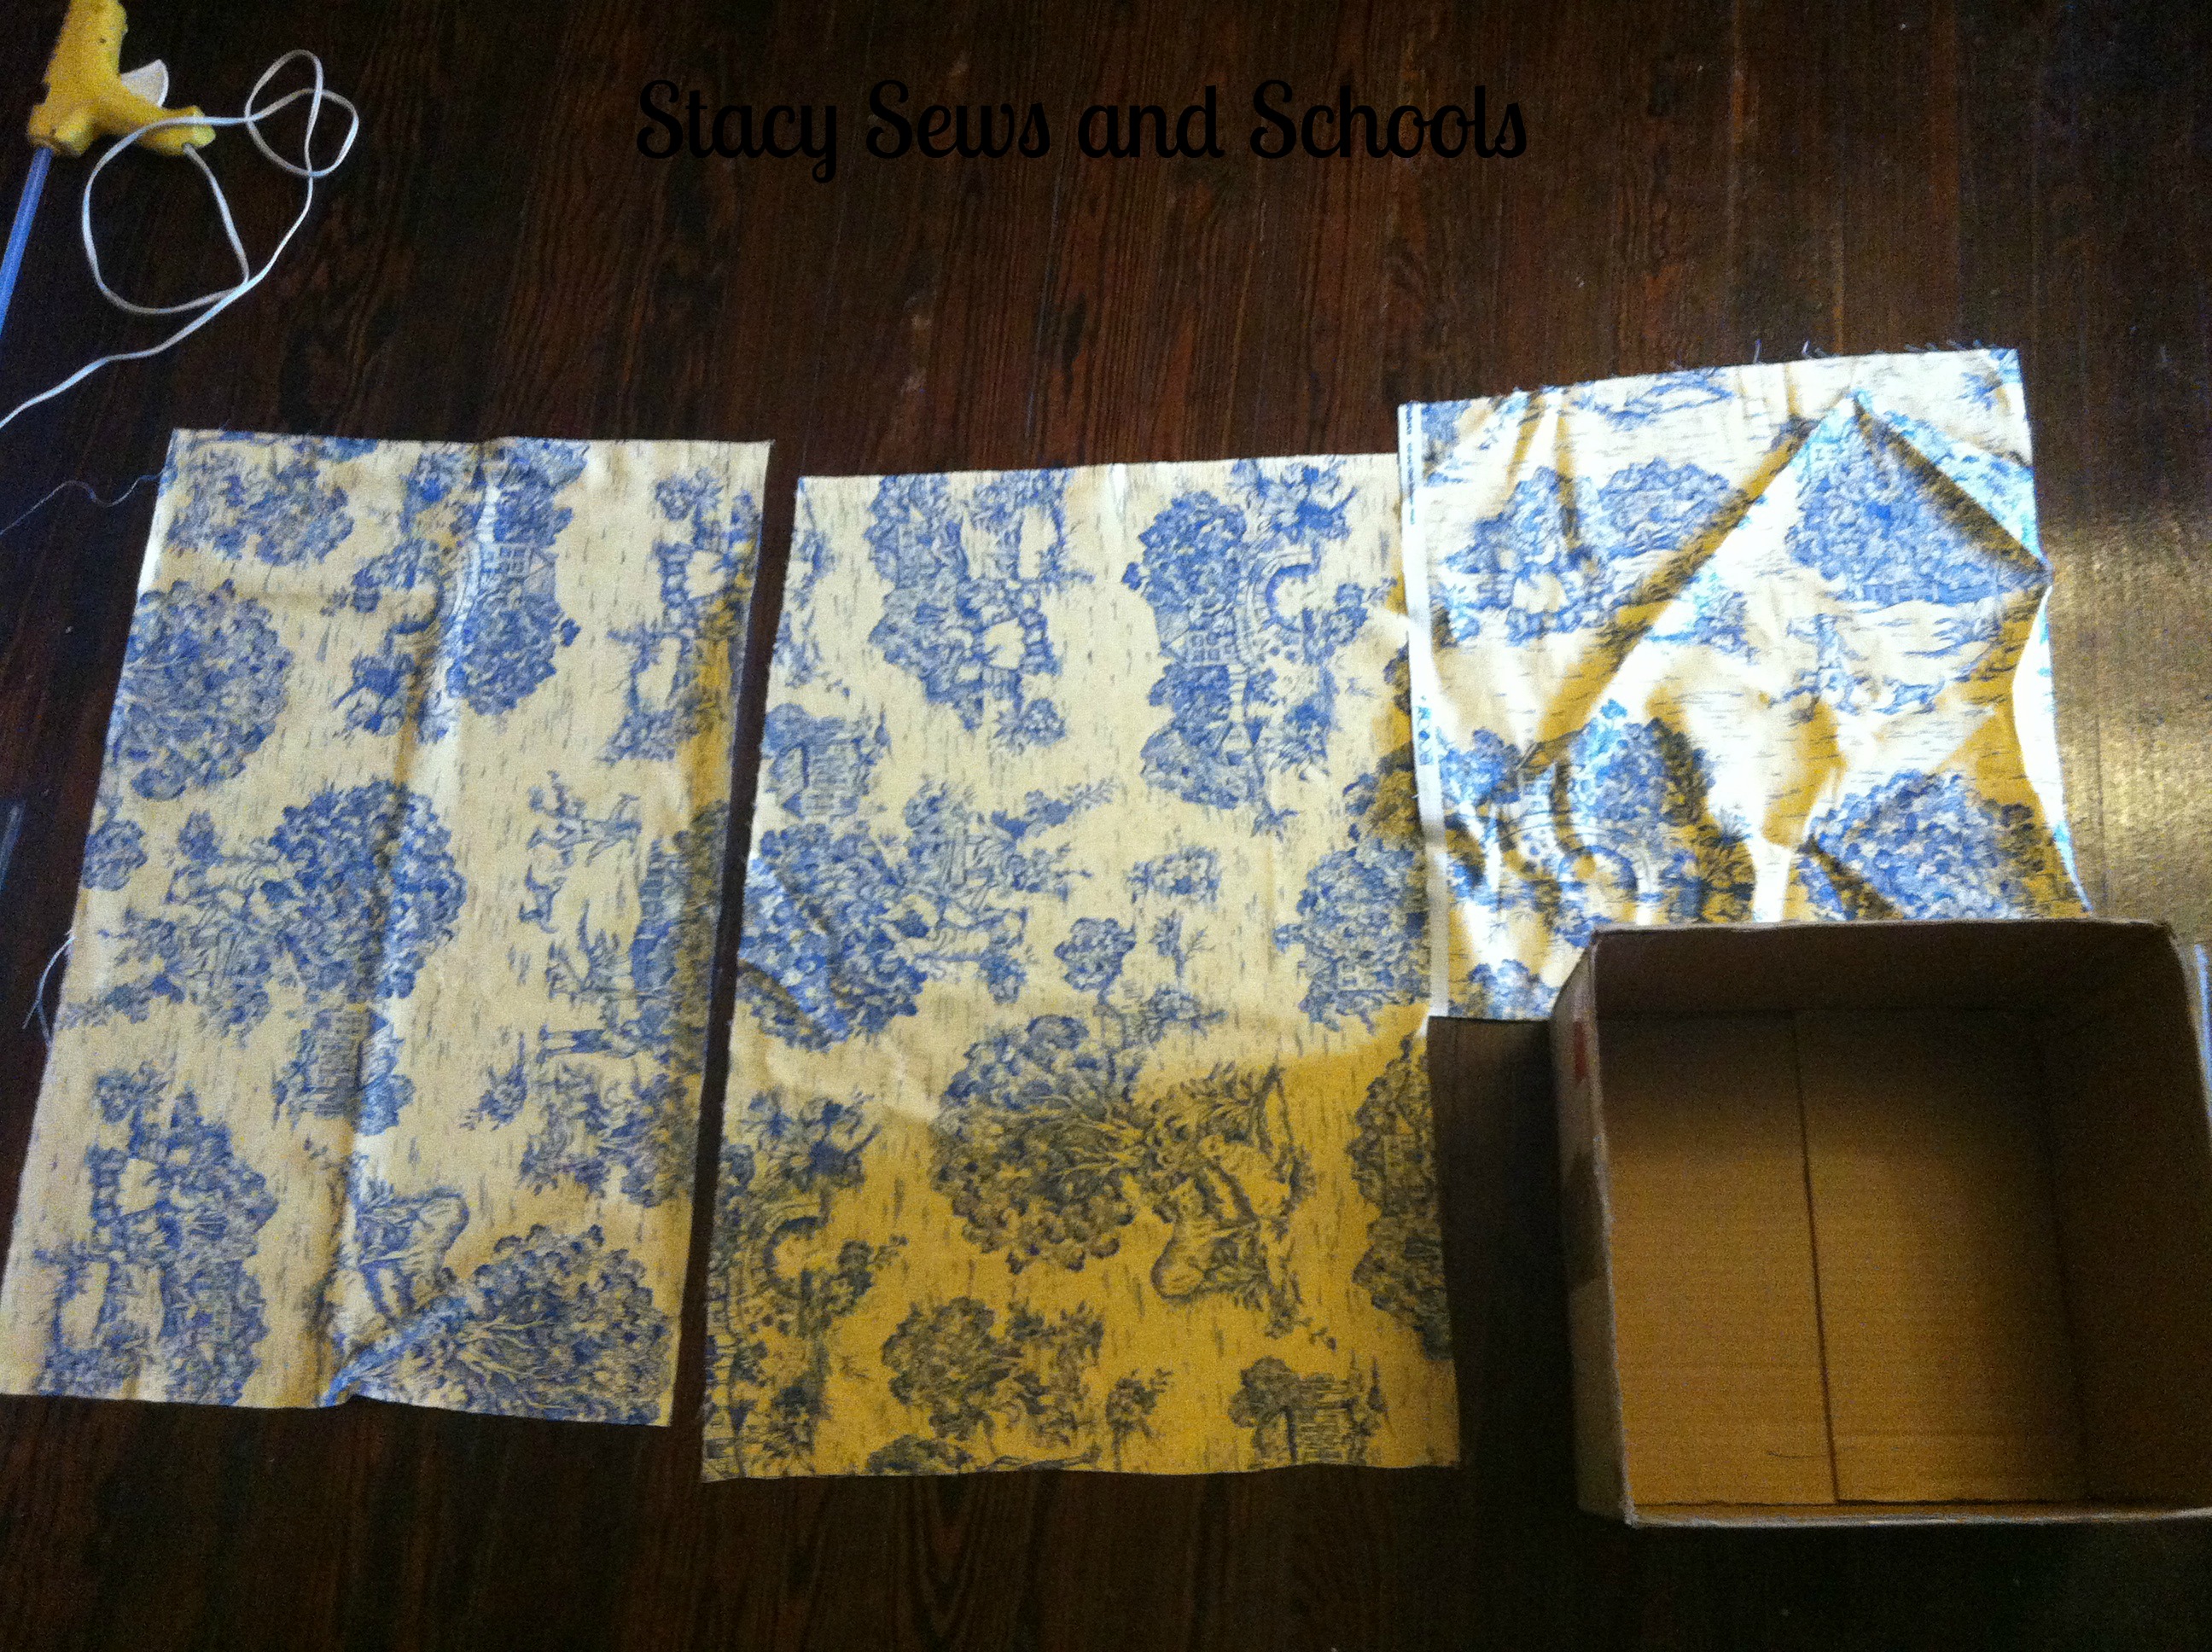
WHAT I USED - 

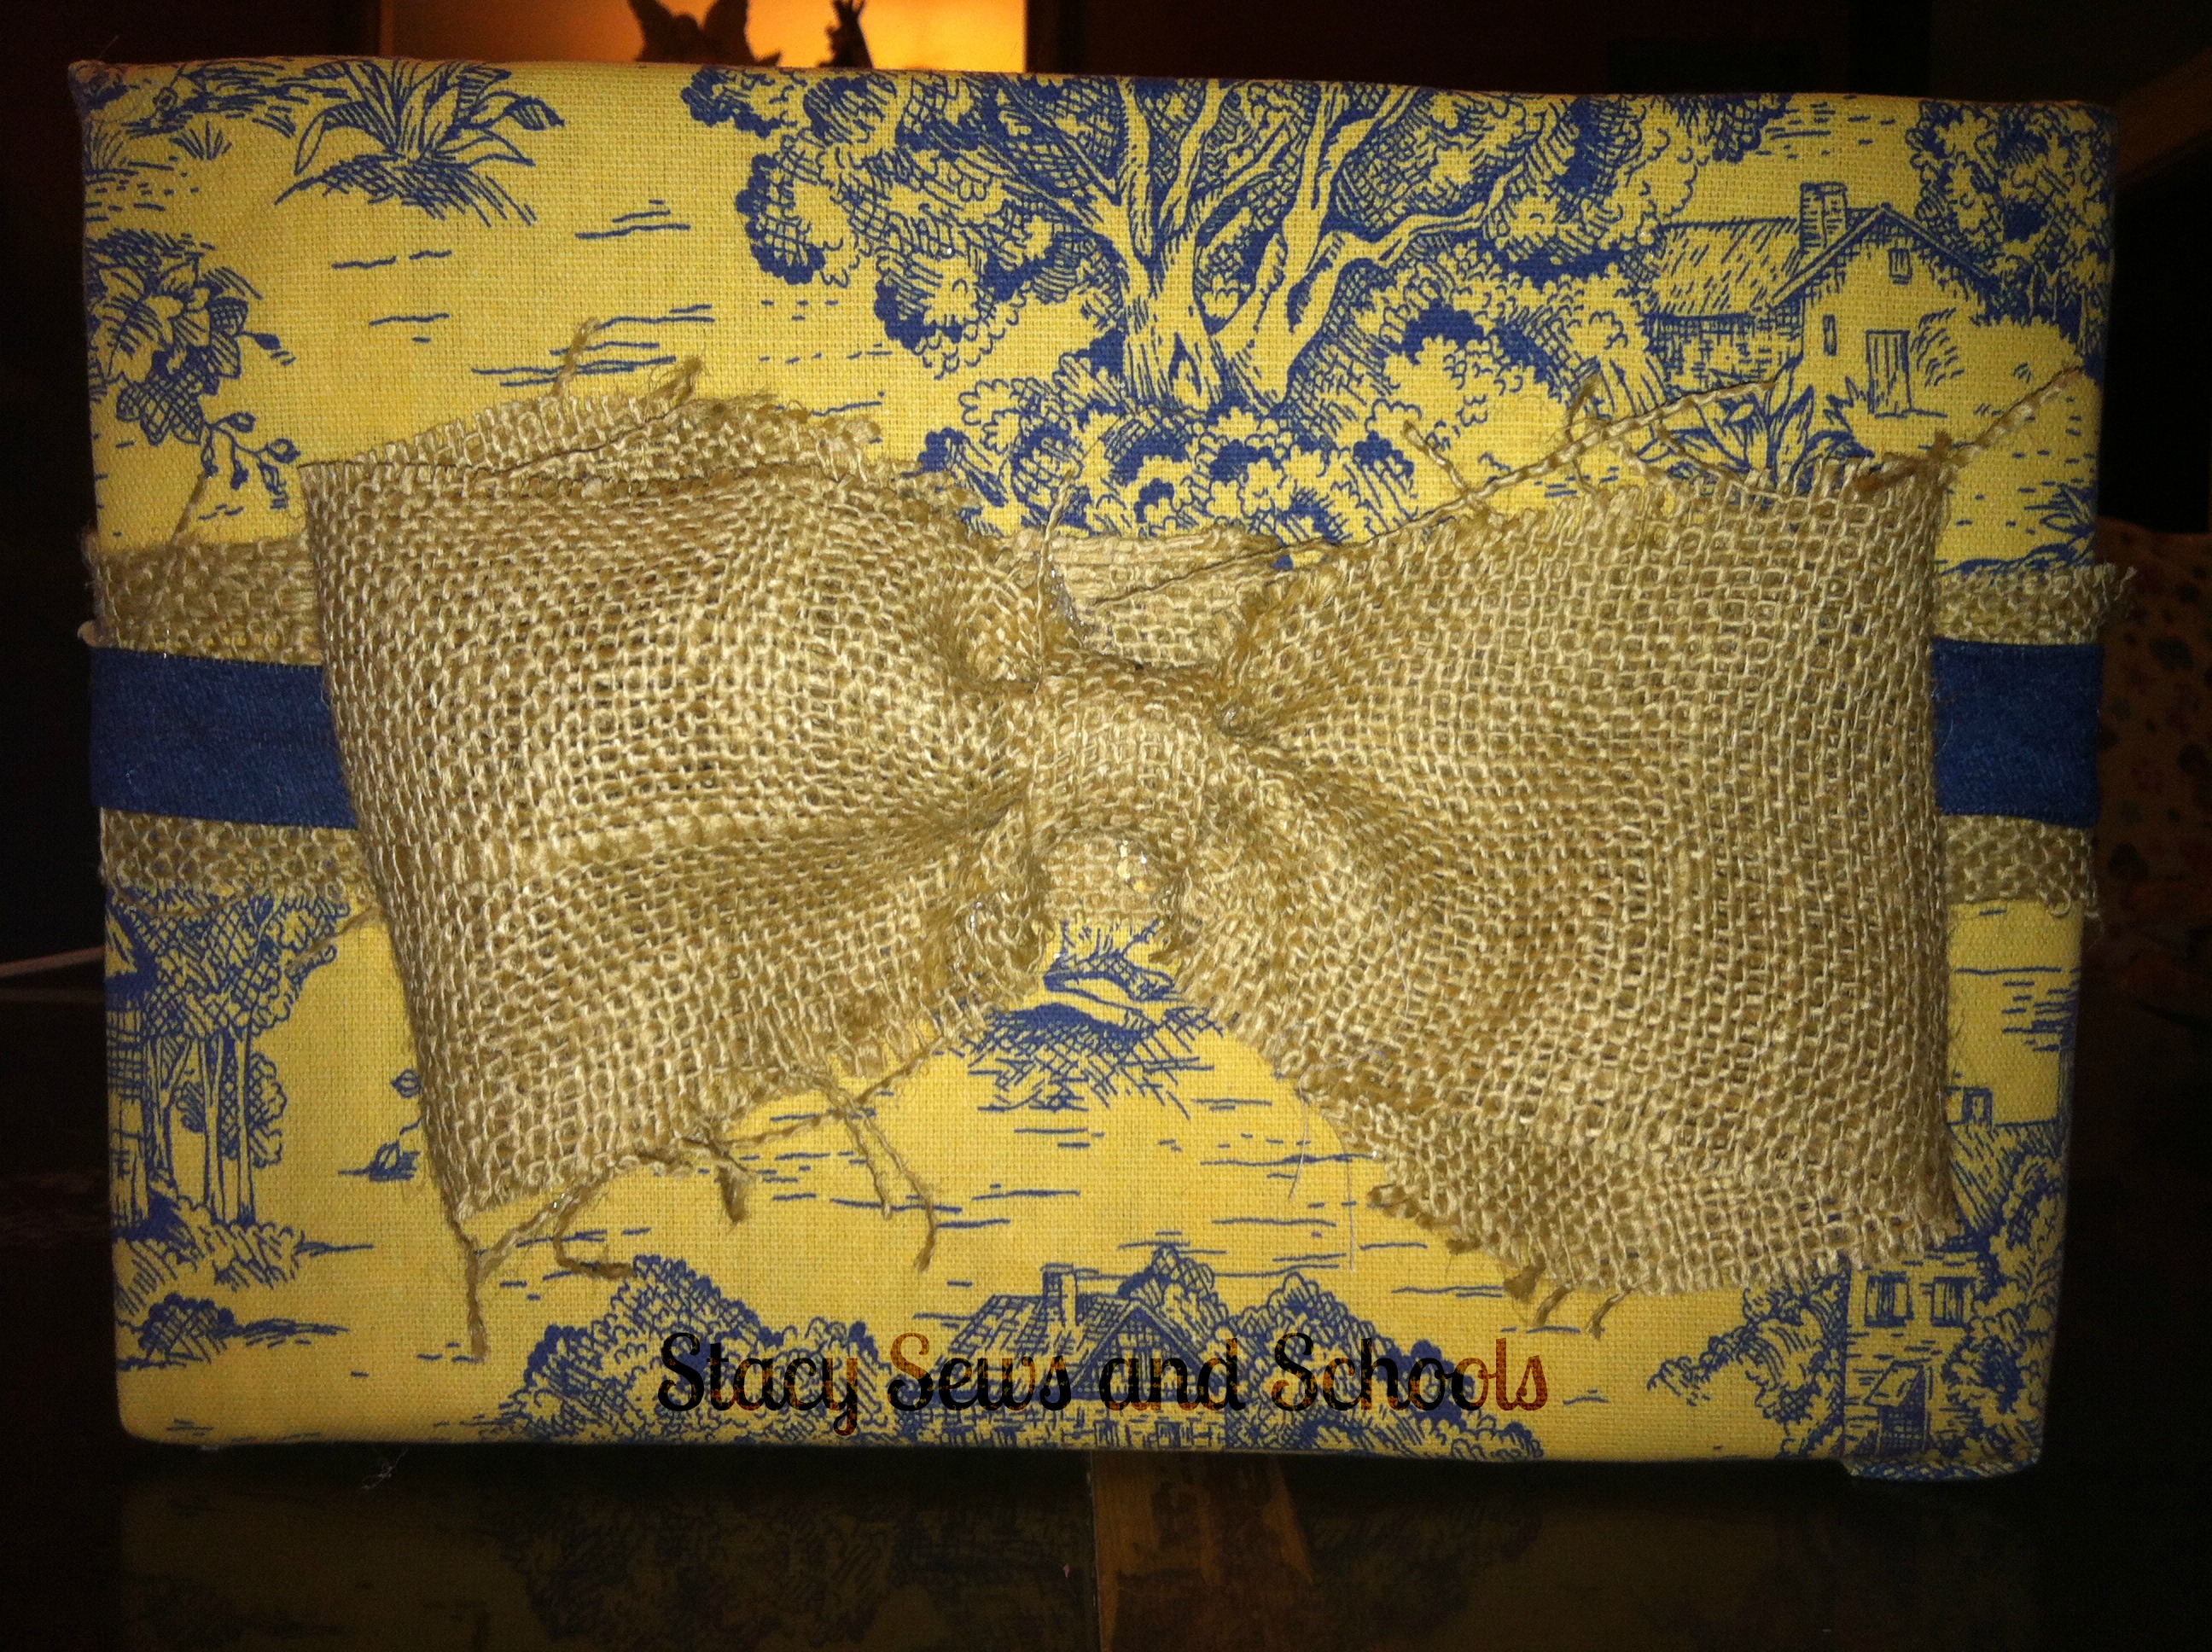
1 fabric remnant - toile

1 scrap piece of burlap

1 leftover piece of denim bias tape

smallish cardboard box - 8" deep, 12" sides

hot glue gun


DIY Cute Storage Box 020


I cut 2 pieces 18 x 26 (2x + 2") and one piece to cover the bottom (can't remember the dimensions). You want the bottom piece to be able to go up the sides by 1".


DIY cut storage box 023


Start by hot gluing the bottom piece, making sure to glue it up the sides as well.


DIY cute storage box 024


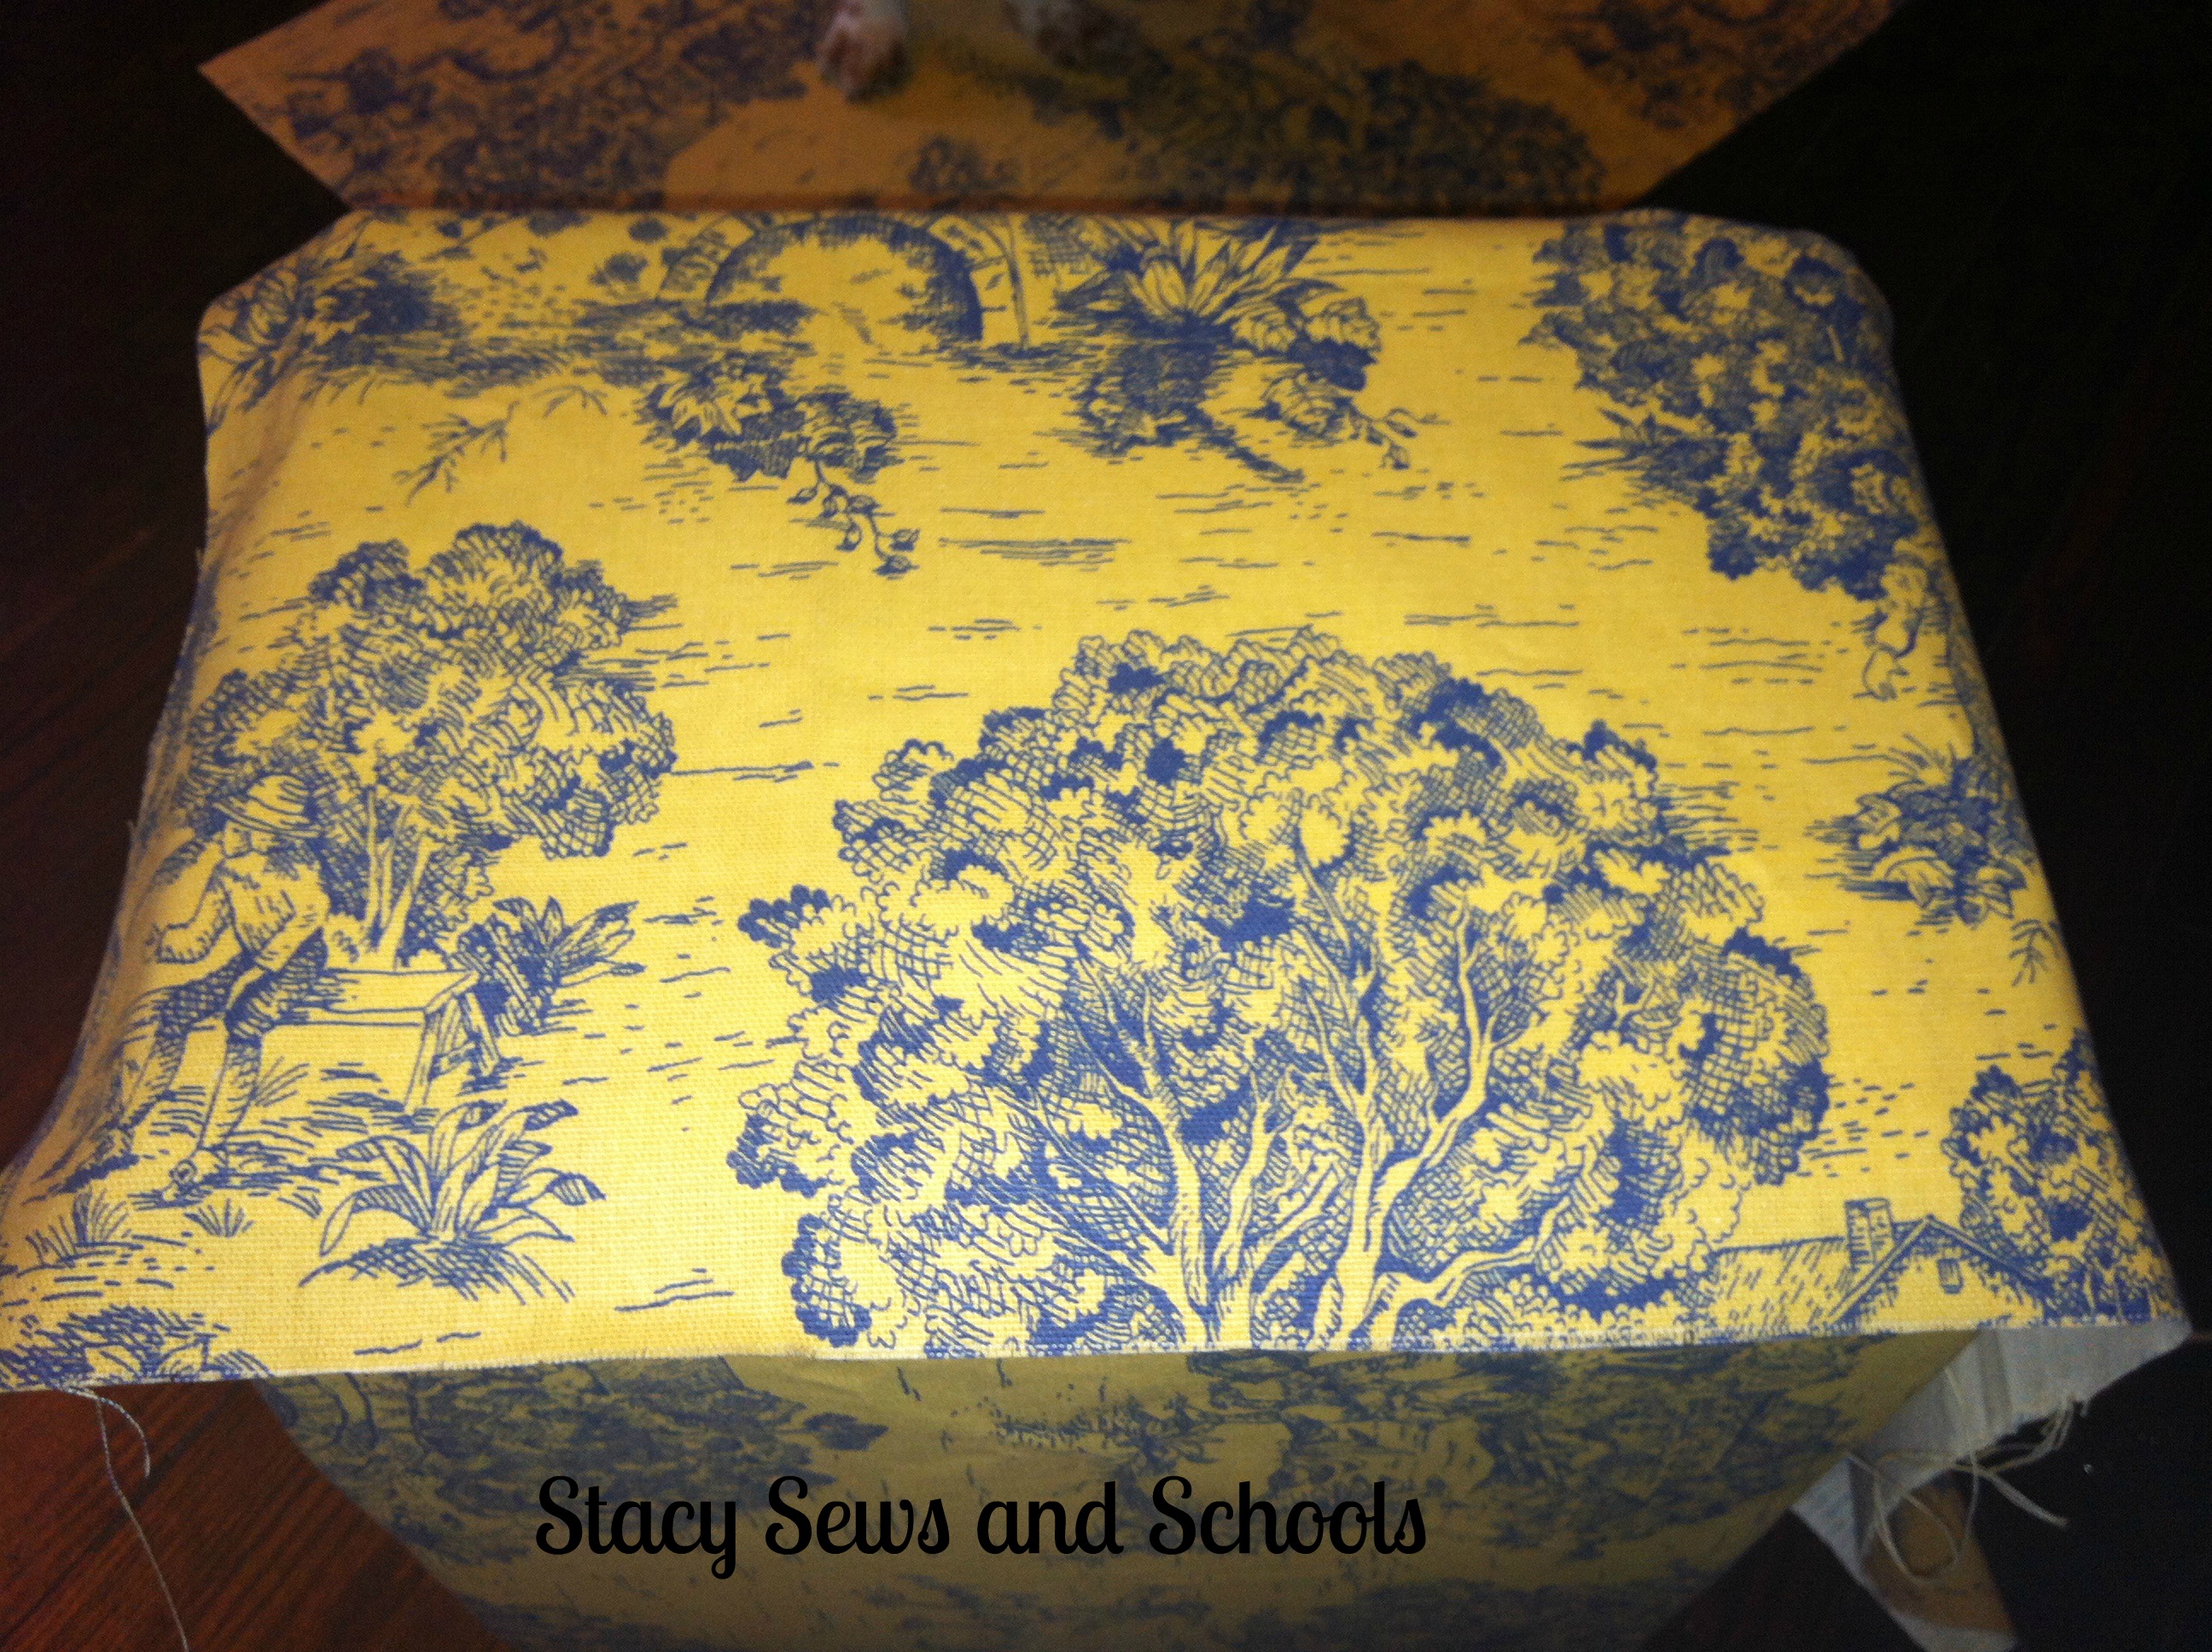
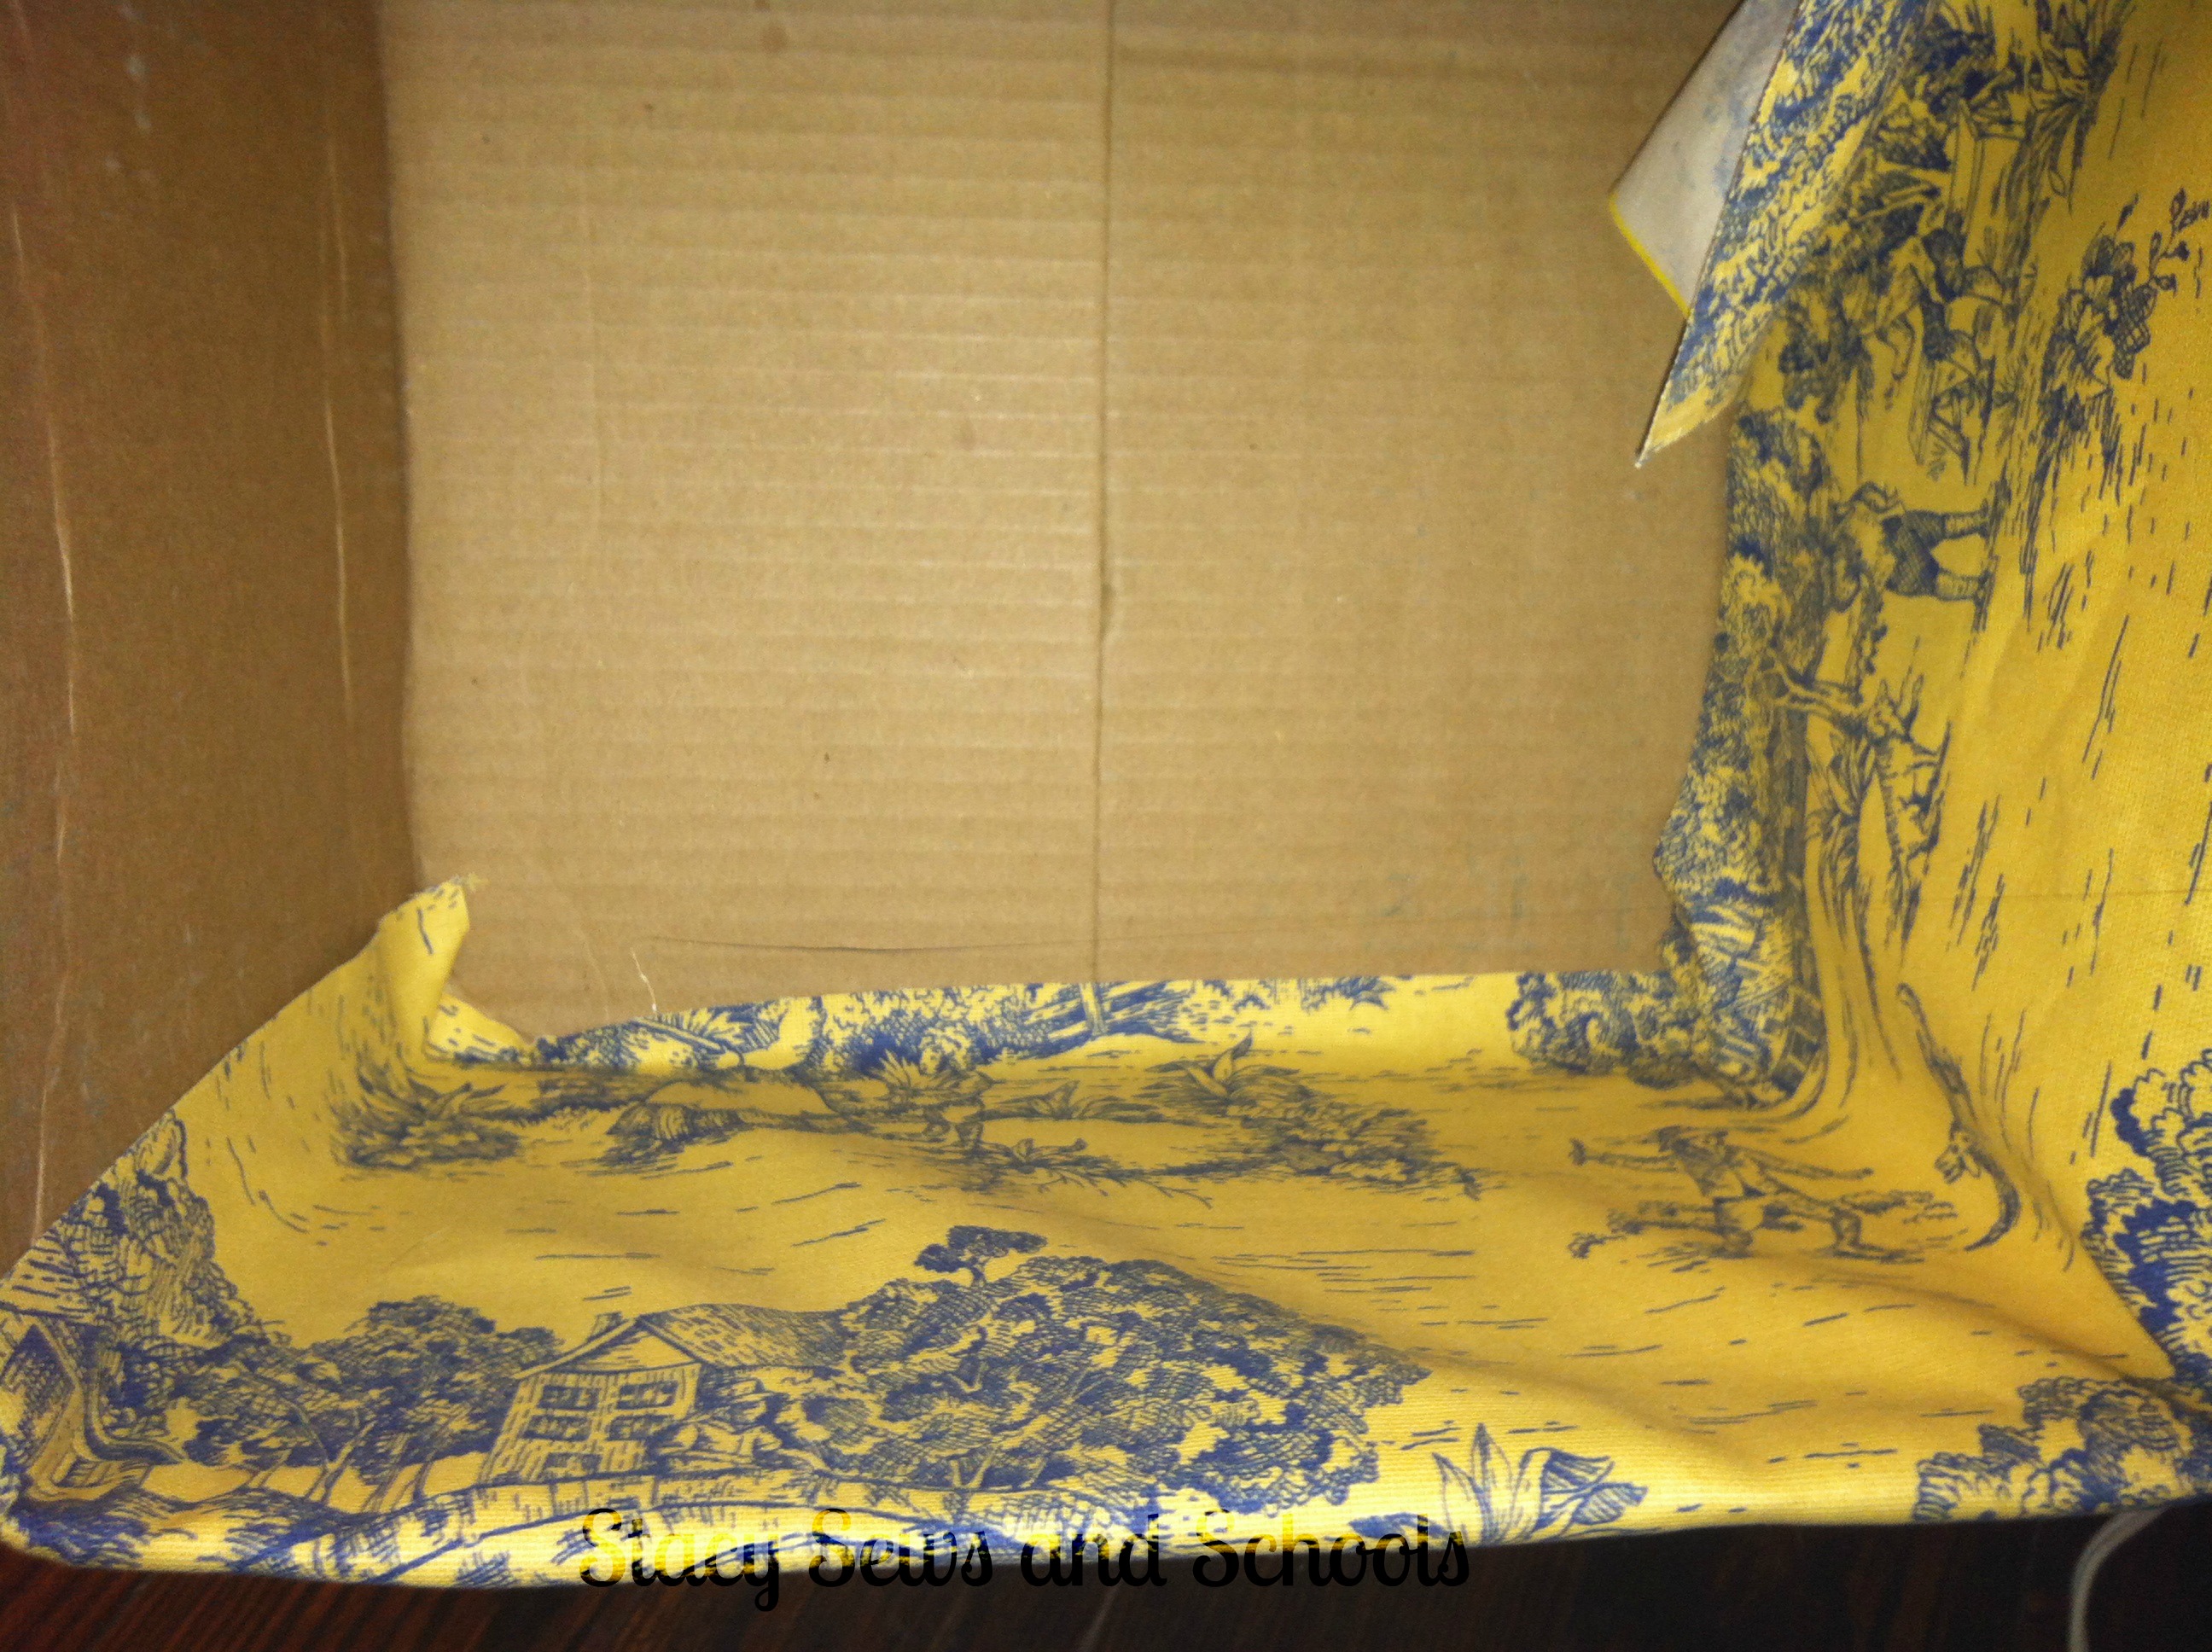
Now for the sides. Draping the fabric over the sides, you want to leave 1" at the bottom and both sides and slide the top down inside the box.


Gently lift the fabric to glue in place making sure of placement.


DIY cute storage box 025


On the inside, put hot glue in the corners and on the bottom edge. Press the fabric into place and smooth (obviously not shown! LOL).


DIY cute storage box 027


Now for the other 2 sides.

Fold the edge of the fabric over 1" and glue into place on one side.

Now glue 1" to the bottom of the box.

Drape the fabric over the sides and inside the box and start gluing in place.

When you come to the last side, fold over another 1" and glue in place.

Then do the inside of the last sides.


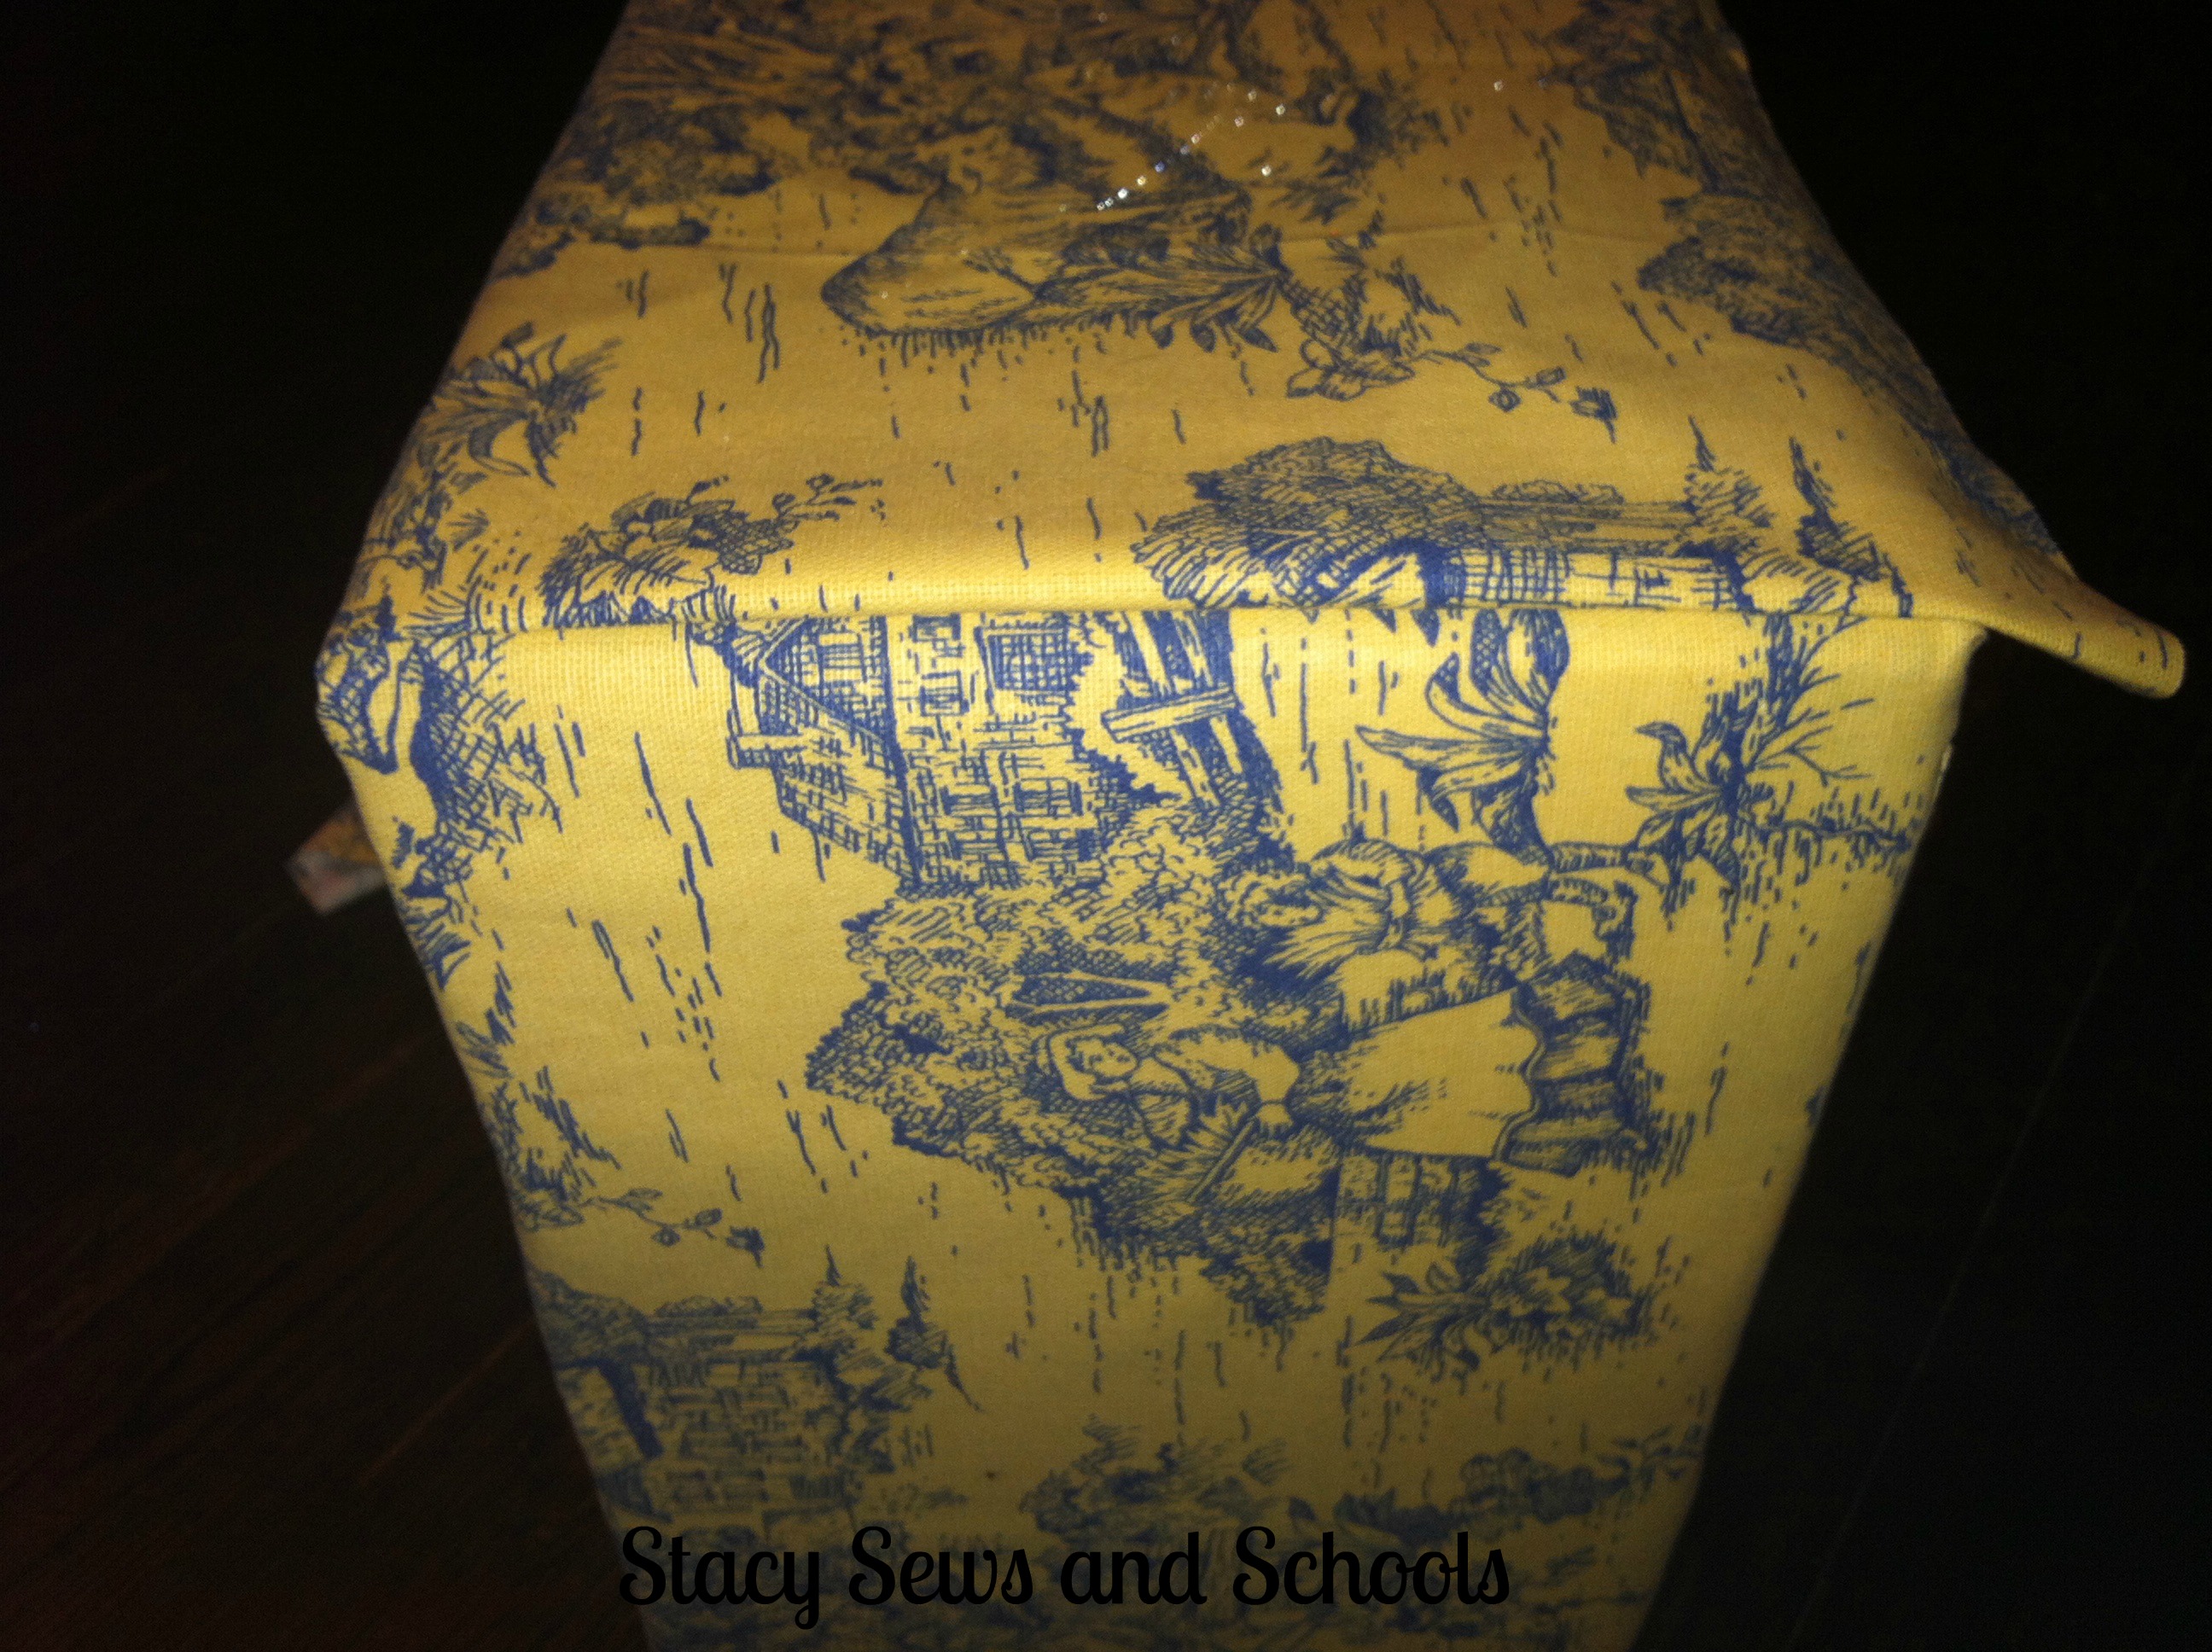
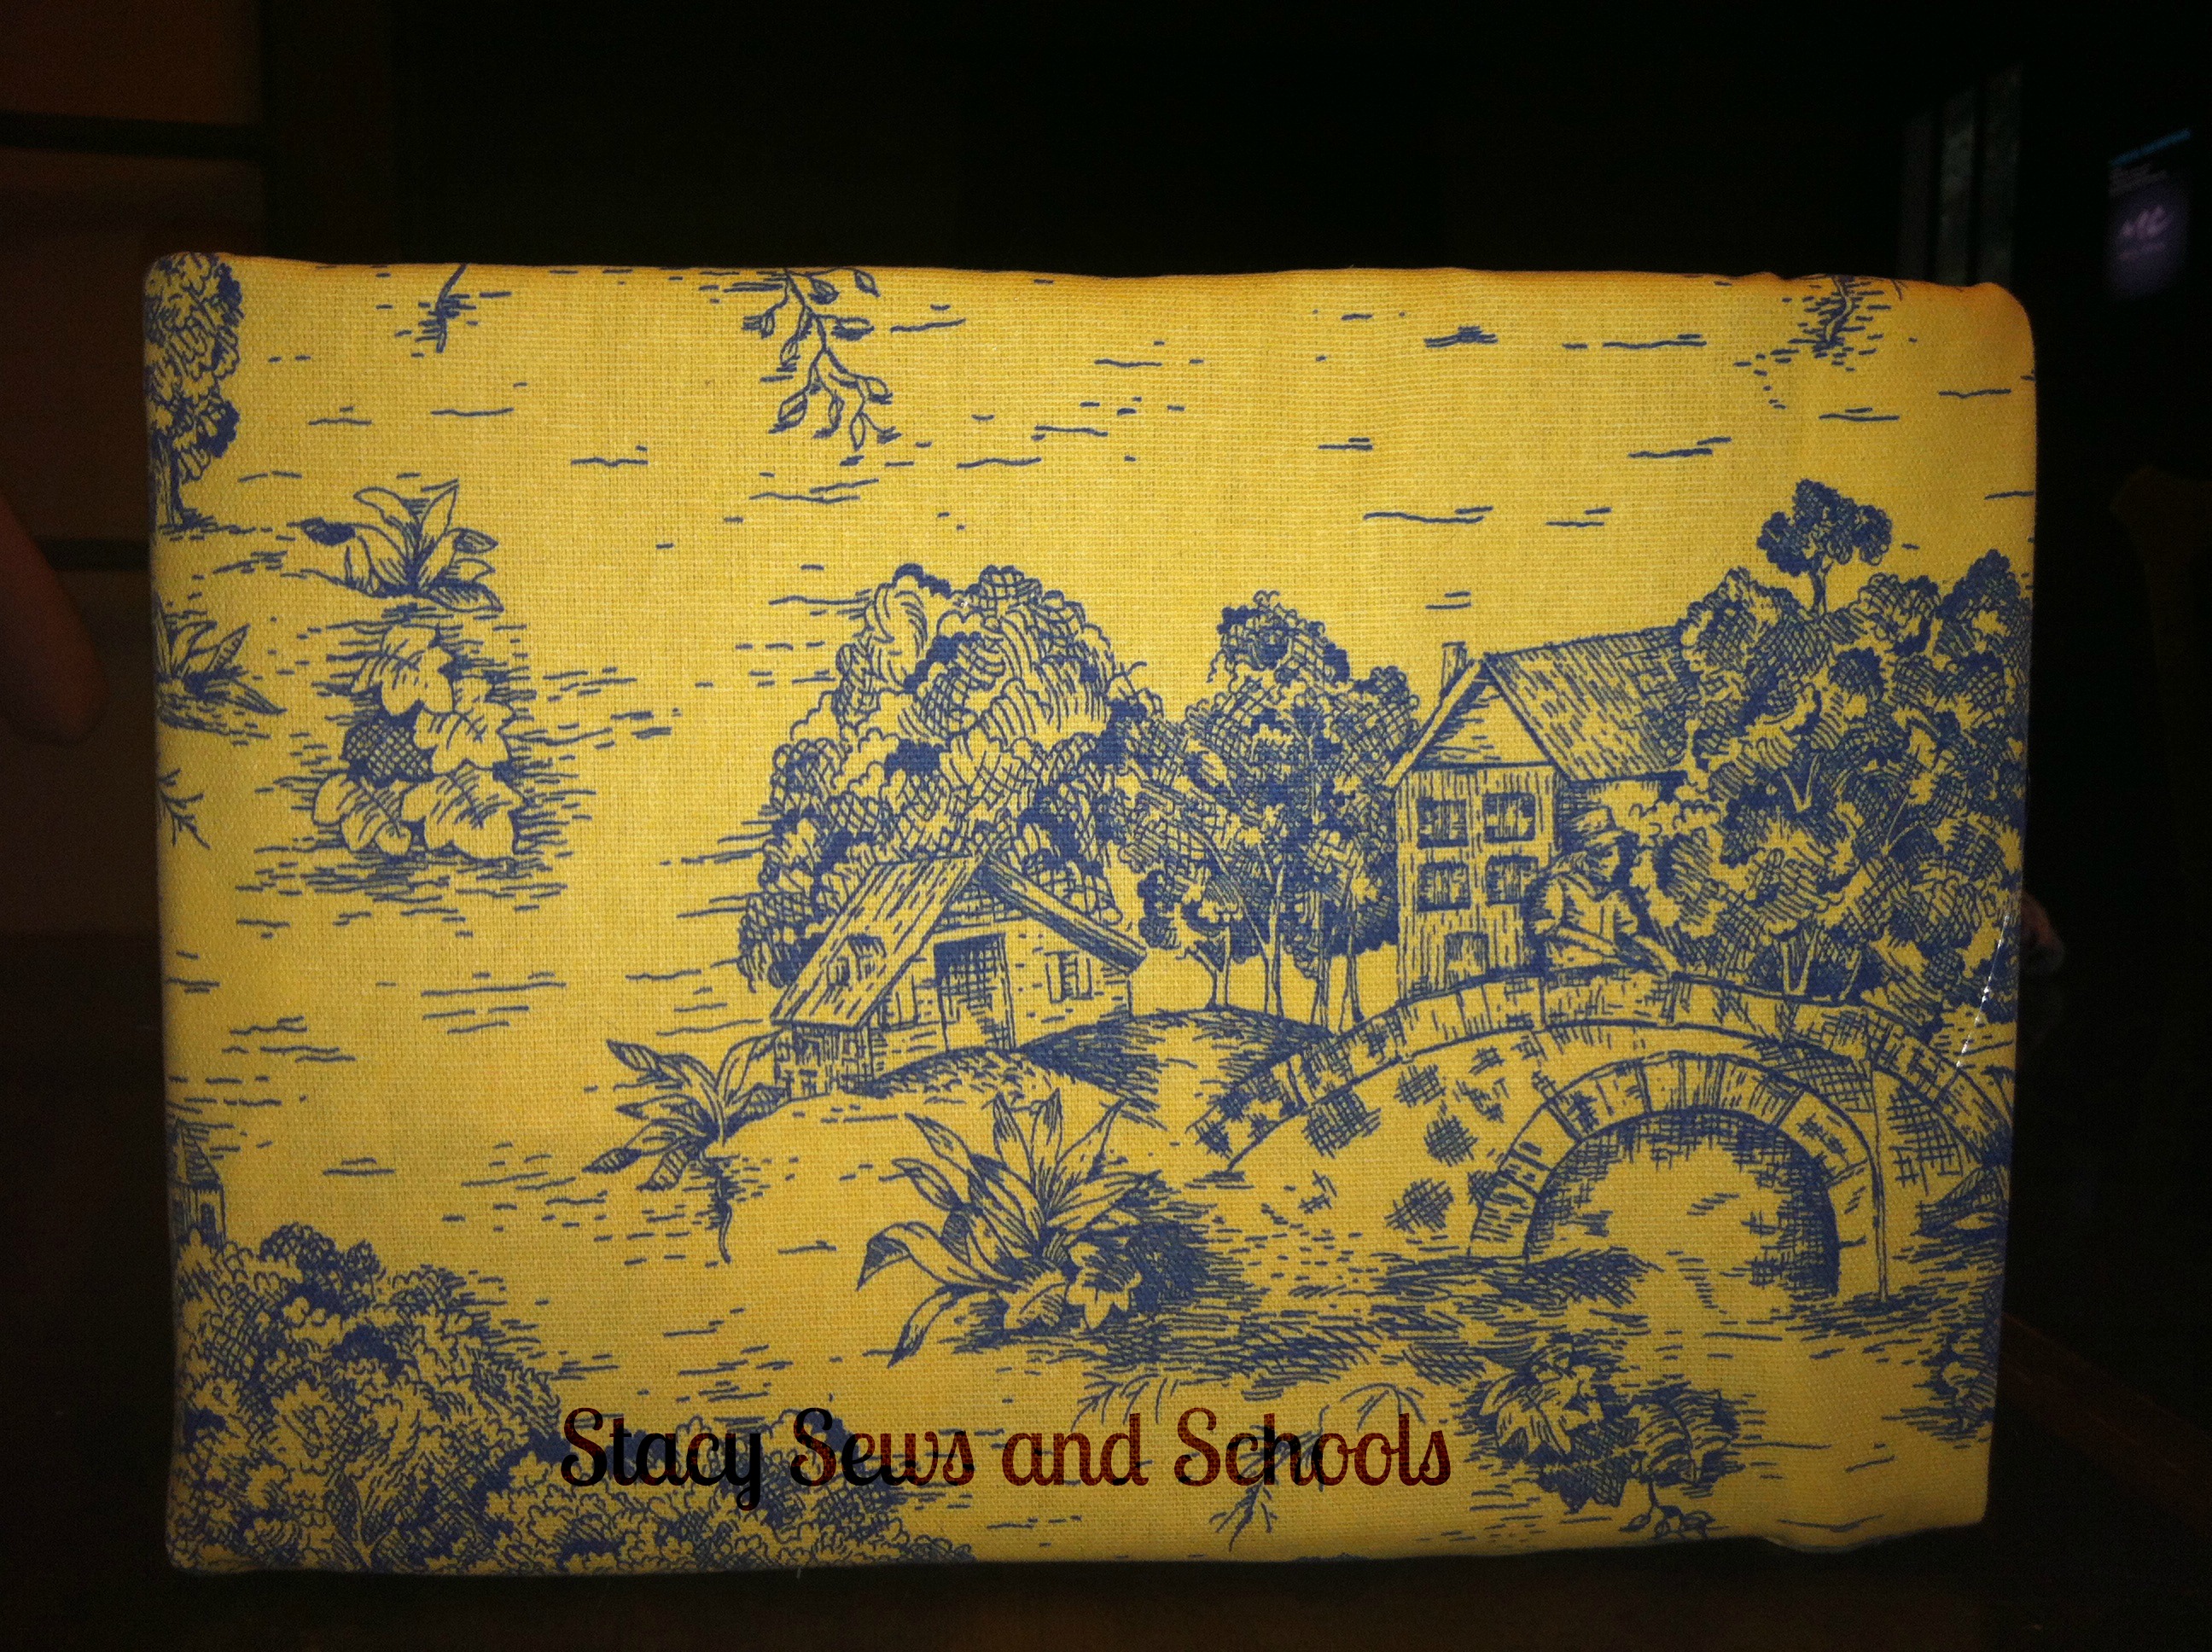
DIY cute storage box 029


This is what you will have.


DIY cute storage box 035


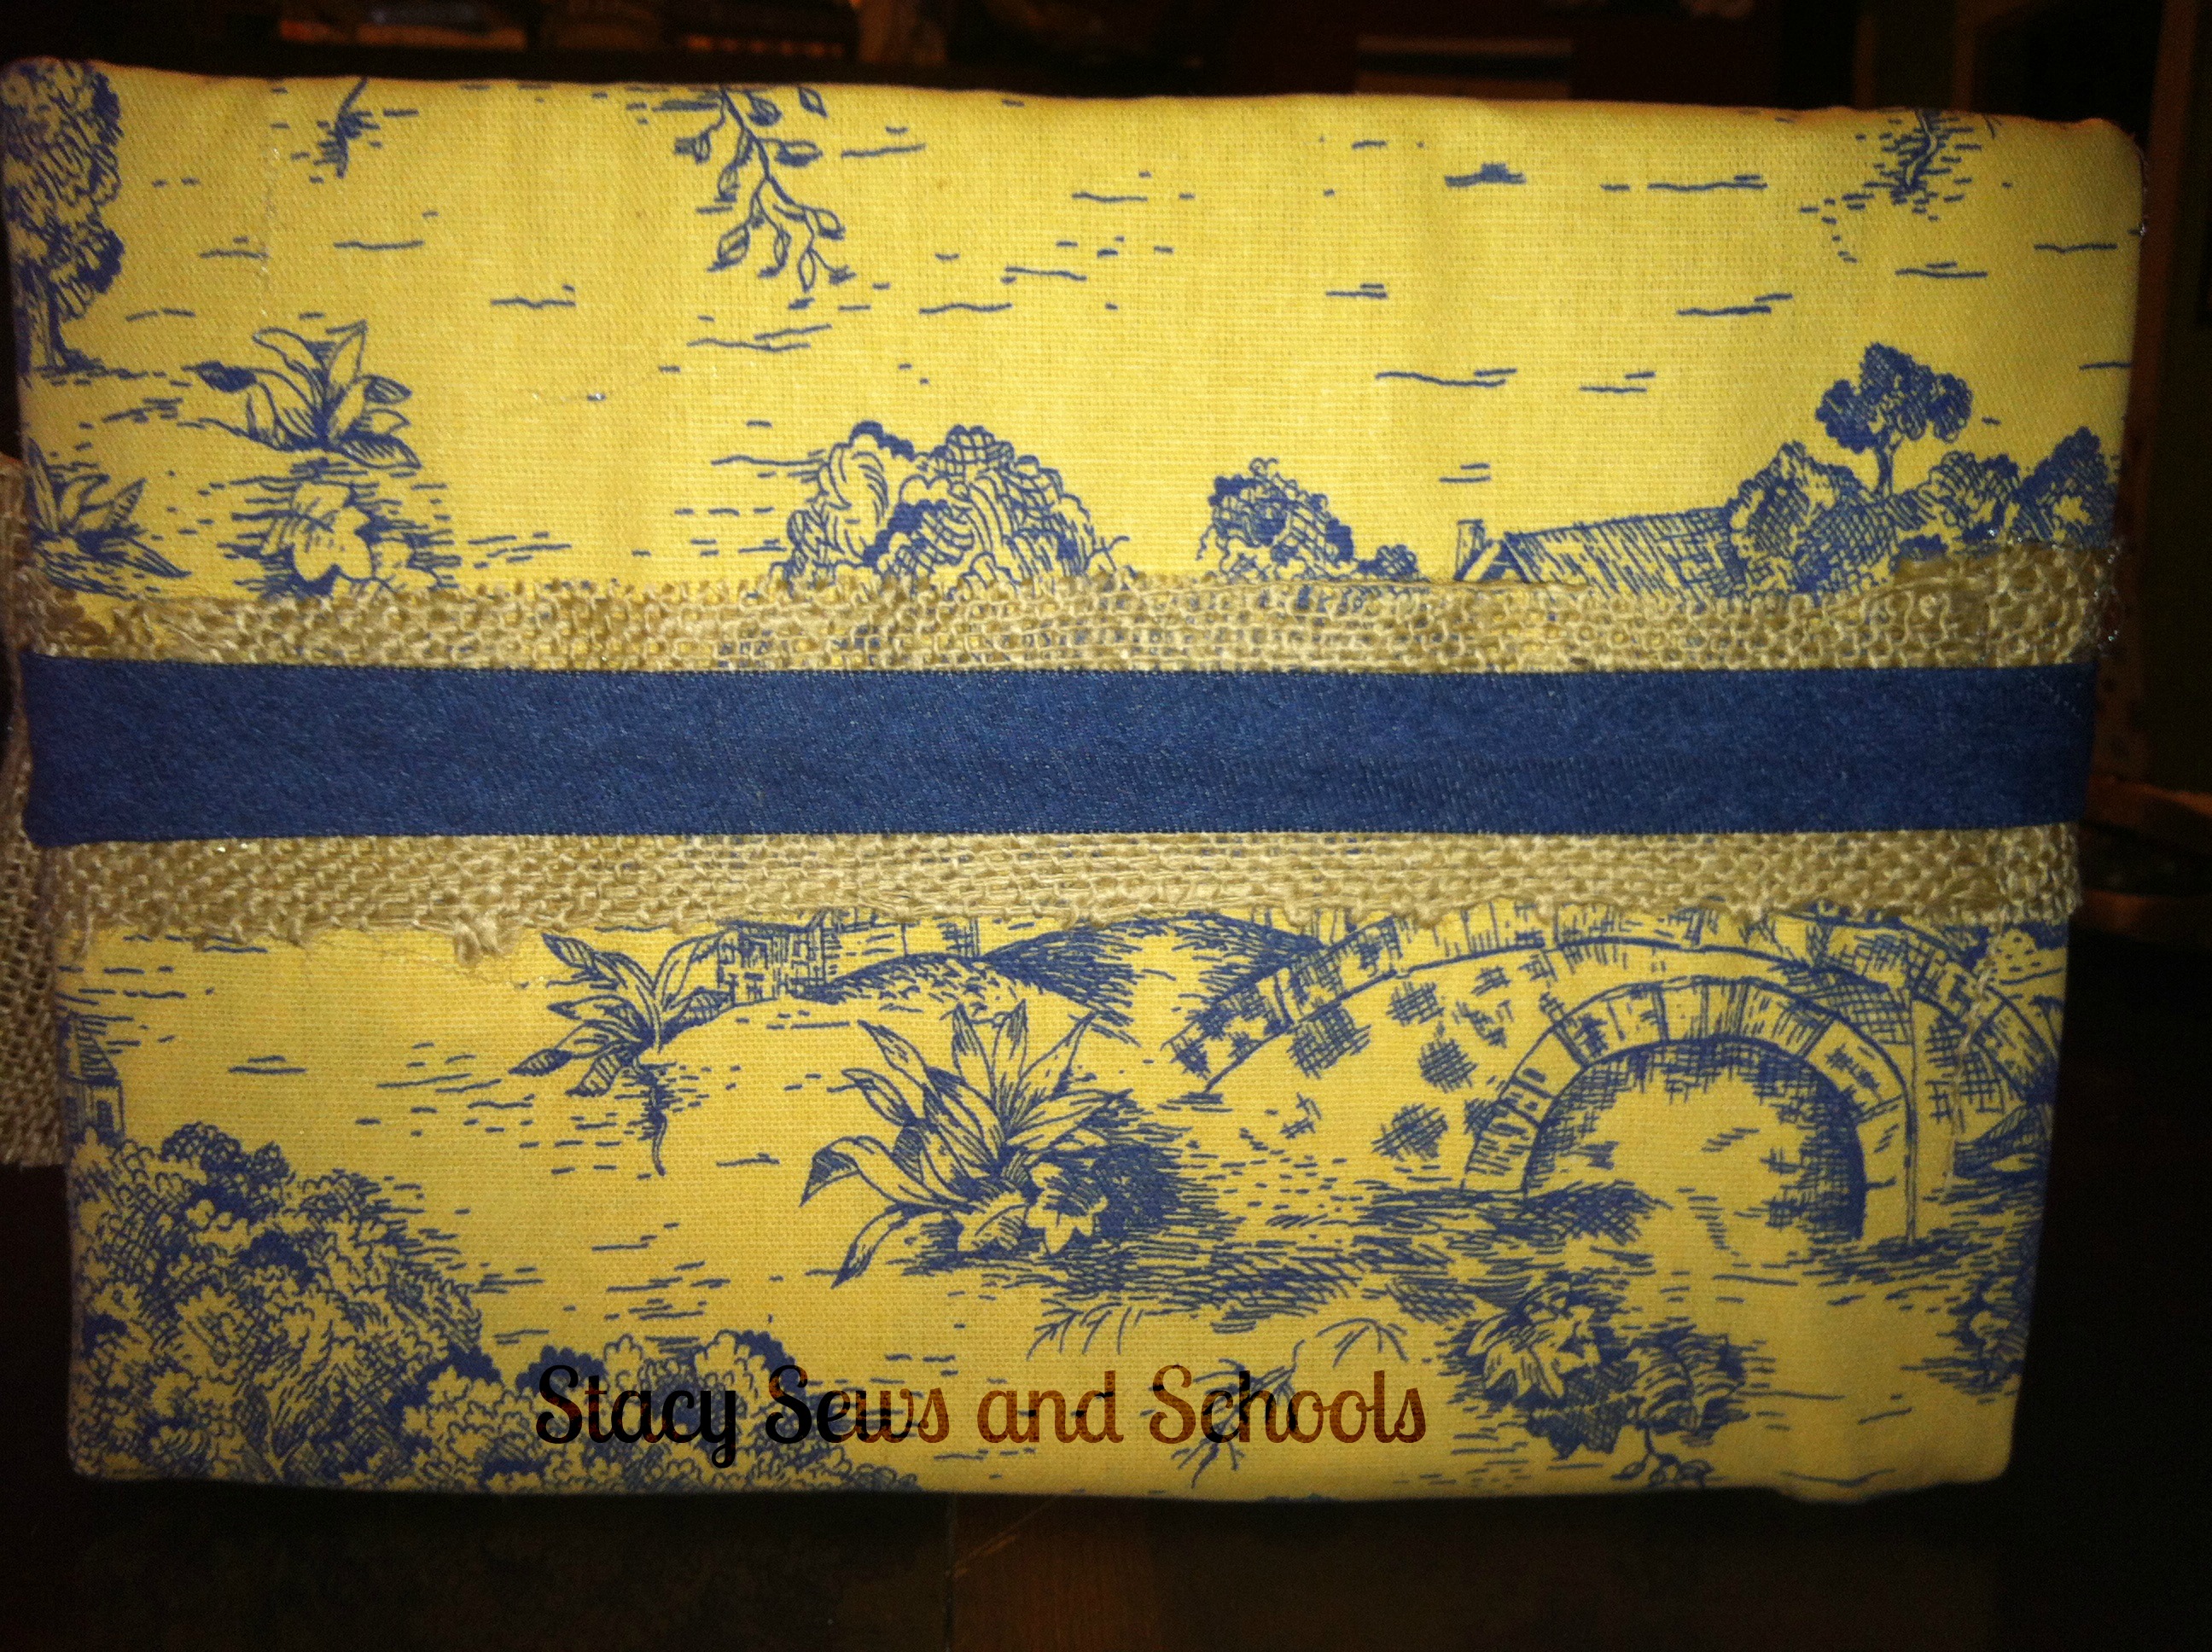
I then glued a strip of burlap all around the sides and added the denim bias tape on top of that.


DIY cute storage box 033


Lastly, I added the burlap bow!


EASY PEASY and super fast!


If the inside bottom of the box is going to show, cut a piece and glue it inside. ;)


HAVE FUN CRAFTING!!!!


August 10, 2013

Cute and Easy Can Craft

owl pencil can 005


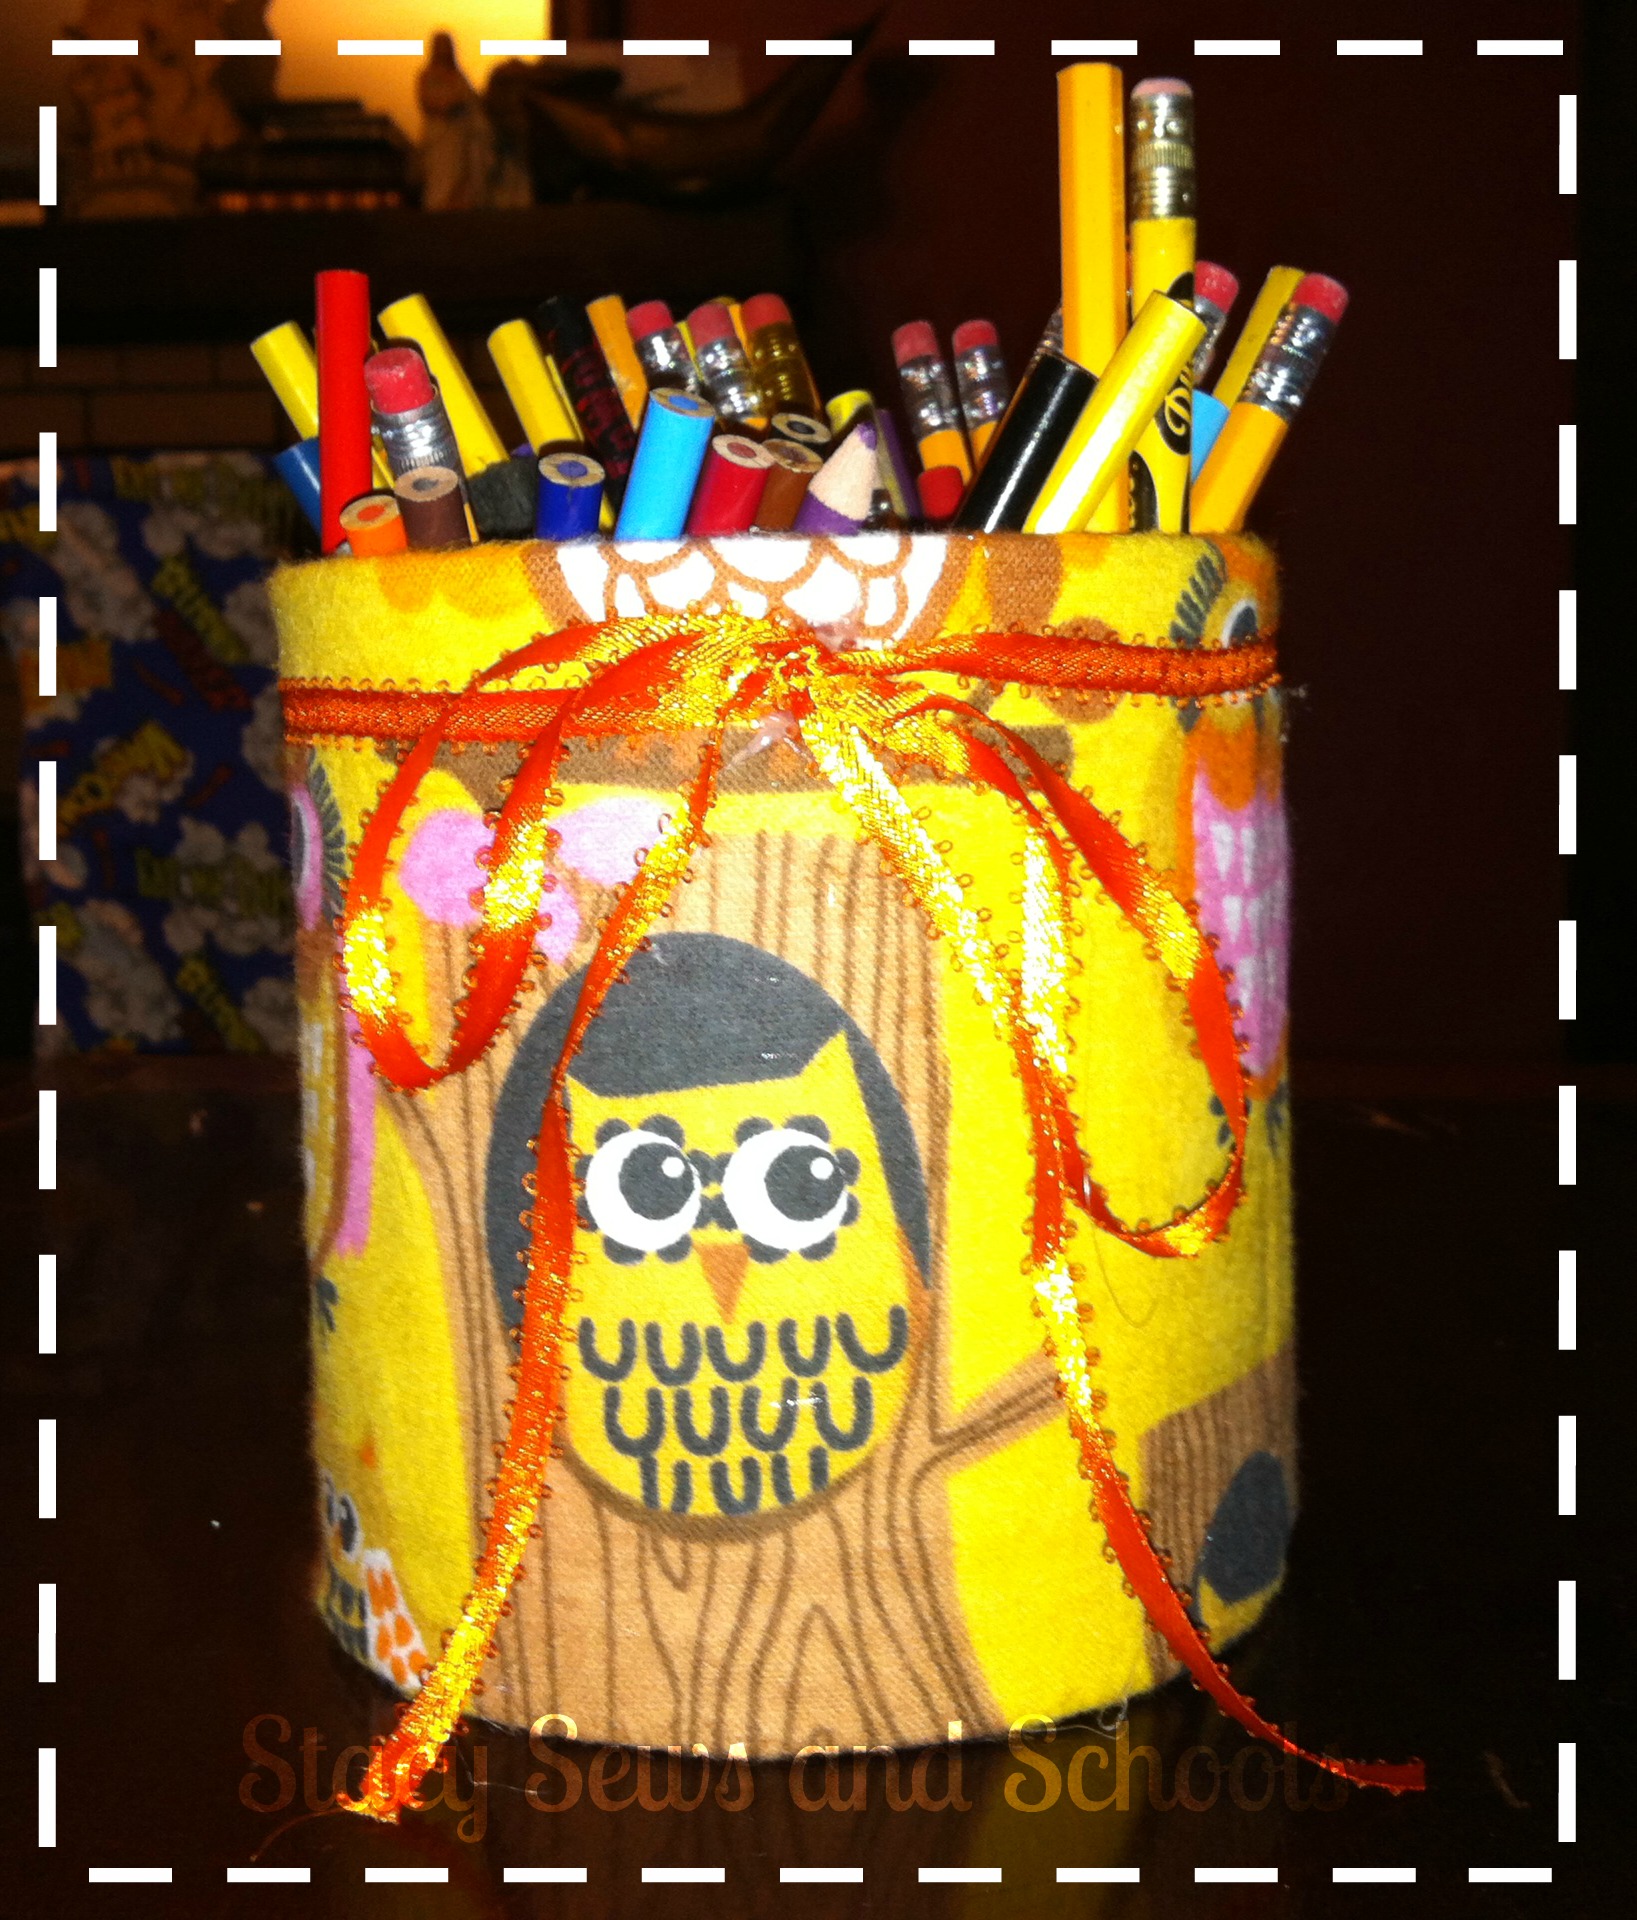
I had this old tin can sitting around with all our pens and pencils in it. It was so ugly!! I decided to pretty it up a little bit so it could sit on our table for the upcoming school year.


owl pencil can 001


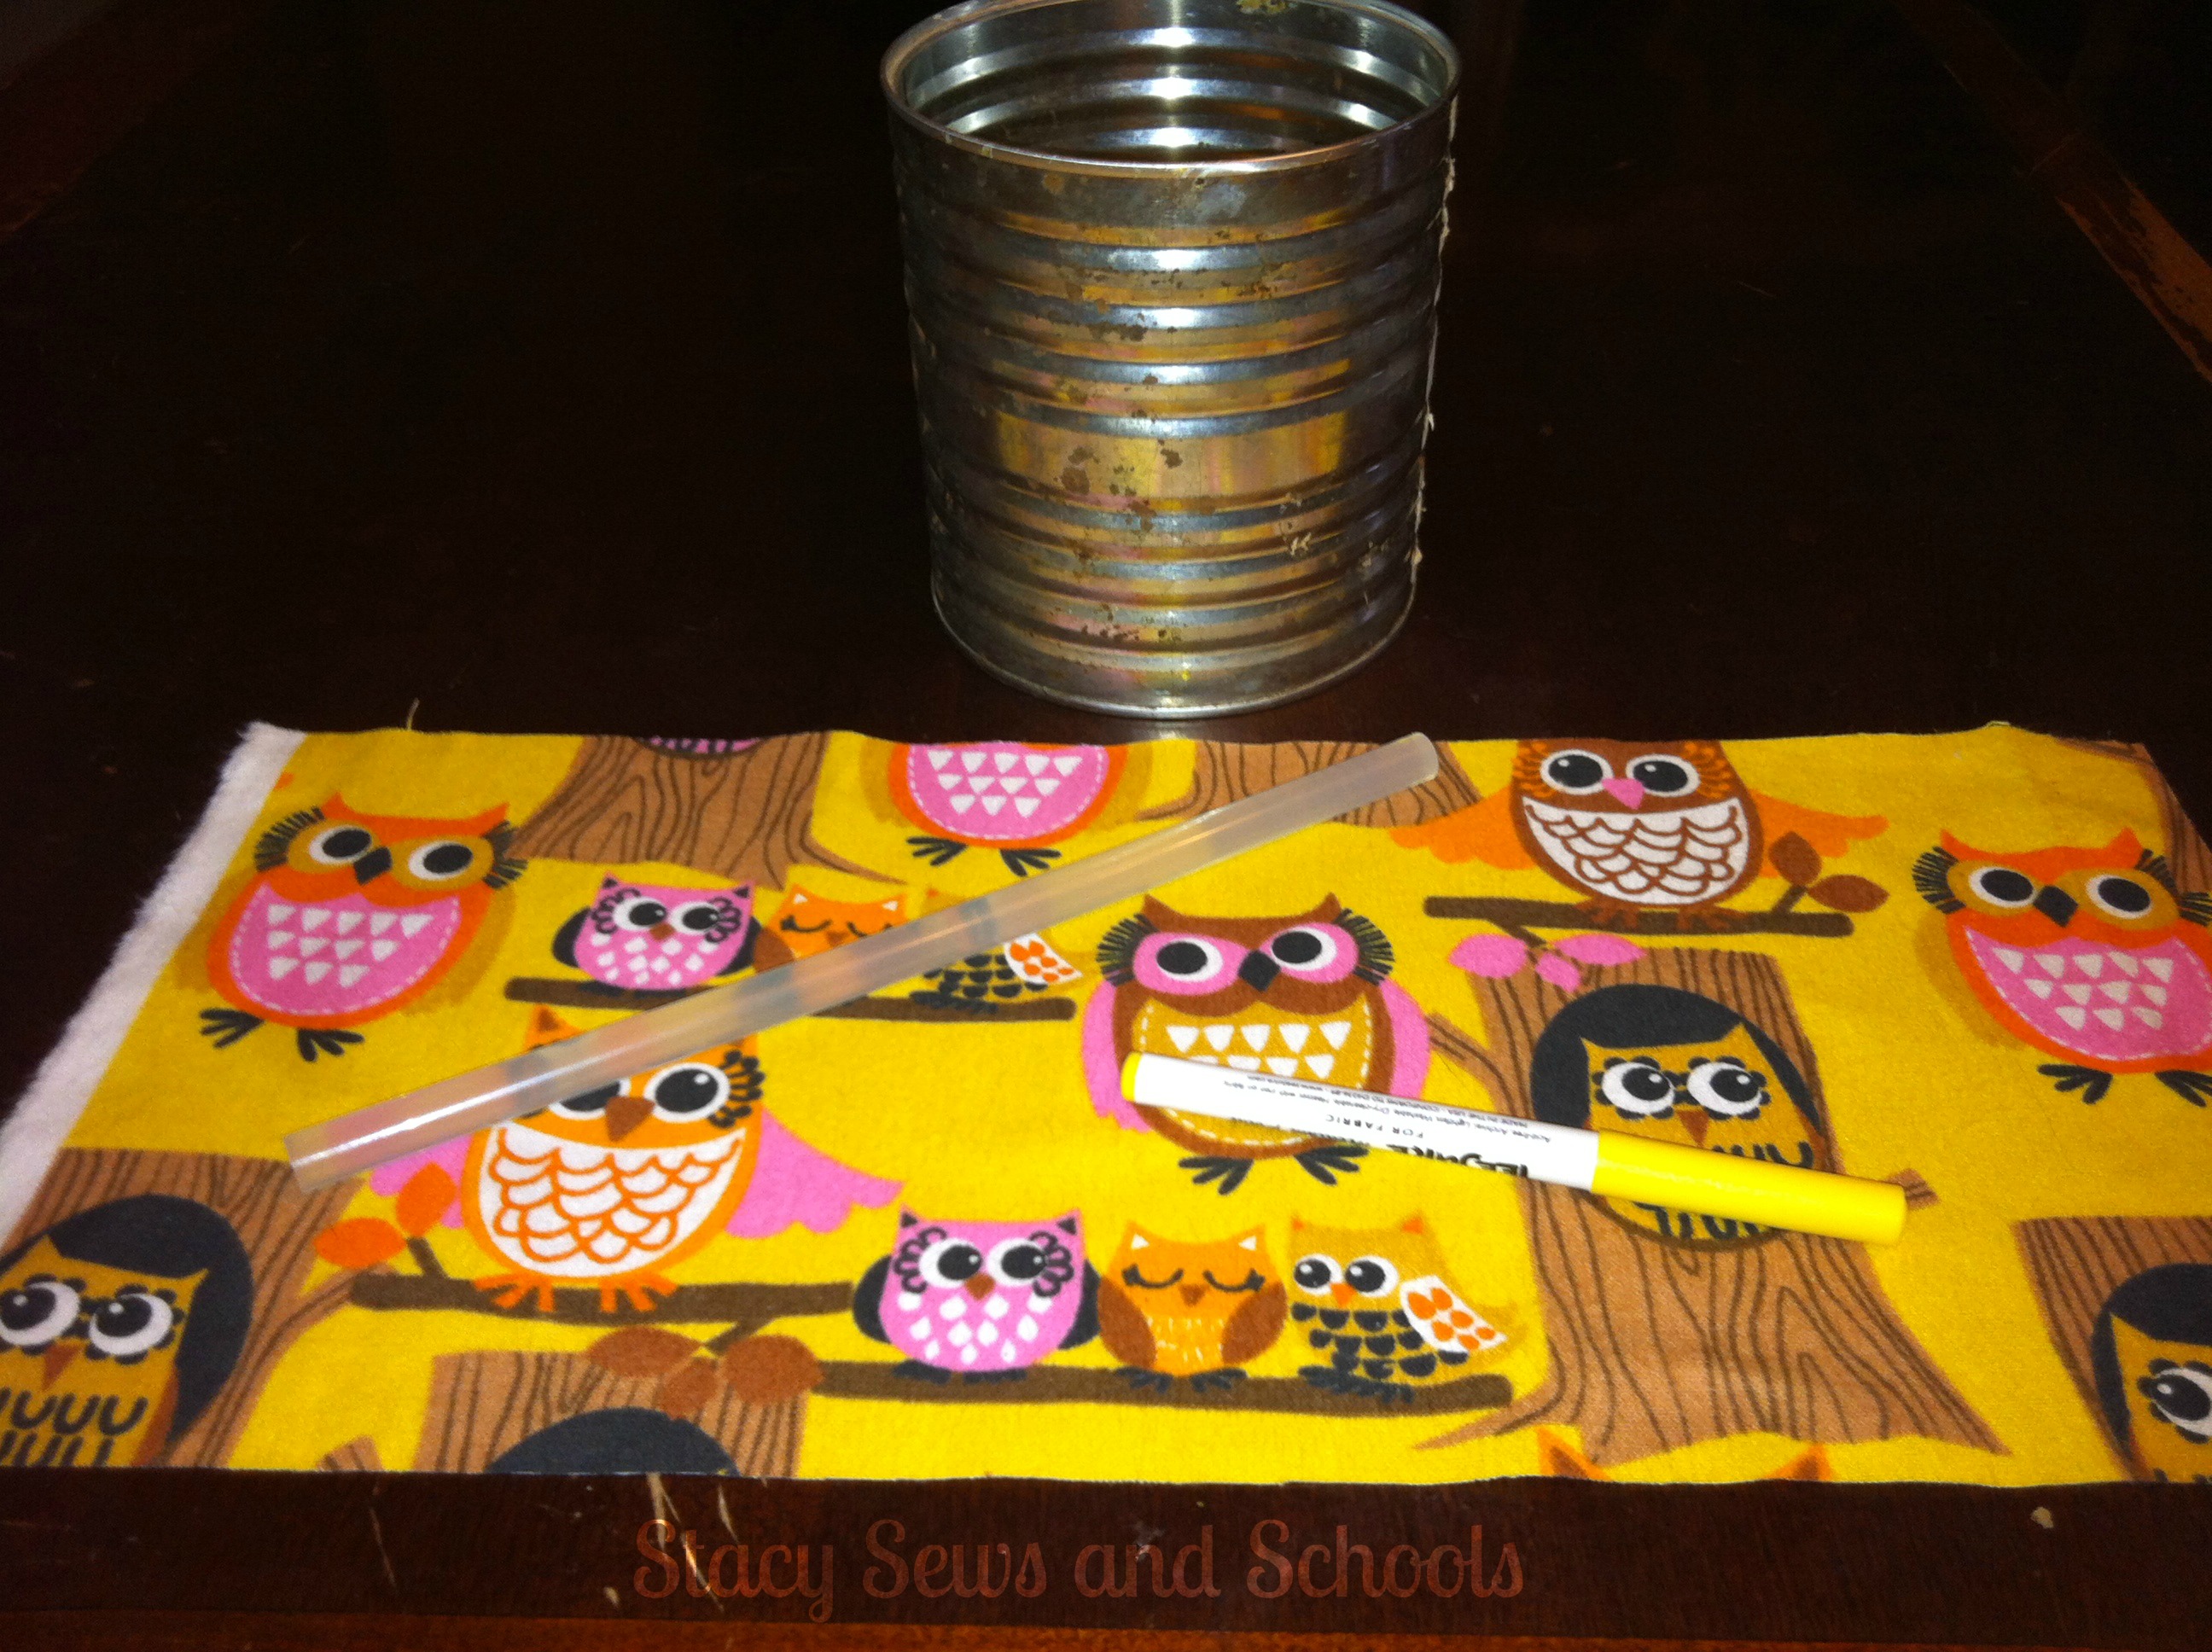
I had a bit of scrap owl fabric left over from my cousin's pjs and I thought it would be perfect for this!

I used a fabric marker to mark the measurements. I left an inch at the top and bottom.

Next I took my trusty hot glue gun and glued the fabric around the side. I folded over the fabric at the end and glued it in place.

Then I folded the remaining inch at the top into the can and glued it. After that I folded over the remaining inch at the bottom and hot glued it.

I decided that it needed a little something else and added the ribbon (hot gluing it in place, too).

Now I have a cute pencil can for our table!  Simple, easy and cute! ;)


HAVE FUN CRAFTING!!!


February 22, 2013

Sew Quiet Lately


I am so sorry for not posting the last few days. I have been having a little quiet time. Well, as quiet as can be with 4 kids in the house... LOL   I have a few projects in the works that I will be sharing in the next few days. My cousin Sandra over at Rivas & Co. has hired me to refashion a t-shirt into a short-all (plus a couple of other things) and I will be sharing that tutorial with you shortly. It's going to be SOOOO cute!! :)

I stopped at the tiny local fabric shop yesterday to pick up same navy thread (for the short-all) and while I was there I grabbed a
couple  more than a couple of things.... LOL

They have a couple of baskets on the counter and everything in them is 50 cents!! I grabbed a bottle of Fray Check and a few appliques. YAY!


New Fabric - Paris


I bought 2 fat quarters of Paris Ville by Michael Miller. Very cute but when I got home I noticed that the grain line runs so that the print would be sideways instead of the way it is pictured now. WEIRD!!


New Fabric - Robert Kaufman


I bought  1 1/2 yards of this Robert Kaufman print. It was just SO cute!!!!! I'm thinking a spring outfit for Cailey!


New Fabric - Yellow Floral


This is a remnant piece, maybe 1/2 a yard. It's nice and thick, perfect for a purse or maybe a tote.


New Fabric - Western

This is just a tiny piece, about 12" x 43", but I think it will make a perfect book cover for my Dad.

Speaking of my Dad, yesterday was his 60th Birthday!! YAY!! There were many times that we didn't think he would make it to 60. He has so many health problems. He was supposed to be on his way to visit us but has been delayed by a massive migraine that has lasted 3 days so far. Keep him in your prayers, please.


020


IF he can make it down here he can look forward to the cake we got for him. (If I can keep the kids out of it long enough. LOL)  I asked for a western theme and this is what they gave me. :/ Not bad but not what  I was expecting, either. That's what happens when you only have 2 grocery stores to choose from and no real bakeries!!!  LOL


Like I said, I have some project in the works and some study units I need to get together. The posts will be coming, I promise!!  I guess I just needed a little down time after Jacob left. I miss him so much and the time just seems to fly by when he is here.


November 21, 2012

Gingerbread Dress and Christmas Candy Headband Tutorials

I'm going to skip the Blogger Challenge today. I'm sure you won't mind when you see the 2, yes 2!!! tutorials I have for you today! :)


So, the first tutorial will be for the dress and then I will do the headband! That headband is so easy I am almost embarrassed about working up a tutorial for it.... LOL


Here is what I used:

1 shirt that fits your child well

1 yard of gingerbread men

3/4 yard of brown and white polka dots

1/4 yard of red for the sash

2 small pieces of 3/4" elastic

2 ft of red and white polka dot ribbon

1 ft of red rickrack

3 small red buttons

1 cheap plastic head band

1 cheap plastic candy ornament

1 package of white bias tape (you can use ribbon or whatever)

hot glue gun


Gingerbread Dress


Fold over the fabric you want to use for the bodice of the dress. Place the folded shirt on top. Cut around the shirt leaving excess all around for your seam allowance.
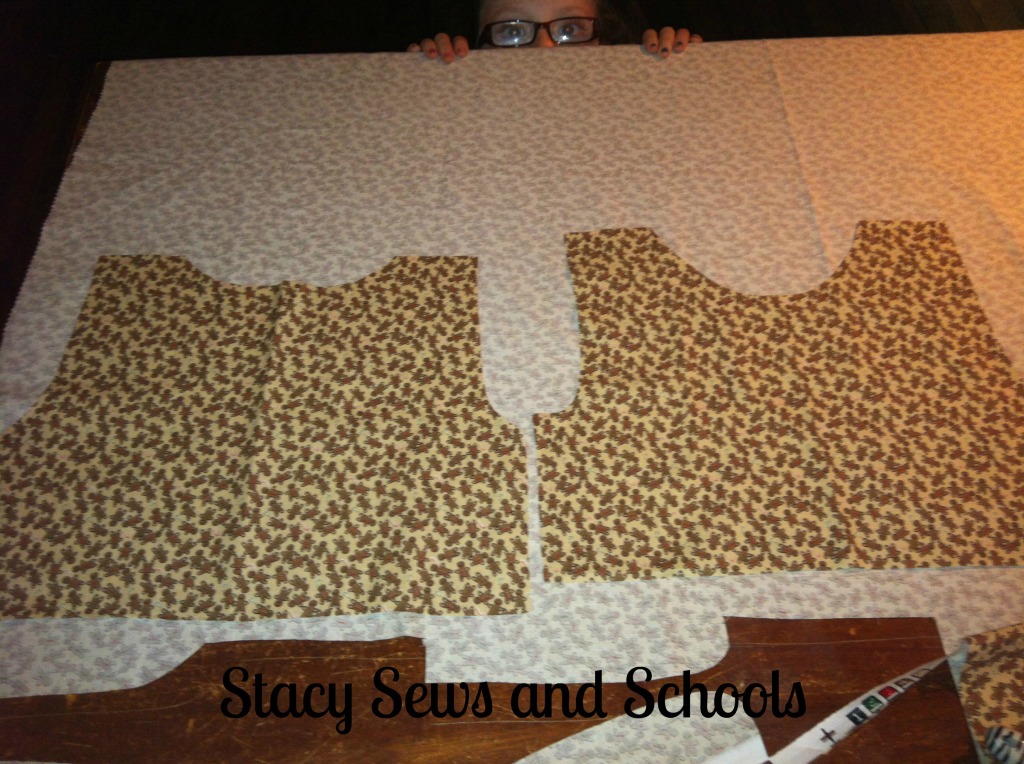


You will cut one back and one front. This is what they should look like.

Cailey is photo bombing! LOL
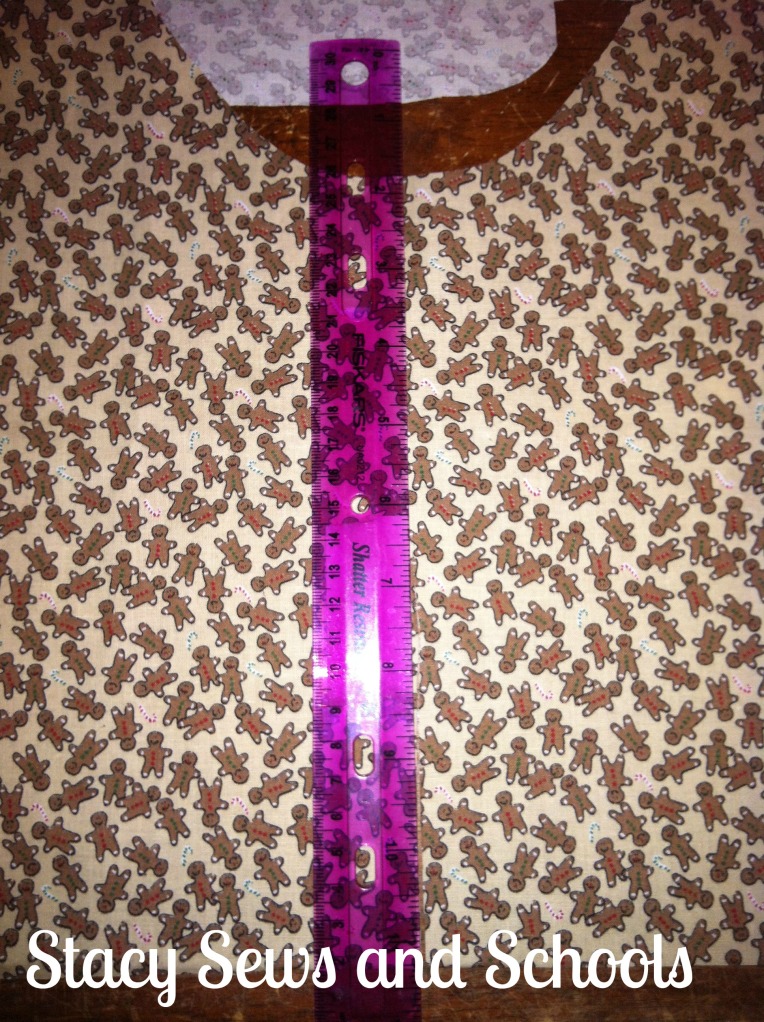


Now, take a straight edge and cut the front bodice piece right down the middle.


The bodice is fully lined so now you need to cut the lining using the bodice pieces you already have as a guide.

For the front bodice pieces it's easier to just place them wrong sides together to cut.

The back bodice piece can be placed on the fold.


Now, we are going to cut the fabric for the bottom tier. Just cut 2 even lengths of the same fabric you are using for the bodice.  You can make it as wide as you want depending on the height of your child and how long you would like the dress to be.

I made my cuts where the white lines are.
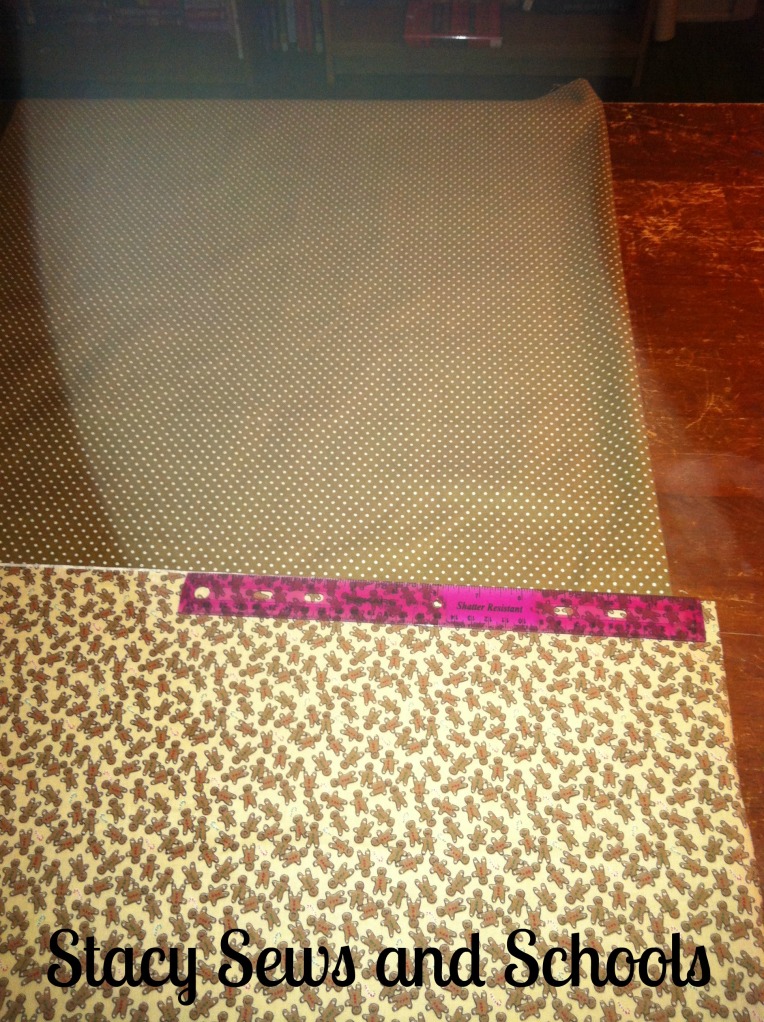


Now cut the top tier in your other fabric, making it the same width as the bottom tier.

You will only need one piece for this tier.


On to the sleeves! Now, I wanted short sleeves because it just is NOT that cold here in the DEEP South! LOL The length of the sleeve is all up to your preference, and any length will work just fine with the ruffle on the end. ;)

Using one of your bodice pieces as a guide, place your folded fabric under the guide and cut, leaving about 1/2 below the arm place on the bodice, and cut straight across.


Now you are going to cut the piece that makes up part of the ruffle on the sleeve.  Cut 2 pieces that are 4 " wide and the same length as your sleeve is round.

In other words ________________ this way needs to be the same as the sleeve is when it is unfolded.

And 4" this way   .

.

.

Make sense??? If not, just take a little peek at the picture at the top of the page and see how the sleeve is set up.

I am having a bad case of fibro fog today. BLECK!!!


Here are all the pieces that we have cut plus the red ribbon. :)


Pin your back bodice pieces with right sides together.

Sew up everything but the bottom. You can sew the shoulders if you want to. I didn't with this one.


Now, turn right side out and press!
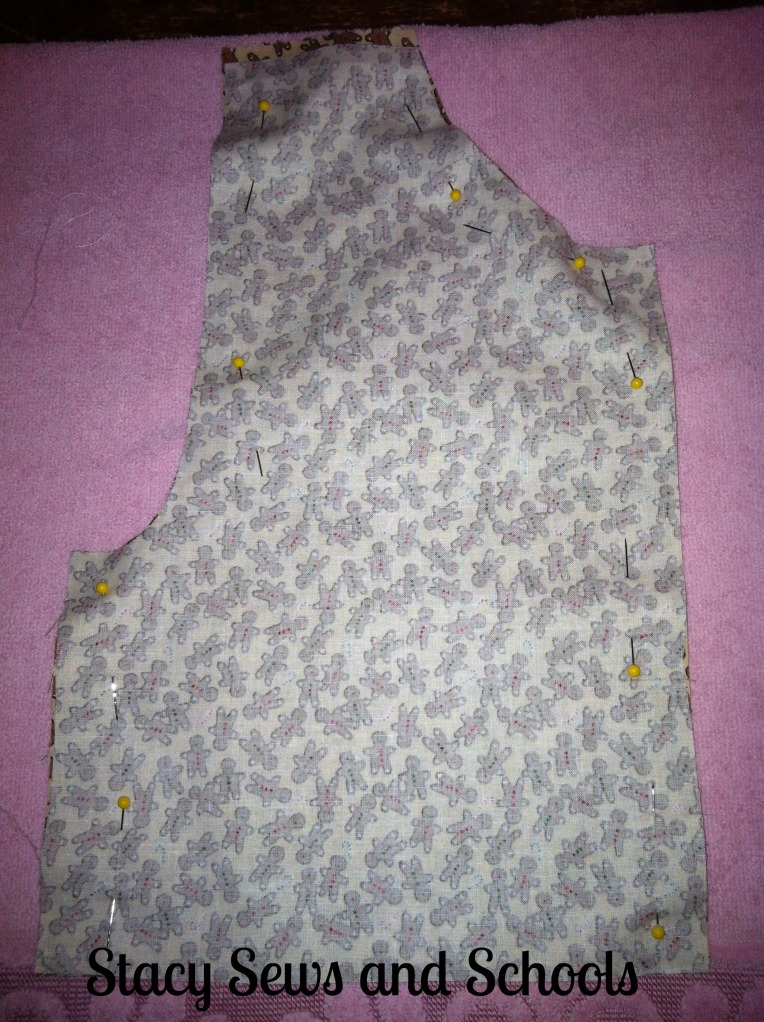


Pin your front bodice pieces with right sides together. Sew everything together except the bottom.

Do the same to the other 2 front bodice pieces.


Turn right side out and press. Do the same to the other bodice piece! :)
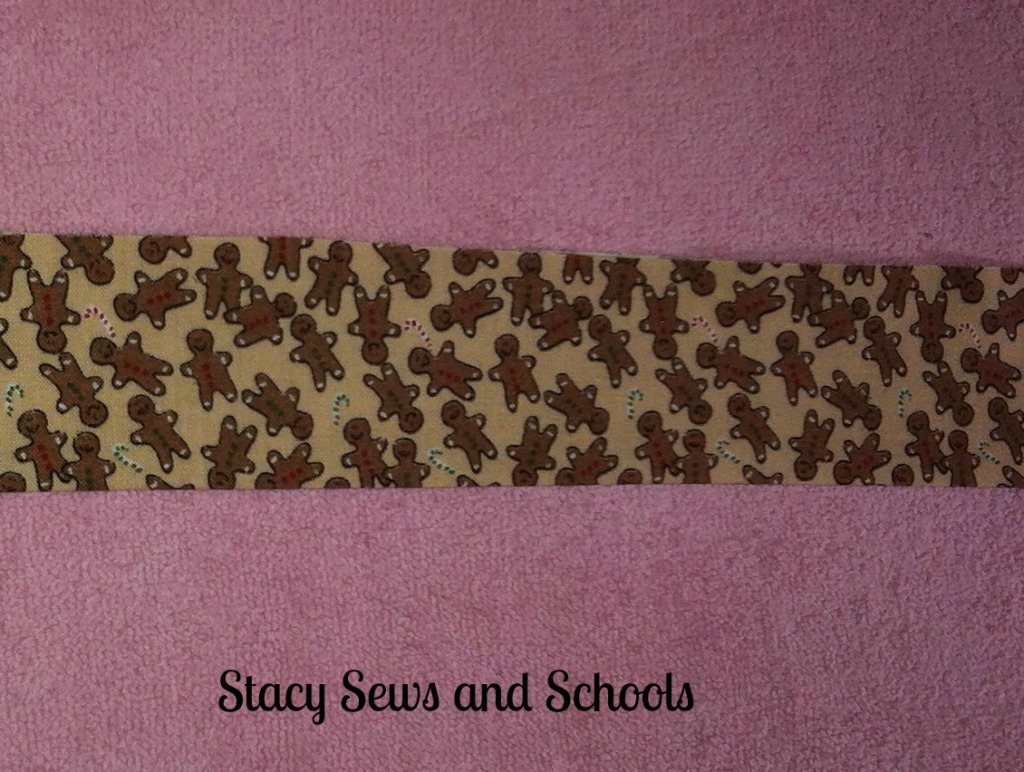


While your iron is still hot, go ahead and fold in half the long pieces for the sleeve edges and press.


Now, sew your front bodice pieces to your back bodice pieces at the tops and the sides.

Turn right side out and PRESS!!
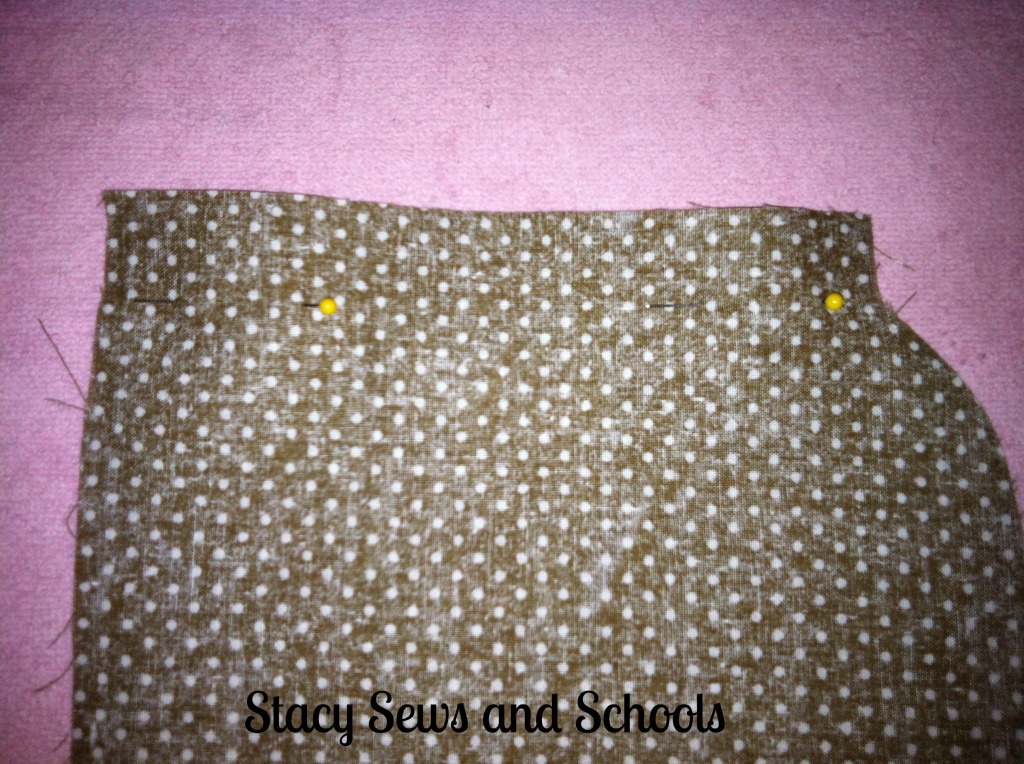


Time to sew up the sleeve!


Take your ribbon and pin it to the edges of the fabric strips that you cut for the sleeve embellishment.


Turn the sleeve inside out and fold up the end 1 1/2" and press. Turn the sleeve right side out and pin the ribbon and gingerbread strip inside of the edge of the sleeve. Sew in place.
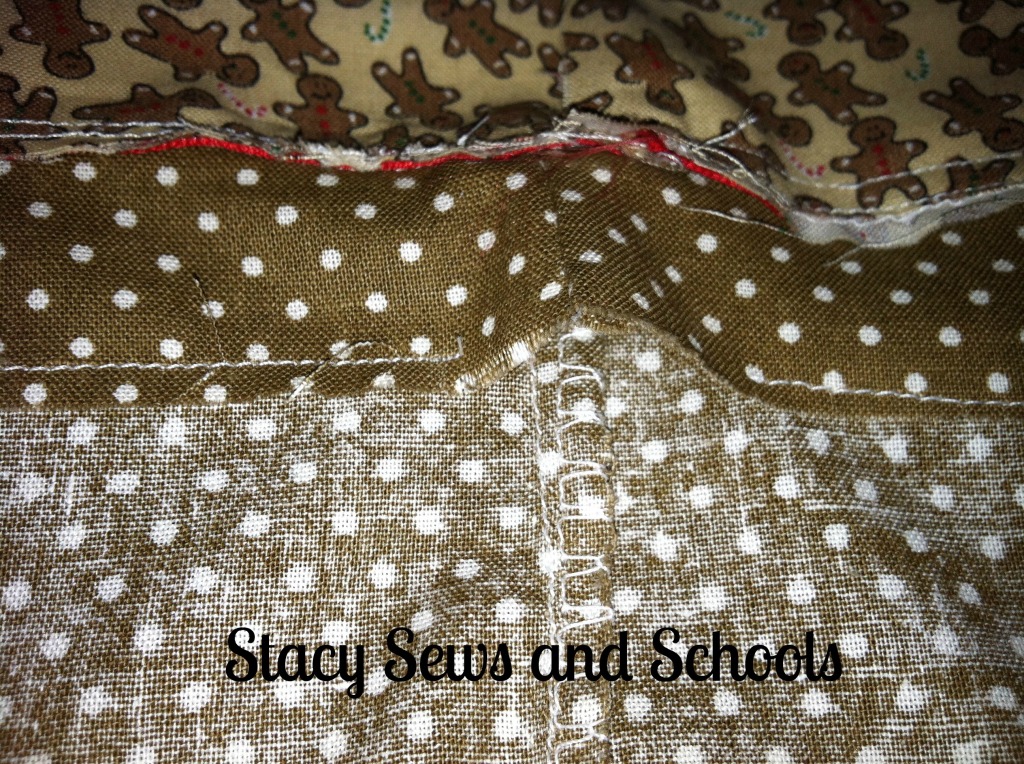


Now you are going to sew the elastic casing in the end of the sleeve, leaving about 1" for the elastic. Make sure to leave an opening to insert the elastic! ;)


Turn your bodice inside out and slide the sleeve into the armhole, pin and stitch in place!


Turn everything right side out and press! :)


Pin both ends of your elastic and either hold tightly to one end or pin it to you. ;)

Insert the elastic into the casing.


Zigzag stitch the ends of the elastic.


Stitch the opening closed! :)


Remove the cat from your work space! SIGH.......
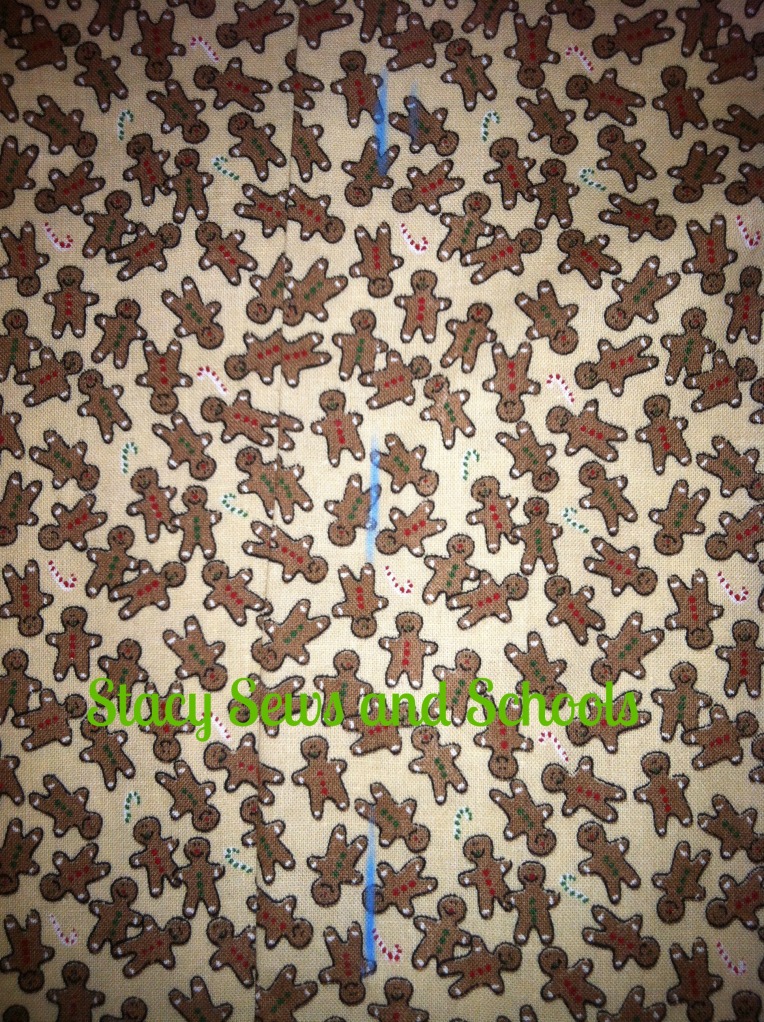


Time for the buttonholes! BLECK!! I can't stand my buttonholer. It only works right about 10% of the time.... :/ It did just ONE of the buttonholes on this piece. The other 2 I had to do myself. NOT fun but it can be done, just use the smallest zigzag stitch setting you can and a clear sewing foot helps tremendously!

Anyway, take your ruler (if you can find it, I had to use something else....) and mark out where you want your buttonholes to be.

Use your (hopefully) proper working buttonholer. ;)

After you get your buttonholes in place, close up the front of the bodice and mark through the buttonholes for proper button placement. :)

Sew on your buttons.


Pin the rickrack around the collar and sew in place. To save time you don't have to switch out your bobbin, just switch out your top thread to match the rickrack. ;)


Here is where we are now! Almost done...... :)

You can set aside the bodice for now!


Now, grab the 2 pieces that you cut for the bottom tier and sew them together on one side.

Next you need to run a line or two of gathering stitches at the top.

The way I do that is, I set all my stitch settings to the largest possible settings. This can sometimes gather the fabric for me. It didn't this time, though.... LOL

Now, gather it up and pin it to the bottom of the fabric you will be using for the top tier. Pin it with right sides together and gathers to bottom, adjusting the gathers as needed.

Sew in place!
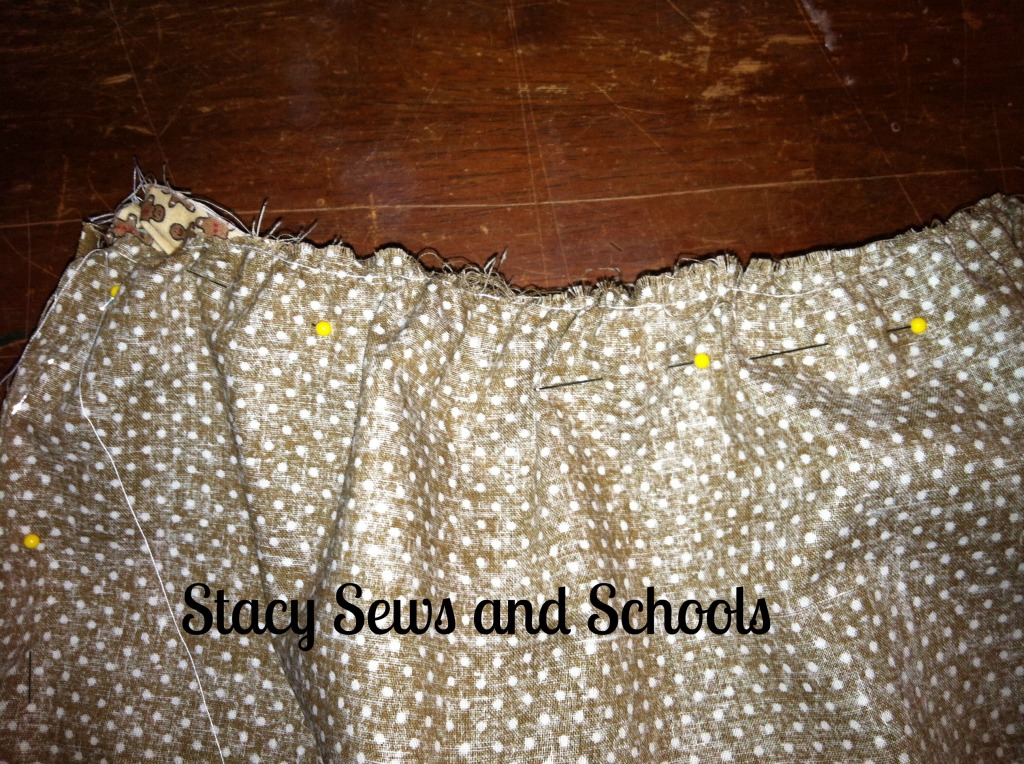


Now, run a line of gathering stitches in the top tier!

Next, pin the gathered edge to the bottom of the bodice, right sides together.

Sew in place.

Next, turn inside out and sew up the skirt's side seam! :)

Almost done!


Fold up the bottom of the skirt 1/2" and press, then fold up again 3/4" , press and pin. Now sew your hem!

Turn right side out and press!
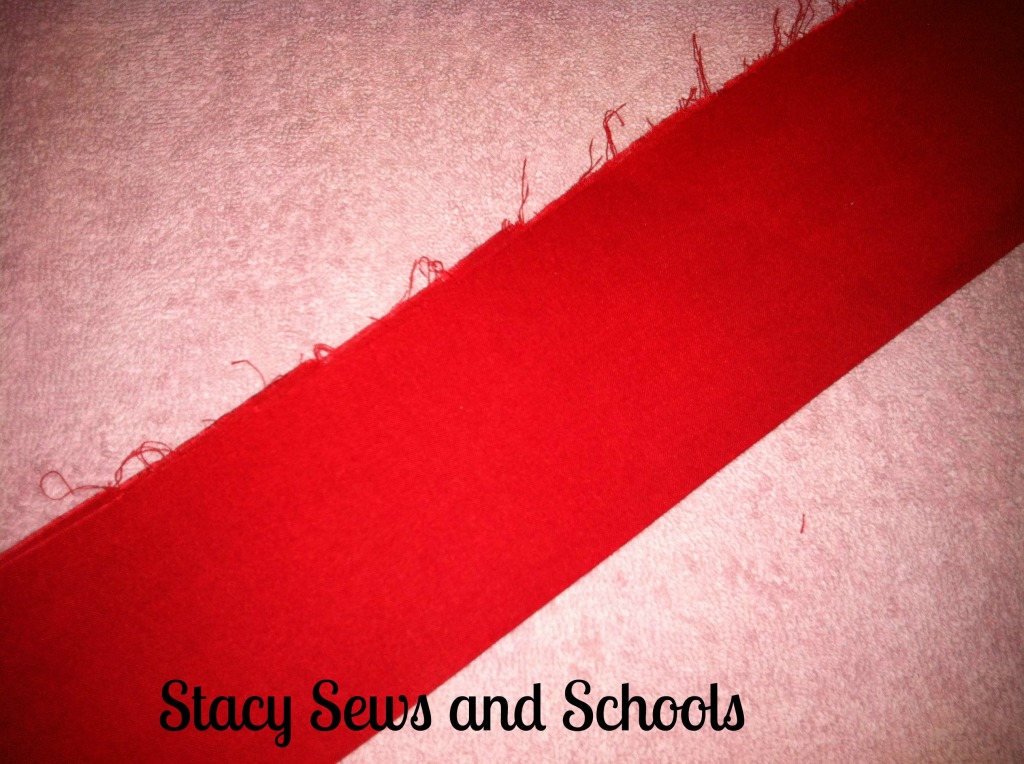


Time to cut the sash!

I cut from selvage to selvage for my length and 6" for my width.

Fold in half, press and pin.

Now you are going to sew the raw edges together and make a long tube.


Turn the tube right side out and press!

Turn the ends in by 1/2" and press.


NOW YOU ARE DONE!!!!! :)


Headband Tutorial


This is what I used. A $1 headband and $1 ornaments. Oh, and 1/2 a package of bias tape. But you can use ribbon if you have it in a matching color..... LOL


Put a glob of hot glue on the inside of the headband.


Now, stick the end of the bias tape/ribbon/whatever into the glue.

Just start wrapping the bias tape/ribbon/whatever all the way around the headband.

Oh, yeah.... this is just sooooo hard.... LOL
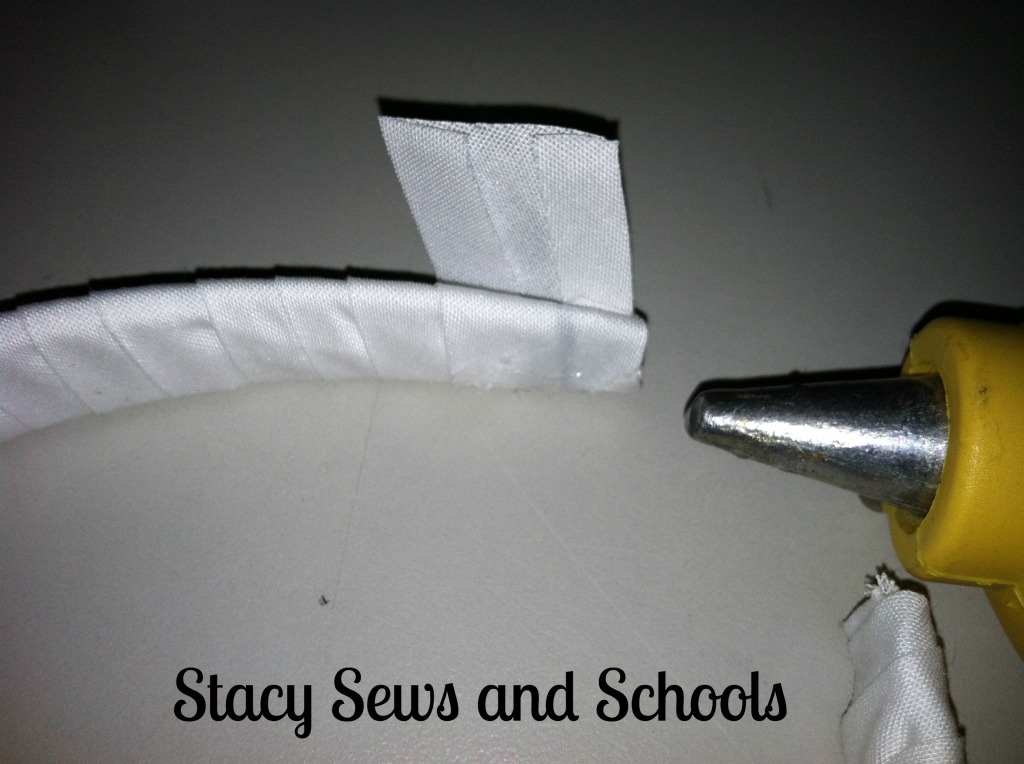


When you get to the end of the headband, put another glob of hot glue on the plastic of the head band. Then cut off the bias tape/ribbon/whatever and add another glob hot glue and smoosh the end of the bias tape/ribbon/whatever into it.


Now put a ton of hot glue wherever you want to place your ornament and smoosh the ornament on.


Viola!
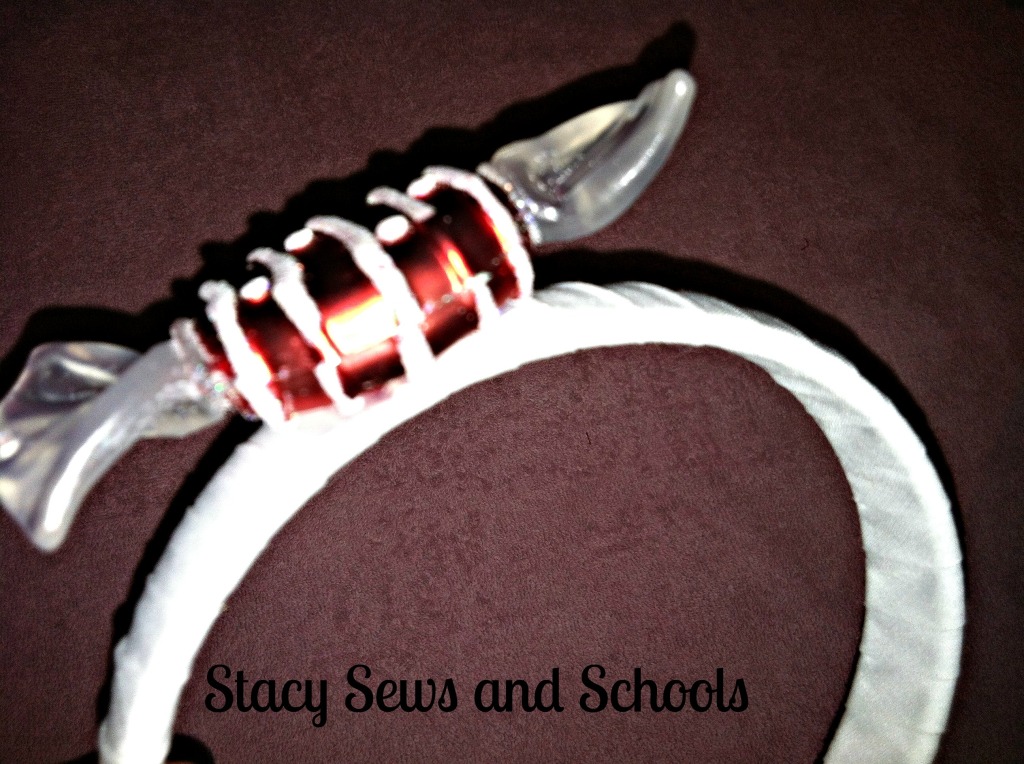


Deanna is making Cailey a matching necklace with the other ornament. :)
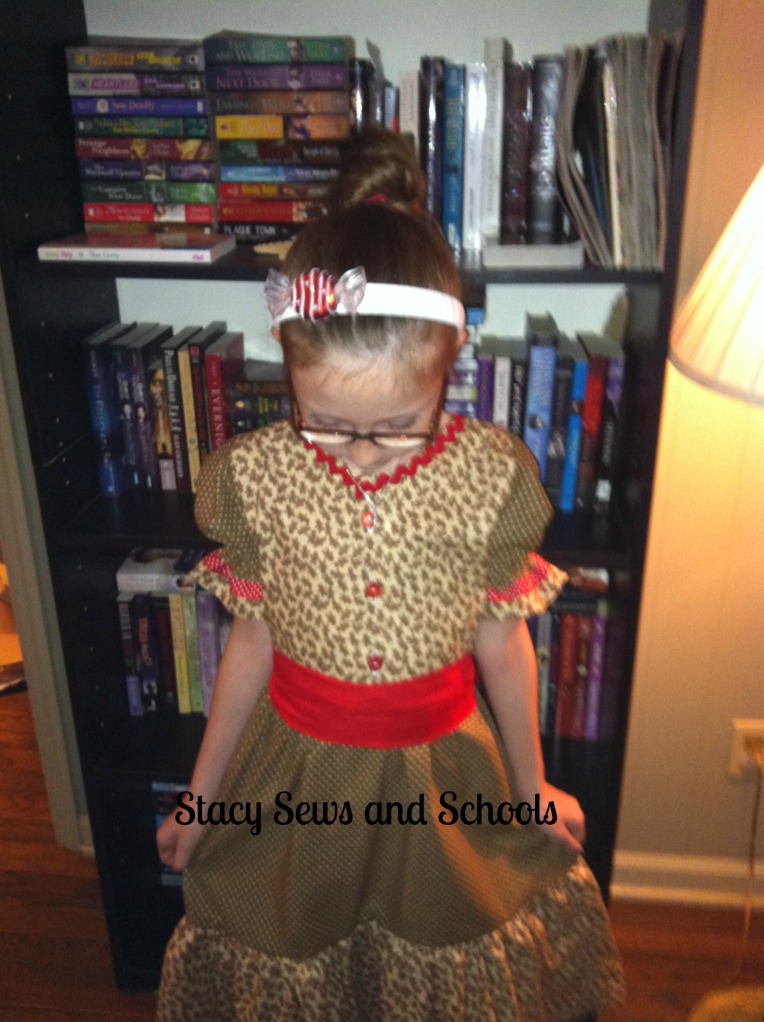


As always, let me know what you think of the tutorial. Was it easy to follow??? And if you make this dress PLEASE PLEASE PLEASE let me know!!!! LOL


I hope everyone has a wonderful Thanksgiving tomorrow! We will just be here at home. My Dad and Stepmother won't be able to make it down to celebrate with us. :(