Showing posts with label skirt. Show all posts

July 9, 2013

Apron Skirt Tutorial

Apron skirt 1


This is such a simple and easy little skirt to make. I wanted to do something different than just a bunch of plain skirts for Skirting the Issue and this is one of them that I decided on.


I used about a 1/2 yard for the skirt and maybe an 1/8 for the little apron. A fat quarter would be great!! ;)


Step 1 - 

Apron skirt 007


Fold over the edges on 3 side by a 1/4", press and fold them again by 1/2"

Then  stitch them in place.

PRESS again!


Step 2 - 

Apron skirt 008


Next  cut out a heart from the main fabric, just like cutting a heart from paper. ;)

Then  pin it within an inch of its life and zigzag it all around.

PRESS!!


Step 3 -

Apron skirt 014


Set the little apron aside and fold and press your hem. Fold and press 1/2 " and then again by 3/4".

Then  stitch it in place and press again!


Step 4 - 

Apron skirt 018


Now, pin the apron to the skirt, wrong side of apron to right side of skirt.

Sew a line of stitches across the top to secure the 2 pieces together.


Step 5 -


Apron skirt 016


Next, pin and sew your back seam.

Press it.


Step 6 -

Apron skirt 021


Now, you are going to make your elastic casing.

Fold over the top of the skirt by 3/4" and press. Then fold it over by 1" and press.

Sew the casing but make sure to leave an opening to insert the elastic.

Pin one (or both ends) of the elastic with a large safety pin and thread it through the casing.

Sew the ends of the elastic together.

Sew the casing closed.

You are now DONE!!!!!!

Sit back and admire your pretty little appliqued apron skirt! ;)


As always, if you have any questions, just hit the Contact Me button at the top of the page and shoot me an email! I always answer back! ;)

Let me know if you find this easy to follow!


THANKS!!!!


HAPPY SEWING!


January 14, 2013

SquigglyTwigs Designs Pattern Test

SquigglyTwigs Designs pattern test 006


I had the wonderful opportunity to test another pattern for my friend over at SquigglyTwigs Designs.  I just love her patterns and tutorials!!! They are so easy to follow! It took me only a couple of hours to cut and sew this cute skirt!! The patterns and tutorials are great for both beginners and intermediate sewists.

The length on this skirt (the Twirl Skirt) is supposed to hit just below the knee. As you can see mine is quite a bit longer. LOL I did the pattern test for the standard fit size 8. The reason that pattern designers want pattern testers is so they can check fit and make sure that all pieces and instructions are there, accurate and easy to follow.


SquigglyTwigs Designs pattern test 011


All SquigglyTwigs Designs patterns are wonderfully priced and most include instructions for adults, children and dolls!

I hope you go check SquigglyTwigs Designs out!!! You won't be sorry!! Be sure to click on the Tutorials section!!!


September 30, 2012

Ghostly Giggles Skirt Tutorial

I finished the skirt! YAY!!! It was actually fairly fast... I started it the day we left for Georgia and didn't touch again until today. ;)


What I used:

1 package of Casper the Friendly Ghost fat quarters

3/4" elastic


Step 1 -


I cut each fat quarter into thirds, they were 7" wide. Then I cut 3" off the bottoms.


Step 2-


I took 6 of the 7" strips and sewed them together for the top tier of the skirt.

Then I took 12 of the 7" strips and sewed them together for the bottom tier.

Usually a pack of fat quarters will have more of 2 designs than the others and one fat quarter all by itself.


Step 3-


Next, I sewed 2 lines of gathering stitches. On my machine I set both stitch settings to the largest settings. Then, pull gently on the bottom threads to create your gathers.


Step 4-


Remove the cat from the fabric. SIGH.............


Step 5-


Now, pin the bottom of your top tier to the top of the bottom tier with right sides together, adjusting the gathers as needed.

Then sew the tiers together!


Step 6-


Next, pin up the sides of the skirt and sew the back seam!


Step 7-


Fold over the top 1/2" and press. Fold over 1", press and pin. Then sew your elastic casing for the waist band, making sure to leave an opening for the elastic!


Step 8-


Now, cut your elastic to your child's waist measurement -1".

Then, safety pin both ends of the elastic and either hold tightly to both ends or pin one end to yourself.  Insert the elastic through the opening.

Next, sew the opening closed!


Step 9-


Now, fold up the bottom of the skirt 1/2" and press. Fold up 1", press and pin. Next sew your hem!!!


Now you are ALLLLLL done!! YAY!!!!! You could always add a ruffle to the bottom if you'd like. :)


As always, I would love to hear what you think about the tutorial! Was it clear and easy to follow??? And definitely let me know if you decide to make one! I would love to see it!!!


September 26, 2012

The Hocus Pocus Skirt Tutorial


Here is it! My Big Idea... LOL I like it... It didn't turn out EXACTLY how I wanted it to, but I'm satisfied... There is one part that I will probably go back and change, though.... I was trying to go for a multi-layer effect so instead of sewing the lace ON TOP of the underskirt hem, I sewed it to the back... I think I am going to grab my BFF , Sally the Seam Ripper, and go back and do that part over. It would look much nicer that way, I think....

Anyway! Here we go!

What I used-

2 yards of print for the upper skirt

2 yards of solid for the under skirt

1 old lace curtain LOL

2 old lace valances LOL

1" elastic


I got some new curtains for the dining/sewing room/library and I have been storing the old lace ones in the linen closest. LOL


Step 1 -


OK, let me first explain about my short legs... They are Hobbit short, people... Seriously. Actually, I have Hobbit feet, too, just minus all the yucky foot hair.... LOL  Anyway, I cut the upper skirt at 23". LOL S

So, cut 2 pieces, each the width of the fabric.

When you cut, make a curve at the bottom, like in the picture below.


Step 2-
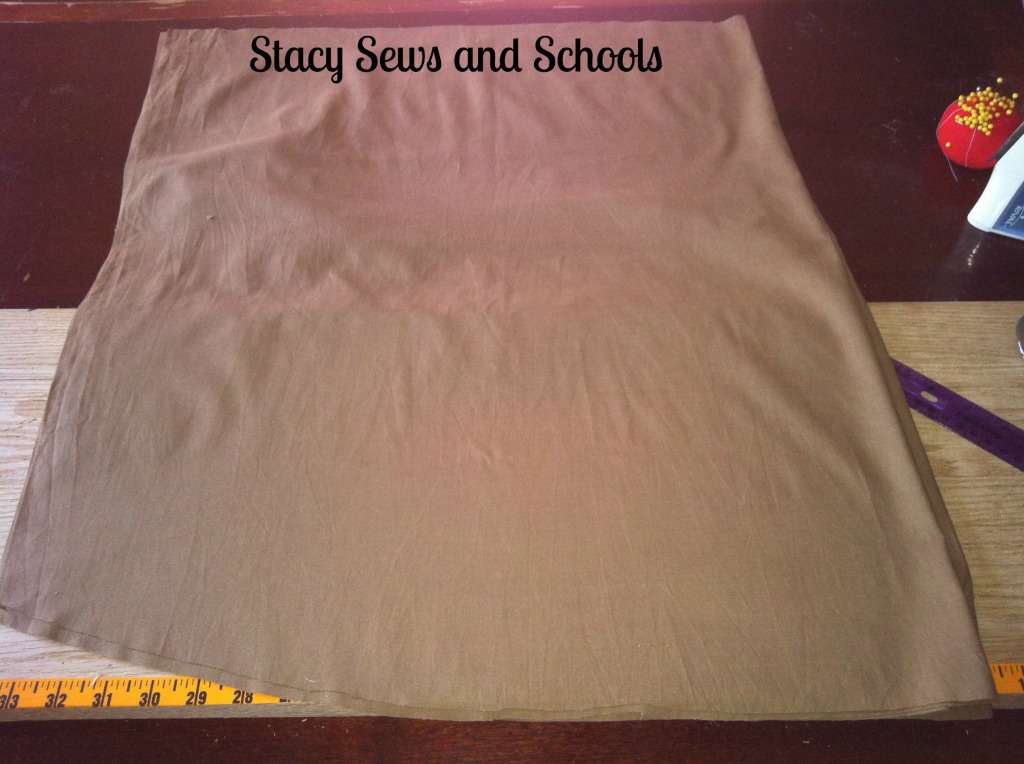


I cut the underskirt at 27". Cut 2 pieces, the width of the fabric and with a curve.


Step 3 -


I cut 6 1/2 " off both sides of the curtains. You will need to cut the lace the width of the skirt fabric. So, you will also have 2 sections of lace.


Step 4-


Next, I cut the ruffles off both valances.  I left about 3" of the plain lace above the ruffles.


Step 5-


Sew one end of the lace strips together.  Set aside.


Step 6-


Now, right sides together, sew ONE side of the underskirt together.

I promise that I ironed that fabric.. LOL I ironed and ironed and ironed and that is just as good as it would get. LOL But, really, I think it's fitting for a Halloween skirt. LOL


Step 7-



Now, roll up 3/4" of the bottom of the underskirt and press. The roll up 1", press and sew your hem.

It would look MUCH better if you have brown thread... LOL I don't. I probably should have used black instead of white, though.... ;)

Learn from my goof ups! ;)


Step 8-
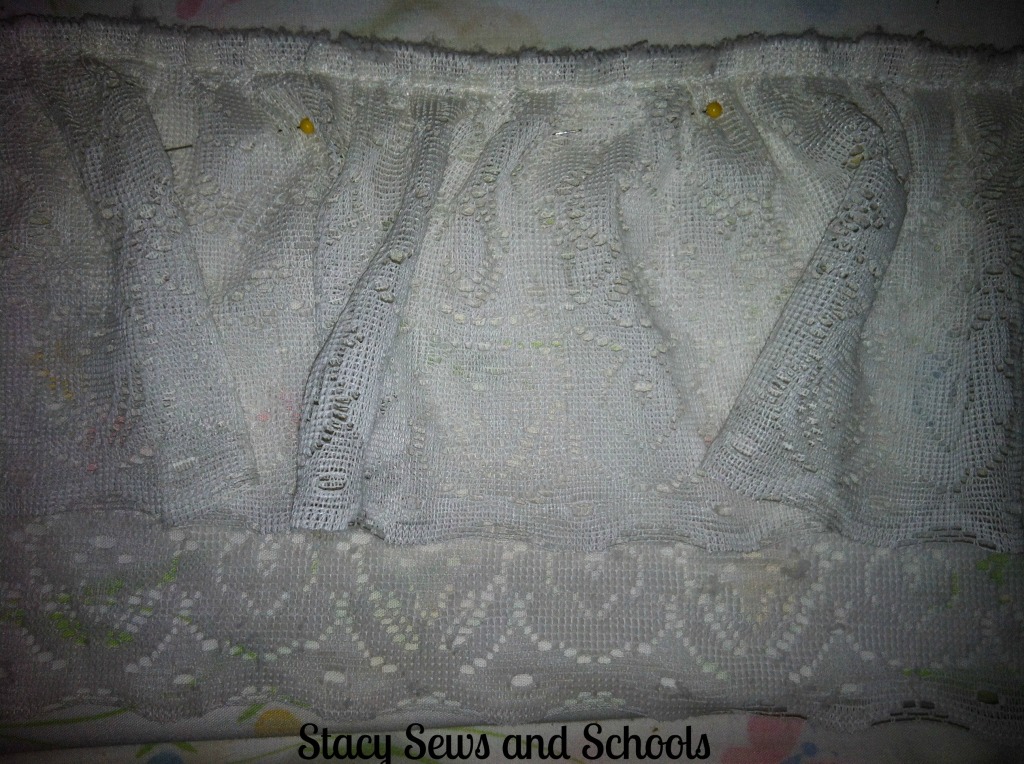


Now, fold the 2 0r 3" that you left above the ruffle over the lace strip, pin and sew together.


Step 9-


On this part, if I were you, I would pin the ruffle OVER the hem of the underskirt and attach it there, instead of behind.... Again, learn from my many mistakes! LOL ;)

Set this aside.


Step 10-


Right sides together, pin and sew up ONE side of the overskirt.


Step 11-
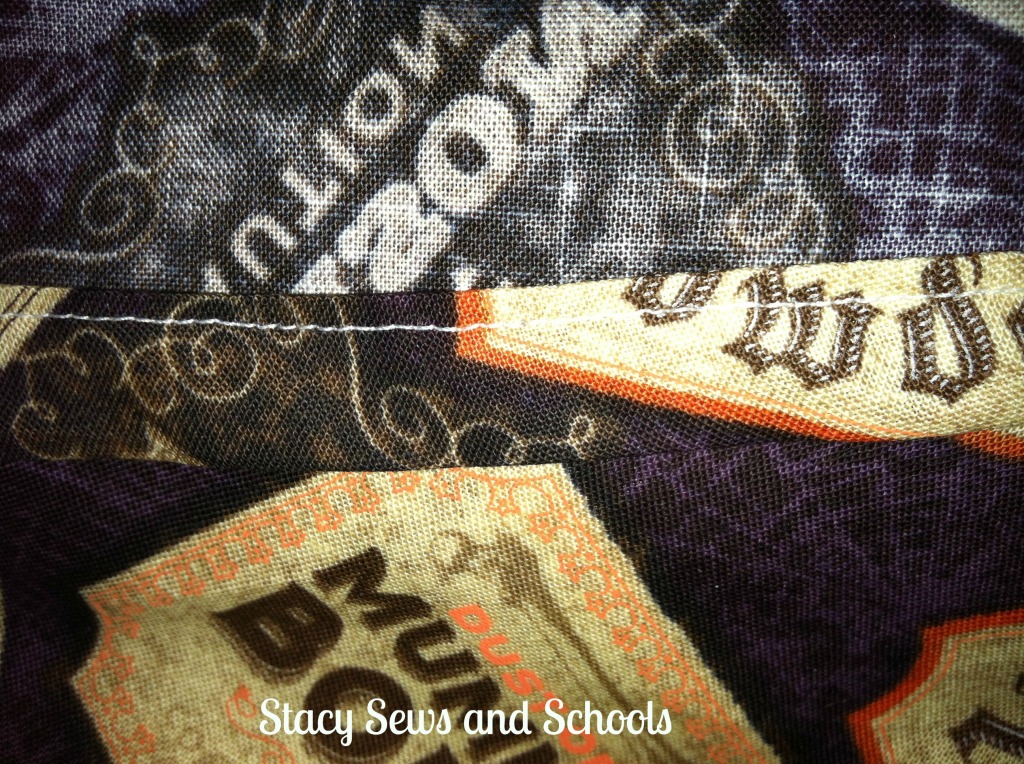


Fold up 3/4"  of the bottom of the overskirt and press. Fold up 1", press, pin and sew the hem.

This probably would have looked better with the black thread, too... SIGH... Live and learn. Or better yet, SEW and learn! LOL


Step 12-


Pin the right side of the underskirt to the wrong side of the upperskirt and sew them together with a finishing stitch. (zigzag, overlock)


Step 13-


Pin the sides of the overskirt together and sew the side seam. Do the same to the underskirt.


Step 14-


Fold over the top 1 1/2" , press, pin and sew the elastic casing making sure to leave an opening to insert the elastic through. ;)


Step 15-
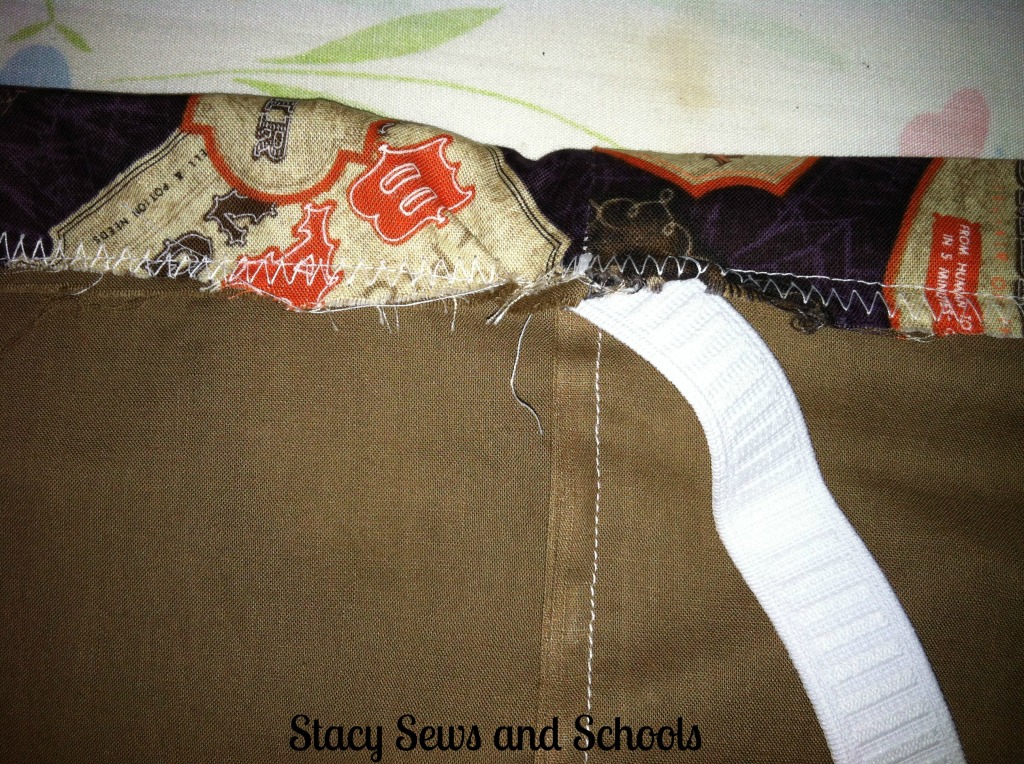


Pin a safety pin to both ends of the elastic and insert the elastic into the casing.


Step 16-
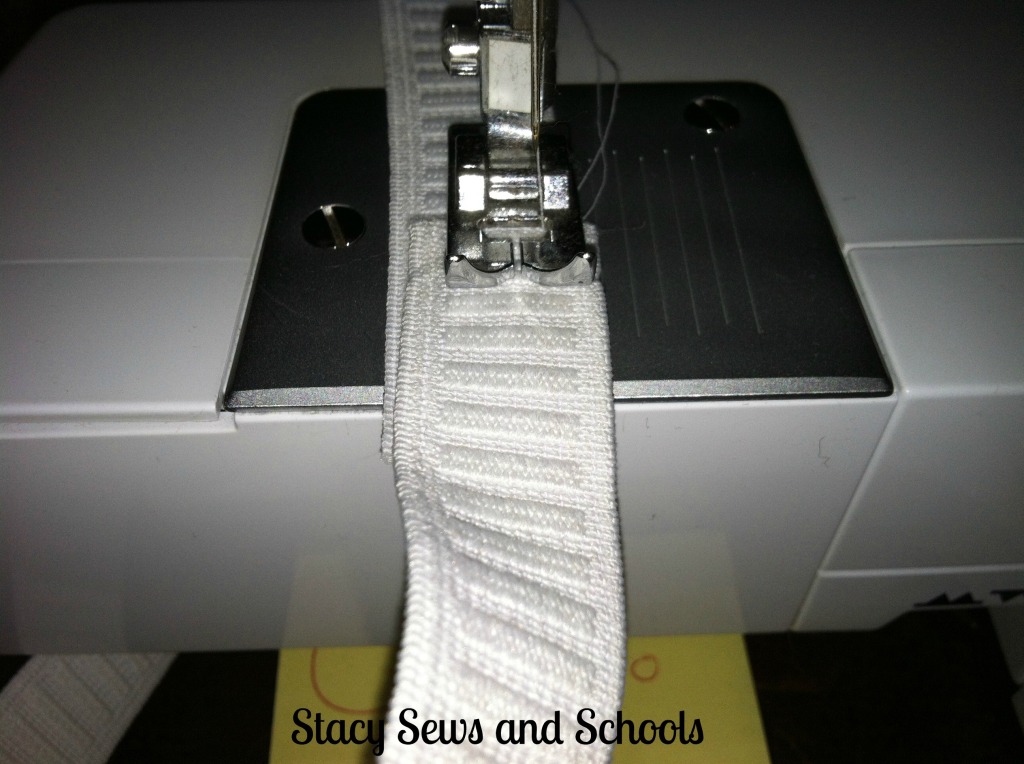


Sew the ends of the elastic together using a zigzag stitch.

Now, sew your casing closed!


ALL DONE!!!!! :)
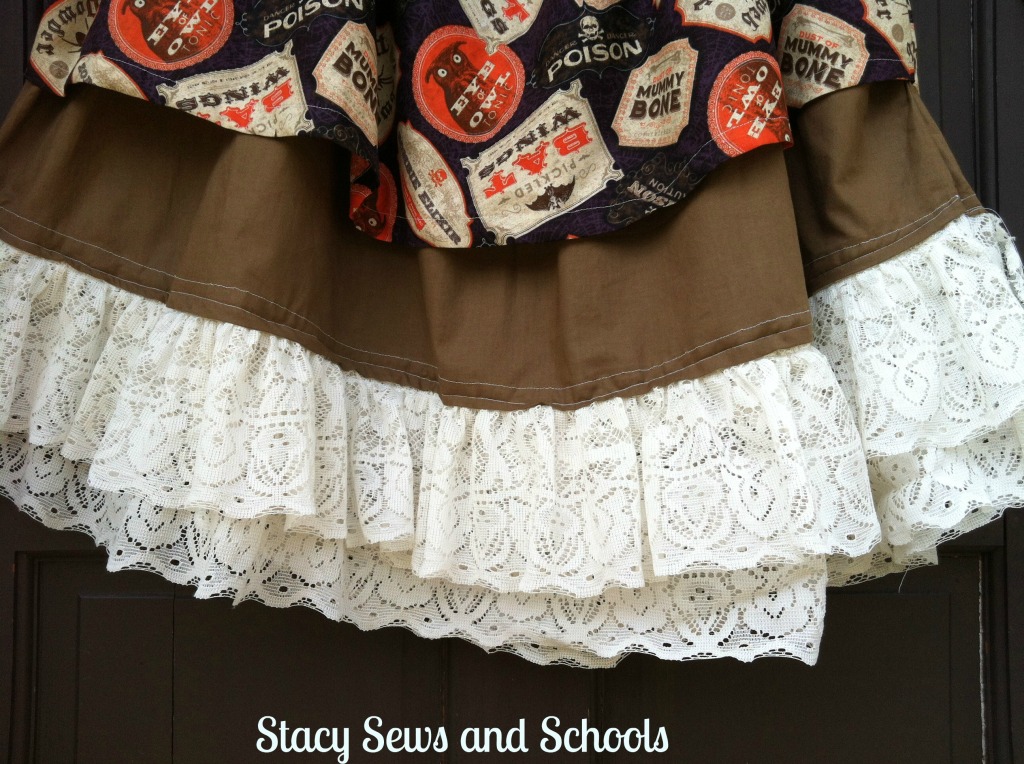


Here's a close up of the bottom! :)
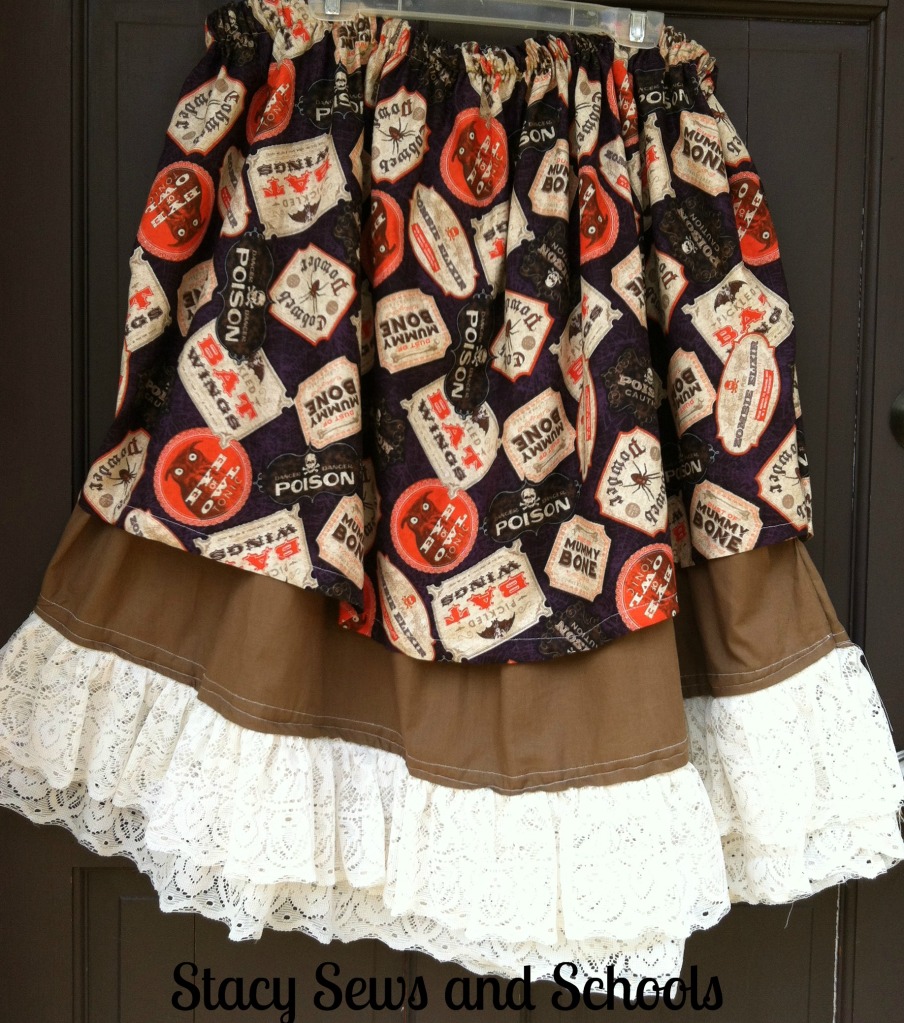


Please, let me know what you think about this tutorial. If you make the skirt PLEASE let me know!!!!! :)


I may be a little quiet the next few days. We are going to be leaving to go to Georgia so The Hubby can check out at least one job, possibly two!!!


August 18, 2012

Fat Quarter Skirt Tutorial

I was perusing the fabric aisle at Walmart the other day when I found PINK PANTHER fat quarters!!!! OH MY GOSH!!!!! They were on sale for $5 a pack!!!! So I grabbed 2... LOL I wasn't sure what I was going to do with them though. UNTIL the Cs had a sleepover. Then I knew! Cailey and her 2 BFFs could have matching skirts!! PERFECT!!! And you get a new tutorial! ;)


What I Used-

1/2  a package of fat quarter


Step 1 -


Take one piece of each design or 3 pieces. Set the unique piece aside (to use as a waist band). Then cut the fat quarters into thirds.


Step 2 -


Take the fat quarter that you set aside for the waistband and cut it into fourths. Set 2 aside for the waistband.


Step 3 -


Go ahead and stack the pieces in the order you want to sew them in.


Step 4 -


Pin your first 2 pieces together, right sides touching, and sew the seam!

I usually do a finishing stitch first and then do mu straight stitch, but I'm weird like that. ;)


Step 5 -


Continue pinning and sewing until you have used all your pieces! :)


Step 6 -

Apparently, I forgot to take a picture of this step... SIGH... Sorry about that!!!! It's easy, though. You need to gather the top of the skirt!

On my machine I set both of my stitch settings to the largest number and run 2 lines of straight stitches. Then I pull on the bottom thread on one side and gather, then I pull on the bottom thread from the other side and gather.


Step 7 -


Now, take your 2 waistband pieces and sew one end to one end.


Step 8 -


Now, turn in 1/4 inch at the top and press. Then a 1/4 inch at the bottom and press.


Step 9 -


Fold in half and press!


Step 10 -


Open up the waistband and pin the skirt inside, leaving at least 5" on each side for the ties.


Step 11 -


Run a straight stitch from one of the waist band to the other. This will leave the ends as ties and enclose the top of the skirt inside of the waistband.


Step 12 -


Fold over the ends of the ties, press and stitch across.


Step 13 -


Fold over the raw edges of the side of the skirt 1/4 inch and press. Fold over another 1/4 inch, press and pin. This will enclose those raw edges.


Step 14 -


Pin the sides together and sew the seam but be sure to leave 3 or 4 inches from the top of the waistband down. That will leave room for your child to get the skirt on and off.


Step 15 -


Fold over the bottom of the skirt 3/4 inch and press. Fold over another 3/4 inch, press and pin.

Sew your hem!


Press and you are all DONE!!!! YAY!!!!


I will be making one skirt with a button closure and one with an elastic waistband, that way the girls will be able to tell which one belongs to them. ;)


As always, let me know what you think! Was this easy to follow??? And definitely let me know if you make one!! I would LOVE to see the pictures! :)