D asked me to make her a drawstring backpack. She hardly ever asks me to make her ANYTHING so I jumped right on it. LOL
You will need -
1/2 yard of main fabric
1/2 yard of contrast
ribbon, rick rack, something for the drawstring ;)


Step 1 - Measure how long you will need your straps to be. Fold fabric over to where you have 4" below the fold. Cut 2.

Step 2 - While still folded in half with right sides together, press, pin and sew. Do the same to other strap.

Step 3 - Press flat with seam in the middle. Fold in half again, press and pin. Do the same to the other strap.

Step 4 - Sew 2 straight lines down the straps, one on each side. Do the same to the other strap.

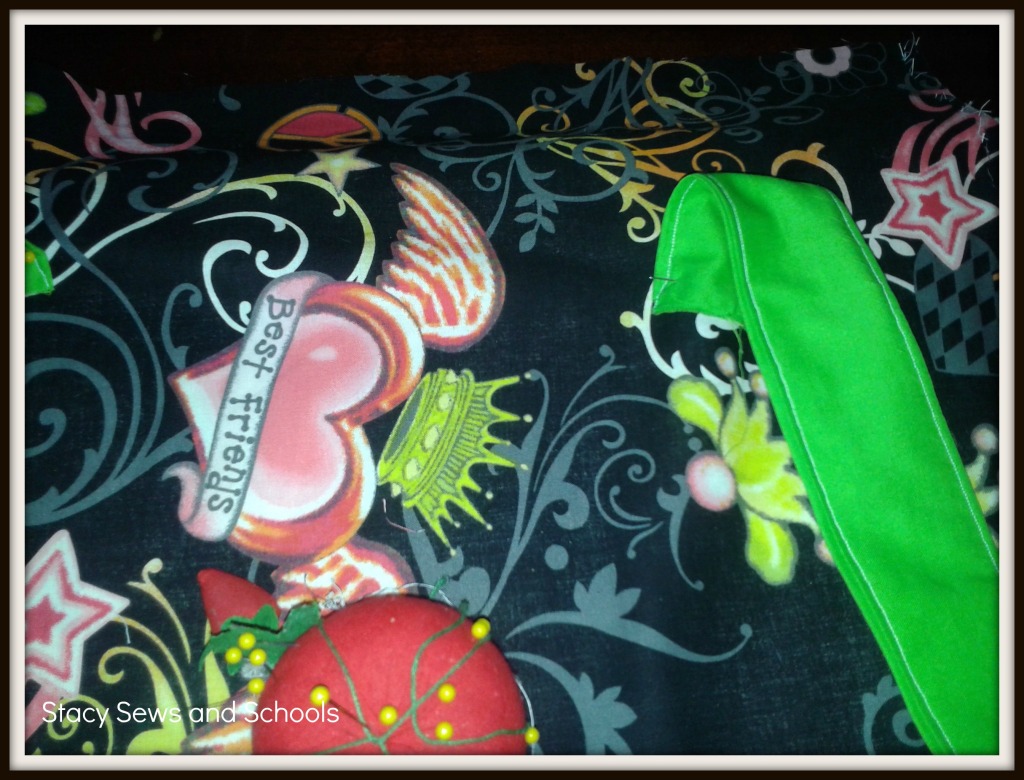
Step 5 - Pin your straps to the outside of the main bag fabric.

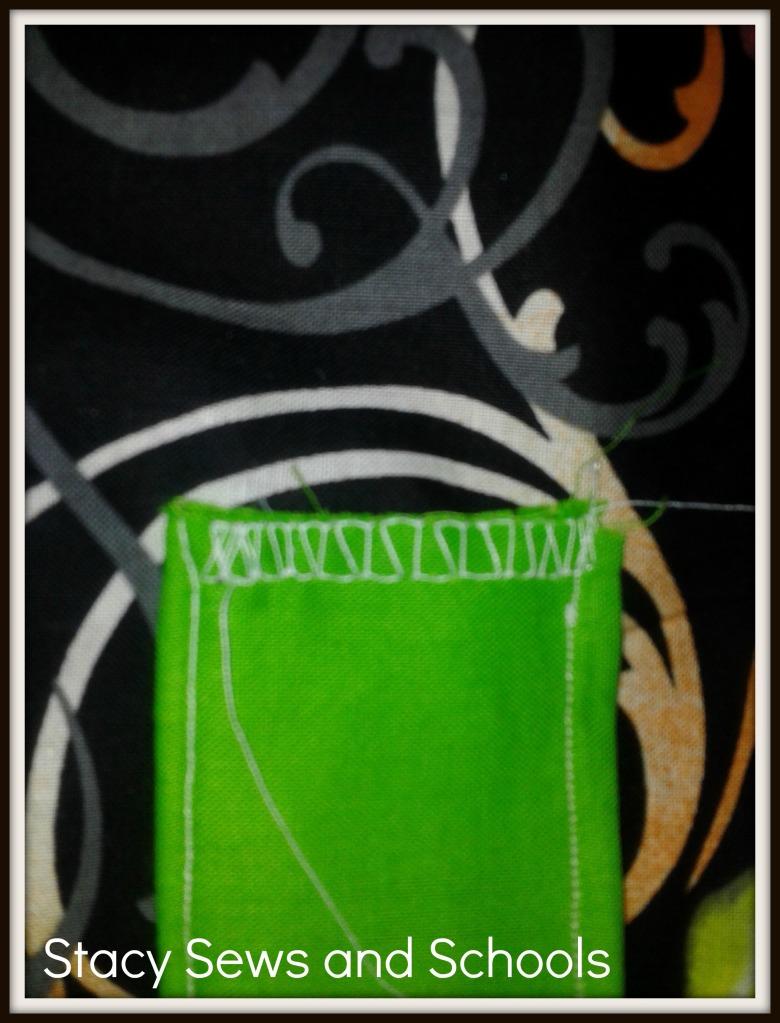
Step 6 - Sew the end of the strap to the bag using a finishing stitch. Do that to all 4 ends.

Step 7 - Fold the strap down and sew a square with an X to reinforce it. Do that to all 4 ends.

Step 8 - Pin and sew the 2 sides of your bag.

Step 9 - Cut a piece of contrast 4" wide by the width of both sides of your bag.
Step 10 - Fold in half and press.

Step 11 - Fold up 1/4" of one side and press. Do that to the other side.

Step 12 - Fold in ends and press.

Step 13 - Open the casing you just made and pin to the top of your bag.
Step 14- Sew the casing to the top of your bag, leaving the ends open.

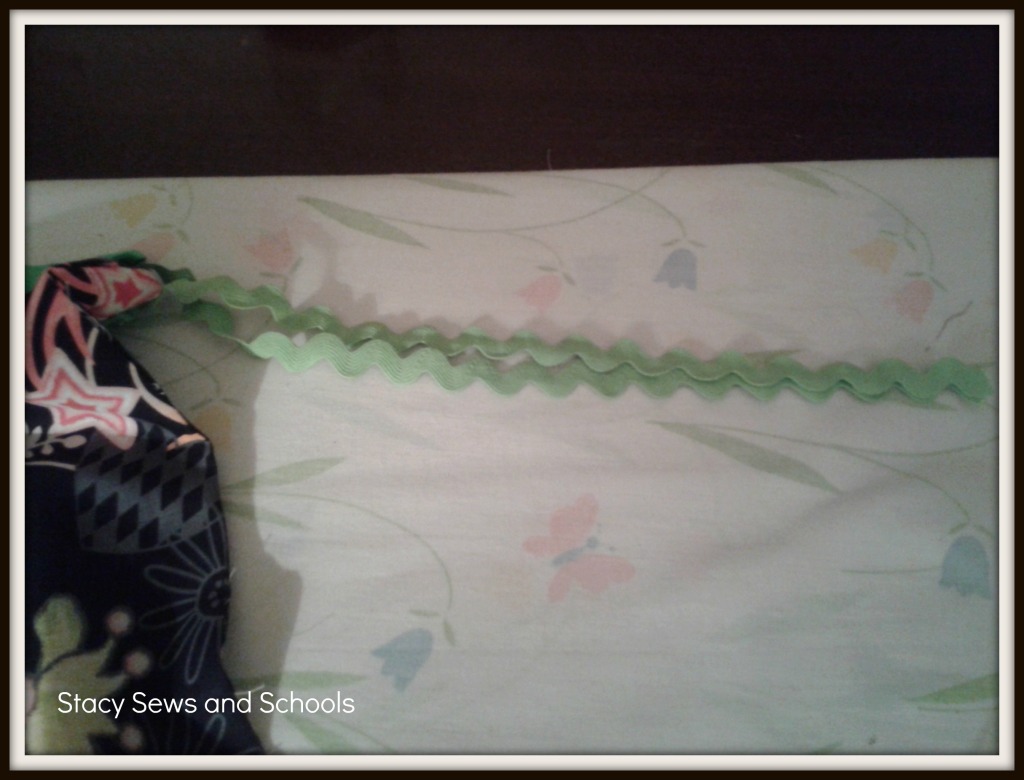
Step 15 - Grab your drawstring, if uncut DO NOT CUT! Pin one end and insert into casing.


Step 16 - Pull out a good bit of the drawstring. Cut and sew the ends together. I used a tight zig zag stitch.

Step 17 - Knot.
You're DONE!!!!


Let me know if you found this easy to follow!! And if you make one LET ME KNOW!! :)

Hi Stacey...
ReplyDeleteYou are amazing!!! You are teaching bible school. and still finding time to sew/take photos/ and blog..wow..how do you do it?
The bag is super cute..Did you have a pattern or did you just plan it yourself?
Your sewing and tutorials are fantastic.. Thankyou for sharing.
Thank you so much, Judy!! You are too kind!!!!
ReplyDeleteI didn't use a pattern. I just sort of saw in my head the way I wanted it to be and tried to figure out the best way to make that happen. LOL
THANK YOU, again!!!!!! :)
Great tutorial. Thanks for sharing at the All Star Block Party.
ReplyDeleteThanks, Holly! :)
ReplyDeleteGreat Tutorial Holly... Just adorable... I love it!!!!
ReplyDeleteI might have to try this one ...
Thanks for sharing at the ALL STARS BLOCK PARTY...
Carri
simplydonewright.blogspot.com
Thanks!!! :) Let me know if you give it a try!
ReplyDeleteCute! Thanks for sharing this at The Fun In Functional!
ReplyDeleteThank you!
ReplyDeleteTurned out really nice. Great fabric print too.
ReplyDeleteThanks so much for linking up at I Gotta Create! <3 Christina
Thank you so much, Christina!! :)
ReplyDelete[…] If you want to see my tutorial click HERE. […]
ReplyDelete[…] The D Bag (draw string backpack) […]
ReplyDelete