
Here is it! My Big Idea... LOL I like it... It didn't turn out EXACTLY how I wanted it to, but I'm satisfied... There is one part that I will probably go back and change, though.... I was trying to go for a multi-layer effect so instead of sewing the lace ON TOP of the underskirt hem, I sewed it to the back... I think I am going to grab my BFF , Sally the Seam Ripper, and go back and do that part over. It would look much nicer that way, I think....
Anyway! Here we go!
What I used-
2 yards of print for the upper skirt
2 yards of solid for the under skirt
1 old lace curtain LOL
2 old lace valances LOL
1" elastic
I got some new curtains for the dining/sewing room/library and I have been storing the old lace ones in the linen closest. LOL
Step 1 -

OK, let me first explain about my short legs... They are Hobbit short, people... Seriously. Actually, I have Hobbit feet, too, just minus all the yucky foot hair.... LOL Anyway, I cut the upper skirt at 23". LOL S
So, cut 2 pieces, each the width of the fabric.
When you cut, make a curve at the bottom, like in the picture below.

Step 2-
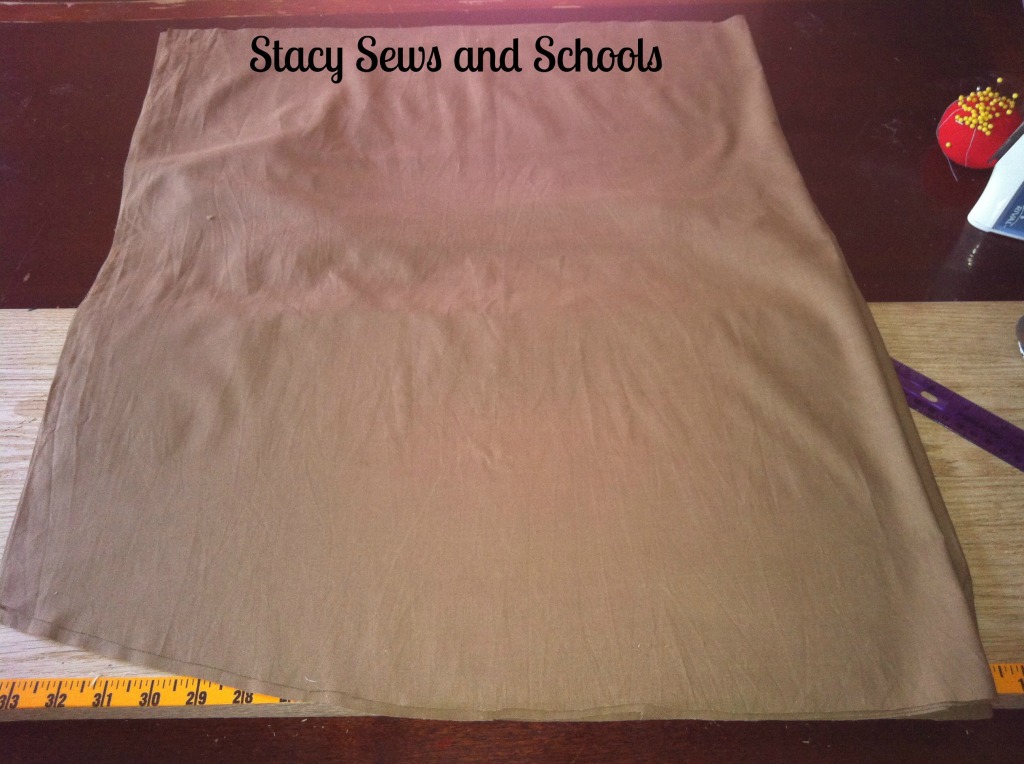
I cut the underskirt at 27". Cut 2 pieces, the width of the fabric and with a curve.
Step 3 -

I cut 6 1/2 " off both sides of the curtains. You will need to cut the lace the width of the skirt fabric. So, you will also have 2 sections of lace.
Step 4-

Next, I cut the ruffles off both valances. I left about 3" of the plain lace above the ruffles.
Step 5-

Sew one end of the lace strips together. Set aside.
Step 6-

Now, right sides together, sew ONE side of the underskirt together.
I promise that I ironed that fabric.. LOL I ironed and ironed and ironed and that is just as good as it would get. LOL But, really, I think it's fitting for a Halloween skirt. LOL
Step 7-

Now, roll up 3/4" of the bottom of the underskirt and press. The roll up 1", press and sew your hem.
It would look MUCH better if you have brown thread... LOL I don't. I probably should have used black instead of white, though.... ;)
Learn from my goof ups! ;)
Step 8-
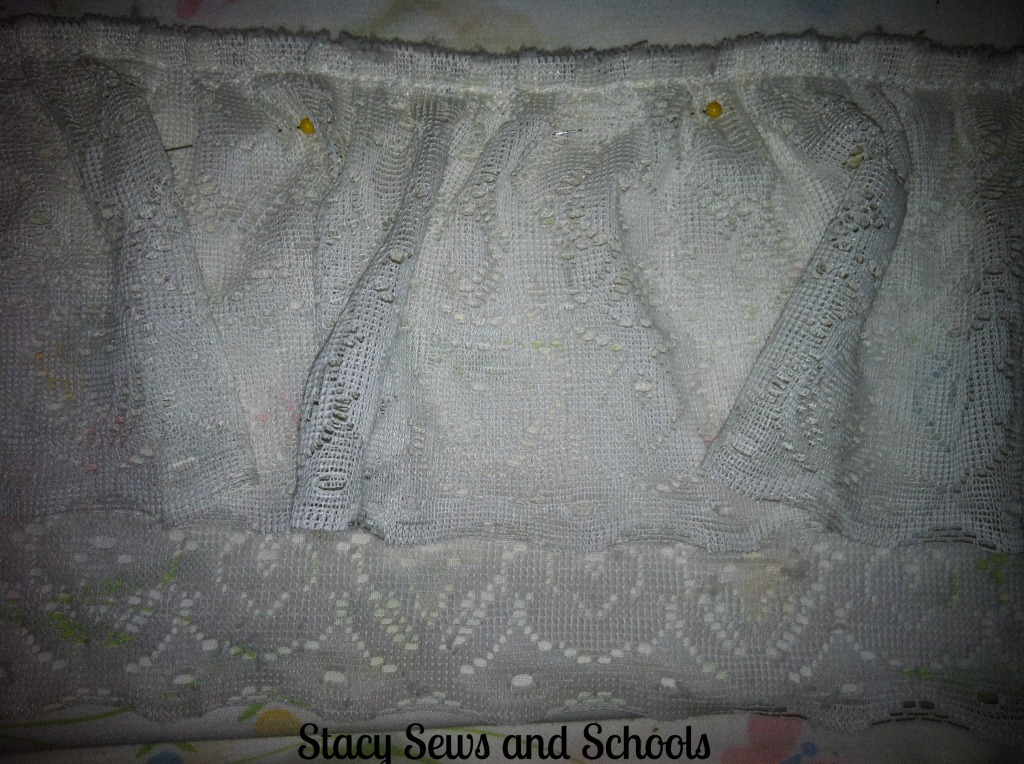
Now, fold the 2 0r 3" that you left above the ruffle over the lace strip, pin and sew together.
Step 9-

On this part, if I were you, I would pin the ruffle OVER the hem of the underskirt and attach it there, instead of behind.... Again, learn from my many mistakes! LOL ;)
Set this aside.
Step 10-

Right sides together, pin and sew up ONE side of the overskirt.
Step 11-

Fold up 3/4" of the bottom of the overskirt and press. Fold up 1", press, pin and sew the hem.
This probably would have looked better with the black thread, too... SIGH... Live and learn. Or better yet, SEW and learn! LOL
Step 12-

Pin the right side of the underskirt to the wrong side of the upperskirt and sew them together with a finishing stitch. (zigzag, overlock)
Step 13-

Pin the sides of the overskirt together and sew the side seam. Do the same to the underskirt.
Step 14-

Fold over the top 1 1/2" , press, pin and sew the elastic casing making sure to leave an opening to insert the elastic through. ;)
Step 15-
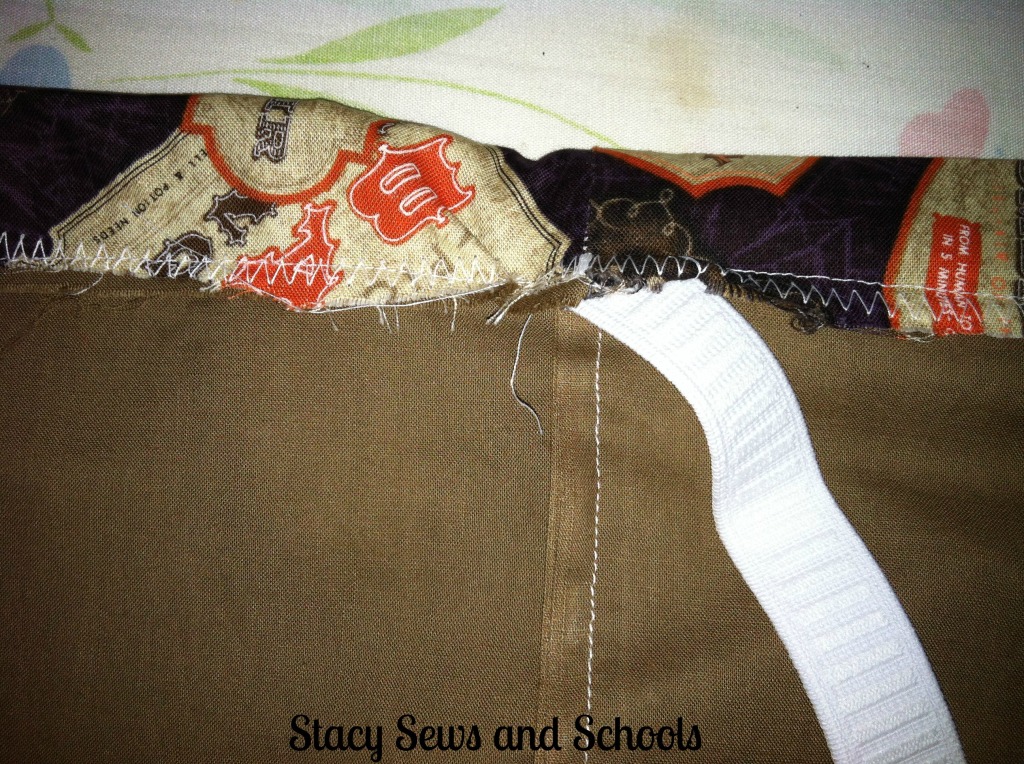
Pin a safety pin to both ends of the elastic and insert the elastic into the casing.
Step 16-
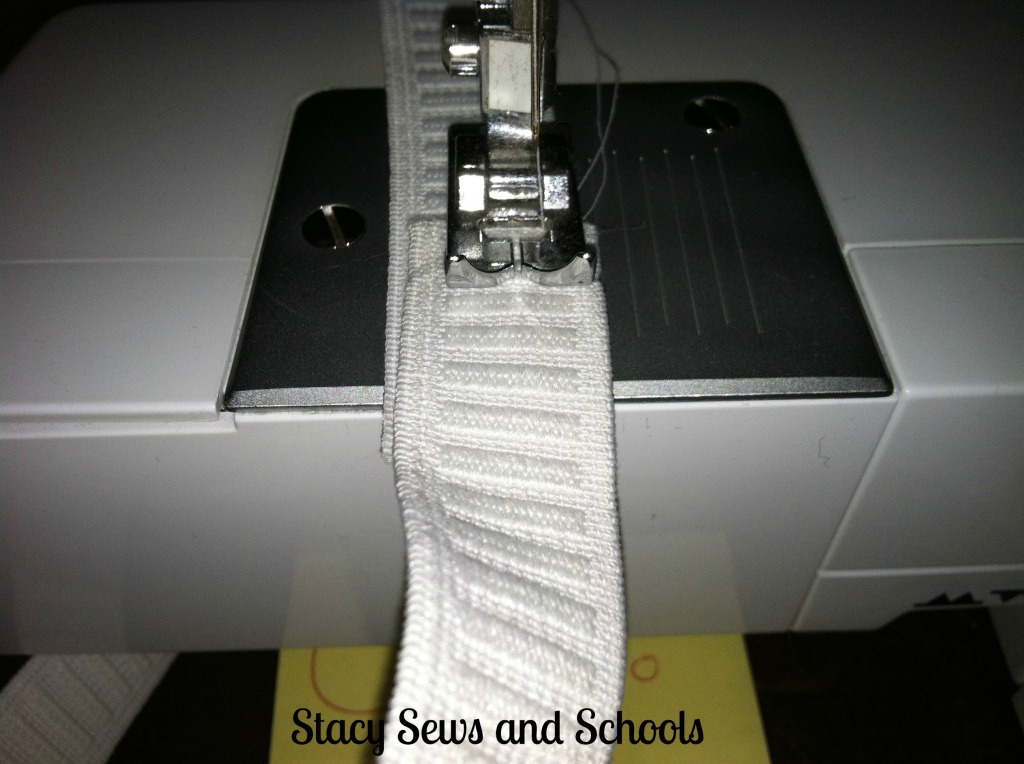
Sew the ends of the elastic together using a zigzag stitch.
Now, sew your casing closed!
ALL DONE!!!!! :)
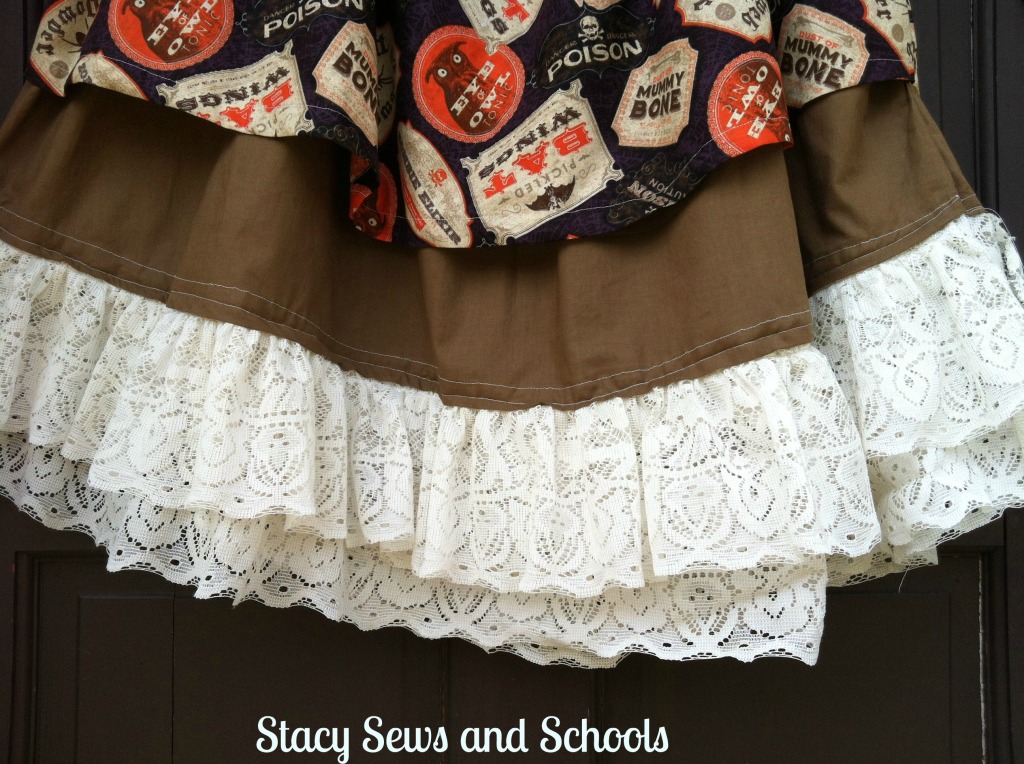
Here's a close up of the bottom! :)
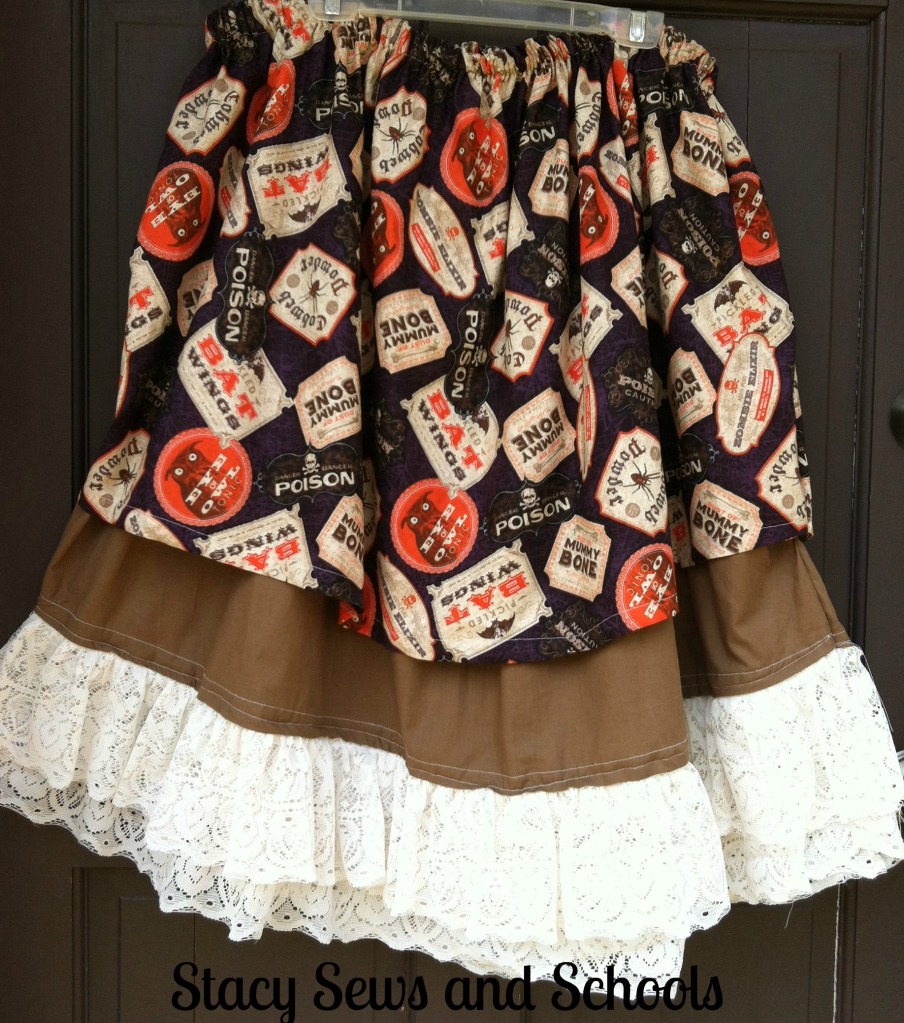
Please, let me know what you think about this tutorial. If you make the skirt PLEASE let me know!!!!! :)
I may be a little quiet the next few days. We are going to be leaving to go to Georgia so The Hubby can check out at least one job, possibly two!!!

I like it just the way it is, lace and thread coloring. Love the repurposing. :) Have a great trip.
ReplyDeleteTHANK YOU SO MUCH, Debbie!!!!! :)
ReplyDeleteThis is so cute! I love this type of skirt. Even us old ladies can wear these. I am going to re-purpose a denim skirt which I have never really liked with a ruffle and maybe an over-skirt. Thanks for the idea.
ReplyDeleteYAY, Regena!!!!! THANK YOU!!! :)
ReplyDeleteSO glad that it inspired you!!
Soooo cute! I want one!!!
ReplyDeleteLOL!!! Thank you, Joni!!!!!
ReplyDeleteMaybe I will have to add this one if I ever start selling! LOL
Stacy, this is so cute.. Love the fabric, and the brown underskirt just sets it off.. Good luck to your hubby on the job..And sending up prayers for you and family to have a safe trip.
ReplyDeleteps Georgia.. you are heading south.. I am in Ms.[.so about as south as you can get.ha
Thank you, Judy!!
ReplyDeleteLOL!! Yep, you are definitely in the south!
I just wish we could take our time on this trip. :/
Adorable! Thanks for sharing at the All Star Block Party.
ReplyDeleteThank you very much, Holly!!! :)
ReplyDeleteSo cute! I'm loving the lace peeking out of the bottom. Thanks for sharing this at The Fun In Functional!
ReplyDeleteThank you, Jessi!!!! :)
ReplyDeleteThis is such a fun skirt, and your tutorial is very thorough and easy to follow. Thanks!
ReplyDeleteThank you very much, Bonny! :)
ReplyDeleteLOVE this! Featuring you tomorrow
ReplyDeleteYAY!!!!! Thank you SOOOOO much!!!! :)
ReplyDeletecute skirt! I really like the fabric you used!
ReplyDeleteThank you very much, T'onna! :)
ReplyDeleteLOVING this fun skirt!!!!!!
ReplyDeleteThanks so much for sharing this at The DIY Dreamer.. From Dream To Reality!
Thank you, Christine!! :)
ReplyDelete