November 30, 2012

Christmas Homeschooling Activities, Books, Crafts and Printables List

I thought that I would put together a list of  Christmas homeschooling resources. I have seen a lot of great stuff floating around the web lately. ;) A lot of these things can be found on my Pinterest boards.

There's one resource that I am going to share that is NOT free, BUT it's only $1/yr so really, it might as well be free.... LOL Anyway, that resource is Christian Homeschooling Hub.  I LOOOOOOVE this site. They have downloads for EVERYTHING!!!!  Their Holiday page is full of downloads!


This is a freebie from Ms. Fultz's Corner.


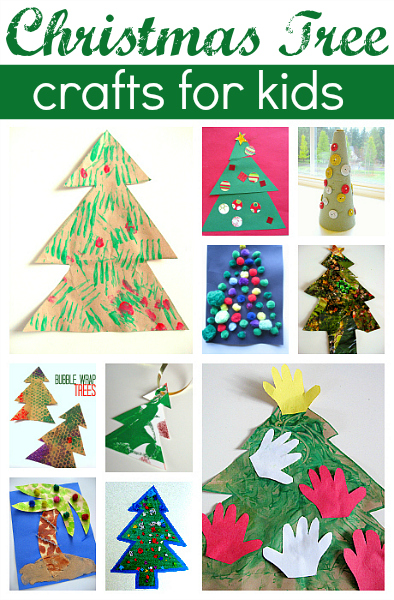
christmas crafts for kids

From No Time For Flashcards.


From Raising Arrows.


250x250 button

From Living Life Intentionally.


CurrClick.com - Curriculum in a click! Homeschooling resources, lapbooks, and afffordable curriculum

There are Christmas, Kwanzaa and Hanukkah freebies at CurrClick right now!


The Simple Homeschool will be starting their 12 Days of Christmas Freebies soon! Make sure to sign up for the newsletter so you can grab them all!!!!


Twas The Night Before Christmas: Edited By Santa Claus for the Benefit of Children of the 21st Century

Amazon has A LOT of free Christmas ebooks right now. Don't have a Kindle?? Neither do I! I downloaded the free app to my iPhone, desktop AND laptop! LOL


Homeschool Views has a big list of Christmas freebies!


Free Homeschool Curriculum


Free Homeschool Deals has a great list of freebies!


christmaspromo3

Free Christmas printables for pre-schoolers over at Confessions of a Homeschooler!


From Meet Penny!


Homeschool Share has a long list of units, lapbooks and such for Christmas.


Homeschool Creations also has a nice list of Christmas learning activities.


Homeschool Helper Online is another great resource.


Spell Out Loud has a list of Christmas activities, as well.


This list from Sassy Sites should keep your kids busy for a while!!! LOL


See how Christmas is celebrated in 30 other countries at TheNorthPole.com.


image

From 1+1+1=1


Christmas Symbols Pack from 2 Teaching Mommies. Actually, 2 Teaching Mommies has A LOT of Christmas learning packs!!!


I hope you find tons of fun stuff to do this Holiday season!!!! :)


November 29, 2012

Pink Fig Market Day Gauchos


This is what I have been working on, The Pink Fig Market Day Gauchos.  I wanted to give them a bit of a holiday flair so I used crushed panne in 4 colors.

I really liked this pattern. It's the first I have used from Pink Fig. It had an easy to follow booklet with directions and the lines on the paper pattern were a dark blue and easy to easy.

The only issues I had were solely due to my sewing machine acting up! ARGH! More tension issues and now I can't set the length between stitches. I think something came loose during the move. :( And even though I LOVE that my new foot is clear, it is NOT a Singer foot and I think it is a tad bit too thick. I have been having feed issues because of that.

ANYWAY! I love the Pink Fig pattern designs and I can't wait to try out the other patterns that I won! ;)


So, what do you think of my take on the Market Day Gauchos??? I will have Cailey model them as soon as the top is done!

I will be starting on a matching shirt of my own design today. As soon as I am done I will be posting the tutorial! :)


Tomorrow I am going to get together a list of Christmas homeschooling links. I've been having a hard time getting into the Christmas mood lately. I hope that will help! I think it has a lot to do with the fact that we basically skipped Thanksgiving, Jacob is not here AND it's still VERY warm down here! LOL It does NOT feel like Christmas!!! ;)


November 26, 2012

T-Shirt Tunic and Legging Tutorial

I have another tutorial! YAY!!!! I think it's safe to say that my sewing mojo is back! LOL I have made 2 sets of presents and had 2 tutorials in a week! ;) YAY!!!!!


For this outfit I used:

1 yard of jersey knit

1 yard of crushed panne

3/4" elastic

T-shirt that fits well to use as a guide.

Leggings that fit well to use as a guide.

Make sure to have a ball point needle for knits!


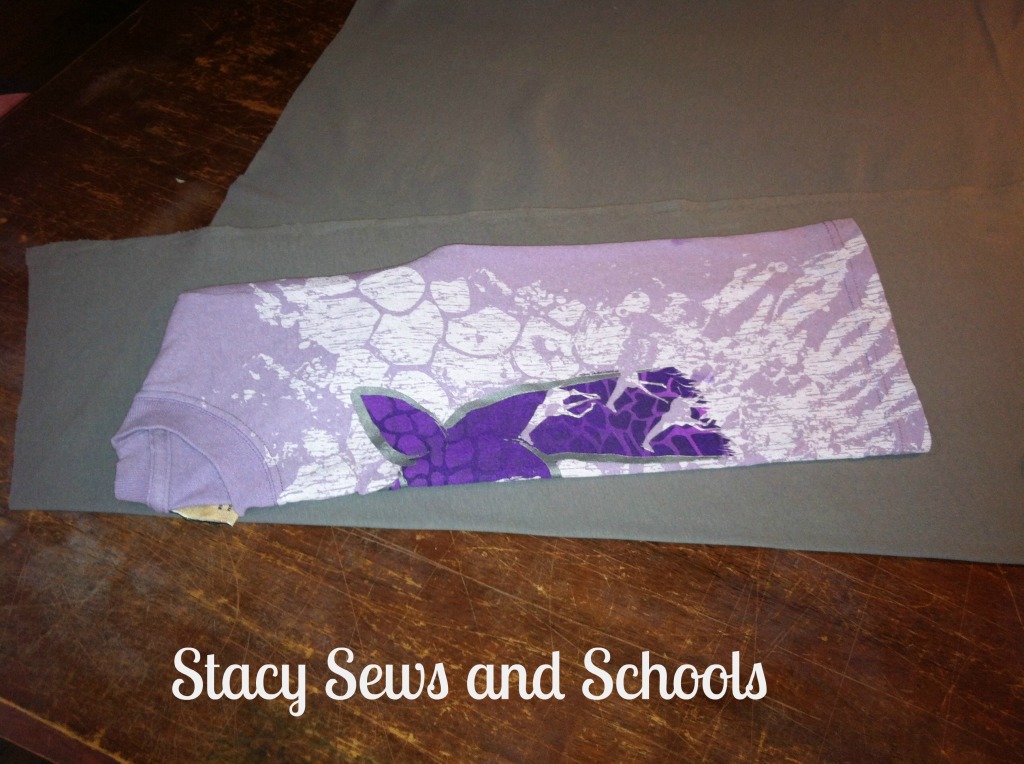
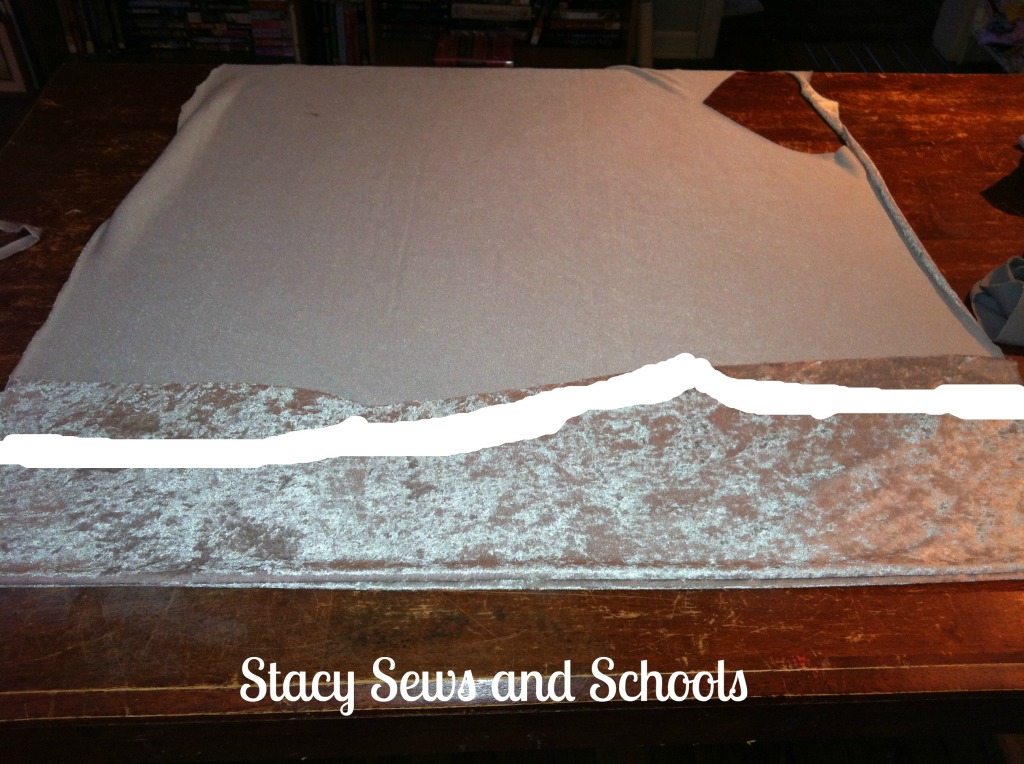
Fold the fabric at an angle so that it will have a nice A-line when you cut. Also, put the guide shirt at an angle. ;)

Cut around the neck and arm hole of the guide shirt. Cut the bottom longer than the guide shirt and be sure to curve it.


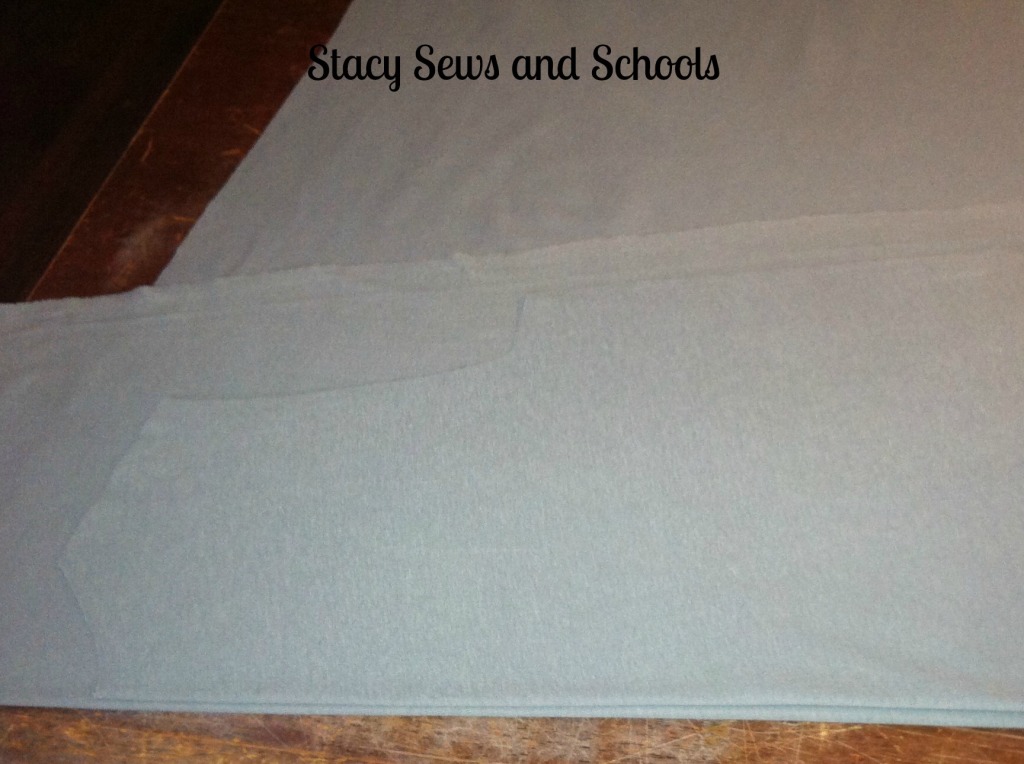
Here is what it looks like after cutting.


Use the tunic piece you just cut as a guide for the next piece and be sure to fold the fabric at an angle again.

When you have the 2nd piece cut, cut the neckline of one piece lower. That will be the front.


Now we are going to cut the heart for the front of the tunic. And it is just like in school when you would fold paper to cut a heart. ;)


Time to cut the sleeves!

Use one of the tunic pieces as a guide. Fold over the fabric and line the fold up with the top of the tunic piece. Cut, following the line of the armhole. Then drop down about 1/2 inch and cut straight over.


Here are the cut sleeves.


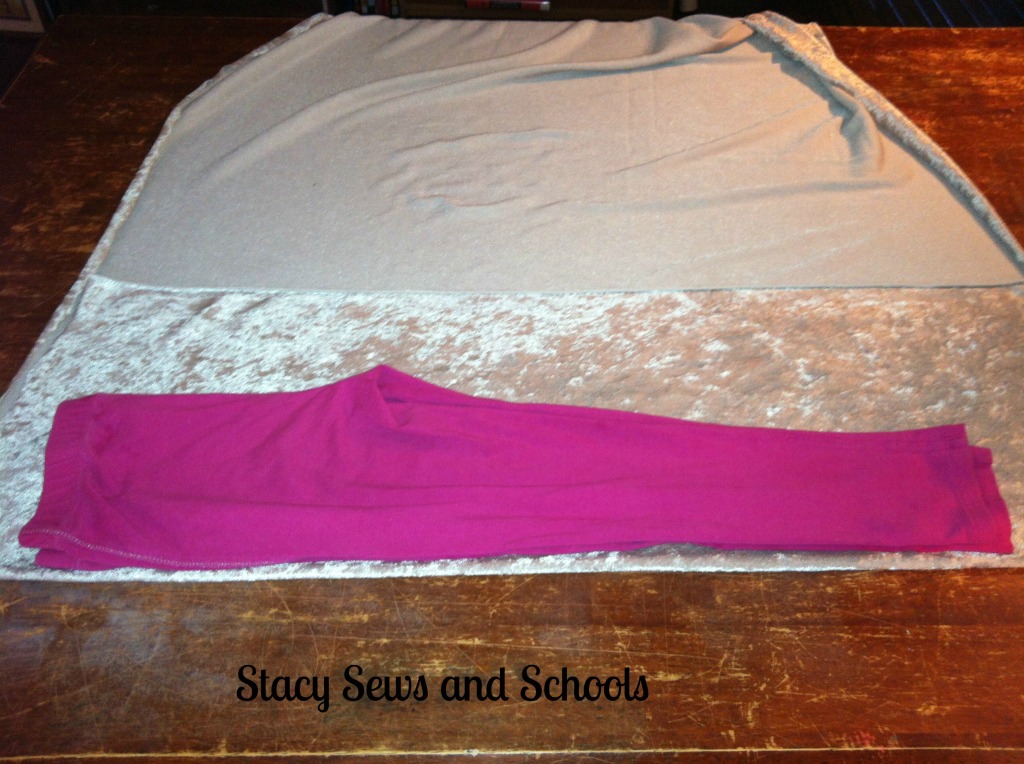
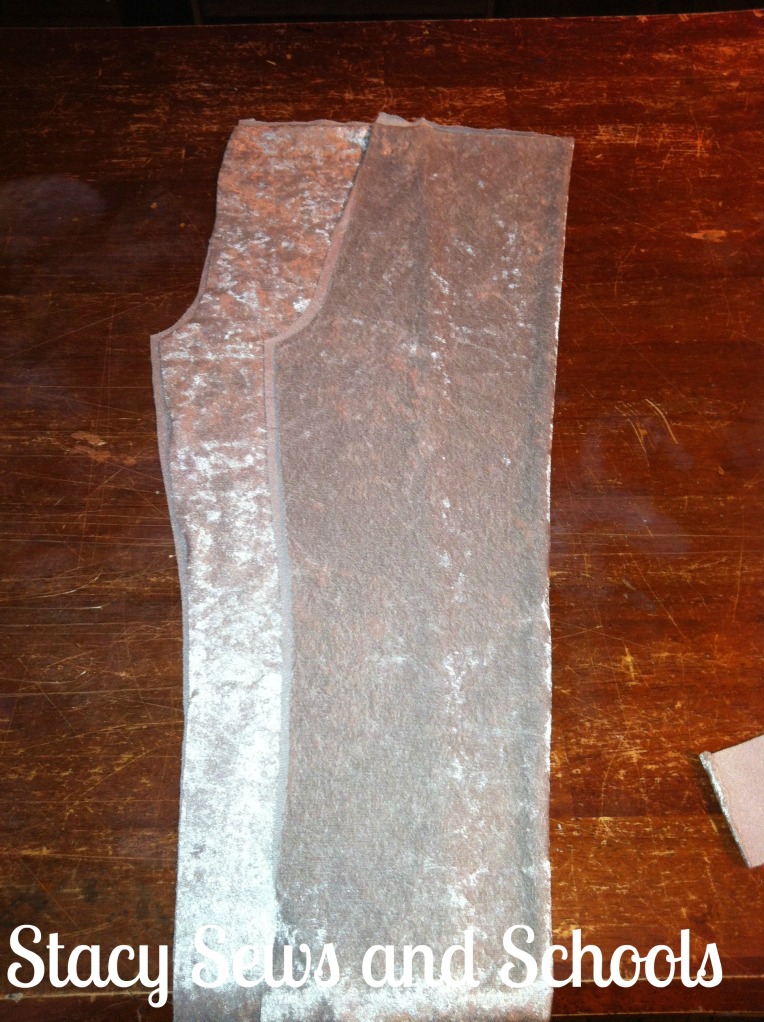
Fold the leggings and pull the crotch out as far as you can. Place the outside of the leg on the folded edge of the fabric. Cut around the inside of the leg.


Now, use the leg you just cut as a guide for the 2nd one! :)


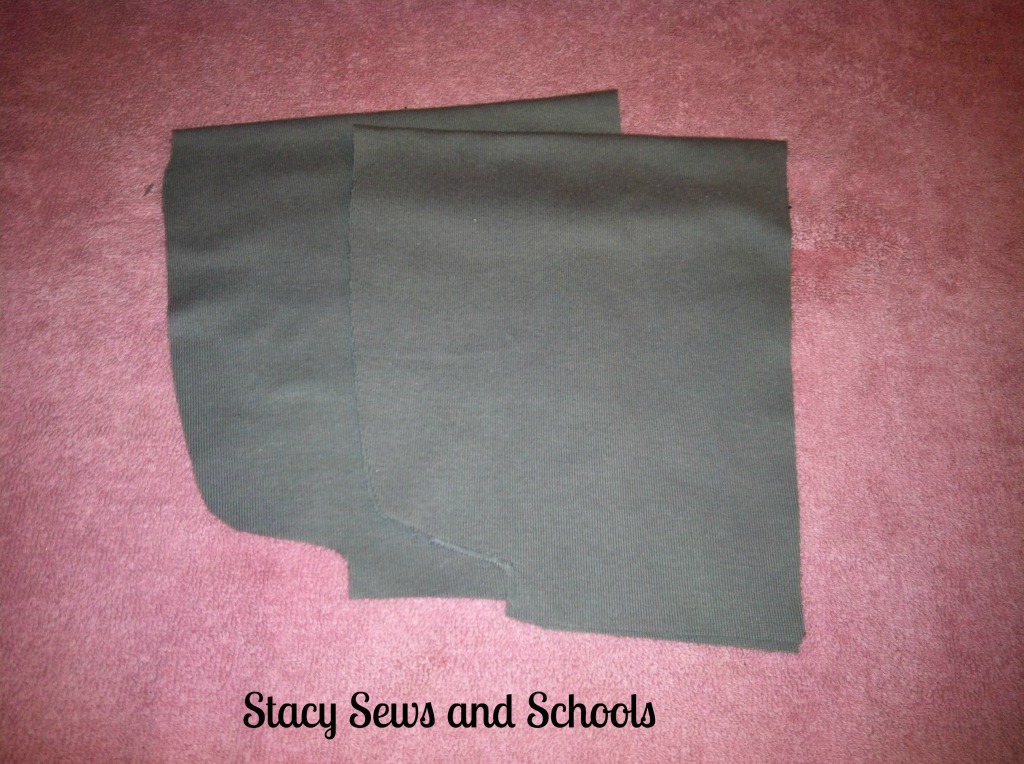
Here are the 2 legs! :)


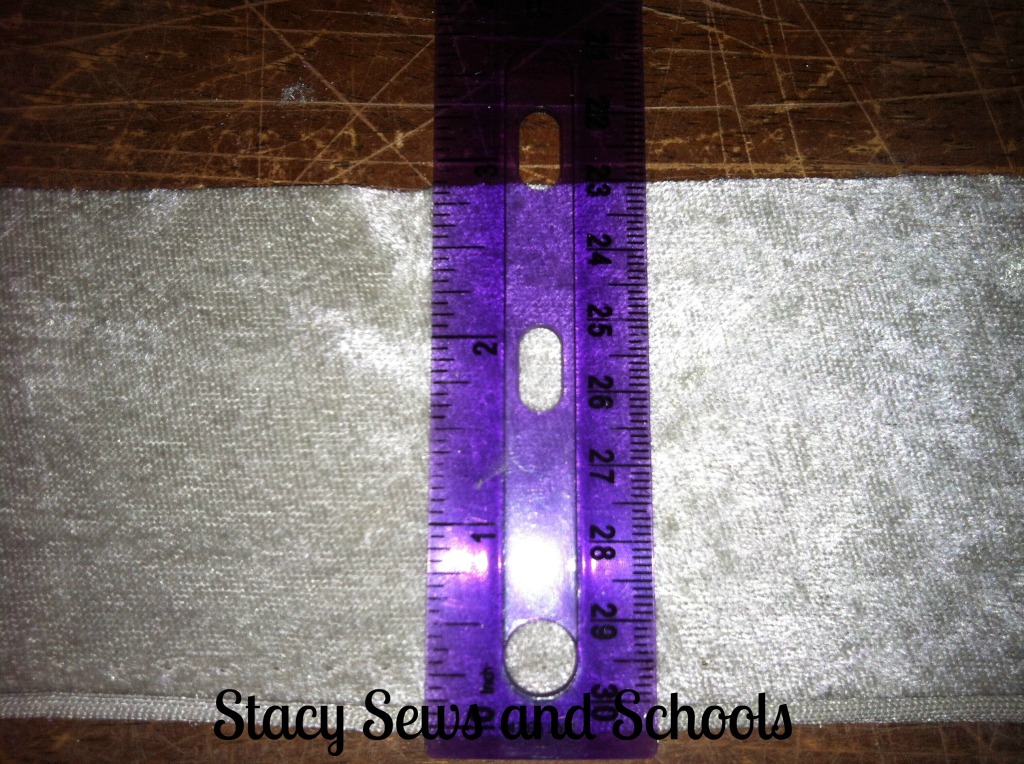
Now cut the embellishments for the sleeves. Cut 2 pieces, 3" wide and long enough to go around the bottoms of the sleeves.


Take the long strips and fold them in half. Pin the cut edges to the sleeve bottoms, right sides (if you have them) together and sew. ;)


Now press. If you are using crushed panne, be sure to use a cool iron only. You will fry the fabric otherwise.... LOL


Now, pin the heart to the front of the tunic. Use a lot of pins! LOL Then use a zigzag stitch and sew all along the outer edge.


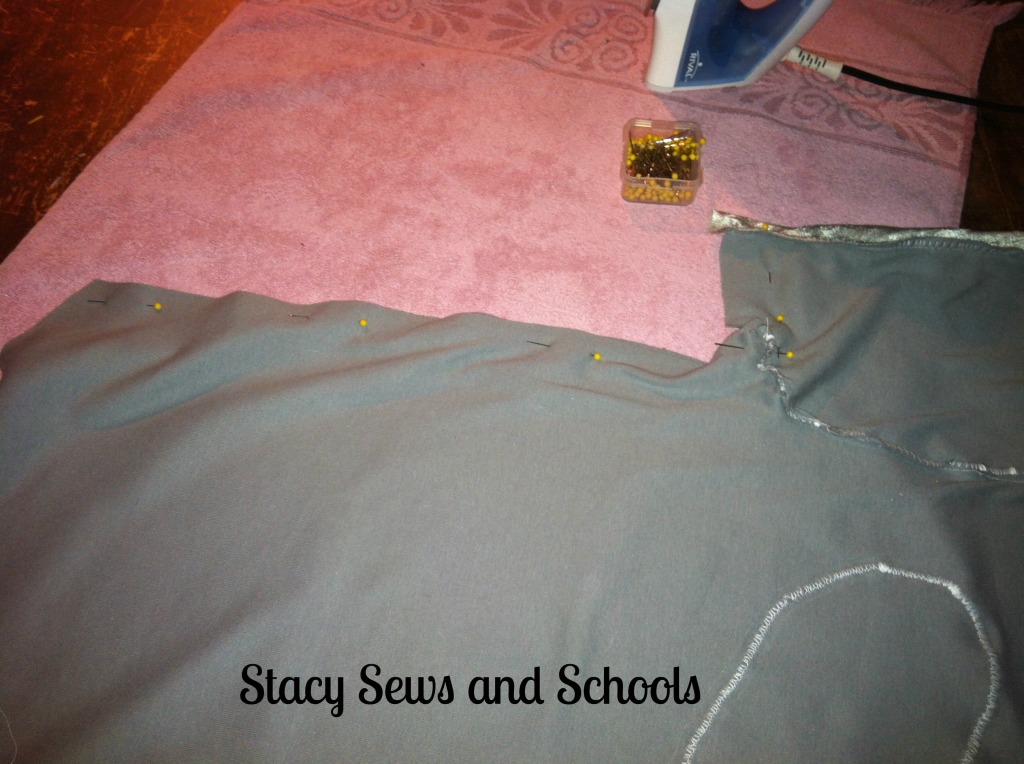
Pin the shoulders of the tunic, right sides together (if you have right sides) and sew the shoulders together.


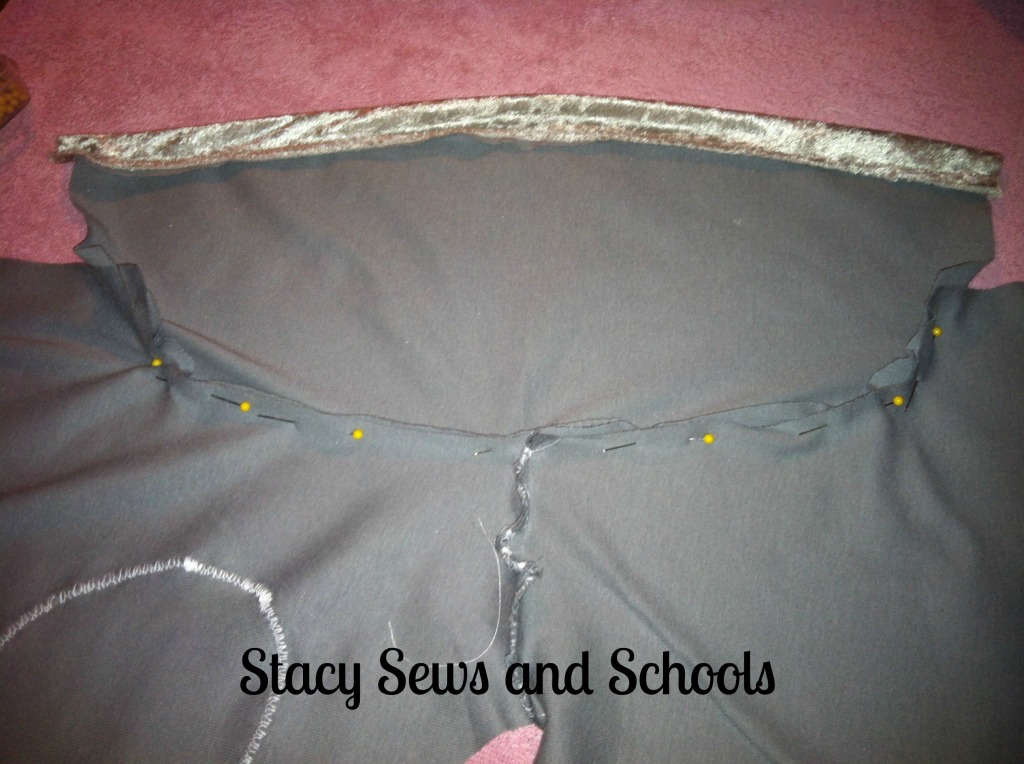
This is a different way to attach sleeves than I usually use but I figured I would give it a try. ;) Place the tunic right side down and pin in the sleeves, also right sides down. Sew them together!


With the tunic still inside out, pin up the sides and under sides of the sleeves. Sew the sides together in one continuous motion.


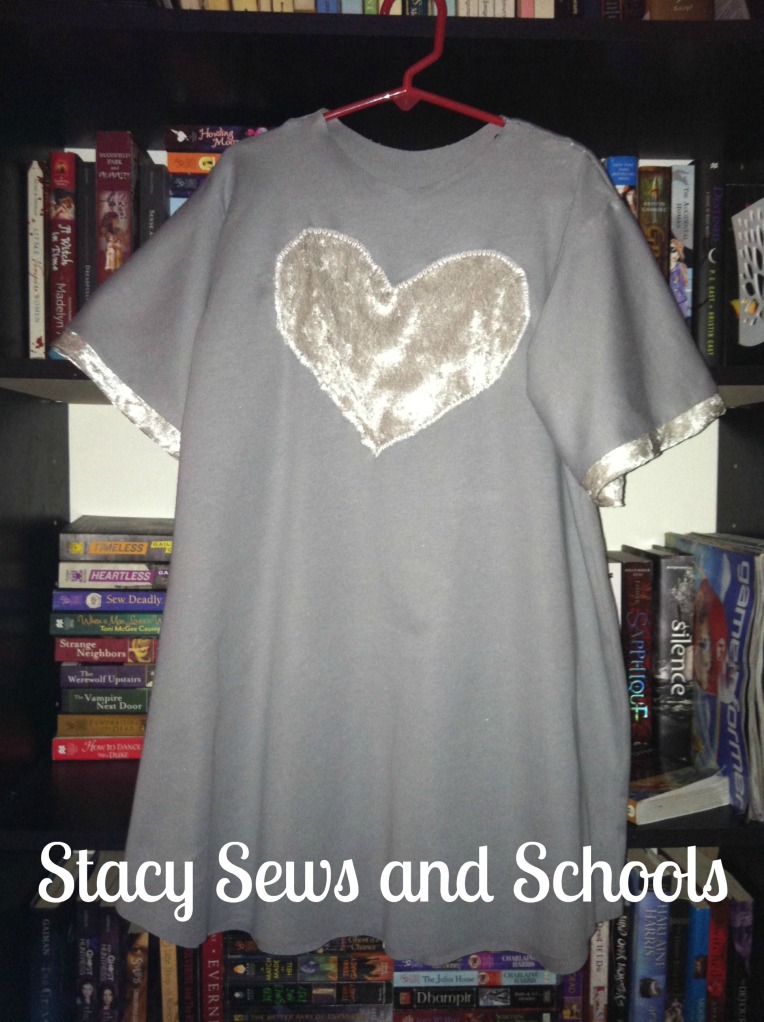
Turn right side out and your tunic is finished! :)

I had thought about adding a collar but I think I like it better without.

If you want to add a collar, follow the example of the sleeve embellishments. ;)


On to the leggings!

With right sides together, pin up the inside of the leg up to the crotch and sew. Make sure to NOT sew above the crotch curve.


Turn one leg right side out and slip it down into the other leg, so that the right sides are together. Pin and sew.


Turn the leggings inside out and fold over the top by 1" and pin. Sew the elastic casing, making sure to leave an opening to insert the elastic through.


Measure and cut a piece of 3/4" elastic for the waistband. Safety pin both ends and either hold tightly to one end or pin it to yourself.

Insert the other end through the casing.


Now, sew the ends of the elastic together using a zigzag stitch.


Sew the elastic casing closed!


Turn right side out and you are DONE!!!!

You can always hem the bottoms of the tunic and leggings if you want BUT one of the great things about knits is that you don't have to. I sort of prefer my knits unhemmed... LOL


As always, let me know what you think about the tutorial. Was it easy to follow? Are my steps clear??? And PLEASE!!! if you make this LET ME KNOW!!!! ;)


November 25, 2012

15 Day Blogger Challenge - Getting to Know the Blogger - The Rest ofthe Days

SO sorry to have taken so many days off. Been sorta crazy around here! But in a good way. ;)

Now for the rest of the days!! LOL I noticed that I skipped on a while back so I will add it now. ;)


Why did you start blogging and what is your blog about?

 3 blogs you visit and read enthusiastically.

 Social Networks/Blog Communities you want others to know you’re a part of.

Closing and any upcoming posts or raffles you would like to share with us.


I started my blog to have a place to share my sewing and homeschooling ideas. I have to admit, I share way more sewing than homeschooling.... LOL But we haven't actually been doing a lot of schooling lately, either... We will be starting back up on Monday!!!!! YILES!!! I don't think I am quite ready..... LOL


3 blogs, just 3???? LOL  There are SOOOOOOO many that I read that I would feel bad just naming a few. I wouldn't know how to pick! So, I would say a good start would be to check out all the blog buttons I have over on the right. If a blog is there, it's because I like it. LOL


Well, I'm on Facebook and Twitter, although I still don't "get" Twitter. I would LOVE to add a GFC button but they stopped doing it for blogs other than Blogger back in March. :/


Upcoming posts?? Welllll, I think that today I will be working on a new dress for Cailey. I know for sure that it will be knit and probably grey...... Other than that I'm not sure yet. BUT there will be a tutorial! LOL

OH!!! And in the near future I will be making Cailey and Colin both Christmas shirts. So, more tutorials!!!!! ;)

I will also be putting together a Christmas Unit for both Cailey and Colin, mostly using units that I already have, but I will be sure to share all of that with you.


Oh! I read a GREAT book lately!!!! It was Something Witchy by AJ Myers.  I left a review for it over on Amazon if you would like to check it out. ;)


November 21, 2012

Gingerbread Dress and Christmas Candy Headband Tutorials

I'm going to skip the Blogger Challenge today. I'm sure you won't mind when you see the 2, yes 2!!! tutorials I have for you today! :)


So, the first tutorial will be for the dress and then I will do the headband! That headband is so easy I am almost embarrassed about working up a tutorial for it.... LOL


Here is what I used:

1 shirt that fits your child well

1 yard of gingerbread men

3/4 yard of brown and white polka dots

1/4 yard of red for the sash

2 small pieces of 3/4" elastic

2 ft of red and white polka dot ribbon

1 ft of red rickrack

3 small red buttons

1 cheap plastic head band

1 cheap plastic candy ornament

1 package of white bias tape (you can use ribbon or whatever)

hot glue gun


Gingerbread Dress


Fold over the fabric you want to use for the bodice of the dress. Place the folded shirt on top. Cut around the shirt leaving excess all around for your seam allowance.
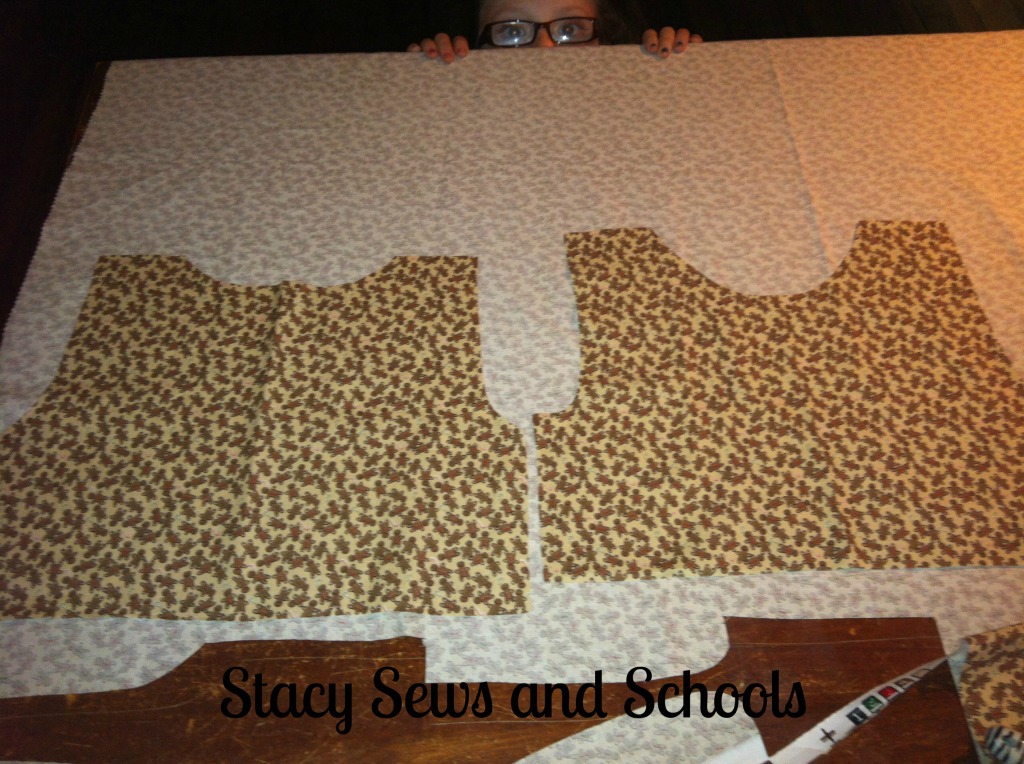


You will cut one back and one front. This is what they should look like.

Cailey is photo bombing! LOL
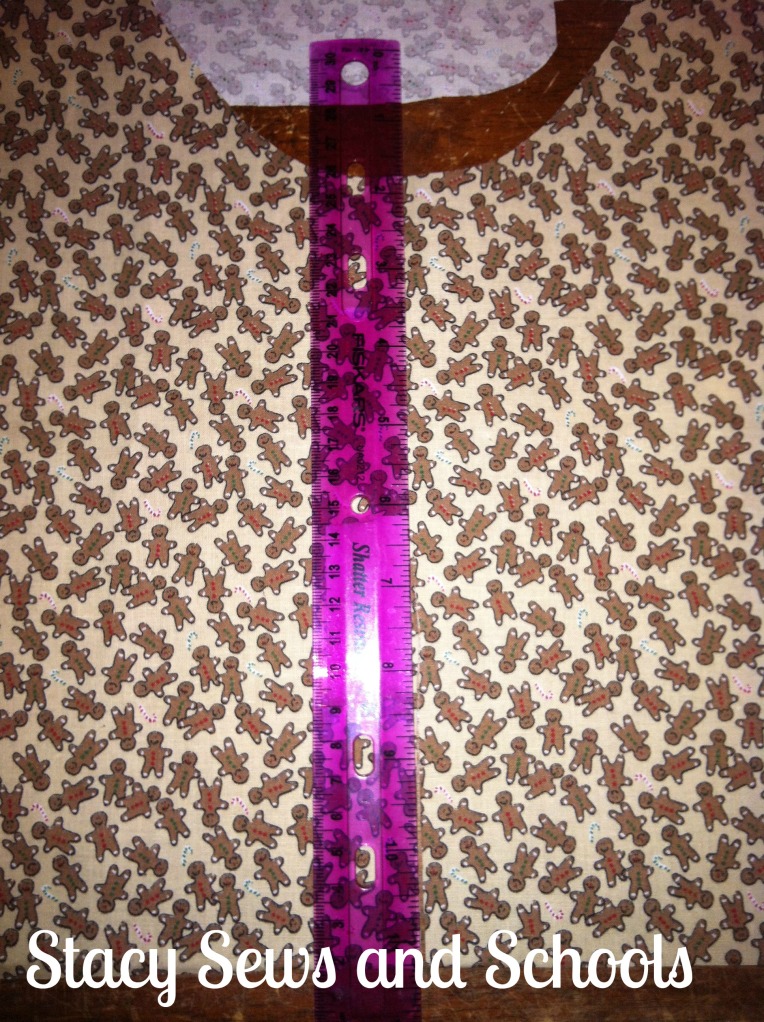


Now, take a straight edge and cut the front bodice piece right down the middle.


The bodice is fully lined so now you need to cut the lining using the bodice pieces you already have as a guide.

For the front bodice pieces it's easier to just place them wrong sides together to cut.

The back bodice piece can be placed on the fold.


Now, we are going to cut the fabric for the bottom tier. Just cut 2 even lengths of the same fabric you are using for the bodice.  You can make it as wide as you want depending on the height of your child and how long you would like the dress to be.

I made my cuts where the white lines are.
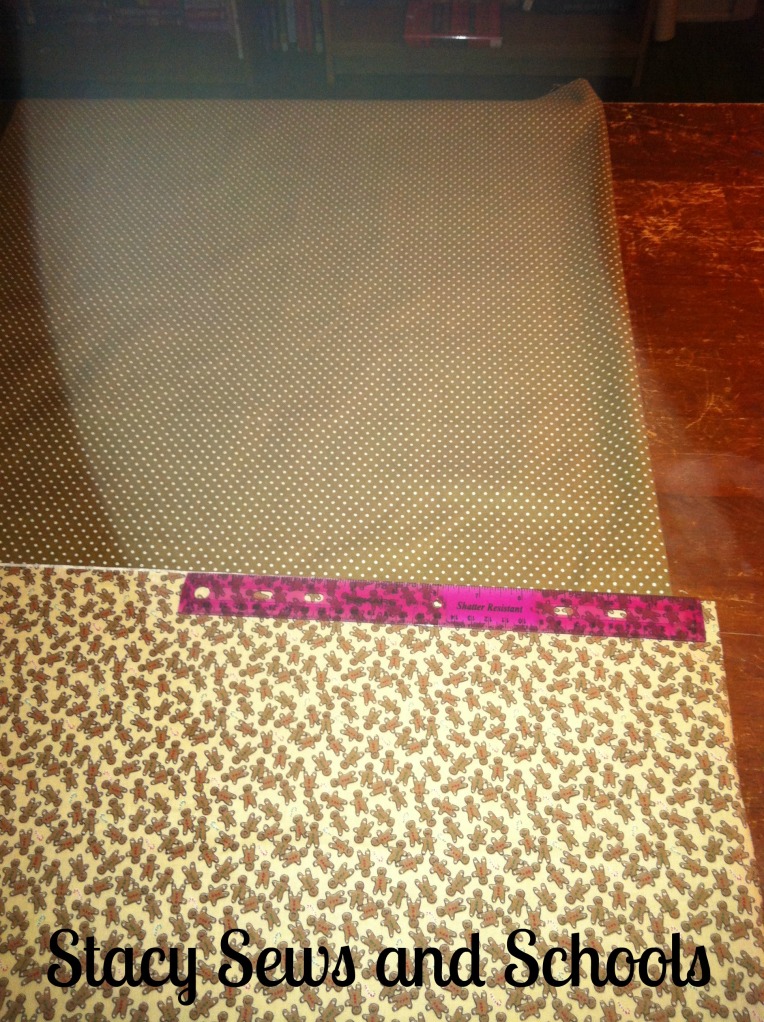


Now cut the top tier in your other fabric, making it the same width as the bottom tier.

You will only need one piece for this tier.


On to the sleeves! Now, I wanted short sleeves because it just is NOT that cold here in the DEEP South! LOL The length of the sleeve is all up to your preference, and any length will work just fine with the ruffle on the end. ;)

Using one of your bodice pieces as a guide, place your folded fabric under the guide and cut, leaving about 1/2 below the arm place on the bodice, and cut straight across.


Now you are going to cut the piece that makes up part of the ruffle on the sleeve.  Cut 2 pieces that are 4 " wide and the same length as your sleeve is round.

In other words ________________ this way needs to be the same as the sleeve is when it is unfolded.

And 4" this way   .

.

.

Make sense??? If not, just take a little peek at the picture at the top of the page and see how the sleeve is set up.

I am having a bad case of fibro fog today. BLECK!!!


Here are all the pieces that we have cut plus the red ribbon. :)


Pin your back bodice pieces with right sides together.

Sew up everything but the bottom. You can sew the shoulders if you want to. I didn't with this one.


Now, turn right side out and press!
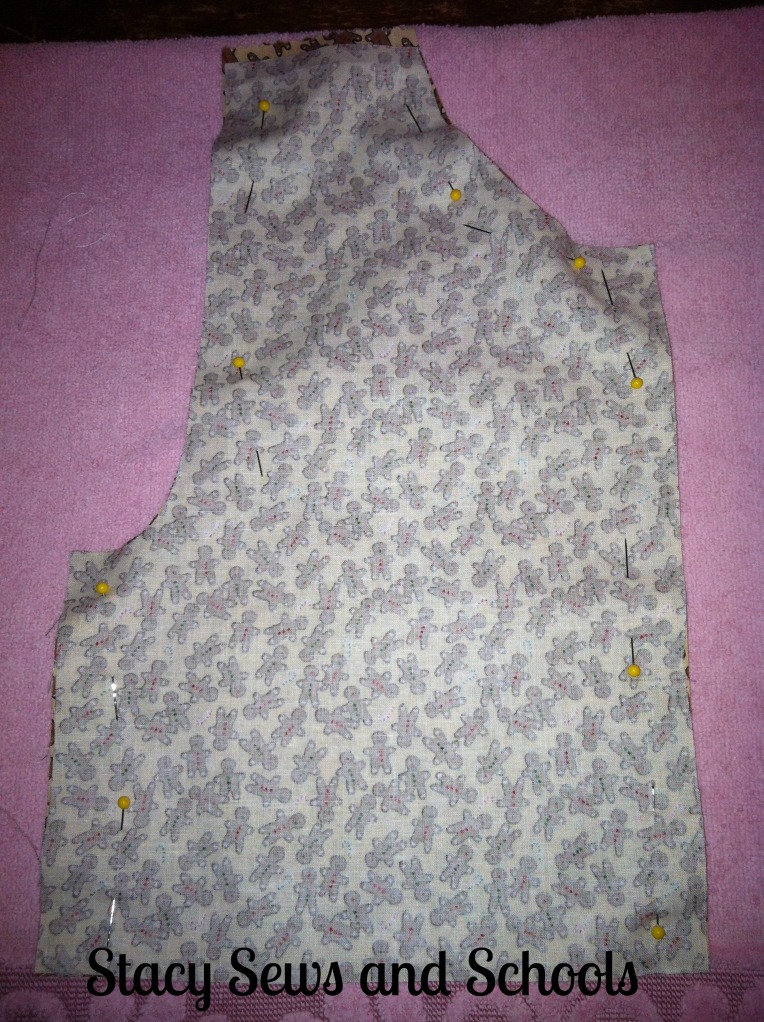


Pin your front bodice pieces with right sides together. Sew everything together except the bottom.

Do the same to the other 2 front bodice pieces.


Turn right side out and press. Do the same to the other bodice piece! :)
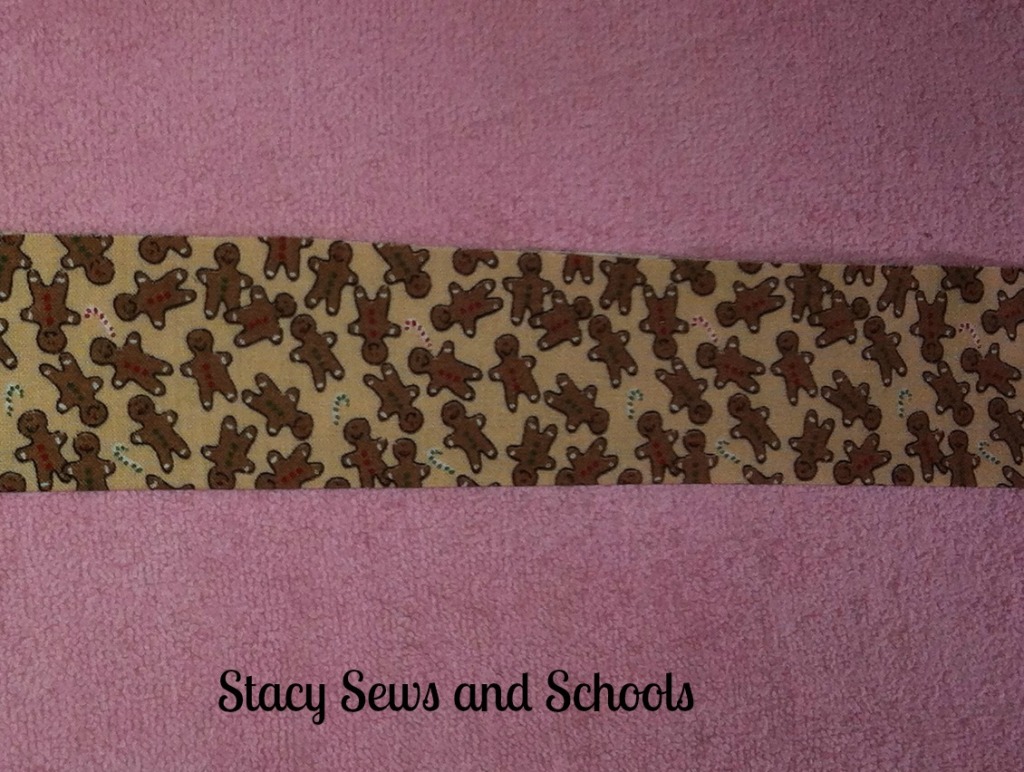


While your iron is still hot, go ahead and fold in half the long pieces for the sleeve edges and press.


Now, sew your front bodice pieces to your back bodice pieces at the tops and the sides.

Turn right side out and PRESS!!
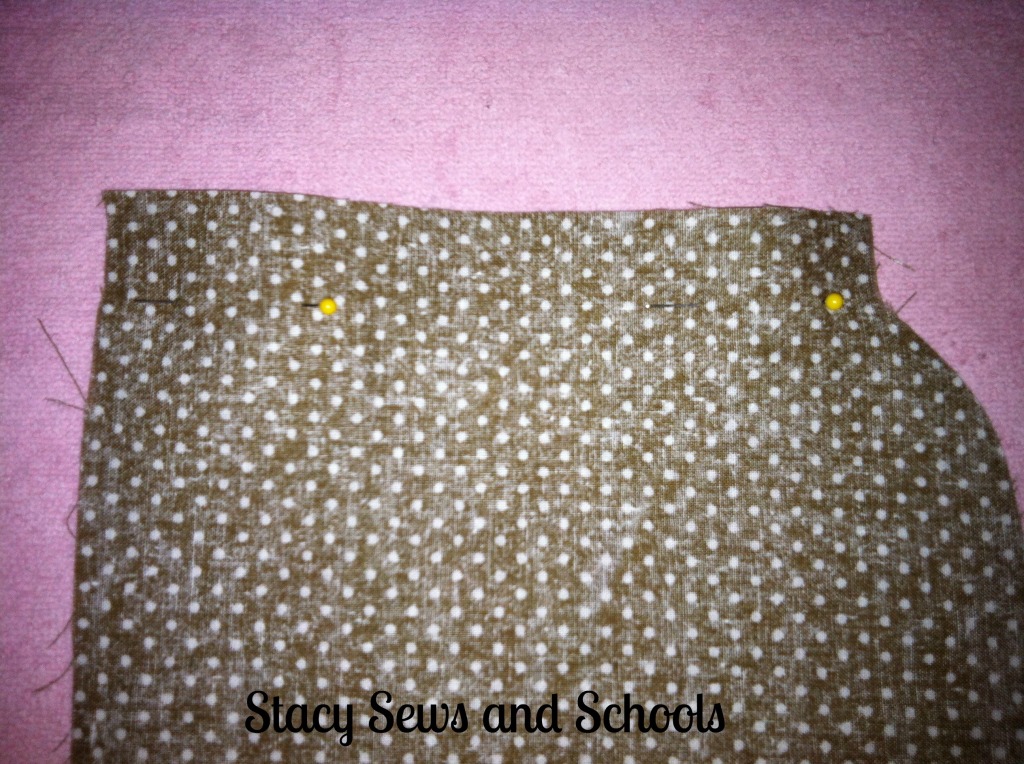


Time to sew up the sleeve!


Take your ribbon and pin it to the edges of the fabric strips that you cut for the sleeve embellishment.


Turn the sleeve inside out and fold up the end 1 1/2" and press. Turn the sleeve right side out and pin the ribbon and gingerbread strip inside of the edge of the sleeve. Sew in place.
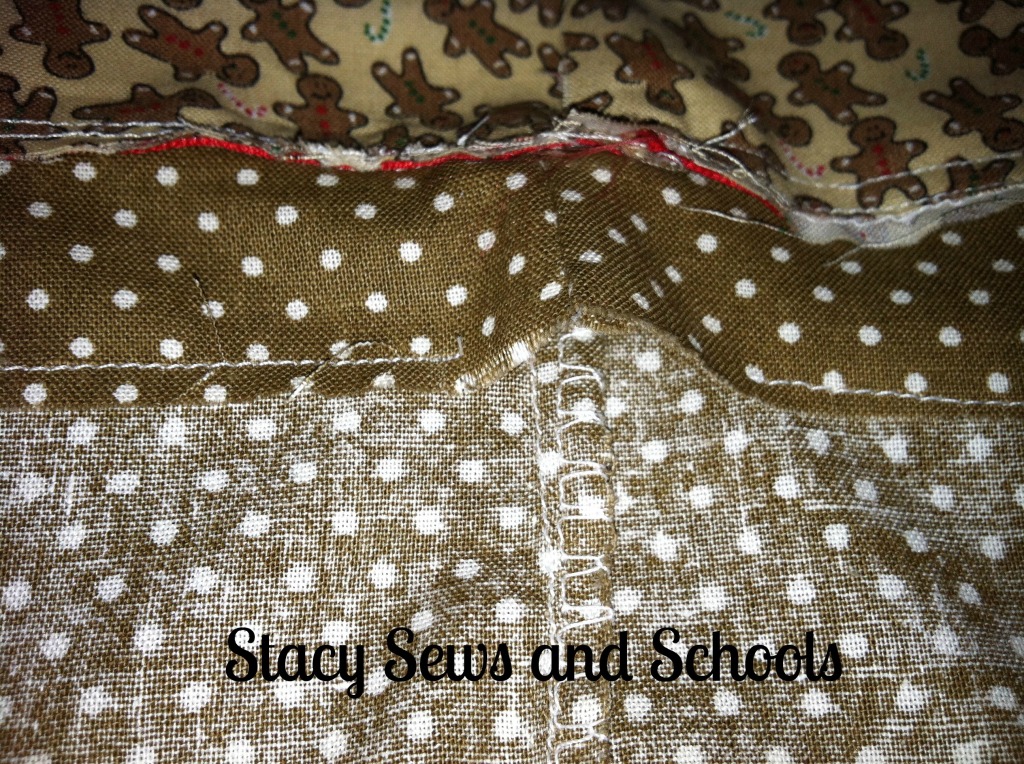


Now you are going to sew the elastic casing in the end of the sleeve, leaving about 1" for the elastic. Make sure to leave an opening to insert the elastic! ;)


Turn your bodice inside out and slide the sleeve into the armhole, pin and stitch in place!


Turn everything right side out and press! :)


Pin both ends of your elastic and either hold tightly to one end or pin it to you. ;)

Insert the elastic into the casing.


Zigzag stitch the ends of the elastic.


Stitch the opening closed! :)


Remove the cat from your work space! SIGH.......


Time for the buttonholes! BLECK!! I can't stand my buttonholer. It only works right about 10% of the time.... :/ It did just ONE of the buttonholes on this piece. The other 2 I had to do myself. NOT fun but it can be done, just use the smallest zigzag stitch setting you can and a clear sewing foot helps tremendously!

Anyway, take your ruler (if you can find it, I had to use something else....) and mark out where you want your buttonholes to be.

Use your (hopefully) proper working buttonholer. ;)

After you get your buttonholes in place, close up the front of the bodice and mark through the buttonholes for proper button placement. :)

Sew on your buttons.


Pin the rickrack around the collar and sew in place. To save time you don't have to switch out your bobbin, just switch out your top thread to match the rickrack. ;)


Here is where we are now! Almost done...... :)

You can set aside the bodice for now!


Now, grab the 2 pieces that you cut for the bottom tier and sew them together on one side.

Next you need to run a line or two of gathering stitches at the top.

The way I do that is, I set all my stitch settings to the largest possible settings. This can sometimes gather the fabric for me. It didn't this time, though.... LOL

Now, gather it up and pin it to the bottom of the fabric you will be using for the top tier. Pin it with right sides together and gathers to bottom, adjusting the gathers as needed.

Sew in place!
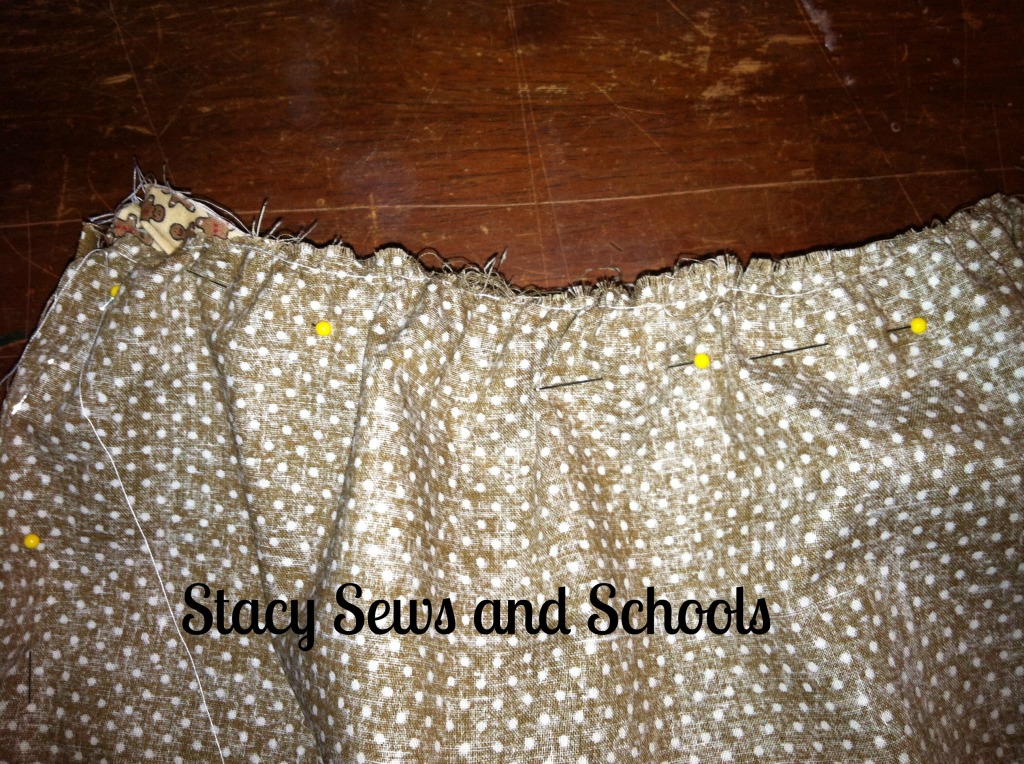


Now, run a line of gathering stitches in the top tier!

Next, pin the gathered edge to the bottom of the bodice, right sides together.

Sew in place.

Next, turn inside out and sew up the skirt's side seam! :)

Almost done!


Fold up the bottom of the skirt 1/2" and press, then fold up again 3/4" , press and pin. Now sew your hem!

Turn right side out and press!
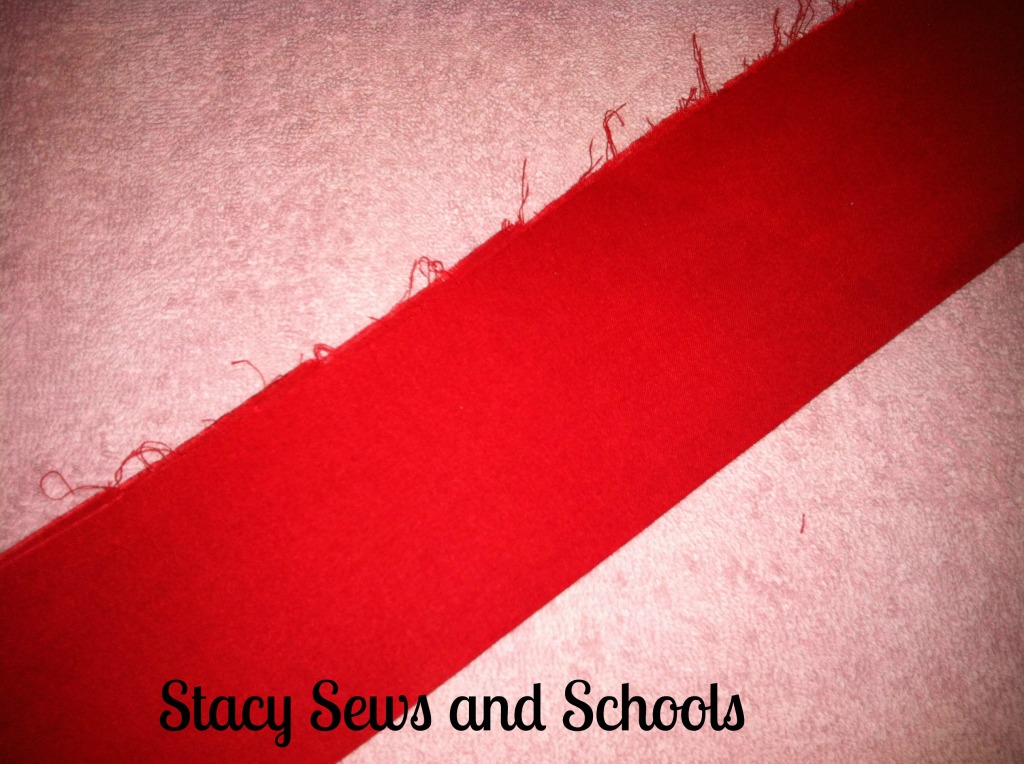


Time to cut the sash!

I cut from selvage to selvage for my length and 6" for my width.

Fold in half, press and pin.

Now you are going to sew the raw edges together and make a long tube.


Turn the tube right side out and press!

Turn the ends in by 1/2" and press.


NOW YOU ARE DONE!!!!! :)


Headband Tutorial


This is what I used. A $1 headband and $1 ornaments. Oh, and 1/2 a package of bias tape. But you can use ribbon if you have it in a matching color..... LOL


Put a glob of hot glue on the inside of the headband.


Now, stick the end of the bias tape/ribbon/whatever into the glue.

Just start wrapping the bias tape/ribbon/whatever all the way around the headband.

Oh, yeah.... this is just sooooo hard.... LOL
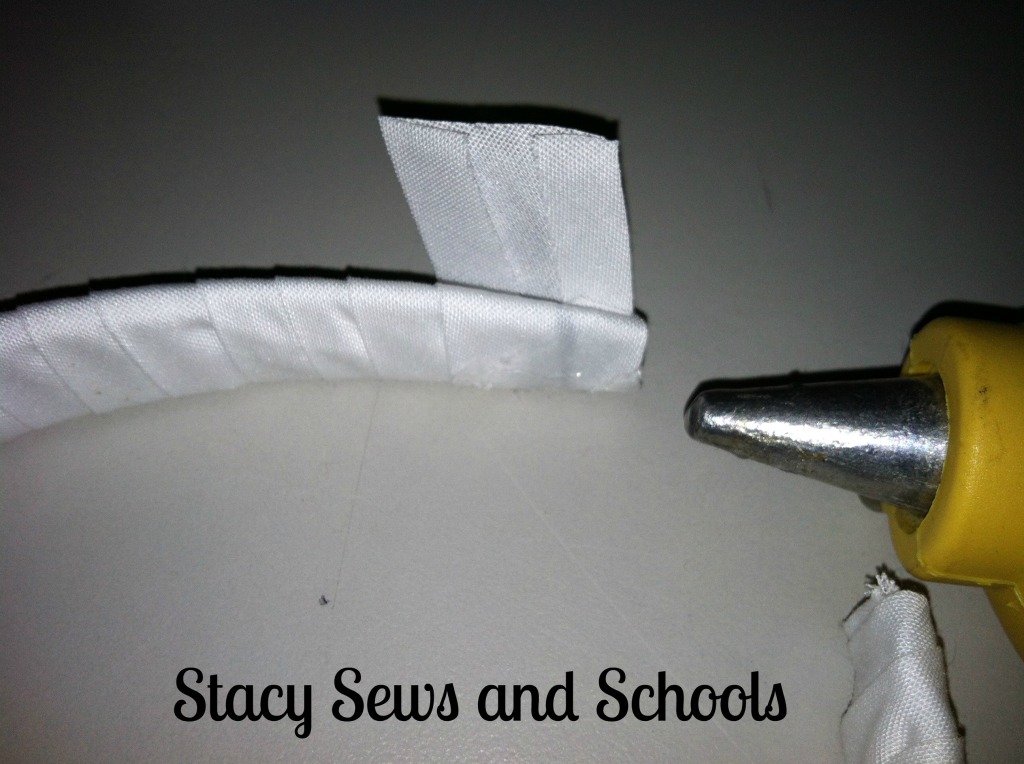


When you get to the end of the headband, put another glob of hot glue on the plastic of the head band. Then cut off the bias tape/ribbon/whatever and add another glob hot glue and smoosh the end of the bias tape/ribbon/whatever into it.


Now put a ton of hot glue wherever you want to place your ornament and smoosh the ornament on.


Viola!
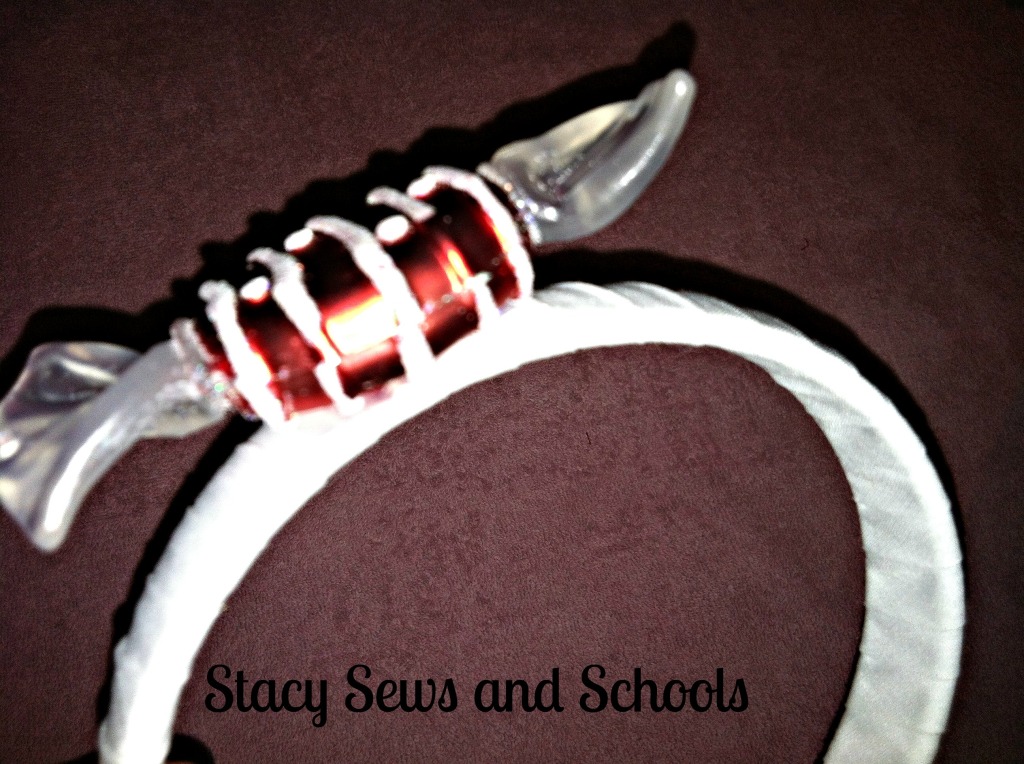


Deanna is making Cailey a matching necklace with the other ornament. :)
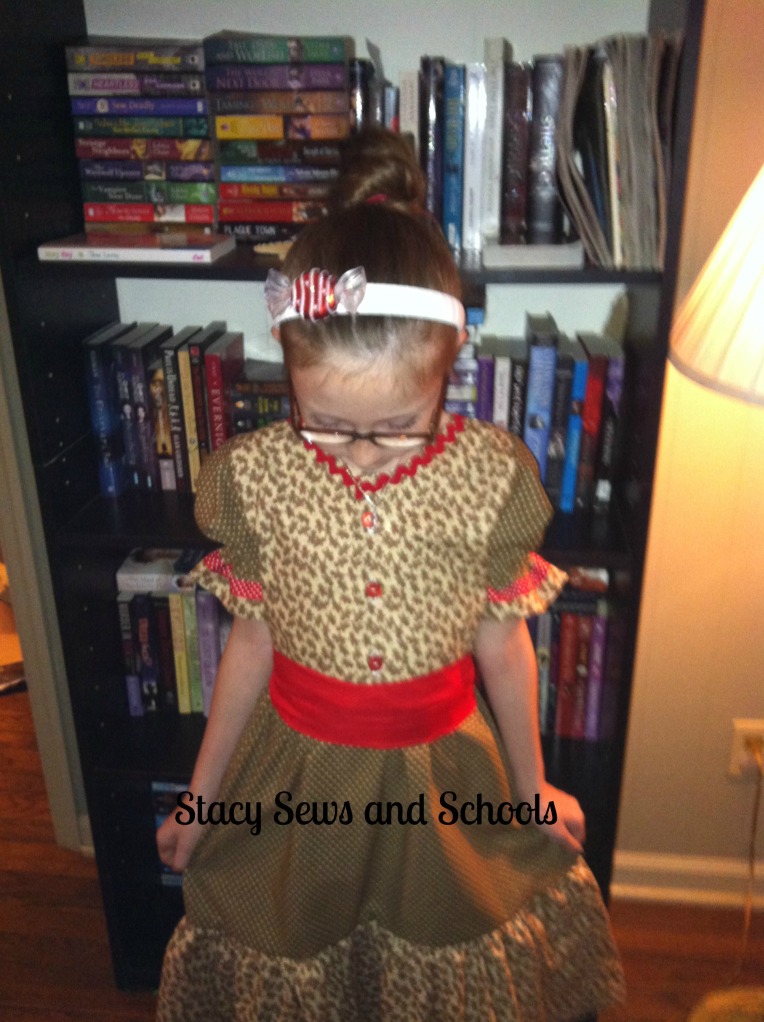


As always, let me know what you think of the tutorial. Was it easy to follow??? And if you make this dress PLEASE PLEASE PLEASE let me know!!!! LOL


I hope everyone has a wonderful Thanksgiving tomorrow! We will just be here at home. My Dad and Stepmother won't be able to make it down to celebrate with us. :(