May 29, 2015

Funny Friday - May 2015


Today’s post is this month’s Funny Friday, a regular feature published on the last Friday of every month. Funny Friday is a collaborative project. Each month one of the participants submits a picture, then we all write 5 captions or thoughts inspired by that month’s picture. Links to the other bloggers’ posts are below, click on them and see what they’ve come up with. I hope we bring a smile to your face as you start your weekend.


Funny Friday  150 X 150.jpg

Here’s today’s picture. It was submitted by Spatulas on Parade.

16 - Spatulas on Parade May 2014.jpg

1. After the surfing "accident" Tom no longer cared about the other shoe.

2. I've heard of people running out of their shoes but usually they go back for them.

3. I've heard that flip flops are the glass slipper of the south... Maybe Cinderella is real!!!!

4. She tried to tell him not to wear socks with the flip flops but he just wouldn't listen. Now one of the flip flops has gone on strike.

5. Ahh, the flip flop blow out. Just like the remnants of tires on the interstate.


Click on the links below and let some other bloggers make you smile:


Someone Else’s Genius

Confessions of a part-time working mom

The Momisodes

Sanity Waiting to Happen

Spatulas on Parade

Juicebox Confession

Stacy Sews and Schools

People Don’t Eat Enough Fudge

The Bergham’s Life Chronicles

Follow me home

Measurements of Merriment

Baking In A Tornado

Southern Belle Charm 


Silence of the Mom 


May 26, 2015

Sweet Summer Dress Tutorial


Oh, I had this dress idea in my head for a while. So glad I finally got it out of there and into the real world!! ;) 
This was so much fun to make!!! And like a friend of mine said, it's perfect for ALL ages! Little kids, big kids, tweens, teens and adults!! I think I need to make one for myself!!! 

There are a lot of steps to making this BUT don't let that scare you. It's still very easy to construct. 

You can make it longer and lose the leggings or make it shorter. It's all up to you! 

WHAT I USED 

1 1/2 yards of grey knit
1 1/2 yards of striped knit
3/4" elastic 


STEP 1


I took Cailey's measurements and drew out the patterns.
You want the back pieces to overlap so the pattern piece will be wider than the front piece. 


You want to cut 2 front bodice pieces on the fold.
You'll need to cut 4 back bodice pieces NOT on the fold. 


STEP 2


Fold the fabric for the bottom over, then over again. Fold until you have a nice point at the top. Basically it will be folded into fourths. 
Now, here comes the math. However wide you need the top of the circle to be, divide by 4. Use your measuring tape to measure that distance across the top, near the point. 
Cut.
From there, measure how long you want it to be down one side. Mark it. 
Measure again down the middle and mark.
Measure one more time down the other side and mark.
Now, connect those marks. That's your cutting line.

Cut the bottom of the dress. 


This is what you should have.


STEP 3


Now, take your 2 front bodice pieces and pin them with right sides together. (My right sides have glitter but most of the time it doesn't matter with a knit.)

Sew just the arm holes and the neckline. 
DO NOT sew the sides, bottom or the shoulders. 


STEP 4


Now, turn it right side out and press.

Top stitch around the arm holes and neckline. 


STEP 5


Time for the back bodice pieces!!
Take 2 and pin them with right sides together, 
Sew just where the pins are (the arm hole and the straight edge NOT the side, bottom or shoulder). 
Do the same to the other 2 back pieces. 


STEP 6


Turn the pieces right side out and press.
Now, top stitch along the straightish line and the arm hole. 


STEP 7


With right sides together, sew the shoulder seams and side seams. 
Still leave the bottom open.


STEP 8


Place the bodice piece over the skirt, with right sides together. 
Pin the bottom of the bodice to the top of the skirt. Make sure to overlap the back bodice pieces a bit.
Sew the seam with a stretch stitch. 


Press it out and here is what you have!!! 


STEP 9


Sewing a traditional hem in a circle skirt can be a pain in the butt. There's just SO MUCH fabric at the bottom!! So, with a knit you don't have to hem at all!! OR you can do what I did and sew a zigzag stitch all across the bottom. 
I pulled the fabric slightly as I stitched to give it a lettuce hem. 

ALL DONE (well, with that part)!!!!

Now, on to the leggings. 
This is pretty much how I make any simple pant, short, legging, without any extras at all. LOL 


STEP 1


Grab a pair of leggings to use as a guide. 
Cut 2 legs, on the fold. 
Make sure to add at least 1 1/2" to the top and at least 1/2" at the bottom. (The first is for the elastic casing, the second is for the hem.)


STEP 2


Now you're going to sew the inseam.
Sew a stretch stitch right between where the 2 arrows are. 
Do both legs. Press your seams.


STEP 3


Now, turn one leg right side out and slide it down into the other leg.
Sew that U shaped seam! :)


STEP 4


With the pants still inside out, fold over the top by 1 1/2".
Sew the elastic casing, making sure to leave an opening to insert the elastic through. 


STEP 5


Put a large safety pin on both ends of the elastic. This makes it easier to insert and you won't lose the other end. ;)
Insert the elastic. 
Sew the ends of the elastic together.
Sew the opening in the casing closed. 


STEP 6


Now for the hem. 
Again, this is knitwear, no hem needed BUT it does give it a more professional look. 
With the pants right side out, turn the bottom of each leg in by 1/2" and press. 
Then top stitch the hem with a stretch stitch. :D


ALL DONE!!!!!!!!!!!!!!!!!!!!!!


Put it on and twirl away!!! ;)

Hope this was easy to follow. If you have any questions, don't hesitate to ask!!! 


HAVE FUN SEWING!!!!!!!!!!!


May 22, 2015

Fly on the Wall - May 2015


Welcome to a Fly on the Wall group post. Today 17 bloggers are inviting you to catch a glimpse of what you’d see if you were a fly on the wall in our homes. Come on in and buzz around my house.

Buzz around, see what you think, then click on these links for a peek into some other homes:

 Baking In A Tornado

 Spatulas on Parade

 Follow me home

 Menopausal Mother

 Stacy Sews and Schools

 Battered Hope

 Just A Little Nutty

 The Momisodes

 Someone Else’s Genius

 Disneyland in Kentucky

 Dinosaur Superhero Mommy

 Juicebox Confession

 Eileen’s Perpetually Busy

 Searching for Sanity

 Southern Belle Charm

 Sanity Waiting to Happen

 People Don’t Eat Enough Fudge 


It has been quite a month around here! Well, maybe not as crazy busy as we usually are... We've still been keeping things more low key while watching to see how Colin will do. (He's doing GREAT!!)

But here are a few of the things that we HAVE done. 


We got a piano!!! Now we just need lessons! LOL I used to be able to play simple melodies and read music. I am trying to remember all of that! 
The Hubby loves auctions! We picked this up at an estate auction for $20!! AND it's in tune!!!!! 

At another auction I got 2 vintage Singers and a vintage sewing box. I need to take pics of them and show you all!! :D 


We've had some beautiful days lately. We finally decided to take advantage of them and head out to see some friends in the country. It was the first time that Colin had been out and about since he got out of the hospital. It was also the first time that he got to play with other kids. 


We went to our very first baseball game!! YIPPEE!! Someone in one of our homeschool groups had 50 FREE tickets!!! We jumped right on that! Good thing, too because those tickets went very quickly!!! 
We did the normal baseball things. We had hot dogs! LOL


And some other treats! ;)


Cailey and another girl from our group got to go out on the diamond and race for prizes for the season ticket holders. They were so nervous but had a good time with it. 


Some of the other kids in our group got to run with the pig (don't ask) and they gave everyone pig noses.

I had a really good Mother's Day. The Hubby and Deanna made breakfast. Food is SO MUCH better when you don't have to make it yourself. ;) 
Deanna got me a gorgeous bunch of flowers. Nice and colorful just the way I like them.
Joshua got me a GIANT card and 5 pairs of the coolest owl socks you can imagine!!!
Jacob got me a sparkly card with butterflies on them.
Cailey and Colin (The Hubby) got me a $100 Visa gift card which I then used on the fabric below! ;)


These are going to make some really cute things for Cailey. 


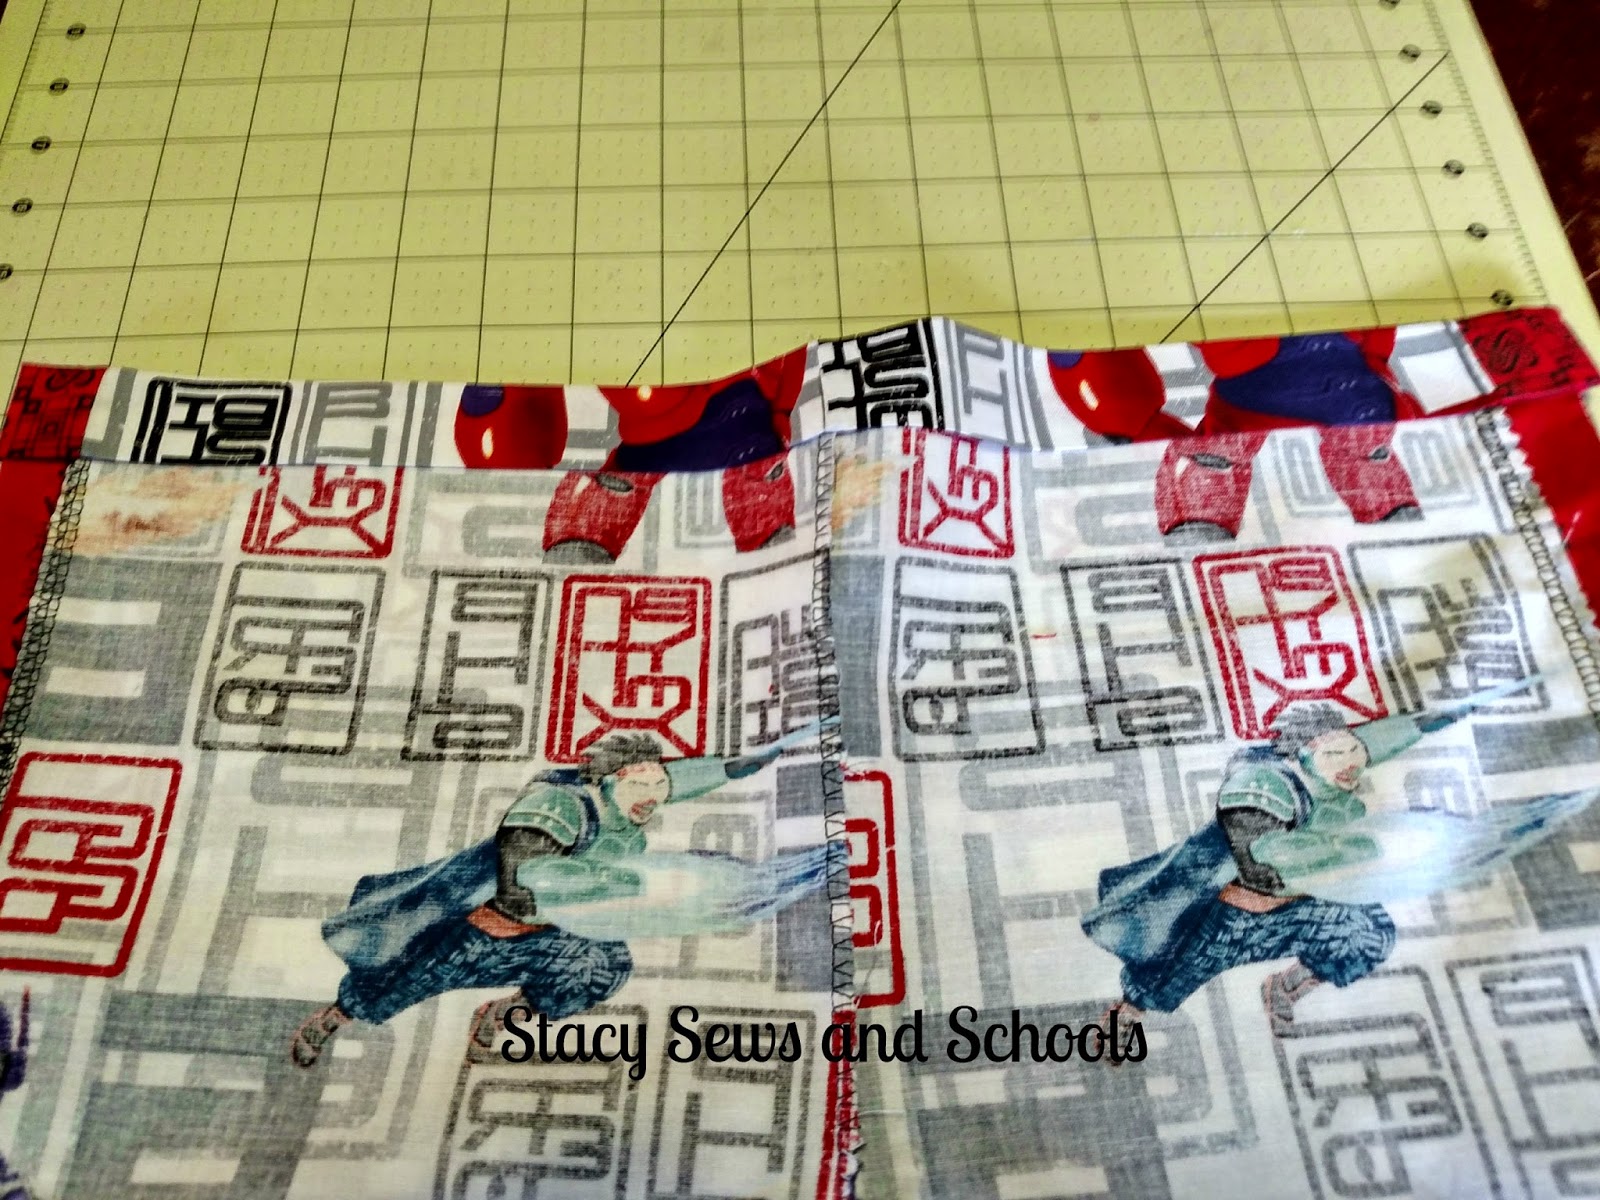
These will make some awesome pajamas for Colin! 


Not sure what I will use these for but I'm sure I'll think of something. ;)

This was my first online fabric buying. I am sold! The Fabric Fairy has the cutest printed knits!! It's sooooo hard to find those at Joann's and Hancock's, especially for boys!!!! 


Our toadpoles have legs!!!! YAY!!!! :D We have toadlets! LOL

So that's what we've been up to!! Oh, and this stuff HERE

Don't forget to click the links at the top!!! :D 


May 19, 2015

Big Hero 6 Shorts Tutorial


It's that time of year again!!! Time to sew some shorts!!! Now, I have done tons of shorts tutorials but these are a little different. These have a side panel from a different print. 
I went to Joann's and found the Big Hero 6 print in the remnants bin but nowhere else. YILES!!! It was barely over 1/2 a yard. Almost enough for the shorts but we needed some room to grow!! So I found the other print with coordinating colors in the remnant bin. Perfect!!! :D 


What I Used 

Less than 1/2 yard of main 
Scraps of coordinating
3/4" elastic 
Pinking shears


Step 1


I cut long strips from the coordinating fabric for the side panels. 
We didn't need tooooo much extra for the sides so I just cut the print so the whole row would row. 


Step 2


Fold the fabric into fourths. You want 4 pieces, 2 pieces per leg. 

Take a pair of shorts that fits your child well and use them as a guide. You'll want to add a couple of extra inches at the top and at least an extra inch at the bottom. 


Here you have the 4 pieces. 


Step 3


Now, take one of the long strips and pin it to one of the leg pieces with right sides together. 

Sew one long seam.

Press the seam.


Step 4


With right sides together, pin the strip to the other leg piece. 

Sew a long seam and press. 


Here it what you should have now. 


Step 5


Now we're going to go ahead and do the hem. 

Fold and press 1/4". 

Fold and press 1/2"

Sew the hem!


Step 6


Take a leg and put it right sides together, 

You are going to sew the inseam. Just sew between the 2 arrows.


Step 7


Now, take one leg and turn it right side out. 

Slide it down in to the other leg so that the right sides are together. 

Sew the remaining seam. It will look like you have 1 leg with an opening at the top. 


Step 8


Fold over the top by 1/2" and press.

Fold over again by 1" and press.

Sew around the top making sure to leave an opening to insert the elastic. 


Step 9


Take 2 large safety pins and attach one to each end of the elastic. 

Insert the elastic into the elastic casing. 

Sew the ends of the elastic together. 

Sew the opening closed.


ALL DONE!!!!


Now he has shorts to match his Big Hero 6 shirt! ;)


HAVE FUN SEWING!!!