December 16, 2014

DIY Circle Skirt - Sew Easy, Sew Cute


OMG! I am absolutely in love with this skirt!!! I think I need to make a dozen more in different fabrics. LOL

This was so easy, not sure why I waited so long to try it! 

WHAT I USED

1 1/2 yards of light weight houndstooth corduroy 
1/8 yard of black flannel
1" elastic

I found the corduroy in the remnants bin!!! I paid next to nothing for it! YAY!!!!


STEP 1


Sorry about this picture. I got so excited that I started cutting without taking the pictures first. LOL I had to go back and put the fabric back together as well as I could to take the picture. Hopefully you will still be able to see what I did.

Since that picture isn't so great, you can go HERE to see more. I folded it over 1 more time than I did the reversible table decor. You basically fold your fabric in half, then half again, then half again. 

I measured Cailey's waist (24"). I knew I wanted to put in an elastic waist since it will make the skirt fit her for longer, so I wanted to cut the top circle at least 30". Since I folded it over so many times, all I needed was some simple math. My top cut was 4" wide. 


STEP 2


The next step is selecting the length. I knew I wanted it no longer than 20" long from her waist and since I was planning a waist band, I cut it at 17.
Just measure each side to your desired length and mark it. Now, do the same for the middle. Connect those lines for your cutting line.


This is what it will look like when it's unfolded.


STEP 3


Next, I cut the waist band. I wanted it 5" wide. 

Then fold it over and press. 


STEP 4


Pin the rough edges of the band to the rough edges of the waist, right sides together.
I attached the band with a zigzag stitch, flexible and finishing. ;)

DO NOT sew the ends of the band together. ;)
Trim them to about 1".


STEP 5


Now, for the elastic casing. About 1 1/2" from the top of the waist band, sew a straight line all the way around.


STEP 6


Insert your elastic.
I always pin the ends with giant safety pins. So much easier to push them through without worrying about losing an end!


STEP 7


With the ends of the elastic pulled out a little bit, pin the ends of the band together and sew closed. Once again I used a zigzag stitch.


STEP 8

Instead of hemming the circle (BLECK! What a PAIN!) I used a zigzag all along the bottom. But I was so excited when I finished it that I forgot to take the picture.... LOL 

Now, you're all done!!!!


Any questions?? Don't hesitate to ask!!!!


HAPPY SEWING!!!!


December 15, 2014

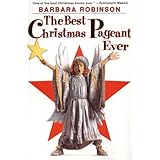
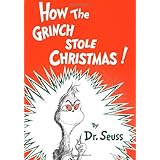
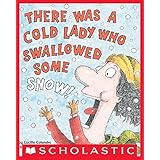
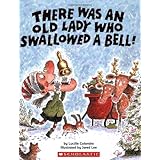
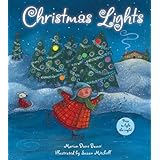
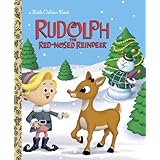
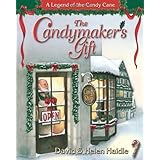
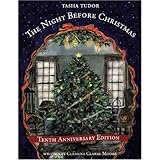
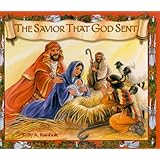
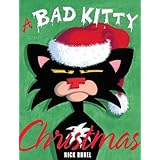
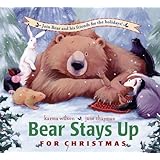
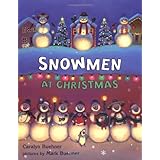
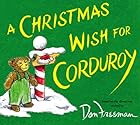
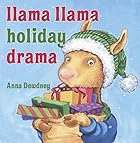
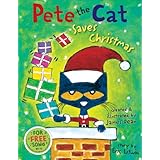
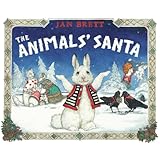
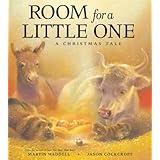
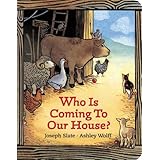
Christmas Book Picks from Our Personal Library


As I was pulling out all of our Christmas books the other day, I had the thought that this might be a good post to share. I *think* these might be all of them but there could possibly be a few more hiding somewhere. 

Just click on the link, it will take you to Amazon for a description. 

Product Details


Product Details


Product Details


Product Details


Product Details


Product Details

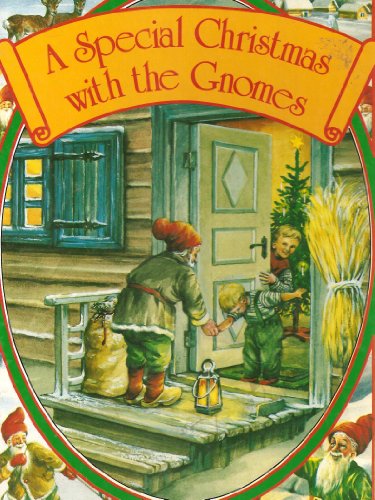
I've had this copy since 1999!


Special Christmas For The Gnom

No link to this one. :(


Product Details


Product Details


Product Details


Product Details


Product Details


Product Details


Books We DON'T Have But I Wish We Did


Product Details

We LOVE the Bear Books!!!


Product Details

We borrowed this one from the library one year.


Product Details


Product Details


Product Details

I thought we had this one but if we do, I can't find it. LOL


Product Details


                                      MERRY CHRISTMAS!!!!!


December 12, 2014

Use Your Words - December 2014


Today’s post is a writing challenge. This is how it works: participating bloggers picked 4 – 6 words or short phrases for someone else to craft into a post. All words must be used at least once and all the posts will be unique as each writer has received their own set of words. That’s the challenge, here’s a fun twist; no one who’s participating knows who got their words and in what direction the writer will take them. Until now.

Your words are: jolly ~ moody ~ bulbs ~ snow ~ pure
They were submitted by: Sparkly Poetic Weirdo 


So, I think I'll stick with the free association. It seems to work for me.

JOLLY -  So, I think of "Have a Holly Jolly Christmas" by Burl Ives but here are the thoughts of other people in the house.

The Hubby - Jolly Green Giant
Deanna - Jolly Ranchers
Cailey - Jelly
Colin - He did a little dance move. Then he said jellyfish.

MOODY - The Hubby. Why you may ask?? Because he has been on prednisone for a few weeks now. OMG!!! MOOOOOOOOODY!!!!!!

The Hubby - A guy at work. His last name is Moody.
Deanna - You (Meaning me.... Yeah...)
Cailey - A cow going mooooo!
Colin - Coooooow 


BULBS - Tulips. I love tulips. They are my absolute favorite flower. 

The Hubby - Tulips
Deanna - Light bulbs
Cailey - Balls
Colin - Lightning bolt


SNOW - I WANT SOME SNOW!!!!! PLEASE!!! NOW!!!! Tons of it!!!! 

The Hubby - Christmas
Deanna - Flake
Cailey - Lamb
Colin - A monkey showing his muscles.


PURE - Ivory Soap. LOL And that reminds me, there are a few fun things that I have been meaning to do with the kids that involve Ivory Soap.

The Hubby - Maple (I have no idea why.)
Deanna - Cailey
Cailey - Paper
Colin - Owl


Links to the other “Use Your Words” posts:                       


December 9, 2014

Blog with Friends - Jolly Jinglers - Elf Hat and Shoes Tutorial

Welcome to the Jolly Jinglers edition of Blog with Friends!!! This month we have 8 bloggers joining together to bring you some holiday fun!!!!


For my part, I will be showing you how to make elf hats and shoes. Don't be scared, it was MUCH easier than I expected once I worked it all out. ;)


WHAT I USED - 

For 1 set 
1 yard of fleece
Ribbon in 2 colors
Stiff interfacing (you can use cardboard, poster board, etc.) 
Stuffing (you can use scrap fleece or whatever you like)
Freezer paper to draw my pattern


STEP 1 

I drew out my pattern and cut it out. The height is 17" and the width of the base is 10 1/2. This makes it big enough for Cailey (10), Colin (7) and myself. 

Fold the fleece in half. Place your pattern with one edge on the fold and cut.

I also cut a strip for around the bottom of the hat at 5" x 10". 


STEP 2

Now, pin your ribbon on the hat. I spaced mine out by 2".

Then sew on the ribbon. 


STEP 3

Now, fold the hat over, lining up the ribbon ends.
Pin in place and sew the side seam. 


STEP 4

Fold the strip in half and pin the cut ends to the bottom of the hat as shown.
Sew with a zigzag stitch while pulling slightly on the long strip.
After it is attached to the bottom of the hat, pin the ends of the long strip together and sew the seam.

Turn right side out and your hat is DONE!!!!! 

WOOOO HOOO!!!!


Now, on to the shoes!!!!!


STEP 1


Trace around your child's foot onto the freezer paper. This will be the pattern for the bottom of the elf shoes.
DO NOT TRACE their shoe!!!!!! LOL I learned this the hard way. It will make the elf shoes WAY too big and you will have to start alllll over again. ;)

Then draw out the sides of the shoes. I am TERRIBLE at drawing but that was easy. Don't be afraid to draw out your own patterns. If I can do it, anyone can. Seriously, I can't even draw stick people very well. ;)

Anyway, you want to keep the proportions similar to what I have drawn so that the tops of the shoes will fit around the bottom of the shoes.


STEP 2

Use your patterns to cut 4 sides and 4 bottoms. (One of the bottoms will go inside the shoe when it's done.)


STEP 3

Cut 2 of the bottoms from the interfacing, cardboard, poster board, whatever....


STEP 4

Pin and sew the heel seams and stop. If you are using a print, make sure the right sides are together.


STEP 5

Open up the sides and pin the bottom to it. You can pin one side and sew the seam or both sides and sew the seam, whatever you are comfortable with. 
In either case, do NOT sew the front of the shoe.
When pinning the sides, make sure both pieces meet in the center of the front of the bottom piece. Make sure to sew it securely.


STEP 6

Now, pin the rest of the sides together and sew the seam all the way up to the top.

Turn the shoe right side out!
Stuff the front all the way to the tip of the toes.
Insert your interfacing piece.
Now insert your extra bottom piece. 


Do all the steps again to make the 2nd shoe!!


Cailey and Colin LOVE their elf hats and shoes!!!!


Now to the rest of the Jolly Jinglers!!!


Karen from Baking in a Tornado shows you how to make the CUTEST Edible Holiday Trees!!!! LOVE them!!!!!


Shellybean from Follow Me Home will teach you how to make these darling Cloth Christmas Trees!! Easy to whip up before the holidays! 


Sarah from The Momisodes will be sharing Christmas Bookie Goodness with you! I know we would love to add some new stories!!!!


Robin from Someone Else's Genius shows you how to make this beautiful yet Simple Festive Wreath. SOOOOO pretty!!!!!! I need to try this for our door!!!!


Melissa from Home on Deranged will give you some awesome ideas for High Tech Stocking Stuffers That Won't Break Your Budget. I am ALLLLLL for that!!!! LOL 


Christy from Uplifting Families has a very cute Handprint Christmas Wreath! I love handprint and footprint crafts!!!


How about this GORGEOUS Twisted Paper Angel from Cluttered Genius??? OMG!!!!! Beautiful!!


Make sure to check out all the AWESOME projects!! :D


                           HAPPY HOLIDAYS!!!!!