

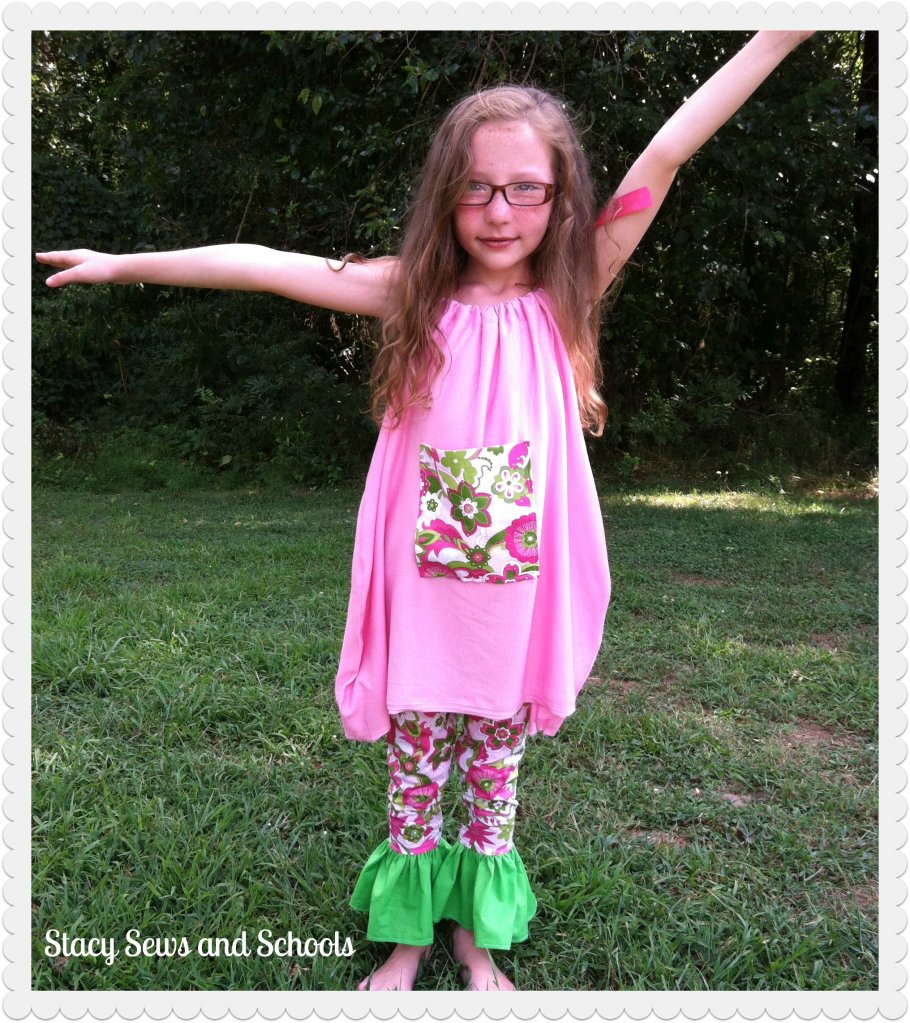
I LOVE this outfit!!! It came out almost exactly the way I envisioned it!!! :) I think I could have made the top a little shorter... I think I will go back and do that. I think the pants need to show just a little more. ;)
I have an idea for a dress using both of the main fabrics here. I will probably start working on that tomorrow after I finish my jumpsuit!!! I have almost forgotten about that! ;)
Here's the tutorial!
What I used -
1 yard for the pants and large pocket
1/2 yard for the ruffles
1 yard of knit for the blouse
1/2" elastic
Contrasting ribbon
Ball point needle for the knit
A pair of pants that fit your child well
Bonnie (the cat) was missing for this. LOL Here is what she was doing instead of trying to "help" me. ;)
She was sleeping in c2's shorts drawer! LOL I almost shut her in there!
Step 1 -
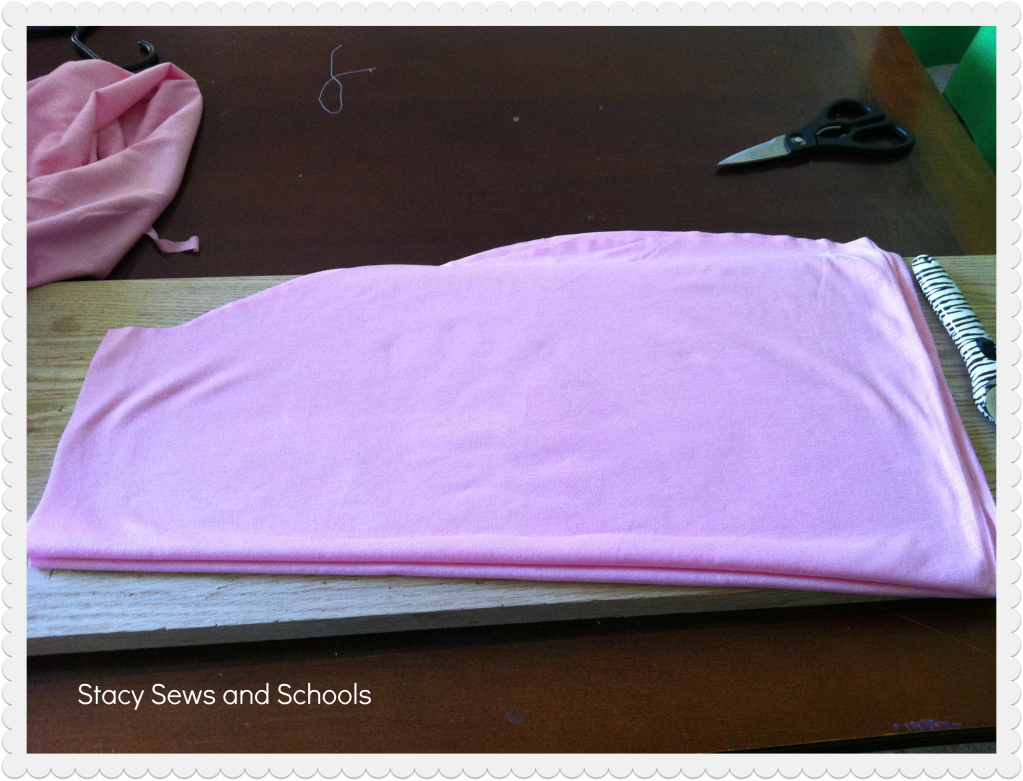
On the fold of the fabric cut 1/4 of your child's chest measure + 2". Then curve downward for the armhole. I also curved out the sides to give it a bit of a different shape. The length and width are entirely up to you and your preferences. The top is your basic "pillowcase" design except for the curving sides. ;)
Take that first piece and use it as a guide to cut the back piece.
Step 2 -

Take your child's pants and lay them on the fold with the crotch pulled out all the way. You will cut the pants leg using that as a guide. You will want to leave 1 1/2" at the top for the elastic casing and cut the legs 6" shorter to leave room for the ruffle.
Step 3 -
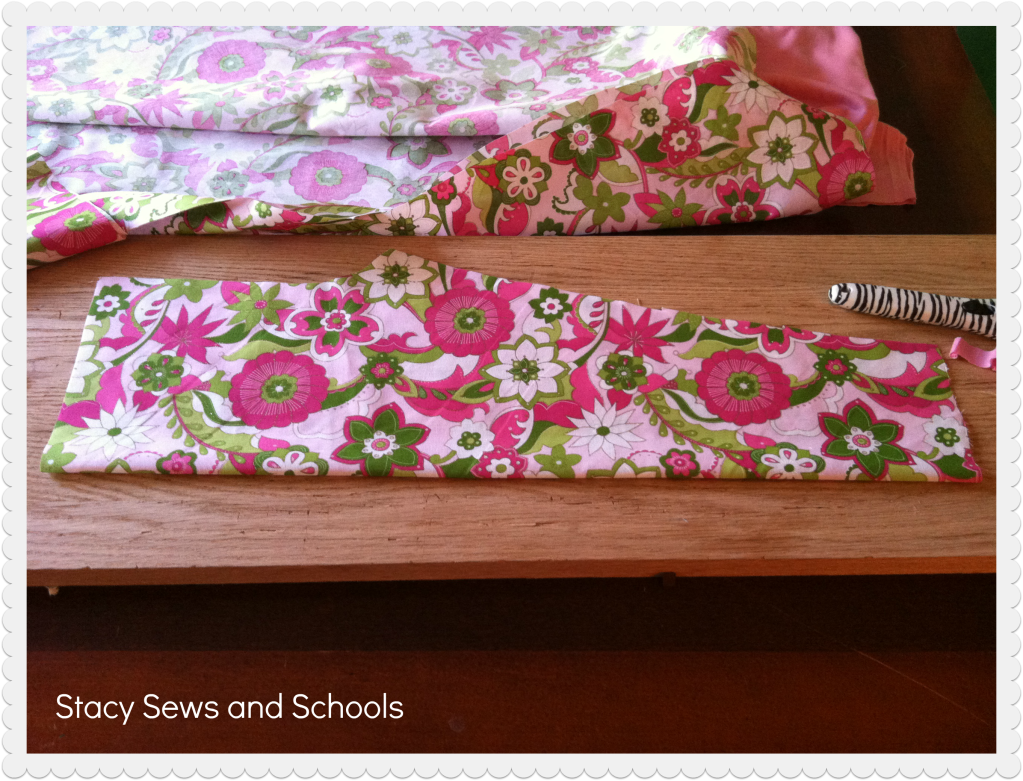

Flip your newly cut leg and place it on the fold using it as a guide for the 2nd leg.

This is what you should have. :)
Step 4 -
I must have forgotten to take a picture of this step... But it's easy so I will just explain. ;)
Cut 2 pieces for the ruffle 1 yard long (this way ------------------- ) and 6" in width.
Step 5 -

If you can find your ruler this part will be easy for you. LOL If (like me) you can't find one just grab something with straight edges. You can cut the pocket size to your liking. Just be sure to cut it on the fold! :)
Step 6 -

Fold over the top 3/4 " and press. Fold over another 1" and press. Now pin and sew the ribbon casing. Do that to the back piece as well. :) Make sure to leave all the ends open!
Step 7 -
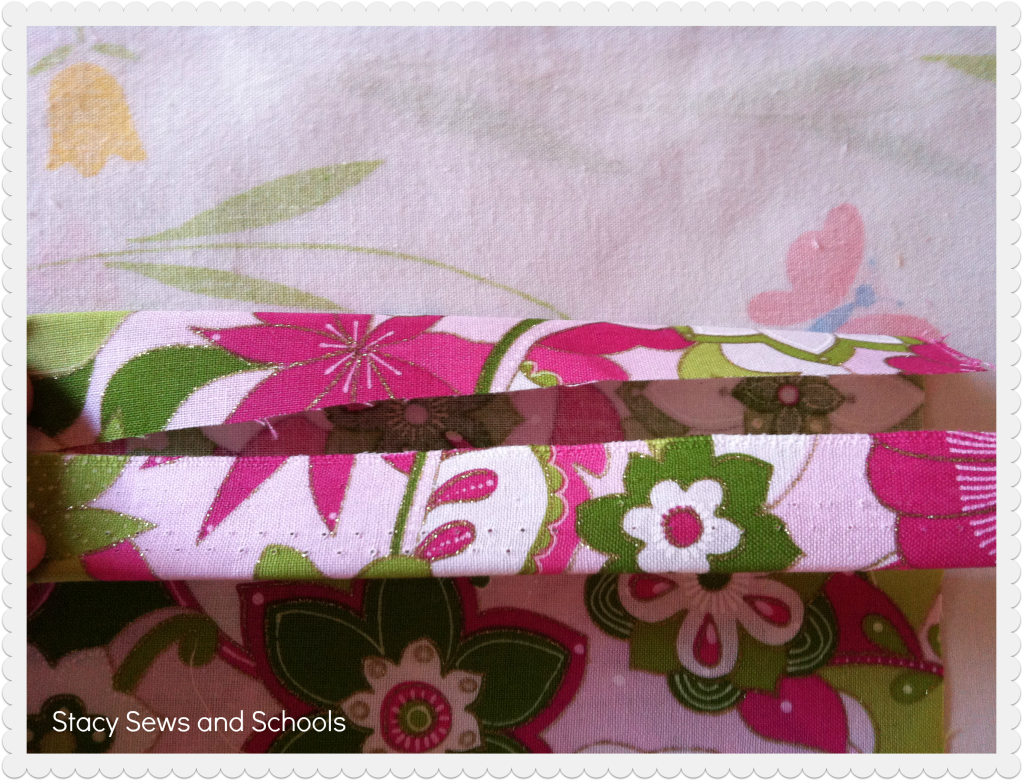
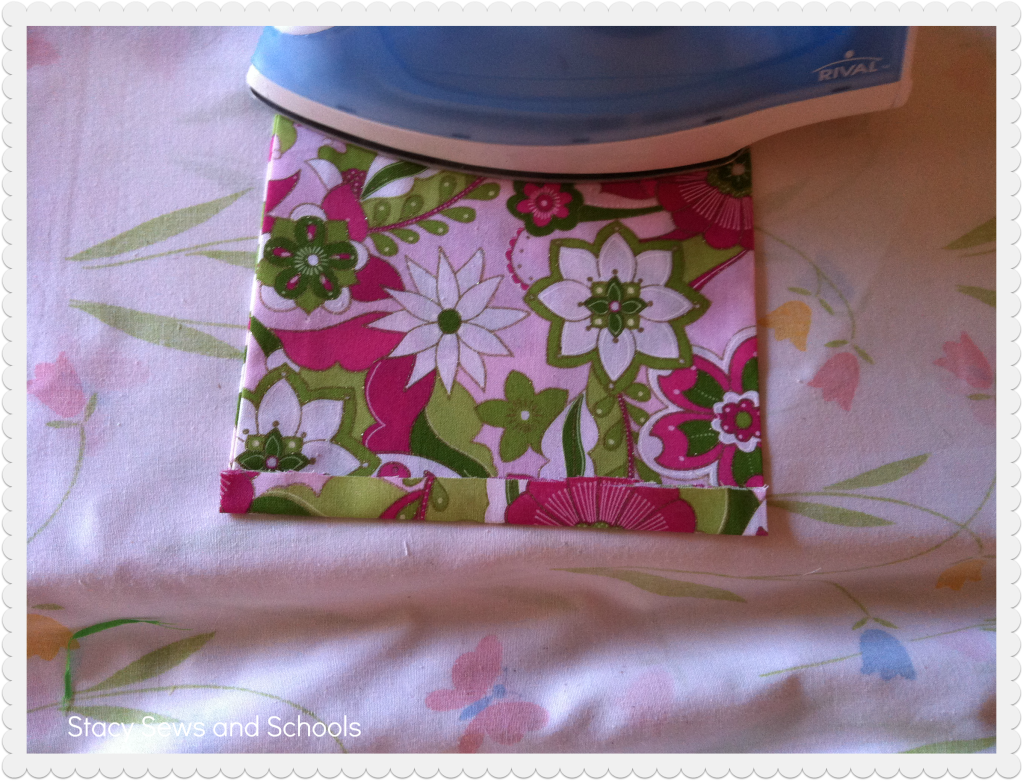
Fold over both edges of the top of the pocket by 1/2" and press.
Now fold in the sides by 1/4" and press.
Step 8 -
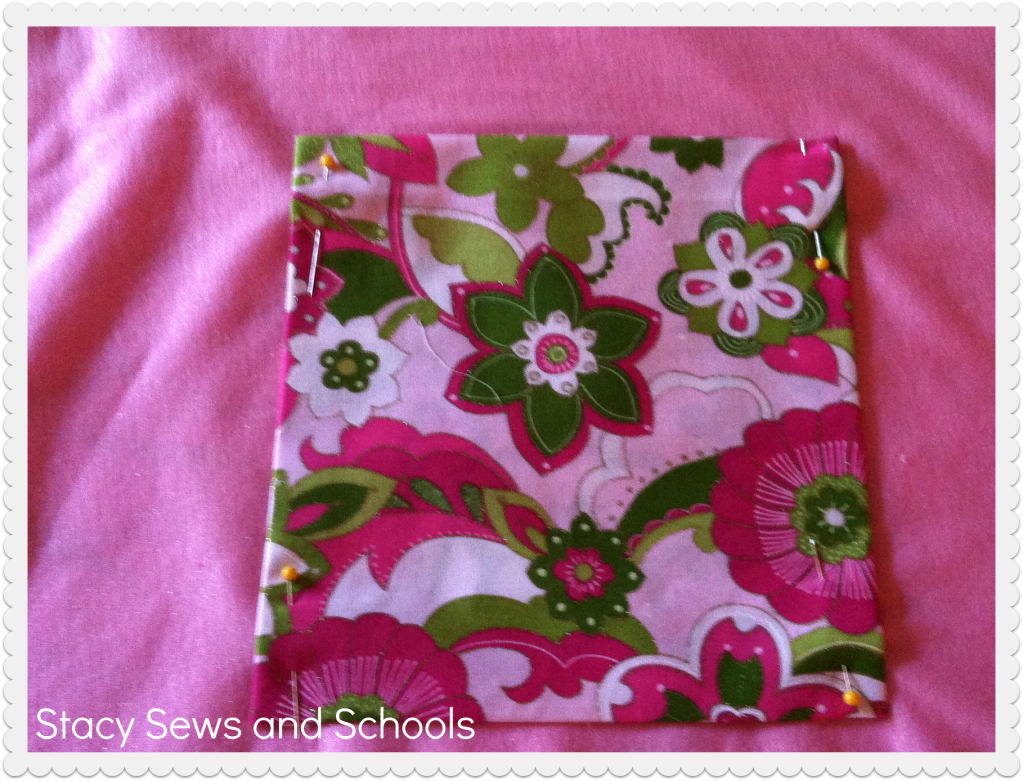
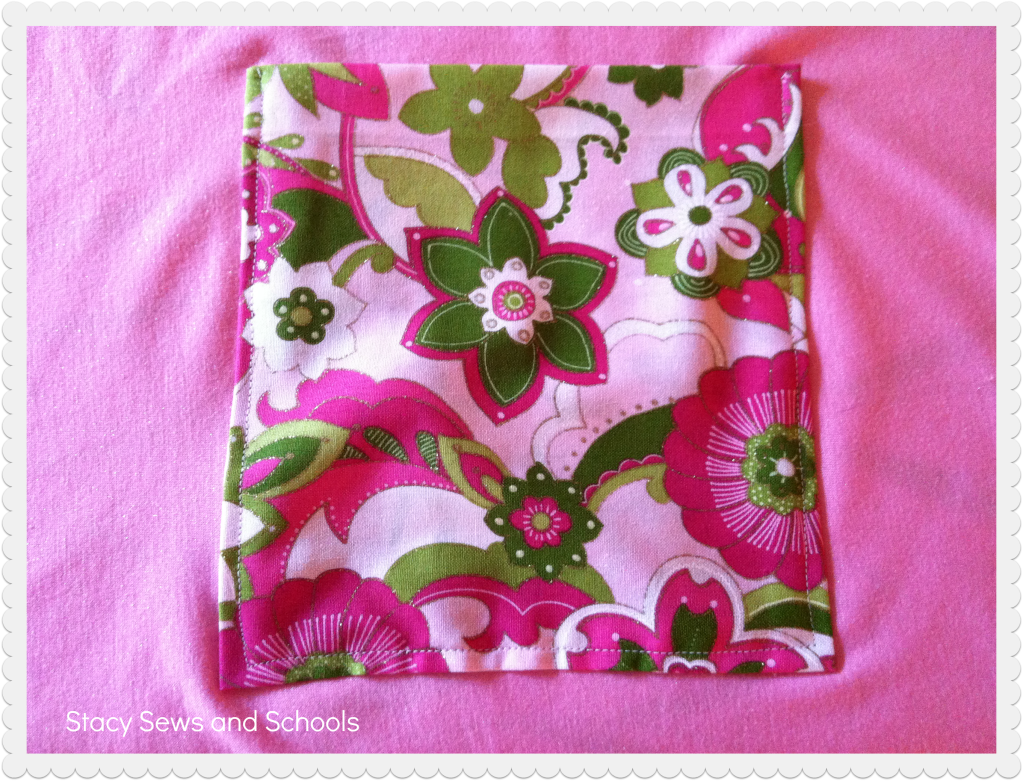
Pin the pocket to the front where you would like it to be.
Sew it on with a straight stitch.
Step 9 -

Pin the front to the back, right sides together and sew up the side seams. :)
Now, you CAN go on and hem the bottom and finish the arm holes. I didn't do either of them. I usually prefer to let knit curl naturally. ;)
Step 10 -

Cut your ribbon long enough to stick out 6" of the casing front and back.
Safety pin the ribbon ends and push through the ribbon casings. Tie it up in a pretty bow!

The top is complete!! :))
Now, on to the bottom!
Step 1 -

We are going to hem the ruffles for the first step. Fold over the edges 1/4" and press. Fold over another 1/4" and press. Now sew your hems.
Step 2 -
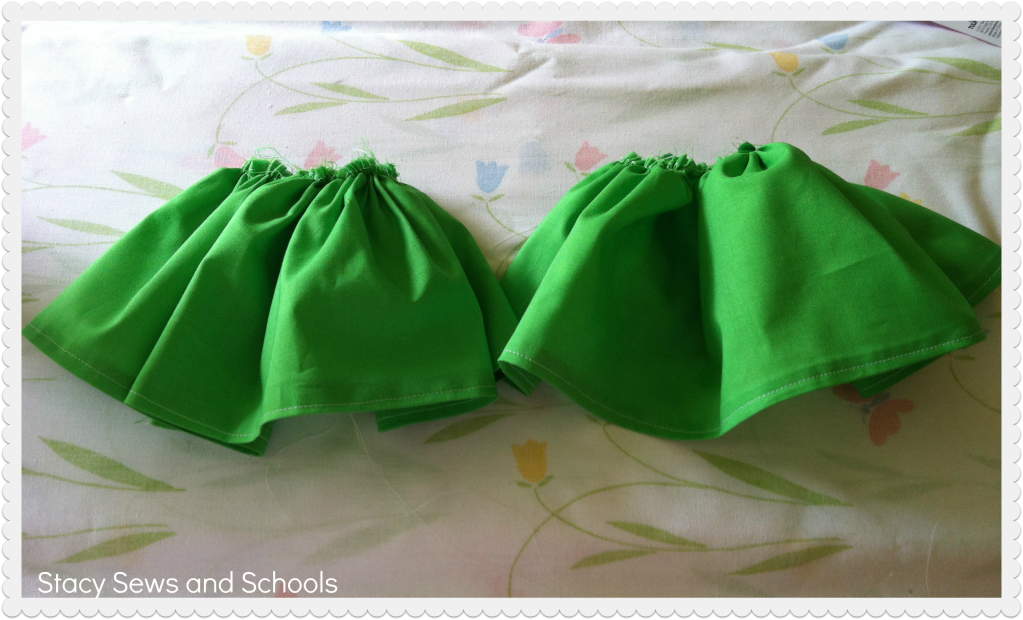
Sew a gathering stitch across the top of the ruffle pieces. You should sew 2 lines on the top of each piece. To sew a gathering stitch on my machine I set both stitch settings to the highest place.
Step 3 -
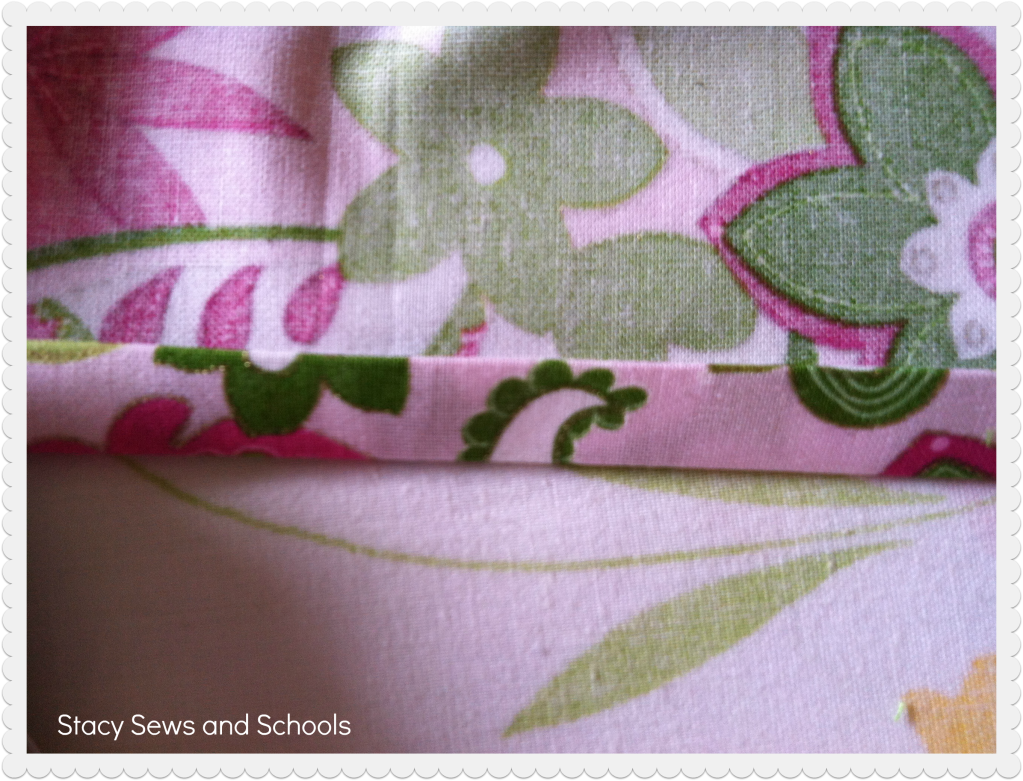
Fold up the bottoms of the pants legs 1/4" and press. Fold up another 1/4" and press.
Step 4 -
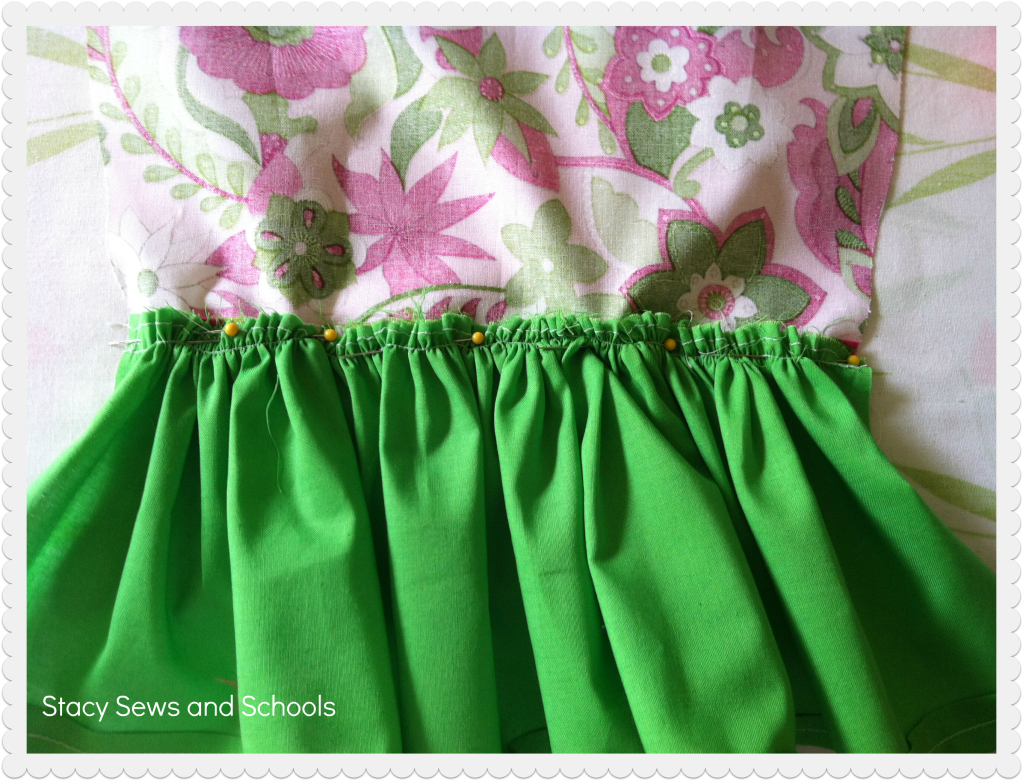
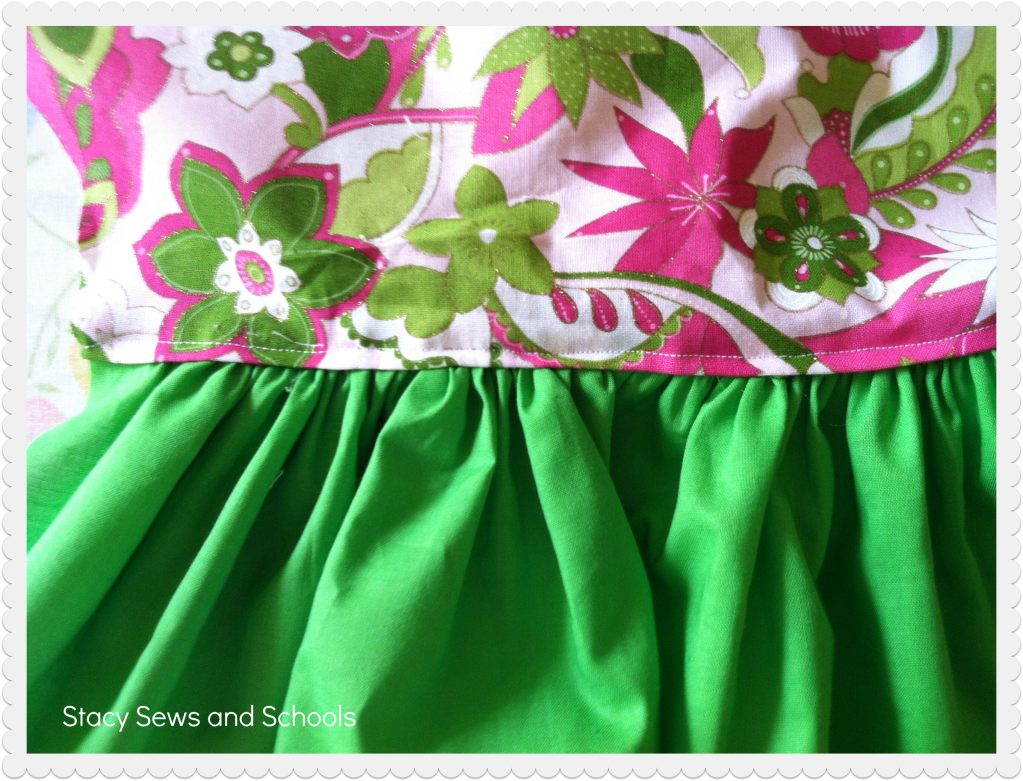
Pin the top of the ruffles to the bottom of the pants legs. The right side of the ruffle will touch the wrong side of the legs.
Sew the ruffles in place.
This hems and attaches the ruffles in one step. ;)
Step 5 -


Pin up the sides of the pants from the crotch down to the bottom of the ruffle.
Sew the inseams!
Step 6 -

Turn one leg right side out and stuff it down the other leg, matching up the inseams.
Step 7 -
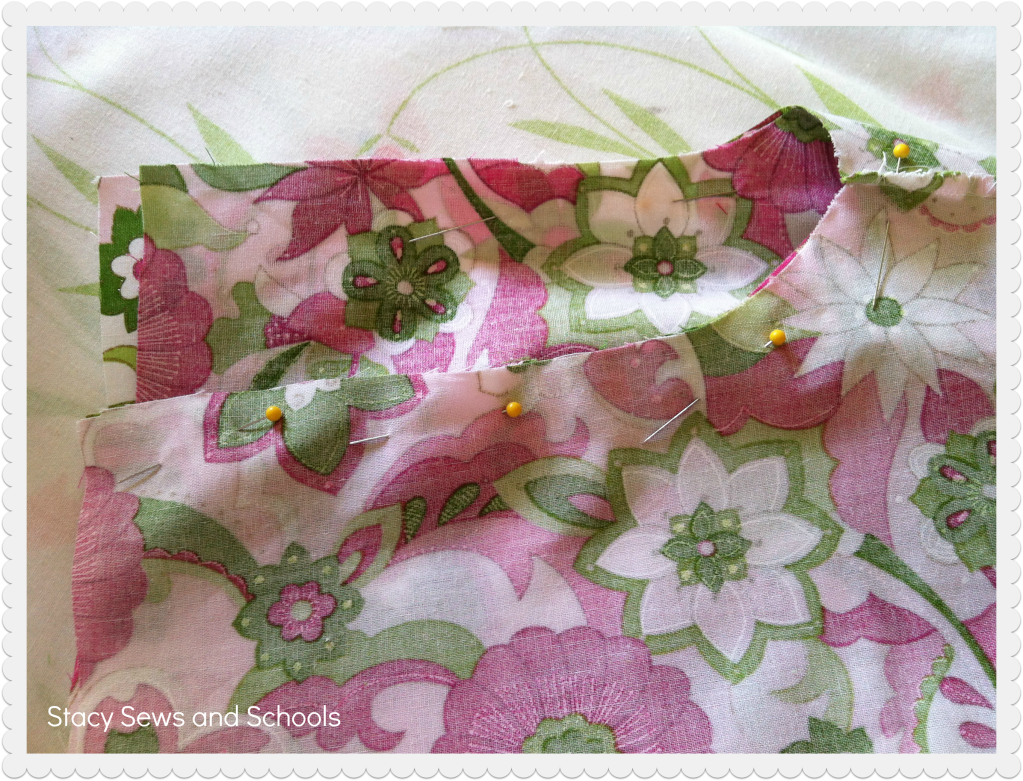
Pin it up and sew the seam in one continuous stream. Make sure to reinforce the crotch!
Step 8 -

Fold over the top of the pants 3/4" and press. Fold over 1" and press. Sew the elastic casing leaving an opening to insert the elastic.
Step 9 -

Pin the ends of the elastic and either hold tightly to both ends or pin on end to the fabric. Insert the elastic through the casing!
Step 10 -

Sew the ends of the elastic together using a zigzag stitch.
Step 11 -

Sew the casing together!
Turn right side out. Press some more and you are DONE!!!! :)
WOOO HOOOOO!!! (When I try to type that on my phone it always turns it to WOOOOOO HOP. LOL)
As always, let me know what you think! Is this easy to understand?? Did I miss anything? Leave out something important? As tired as I am tonight and with as many interruptions as I have had I wouldn't be surprised to learn that I messed something up. LOL Even after the proofreading! ;)
If you try this out let me know!! I would love to know what you did with it. :)
So, what are YOU working on???

THis outfit is adorable.. Love that floral fabric for the pants ..Toooo cute.. I have made lots of these outfits for my grandaughters..Love them..Happy sewing.
ReplyDeleteThank you, Judy!!! :)
ReplyDeleteHappy sewing to you, too!! <3
Stacy,
ReplyDeleteThat is too cute! Your daughter looks good in pink. An idea if you make another - use an asymmetrical hem. You can keep the length but the hem will show the pants. Just a thought. Keep em coming!!!!
Patricia
Oh - forgot something. If you take a lighter and lightly run it across the ends of your ribbon it will not fray.
ReplyDeleteOh!! Good idea!! And the high-low hems are really in right now!!
ReplyDeleteTHANK YOU!!! :)
THANK YOU!!! Another great idea!!! :)
ReplyDeleteVery cute! Love the color combo...
ReplyDeleteThank you!!! :) I loved the print but wanted to add some solids to tone it down a tad. LOL ;)
ReplyDeleteSoooo adorable!!!
ReplyDeleteTHANK YOU!!!!! ;)
ReplyDeleteHey I recognize your "straight" edge! LOVE this outfit!!
ReplyDeleteROFLOL!!! I thought you might!! ;)
ReplyDeleteTHANK YOU!!!!! :) <3
As ALWAYS - adorable! LOVE it! I think it's so funny how critical you are of the pieces, when I think they are perfect!!! :) Thanks for sharing, girl! Hope your week is going well!
ReplyDelete((Hugs))
-Heather
Stringtown Home
AWW!! Thank you SO much, Heather!! You are AWESOME!!! :)
ReplyDeleteSo very cute! But, the daughter and cat stole the show. lol. Thank you for the visit and sweet comment at The Dedicated House. It means the world. Would love it if you would share this at my Make it Pretty Monday party. http://thededicatedhouse.blogspot.com/2012/08/make-it-pretty-monday-week-9.html Hope to see you at the bash!
ReplyDeleteLOL!!! Thank you so much!!!!
ReplyDeleteOn my way to share! :)
It looks great!
ReplyDeleteThank you!!!! :)
ReplyDeleteSo cute. And I love all the pictures included. I am planning on starting a sewing journey so I am a true rookie. I am a new follower!
ReplyDeleteTHANK YOU!!!
ReplyDeleteYAY for starting!!! And YAY for following!!
If I can help in ANY way just let me know!! :)
Adorable! Thanks for sharing at the All Star Block Party!
ReplyDeleteThank you, Holly!! :)
ReplyDeleteVery cute! I love that fabric too. Thanks for sharing at The Fun In Functional!
ReplyDeleteThank you very much, Jessi! :)
ReplyDeleteThis outfit is super cute! Great job. Thanks for sharing on Marvelous Mondays!
ReplyDeleteThank you so much, Julie! :)
ReplyDelete[...] Flower Power – by me [...]
ReplyDelete