
For this outfit I used:
1 yard of jersey knit
1 yard of crushed panne
3/4" elastic
T-shirt that fits well to use as a guide.
Leggings that fit well to use as a guide.
Make sure to have a ball point needle for knits!
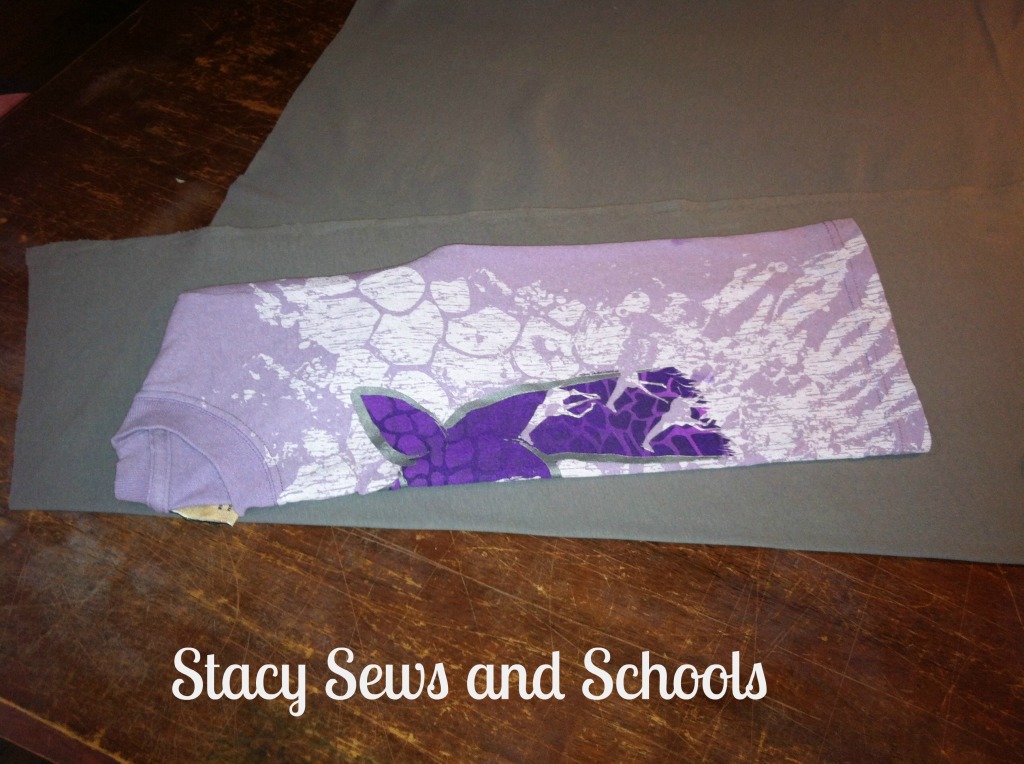
Fold the fabric at an angle so that it will have a nice A-line when you cut. Also, put the guide shirt at an angle. ;)
Cut around the neck and arm hole of the guide shirt. Cut the bottom longer than the guide shirt and be sure to curve it.

Here is what it looks like after cutting.
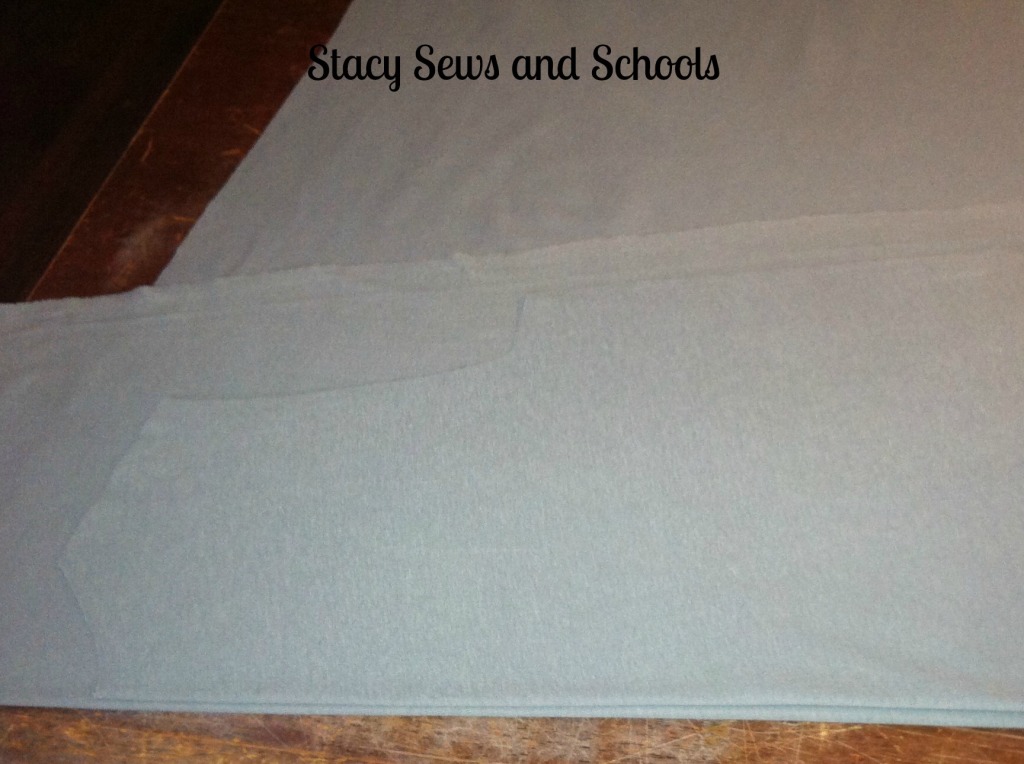
Use the tunic piece you just cut as a guide for the next piece and be sure to fold the fabric at an angle again.
When you have the 2nd piece cut, cut the neckline of one piece lower. That will be the front.

Now we are going to cut the heart for the front of the tunic. And it is just like in school when you would fold paper to cut a heart. ;)

Time to cut the sleeves!
Use one of the tunic pieces as a guide. Fold over the fabric and line the fold up with the top of the tunic piece. Cut, following the line of the armhole. Then drop down about 1/2 inch and cut straight over.
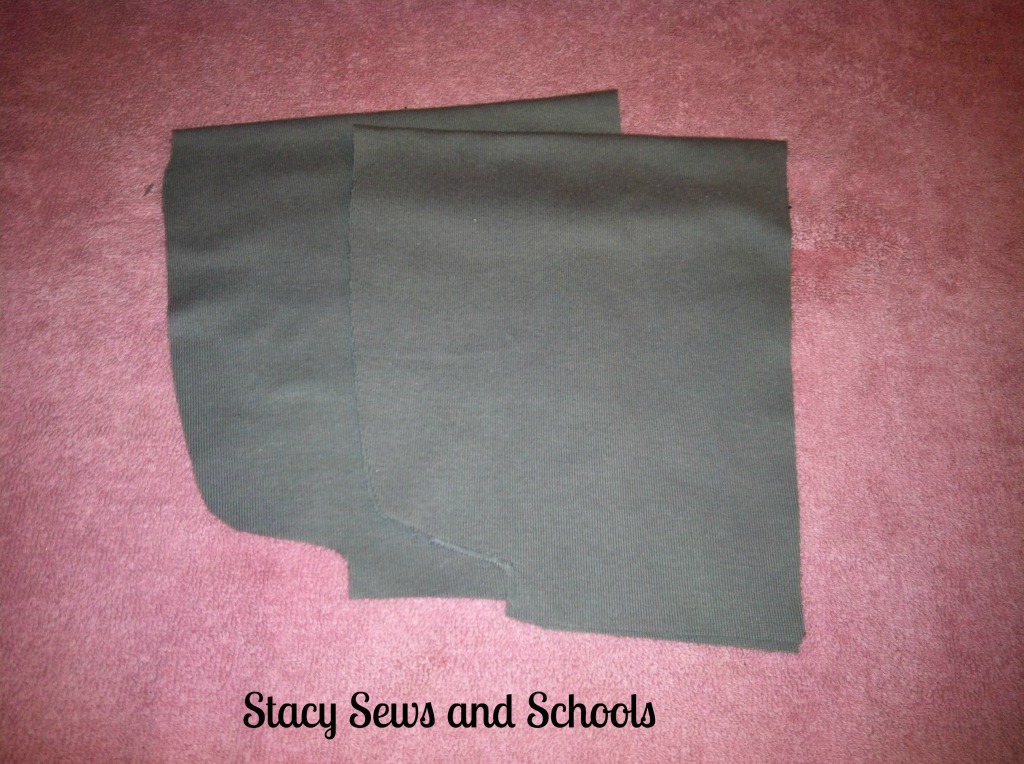
Here are the cut sleeves.
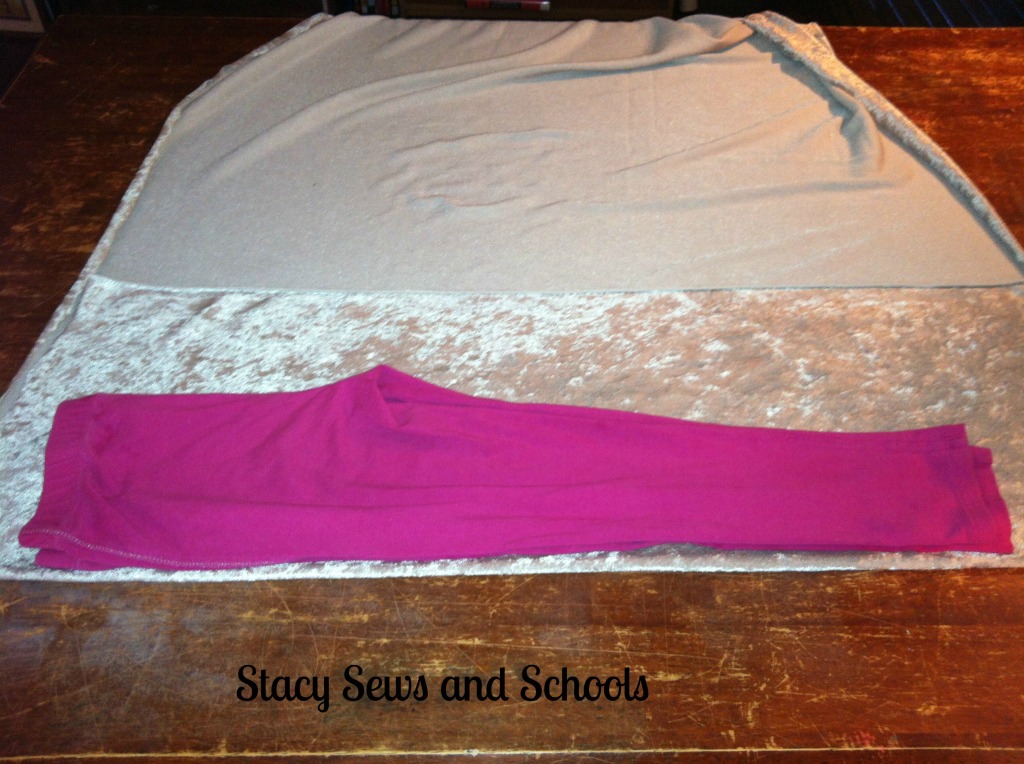
Fold the leggings and pull the crotch out as far as you can. Place the outside of the leg on the folded edge of the fabric. Cut around the inside of the leg.
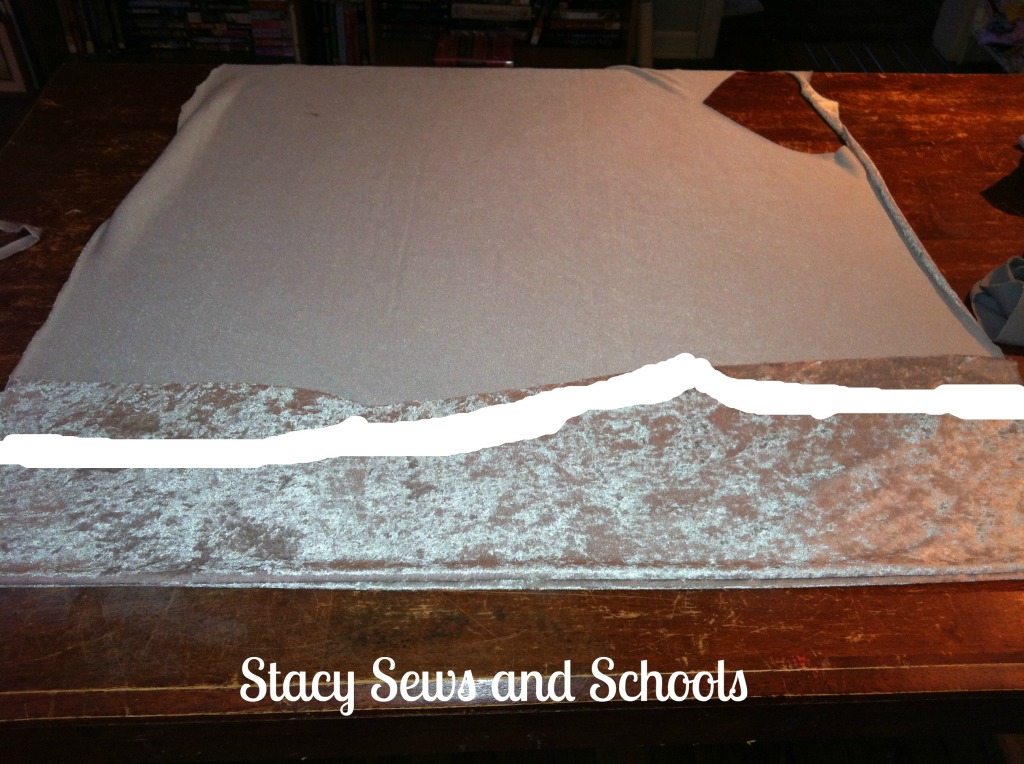
Now, use the leg you just cut as a guide for the 2nd one! :)
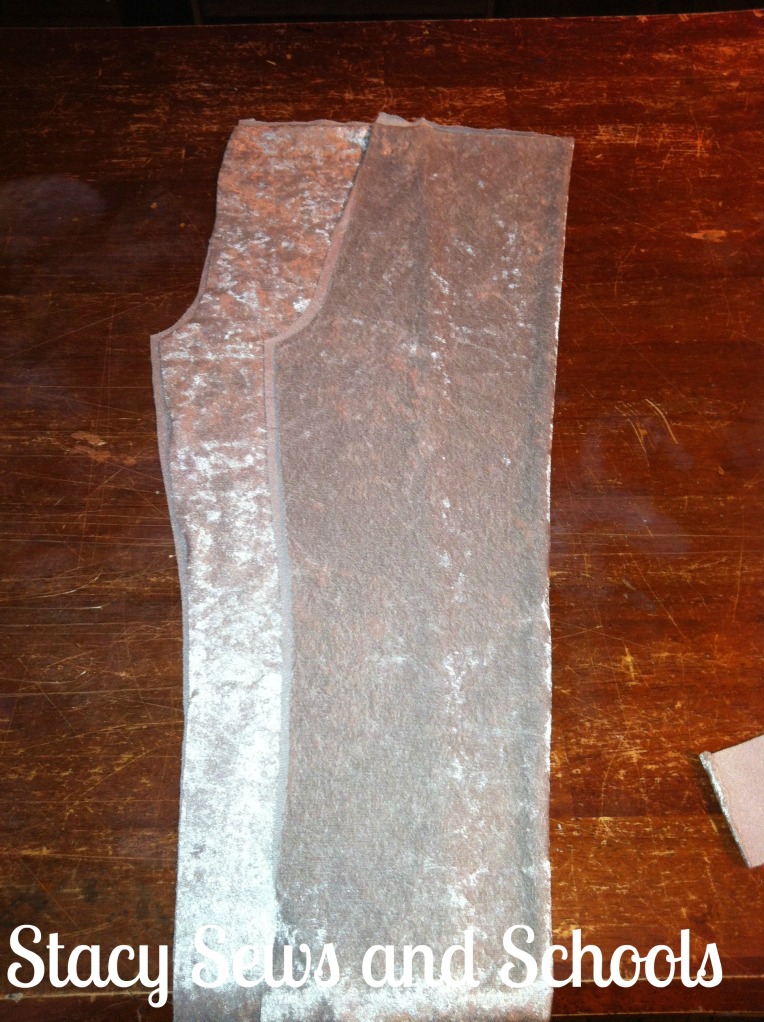
Here are the 2 legs! :)
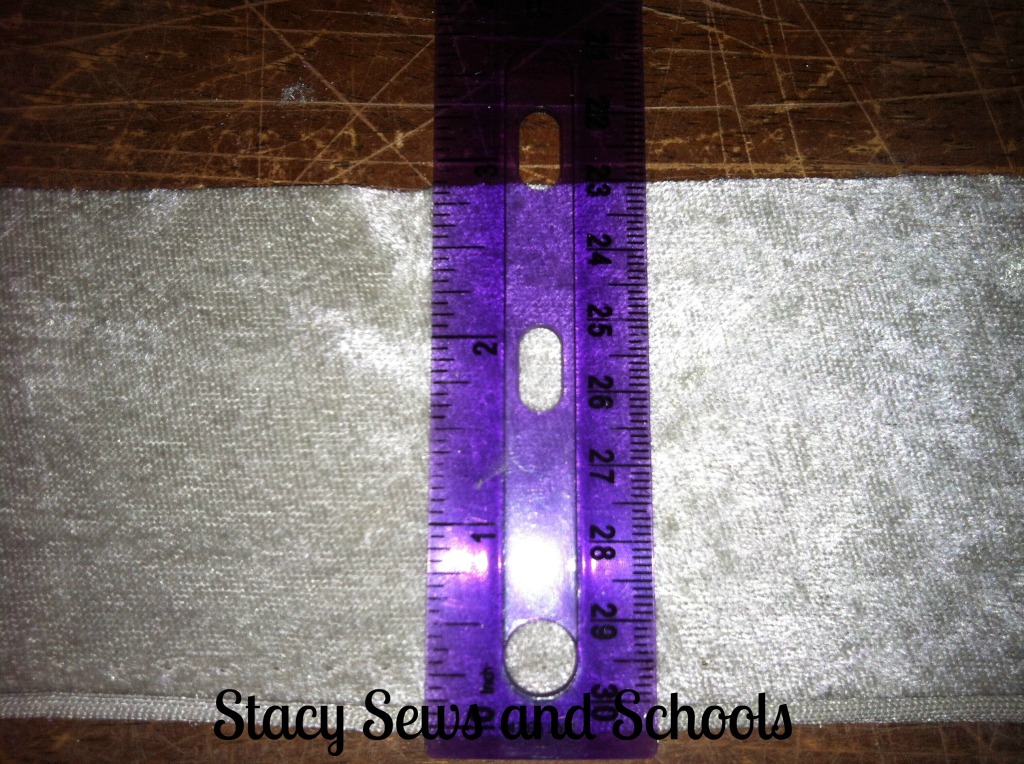
Now cut the embellishments for the sleeves. Cut 2 pieces, 3" wide and long enough to go around the bottoms of the sleeves.

Take the long strips and fold them in half. Pin the cut edges to the sleeve bottoms, right sides (if you have them) together and sew. ;)

Now press. If you are using crushed panne, be sure to use a cool iron only. You will fry the fabric otherwise.... LOL

Now, pin the heart to the front of the tunic. Use a lot of pins! LOL Then use a zigzag stitch and sew all along the outer edge.

Pin the shoulders of the tunic, right sides together (if you have right sides) and sew the shoulders together.
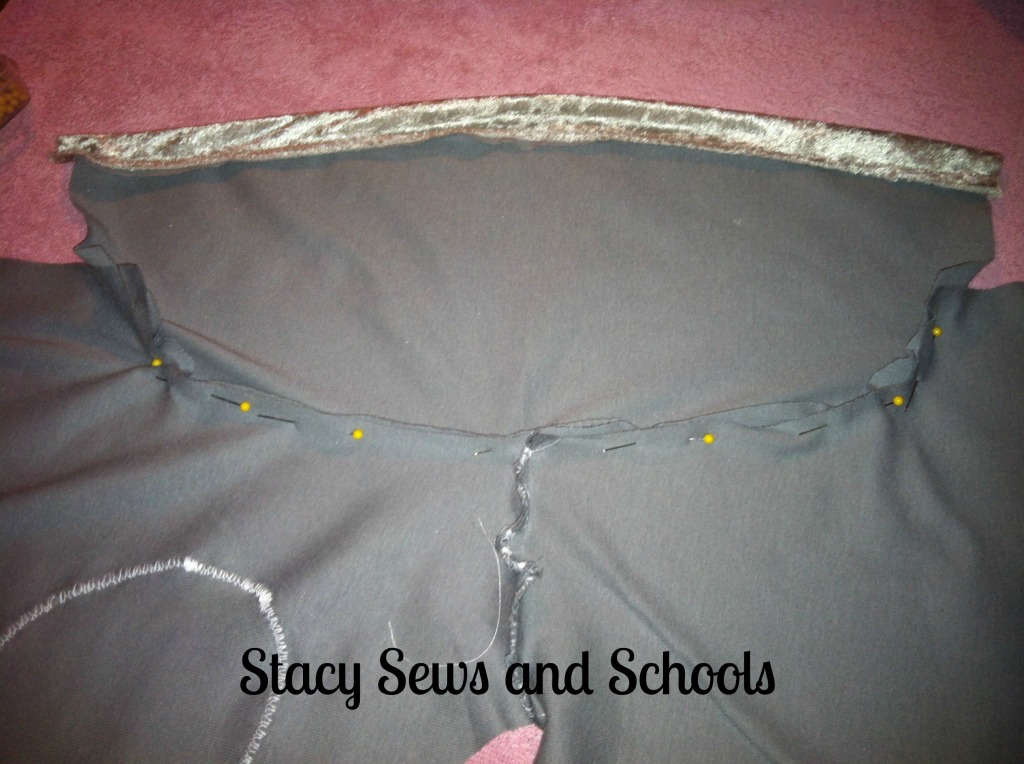
This is a different way to attach sleeves than I usually use but I figured I would give it a try. ;) Place the tunic right side down and pin in the sleeves, also right sides down. Sew them together!
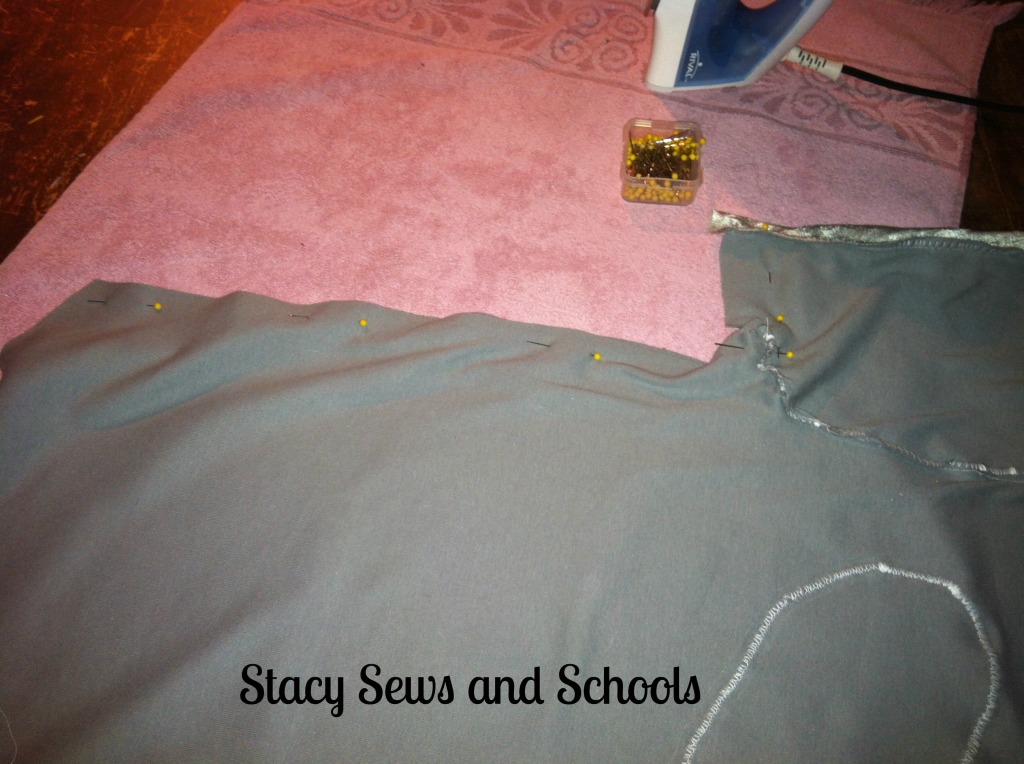
With the tunic still inside out, pin up the sides and under sides of the sleeves. Sew the sides together in one continuous motion.
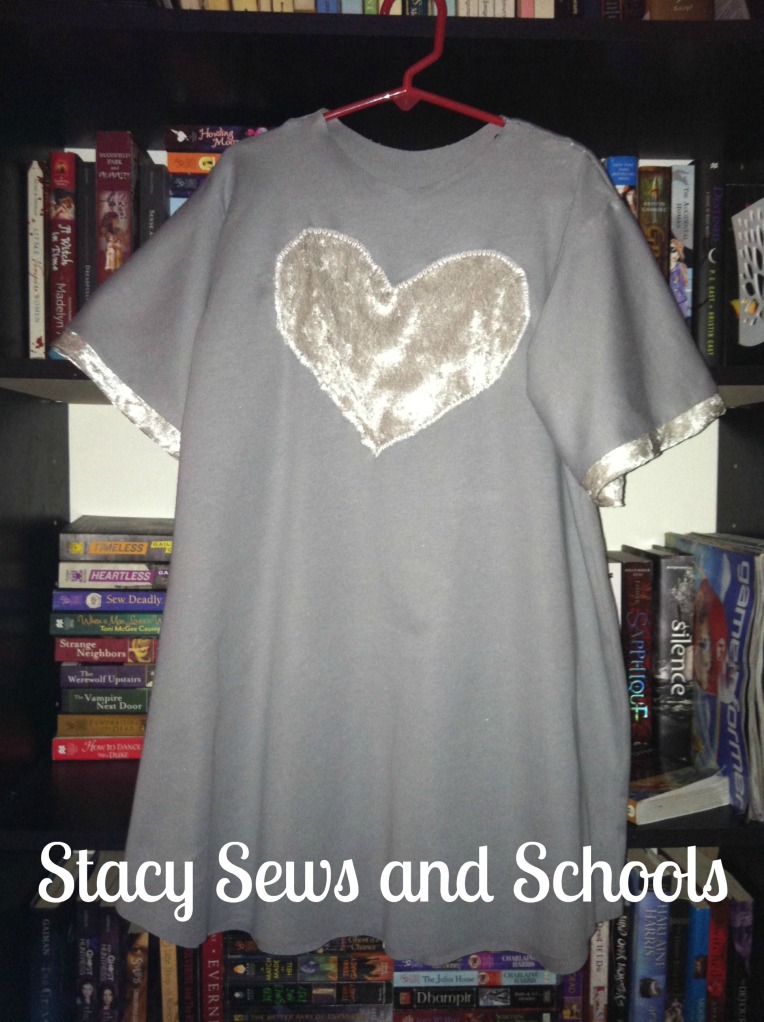
Turn right side out and your tunic is finished! :)
I had thought about adding a collar but I think I like it better without.
If you want to add a collar, follow the example of the sleeve embellishments. ;)

On to the leggings!
With right sides together, pin up the inside of the leg up to the crotch and sew. Make sure to NOT sew above the crotch curve.

Turn one leg right side out and slip it down into the other leg, so that the right sides are together. Pin and sew.

Turn the leggings inside out and fold over the top by 1" and pin. Sew the elastic casing, making sure to leave an opening to insert the elastic through.

Measure and cut a piece of 3/4" elastic for the waistband. Safety pin both ends and either hold tightly to one end or pin it to yourself.
Insert the other end through the casing.

Now, sew the ends of the elastic together using a zigzag stitch.

Sew the elastic casing closed!
Turn right side out and you are DONE!!!!
You can always hem the bottoms of the tunic and leggings if you want BUT one of the great things about knits is that you don't have to. I sort of prefer my knits unhemmed... LOL


As always, let me know what you think about the tutorial. Was it easy to follow? Are my steps clear??? And PLEASE!!! if you make this LET ME KNOW!!!! ;)

I LOVE THIS!!! Lexi saw it earlier and said I needed to make her one.. haha I told her she was going to have to wait till Mommy could read more of Aunt Stacy's stuff before I tried this one!!! But I love the steps. Very well written. But then again you always do such a great job on all of these!!!!! :)
ReplyDeleteStacy, this is adorable.. I would like to have this set for me [an old woman, lol]..Looks so
ReplyDeletecomfortable. I love the a-line and how you rounded the bottom.. Really cute.. Proud your back to sewing.. Can't wait to see what you do next.. Happy sewing.
AWWWW!!!! THANK YOU!!!!!!!! <3 you!!!!!!!!
ReplyDeleteJust call me when you want to do one! ;)
Thank you, Judy!!!!!!!
ReplyDeleteI said yesterday that I might need to make myself one like it... LOL She said they feel like PJs! LOL
I like the silver fabric.... very festive. Looking at your tutorial reminded me the years I used to make t-shirts and sweats for my boys. I never sew with knits for myself and think of them as being difficult, because the few times I have tried I didn't get the result I wanted. You make it look so easy. :)
ReplyDeleteThank you, Kerri!!!
ReplyDeleteI love to use knits. They are just so comfy! I'm definitely thinking of making myself a similar outfit! LOL ;)
adorable! Of course, the model has done a great job as usual:)
ReplyDeleteLOL!!!!! Thank you!!!! She just looooooves this... LOL
ReplyDelete[...] the leggings I am going to refer you to the tunic and leggings tutorial I did about a month ago. The ONLY difference between the two sets are [...]
ReplyDelete[...] If you would like a step by step tutorial for making the leggings, you can follow my tutorial for the T-shirt Tunic and Leggings. [...]
ReplyDelete