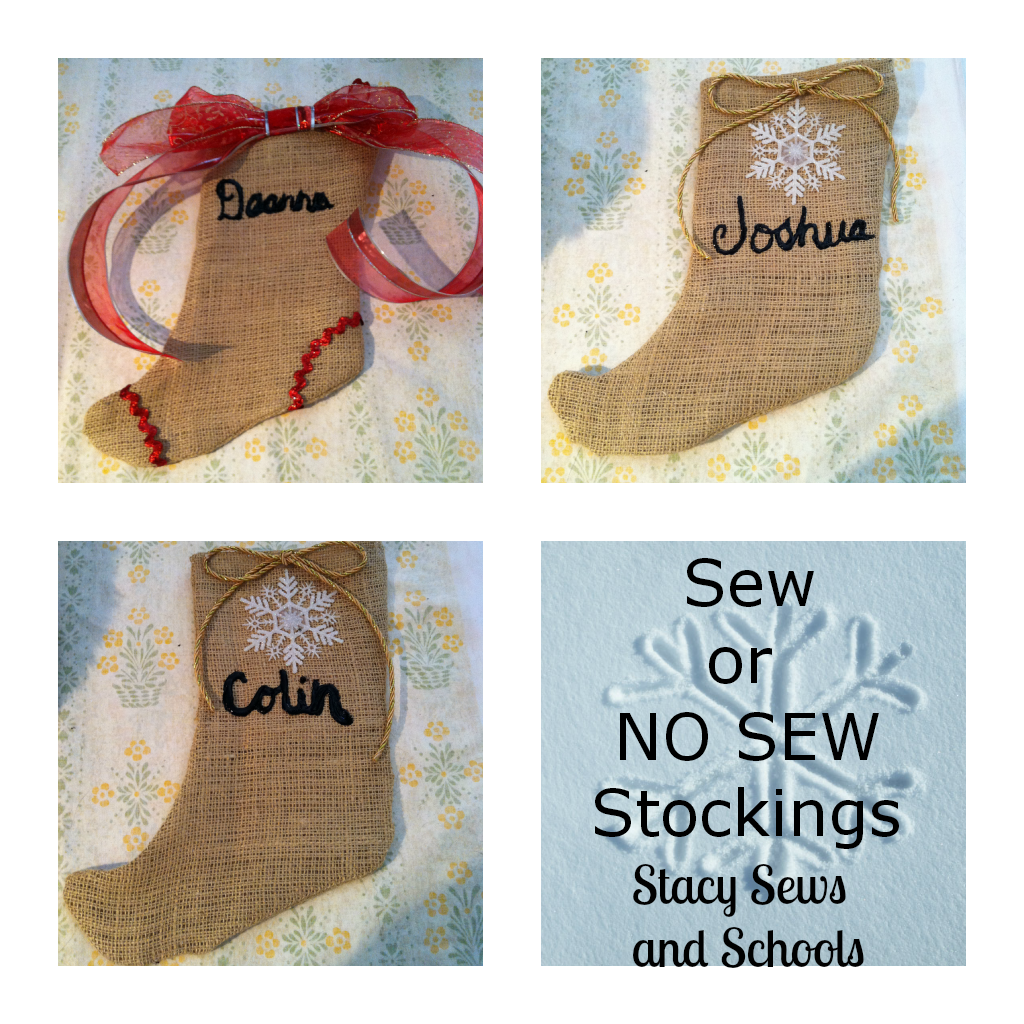
Christmas is in a few days... HELP!!!!!! If you are looking for a last minute idea, here you go! These are super fast and super easy. I did 4 of them in an afternoon.
You can sew them or glue them or both. I did both.
What I used to make 4 -
1 1/4 yards of burlap
2 different spools of red, wire ribbon
1 partial spool of shiny, red rickrack
1 spool of gold cording
2 plastic snowflake ornaments
1 tiny bottle of Tulip Puffy Paint
hot glue gun
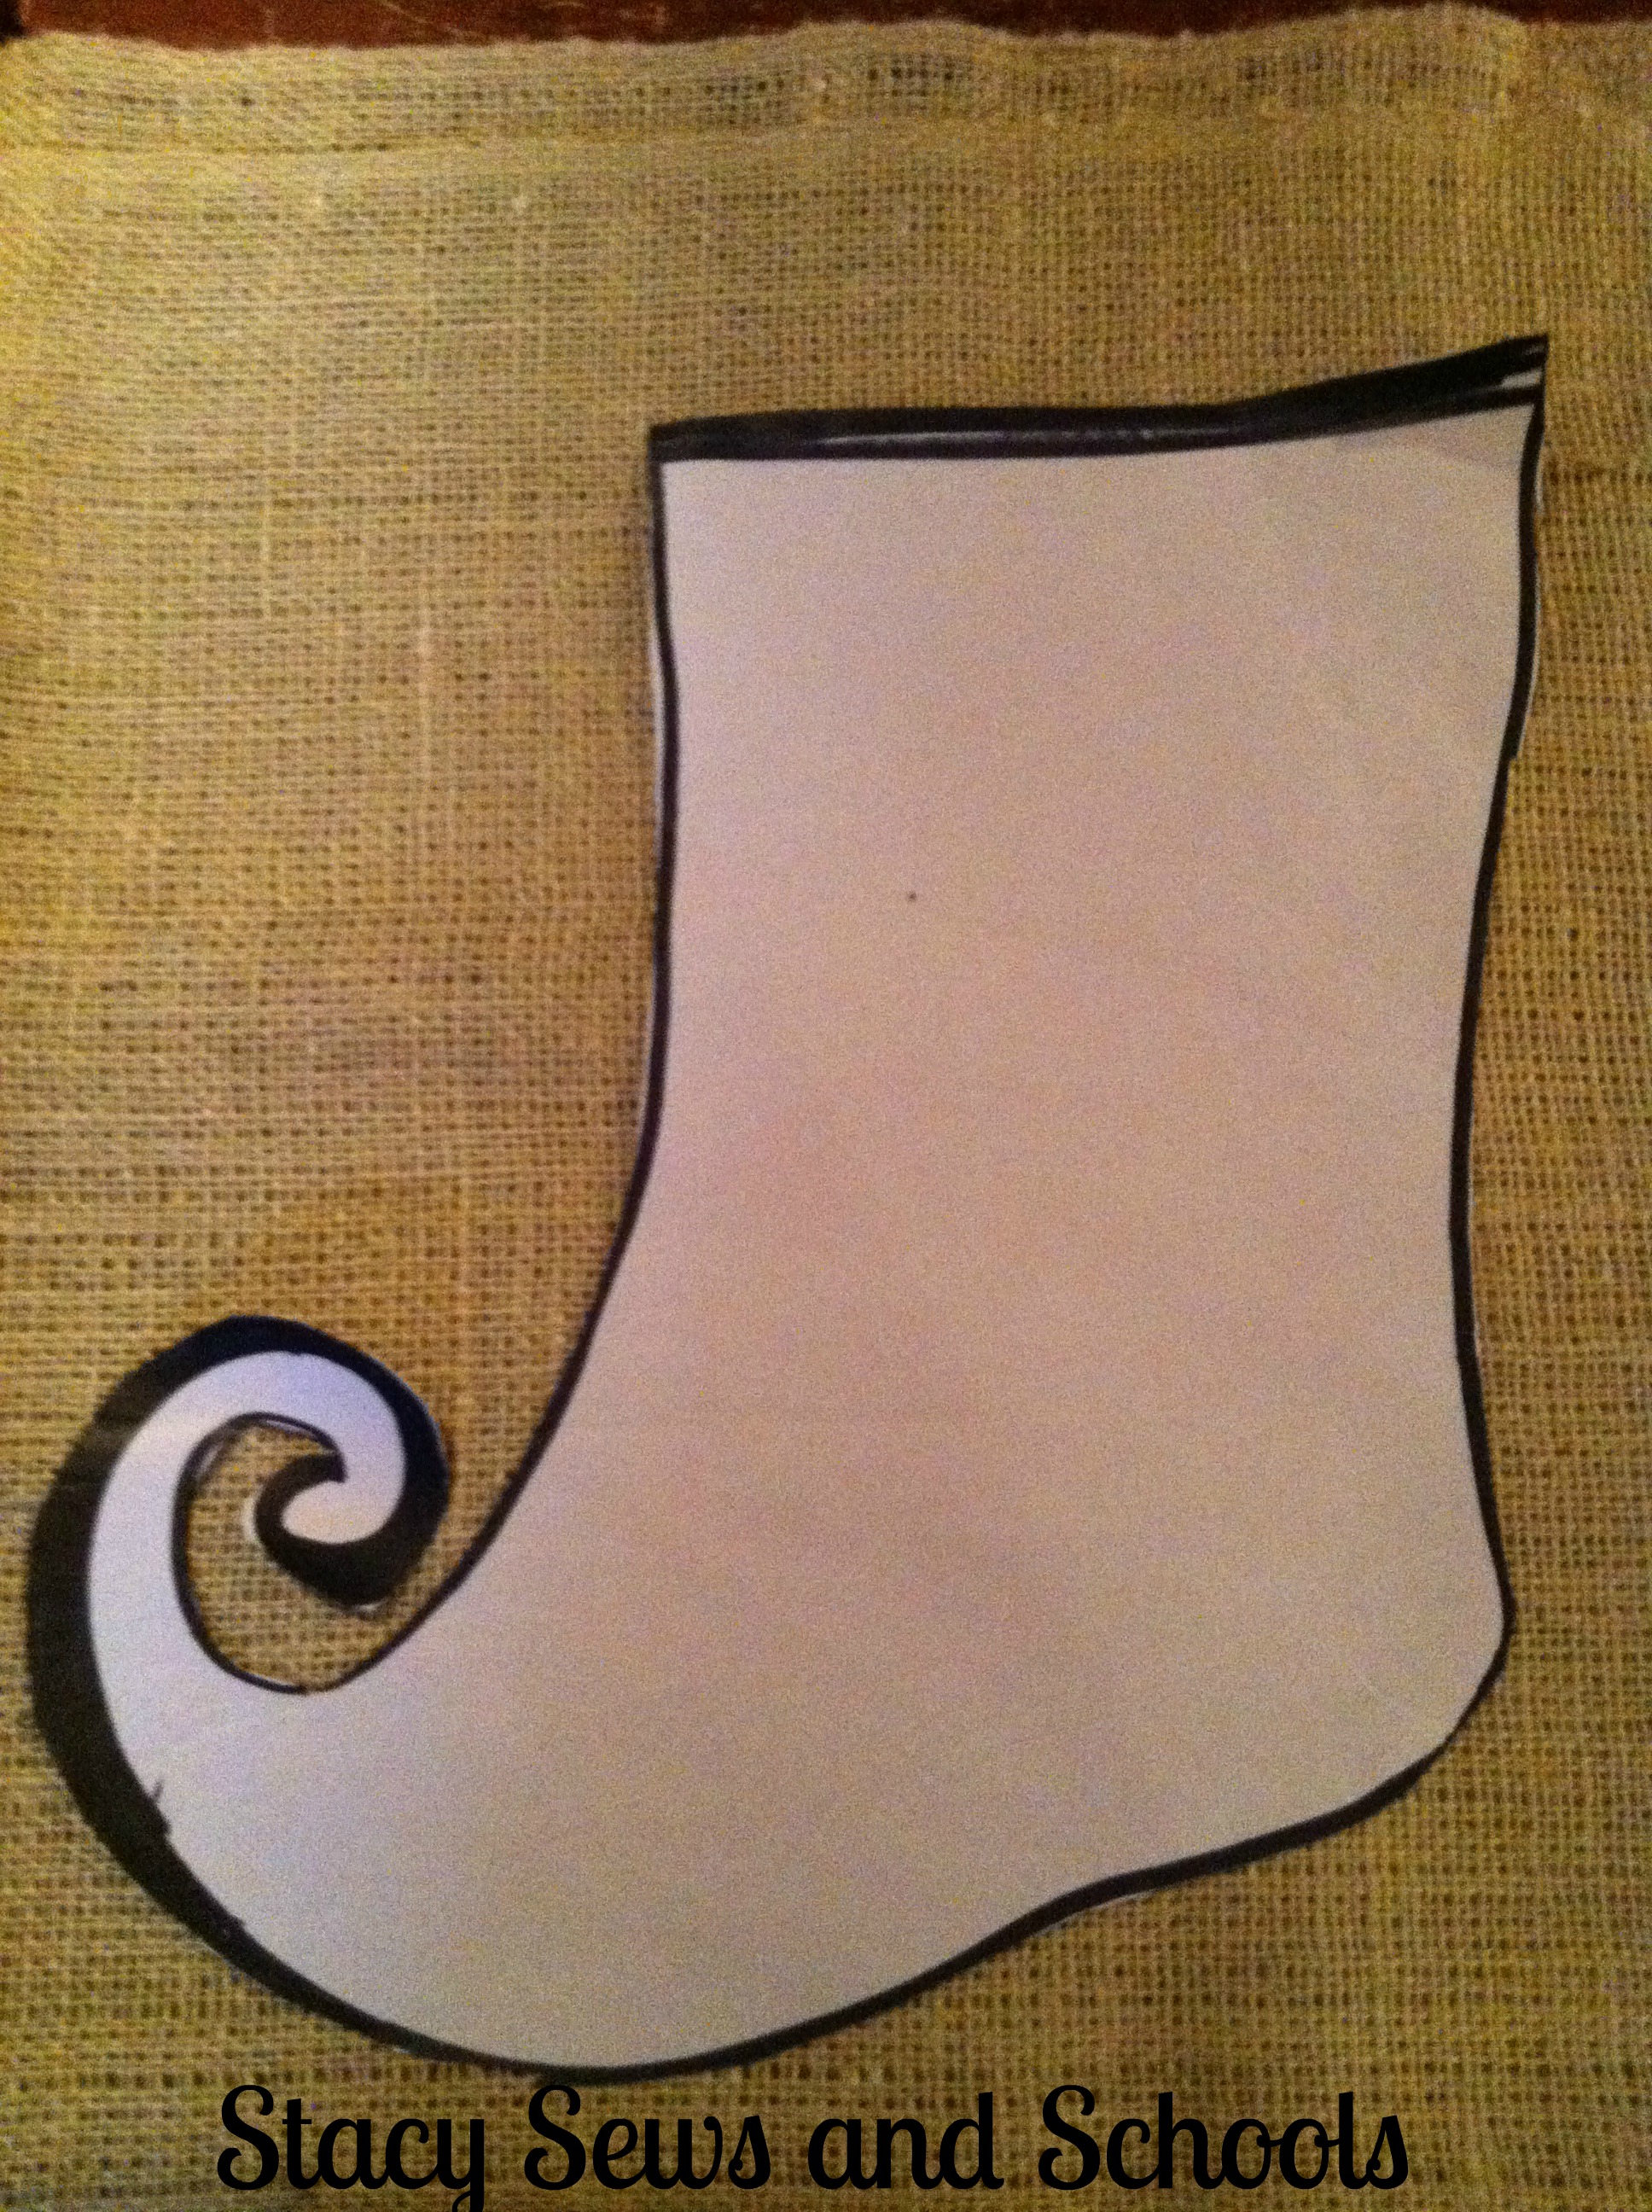
First I drew out a pattern. You can trace an existing stocking or free hand it.
Yes, I know this looks NOTHING like the stockings I made... I'll get to that. ;)
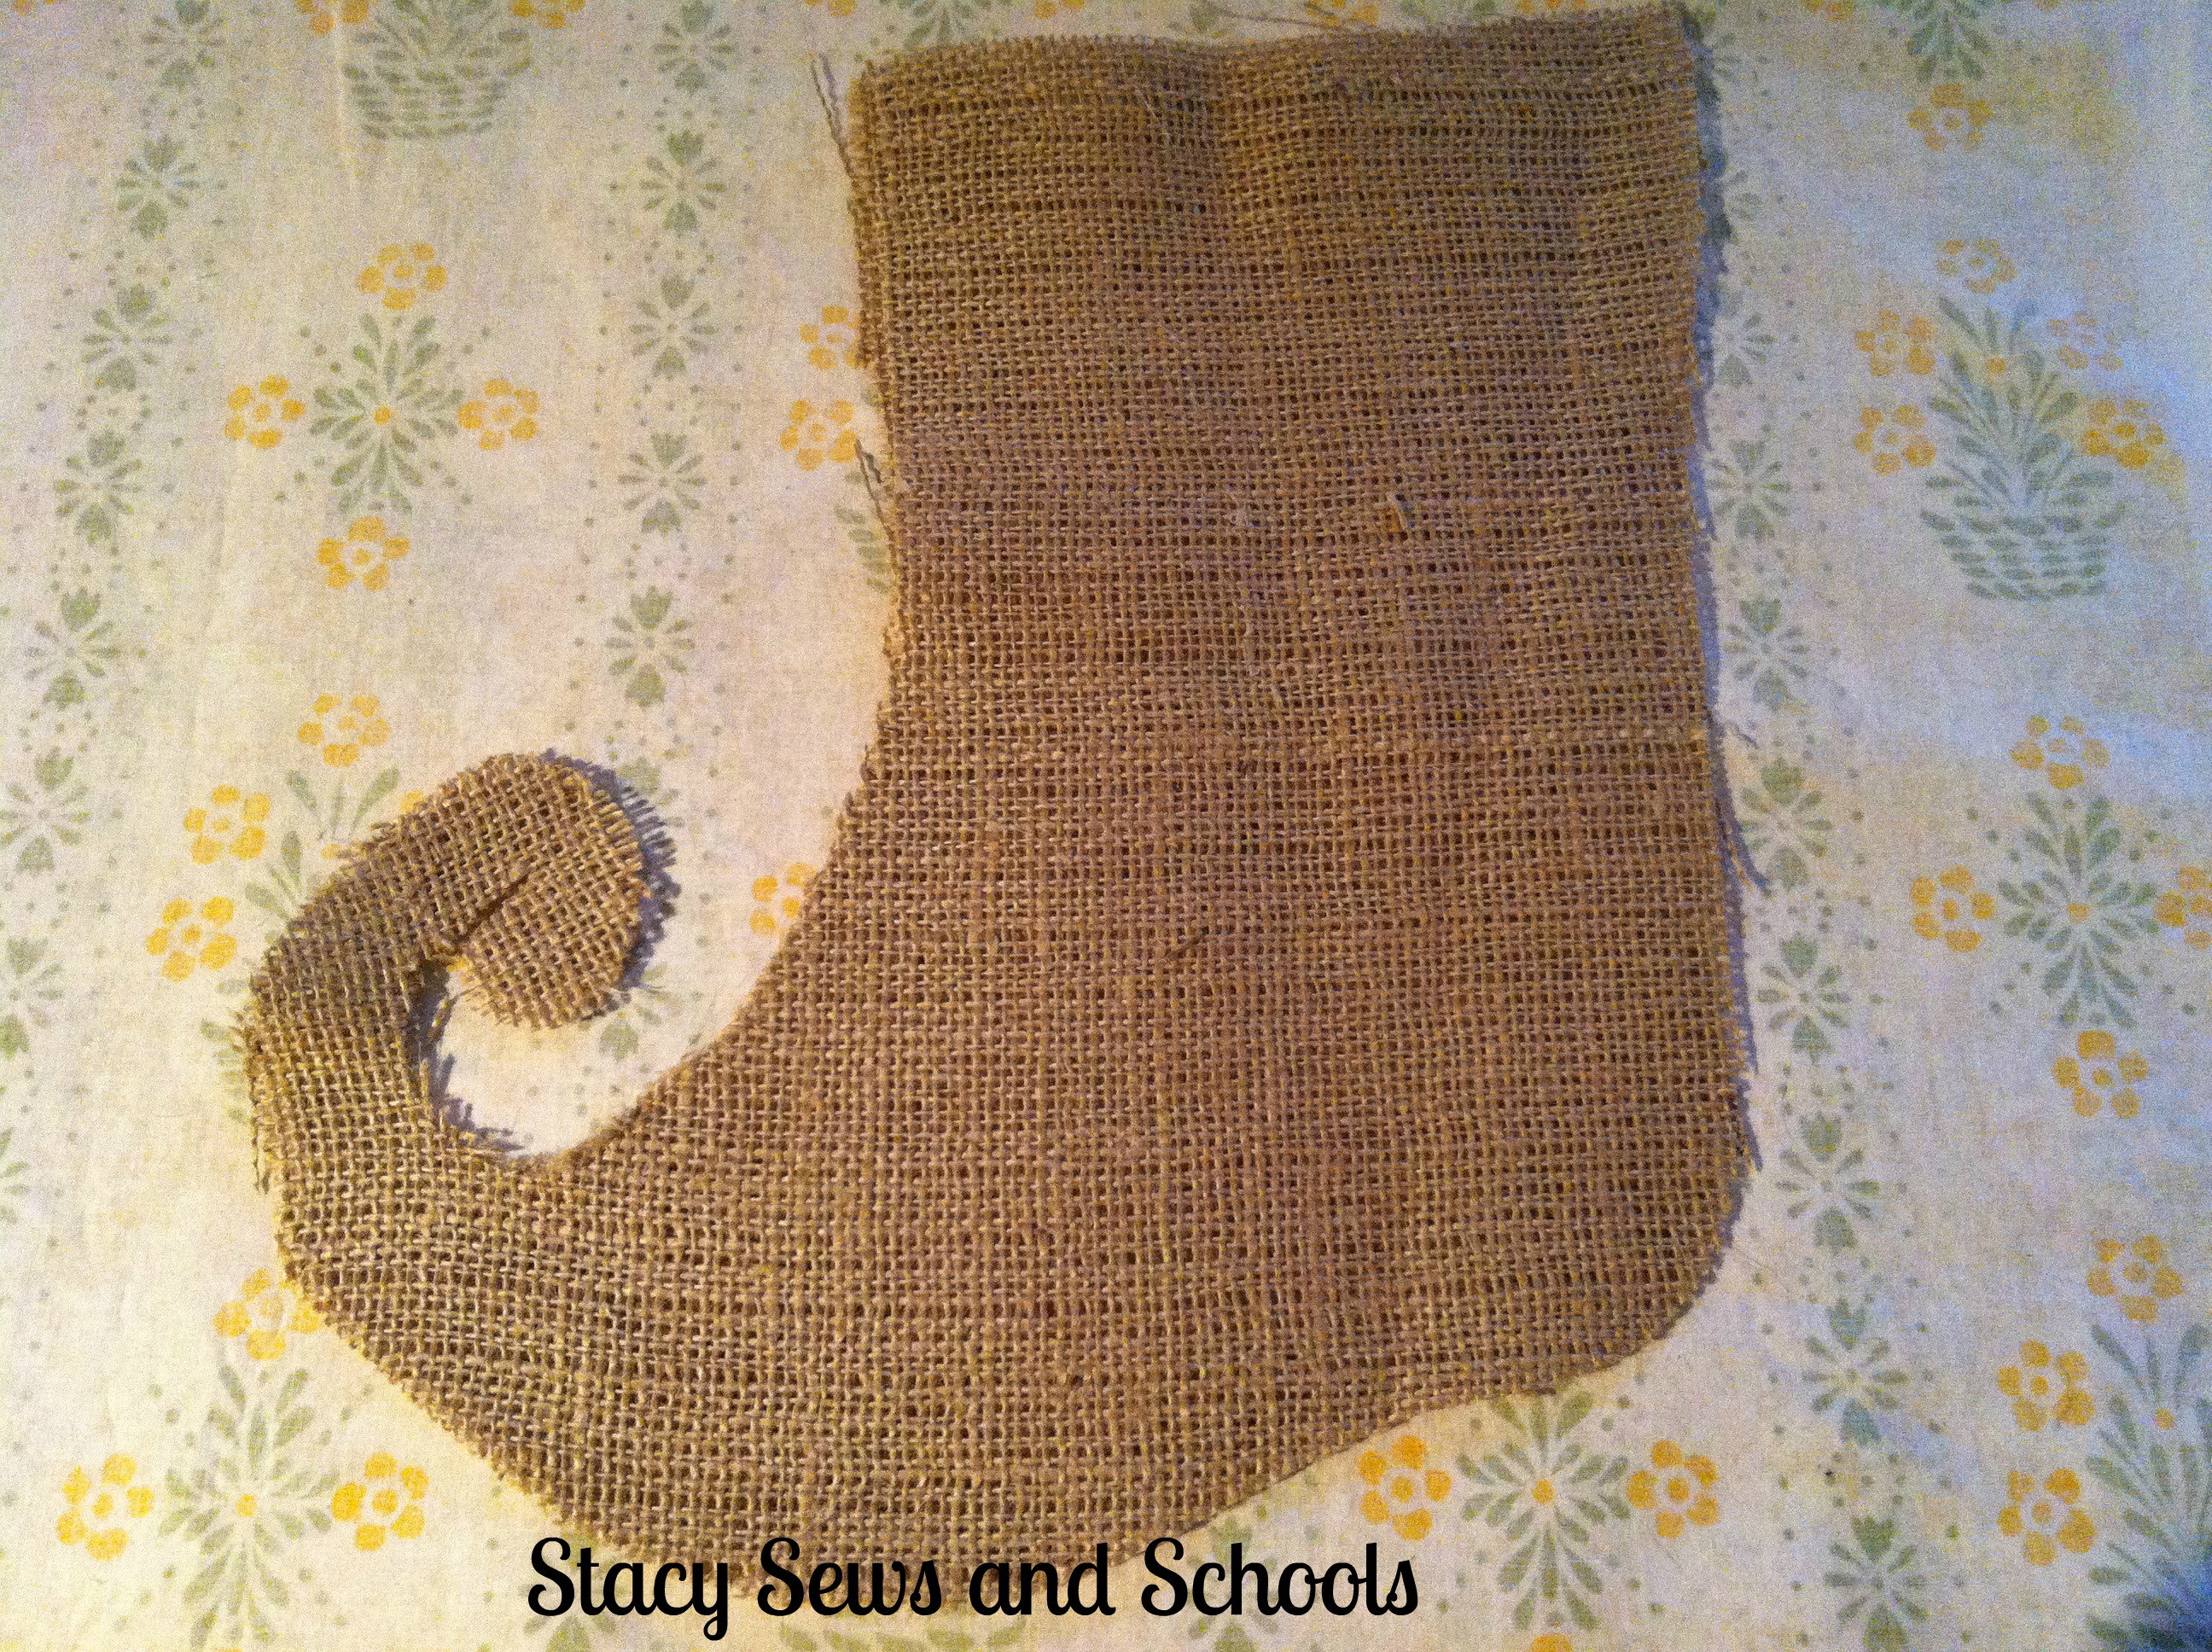
Place your pattern on the burlap, making sure the burlap is folded so you cut the front and back at the same time.
Yes, still looks different. I'm getting there. LOL
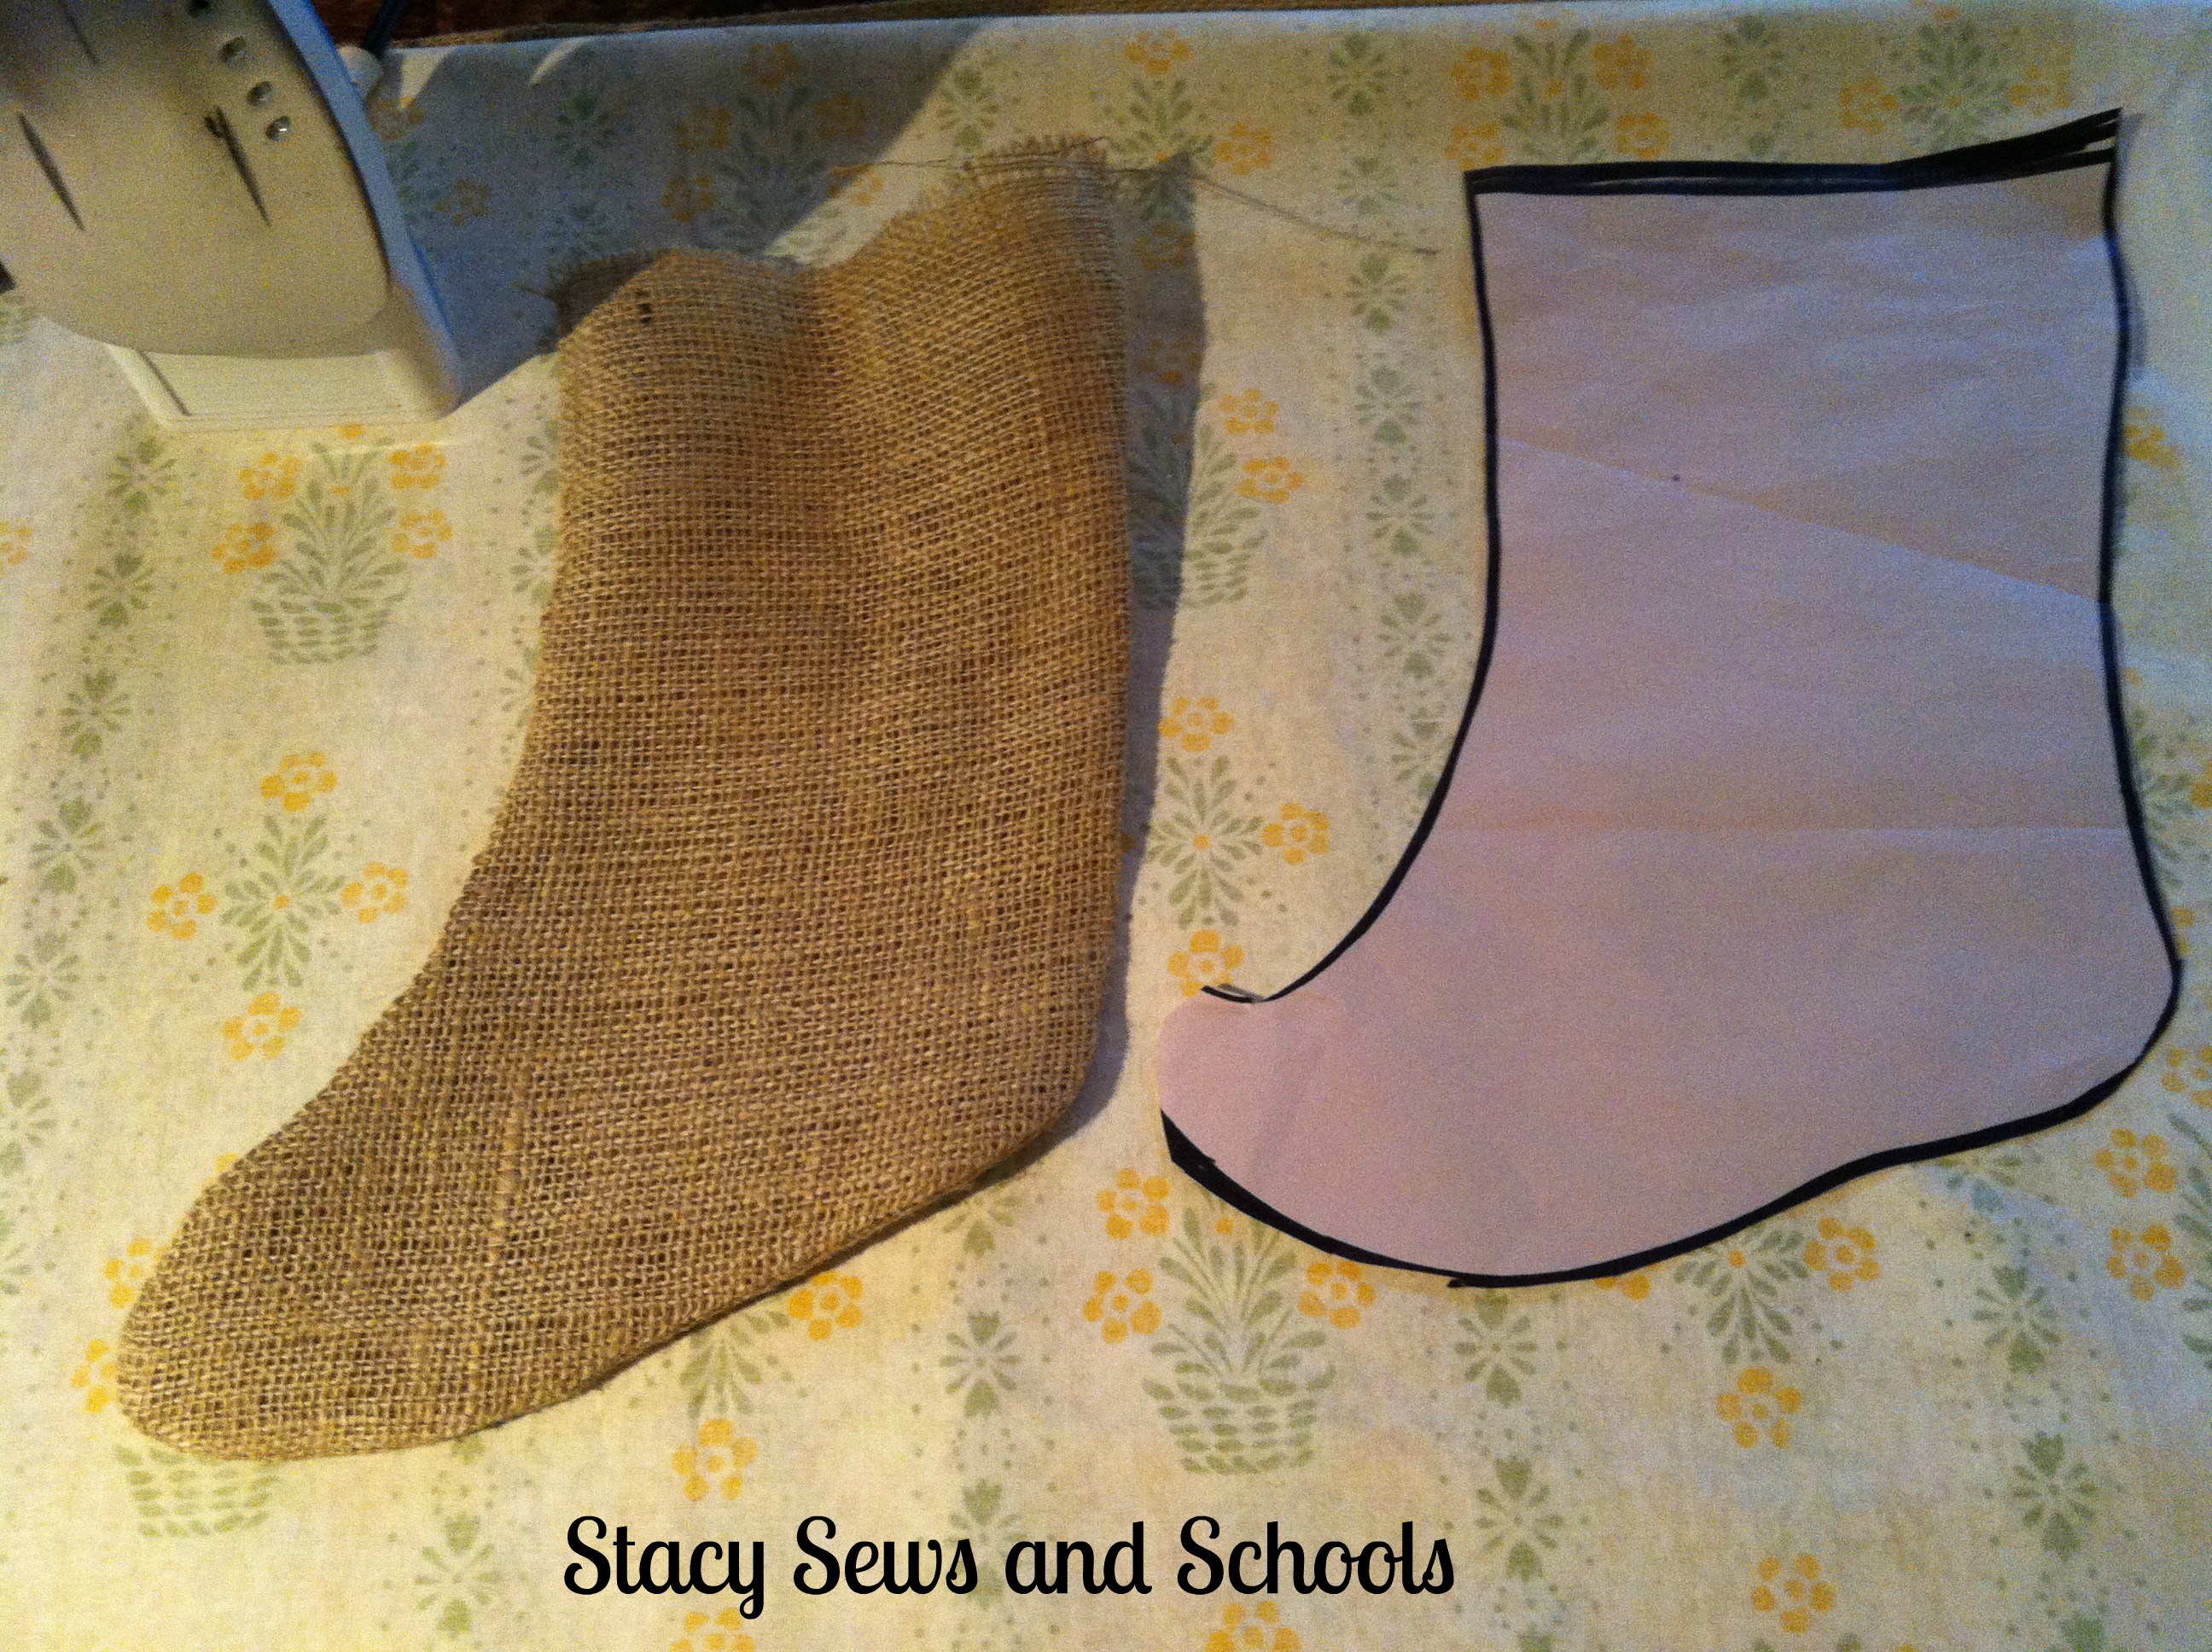
Sew or glue the front to the back.
Then hack off the curly toes when you realize that burlap is just too thick to turn right side out with that narrow of a space.... LOL
Now, that being said.... If you want to leave the stockings inside out, it DOES look really cute. The curly toes don't show up as well as expected but still very cute.
Too bad I didn't think about that BEFORE I got frustrated and hacked them off.....
Now, turn right side out and press. Use a cool iron if you've used hot glue. Or leave it inside out. ;)
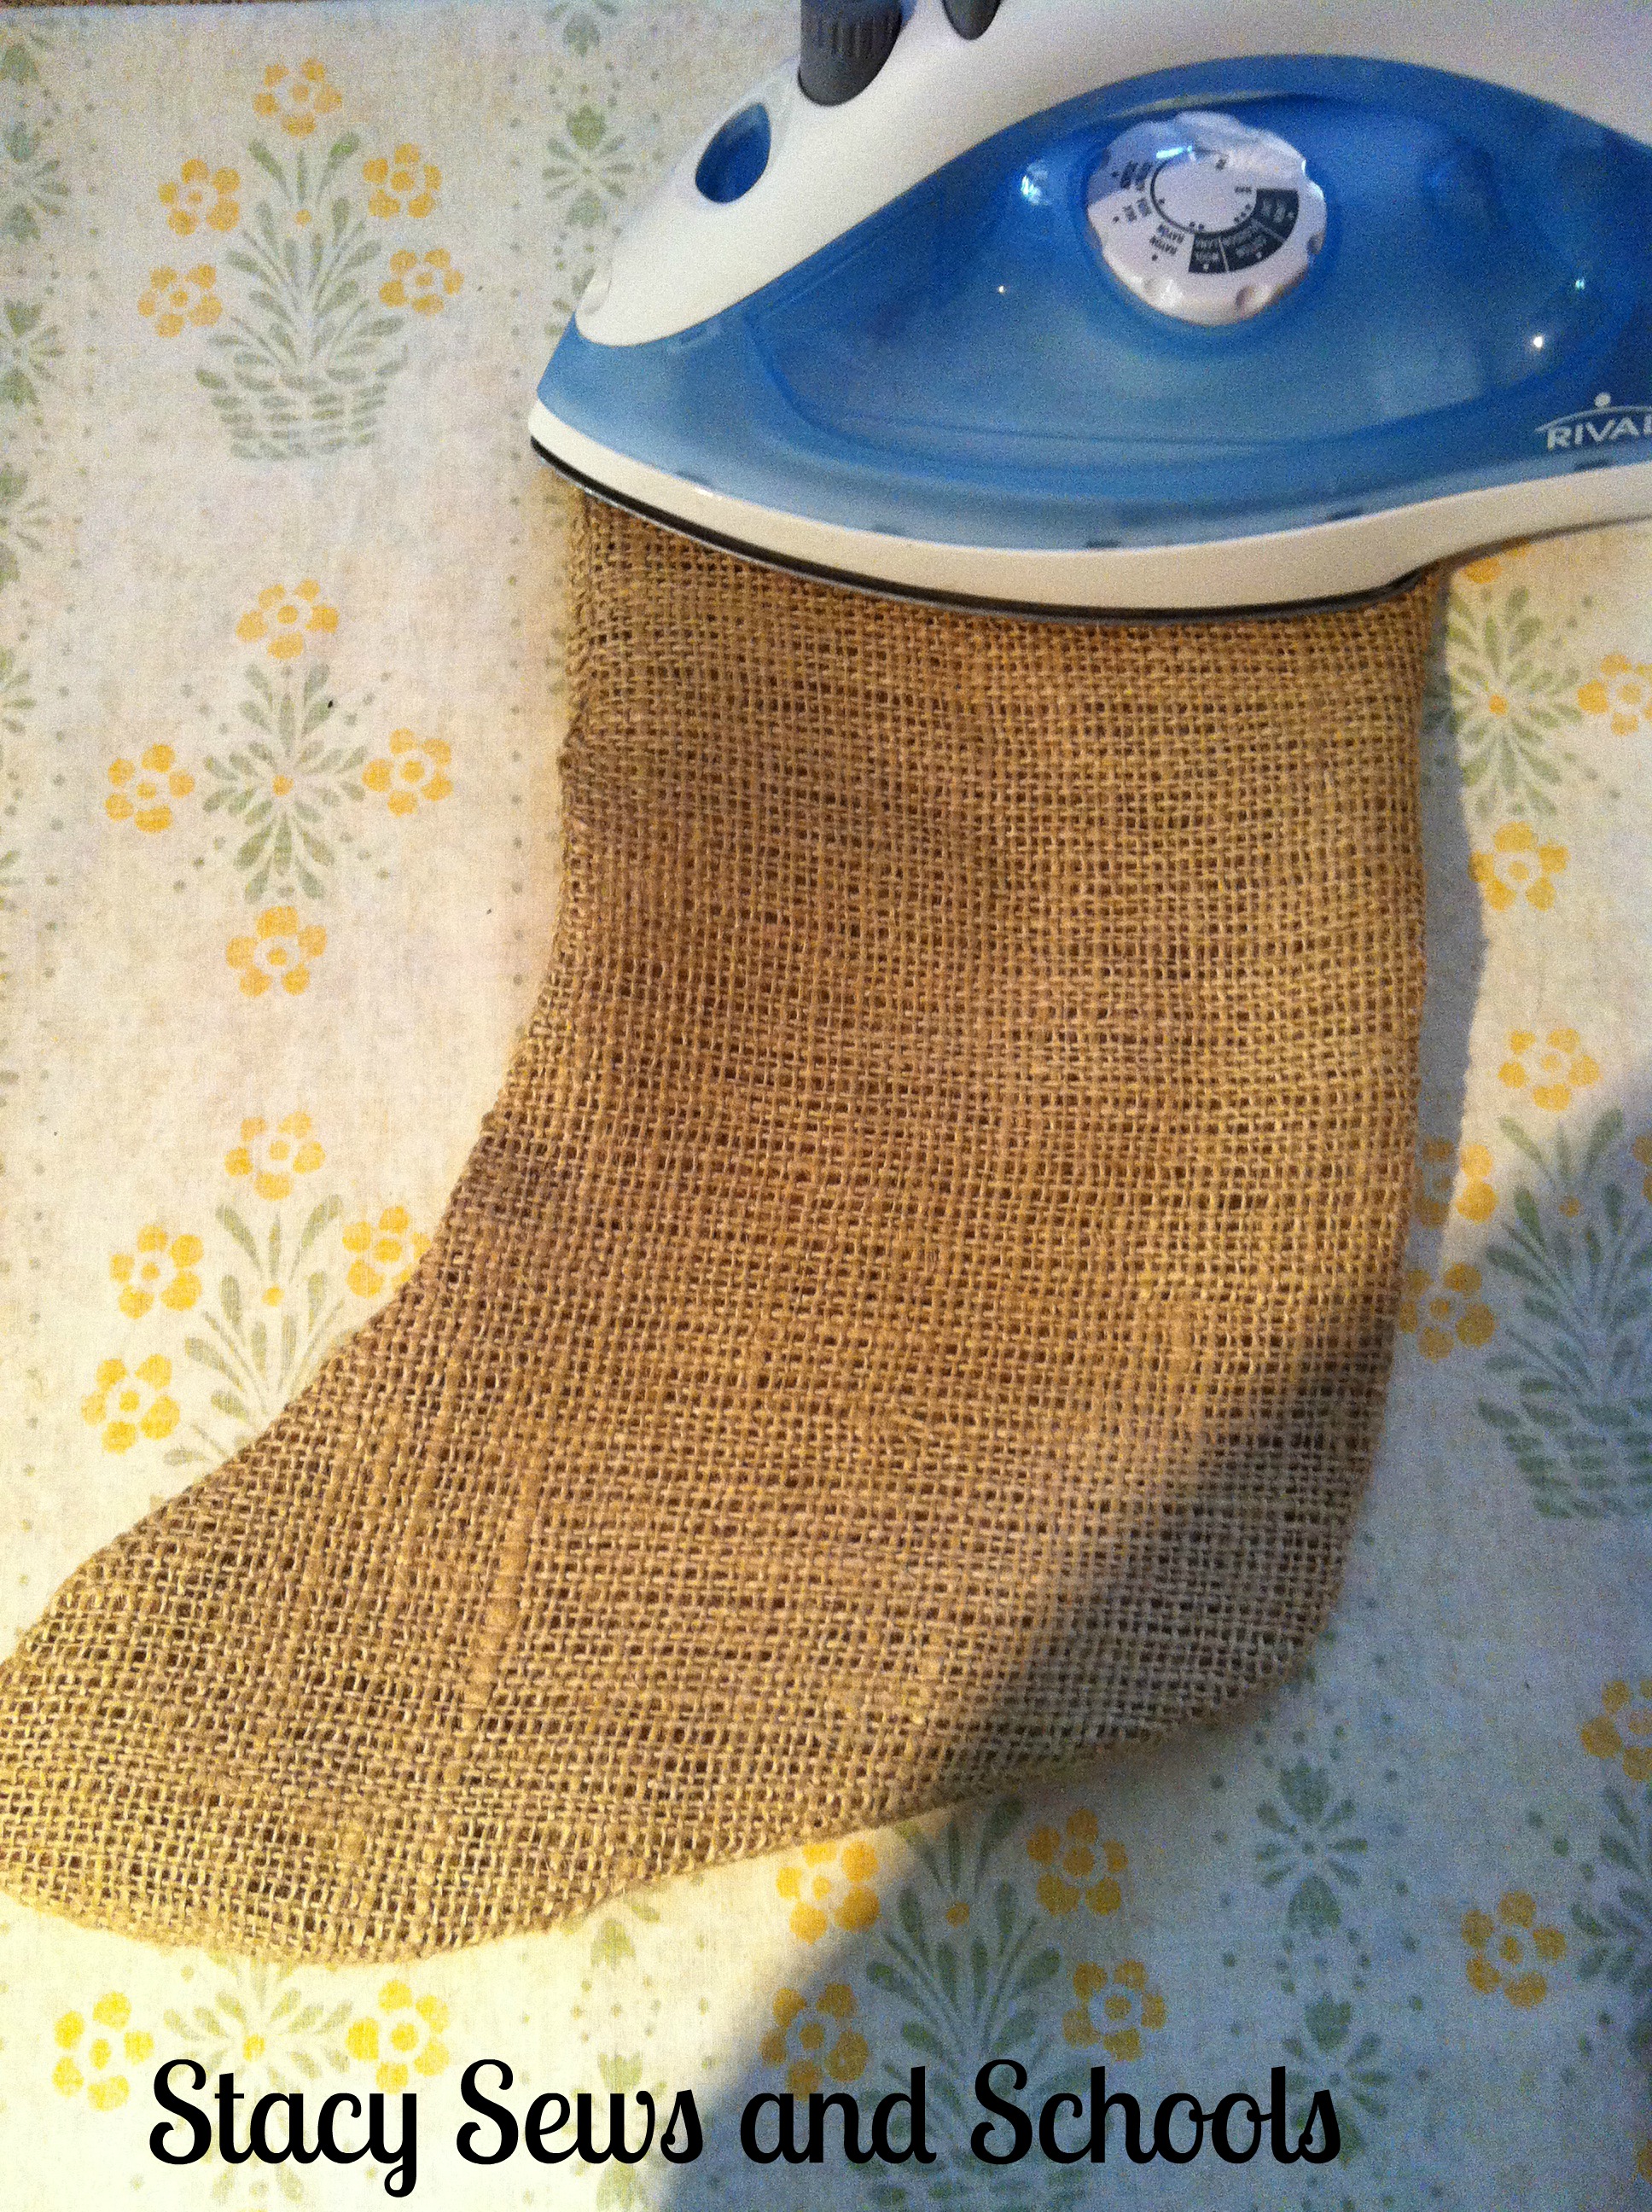
Turn the top in about 1/2 inch and press. Again, using a cool iron if you've used hot glue.
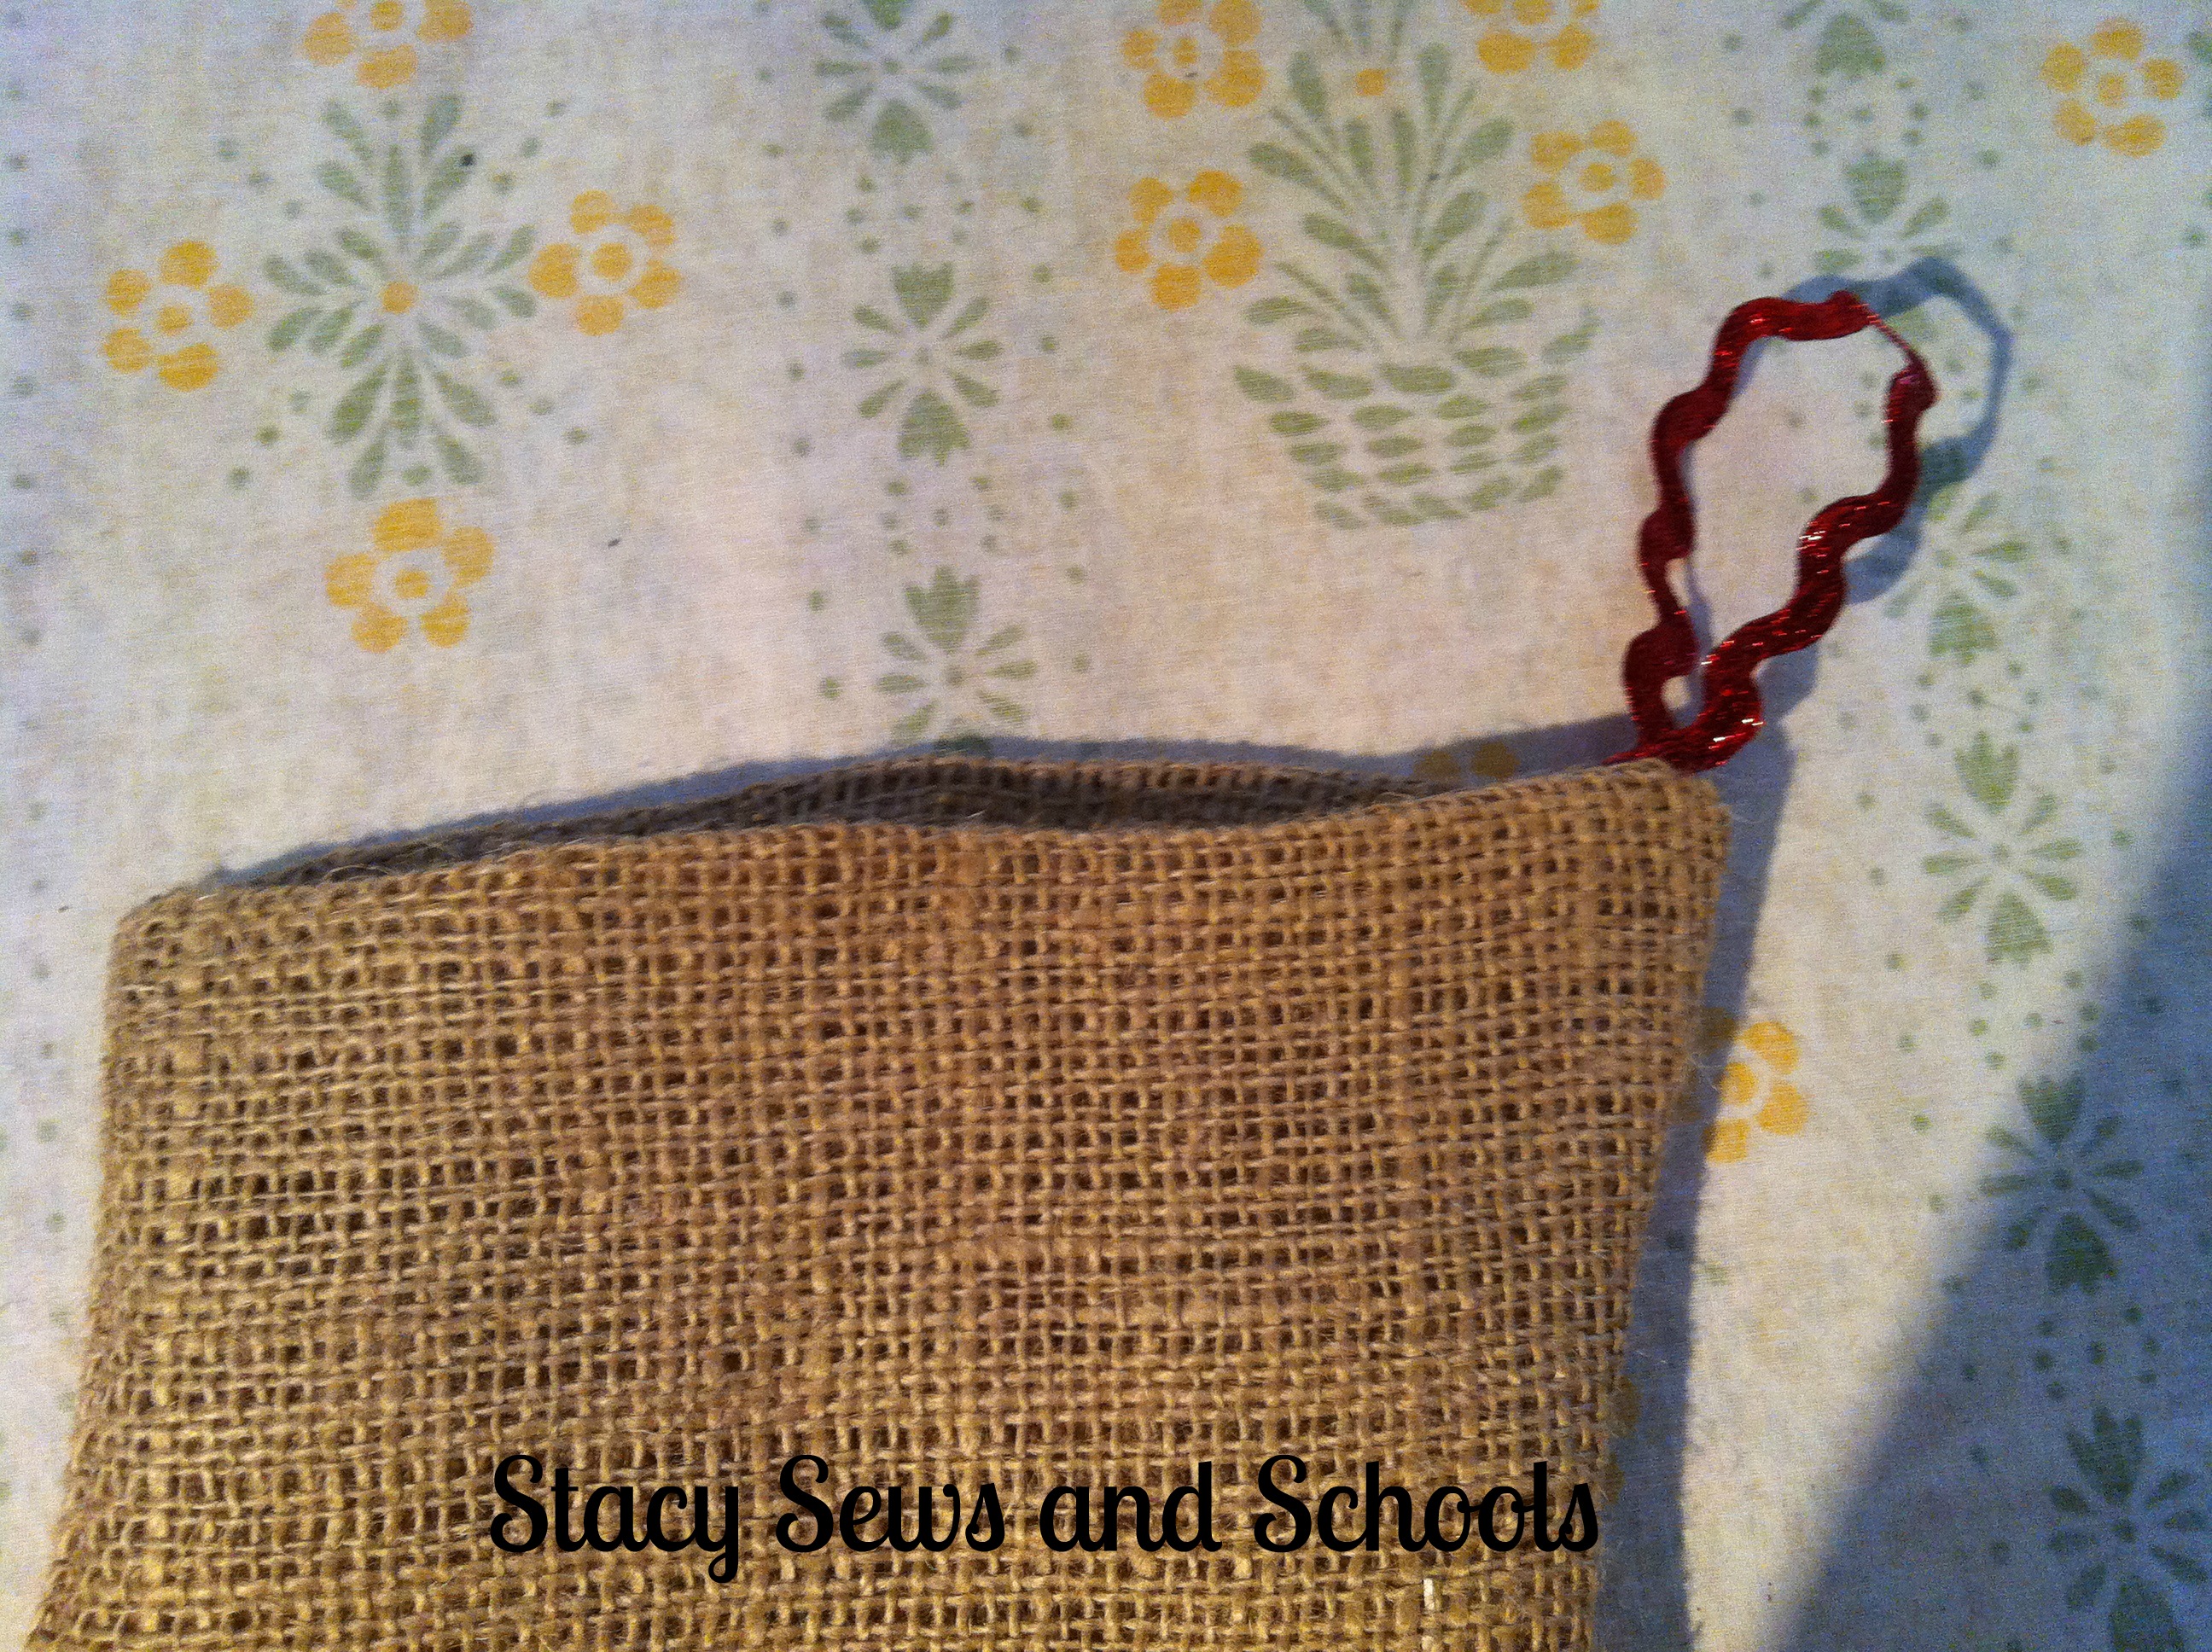
Now, cut a small piece of the rickrack and pin in place OR hot glue in place.
Then either sew the top under and the rickrack in place or glue the top under.
This one I did with the sewing machine. The other 3 I just glued. Either way works just as well as the other.
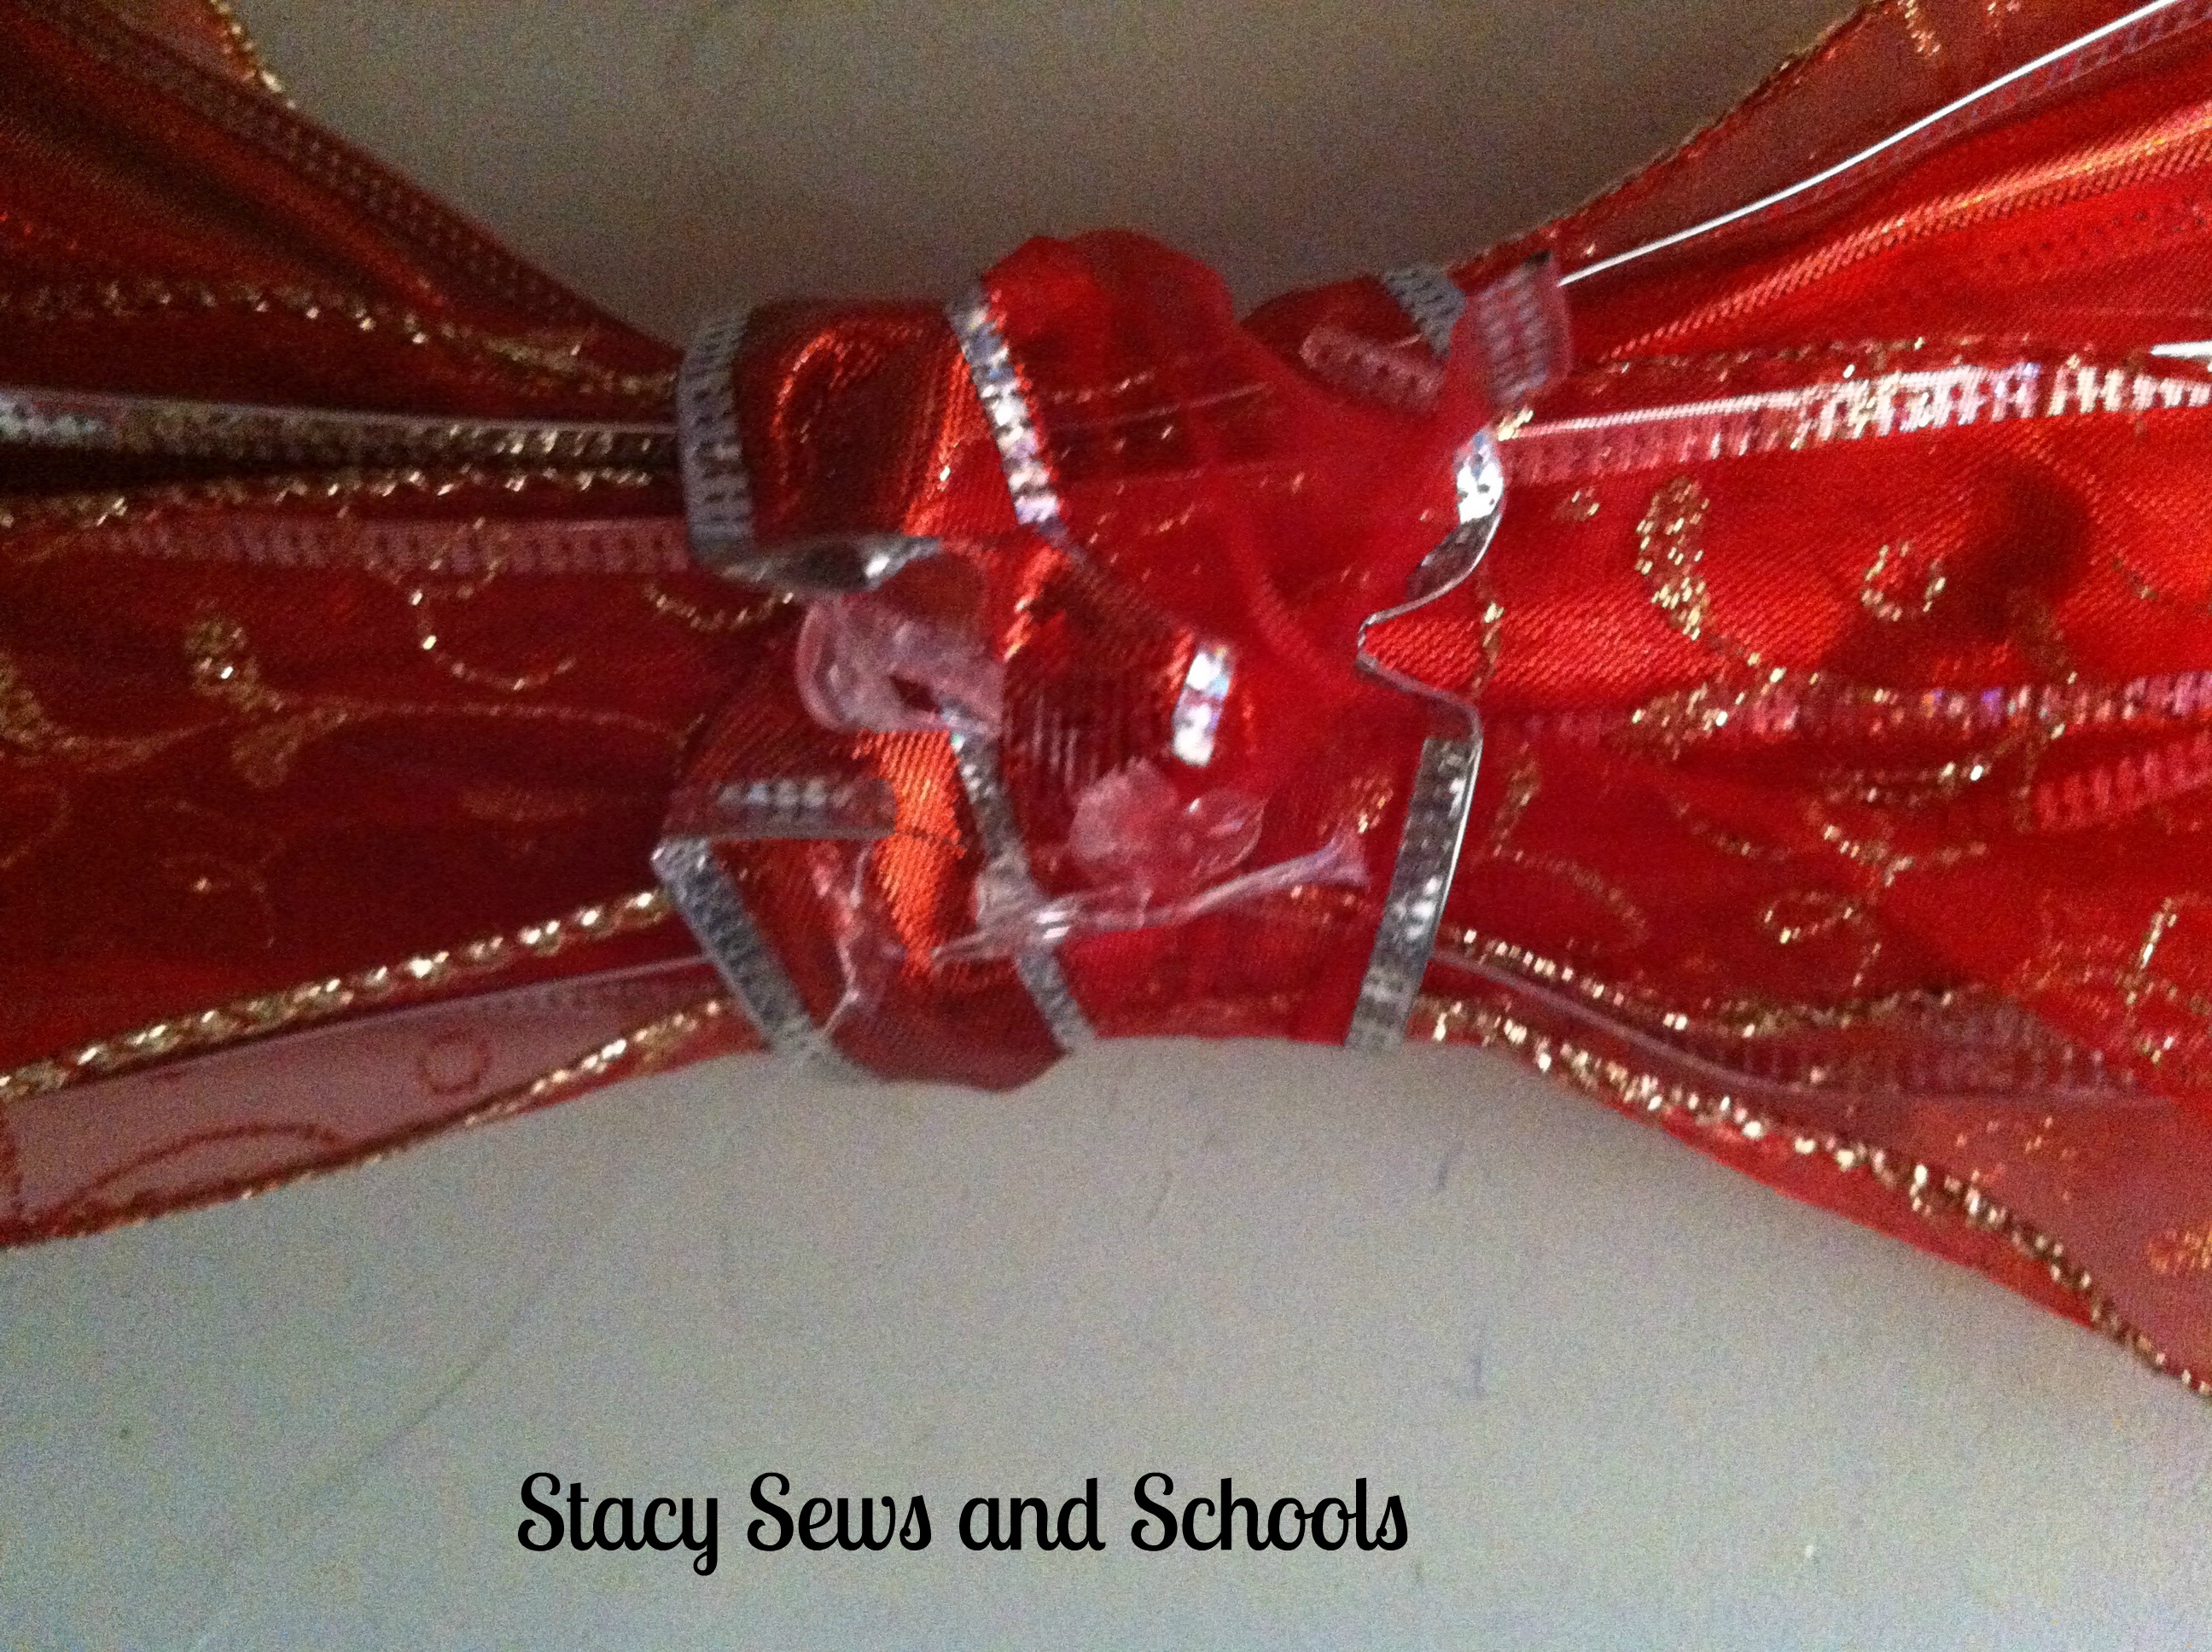
Cut your ribbons to make as big a bow as you like. Cut a smaller piece, about 3 ", to use for the middle. Wrap it around the center of your bow and glue or sew it in place.
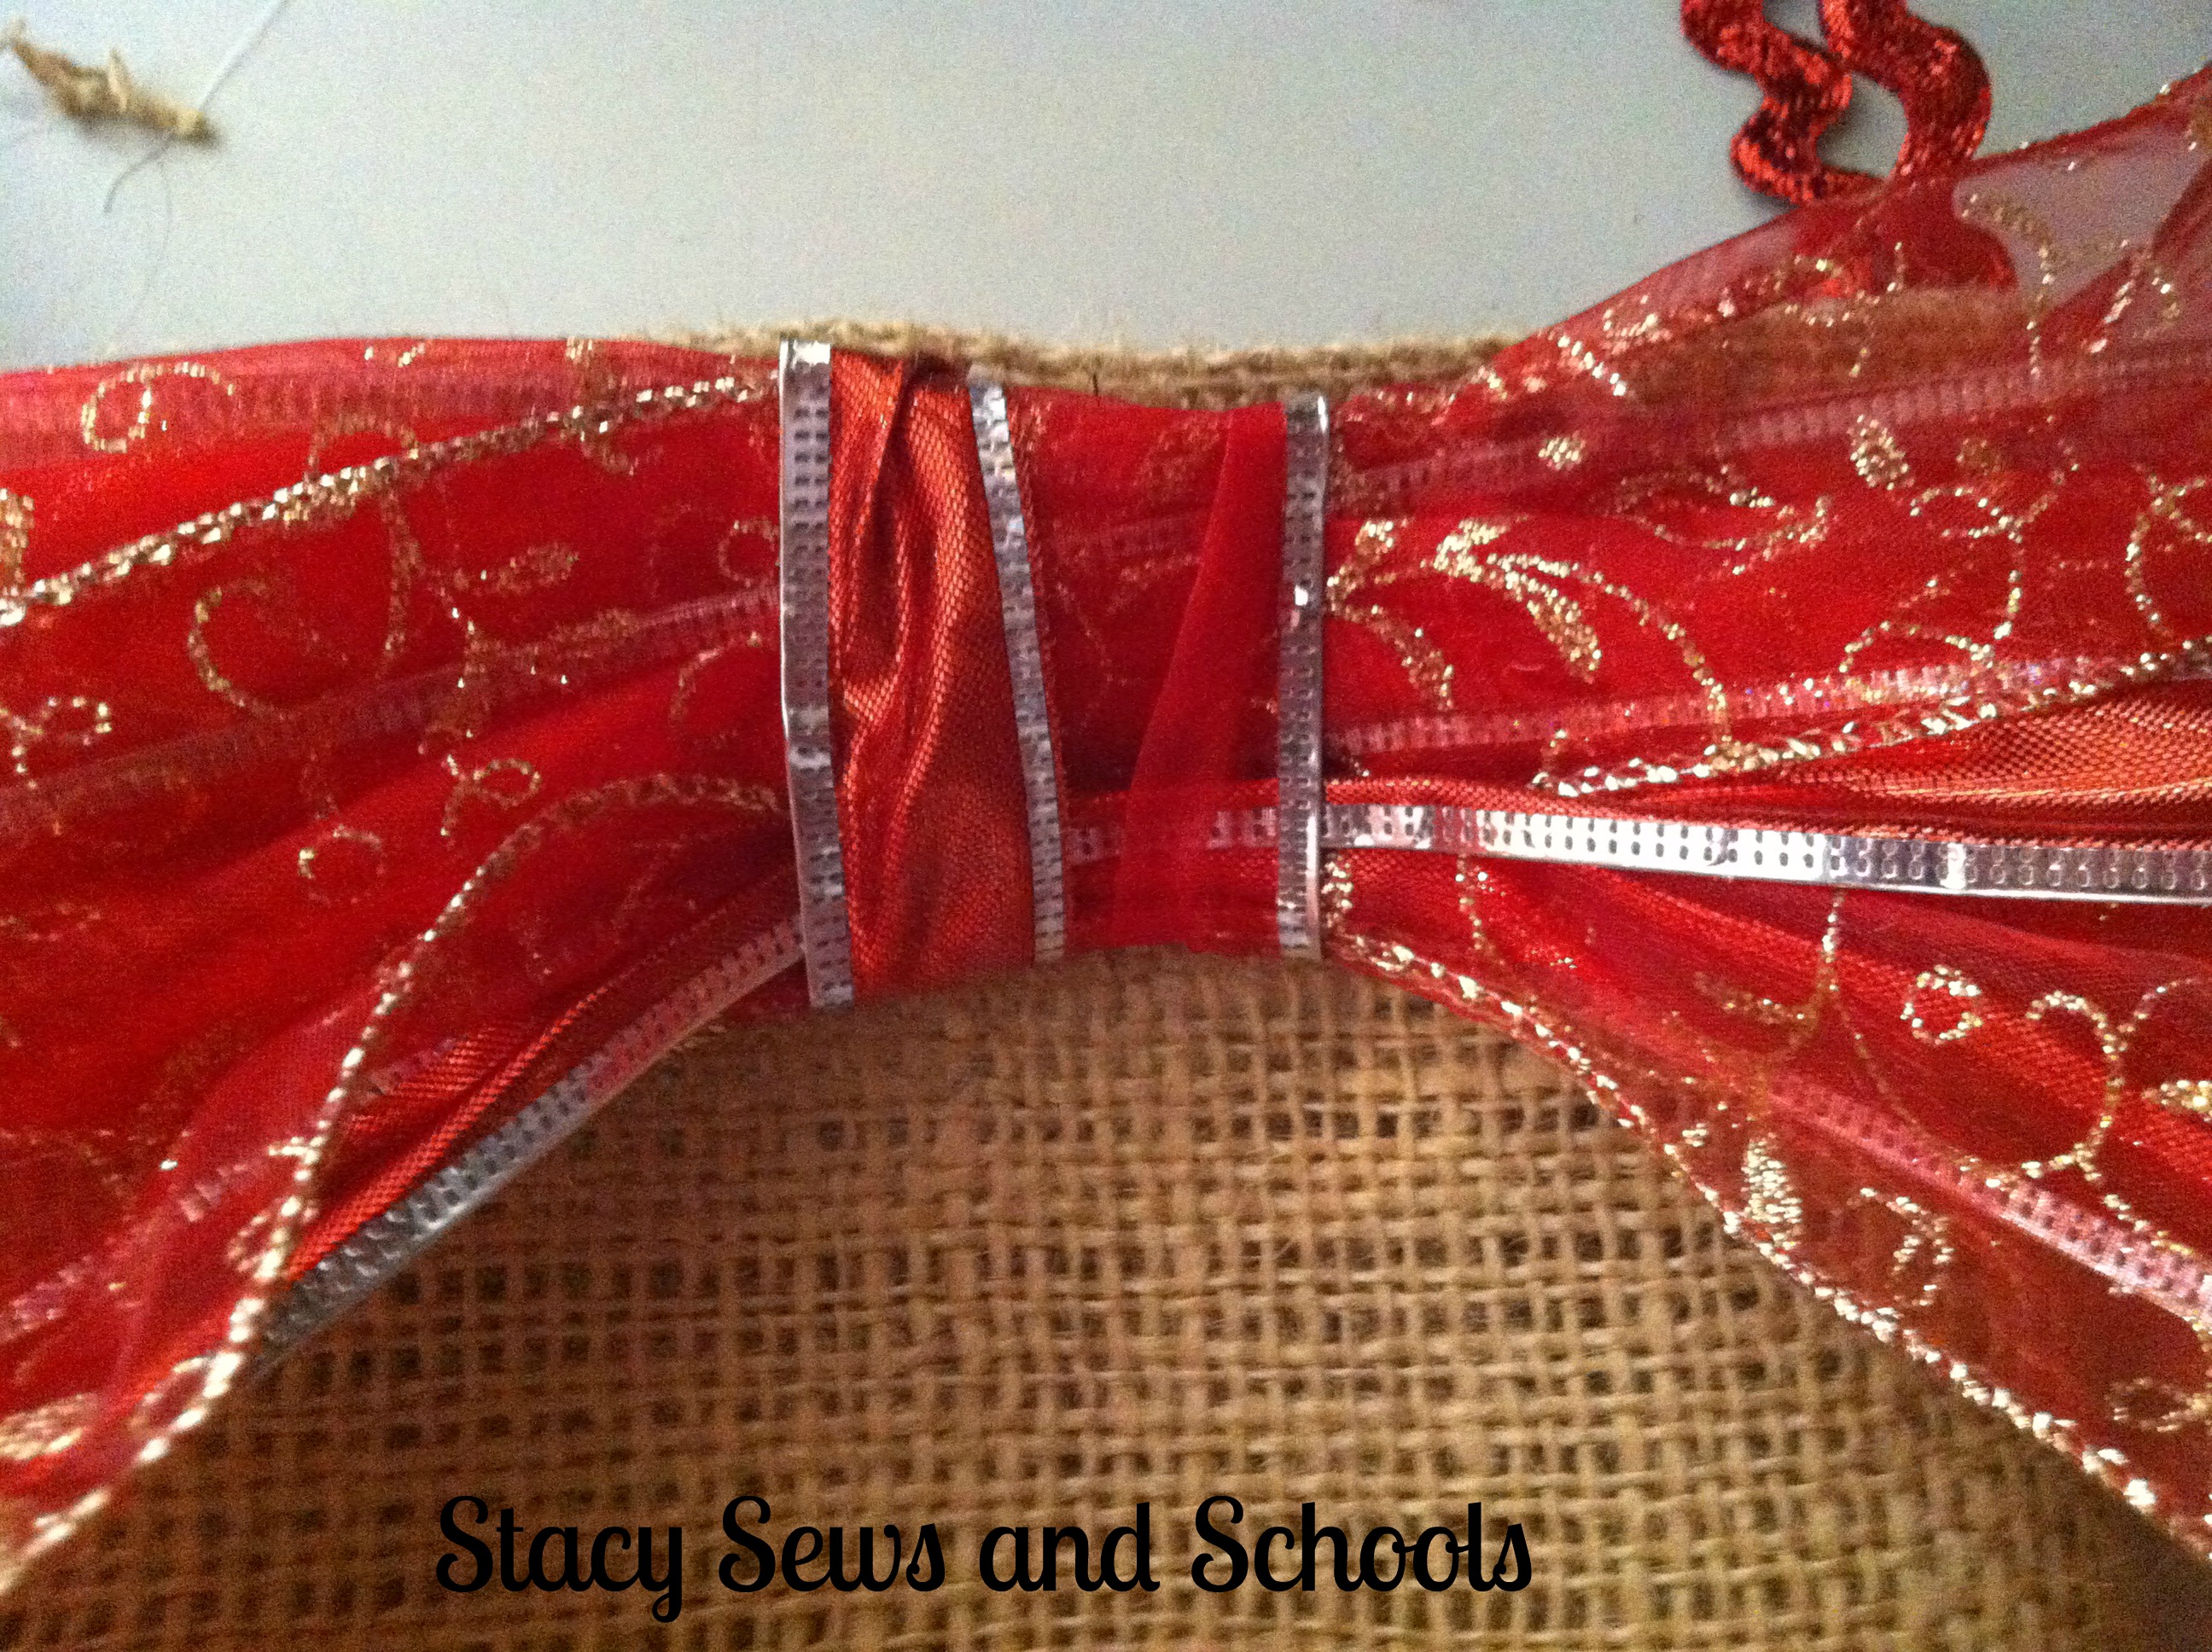
Glue or sew your bow in place. Then adjust the ribbons. ;)
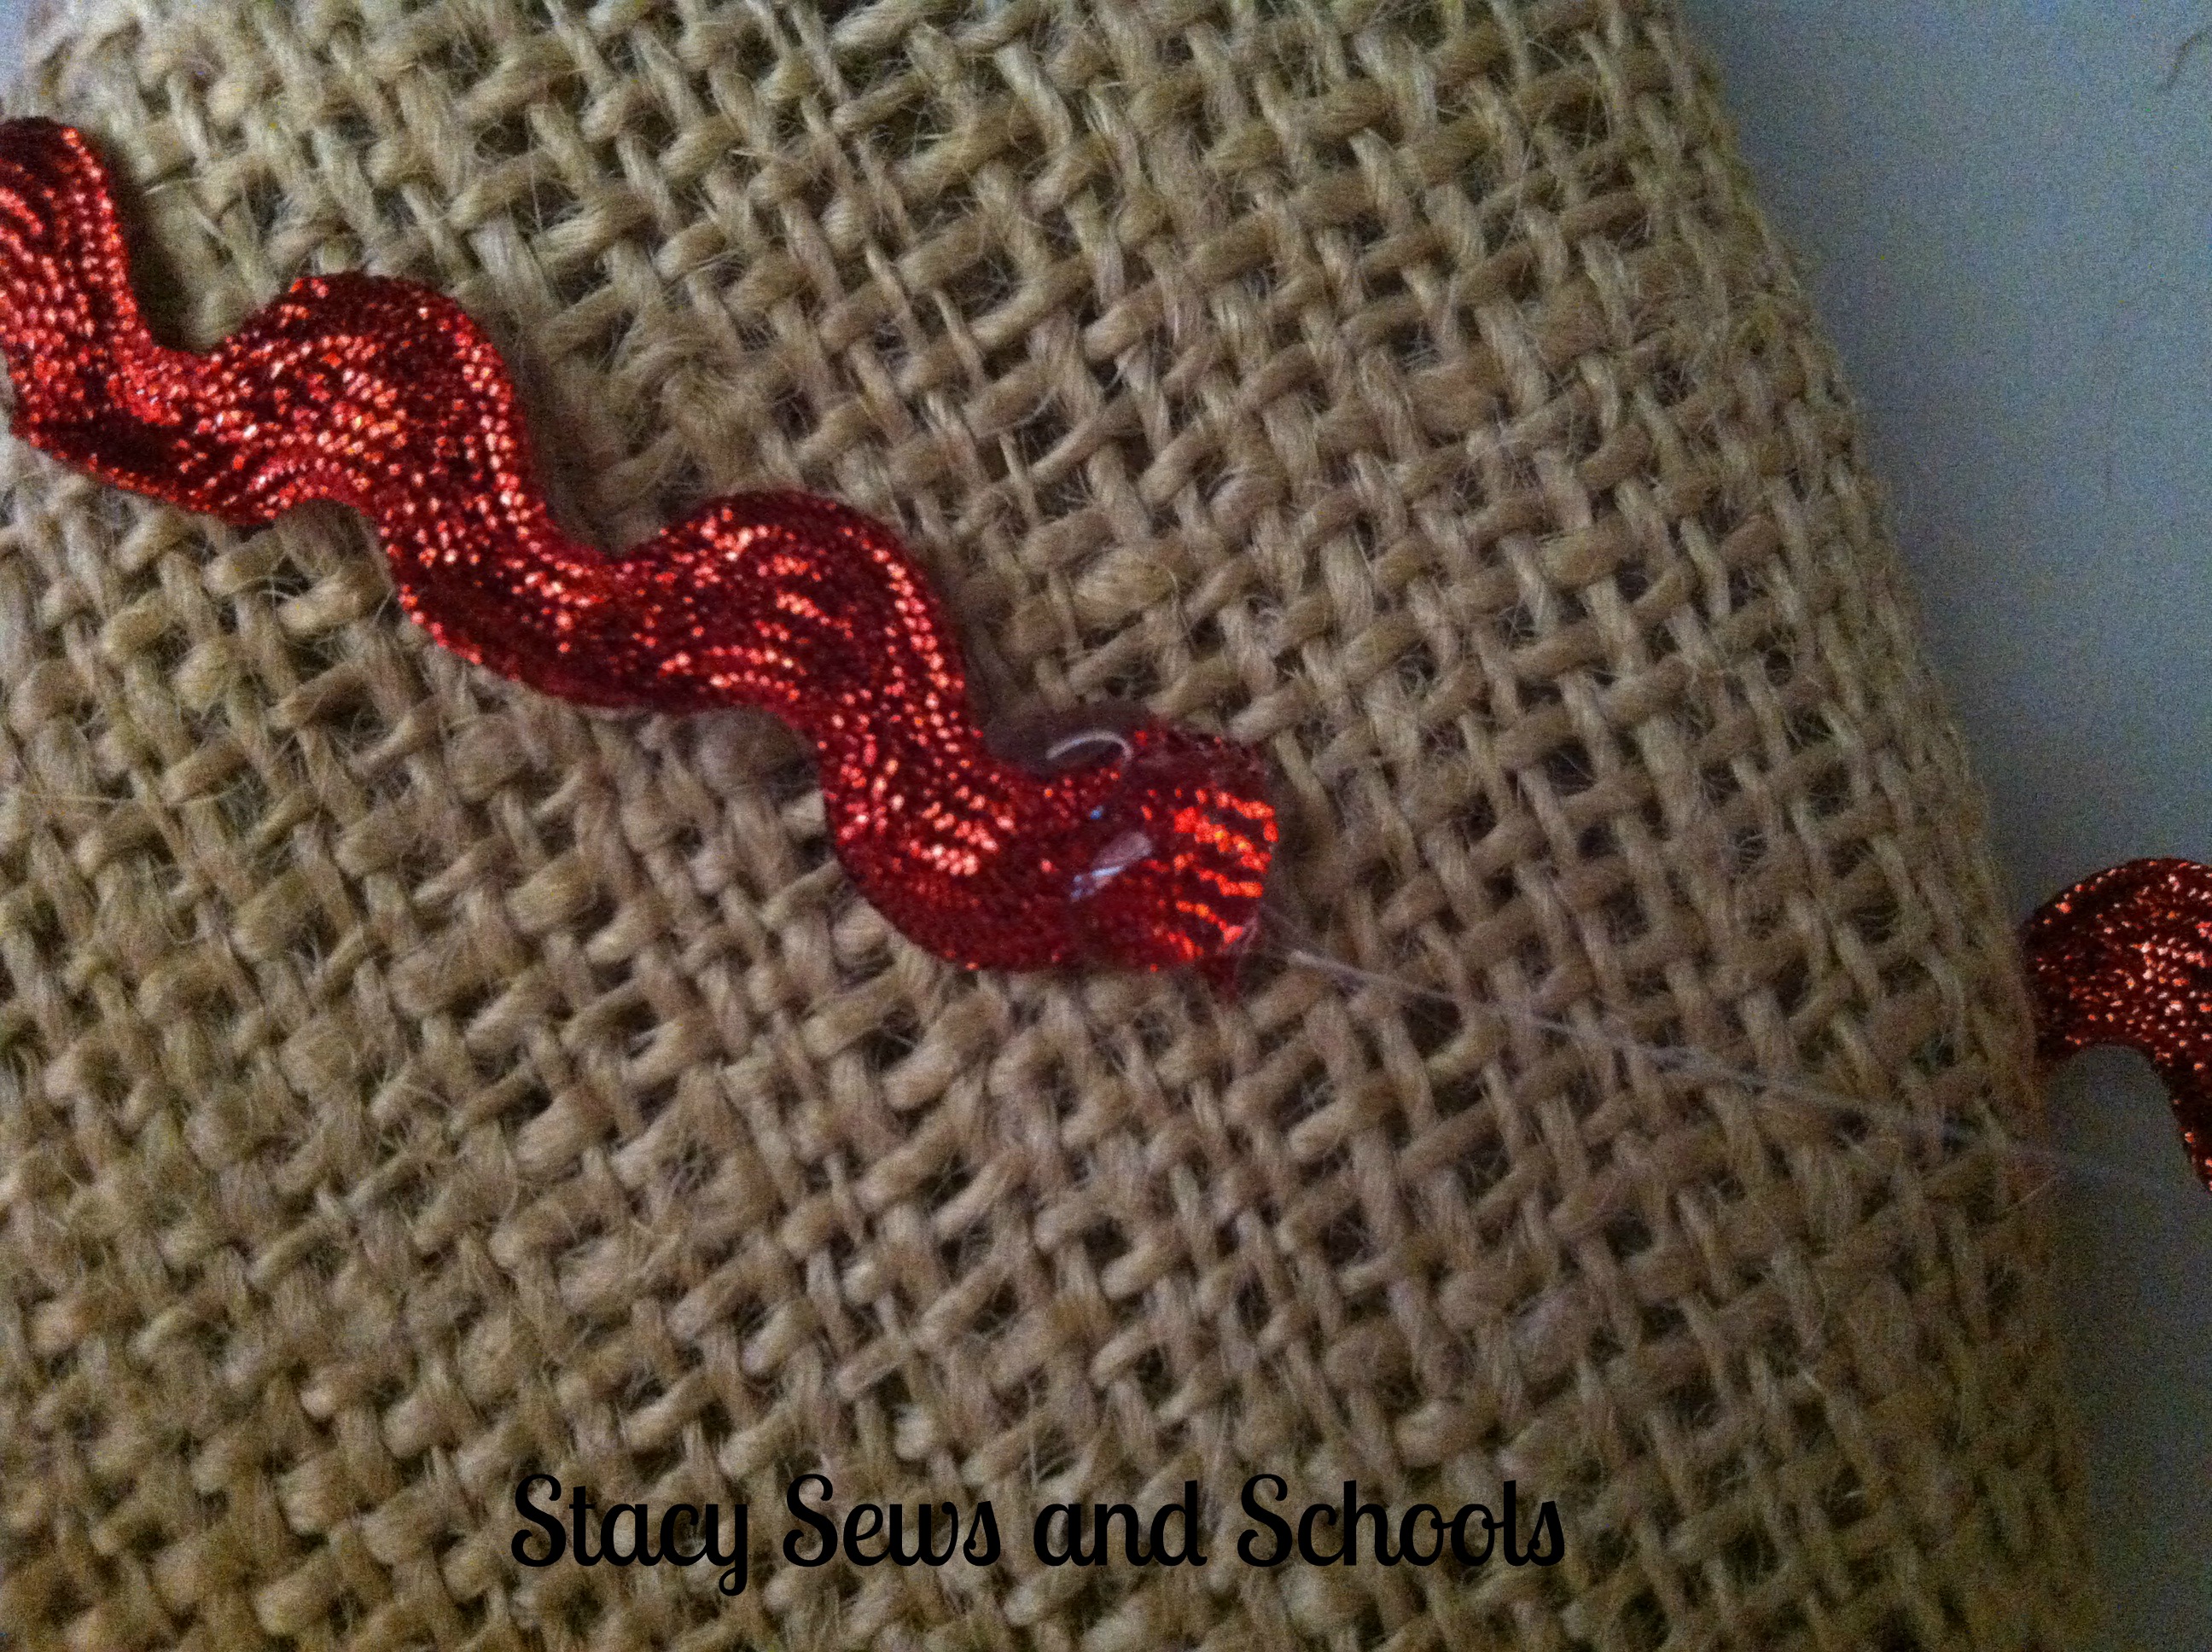
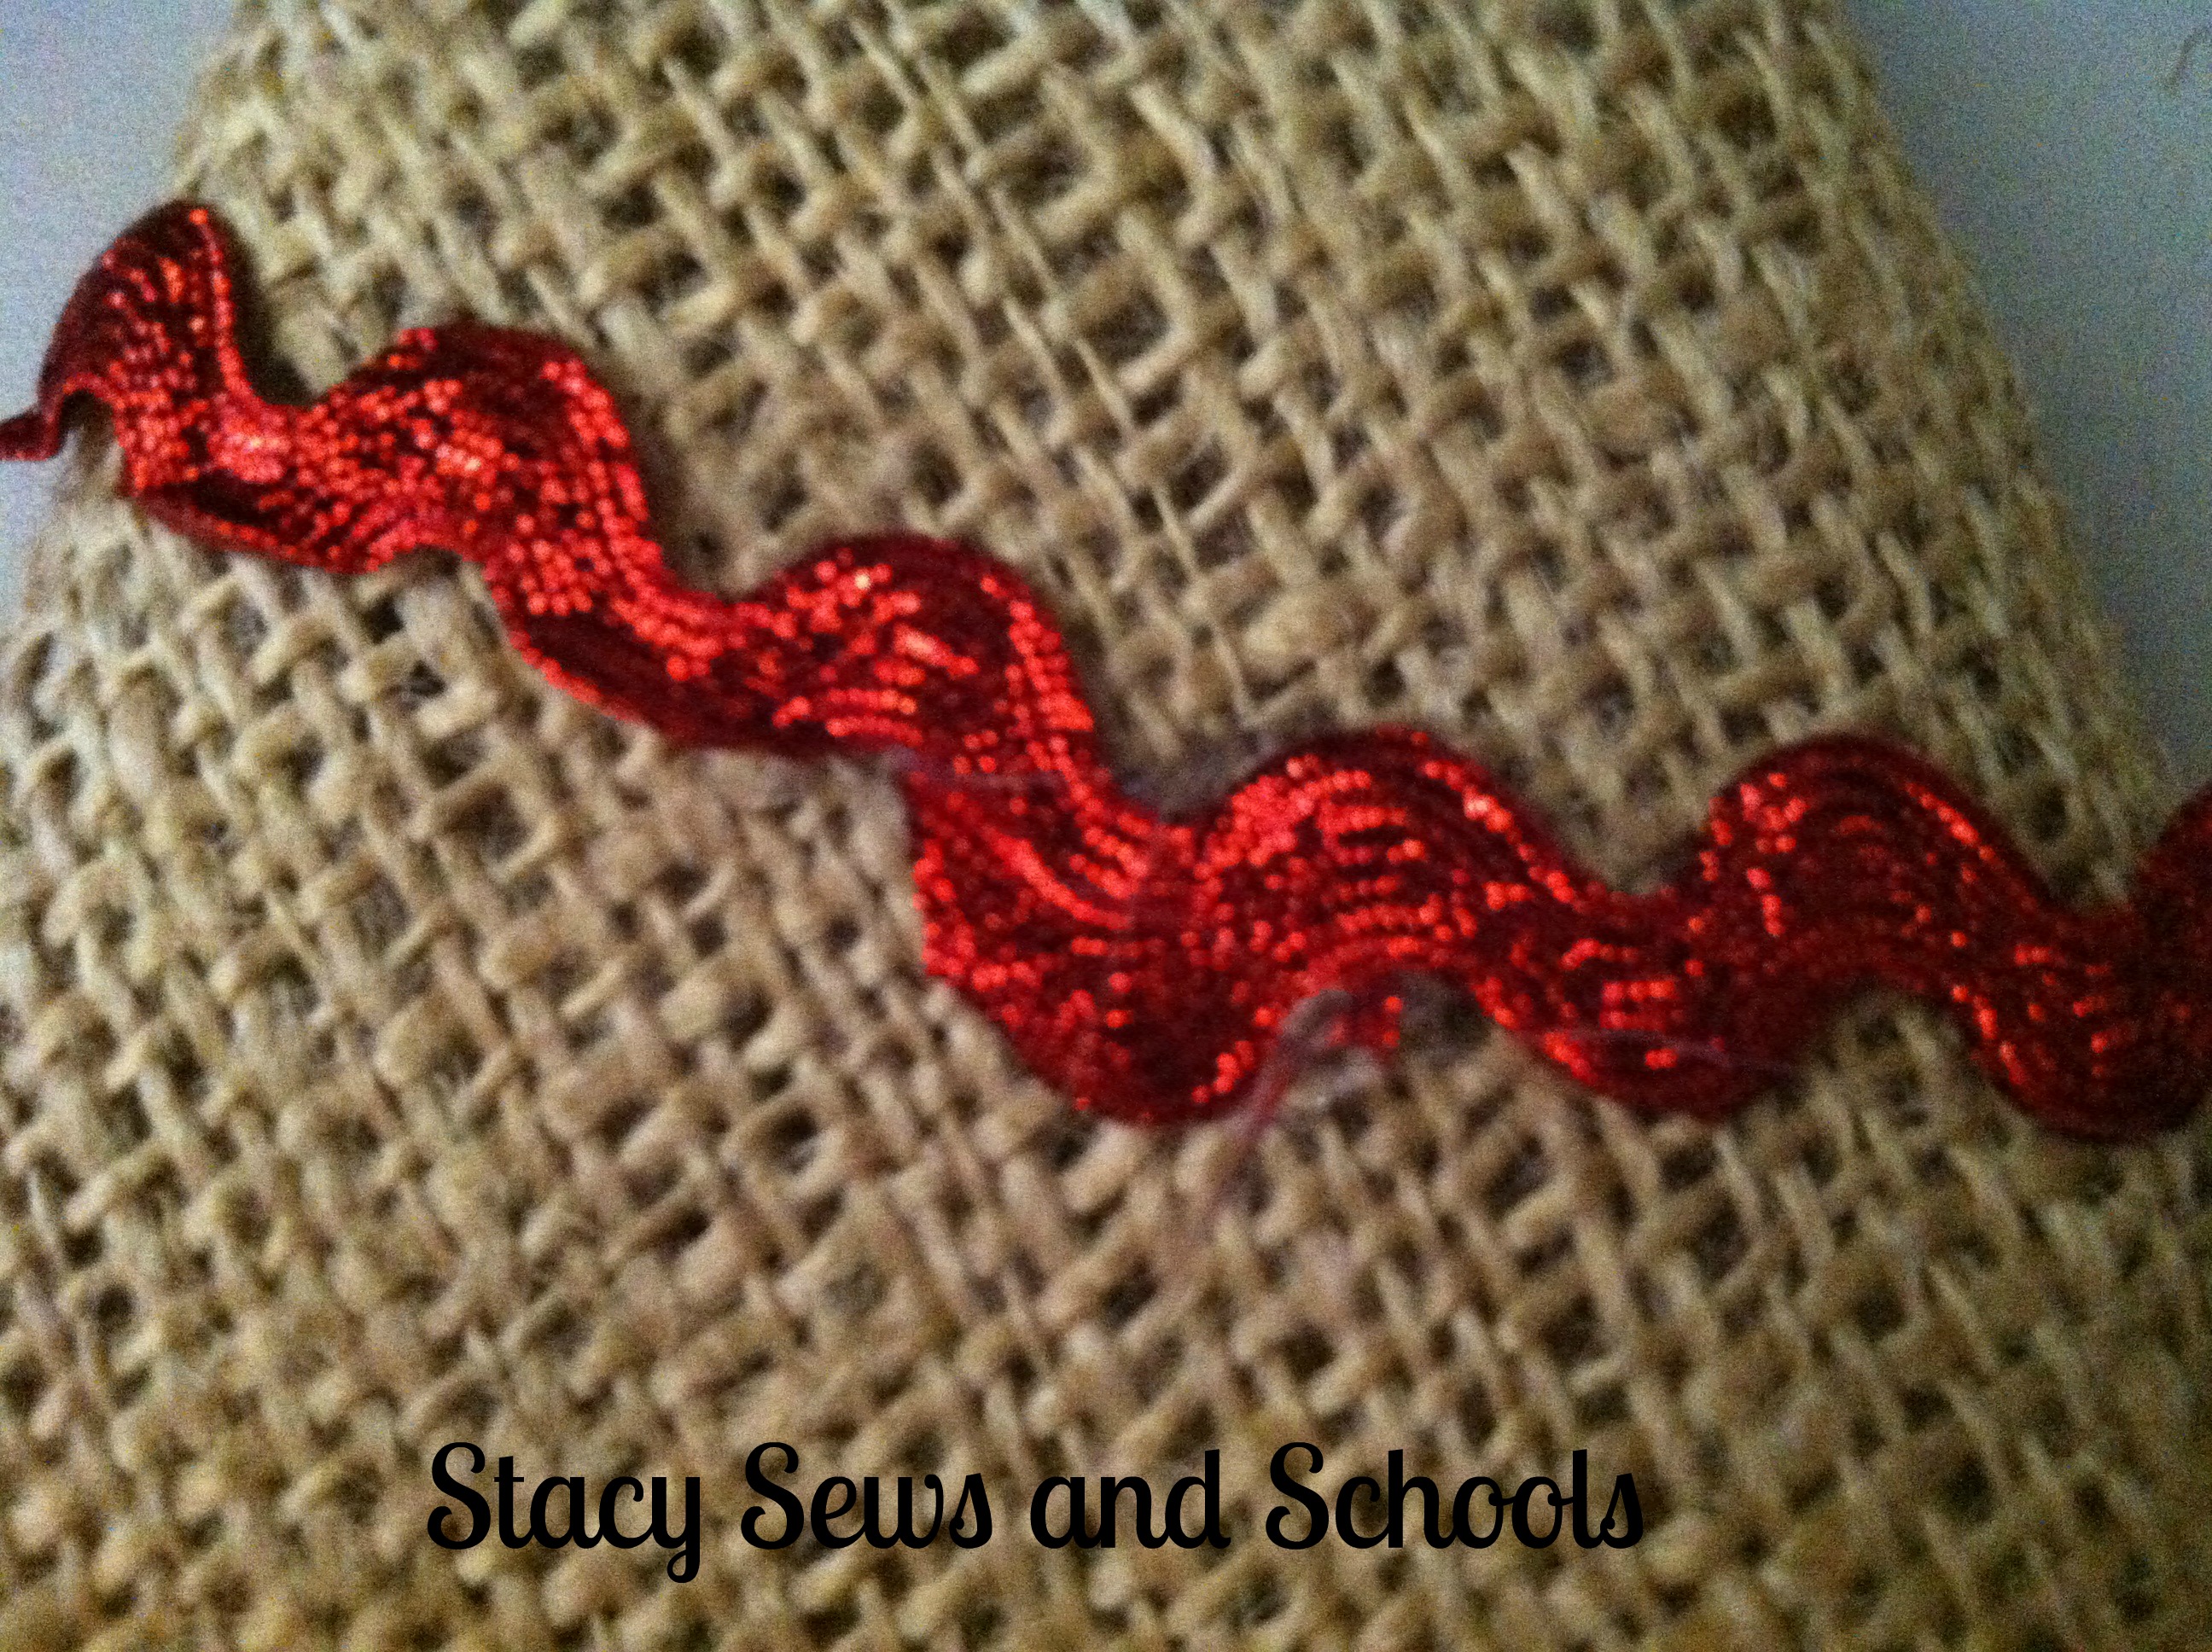
Measure out the rickrack to go around the toes, cut and glue in place.
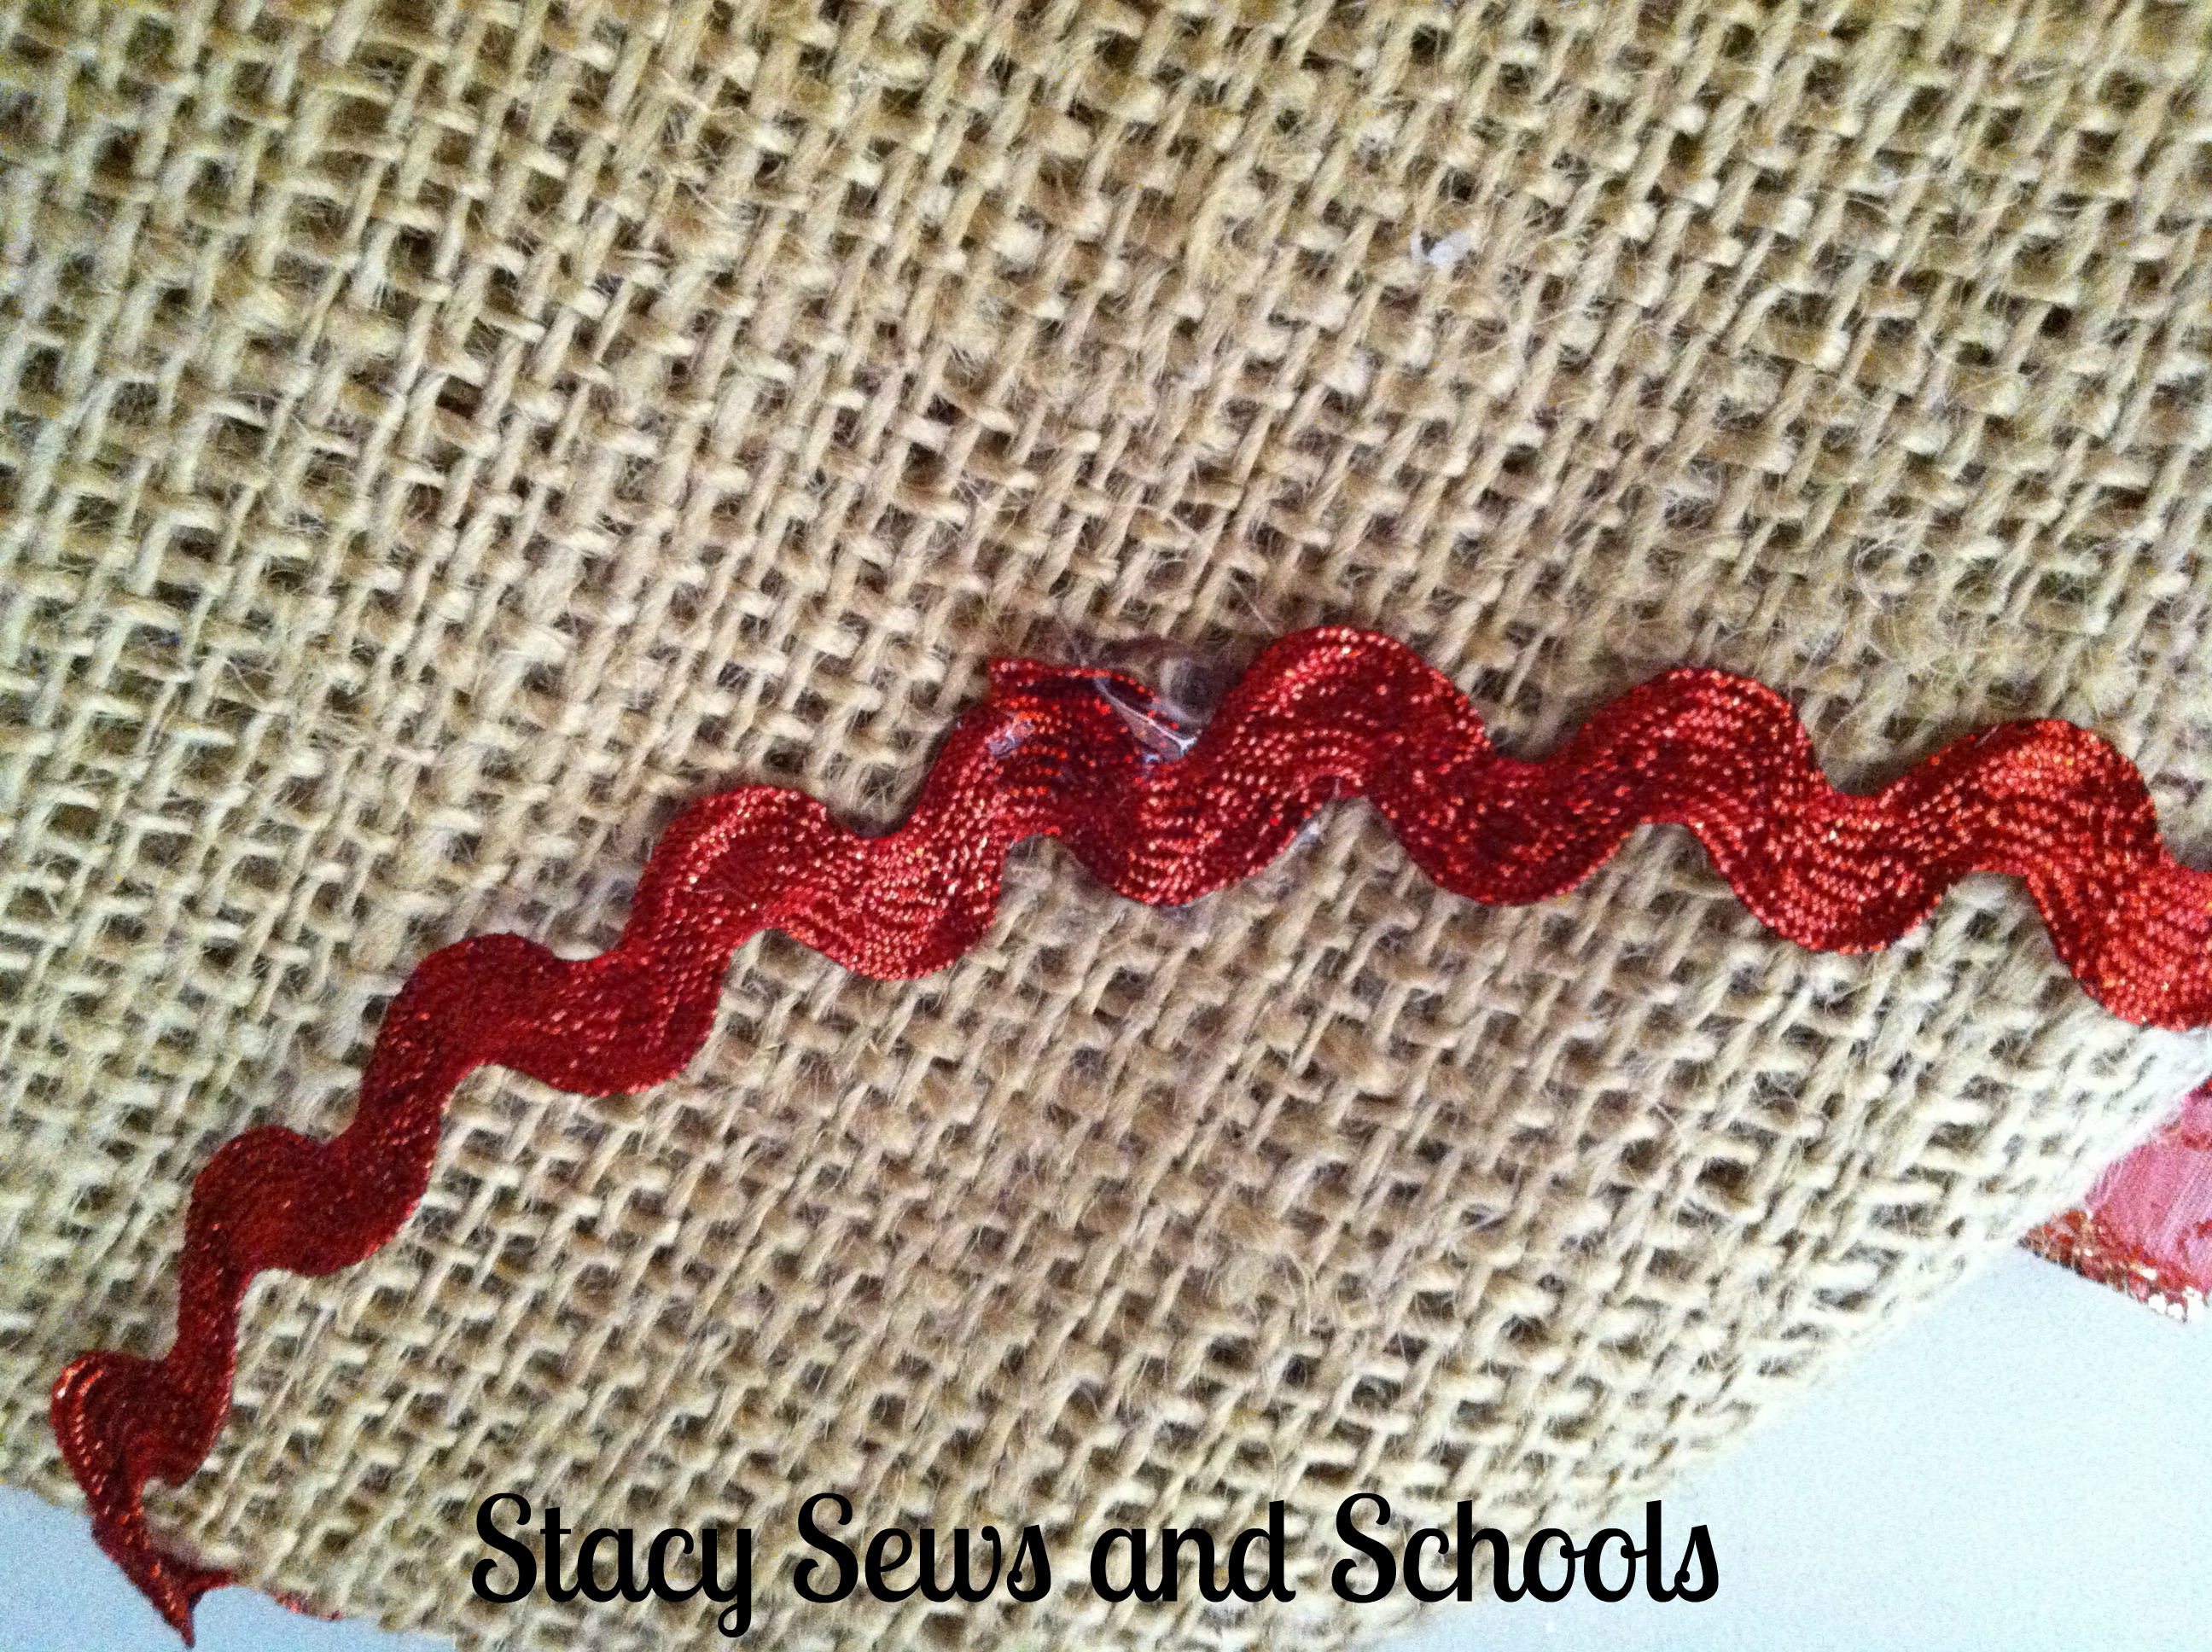
Now do the same for the heel!
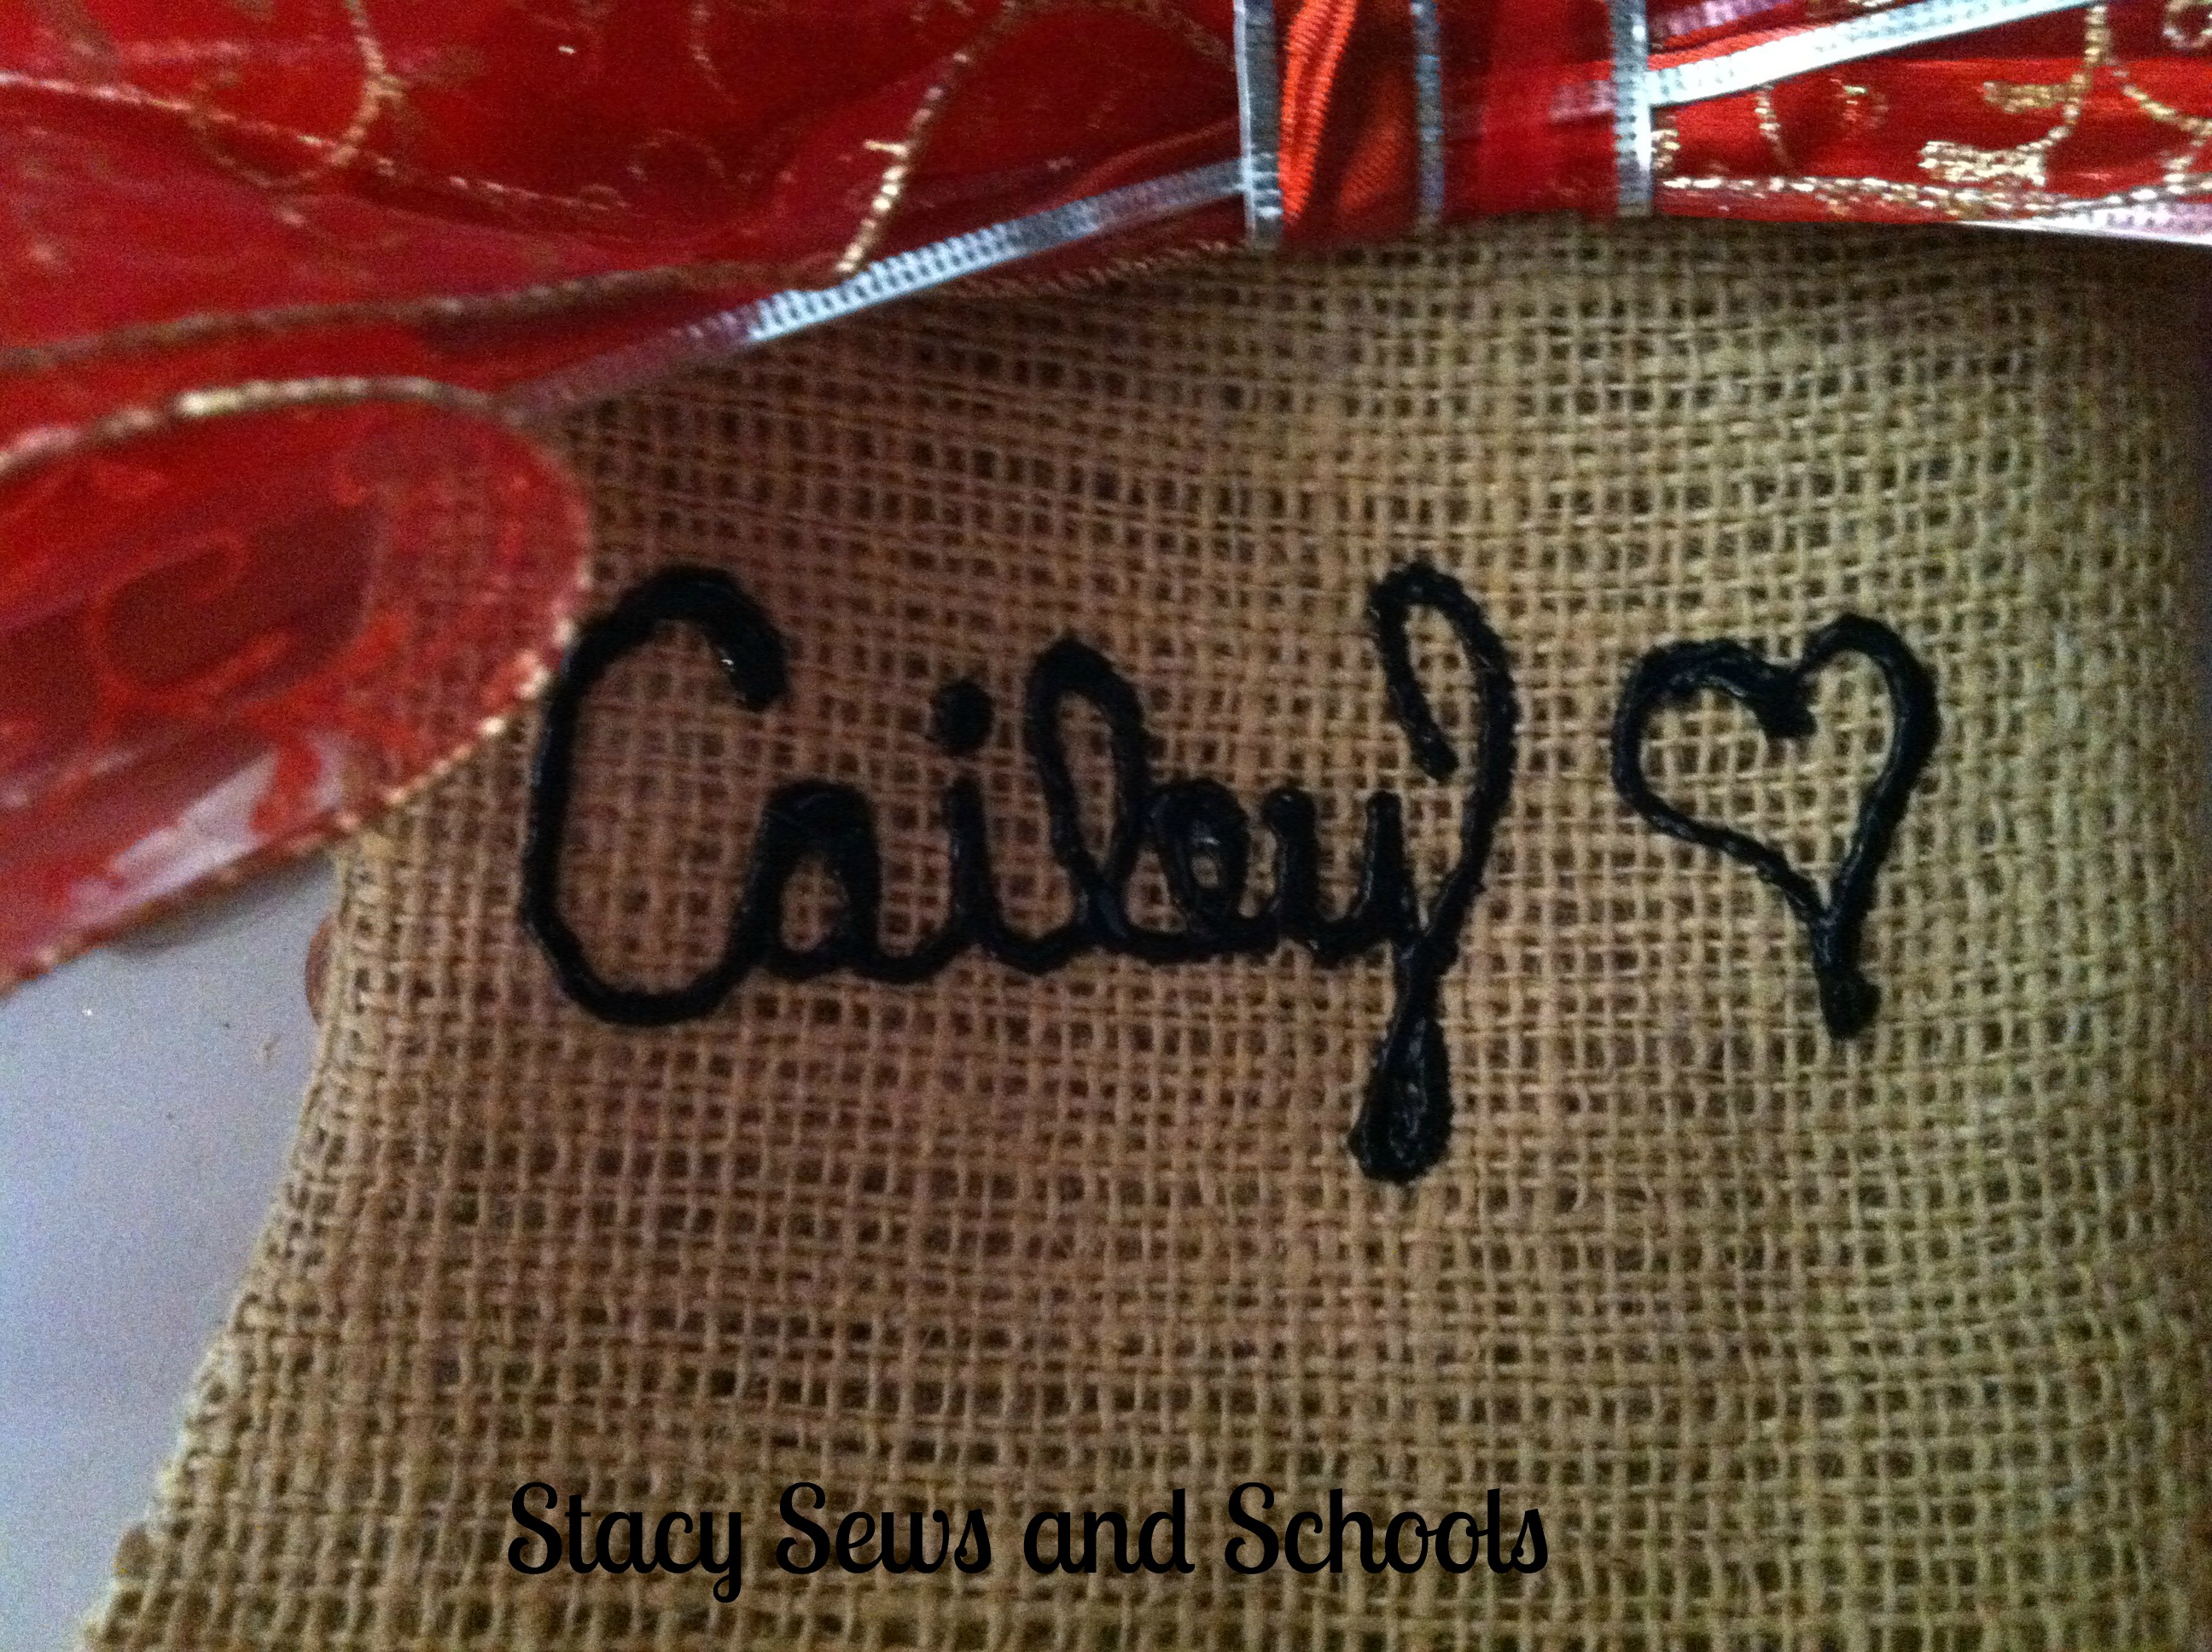
Then write the name with the puffy paint!
It takes about 4 hrs for the paint to dry so I would suggest putting it up somewhere that the cats can't get to...... ;)
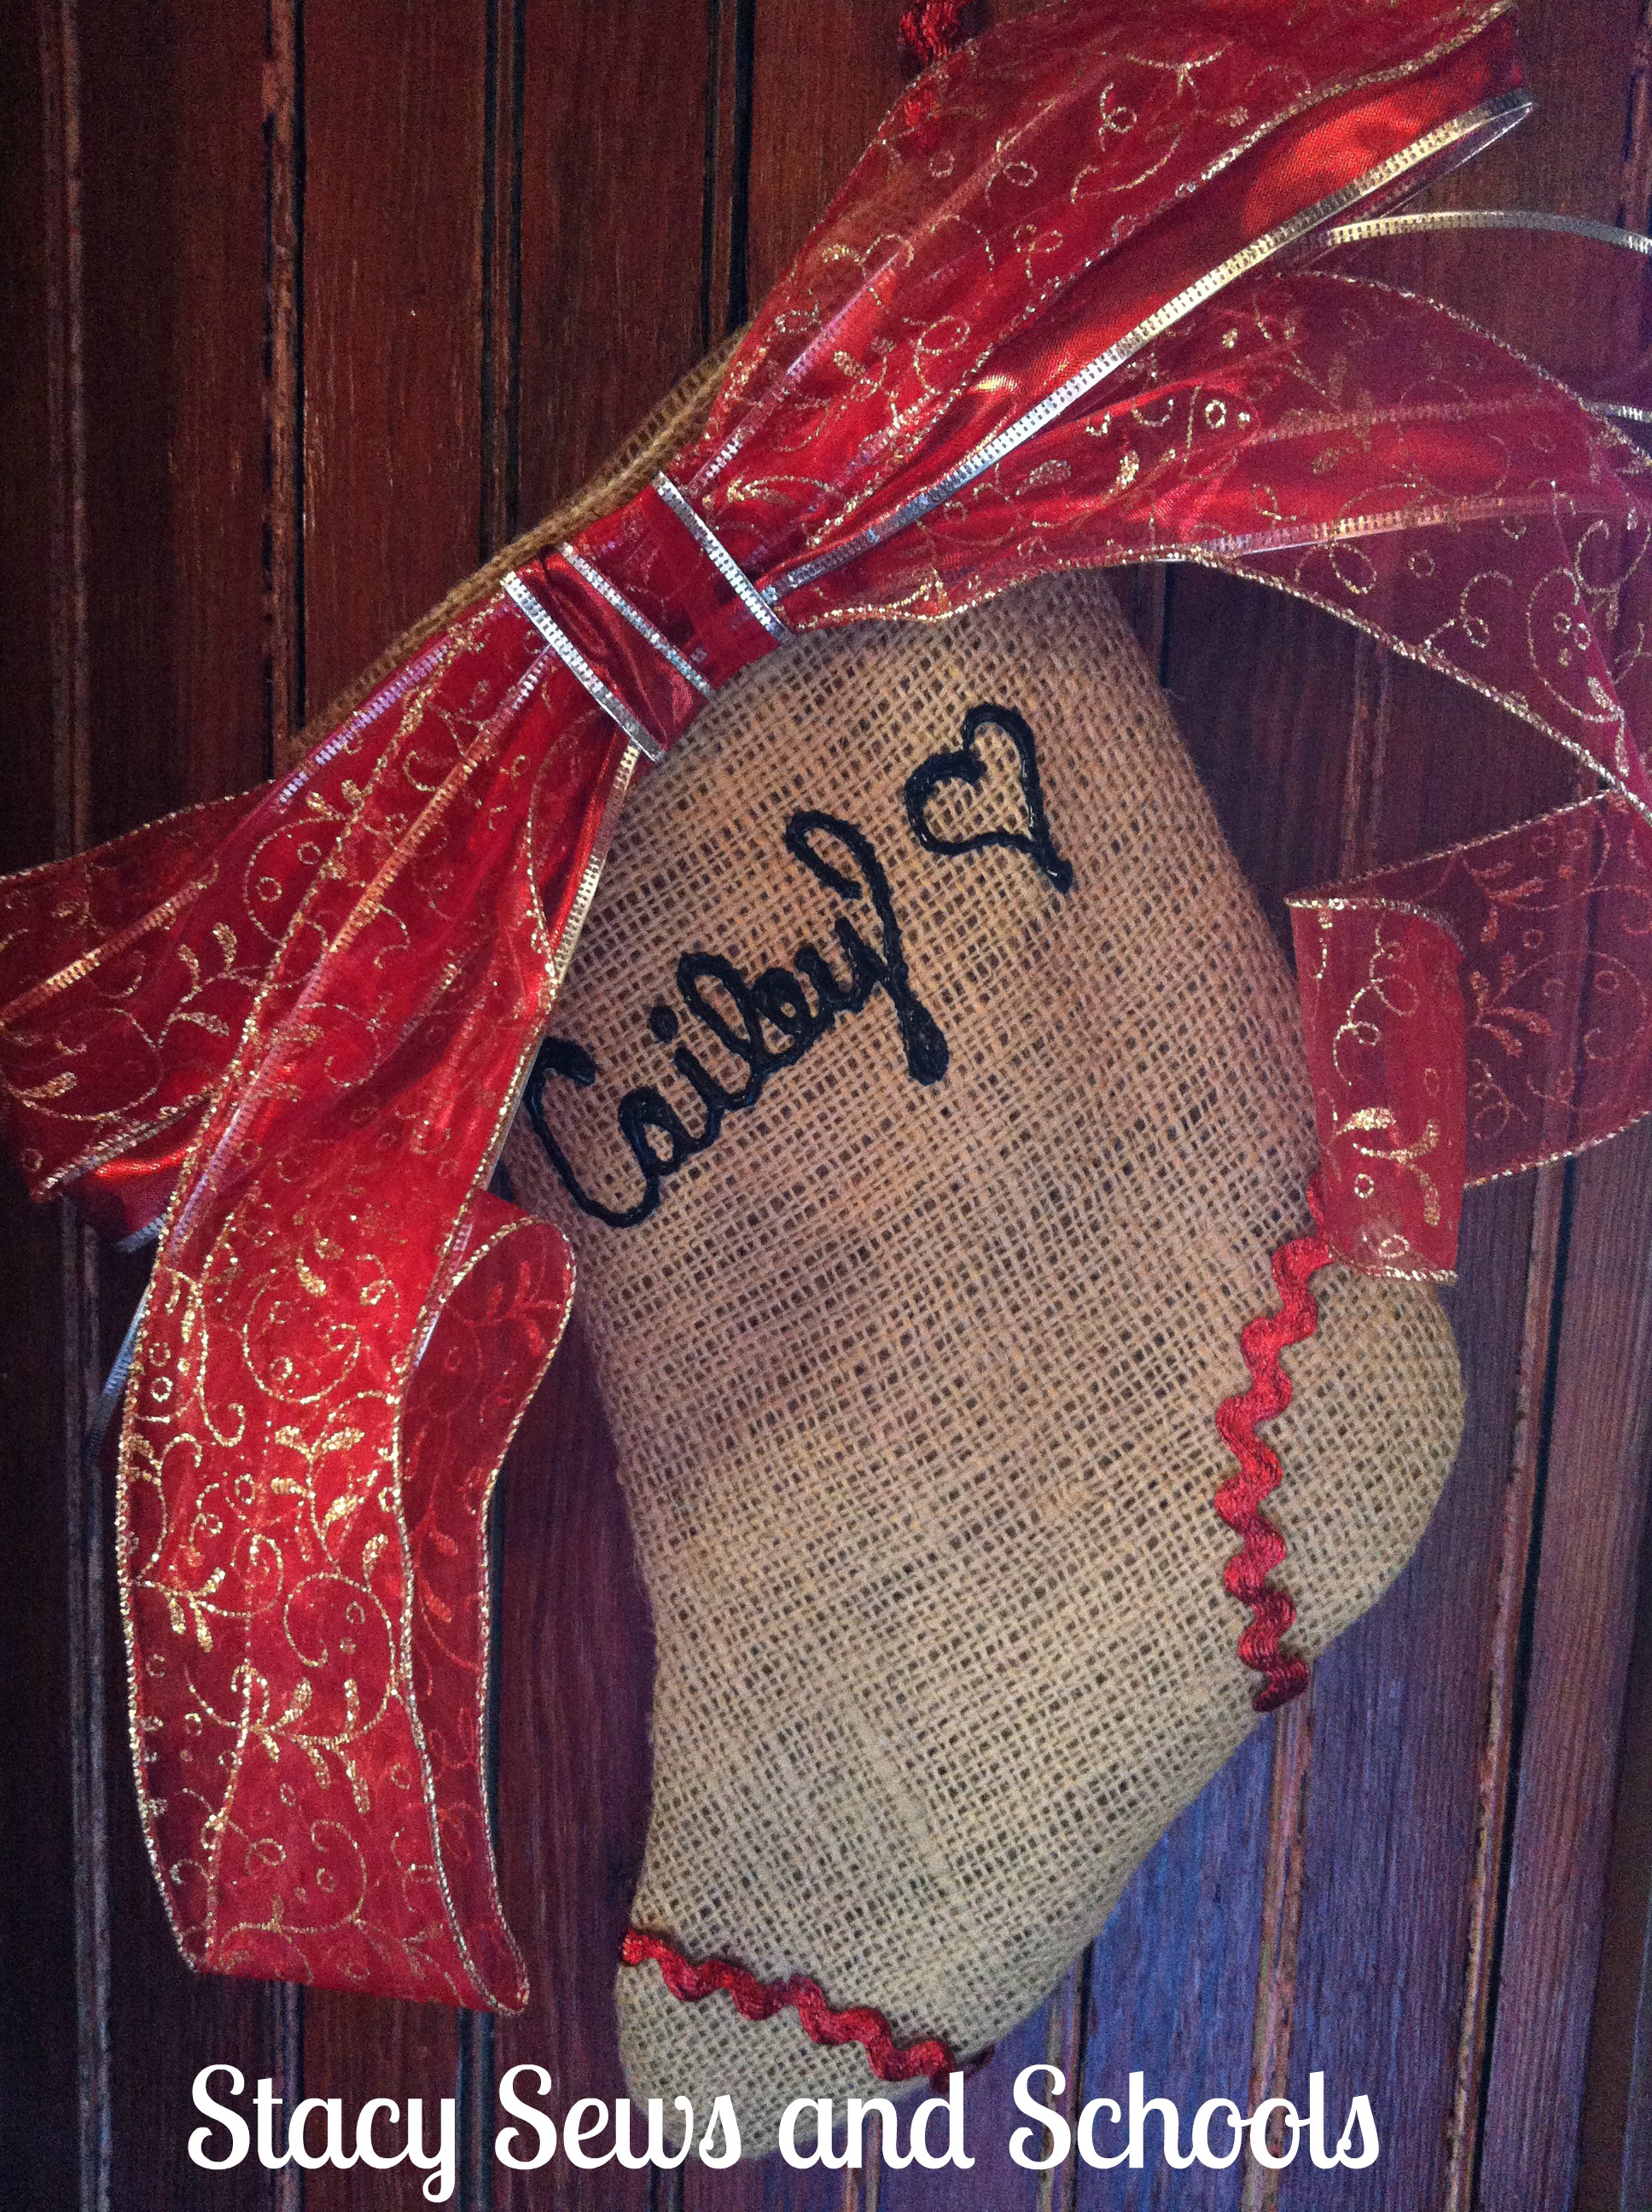
This is the first one I did.
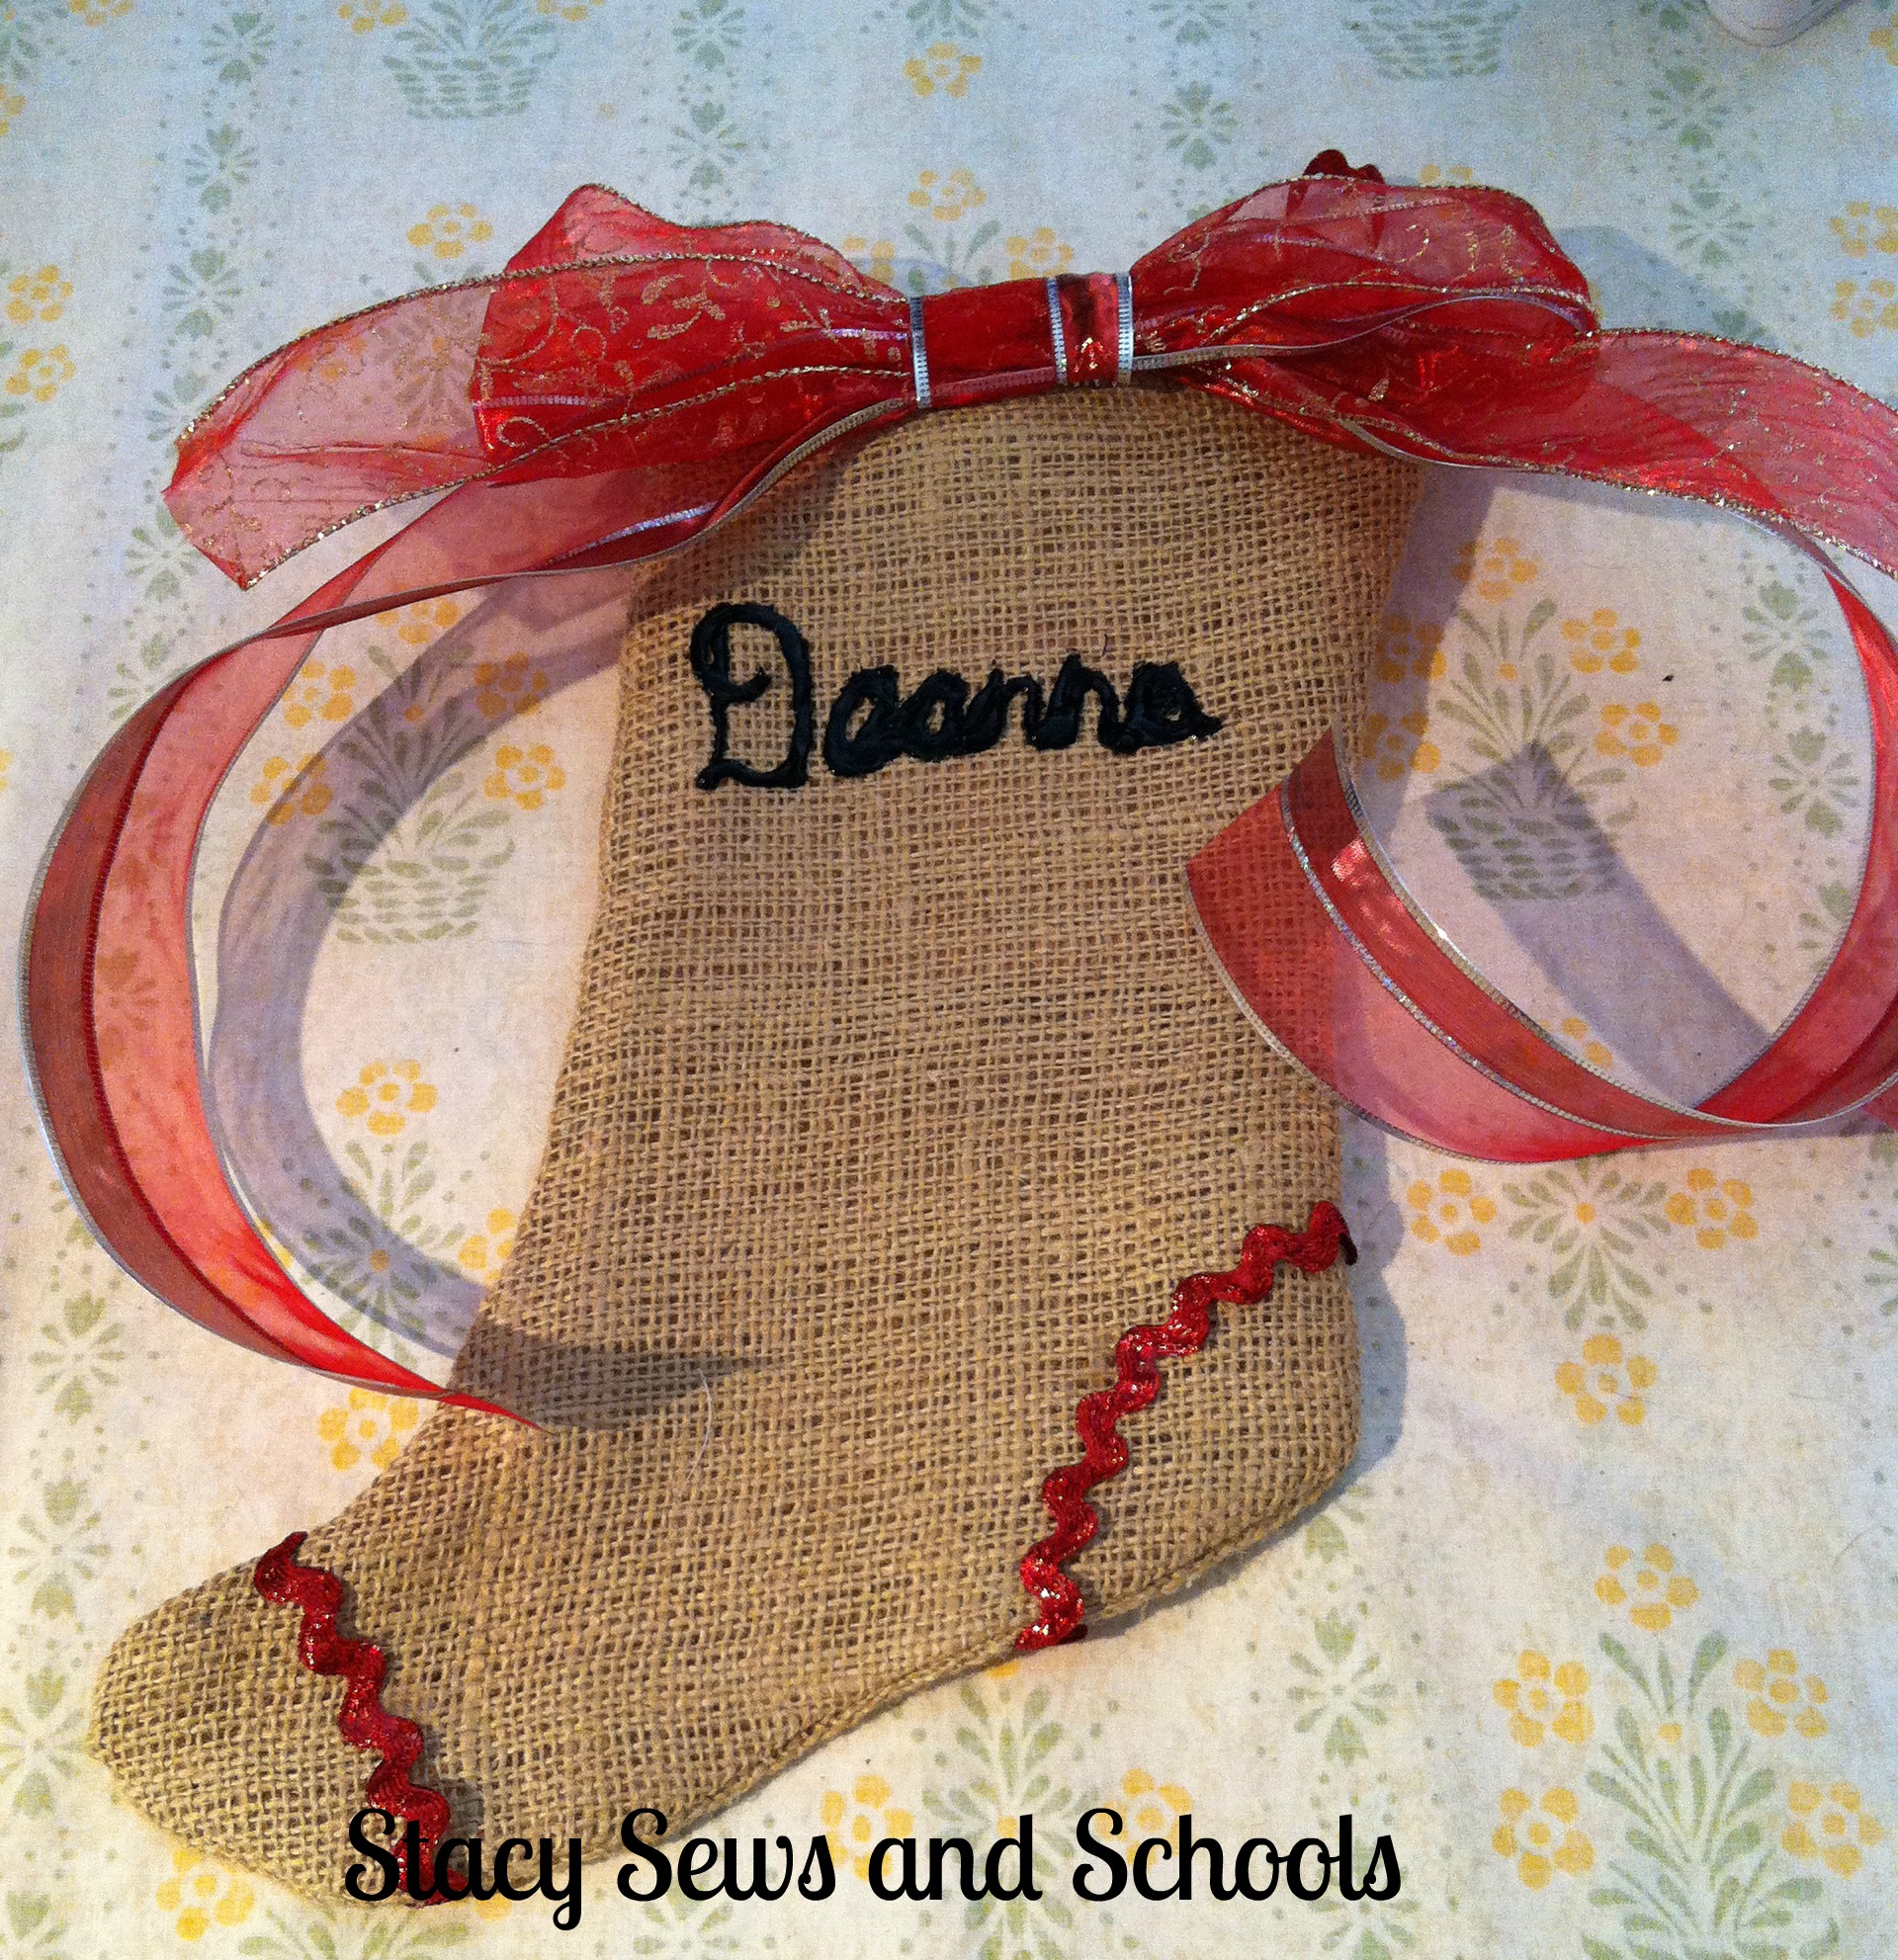
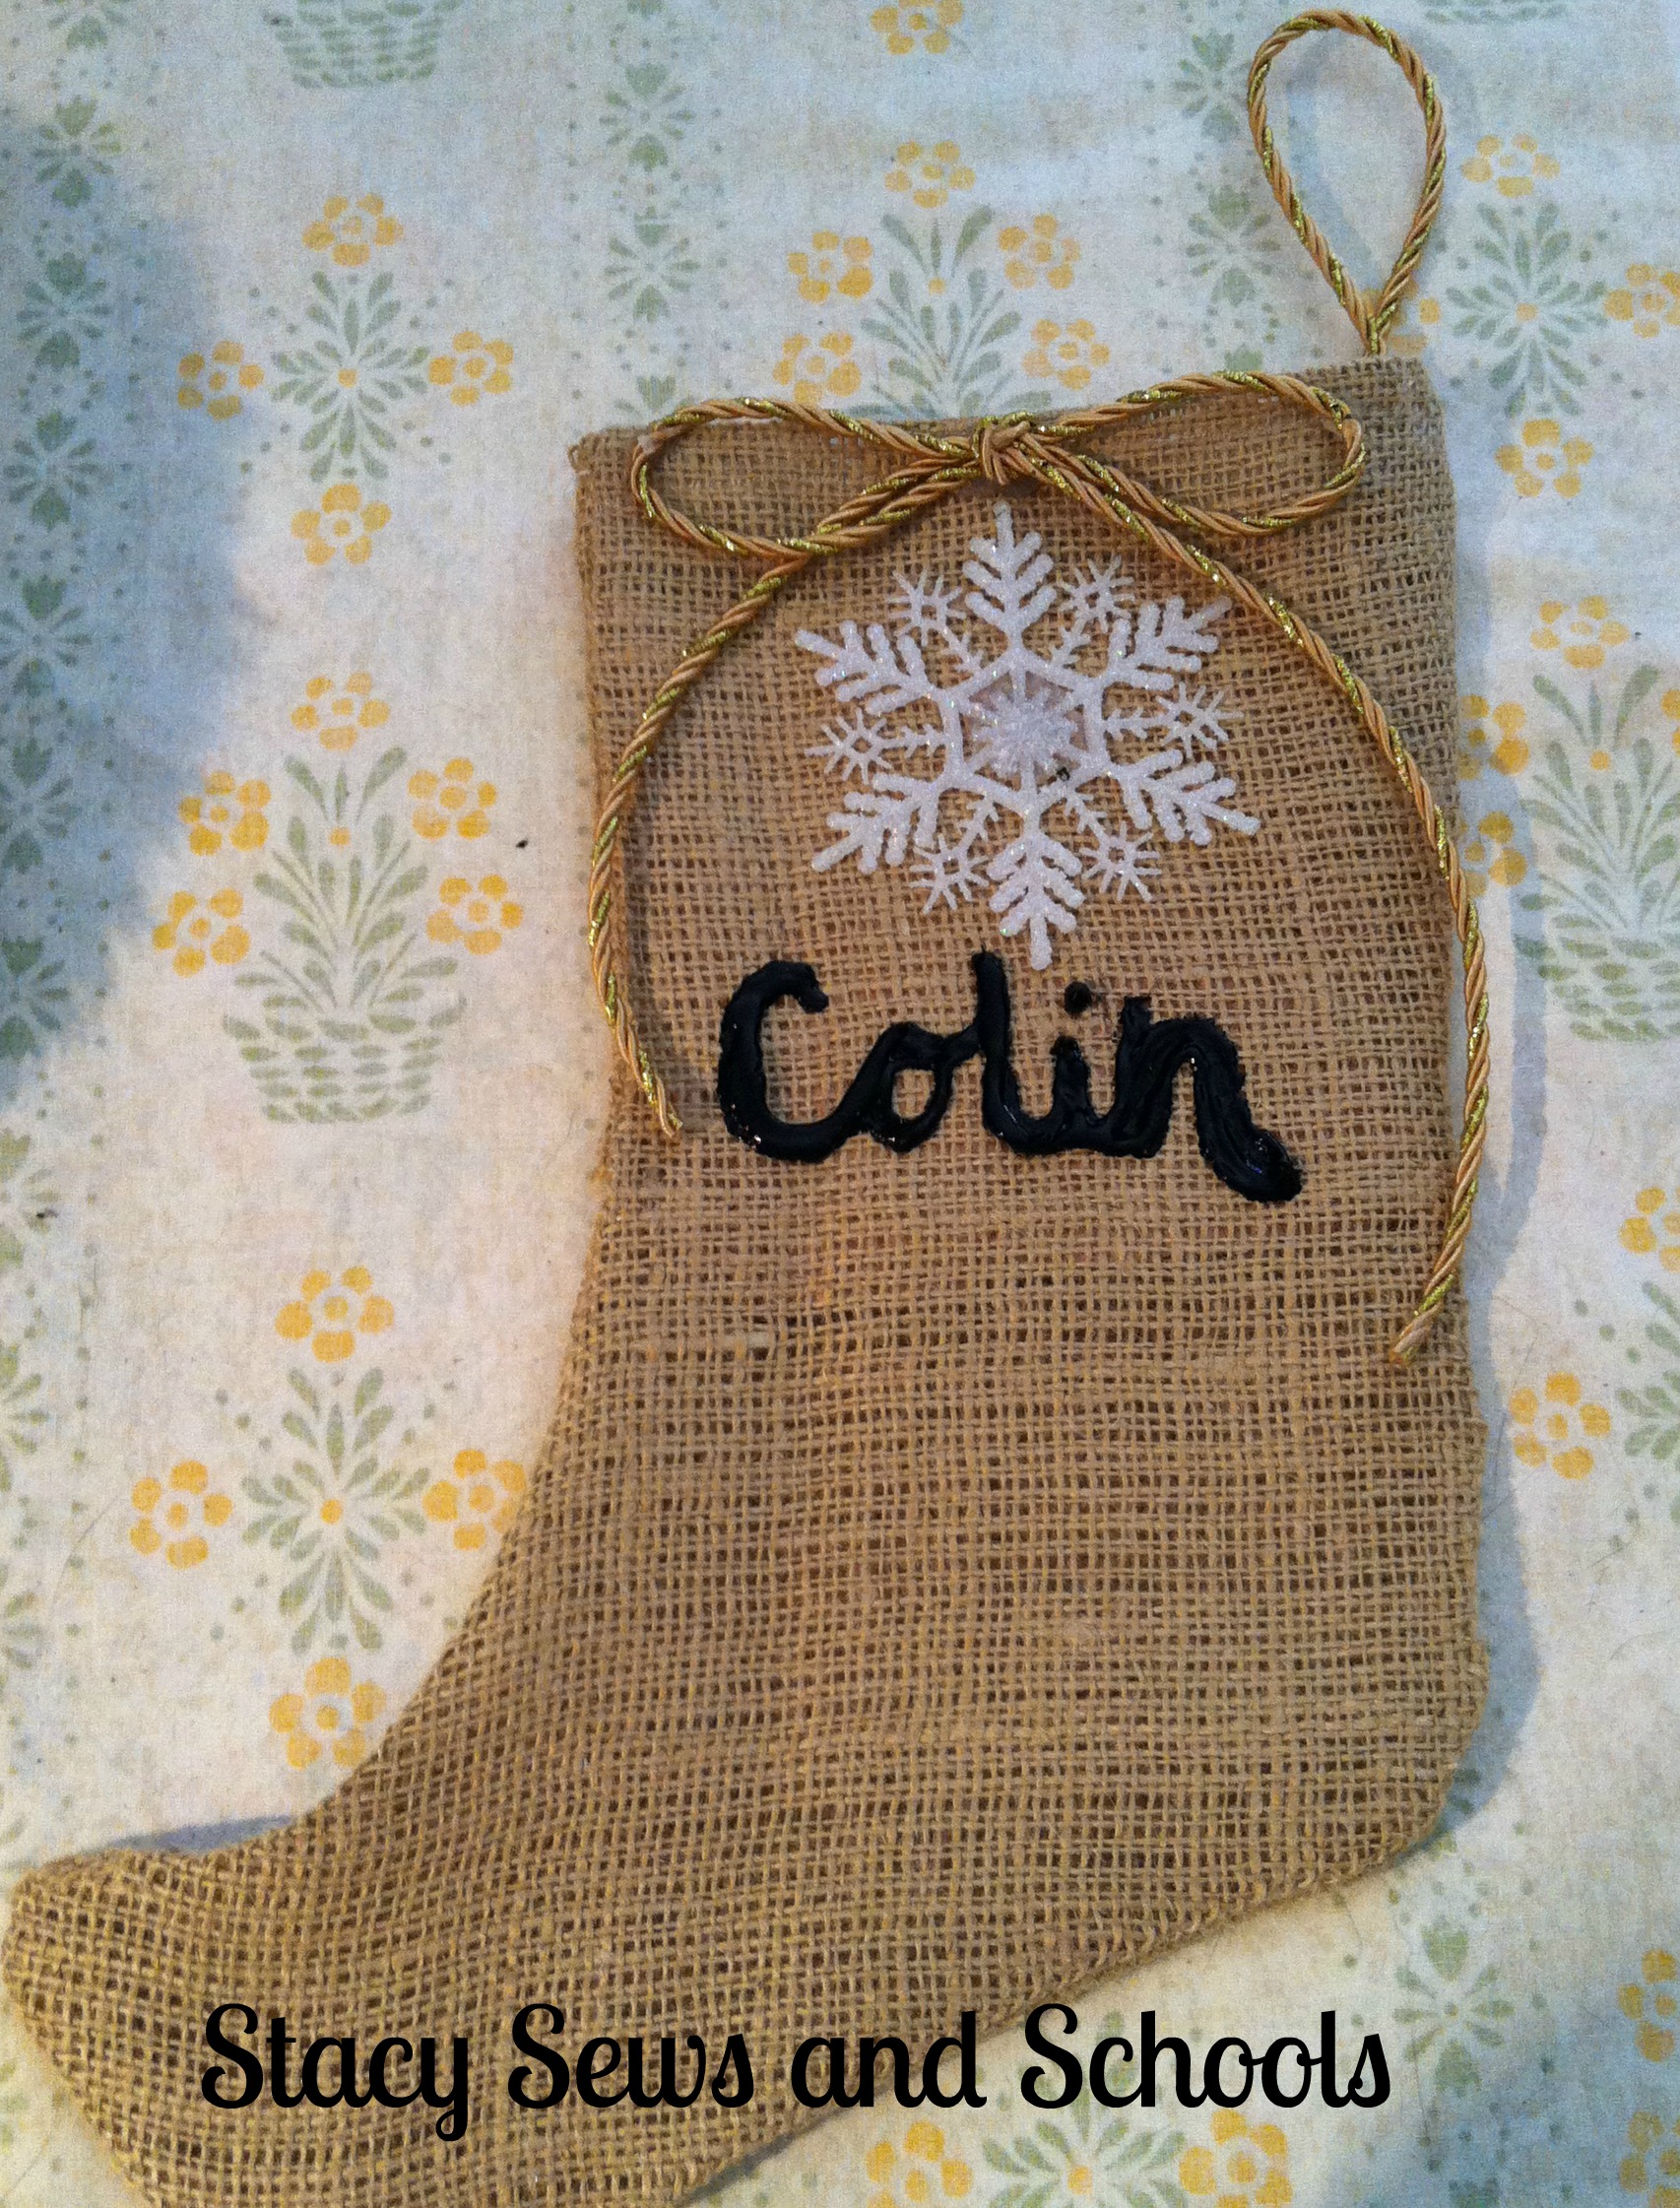
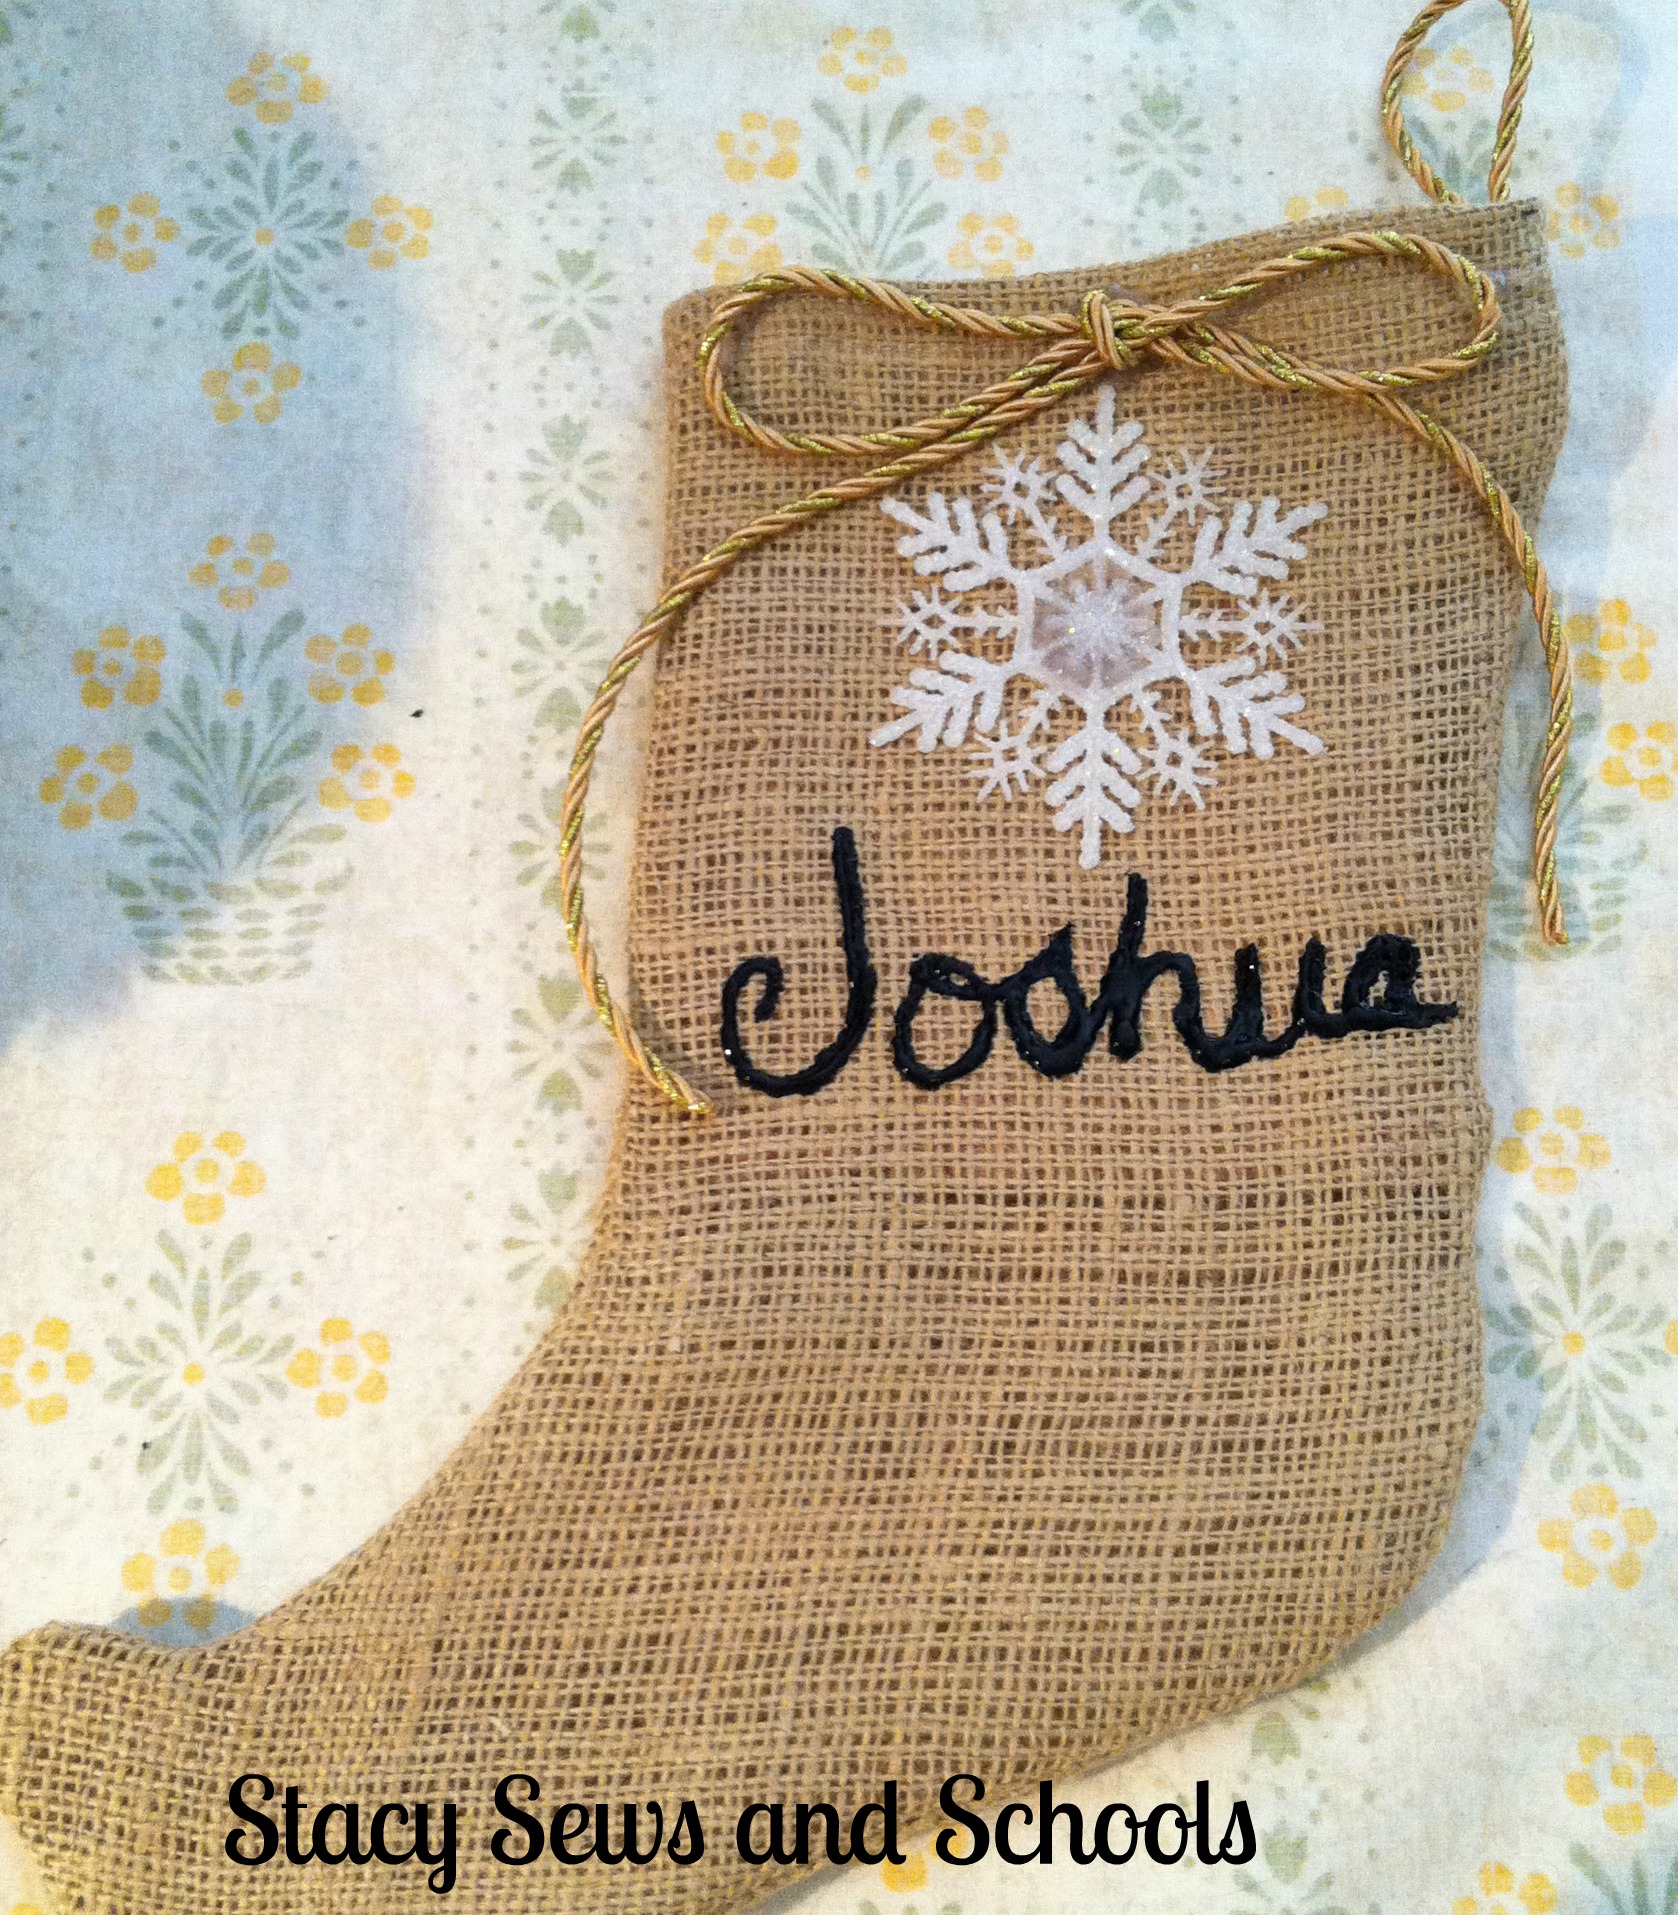
Colin informed me that boys don't like big, red bows so I went with little gold bows and snowflakes for theirs. ;)
I hope you like the tutorial! Please let me know if you have any questions. You can leave a comment or use the Contact Me button at the top to email me! :)

Super cute....
ReplyDeleteTHANK YOU, Judy!!!!!
ReplyDeleteI had a lot of fun making them! :)
Stacy, these are absolutely adorable. Sooo cute! Thanks for a great tutorial.
ReplyDeleteThank you VERY much, Kerri!!!! I had a lot of fun with them! :)
ReplyDelete