I can't tell you how good it feels to be sewing again!!! I missed it SO MUCH!!!! I just want to sit and sew for days at a time. Too bad the family won't let me. ;)
Colin has grown so much since last year. I had to give all his old clothes away. Most of the jeans looked like they had never even been worn!
I started to go through his warm weather clothes to see what he had. Well, most of them must still be packed away somewhere... I can't find his Star Wars shorts, his pillowcase shorts or his madras shorts! YILES!!!! I don't even know where to start looking.
I figured that I had better get a jump start on some shorts!!
Cailey informed me the other day that she will also be needing new summer clothes and the ones we just bought her all need to altered. SIGH.....
My babies are growing too fast!! MAKE IT STOP!!!!
ANYWAY!!! I wanted to do something different than plain elastic waist shorts. Sure, these still have the elastic waist BUT they also have a faux fly and inset pockets. I will be showing you how to do both.
I have another faux fly tutorial on here, with those I used denim.
You can find ALL of my tutorials on my Sewing Tutorials Page! (Including the Star Wars and Madras shorts.)
WHAT I USED
3/4 Yard of a sheet (the main)
1/4 Yard of navy with stars
1/2" elastic
This was my first time using a double needle!! WOO HOO!!! It was very easy. Not sure why I was so intimidated! LOL
Step 1

When you cut the fronts, you need to cut in the flap for the faux fly.
Step 2

Now you are going to cut the back pieces. I used the front pieces with the faux fly flaps tucked under.
Be sure to cut 2.
Step 3

Now on to the pockets. I traced around Deanna's hand and then cut 4 pieces.
Step 4

For the back pockets, I cut 2 rectangles. Each of those squares in the background are a square inch.
Step 5

I cut 2 pieces for the cuffs. The fold is along the bottom. Once again, the squares are a square inch.
Now all the pieces are cut and ready to sew!
Step 6

Pin along the faux fly flap and stop at the bottom of the crotch curve.
Sew the seam!
Step 7

Now, turn right side up. Tuck the faux fly flap in and fold over.

Here is where I used the double needle to top stitch the faux fly in place.
You do NOT have to use a double needle. Instead, just top stitch 2 rows.
Now you have your faux fly!! EASY PEASY!
Step 8

With right sides together sew the backs together. Sew from the top to the curve of the crotch and stop.
Step 5
I cut 2 pieces for the cuffs. The fold is along the bottom. Once again, the squares are a square inch.
Now all the pieces are cut and ready to sew!
Step 6
Sew the seam!
Step 7
Now, turn right side up. Tuck the faux fly flap in and fold over.
Here is where I used the double needle to top stitch the faux fly in place.
You do NOT have to use a double needle. Instead, just top stitch 2 rows.
Now you have your faux fly!! EASY PEASY!
Step 8
Step 9
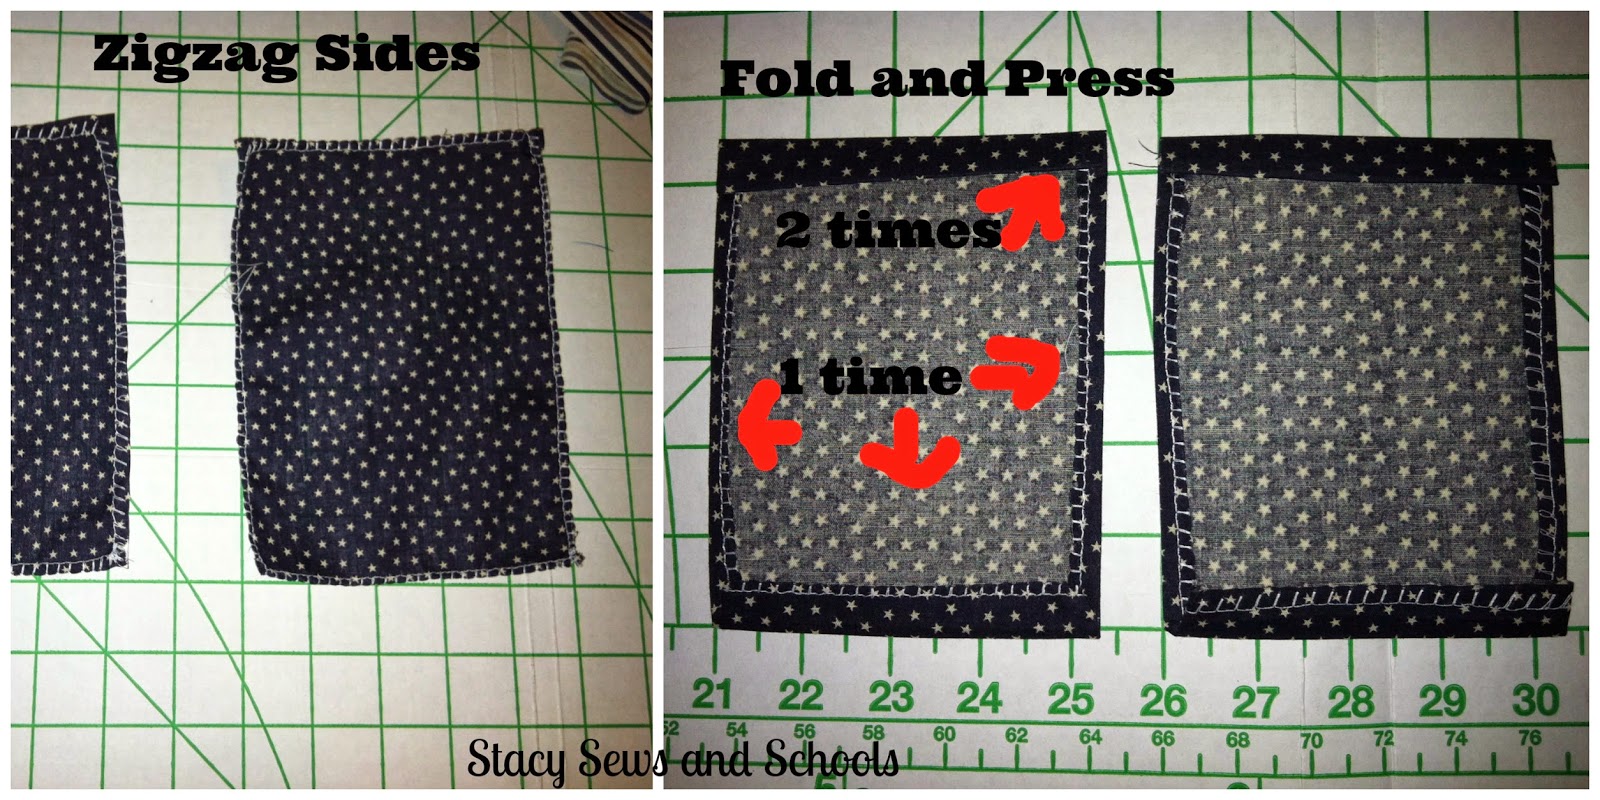
Next, fold over the sides and press. Fold over the top, press, fold again and press.
Step 10

Line your pockets up, pin and double top stitch in place.
You might want to reinforce the top corners of the pockets.
Step 11
Line your pockets up, pin and double top stitch in place.
You might want to reinforce the top corners of the pockets.

Now it's time to sew the crotch.
Ride sides together, pin and sew the seam.
Step 12

With right side facing wrong side, pin the cuffs in place if you already have a hem (which I do since I used the sheet). If you don't have a hem already, fold 1/4", press, fold 1/2" press, pin and sew the hem.
OR you can pin the cuffs right sides together with the pants and sew the seam.
If you already have the hem, top stitch the cuffs across the hem stitches.
Step 13

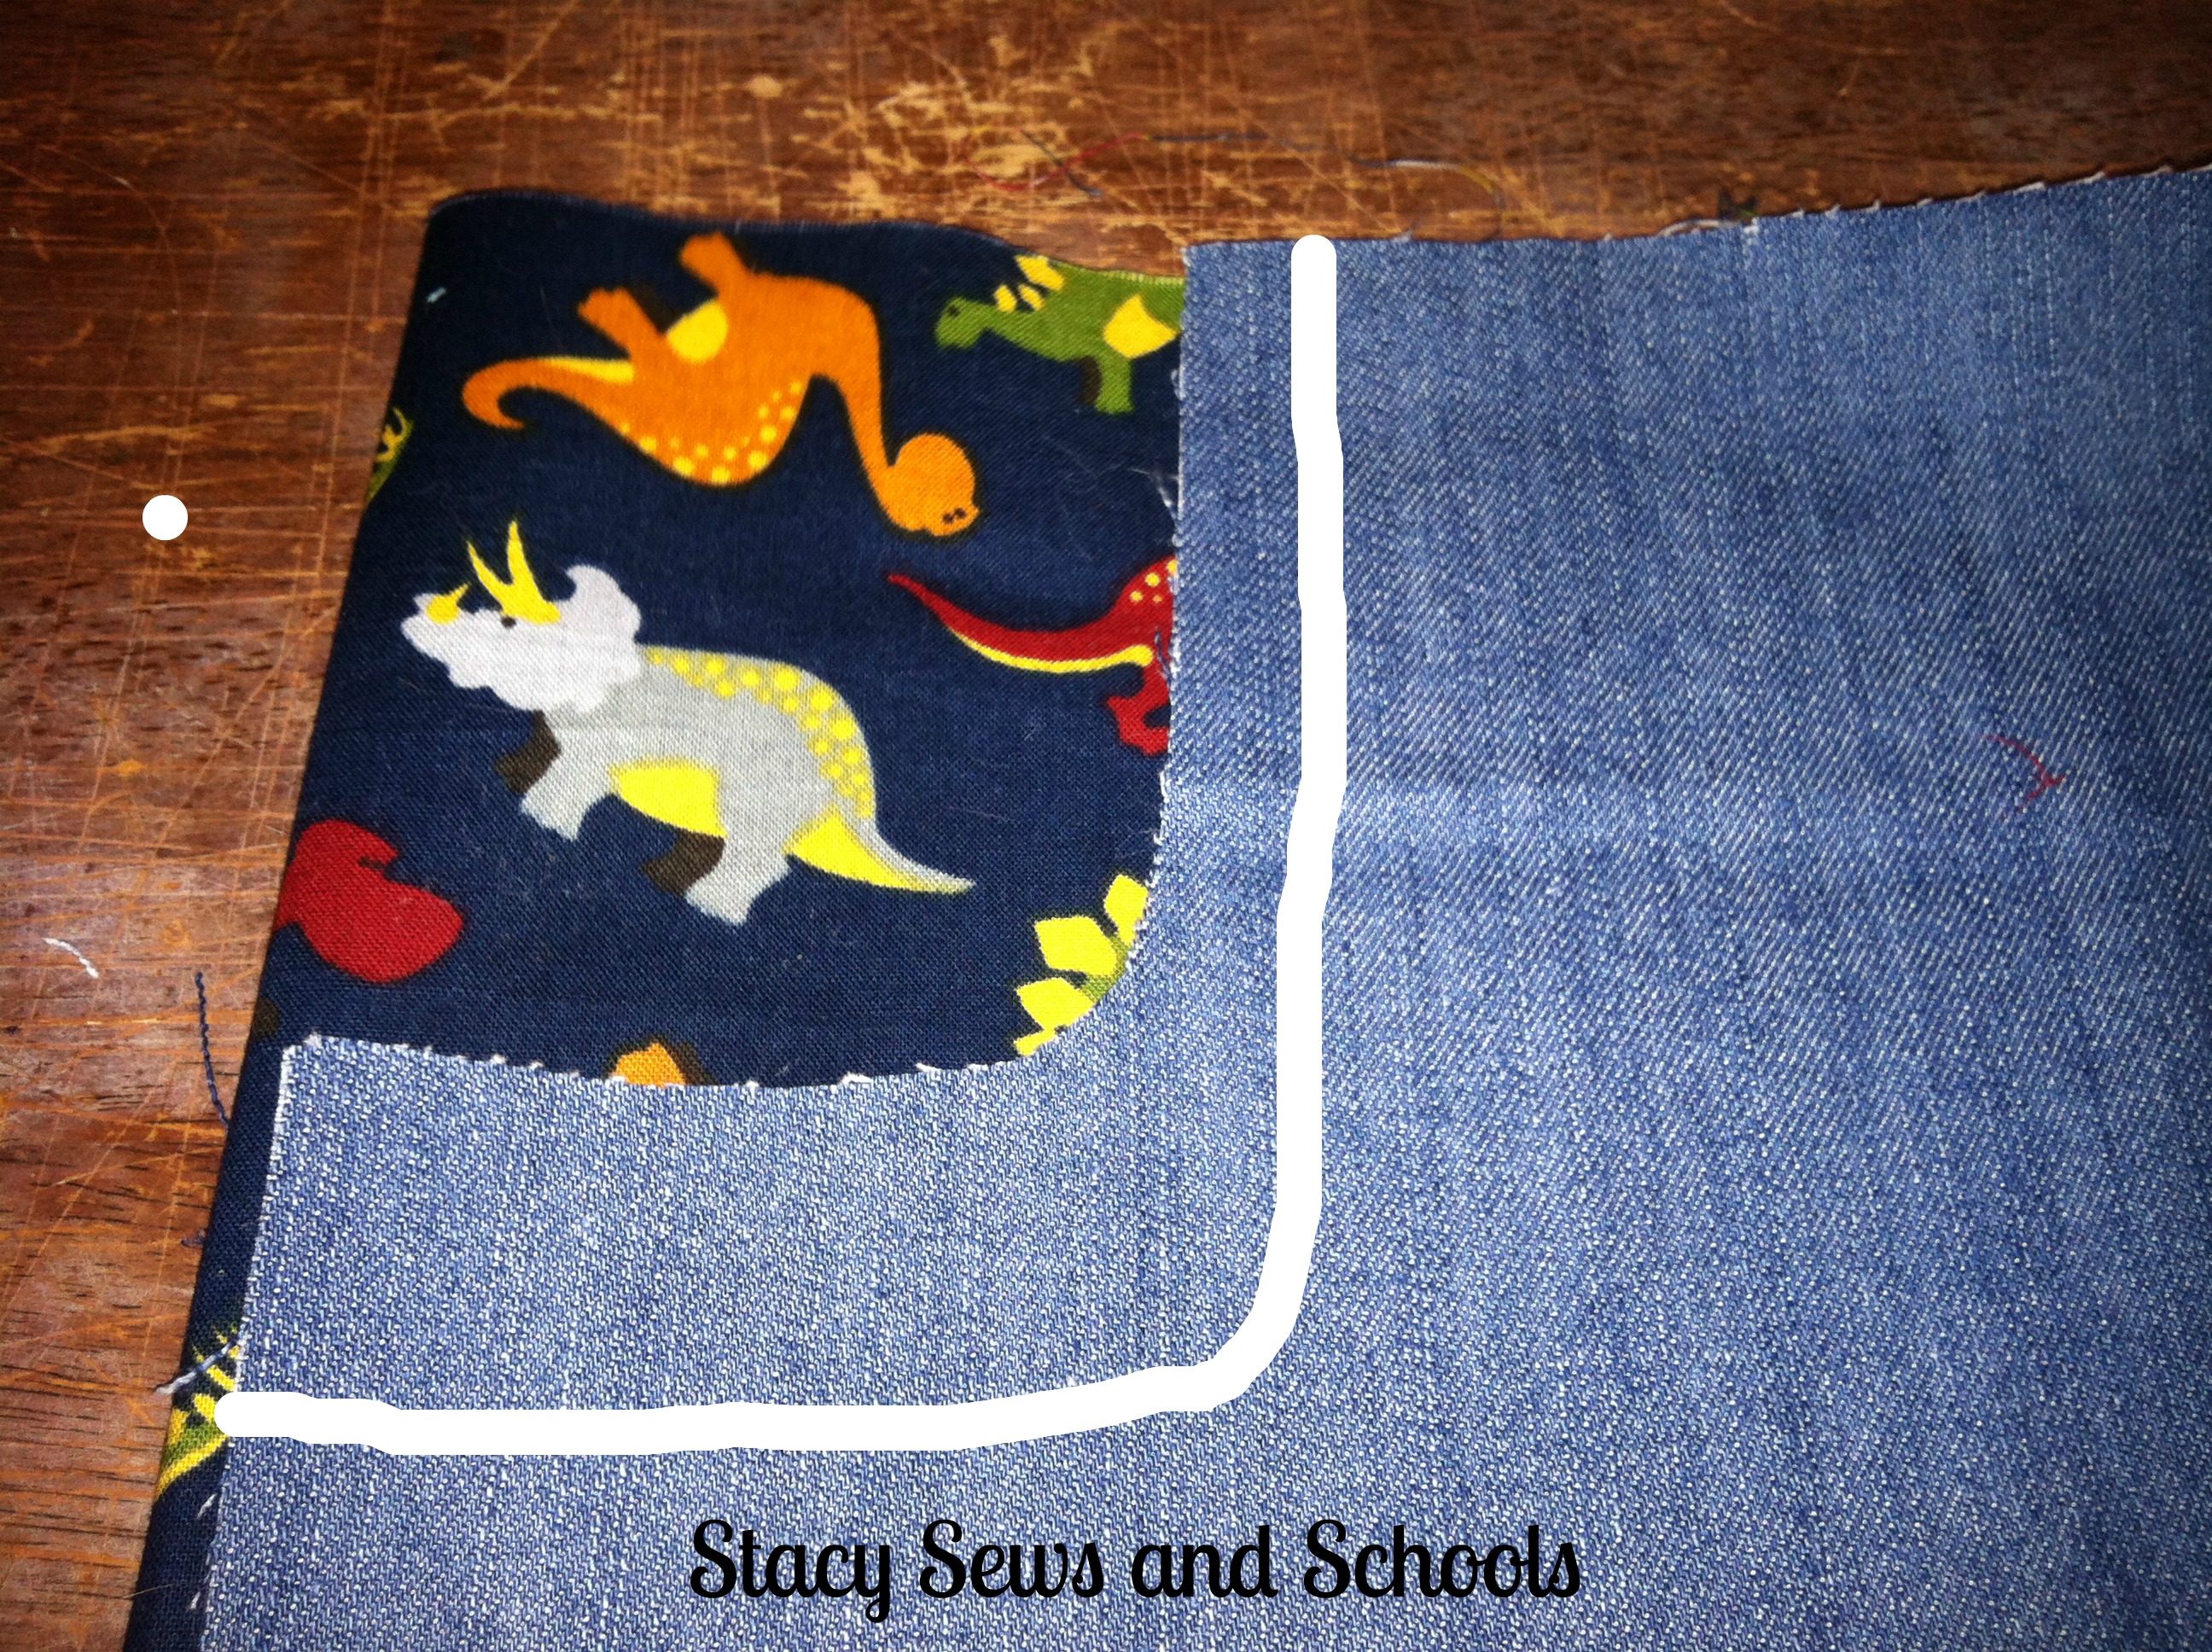
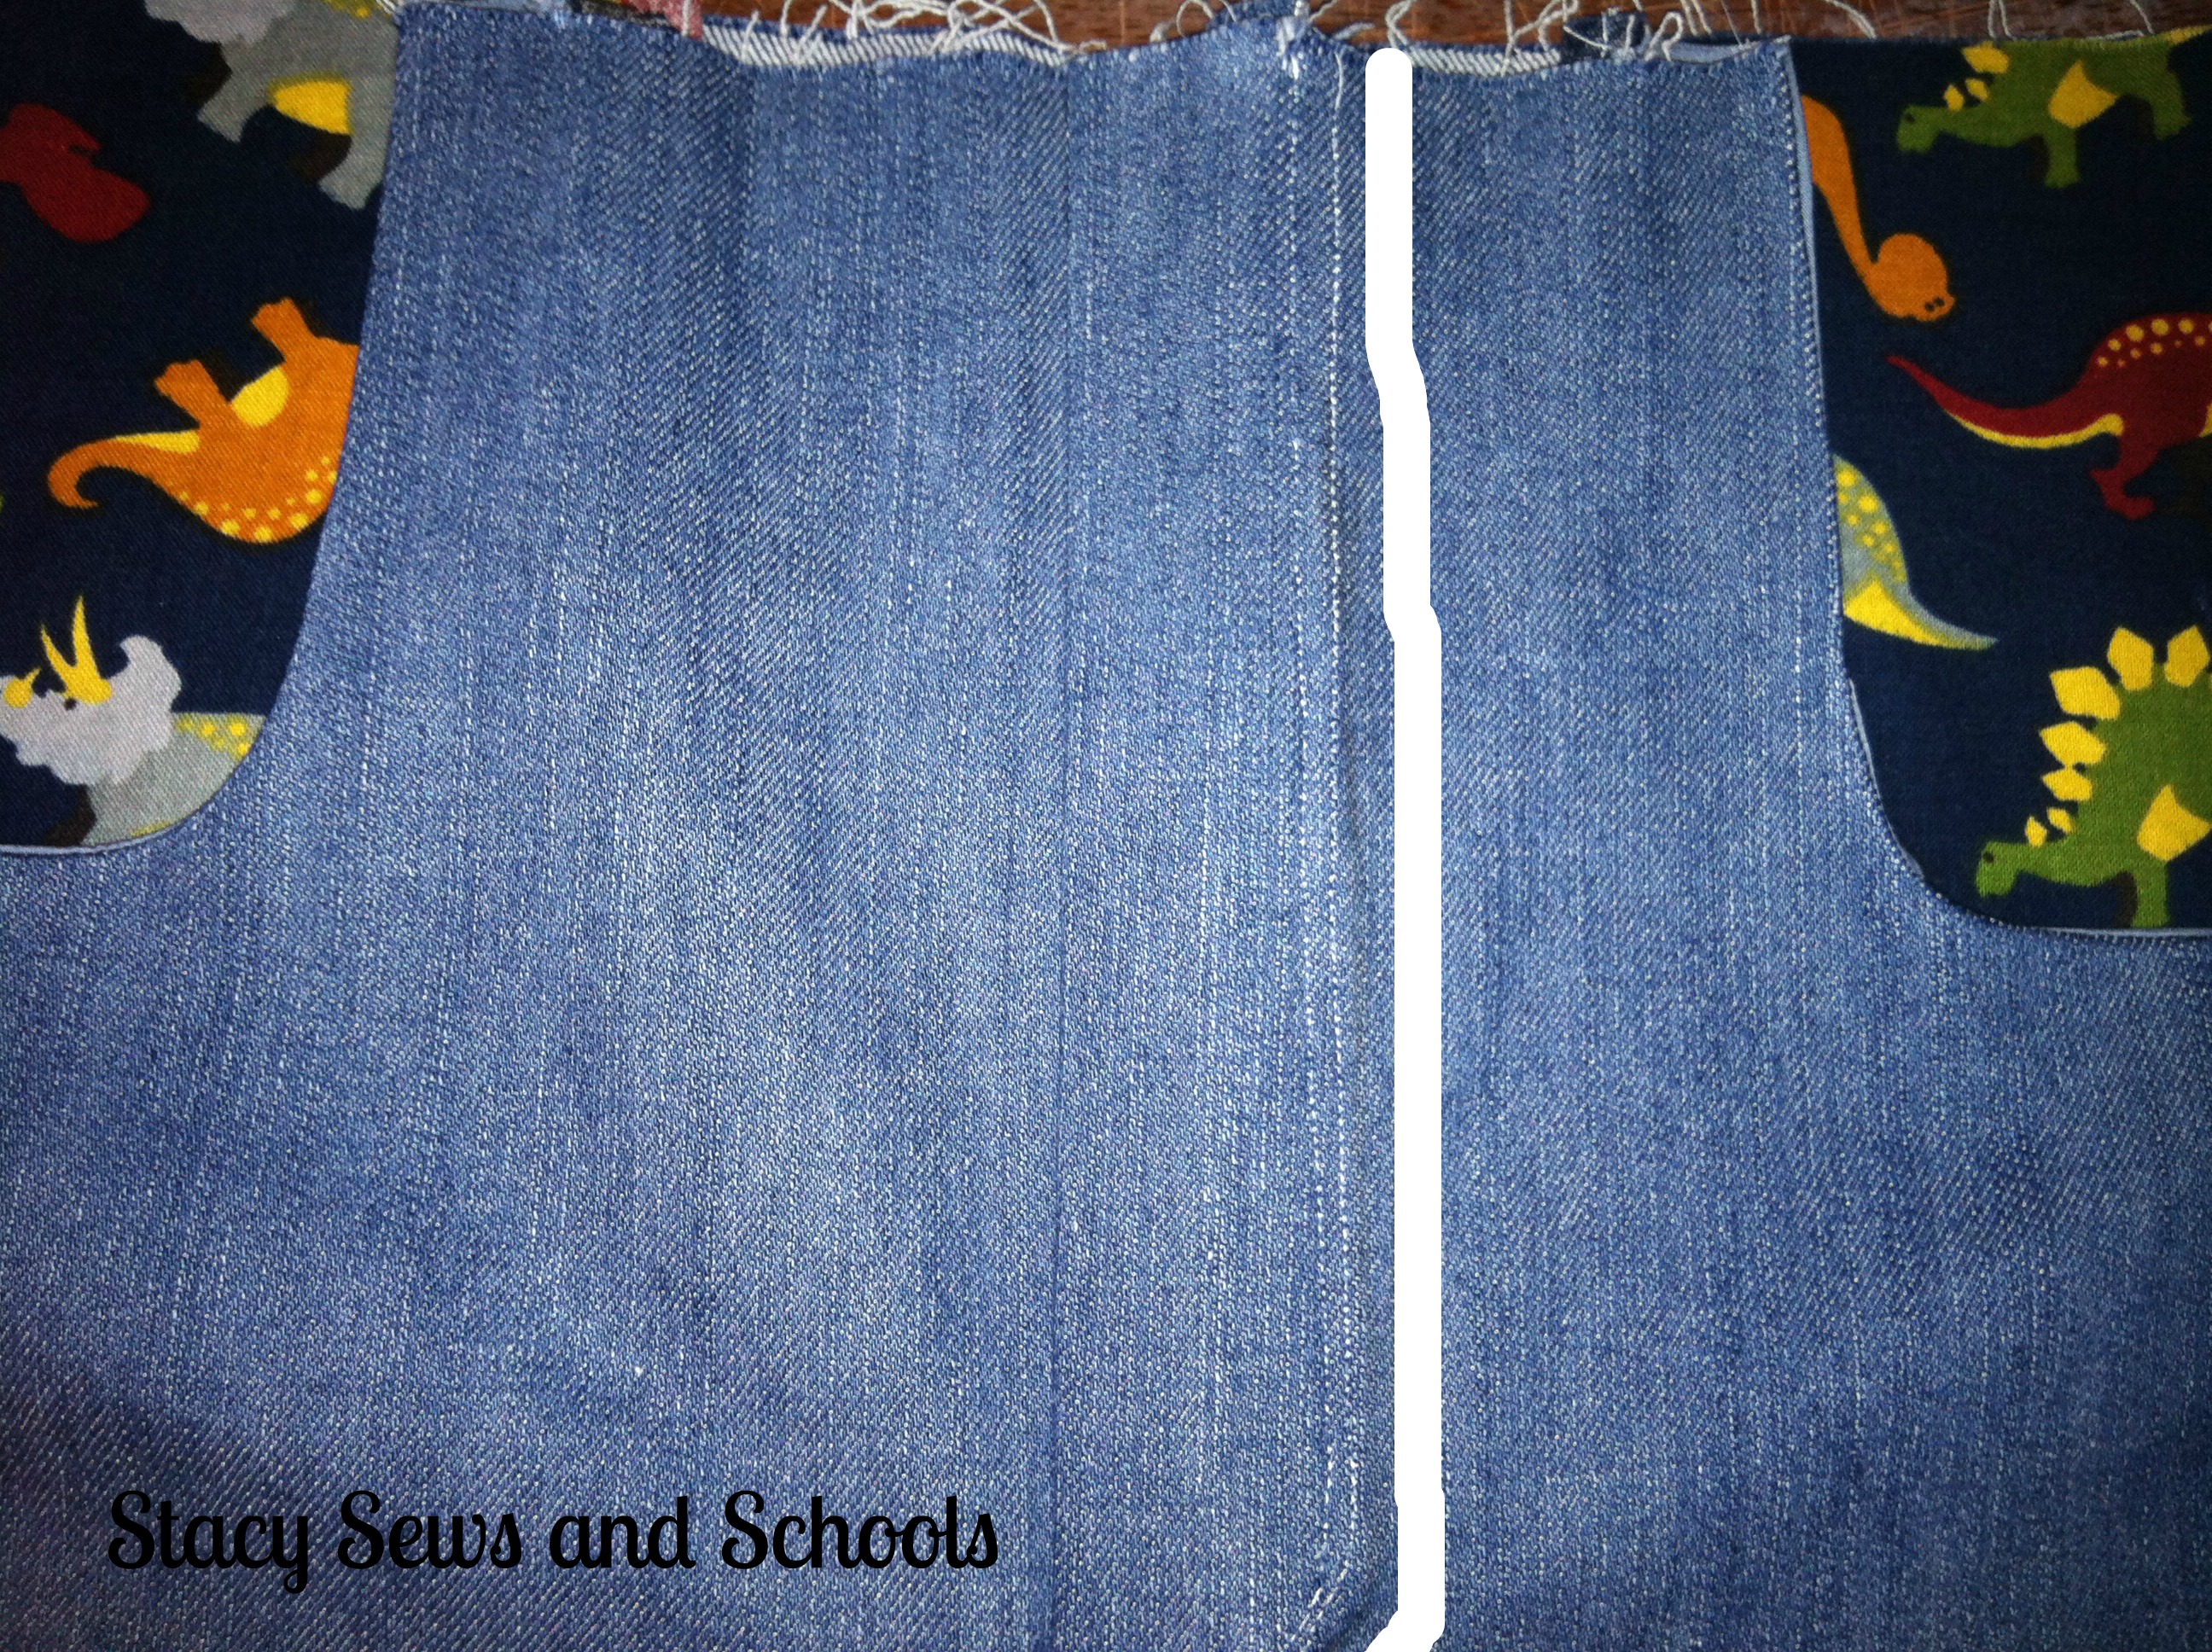
I sort of missed taking a picture of one of the steps... Imagine this has one piece of pocket pinned right sides together with the side of the pants....... Stitch in place, fold over and press. Do that to all 4 pocket pieces.
Step 12
With right side facing wrong side, pin the cuffs in place if you already have a hem (which I do since I used the sheet). If you don't have a hem already, fold 1/4", press, fold 1/2" press, pin and sew the hem.
OR you can pin the cuffs right sides together with the pants and sew the seam.
If you already have the hem, top stitch the cuffs across the hem stitches.
Step 13
Step 14

With the pants turned right sides together, pin all along the sides and sew.

Here's what you have so far!
Step 15

Time to make the elastic casing!
Fold over the top of shorts by 1/4". Fold over again by 3/4". Sew all around but make sure to leave a space to insert the elastic!
Step 16

Safety pin the ends of your elastic. Insert one end into the space. Pull through and out the other side, making sure to hold tightly to the ends.
Sew the ends of the elastic together.
Now, sew the space closed.

Let me know what you think!!
HAVE FUN SEWING!!!

Safety pin the ends of your elastic. Insert one end into the space. Pull through and out the other side, making sure to hold tightly to the ends.
Sew the ends of the elastic together.
Now, sew the space closed.
There you go!! ALL DONE!!!
Let me know what you think!!
HAVE FUN SEWING!!!