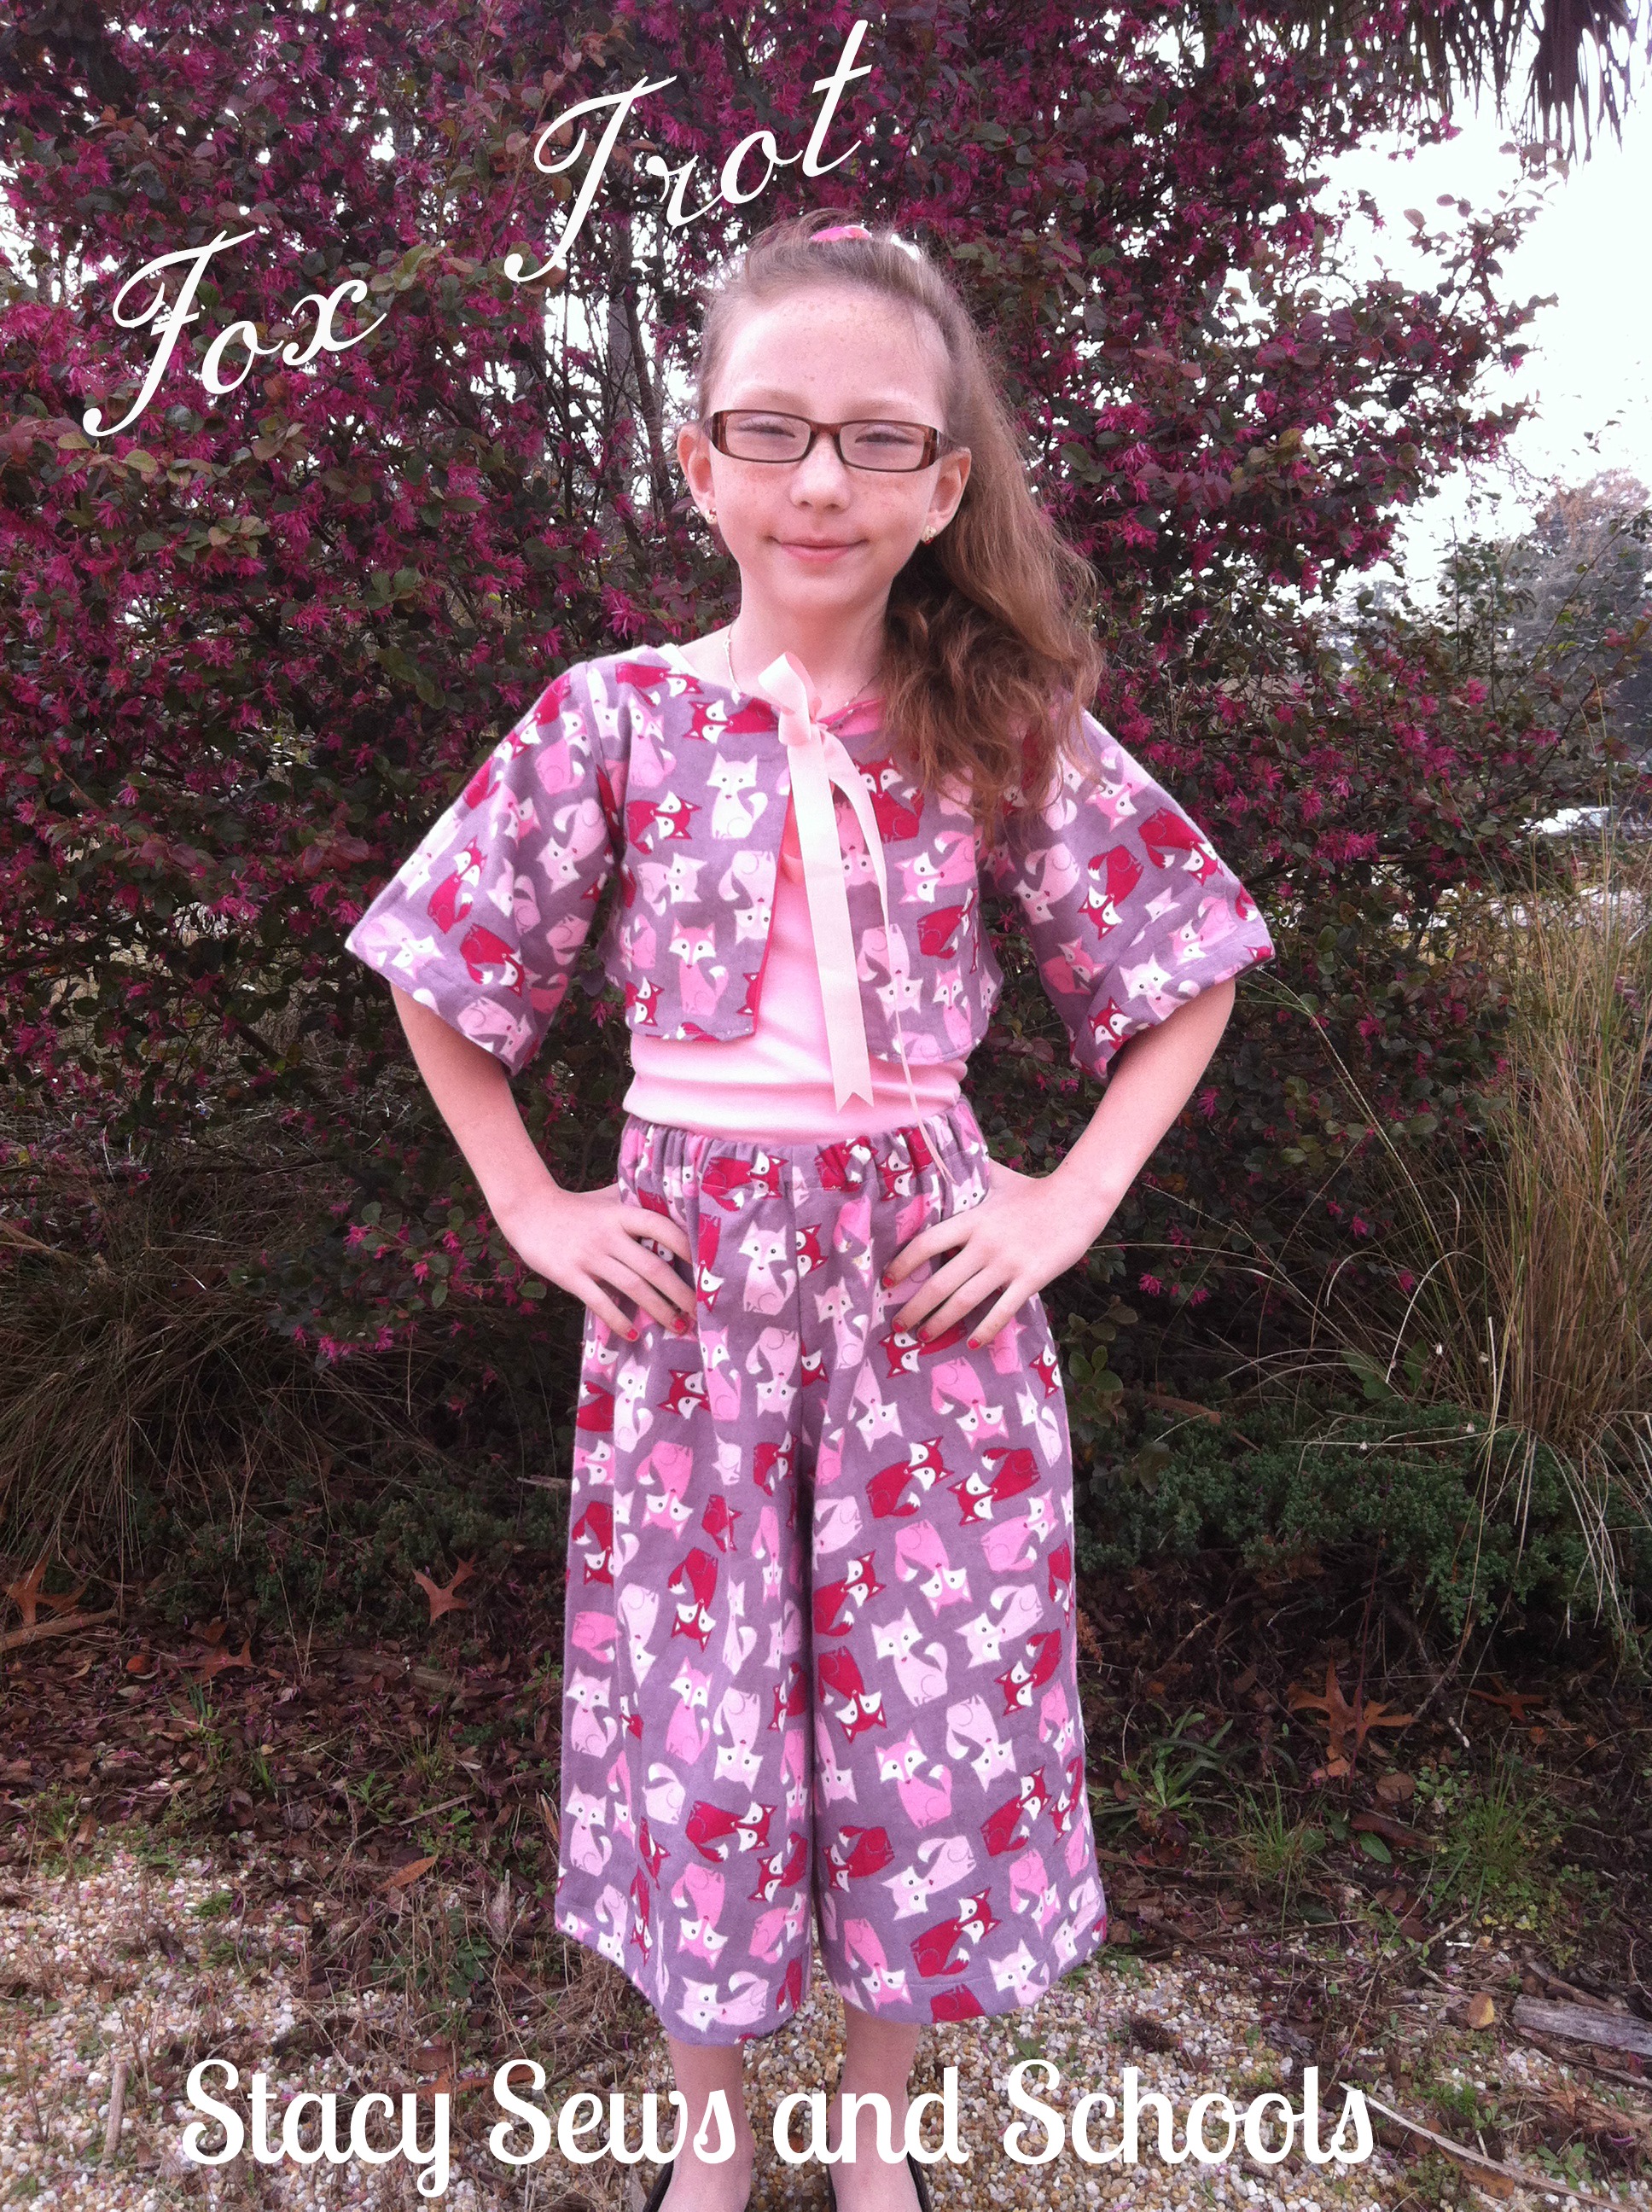
This part of the tutorial is for the bolero. To find the tutorial for the gauchos and tank click here.
What I Used-
1/2 yard of main fabric (I used the fox flannel print)
1/2 yard of lining (I used hot pink flannel)
2 ft of pink ribbon
For the bolero I sort of drafted my own pattern. It was very simple to do, I just used the tank I made as template for the arm holes and trimmed the pattern until I had the fit I wanted. This involved holding the pattern up to Cailey several times! LOL
Step 1 -
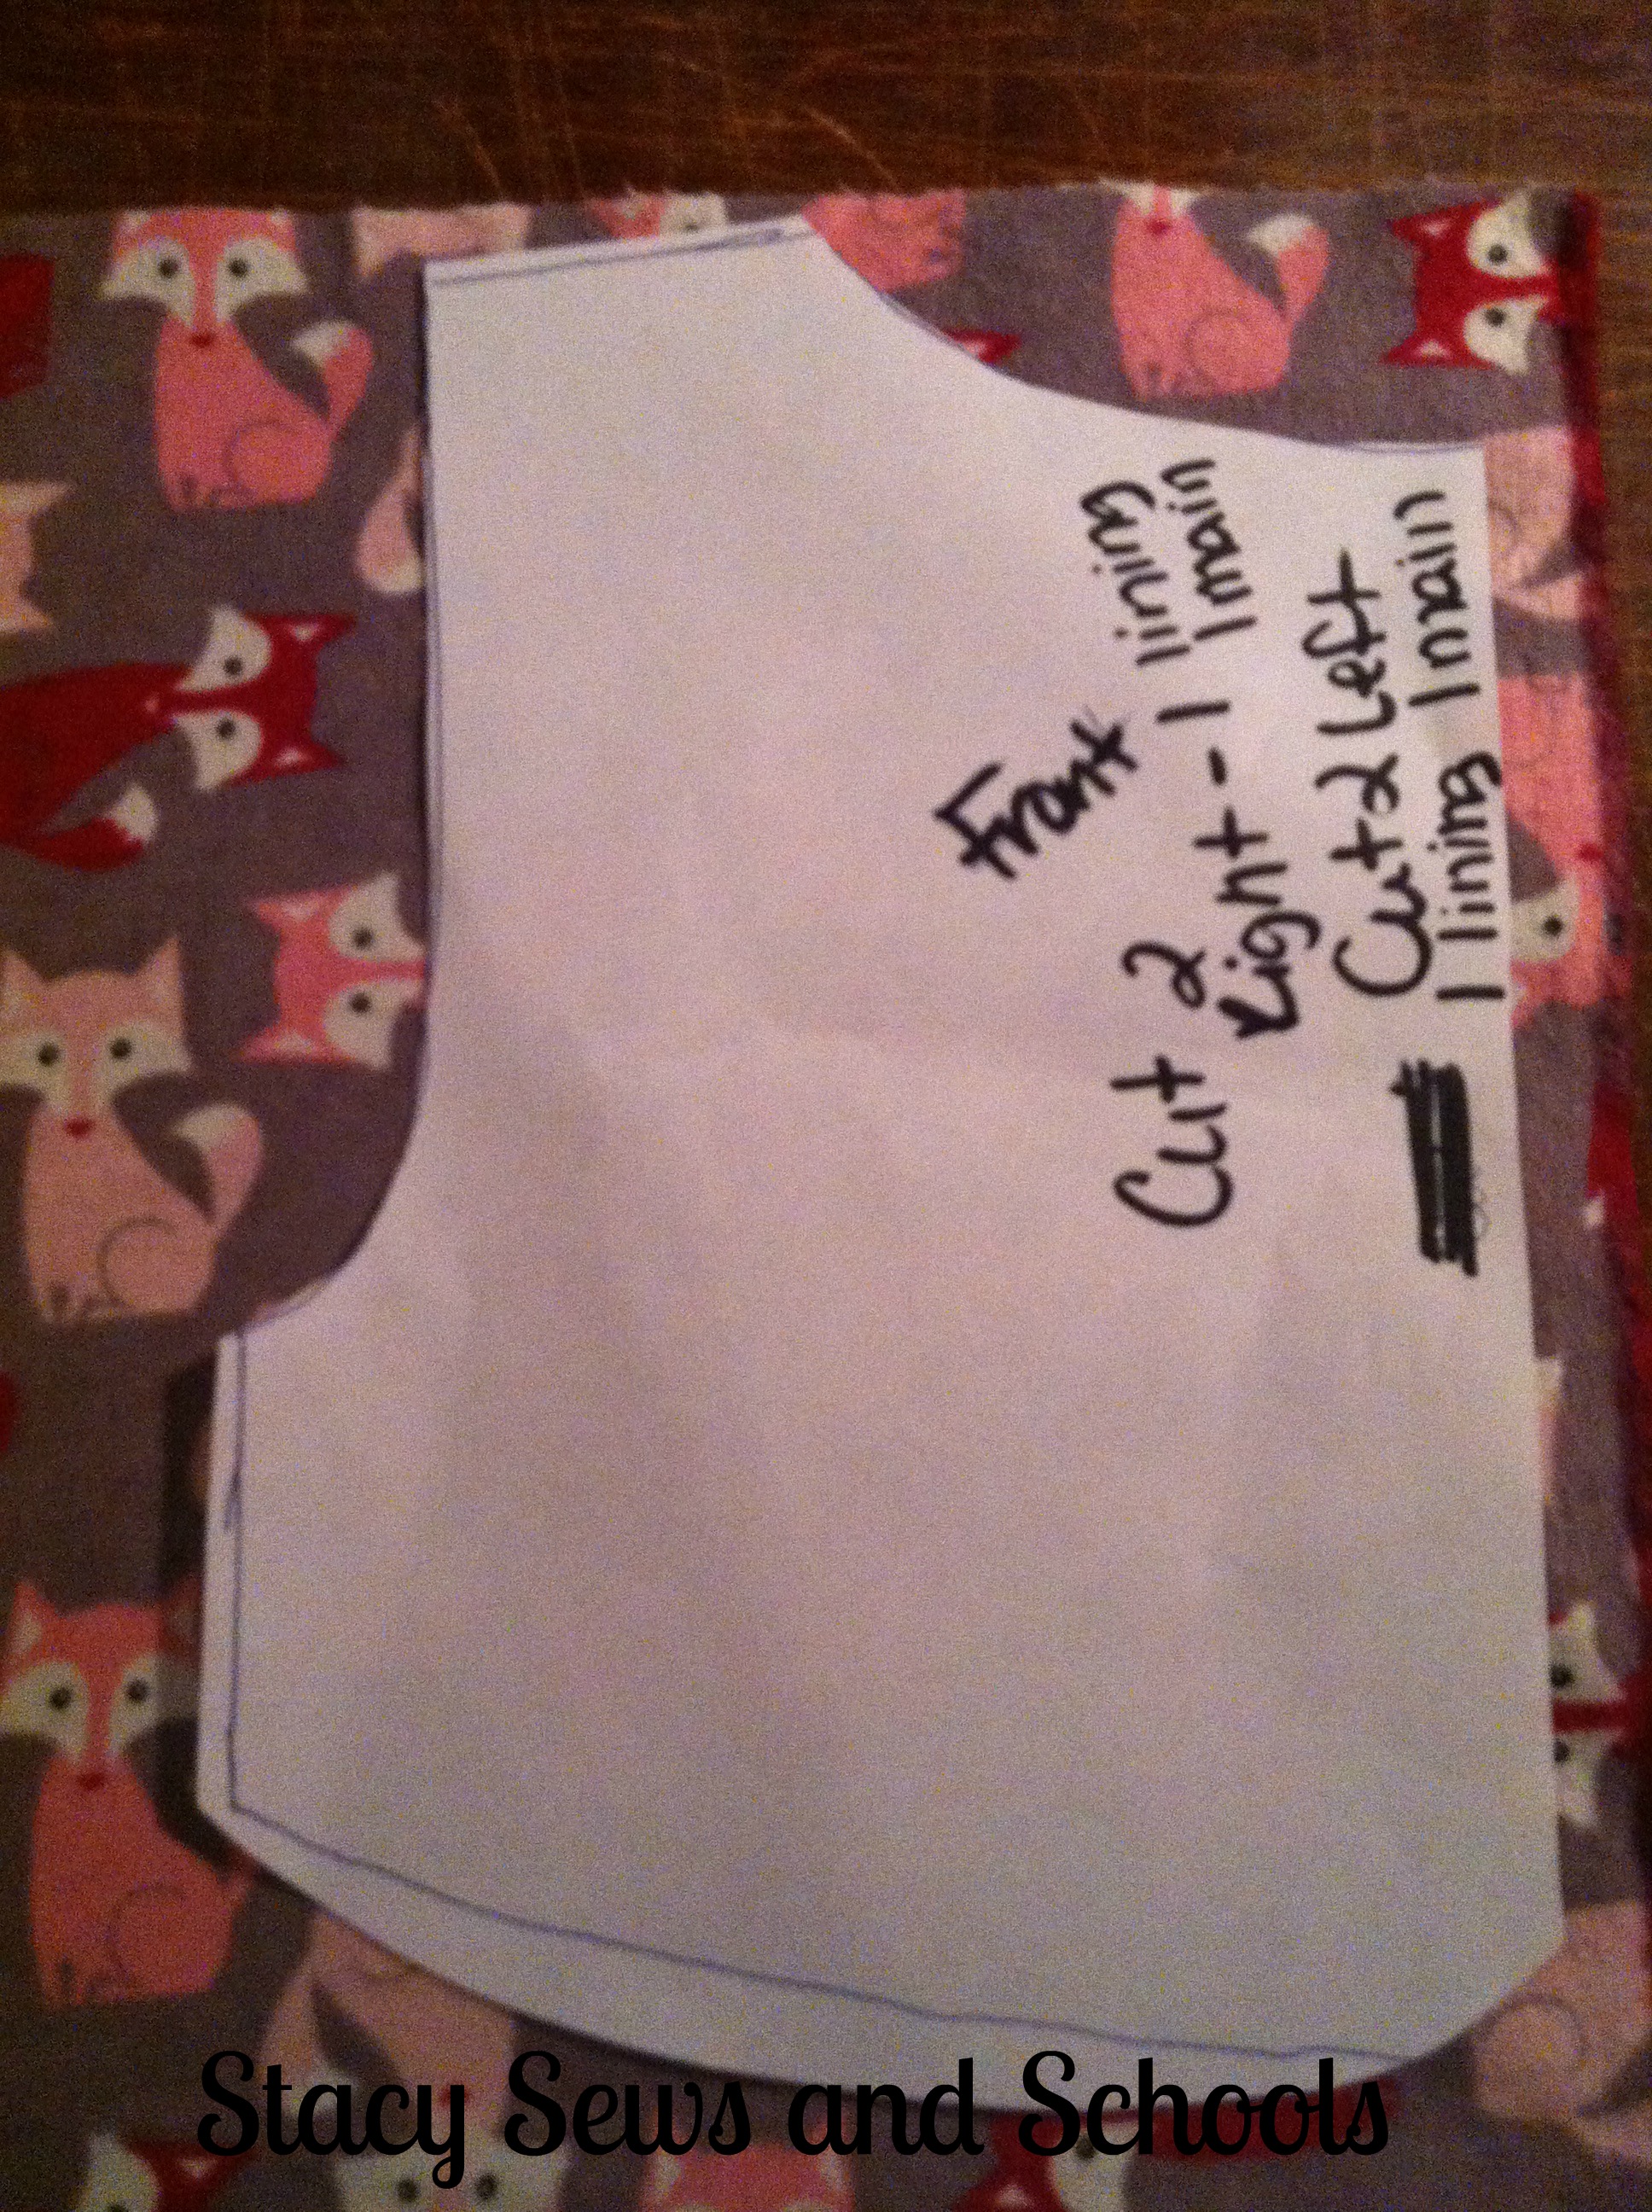
As you can see, the pattern is not pretty but it worked! LOL
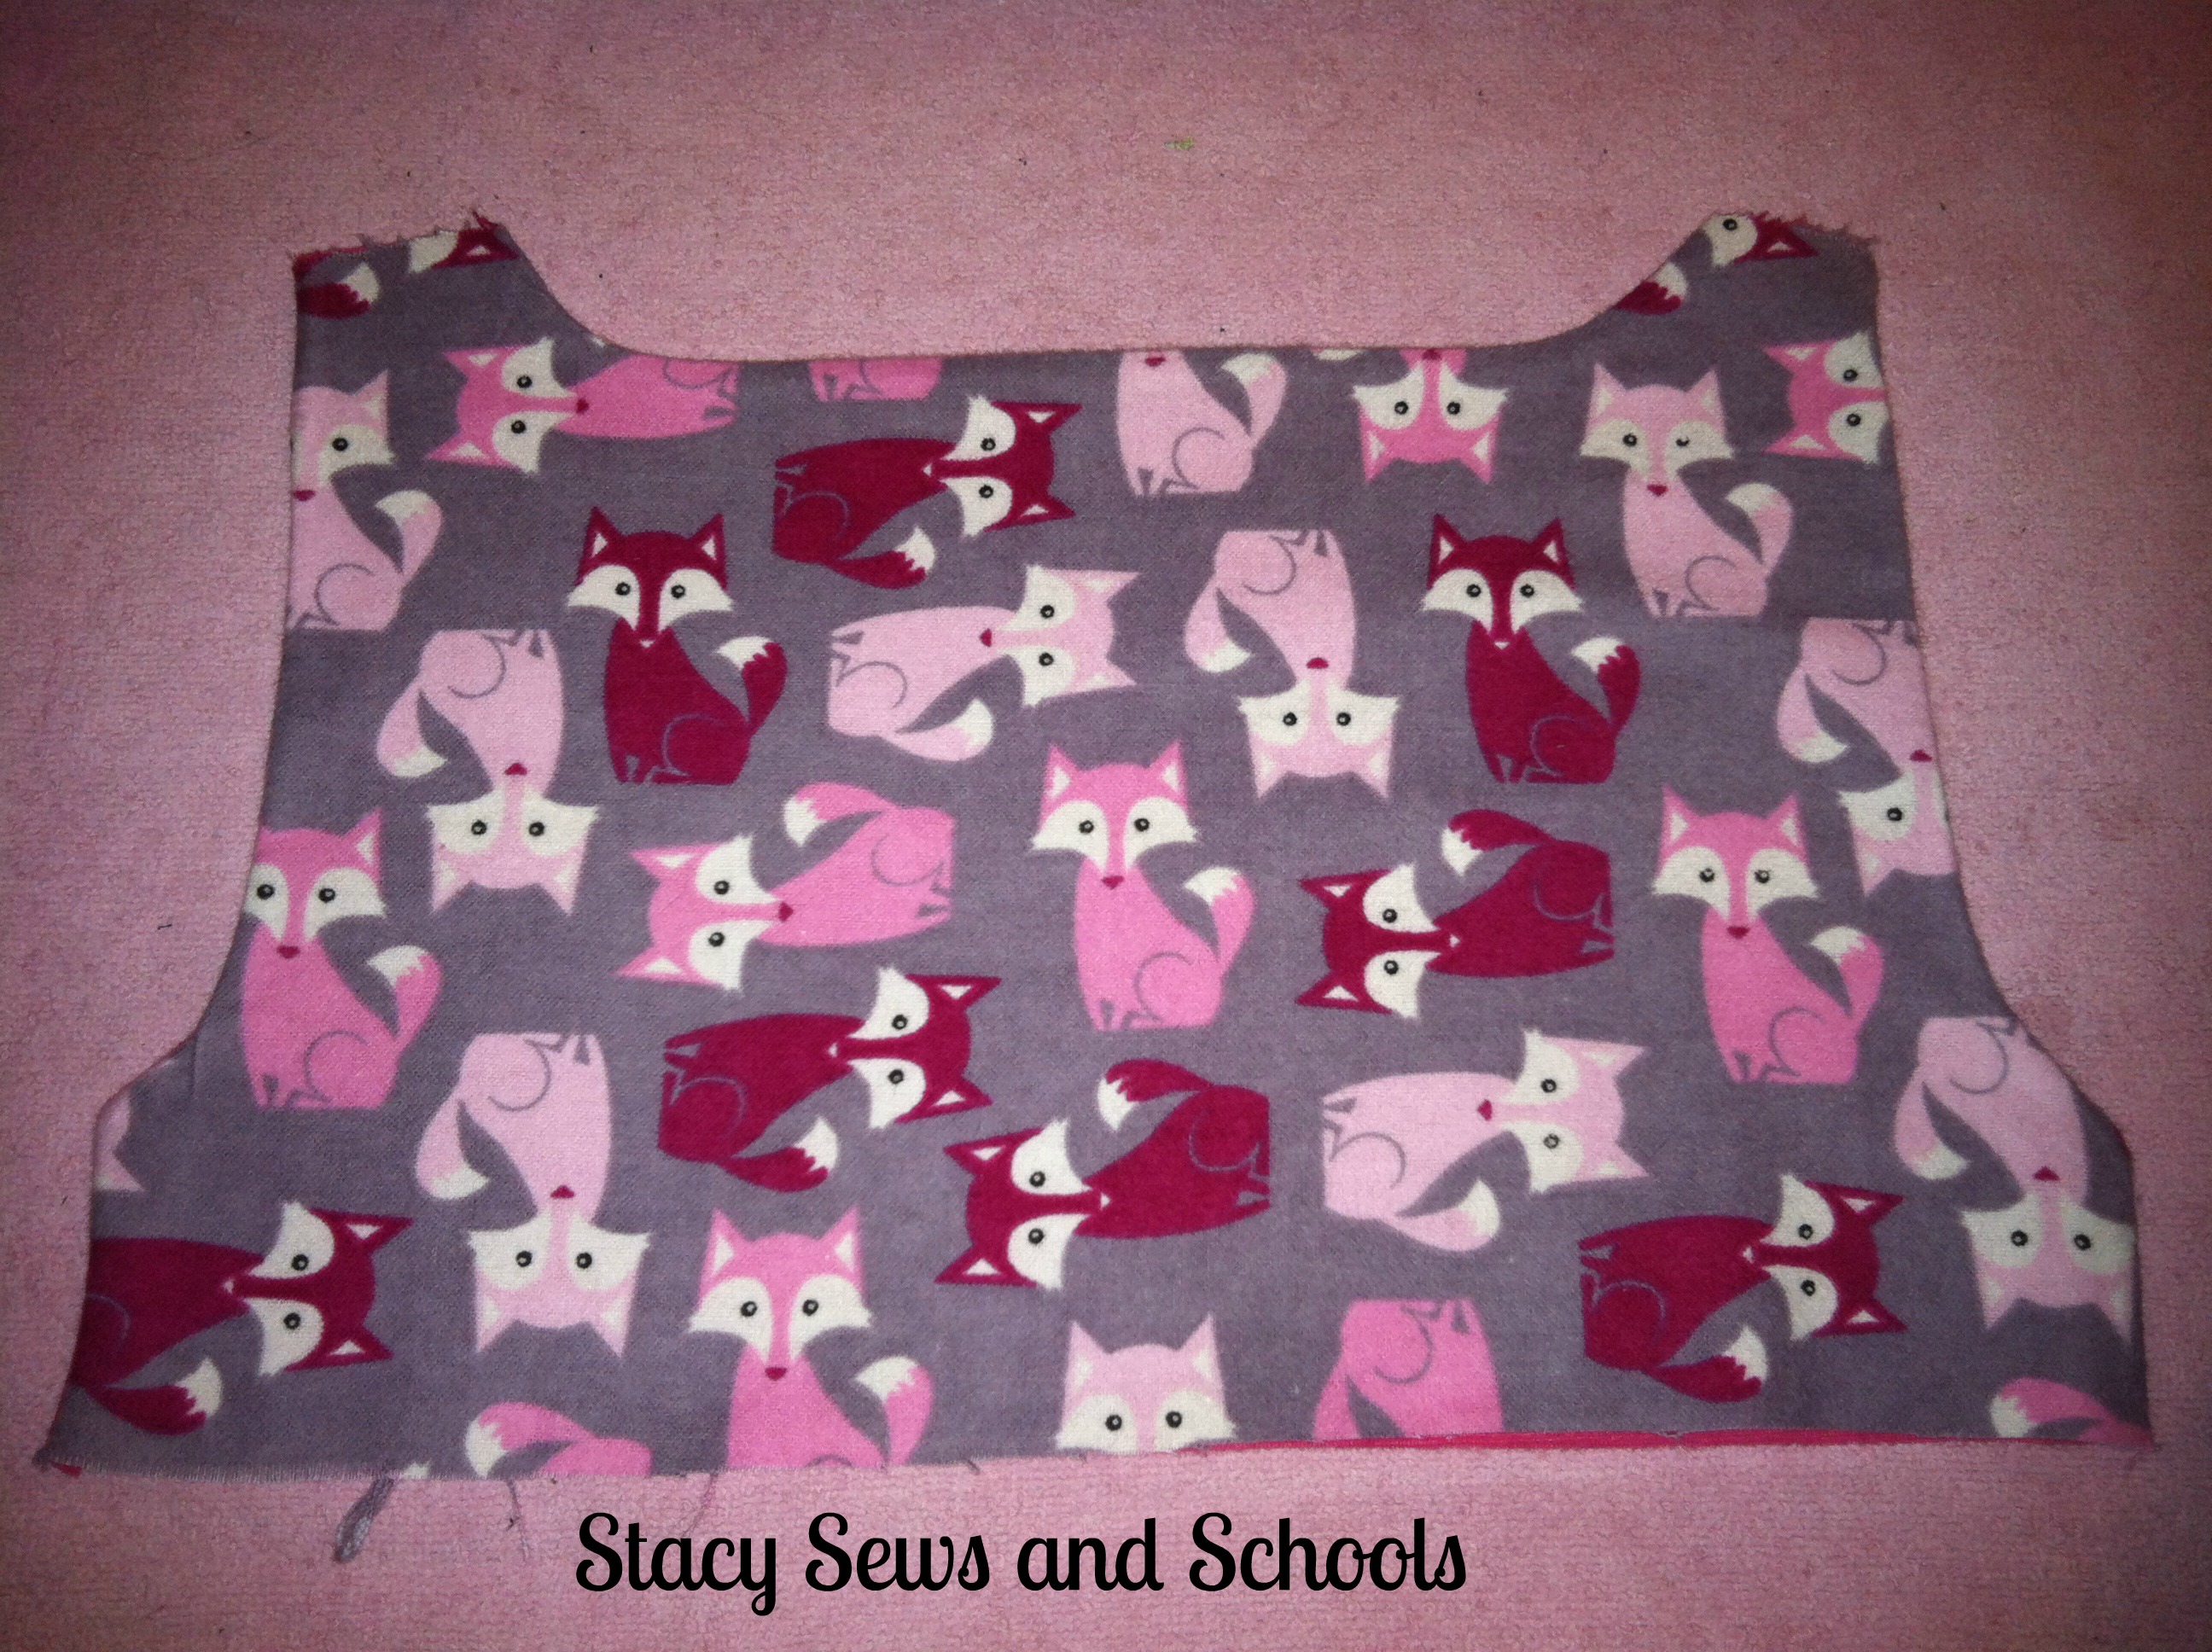
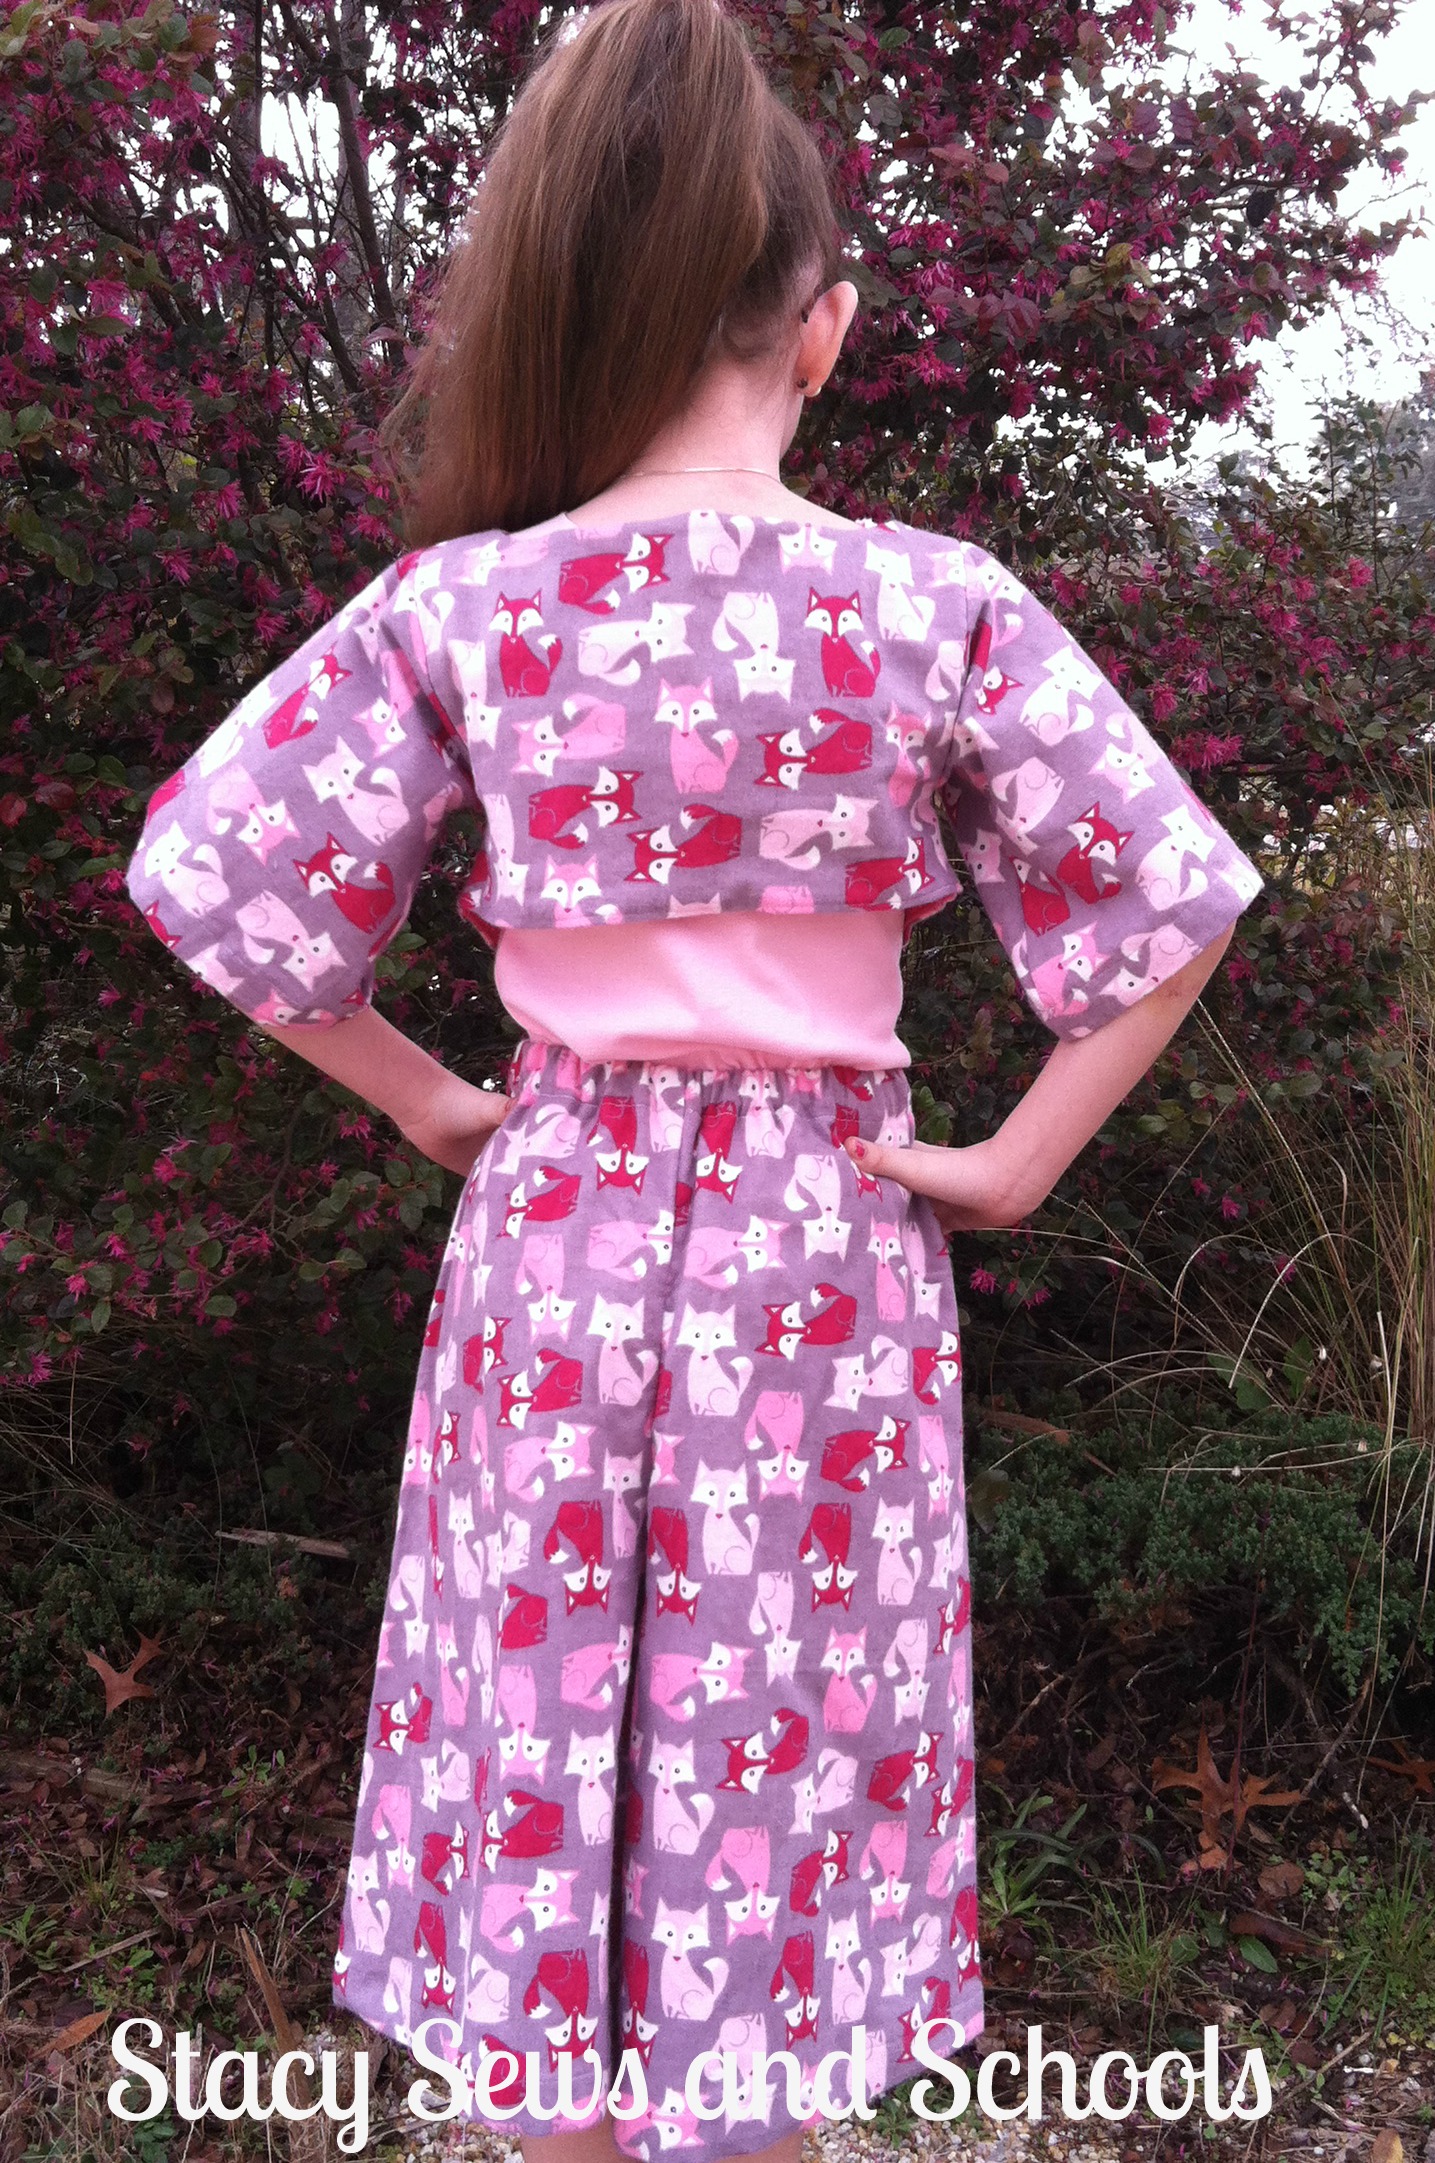
I wanted the front of the bolero to curve and be slightly longer than the back.
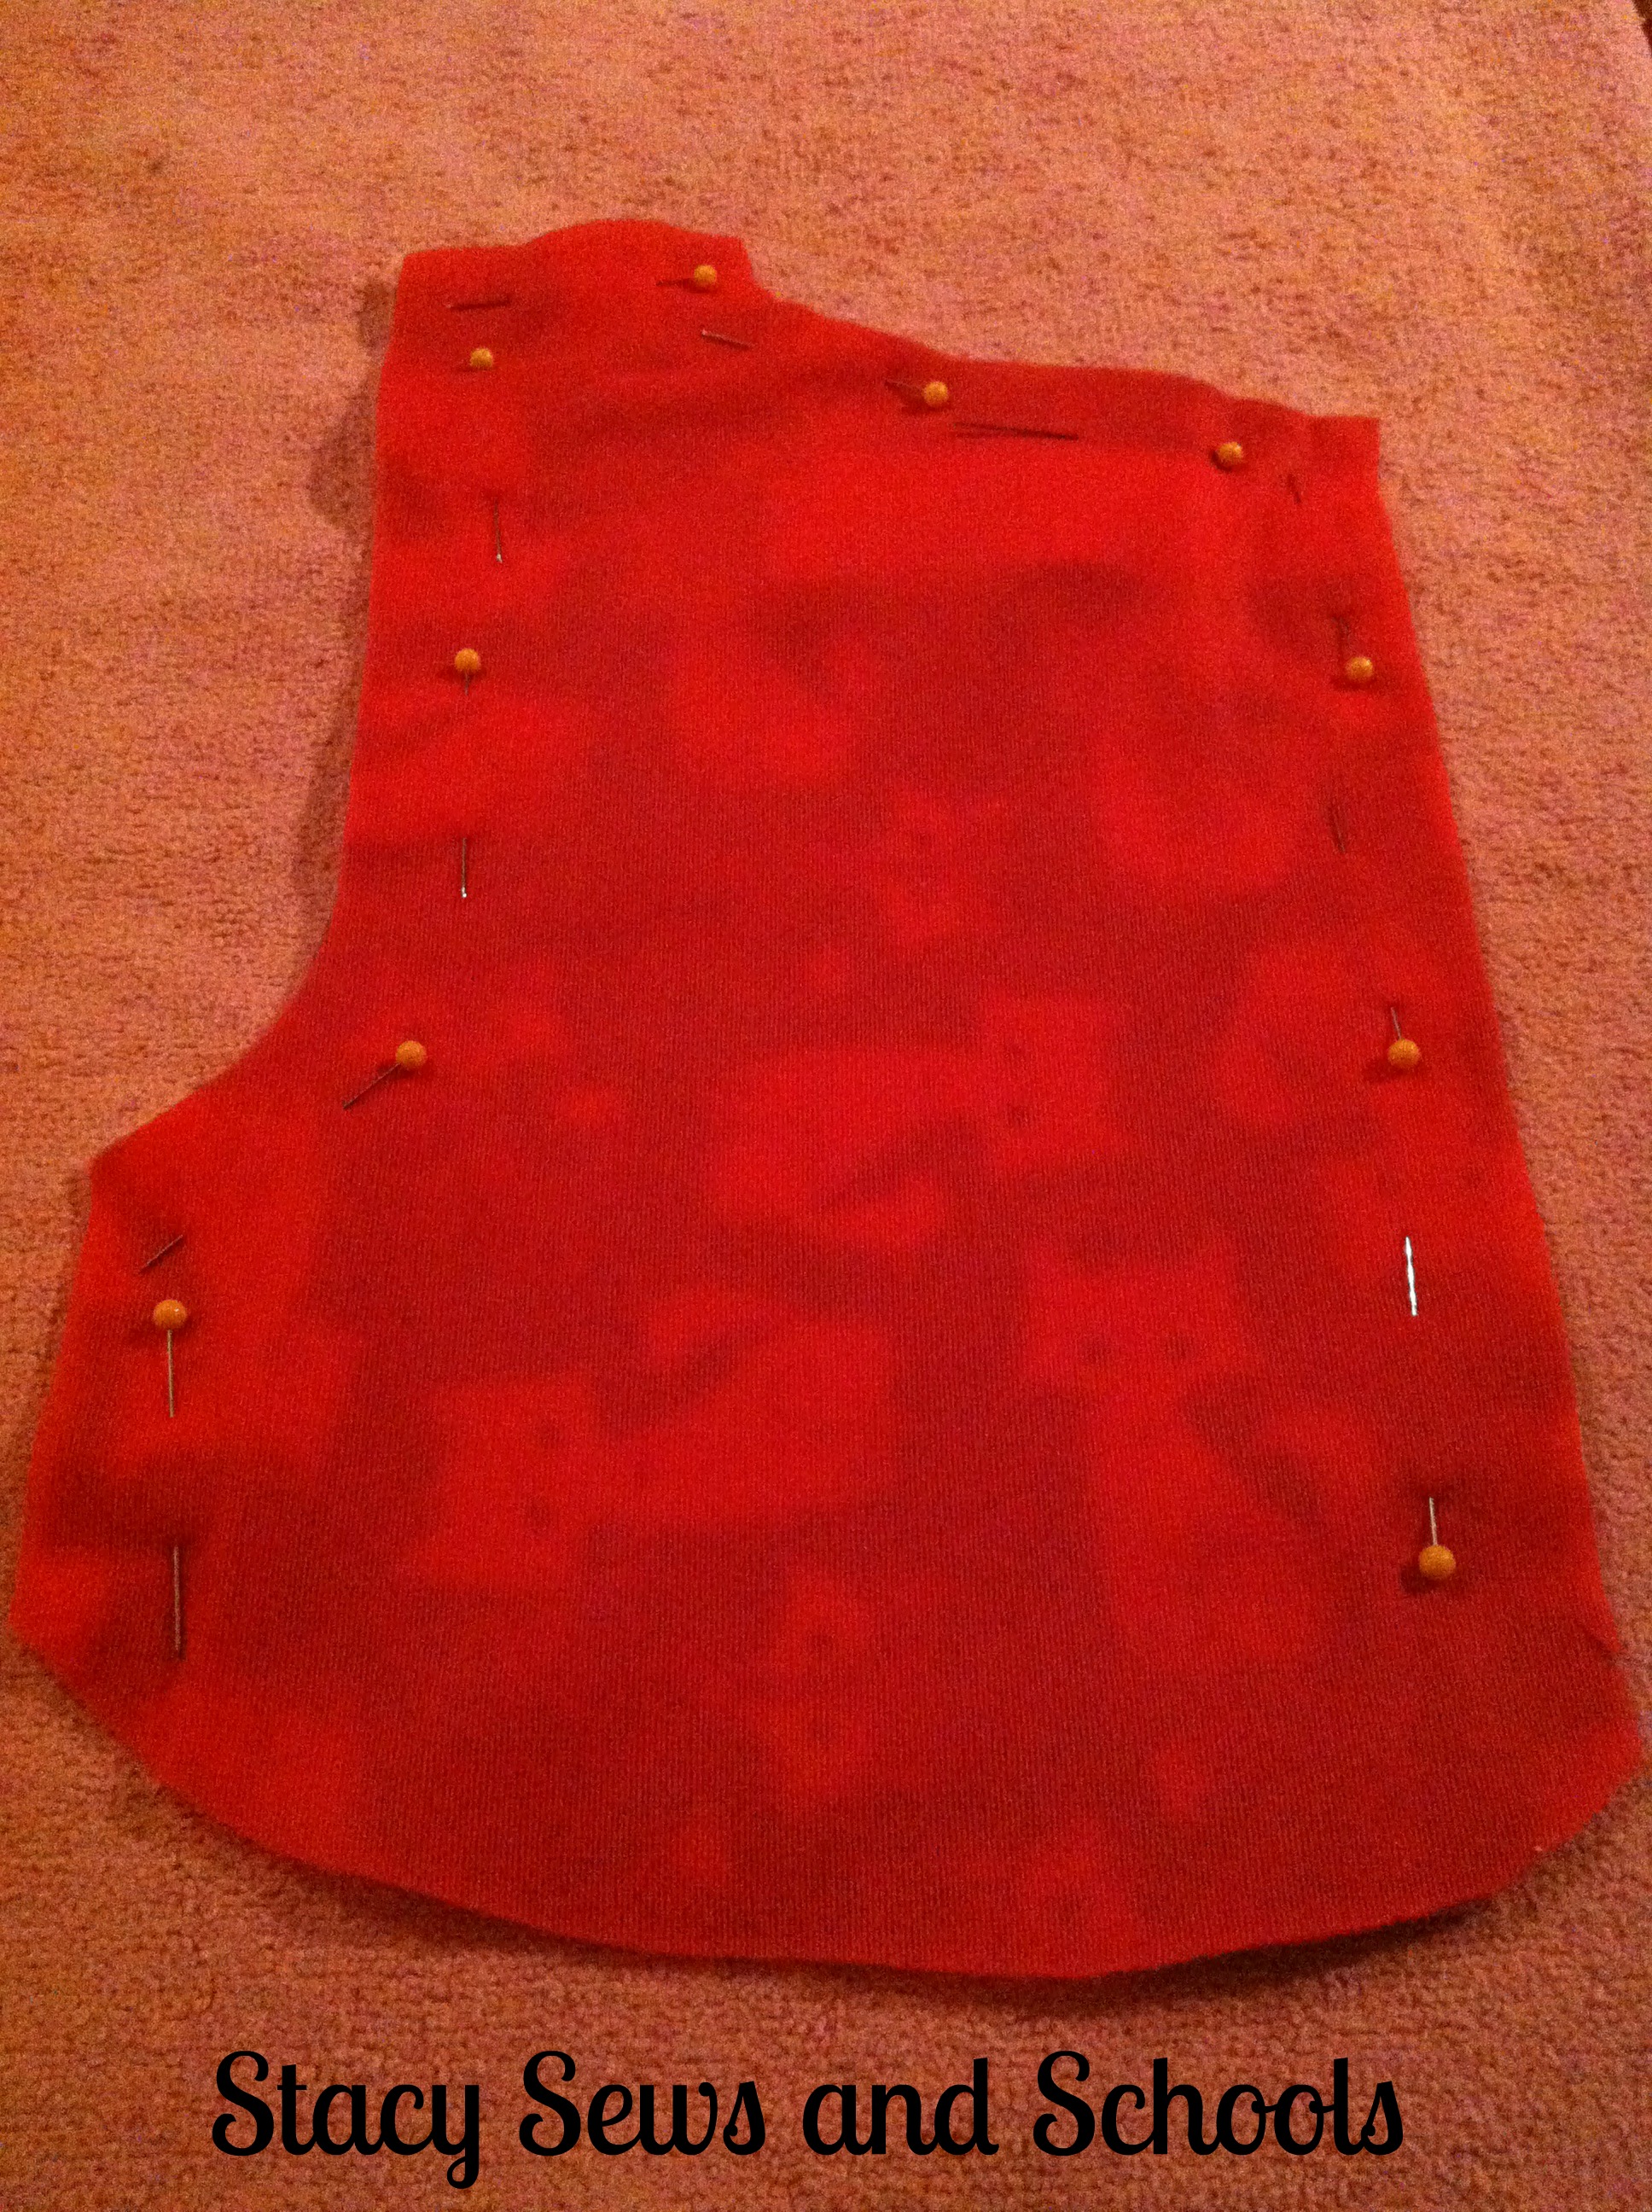
I cut 1 left side of the main and one right side of the main. Make sure you flip it so you have one right side and one left side OR you can fold the fabric over but don't place the edge on the fold.
Step 2 -
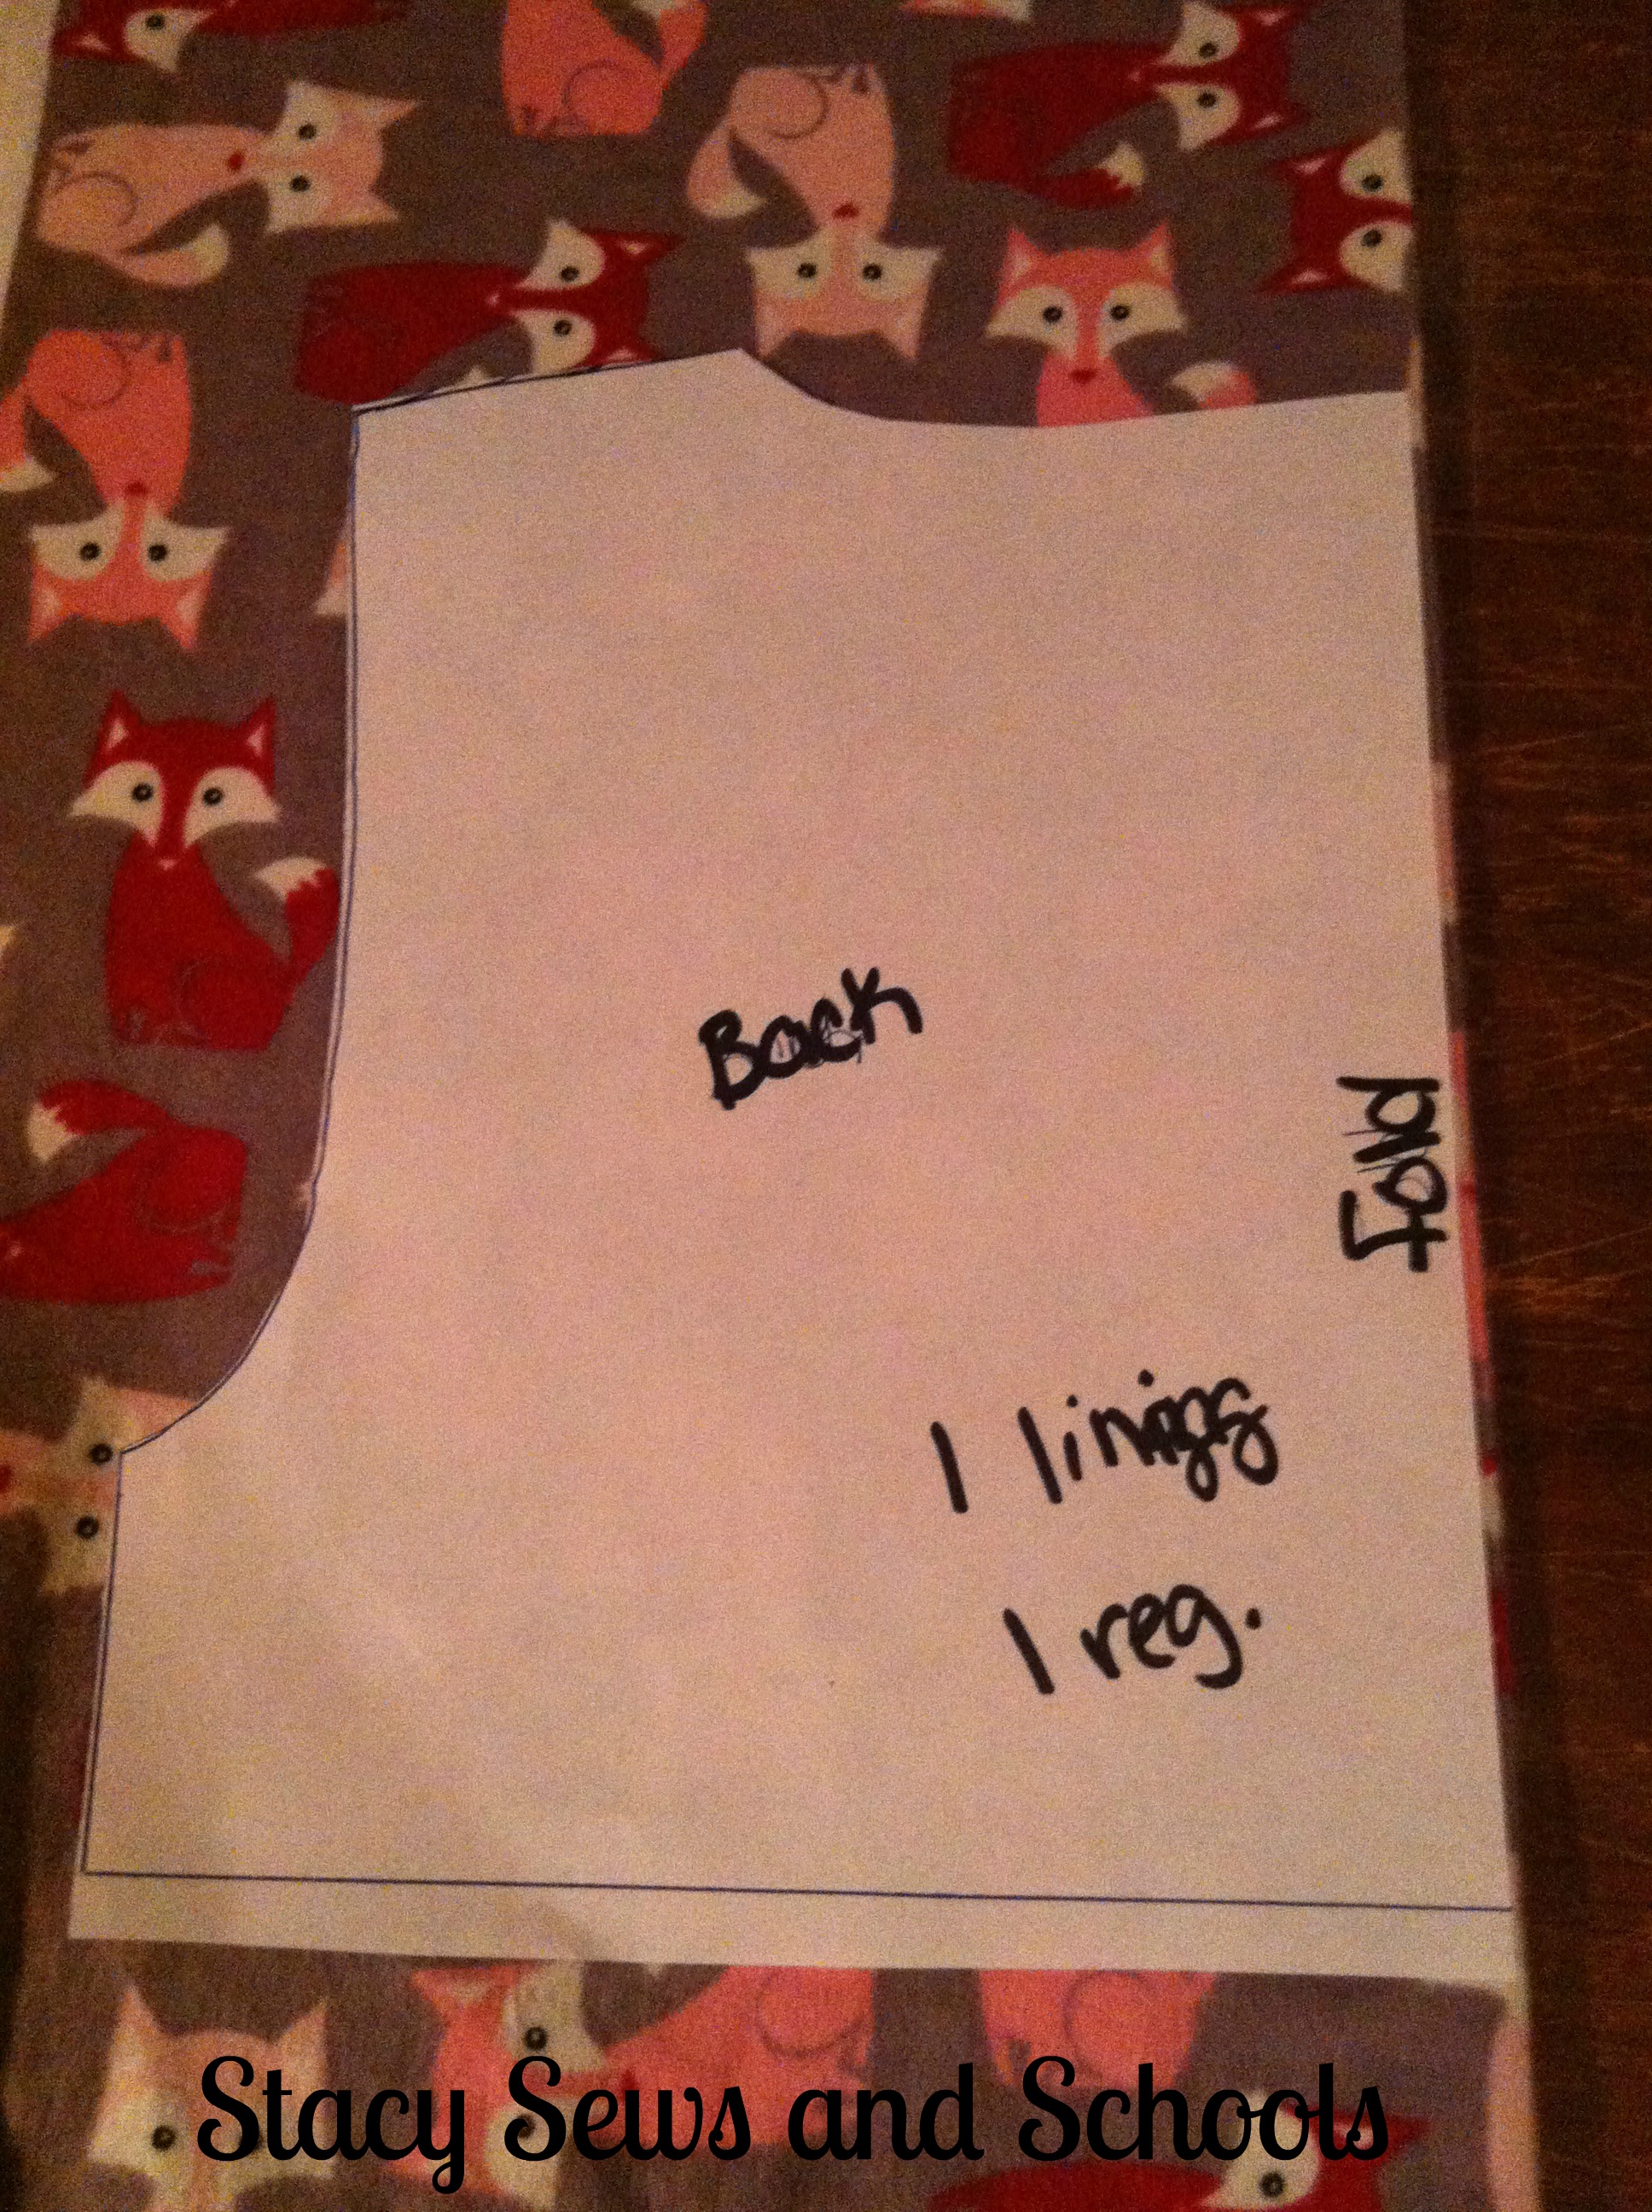
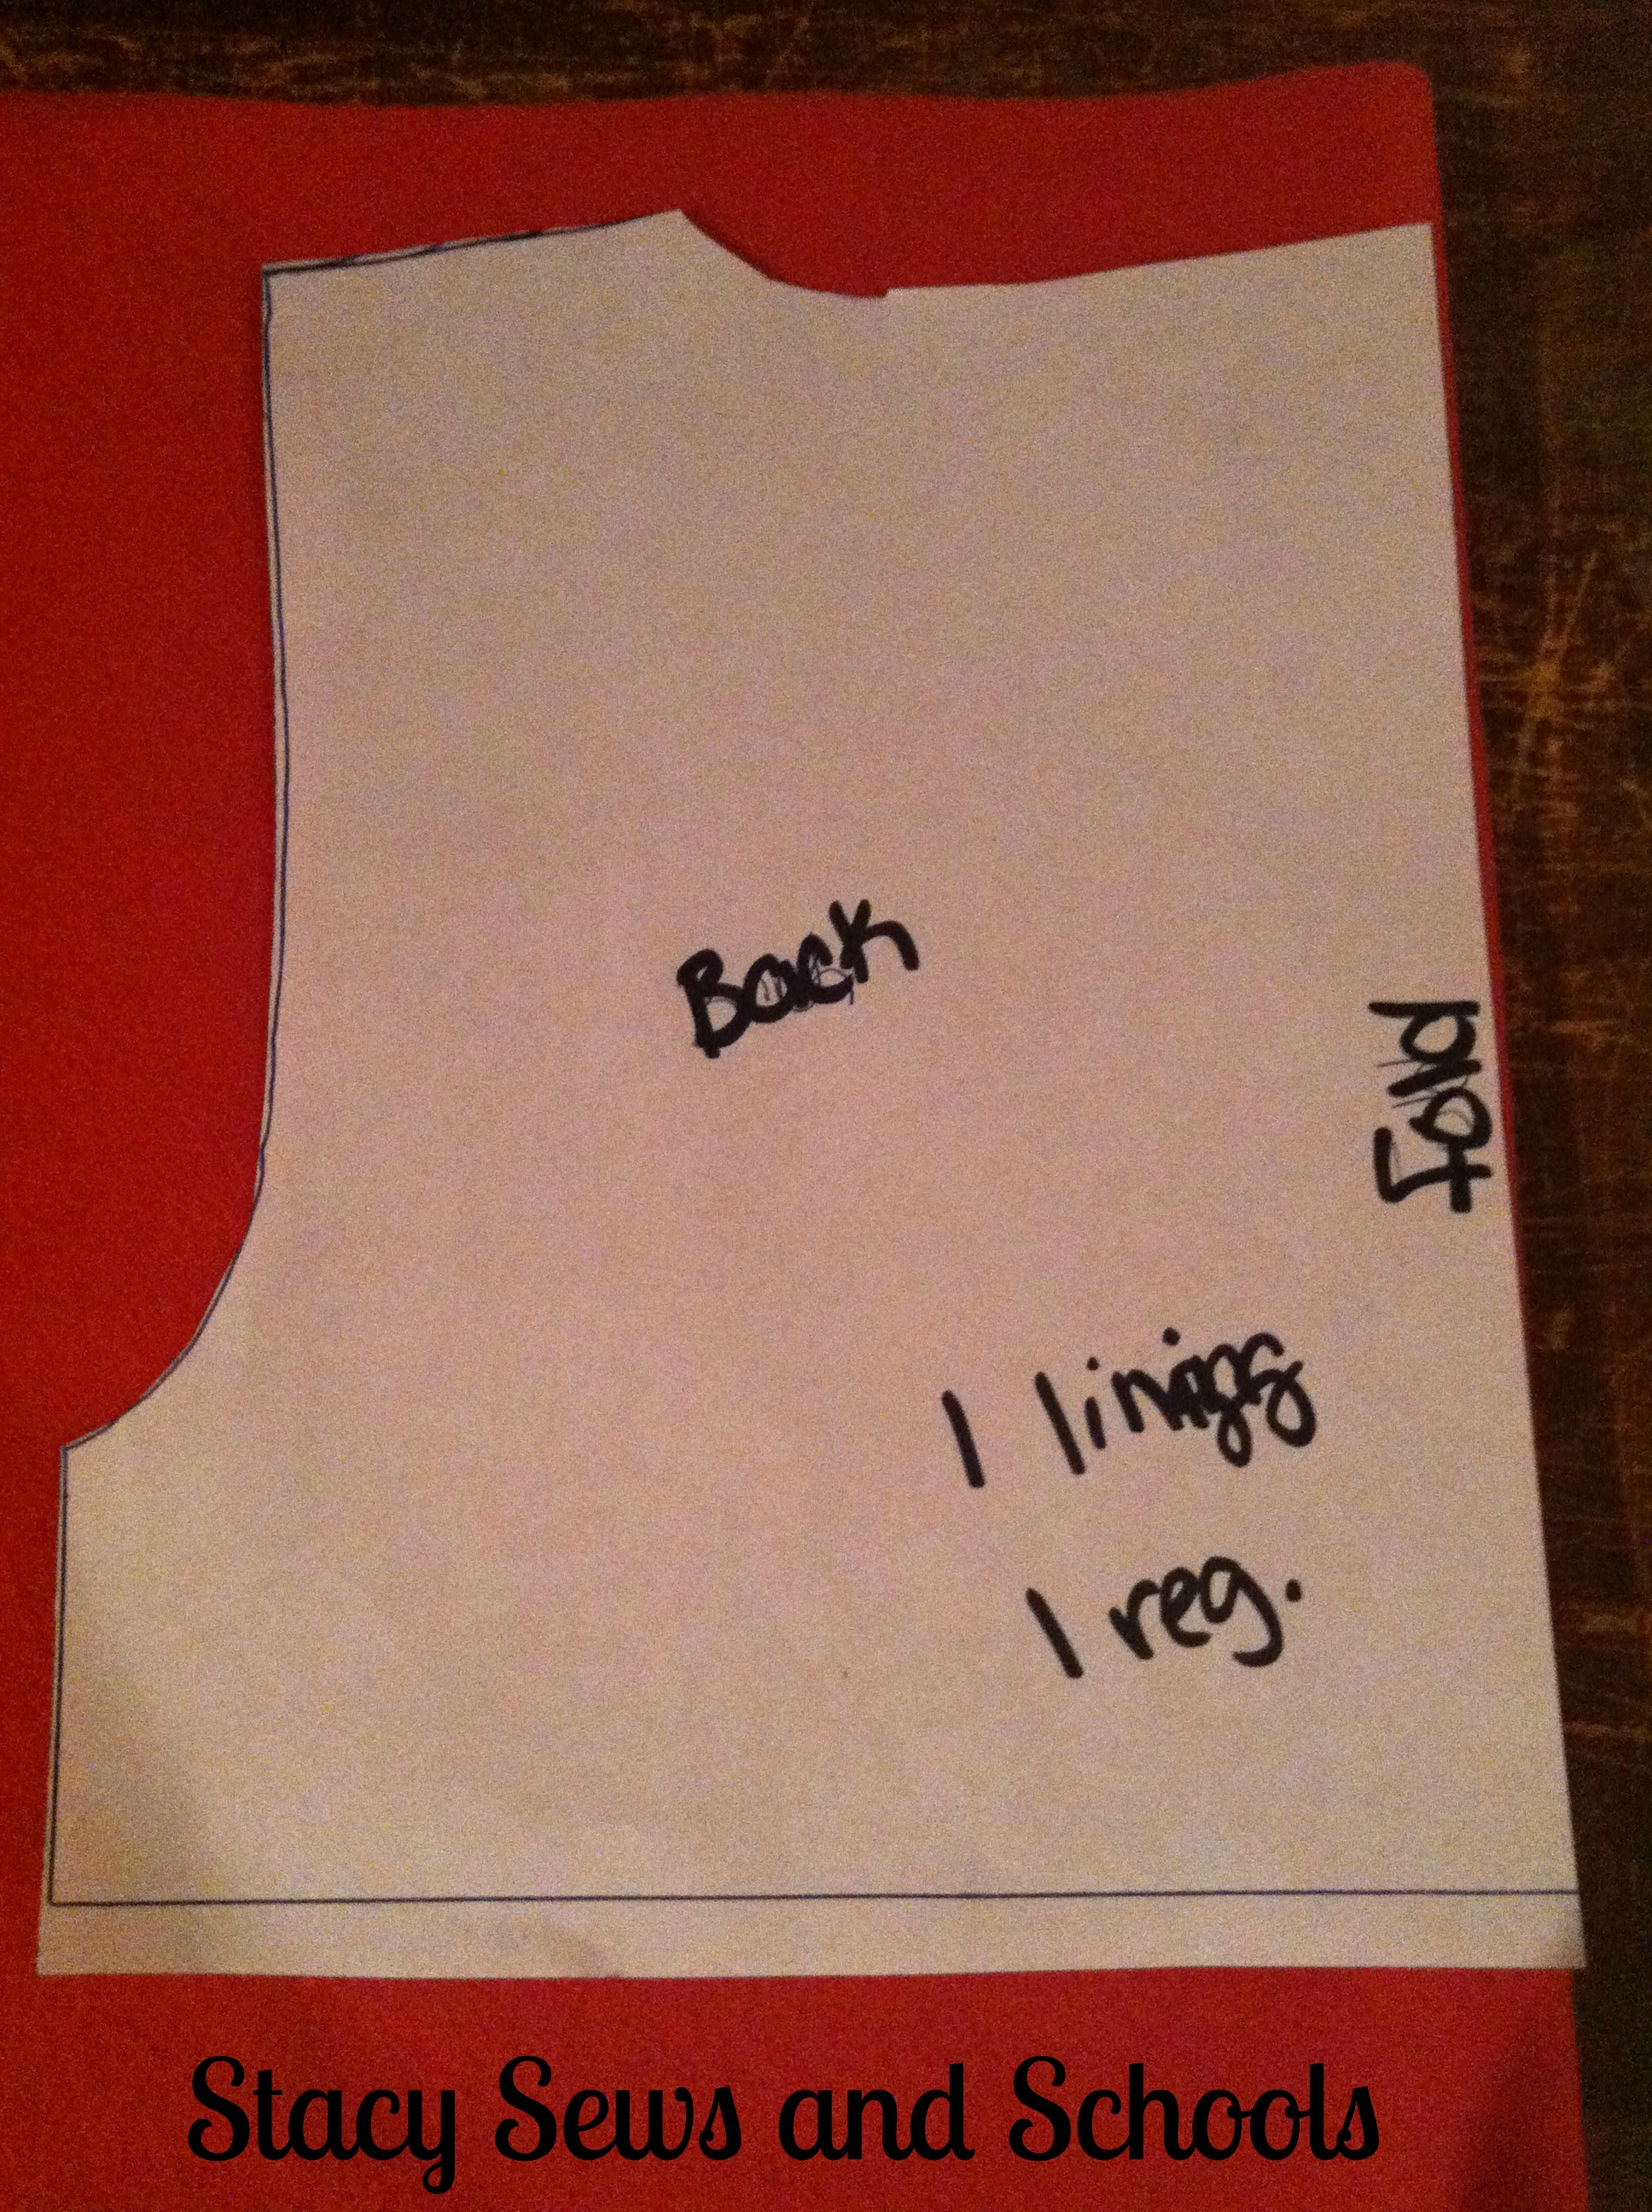
Now for the back of the bolero. This is the piece you want to cut on the fold. ;)
Step 3 -
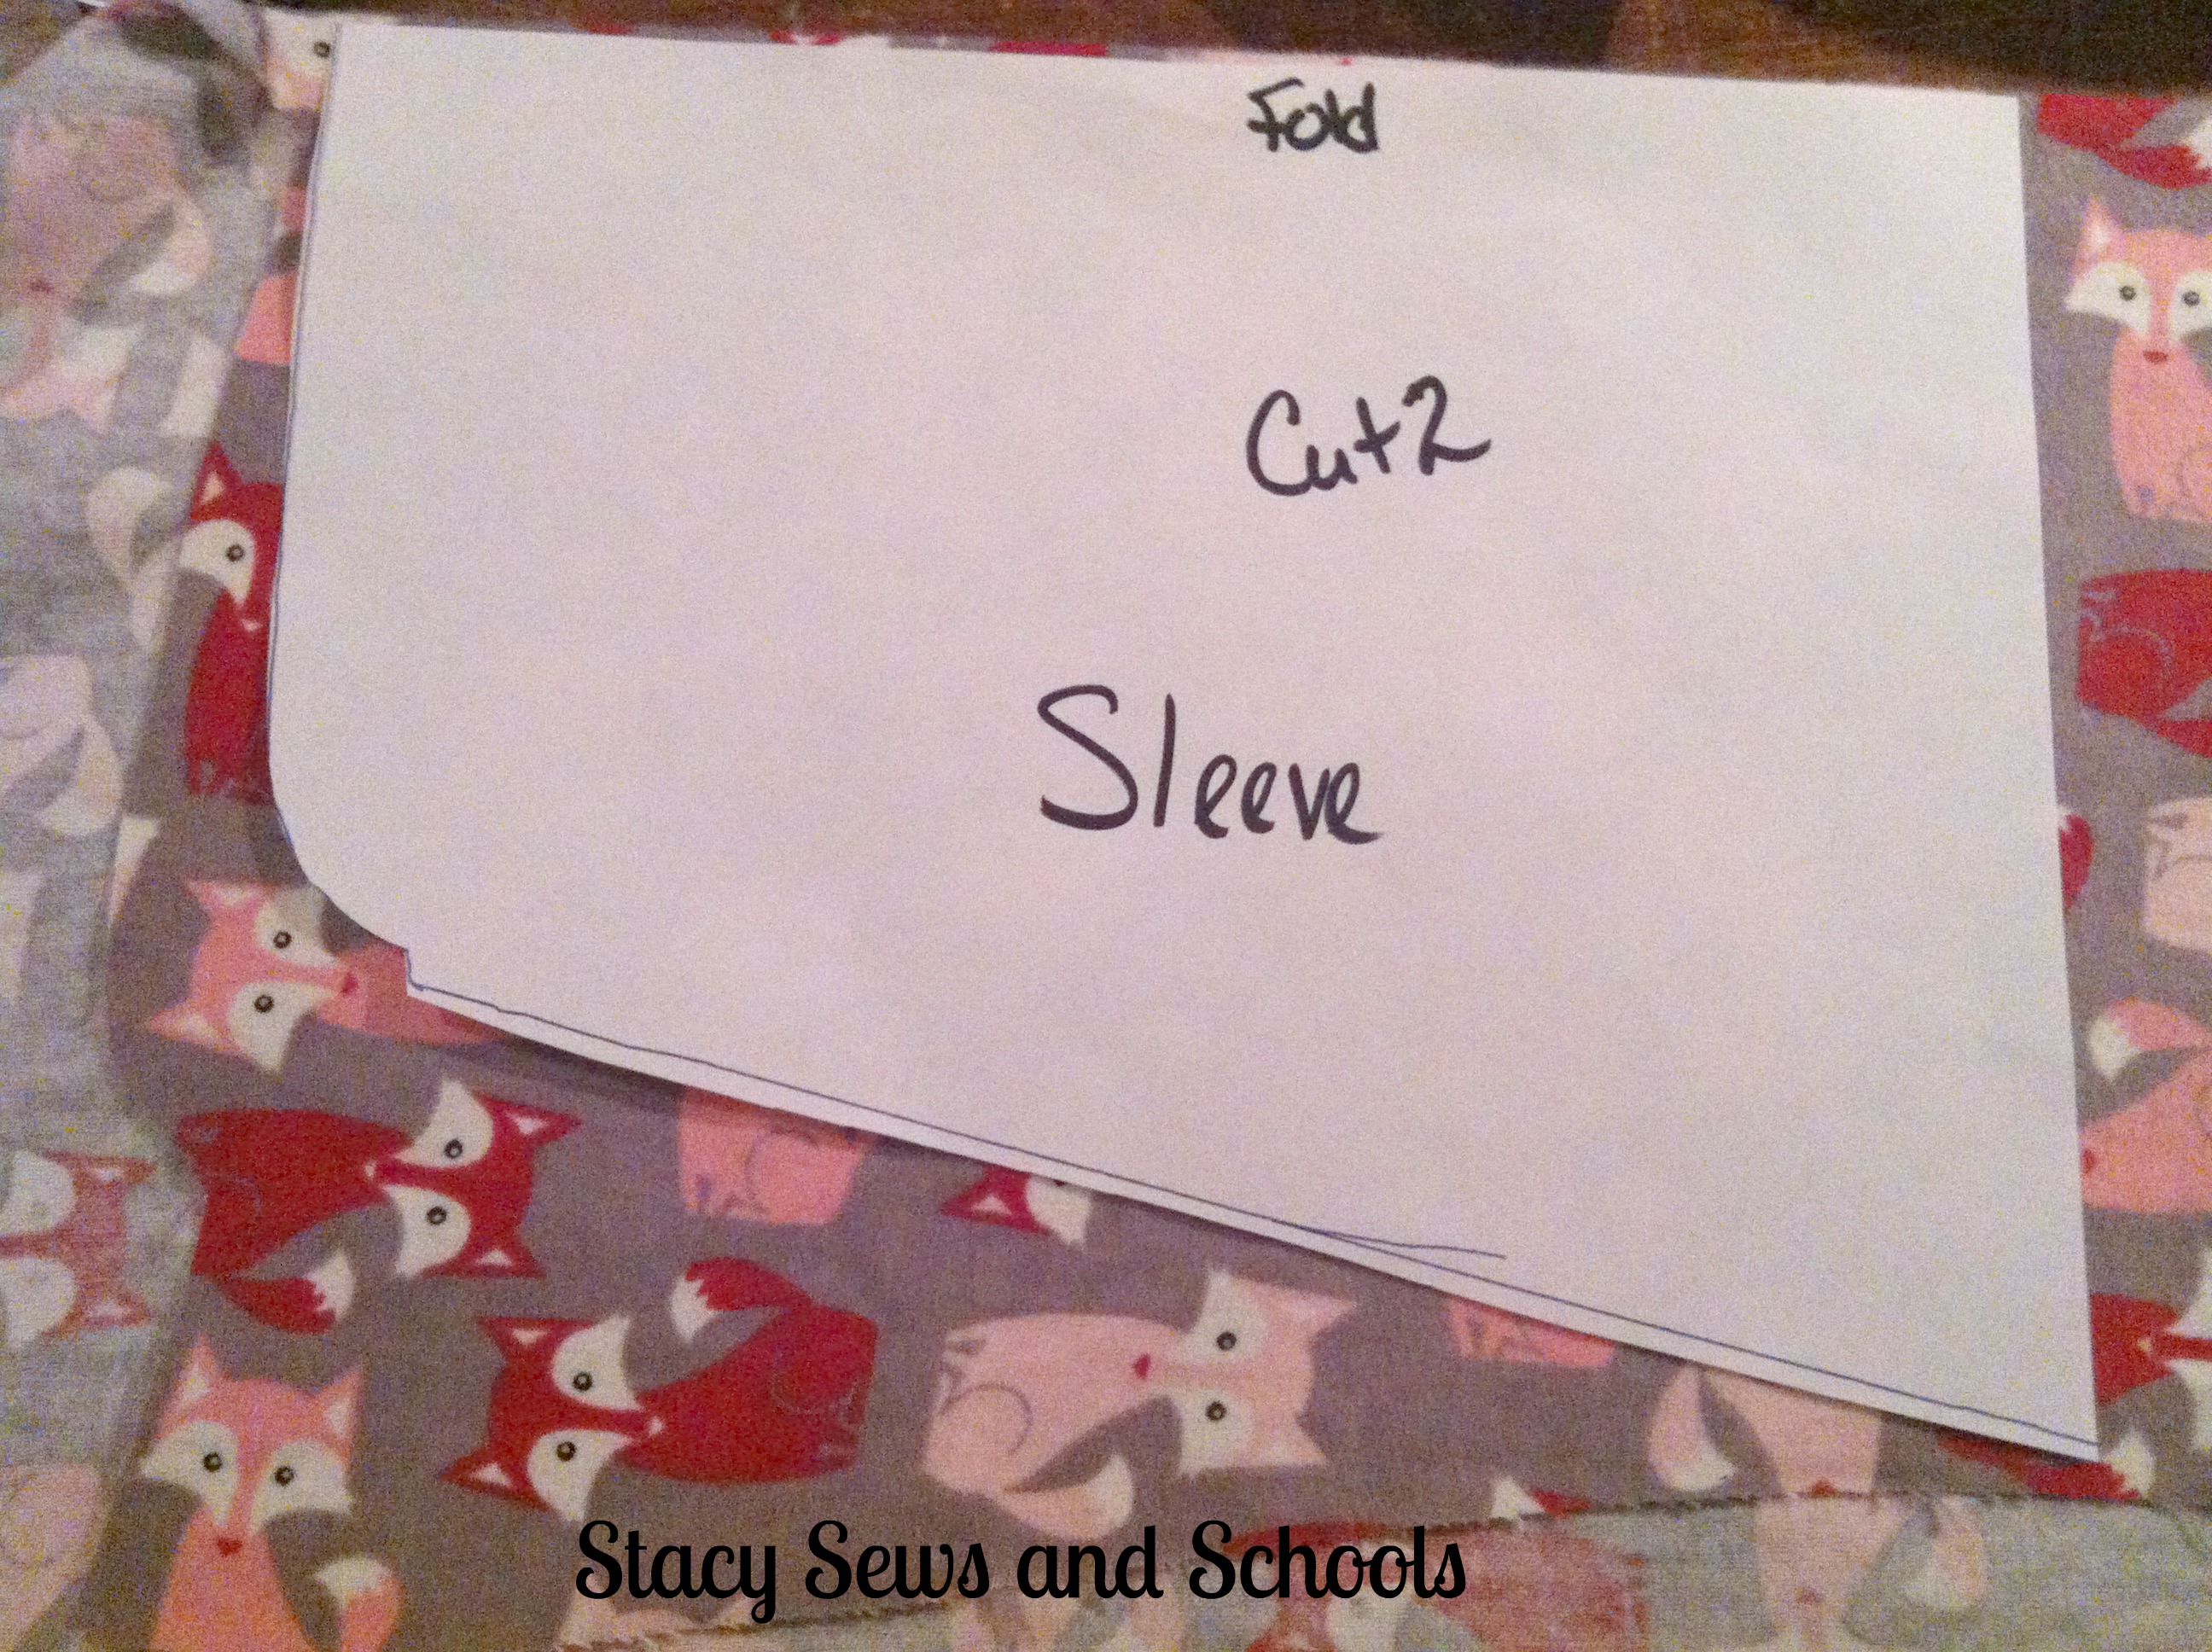
For the sleeve, I wanted it to bell out like the gauchos. I used a front piece of the bolero to cut where the sleeve meets the armhole to make sure it would fit properly.
Cut 2 on the fold.
Step 4-

Now for the lining. Cut it the same way you did the main, 2 pieces for the front and flip if you have right and wrong sides, that way you will have left and right pieces.
Step 5-
Now, cut the back piece, once again on the fold.
Step 6-
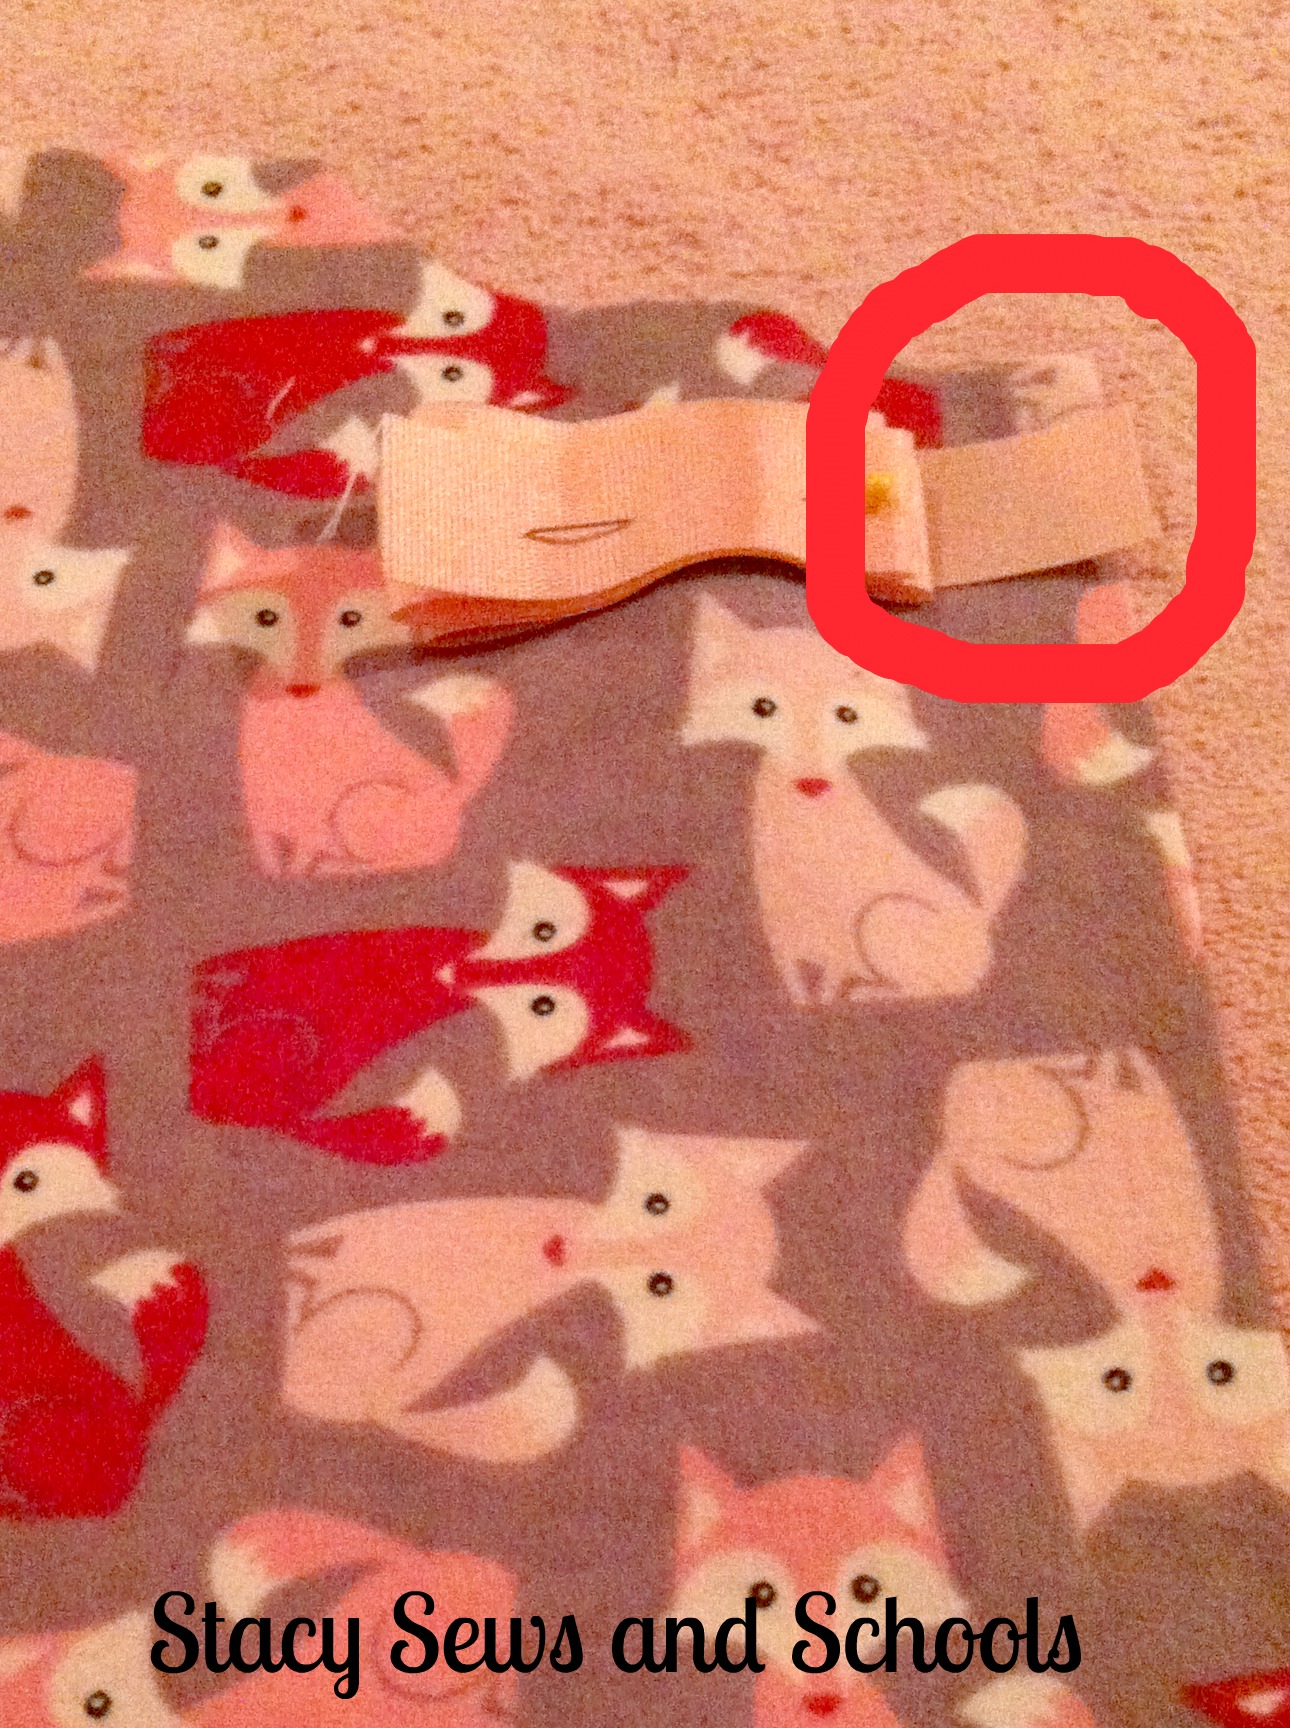
Pin your ribbon to the front bolero pieces with a bit hanging over the edge.
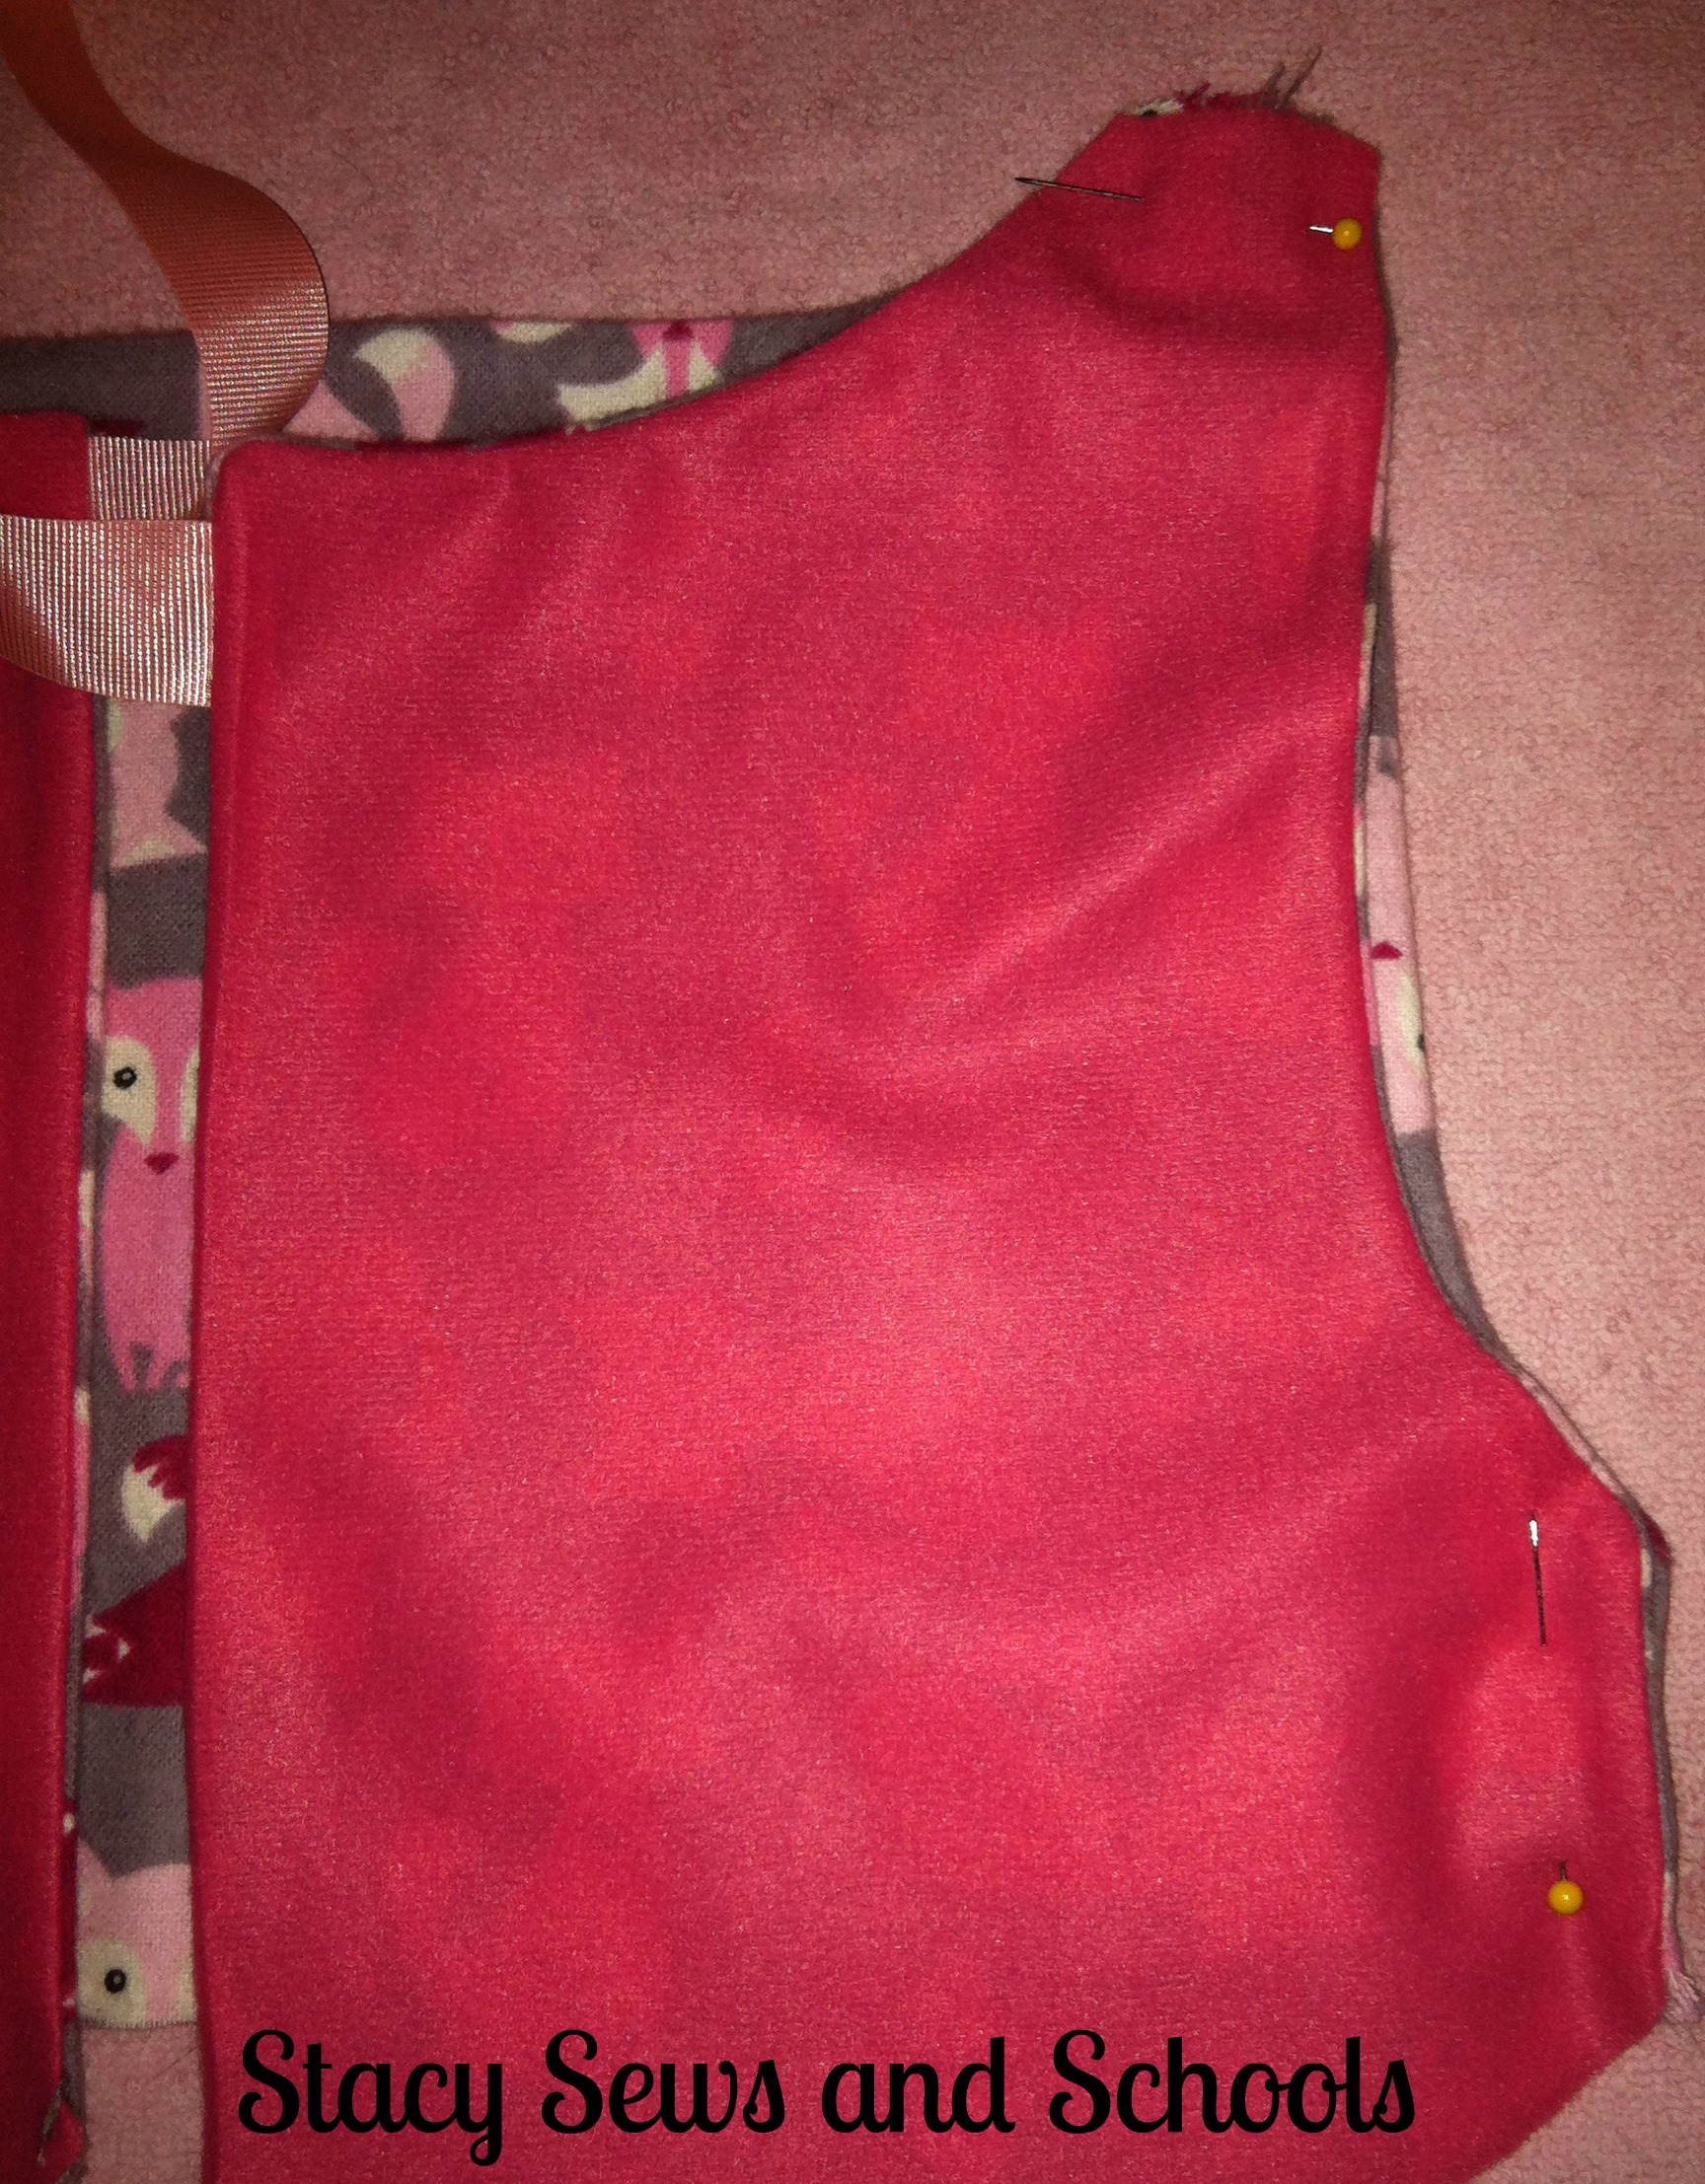
Step 7-
Pin the front bolero lining and main with right sides together, making sure the ribbon is still poking out a bit.
Sew the pieces together leaving the shoulders and the bottom open.
Do this to both of the front sides of the bolero.
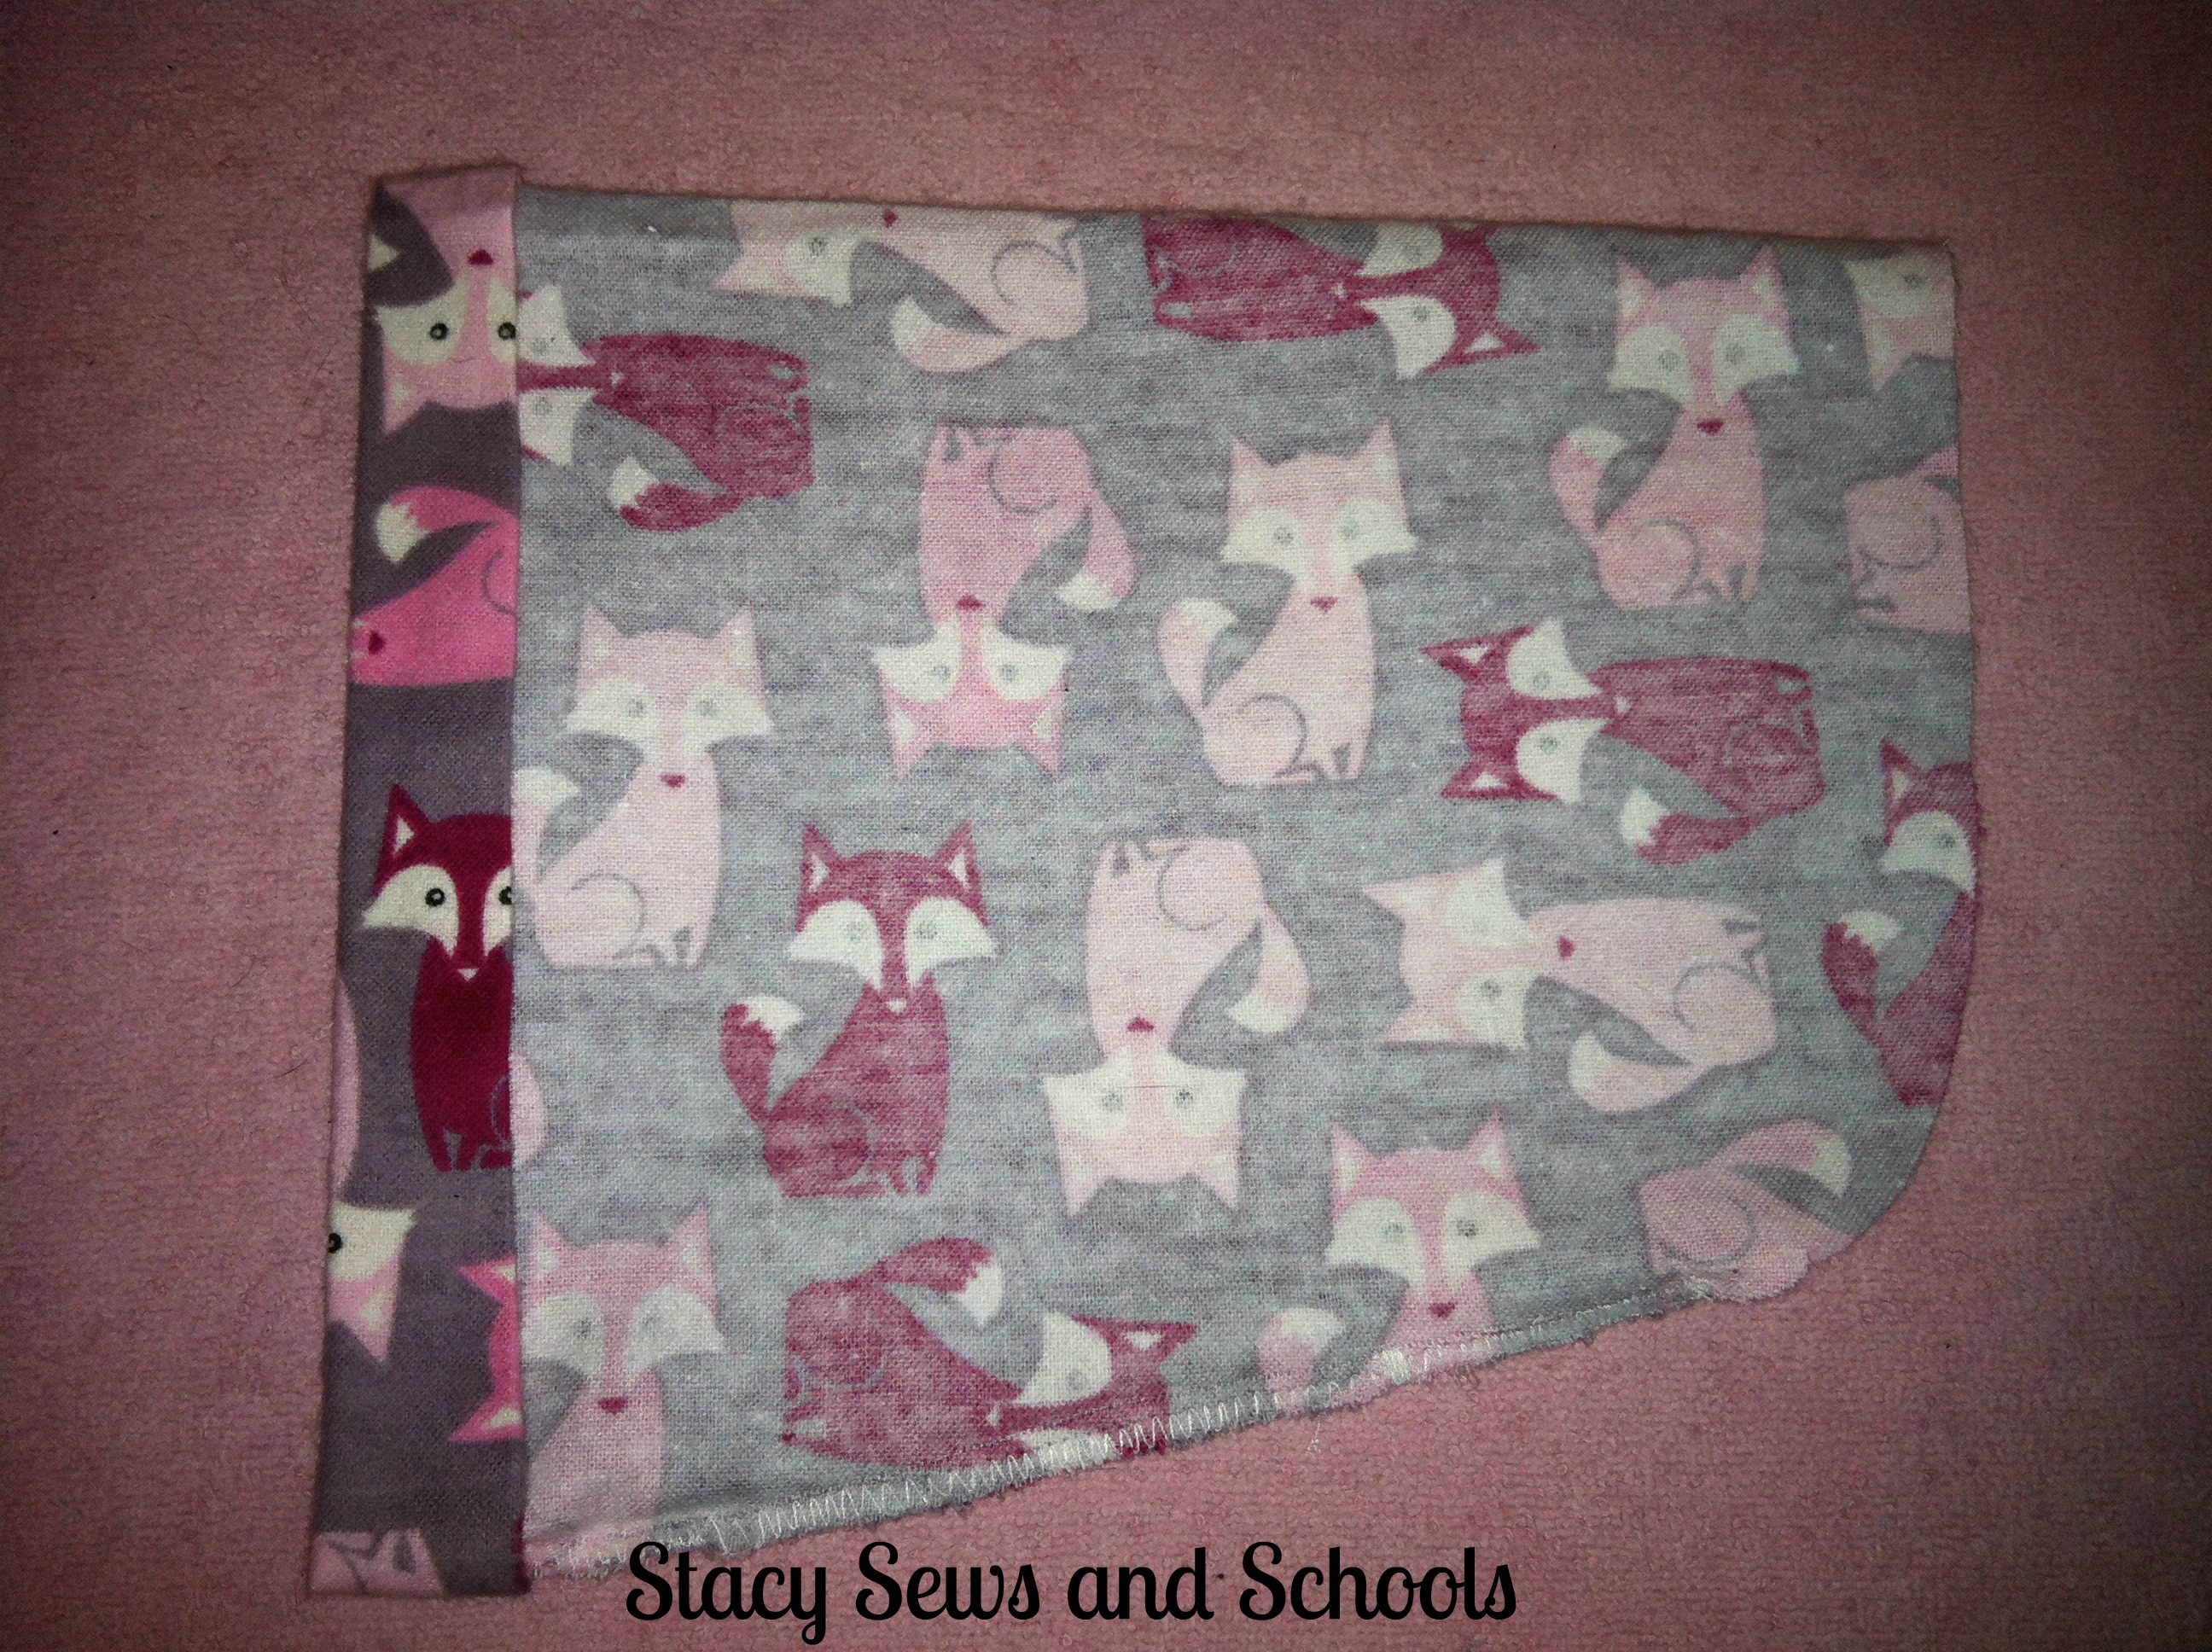
Step 8-
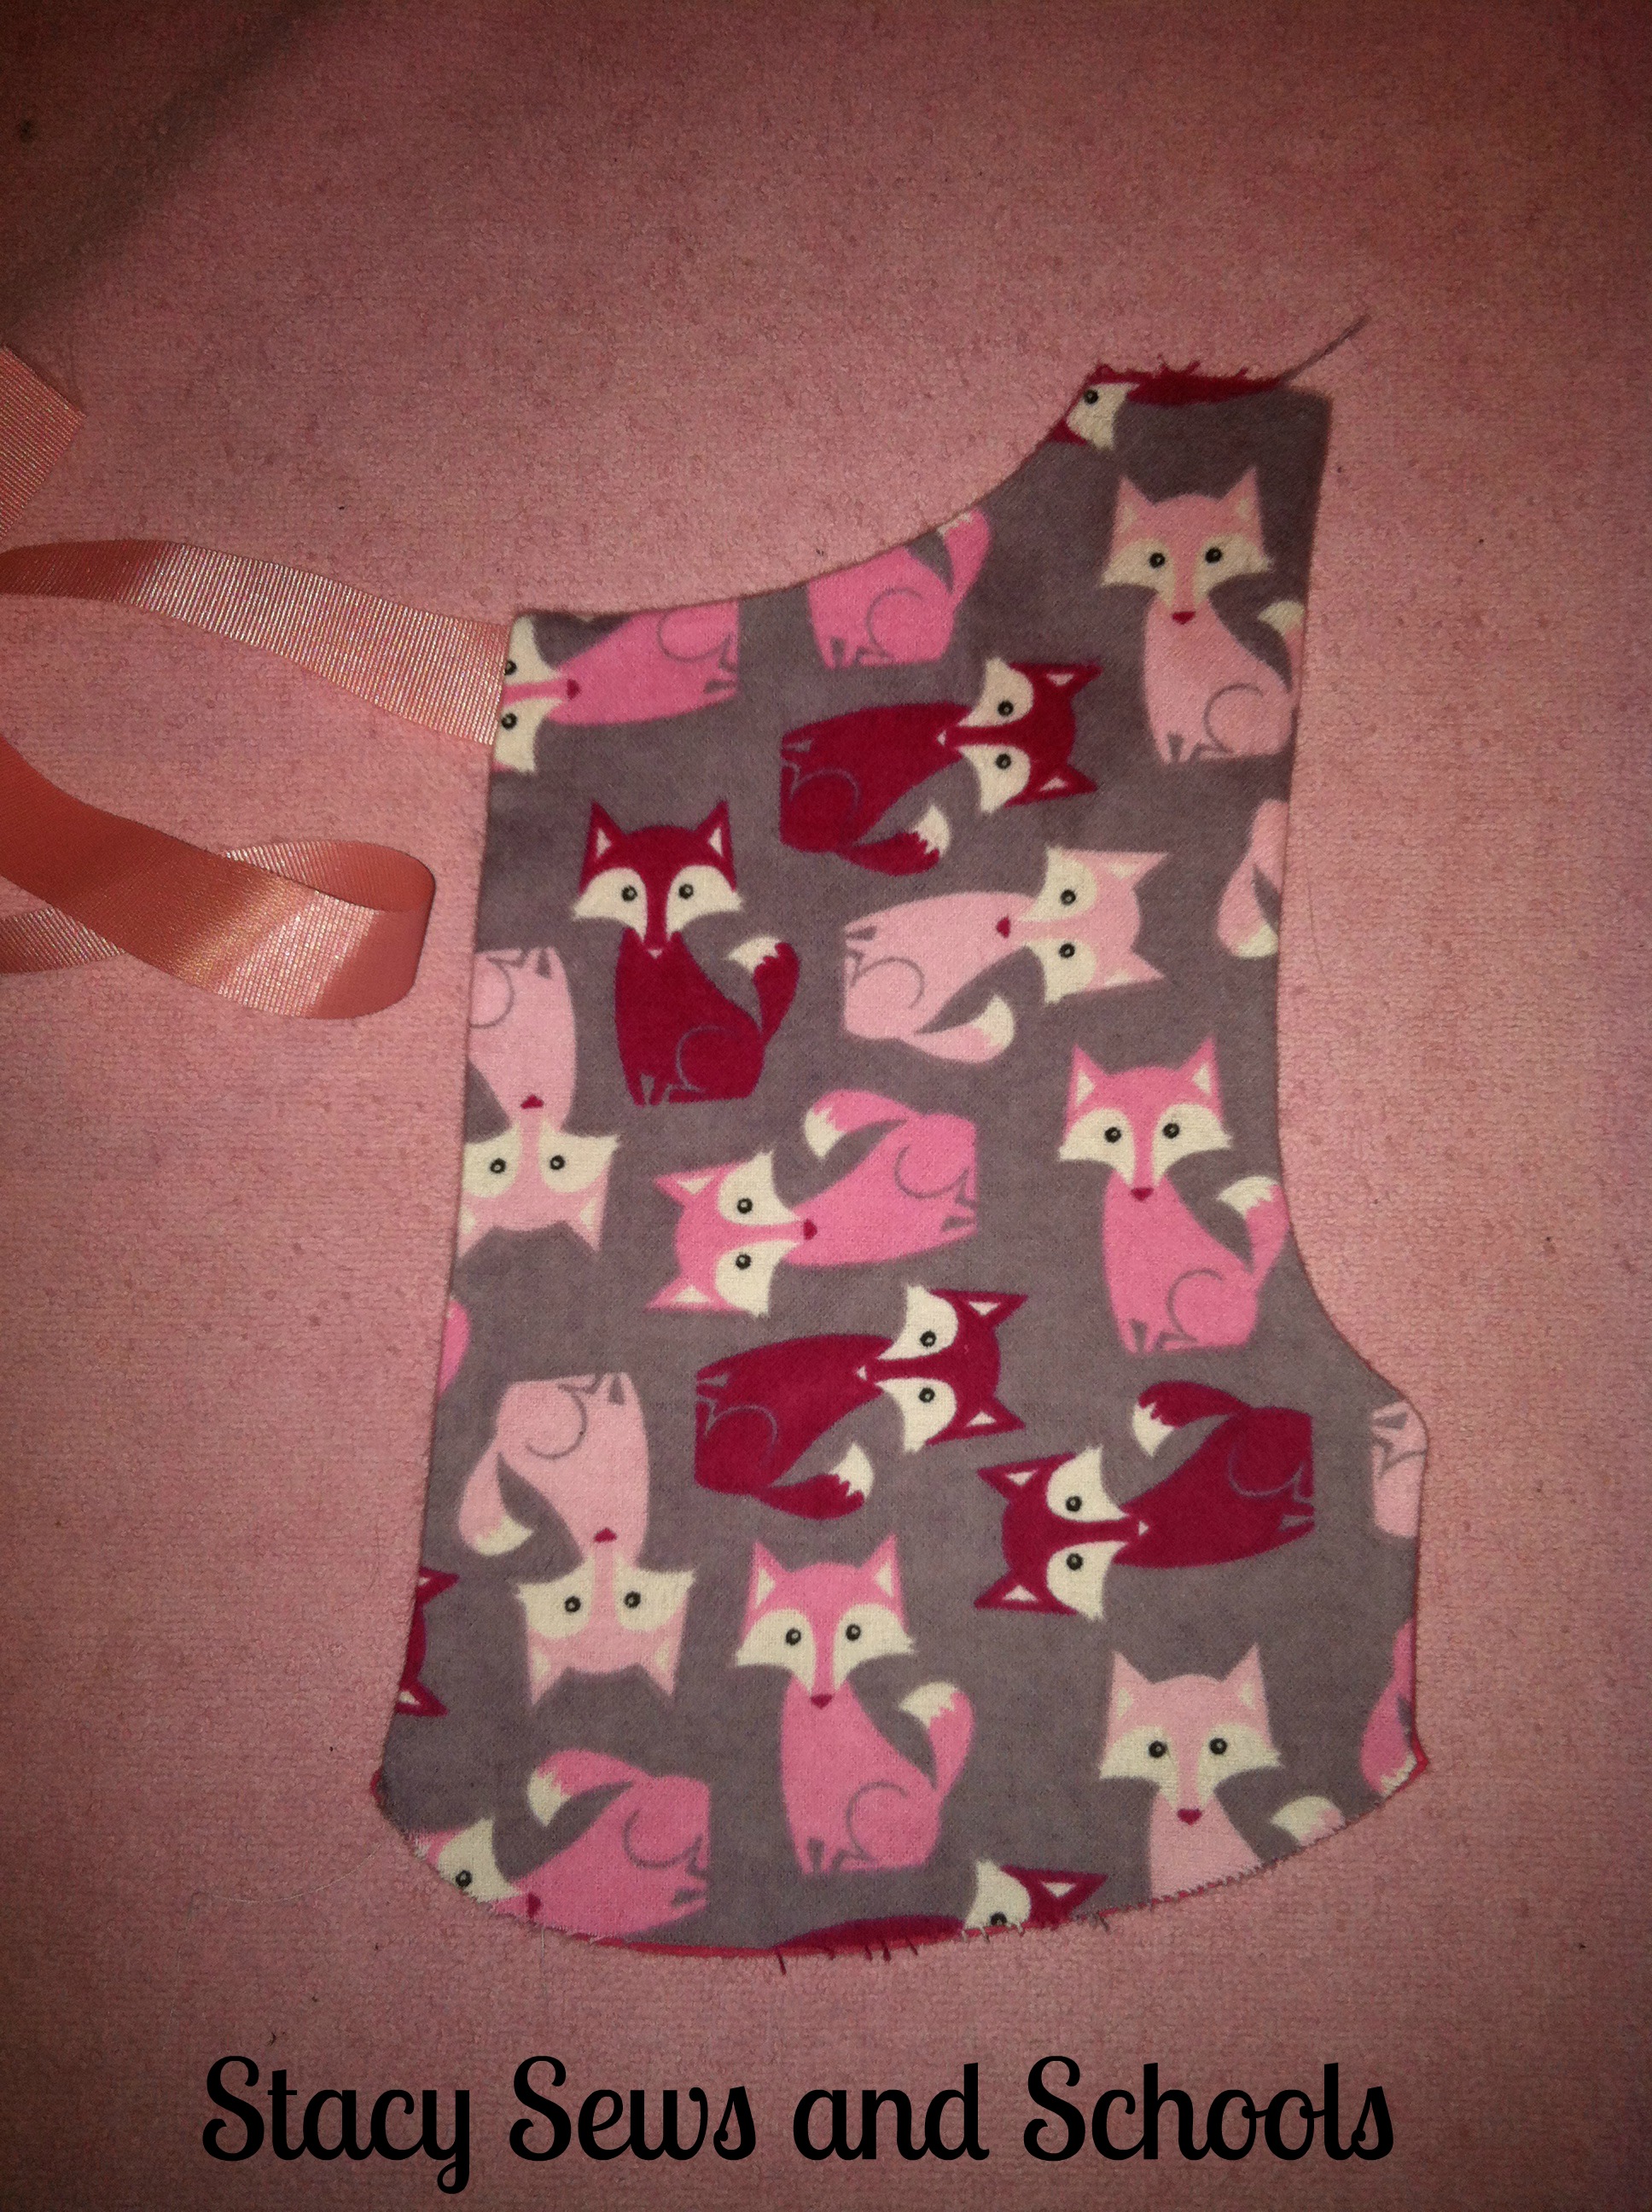
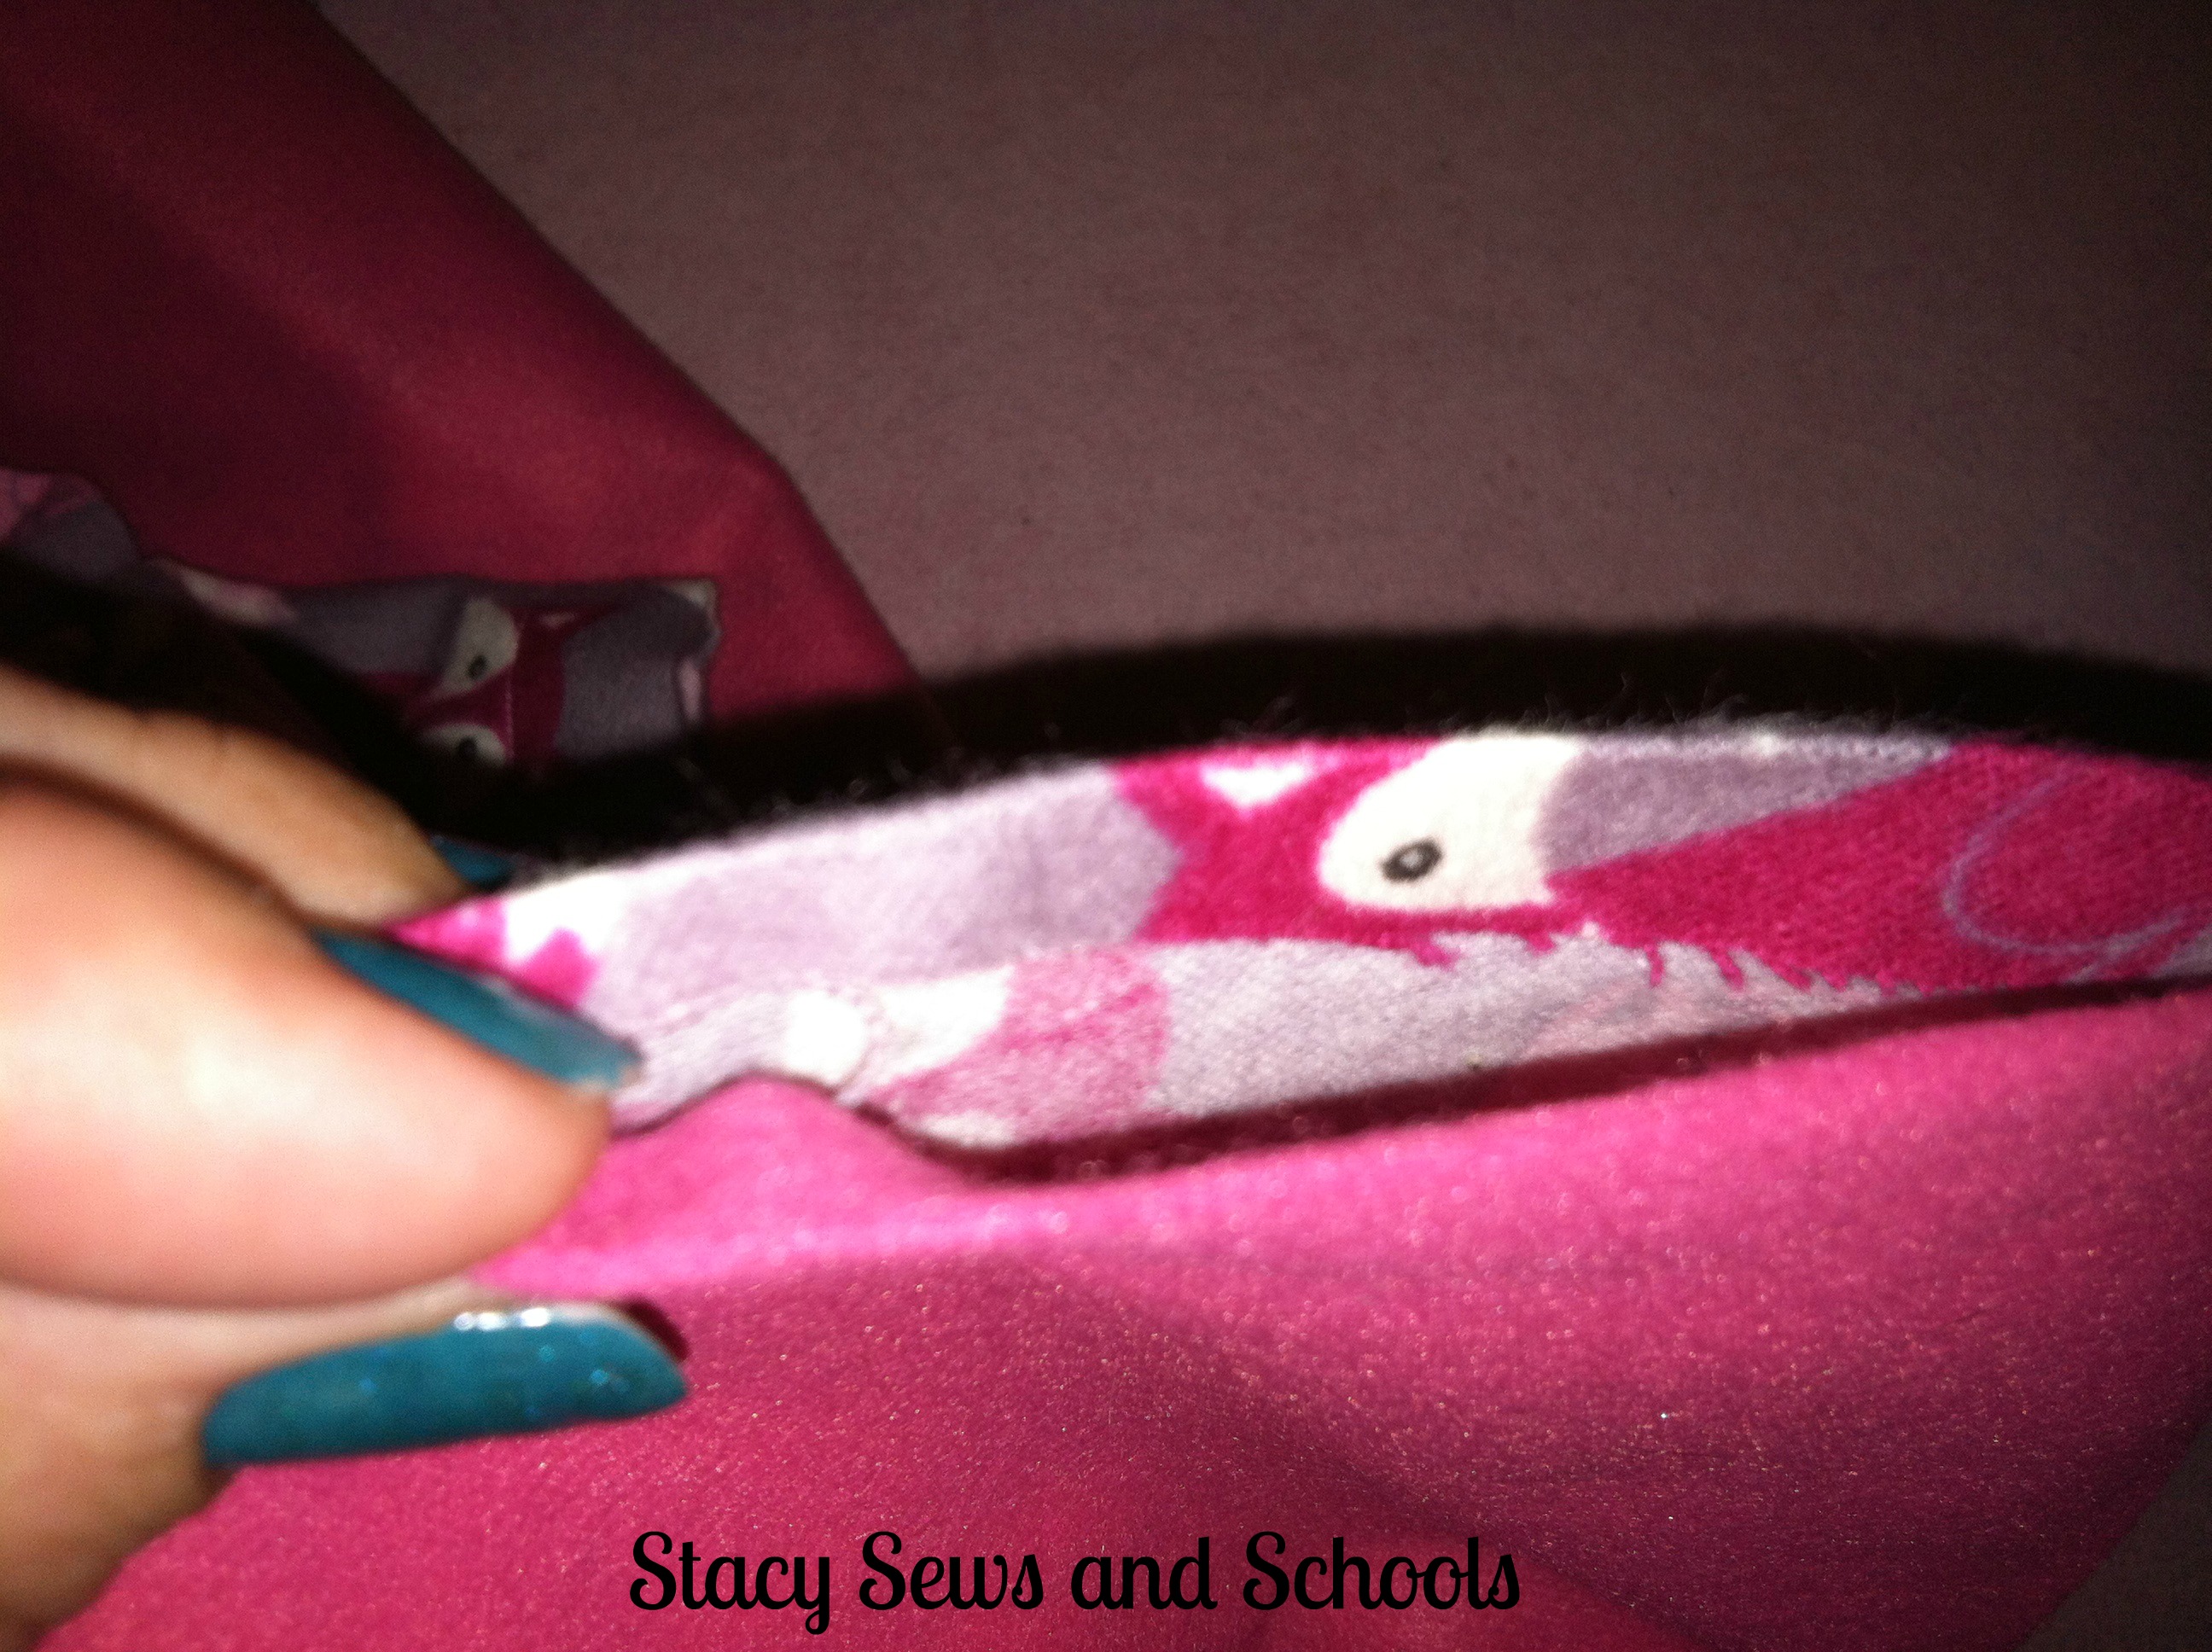
Turn right side out and press. Cut a V into the end of the ribbon to help keep it from fraying.
Step 9-
Pin the back boleros pieces with right sides together. Sew the pieces together leaving the shoulders and bottom open.
Turn right side out and press.
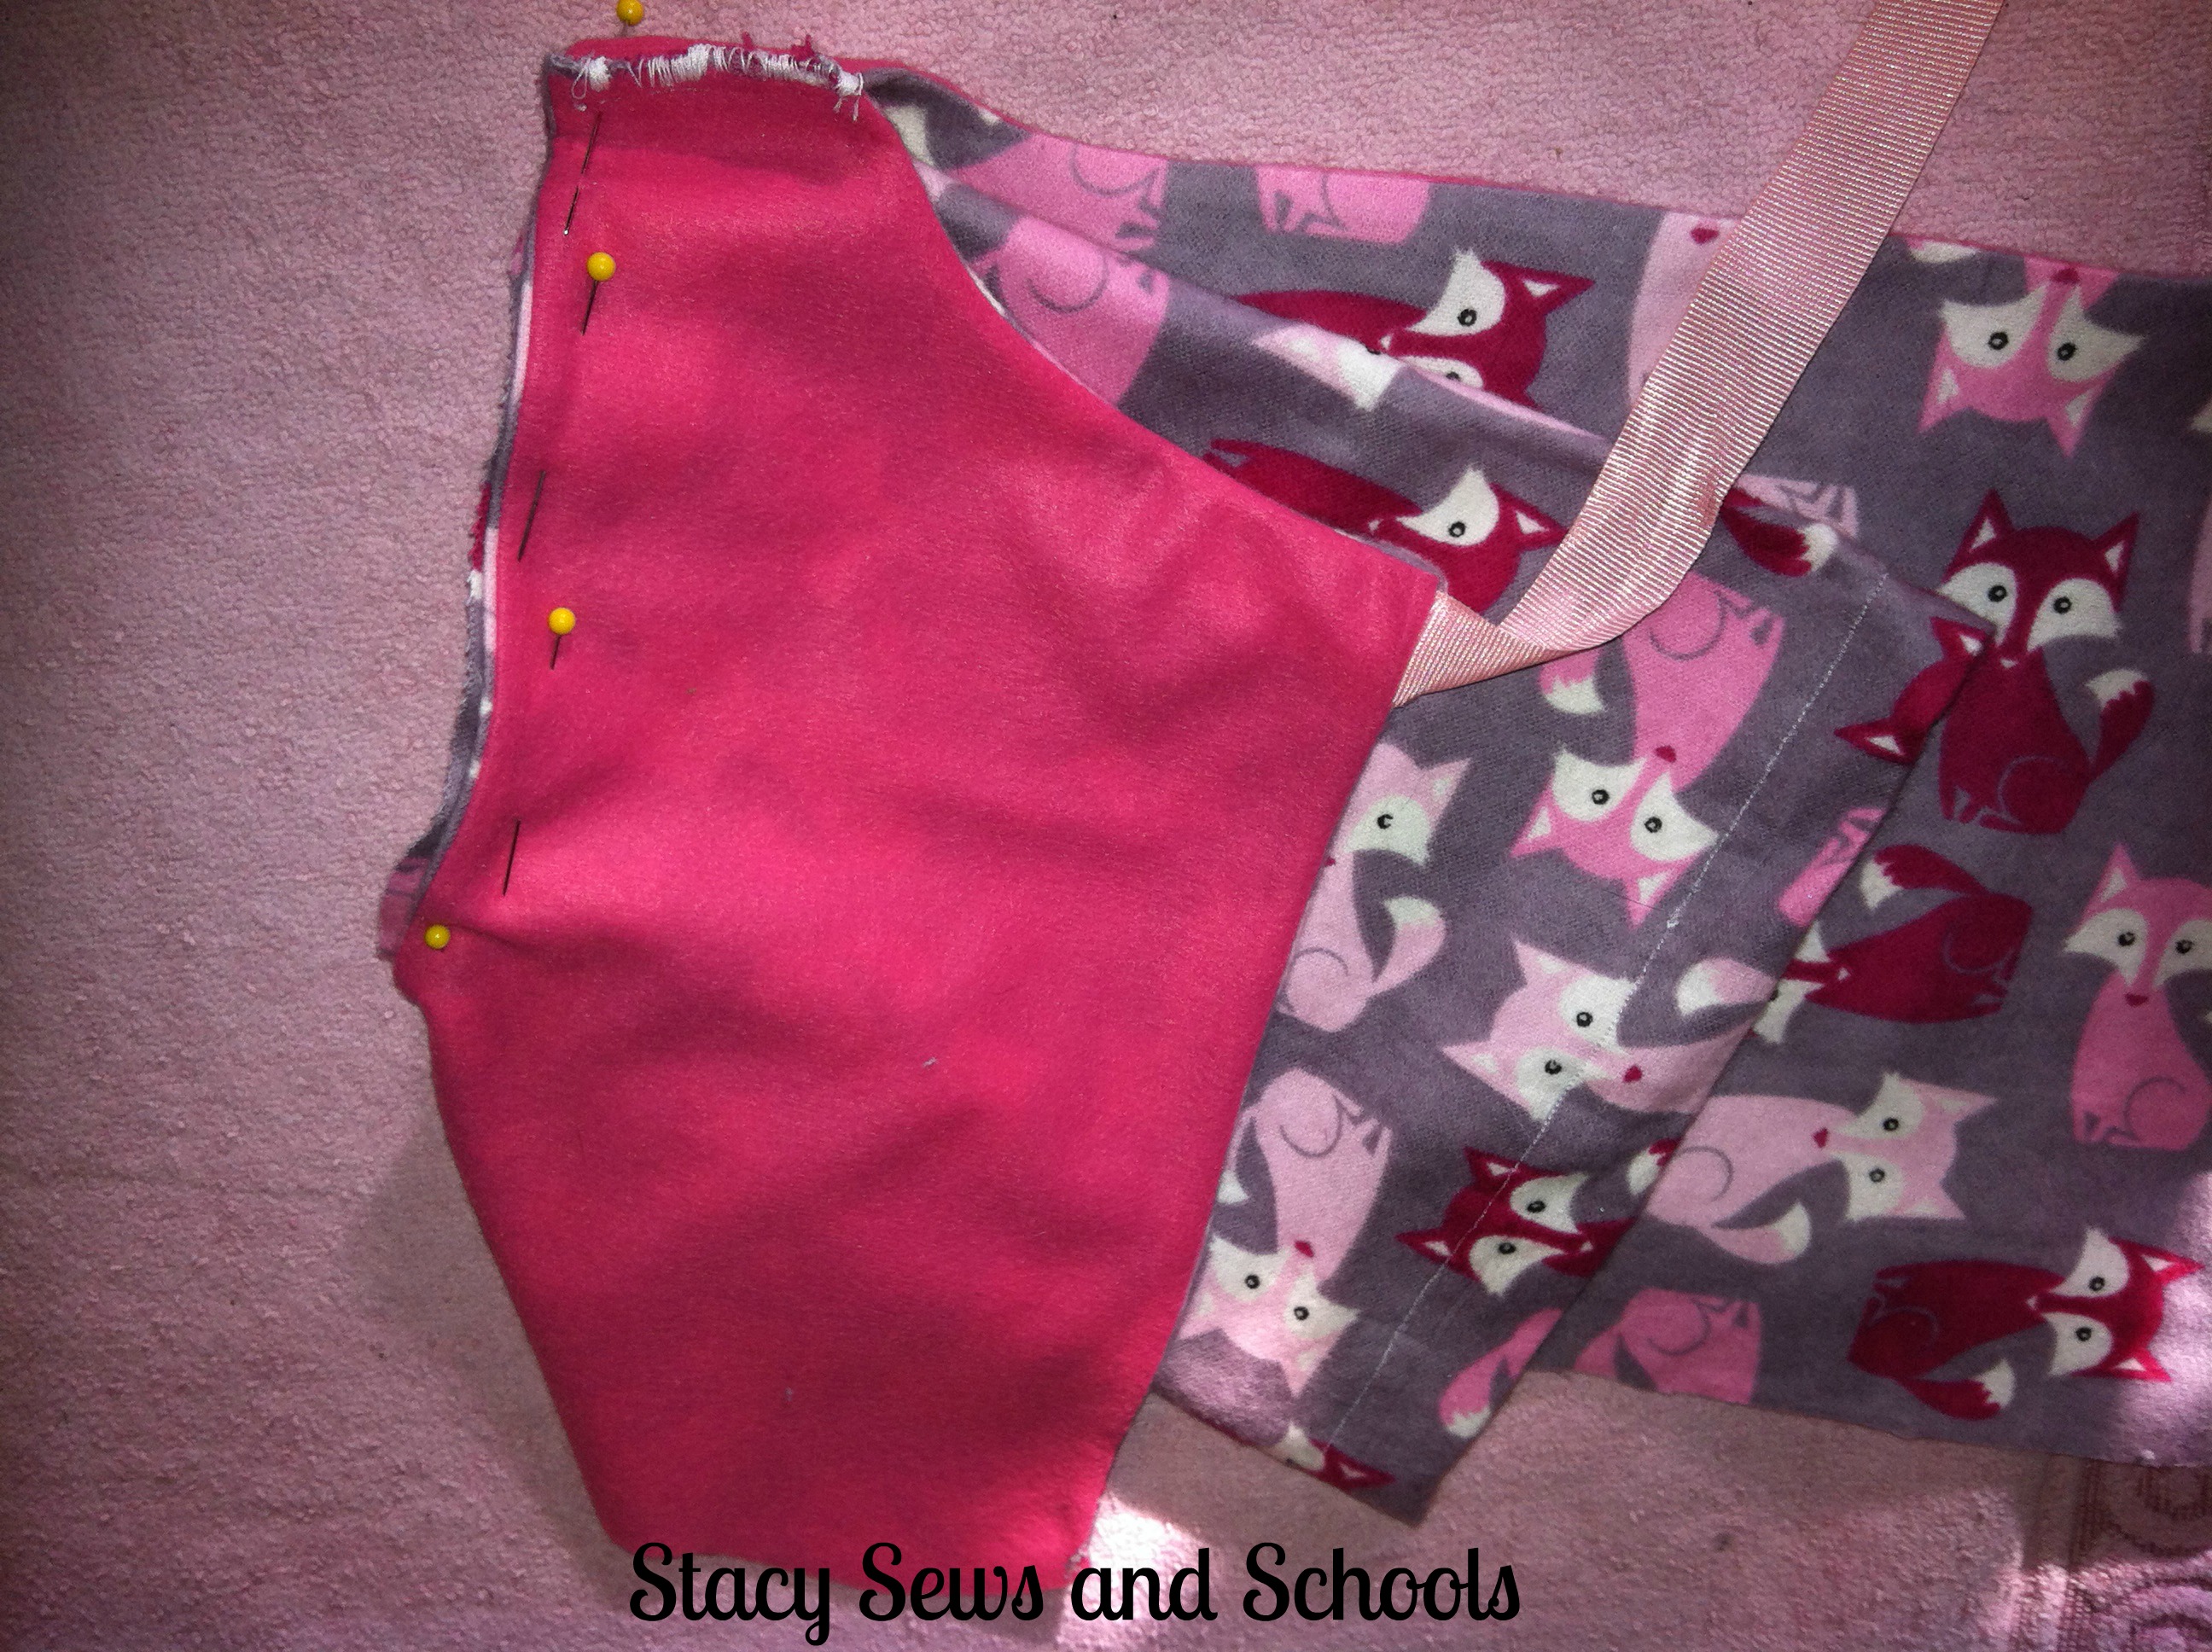
Step 10-
Pin the front pieces to the back piece with right sides together. Sew the shoulders and the side seams.
Step 11-

Pin the underside of the sleeve and sew the seam.
Here is where the cats started to get interested in what I was doing! LOL
Step 12-
Fold over the bottom of the sleeve by 1/2" and press. Fold over again by another 1/2", press, pin and sew the hem.
Step 13-
Turn the sleeve right side out and slip it into the arm hole with the right side of the sleeve touching the right side of the bolero. Pin and sew in place.

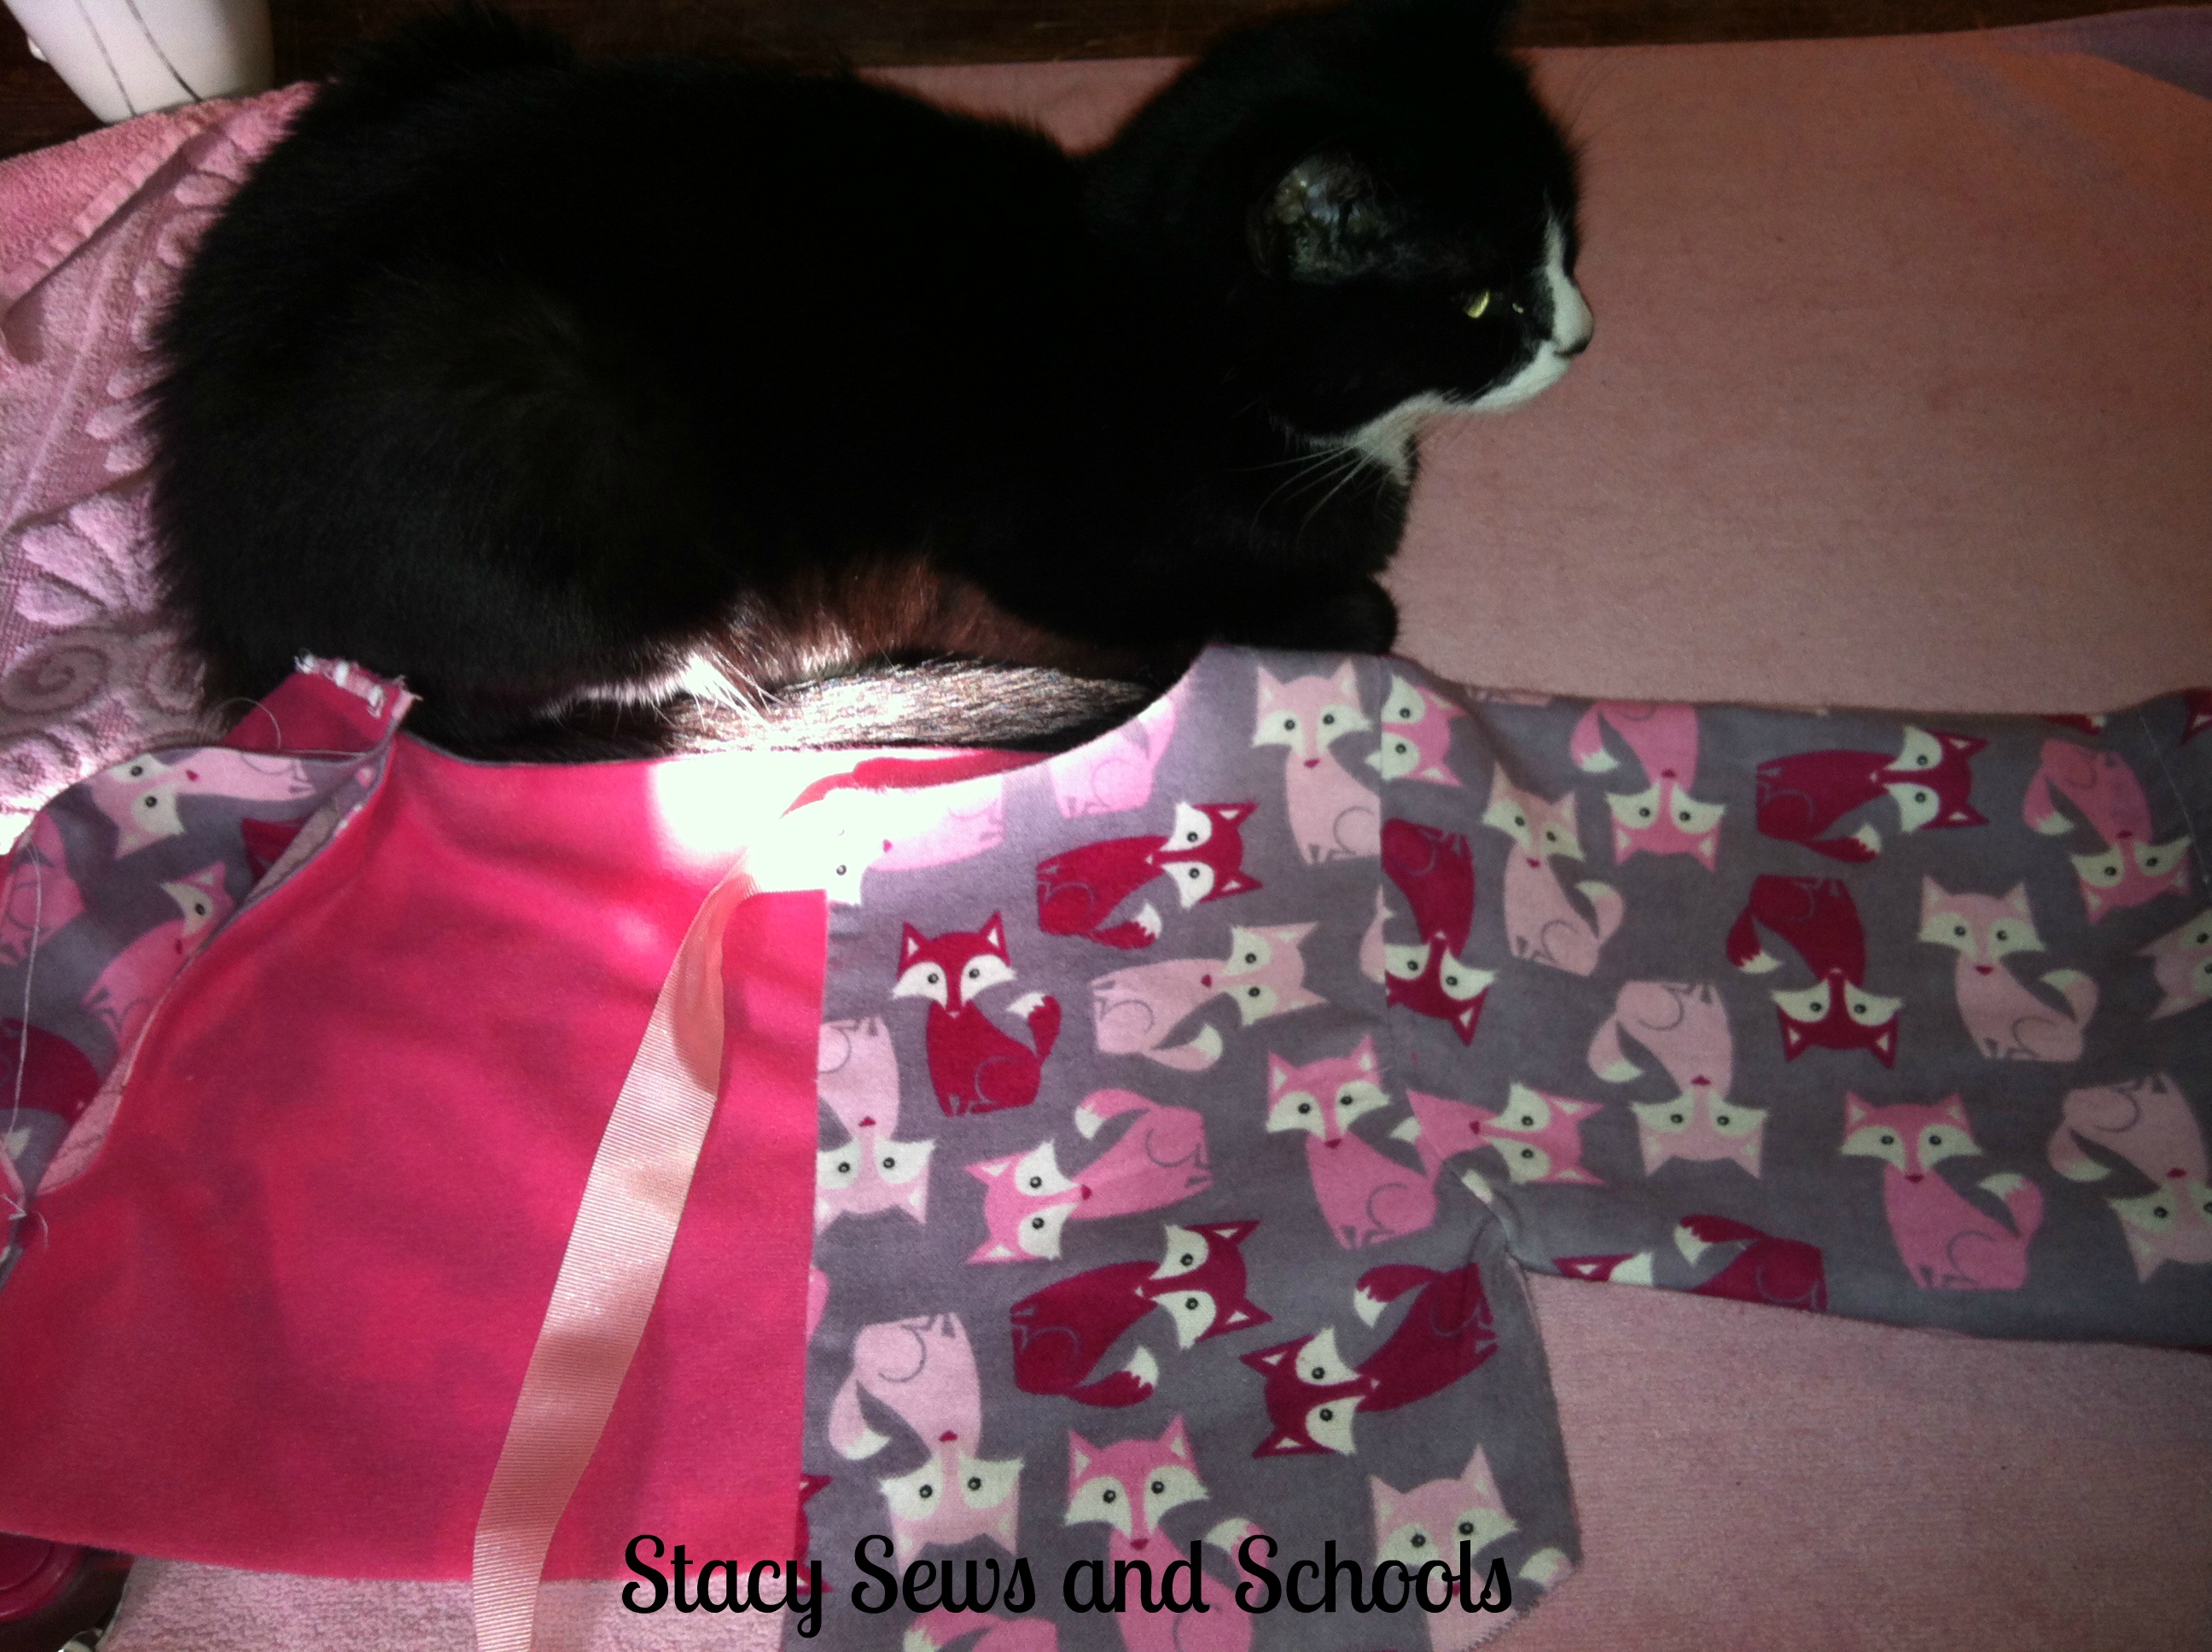
SIGH... Remove the cats so you can continue!!!! LOL
Step 14-
Turn in the edges of the bottom of the bolero and press. Pin the bottom together and top stitch.
Press and you are all done!!! :D
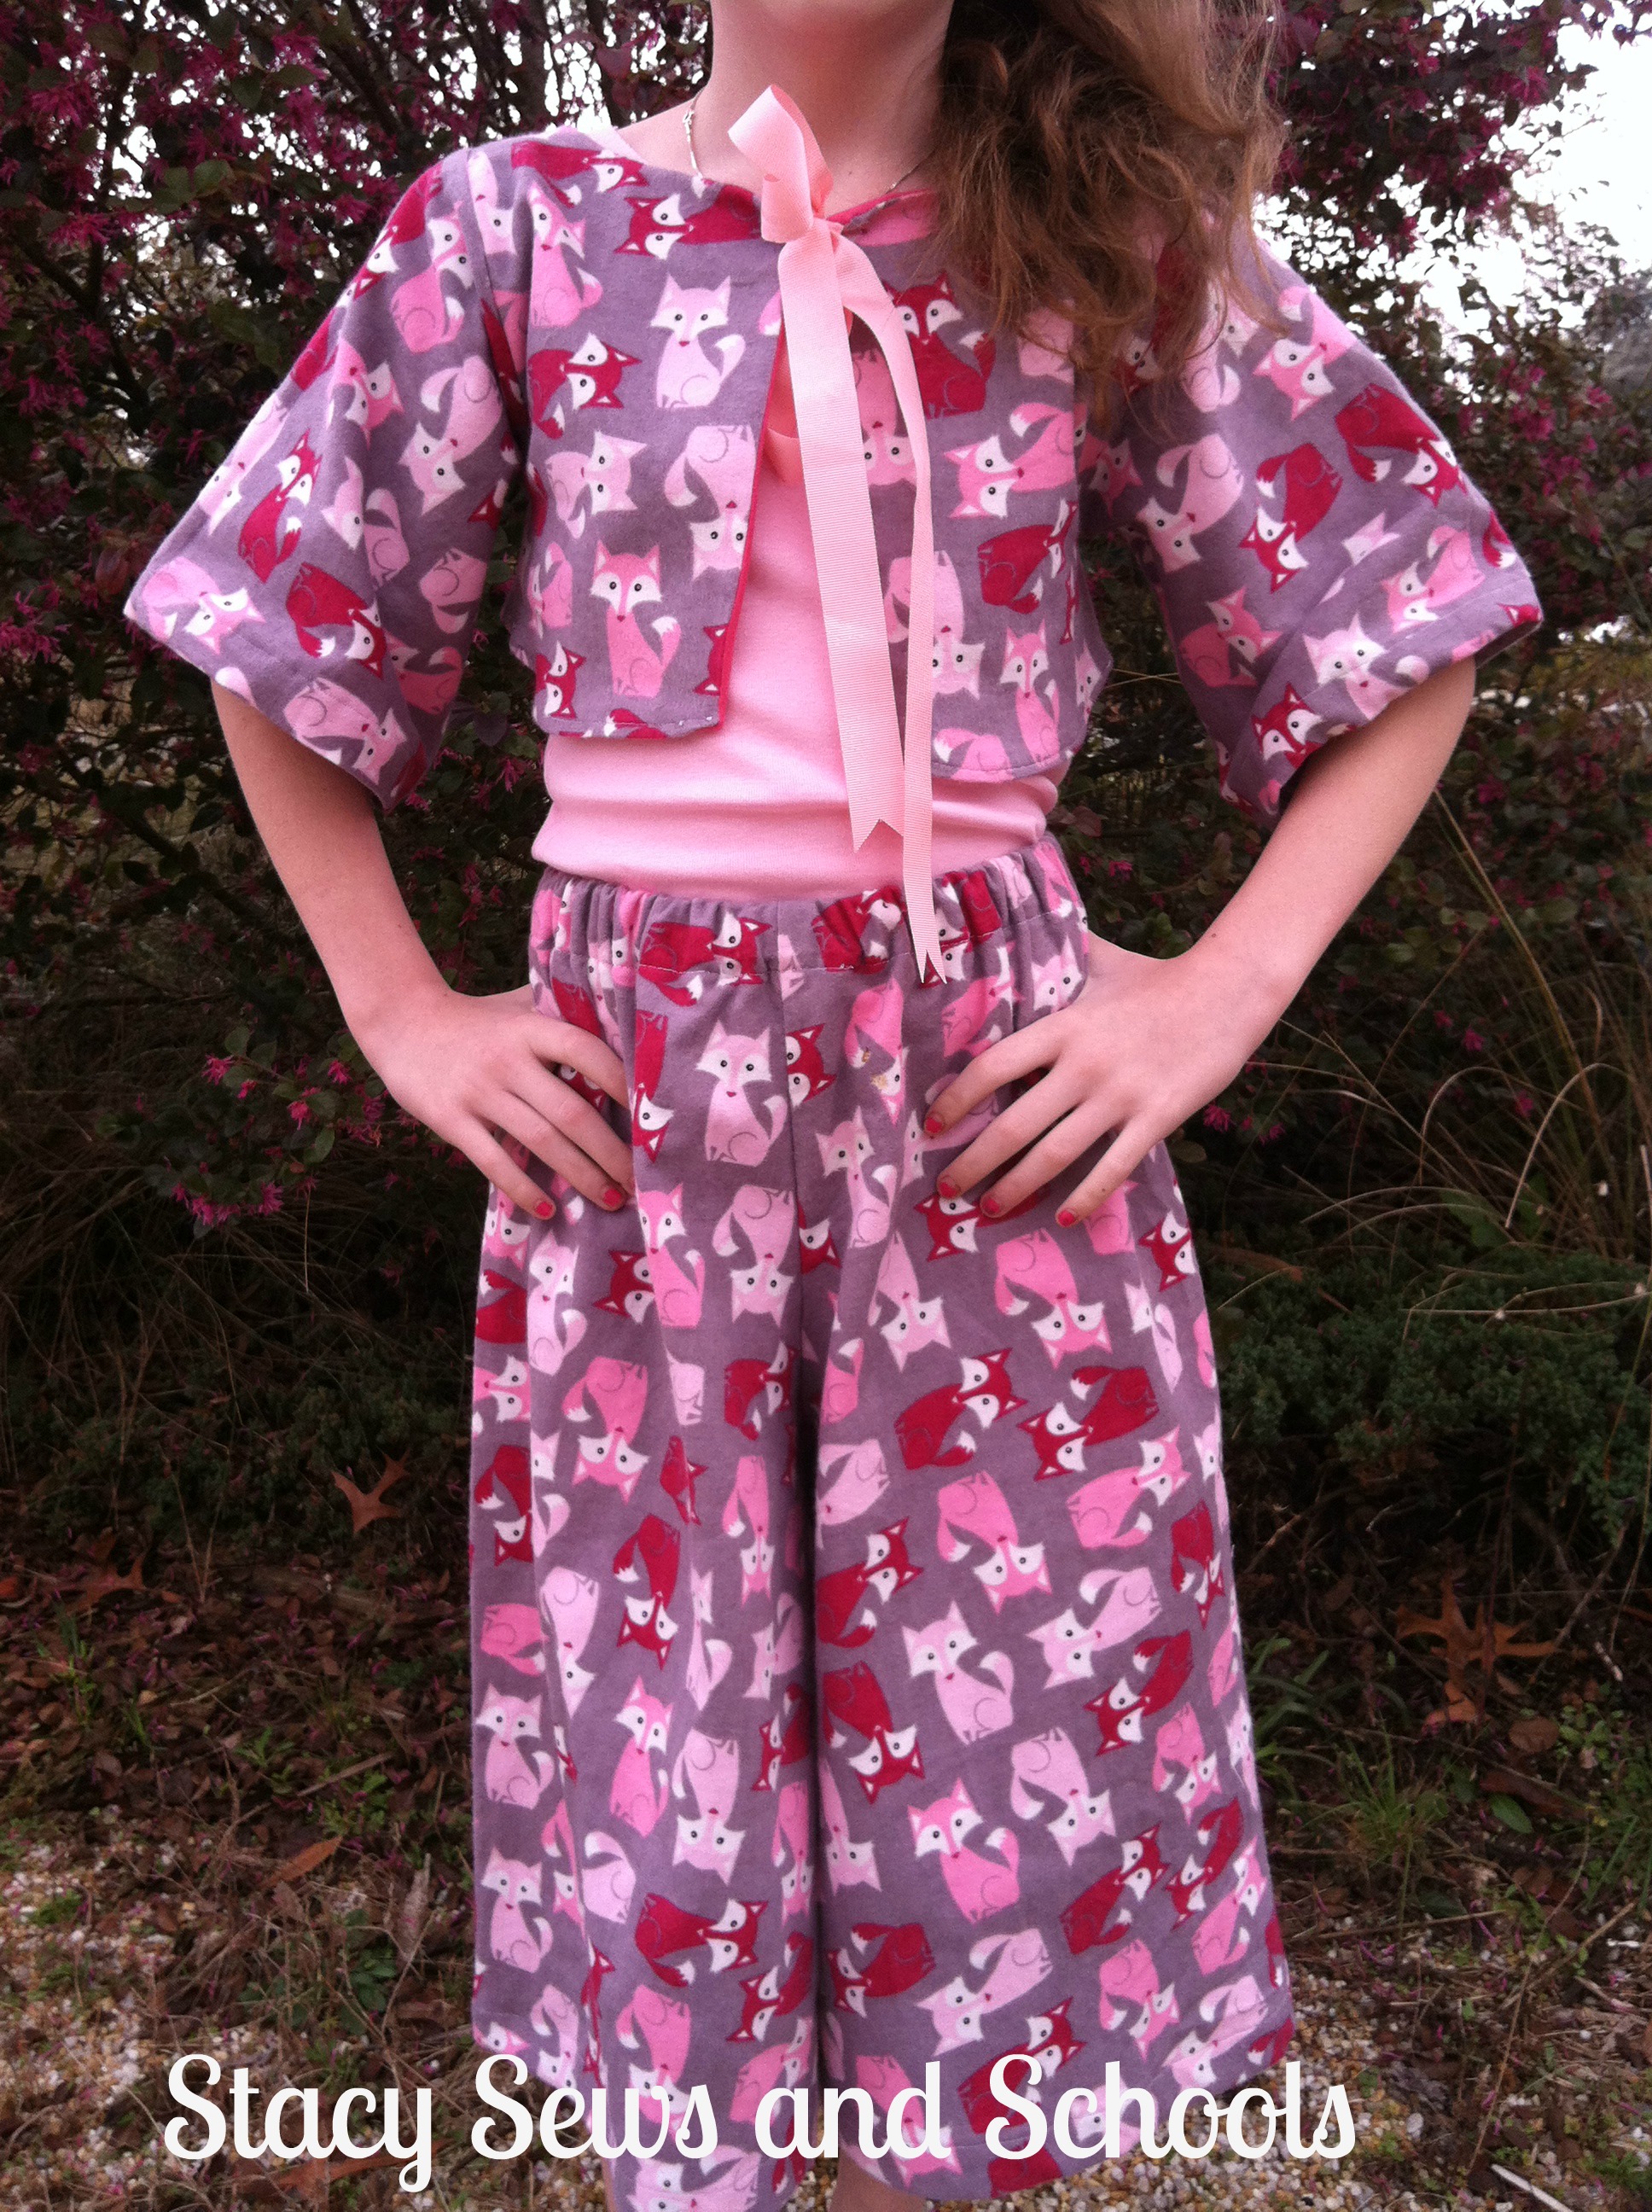
I hope you try this out. It was so much fun to make!!! :)
As always, if you have any questions just use the Contact Me button at the top of the page and shoot me an email!
Let me know if anything is unclear!

THis is so adorable.Looks so cute on Cailey. Bet its warm and comfortable too.
ReplyDeleteThank you!!!!!! :D She loves it. It must be comfy! LOL
ReplyDeleteVery cute, and very well explained... I may have to make a bolero for C.
ReplyDeleteSuch a cute outfit! I love the look from behind with the bolero shorter in the back than the front. Thank you for stopping by and leaving such a nice message on my blog. I am excited about PR&P. It is the first sew-along I have ever done. :) I look forward to seeing your outfits!
ReplyDeleteOOOH! Cailey would LOVE that!!! LOL You know how she loves C! ;)
ReplyDeleteTHANK YOU, Karen!!!! :D
ReplyDeleteThis will my first sew along, too!! LOL
Oh, girl! You know how I love all of your projects, and this is no exception! AHdorable! Love it! Thank you so much for sharing in the forum... hope all is well?! ((Hugs))
ReplyDeleteAWWW!!! Thank you, Heather!!!!
ReplyDeleteYep, all is well....now.... LOL ;)
Love this outfit Stacy, and the bolero is fabulous! Thanks so much for sharing on Craft Schooling Sunday, maybe 2013 is the year I'll really start sewing, thanks to inspiration from you!
ReplyDeleteOOOOOOH!!!! Thank you SOOOOO much!!!!! :D
ReplyDeleteI am so happy to see Craft Schooling back up!! I missed it! ;)
I am SO making this outfit Stacy! Consider it done. That is, whenever I find the time. Lol. I see what you mean, our girls are tall and beautiful.
ReplyDeleteYAY!!! I am so glad you like it!!! :D
ReplyDeleteStacy, this outfit is adorable! Great job.
ReplyDeleteThank you for partying with the Wildly Original Crowd.
<3 Christina at I Gotta Create!
Thank you, Christina!!! :D
ReplyDelete[...] Fox Trot Part 2 [...]
ReplyDeleteAwesome tutorial, just made it for my niece super cute. Thank you x
ReplyDeleteYay!!!! I am do happy!! I would love to see pics!! :D
ReplyDelete