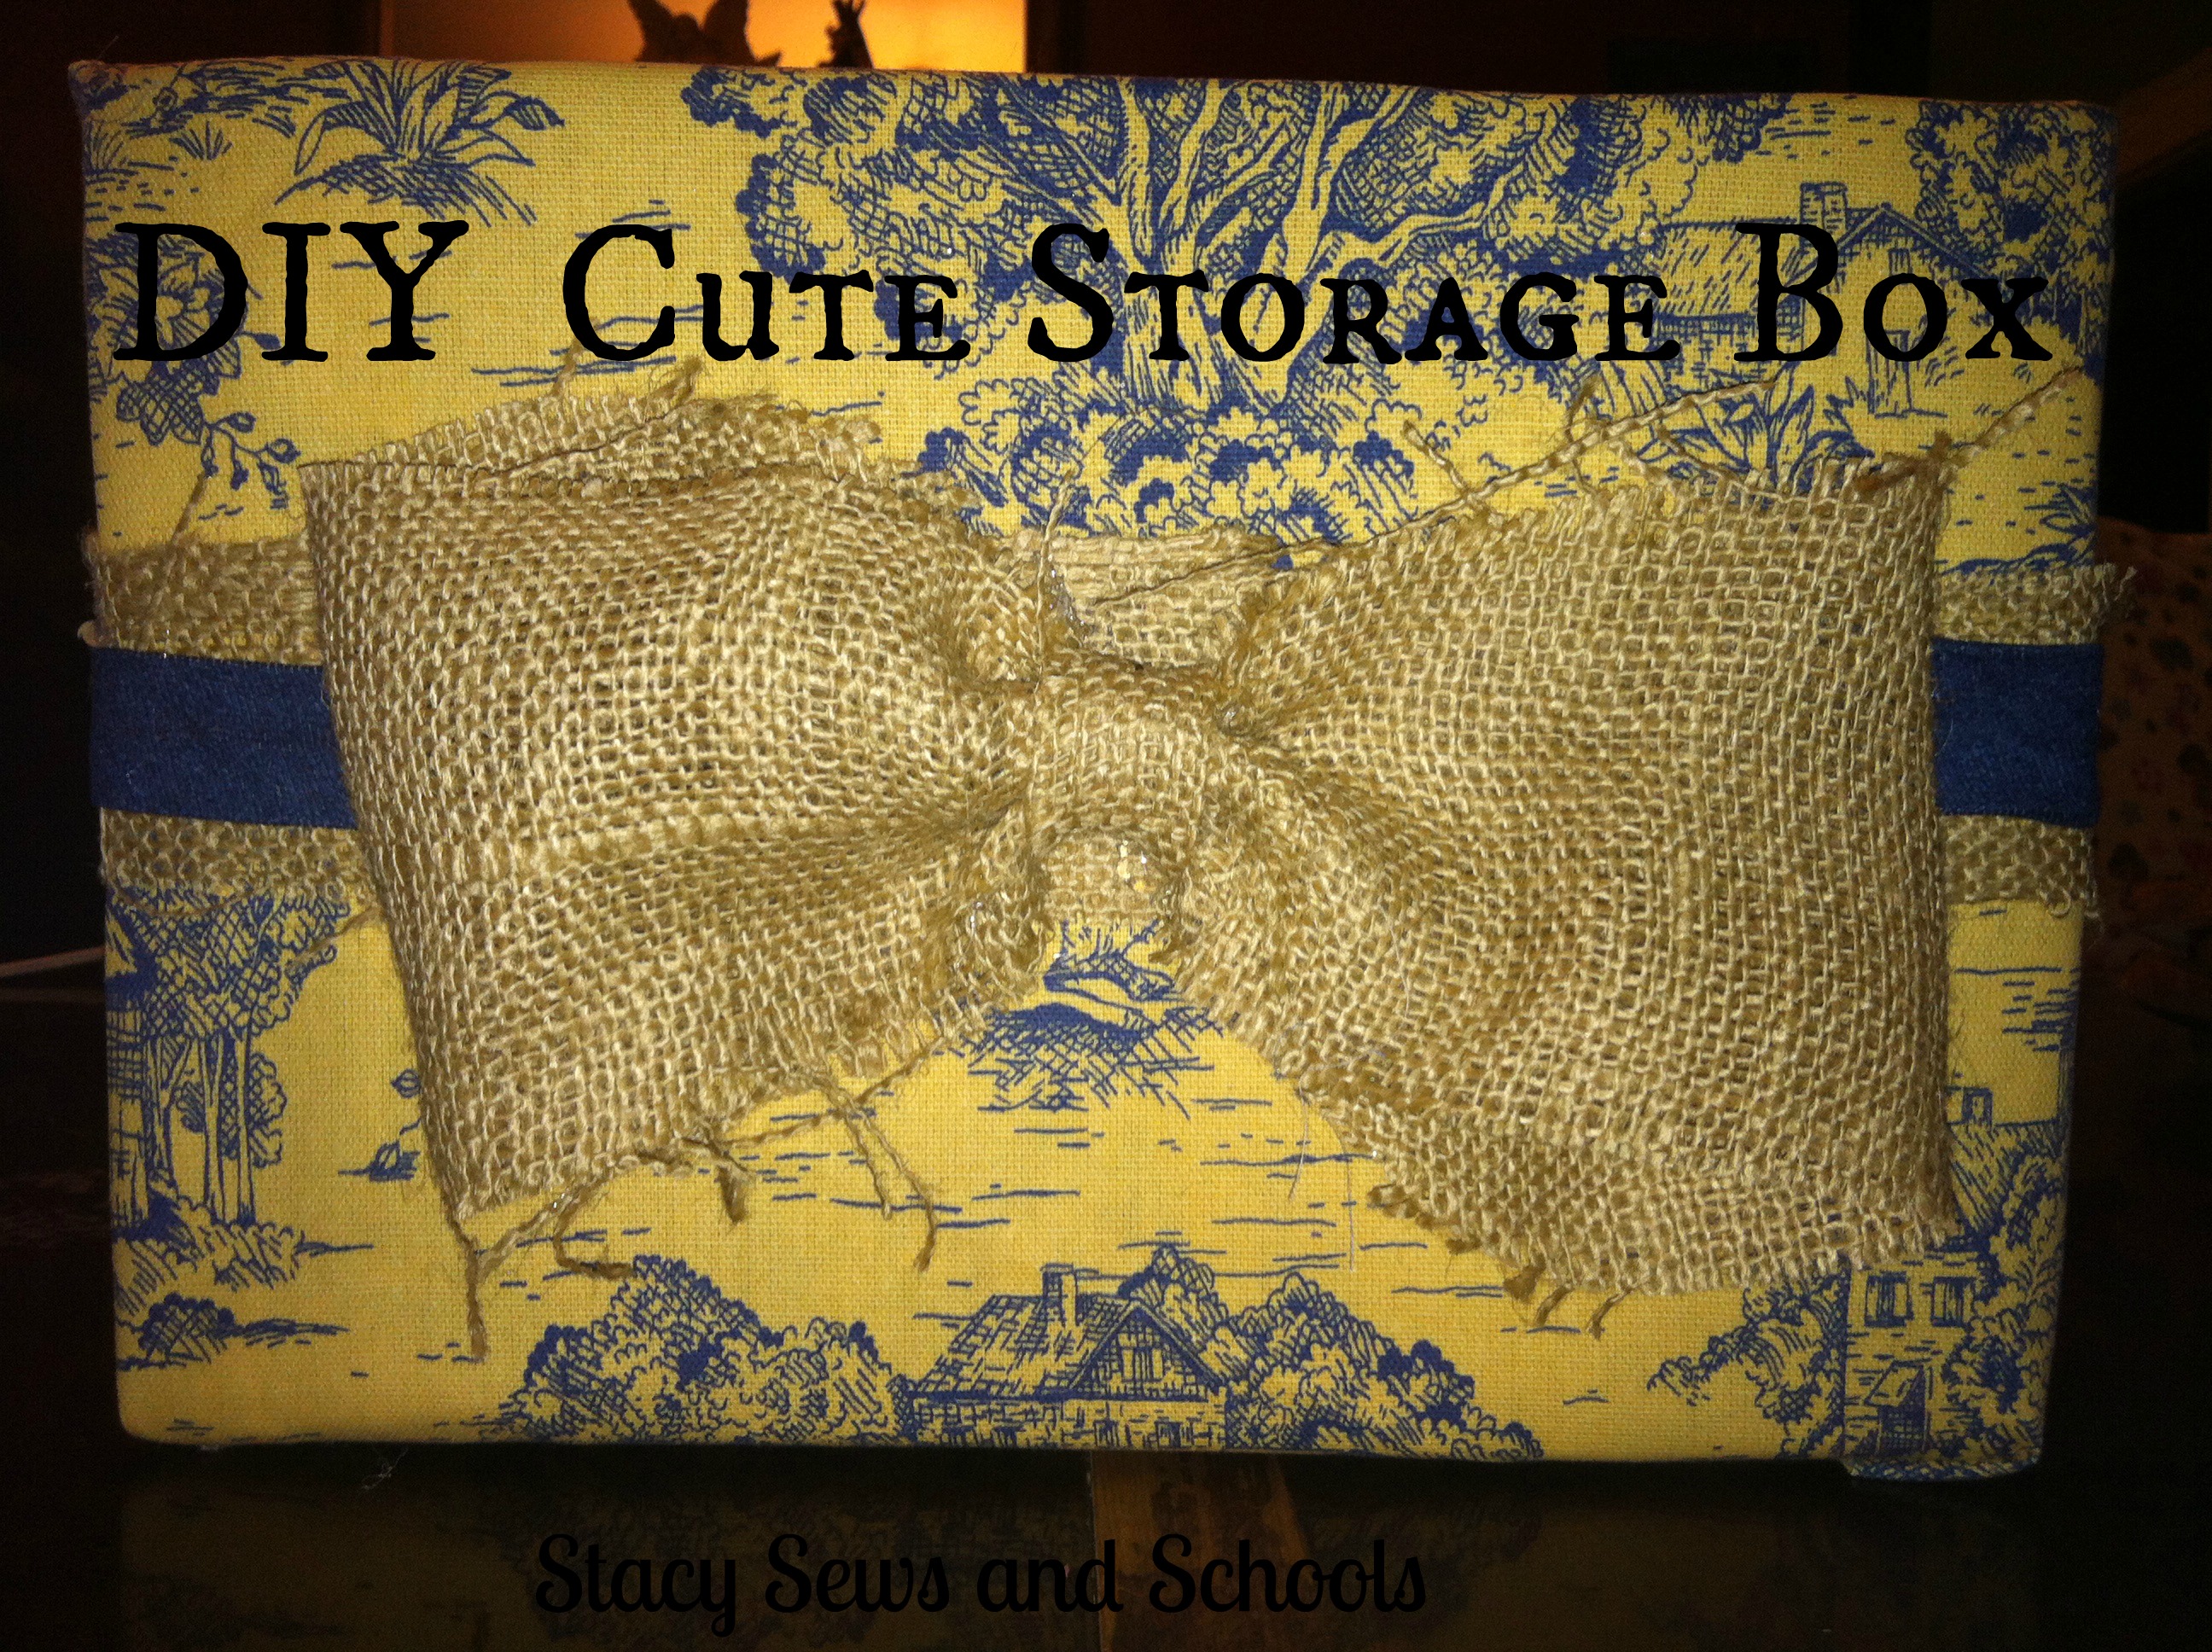
This is a fast and EASY way to turn a plain cardboard box into a cute storage box!!
There are tons of tutorials about sewing a cover for boxes BUT they require complicated math formulas. BLECK!!! I get enough of those homeschooling the kids! ;) With this one, you just need to measure and know how to multiply by 2. ;)
WHAT I USED -
1 fabric remnant - toile
1 scrap piece of burlap
1 leftover piece of denim bias tape
smallish cardboard box - 8" deep, 12" sides
hot glue gun
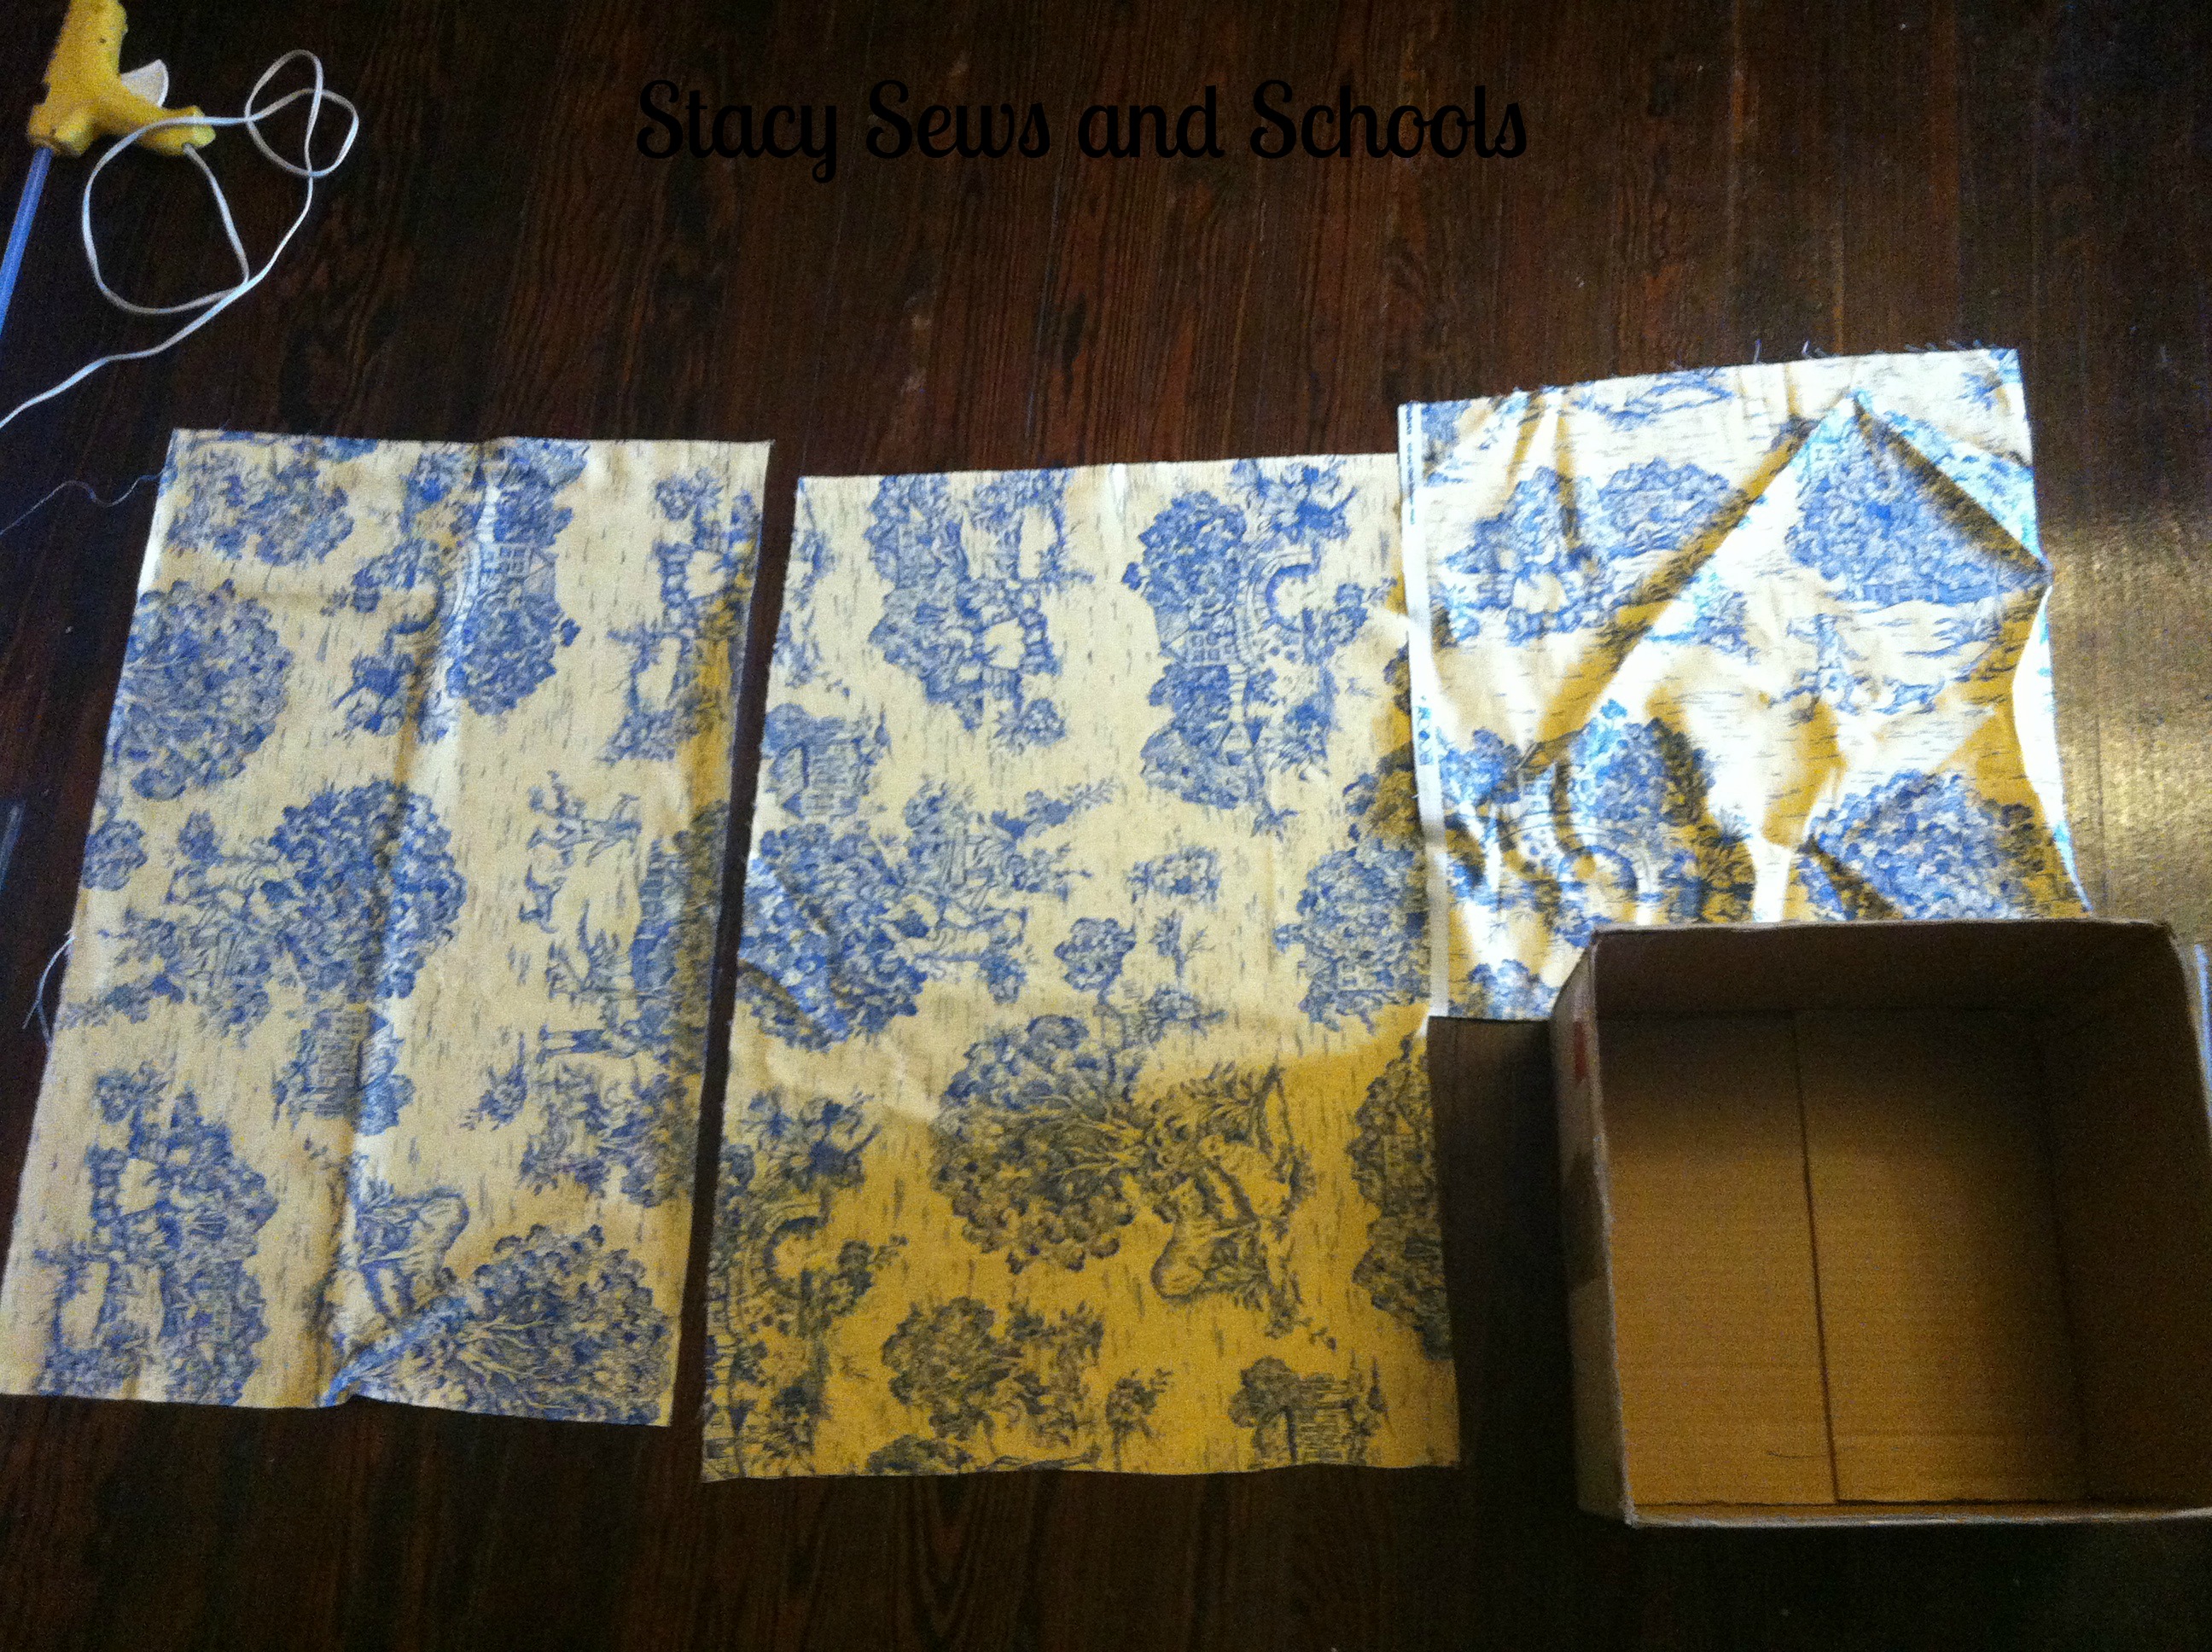
I cut 2 pieces 18 x 26 (2x + 2") and one piece to cover the bottom (can't remember the dimensions). You want the bottom piece to be able to go up the sides by 1".
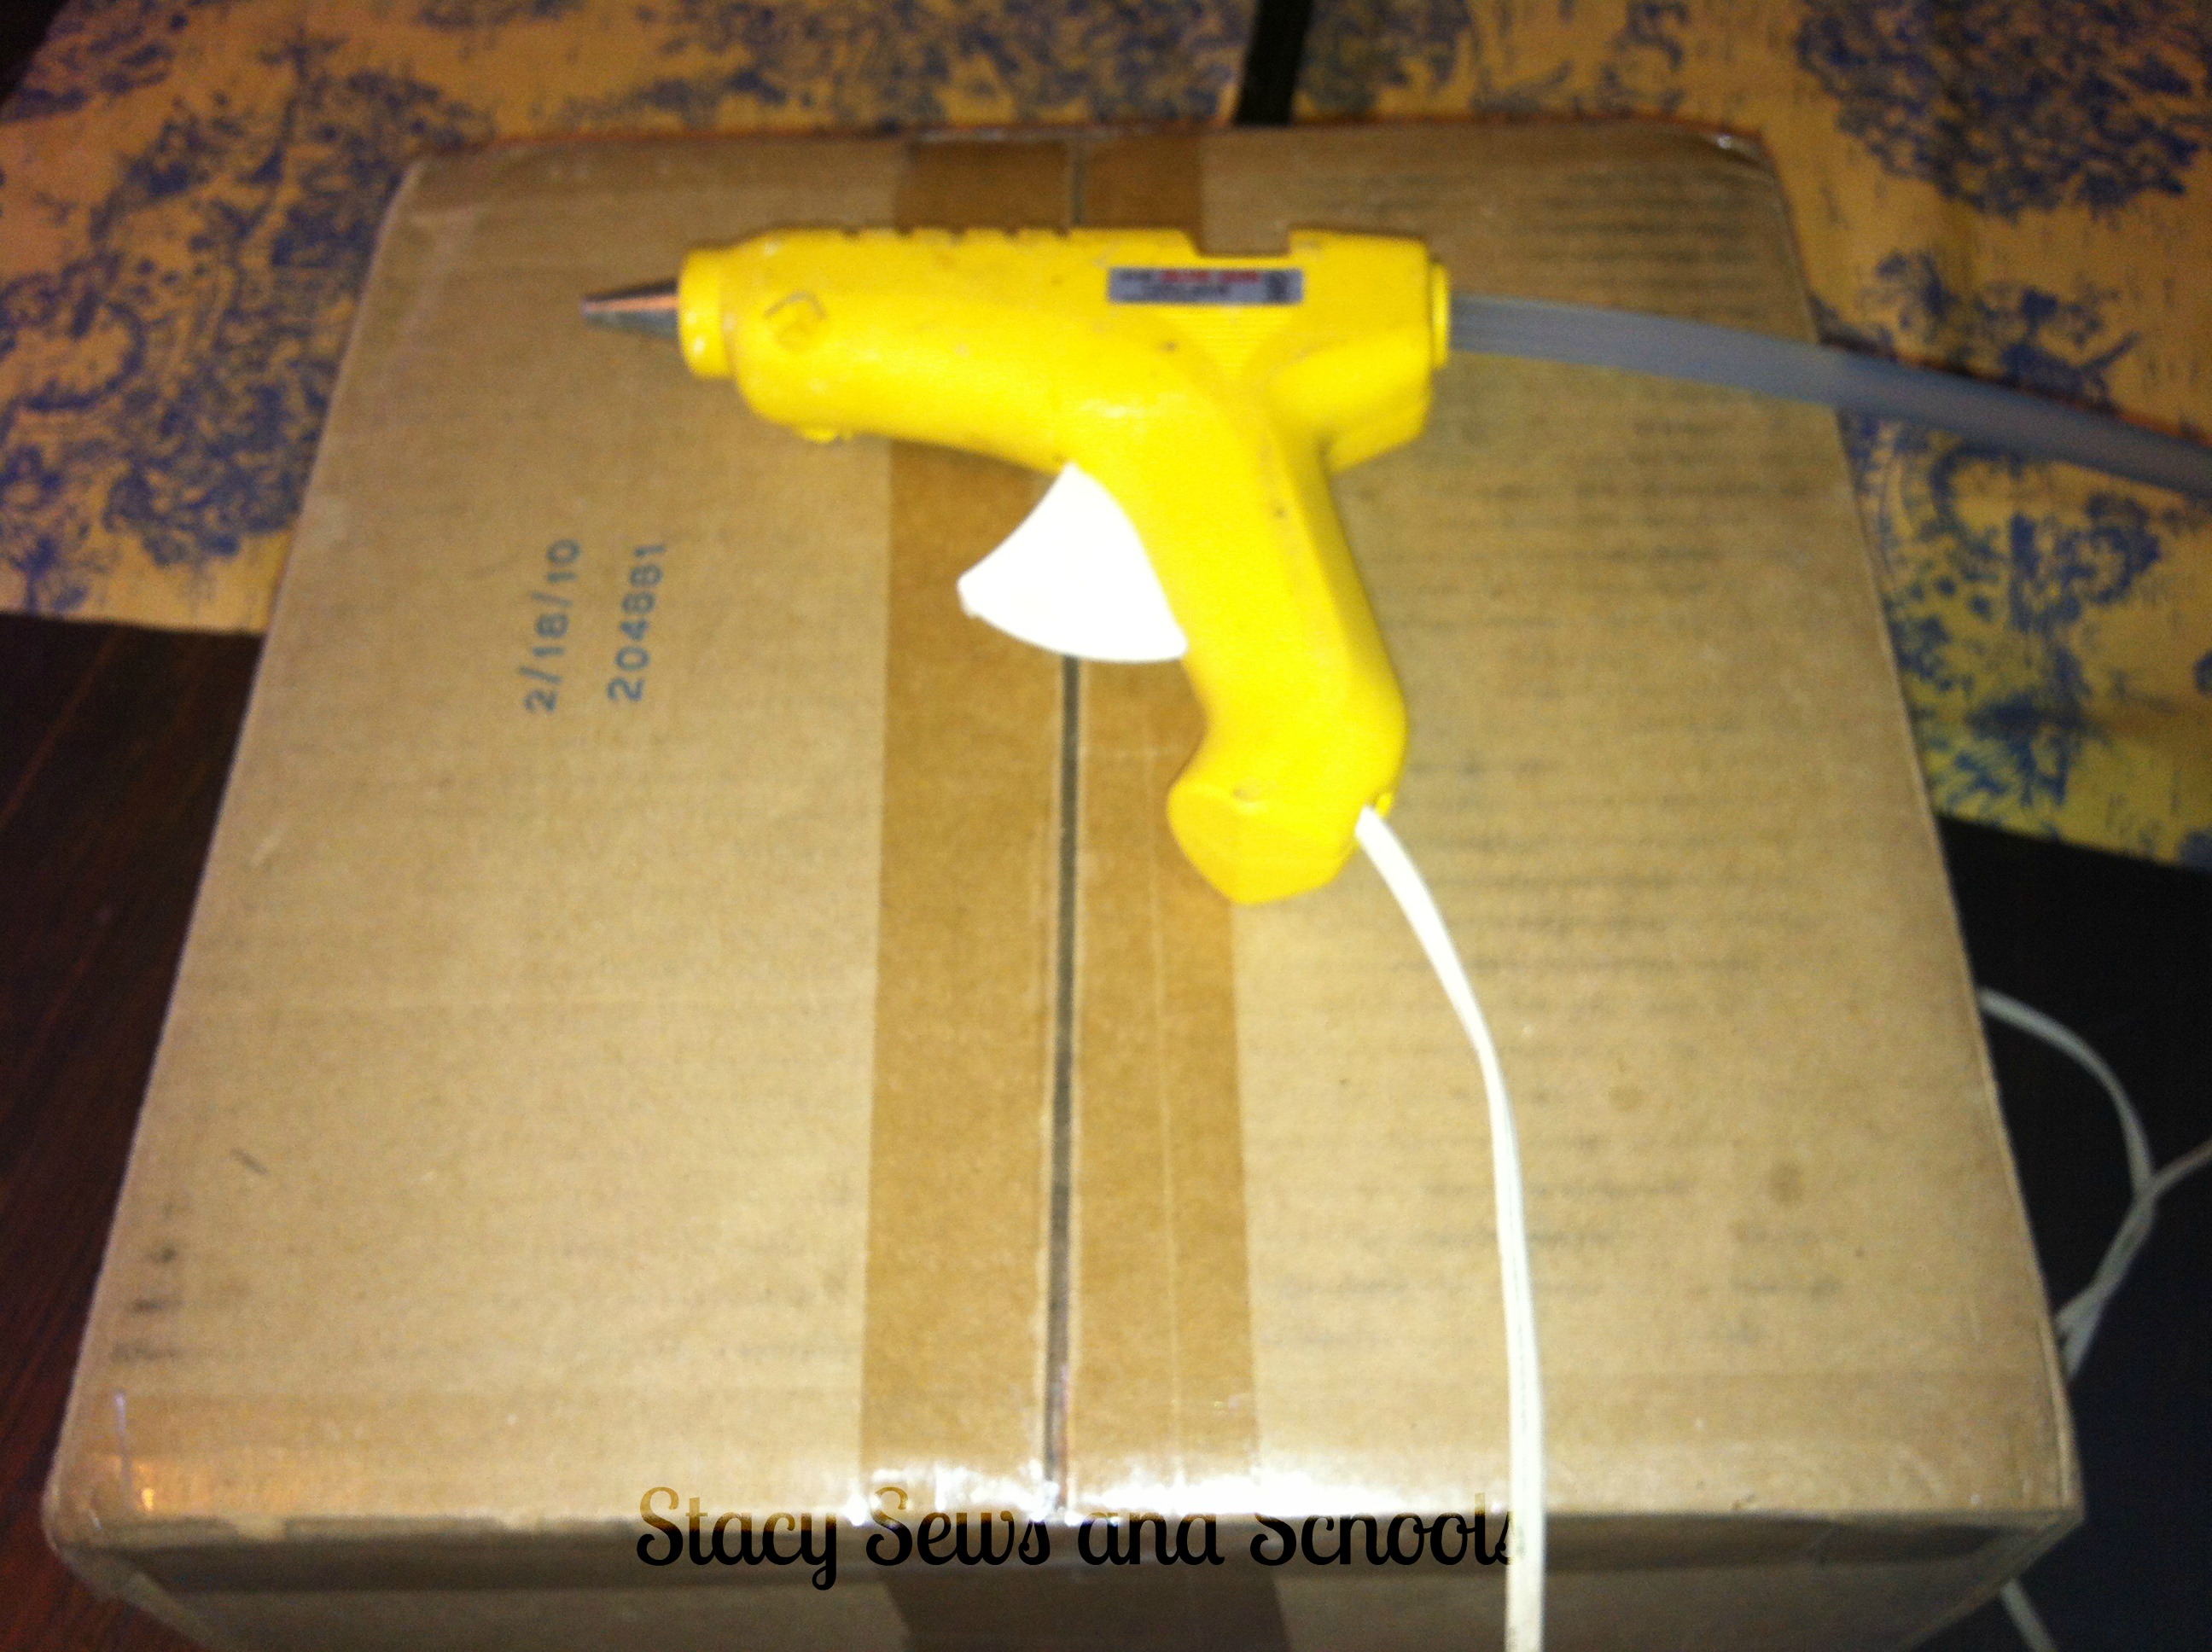
Start by hot gluing the bottom piece, making sure to glue it up the sides as well.
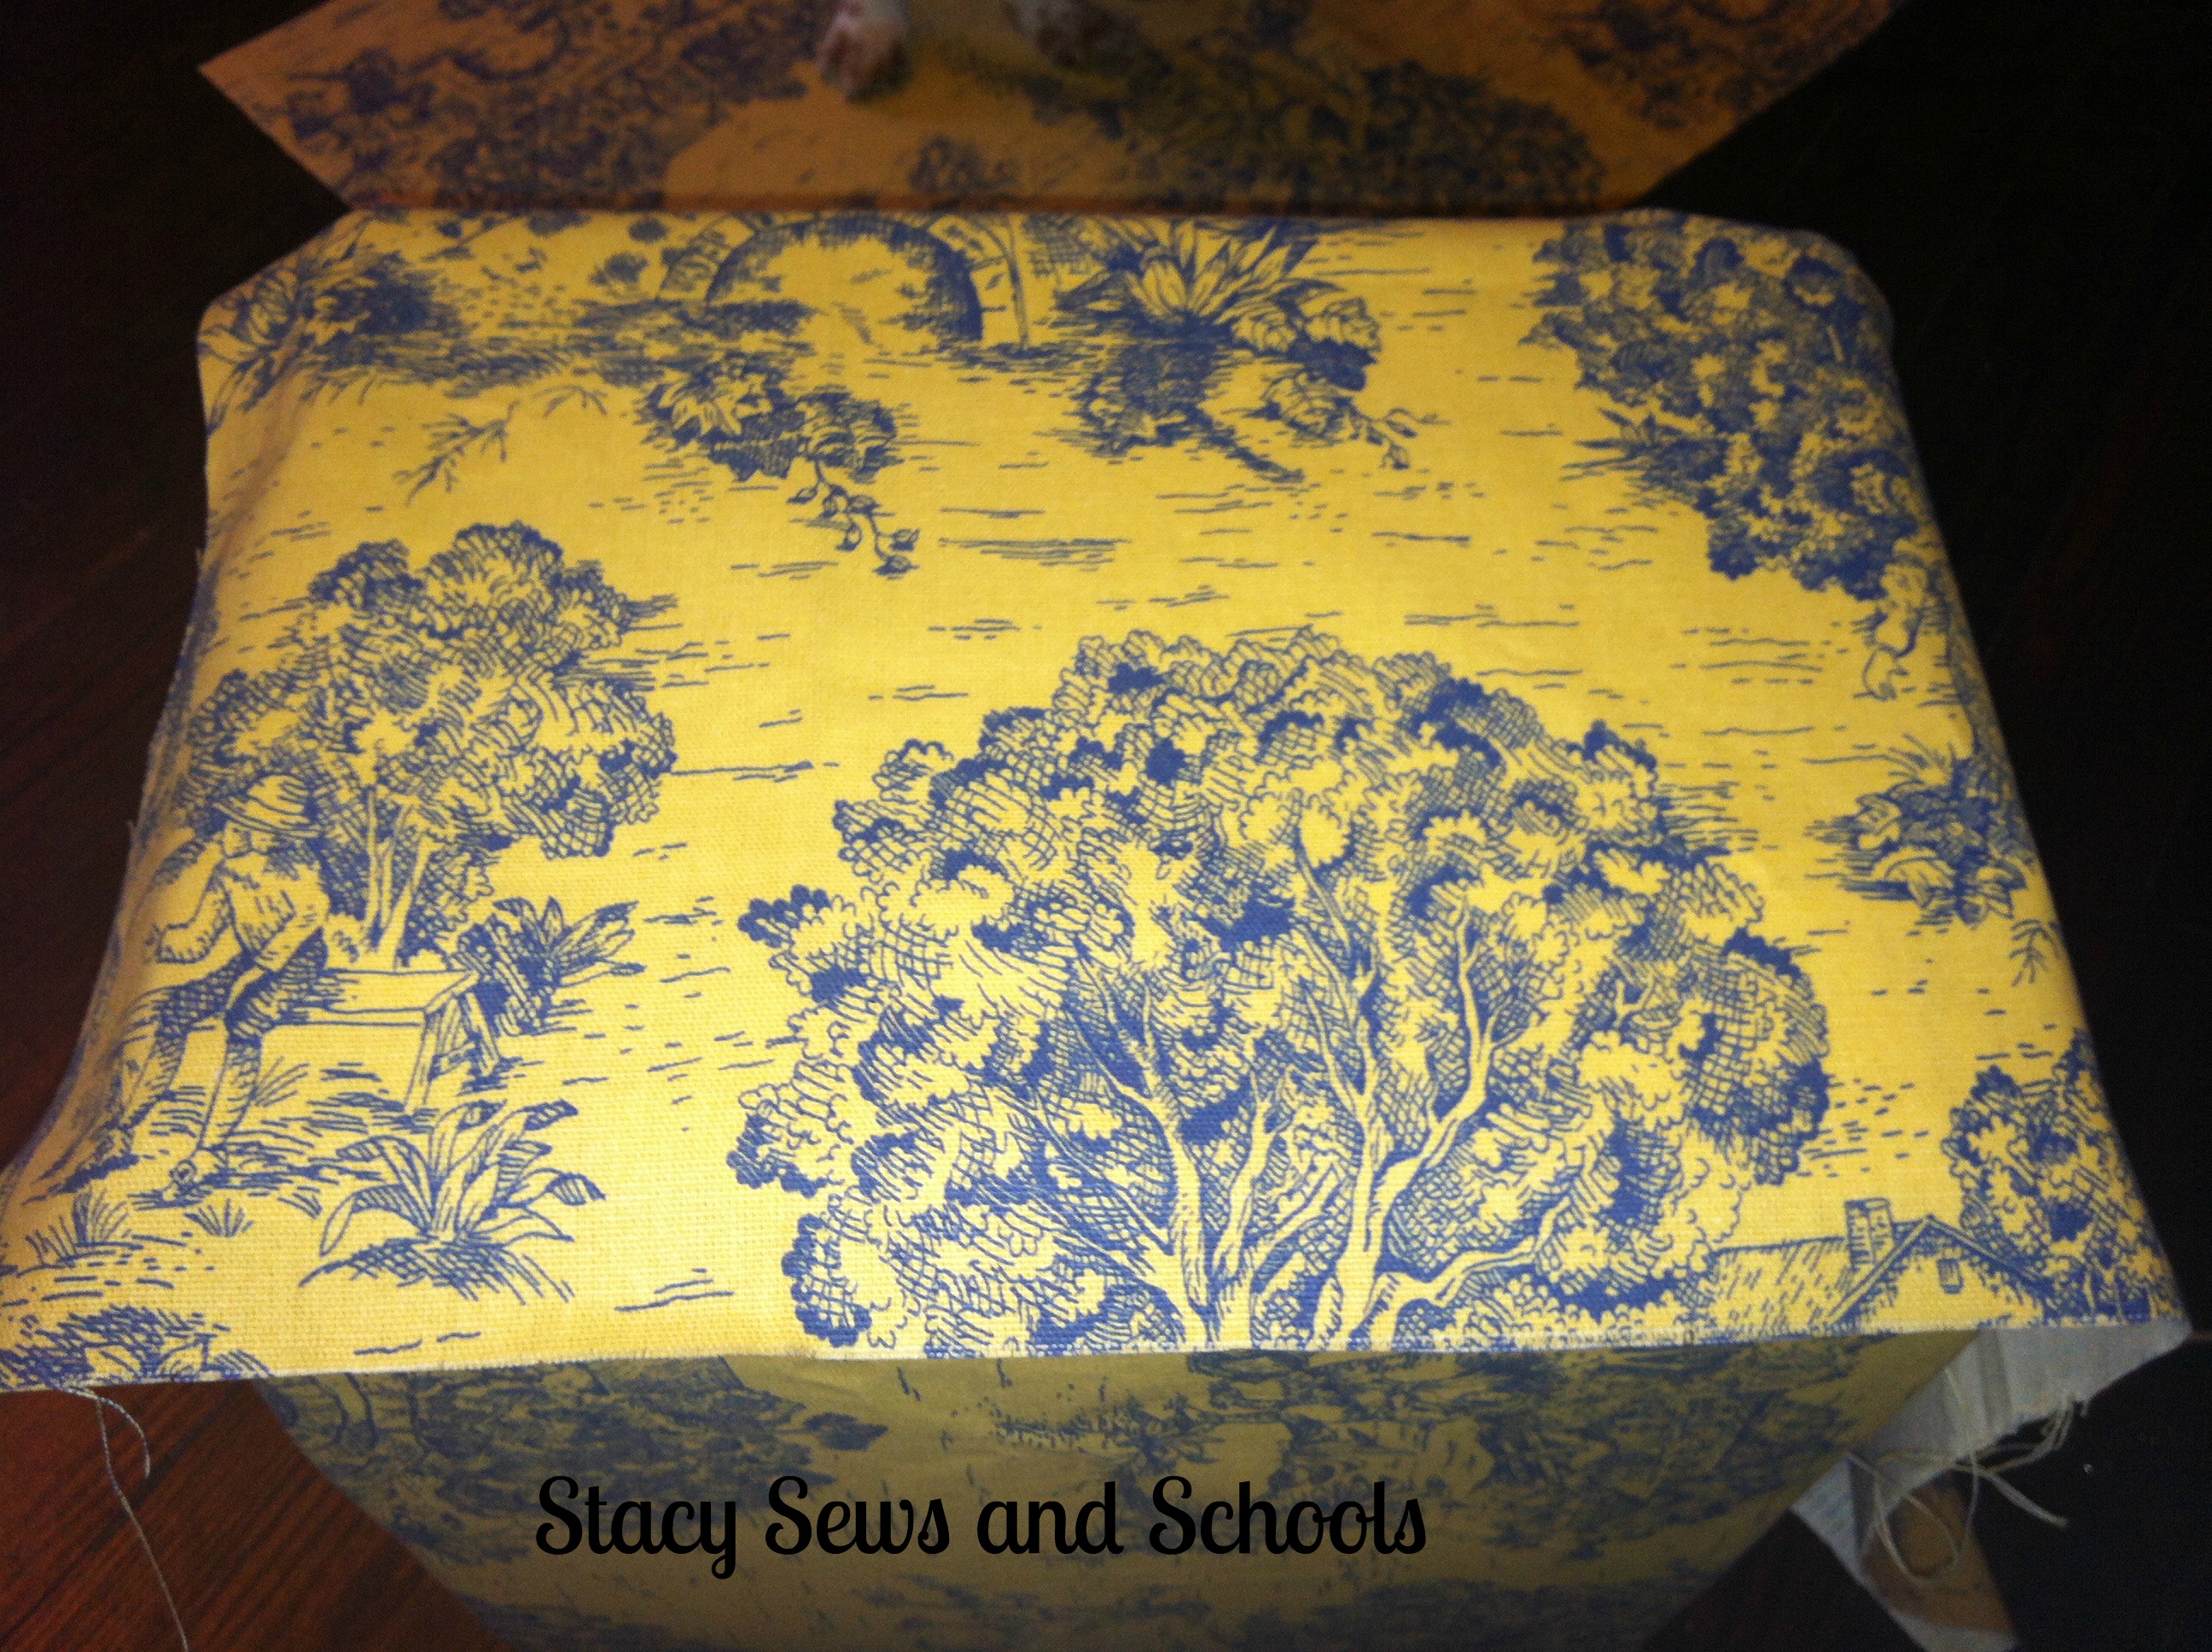
Now for the sides. Draping the fabric over the sides, you want to leave 1" at the bottom and both sides and slide the top down inside the box.
Gently lift the fabric to glue in place making sure of placement.
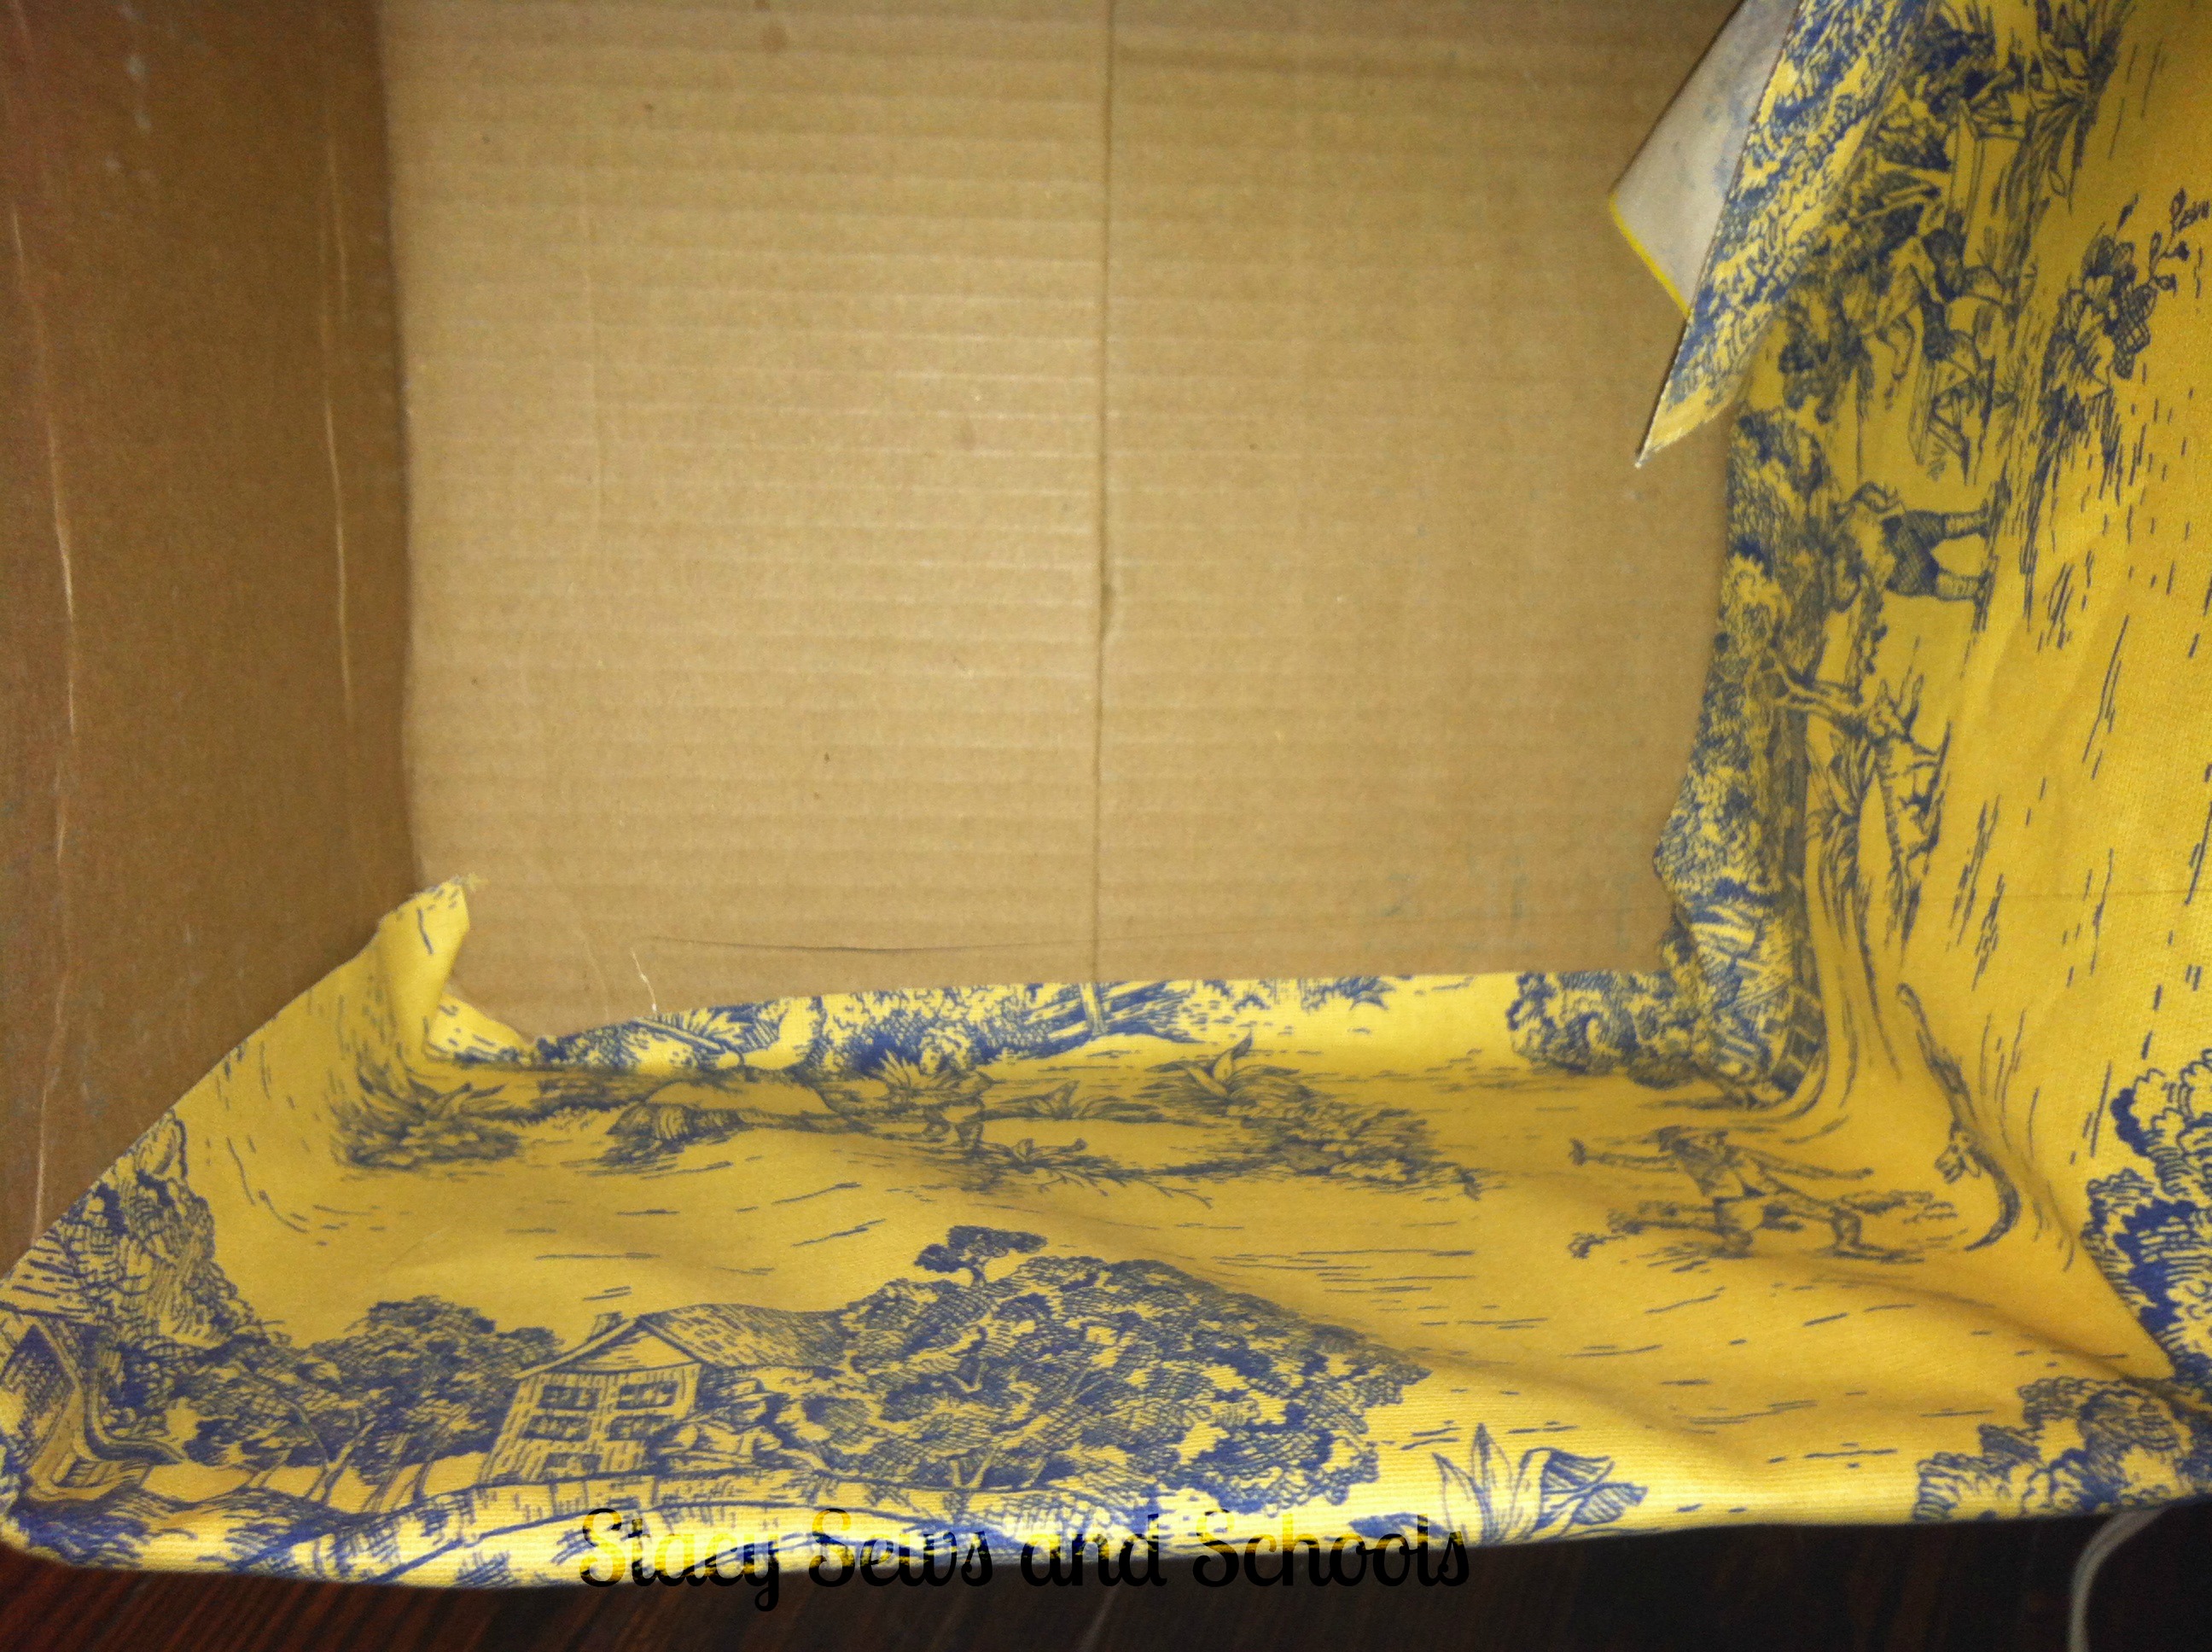
On the inside, put hot glue in the corners and on the bottom edge. Press the fabric into place and smooth (obviously not shown! LOL).
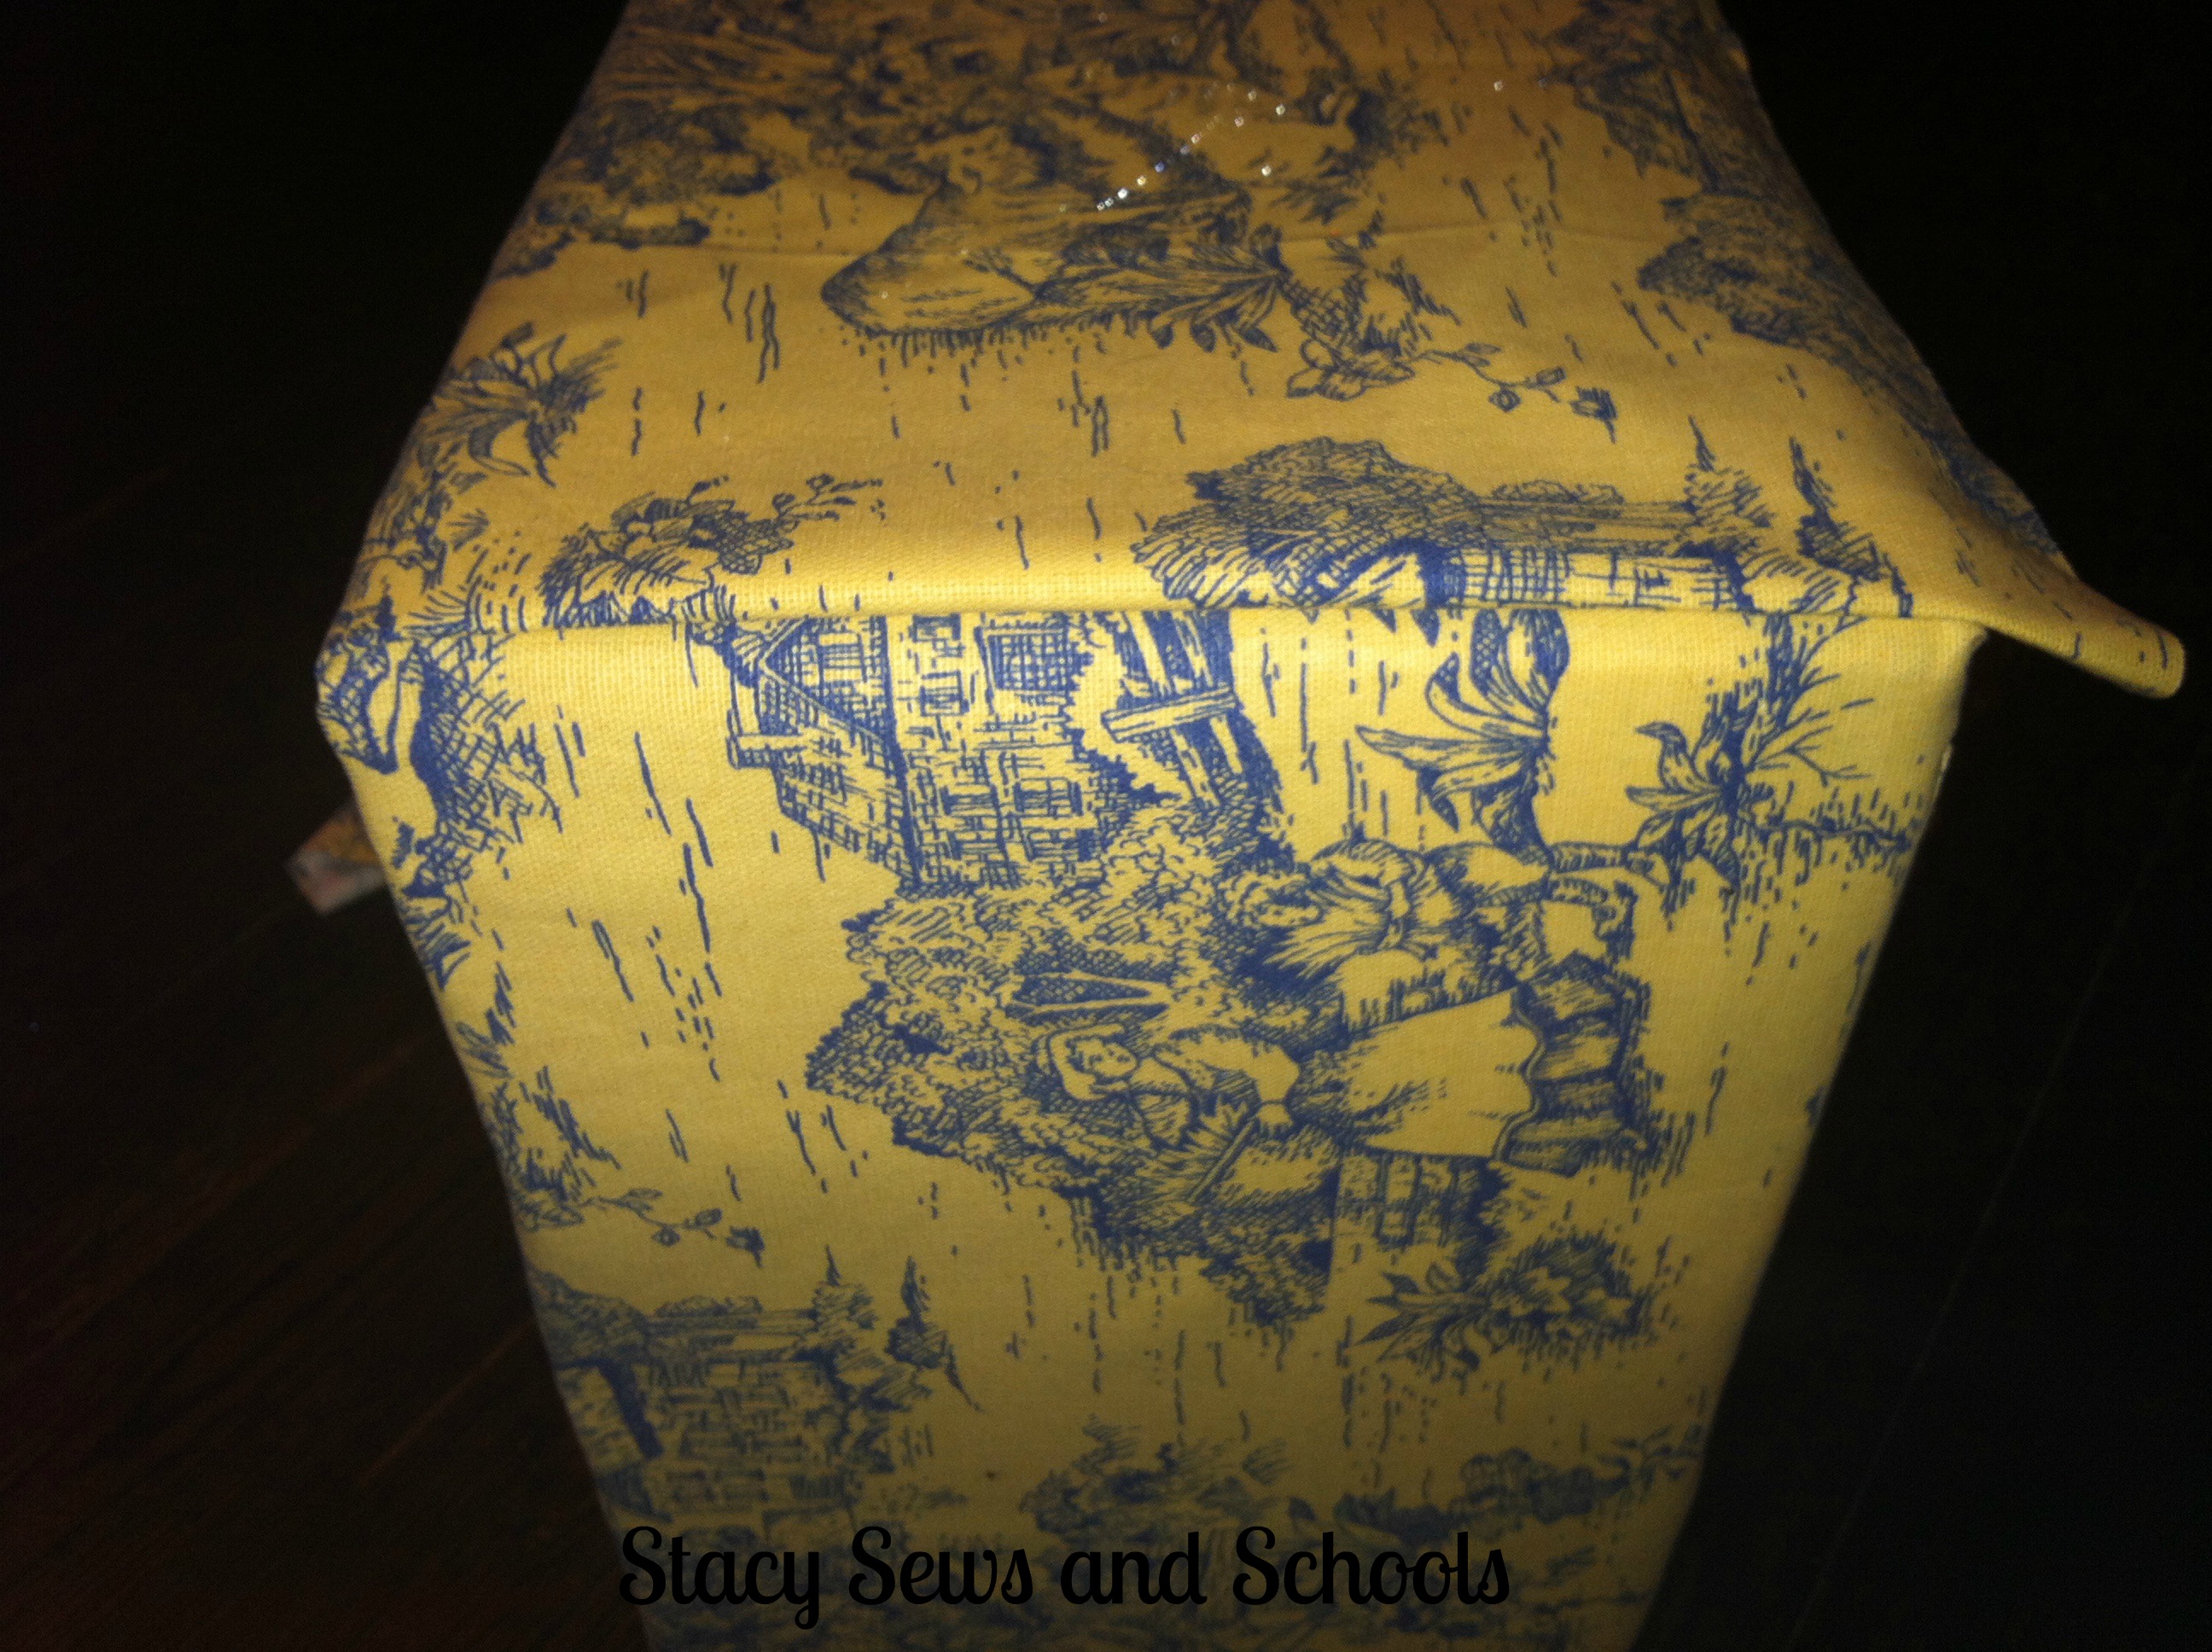
Now for the other 2 sides.
Fold the edge of the fabric over 1" and glue into place on one side.
Now glue 1" to the bottom of the box.
Drape the fabric over the sides and inside the box and start gluing in place.
When you come to the last side, fold over another 1" and glue in place.
Then do the inside of the last sides.
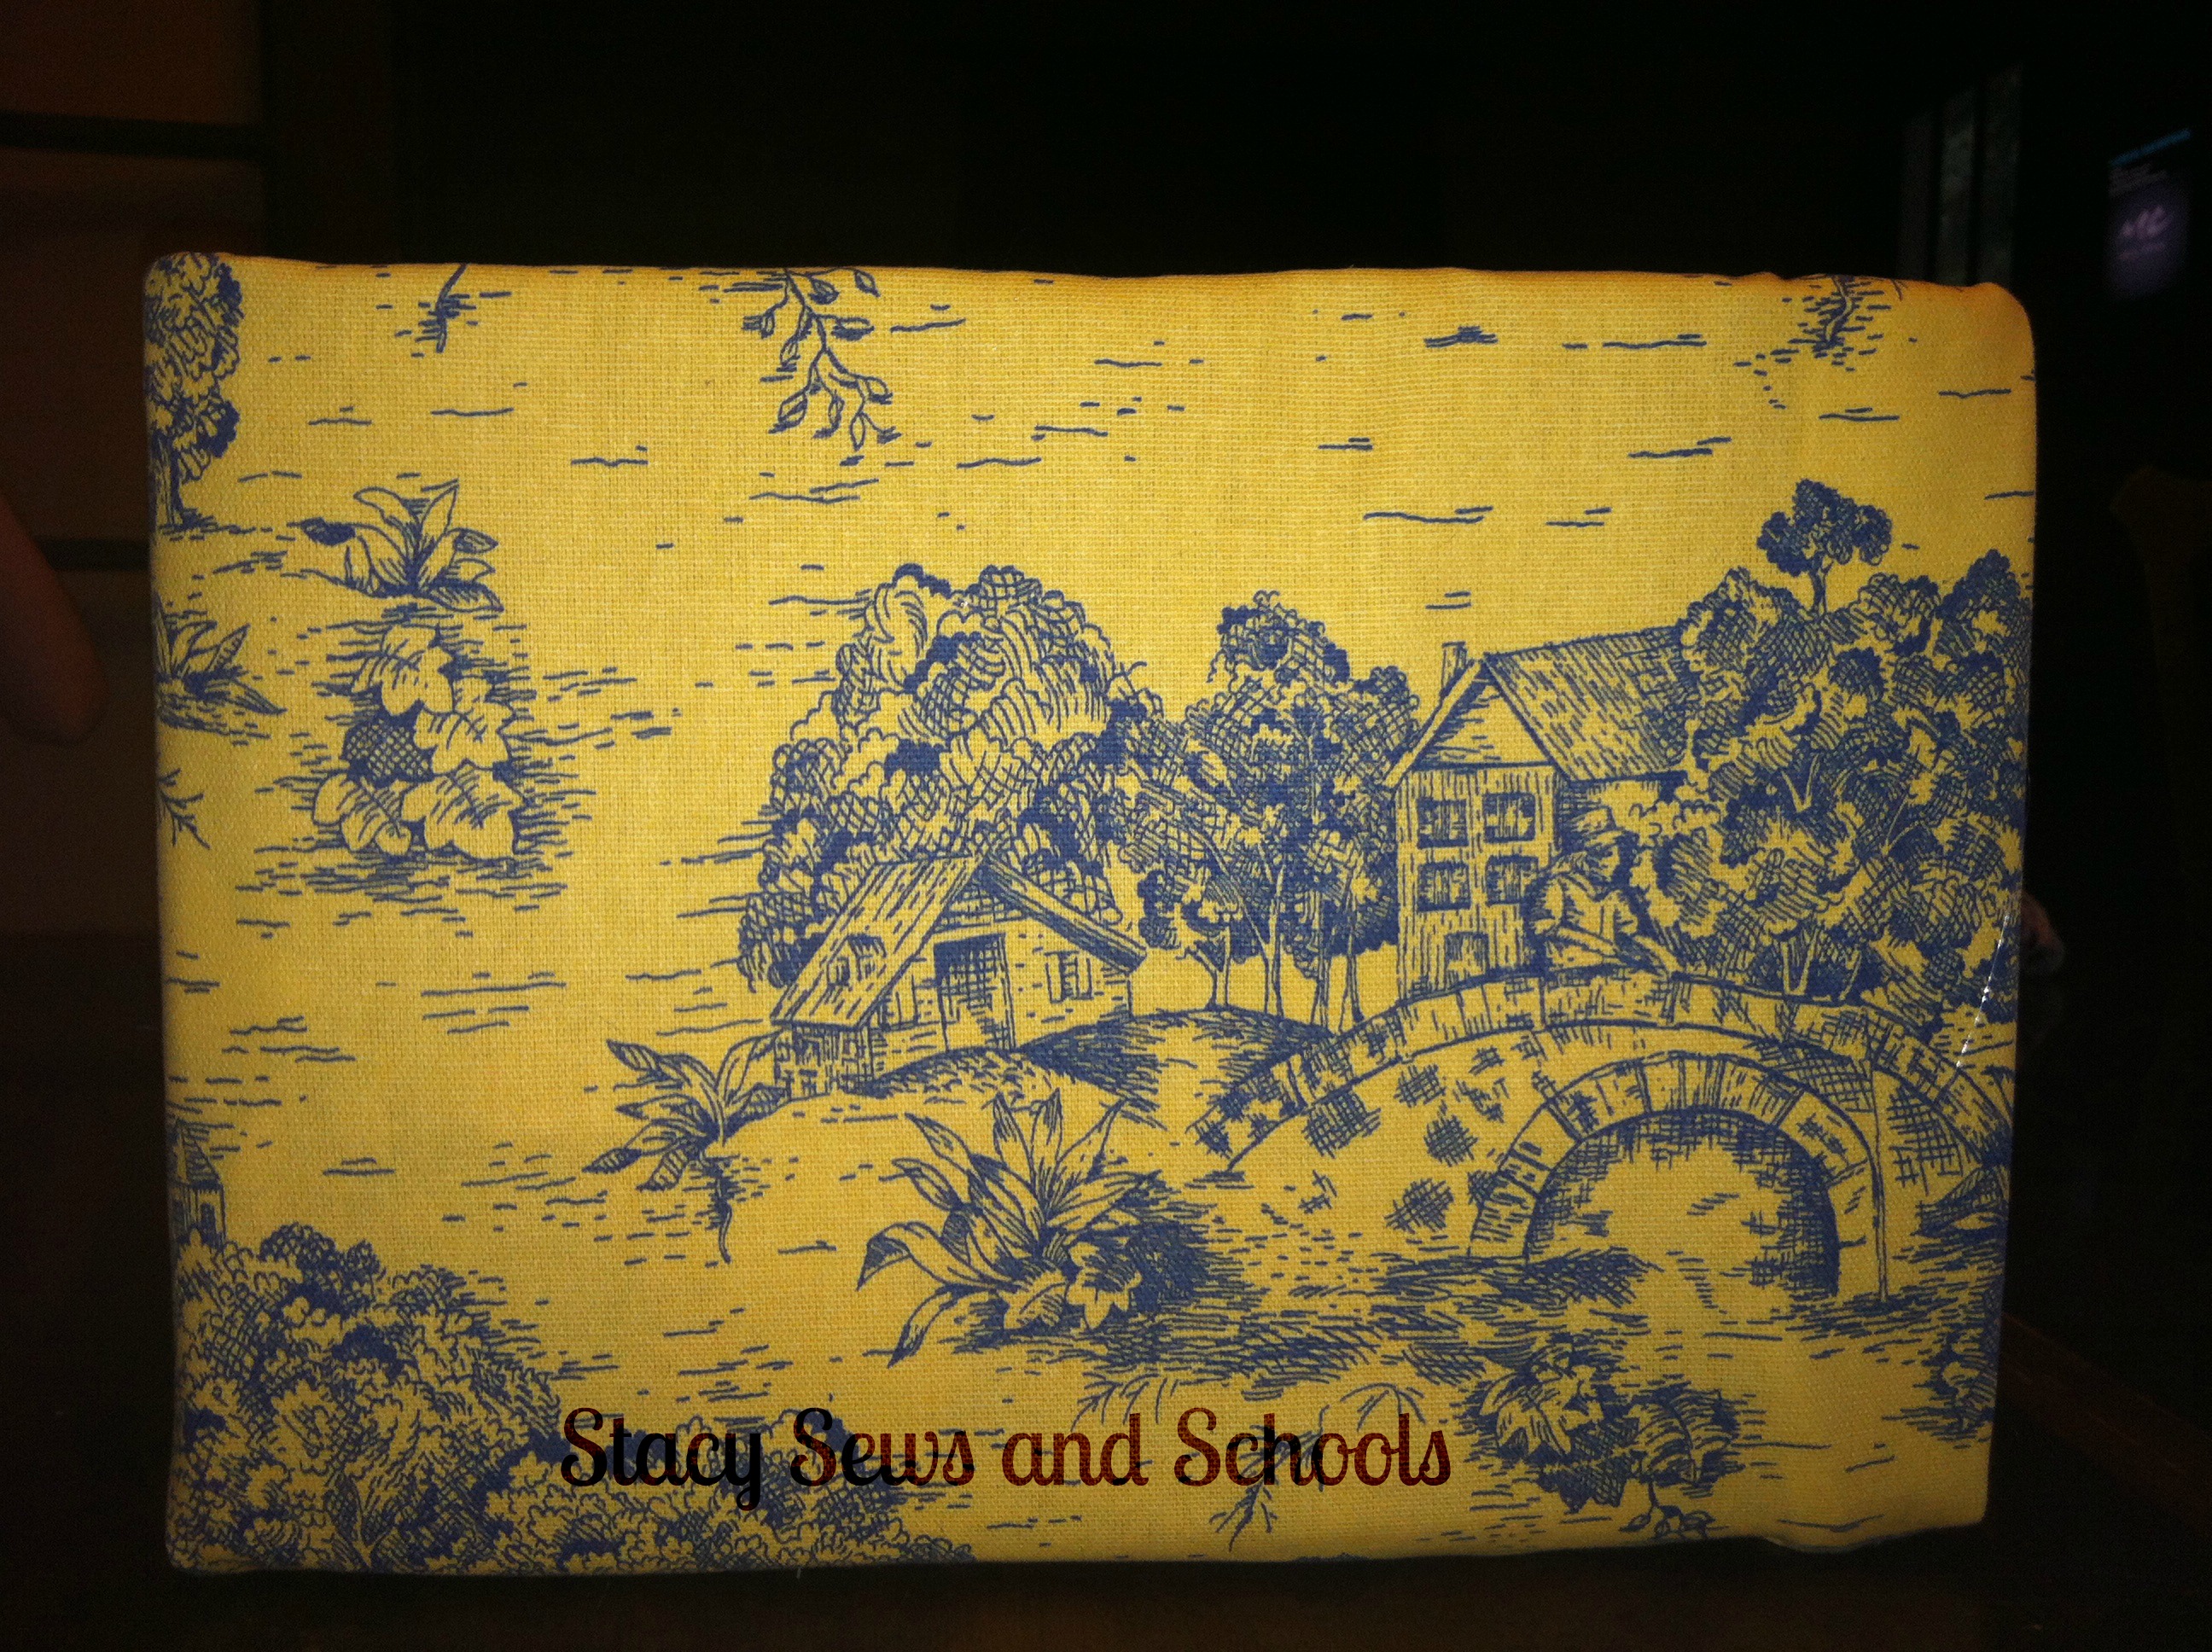
This is what you will have.

I then glued a strip of burlap all around the sides and added the denim bias tape on top of that.
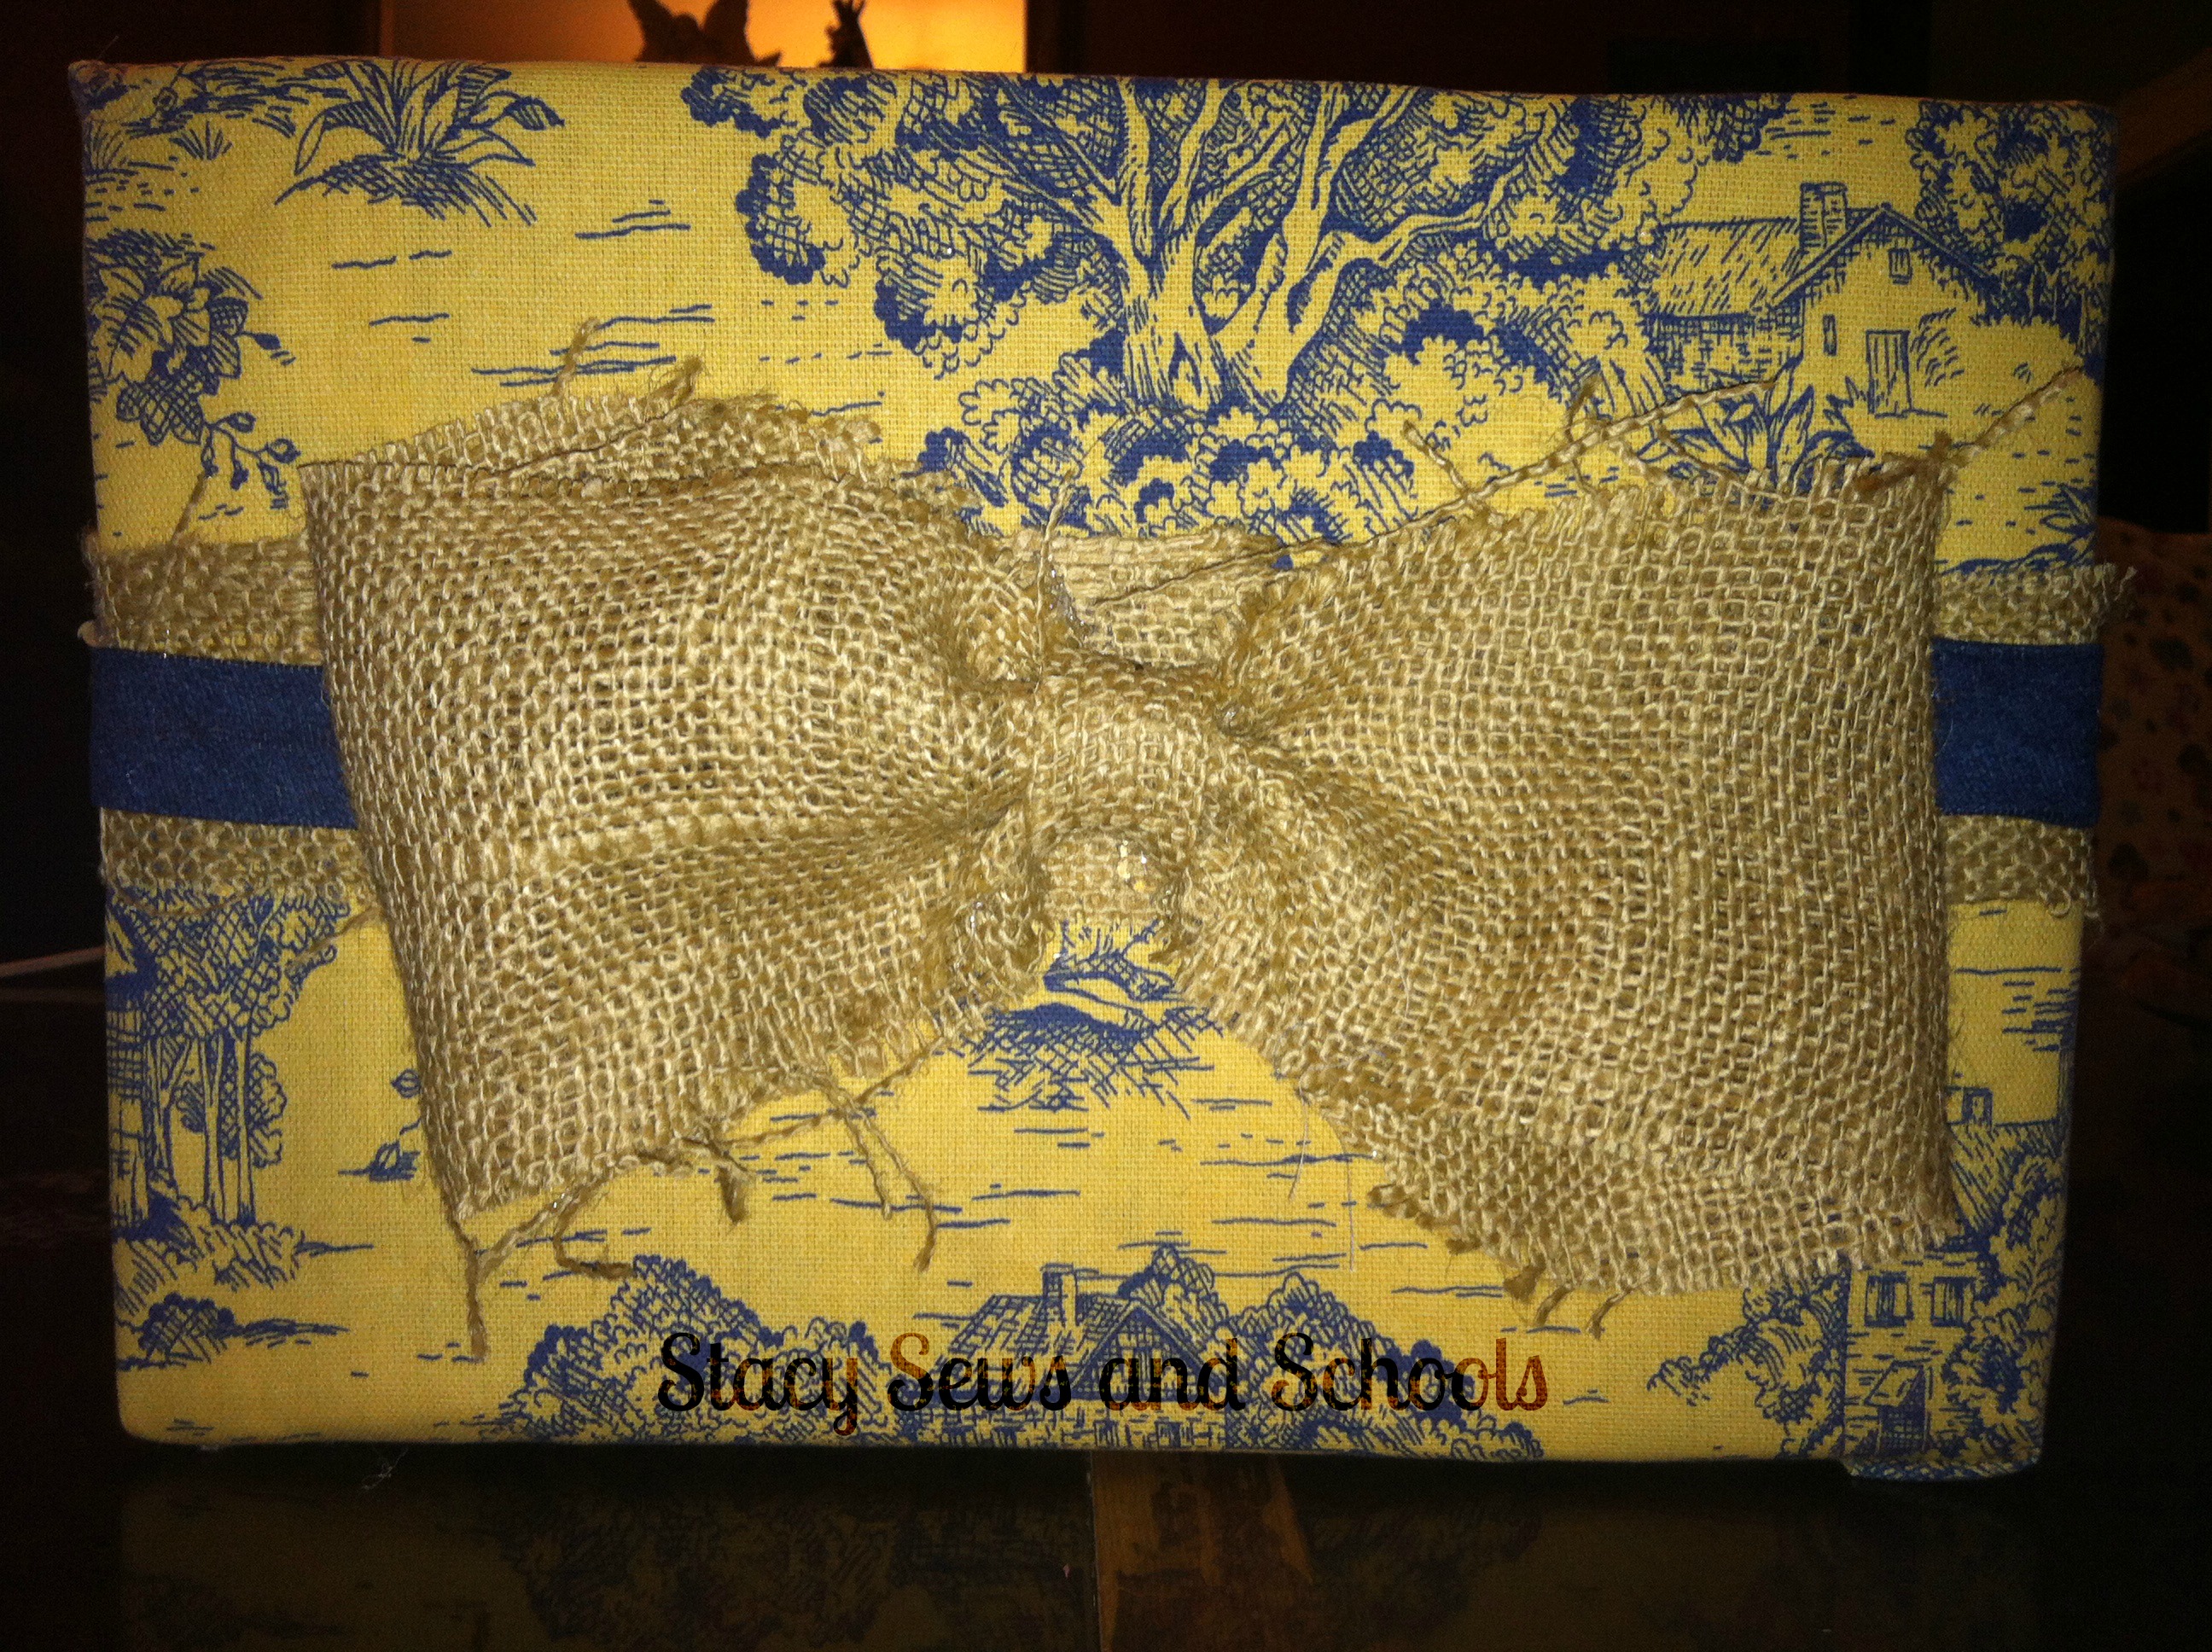
Lastly, I added the burlap bow!
EASY PEASY and super fast!
If the inside bottom of the box is going to show, cut a piece and glue it inside. ;)
HAVE FUN CRAFTING!!!!

SUPER cute!!!
ReplyDeleteThank you so much!! :D
ReplyDelete