I've had this idea in my head for a while and finally got around to putting it to use.
When I was a little girl I had the most wonderful faux fur hand muff. I loved it. Now that I can sew I figured I would make one for Cailey.
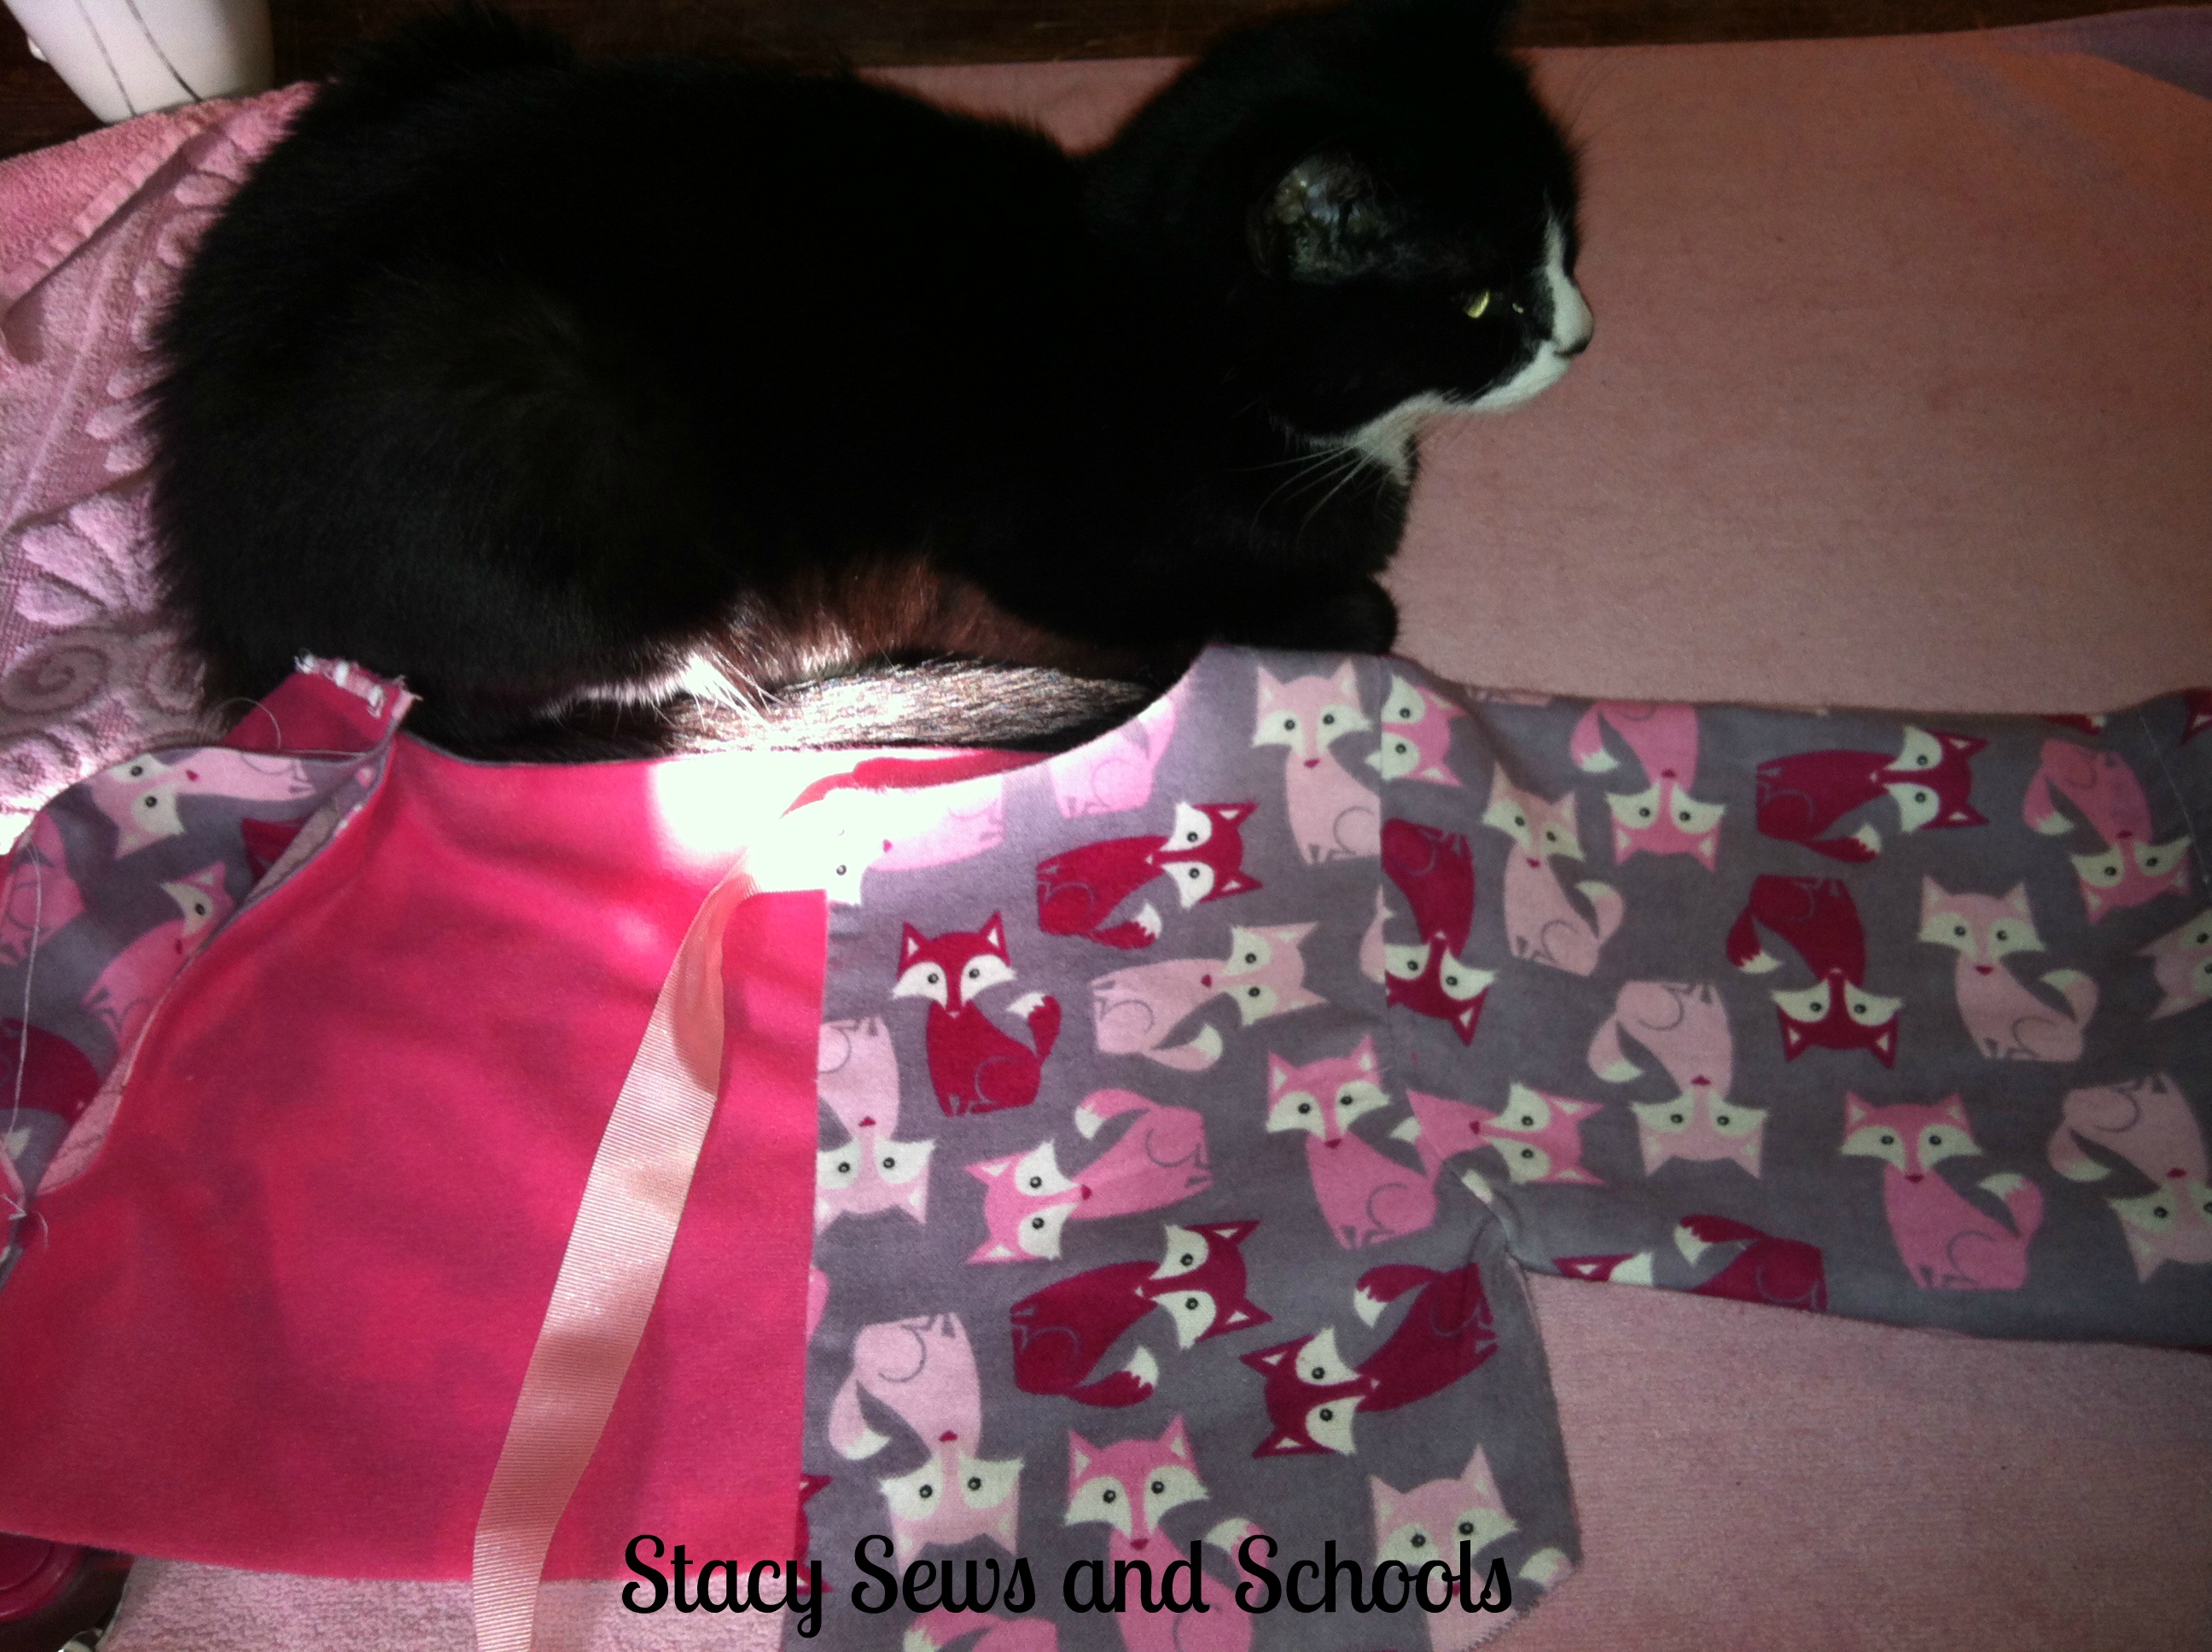
The first one I made was the black and pink. I wanted it to match Cailey's Anna Cape. But I wasn't that thrilled with it. It seemed kind of blah. So I decided to see what would happen if I put a few different contrasts on one. LOVE IT!!!
Both muffs are reversible but the blue one has a little extra something. ;)
Here's what I used -
Black and Pink Muff
1 piece of black Minky Dot 13x15
1 piece of pink fleece 13x15
1 piece of pink lace 10"
2 black fabric flowers
Fabric Glue
Stuffing
Blue Muff
1 piece of blue bird flannel 13x15
1 piece of blue heart Minky Dot 13x15
2 pieces of blue ribbon 15"
Stuffing
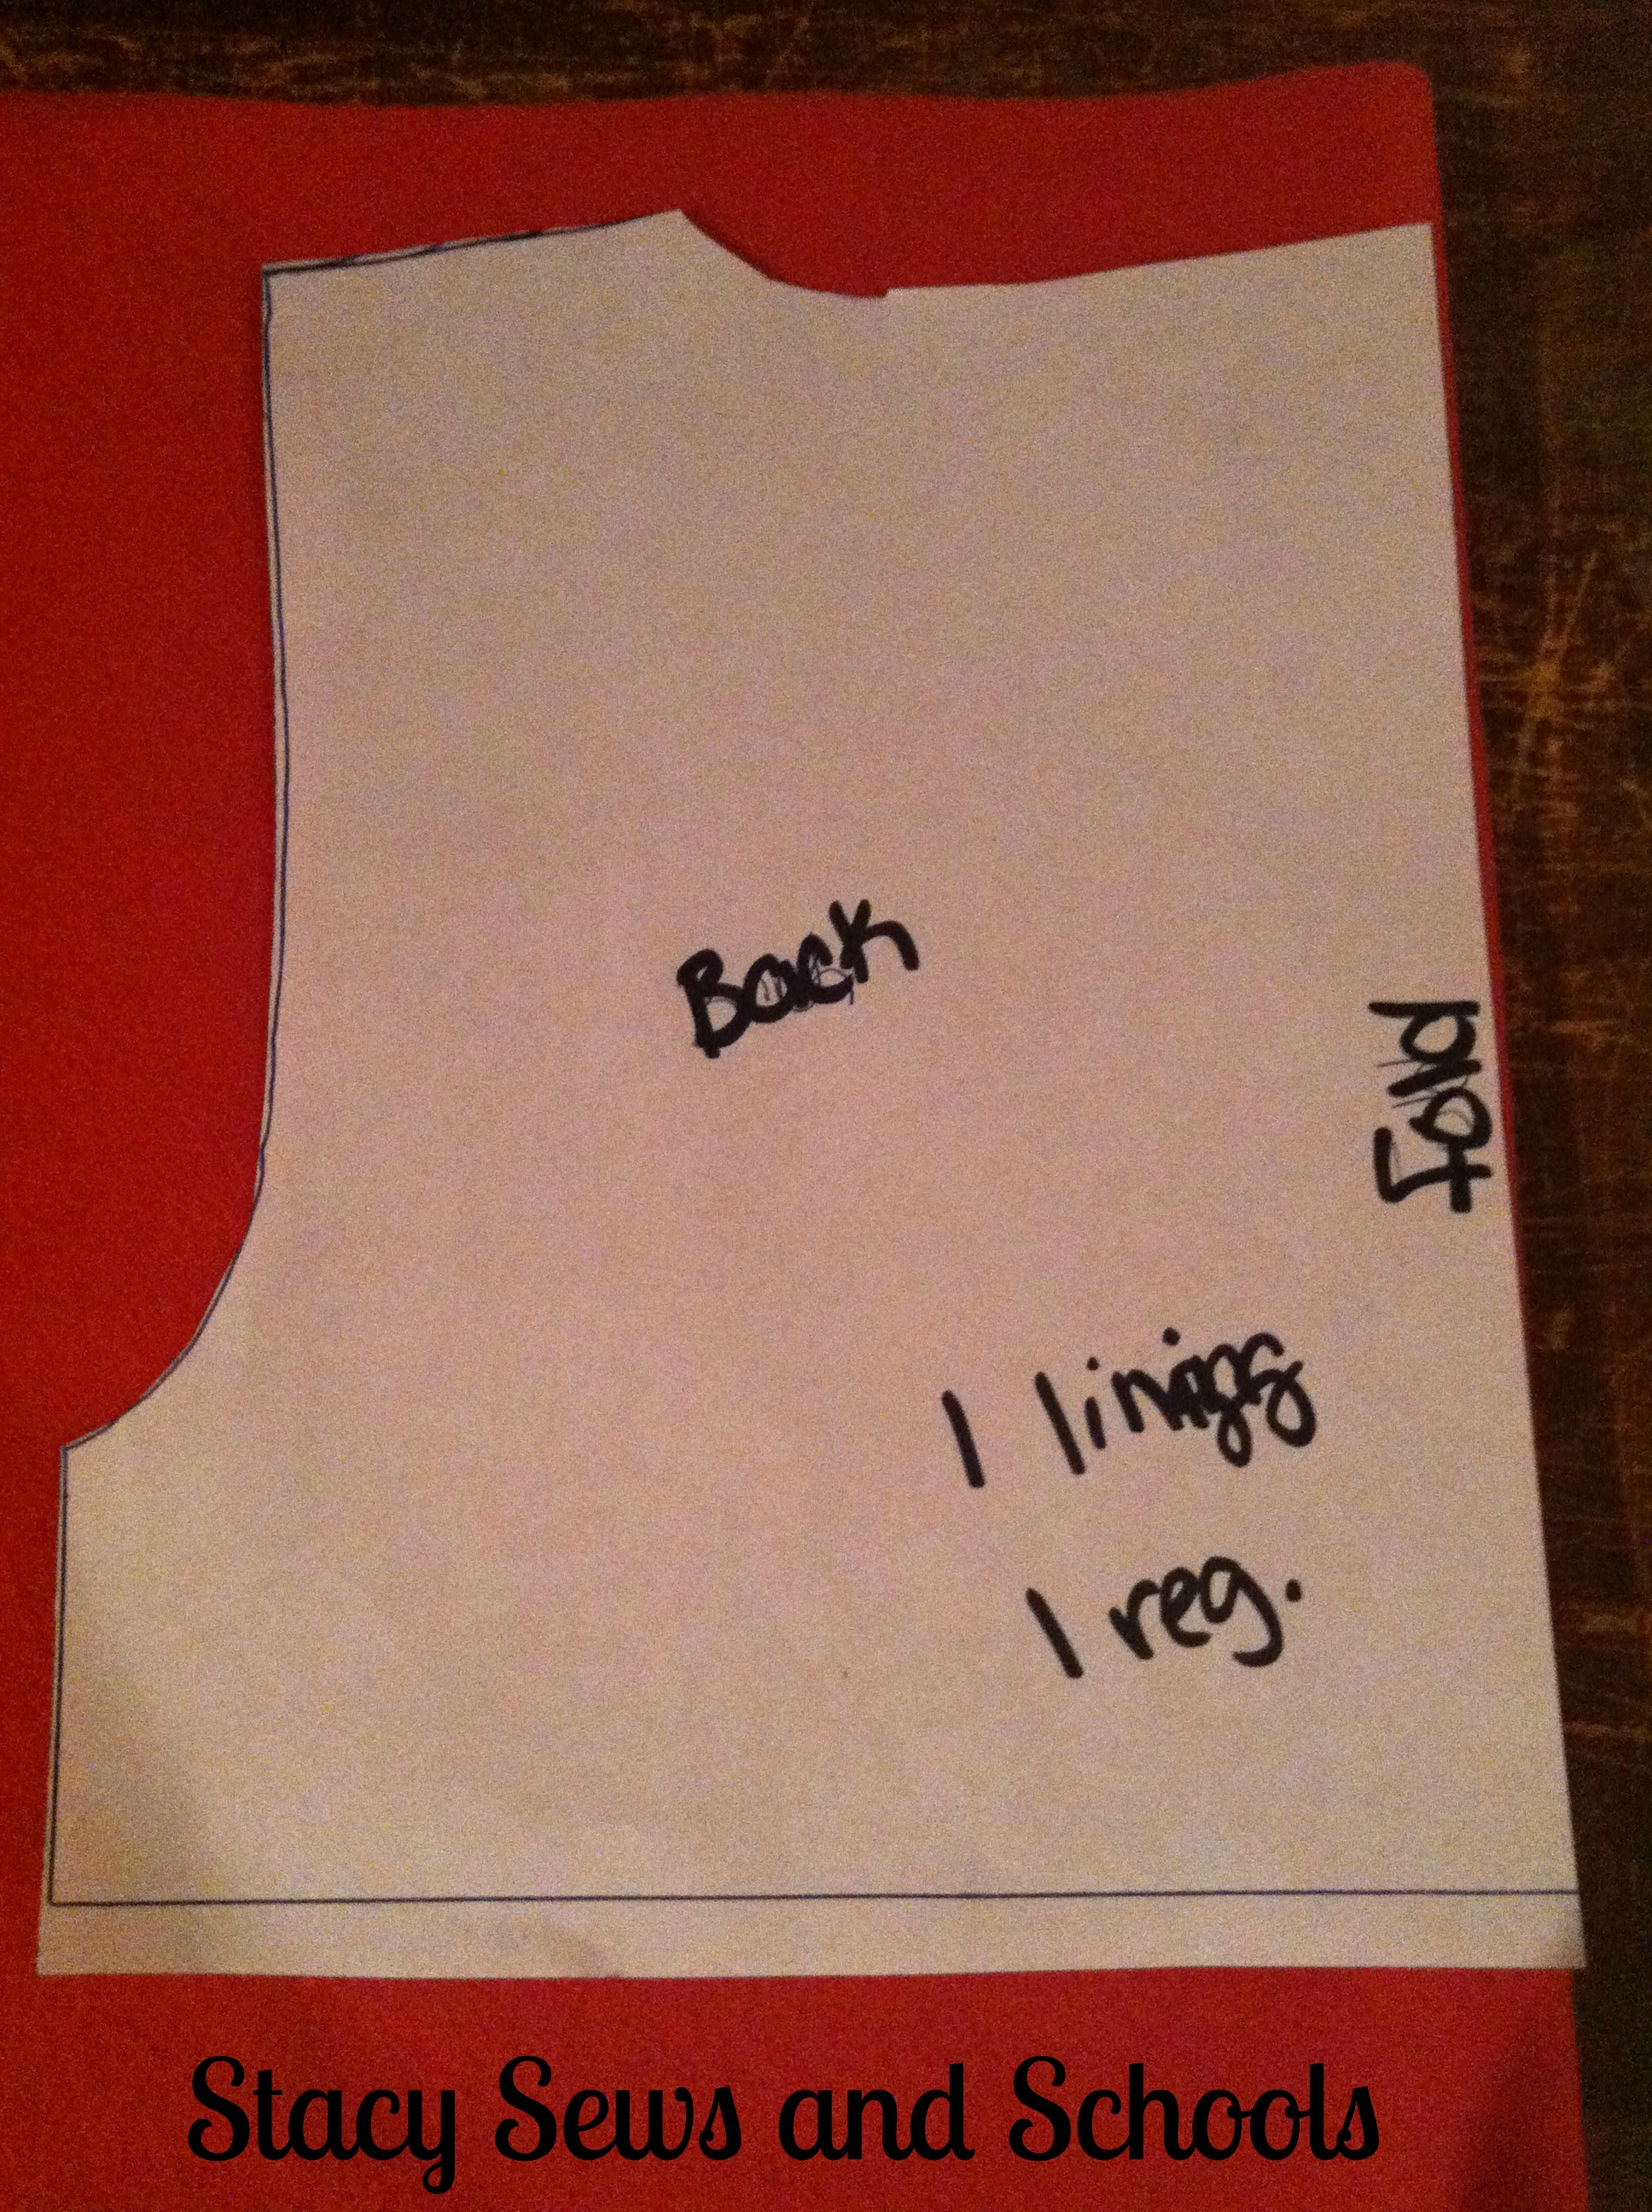
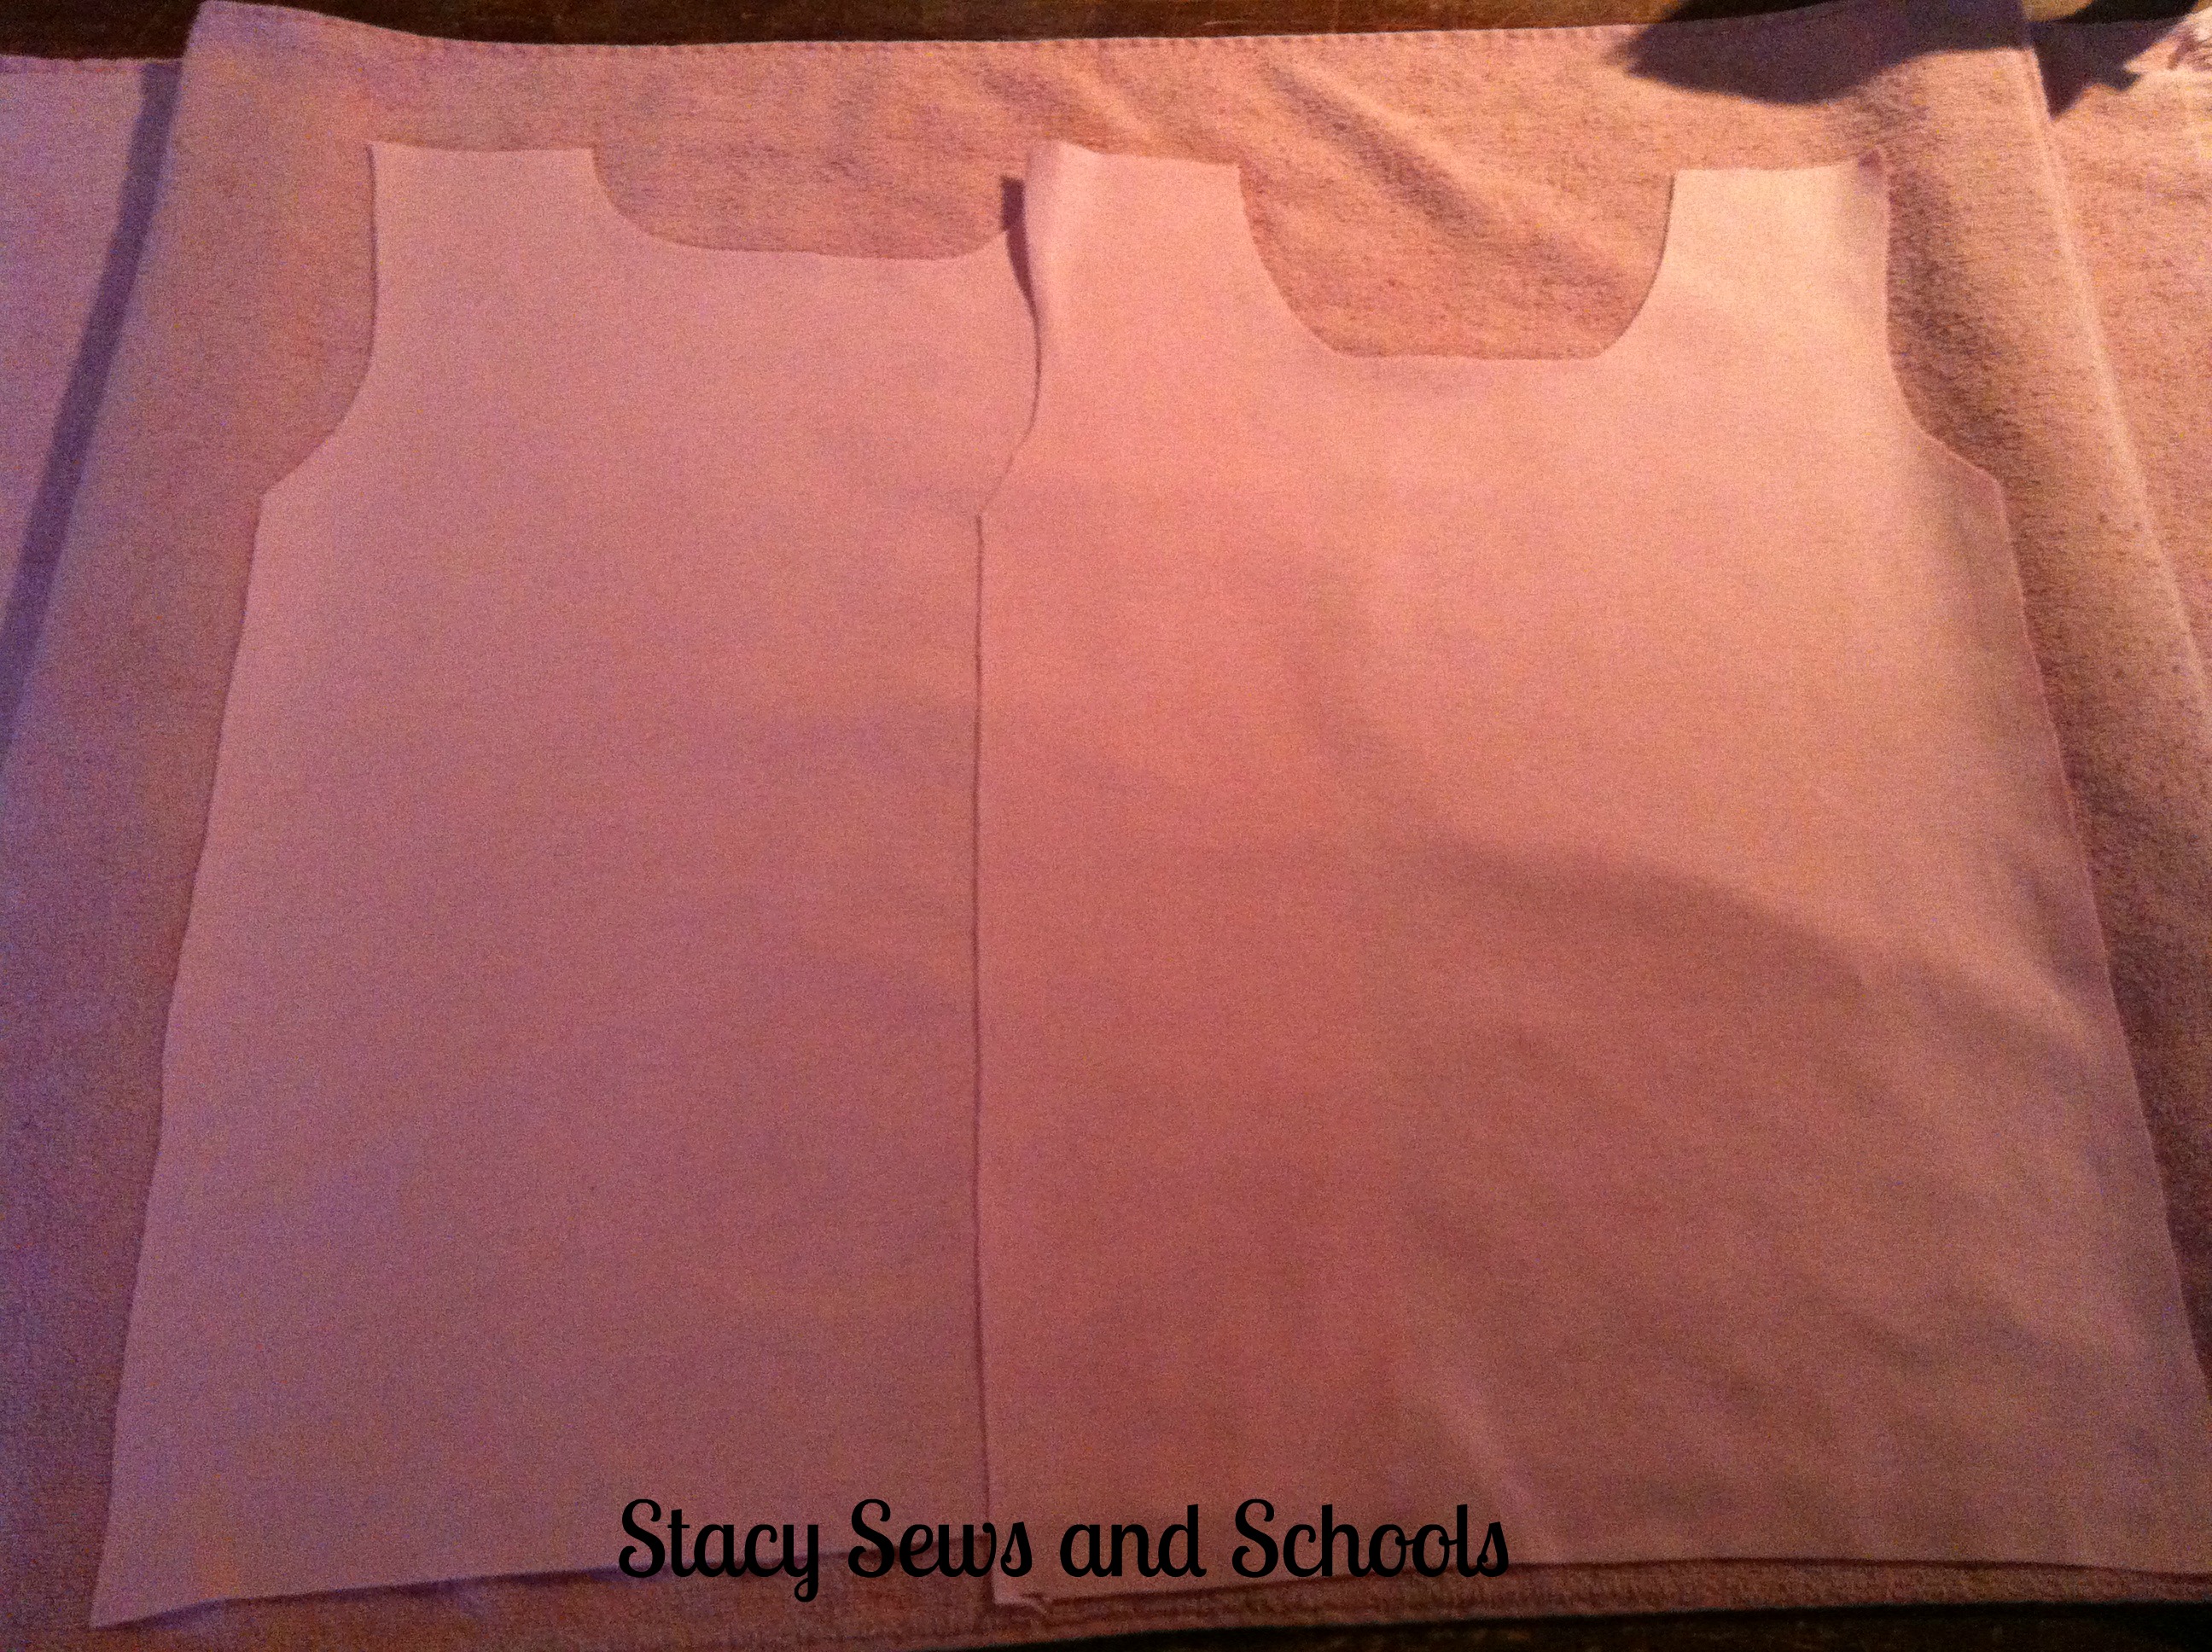
STEP 1

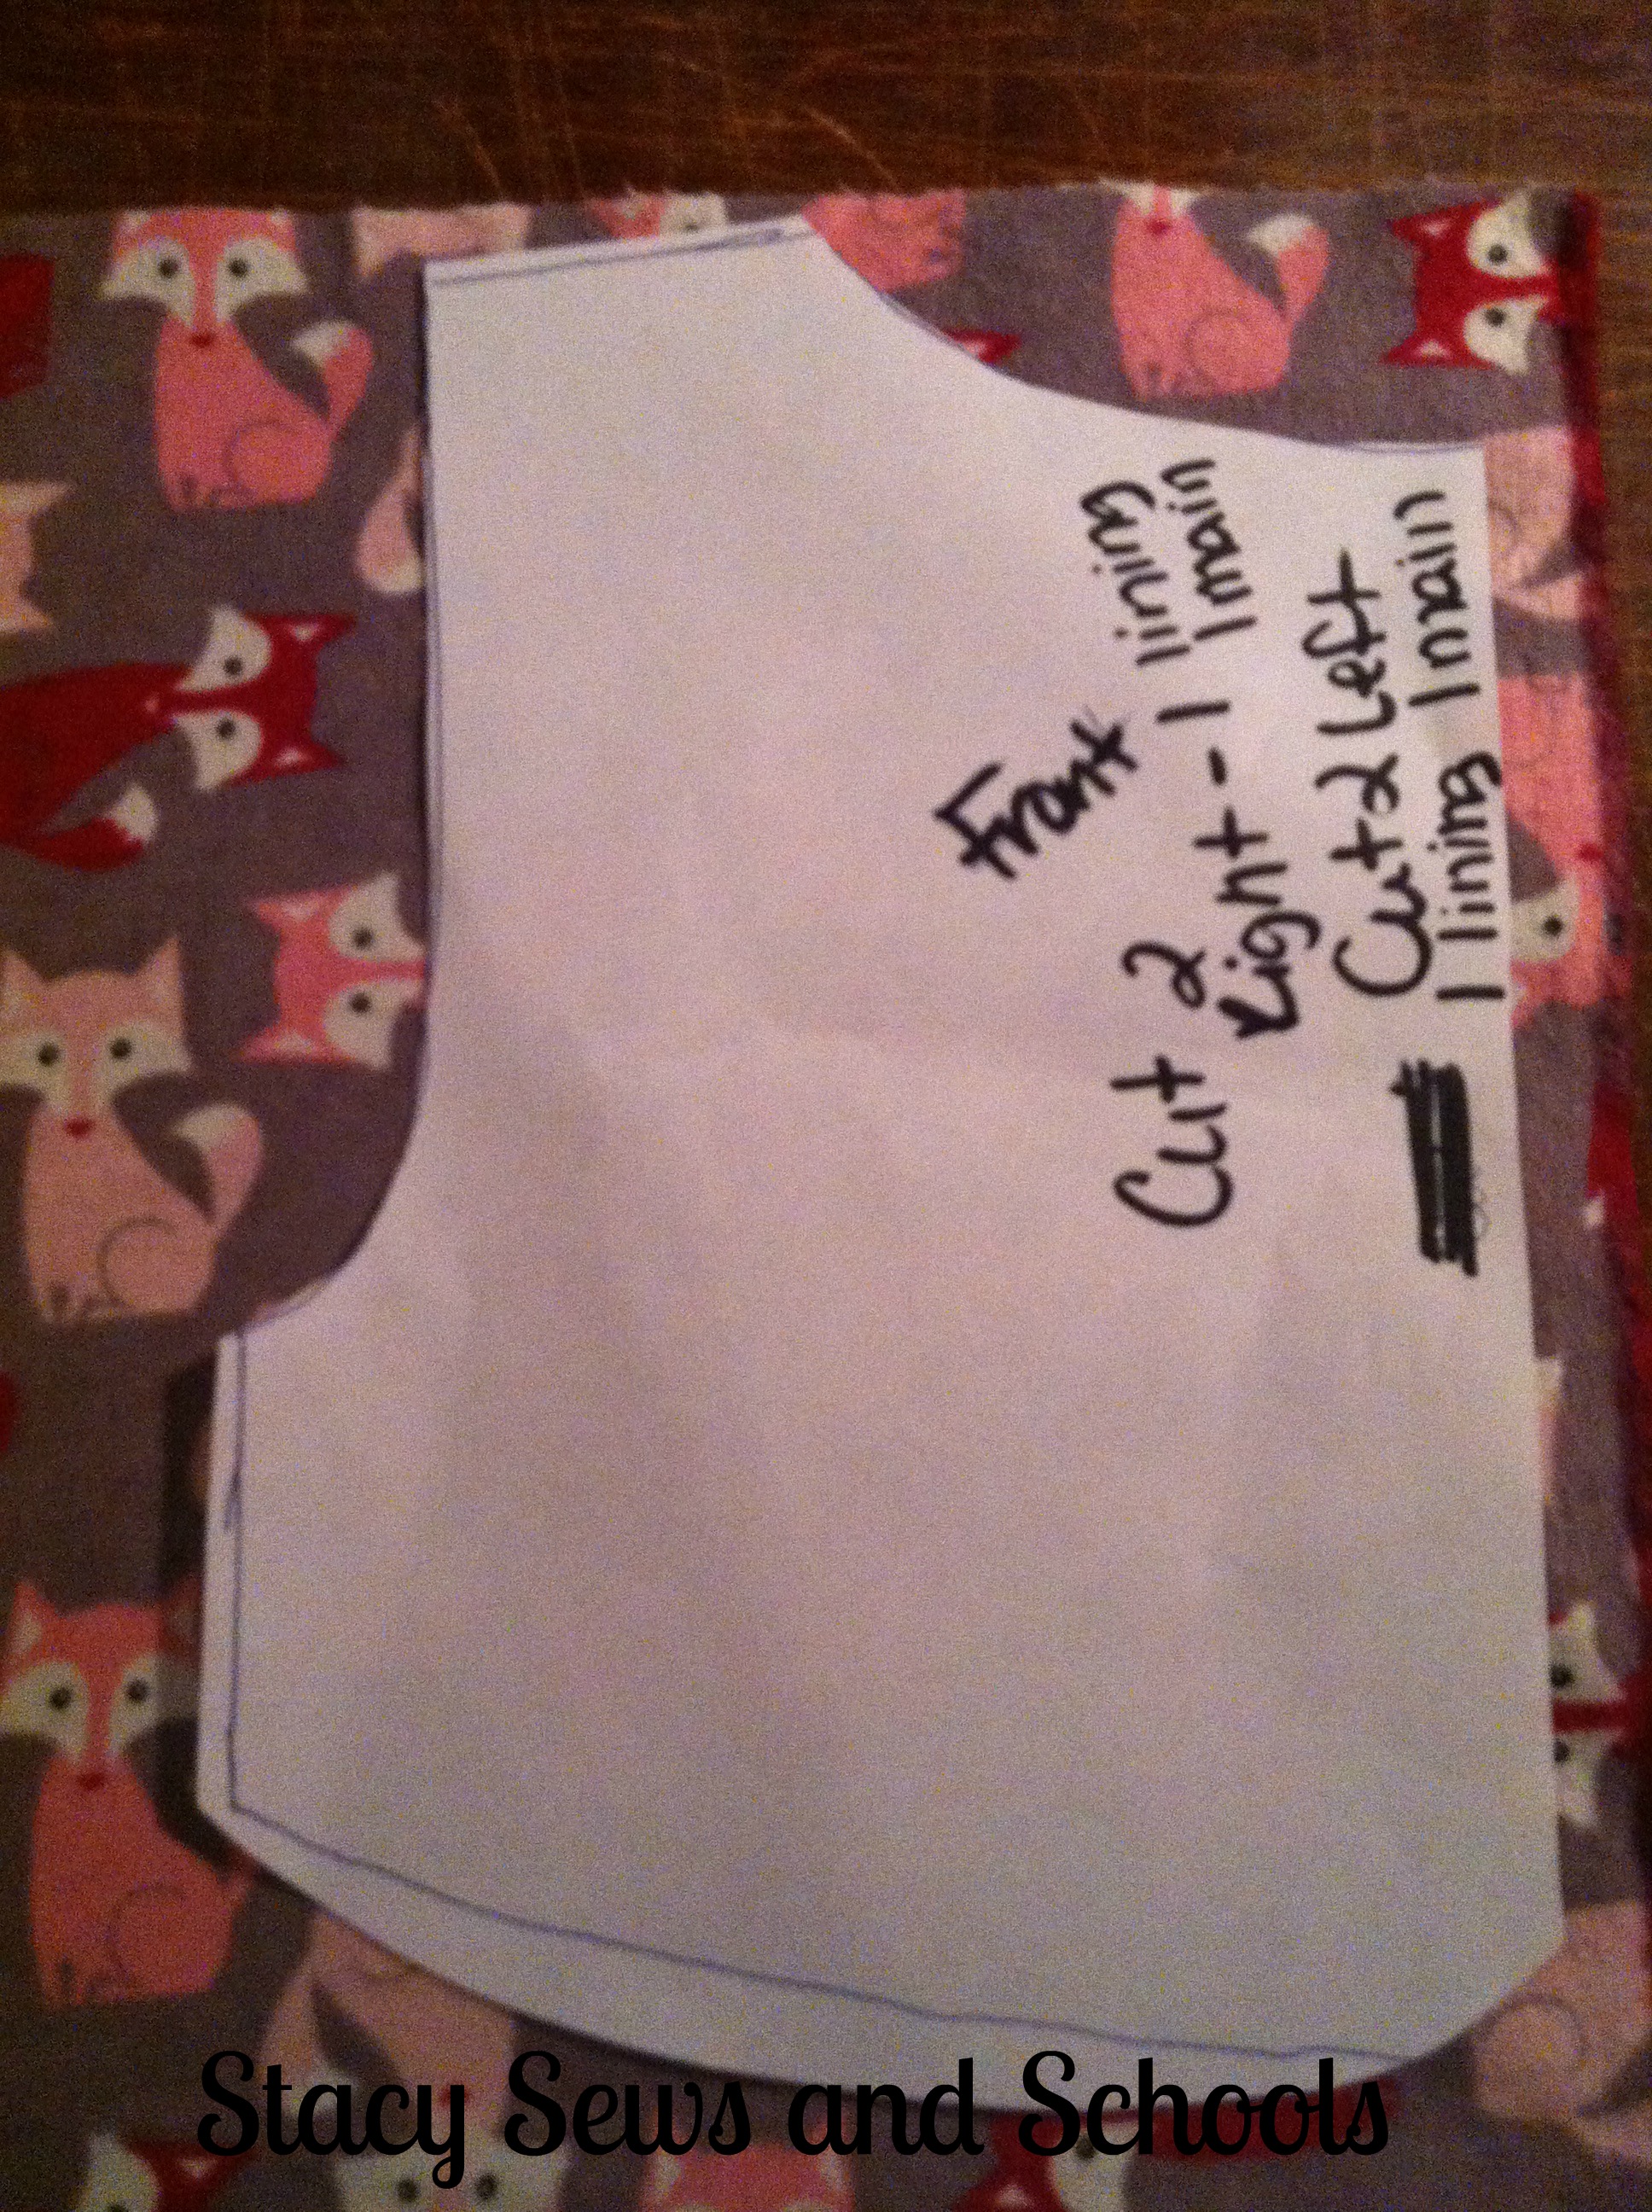
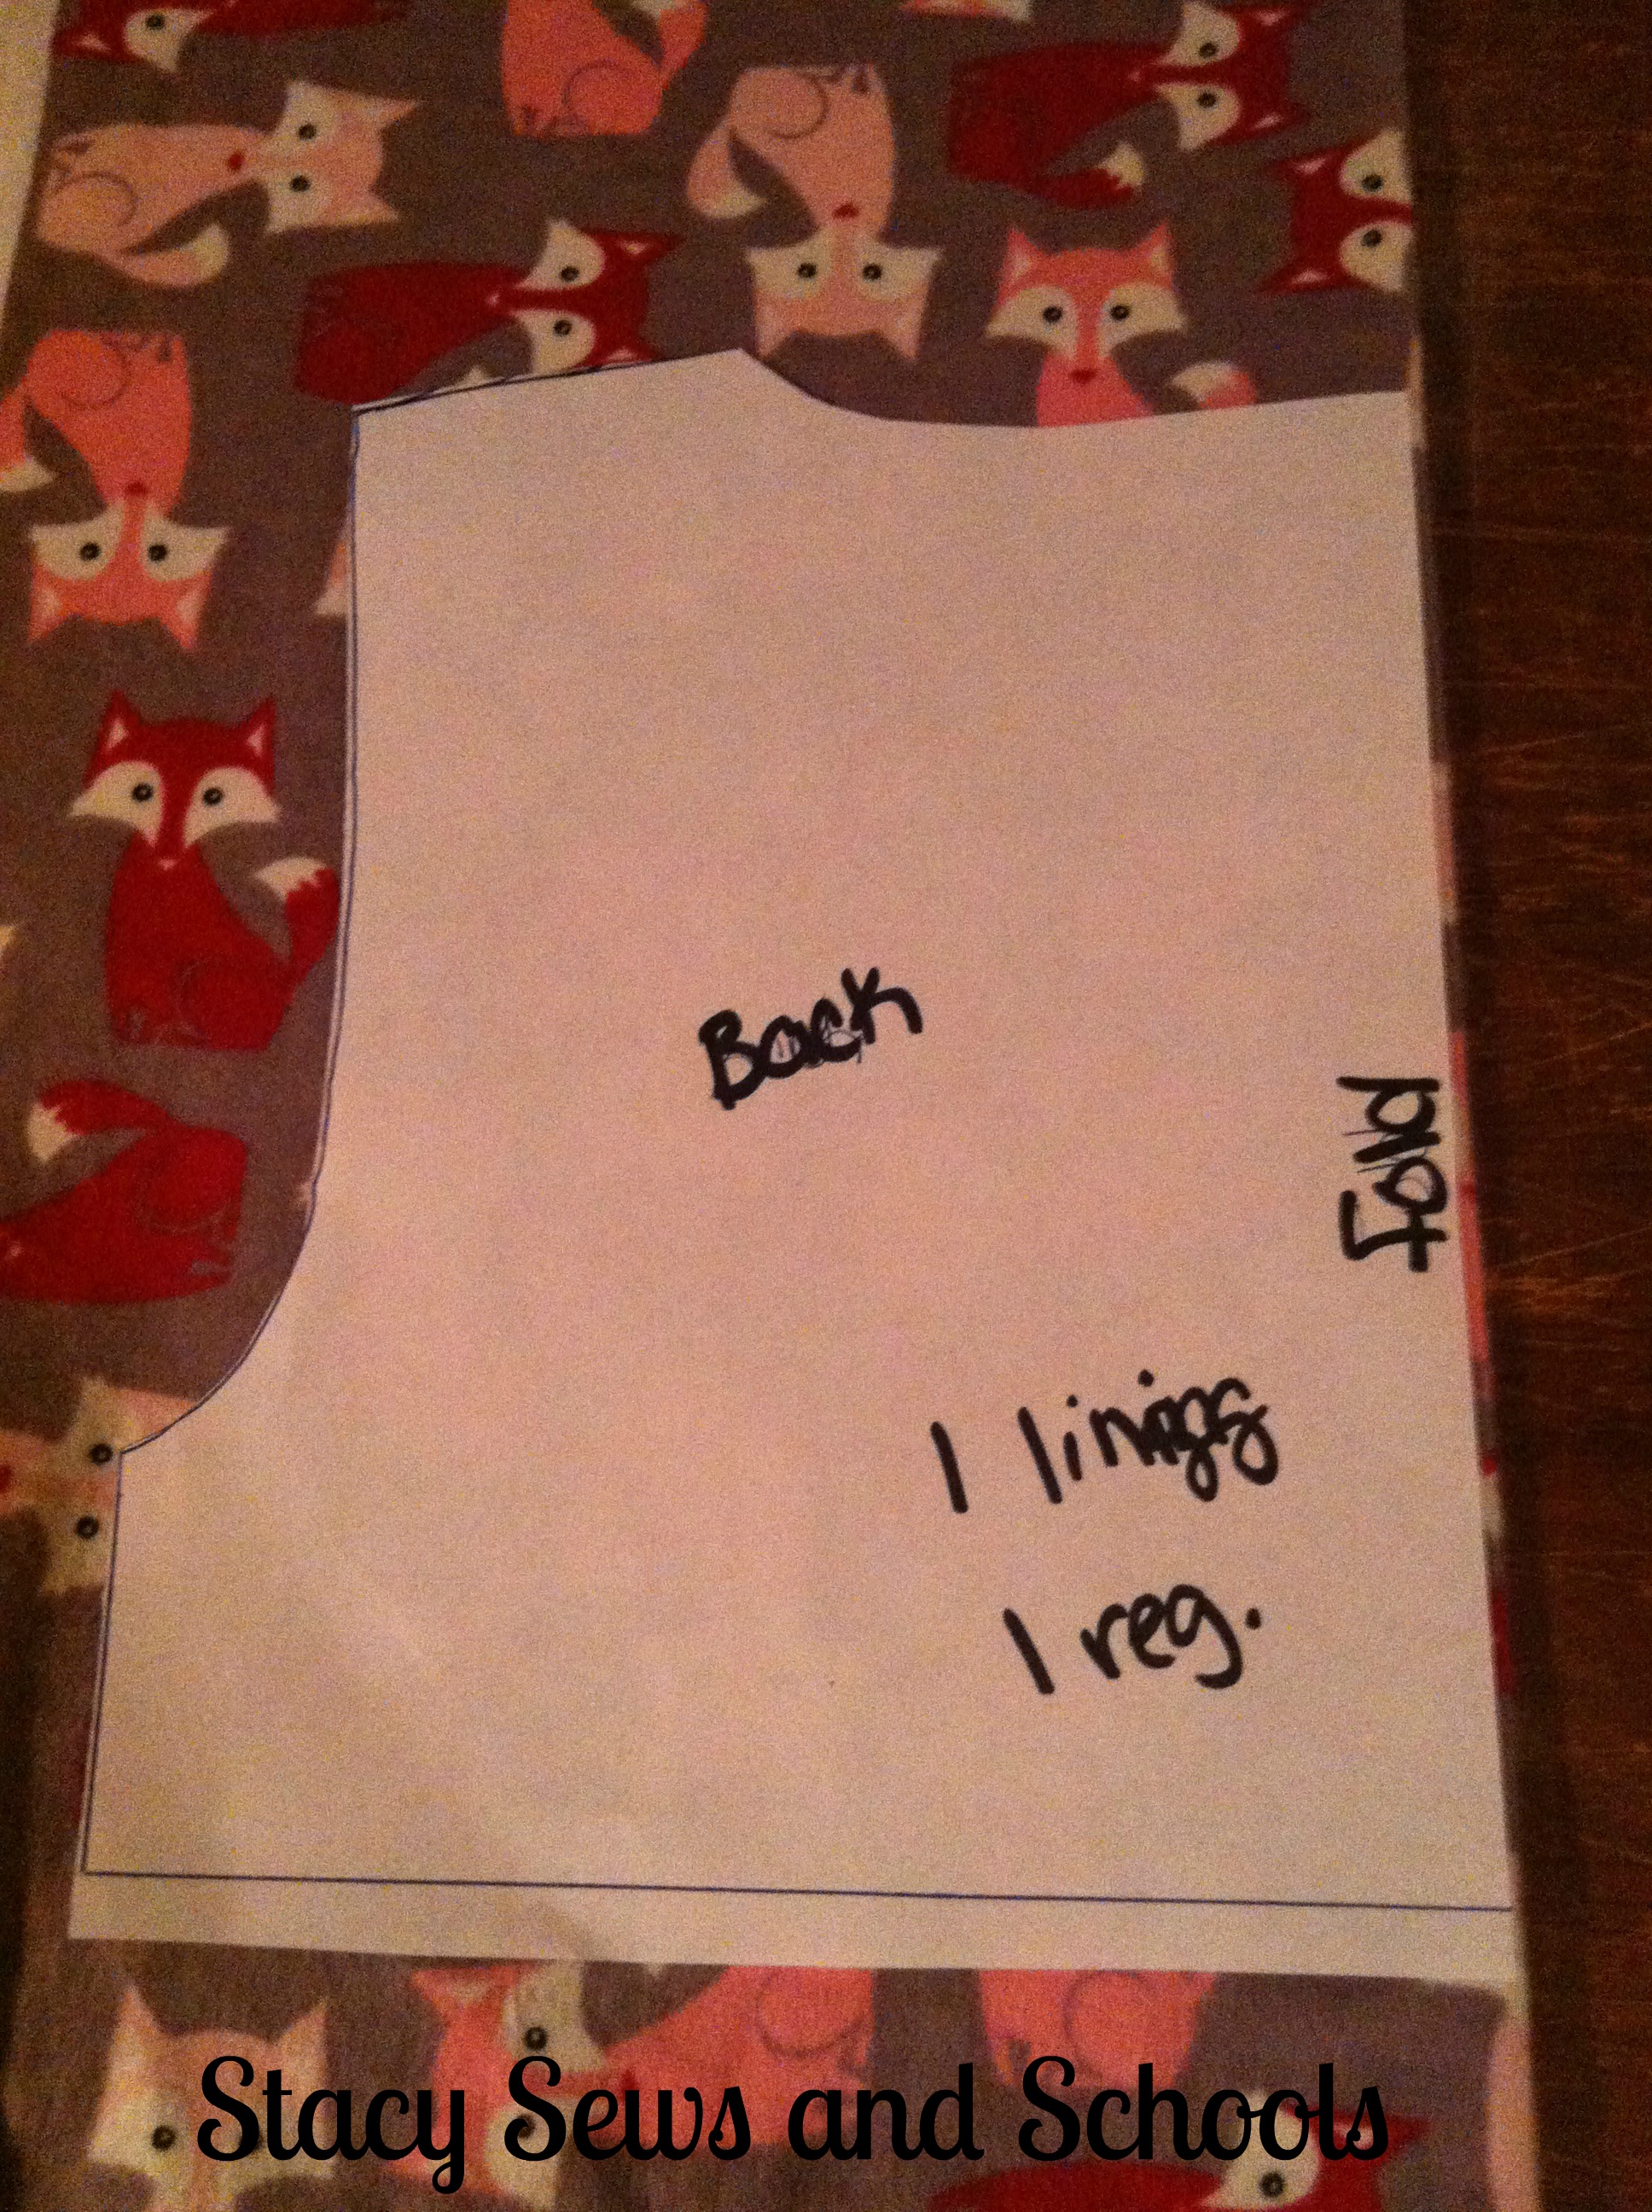
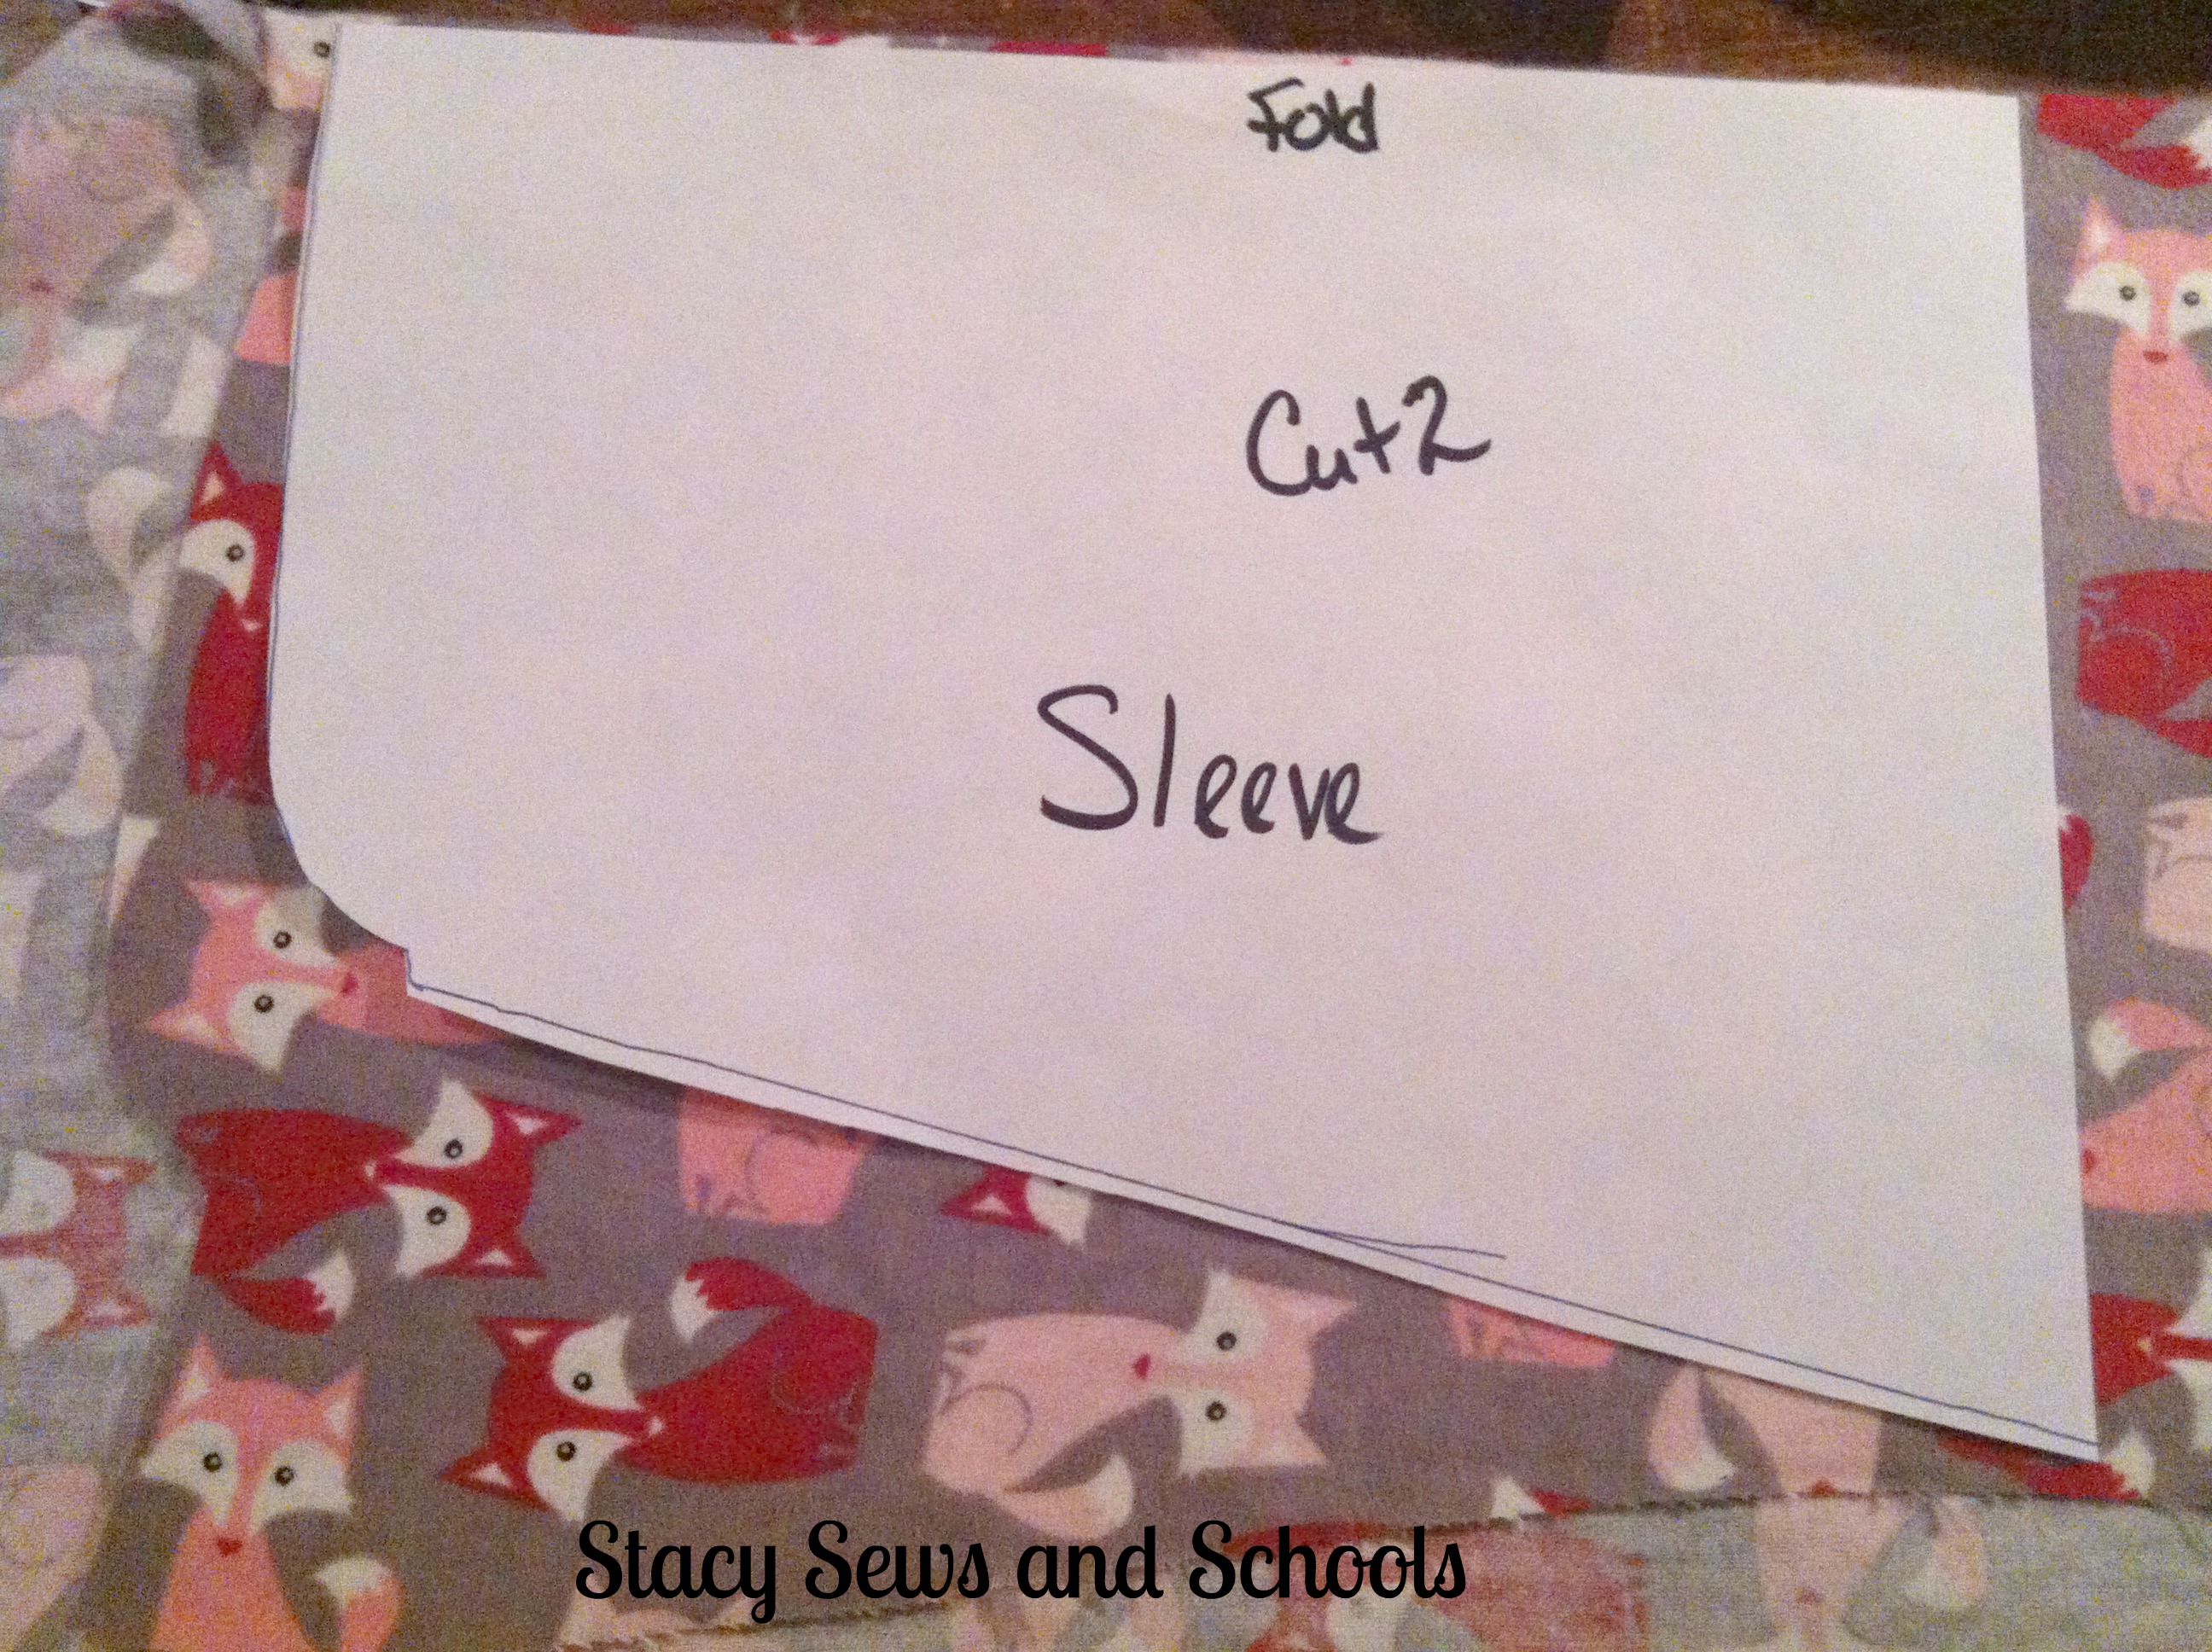
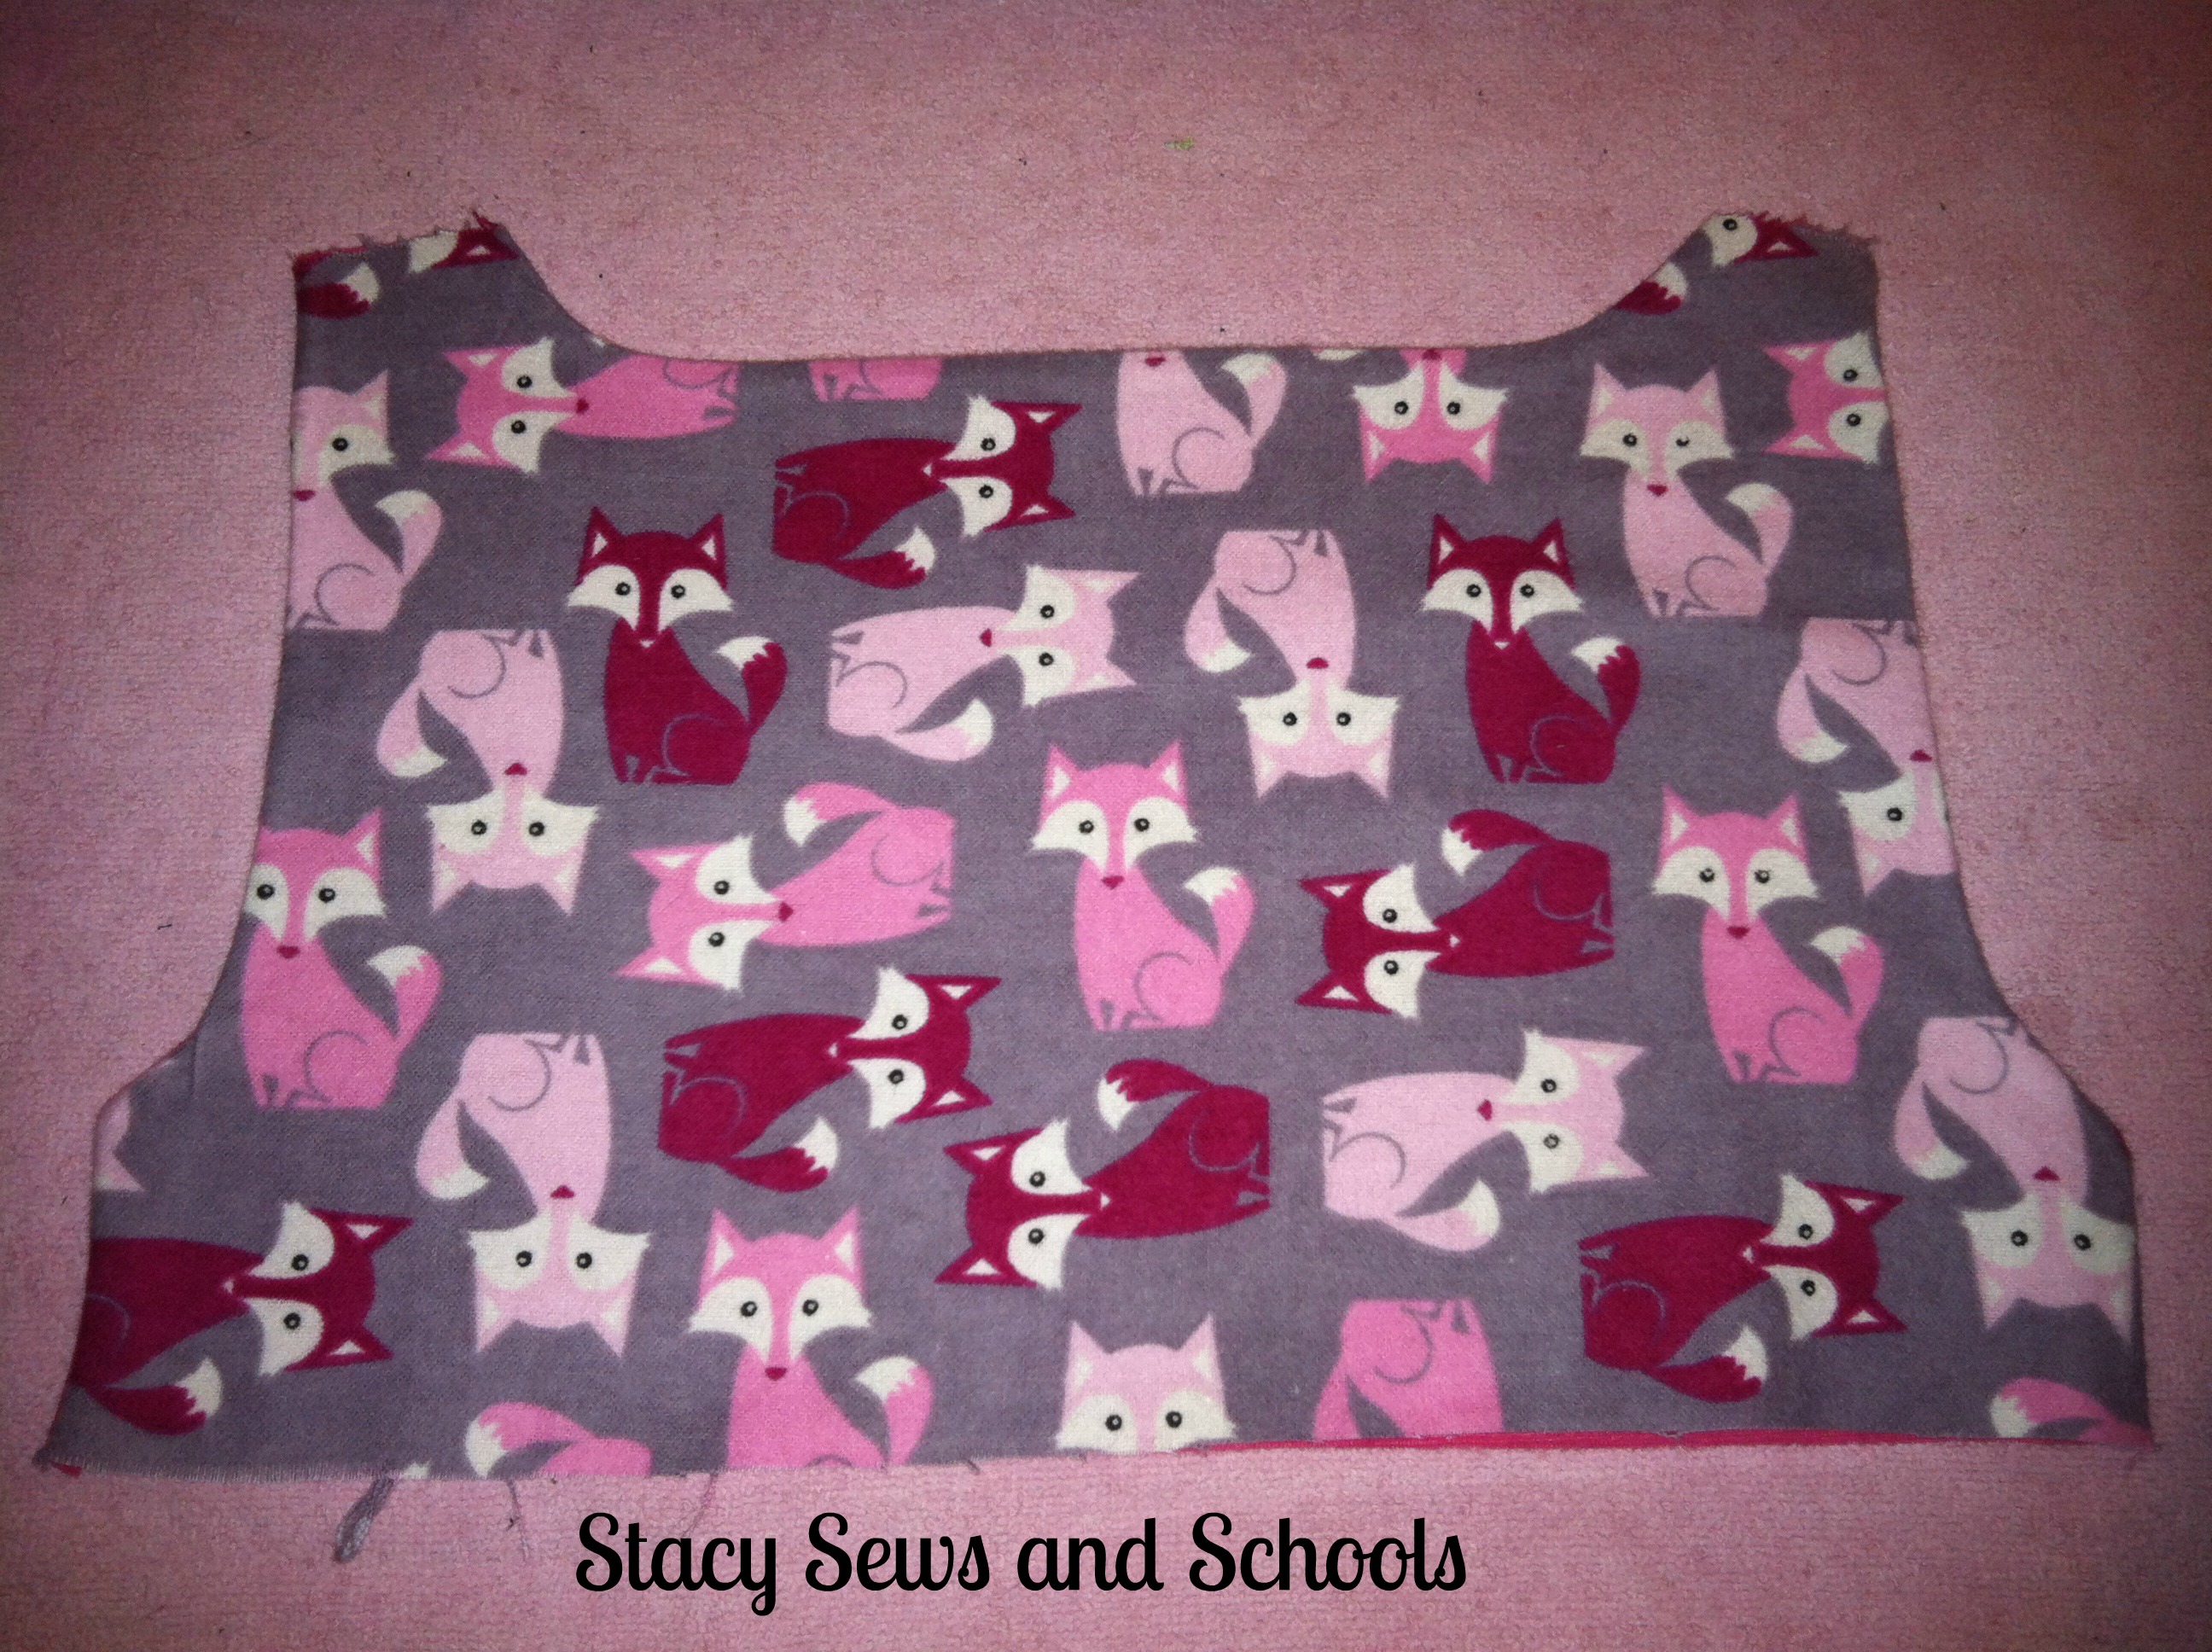
Cut your pieces
STEP 2

STEP 3

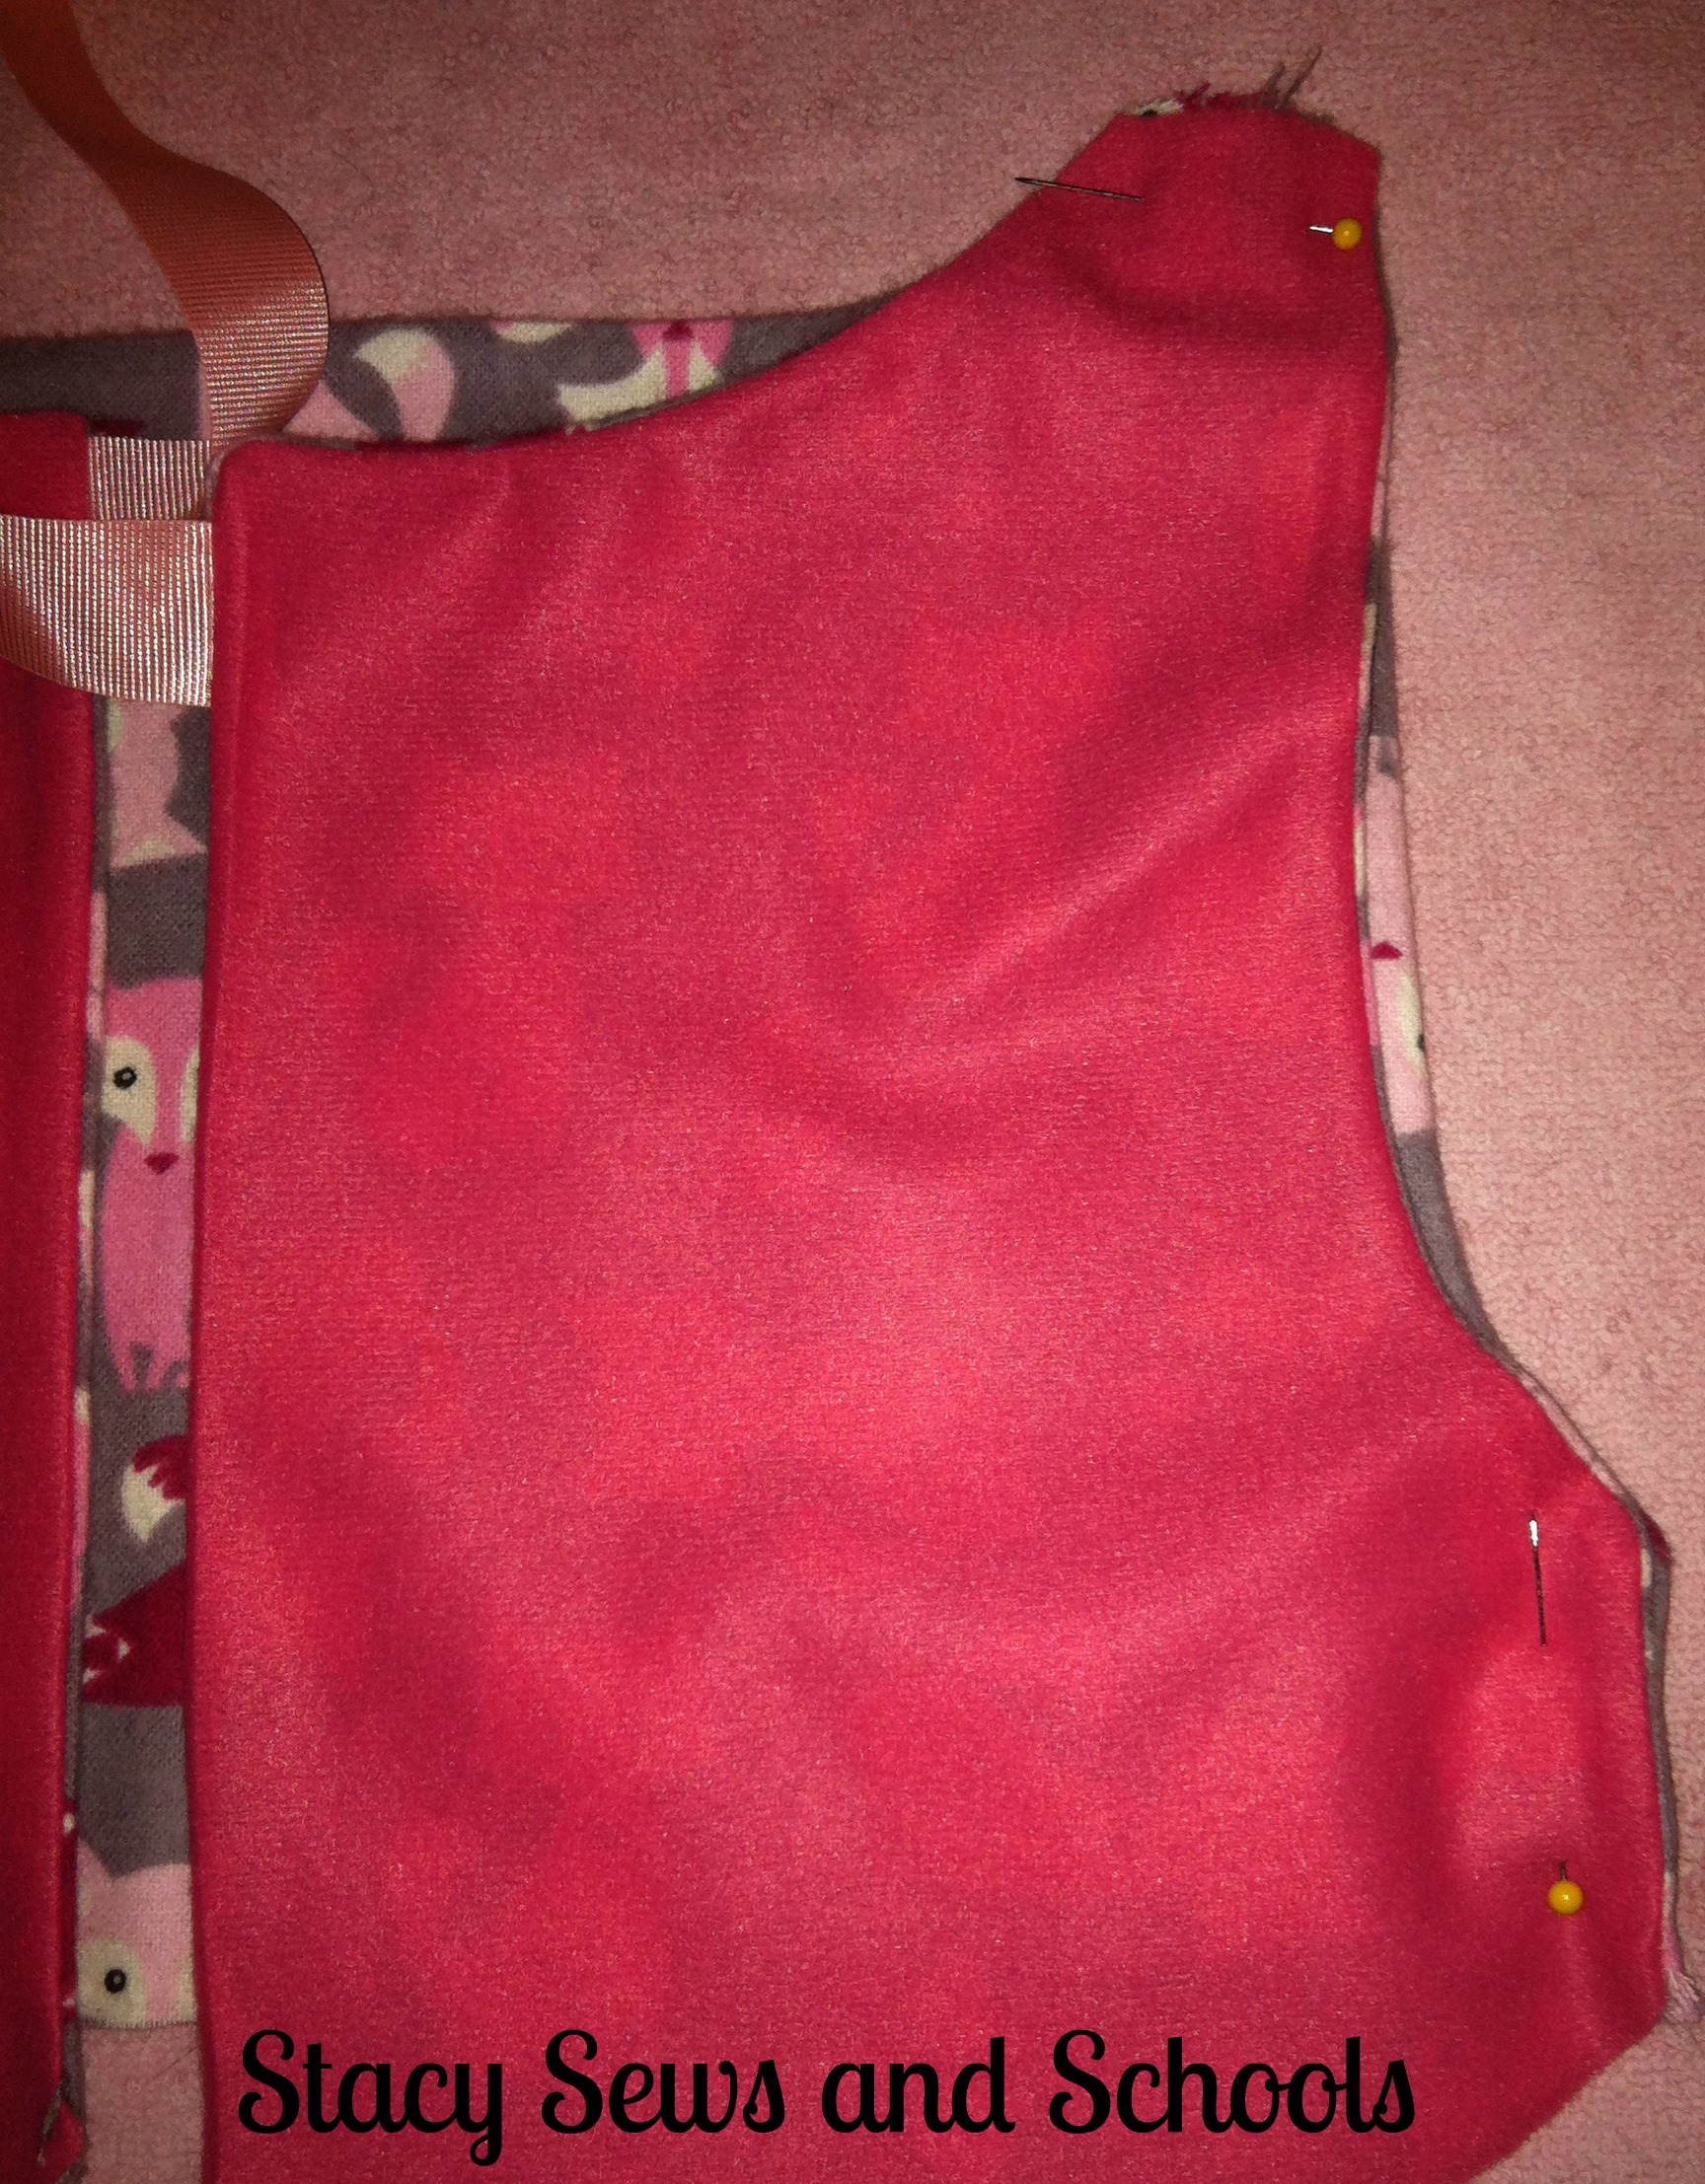
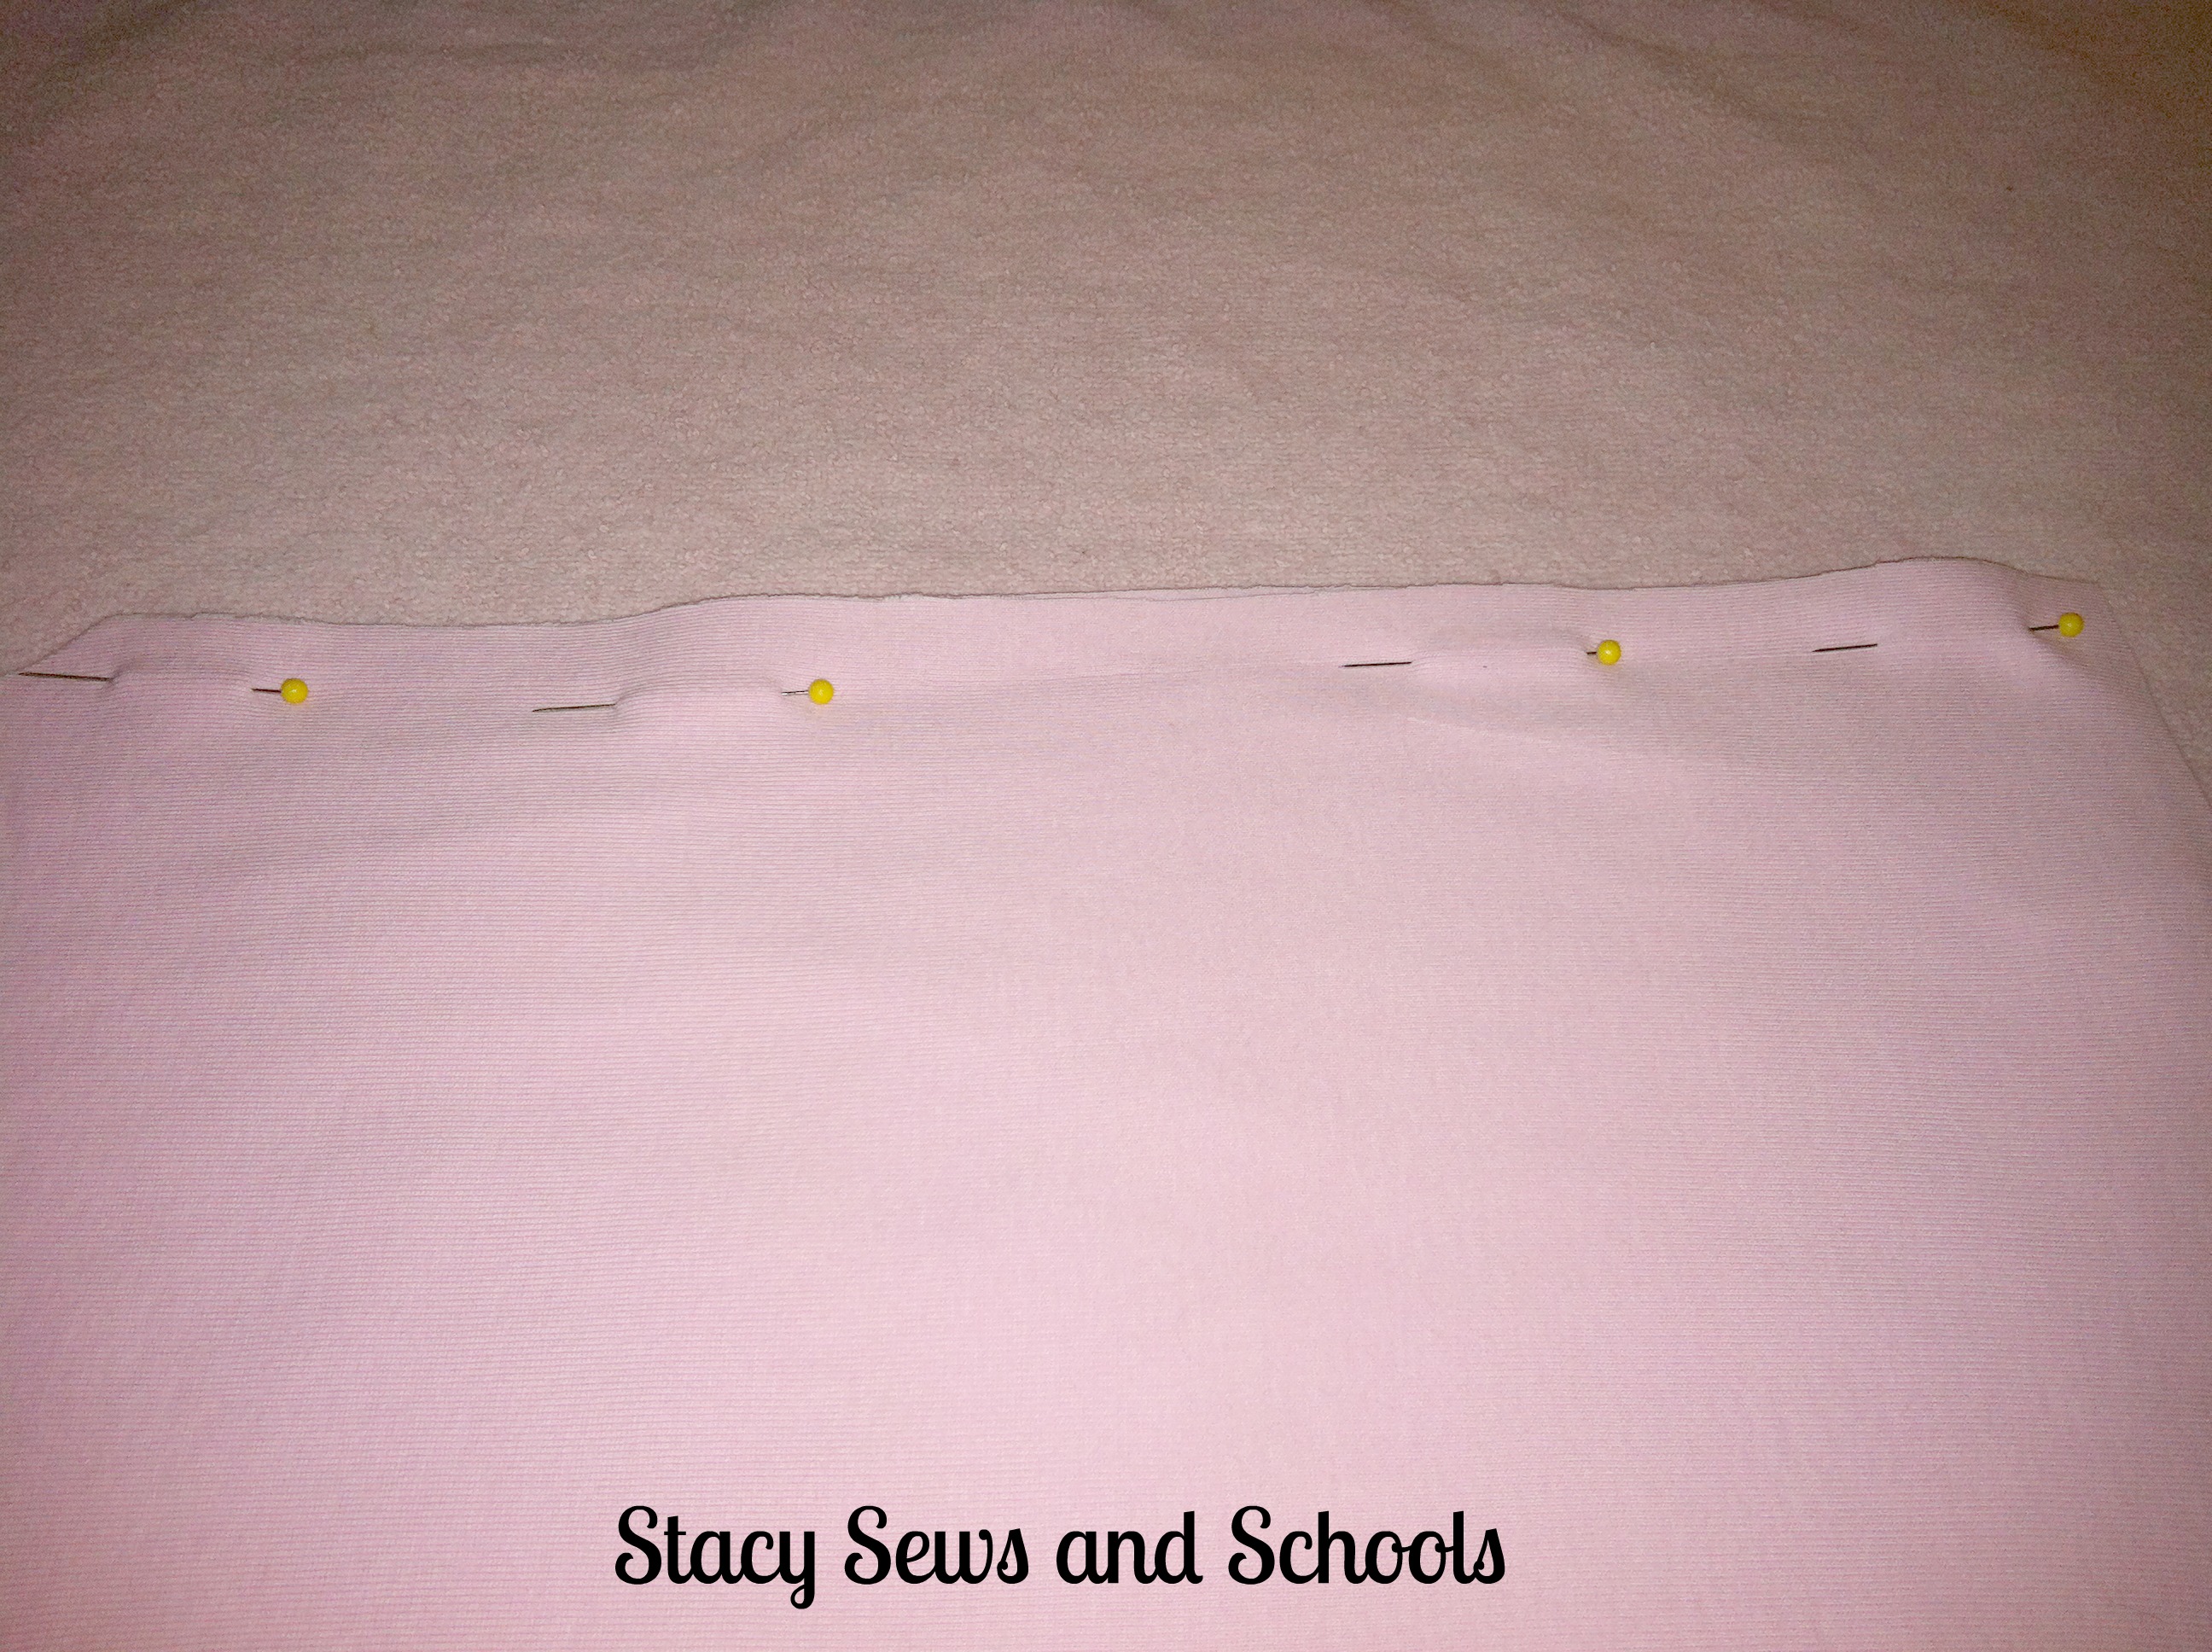
Fold in the ends of the black piece by 1".
Fold in the ends of the pink piece to match the black piece.
The folds should touch each other. This will allow the muff to be reversible. None of the raw edges will be visible.
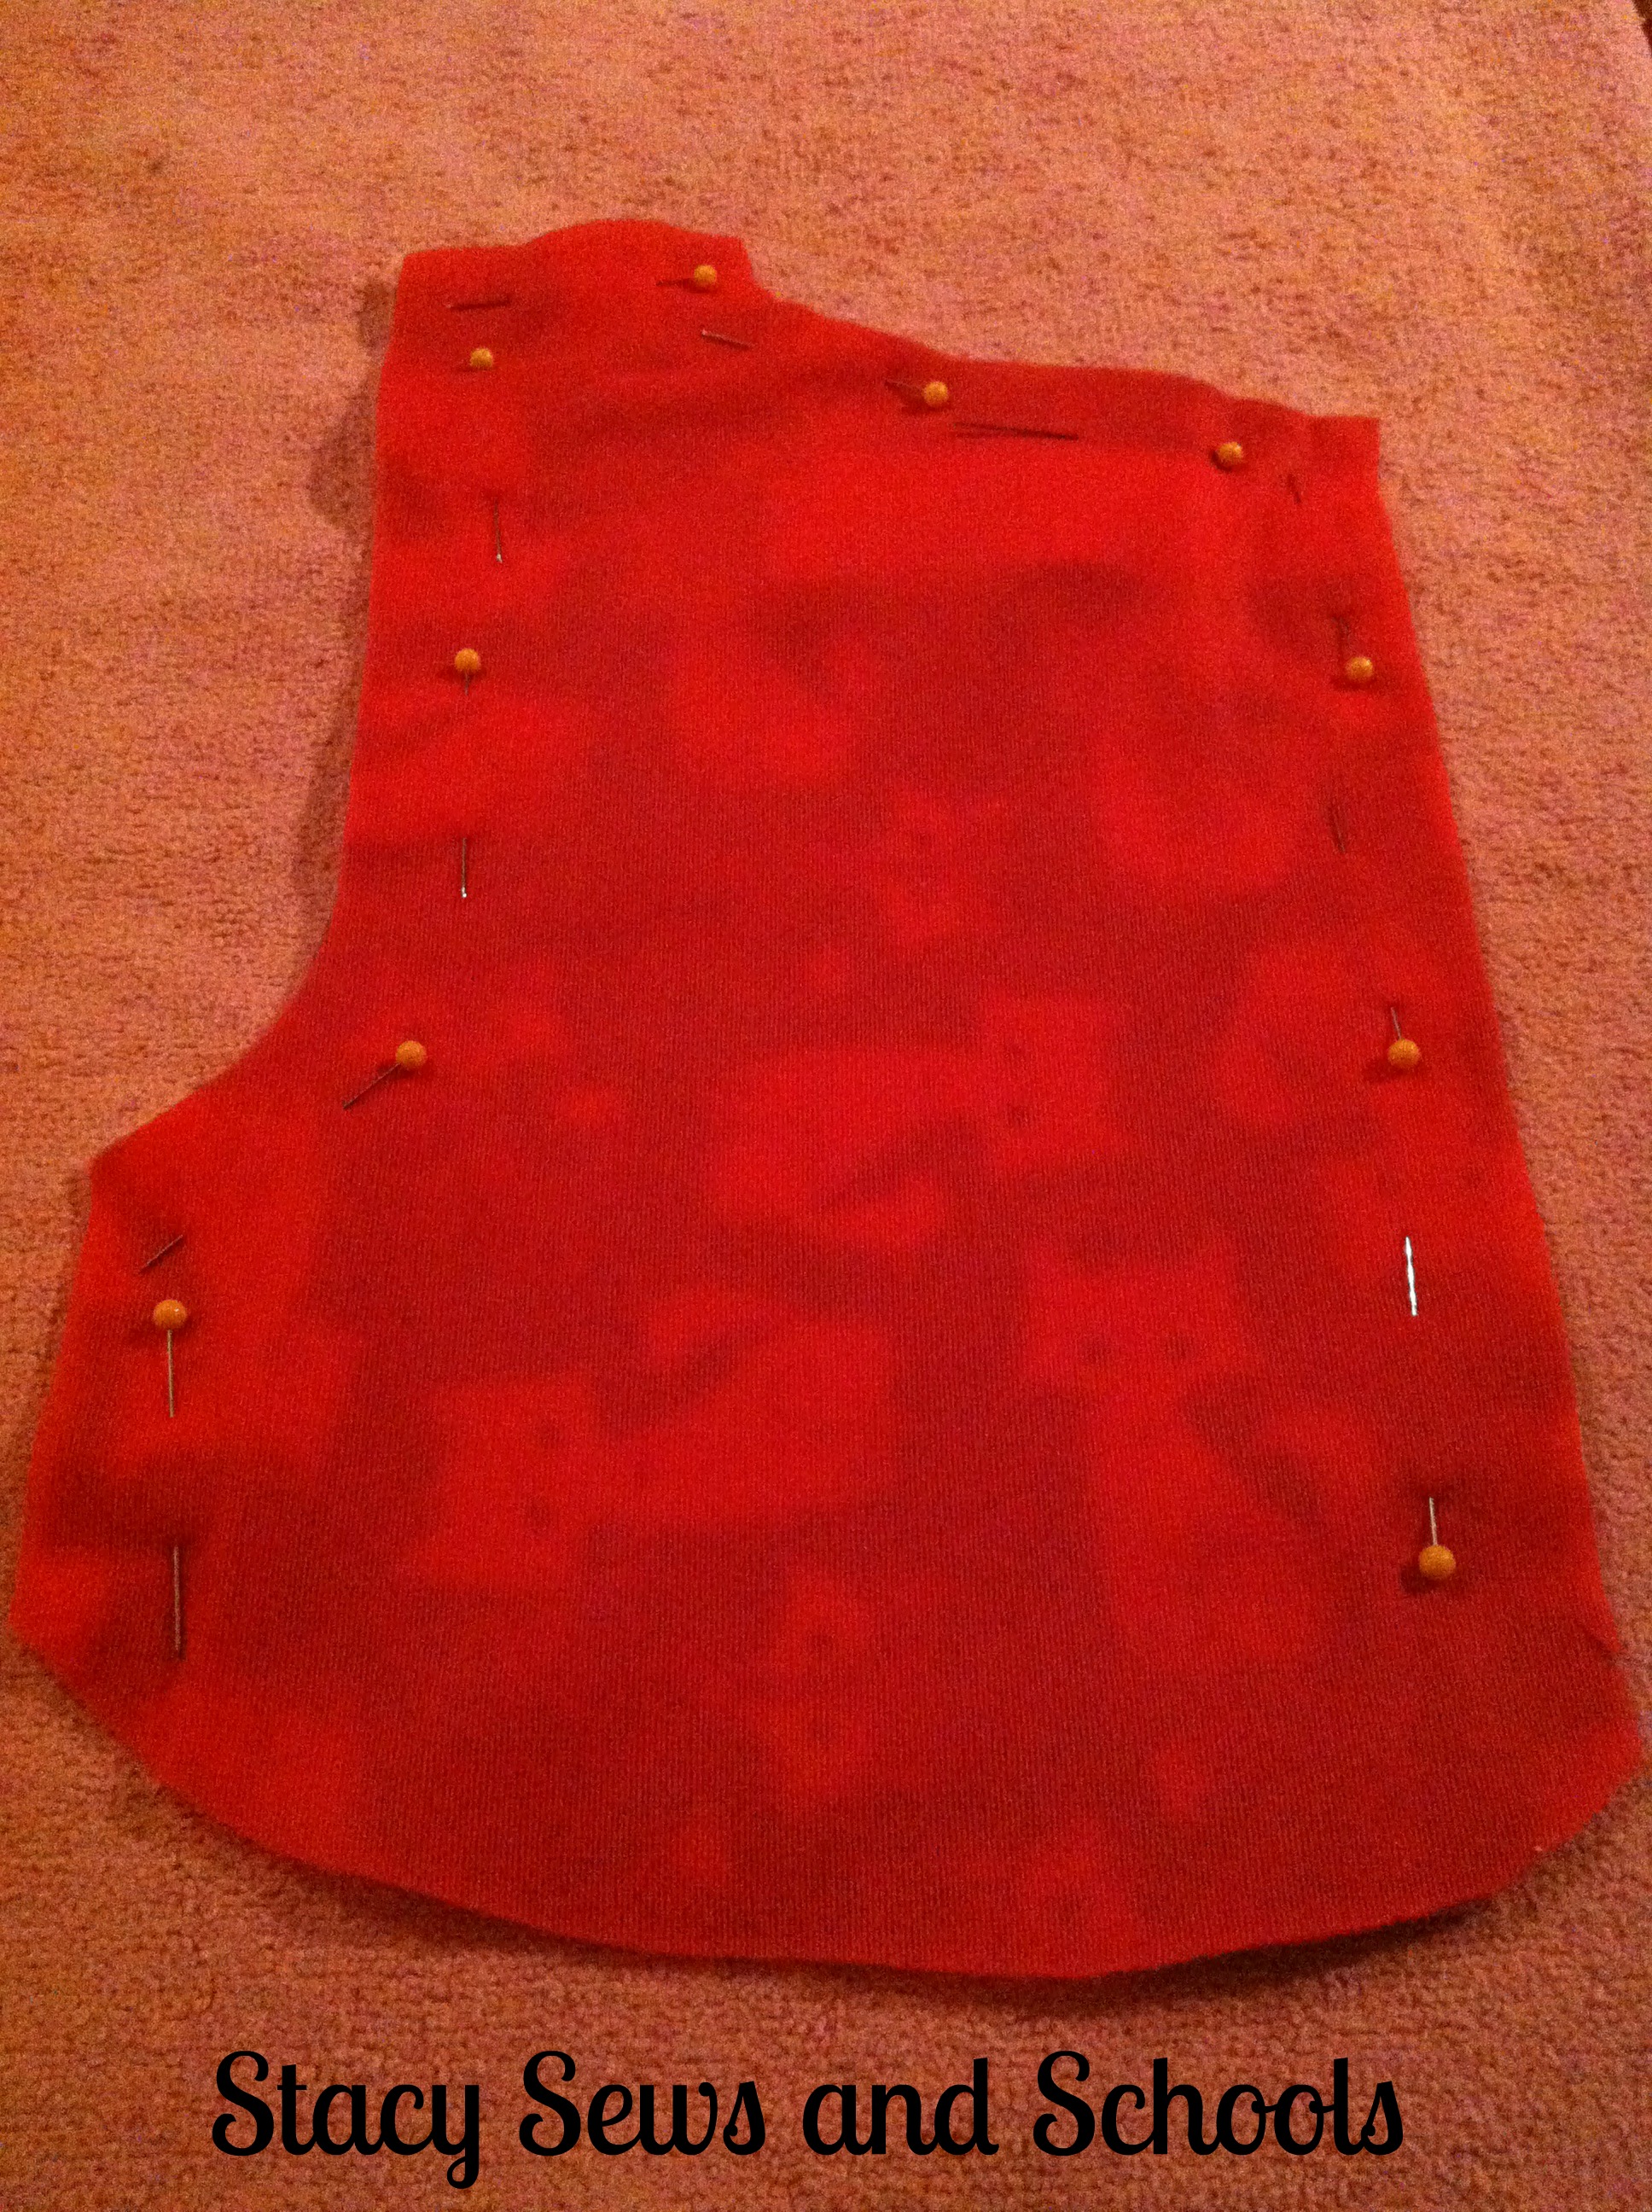
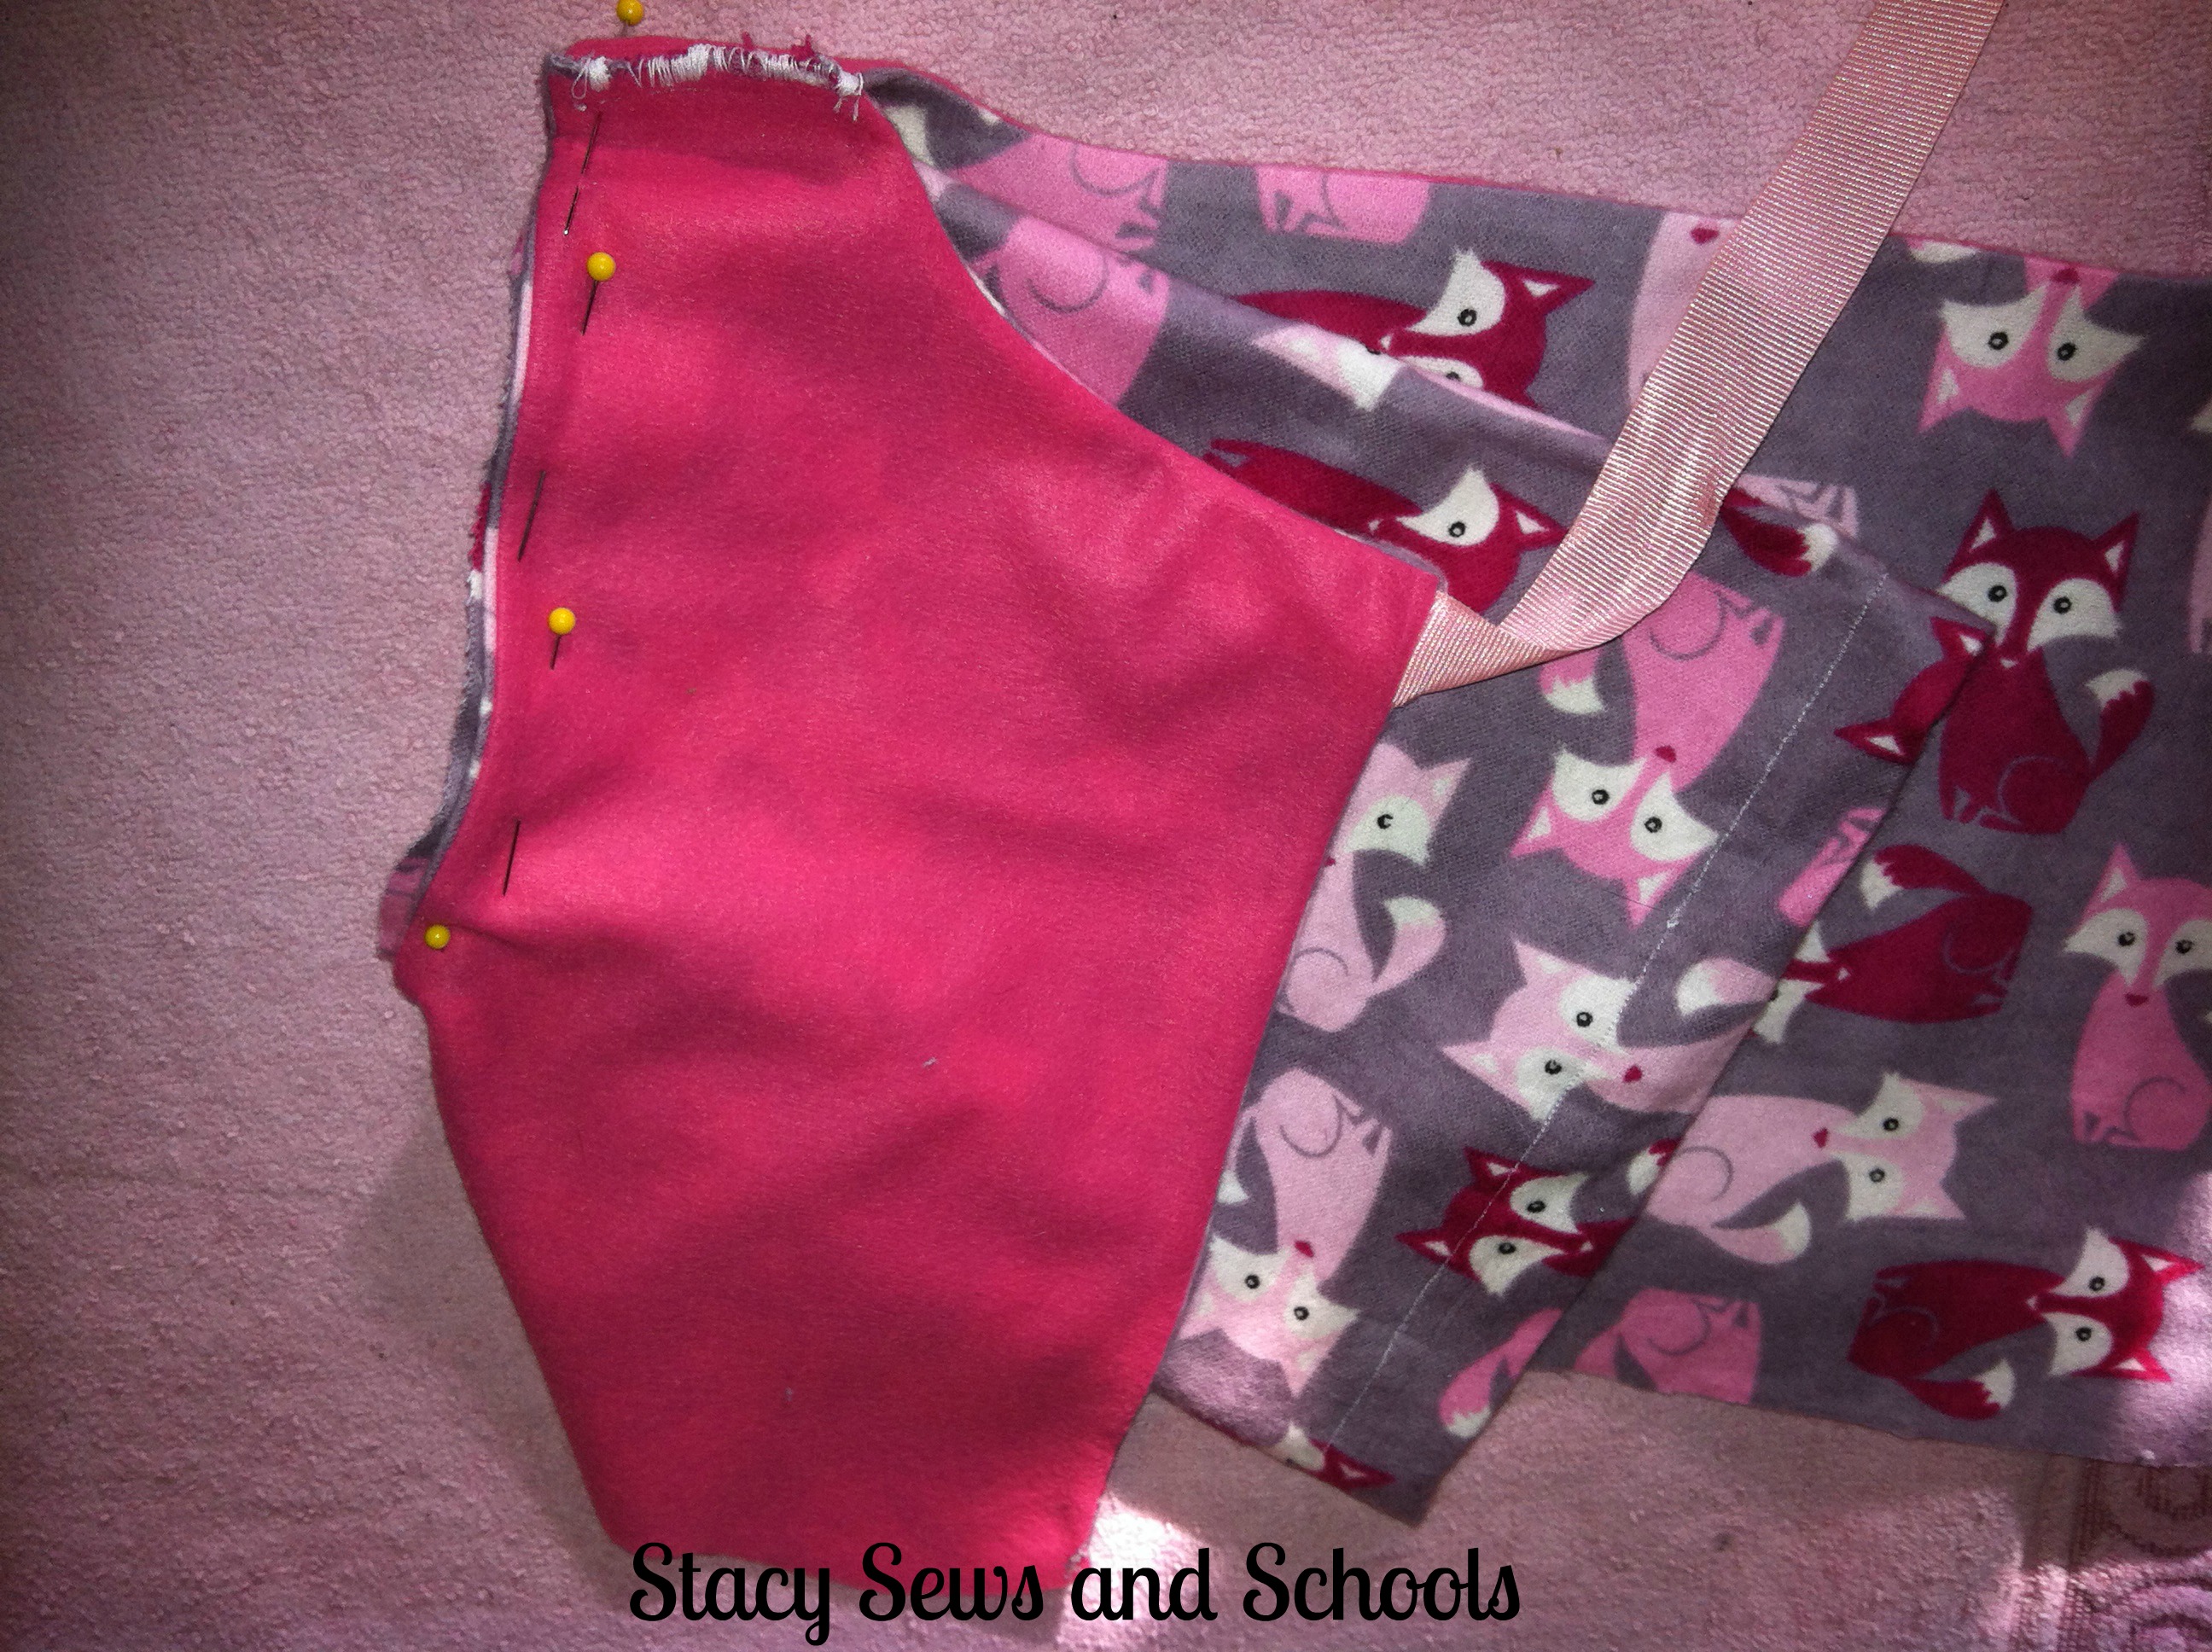
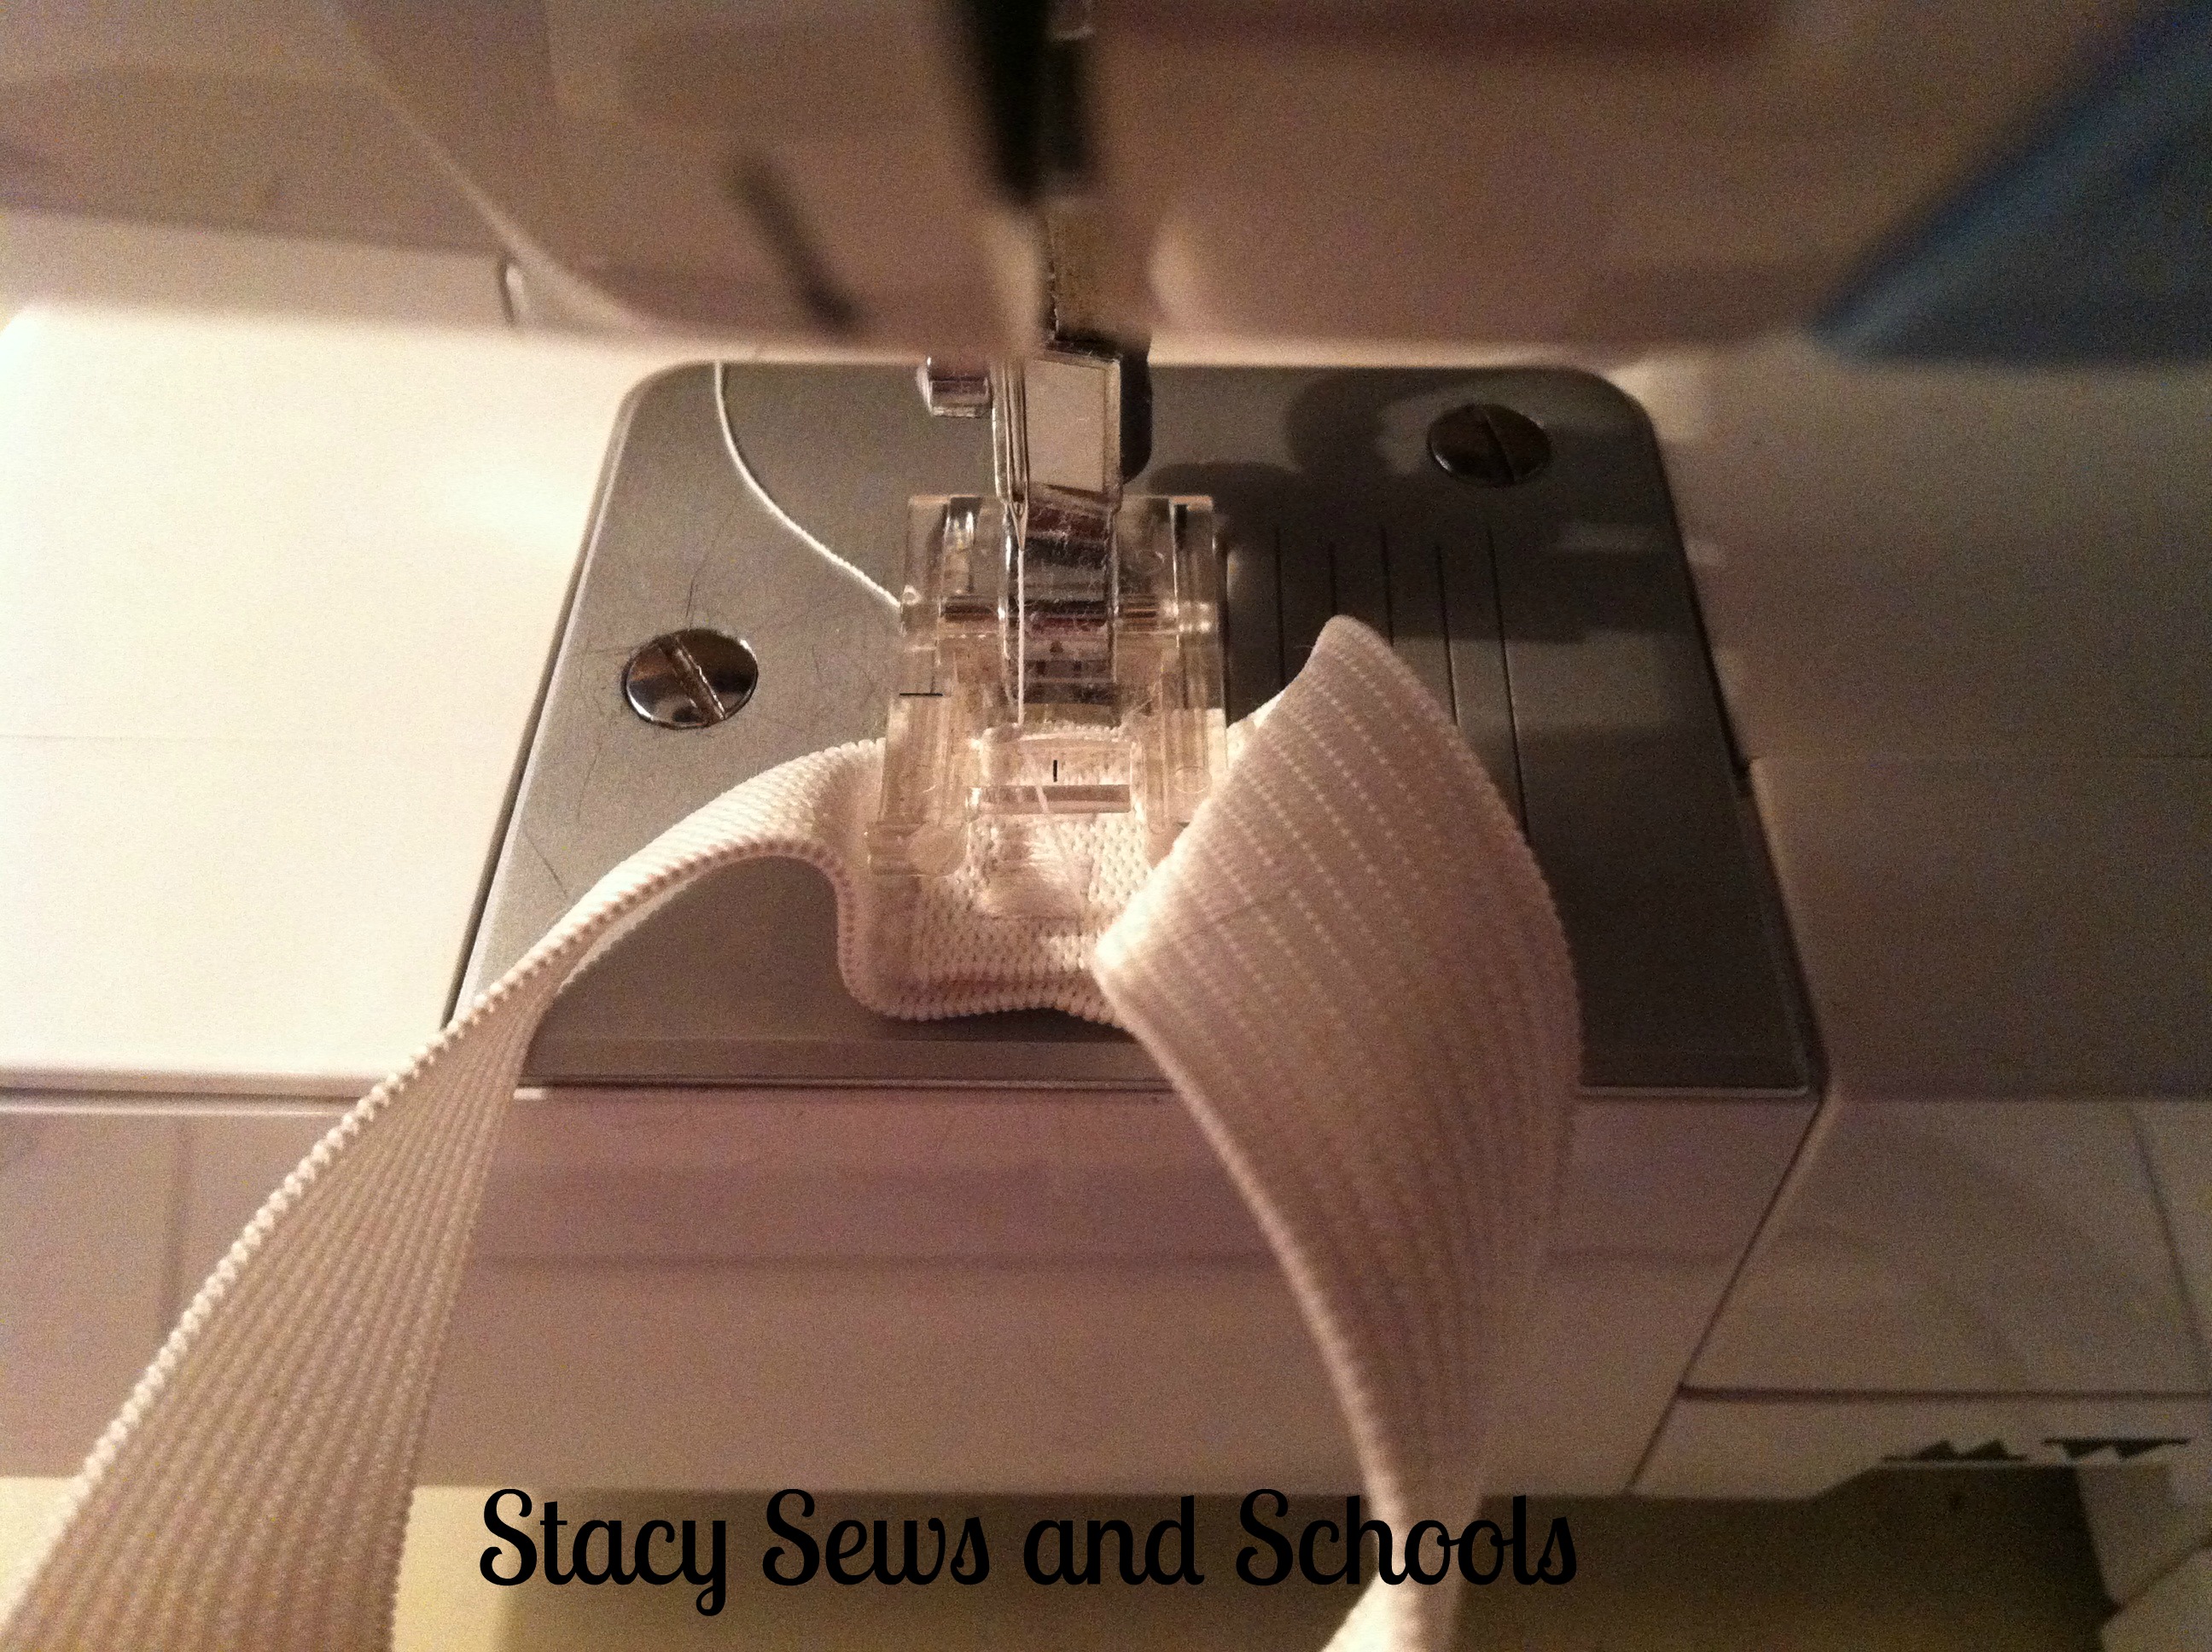
Pin and sew the end seam.
STEP 4

Fold the ends in like you did the first side.
Pin the lace in place.
Sew the end seam.
Shift the stuffing around until it's all even.
Glue the fabric flowers on with fabric glue!
ALL DONE!!!!! Wasn't that easy???

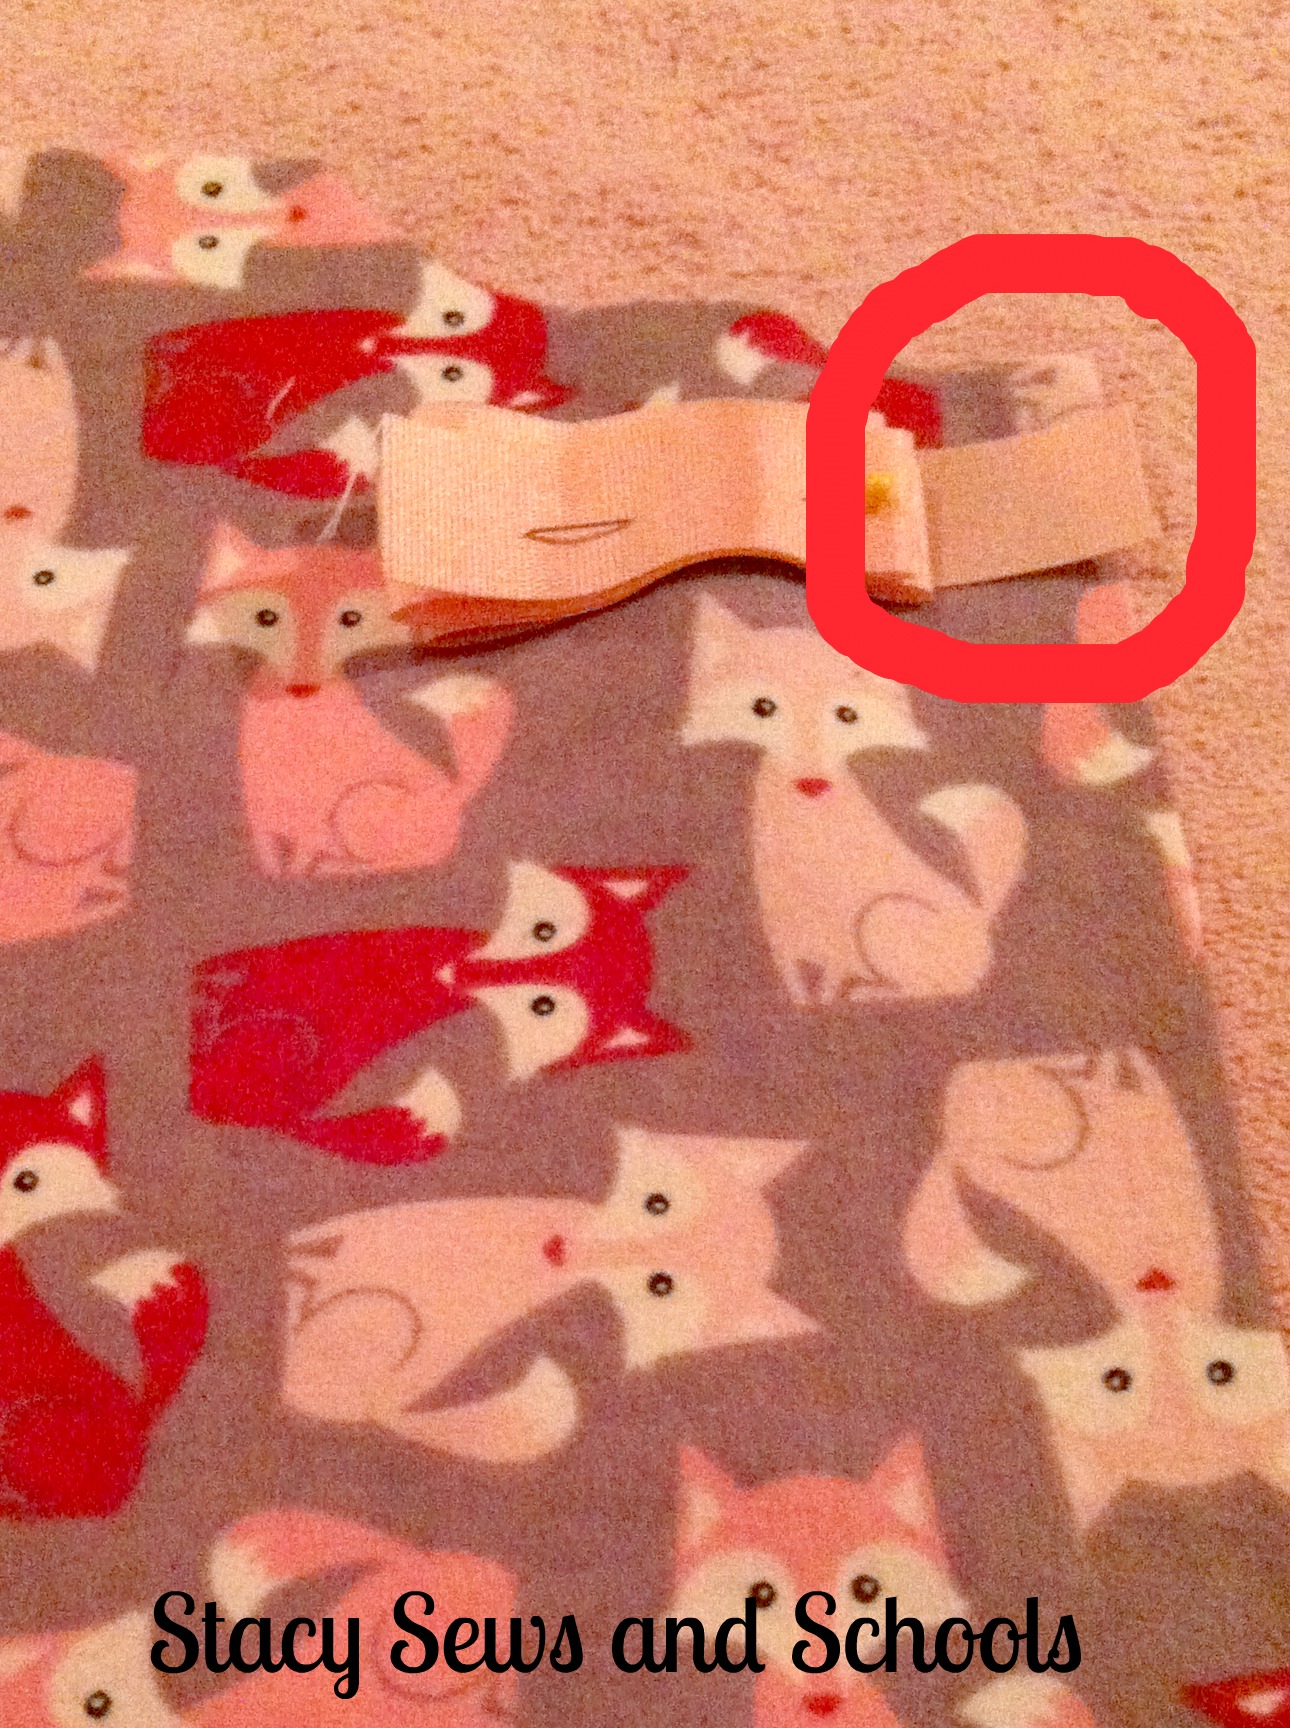
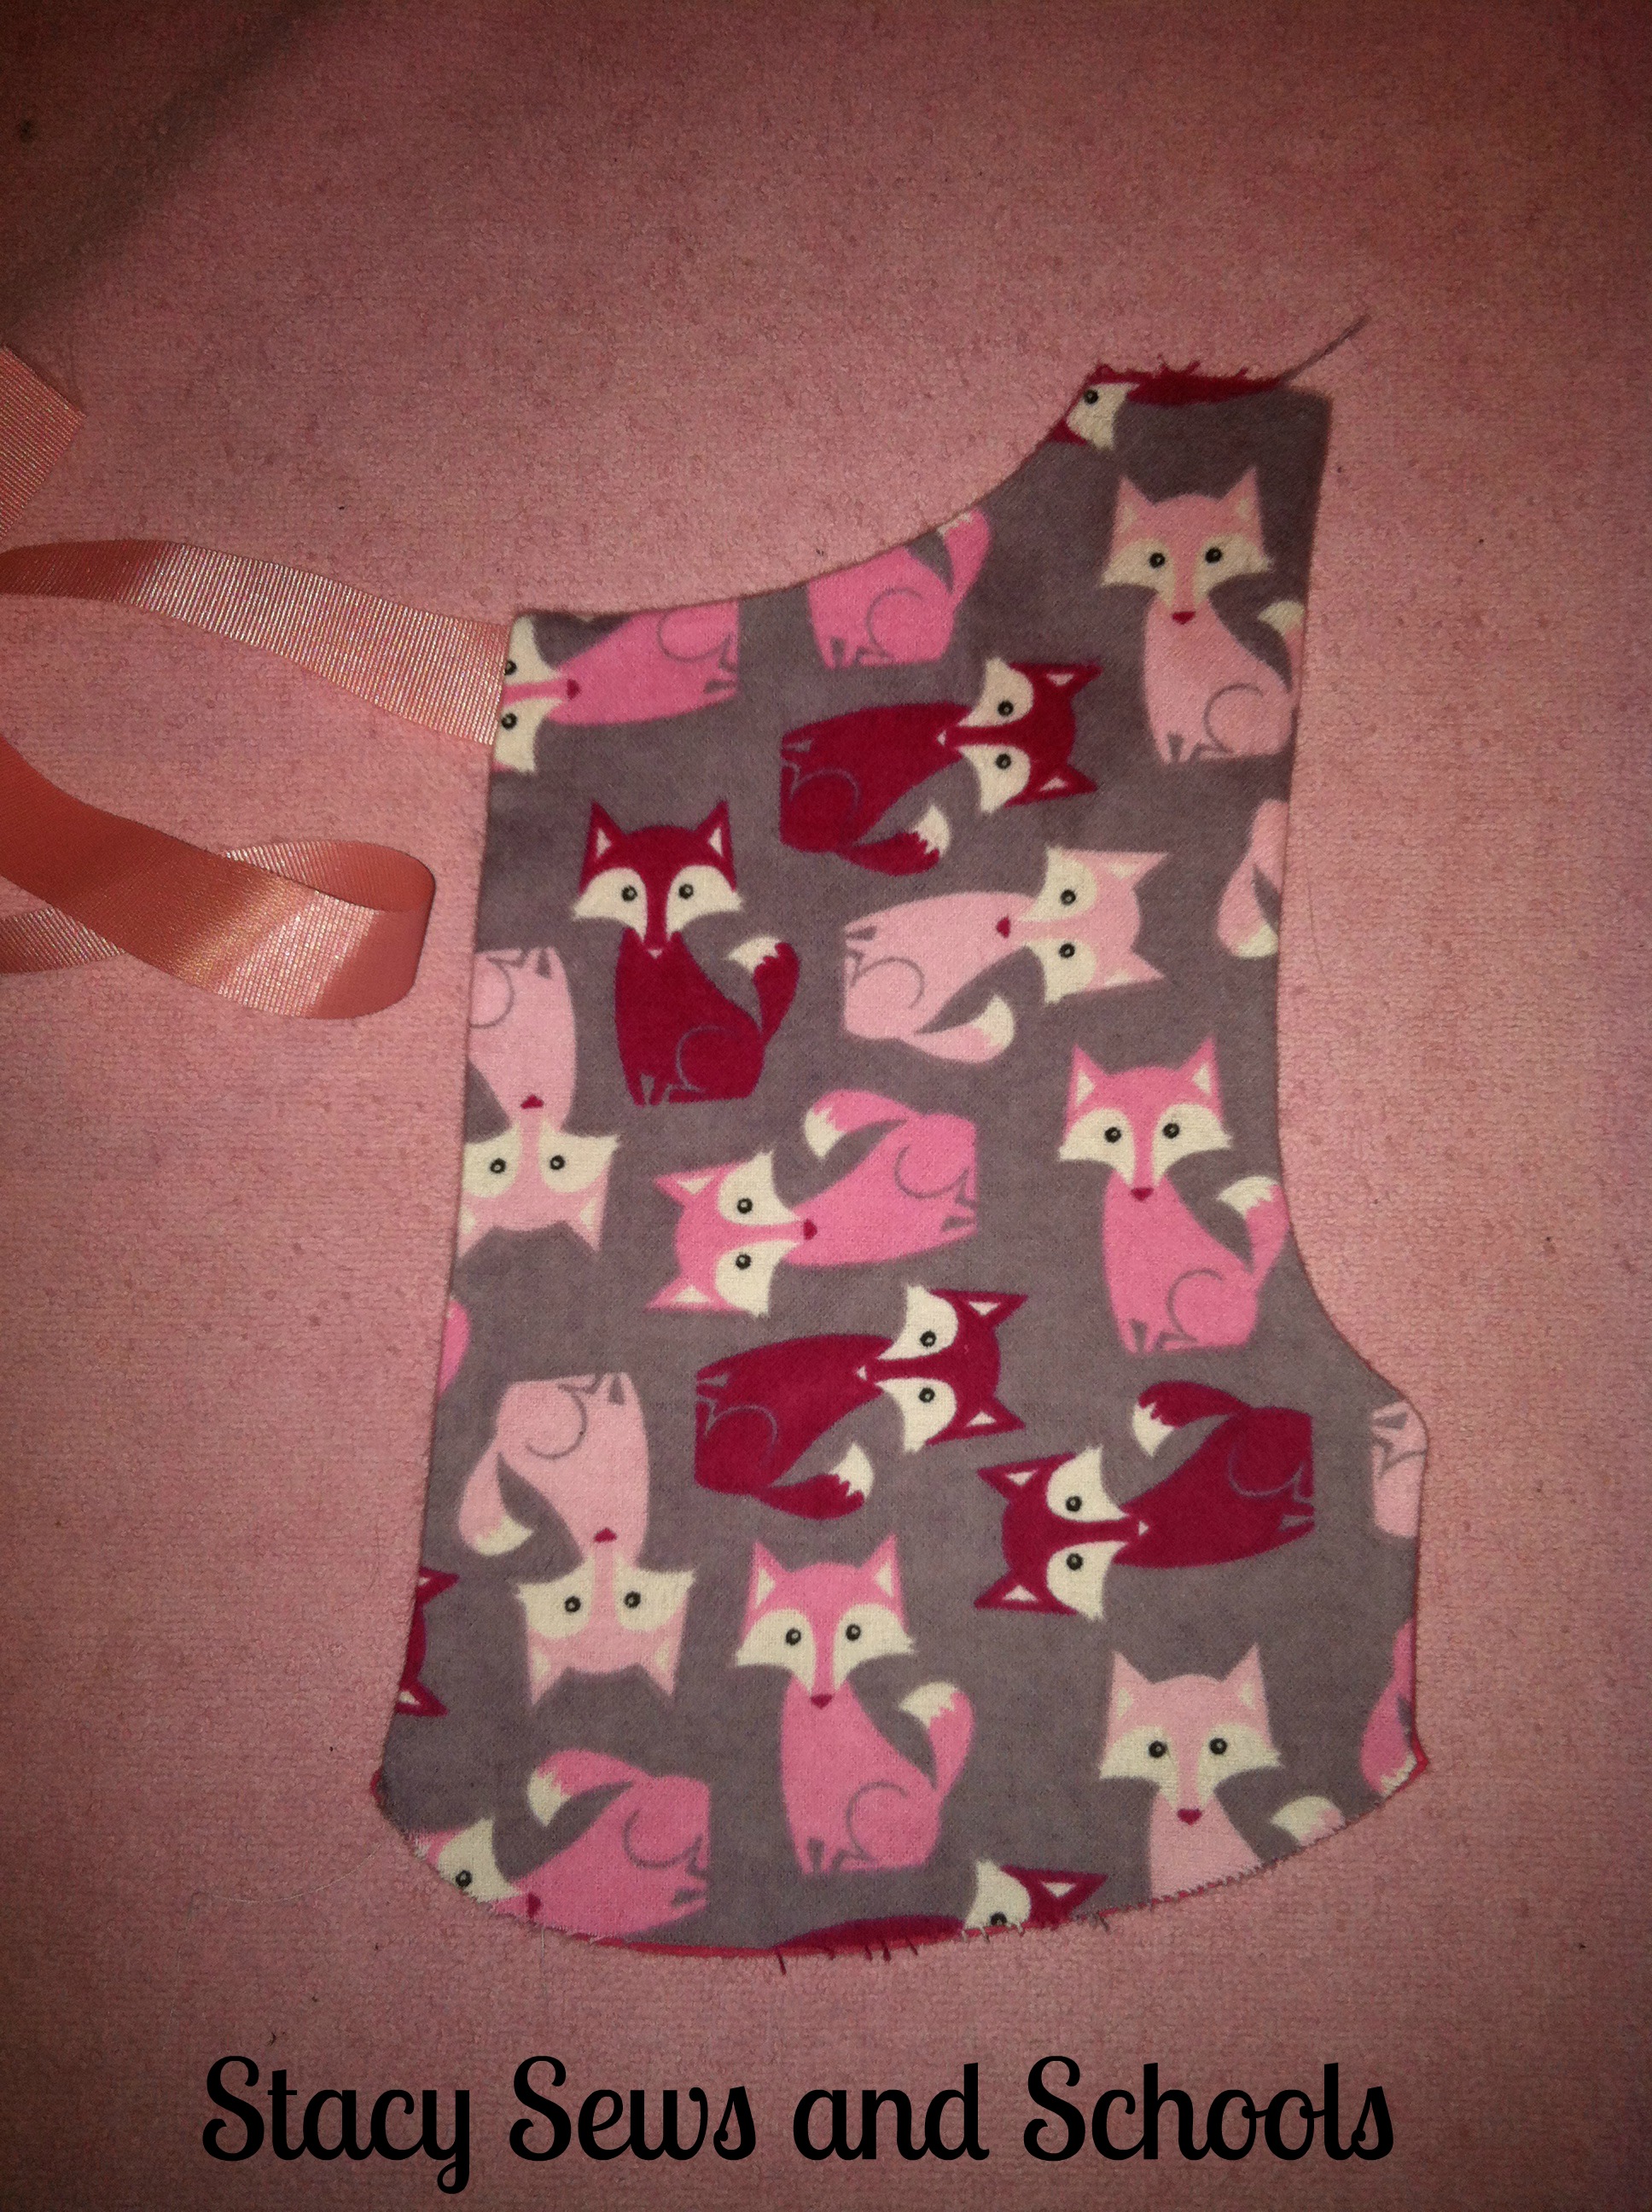
With the blue one, I sewed the ribbons on the flannel piece before I did any of the other steps.
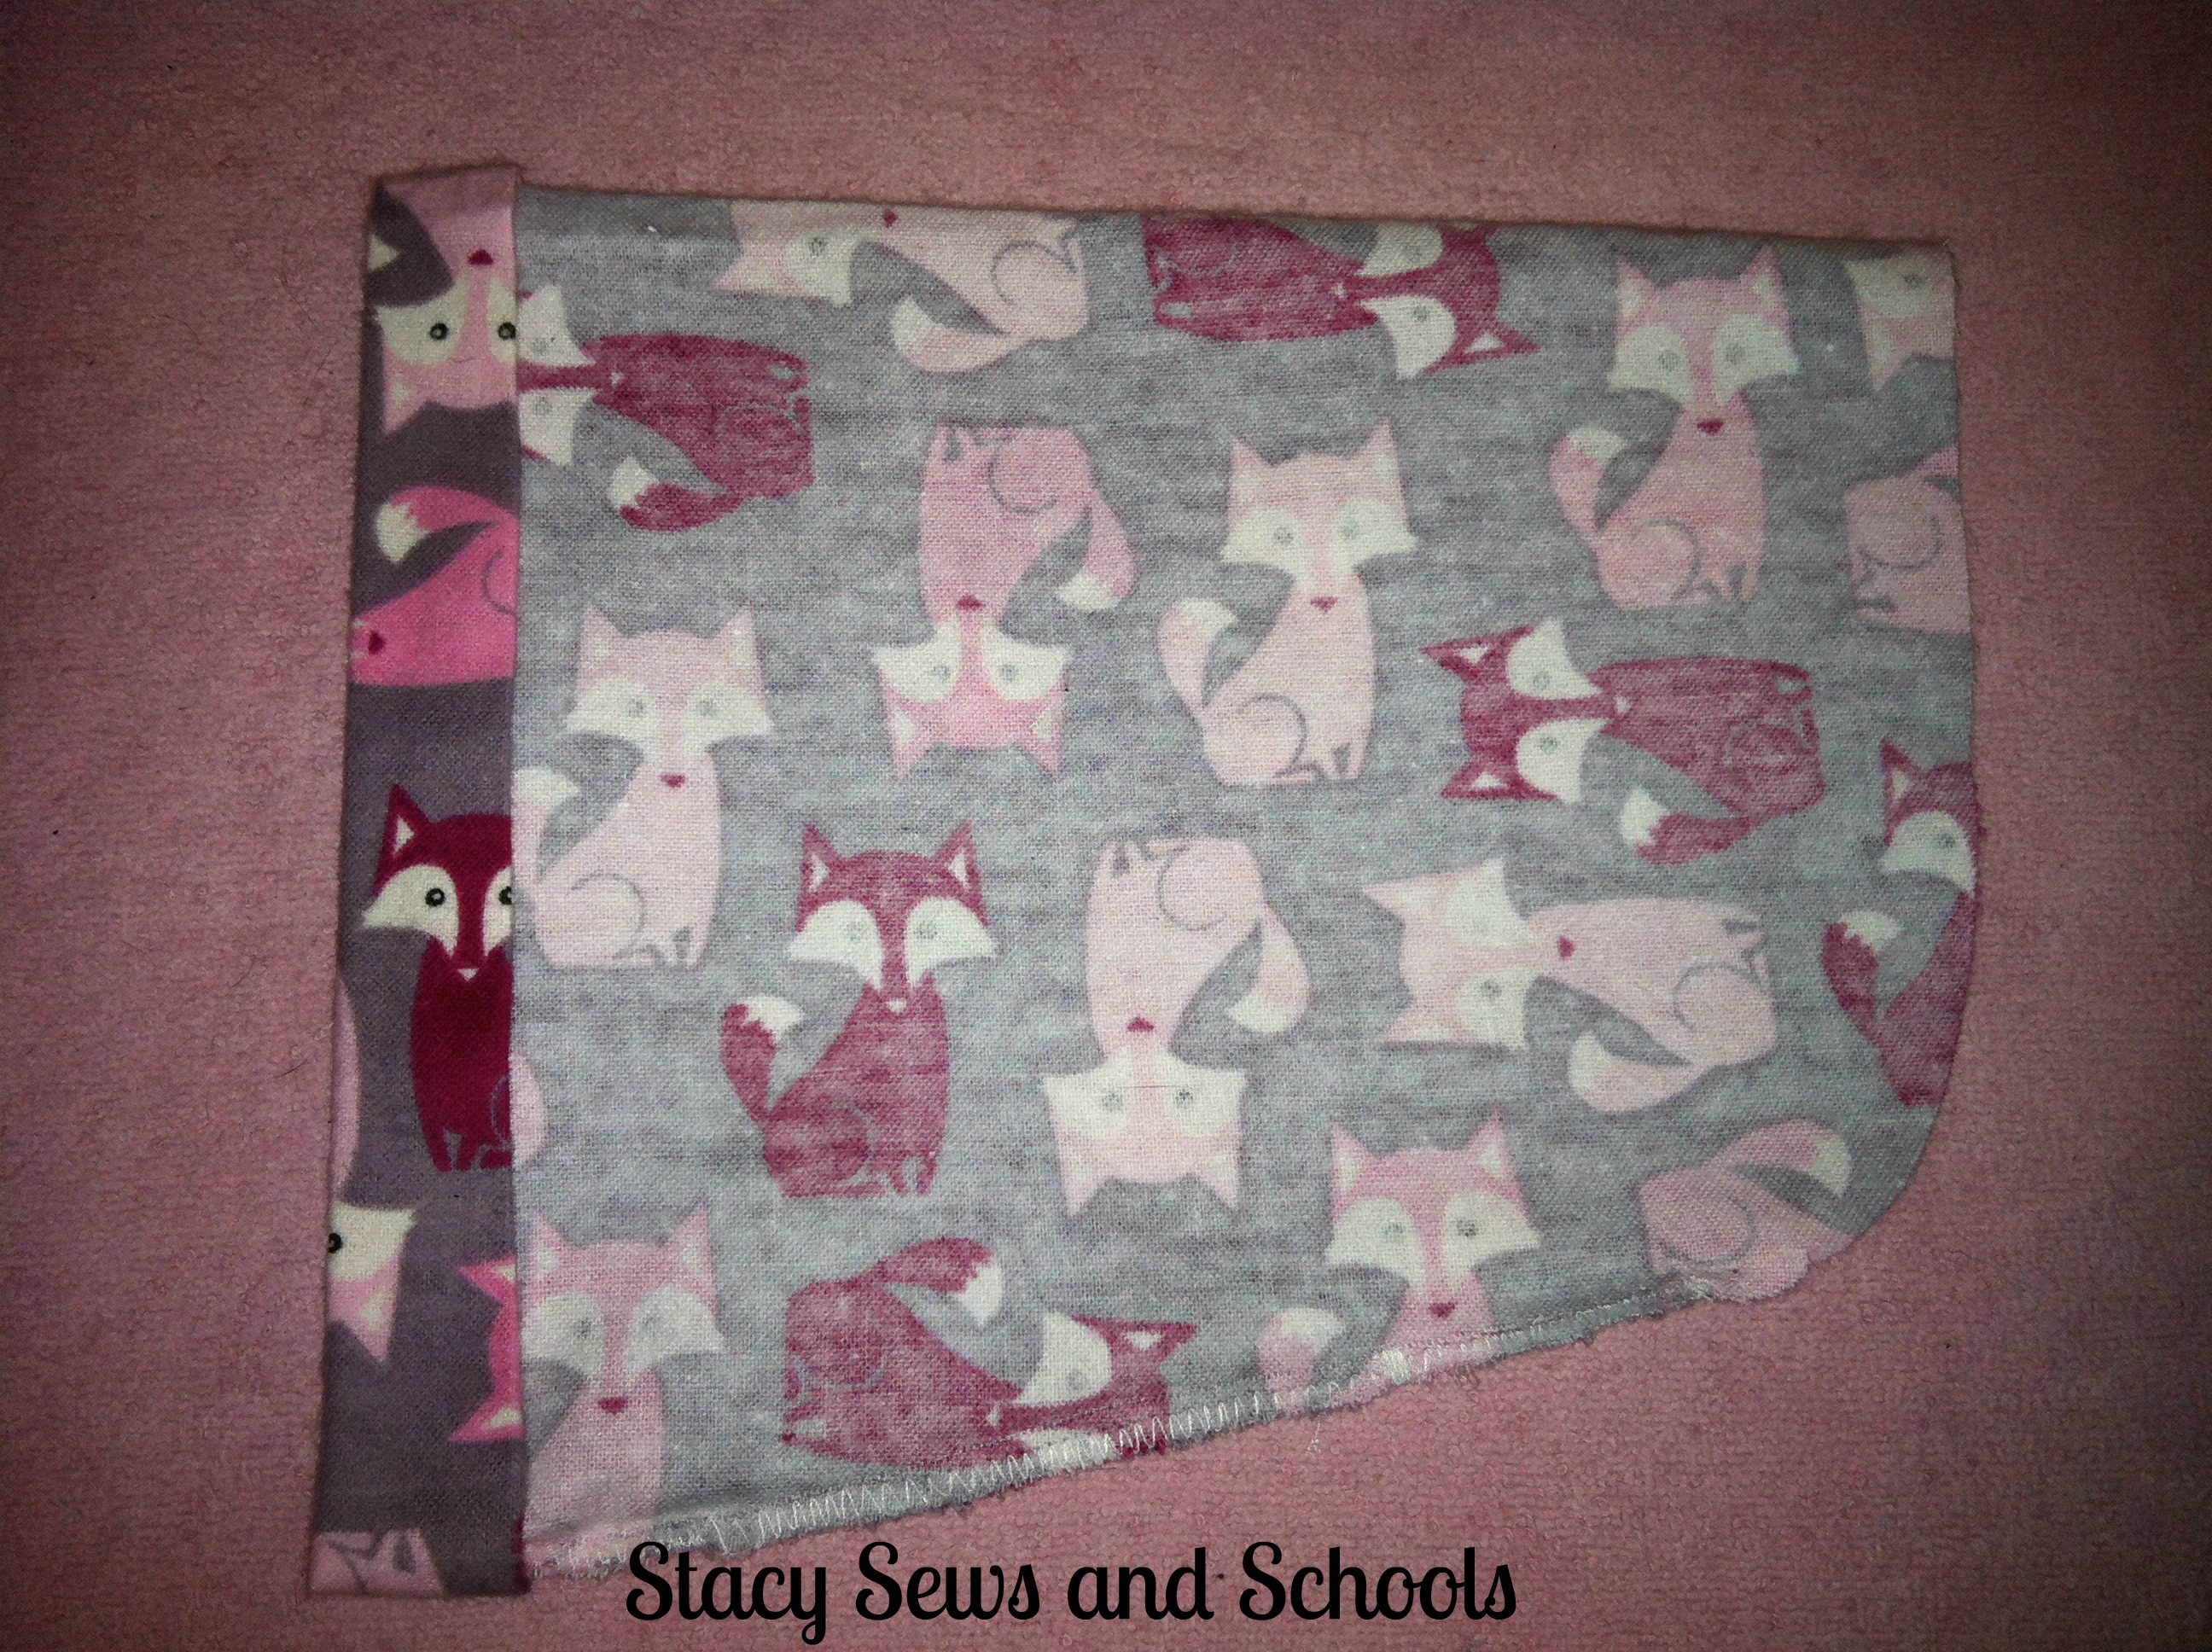
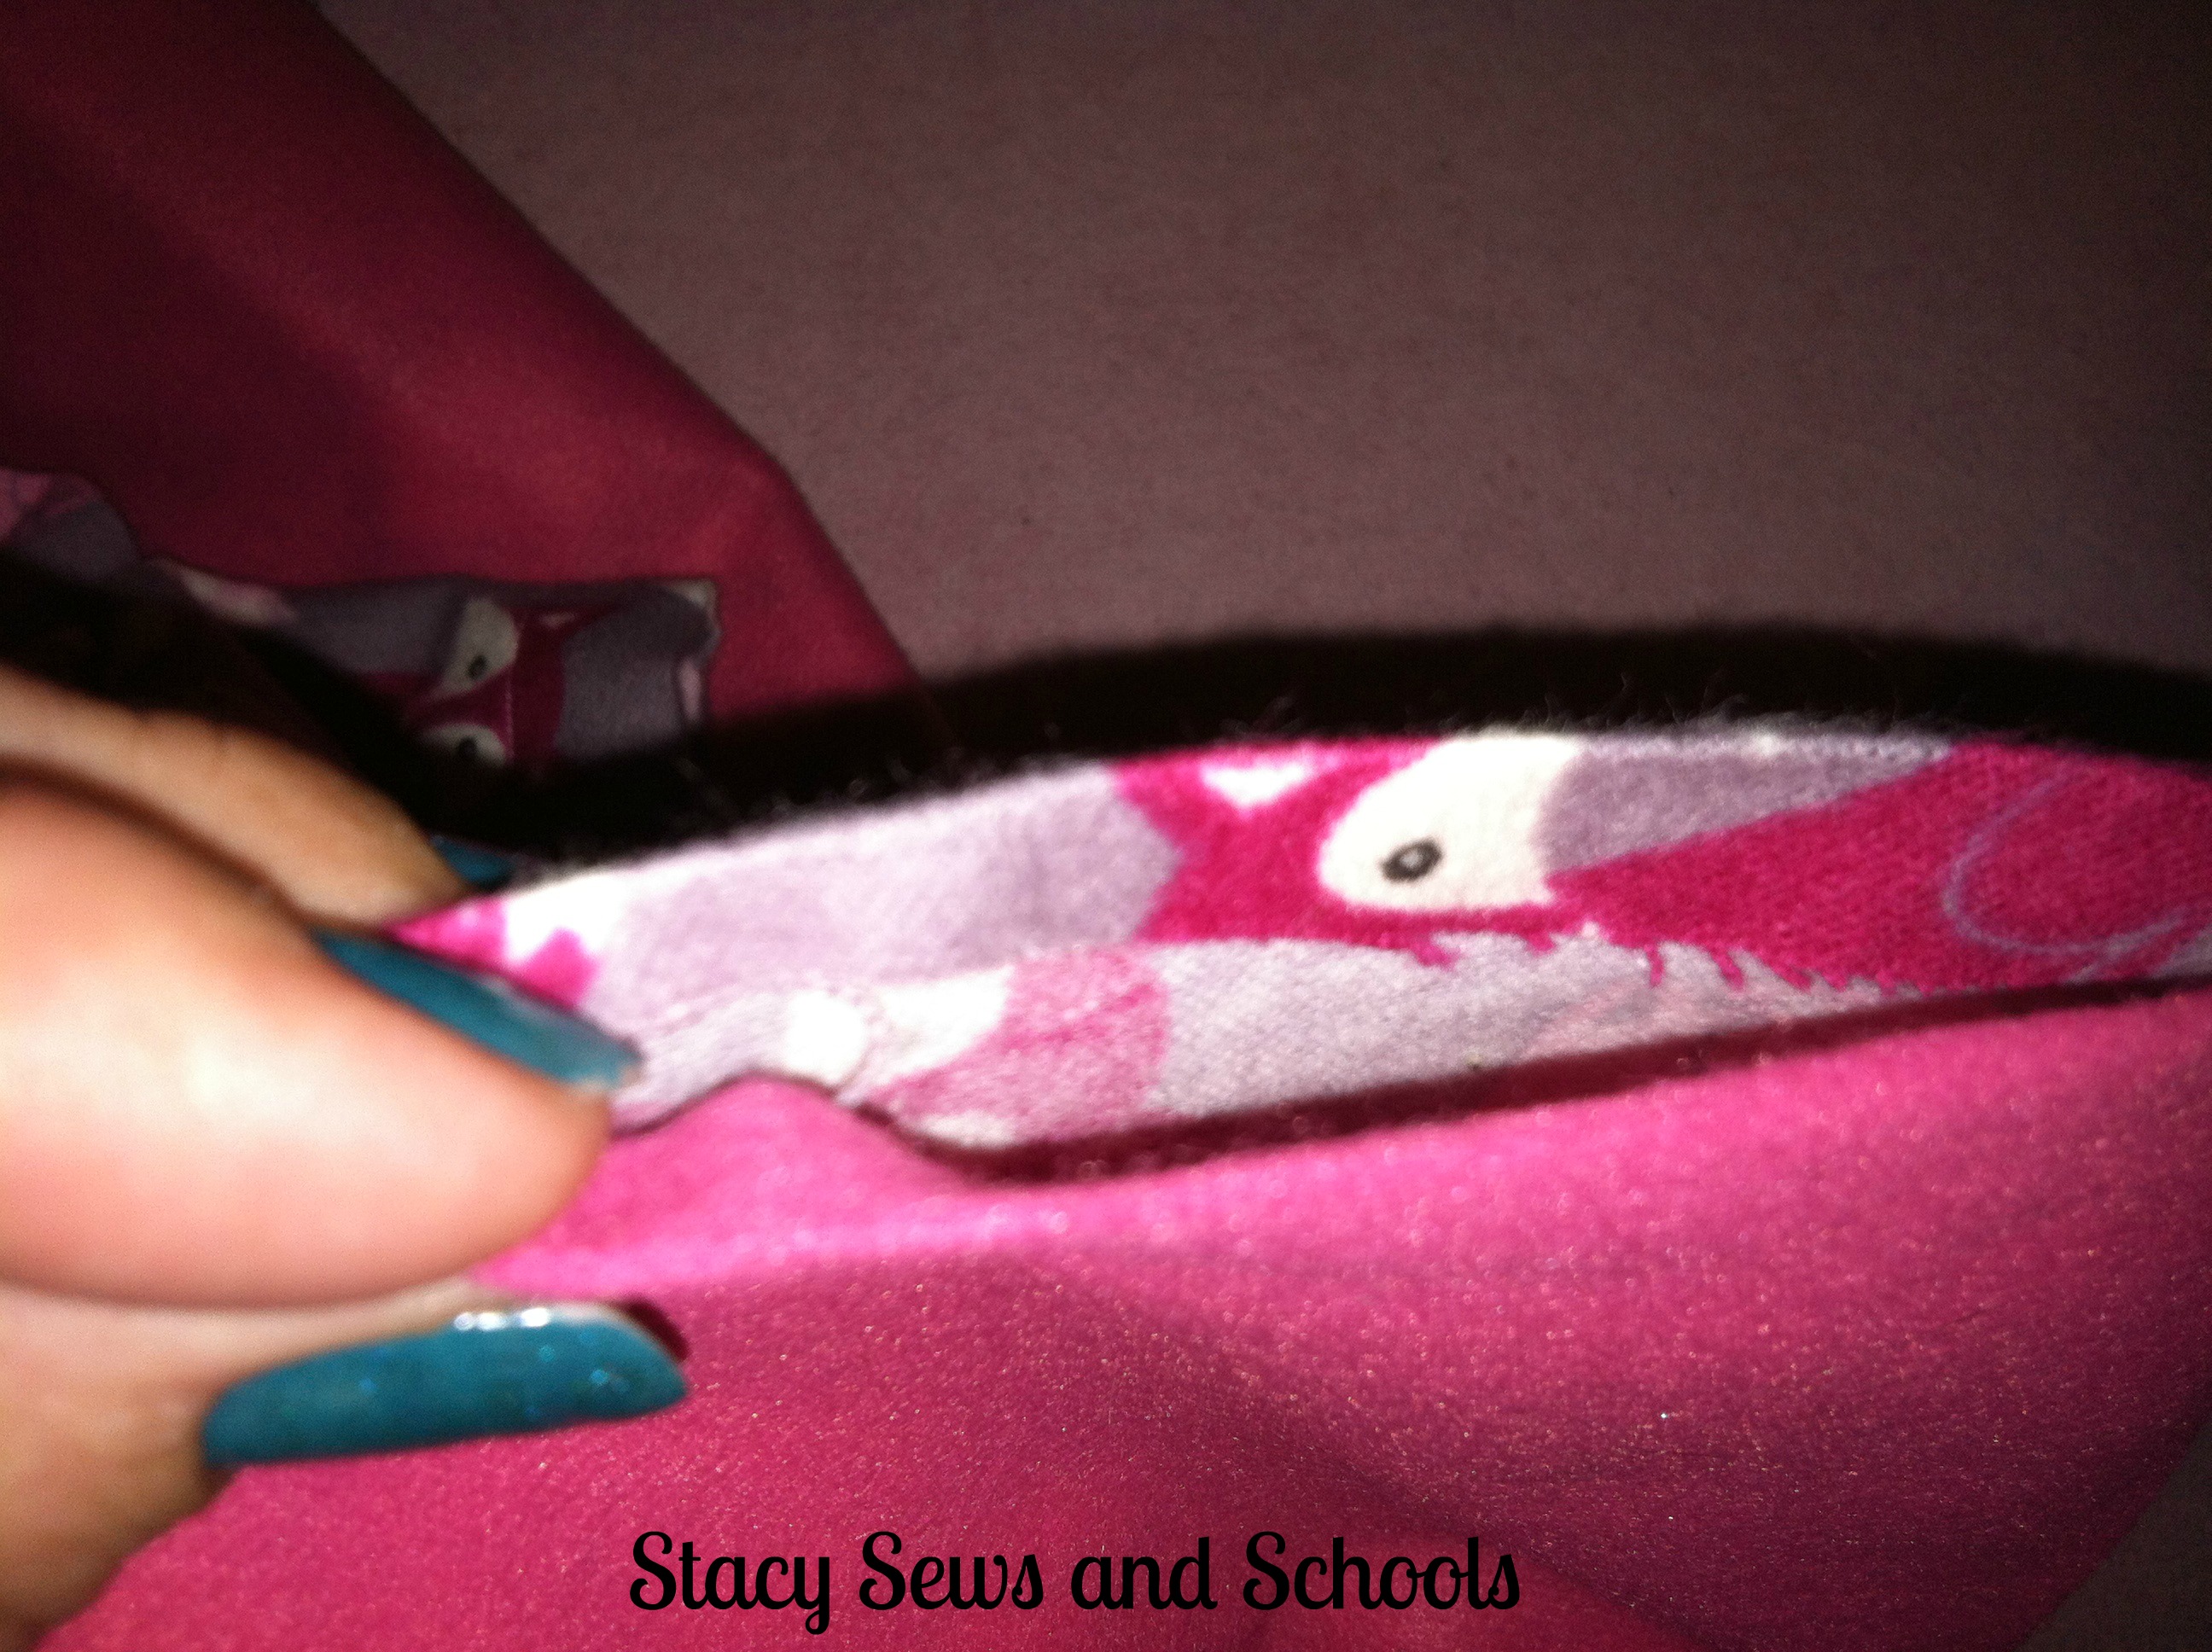
Instead of turning the ends in toward each other, I folded the flannel over the ends of the Minky Dot to make a contrast on the edges.
Let me know what you think!!
If you have any questions, don't hesitate to ask!!!
HAVE FUN SEWING!!!