Showing posts with label kids. Show all posts

April 10, 2015

The Scariest Time of My Life - Use Your Words - April 2015


If you've been following my blog (or any of the others in this challenge) then you know how this works. Each month we are given a set of words from another blogger that we are to use in a post. We never know who will have our words until we read the posts on Friday. 
Usually I have a intro up here that explains the Use Your Words posts, links to all the other bloggers and a list of my words. Then I use the words (all the words) in my post. 
I am doing this one a bit differently. I will use all the words that I was given and I will link to all the other bloggers but first I want to tell you what happened to my youngest son, Colin, in the early morning hours of Tuesday, March 31st, his 8th birthday. 
After that I will use my words and share the links. 


I woke up that morning around 3 am. Colin had fallen asleep on the couch. When I walked into the living room, I could see that he was struggling to breathe. I woke him up and attempted to check him out to figure out what was going on. 
He had been having allergy issues since Saturday (the day of his birthday party) but nothing too serious. Now he couldn't breathe and was running a fever. 
That was the single most frightening thing I have ever seen in my life.
A short time later we were in the ER.  X-rays and blood work, IVs and breathing treatments. The next thing I know, he was being admitting to the pediatric floor. They say it's possibly pneumonia but they aren't sure. Hours later they determine that is in fact NOT pneumonia. It was the sudden onset of an extreme asthmatic episode due to allergies and/or a virus. 
He was given steroids, fluids, breathing treatments, oxygen, and Singulair. He seemed to start to do better.
Until the wee hours of Wednesday morning. 
His blood oxygen level started to drop drastically. He was struggling to breathe even harder. 
He was rushed to PICU. He was put on continuous breathing treatments. I didn't even know such a thing was possible. 
He was hooked up to all sorts of monitors. 
He was given magnesium to help his lungs on top of all the other stuff. 

Horrifying
Terrifying
Scary

No, none of those words are bad enough. 

I don't have the words to tell you exactly how terrifying all of this was. The words just don't exist. 
If I could have taken it all on myself, I would have in less than a heart beat. If I could have cut off my arm to have it all stop, again, in less than a heart beat. 

He spent 4 days in PICU and 2 days in a regular room, at total of 6 days in the hospital. 
There were days that he wasn't allowed to eat. Then he had to go on a liquid diet. When he was finally allowed to eat, he definitely made up for it. 

He went in on his 8th birthday and was released on Easter.

It has been a very long, slow road, but he is getting SO MUCH better. 

He is now on breathing treatments every 6 hours. I am so thankful. I keep finding myself crying big, grateful tears. 

We have no idea how he will be in the future. We will just have to watch him and see. Will he have more attacks? Will he grow out of it? Will he be able to run and play like he did before? We have no idea. We aren't even sure of what really set it all off but we believe it was a mix of allergies and a virus. 

I am so very proud of him. He never once complained. He never once whined. He was so very brave, so very strong, so very sweet. What a precious boy he is. I am so proud to be his mother, so honored. 

I am also proud of my other 4 children. They were all amazing through the whole thing. Deanna stayed at the hospital with me every night so I wouldn't be alone. Jacob and Joshua took turns visiting with and entertaining Colin. They would stay for hours. Sweet Cailey was understanding about why I couldn't be home with her. We managed to sneak her in for a few minutes to ease her mind. She had been beside herself with worry. 

I have amazing children that love each other very much. I am so thankful, so proud of all of them. 

I want to thank all the nurses that took such great care of Colin. They really went above and beyond. 
One of the nurses even ordered him an extra grilled cheese sandwich. That act alone placed her in Colin's good graces forever!
There was an extra Easter basket and an Easter egg hunt. Colin found the golden egg and won a stuffed bunny. He was so proud. 


Now, I am ready to use my words. Now, I can start to heal my frightened heart, even if only by a tiny bit. How do I do that? I hug my kids tighter and longer. Try not to take a single second for granted. I suck it up and try to find a reason to laugh. I have a lot of reasons to smile already, 5 to be exact. 

I hope you all forgive me for the way I am using my words. I just couldn't do anything else without telling this first. 


Your words are:

letter ~ bucket ~ honey ~ what happened? ~ pain ~ lost in translation

They were submitted by: Climaxed 


Letter

funny letter r pirate
click the pic for photo credit


Bucket

Mah Bucket Funny Picture
click the pic for photo credit


Honey

cute, funny, home, honey, lol
click the pic for photo credit


What Happened?

What Happened
click the pic for photo credit


Pain


Is pain funny to you?
click the pic for photo credit


Lost in Translation

February 10, 2015

Blog with Friends - Creative Cupids - King and Queen of Hearts Crowns


Welcome to this month's Blog with Friends post!! This month we are the Creative Cupids and will be bringing you tons of Valentine's Day fun!!


For my part, I will be showing you how to make these King and Queen of Hearts Crowns. Just because I used a sewing machine doesn't mean YOU have to. You can use a glue gun or fabric glue to achieve something similar. 

WHAT I USED

Sheets of felt in Valentine's Day colors
Iron on interfacing
Iron on stars
Plastic gems
Flower trim


STEP 1

Cut one piece of felt in half.


STEP 2


Sew the ends together.
Fold in half and sew a long seam.
Turn right side out.


STEP 3


Take a sheet of felt and cut the interfacing to fit. Iron on the interfacing.


STEP 4


Fold the piece in half and cut out 1 large heart.
Repeat until you have 2 large hearts with interfacing and 2 large hearts without interfacing.

Then cut 2 smaller hearts with interfacing and 2 smaller hearts without interfacing. 

In a different color, cut 4 hearts without interfacing. These will need to fit on top of 2 large hearts and 2 smaller hearts. 


STEP 5

Now, take your hearts and put 1 interfaced heart with one heart without interfacing, matching up the sizes.

Sew together with a close zigzag stitch.


STEP 6


Place the other color hears on top and zigzag stitch in to place.


STEP 7


Measure the long thin piece to fit your child's head.
Cut and sew the ends together.


STEP 8


Add embellishments to the hearts. 


STEP 9 


Glue the hearts to the band and add embellishments.

With the pink crown, I cut 1 large heart with interfacing and 1 without. Then I cut 2 smaller hearts with interfacing and 2 without. 

ALL DONE!!


Now! On to all the FABULOUS posts for this month's Blog with Friends!!!


Karen at Baking in a Tornado has a recipe for these SOOOO CUTE, SOOOO YUMMY, Hugs and Kisses Cookies


Robin at Someone Else's Genius will show you how to make this GOOOOORGEOUS  Love Cage Captured Chaninmaille Bracelet 


Robin over at The Momisodes has a Love Poem for you. You definitely don't want to miss THAT!!!


Lydia from Cluttered Genius is going to show you how to Repurpose Wedding Petals. SOOOO pretty!!!!


Christy at Uplifting Families has some Sweet & Salty Valentine's Day Popcorn. YUM!!!


                  HAPPY VALENTINE'S DAY!!!


February 3, 2015

DIY Doll Carrier


I had SO MUCH fun with this project!! My cousin is about to have her 2nd child in a couple of months and she commissioned me to sew a doll carrier for her son! He'll be able to carry his own "baby" around just like his mom and dad!!

I wish I had a model for this but it's just too small for my youngest kiddos. :( But I might have to make a couple of bigger ones. ;) 


WHAT I USED 

Less than 1/2 yard of 2 coordinating fabrics
2 coordinating buttons
Paper bag to draw out my pattern
Pinking shears used on the pocket and straps


STEP 1


The first thing I did was grab Cailey's Build-a-Bear bunny to help me measure out the pattern. 


STEP 2


I folded the pattern in half and evened it up where needed. 


STEP 3

Cut out 1 pattern piece for both coordinating fabrics.


STEP 4


Next, cut out the straps. 
Mine are 6" wide by 18" long. The length will vary on how big/small your child is. 
Measure from the center of their chest, diagonal across the back to the side. Then add 4".
The additional length will be for seam allowances and so there will be room to move the button as your child grows.


STEP 5


Cut out your pocket (if you want). Fold the edges over and press.
Sew a line across the top.
Pin in place on the front of piece of the carrier and sew in place.


STEP 6


Pin both of your pieces with right sides together.
You will sew them together EXCEPT between the pins and the across the very bottom.

We will be adding side straps where the pins are to hold the doll in place. We will also be adding the straps to the very bottom.

After you have it all sewn, turn right side out and press. 


STEP 7


Time for the button holes!!!
With my old machine, button holes were a pain in the rump!! Thankfully they are a breeze with my new machine. They come out right every single time! SHEW!!!!


STEP 8


Now for the straps!
Fold your pieces in half and press. 
Sew a seam down the raw edges.
Turn right side out.
Fold in half again and press.
Top stitch down both sides.

Fold the bottom over, press and sew across. 


STEP 9


Add your buttons to the ends of the straps!


STEP 10 


Insert the straps into the bottom of the carrier and pin in place.

Insert side straps into the sides of the back of the carrier and pin in place.

Top stitch the bottom half only!!!! 

Insert the side straps into the sides of the front of the carrier.

Top stitch the rest. Be careful to keep the rest of the carrier out of the way of the needle! It's not as hard as it may first look. ;)


                                      ALL DONE!!!!!!


Cailey's bunny looks so cute!! I am definitely going to have to make her one. She's never been big into dolls but she LOOOOOOOVES stuffed animals!!! They have always been her favorites! 


Let me know if you have any questions! 


HAVE FUN SEWING!!!


January 3, 2015

Our December in Review


It's been soooooo long since I post a week in review.... The last one was at the beginning of December! YILES!!!! We have just been so super busy!! So busy that I have even forgotten to take pictures!! GASP!!!!! That's a big blogging no-no!!! 
But I did manage to get a few. ;)


We did a few crafts.


Some of them with friends.


We got ready for Santa.


I made our Christmas stockings. (I also made one to sell.)


We opened presents!!!! (And then they played on the laptops, well, ever since.....)


And one of the cats is still try to fit in tiny places. 

Our December was crazy busy!!! I hope yours was WONDERFUL!!!!!!


December 8, 2014

Our Week in Review - Nov. 28th to Dec. 6th


Ok, so it's a little more than a week, don't be picky. ;)
We have been SUPER busy despite the fact that Colin's allergies are back in a big way. I swear, can't we have everyone in the house healthy at one time??? PLEASE?? What would it take???


Here's crazy Cloud. She still thinks she's a tiny kitten. I find her all over the house in the weirdest places!!! 


How he manages to get his food all over his face is a mystery to me. LOL


We went to pick out our tree the day after Thanksgiving. Colin got to help cut it down. 
I love the little tree farm! The elderly couple that own are super nice! The kids always get a candy cane and the gentleman always helps tie the tree to the top of the van. 
SO glad to be living back where we can go to them. 


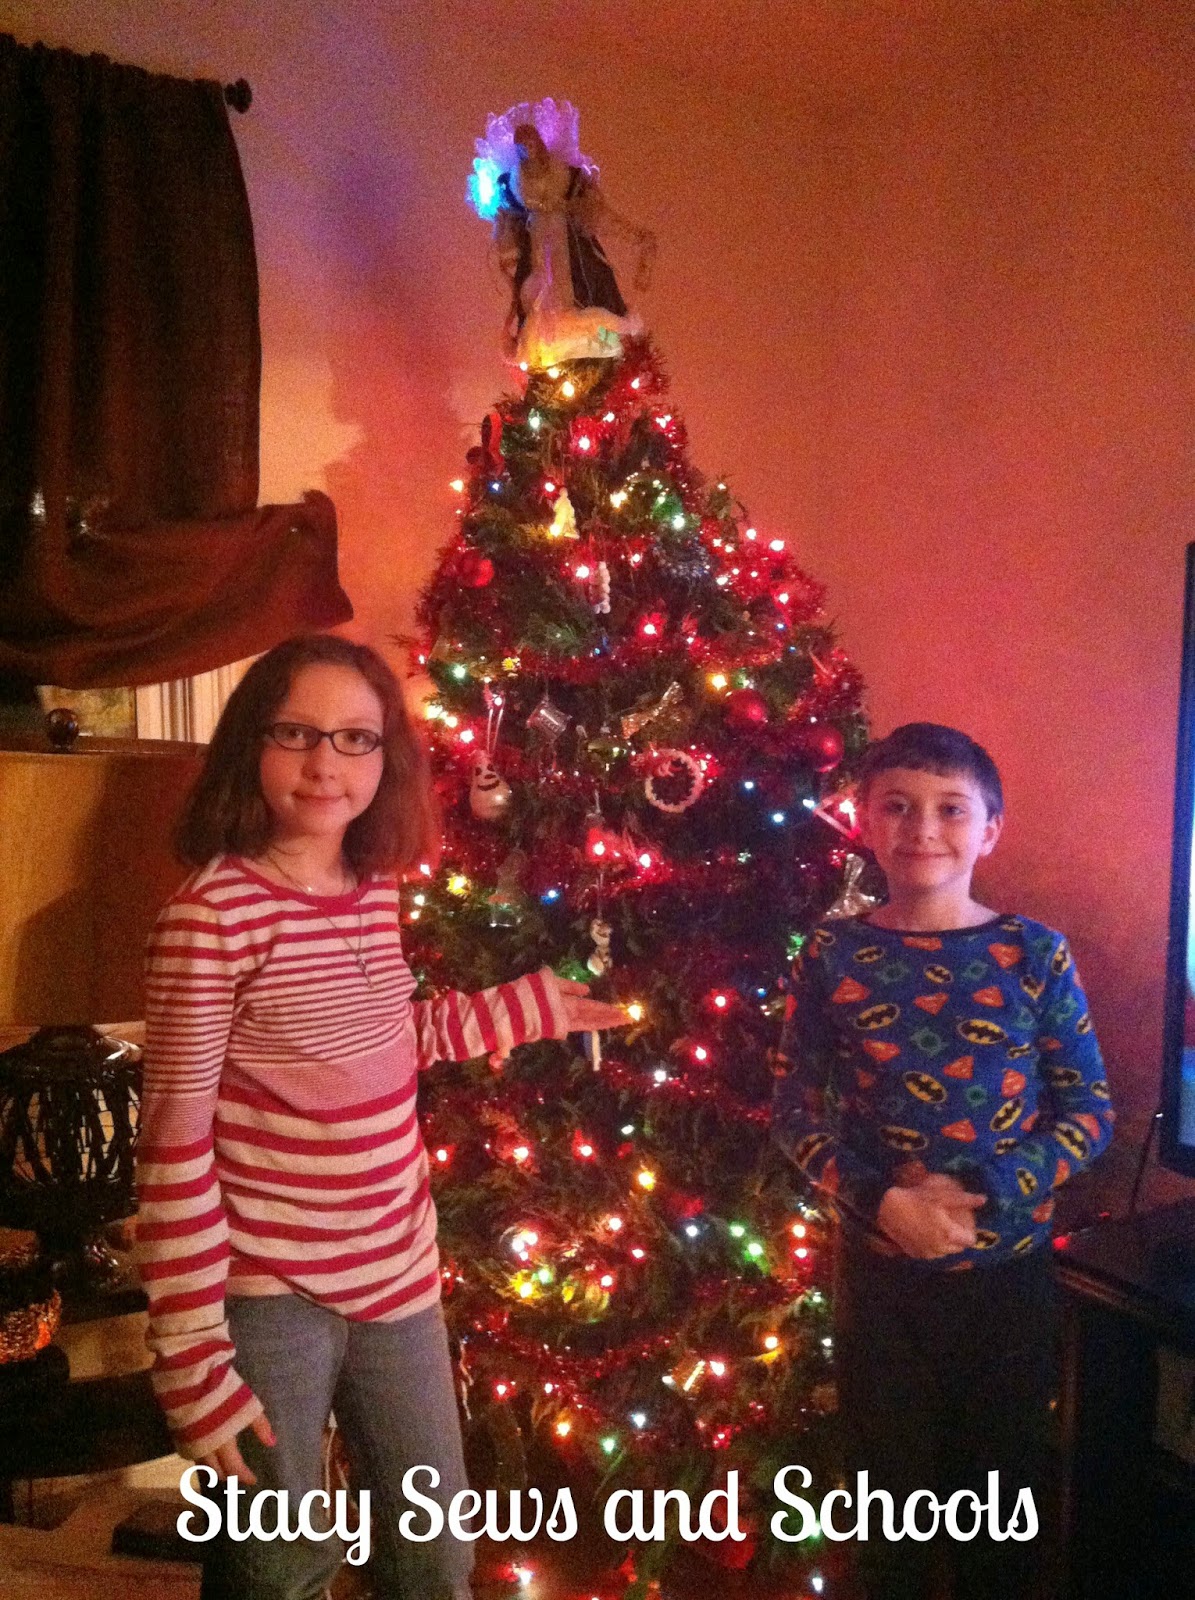
Cailey and Colin helped decorate the tree. They LOVE that part so much!!!! 
BUT, can you see the tree listing to one side??? Right after this picture the tree fell over. EVERY single thing fell off except for one drum ornament. 
SIGH!!!!!!! 

This is how it looked the second time we decorated it.
Notice I said how it LOOKED.... Well, now it seems that we have a leak in our tree stand. All the water that we thought was sustaining our tree was actually pouring out all over the presents. 
ARGH!!!!
I bought a new stand but I haven't been able to talk anyone into helping me switch it out. It needs to be done quickly, though... Our tree is drying out!!


 We went to the Home Depot kids' workshop. Cailey and Colin love them so much. They got to make garden stakes for Christmas! They are now lining our walkway. ;)


We went to Bass Pro to see Santa. BUT (there's always a BUT) when we went to get in line we were told that they were handing out passes to see Santa at 3. It was 11:30. :/ Soooo, we went over to watch the fish feeding. After that we stayed for the craft.

I didn't want to drive home just to drive back to see Santa so I took the kids to get something to eat and do a little Dollar Tree shopping. 

We got back to Bass Pro at 2:30 and went to get in line. Here is where I had a "Christmas Story" experience....
We walk up and it looks like there's no one in line. I show the lady my Bass Pass. She says, "That's great but you need to get at the end of the line," and points behind me. 
I kid you not, the line was to the back of the store. 
INSANE!!!
An hour later the kids had finally gotten to see Santa.


They were SOOOOOO happy!!!!


Tomorrow will be the December edition of Blog with Friends!! WOOO HOOO!! The Jolly Jinglers!!!
My part will be a tutorial for the elf hats that the Cs are wearing PLUS elf shoes!! WOOO HOOO!!!

Then coming up soon, the tutorial for the houndstooth circle skirt that Cailey is wearing in the Santa pic. 

HAPPY HOLIDAYS!!!!