June 25, 2012

Drawstring Backpack Tutorial AKA The D Bag


D asked me to make her a drawstring backpack. She hardly ever asks me to make her ANYTHING so I jumped right on it. LOL

You will need -

1/2 yard of main fabric

1/2 yard of contrast

ribbon, rick rack, something for the drawstring ;)


Step 1 - Measure how long you will need your straps to be. Fold fabric over to where you have 4" below the fold. Cut 2.


Step 2 - While still folded in half with right sides together, press, pin and sew.  Do the same to other strap.


Step 3 - Press flat with seam in the middle. Fold in half again, press and pin.  Do the same to the other strap.


Step 4 - Sew 2 straight lines down the straps, one on each side.  Do the same to the other strap.


Step 5 - Pin your straps to the outside of the main bag fabric.


Step 6 - Sew the end of the strap to the bag using a finishing stitch. Do that to all 4 ends.


Step 7 - Fold the strap down and sew a square with an X to reinforce it. Do that to all 4 ends.


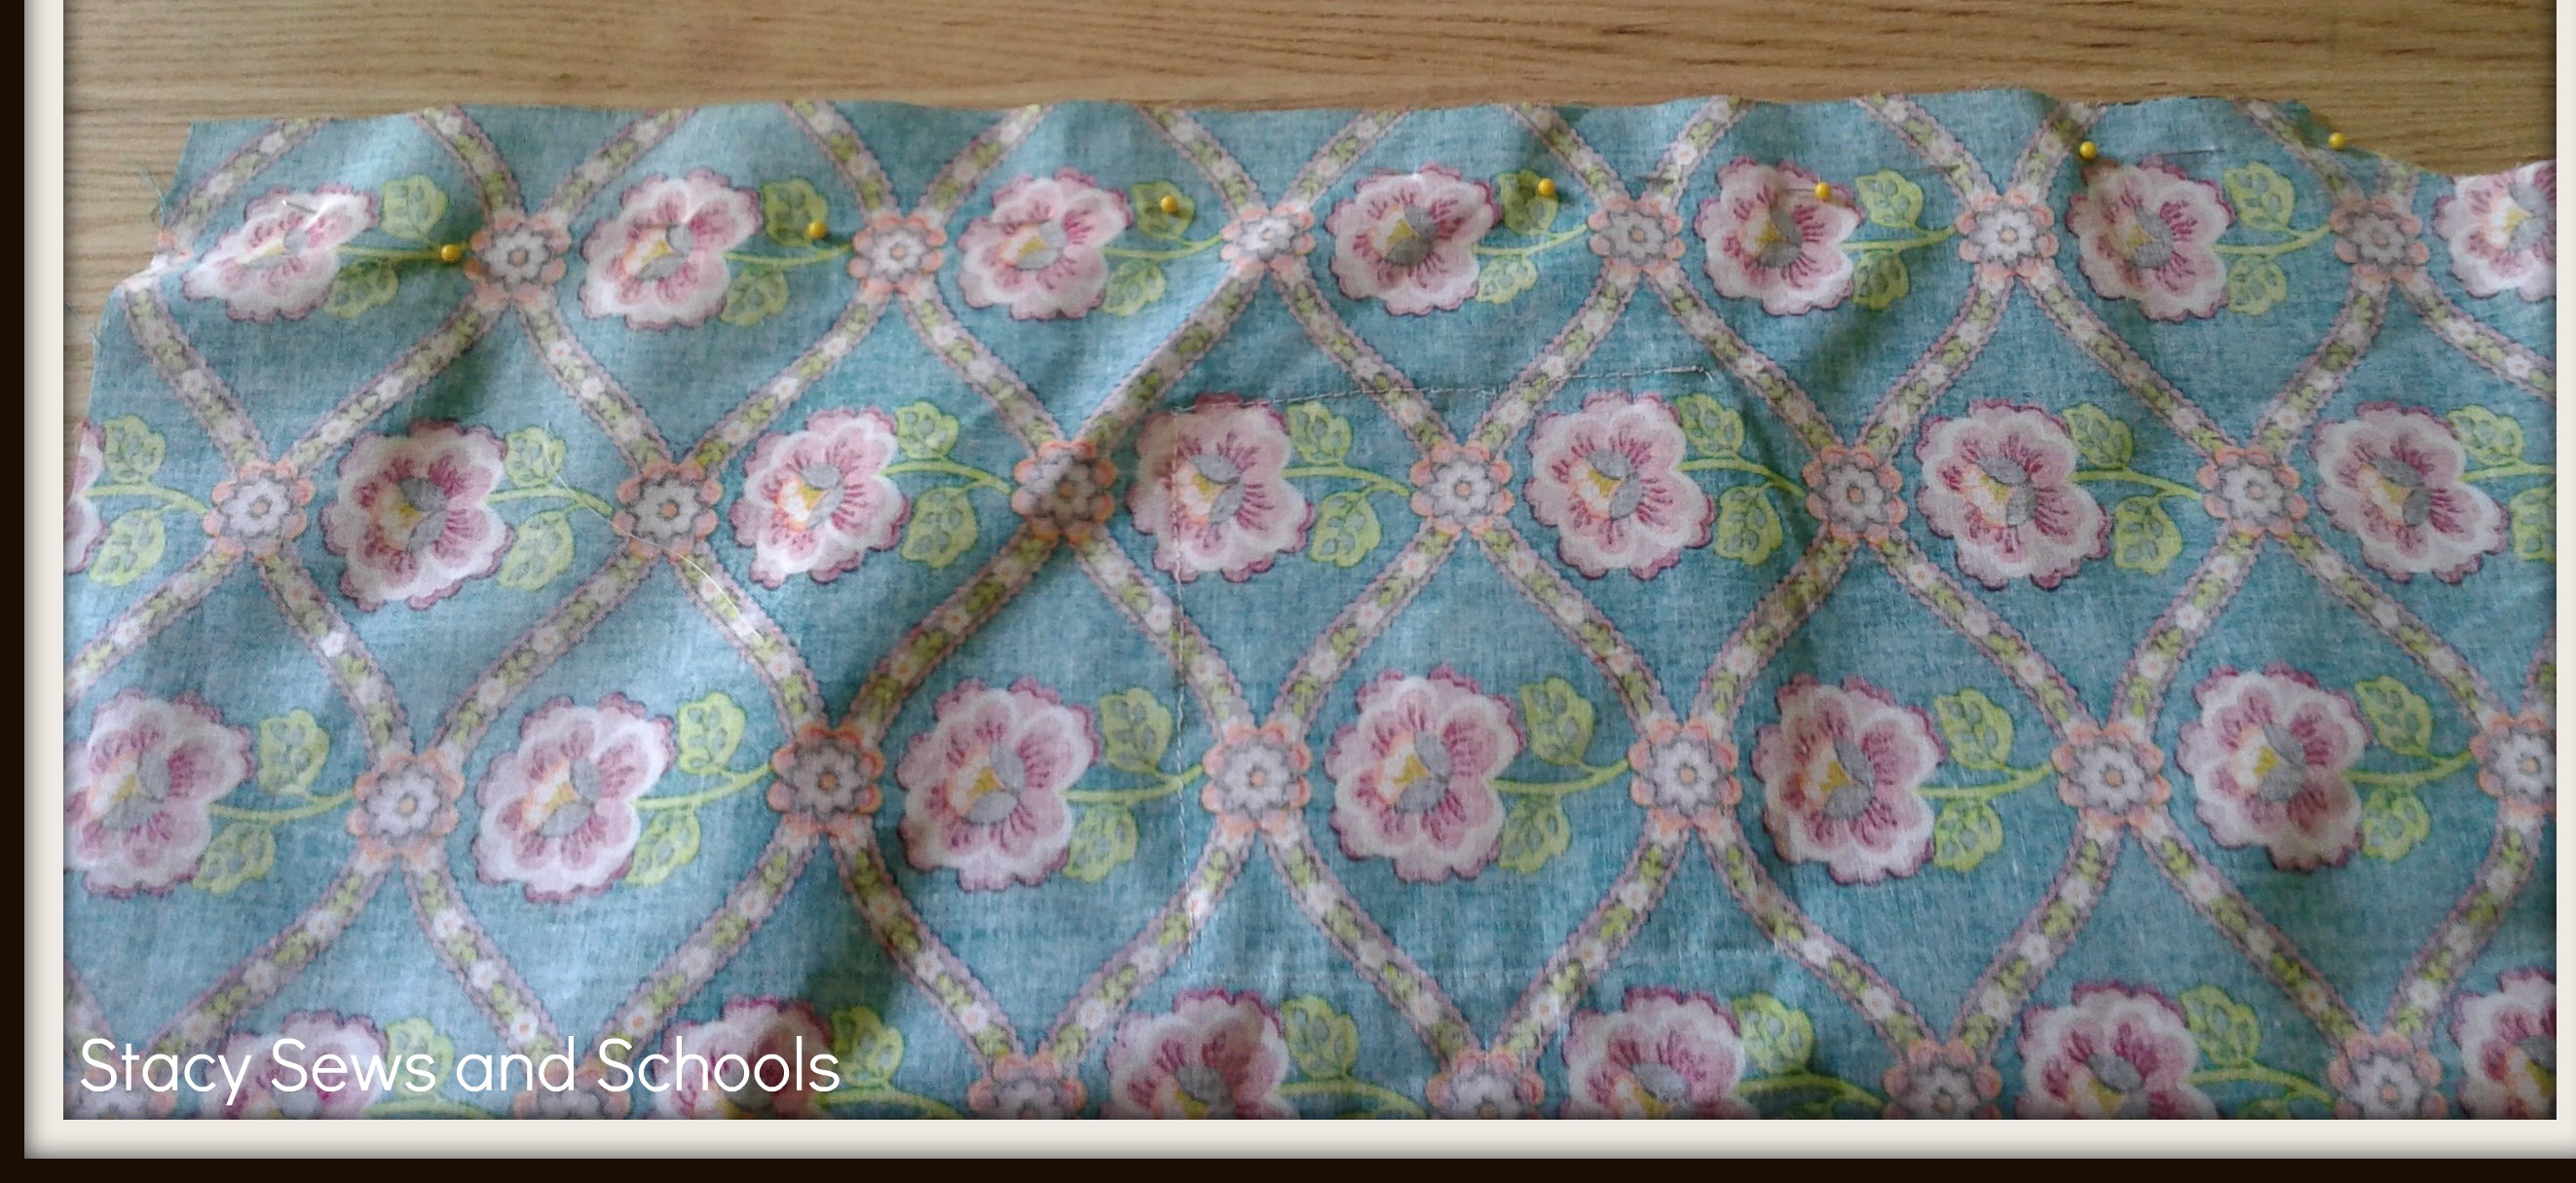
Step 8 - Pin and sew the 2 sides of your bag.


Step 9 -  Cut a piece of contrast 4" wide by the width of both sides of your bag.

Step 10 - Fold in half and press.


Step 11 - Fold up 1/4" of one side and press. Do that to the other side.


Step 12 - Fold in ends and press.


Step 13 - Open the casing you just made and pin to the top of your bag.

Step 14- Sew the casing to the top of your bag, leaving the ends open.


Step 15 - Grab your drawstring, if uncut DO NOT CUT! Pin one end and insert into casing.


Step 16 - Pull out a good bit of the drawstring. Cut and sew the ends together. I used a tight zig zag stitch.


Step 17 - Knot.

You're DONE!!!!


Let me know if you found this easy to follow!! And if you make one LET ME KNOW!! :)


June 24, 2012

Upcoming Projects

This is going to be a VERY busy week for me. Vacation Bible School starts tomorrow and I will be teaching the 4 and 5 year olds! I'm a little nervous and VERY excited!!!! I spent part of the afternoon fixing up my room. :) I'll take some pictures tomorrow once I have it all finished.

This week I will be working on.....

B5209

Retro Butterick '47 B 5209 - I LOVE that hat!!!!

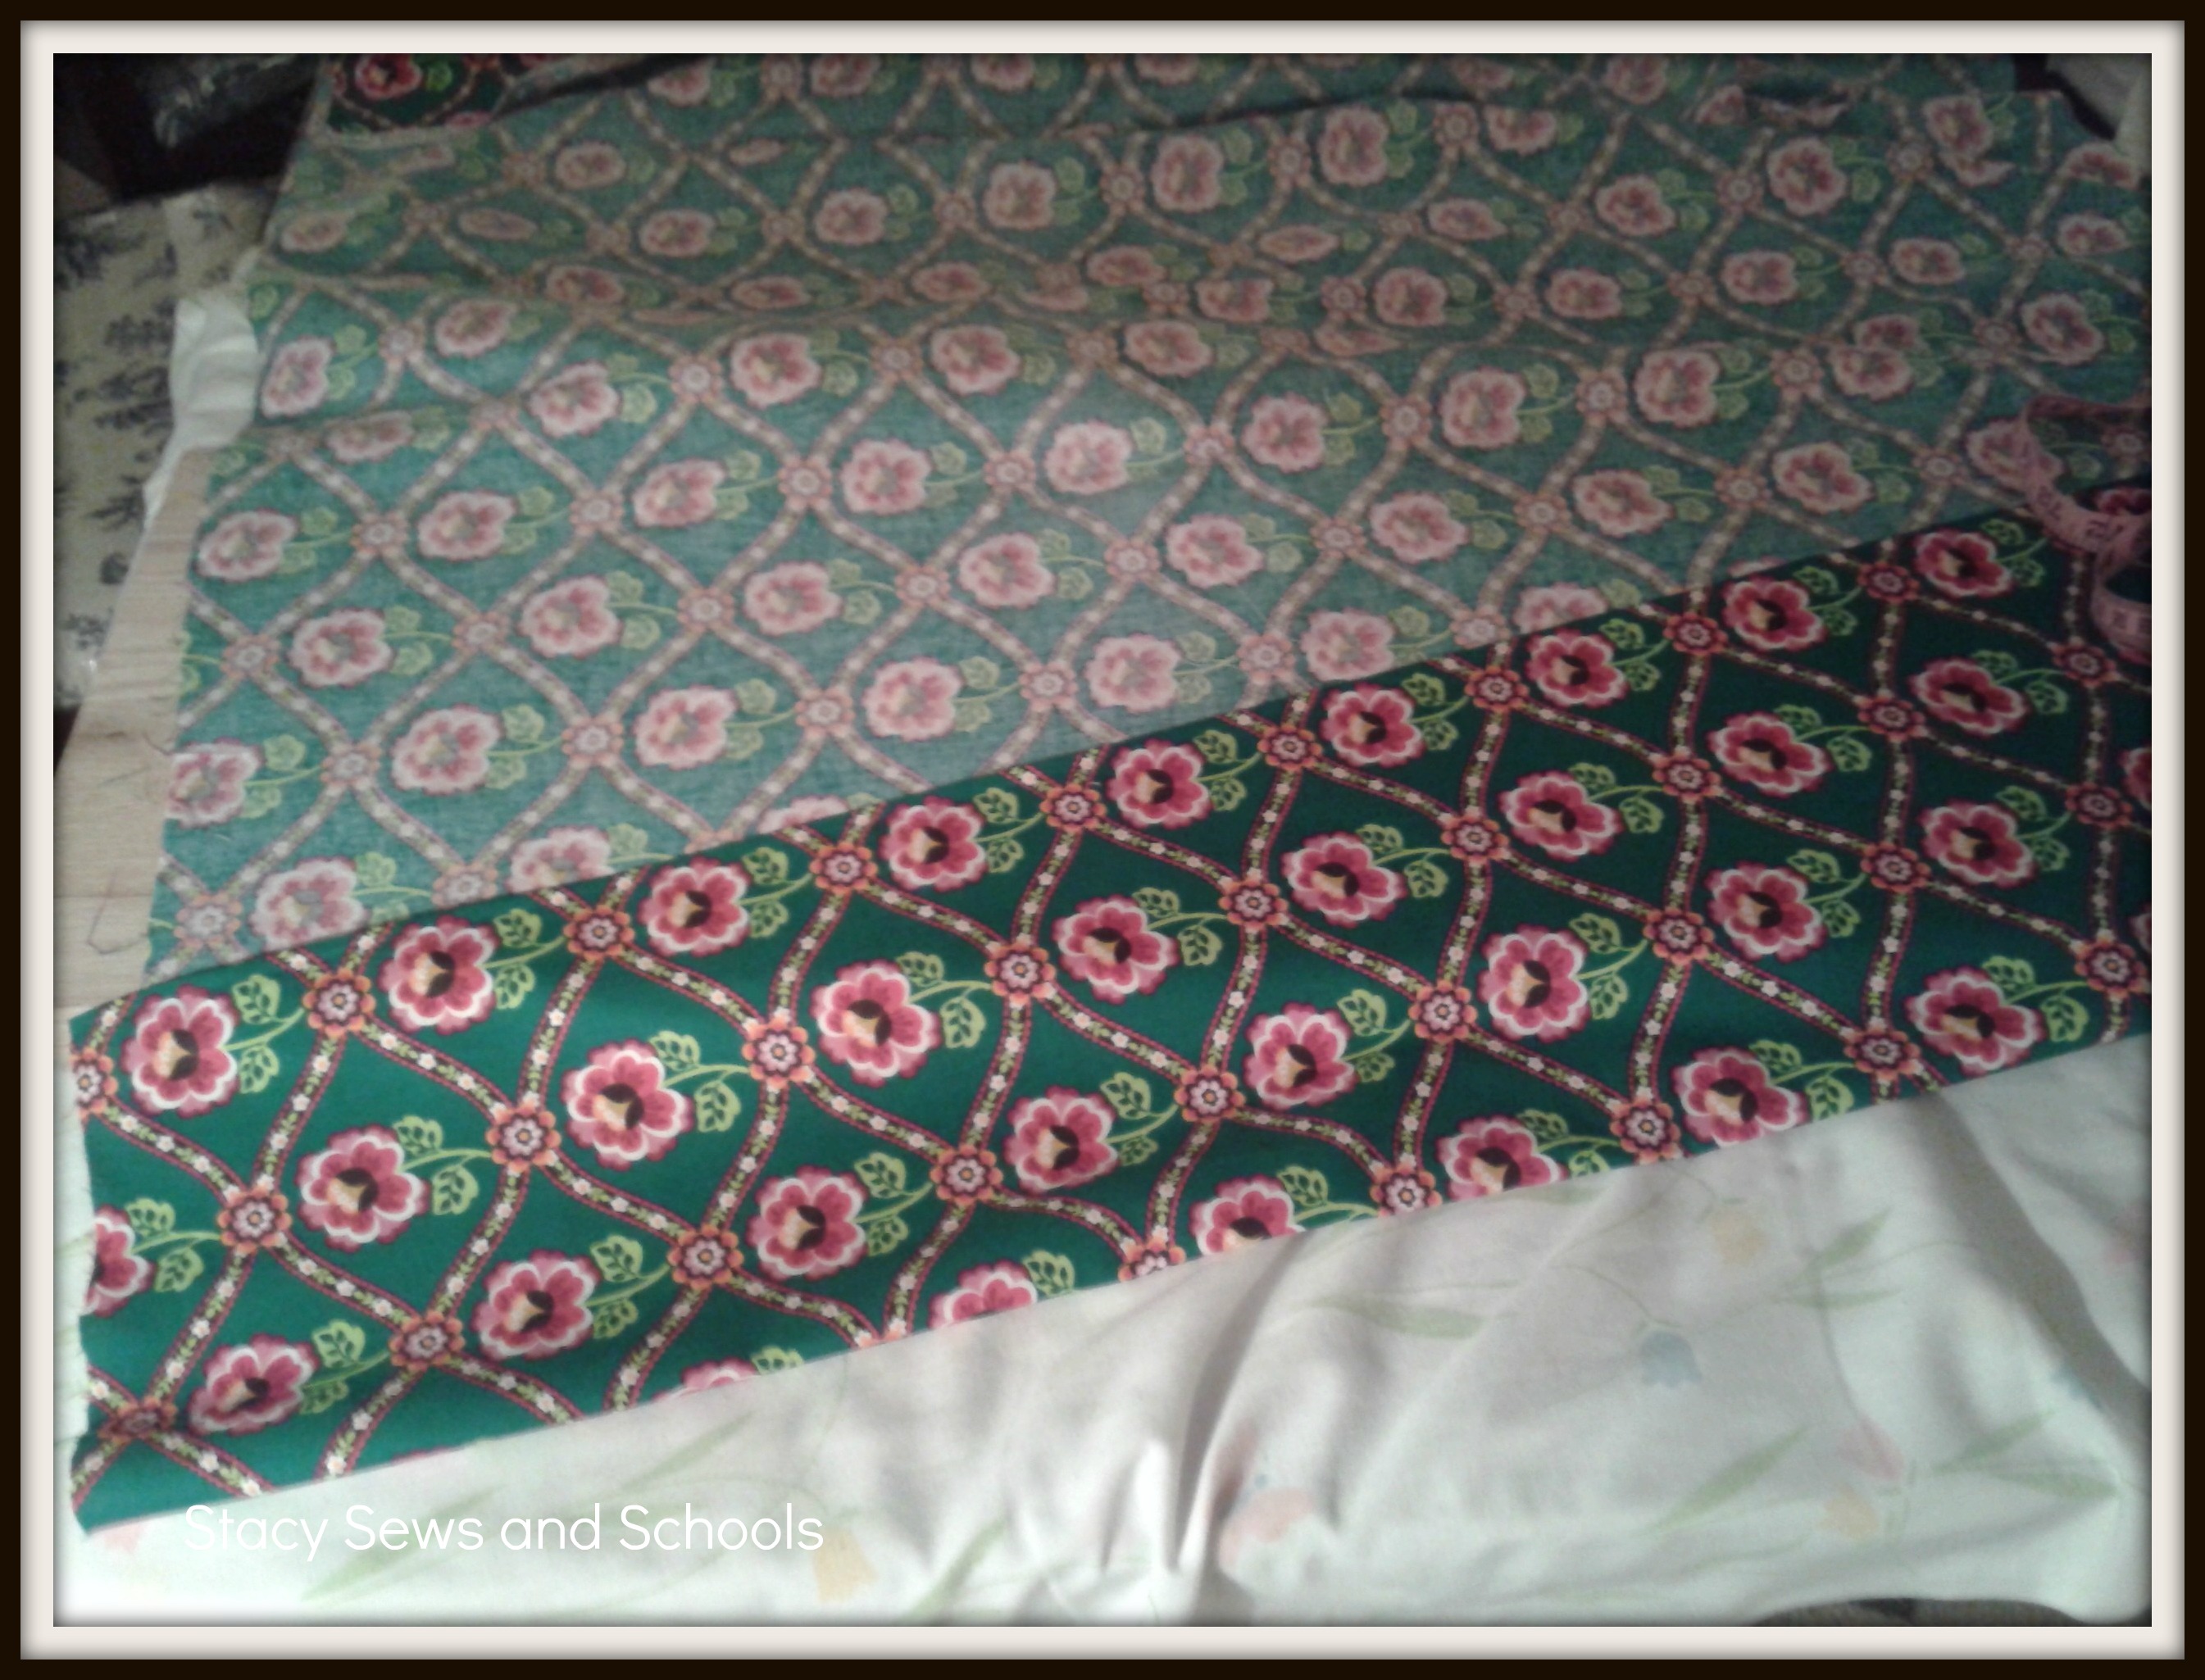
I'll be using this fabric!


And at some point I want to make d a purse out of this....


I'll also be attempting a purse for myself out of this......


That is the fabric I won from Handmade by Hilani. I think it will go nicely with a navy blue. :)

It will probably be a slow week sewing wise but I will at least post some great patterns and fabric pictures to keep you entertained. And when I DO make the purses I will be sure to include tutorials. ;)

I hope you all are enjoying the tutorials. I would LOVE to know if anyone has tried one out.

Don't forget to check out my Pinterest boards. TONS of great stuff there!!!

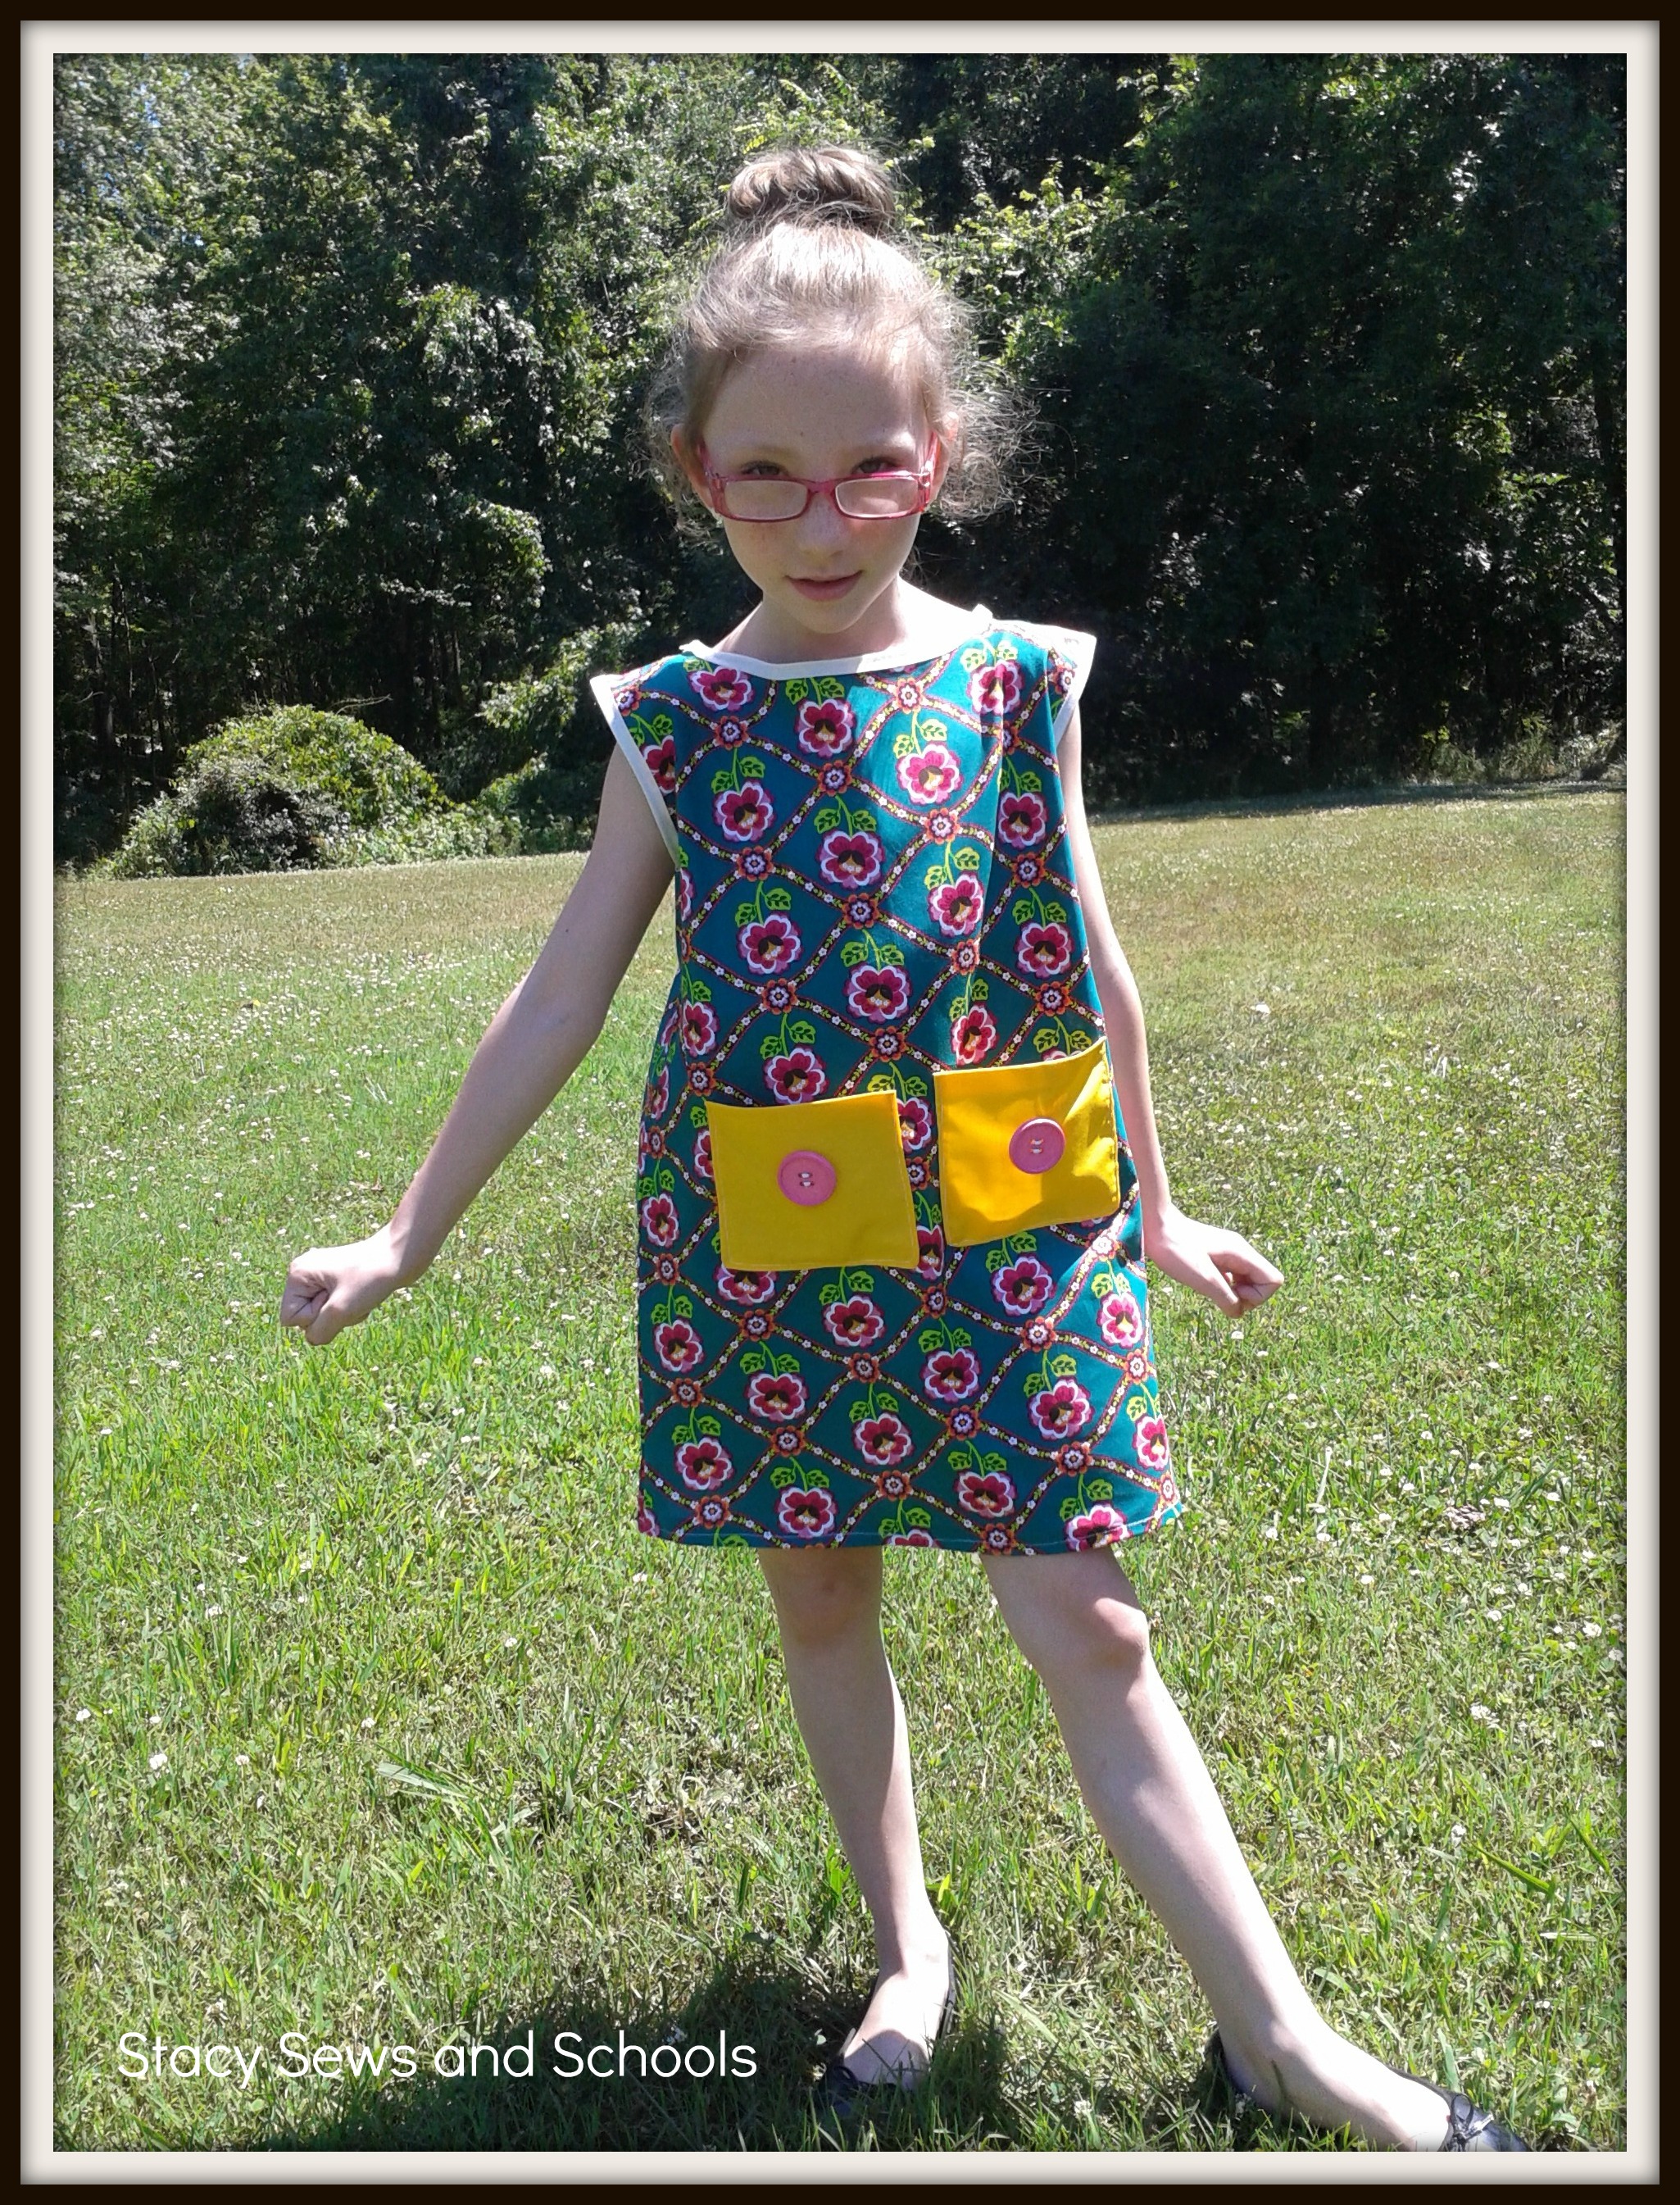
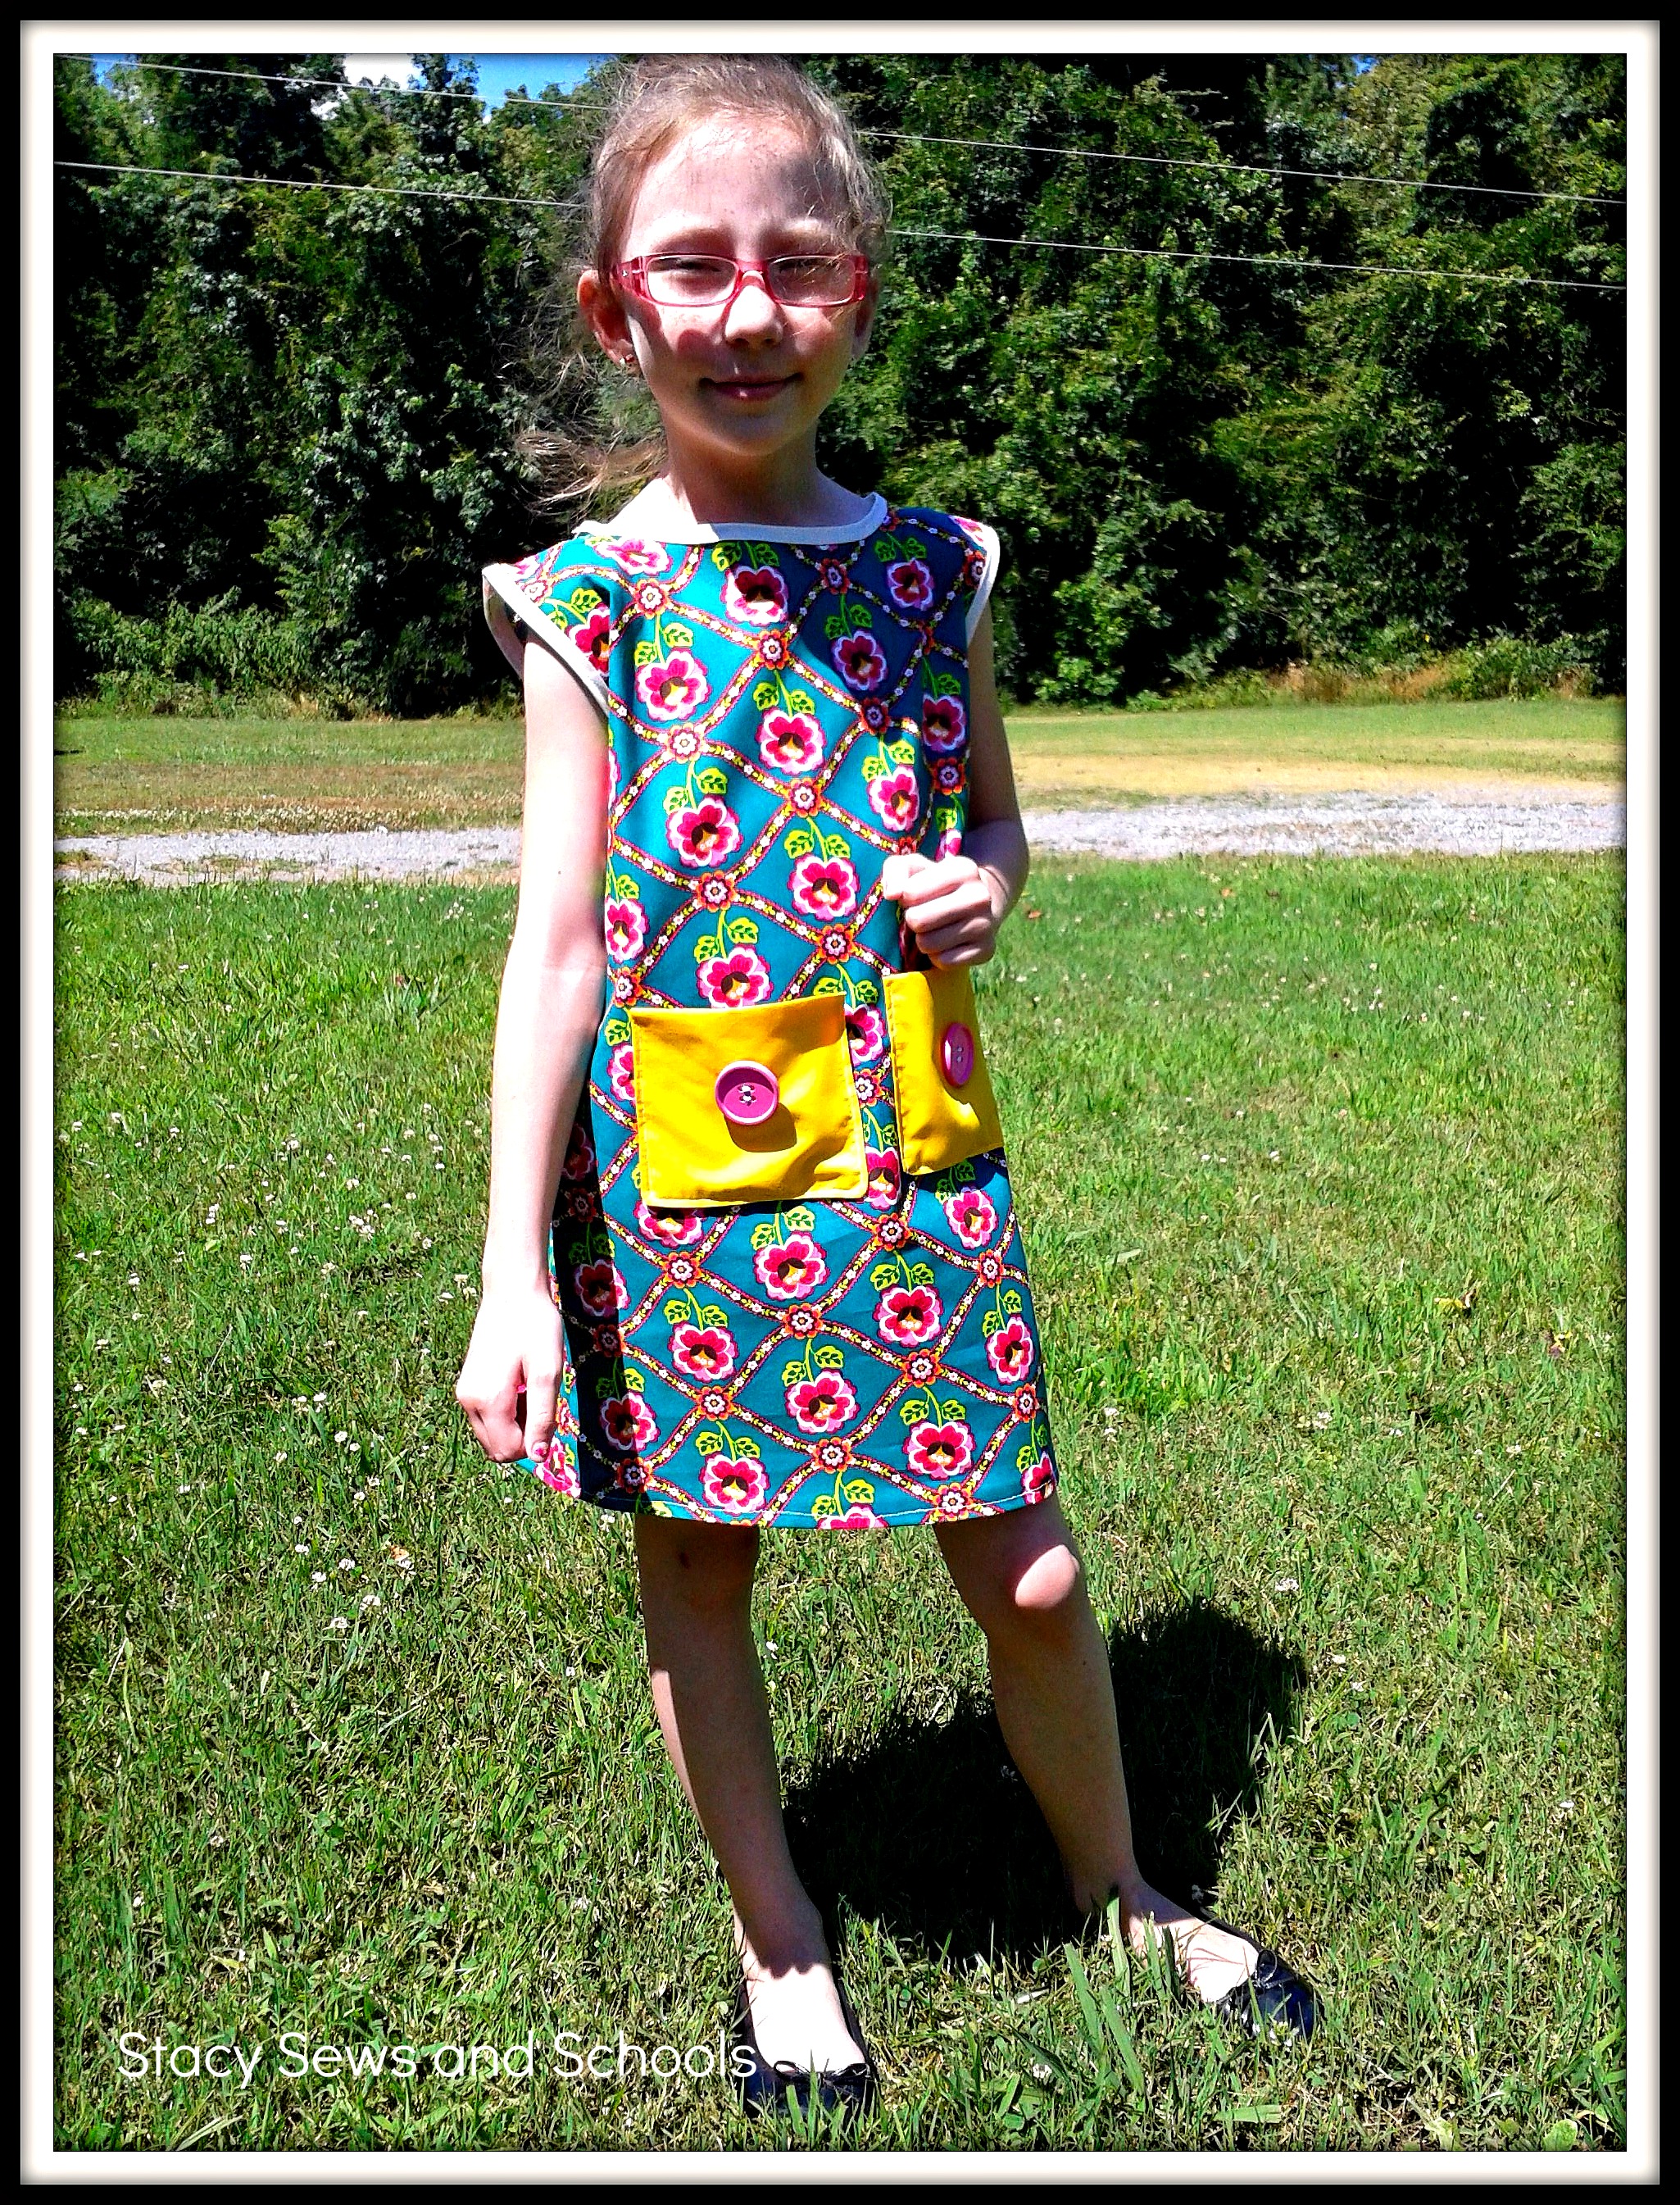
c1 wore her Fab Mod Dress to church this morning. She loved it. It looked very comfy. I wore this with my petticoat. It was nice and comfy in the heat! :)

Image

So, what are YOU working on????


June 23, 2012

Fast and Easy Fab Mod Dress Tutorial


The Fab Mod Dress


Here it is! A new tutorial! :)


What you will need -

1 yard of fabric

2 buttons

Double fold bias tape

Scraps of coordinating fabric (for pockets)


Measurements - child's chest, length for armholes and length of dress


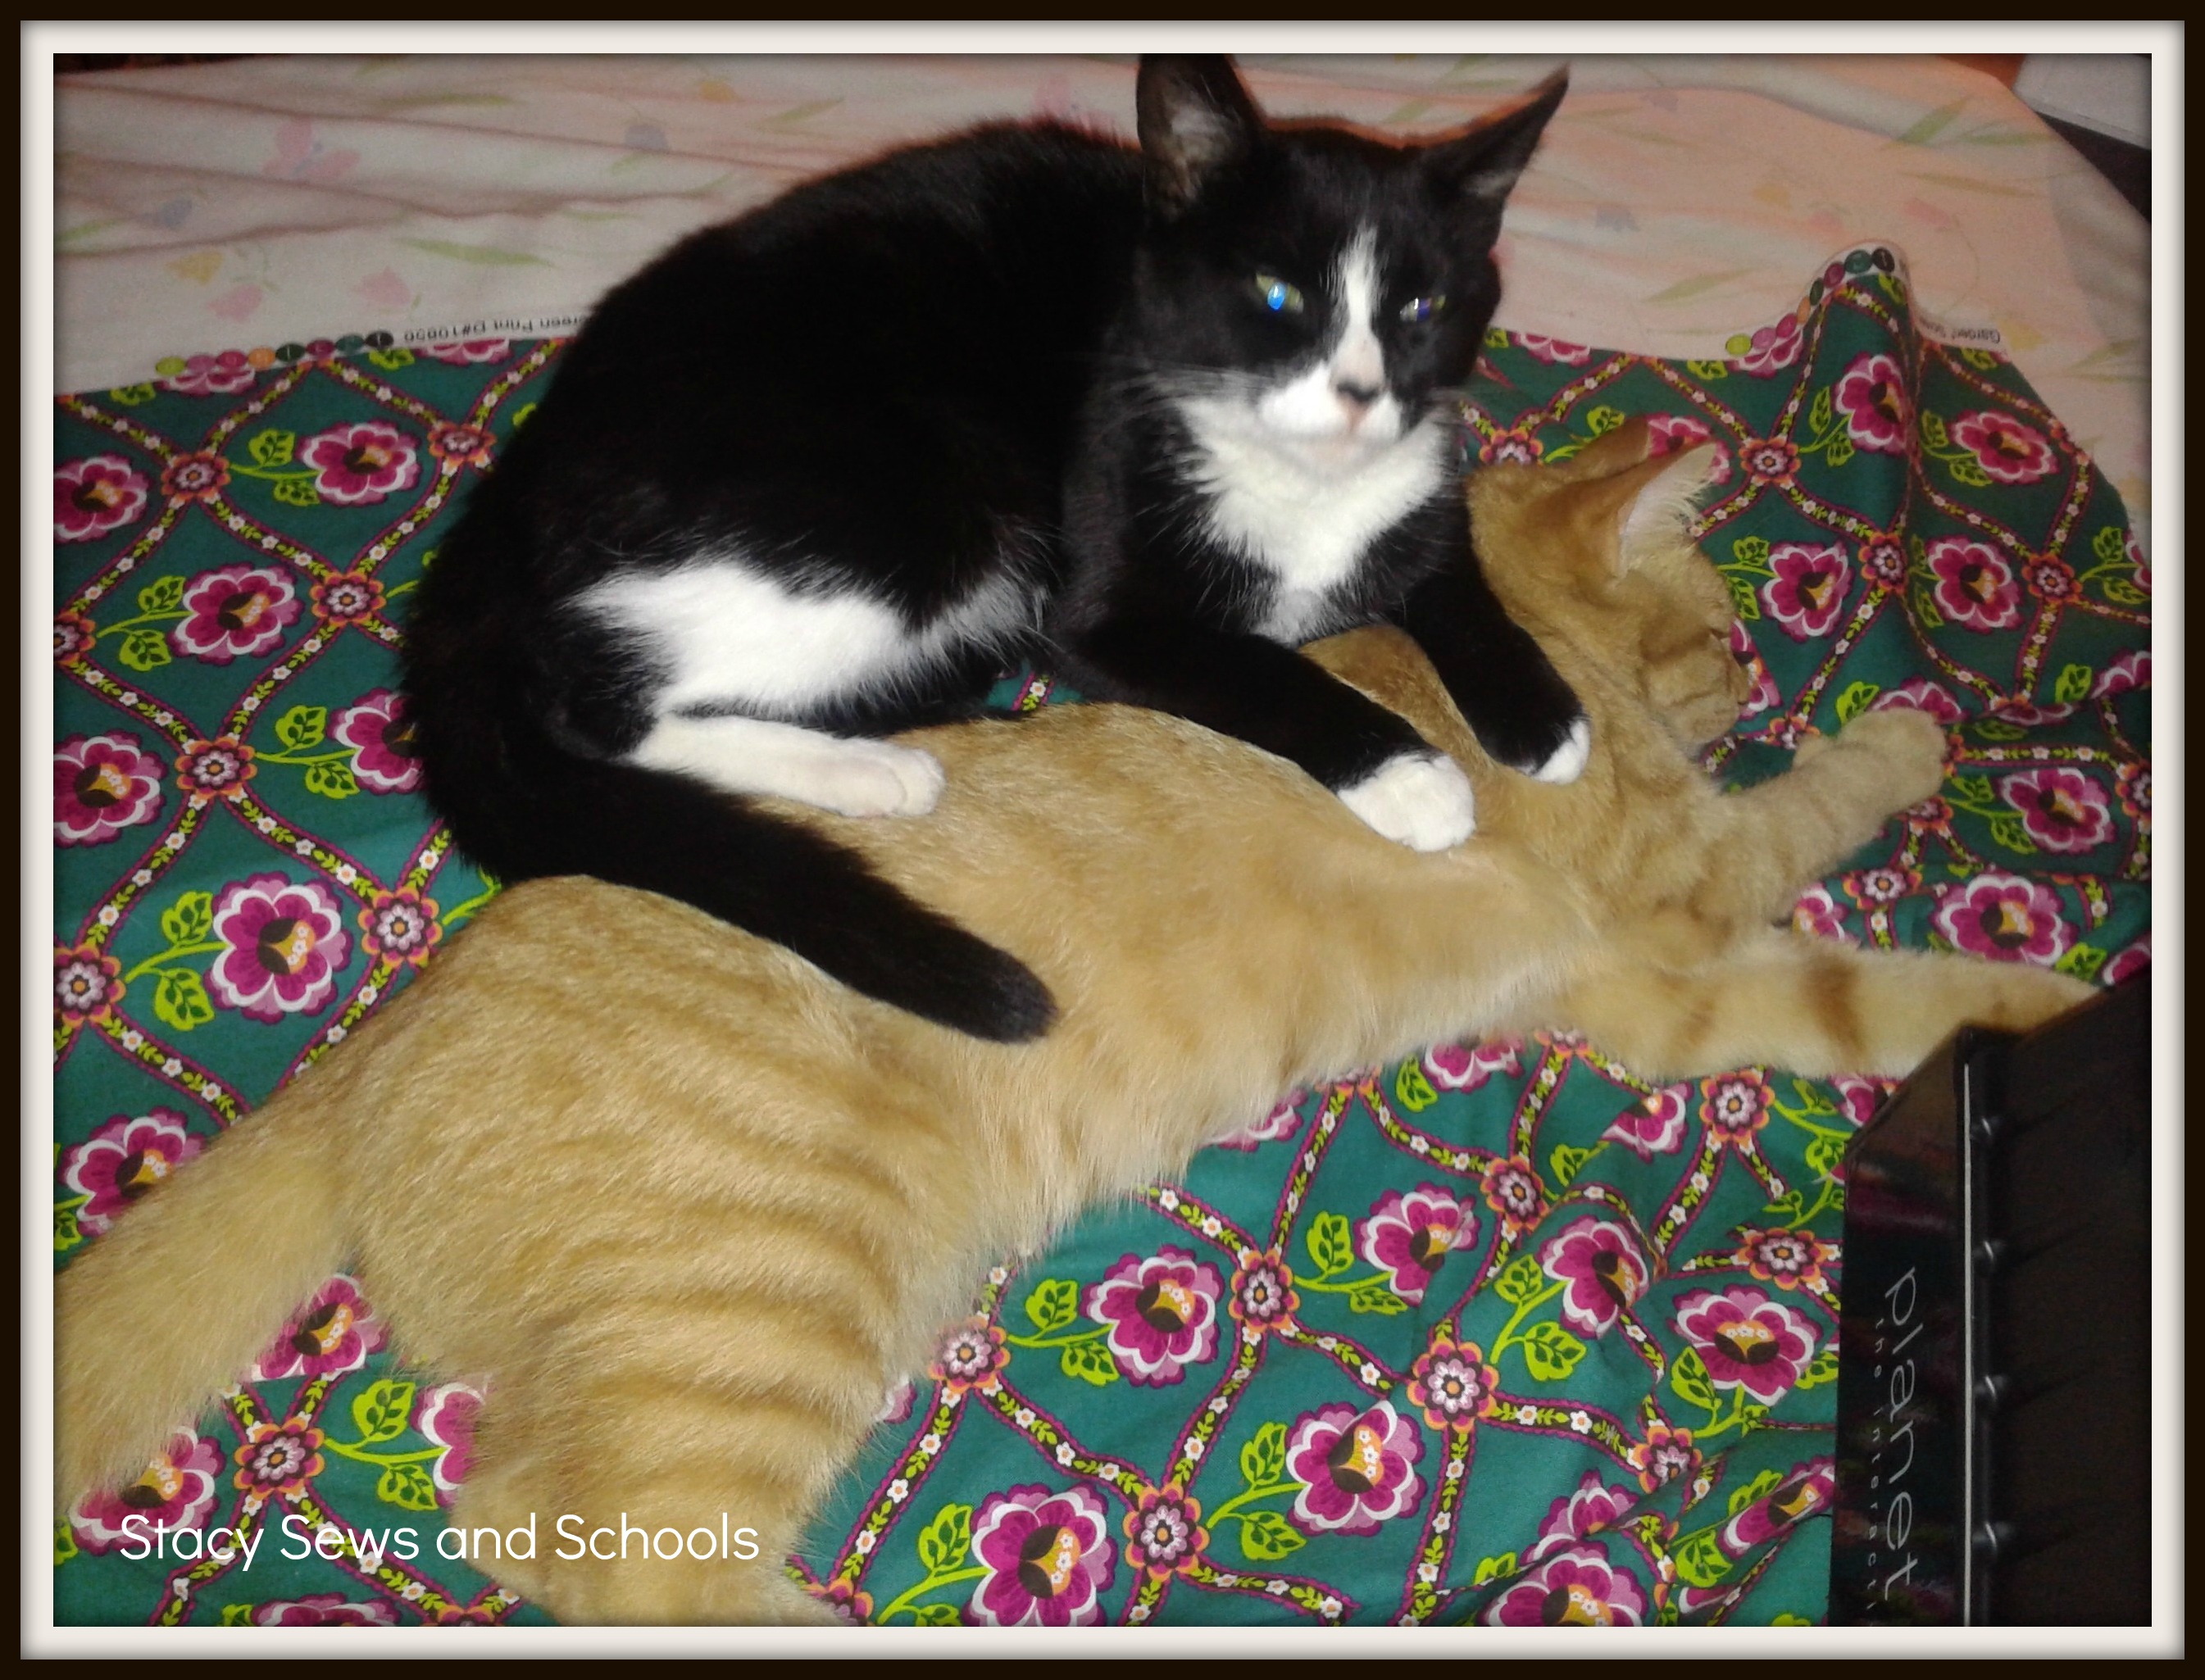
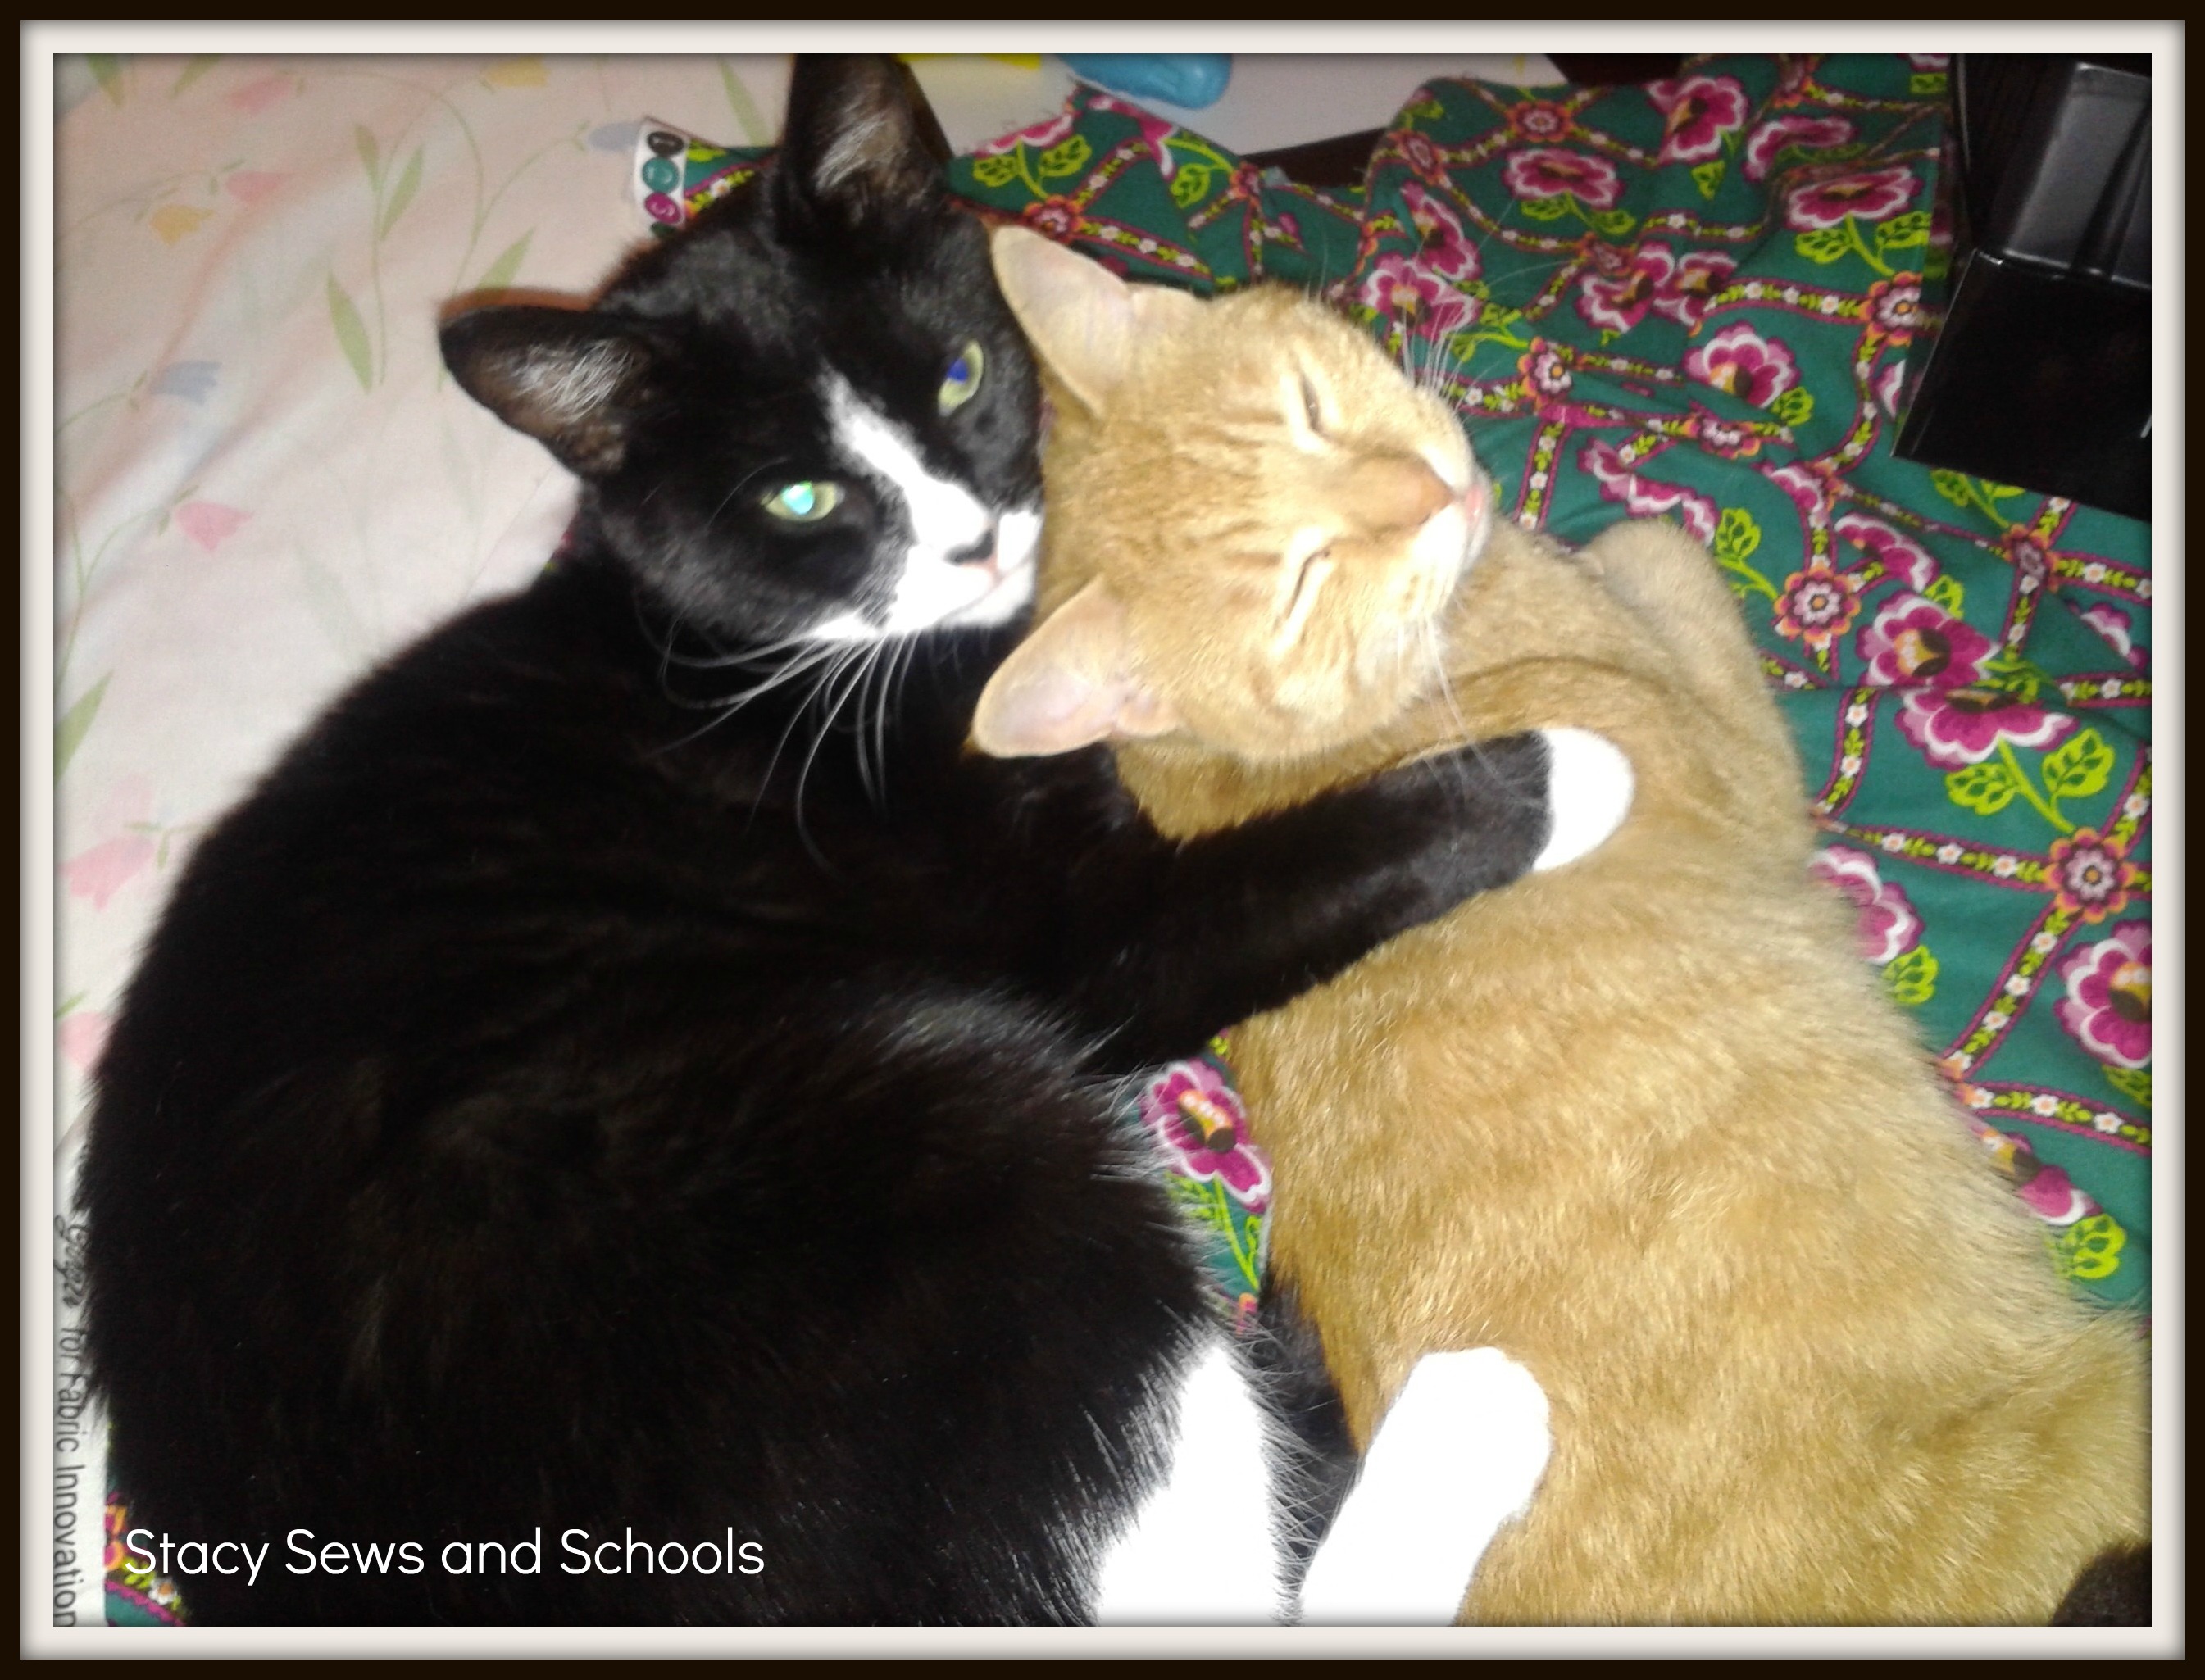
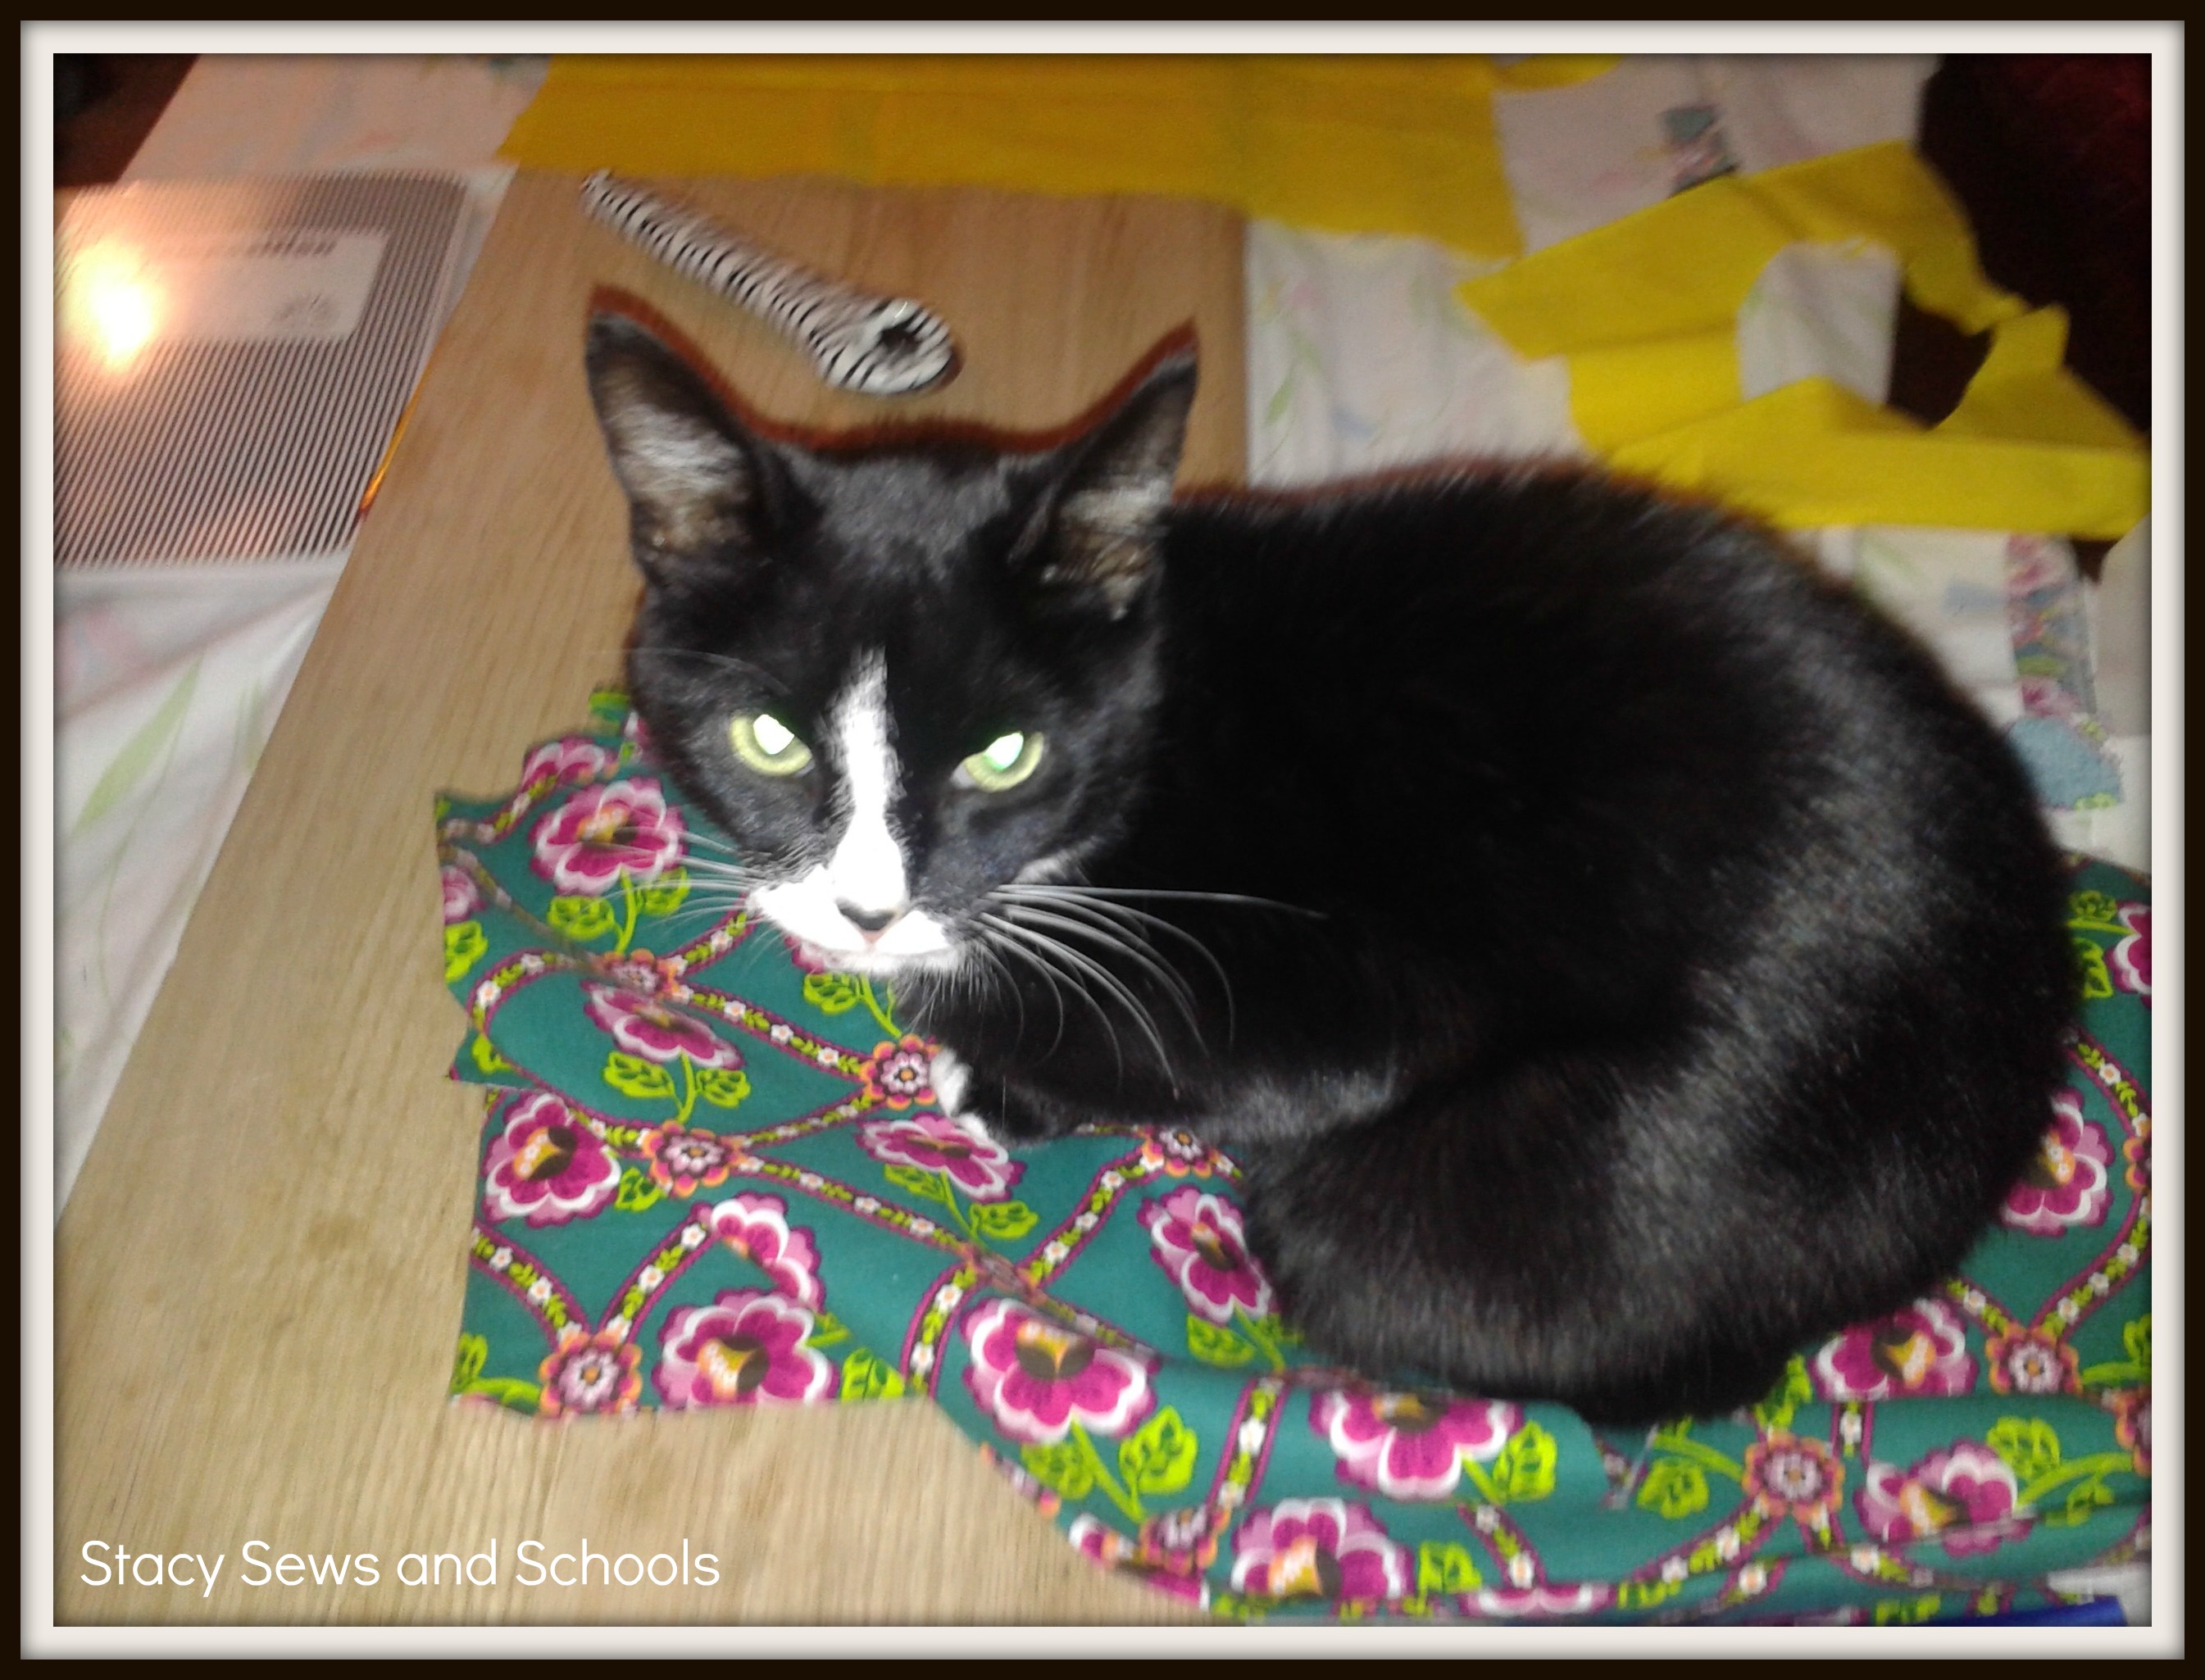
Step 1 - Remove cats from fabric!!!


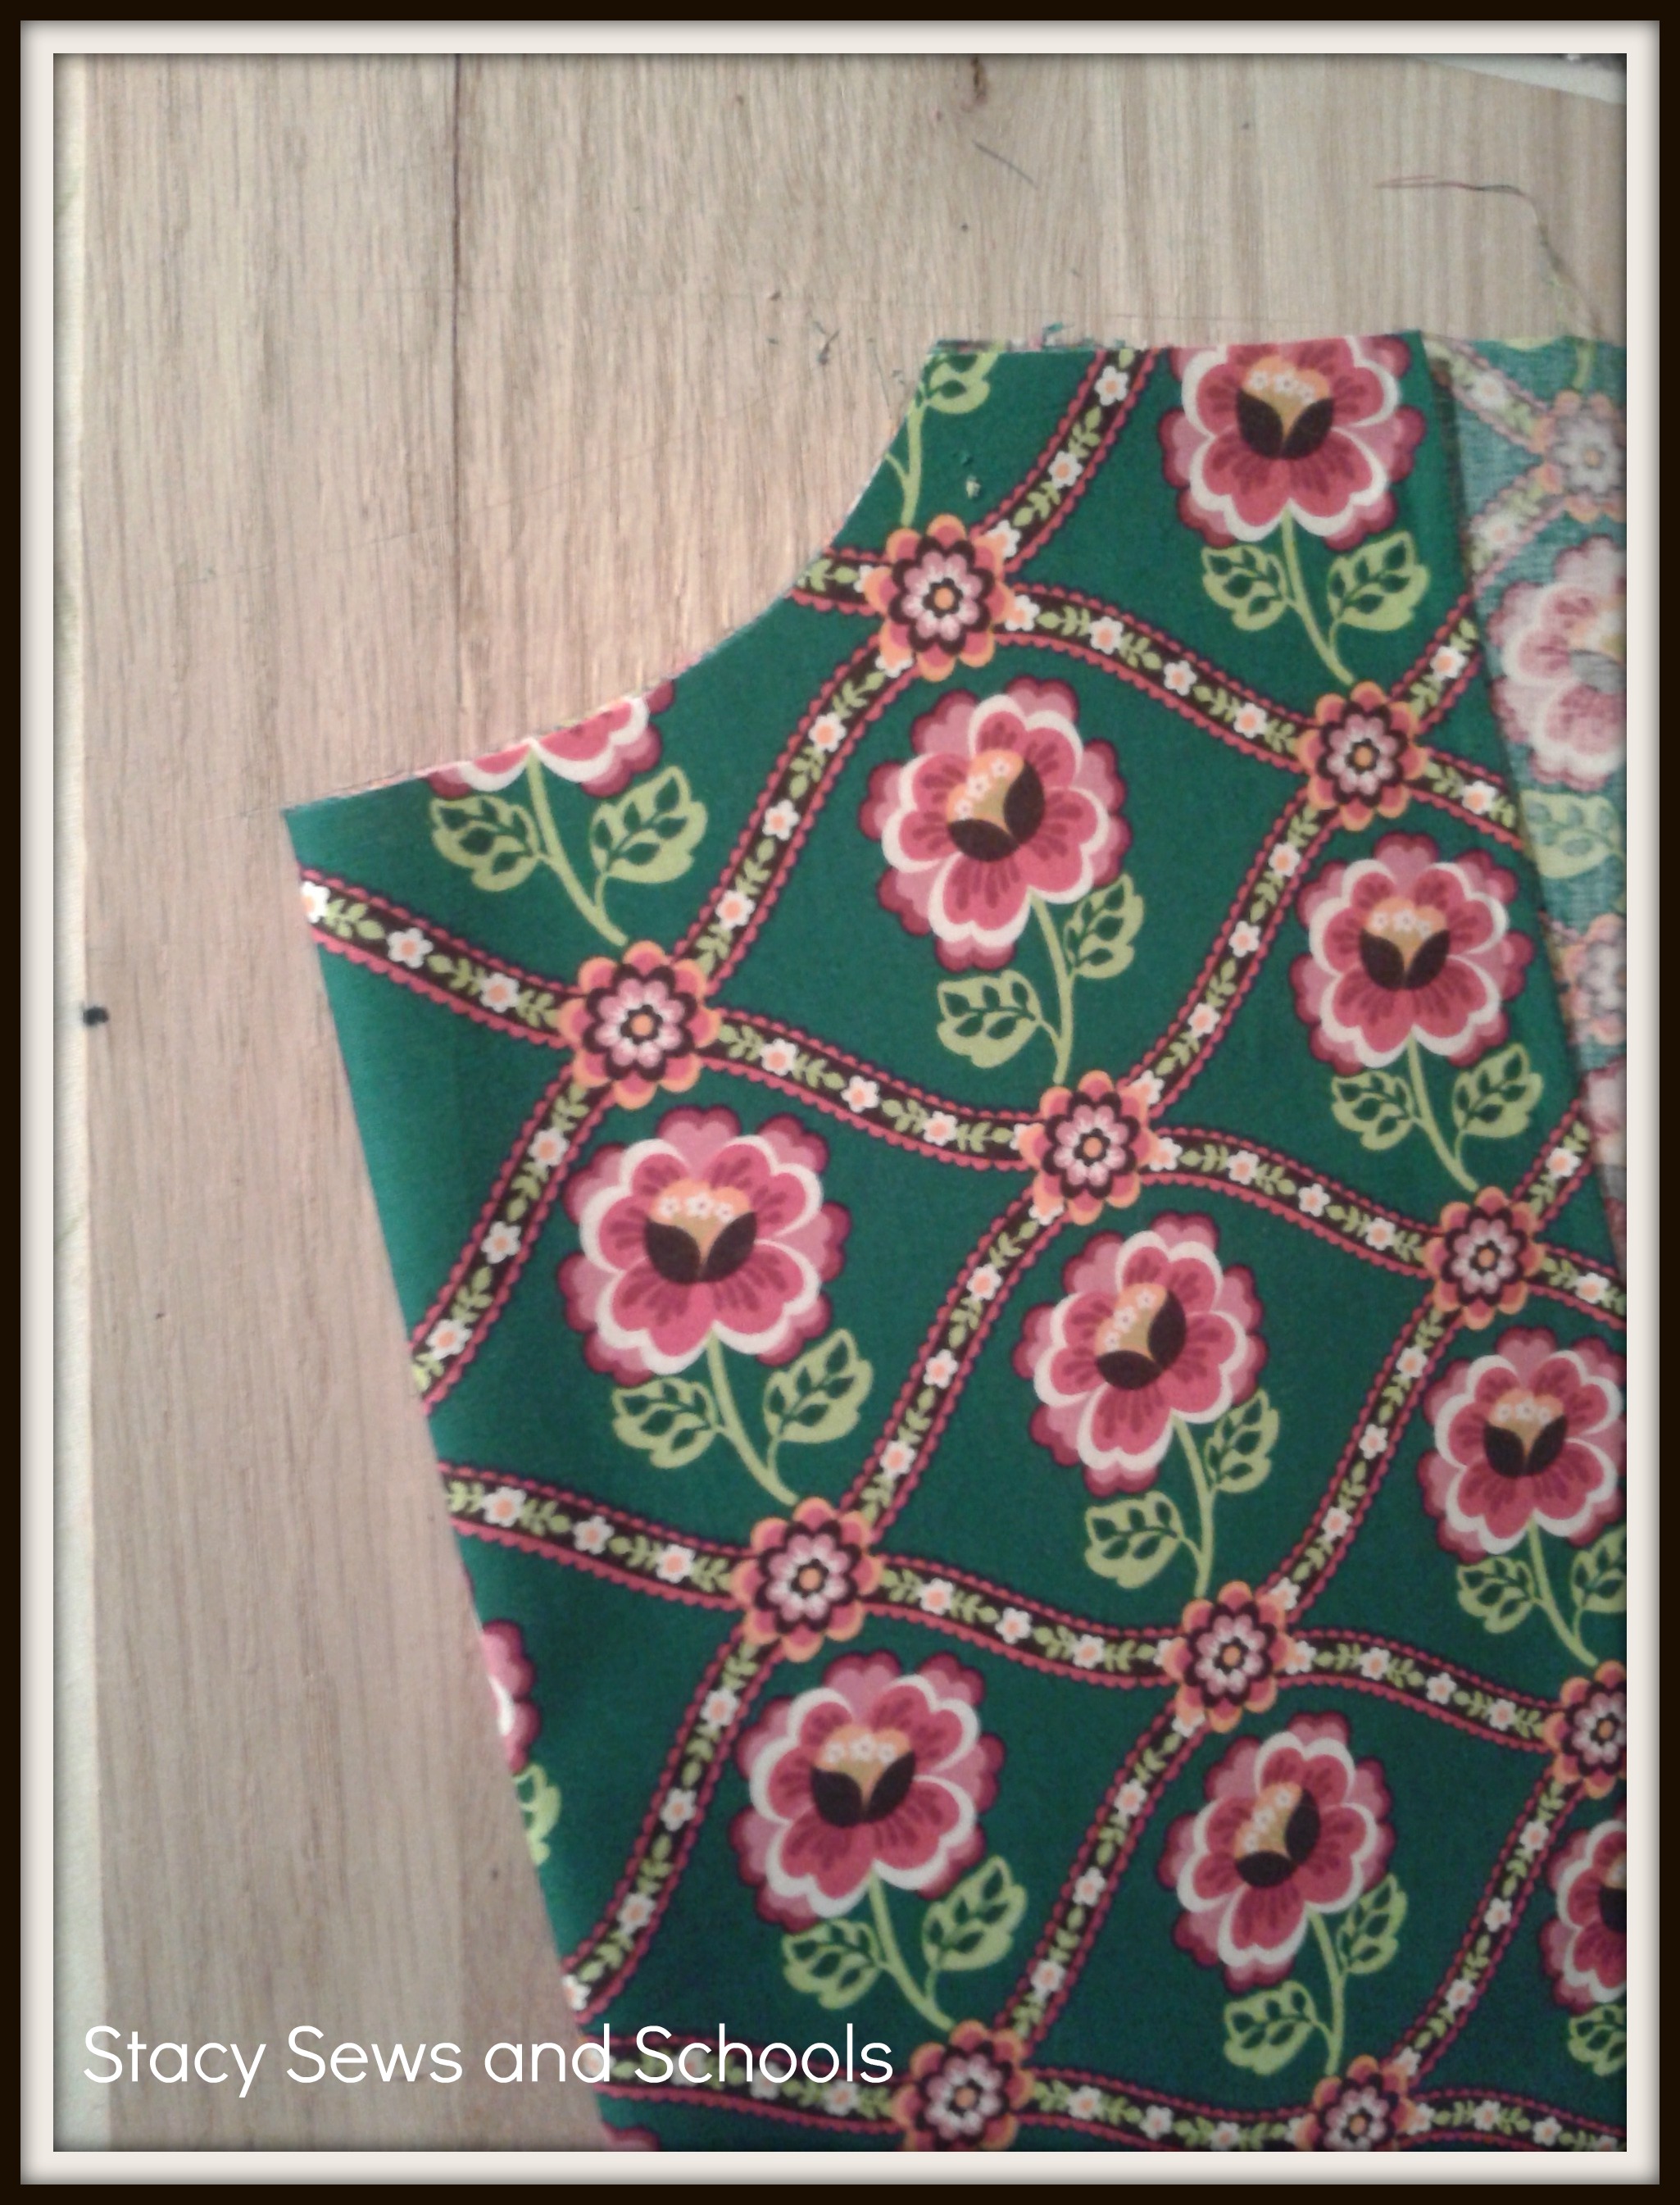
Step 2- Fold fabric 1/4 width of chest +1/2". Fold going into a slight slant. (The dress is slightly A-line.)


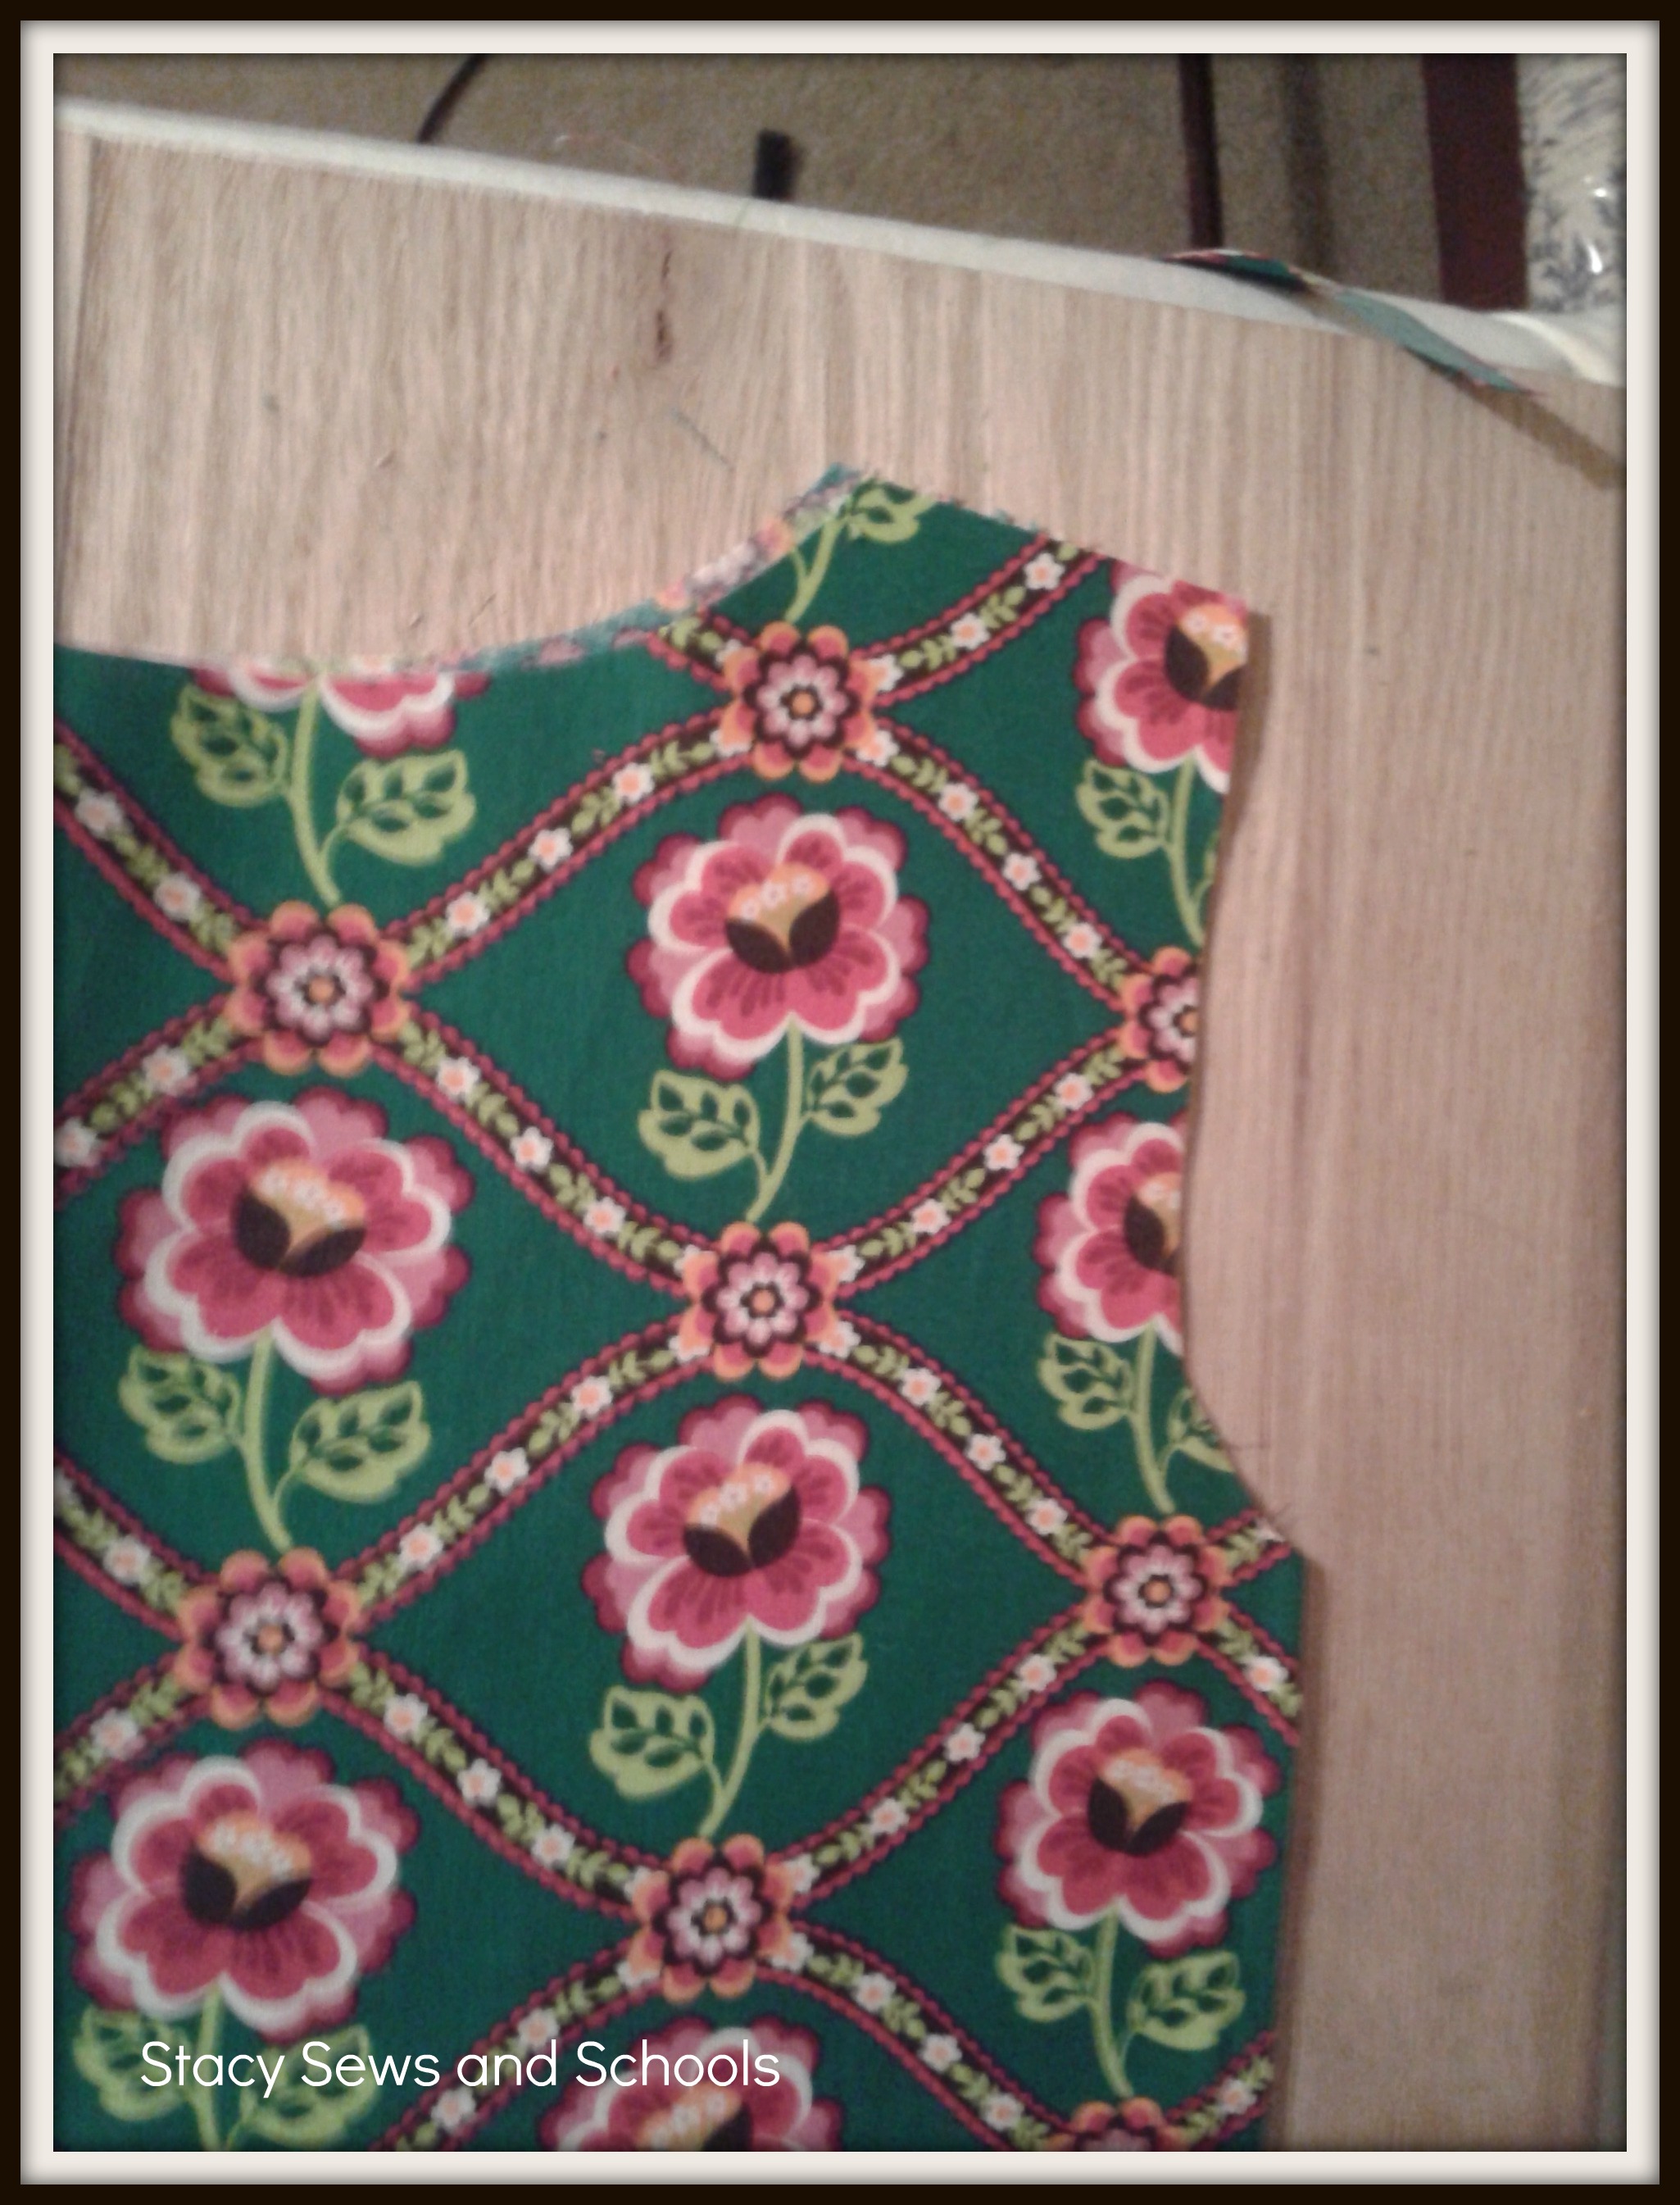
Step 3 - Cut length, width and neck line


Step 4 - Cut armholes


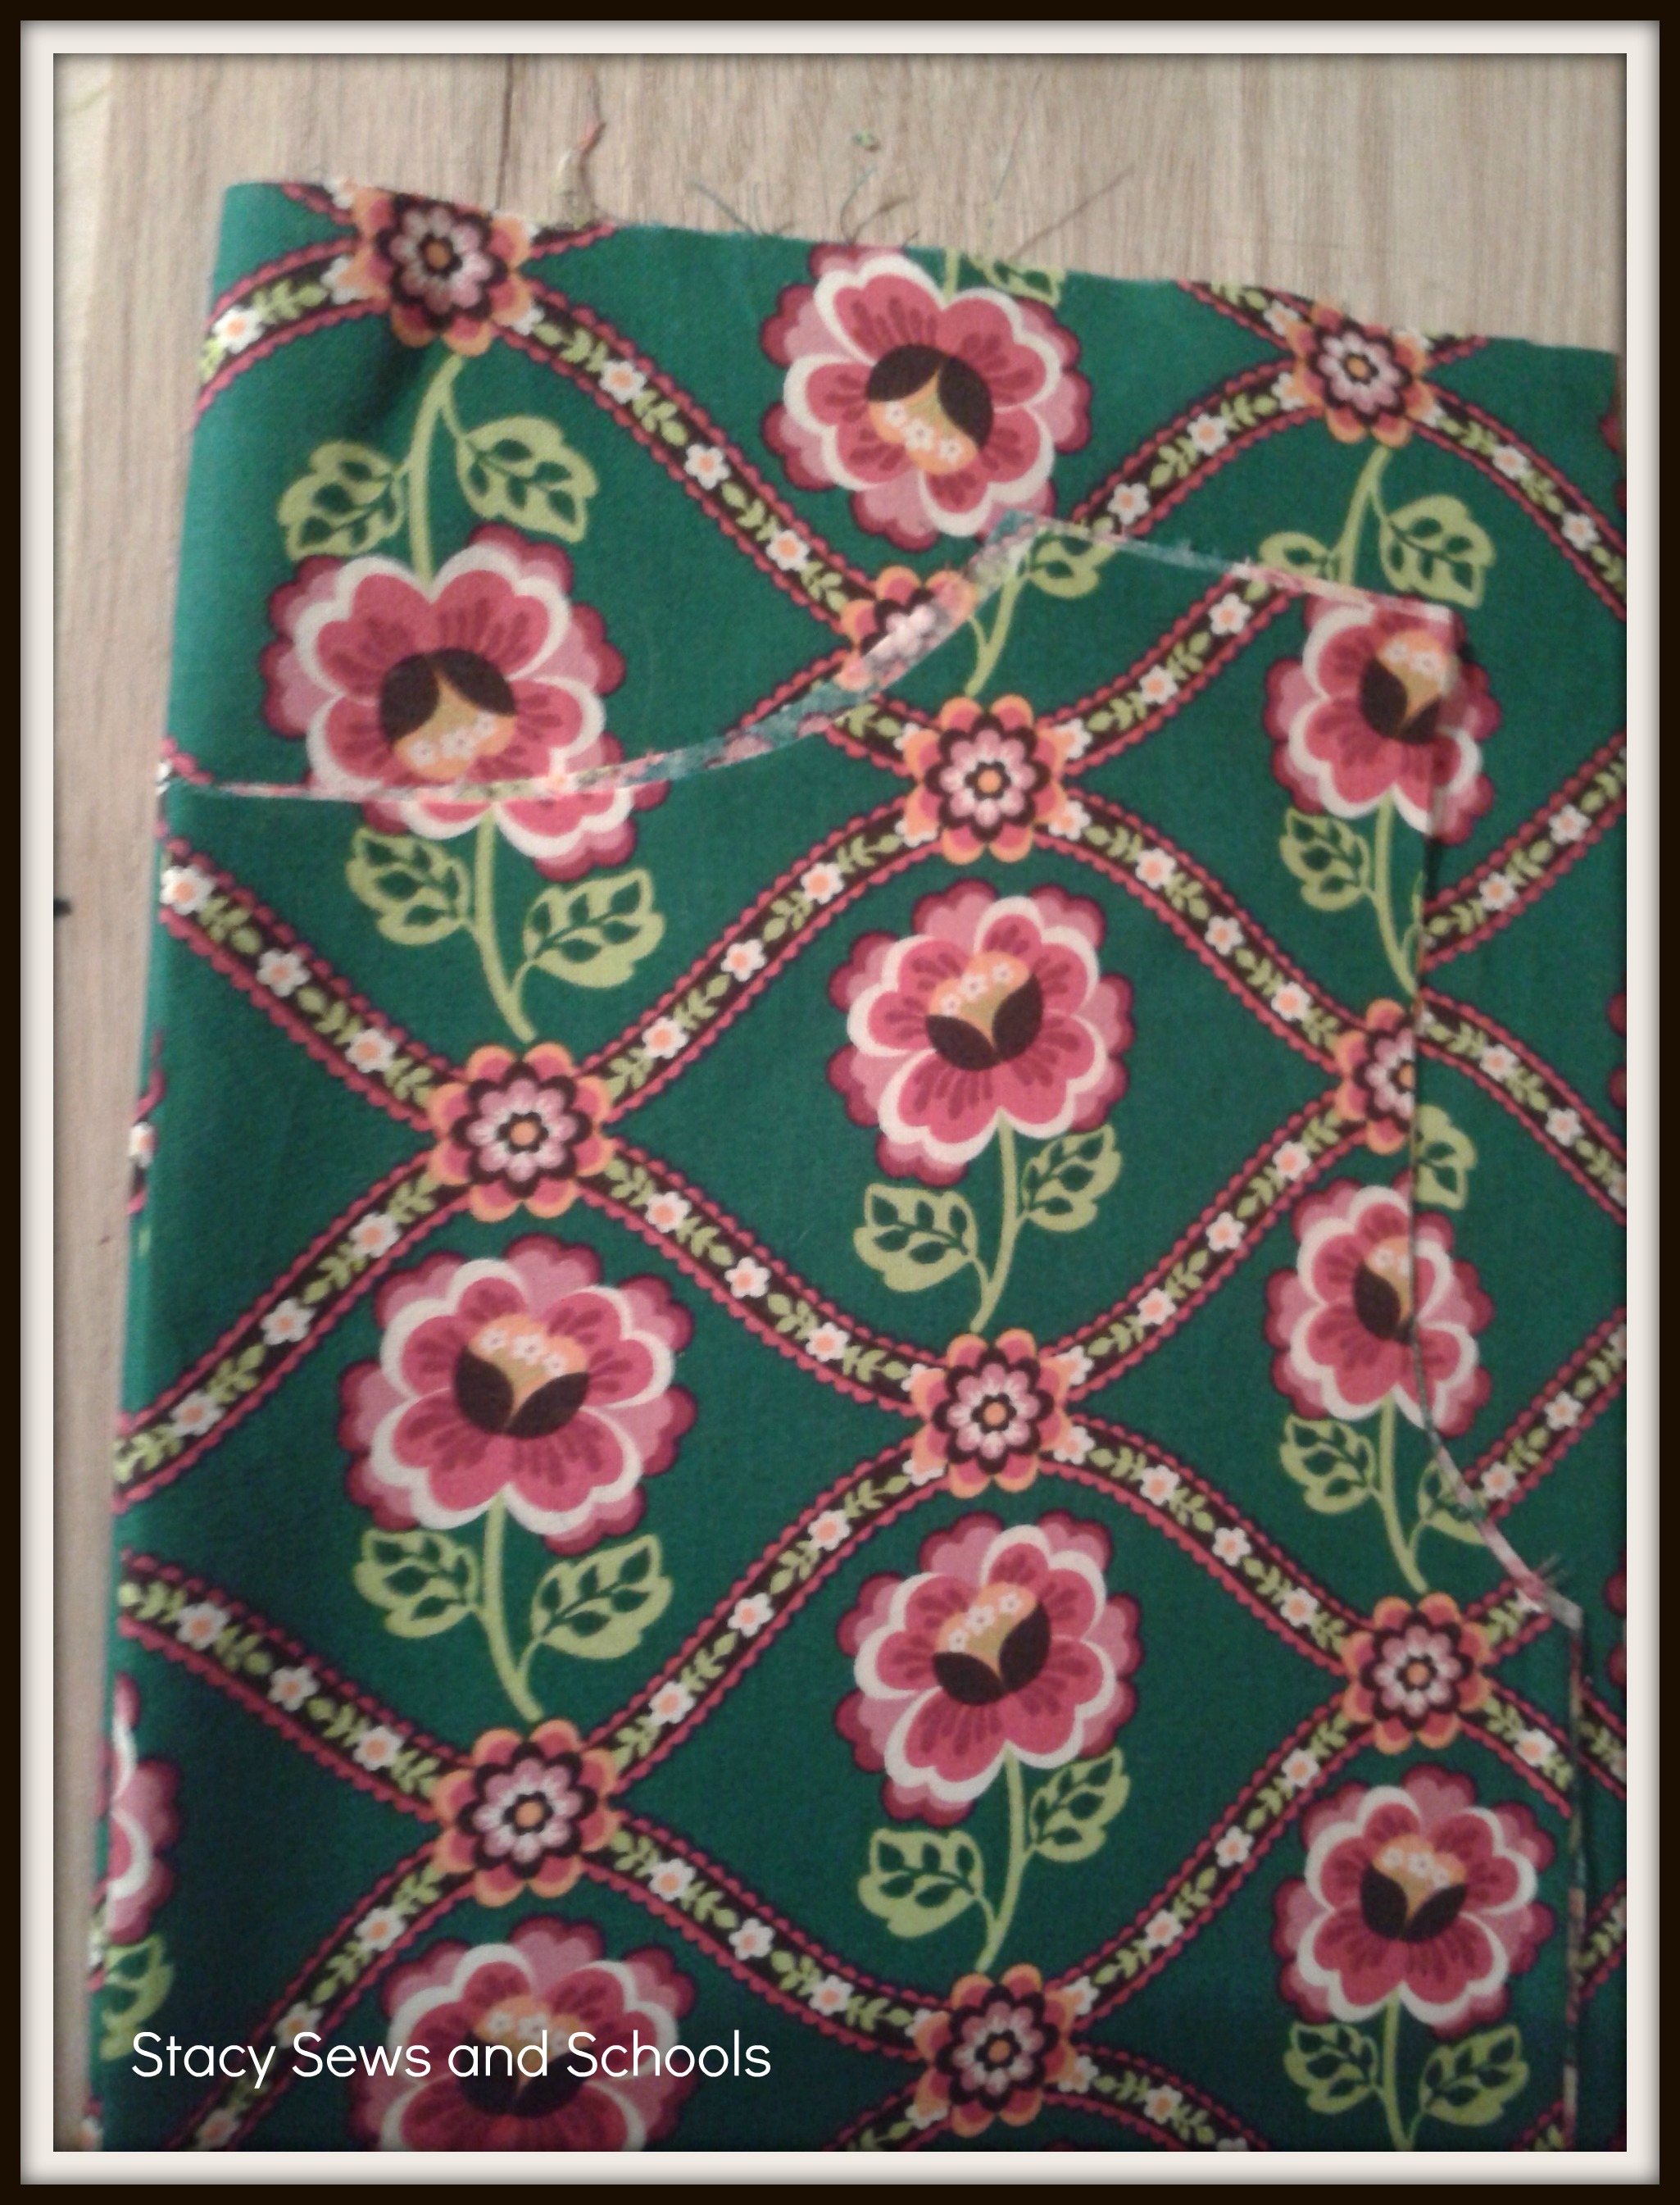
Step 5 - Take front dress piece and  place over folded fabric. Cut back piece while using front piece as a guide.  You may want to pin it.


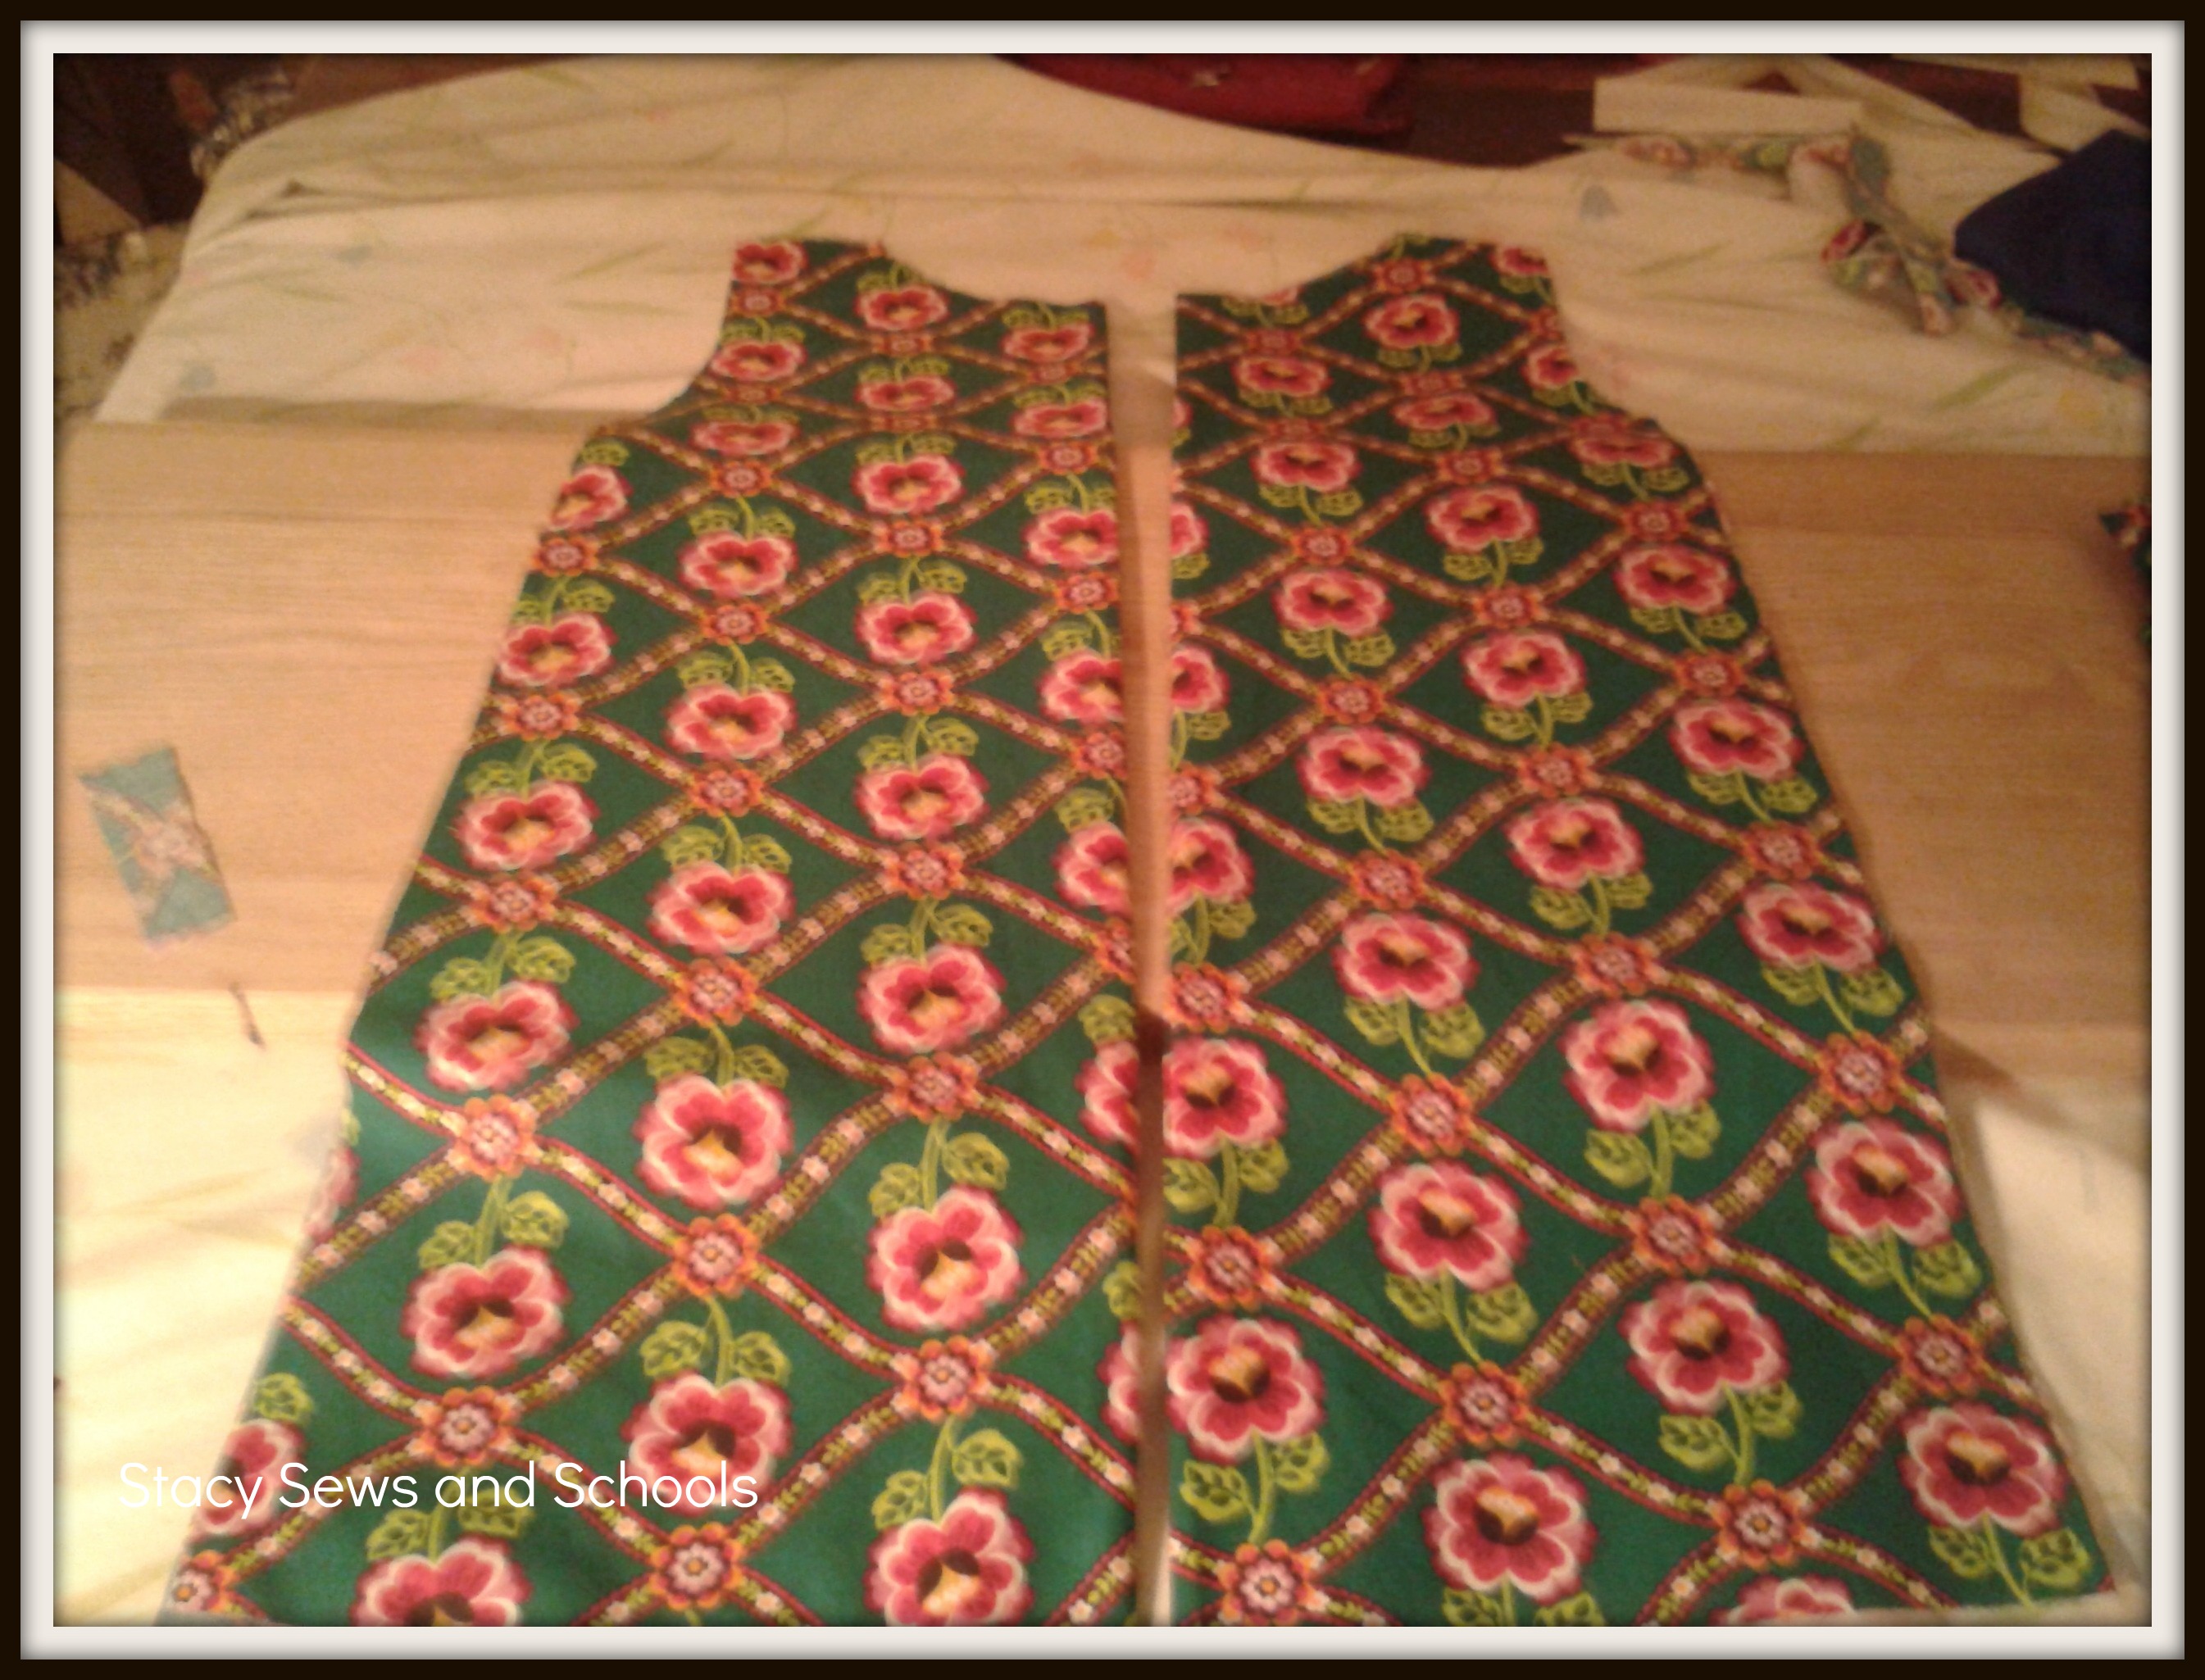
This is what you should have.


Step 6- Remove cat from your work area!


Step 7 - Take your scraps and find something to use as a guide to cut them in the shape you want them to be. Well, I guess you could just eye-ball it.... LOL  Cut 4.


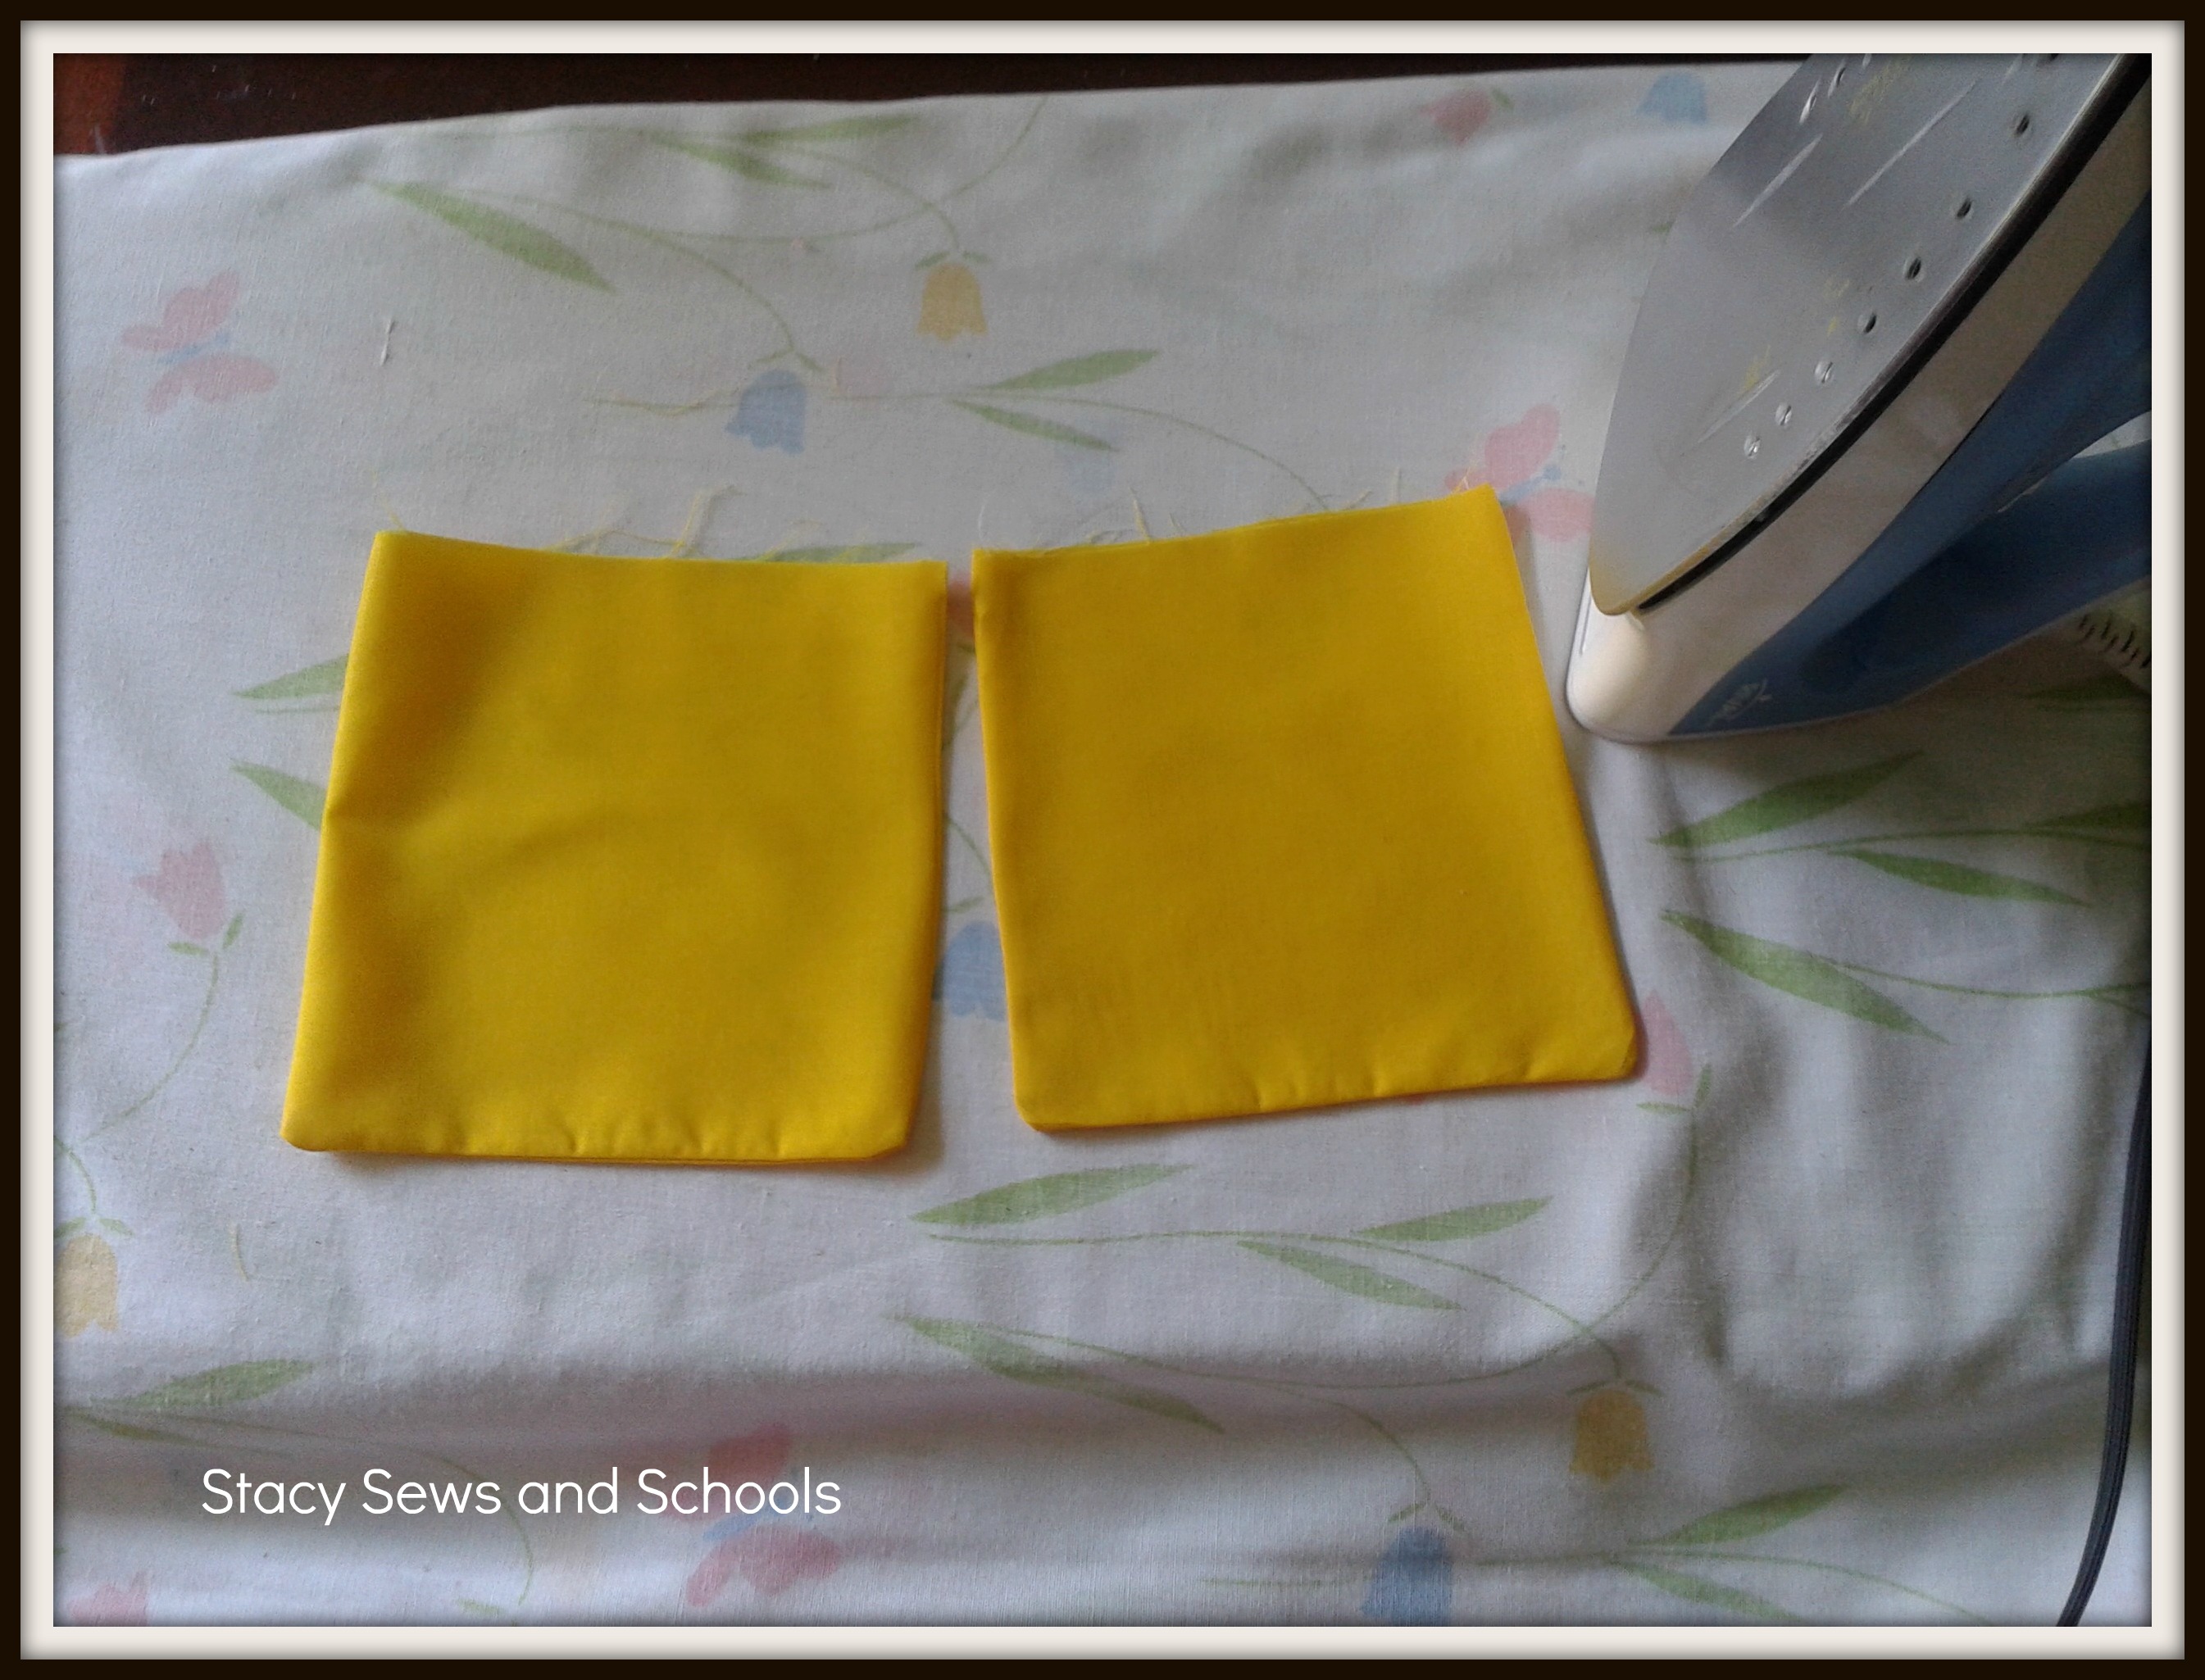
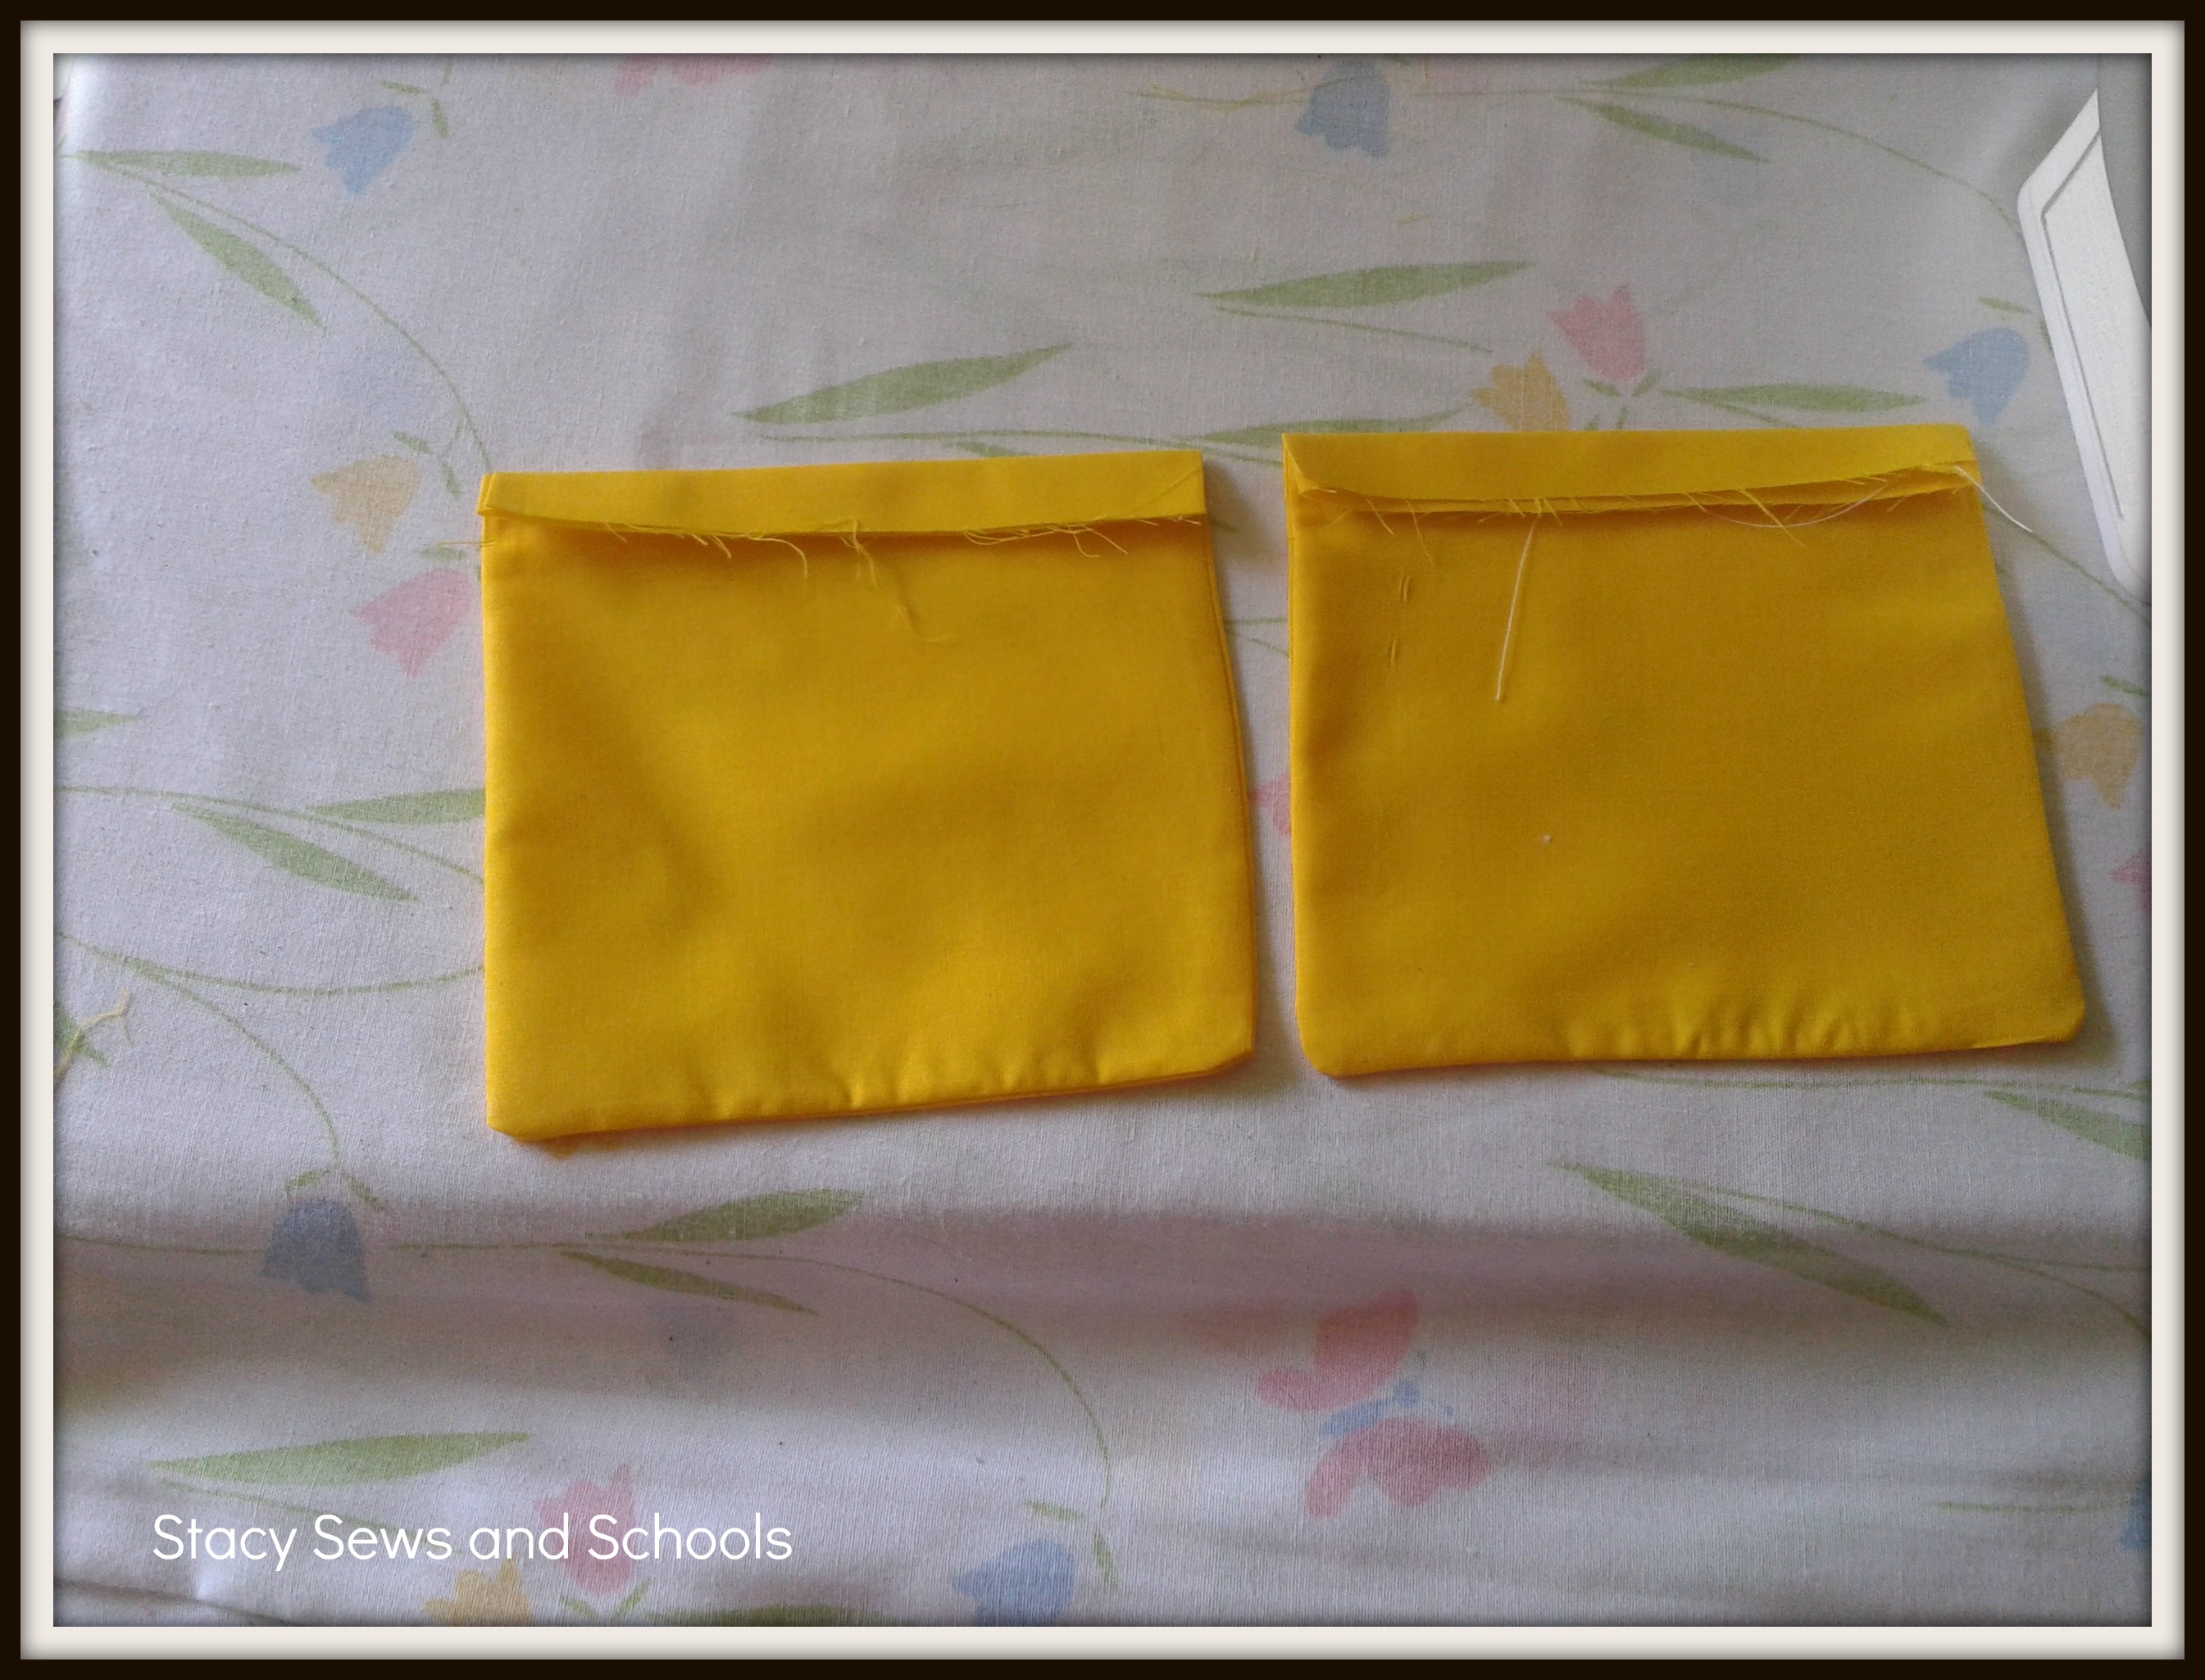
Step 8 - Pin 2 pieces together and sew up 3 sides. Do the same to the other 2 pieces.

Turn right side out and press.


Step 9 - Turn down 1/2" from the top and press.


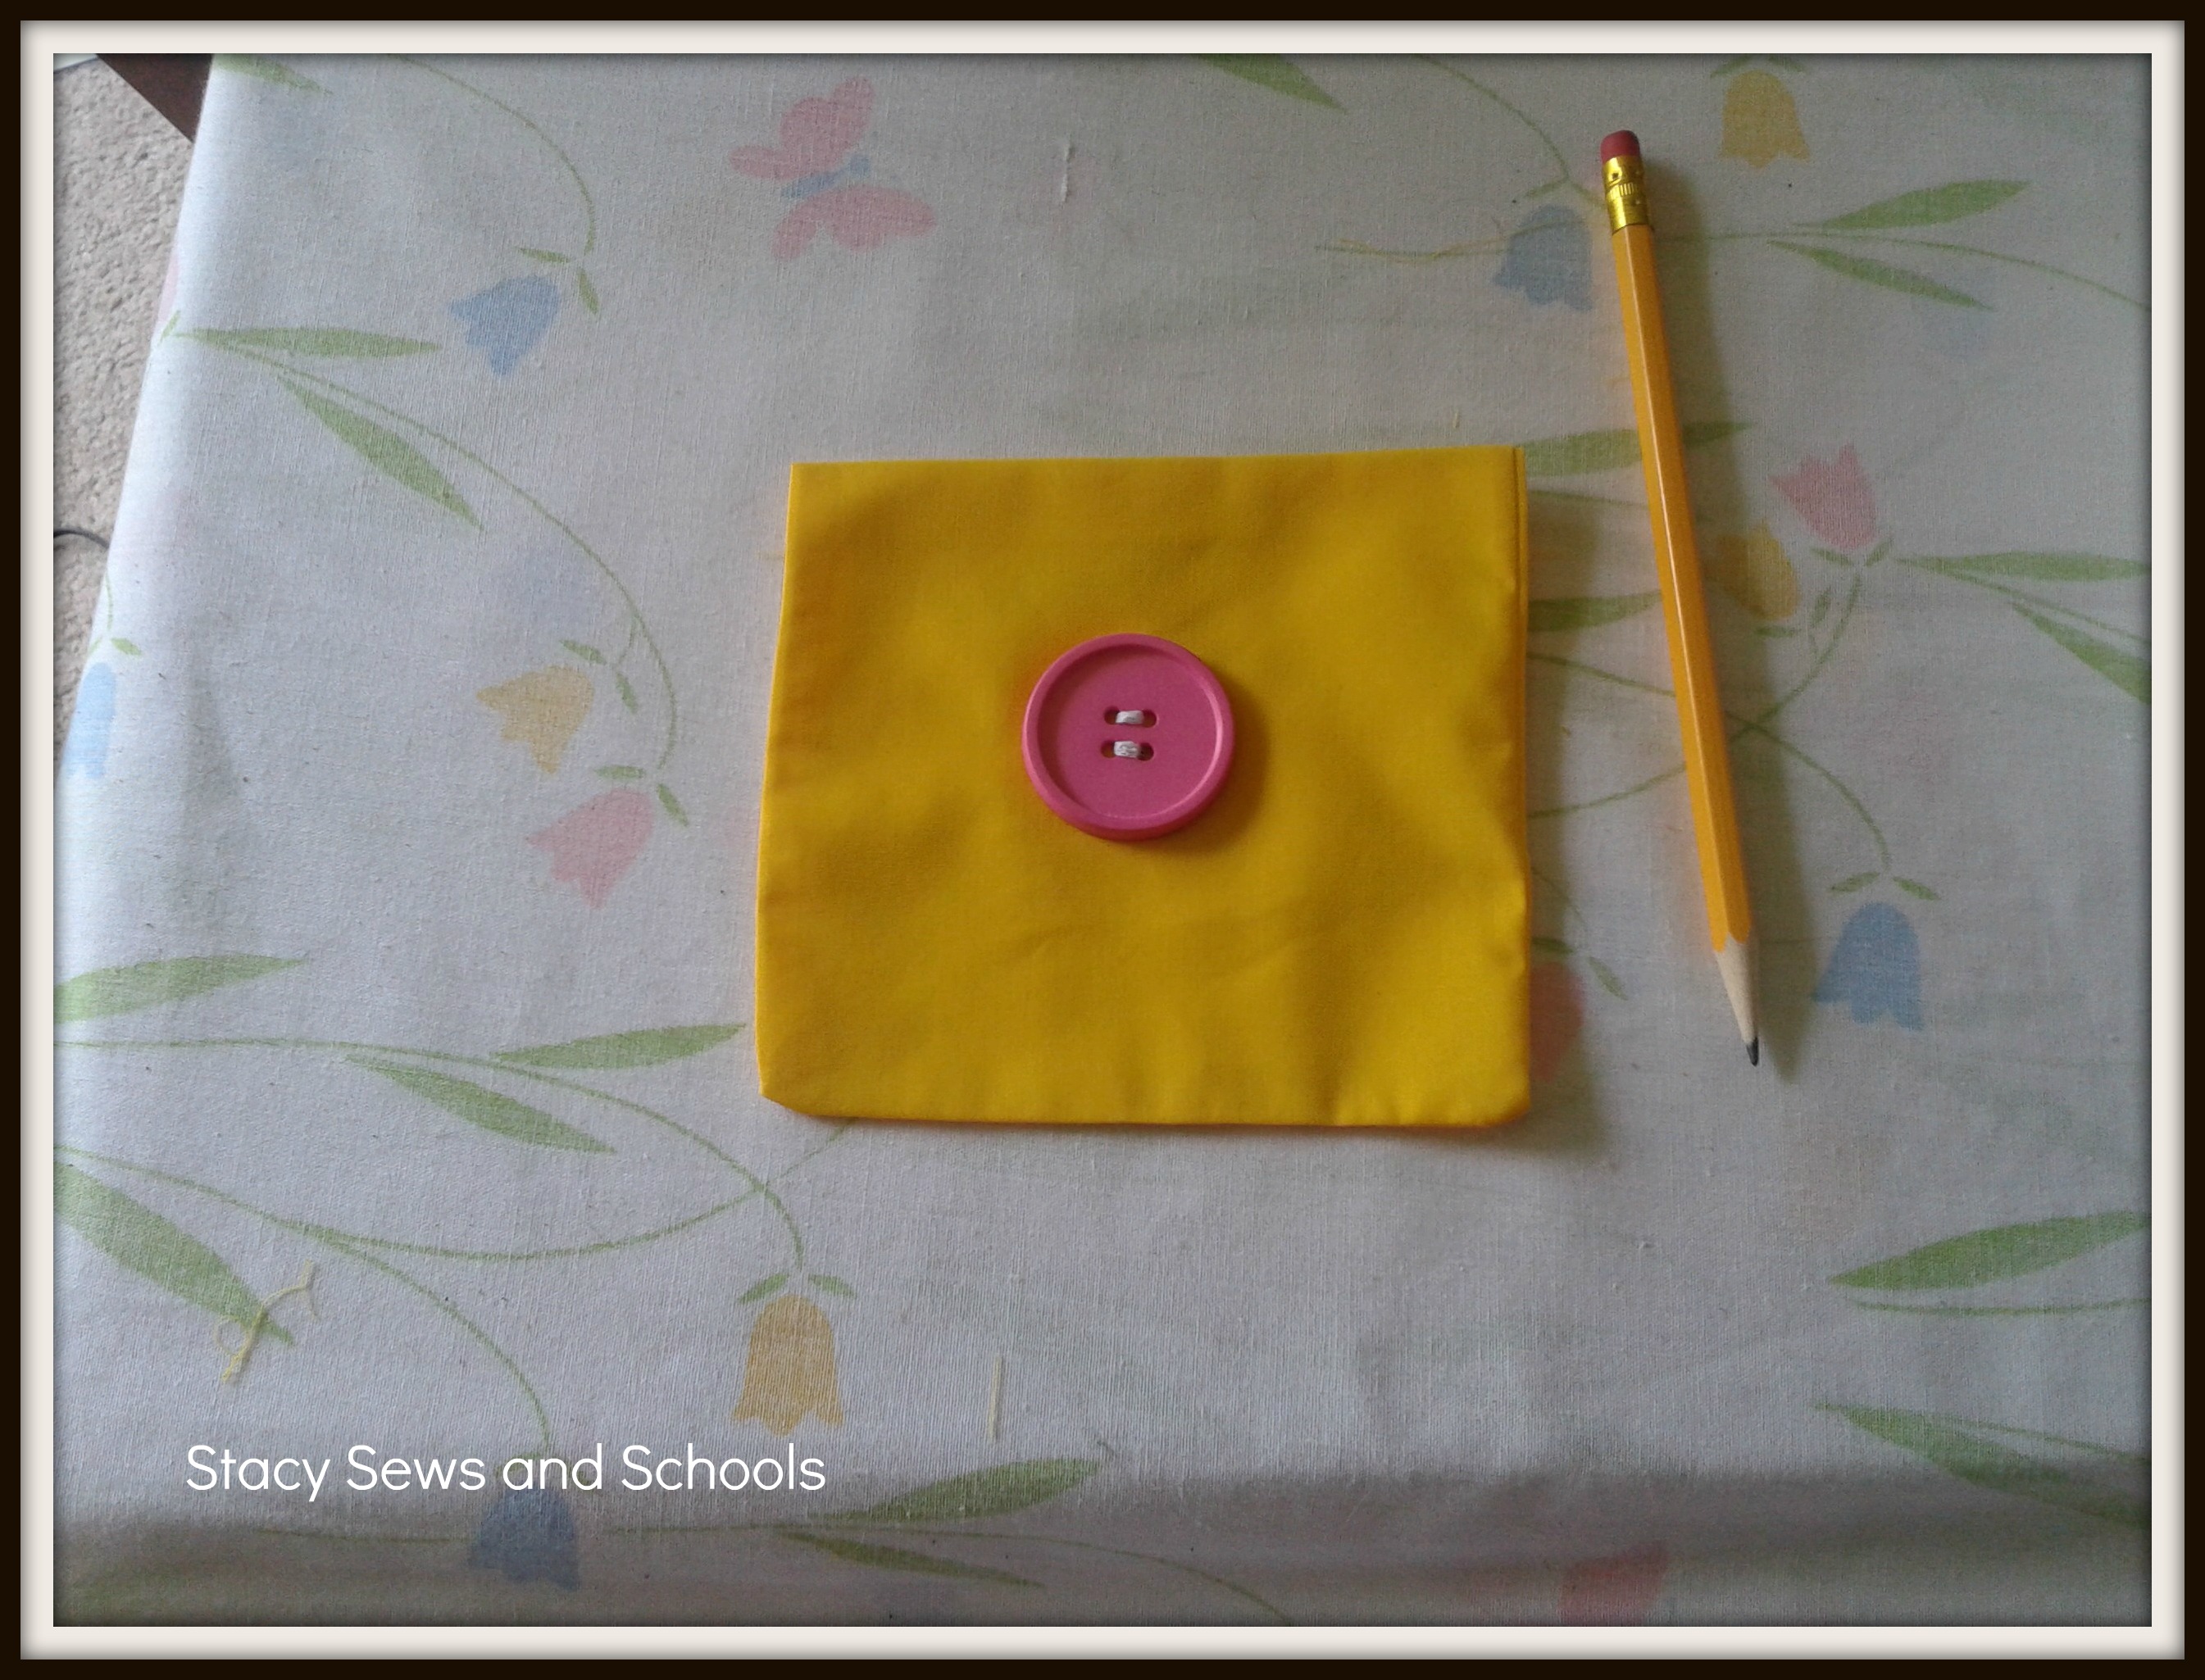
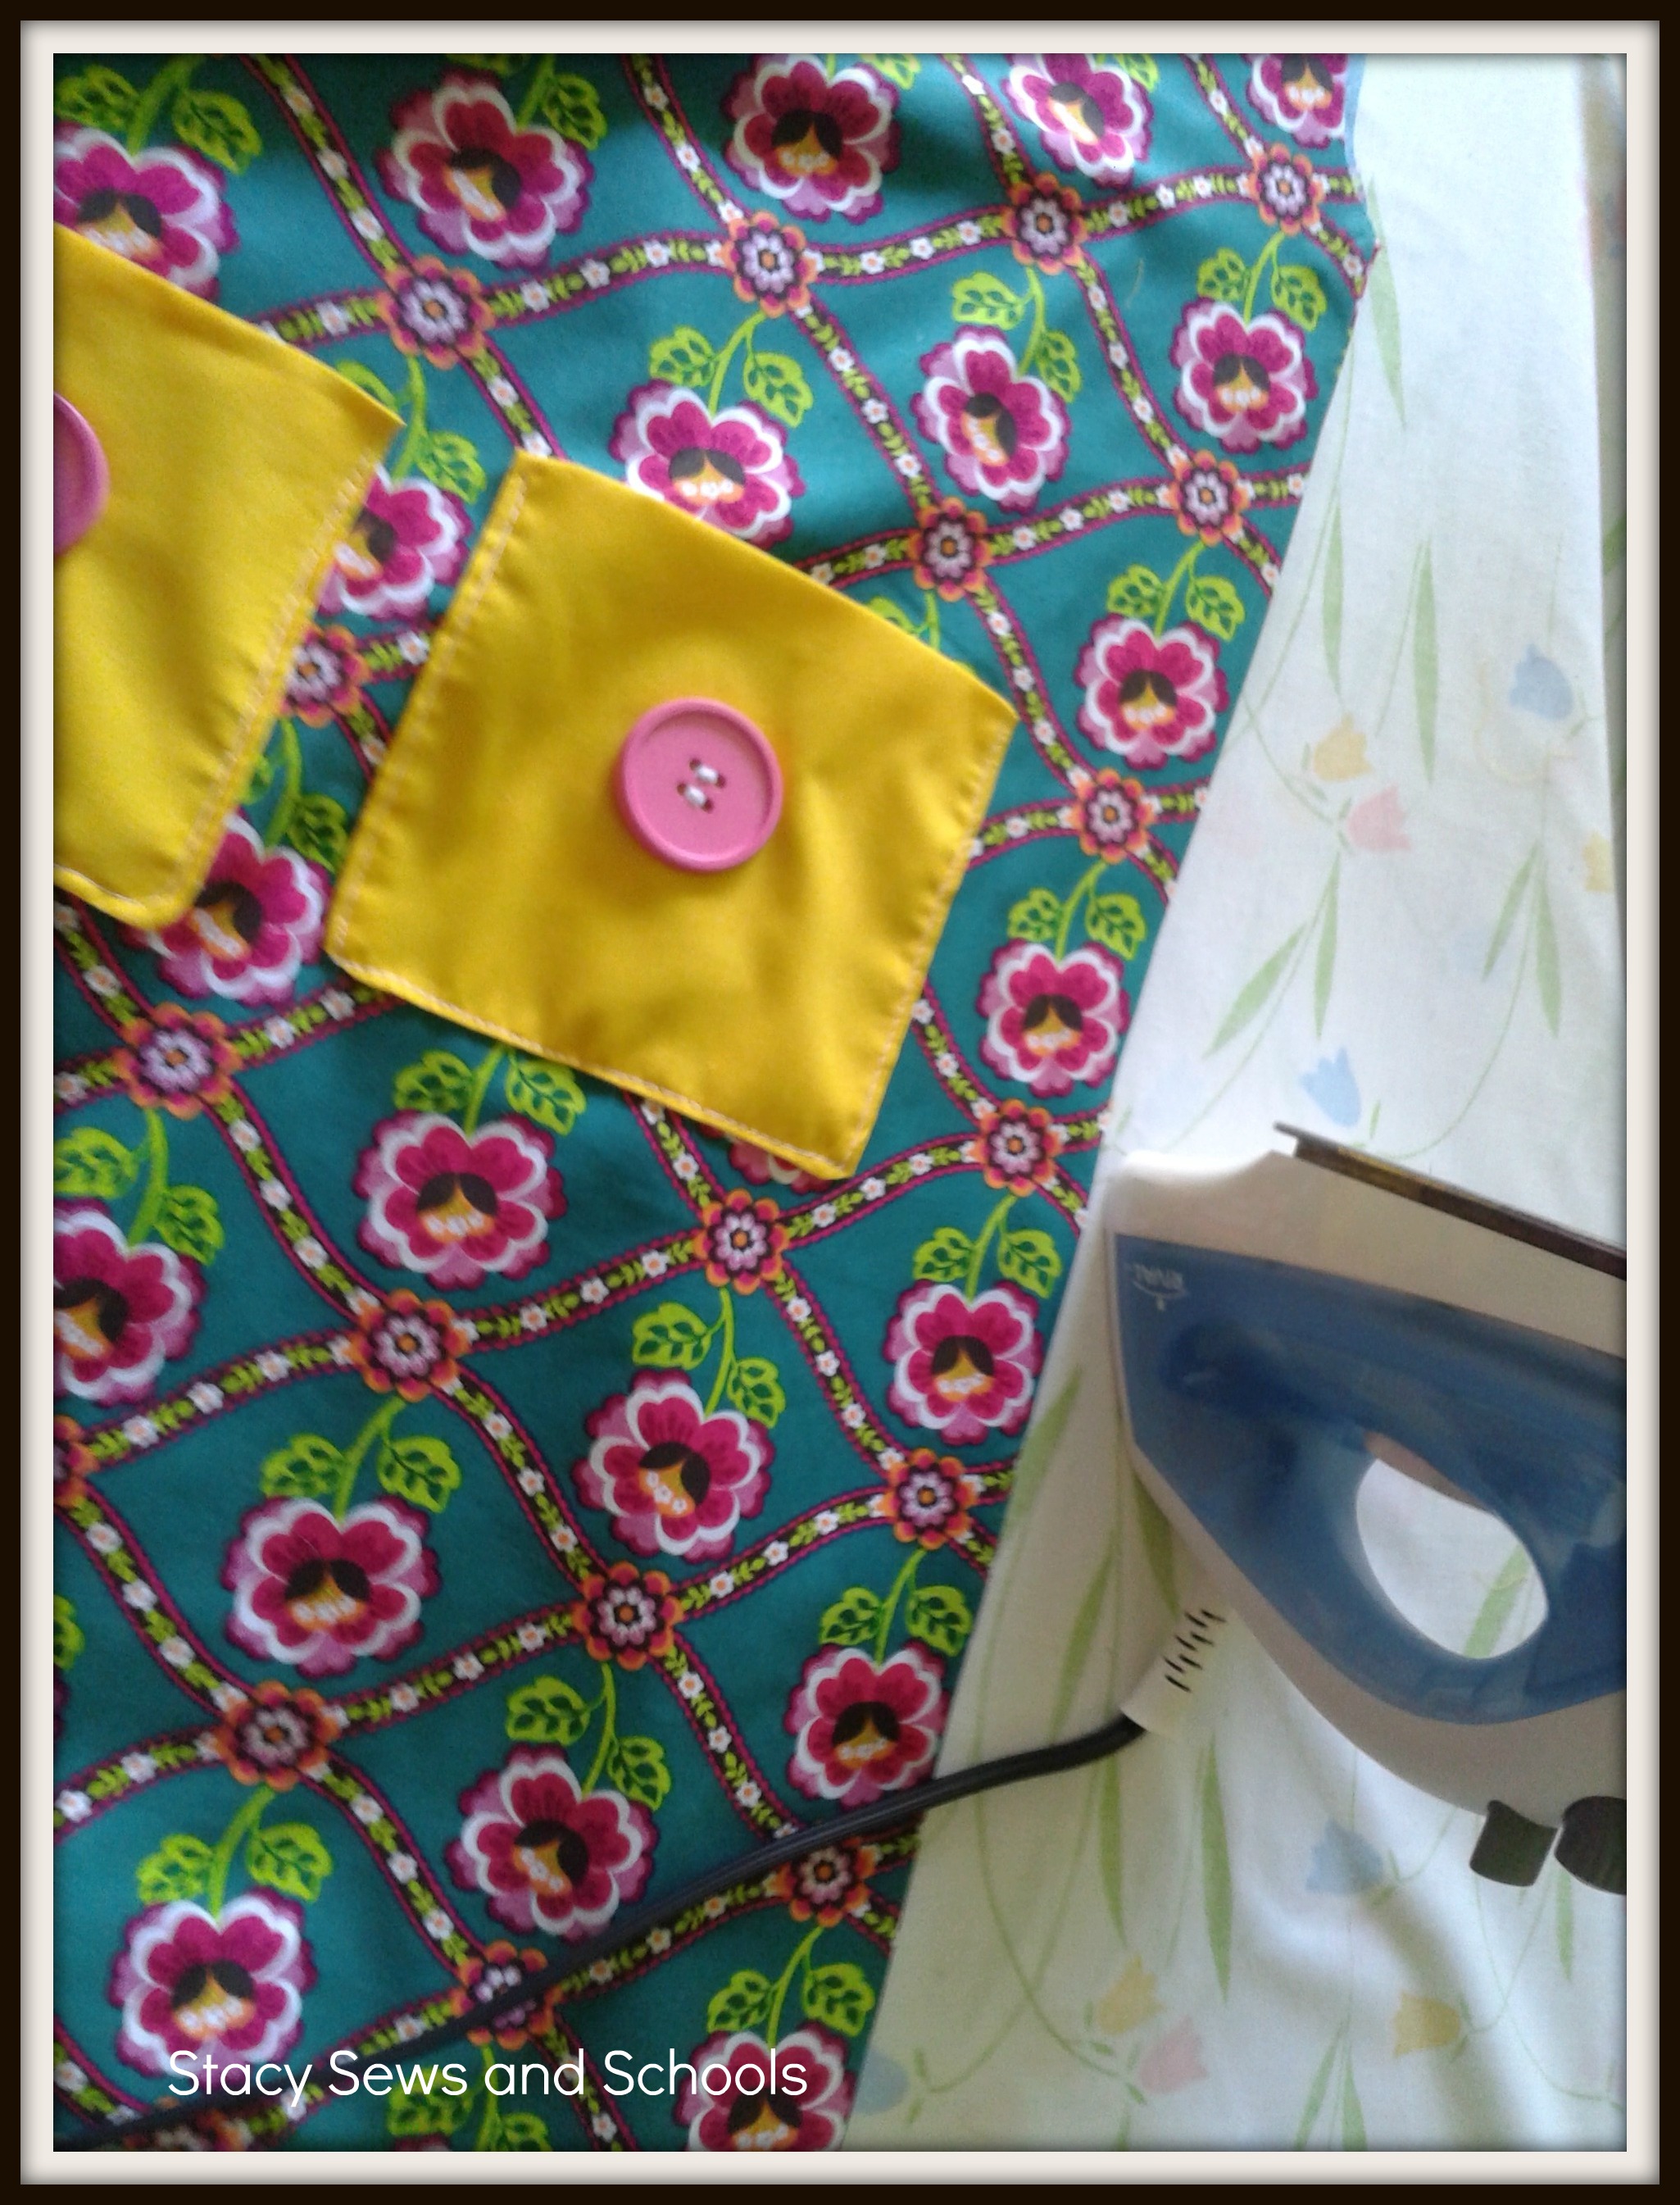
Step 10 - Figure out where you want to place your buttons on the pockets. Sew the buttons on.


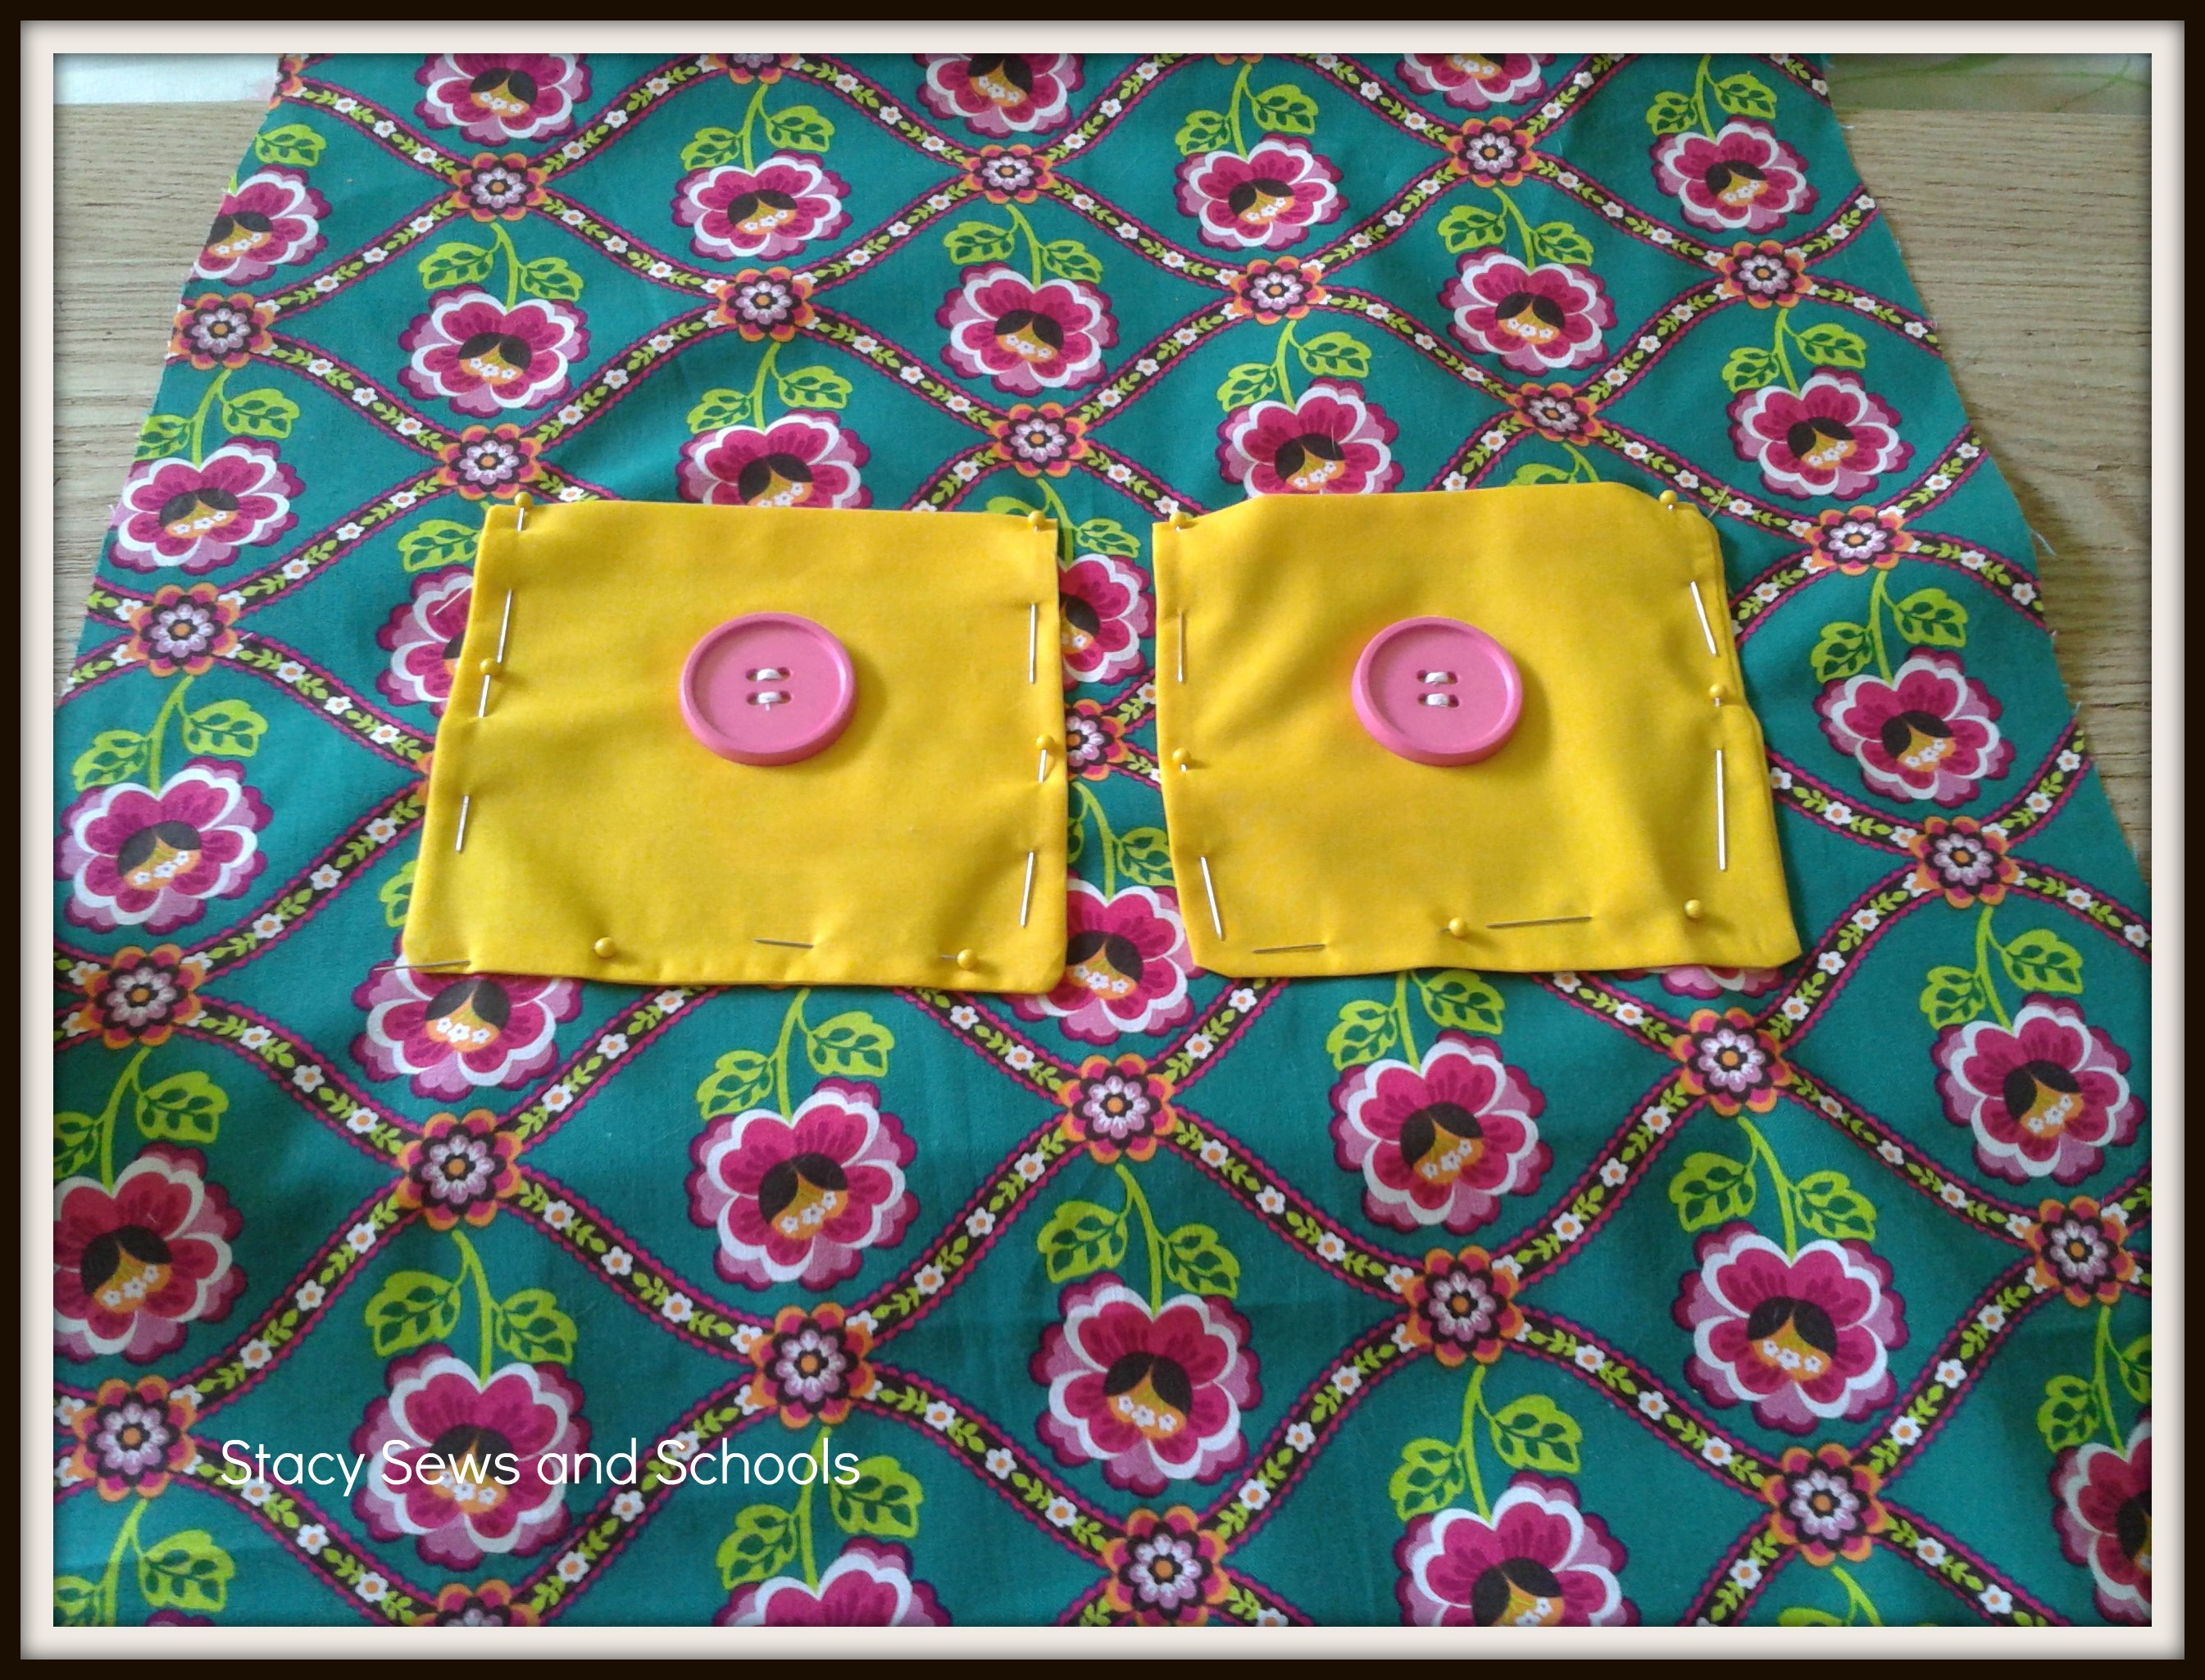
Step 11 - Pin the pockets on the front and sew the 3 sides.


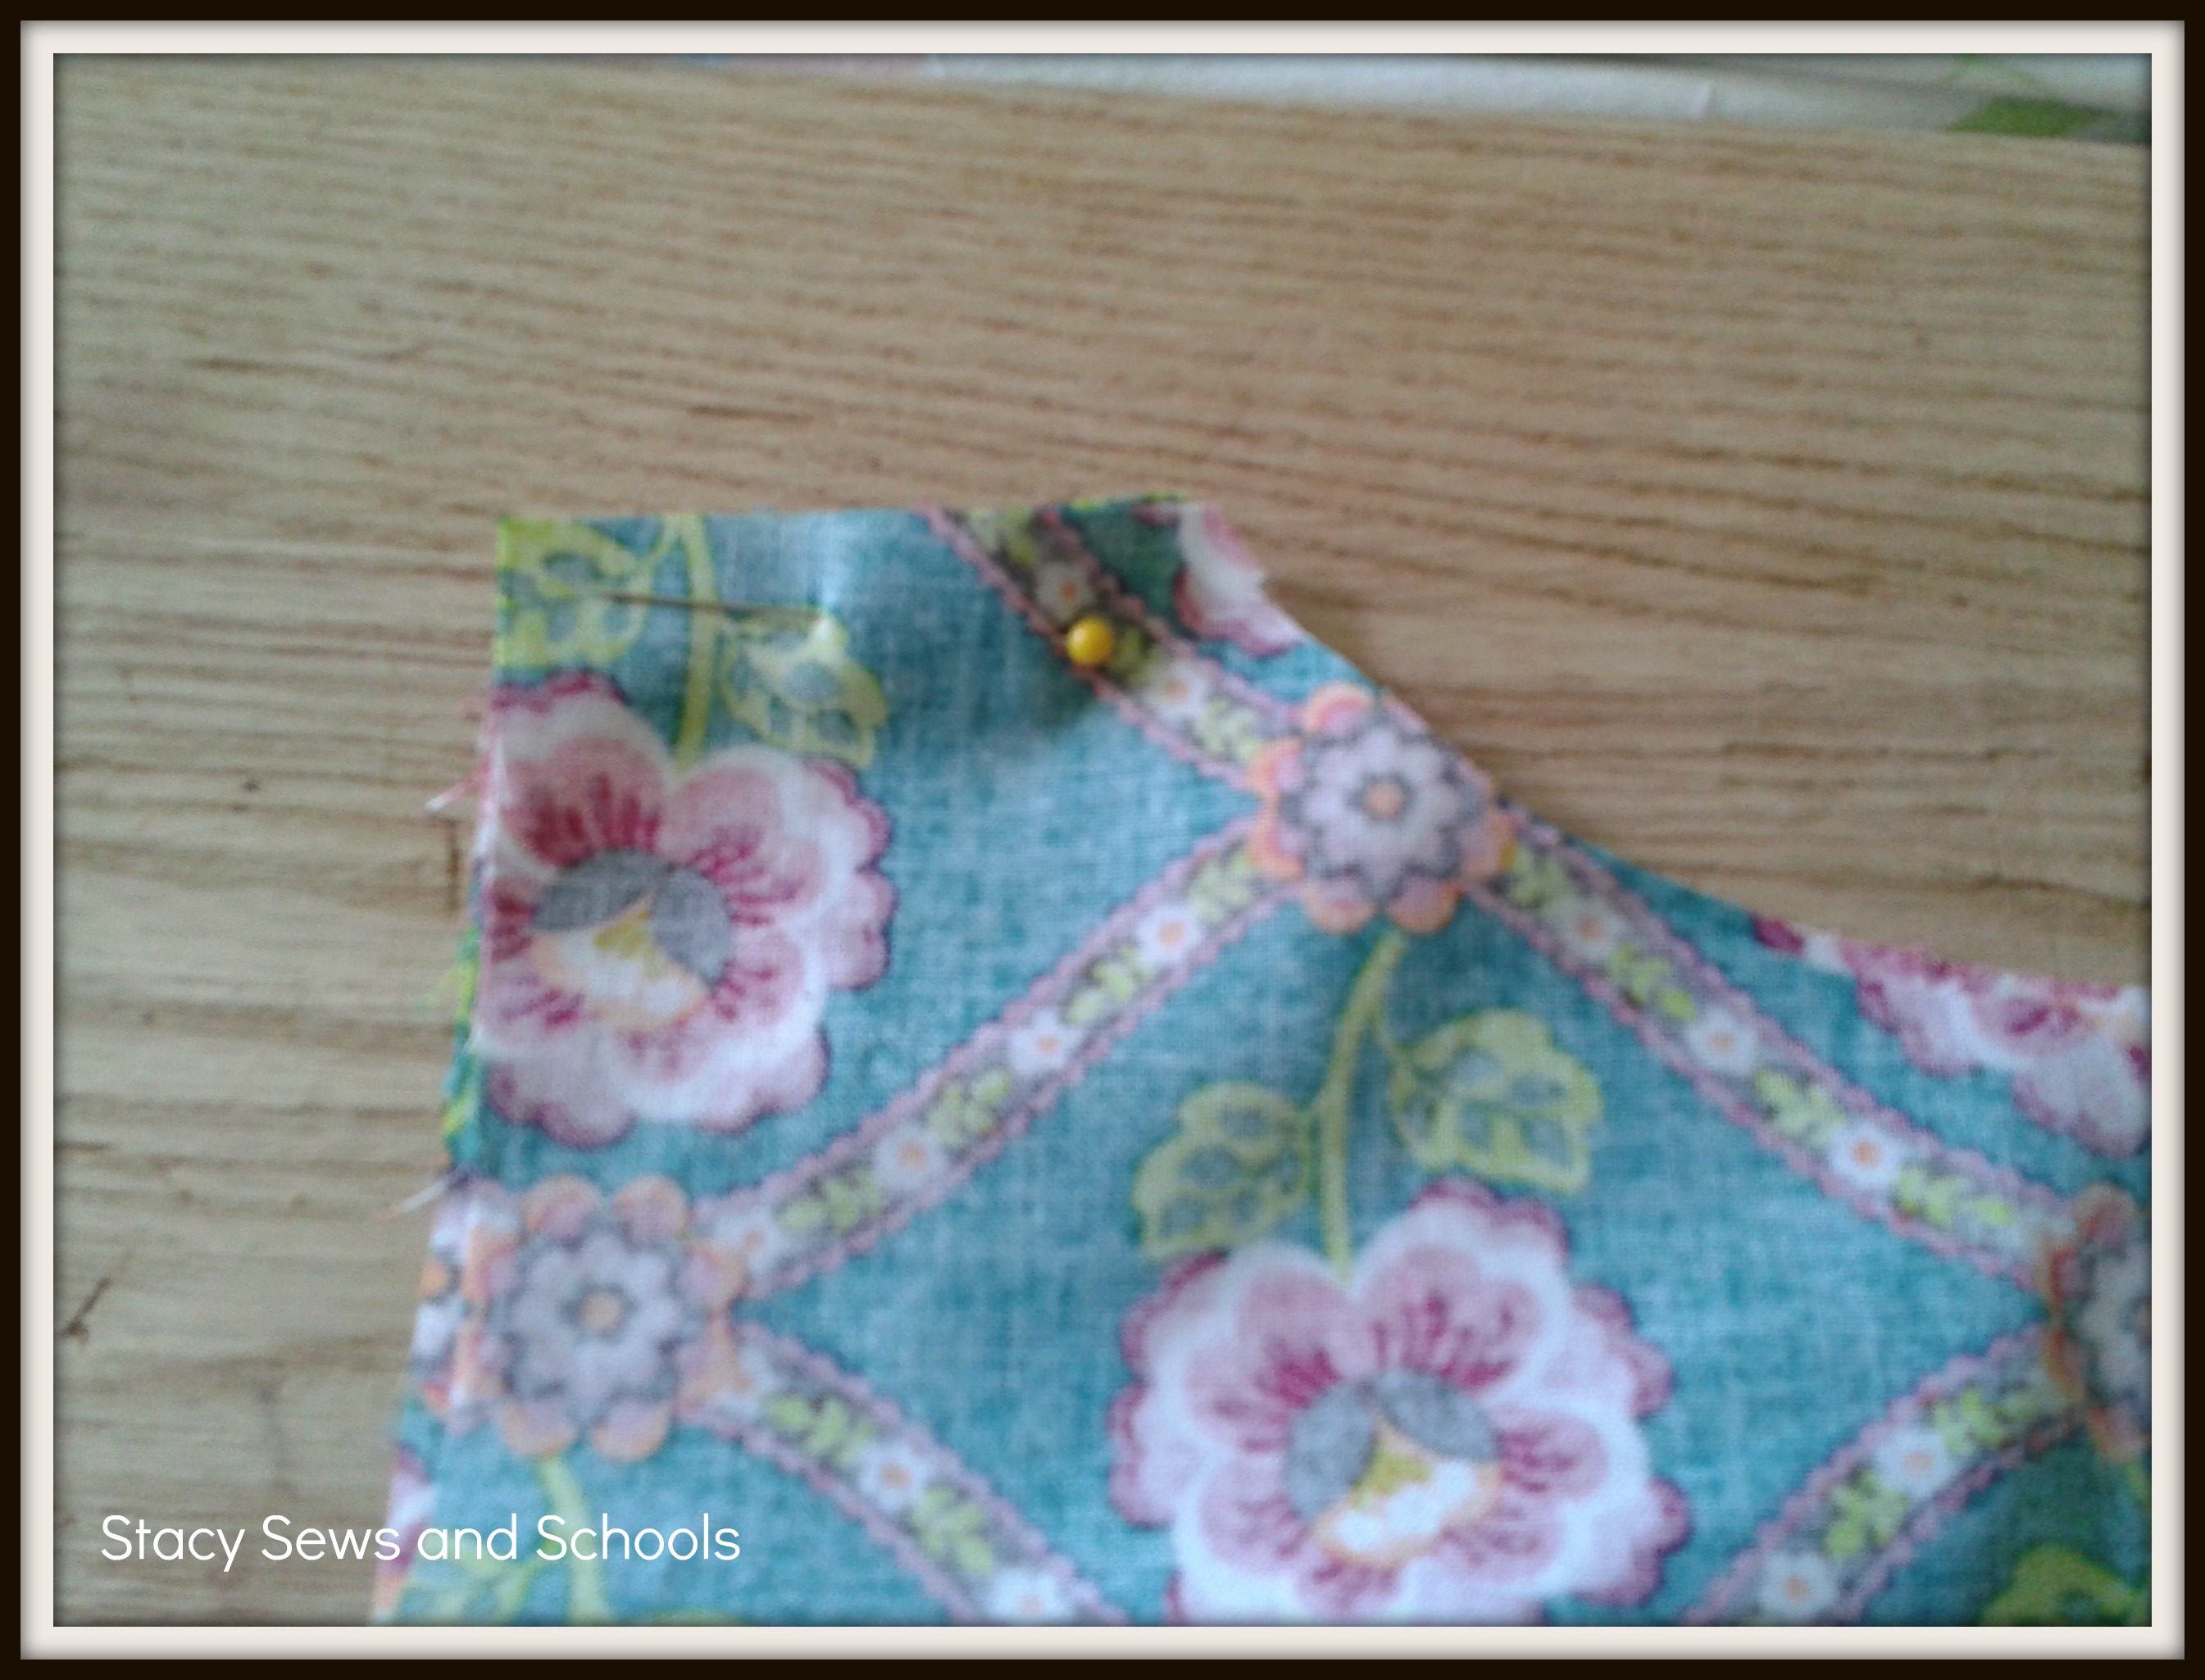
Step 12 - Place the front and the back right sides together. Pin the tops of the dress and both sides. Sew them together.  Press your seams.


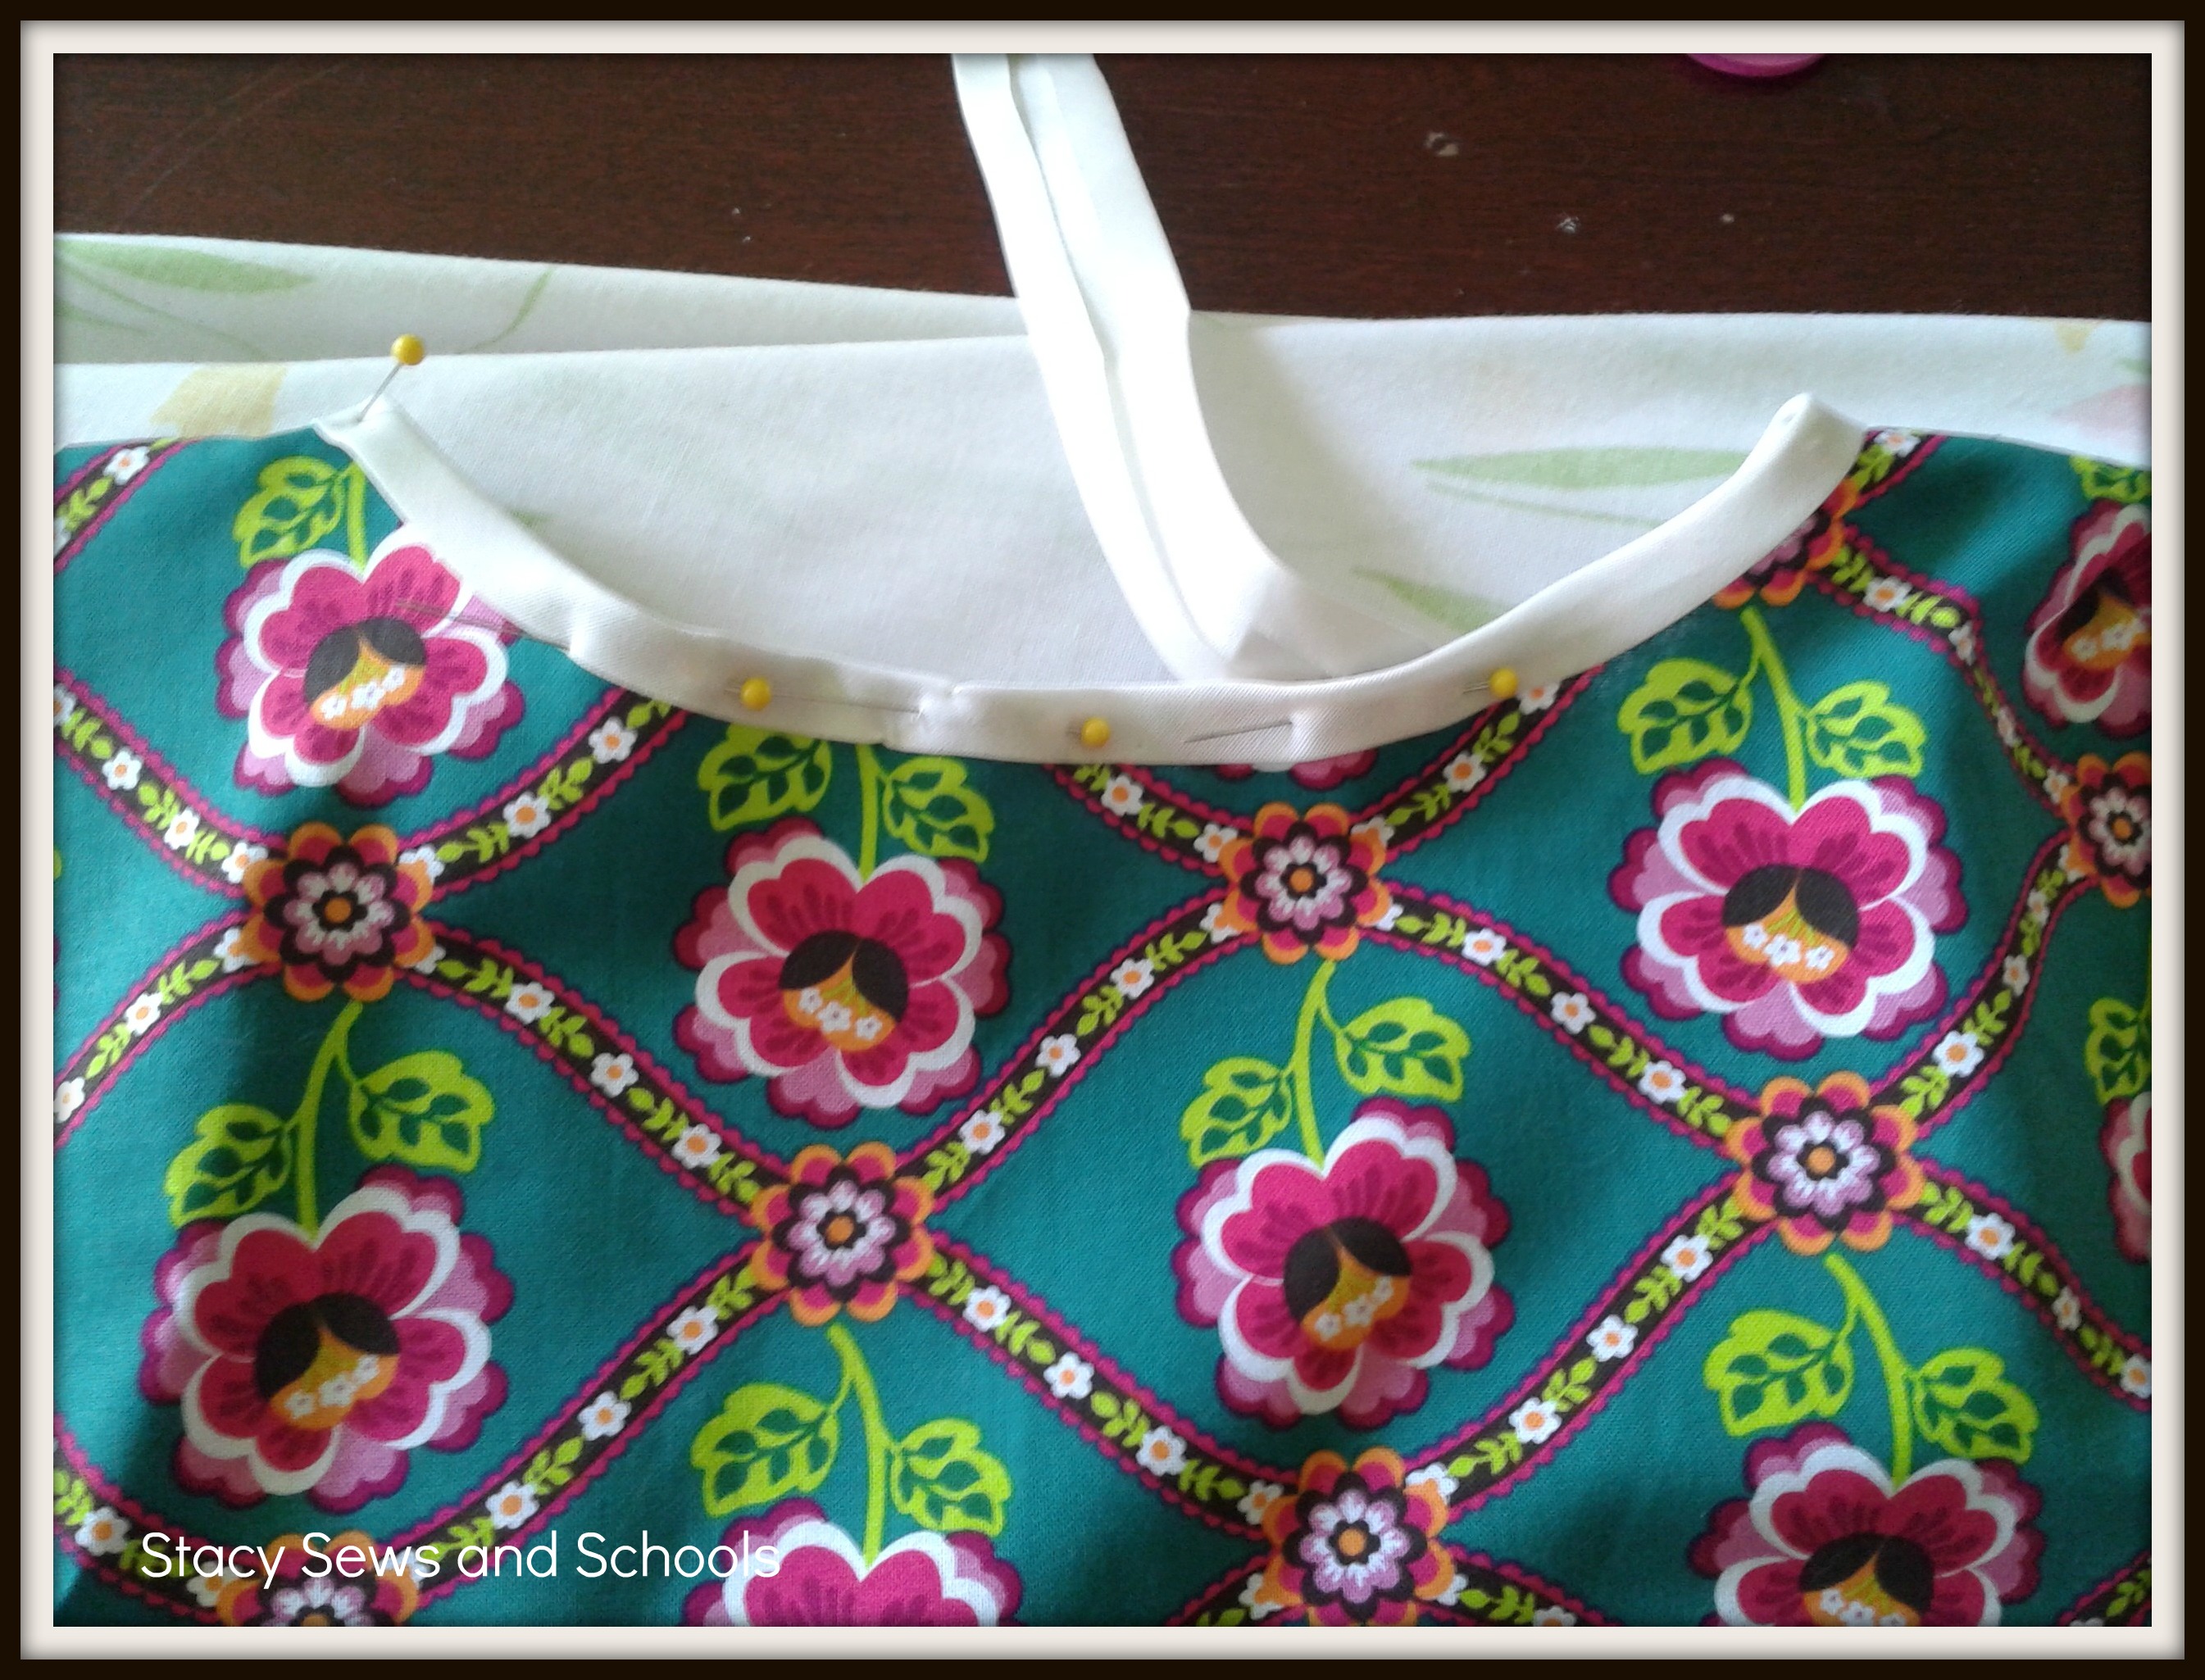
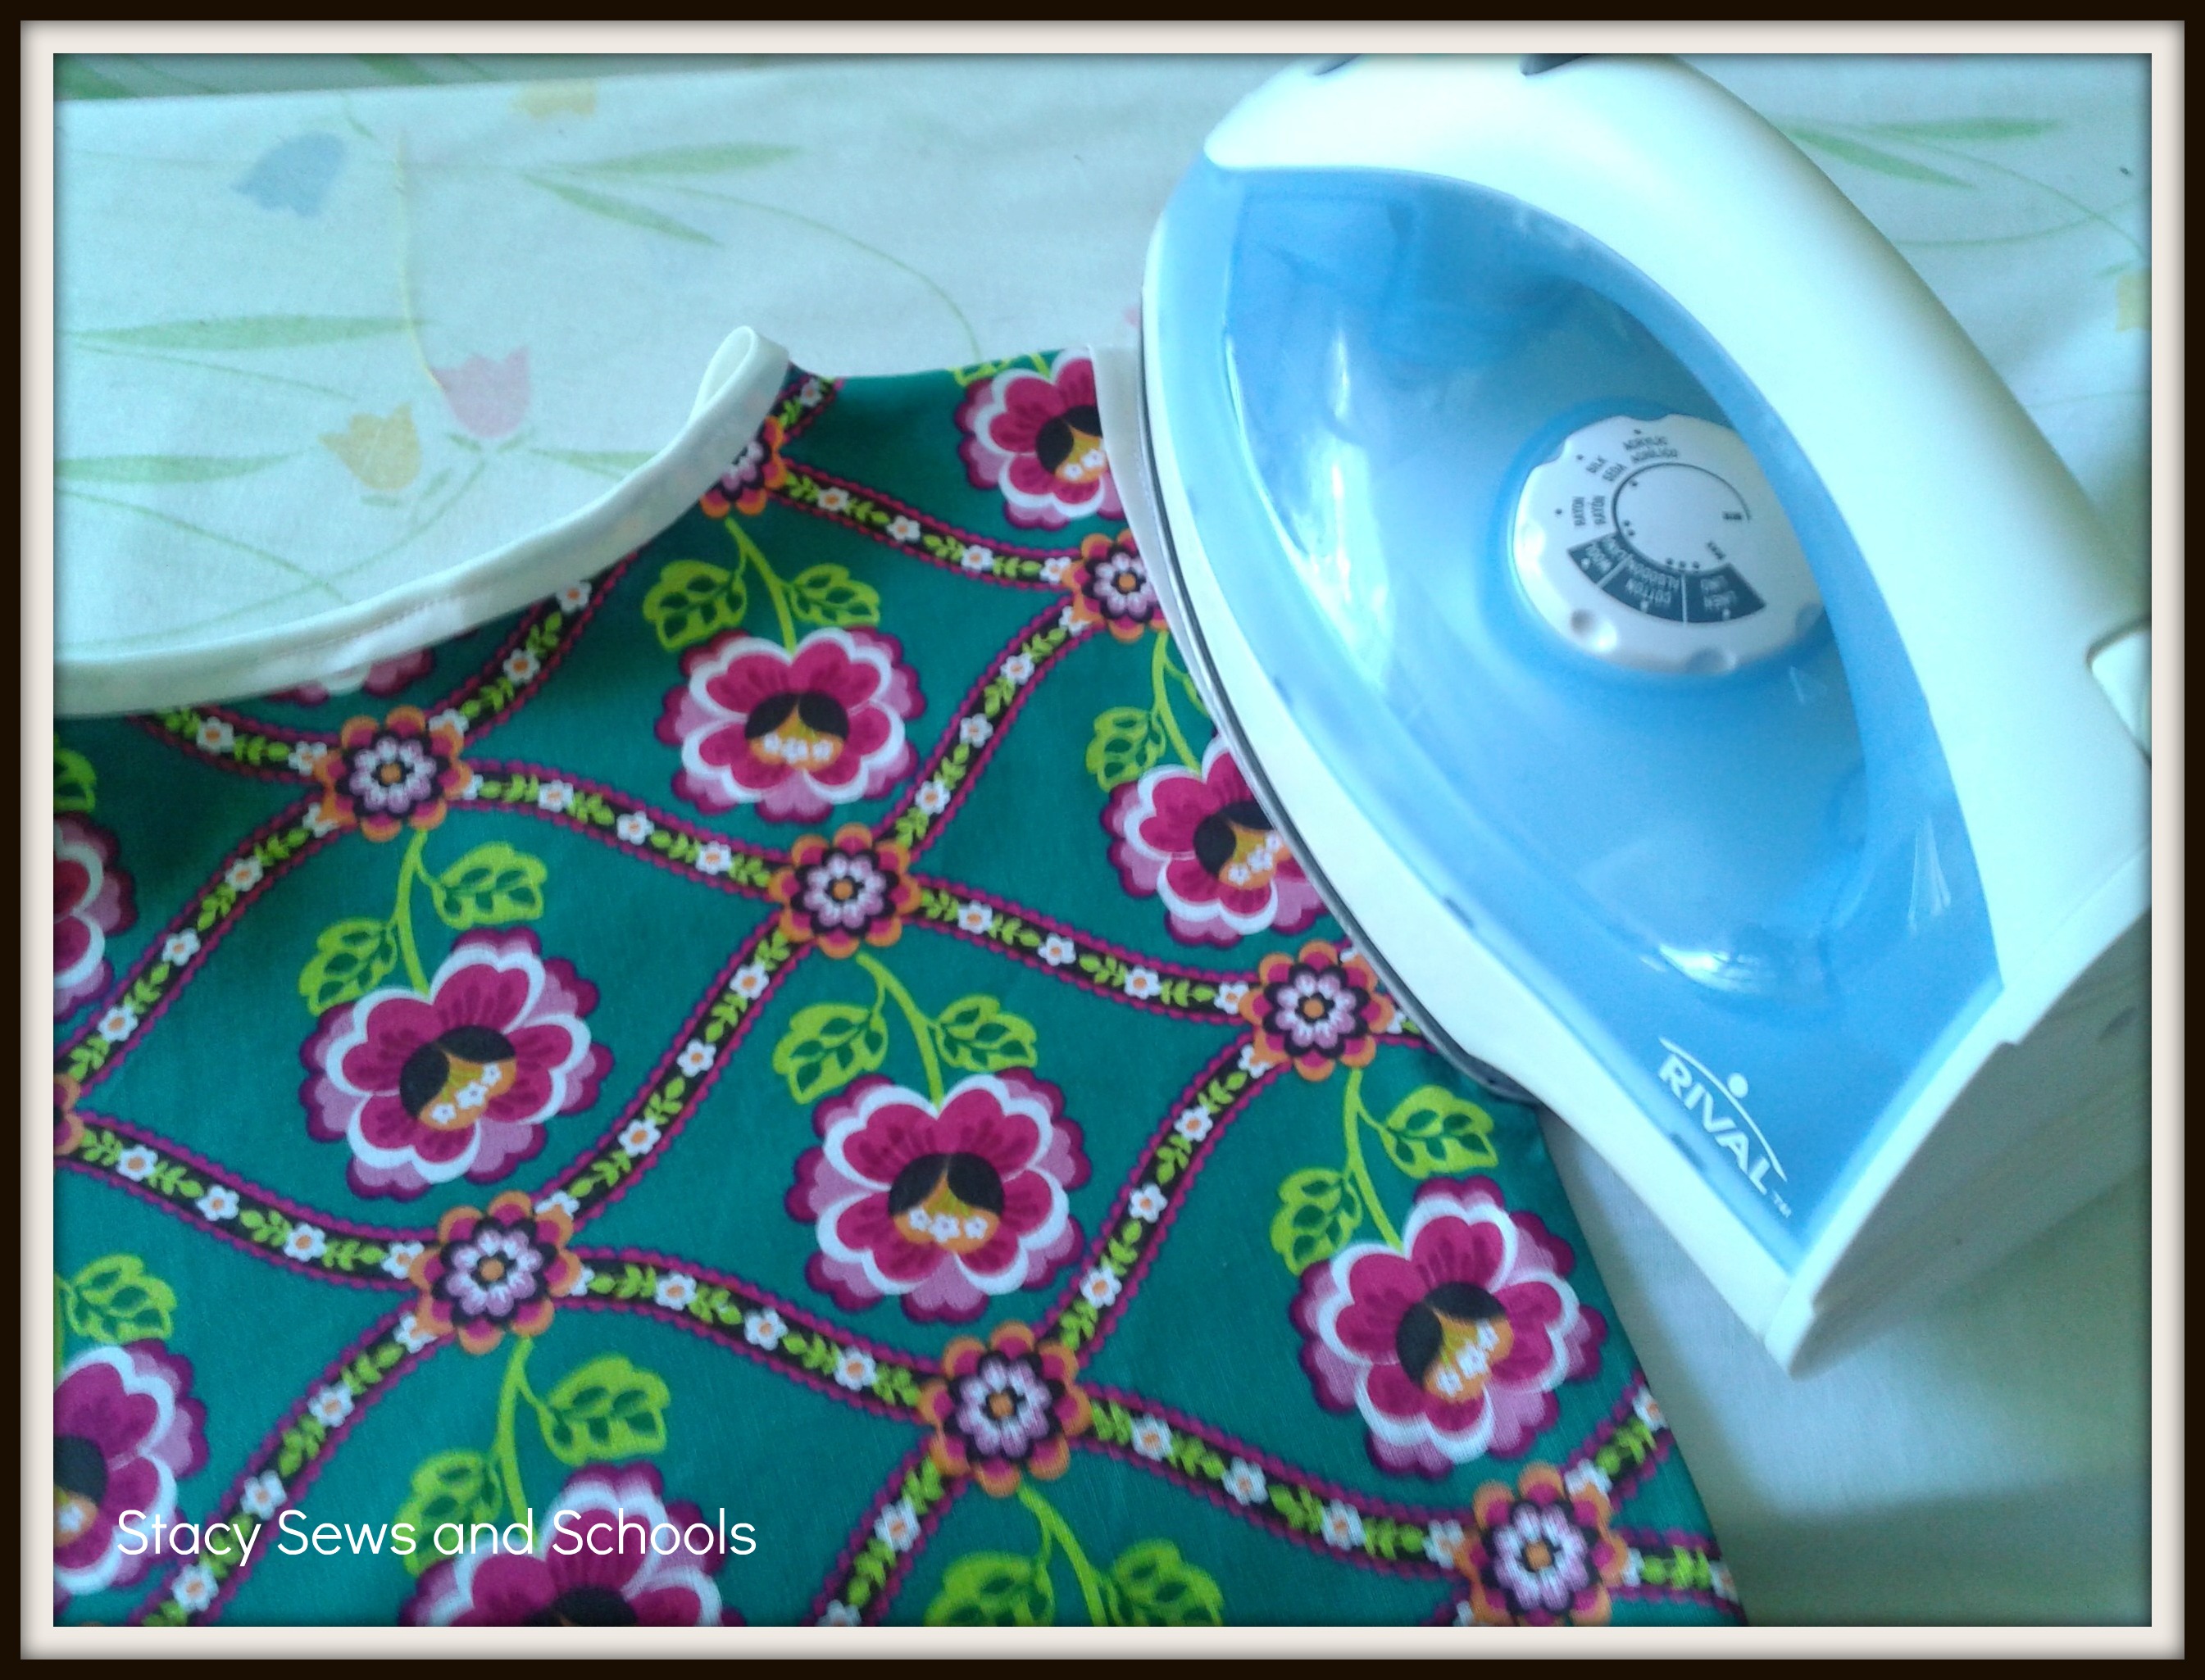
Step 13 - Open your bias tape and pin it around the neckline and armholes. Sew it in place and press.


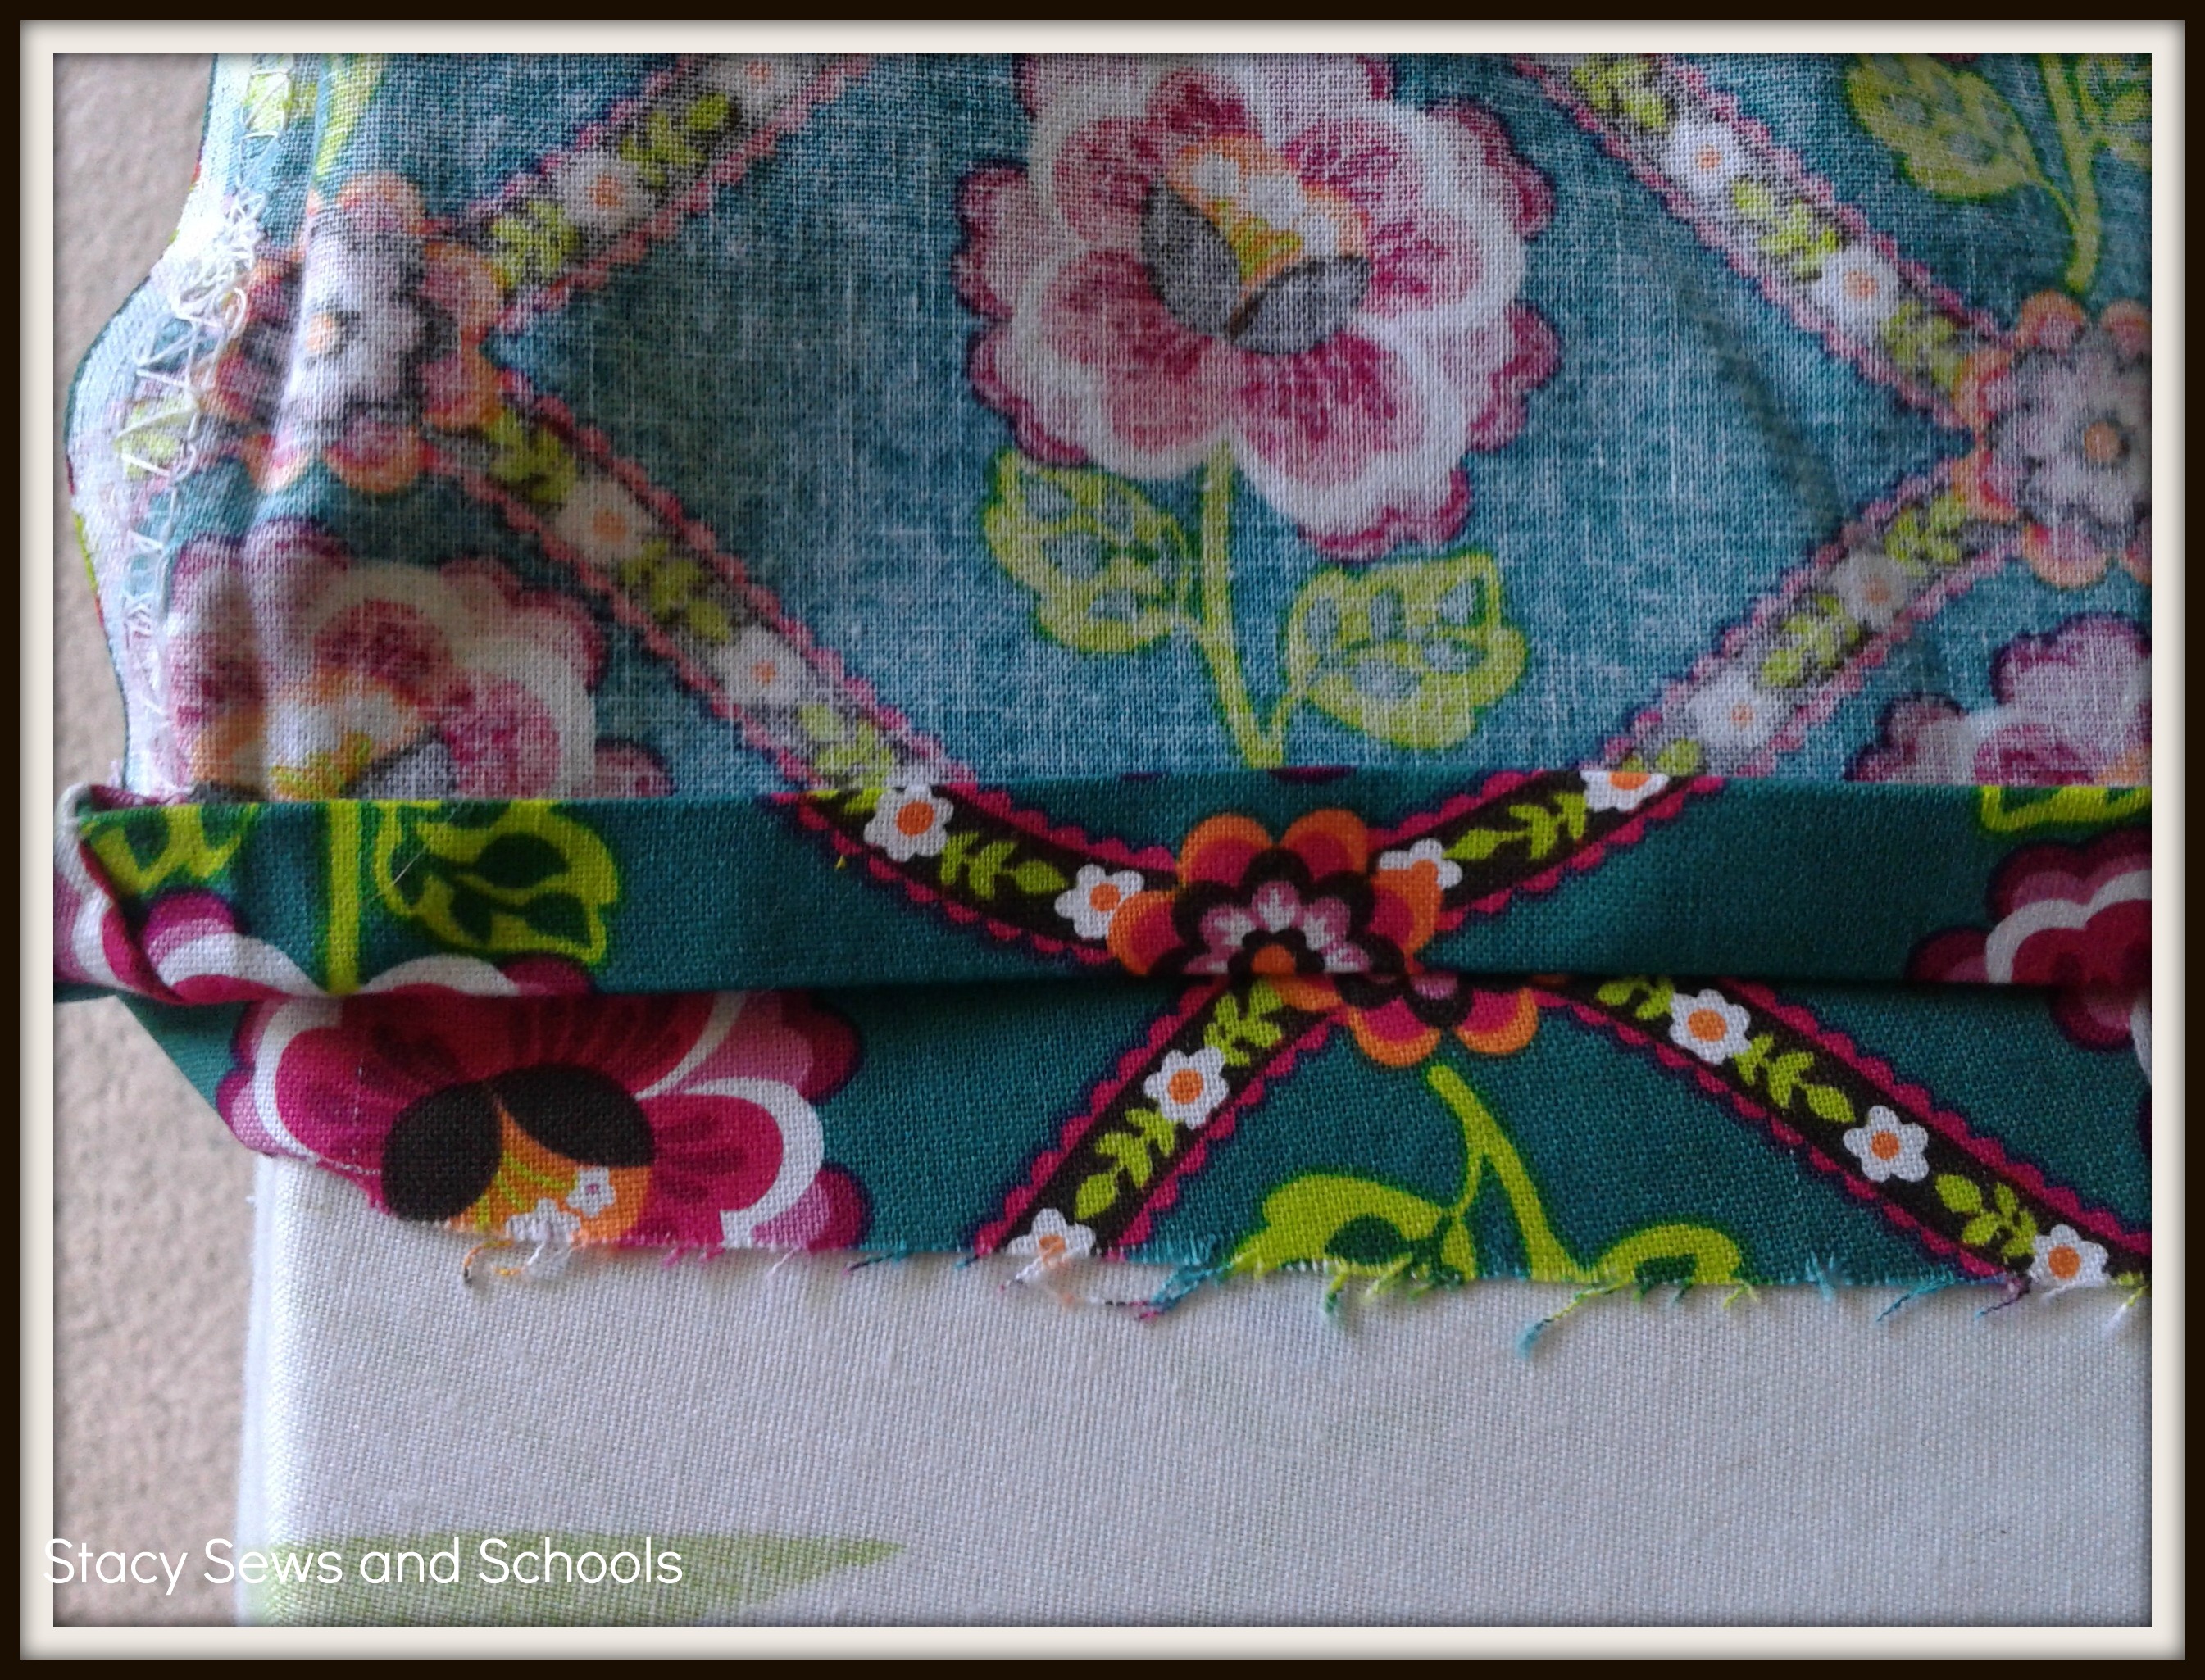
Step 14 - Turn a 1/2 over on the bottom, press and turn it in another 1/2". Press and pin.  Sew your hem and press again! (I pressed the whole thing one more time.. LOL)


Now you are DONE!!! You just made the Fab Mod Dress!! :)


I hope this was easy to follow! Let me know if you make it! I would love to see it! :)