July 3, 2012

Fleur de Lis Maxi Skirt Tutorial

Here you go! Another tutorial!! 2 in 2 days! ;)

This is for a very simple maxi skirt with a ruffle on the bottom.


I used 2 3/4 yards of fabric and a 9" invisible zipper. That's all you need! See? Very simple. ;)


You are going to start by cutting your waistband. You want it your waist measurement +1" and 4" wide.


Next you are going to cut the fabric into sections. Cut 2 sections the length you want your maxi skirt to be -12". I kept mine the width of my fabric which was 45".

The picture shows 4 sections. I started by cutting mine all the same length... LOL


Next you are going to cut the remaining sections into 4 strips that are the width of the fabric long by 14" in width. Make sense?? They will be the width of the fabric this way ---------------------- And 14" inches this way

.

.

.

.

They will become the ruffles on the bottom of the skirt.


Now it's time to sew the front panel to the back panel. Just pin them with right sides together and sew the seam.


Next you are going to sew a gathering stitch into the top of the skirt. To sew a gathering stitch on my machine I set the stitch length and the distance length to the highest settings. Then I pull slightly on the unsewn fabric as it goes through the machine.


Now you are going to create your waistband. Fold your strip in half length wise and press. Fold in one edge a 1/4" and press.


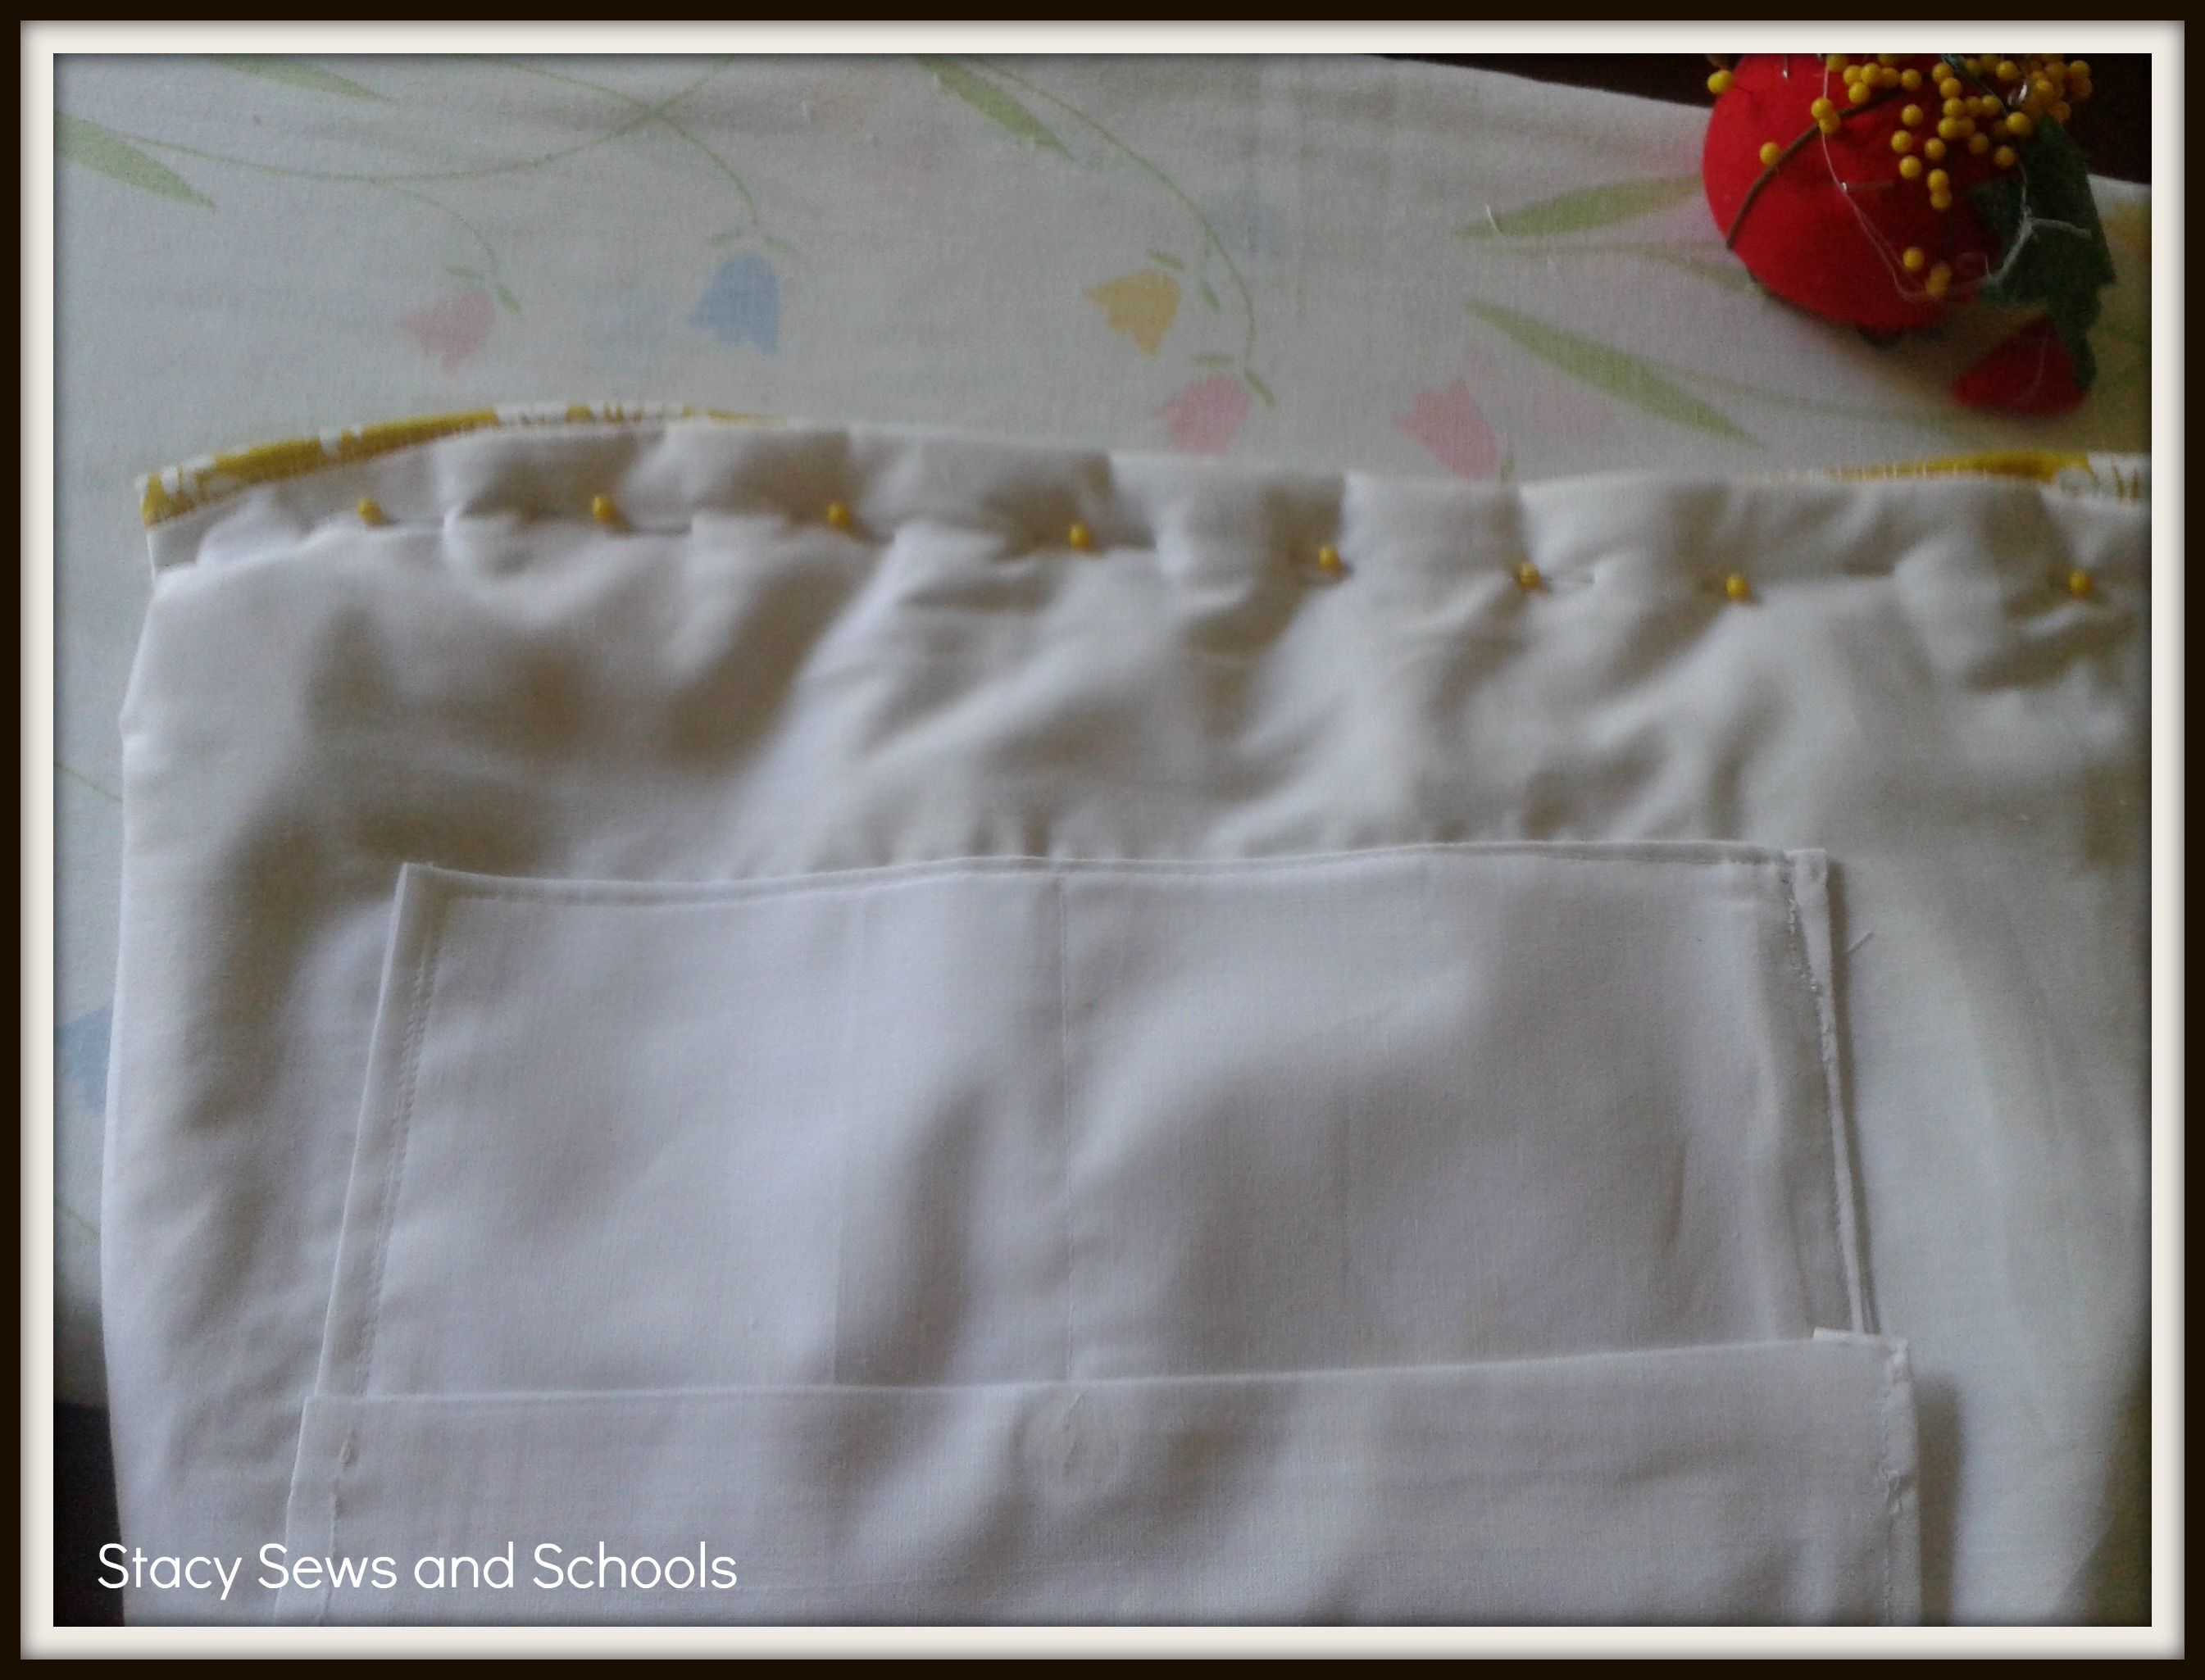
Next you are going to open up the waistband and pin it to your skirt top adjusting the gathers as you go. I usually pin both ends and then pin the middle. Then I will adjust the gathers in between the pins.


Now, sew the waistband on. Don't look tooooo closely at my stitches, please. My bobbin thread has been giving me all kinds of issues no matter what I do! GRRR!! I guess it's time to oil it!

Next, you are going to take your 4 strips and sew them together. But don't close them up. Leave the sides open.

And I forgot to take a picture of that part. Sorry!!


Now, you are going to sew a gathering stitch across the top.

Then with right sides together, pin it to the bottom of your skirt.  Sew it together.


Remove the cat from your fabric. (There you go, Carol! LOL)


Now we are going to hem it! Fold up an inch and press. Fold up another inch and press. Pin it up and sew it up! :)  (I actually folded mine 2 inches up and then another 2 inches, but you won't have to do that... LOL)


Now pin one side of your zipper to one side of your skirt and sew. You don't HAVE to have a zipper foot (I don't) but they make this step SOOOO much easier.

Then pin and sew the other side!


Now we are going to do our side seam. Starting at the bottom of the zipper, pin the 2 sides together (right sides together). Sew it up!

ALL DONE!!!


As always, let me know if this is easy to follow and if you make it LET ME KNOW!!! ;)

Tomorrow I will be working on a blouse to go with it. But first I need to get some fabric!! LOL I'm not sure if I want to go with the pink or the brown... What do you think??

I'll be using this pattern.

M6467


Linking up at Adorned From Above

July 2, 2012

Mountaineer Girl Purse Tutorial

I've decided to call this purse the Mountaineer Girl Purse because of the colors! They are the colors of the WVU Mountaineers! :) My favorite college football team! I can't wait for the season to start!


Thinking about painting that door navy blue..... I hate the blah brown. 

What I used -

Less than a 1/2 yard of main

Same amount of lining 

Scraps for pocket

Scraps for handle

Velcro

The main fabric is what I won from Handmade by Hilani. The scraps for the handle were left over from the  What a Hoot skirt . 

Here we go!


Step 1 - I finished one edge of the main fabric. 2 of the edges were selvage and the other was pinked. The one unfinished edge was already starting to fray. 

Set that aside for now.


Step 2 - Turn in the edges of scraps (on 3 sides)  for the pocket and press. 


Step 3 - Turn up bottom and turn down top to create a pocket with a top. Press.


Step 4 - Sew up the edges and down the middle creating 2 pockets in 1. I also added some Velcro here for the closure. 


Step 5 - Pin the pocket to your lining. (The right side if you have one.) In hindsight I should have also stitched under the top of the pocket. Oh, well...)


Step 6 - Sew pocket to lining. 

Set that aside for now.


Step 7 -  Run a gathering stitch across the top of your main fabric. To run a gathering stitch on my machine I set the stitch length and the space between stitches to the highest settings. The I just pull slightly as the machine runs the stitch. 


Step 8 - Pin the main fabric to the lining, right sides together. 


I pinned the bottom into pleats. 


Step 9 - Sew the top, 1 side and bottom together and cut off the extra from the side seam.


Step 10 -  Turn right side out and with right sides together, pin bottom and side together.  Sew bottom and open side. 


Turn right side out.


Step 11 - Cut a strip as long as the opening of your purse by 4" wide. 


Step 12 -  Fold up a 1/4" on the top and the bottom. Press.


Step 13 - Fold down the middle (long ways) and press.


Step 14 - Open up and pin to the top edges of the purse. Sew in place.

Tuck one end under the other. The fold the remaining end under and tuck inside.


Step 15 - Cut a piece of scraps for your handle as long as you like by 8" wide. 


Step 16 - Fold in half (right sides together), press, pin and  sew.


Step 17 - Turn the fabric tube right side out. Flatten out with seam down the middle and press.


Step 18 - Fold in half (length wise) and press.


Step 19 - Open up and fold ends in. Press.


Step 20 - Sew a straight line down both sides of strap.


Step 21 - Pin straps to purse and sew them on!

You are DONE!!!!


If you try this, let me know!! I would love to see it!! And, as always, let me know if you found this easy to follow!!

Sorry, Carol! The cats were behaving themselves today. ;)


Linking up to Adorned From Above

Retro Butterick '47 Is DONE!!!!

YAY!! It's all done! :) Well, I think I need to add a couple of snaps above the zipper, but other than that, IT'S DONE! :)


As you can see, there's a bit of a gap over on my left side where the zipper is located. I'll just add a couple of snaps there above the zipper and it'll be just right! :)

Apparently this is pattern is very flattering for my body type. As soon as I came downstairs d said, "Ooh! It makes you look thinner!" I may need to make 10 or 100 more from this pattern. ;)

Check out those shoes!! Those are the pair that I got FREE from Sears for using my reward points!! YAY!!

Here's a back view of the Retro Butterick '47 B5209


The dress is a little bunchy in the back but that's due to me being so short-waisted! LOL

So, there's another vintage/retro pattern to mark as done! YAY!

Next up will be my purse. And if things go well I'll be posting a tutorial for that tonight or tomorrow. Wish me luck! ;)

Here are the fabrics I'll be using.


I had a lovely navy blue that I wanted to use but it picked up SOOOOO much lint that I decided not to use it! The blue here is what is left over from the What a Hoot skirt and the gold and cream is what I won from Handmade by Hilani. I'm a little nervous about this... I have never made a purse before and I don't think it will be as simple as d's bag.... But I'm gonna try! ;)

I think after the purse and tops for me I will make some play clothes for the cs. I'll be sure to post tutorials when I do!


July 1, 2012

Retro Butterick '47 Is ALMOST Done!


YAY!!! Just the zipper, hemming and pressing left to be done! :) I hate putting in the zipper. Without a zipper foot it's a NIGHTMARE of pinning, sewing and ripping, pinning, sewing and ripping.... SIGH.... I really need to remember to get one next time I'm near Joann's or Hancocks.

The pattern has been SUPER easy to follow and so far the fit is excellent since I went down 2 sizes on the bodice... LOL

Anyway, I should finish that up this evening!! Then I will be making myself a purse! :) YAY!! I really need a new one for summer! I'll be putting up a tutorial for that if everything goes well... LOL You never know... ;)

After that I think I might have to try one of the vintage patterns Mrs. H gave me. Maybe the blouse...

Misses Blouse & Skirt Butterick See & Sew Sewing Pattern 5133 (Size B: 14-16-18)

See & Sew 5133

I really need some more tops! OH!! And I want to try this one, too!!

M6467

McCall's M6467

And I still have some retro/vintage rereleases that I HAVE to do!! LOL

We didn't have church today. We had more violent storms come through last night and they knocked out the power at the church. Too bad the storms didn't cool us off. It's still hotter than HECK out there. I hate summer.... I reallllly, reallllllllly do. Give me snow!! LOL

So, what are YOU working on??