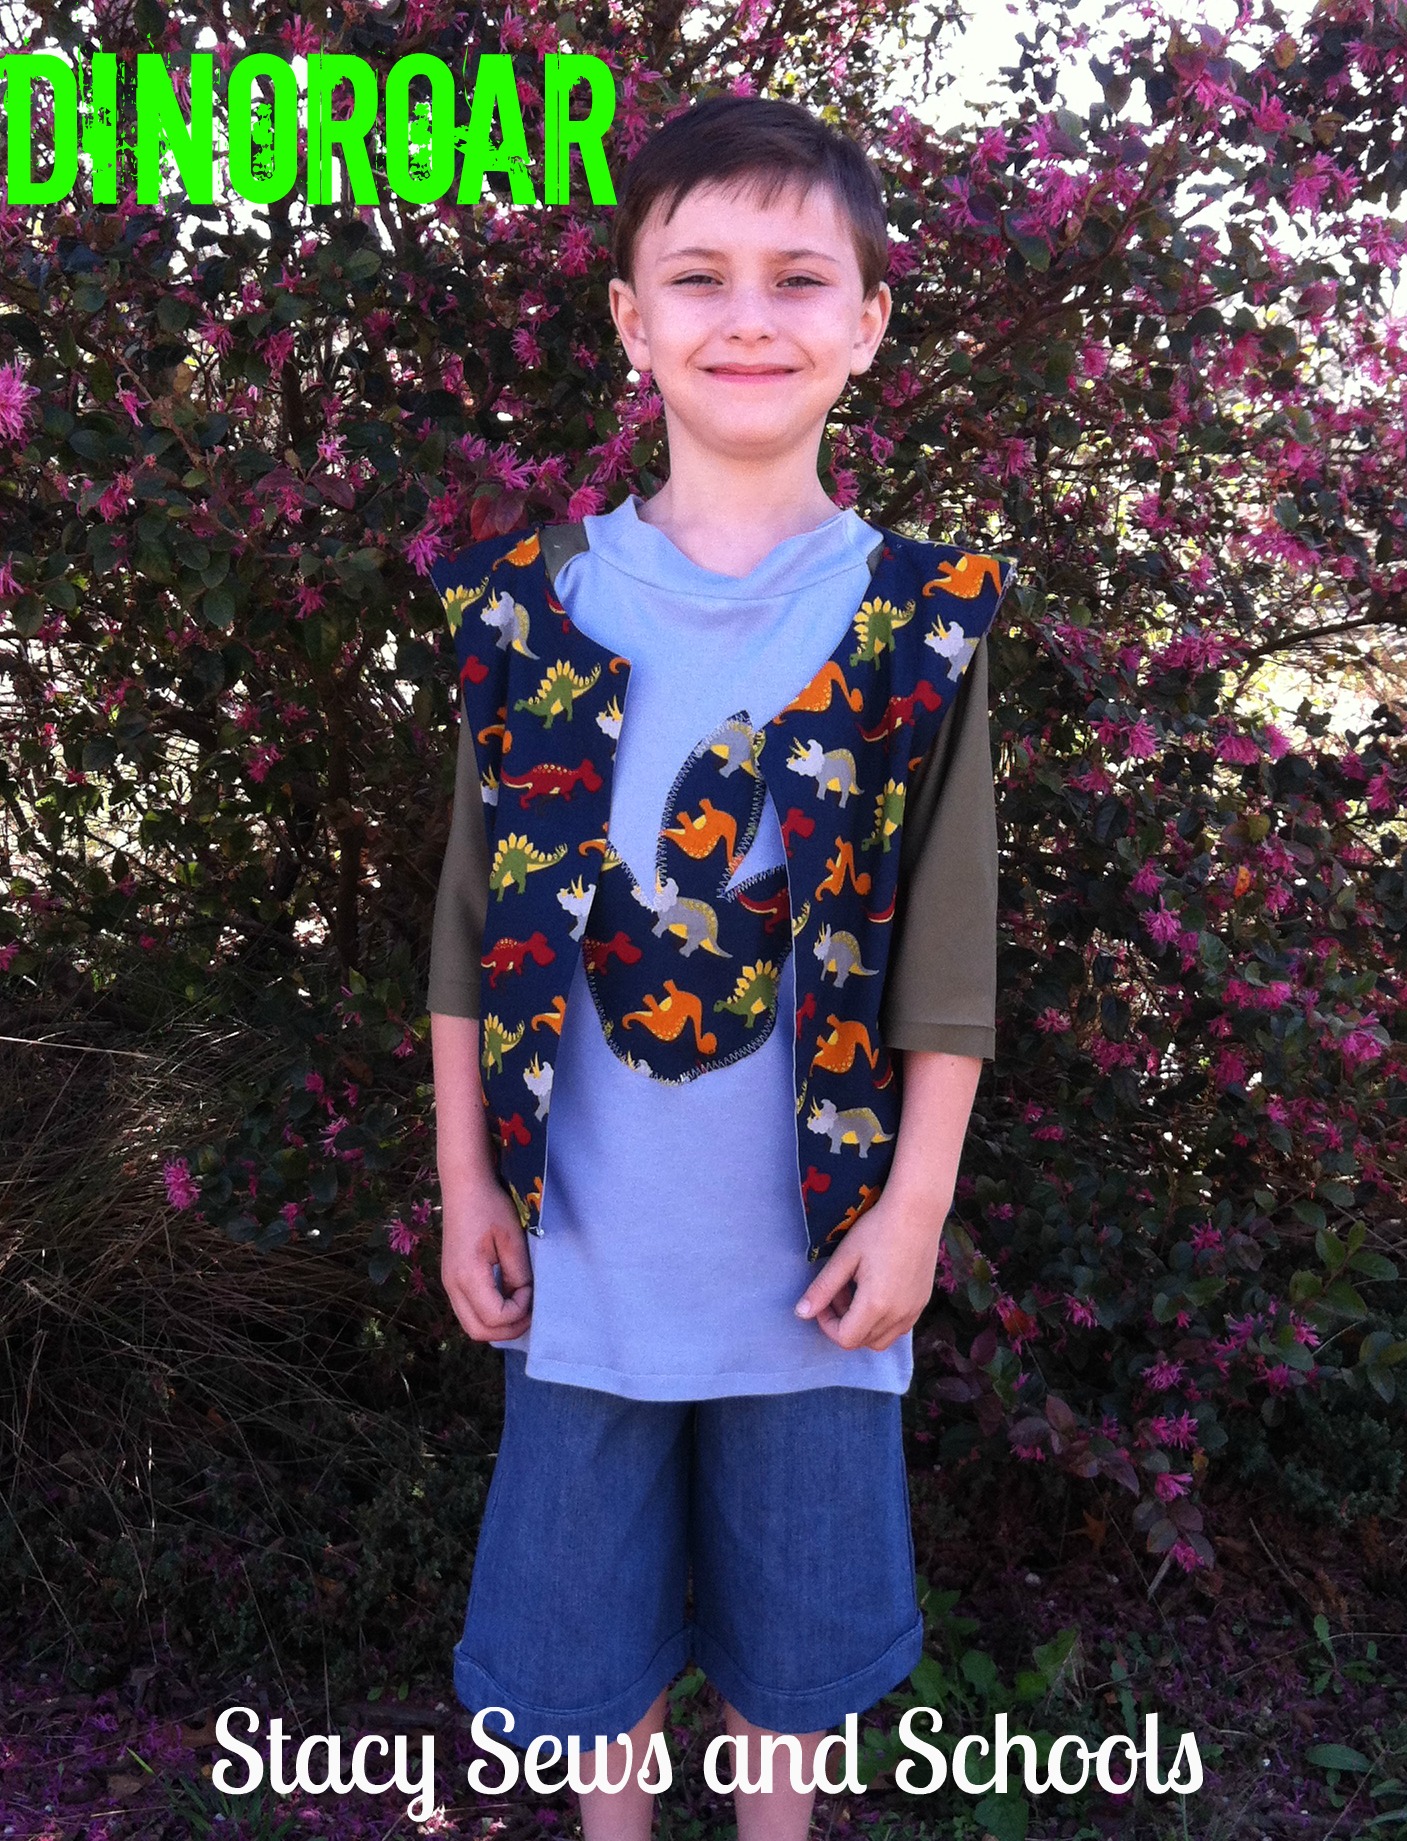
Today we do the raglan tee and vest!! YAY!! In case you missed it, the shorts were yesterday's tutorial. ;)
What I Used
About 1/2 yard of plain blue knit
About 1/4 yard of the olive green knit
About 1/2 yard of the dino print
About 1/2 yard of blue cotton for the lining

I took one of Colin's shirts and folded the sleeves back to give me the wider angle of a raglan sleeve.
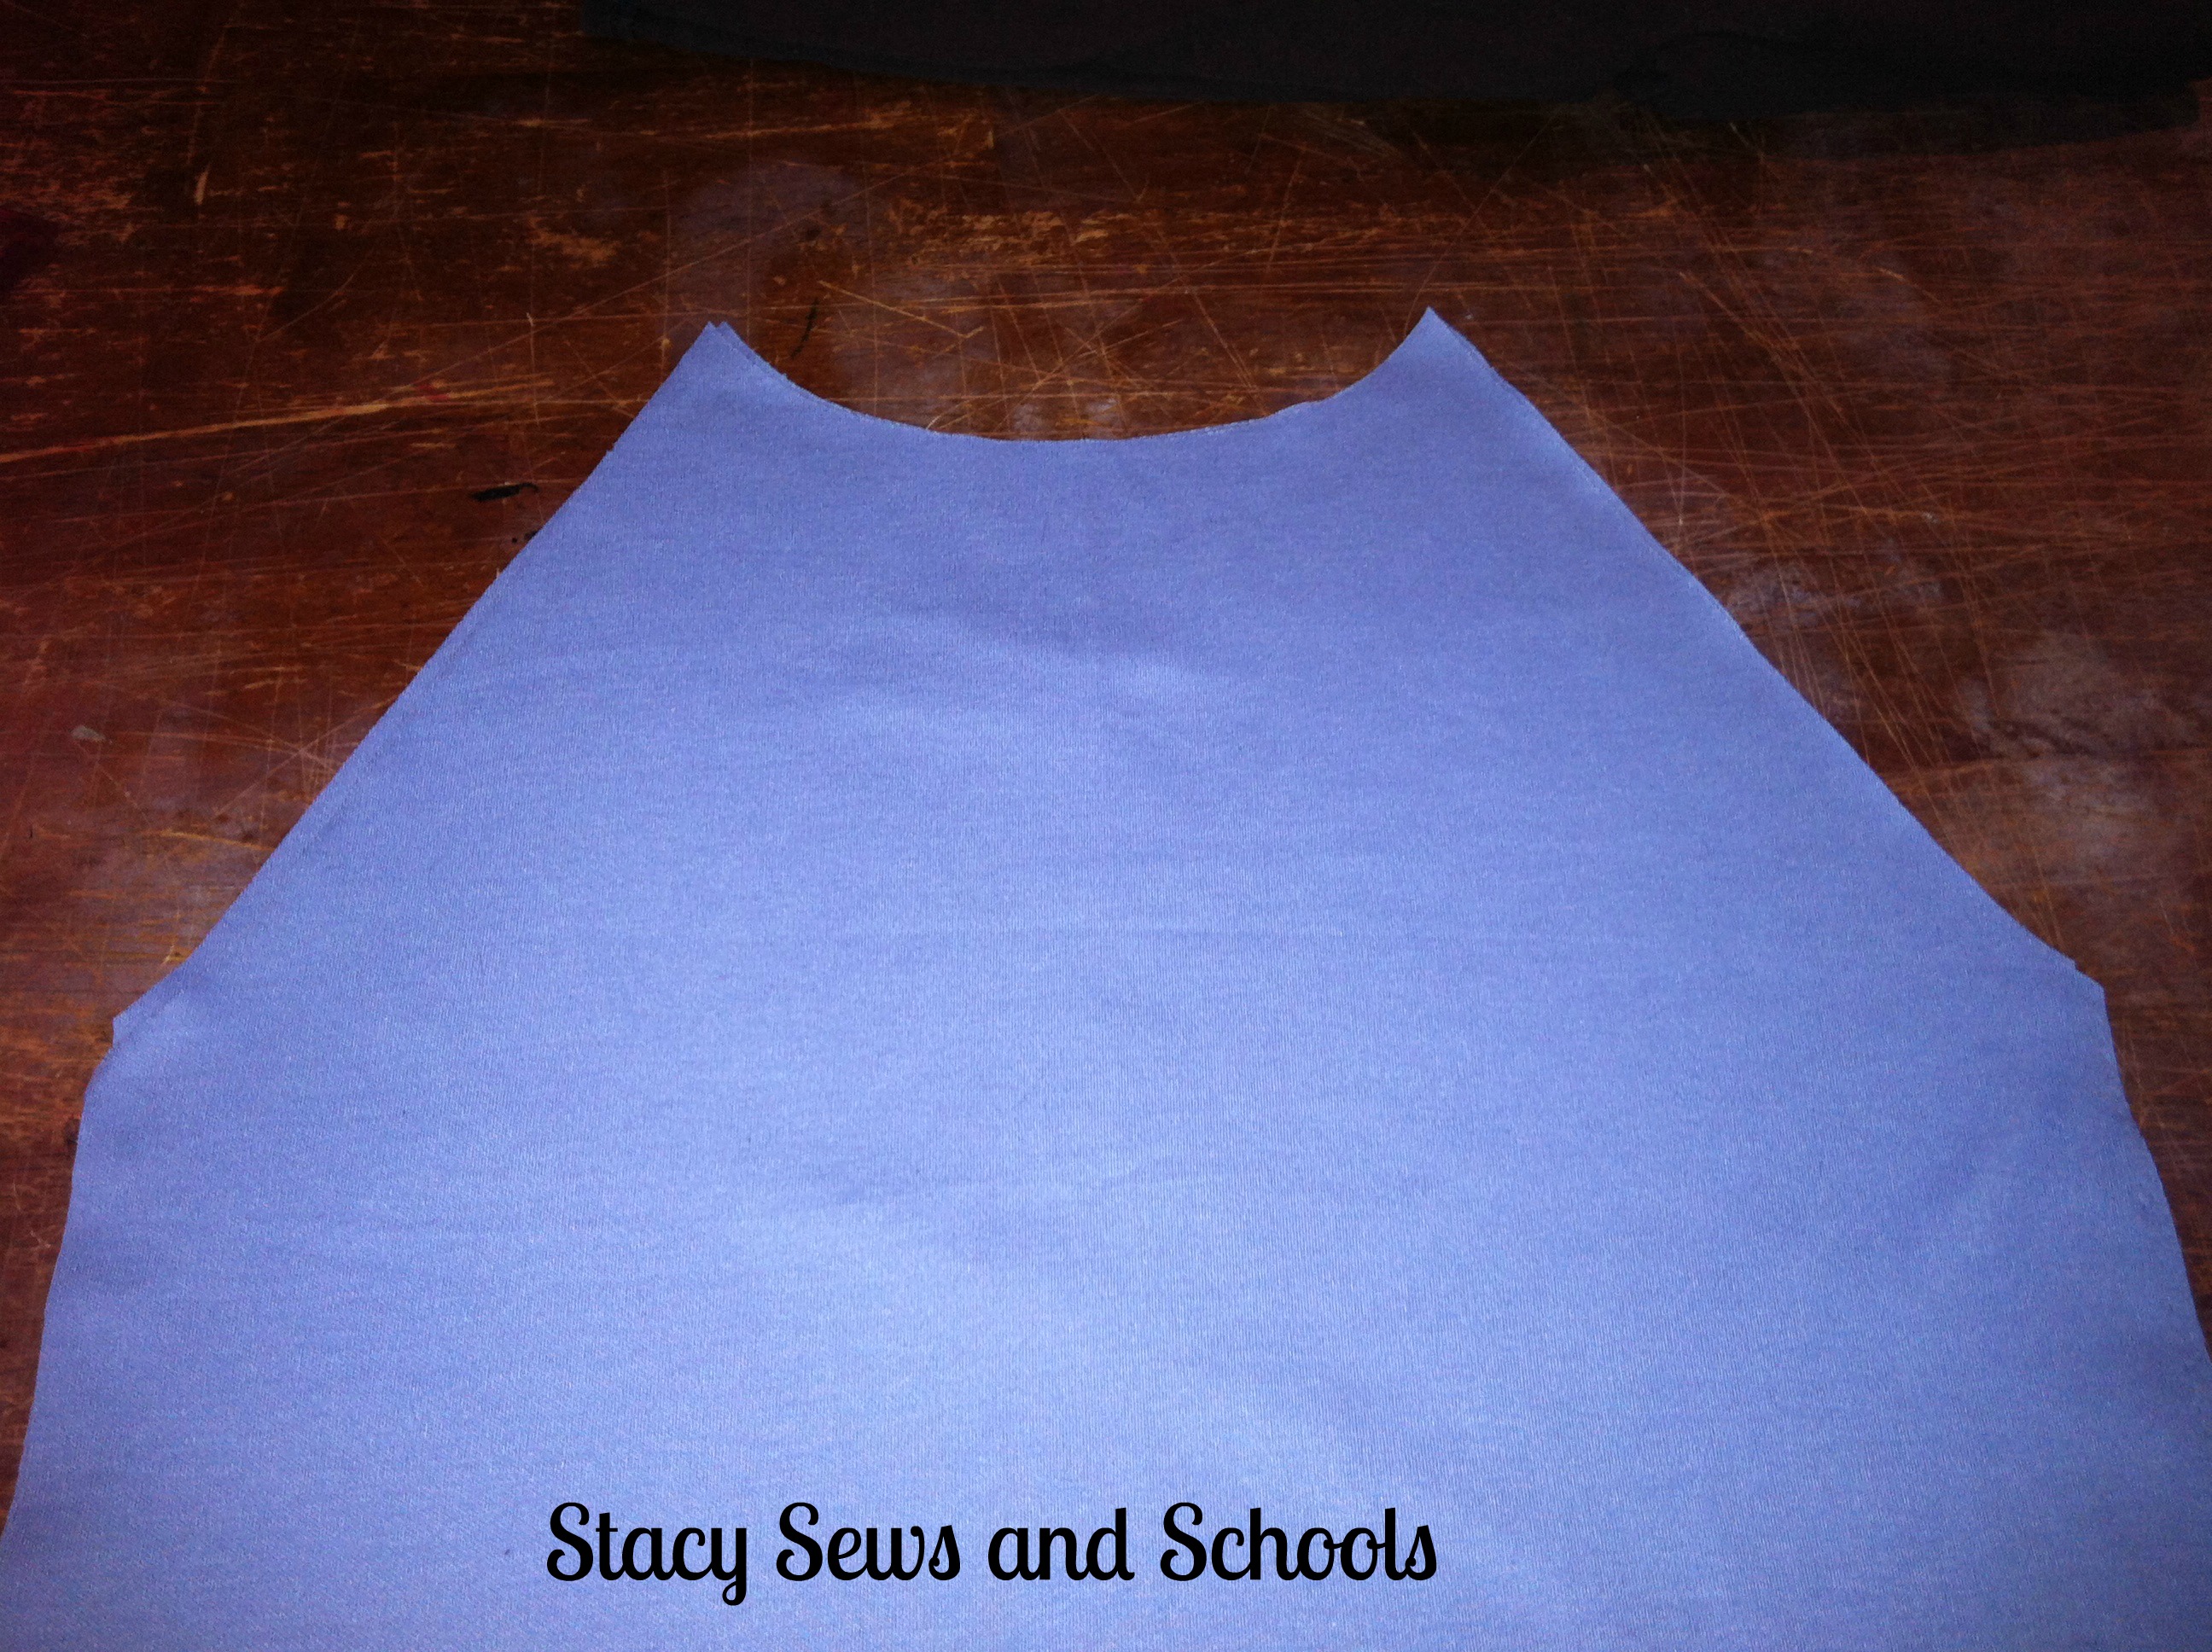
Then I cut the neck. Both the back and the front of the shirt are exactly the same.
If you have ever made a peasant blouse this is VERY close!!! ;)
It looks like I forgot to take a picture of how to cut the sleeves. I am SOOO sorry!! Fibro fog strikes again!!
It's really easy to do. Just fold over your fabric for the sleeves and place the shirt part over it. Be sure to cut the angle of the sleeve in and a curve around the top part for the neck.
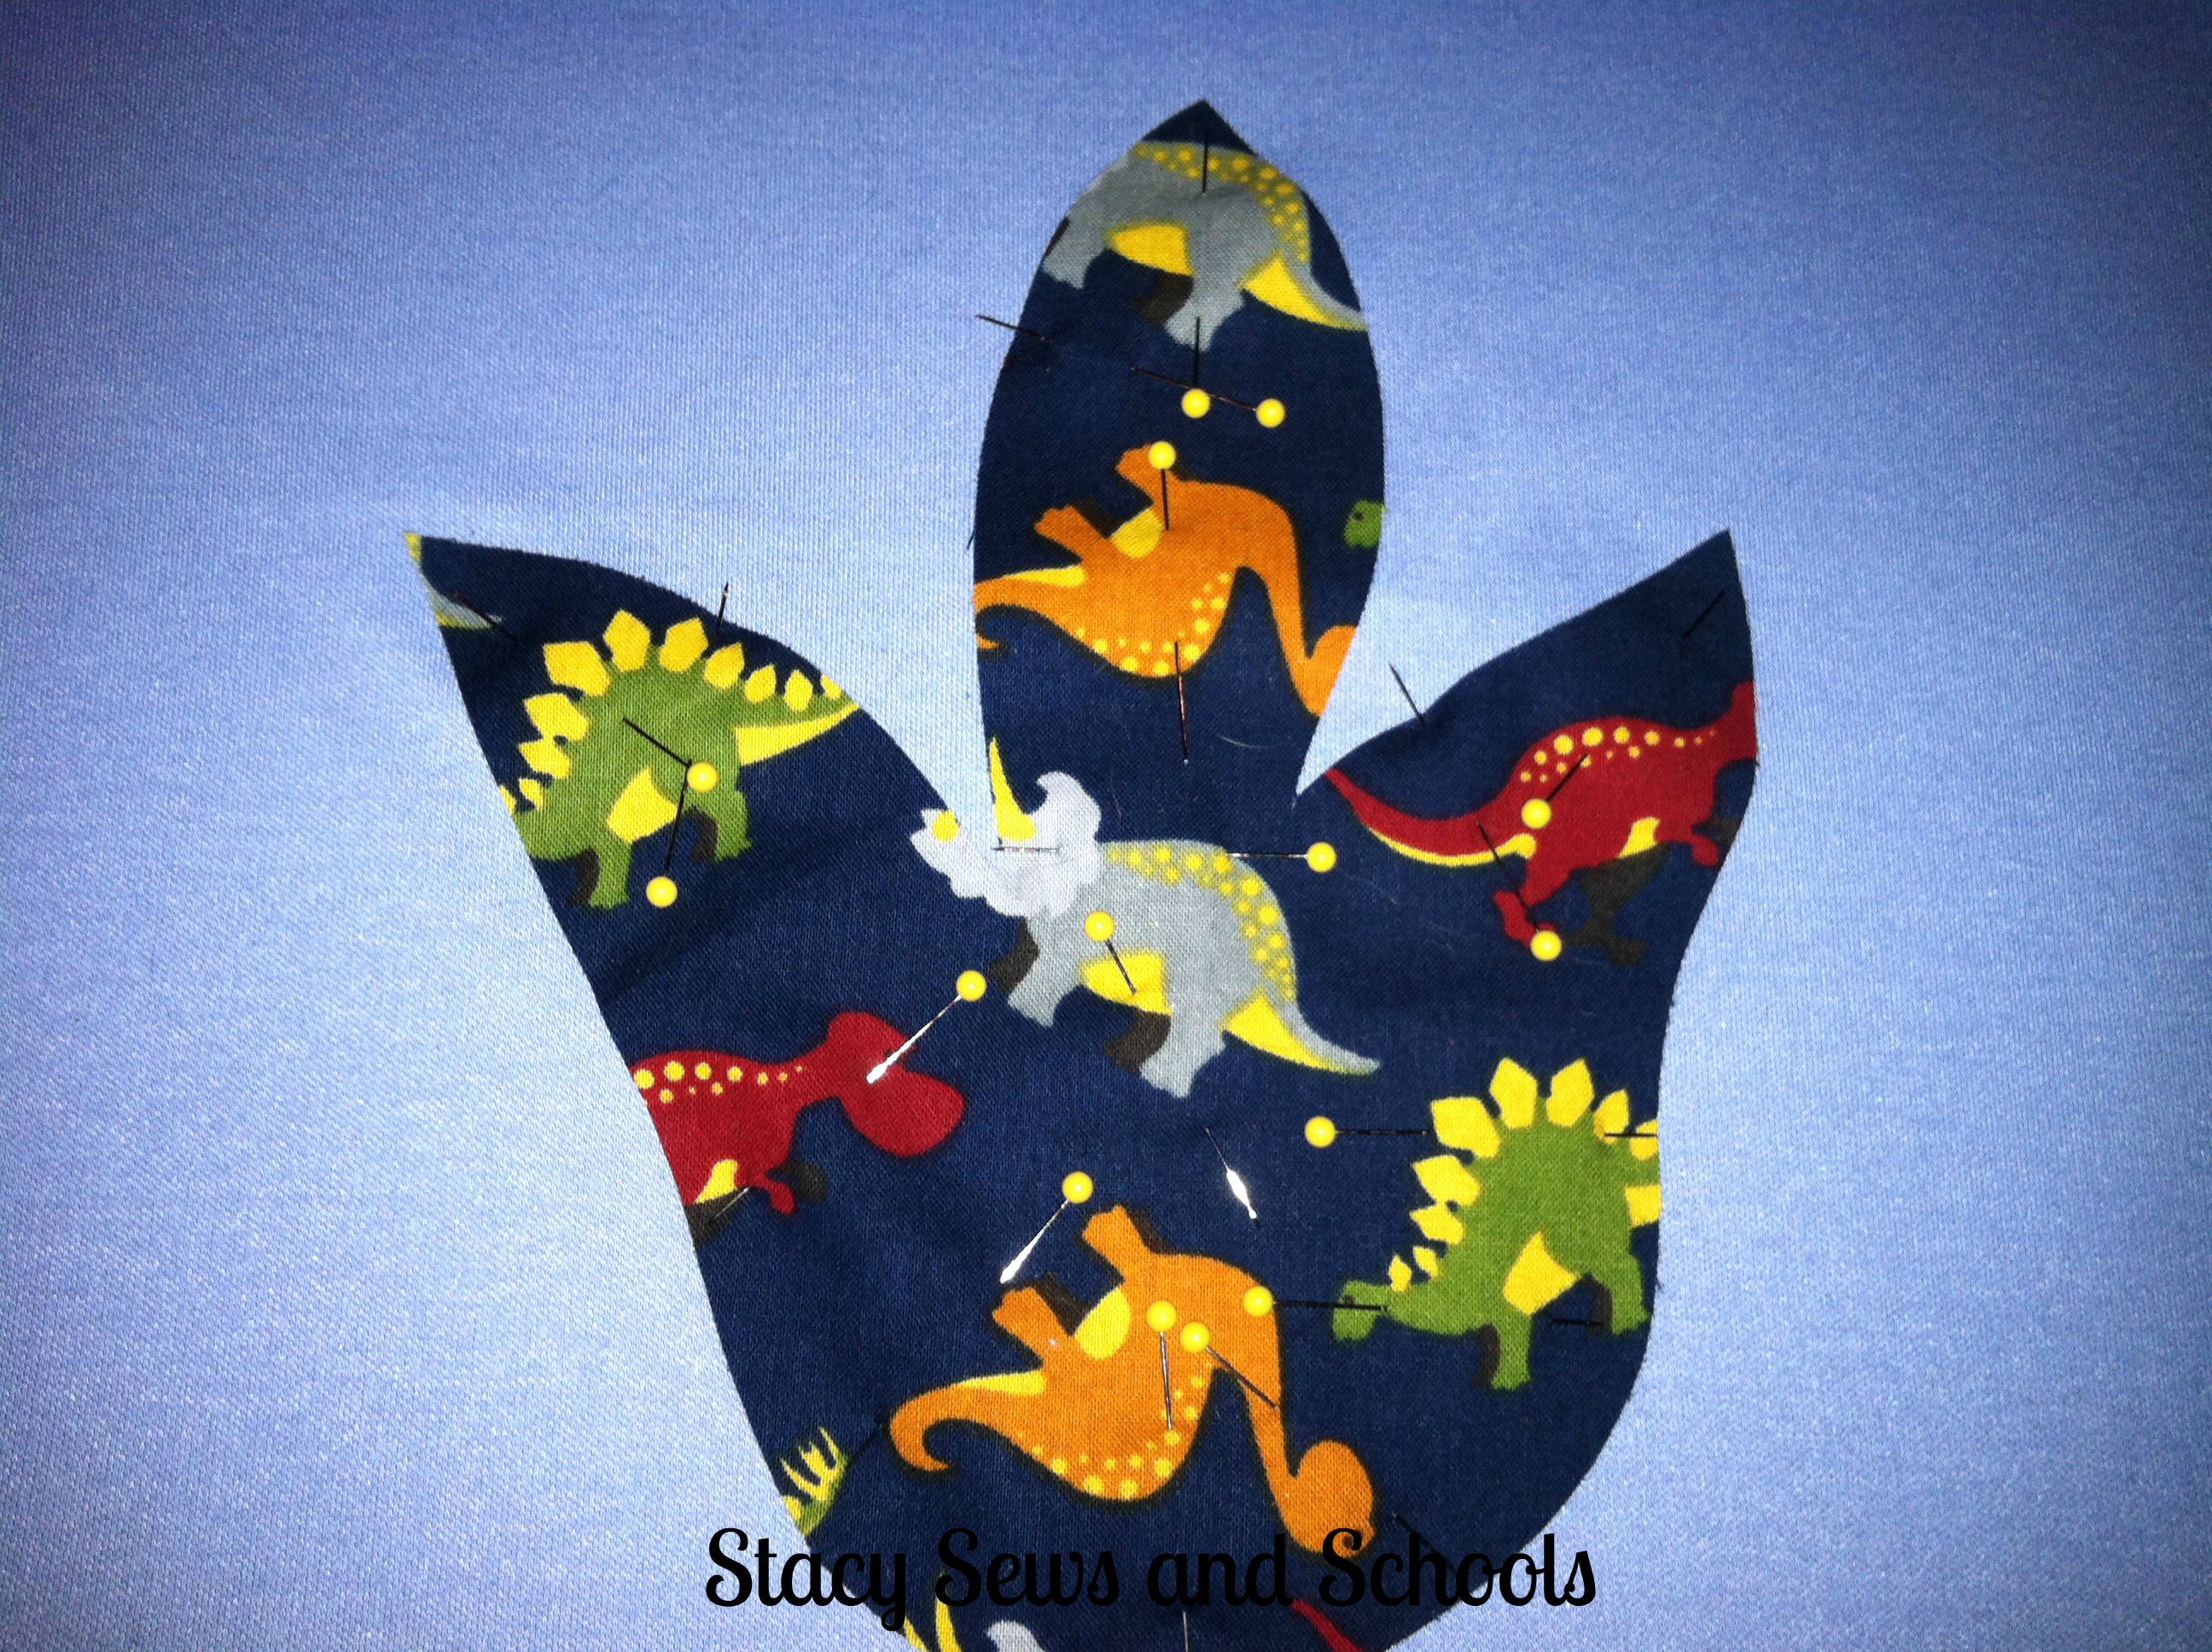
I found a picture of a dinosaur claw and printed it out to use as sort of a template for the applique.
Then I pinned the heck out of it! LOL Next, just zigzag all around the edges.
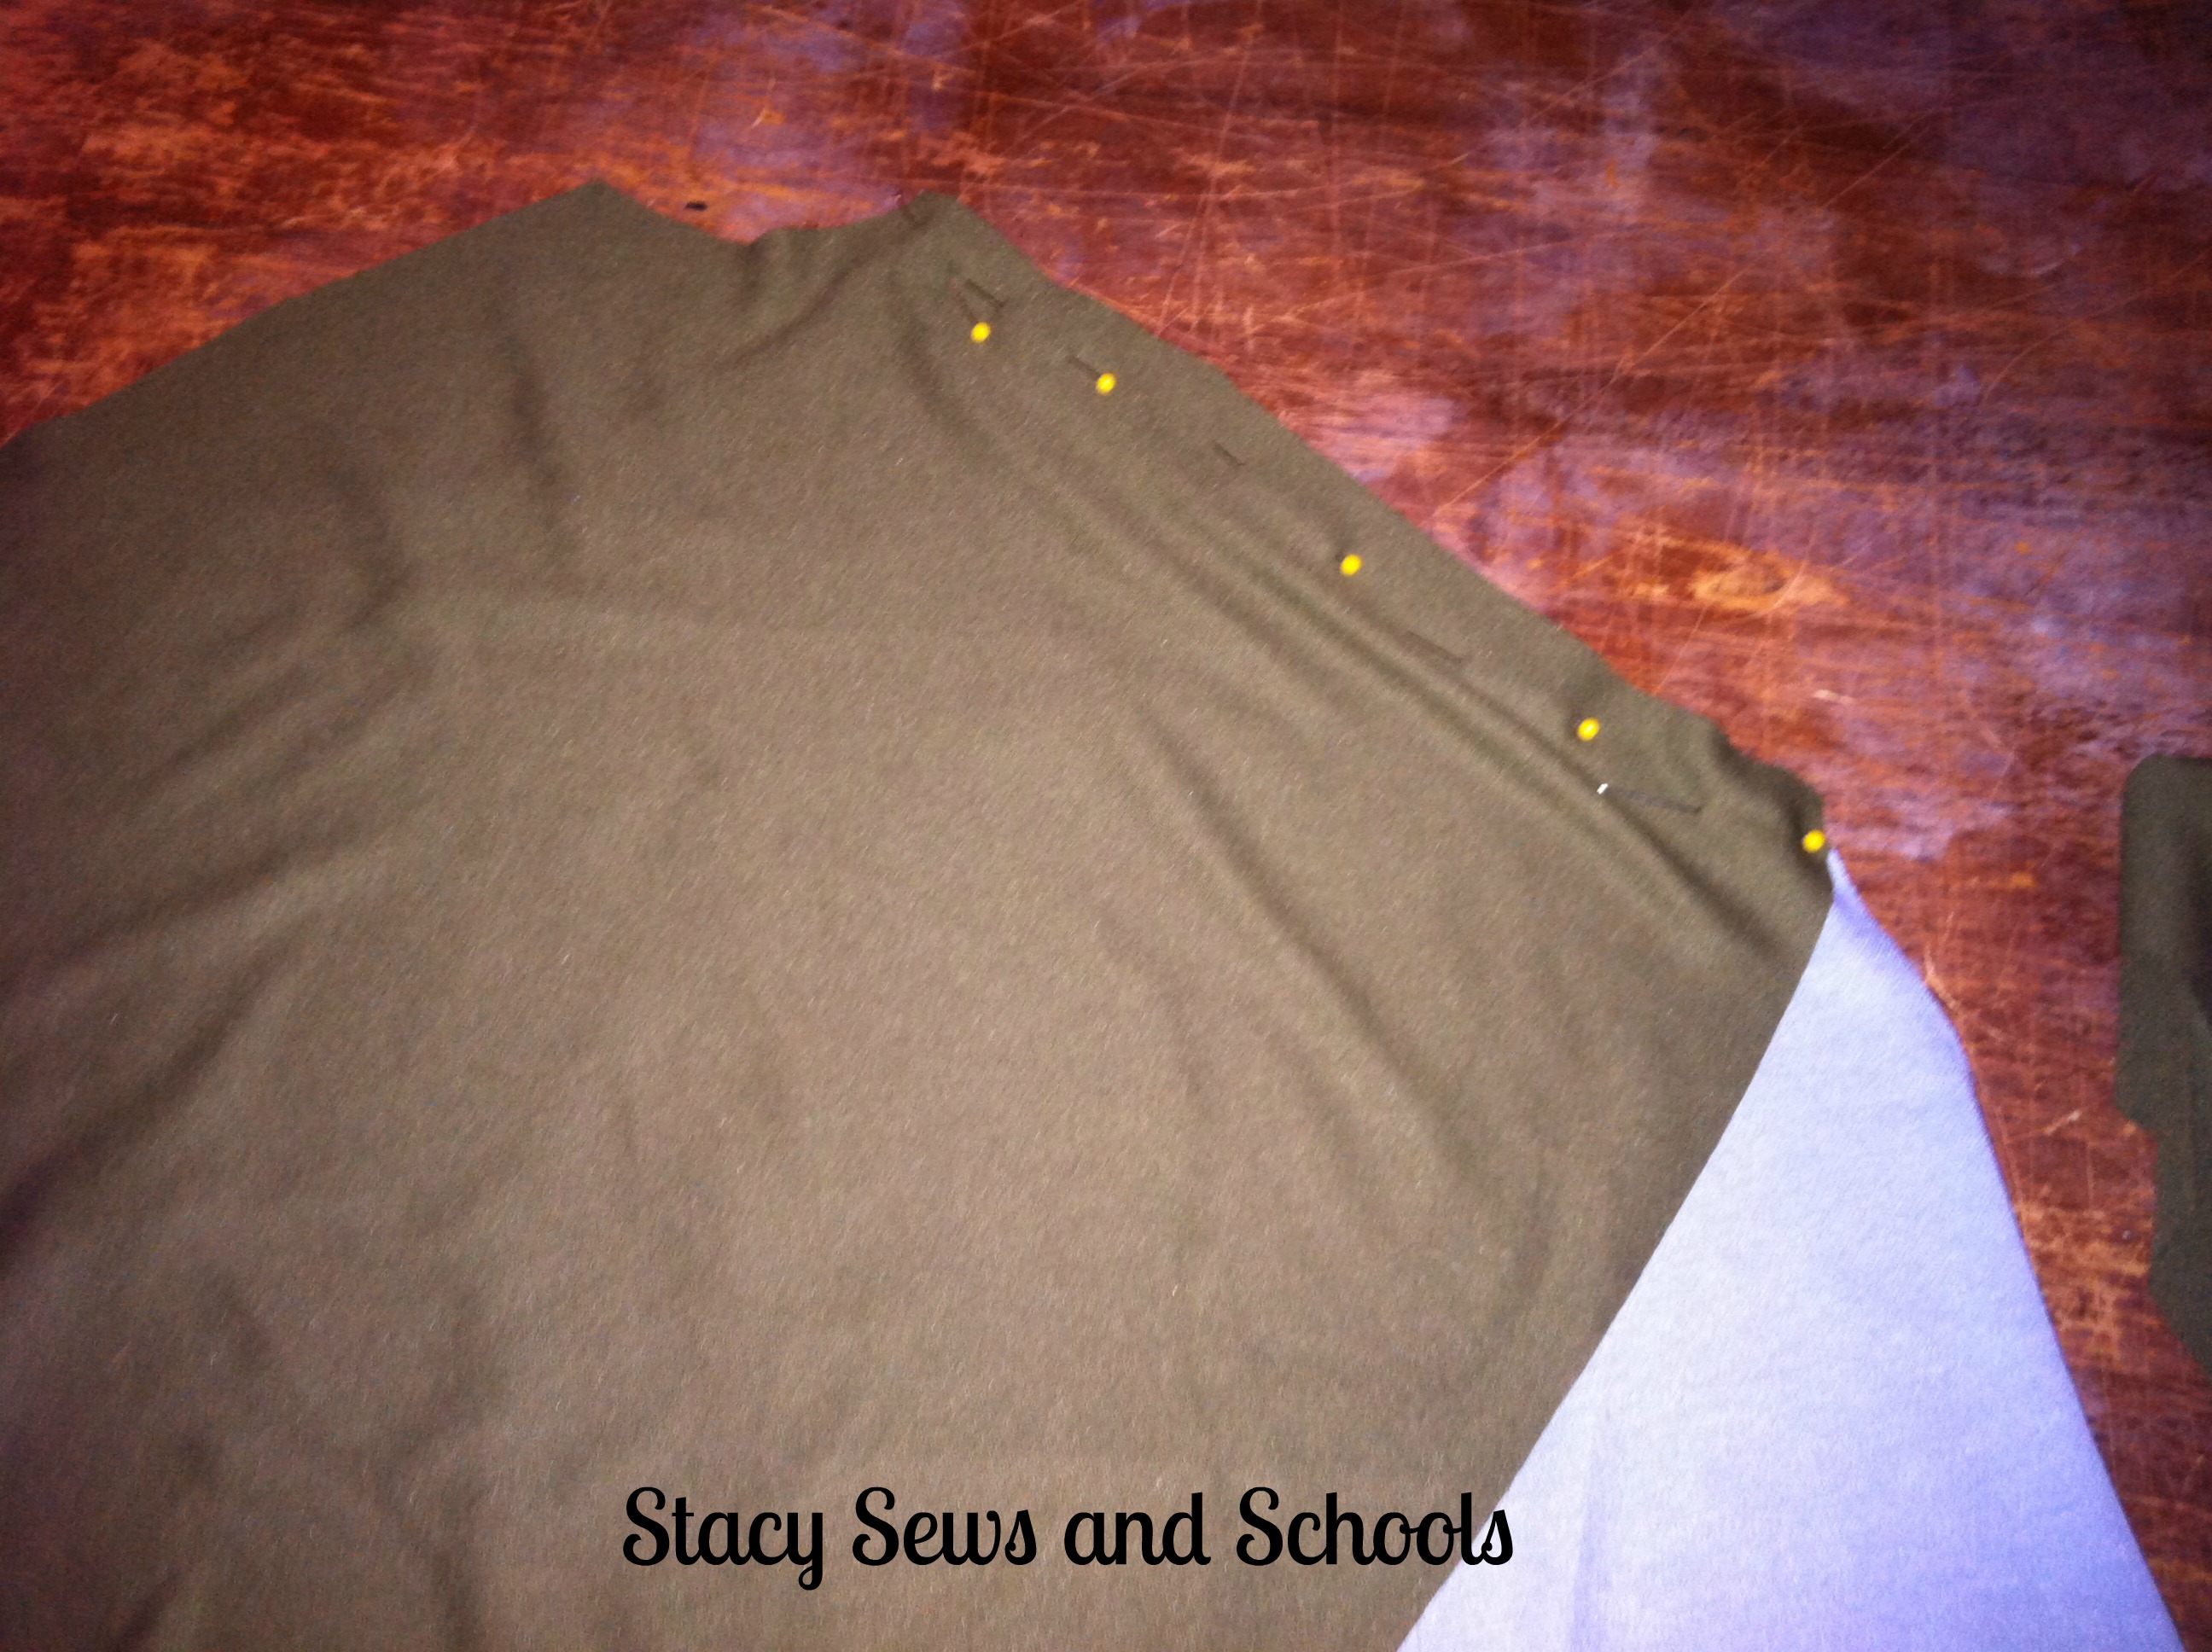
Weird... the olive green looks brown... EWWW!!!
Anyway, pin the sleeve to the shirt, right sides together and sew the one side.

Now attach the sleeves to the back of the shirt in the same way, right sides together.

Pin up the sides of the shirt all the way from the bottom to the end of the sleeve and sew it all up.

Now cut the neck! I cut the piece 5 " wide and long enough to go around the neck with a little left over.
Fold the piece in half and press.
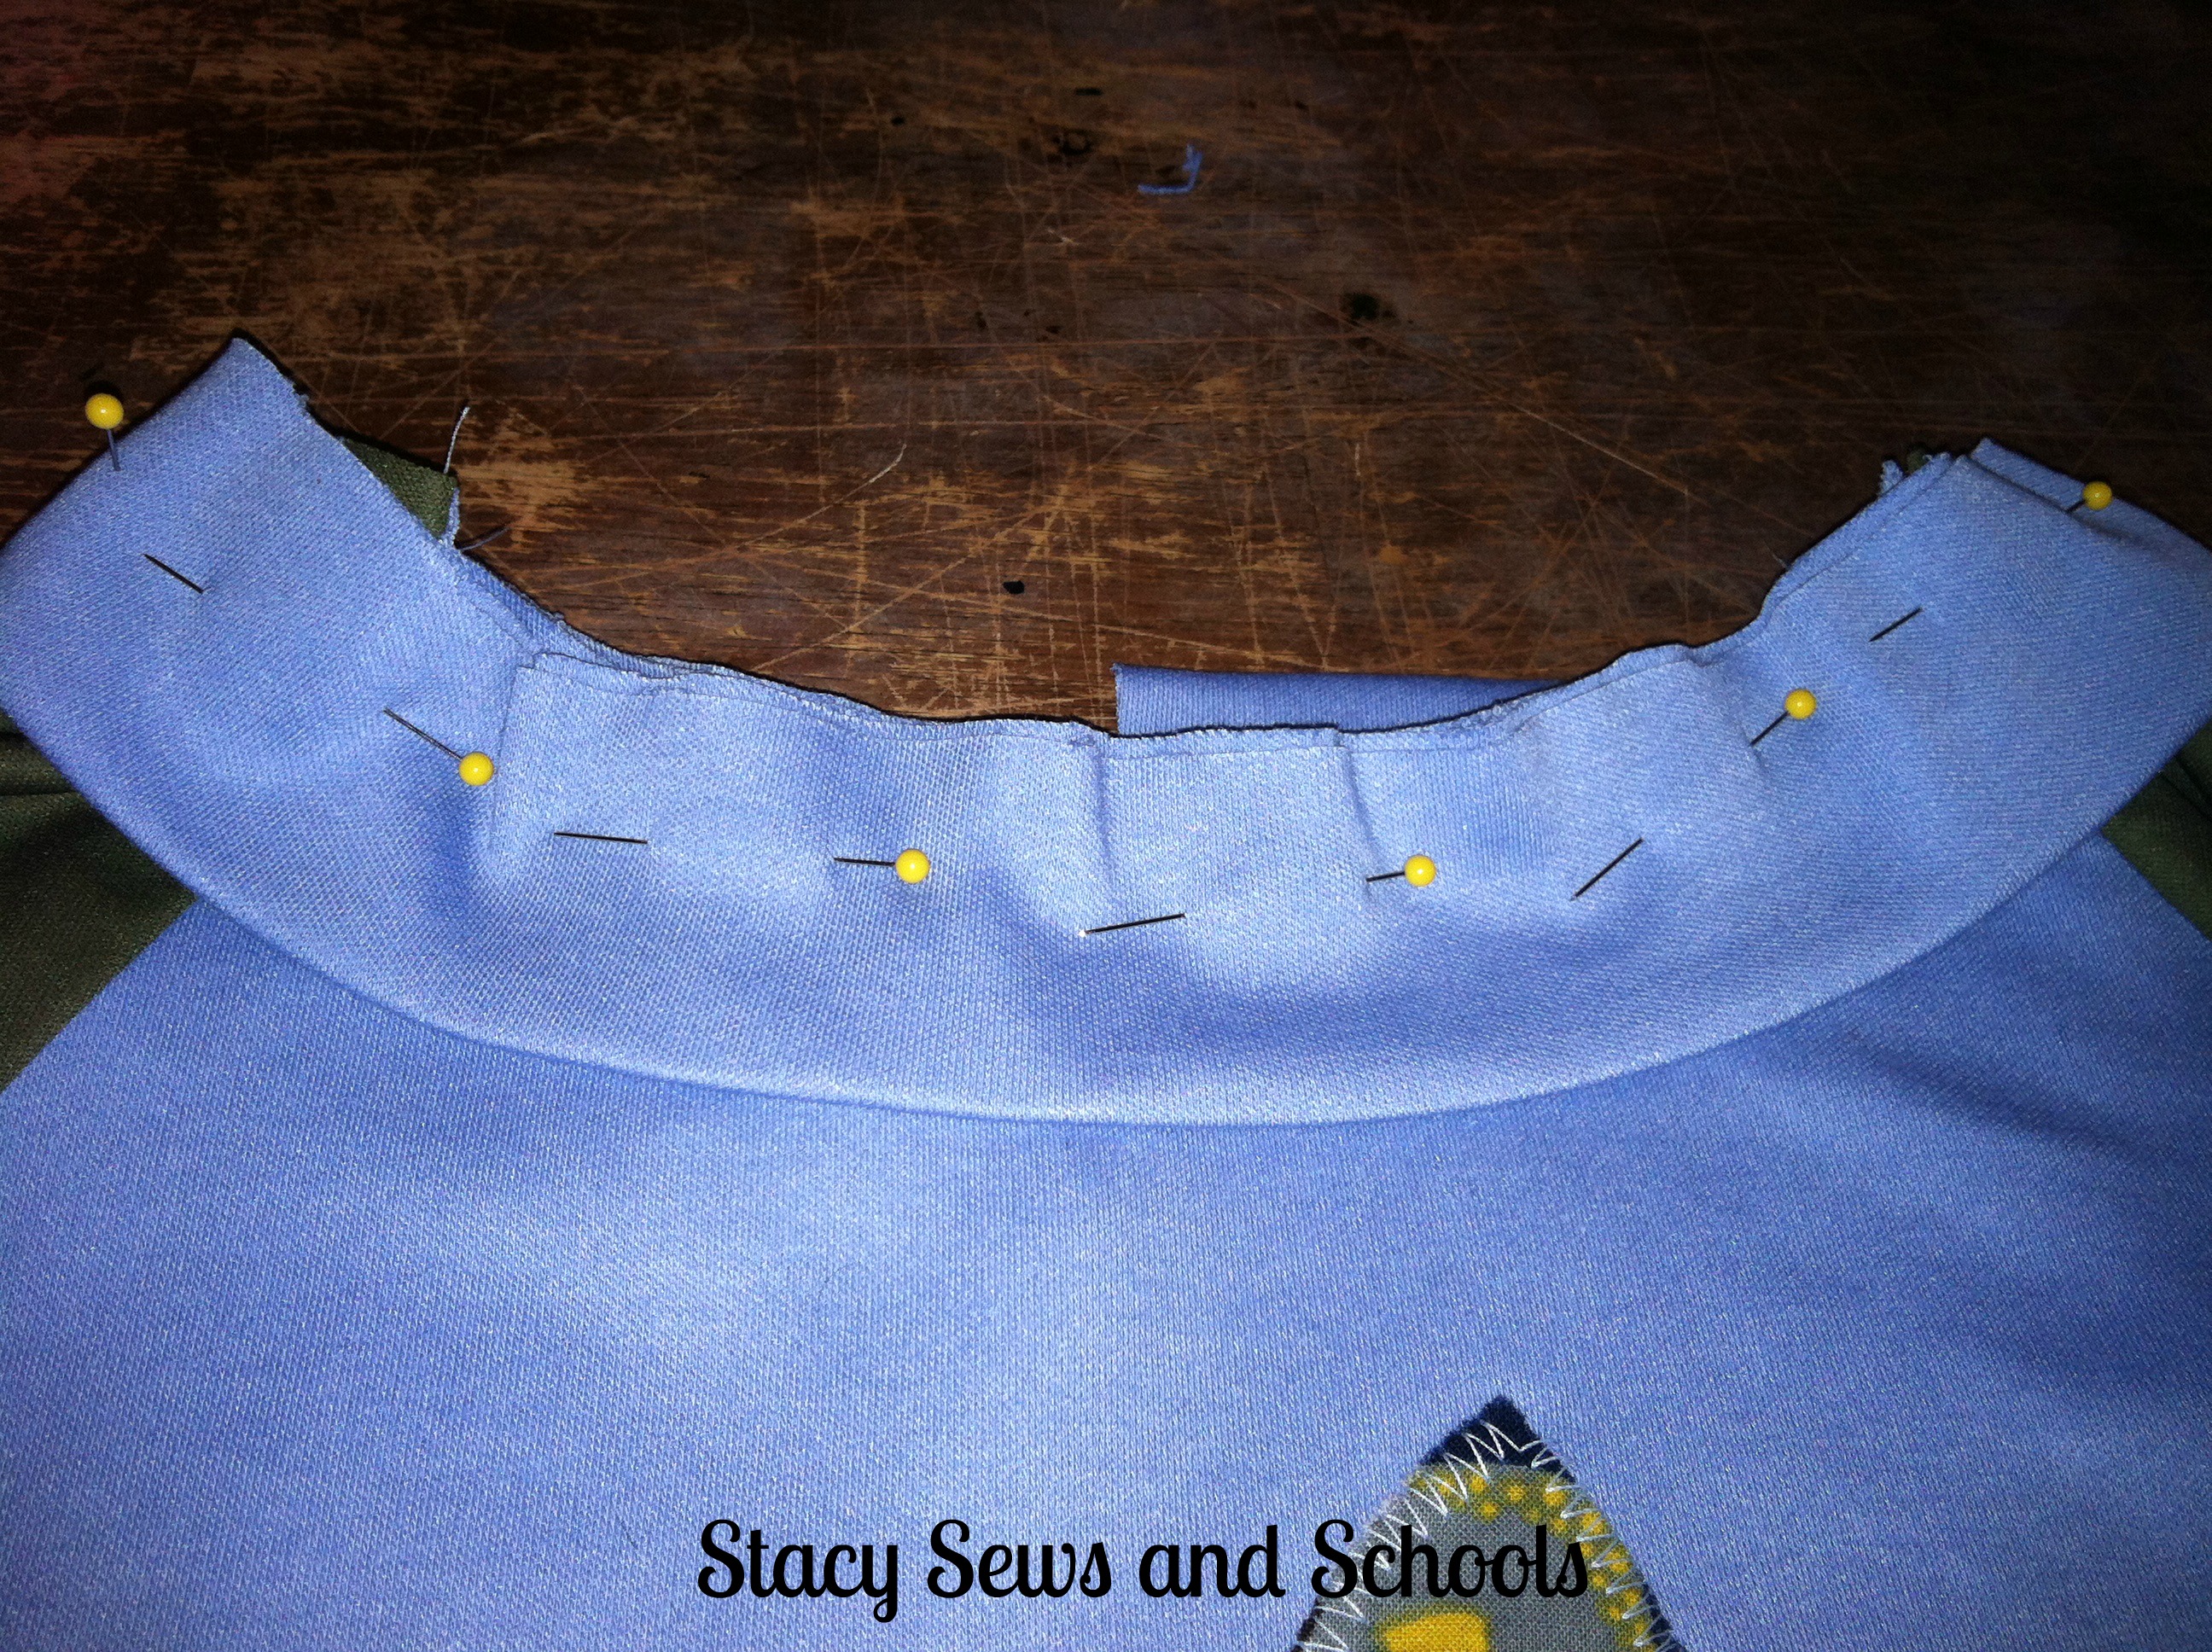
Pin the neck to the... ummm.. neck.... right sides together, and sew!
When you get the back, just pinch the ends and sew them together.

I also hemmed the bottom of the shirt but no pics.... Just fold over by 1" and sew!

I decided to make a pattern piece for the vest so that all the pieces would be exactly the same.
All I did was trace a shirt that was folded in half and then added in the curve at the bottom and deepened the neck.

You are going to have 6 pieces. 2 left sides, 1 main and 1 lining. 2 right sides, 1 main and 1 lining. 2 back pieces, 1 main and 1 lining.
Just follow the directions that I wrote on the pattern piece. ;)

Pin the lining pieces to the main pieces, right sides together and sew them up, leaving the bottoms and the shoulders open.

Turn the pieces right side out and press.
Then pin the front pieces to the back, right sides together and sew up the sides and the shoulders.

Fold the bottom lining and bottom main in by about 1/2" and press. Top stitch closed.

You are ALLLLL DONE!!!
I thought about adding pockets, buttons and different things to the vest but in the end I liked it much better just the way it is. ;)
I hope that this was easy to follow and I apologize for the pictures I forgot to take. Sometimes I just so deeply involved in what I am doing I forget to stop and document it! LOL
As always, if you have ANY questions AT ALL just click the Contact Me button at the top of the page and send me an email or just ask me in the comments section! :D

So cute... Both outfit and little boy. Happy seiwng.
ReplyDeleteThank you, Judy!!!
ReplyDeleteHappy sewing to you, too! :D
Cute idea - and cute little guy!
ReplyDeleteThanks for sharing - have a blessed week!
Stacey of Embracing Change
Thank you very much, Stacey!
ReplyDeleteThanks so much for coming by and visiting our blog and sharing your awesome project. Come by again and link up some more awesome projects in our Saturday Showcase again next week!
ReplyDeleteHave a good week!
Susie@bowdabra
http://bowdabrablog.com/2013/02/02/saturday-showcase-craft-project-linky-18/
Thank you, Susie!!!!
ReplyDeleteLove the idea. I'm going to do it in a truck theme for my grandson.
ReplyDeletel
OH! I bet that will be cute!!! :)
ReplyDelete[…] DinoROAR Tutorial Part 2 - Colin still loves this outfit. It’s holding up well, too! HA! Little boys can be so hard on clothes!! […]
ReplyDelete