Showing posts with label free tutorial. Show all posts

September 7, 2015

Blog with Friends - Back to School


It's Blog with Friends time again!! WOO HOO!! I am so happy to be back with a new tutorial for you!! It feels like it has been AGES since I had a new tutorial!! I think the last one was a Blog with Friends! 

Anyway, this time around I have an easy peasy nap mat cover for you. Super fast, super easy!!! 

My cousin's little boy is starting preschool and they requested that the parents have covers for the kids' nap mats. 

Viola!


What I Used 

Less than 2 yards of fabric
Zipper
Coordinating thread


STEP 1


With the fabric folded in half, like it comes off the bolt, I put the nap mat on it and cut the fabric.
You want to leave several inches at the top and bottom as well as the sides for seam allowance, room for it to be folded, and room for it to spread out when the child lies down on it. 
Make sense??


STEP 2


Sew the zipper in the top.
I guess I'm a little rusty at this tutorial thing because this is the only picture I took of the zipper process.

You are going to fold the fabric over at the top by 1/4" and press.

Fold over 1/2" and press.

Place the zipper on the wrong side of the fabric and pin in place.

Sew the zipper.

I did a double row of stitches for reinforcement.


STEP 3


With wrong sides together and your zipper open, sew the 2 open sides together. 

Turn right side out!

Slide your mat inside.

Zip it up!

You're done!!!!!


So, what do you think?? Fast and easy????


Don't forget to click the links to all the other posts!!! You know they're going to be AWESOME!!!!!


Karen at Baking in a Tornado has this DELICIOUS recipe for Kit Kat Brownie Bars. OMG!! I NEEEEED THESE!!!!


Lydia from Cluttered Genius has the perfect list for you - Favorite Sites for Teaching Online. As a homeschooler this is AWESOME!!!!


Melissa from Home on Deranged has a great post about Apps to Use and Apps to Lose for the School Year


The Lieber Family has a great tutorial for making a Personalized Pencil Pouch AND a More Organized School Year. AWESOME!!!!


Eileen from Eileen's Perpetually Busy has a wonderful tutorial for making a special display for Take a Trip Back in Time


Robin from Someone Else's Genius has an awesome tutorial for this GORGEOUS Back to School Wreath! Love it!


Joy at Evil Joy Speaks has a tutorial for a Back to School Homework Table! SO cool!!!

Make sure you click on all the SUPER AWESOME links!!!!


June 2, 2015

Simple Summer Tank and Shorts Pajamas Tutorial


Hi, all!!! How's the weather where you are?? Here it has been HOT!!! BLECK! I am NOT ready for summer. SIGH... We won't be spending any time around a pool this year and let's face it, that's the only good thing about summer. 

Anyway, Cailey was complaining to me the other day that she didn't have enough summer PJs. Well, I knew exactly what to do about that! Time to make some!!!!
I got that cute print from The Fabric Fairy and it was on SALE!!!!! Can't beat that!!! 
It's such a light weight knit that I knew it would perfect for some summer PJs. I just needed to decide what KIND of PJs. 

Since the print is sorta busy, I decided to go with something simple. 

I am SO GLAD I did. I LOVE IT!!! I can see myself making more like that and for Colin, too!!! This is absolutely unisex! 

WHAT I USED

Light weight knit fabric (less than 2 yards)
3/4" elastic
Coordinating thread 
2 large safety pins

Let me start out by saying this: I had started out using matching thread. I thought I found this great deal on Etsy.... Yeah, you've heard if it sounds too good to be true it probably is???? Yeah... That's what happened... This thread was a NIGHTMARE. It kept breaking after every few stitches. GRRRR!!! So I had to go with a coordinating thread. Oh, well. The print is busy enough that you can't really tell anyway. LOL

Ok, here we go!

*NOTE* Make sure to always press your seams after you've sewn them!!! I always forget to say that! ;) 

*NOTE* When sewing knits, it's always good to use a stretch stitch. 

*NOTE* The only "special" thing you need to sew knits is a ball point needle. ;) 


STEP 1


Grab a shirt that fits your child well. Just make sure yours is cat fur free, unlike mine... YEESH!! It didn't look THAT bad in person. SIGH...
Use the shirt as a guideline to cut your pieces. 


When you cut the front piece, make sure the neckline dips in a bit more. ;)


STEP 2


Take a pair of shorts that fit your child well and use them as the guide for cutting your shorts legs. 
Make sure to leave about 1 1/2 inches extra at the top for the elastic casing! 


This is what they look like. 


STEP 3


Cut 3 strips that are 2" in width and at least as long as your arms holes and neckline. 


STEP 4


Now, with right sides together, pin and sew the shoulder seams.


STEP 5


With right sides still together, pin and sew the side seams. 


STEP 6


Now, fold the hem of the top about 1/2" and press.
I then turned my right side out and pinned. Then I top stitched the hem. In my opinion it just looks nicer that way. ;)


STEP 7 


Fold your fabric strips in half and press. 

Now, starting at the center back of your neckline, pin the strips with right sides together and raw edges touching. 


As you sew them together, pull gently. It will give the neckline a nicer look. 


STEP 8


Do the same thing with both arm holes. 
Start your pinning at the side seam. 
That is what it looks like when they are done. 


YOUR TOP IS DONE!!! YAY!!! Time to move on to the shorts! :D


STEP 9


With right sides together, pin the inseam.
You are just sewing from the bottom of the leg to the beginning of the curve of the crotch. 

Sew the seam. 
Repeat on the other leg. 


STEP 10


Take one of the legs and turn it right side out. 
Slide it down into the other leg. (Right sides will be touching.)
Make sure to match up the seams. 
Pin in the place and sew the curve. 


STEP 11


Time to make the elastic casing!
Turn your fabric down 1" and press. 
Sew close to the bottom edge. 
Make sure to leave an opening to insert your elastic.


STEP 12


Take 2 large safety pin and pin one to each end of the elastic.
Push the elastic through, holding on to the opposite end.
Pull both ends out of the opening and sew them together. 
Push it back inside the casing and sew the opening closed. 


STEP 13


Almost done! We just need to sew our hems!! 

With the shorts right side out, fold the bottoms in 1/2" and press.
Pin in place and sew the hem!
You CAN do this wrong side out, I just think the hems look neater when they are top stitched. ;)


ALLLLLLLL DONE!!!!!!!!!!!!!!!!!!


Now you have some cool and comfy summertime pajamas!! YAY!!!!

The great thing about this is that you can make them for anyone of any age. I think I might make myself some! ;)

If you have any questions, don't hesitate to ask!!!!


HAVE FUN SEWING!!!!!


April 28, 2014

New Romper Tutorial!


I managed to get something accomplished this weekend! In the midst of a fibro flare for me and a nasty upper respiratory virus for the little ones, I made Cailey a new romper!

I've had that yard of fabric for a very long time. I was never quite sure what I wanted to do with it! Then it hit me, a new romper! :)


I made it differently than I did the Pajama Romper


WHAT I USED

1 Yard of Fabric
1/2" Elastic
2 Packages of Chenille Rick Rack


I had a pattern that I made a while ago. I took a shirt and a pair of shorts that fit Cailey well and used them as a guide.


I folded the fabric in on both sides and then in the middle so I could cut both pieces at the same time


Once you have your 2 pattern pieces, cut the arms out. 
I cut mine a little too long, I think.


With right sides together, pin and sew the middle seams. 
Then open it up and press. 


Pin and sew the leg and crotch seam. Press it when you are done.


There are 2 ways you can do the hems on the legs. I put elastic in mine but I think it would also look cute without them. 
Without the elastic just do the folding and pressing. Then just sew the hem. 


If you want to use elastic, sew a line at the very top. 
Then sew another line, leaving an opening to insert the elastic.


Now, insert the elastic.
Sew the ends together.
Sew the opening closed.


For the top part:
Fold 1/2" and press.
Fold 1" and press.

Sew 2 lines across the top.
Insert the elastic through one end. 
Pin the ends. 
Sew both openings closed while also securing the elastic. 


For the ties you can do many things. 
You can thread a large ribbon through instead of doing the elastic above.
You can use bias tape.


Cailey really wanted me to use the blue chenille rick rack. So, I zigzagged the edges of the armholes. Then I pinned the rick rack in place and sewed it on. 
Easy Peasy! 


Cailey is still sick so I didn't make her pose for pics. My poor baby. :(


Let me know what you think! 
Definitely let me know if you make one! 


HAVE FUN SEWING!!!!!


August 8, 2013

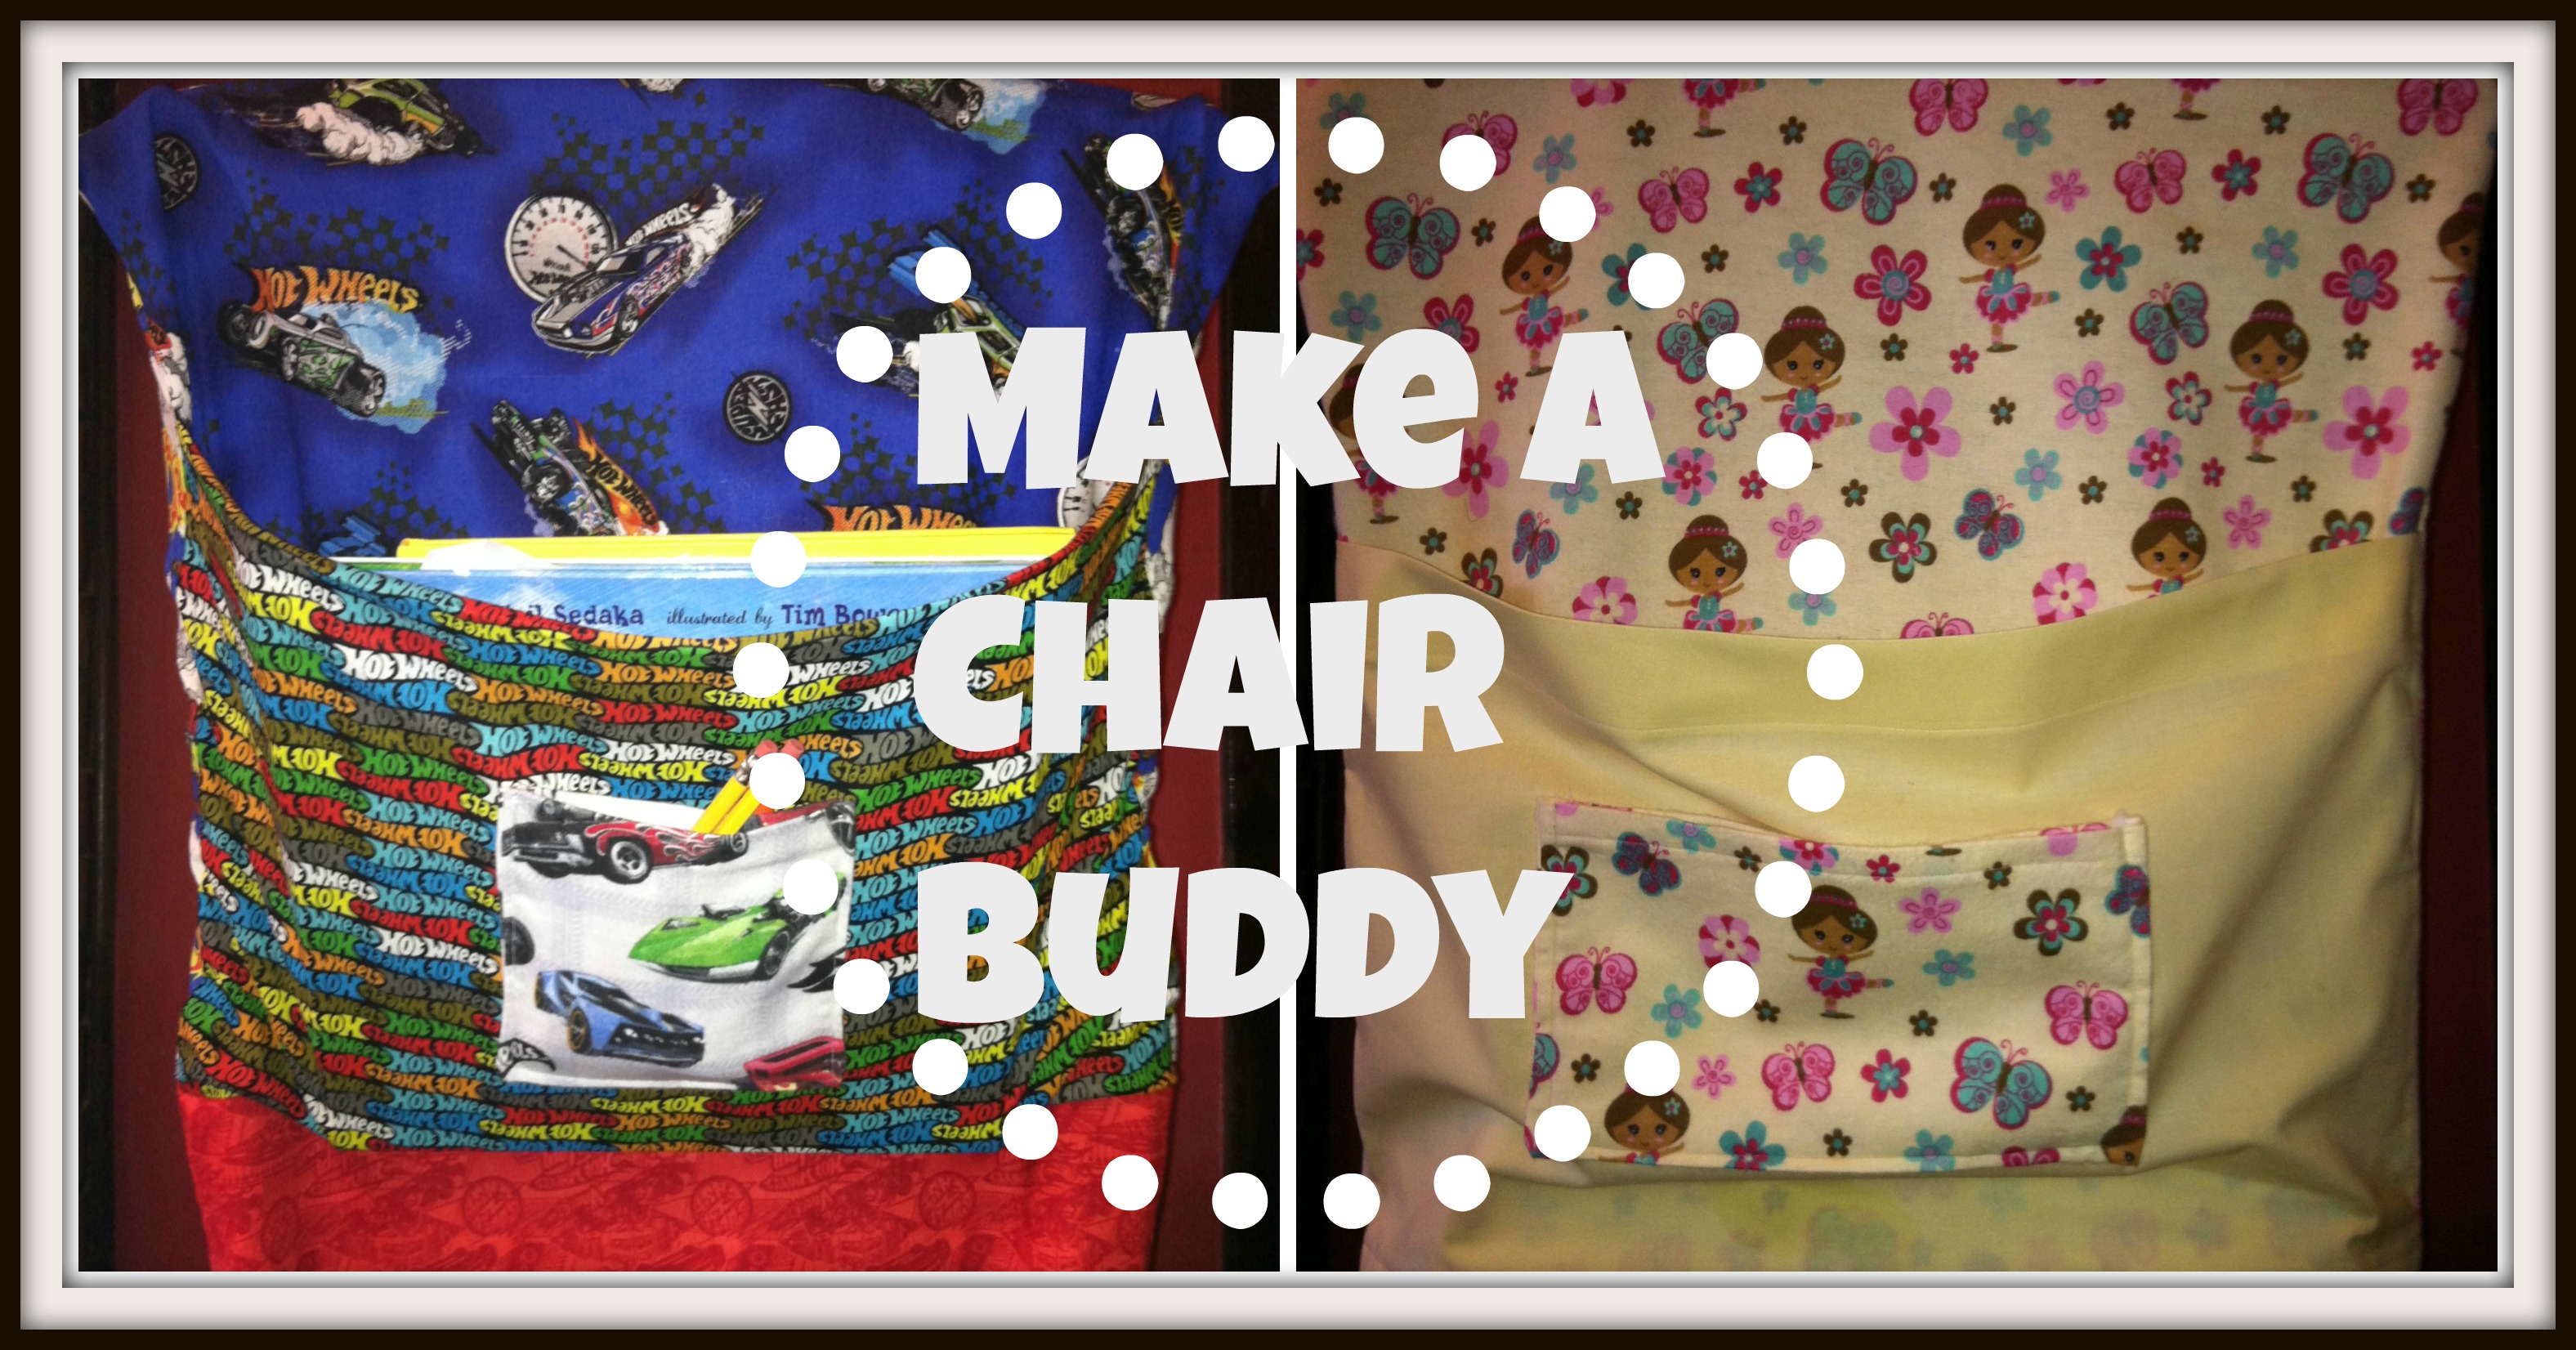
Tutorial ~ Make a Chair Buddy

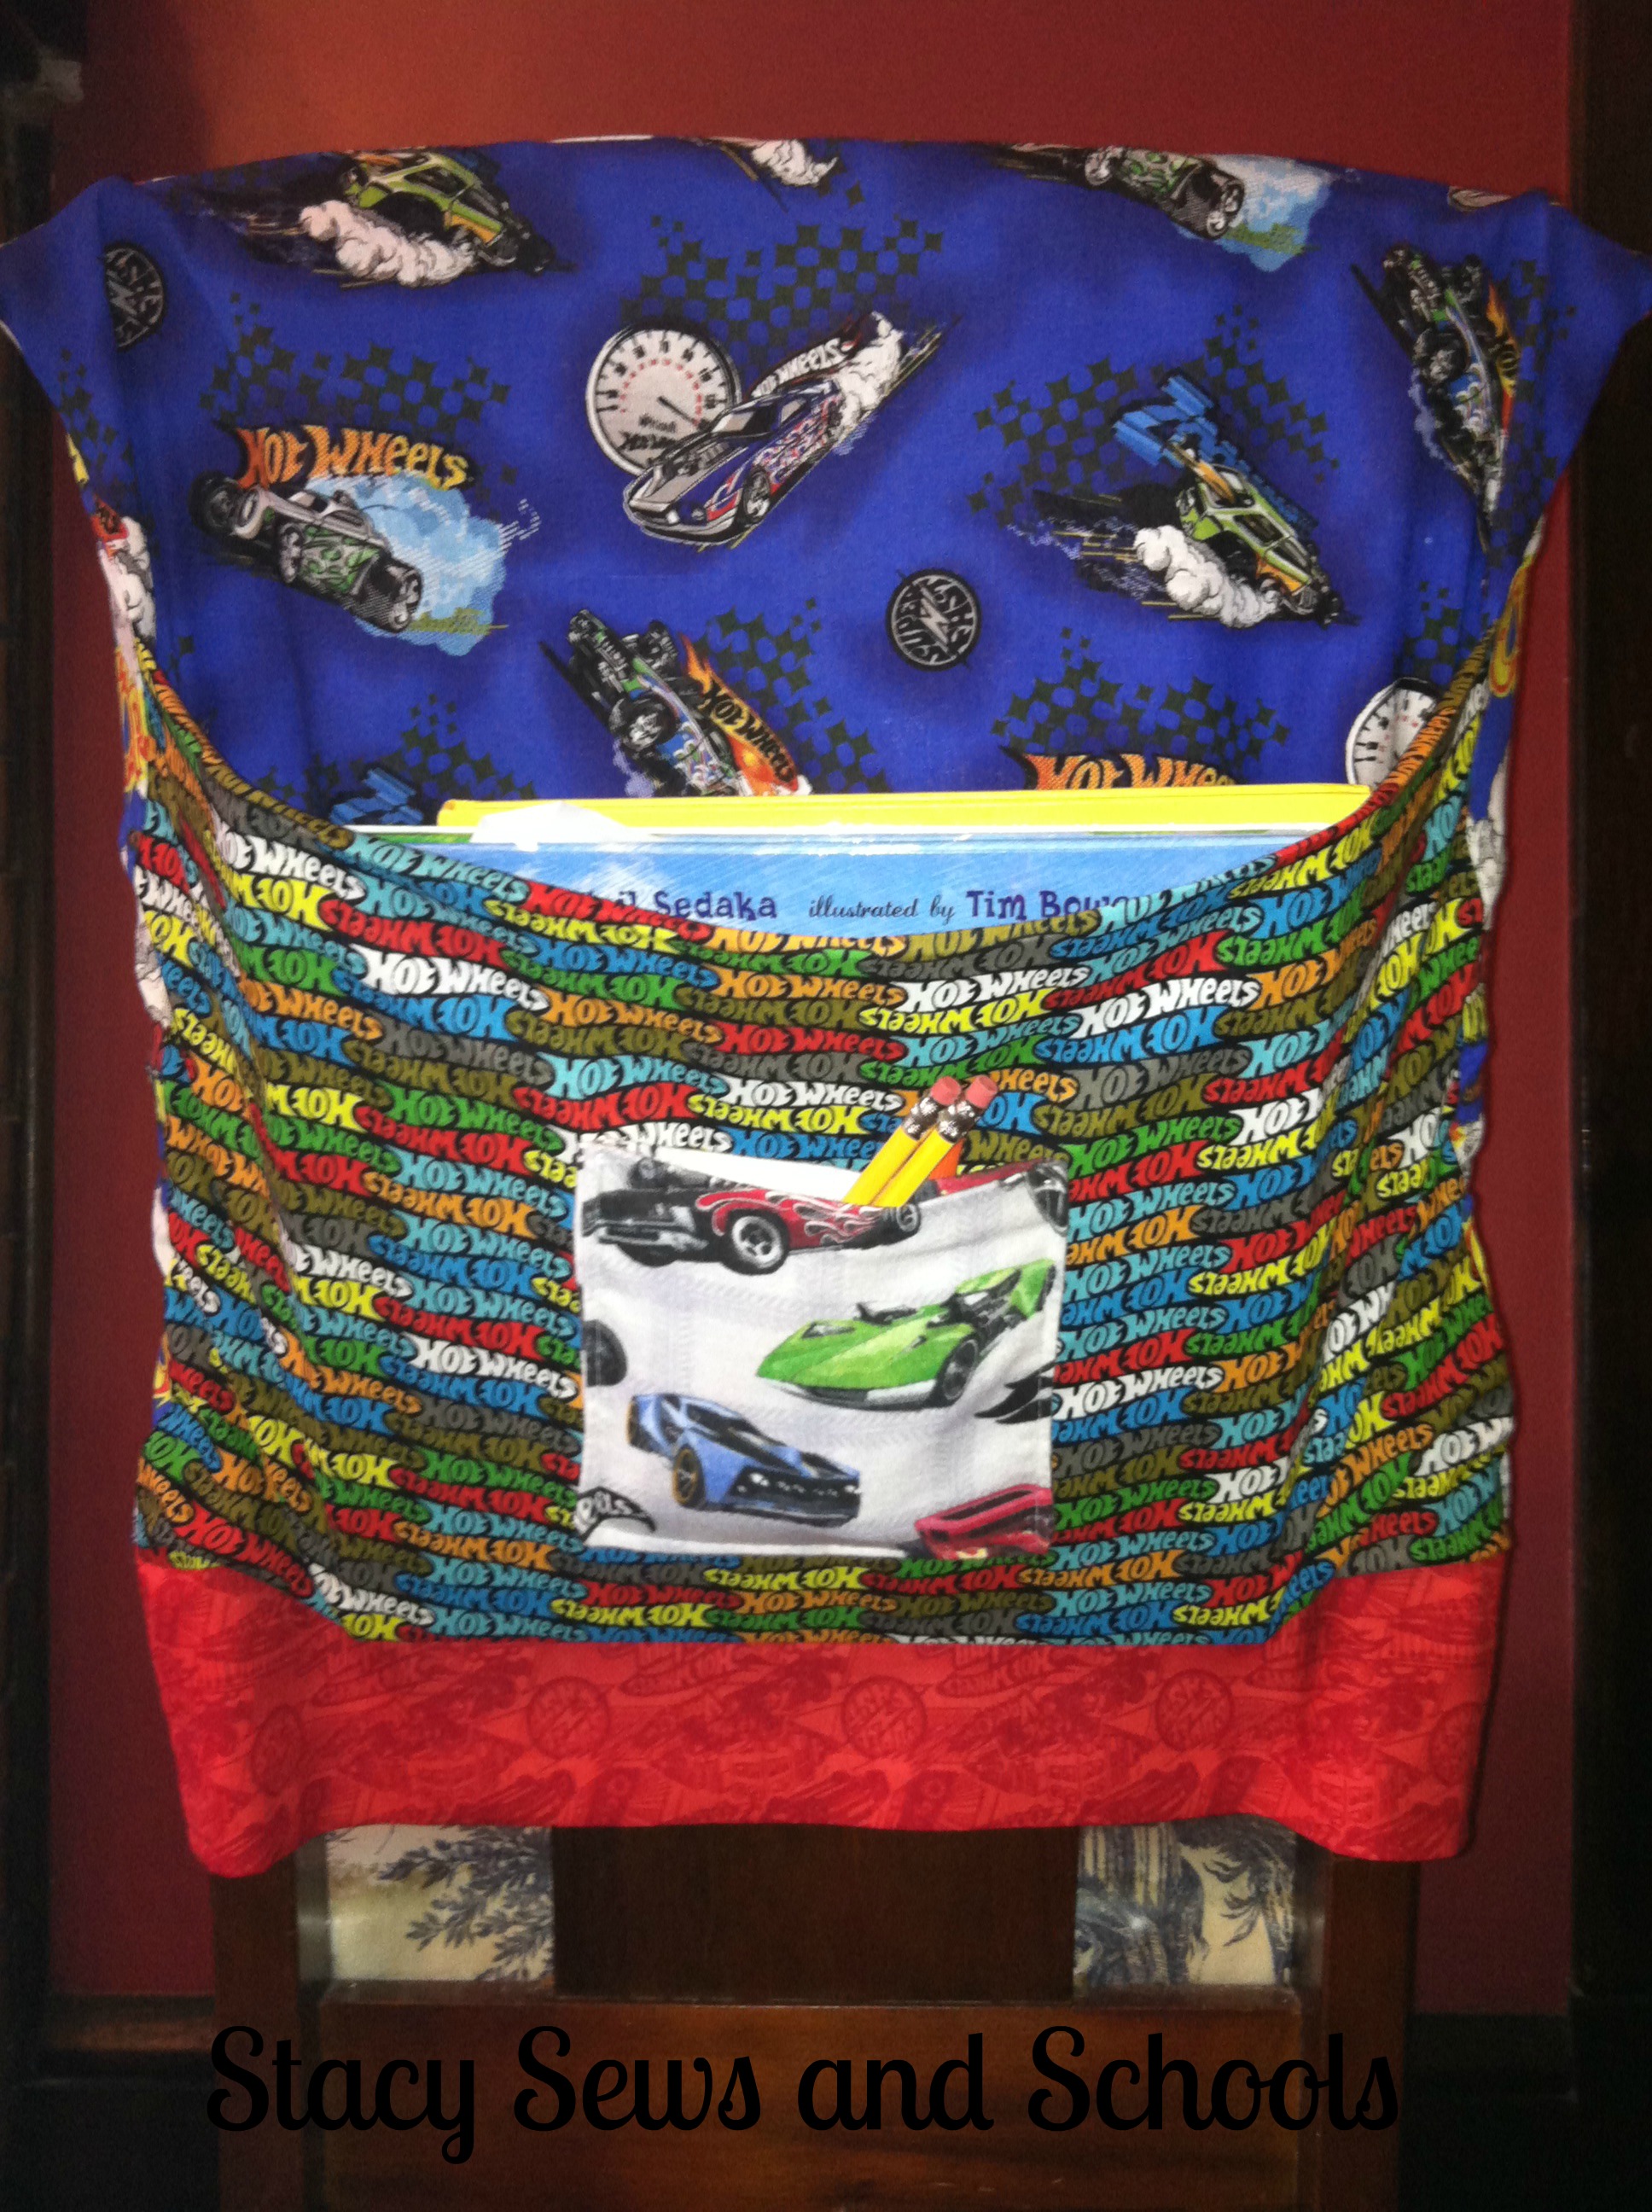
Chair Buddy Collage

This year Colin will be doing full time Kindergarten. He isn't all that thrilled about it to tell the truth. So, I decided to make him something to help get him into the spirit! A chair buddy!!

I had some Hot Wheels fat quarters sitting around and figured they would be perfect!

This project is super fast and easy!  Thank goodness, because now Cailey wants one! LOL She has decided not to use her little desk this year. Maybe Colin will use both the desk and the chair buddy!

What I used for Colin's:

4 fat quarters

1 scrap (for the little pocket)

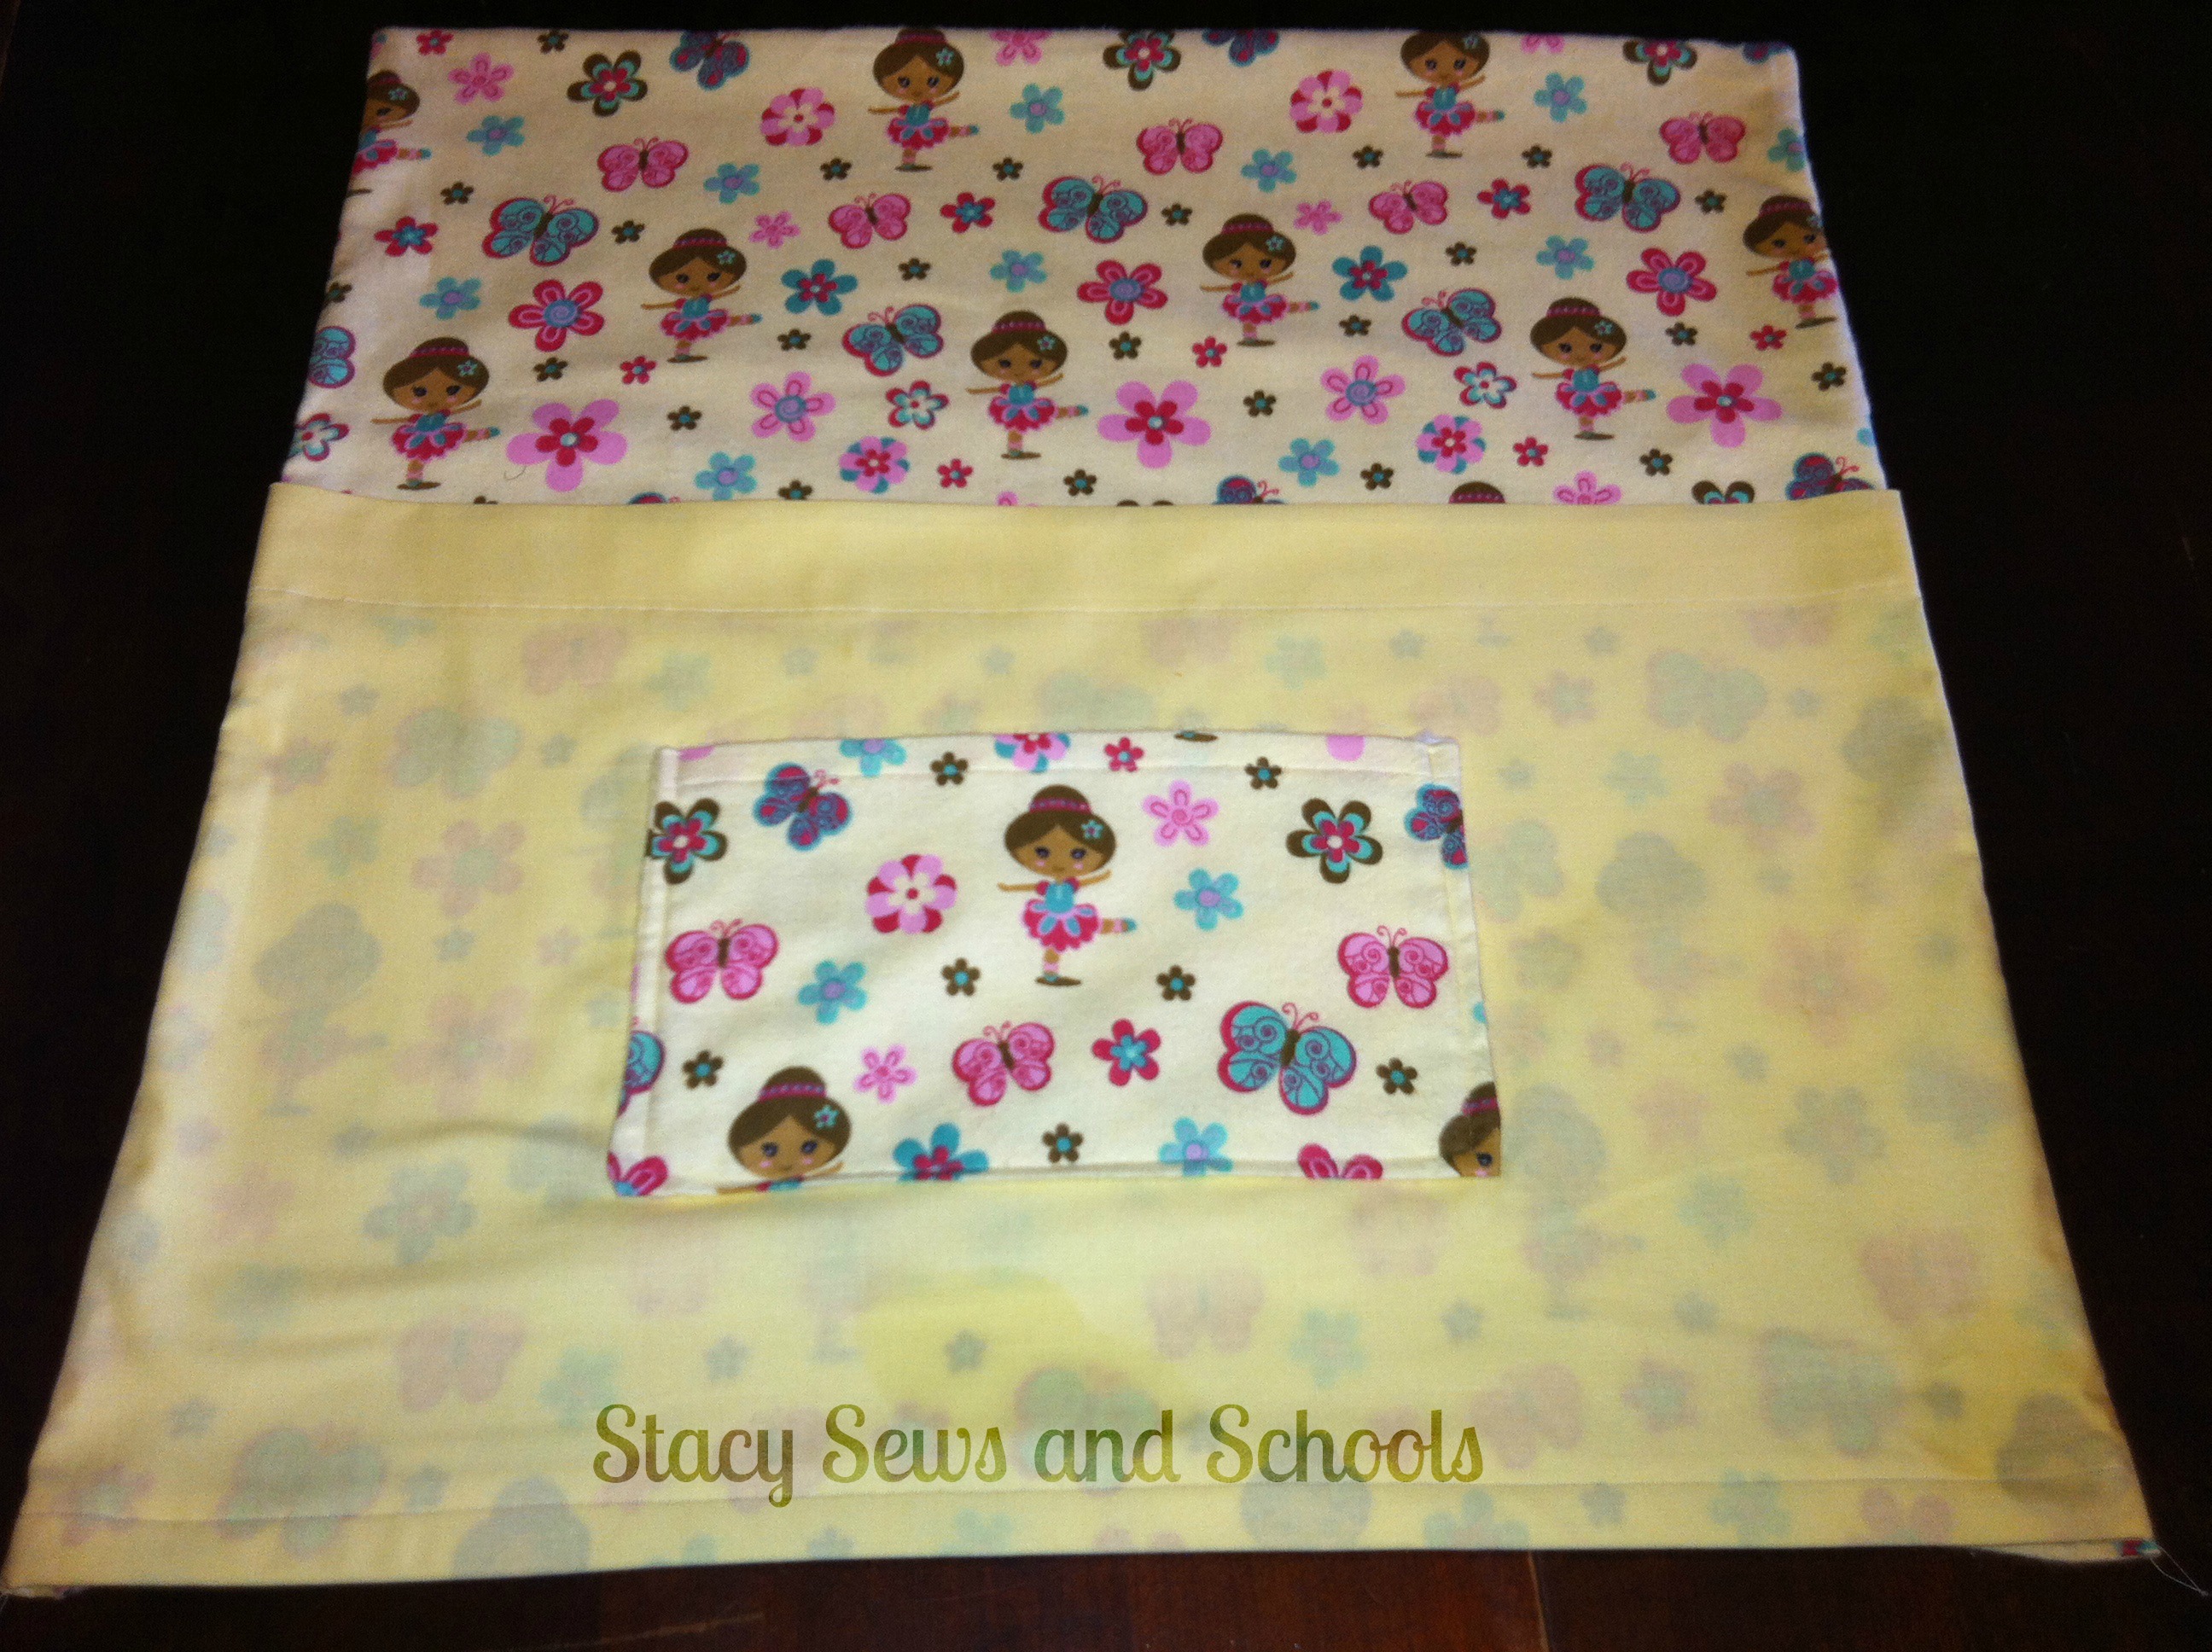
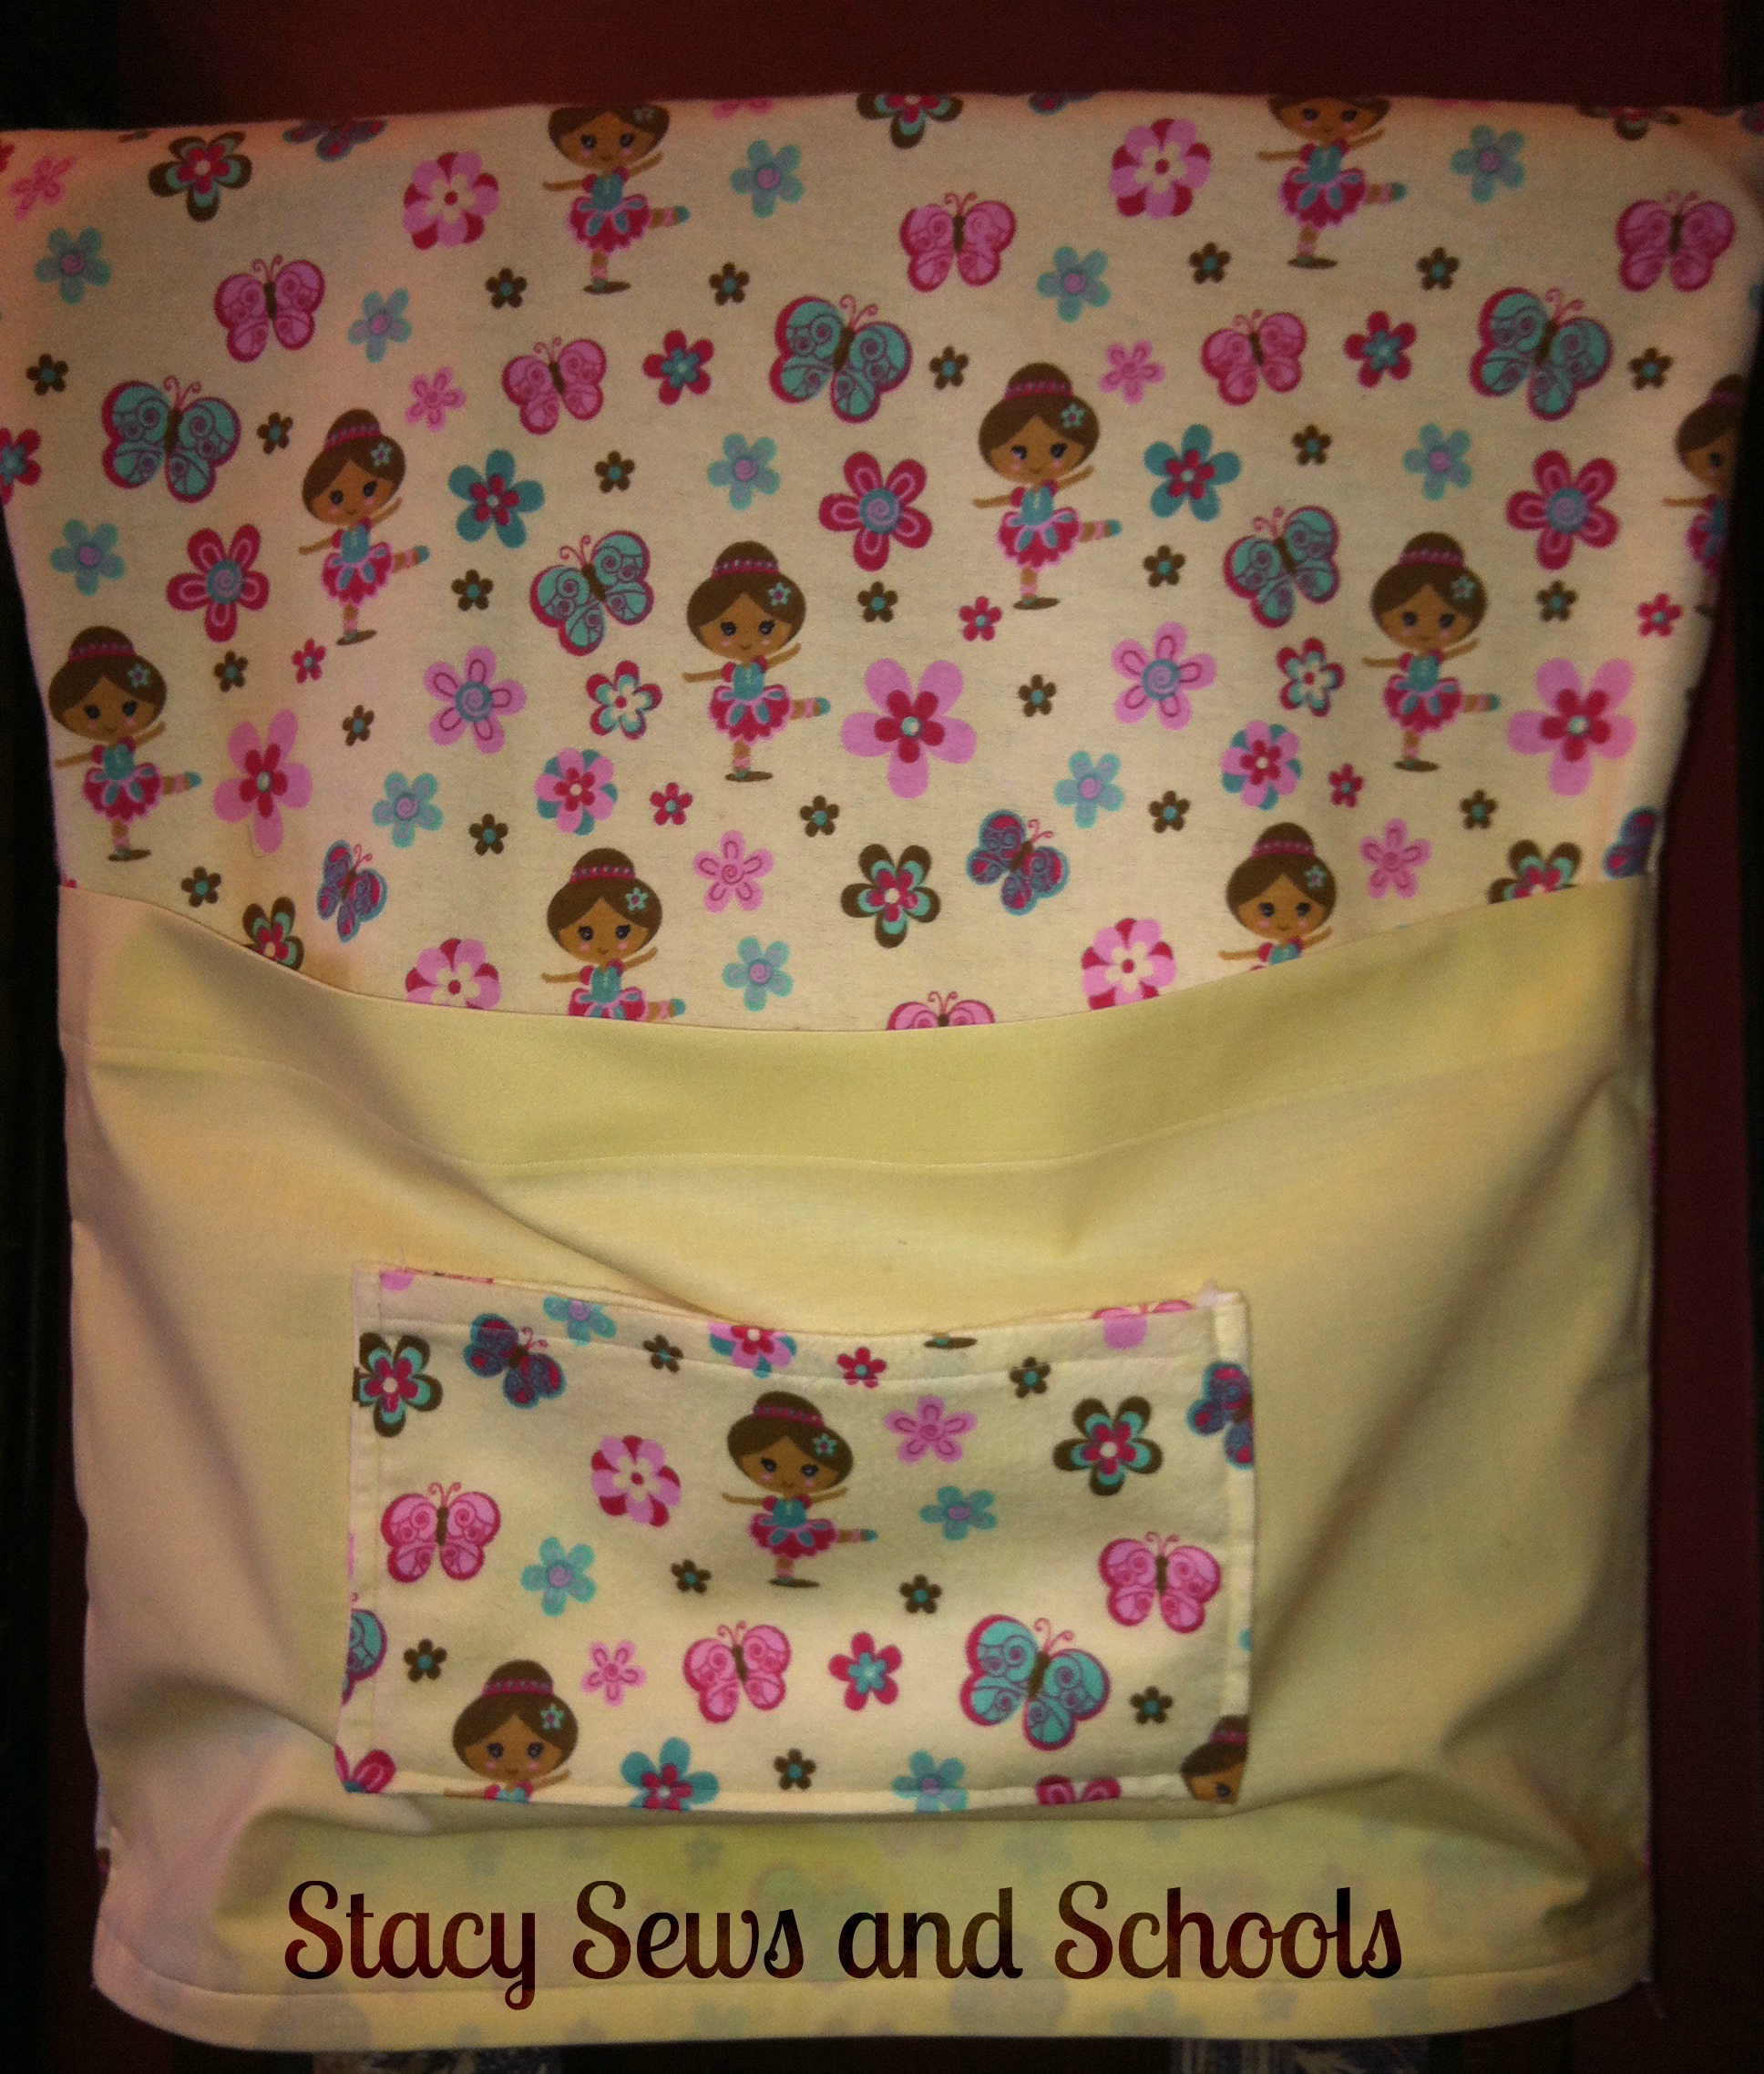
What I used for Cailey's

2 pieces of flannel - 21" x 23"

1 piece of yellow cotton - 21" x 19"

1 scrap (for the little pocket)

Step 1

Chair Buddy 005

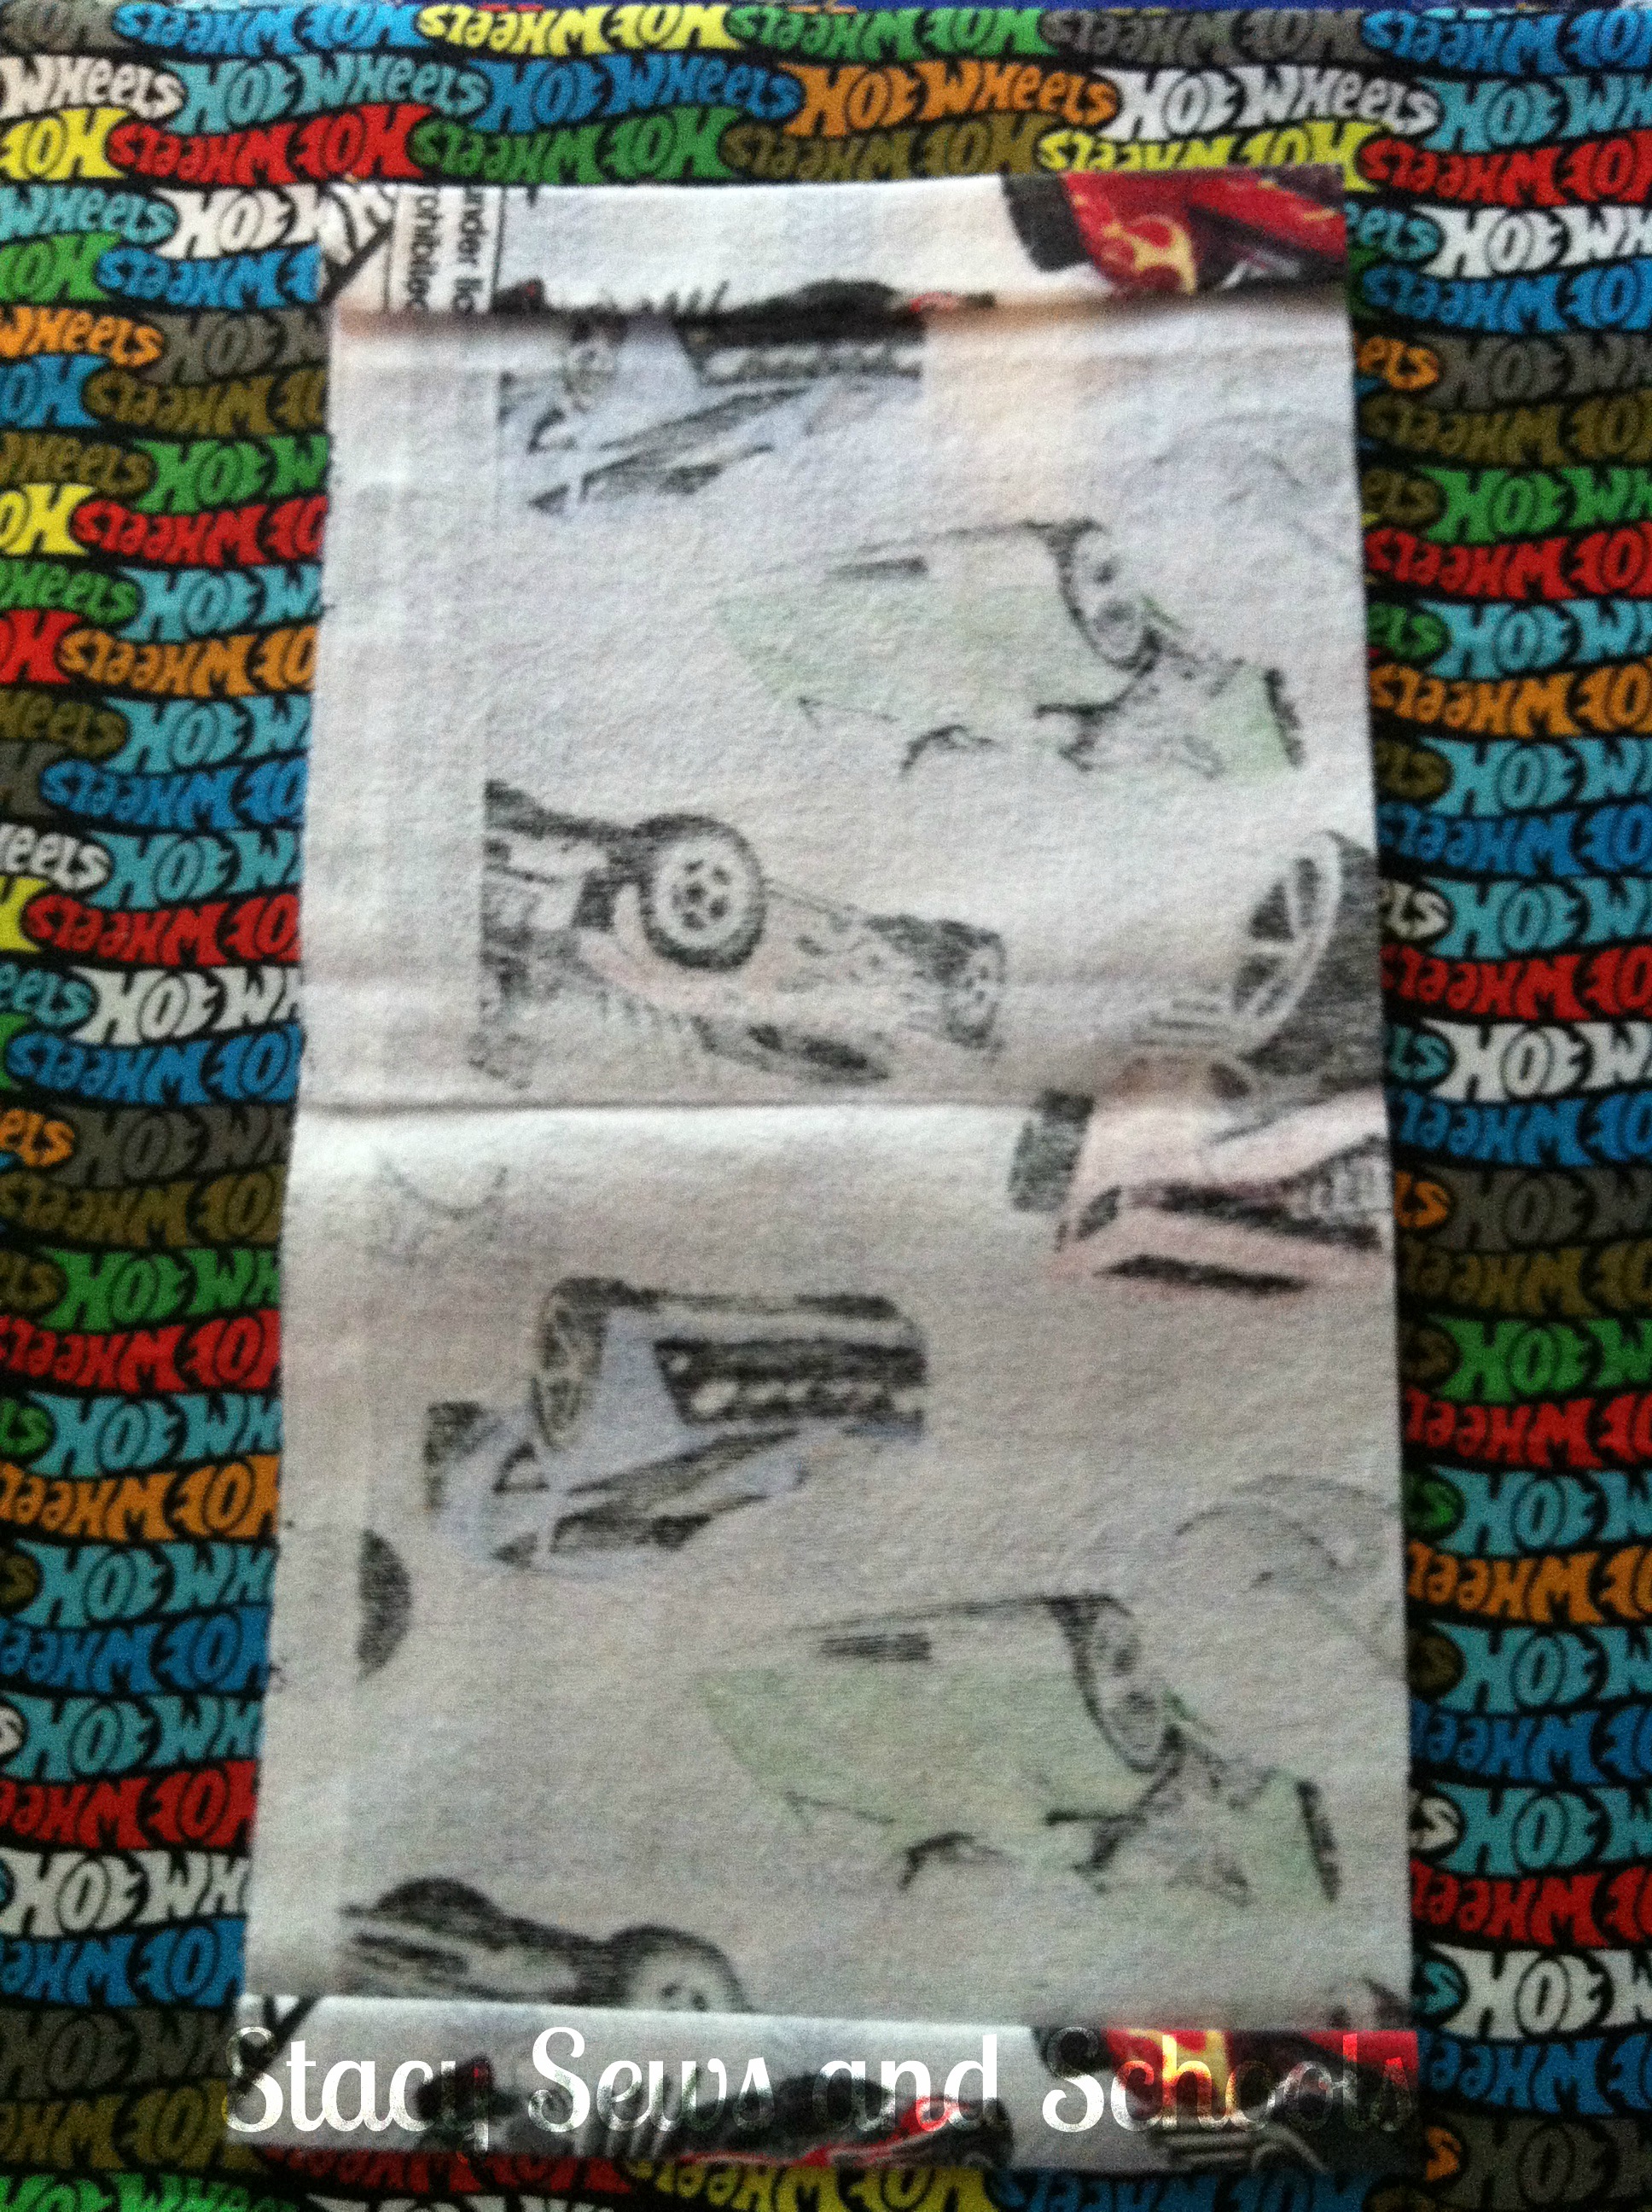
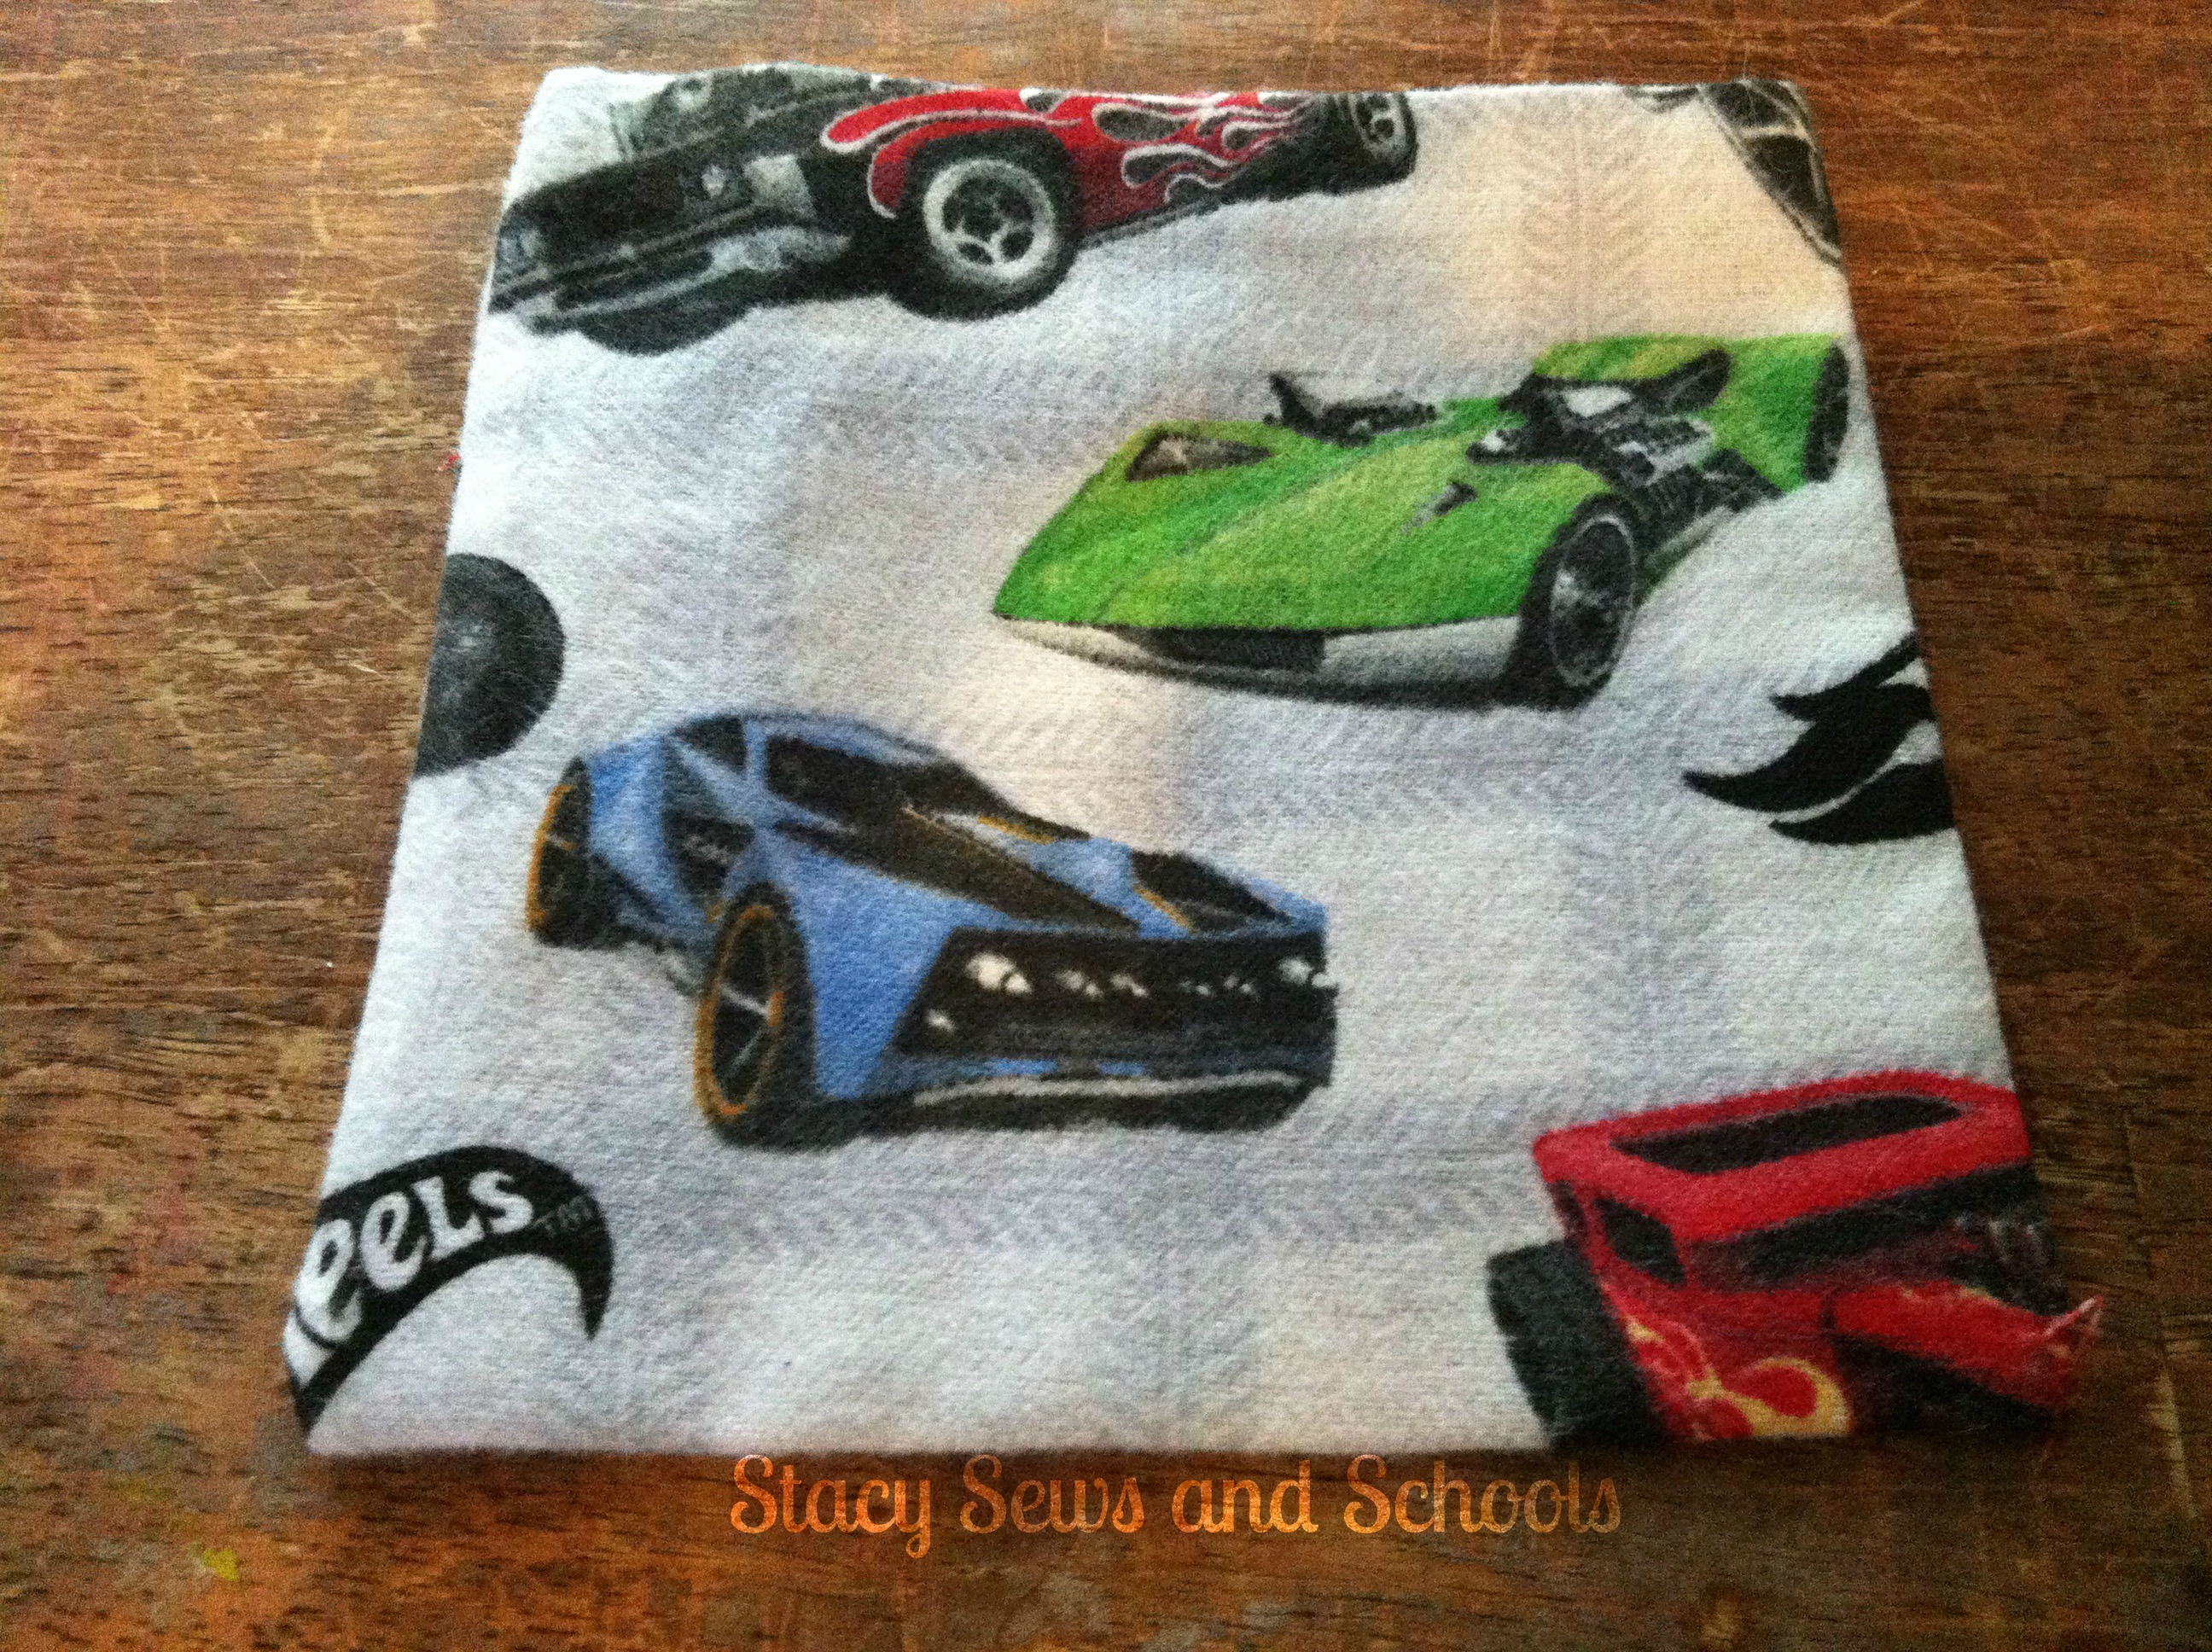
Take the scrap piece for you little pocket, fold it in half and press. Next, fold over the top ends by 1/4" and press. Fold over again by 1/2" and press. Sew in place.

Then, with right sides together, sew up the sides, creating the pocket.

Chair Buddy 009

Turn right side out and press.

Step 2 -

Chair Buddy 011

Take the fat quarter that you are going to use for the large pocket and fold over the top by 2 1/2" and press. Fold again by 2 1/2" and press again.

Sew in place and press.

Step 3 -

Chair Buddy 014

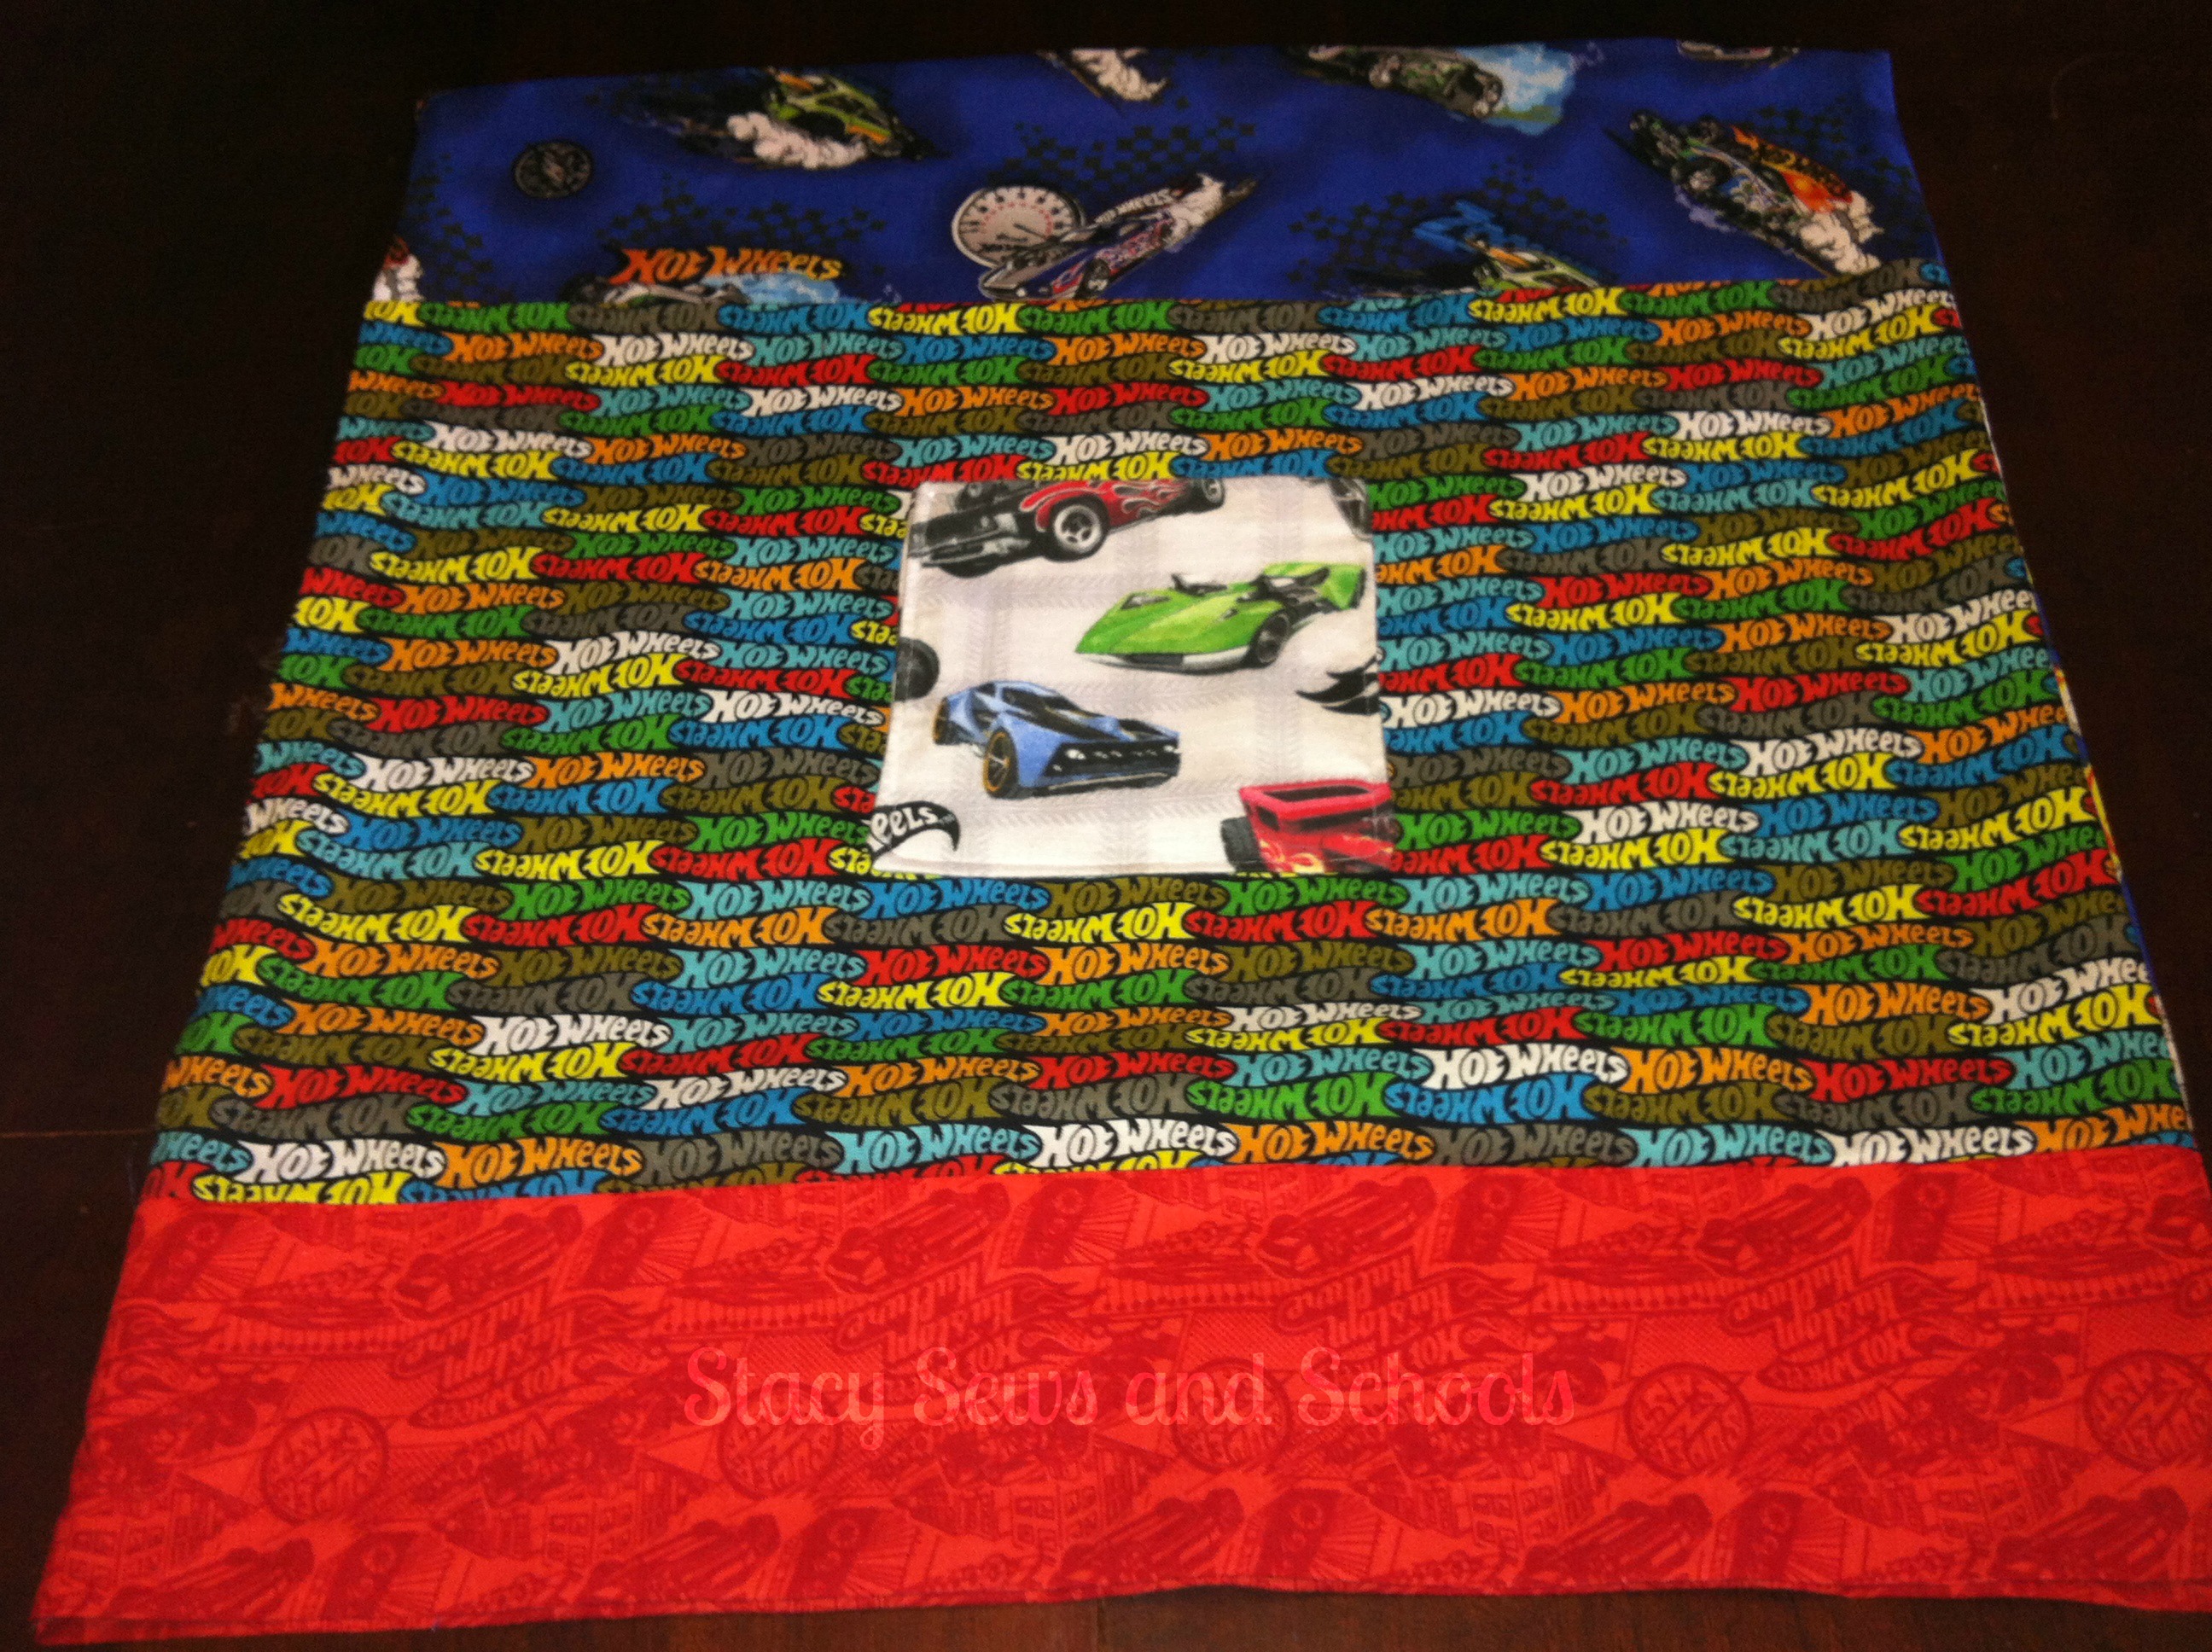
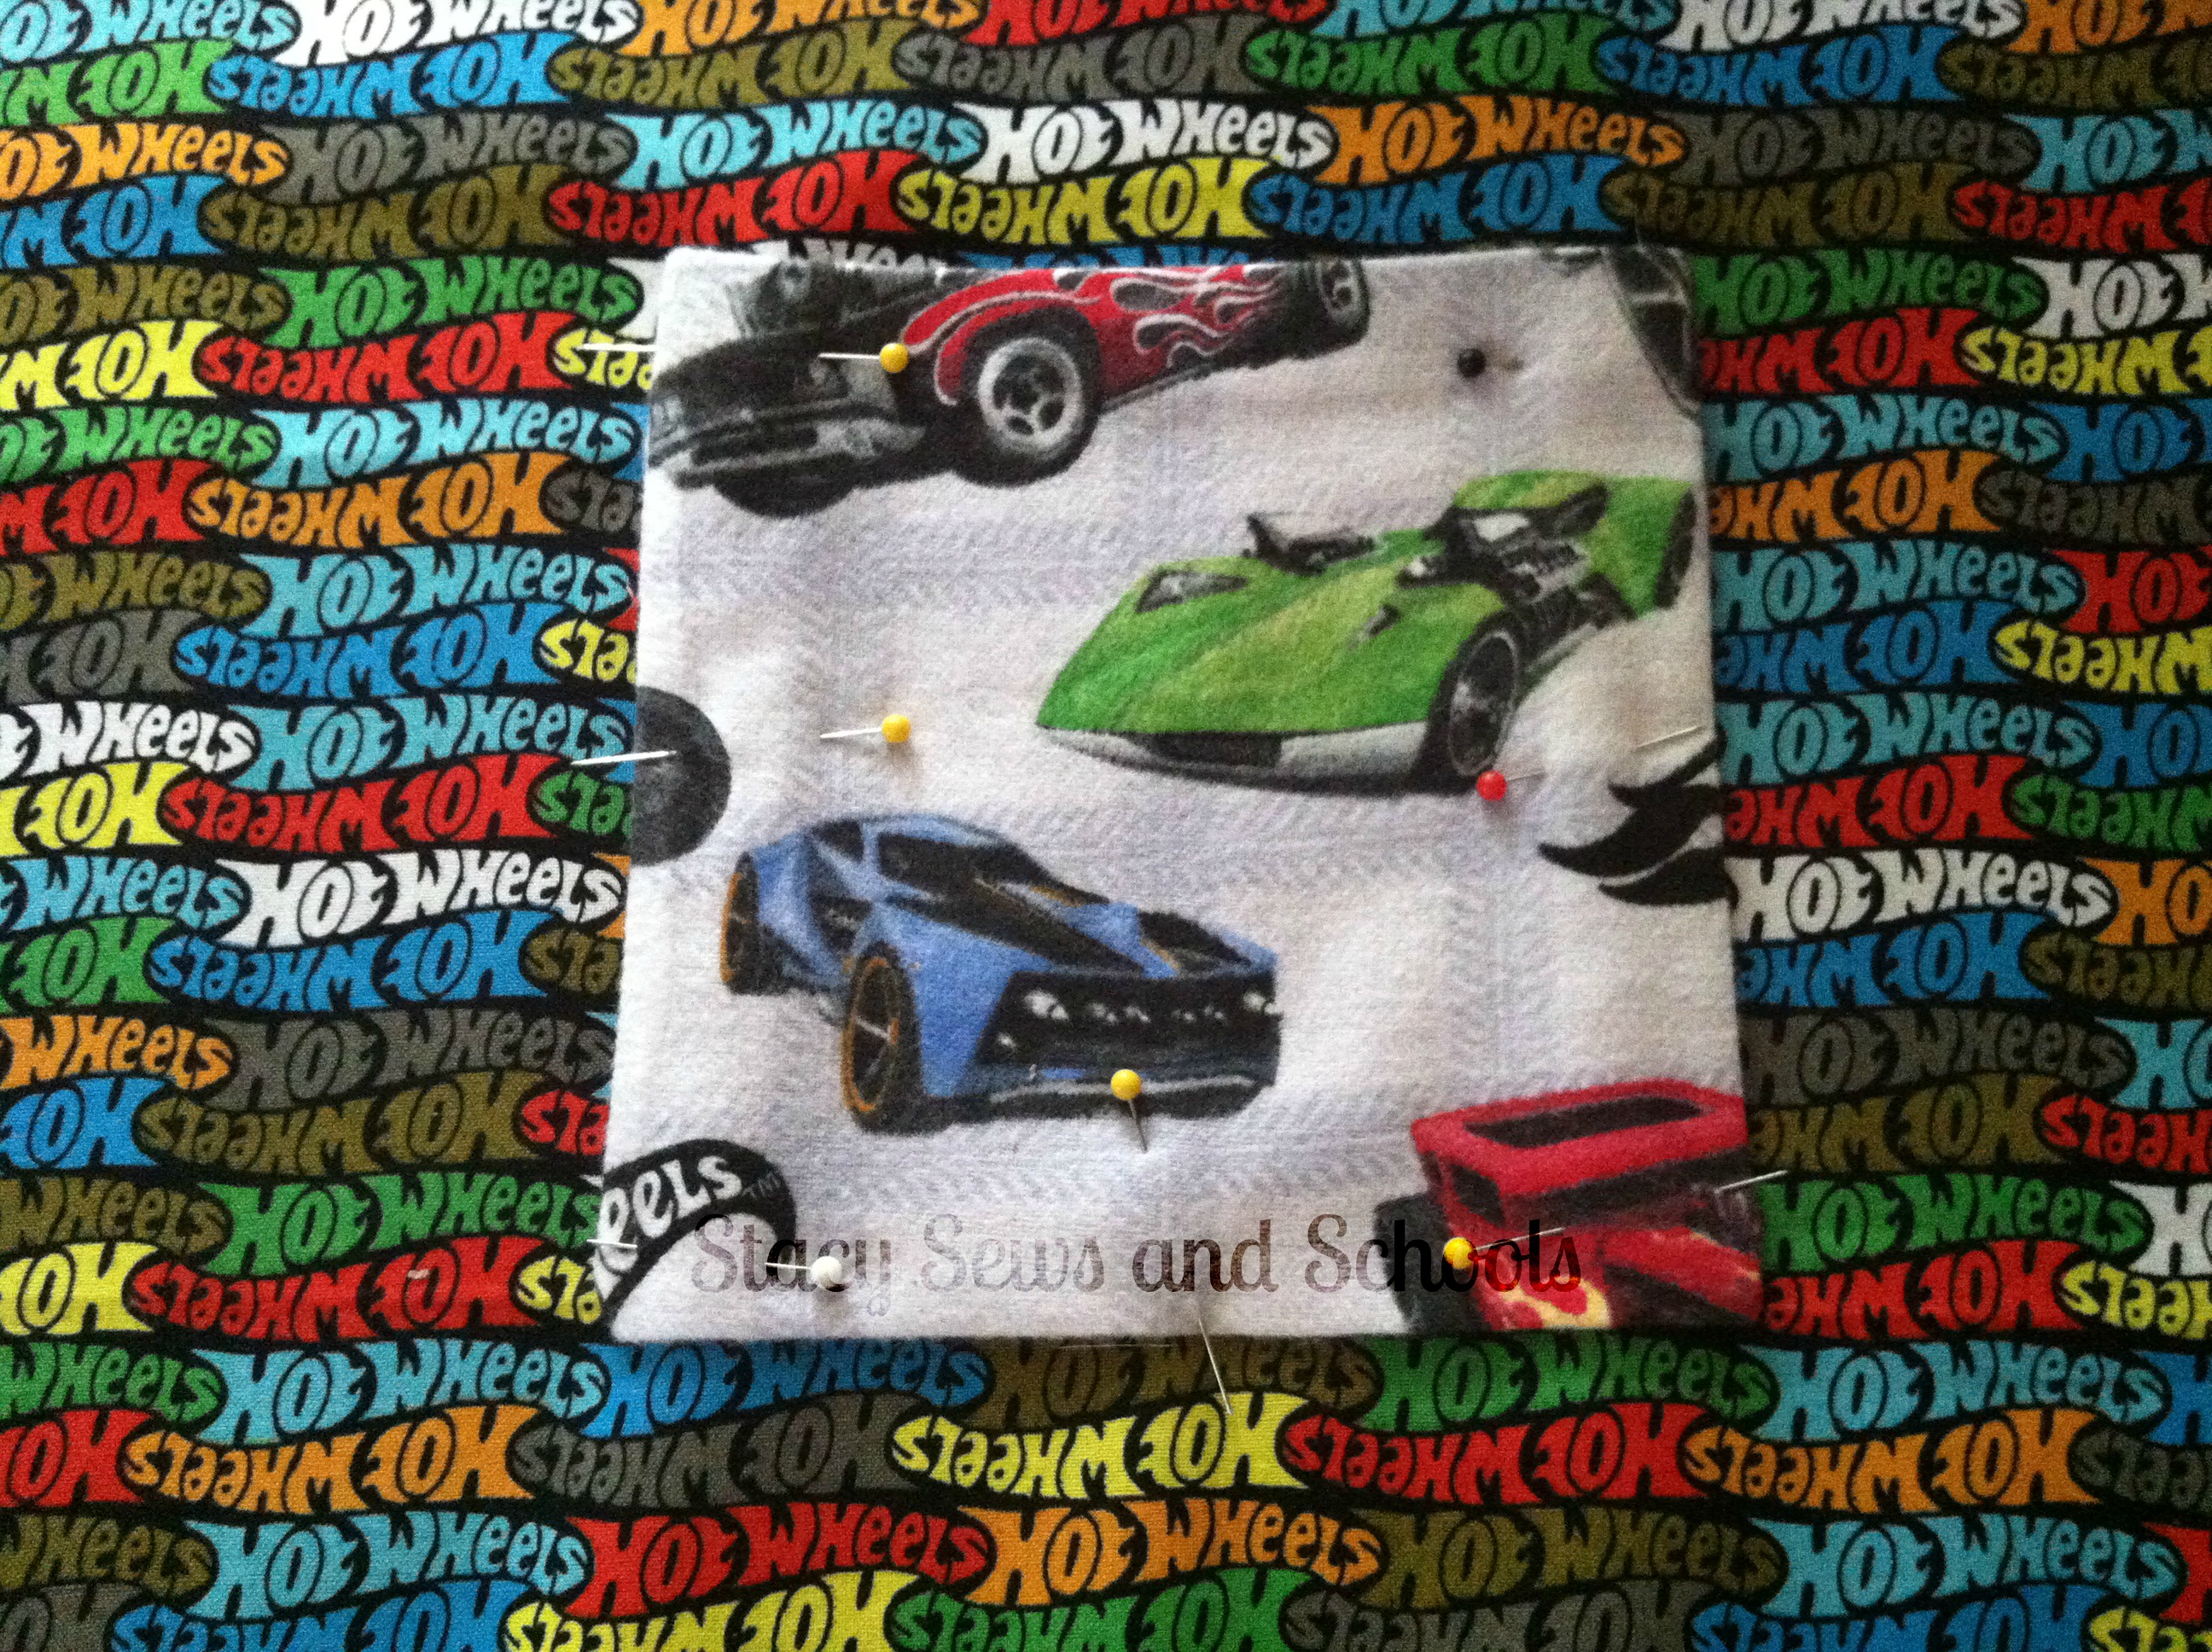
Pin the small pocket in place on the front of the fat quarter you will be using for the large pocket.

Sew in place and press.

You should now have 2 small pockets on the front.

Step 4 -

Chair Buddy 016

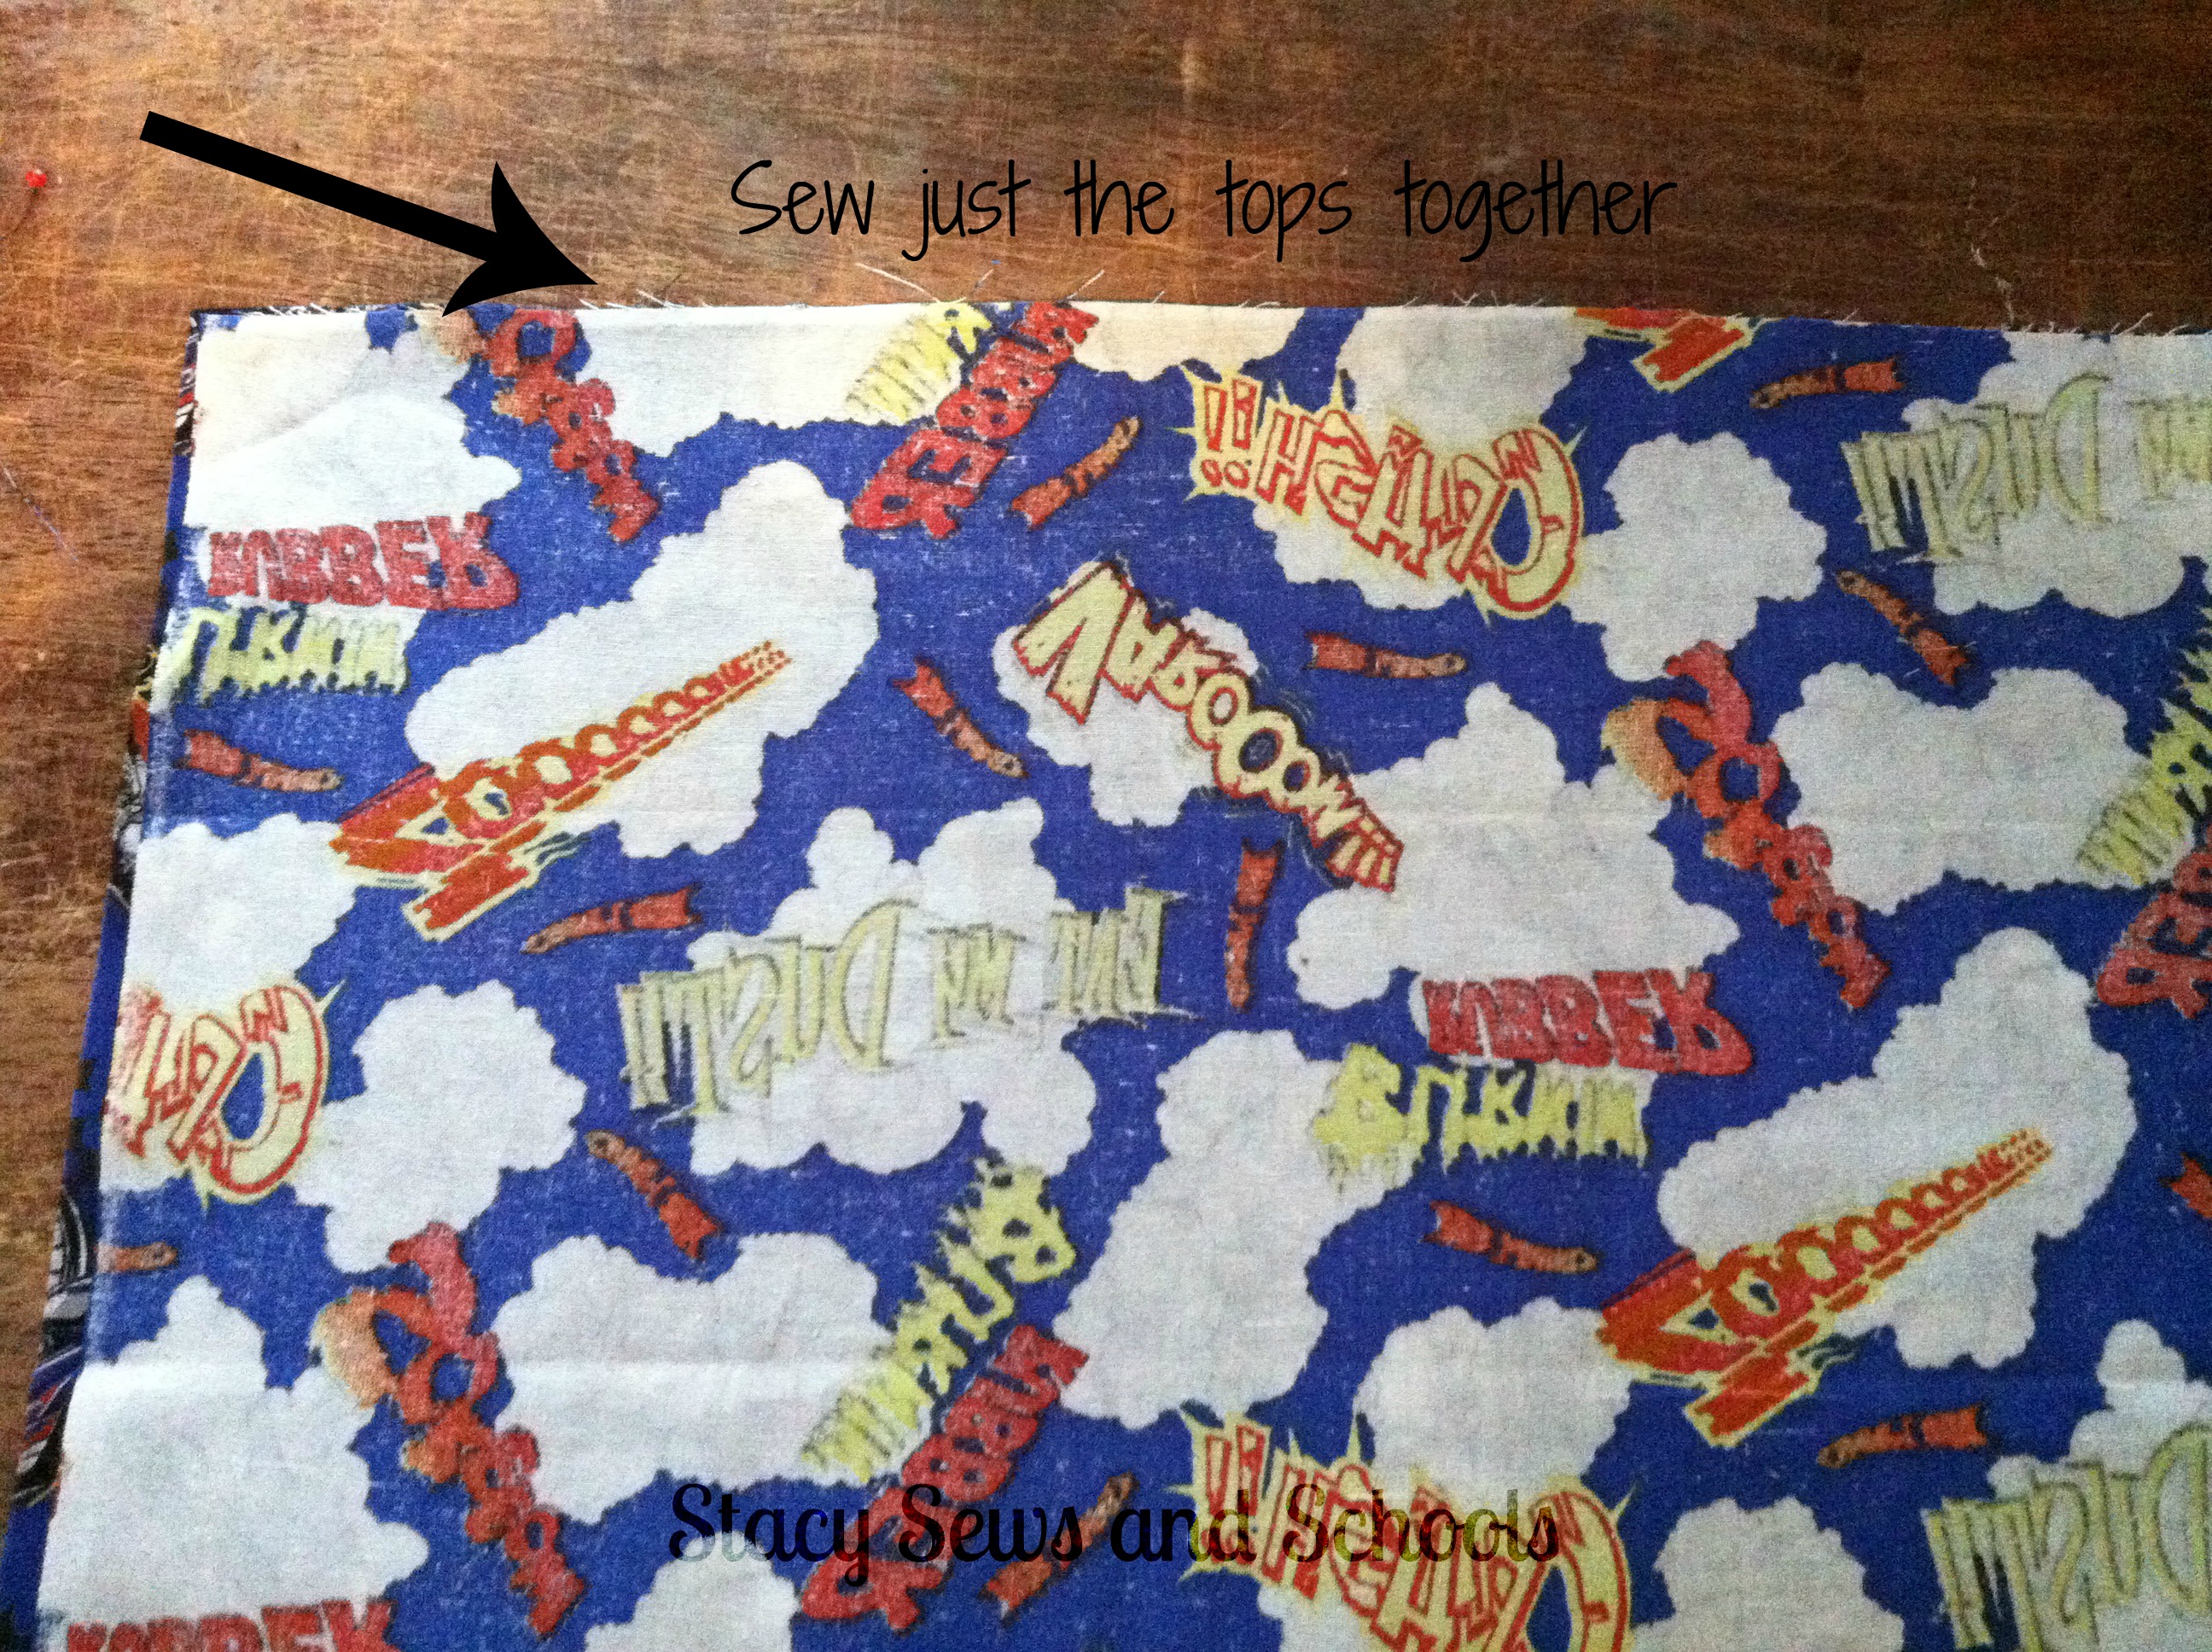
Take the 2 fat quarters you will be using as the body and sew the tops together.

Open it up and press the seam.

With right sides out, fold in half and press the seam from the outside.

Step 5 -

Chair Buddy 022

Take your last fat quarter and cut it in half. Fold the halves in the half and press (with right sides out).

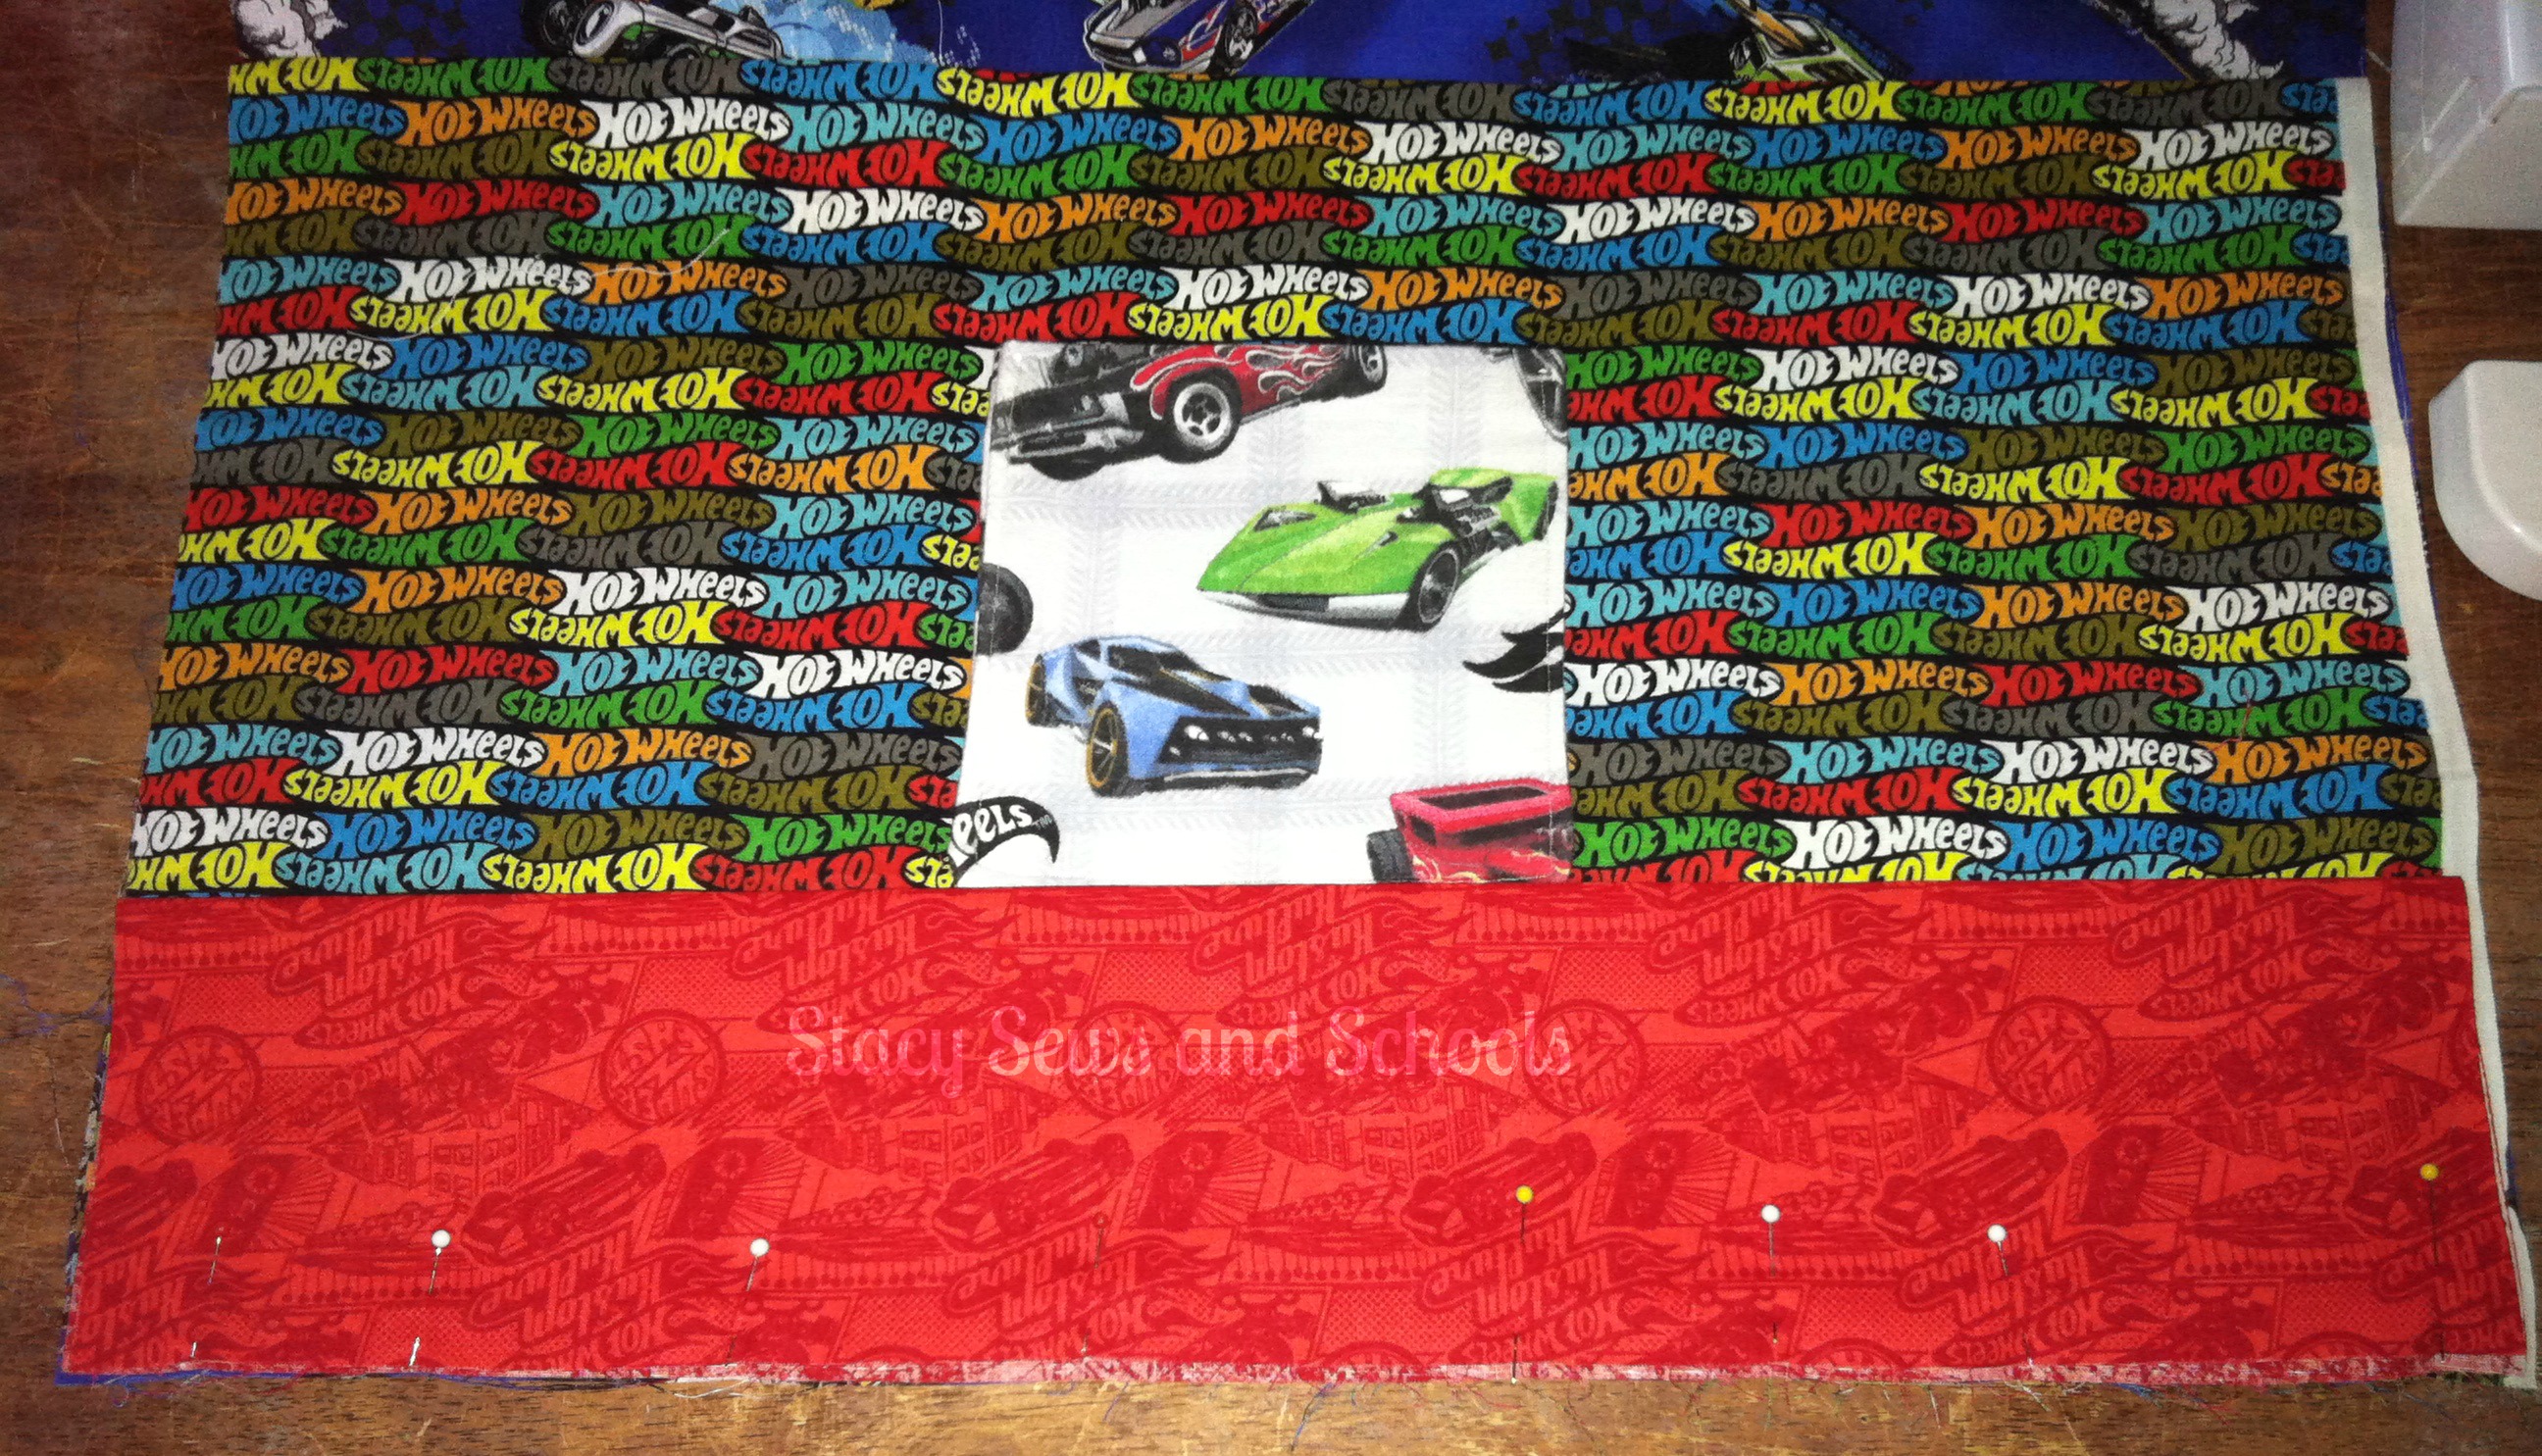
Place your pockets on one side of the body and pin down the sides.

Take one of the halves and pin it with the raw edges against the raw edges of the bottom of the large pocket and main body. Pin in place.

Now sew all three pieces together.

Fold the bottom part down and press.  (On the wrong side, press the seam up.)

Take the remaining half and sew it to the bottom of the other side of the main body, Repeat the pressing.

****If you are NOT using the fat quarters, you will lay the pocket fabric on top of the main and fold over 1/2" and press. Fold over another 1/2", press and hem.

Step 6 -

Chair Buddy 025

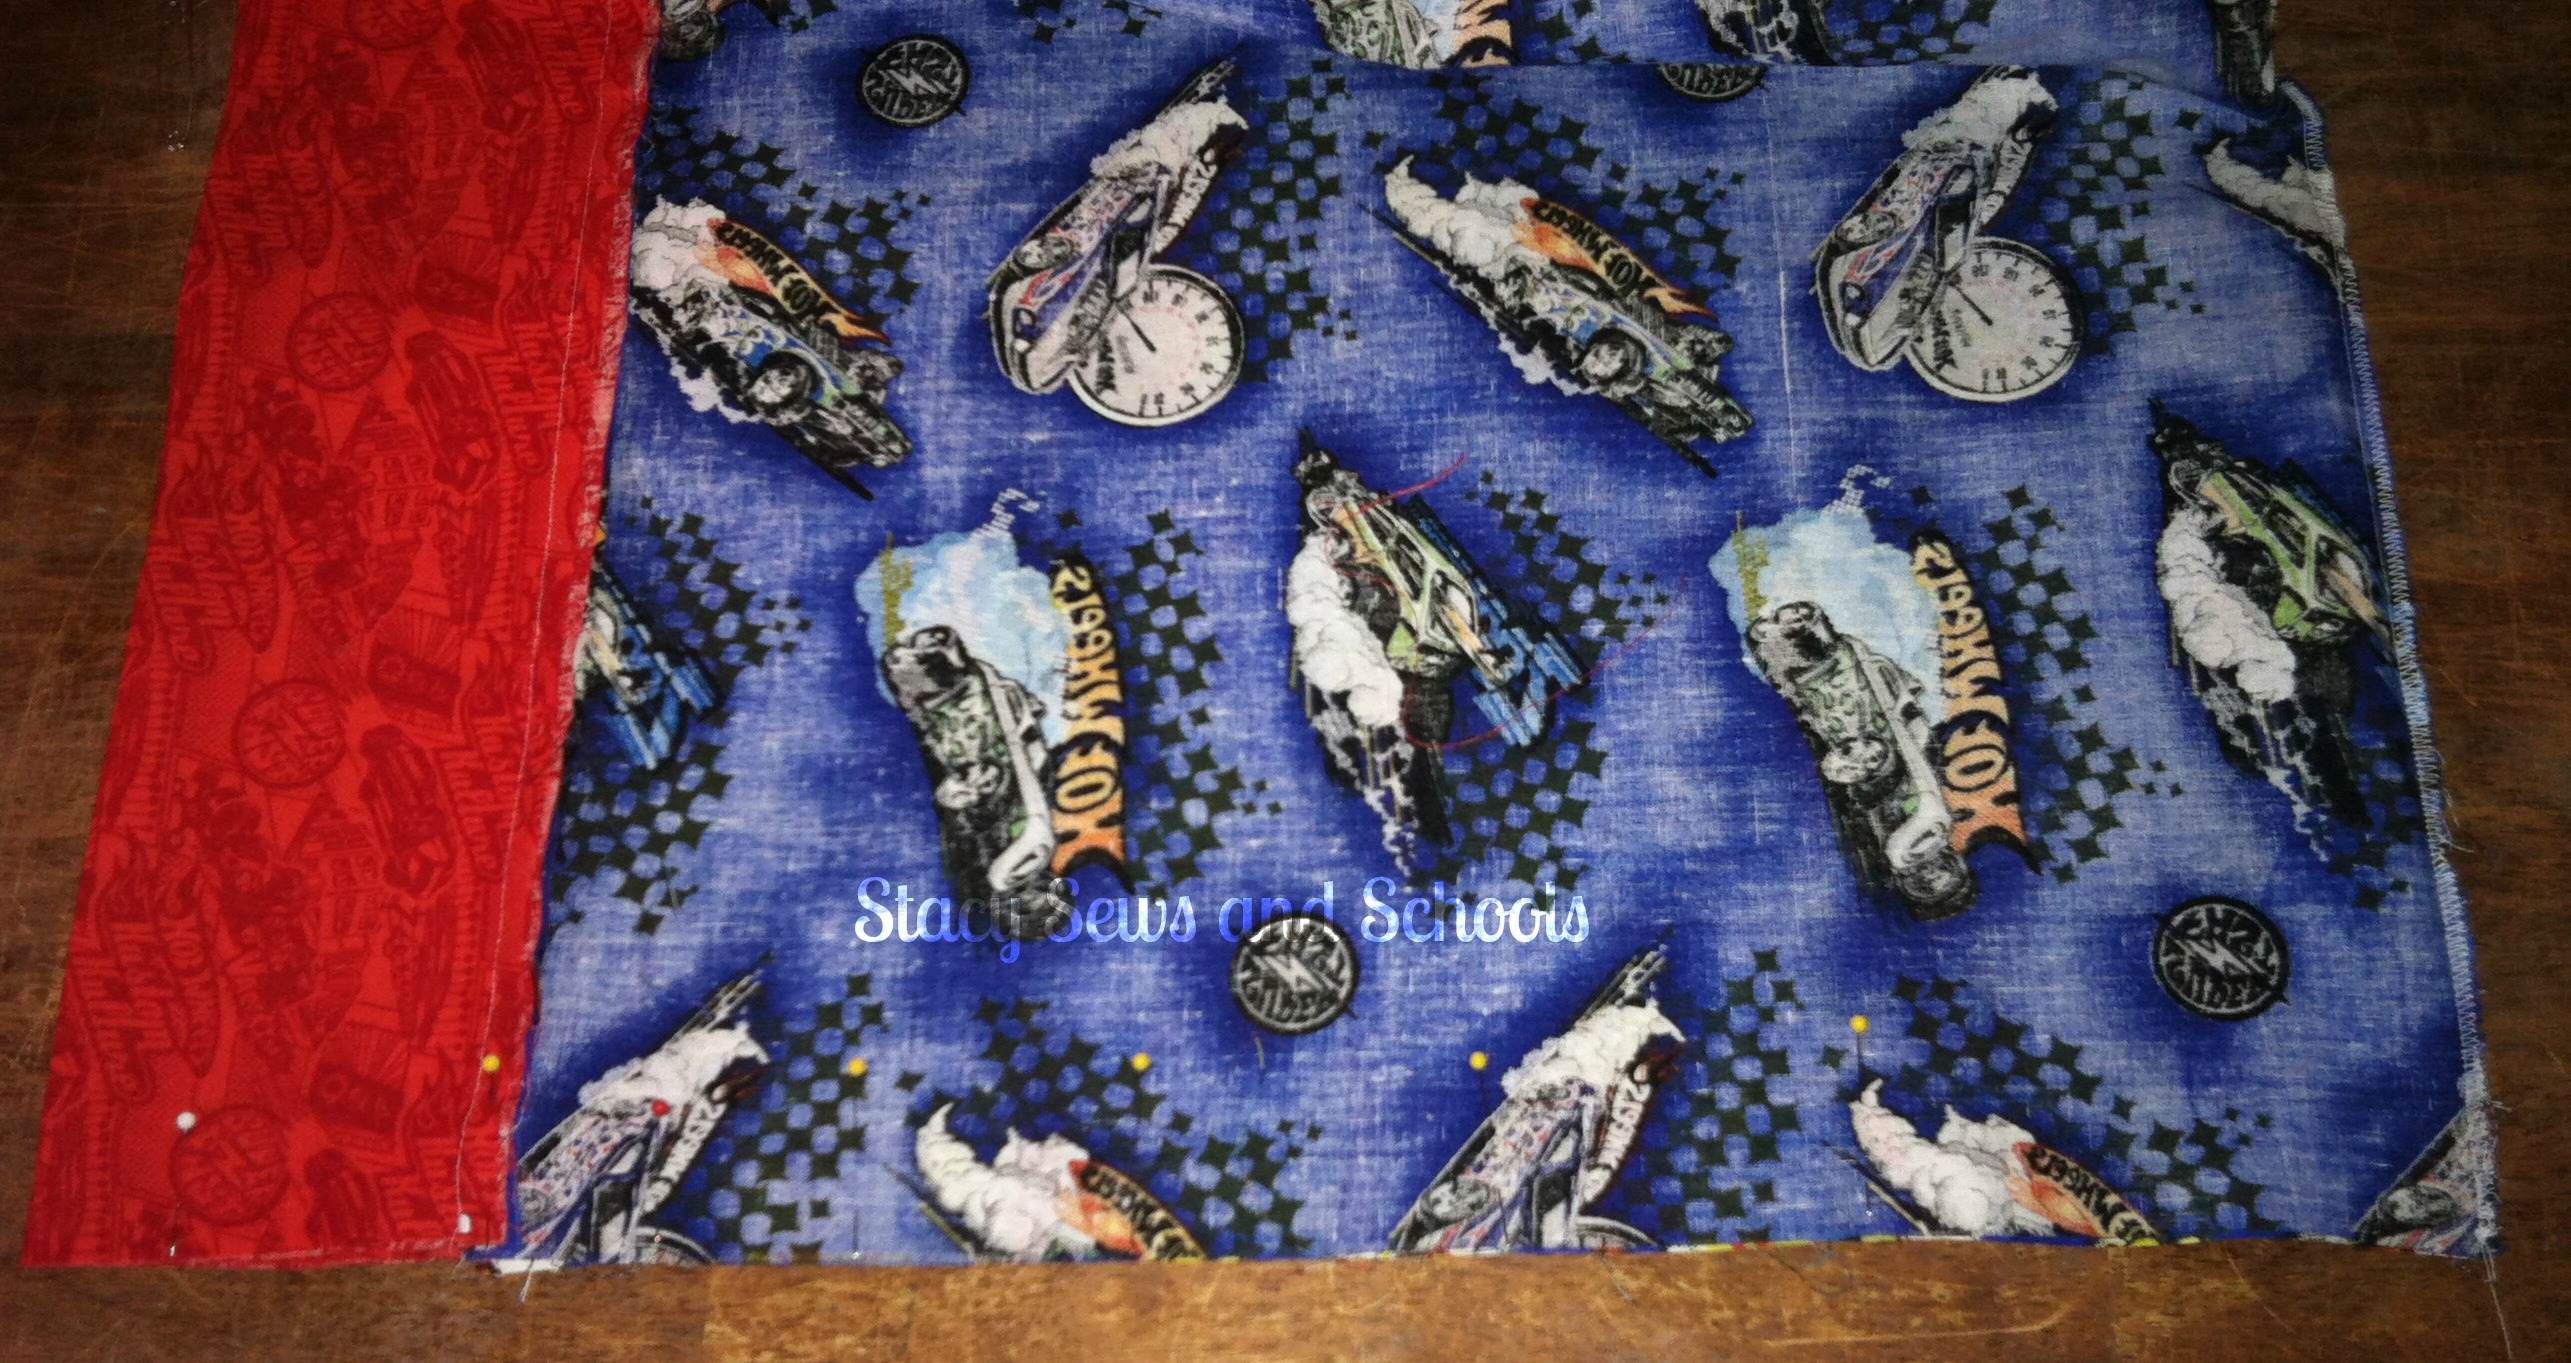
Now, fold the body in half with right sides together and pin the sides,

Sew the sides up!

Press!

Chair Buddy 028

Turn right side out and press again!

You are ALL DONE!!!

Chair Buddy 027

You now have yourself a Chair Buddy!!! YAY!!!

Here is Cailey's!

Chair Buddy 037

Chair Buddy 034

Let me know what you think! Have any questions? Just comment or shoot me an email by clicking the Contact Me button at the top of the page.

You can also find me on Twitter or Facebook - the links are over on the right side.

HAVE FUN SEWING!!!!