Showing posts with label outfit. Show all posts

October 7, 2014

Candy Corn Cutie Tutorial


It's that time of year again!! Time to make Cailey a new Halloween outfit!!!

Here are the years past.

Happy Halloween Peasant Dress


Halloween Peasant Dress from last year. SIGH... It's now a tunic. 


This was the Ghostly Giggles Skirt from 2 years ago. 

Bigger SIGH.... It's now knee length. SIGH.... 

She has grown so much in the past 2 years. MAKE IT STOP!!! NOW!!!!! 

WAH!!!!!

At the end of this post is something super special!!! Karen from Baking in a Tornado has a faBOOlous recipe for Candy Corn Bread. OMG!! To die for!!!! 


On to the tutorial!!!

I ALWAYS ask Cailey's opinions on what I am making for her. In this case I asked her about sleeve length, top length and the looseness of the pants. She opted for looser pants over regular leggings. She also opted for long sleeves. 

WHAT I USED

1 yard of white cotton knit (didn't use the whole yard)

1/2 yard of yellow cotton interlock (used the whole thing)

1 1/2 yards of orange poly interlock  (that was the only orange knit I could find)(used most of it) 

3/4" elastic


STEP 1

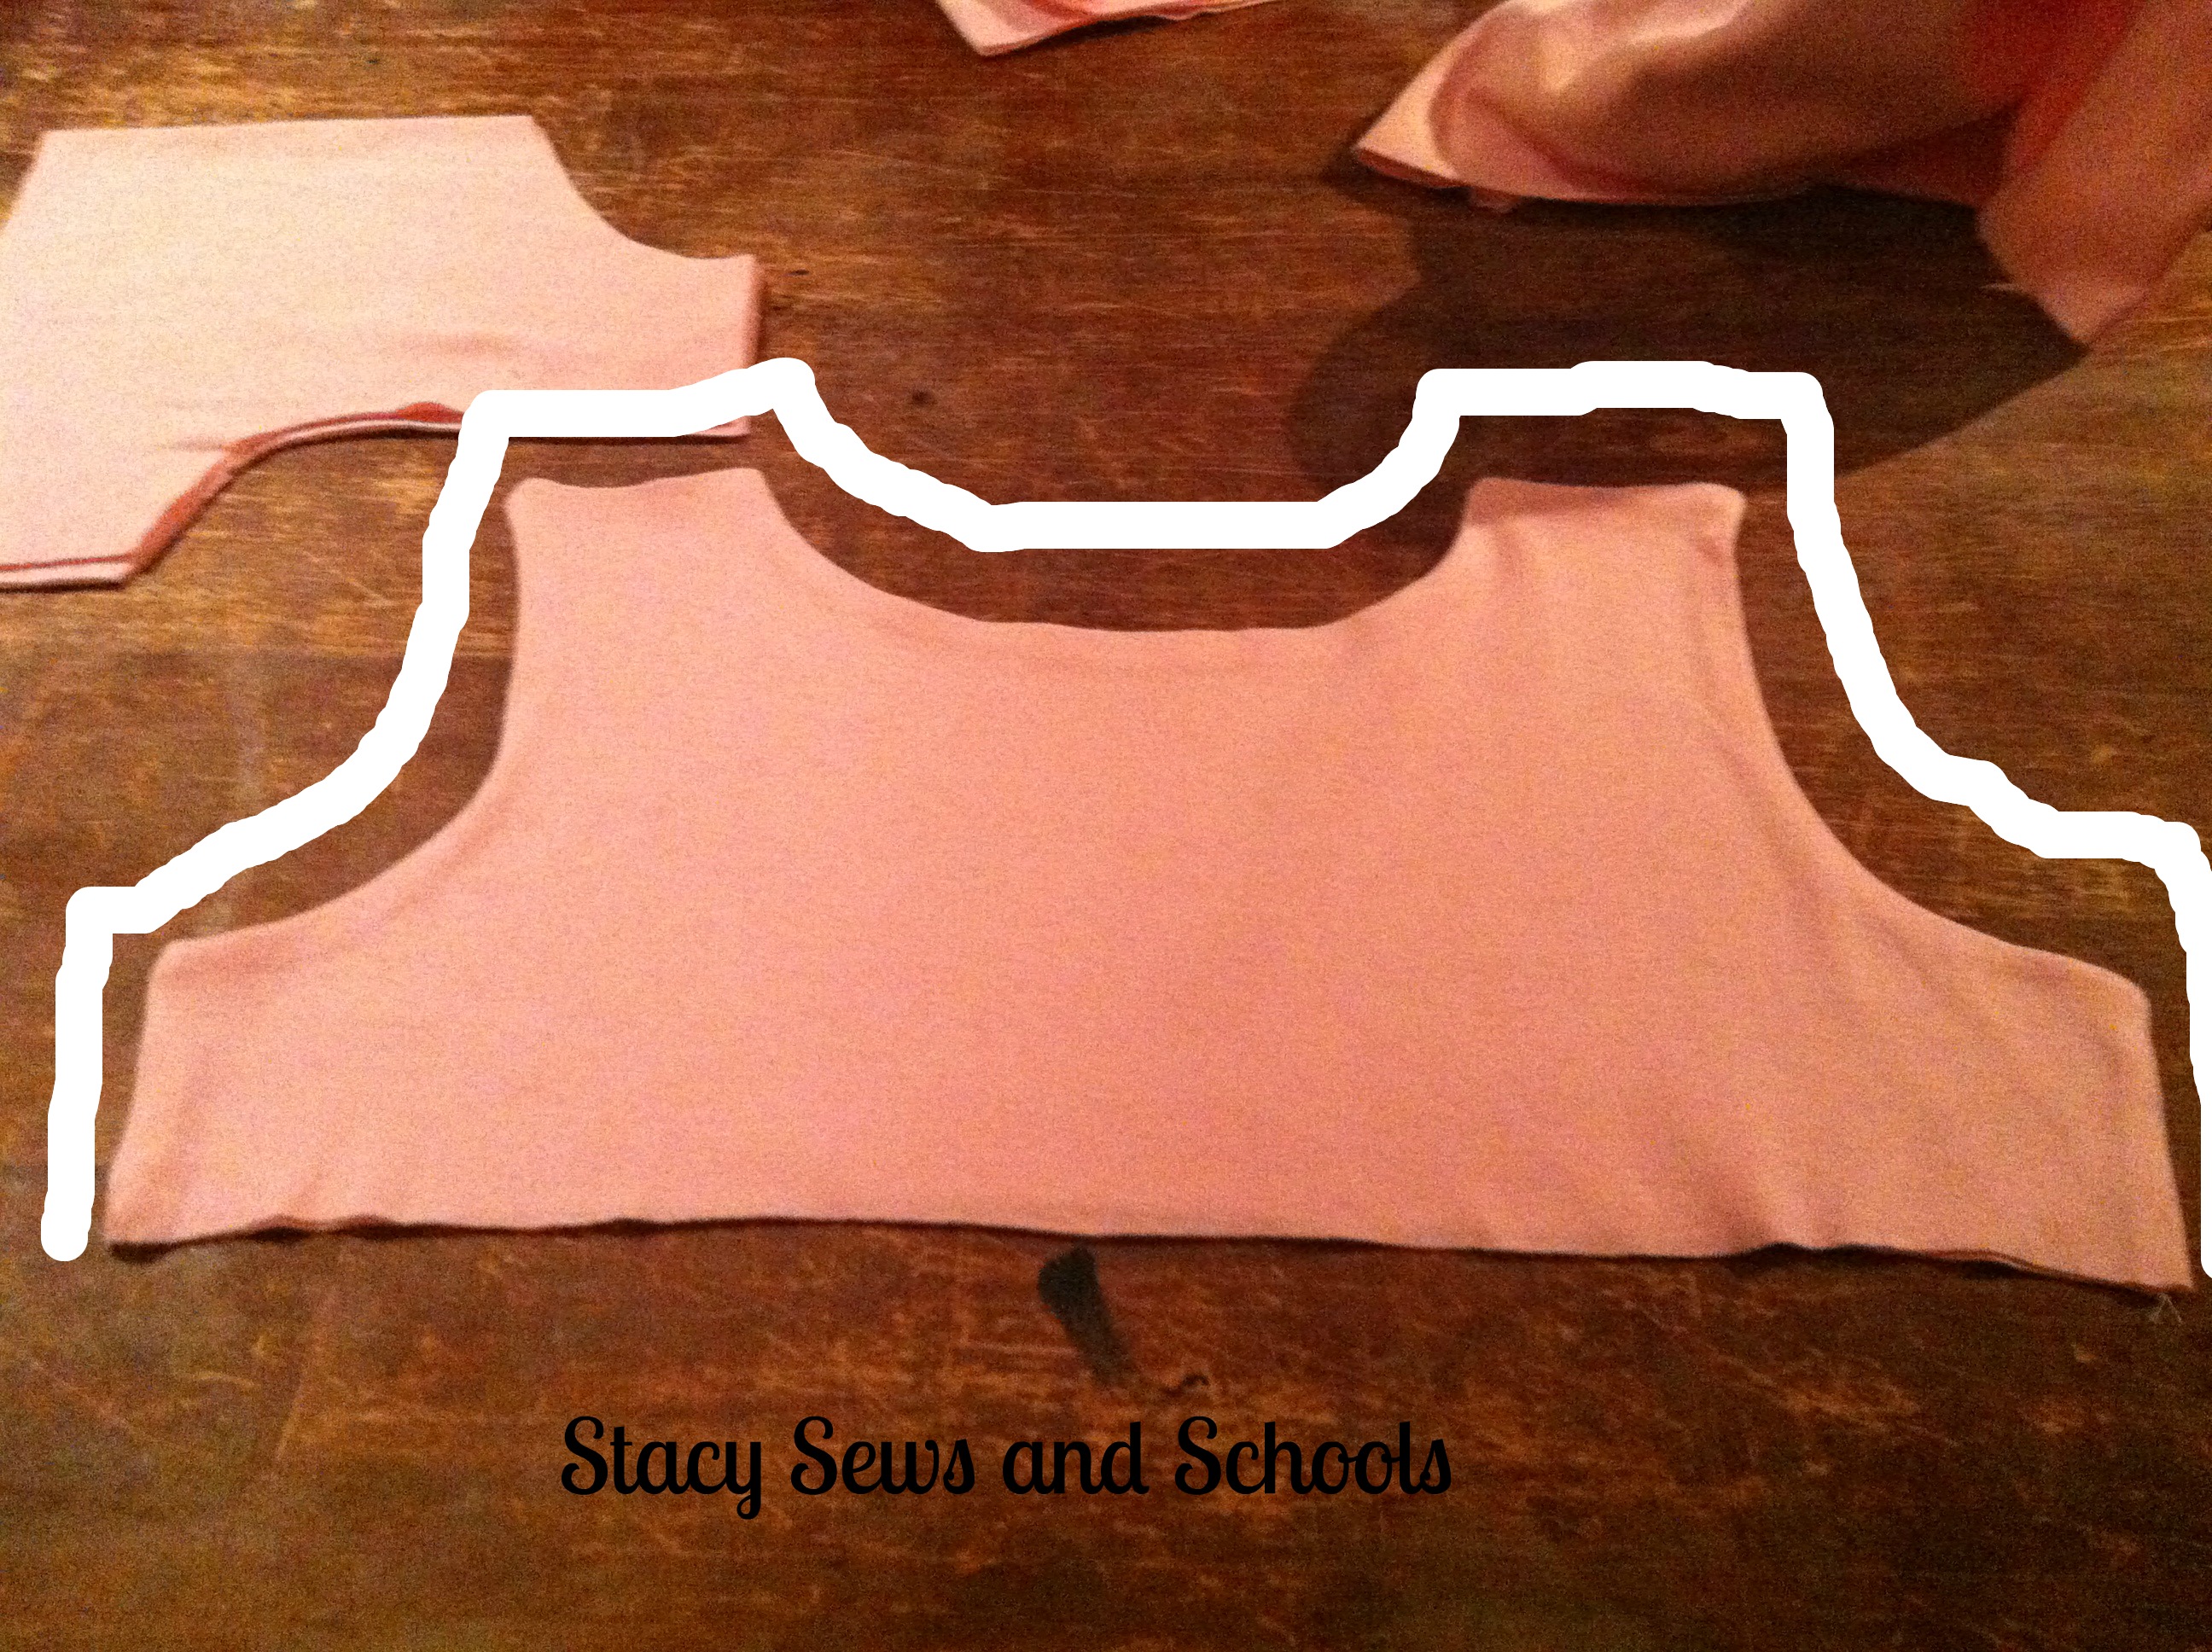
I used the pattern piece that I made from one of Cailey's shirts and cut the front and back bodice pieces.

Make sure to cut on the fold.

Then I used the same pattern to cut the sleeves. 

Also cut them on the fold. 


STEP 2


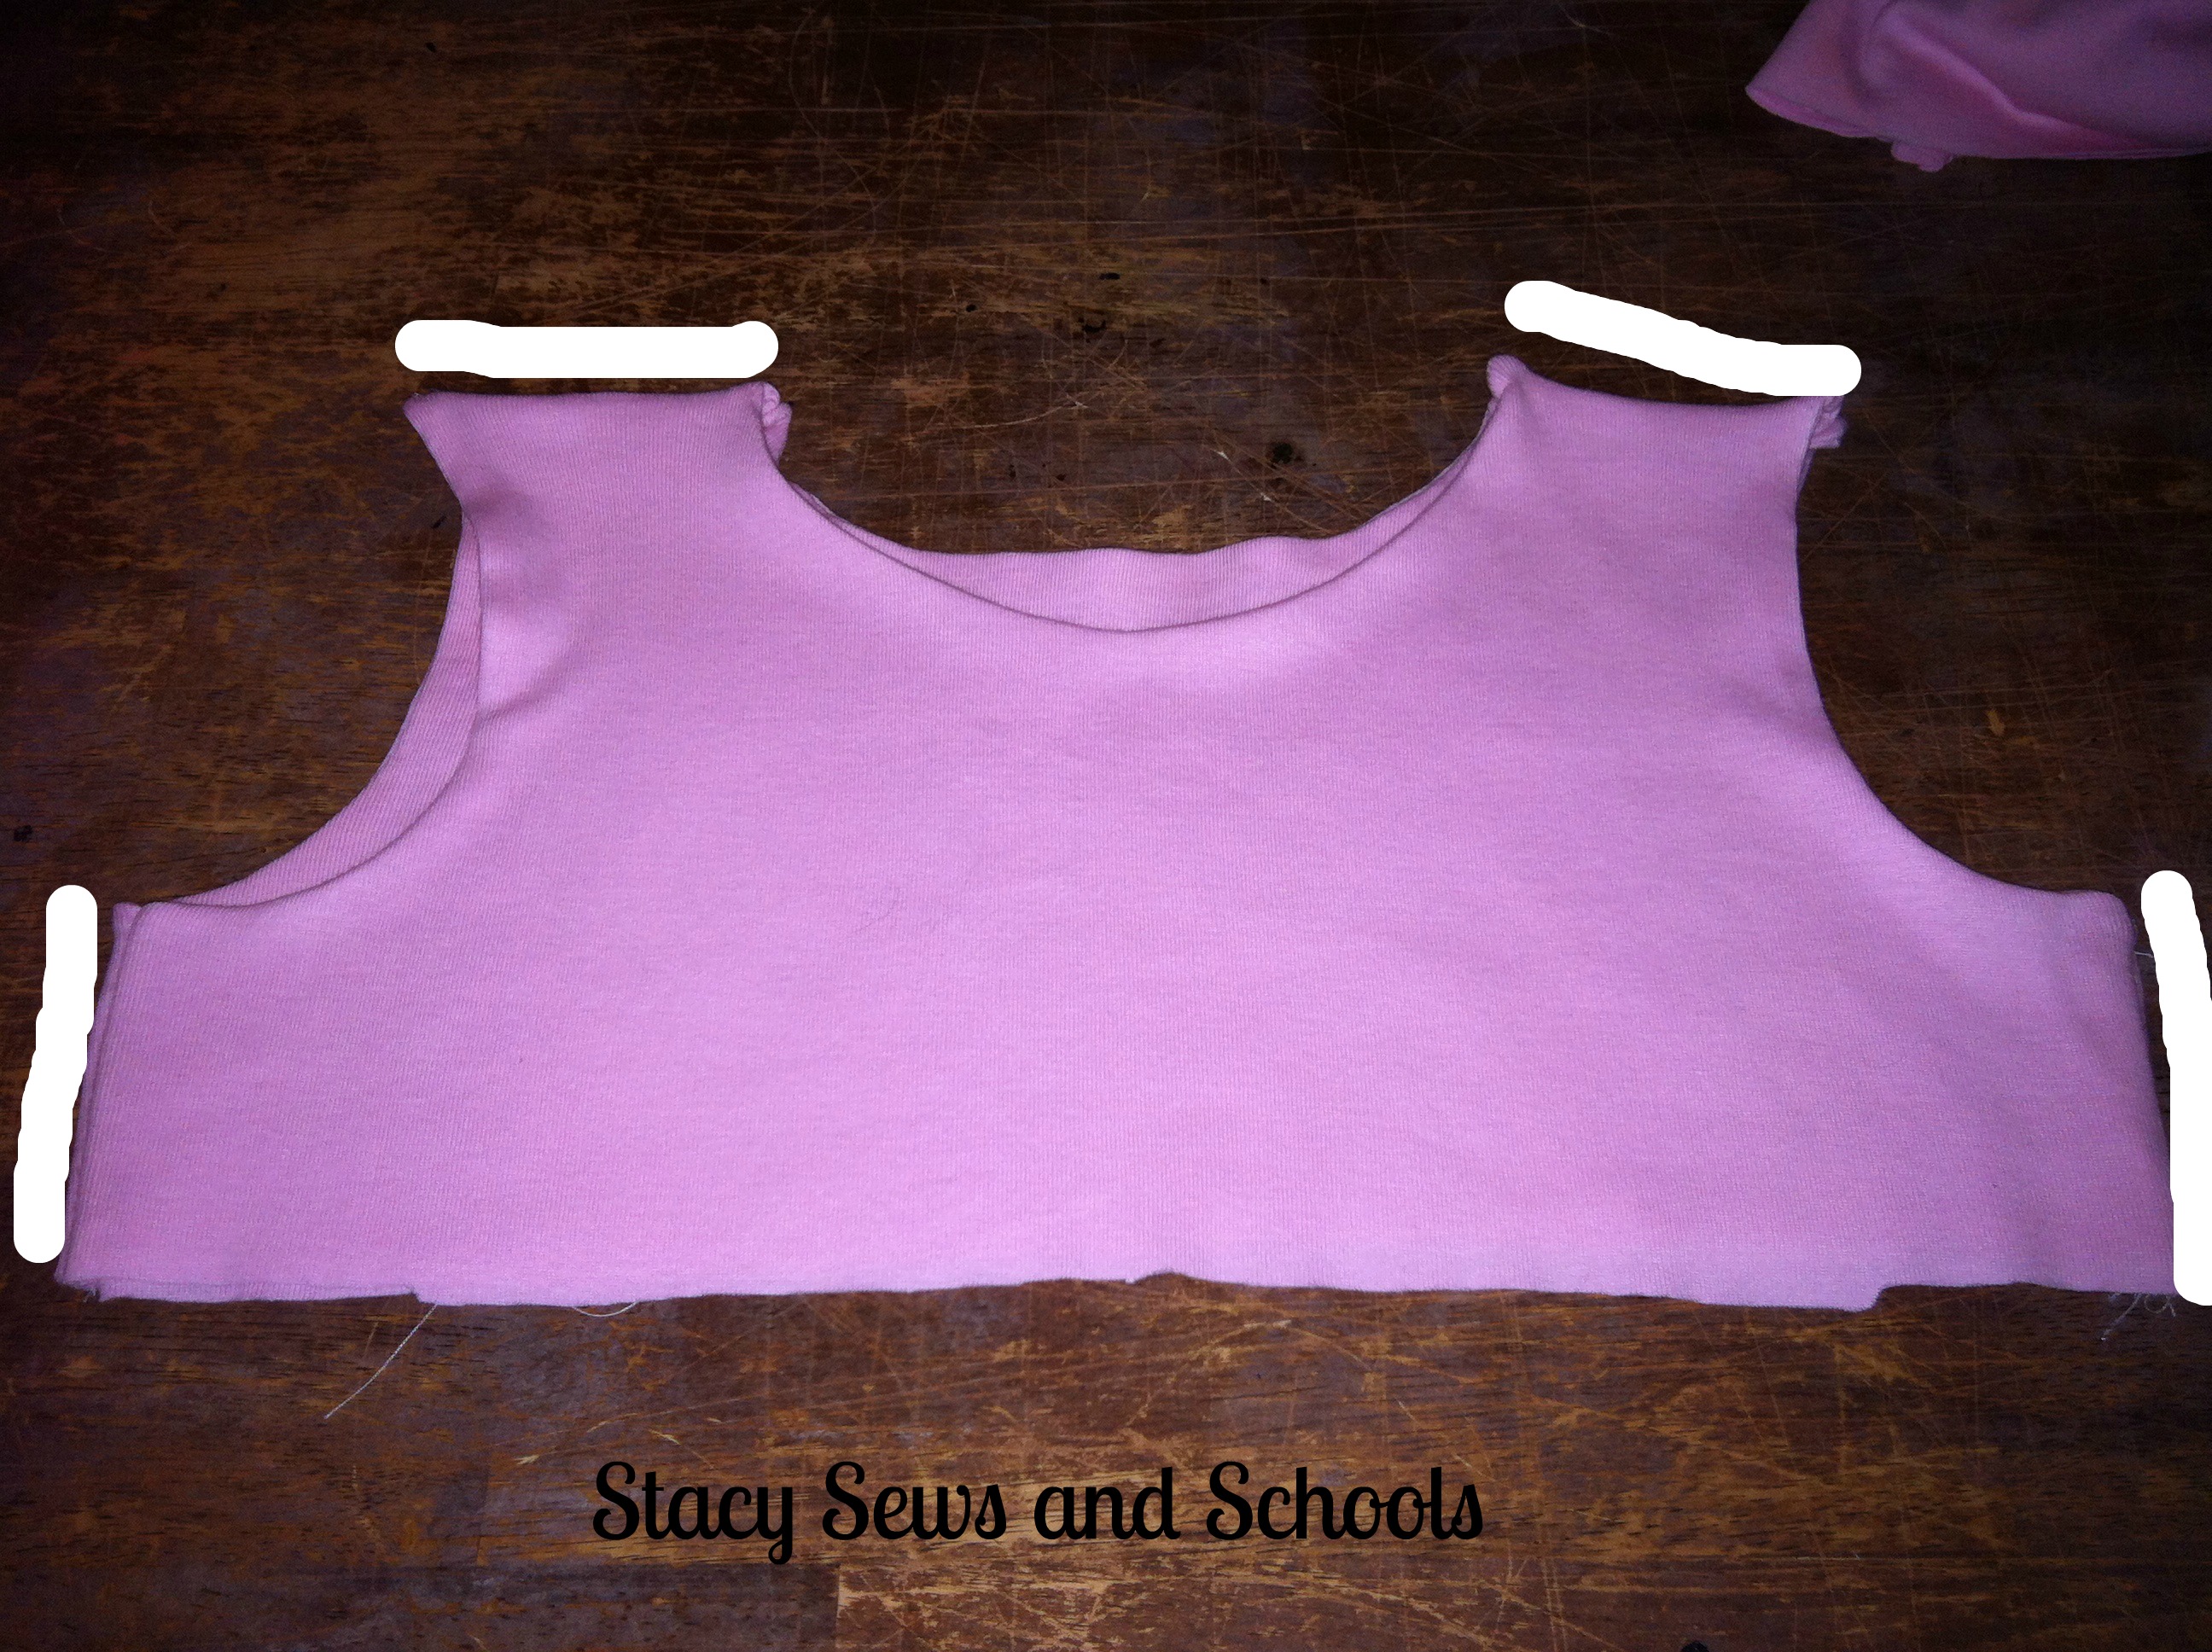
Pin the shoulders together and sew the seams.


STEP 3


Lay out the bodice spread out with the right side up. 

Pin in the sleeve and sew the seam. 


STEP 4


Cut the 1/2 yard of yellow in half. 


STEP 5


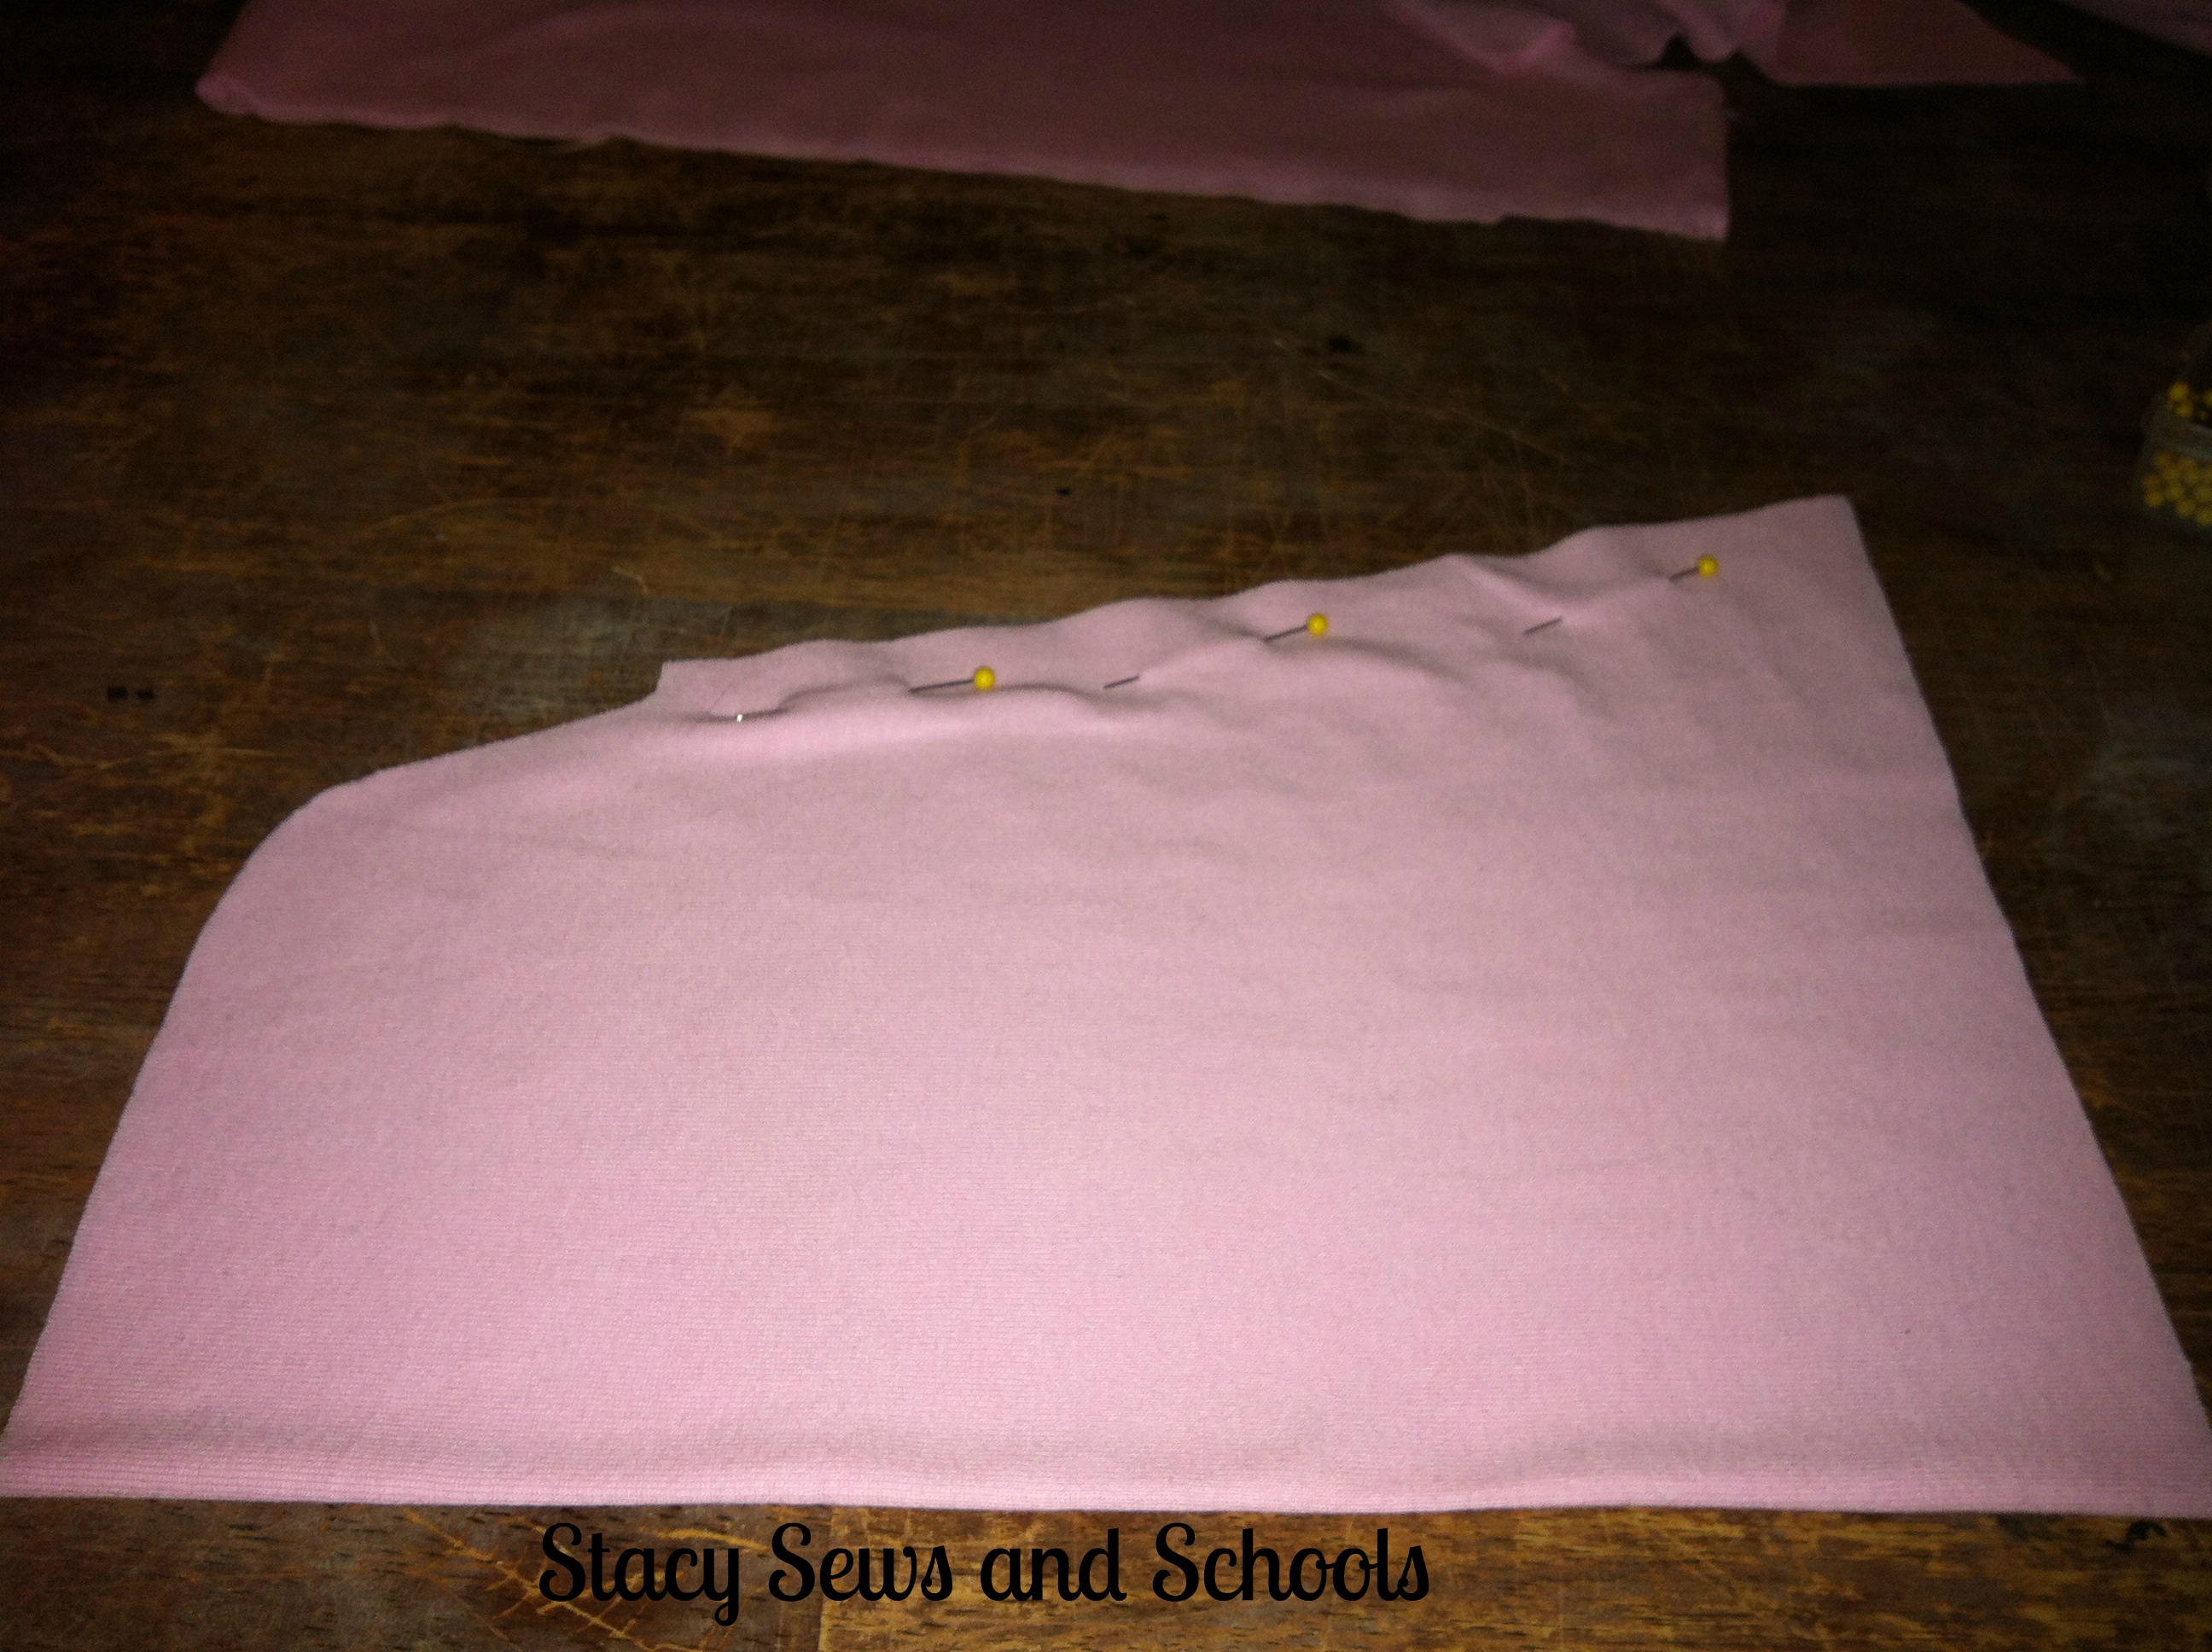
Run a gathering stitch across the tops of both pieces of yellow.


STEP 6


With right sides together, pin the top of the yellow to the bottom of the white, adjusting gathers as needed. Sew the pieces together.


STEP 7


Turn it inside out and pin all the way up the sides and the sleeves.

Sew the seam.

STEP 8


Cut a piece of white that is about 4" wide and 17" long.
Fold in half and press. 


STEP 9 


With right sides together, pin the collar.

Sew the seam.

If you want you can go back and stitch in the ditch.


STEP 10


Instead of a normal hem, I did a zigzag stitch across the bottom of the top and the sleeves. If you pull slightly as you stitch it will give you a lettuce edge.


STEP 11


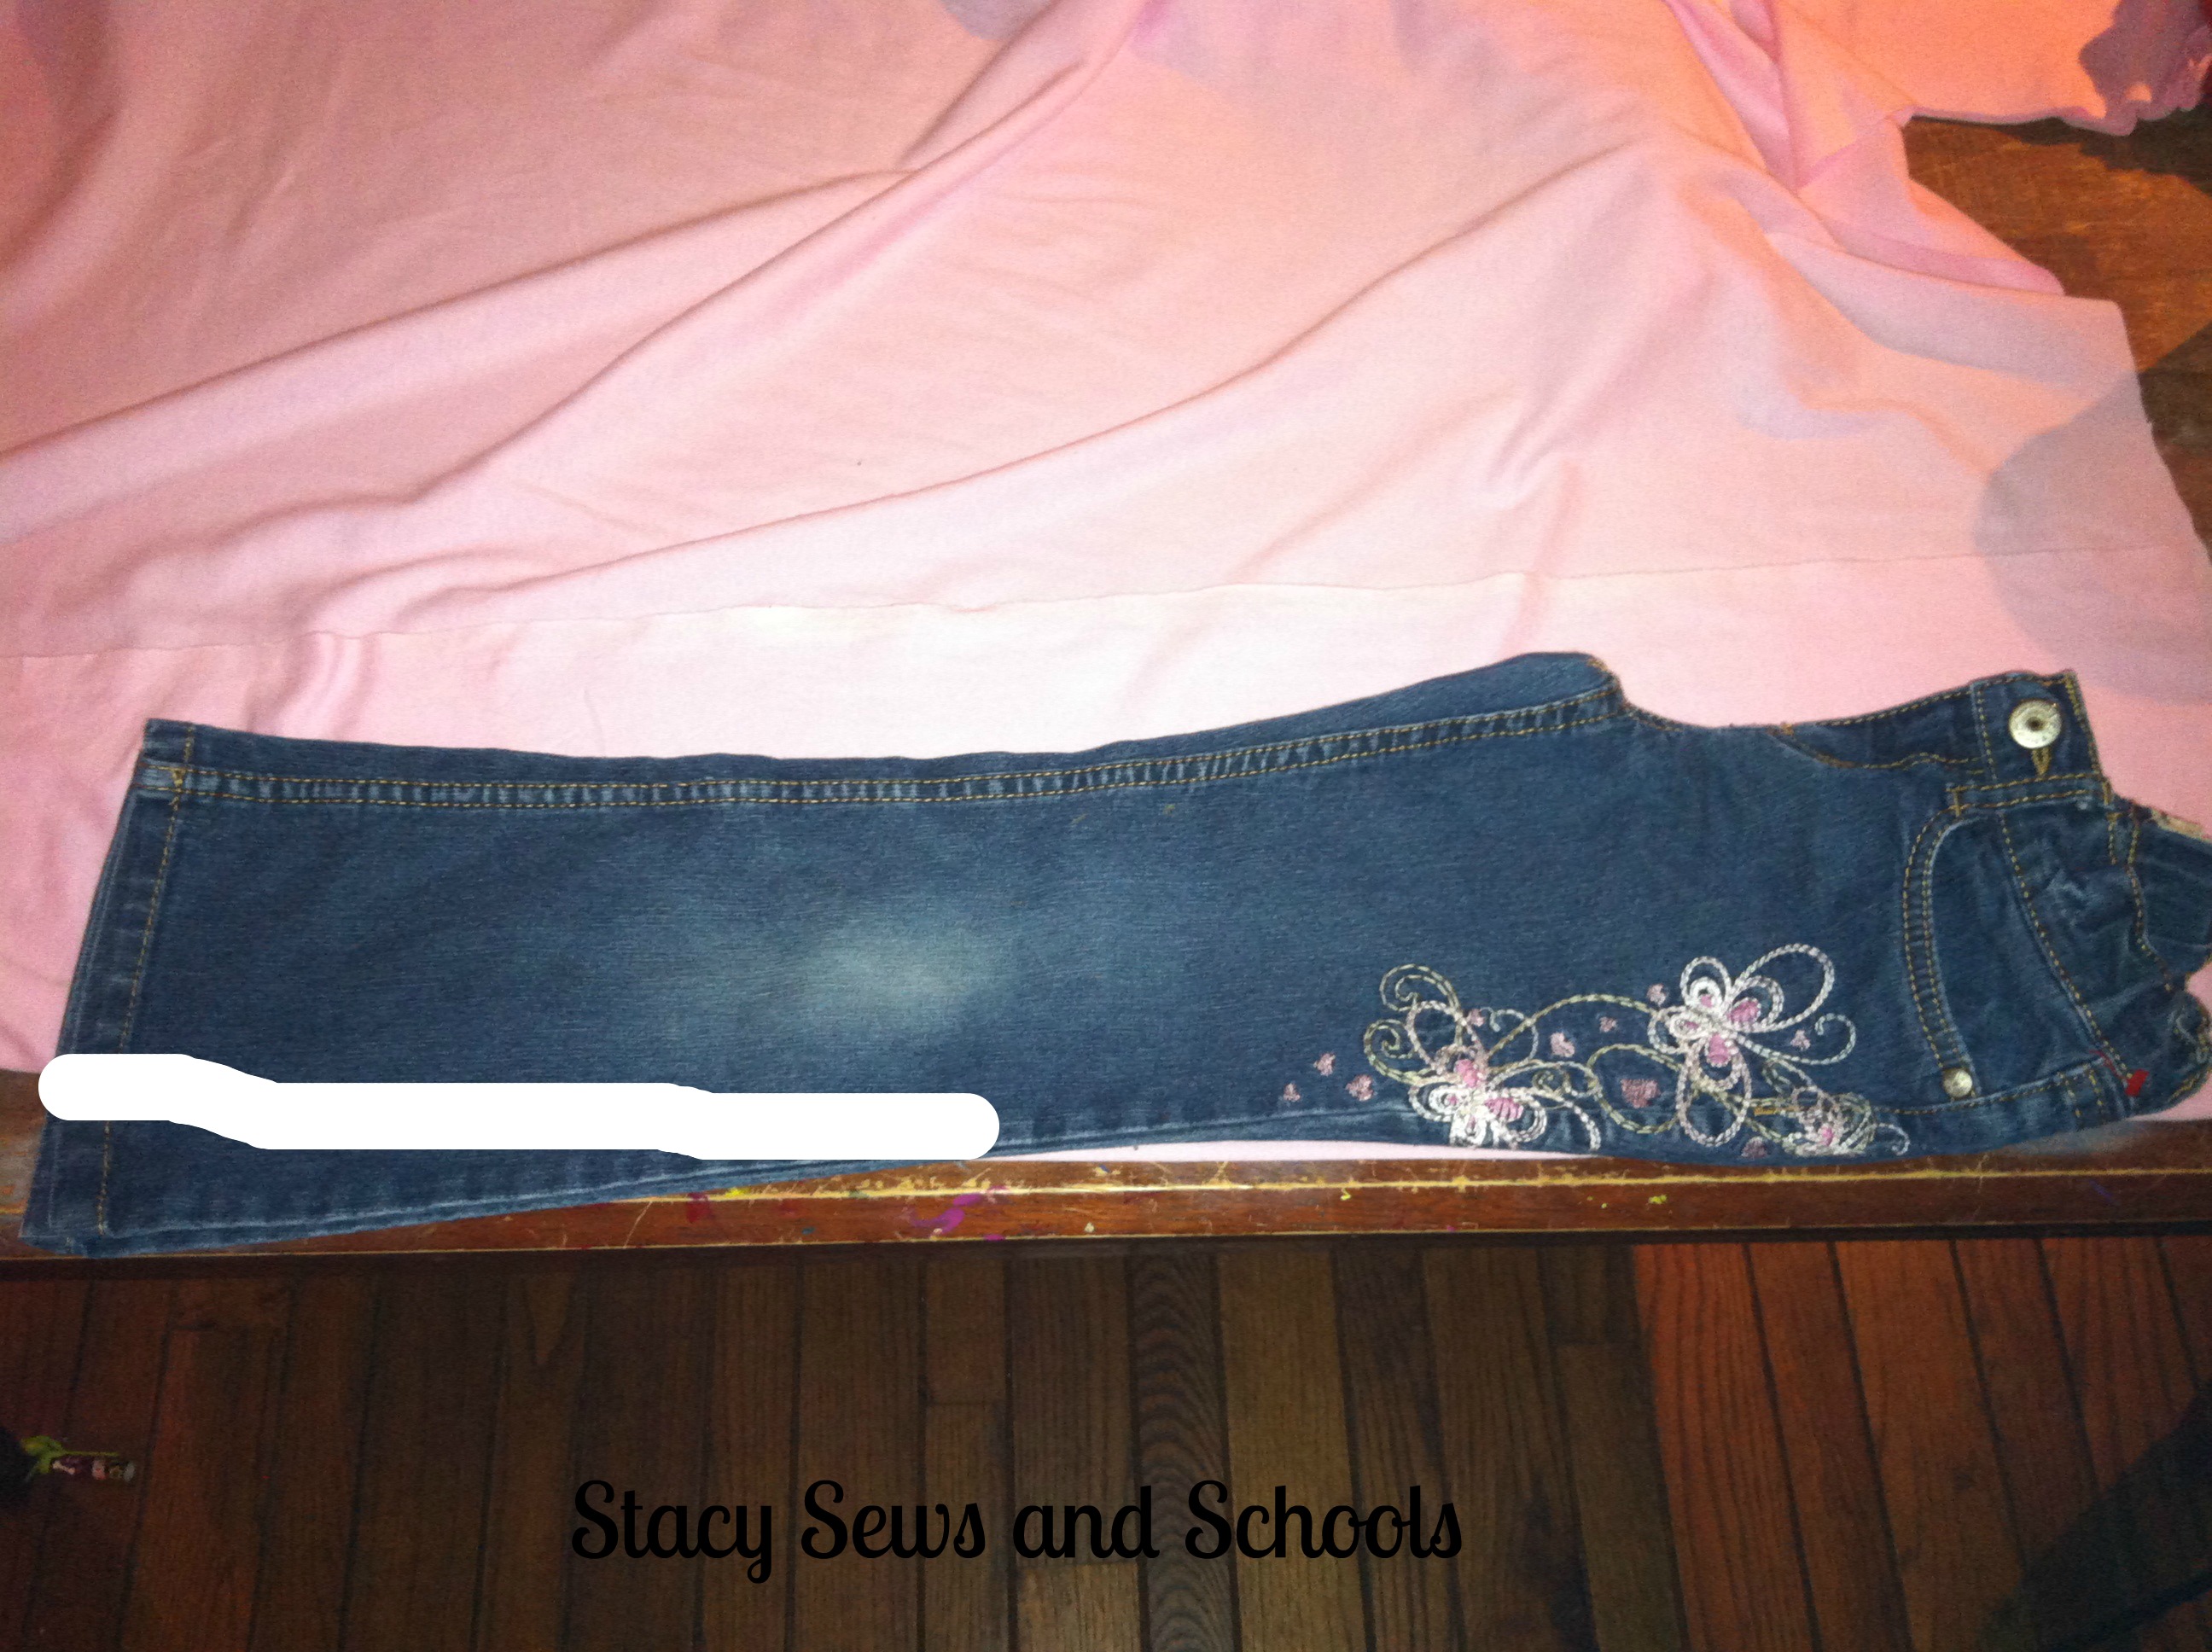
Take a pair of pants that fit your child well and use them as a guide for the pants.


STEP 12


Pin from the point of the crotch to the ankle and sew the seam.


STEP 13


Turn one leg right side out and slide it into the other leg that is wrong side out.

Pin in place and sew the seam.


STEP 14


Since I was using a double needle, I turned the pants right side out to stitch the elastic casing.

Then I turned the top in 1" and pressed. Then I turned it in another inch and pressed.

Pin in place and sew the elastic casing, making sure to leave a space to insert the elastic.


STEP 15 


Insert the elastic into the casing.

Sew the ends of the elastic together.

Sew the opening closed.


While I was sewing the ends of the elastic together, my double needle broke. :/ I used a zigzag stitch to finish sewing the elastic casing closed.


STEP 16

Since I was upset about my double needle (I've broken 4 of them in the past couple of months), I forgot to take a picture of the hem of the pants.

I turned the ankles in by 1/2", pressed and using a zigzag stitch, I hemmed both. 


ALL DONE!!!

What I love most about this look is that you can change it up. A yellow, white or green legging and you have a Spring look! ;)


NOW for something REALLY special!!!!!


"Candy Corn" Bread | www.BakingInATornado.com

Now, head on over to Baking in a Tornado for some YUMMMMMMY Candy Corn Bread!!!


January 29, 2013

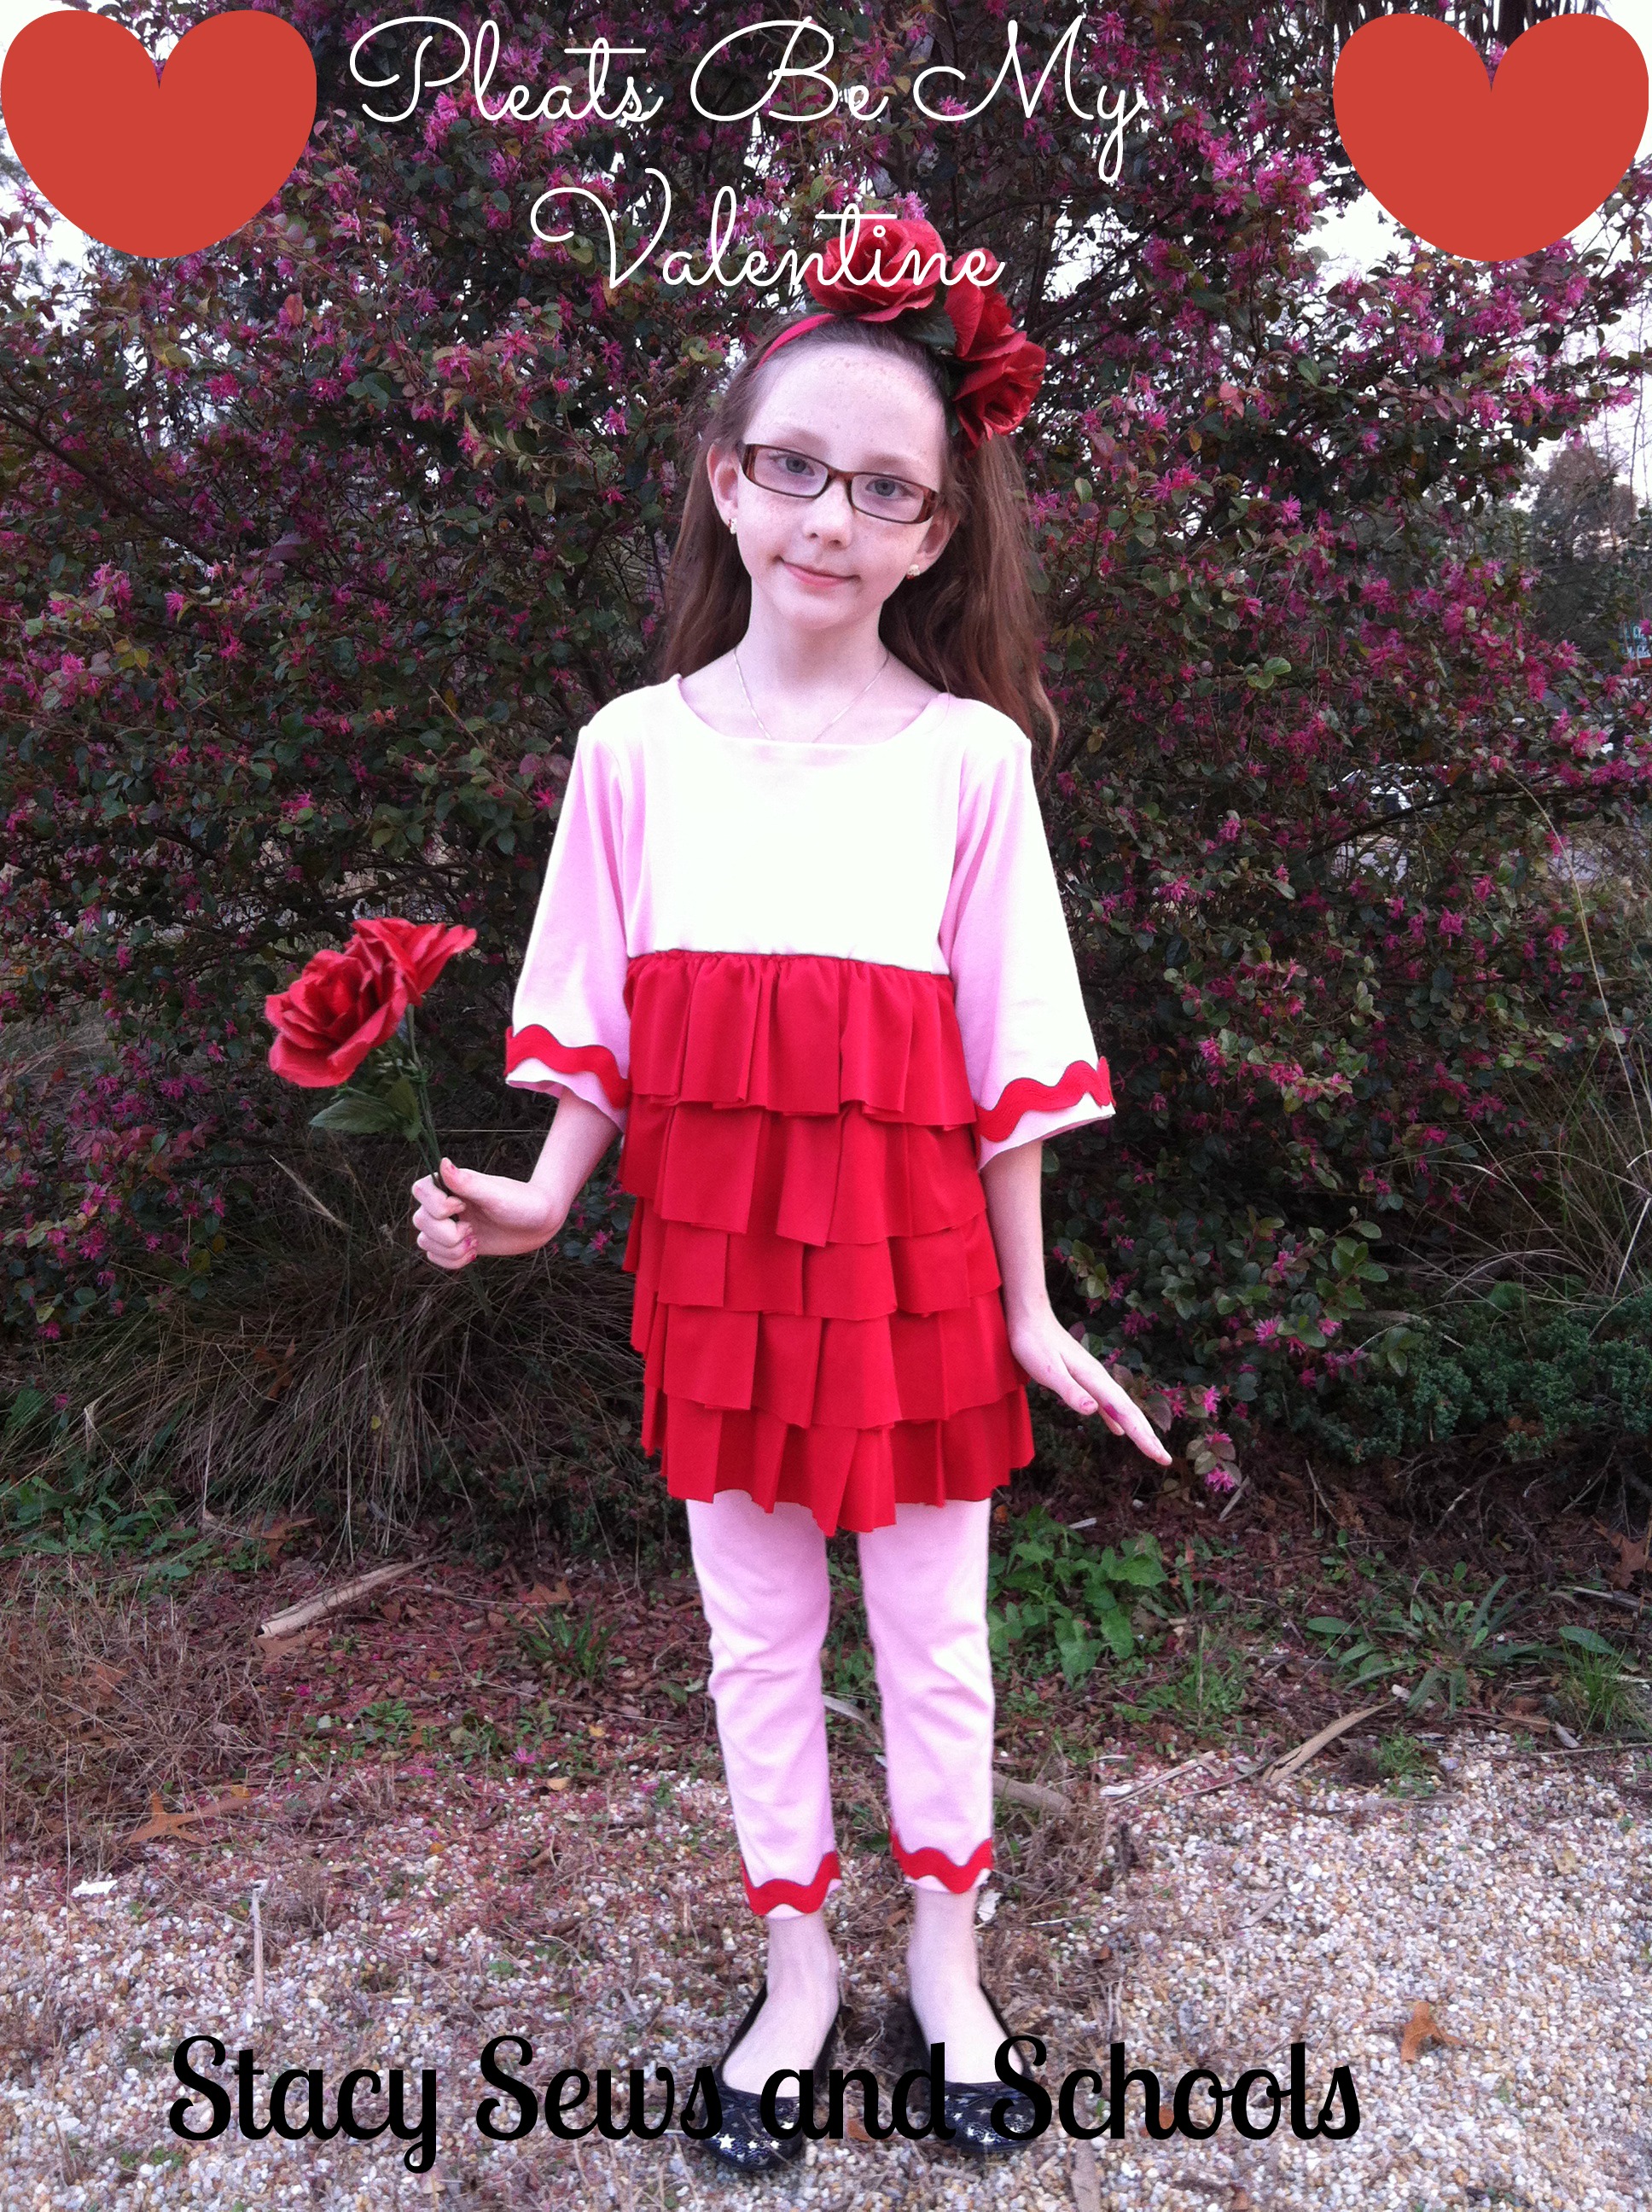
Pleats Be My Valentine Tutorial

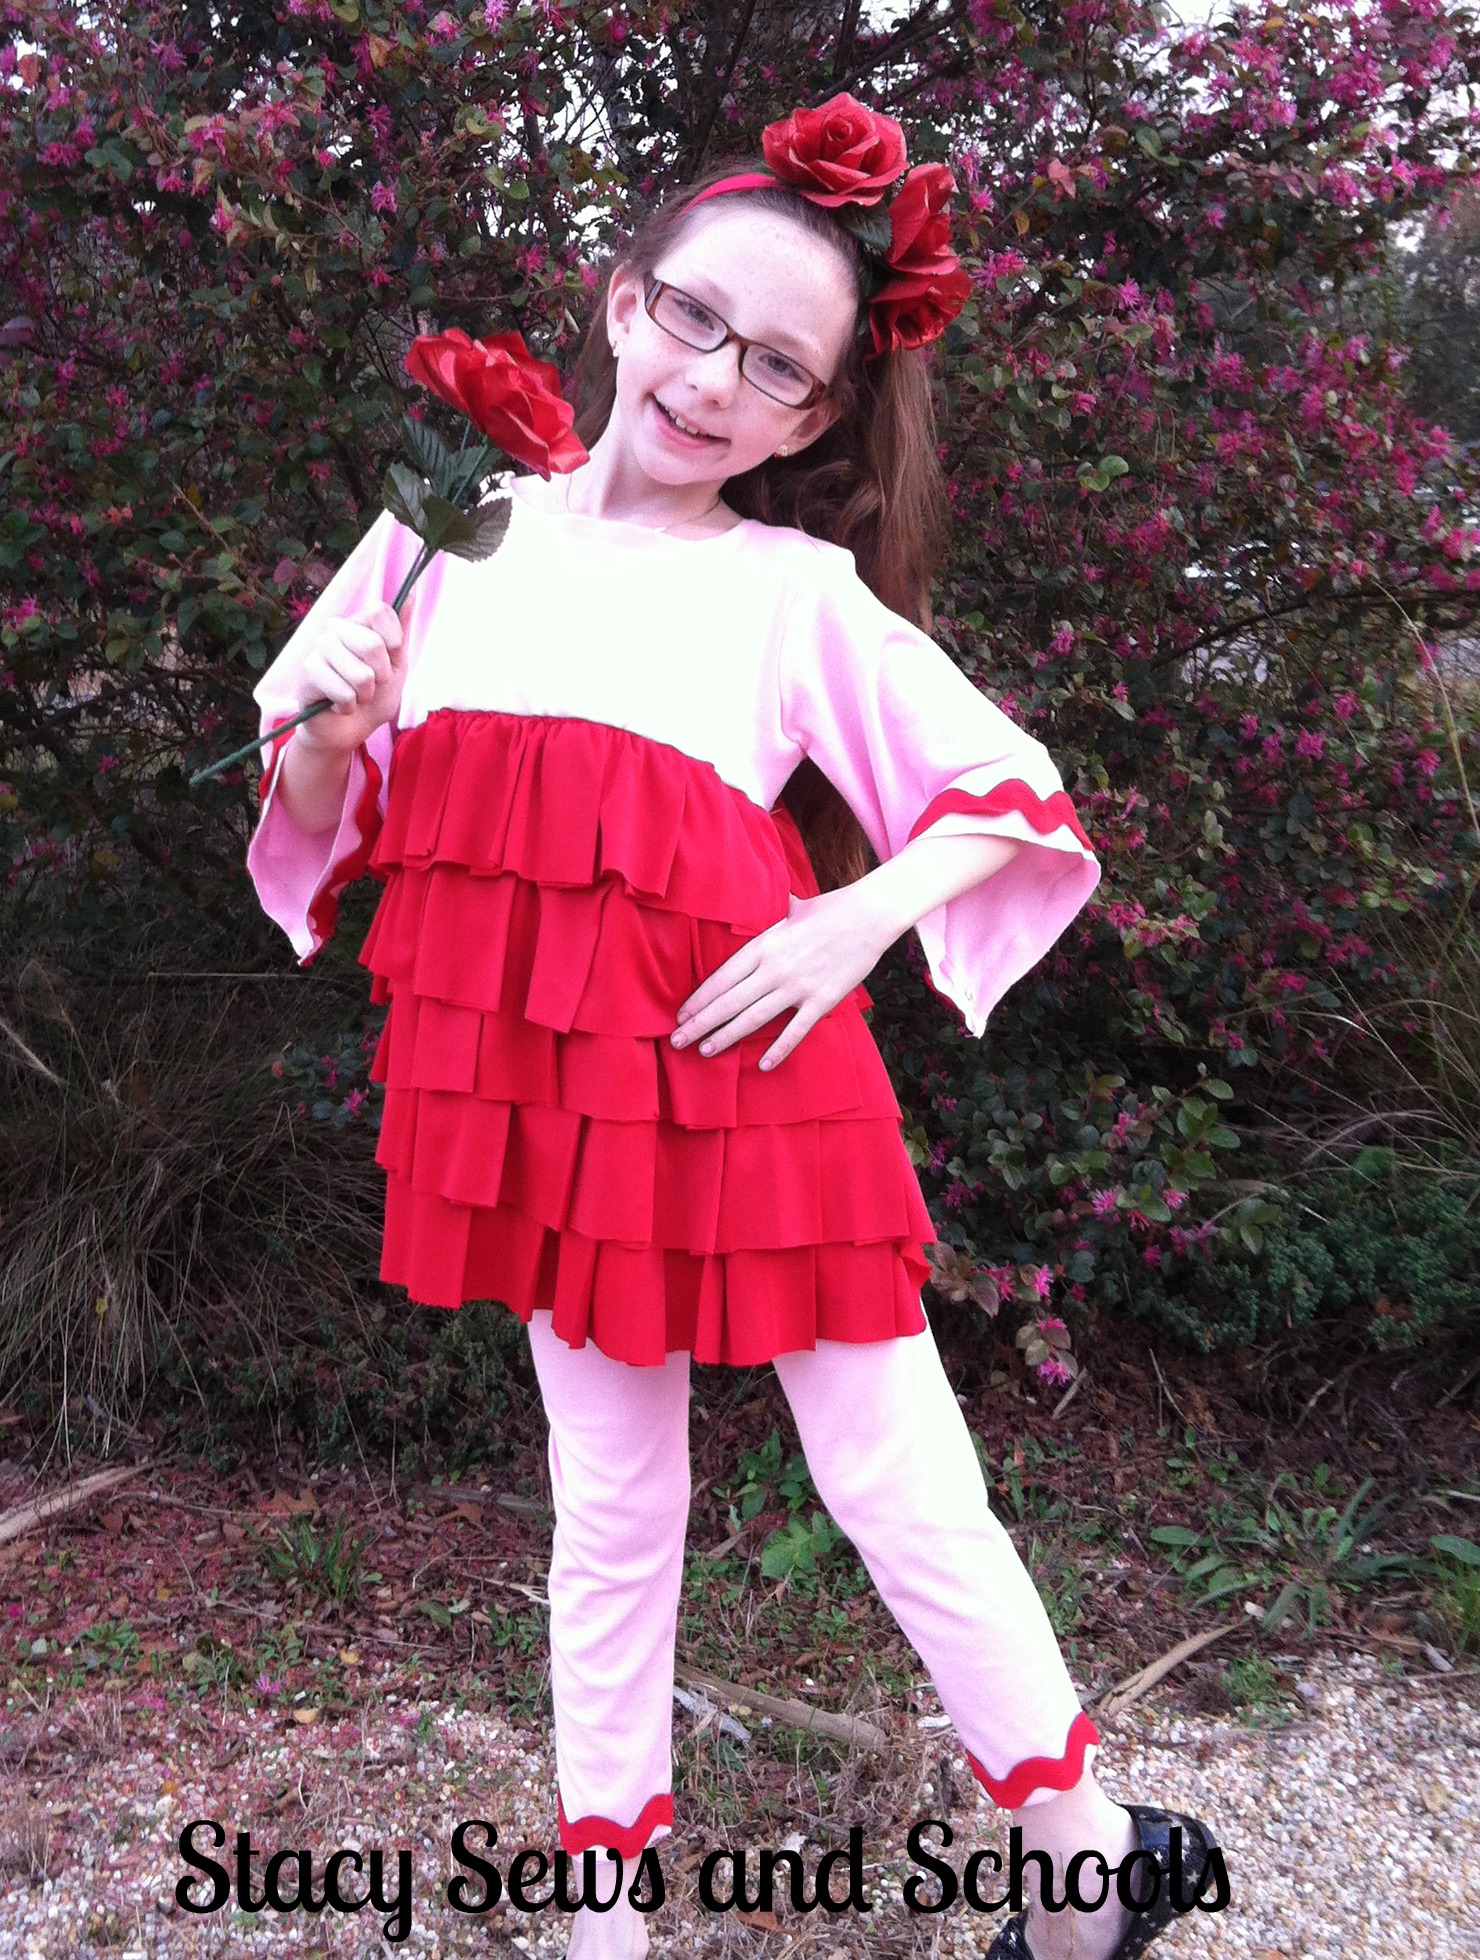
Pleats Be My Valentine


Once again, there seems to be a couple of steps missing in my pictures. I have been getting caught up in it and forgetting to take the pictures! SORRY!! But I can still walk you through those steps. ;)


What I Used -

1 yard of red poly blend knit - very light

1 1/2 yards of pink knit - thicker

1 yard of red jumbo rickrack


Headband -

1 group of fake roses from the Dollar Tree

1 stretchy headband from the Dollar Tree (sold in a group of 3)

hot glue gun


Pleats Be My Valentine 100

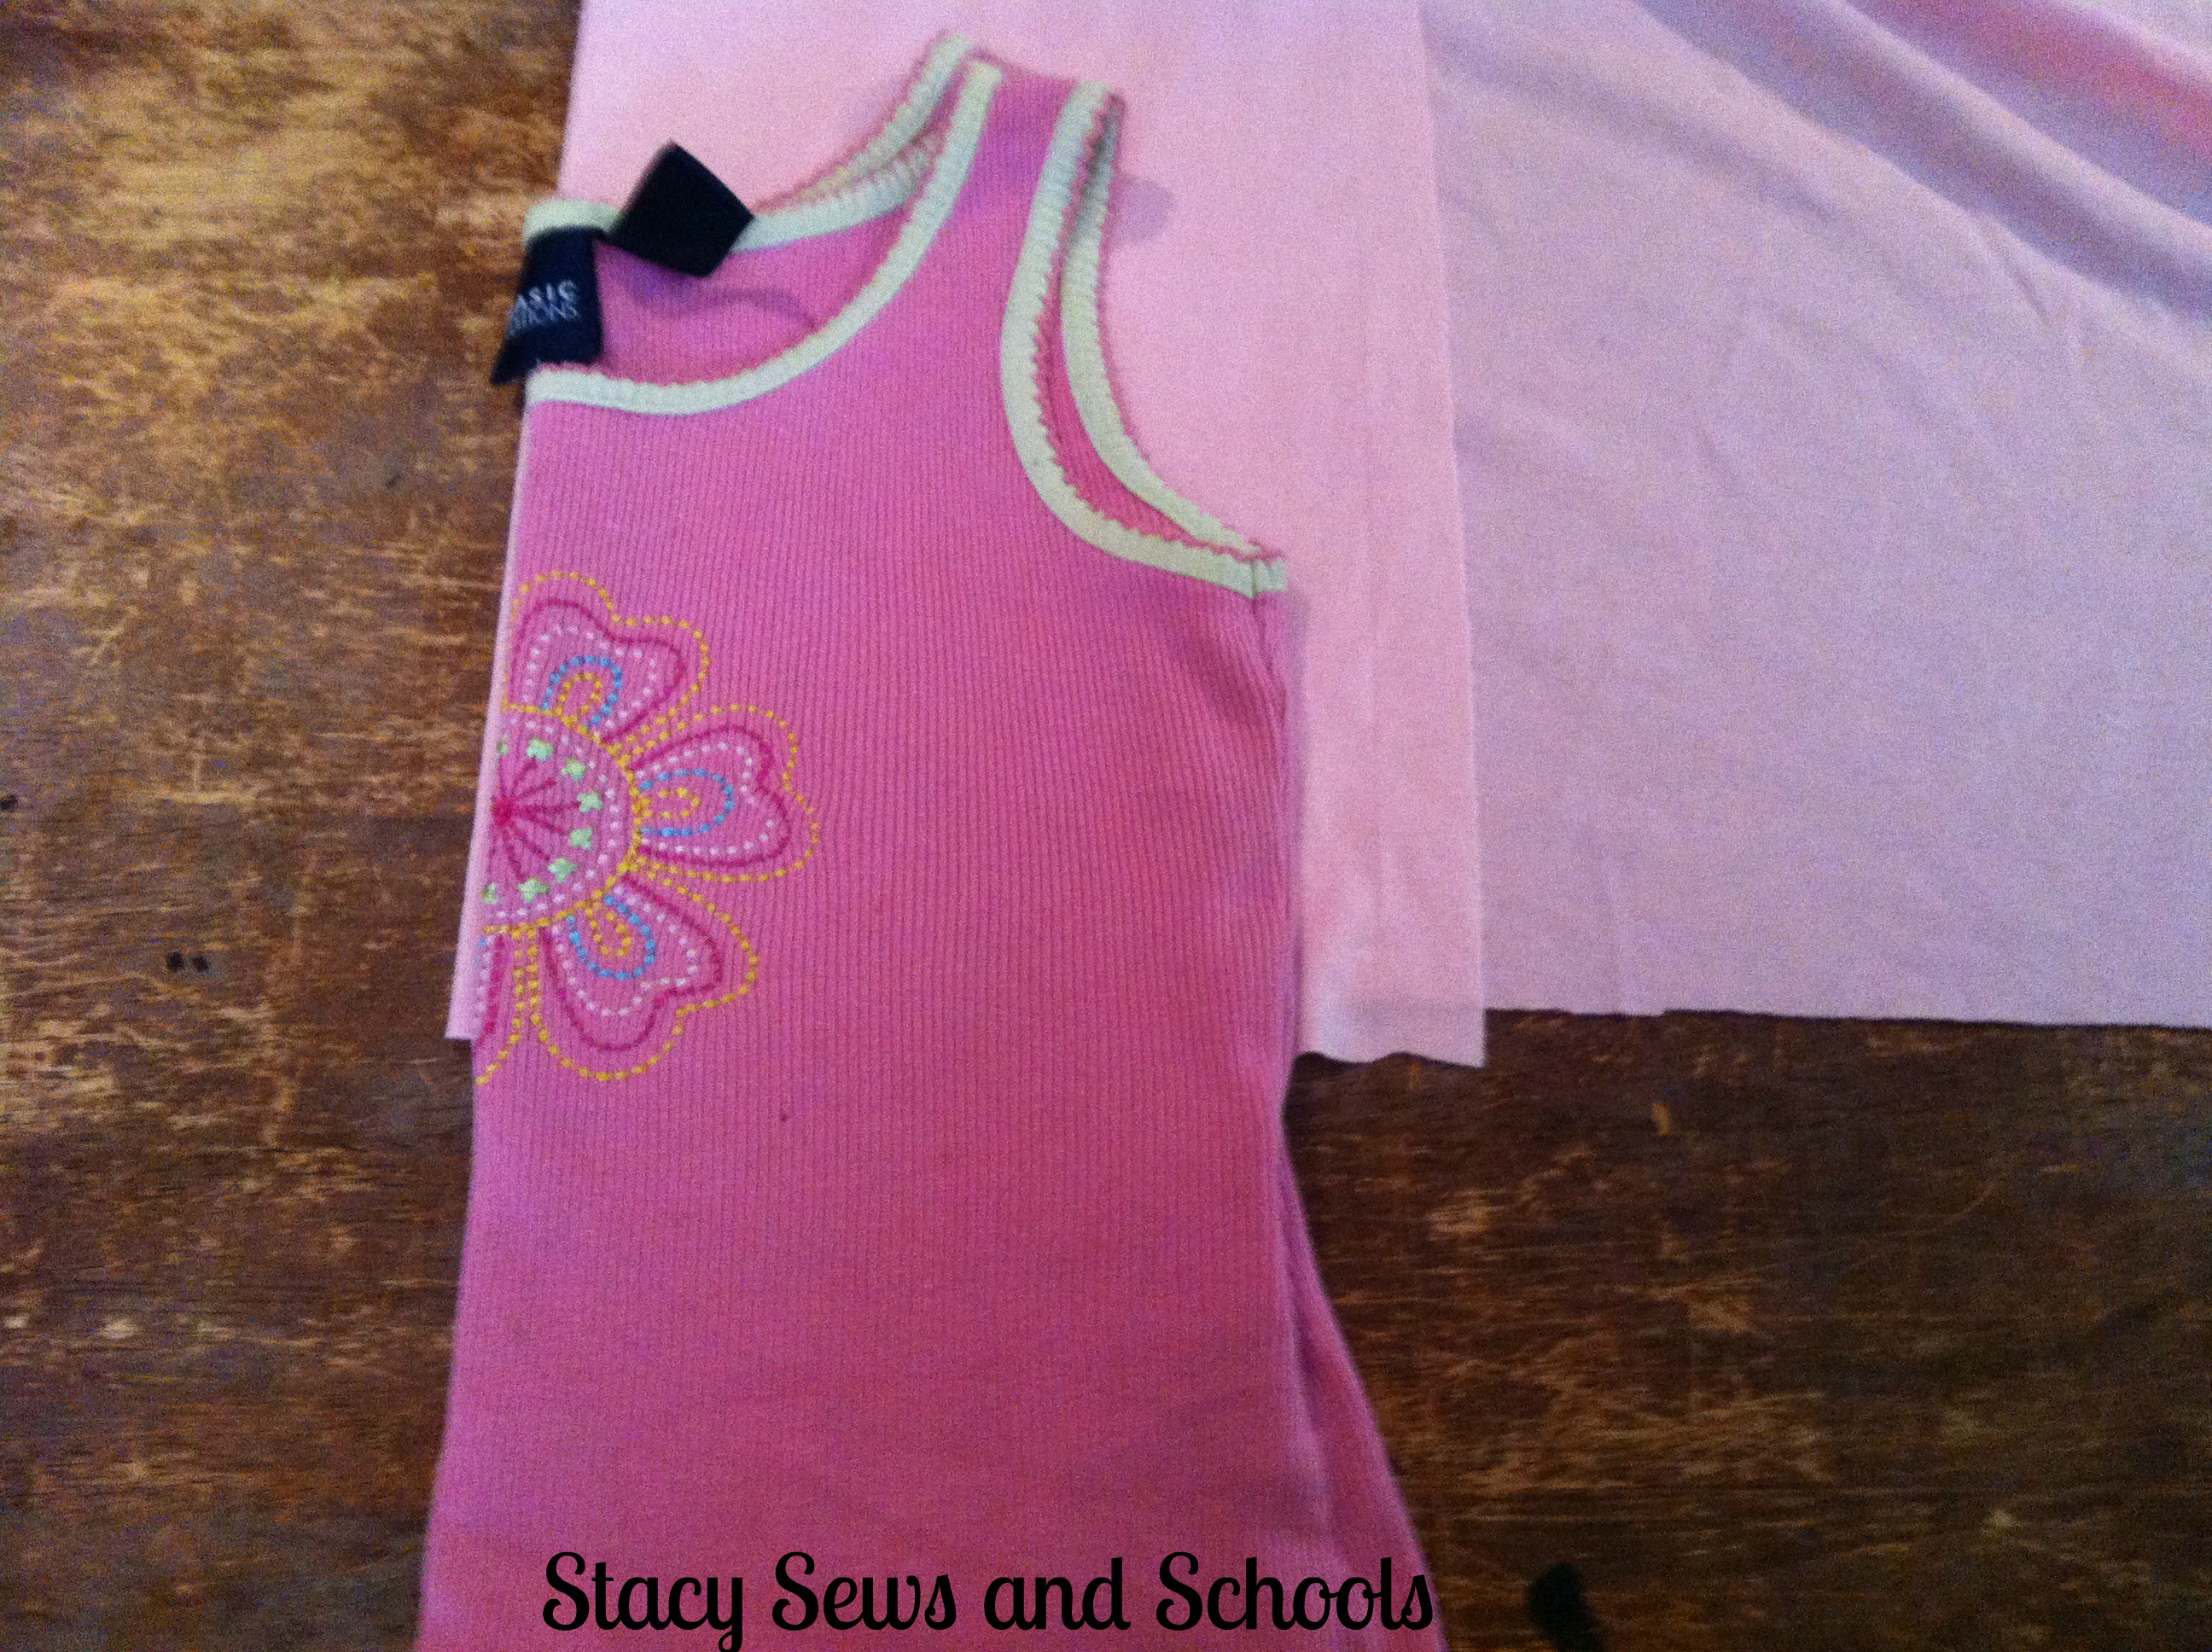
I took a tank that fits Cailey well and used it as my cutting guide. I wanted the top to have a very high waist so I let the top hang WAY off of the folded fabric.

Be sure to cut all the pieces on the fold!


Pleats Be My Valentine 101

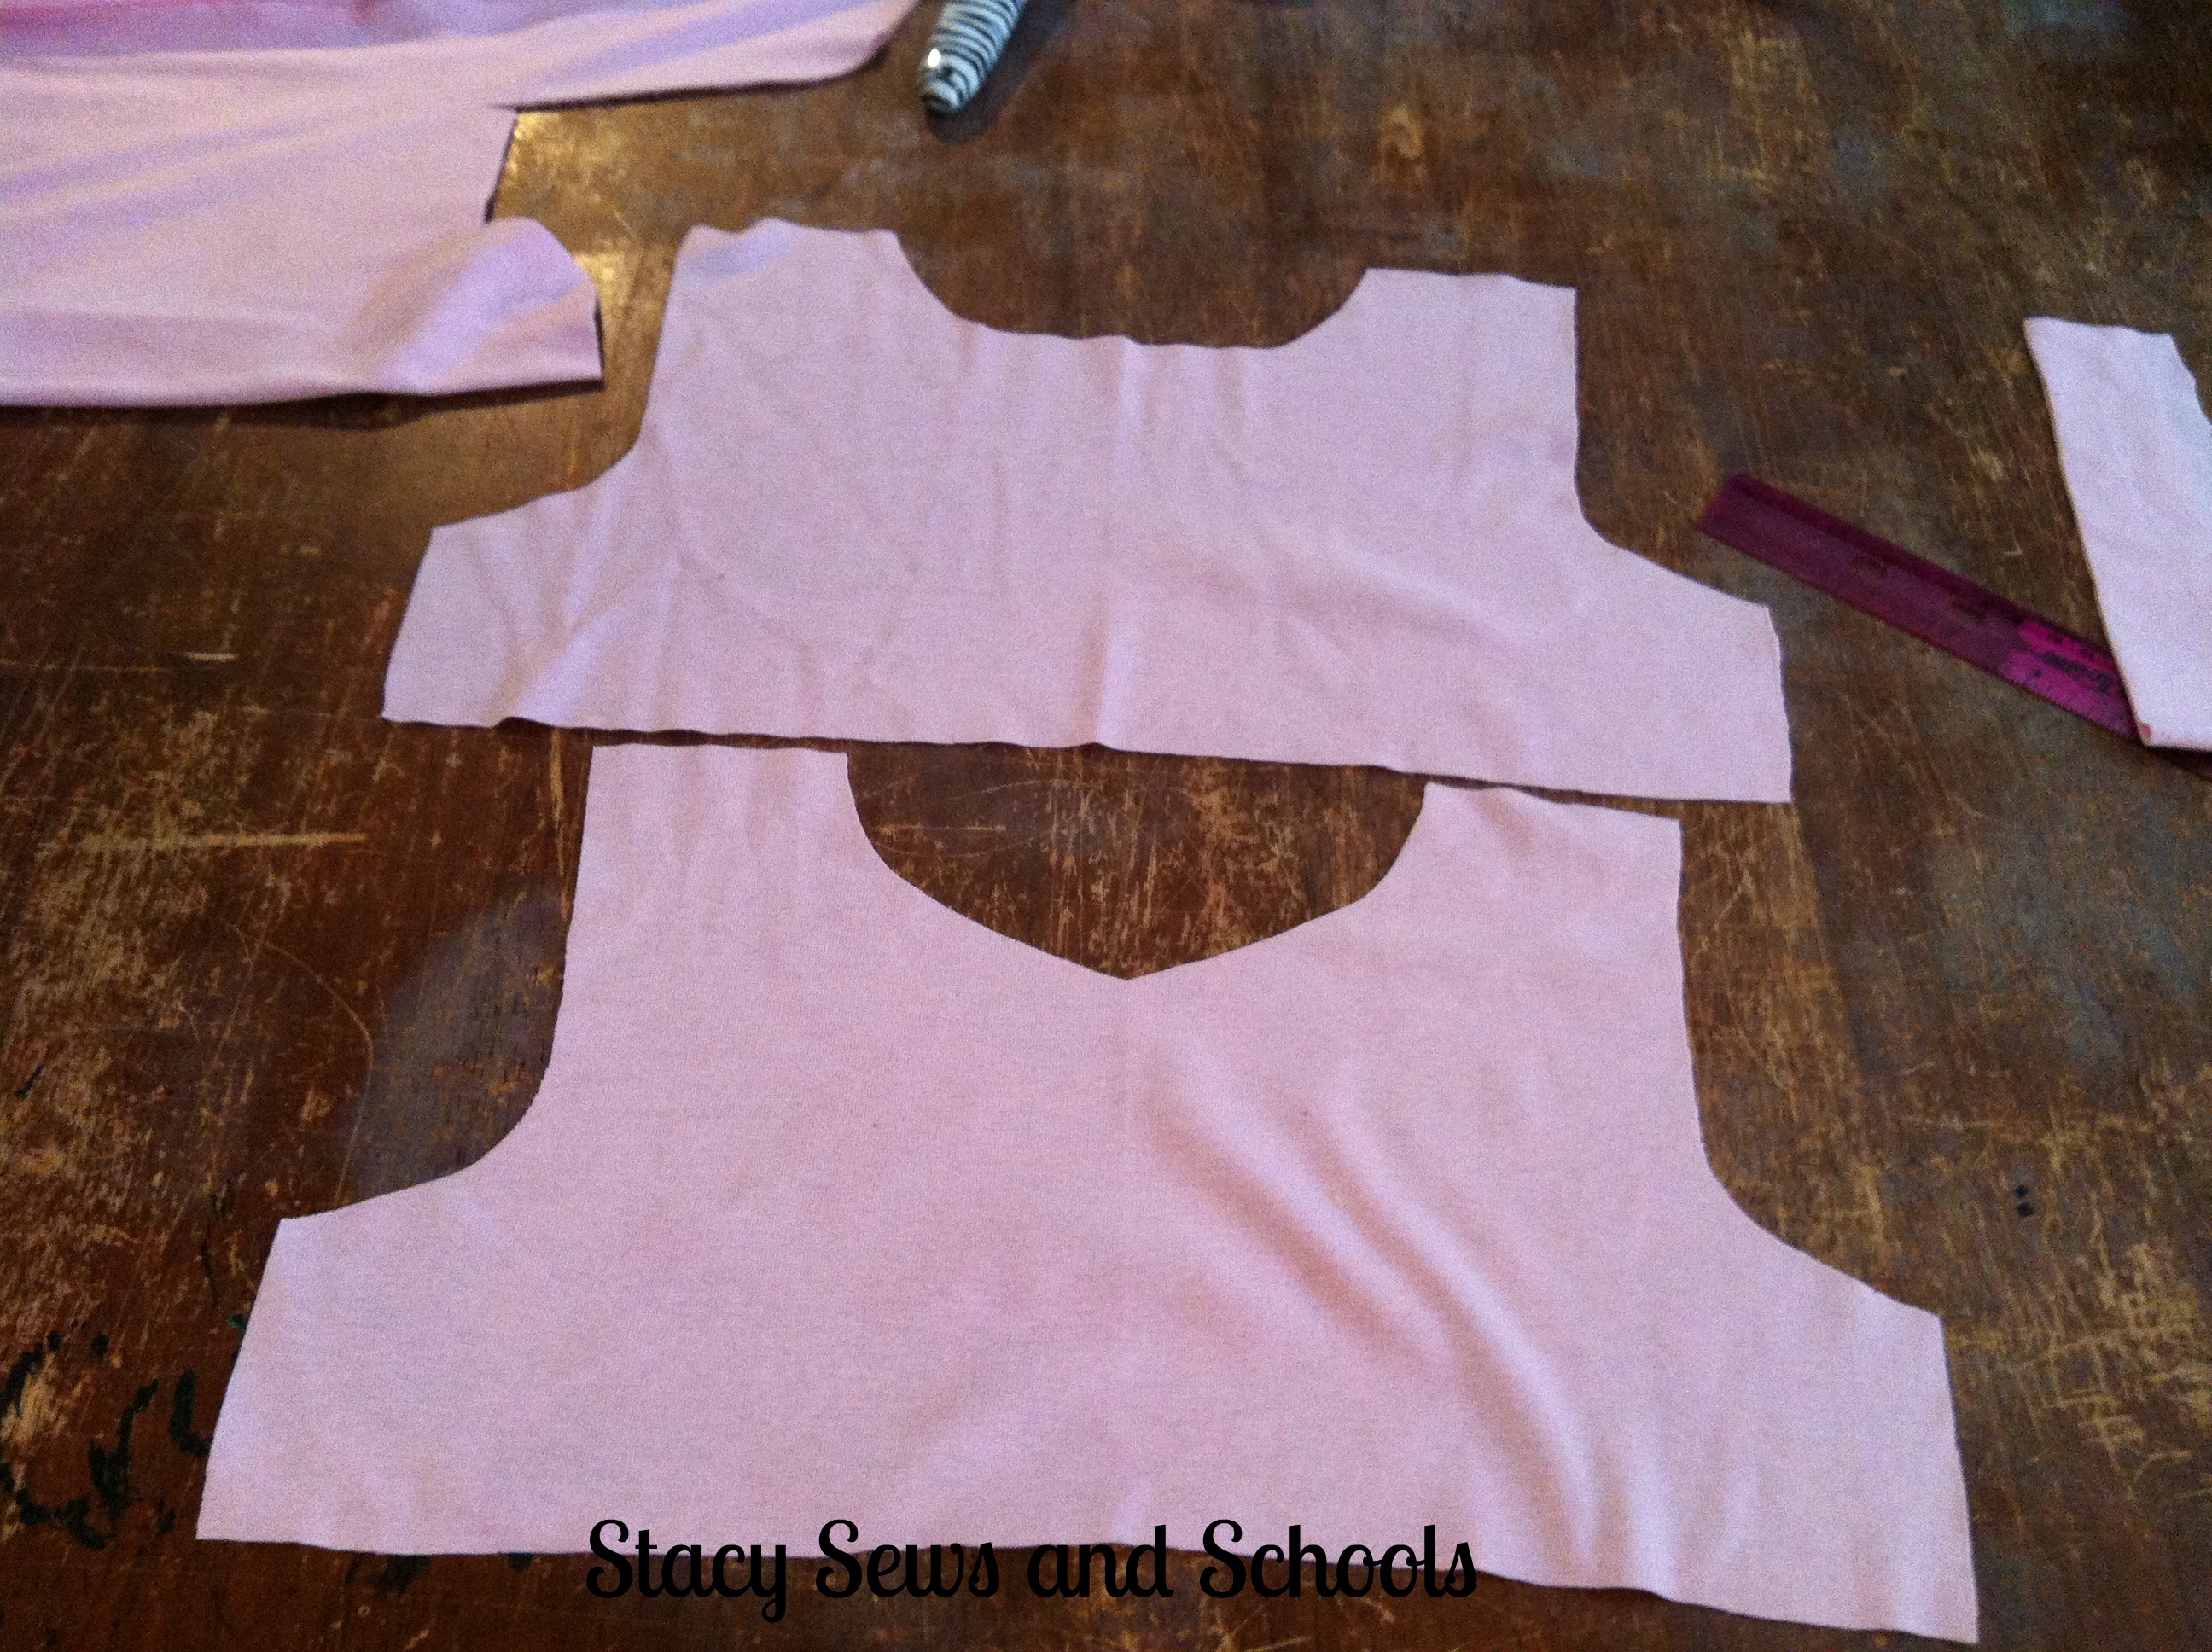
Cut 2 front bodice pieces and 2 back bodice pieces.  (This shows 1 of each.)


Pleats Be My Valentine 103


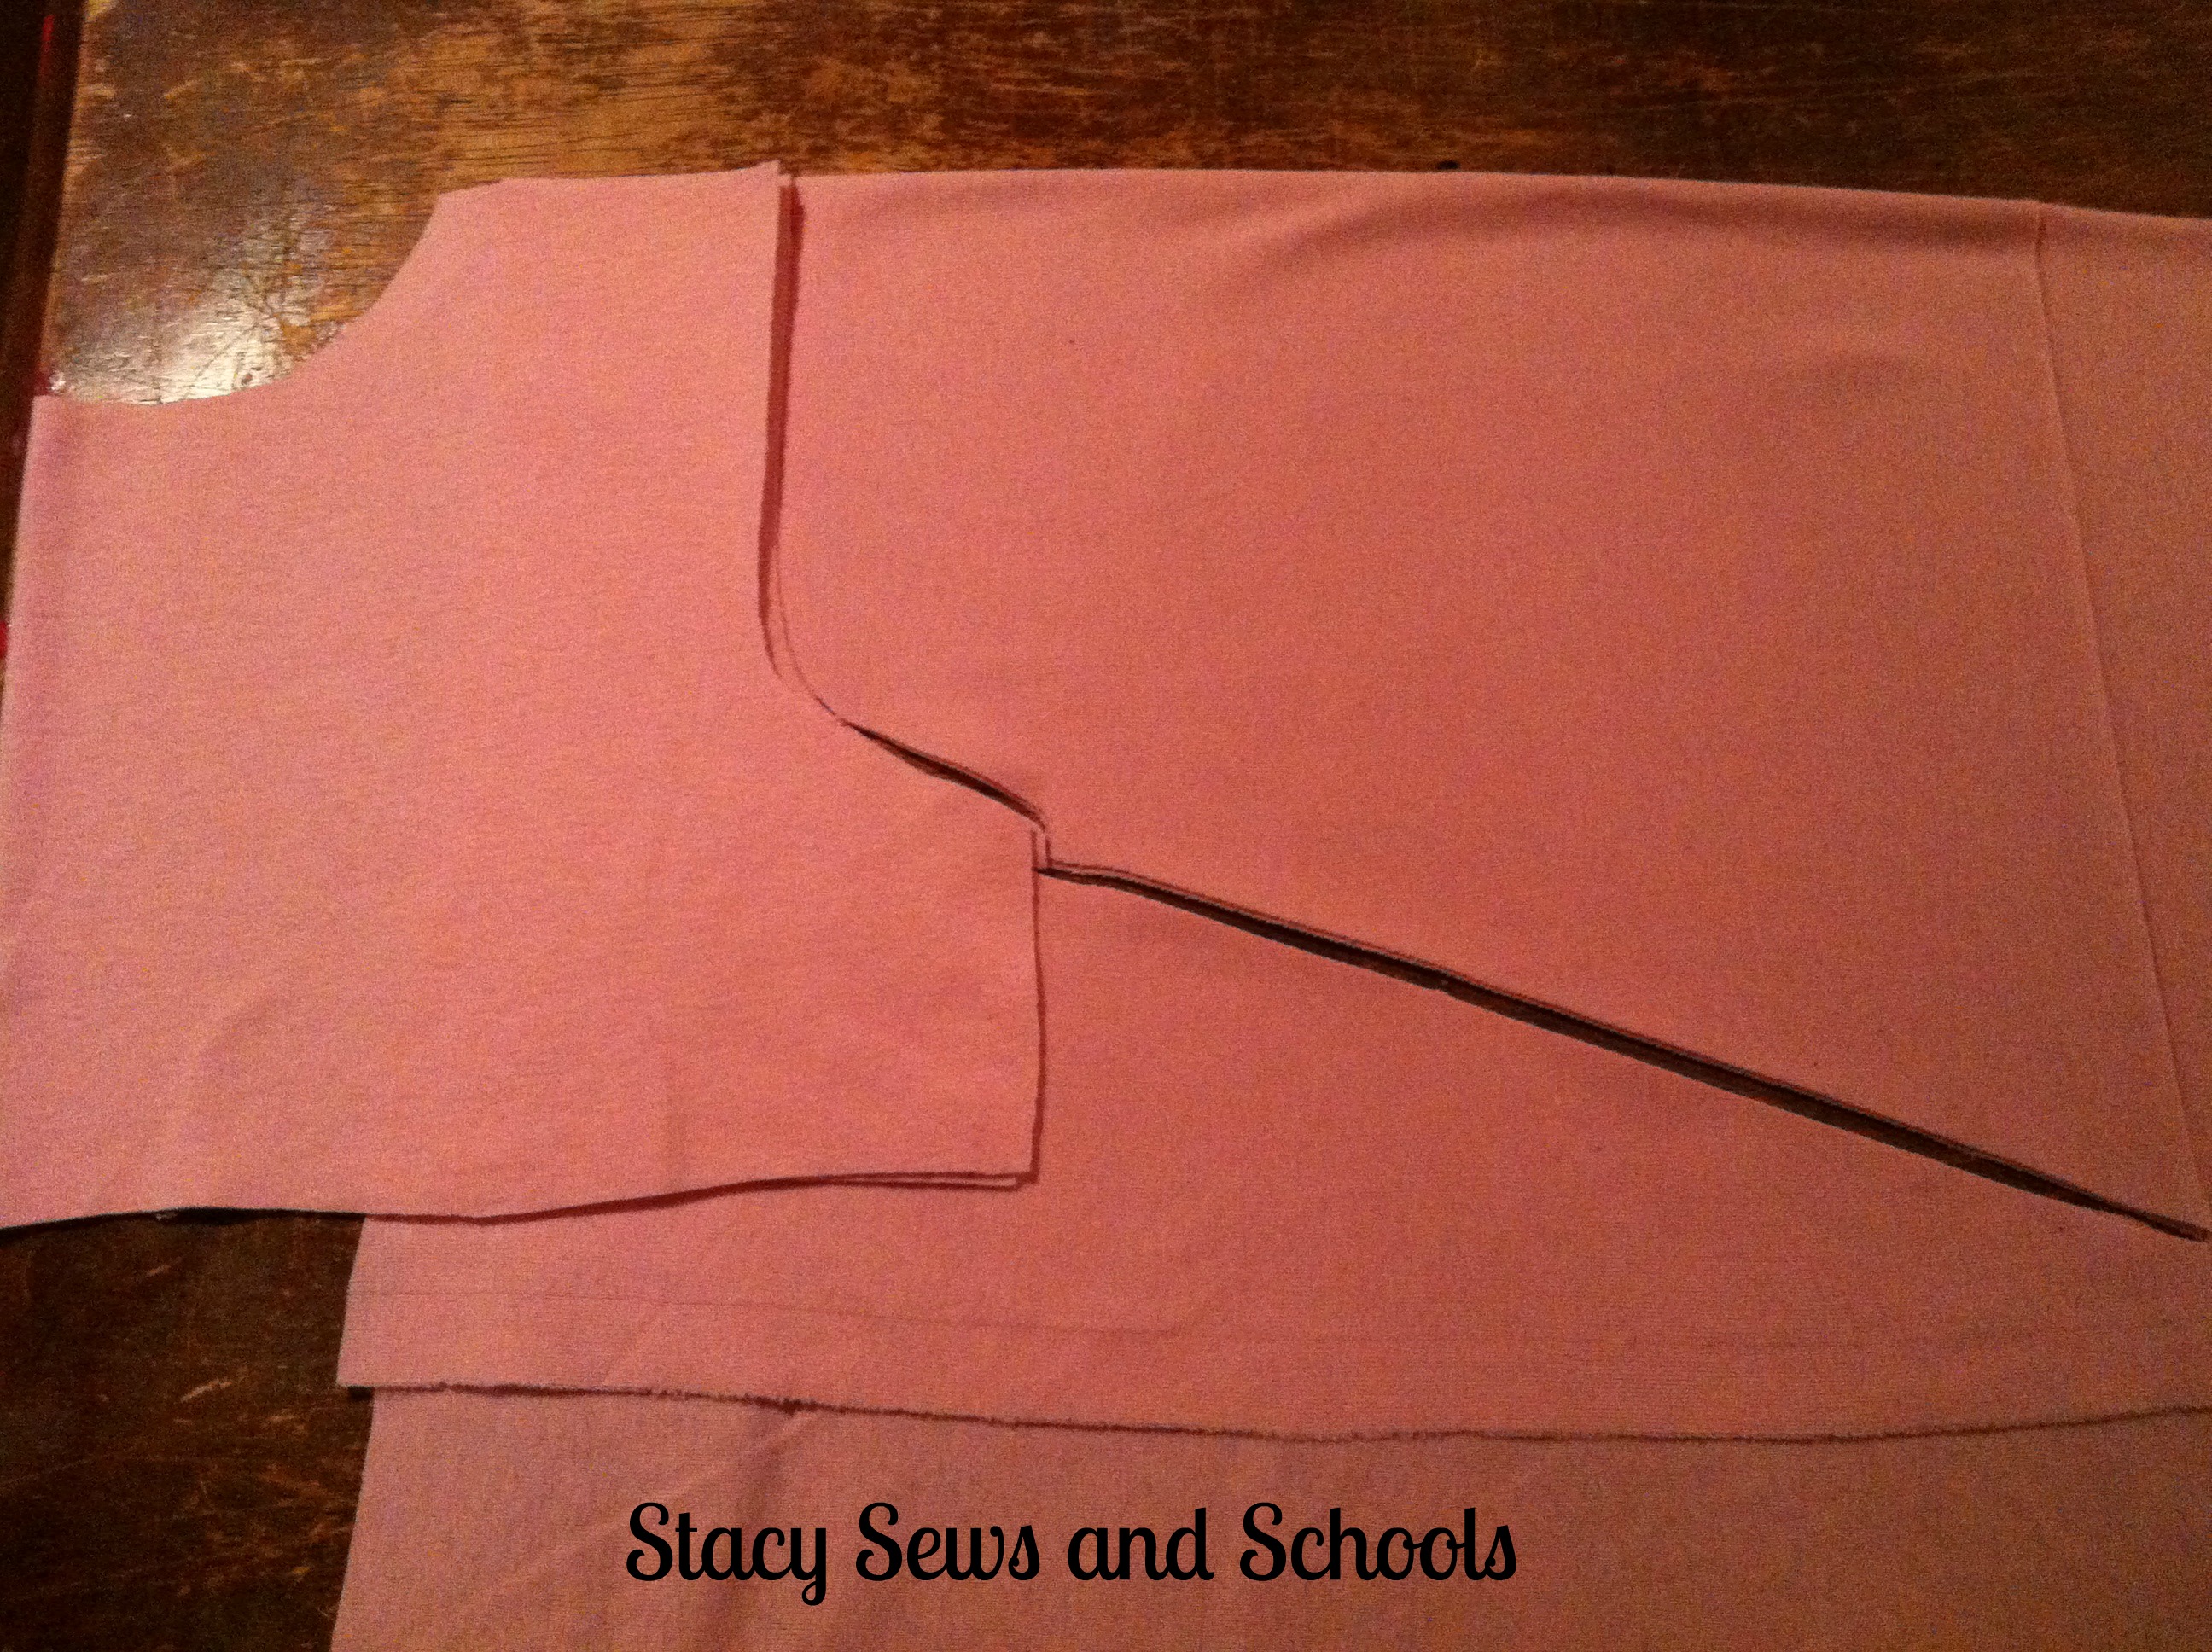
To cut the sleeves, place one of your bodice pieces on the folded fabric with the shoulder lined up with the fold. Then cut at a widening angle. This will create sleeves that get wider as it goes down the arm.

I cut them to hit just below the elbow, not quite 3/4 length.


The next part to cut is the part from the bodice down. I apparently forgot to take a picture of this part, but it's very easy. You want it to be 2 times the total width of the waist and the length can be as long or as short as you like.  You just cut a large rectangle at those measurements.


Pleats Be My Valentine 106


To cut the leggings I used a pair of pants that fit Cailey well. I wanted them cut straight instead of flared, so I let the side of the pants hang off the fabric at the fold.  I cut them the same length as the pants, no seam allowance. Also, instead of cutting around and leaving a seam allowance, I cut right at the guide. This gives them a leggings fit instead of like a yoga pant.


For the pleats I cut 10 pieces of the red knit, 5" wide and the length was the total width of the fabric from selvage to selvage.  Make sense? You are going to sew the pieces together at one end until you have 5 VERY long pieces to pleat.  ;)


Now, on to the sewing!


Pleats Be My Valentine 109

Pin and sew the 2 front bodice pieces together at the areas outlined, making sure to leave the bottom open. Turn right side out and press.

Do the same to the back bodice pieces (shown).


Pleats Be My Valentine 111


Sew the front bodice piece to the back bodice piece at the areas that are outlined.

Turn right side out and press.


Pleats Be My Valentine 112 Pleats Be My Valentine 113


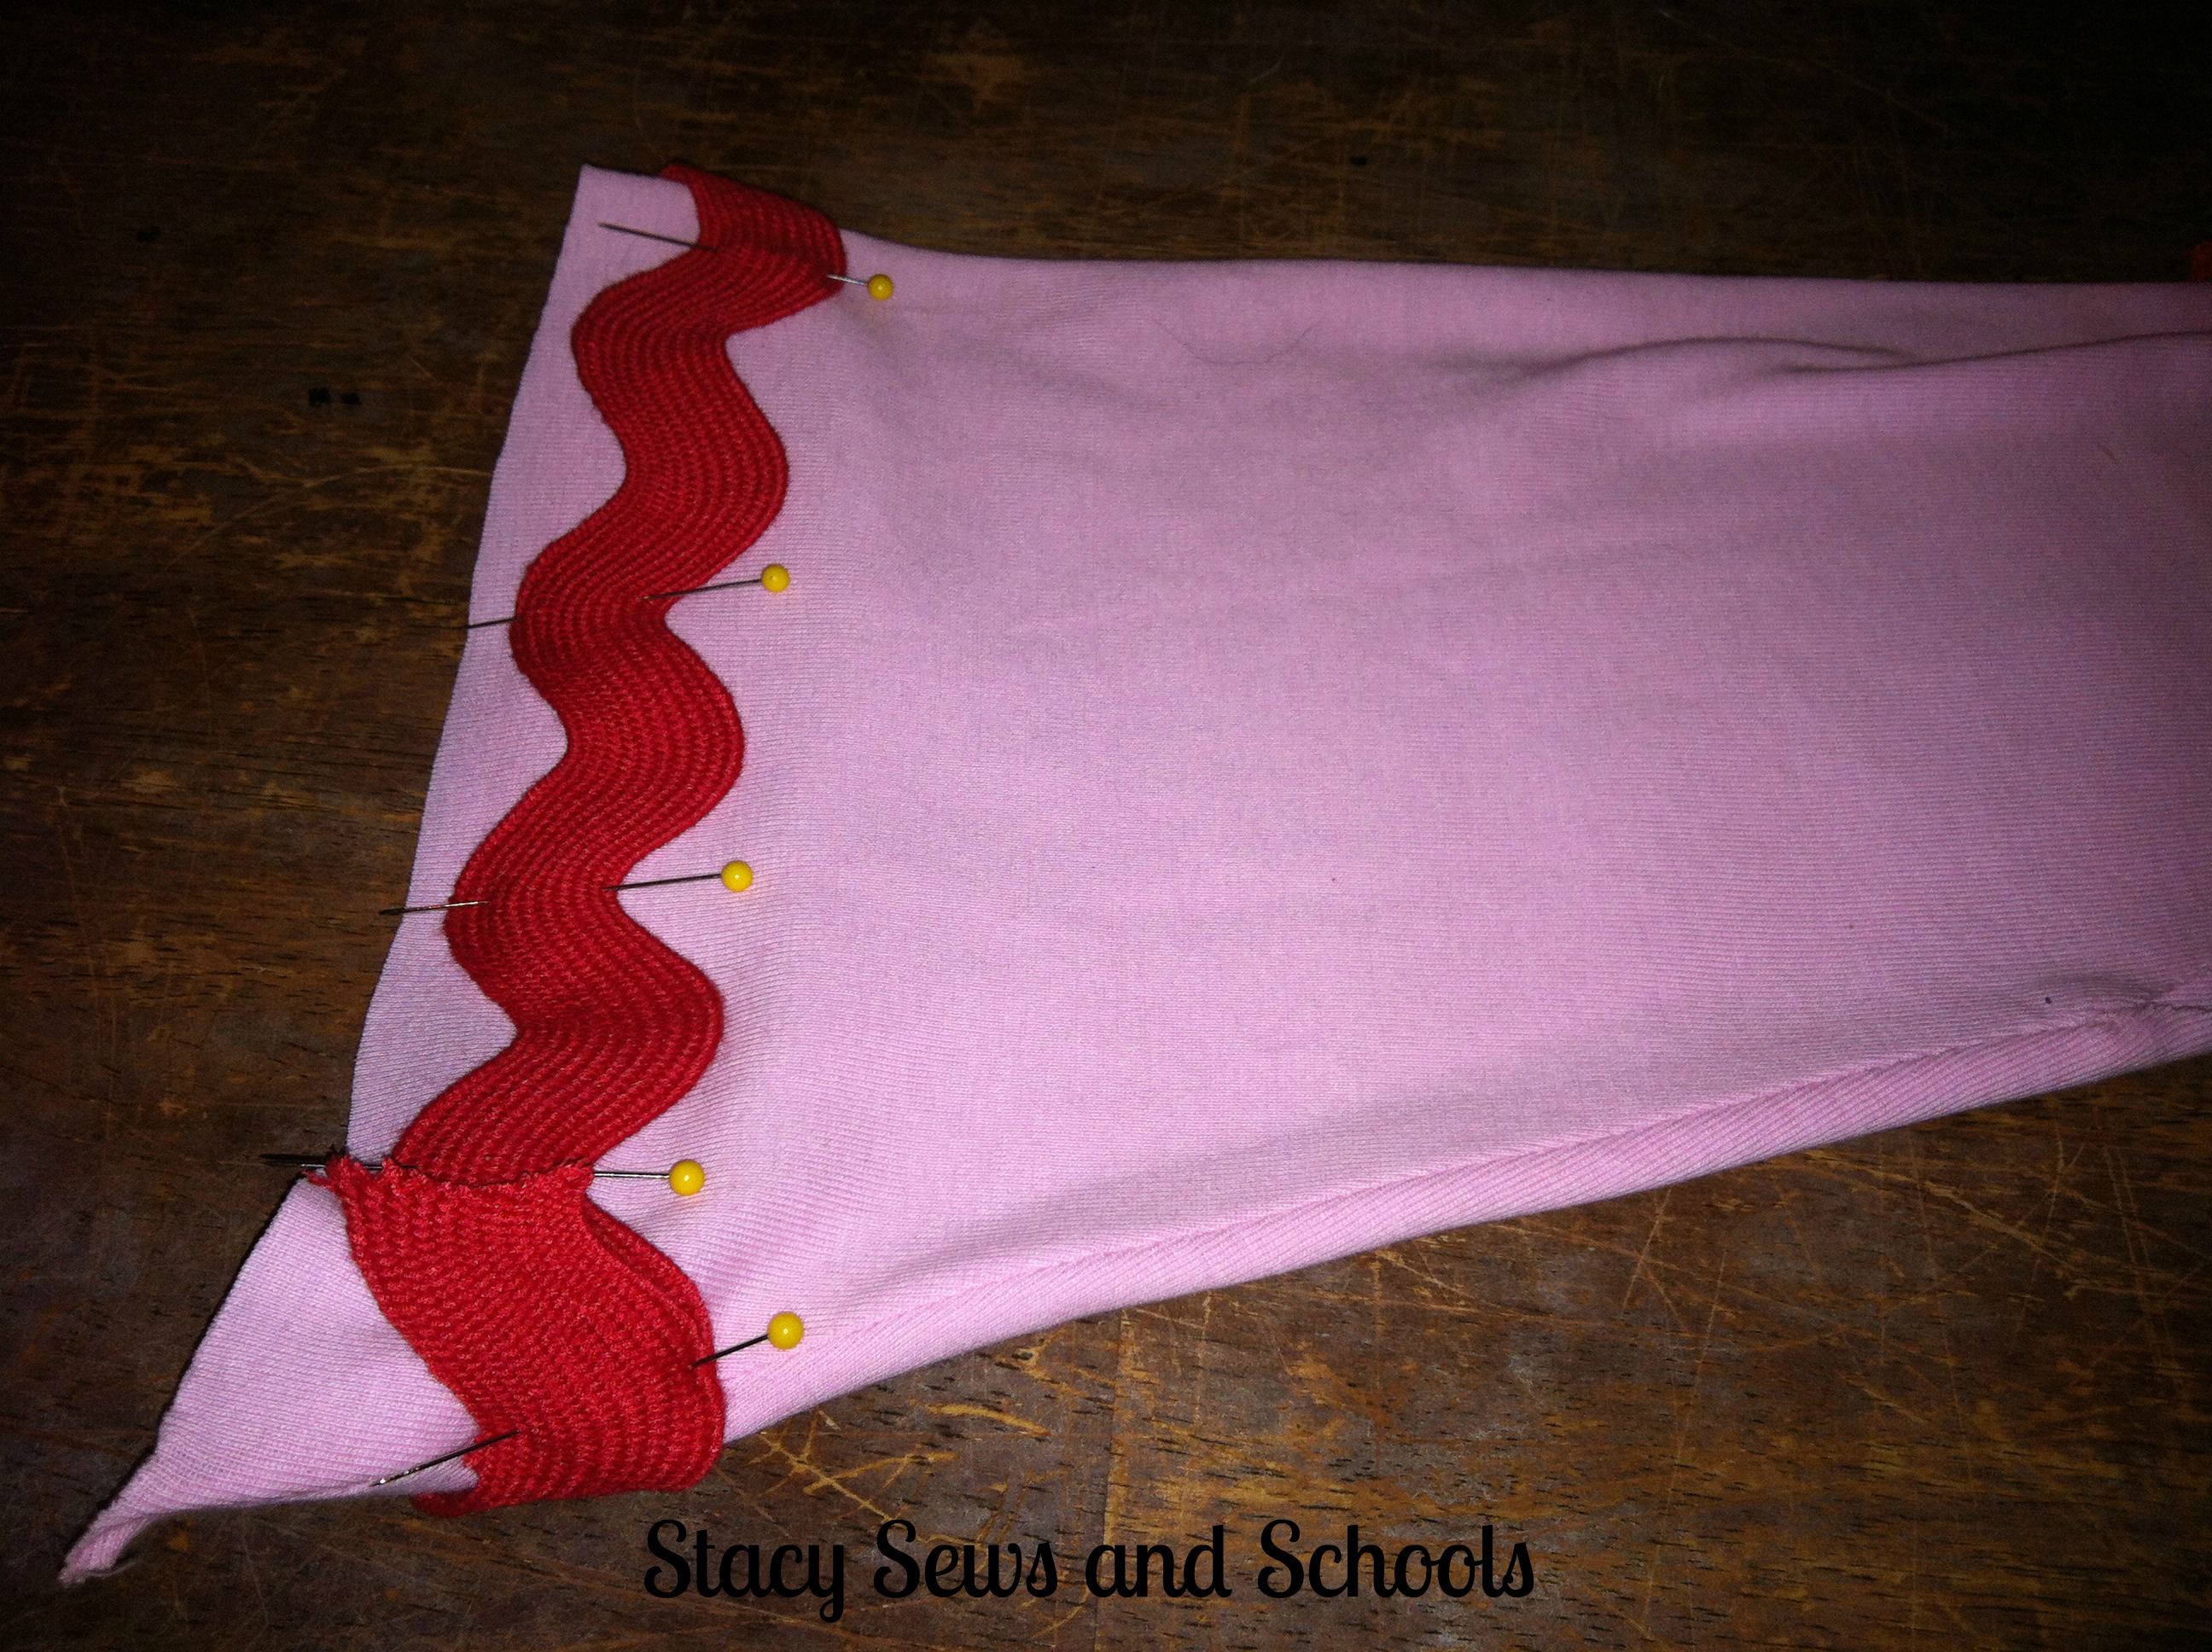
Here's a little hint... Sew the jumbo rickrack on BEFORE you sew the sleeves together..... LOL

I didn't decide to add the rickrack until the sleeves were already done....

Anyway, pin the rickrack to the bottom of the sleeve and sew on with a straight stitch.

THEN pin the edge of the sleeve and sew the seam. ;)

Open up the seam and press.


Pleats be my Valentine 114


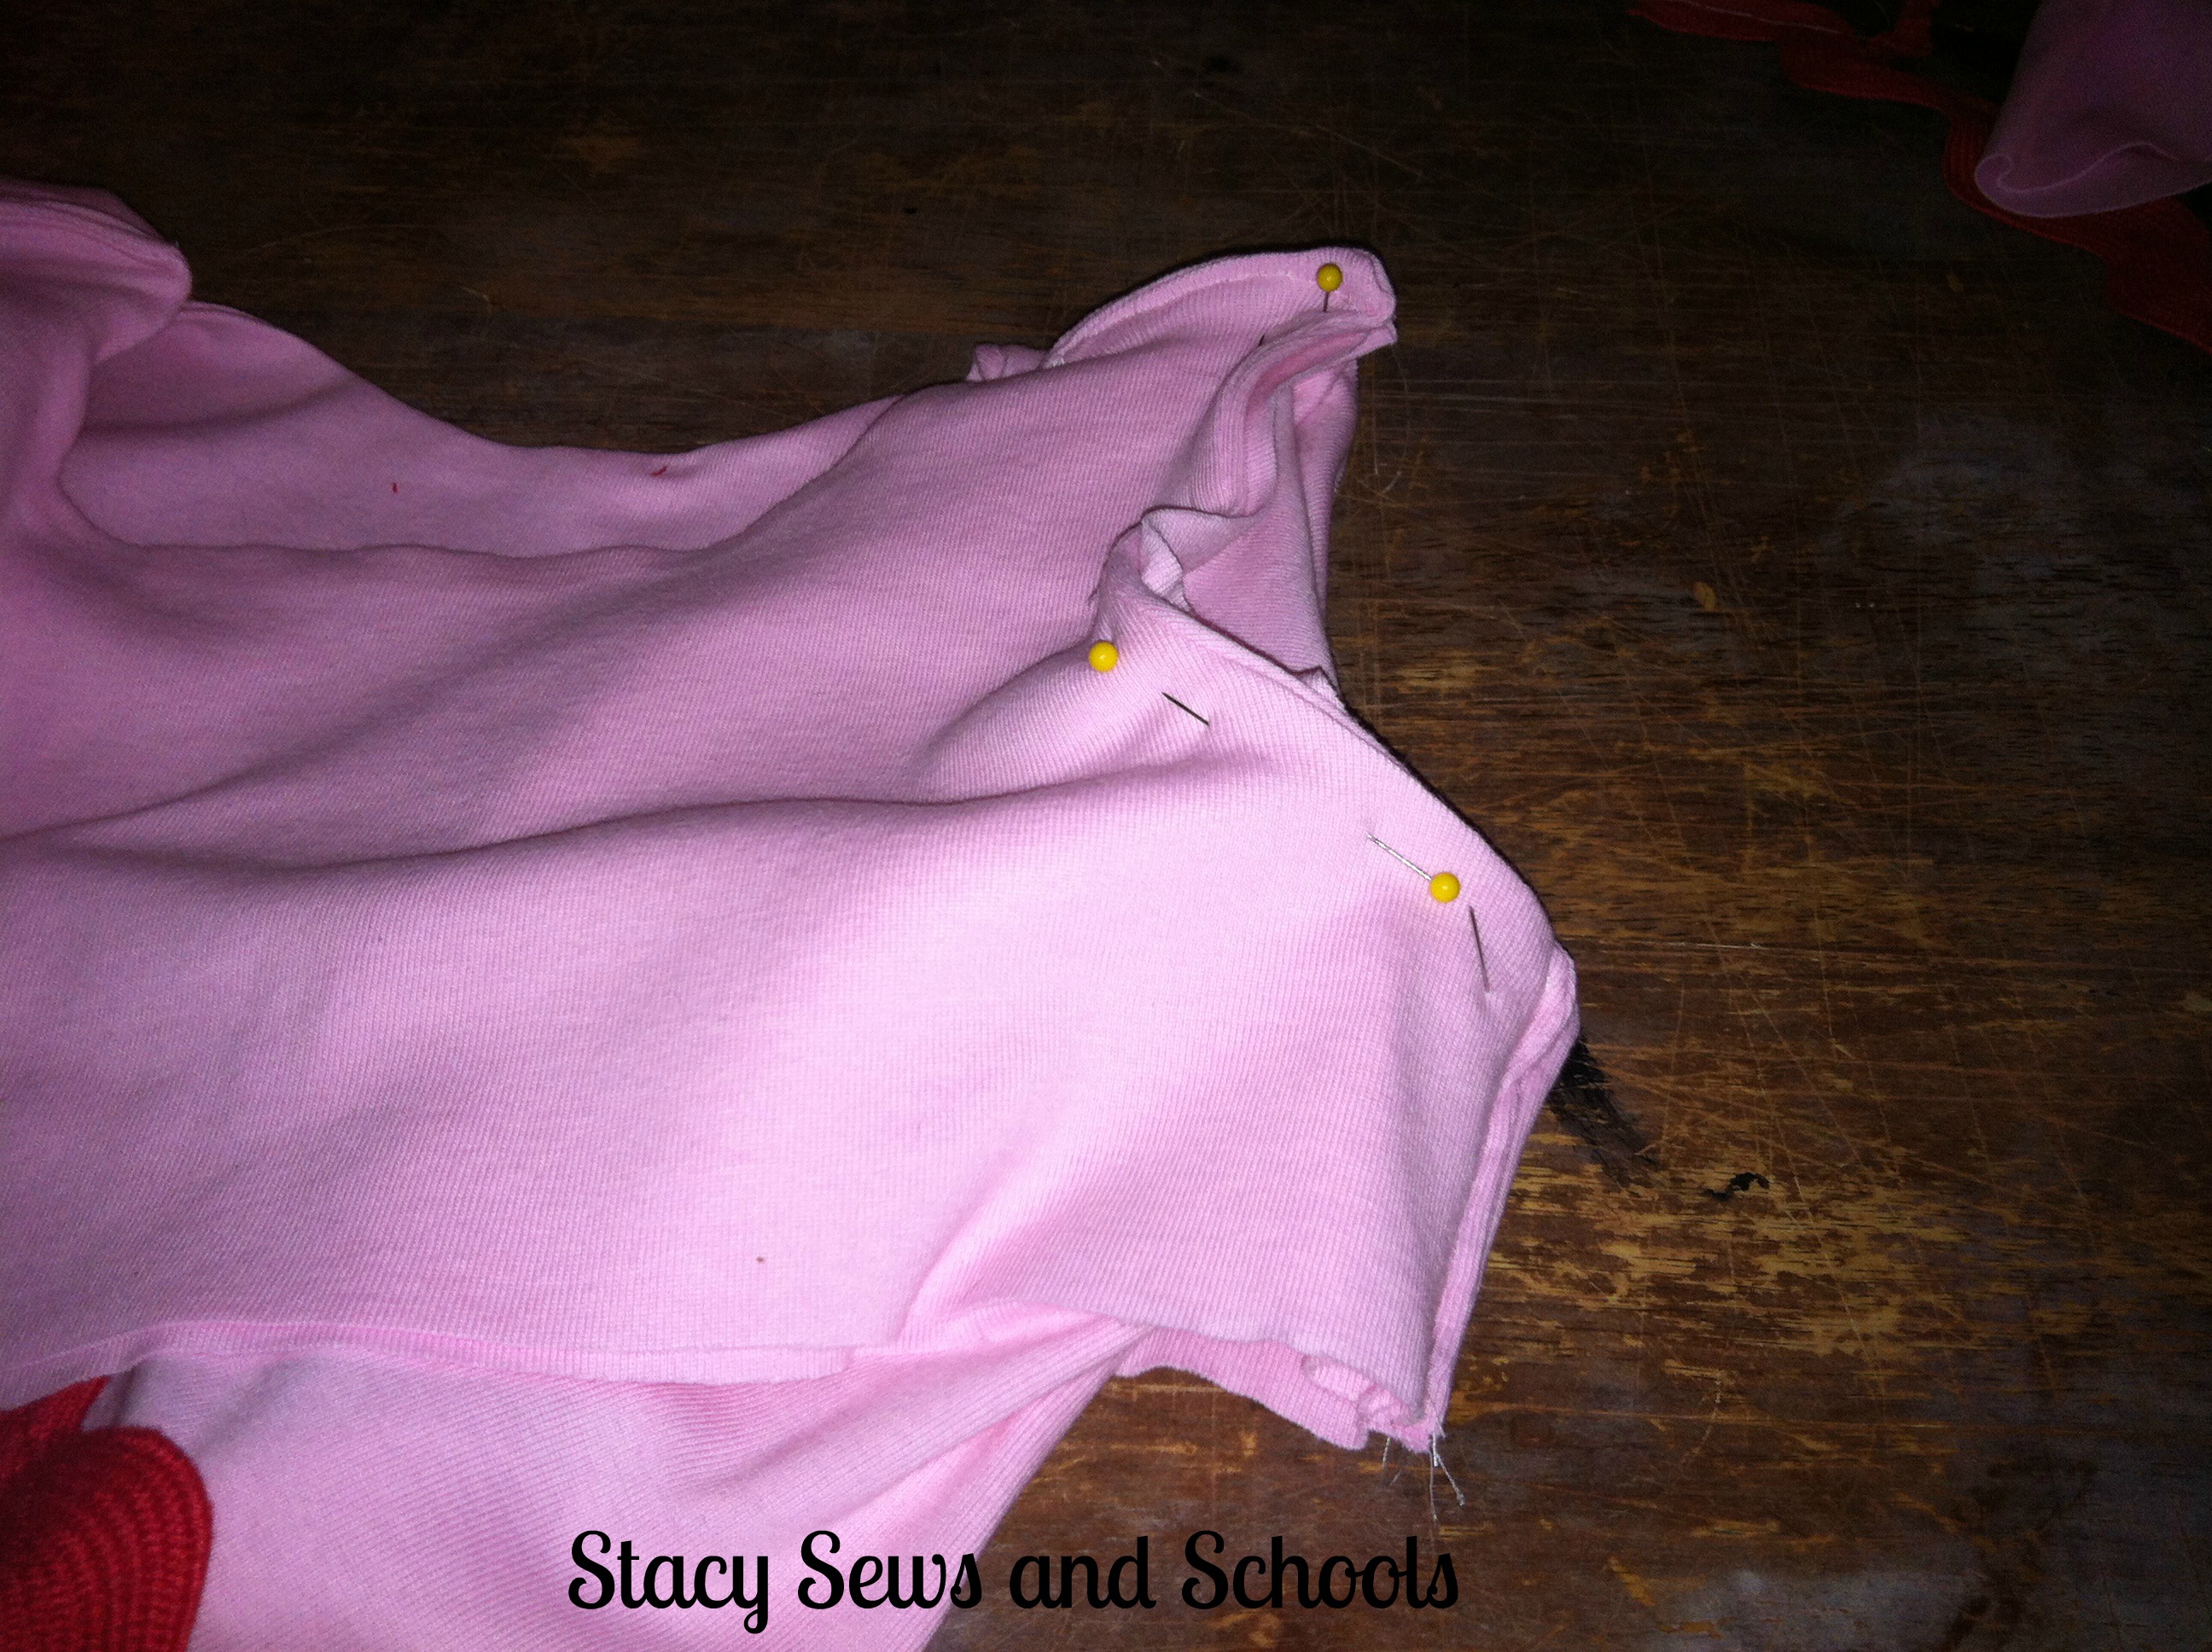
Turn the bodice inside out and then leaving the sleeve right side out, slide it into the arm hole. Pin and sew the seam.


Pleats be my Valentine 117


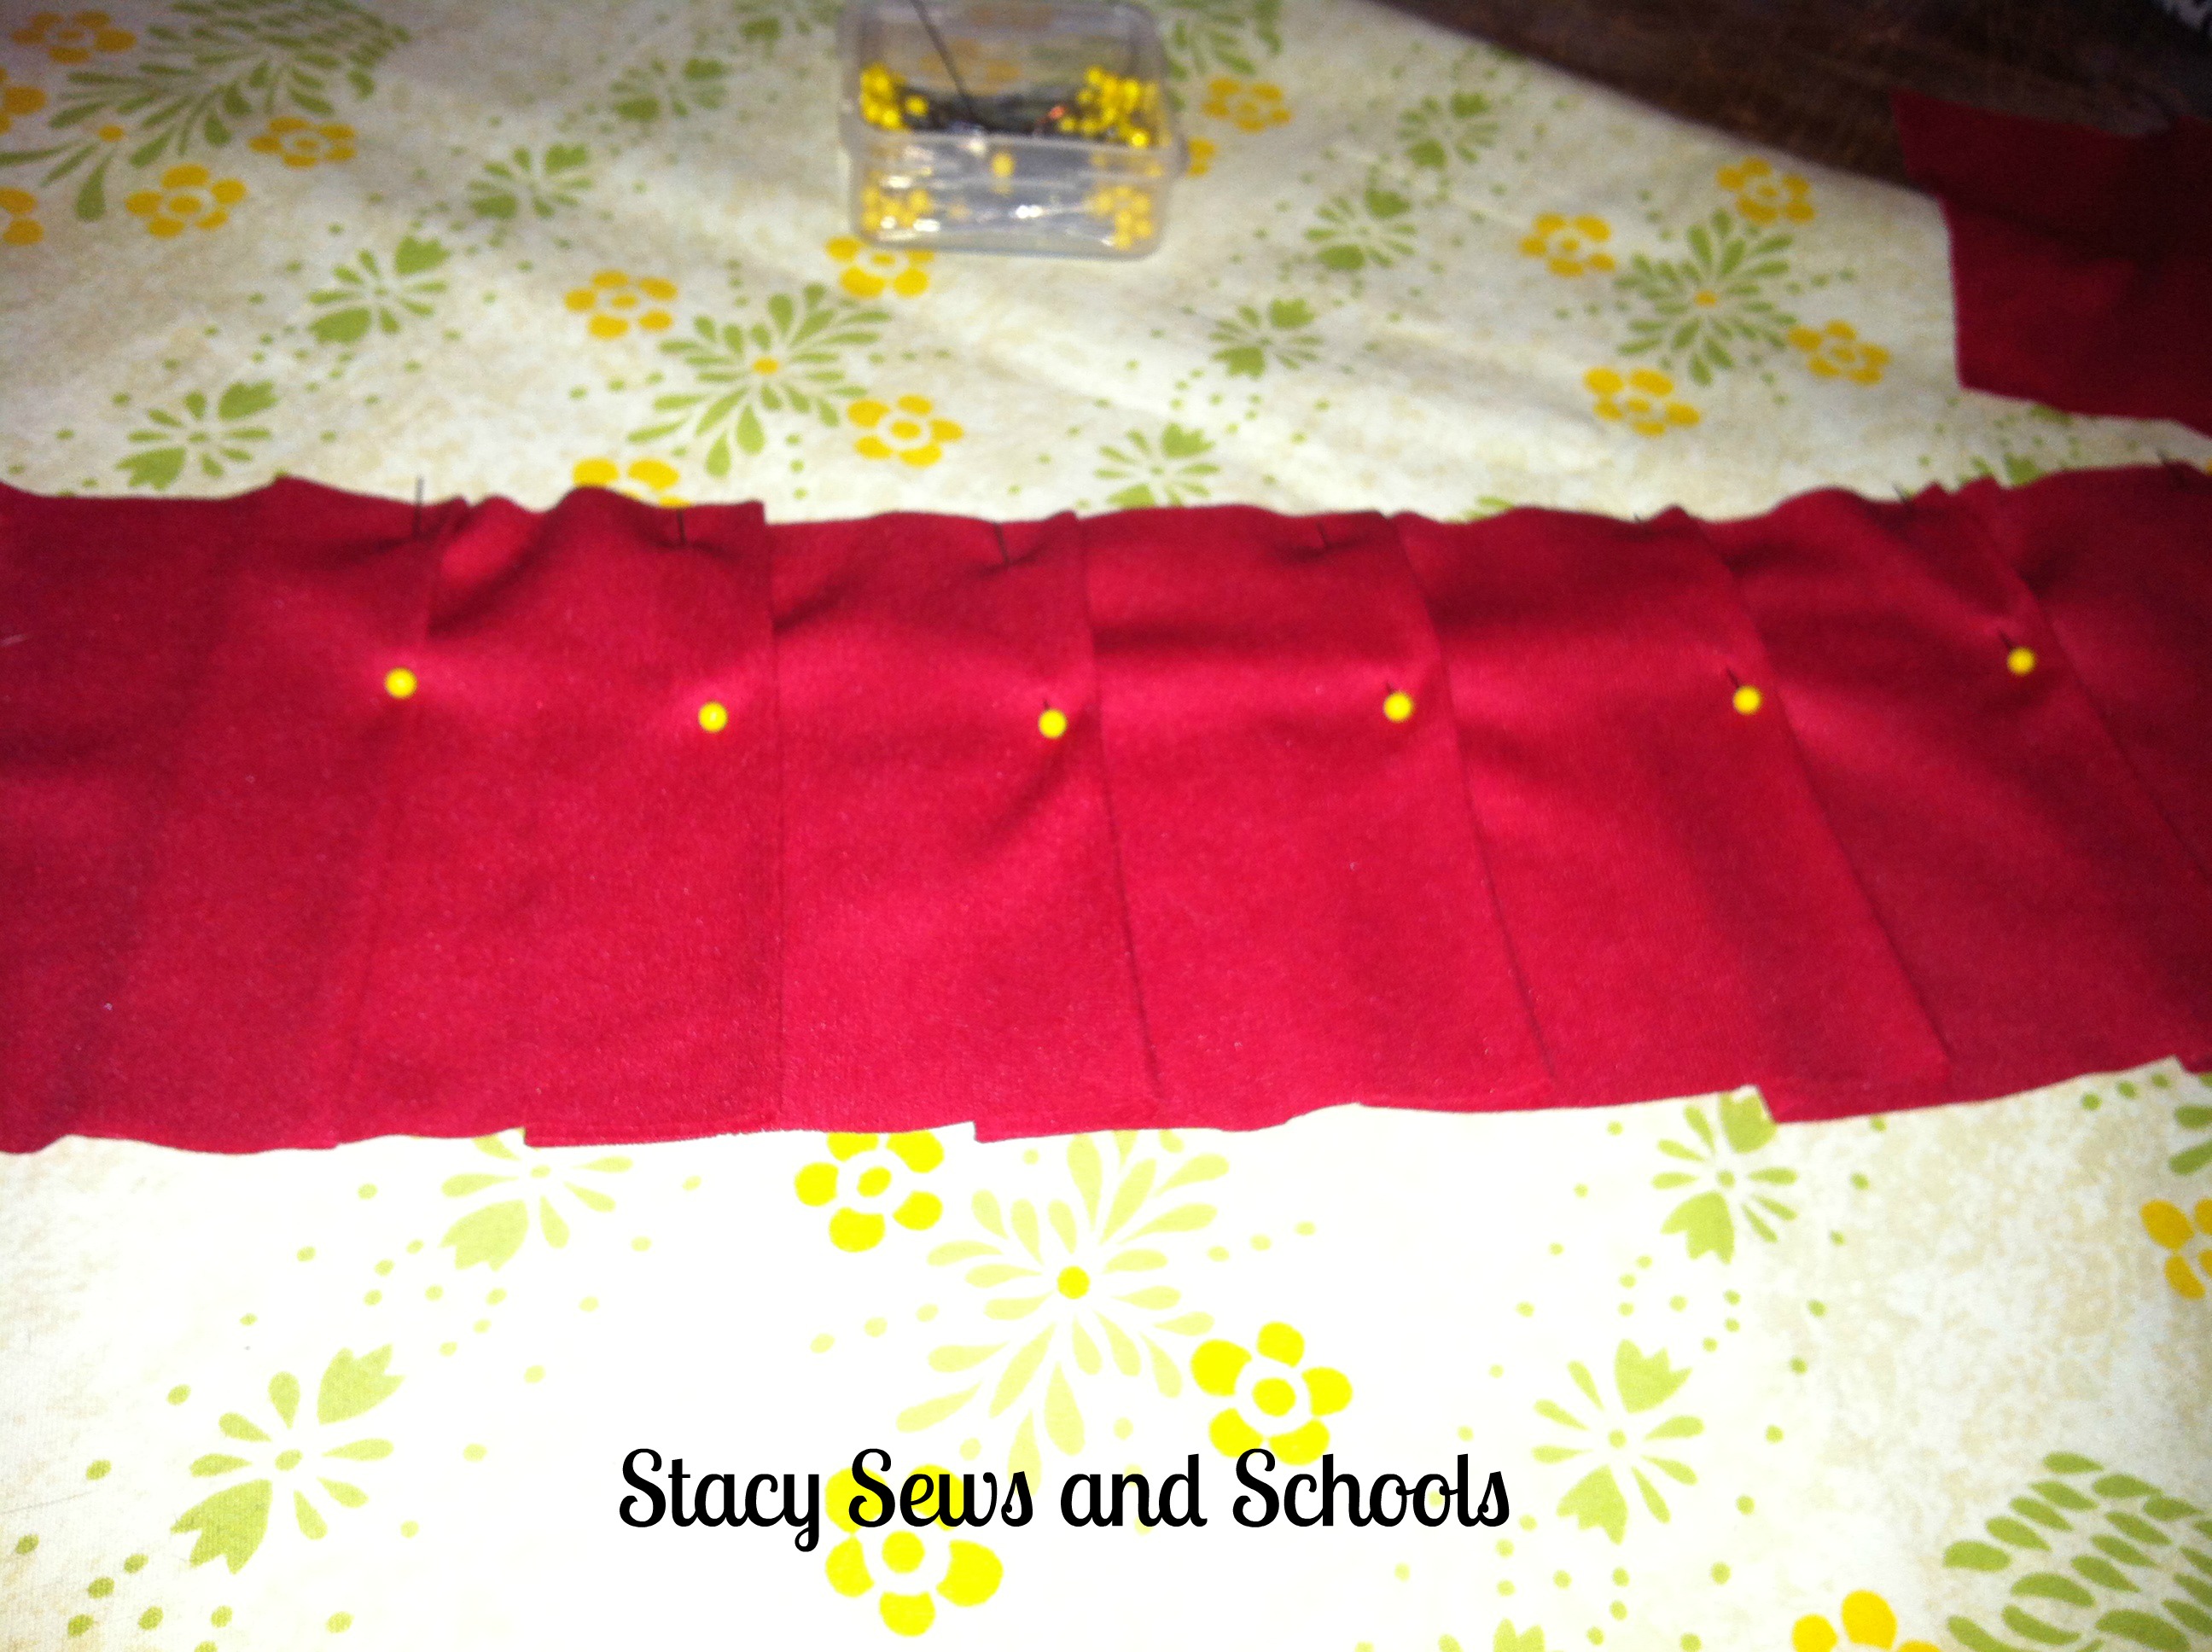
Now, take one of your 5 LOOOOONG strips and start pleating. Fold, press, pin. Fold, press, pin.... FOREVER!!!! No, just kidding. It only FEEL like forever. ;) LOL


Pleats be my Valentine 120


To add the pleated strips to the bottom of the bodice you will pin the first set of pleats to the bottom of the fabric. Not the VERY bottom, though. Leave the the pleated strip hanging over the edge by 2 inches. Then sew across the top.

Keep adding the pleated strips until you reach the top, leaving each section hanging over the next by about 2 inches.

Depending on how long or short you want this part to be, you made need more or less of the pleated strips.


To add this part to the top of the bodice you will run a gathering stitch across the top (just under where you attached the last row of pleats). Then adjust the gathers to fit the bottom of the top bodice section.

Turn the top bodice inside out and slide it over the top of the pleated section. Pin in place where the bottom of the top of the bodice meets the top of the pleated section. Sew in place just below the line of gathers.

Now, turn the whole thing inside out and sew the side seam.


For the leggings I am going to refer you to the tunic and leggings tutorial I did about a month ago. The ONLY difference between the two sets are -

Before adding the rickrack to the bottom, turn under by 1 1/2" and press. Then pin the rickrack to the front and sew on with a straight stitch. This hems and adds the rickrack at the same time.

The rest of it is the same! :)


Pleats Be My Valentine 5


For the headband, I just pulled 3 roses and 3 sets of leaves off of the Dollar Store roses. Then I slide the leaves over the bottom of the roses and hot glued everything straight onto the stretchy headband. :)


Pleats Be My Valentine 1


She's holding the rest of the roses. LOL


Pleats Be My Valentine 3


Let me know what you think, please!!

If you have ANY questions at all just click the Contact Me button at the top of the page and send me an e-mail! :)


September 13, 2012

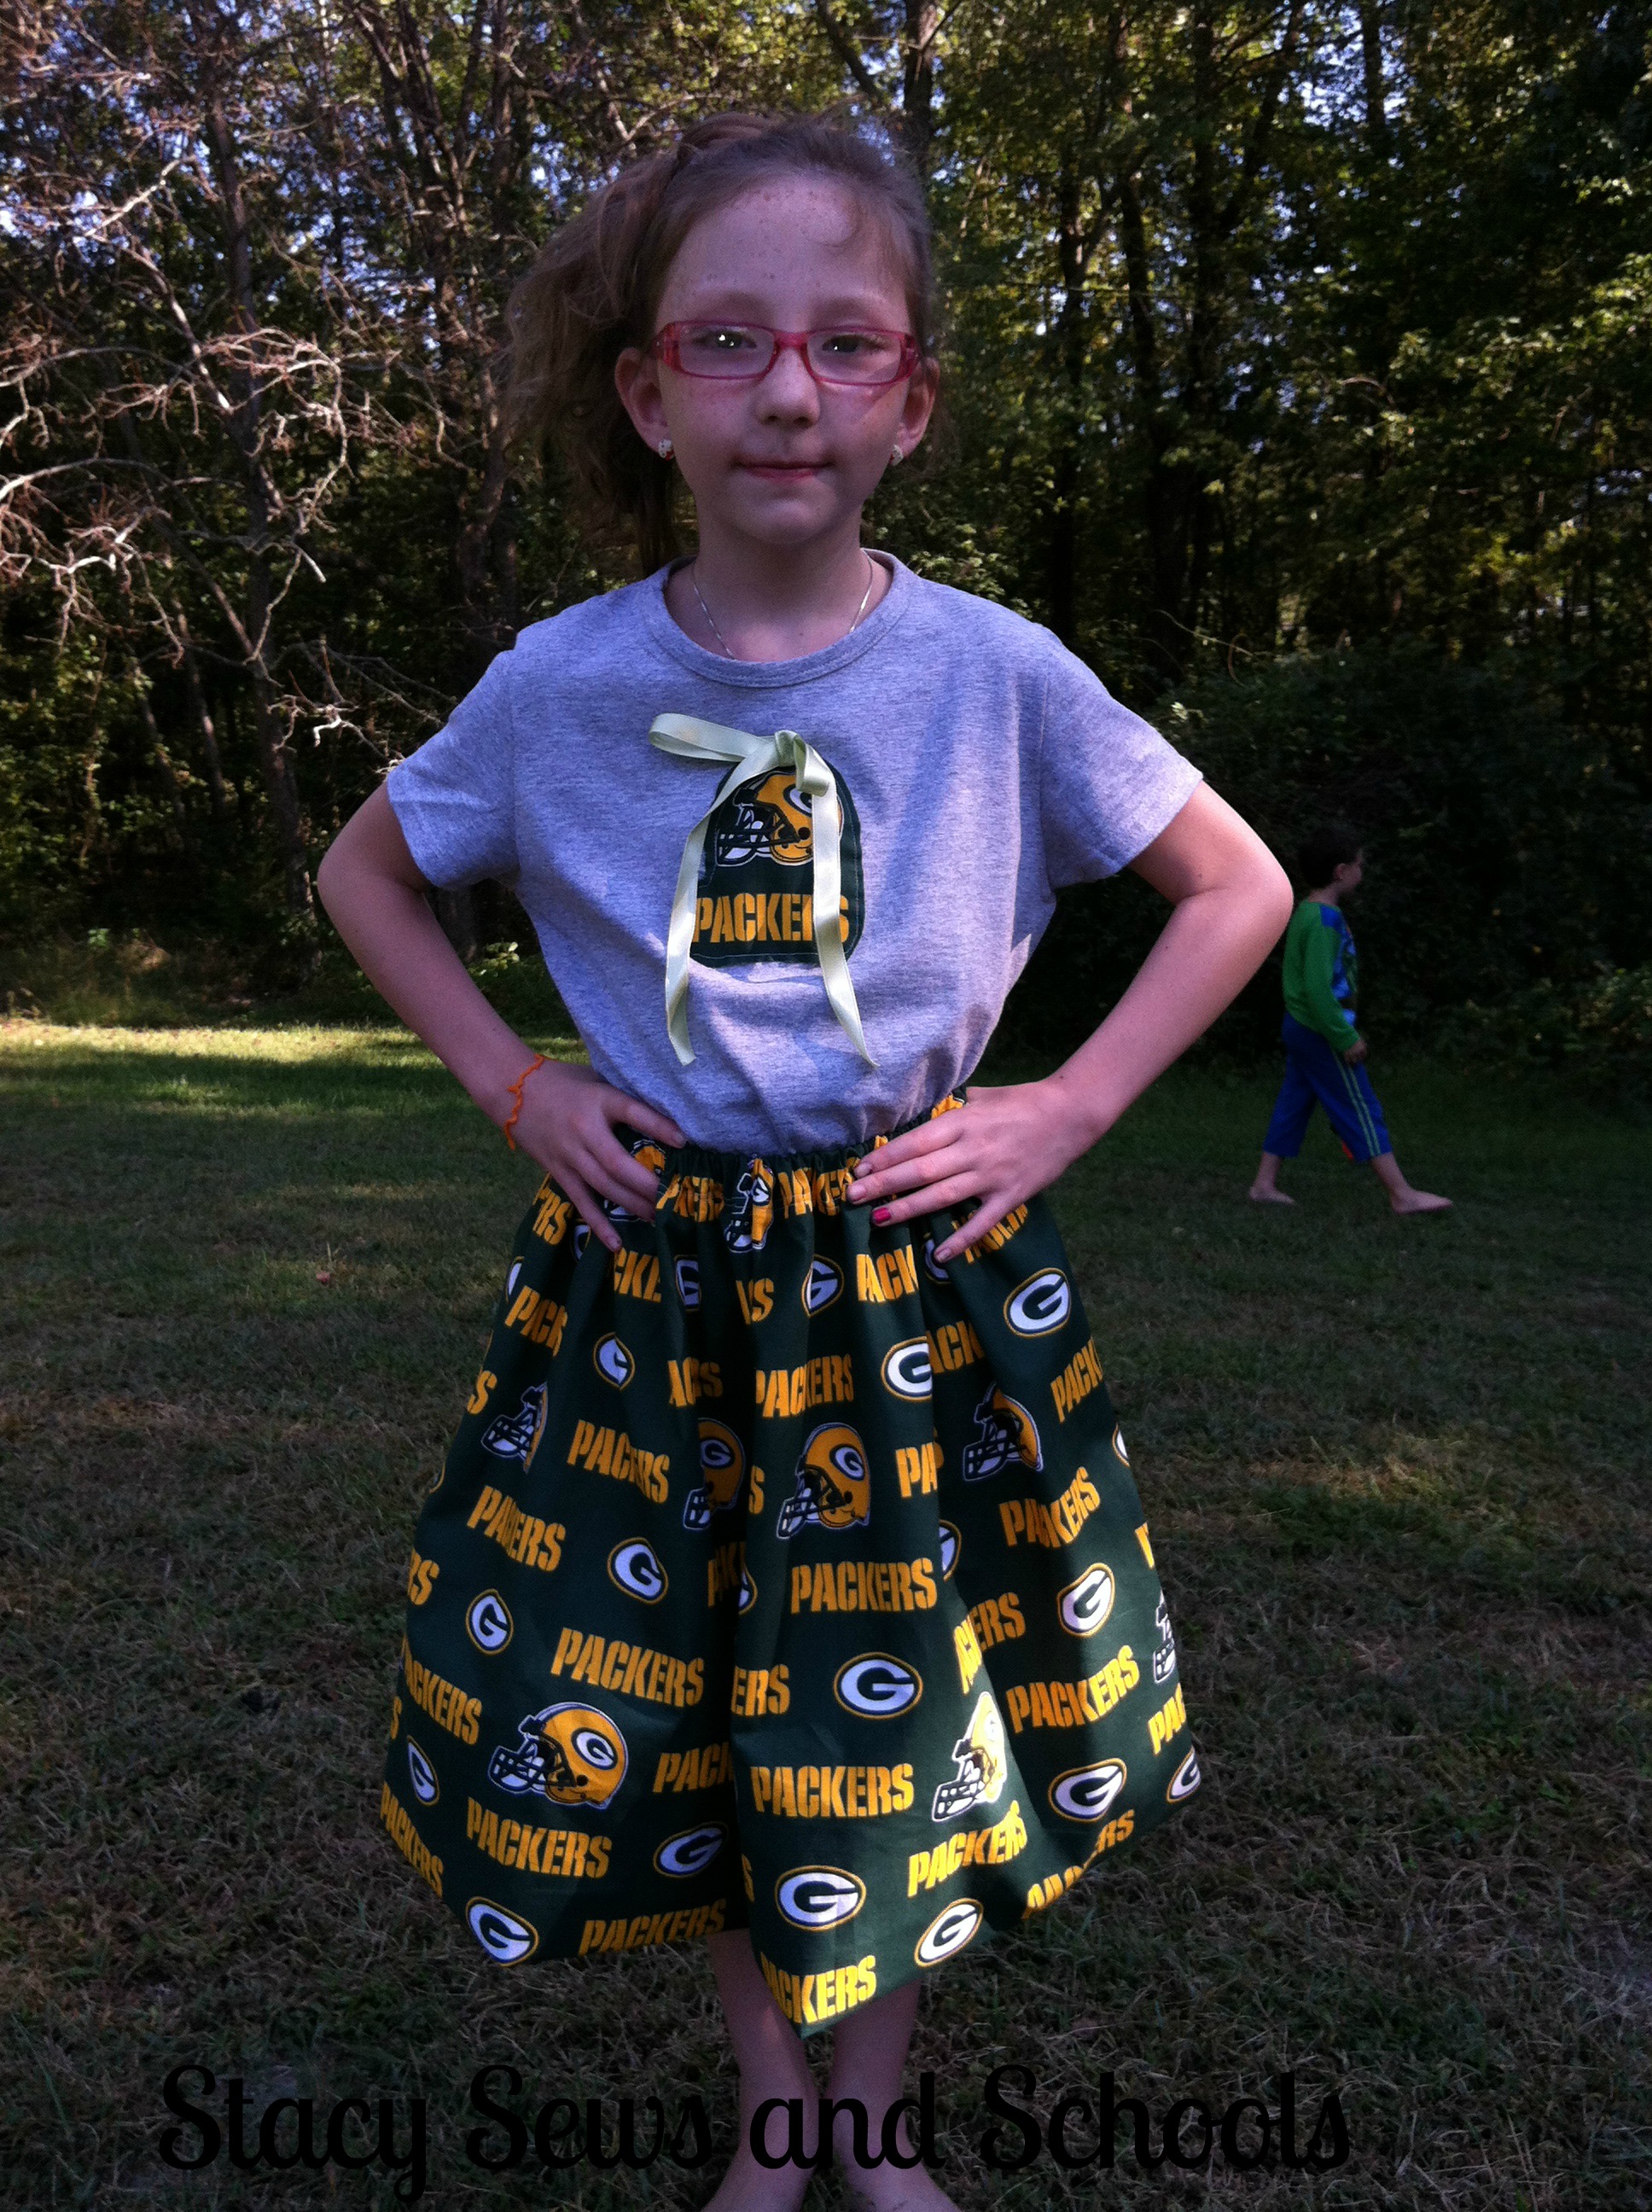
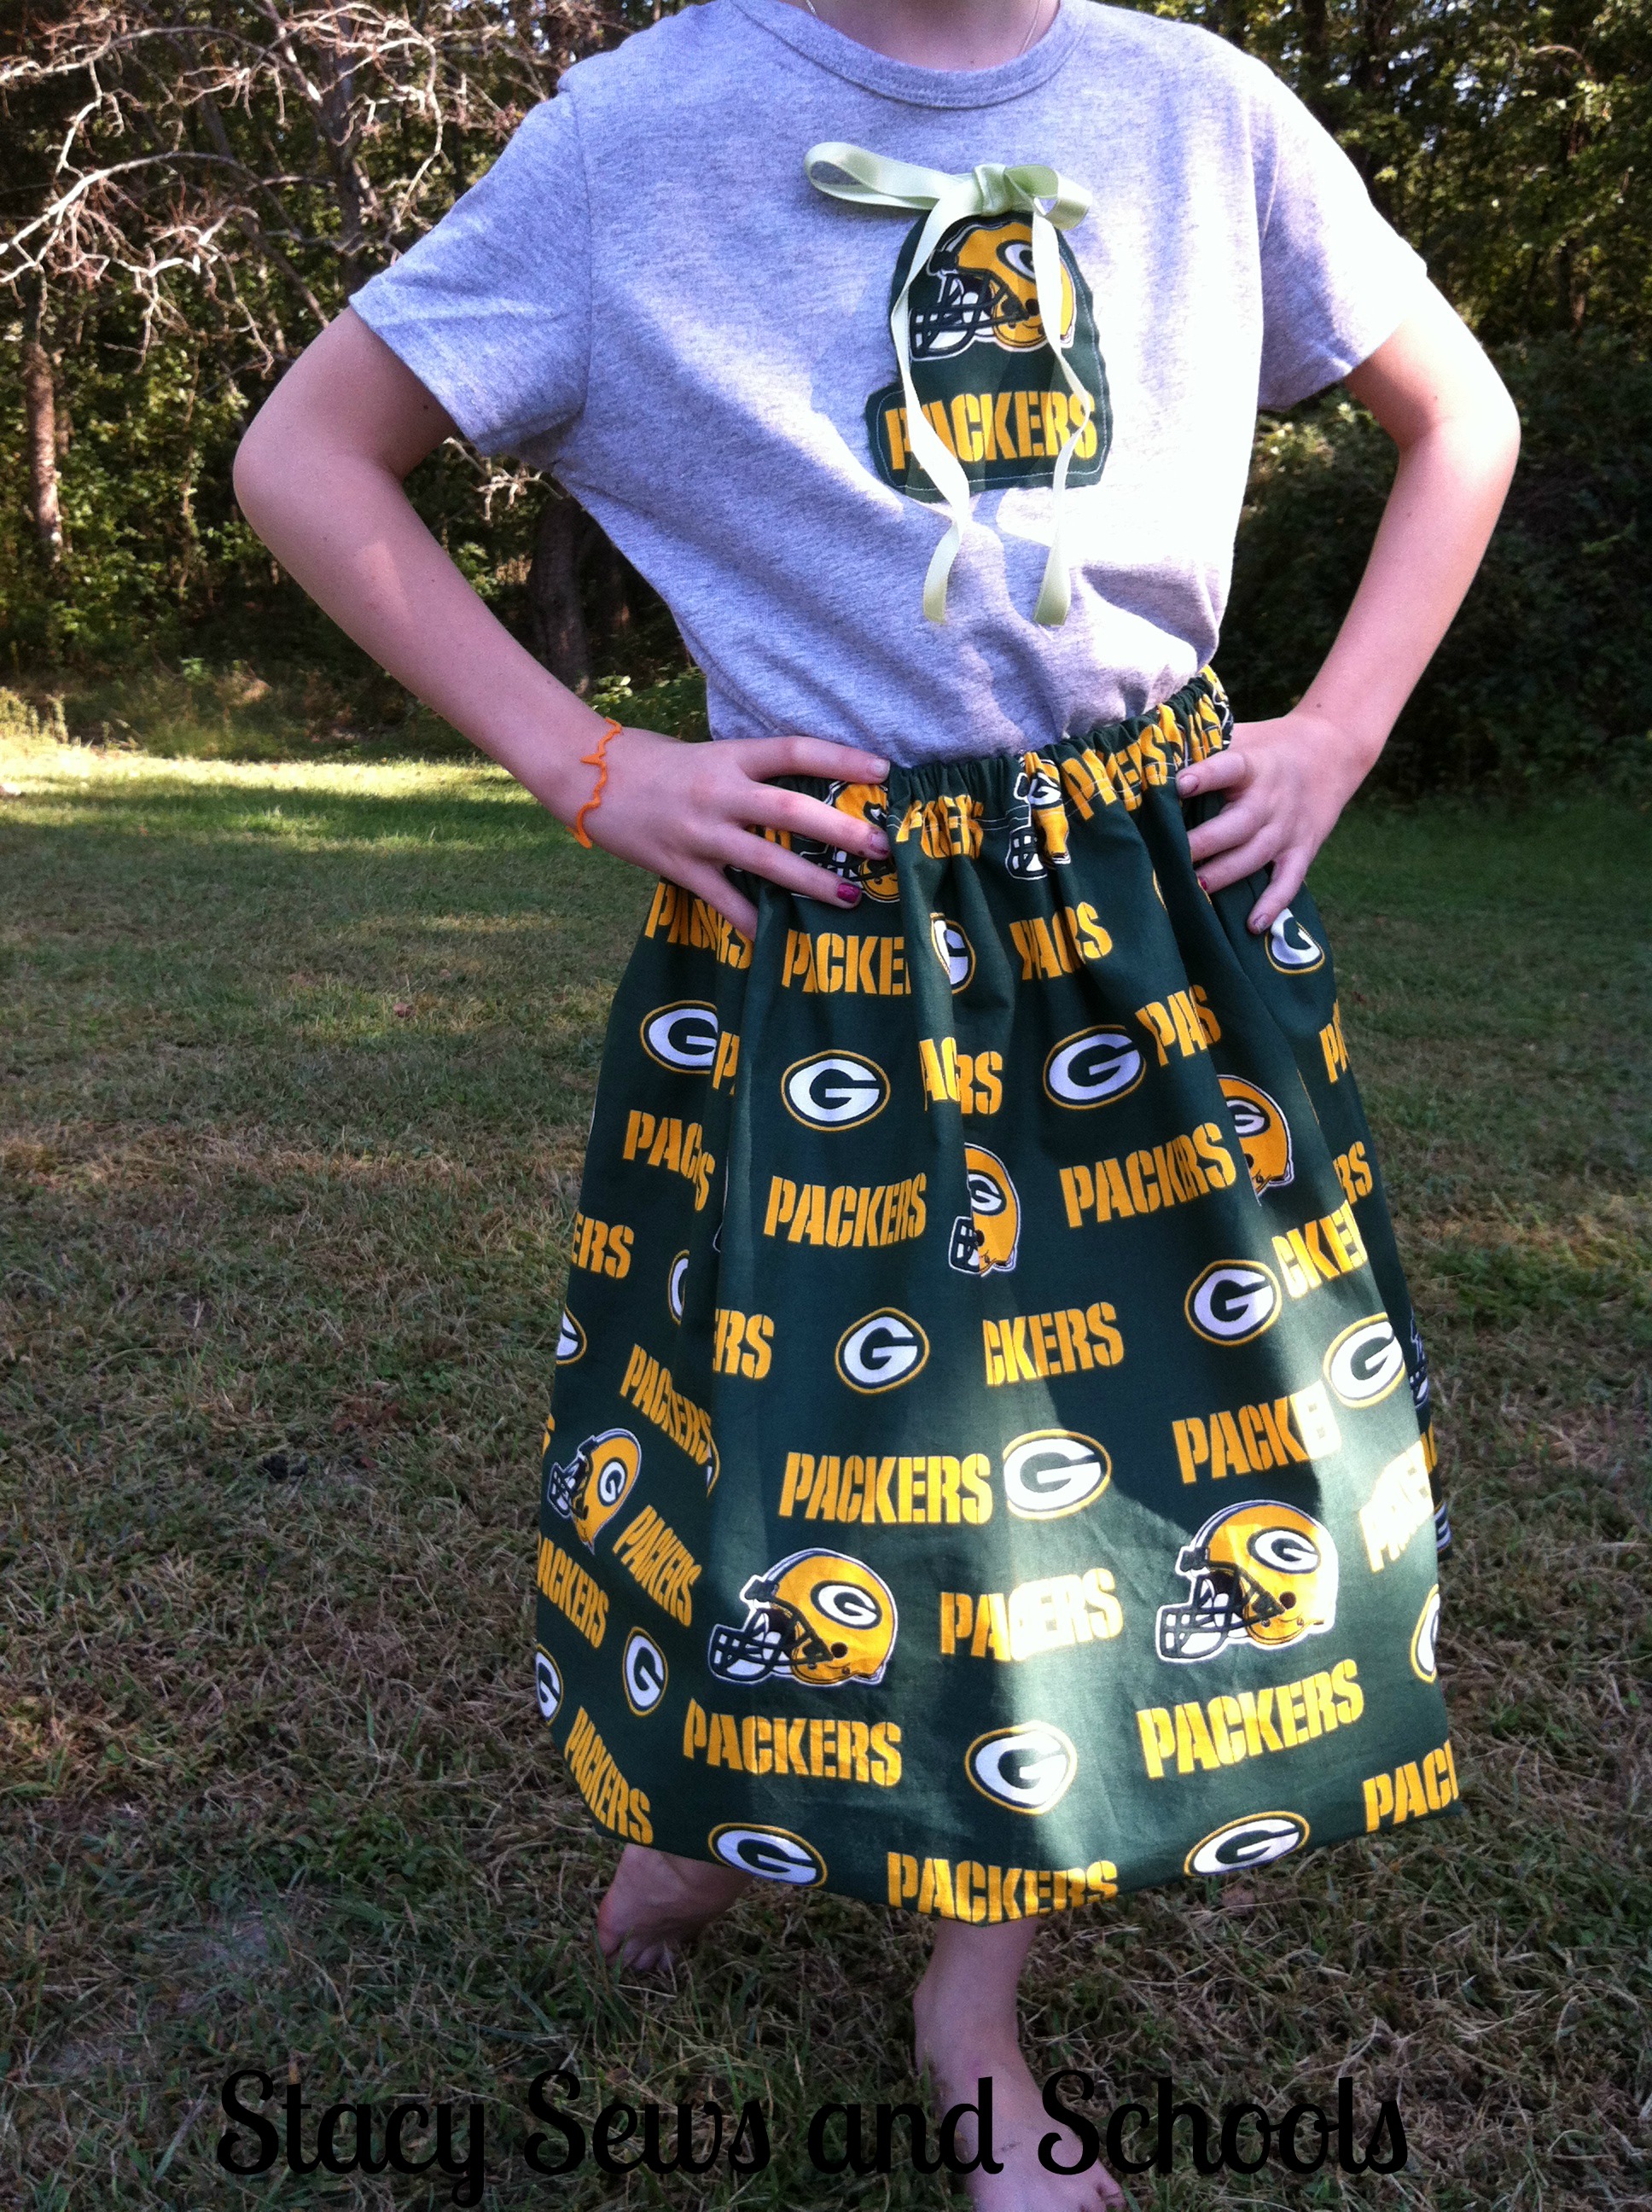
Cheesehead Bubble Skirt Tutorial


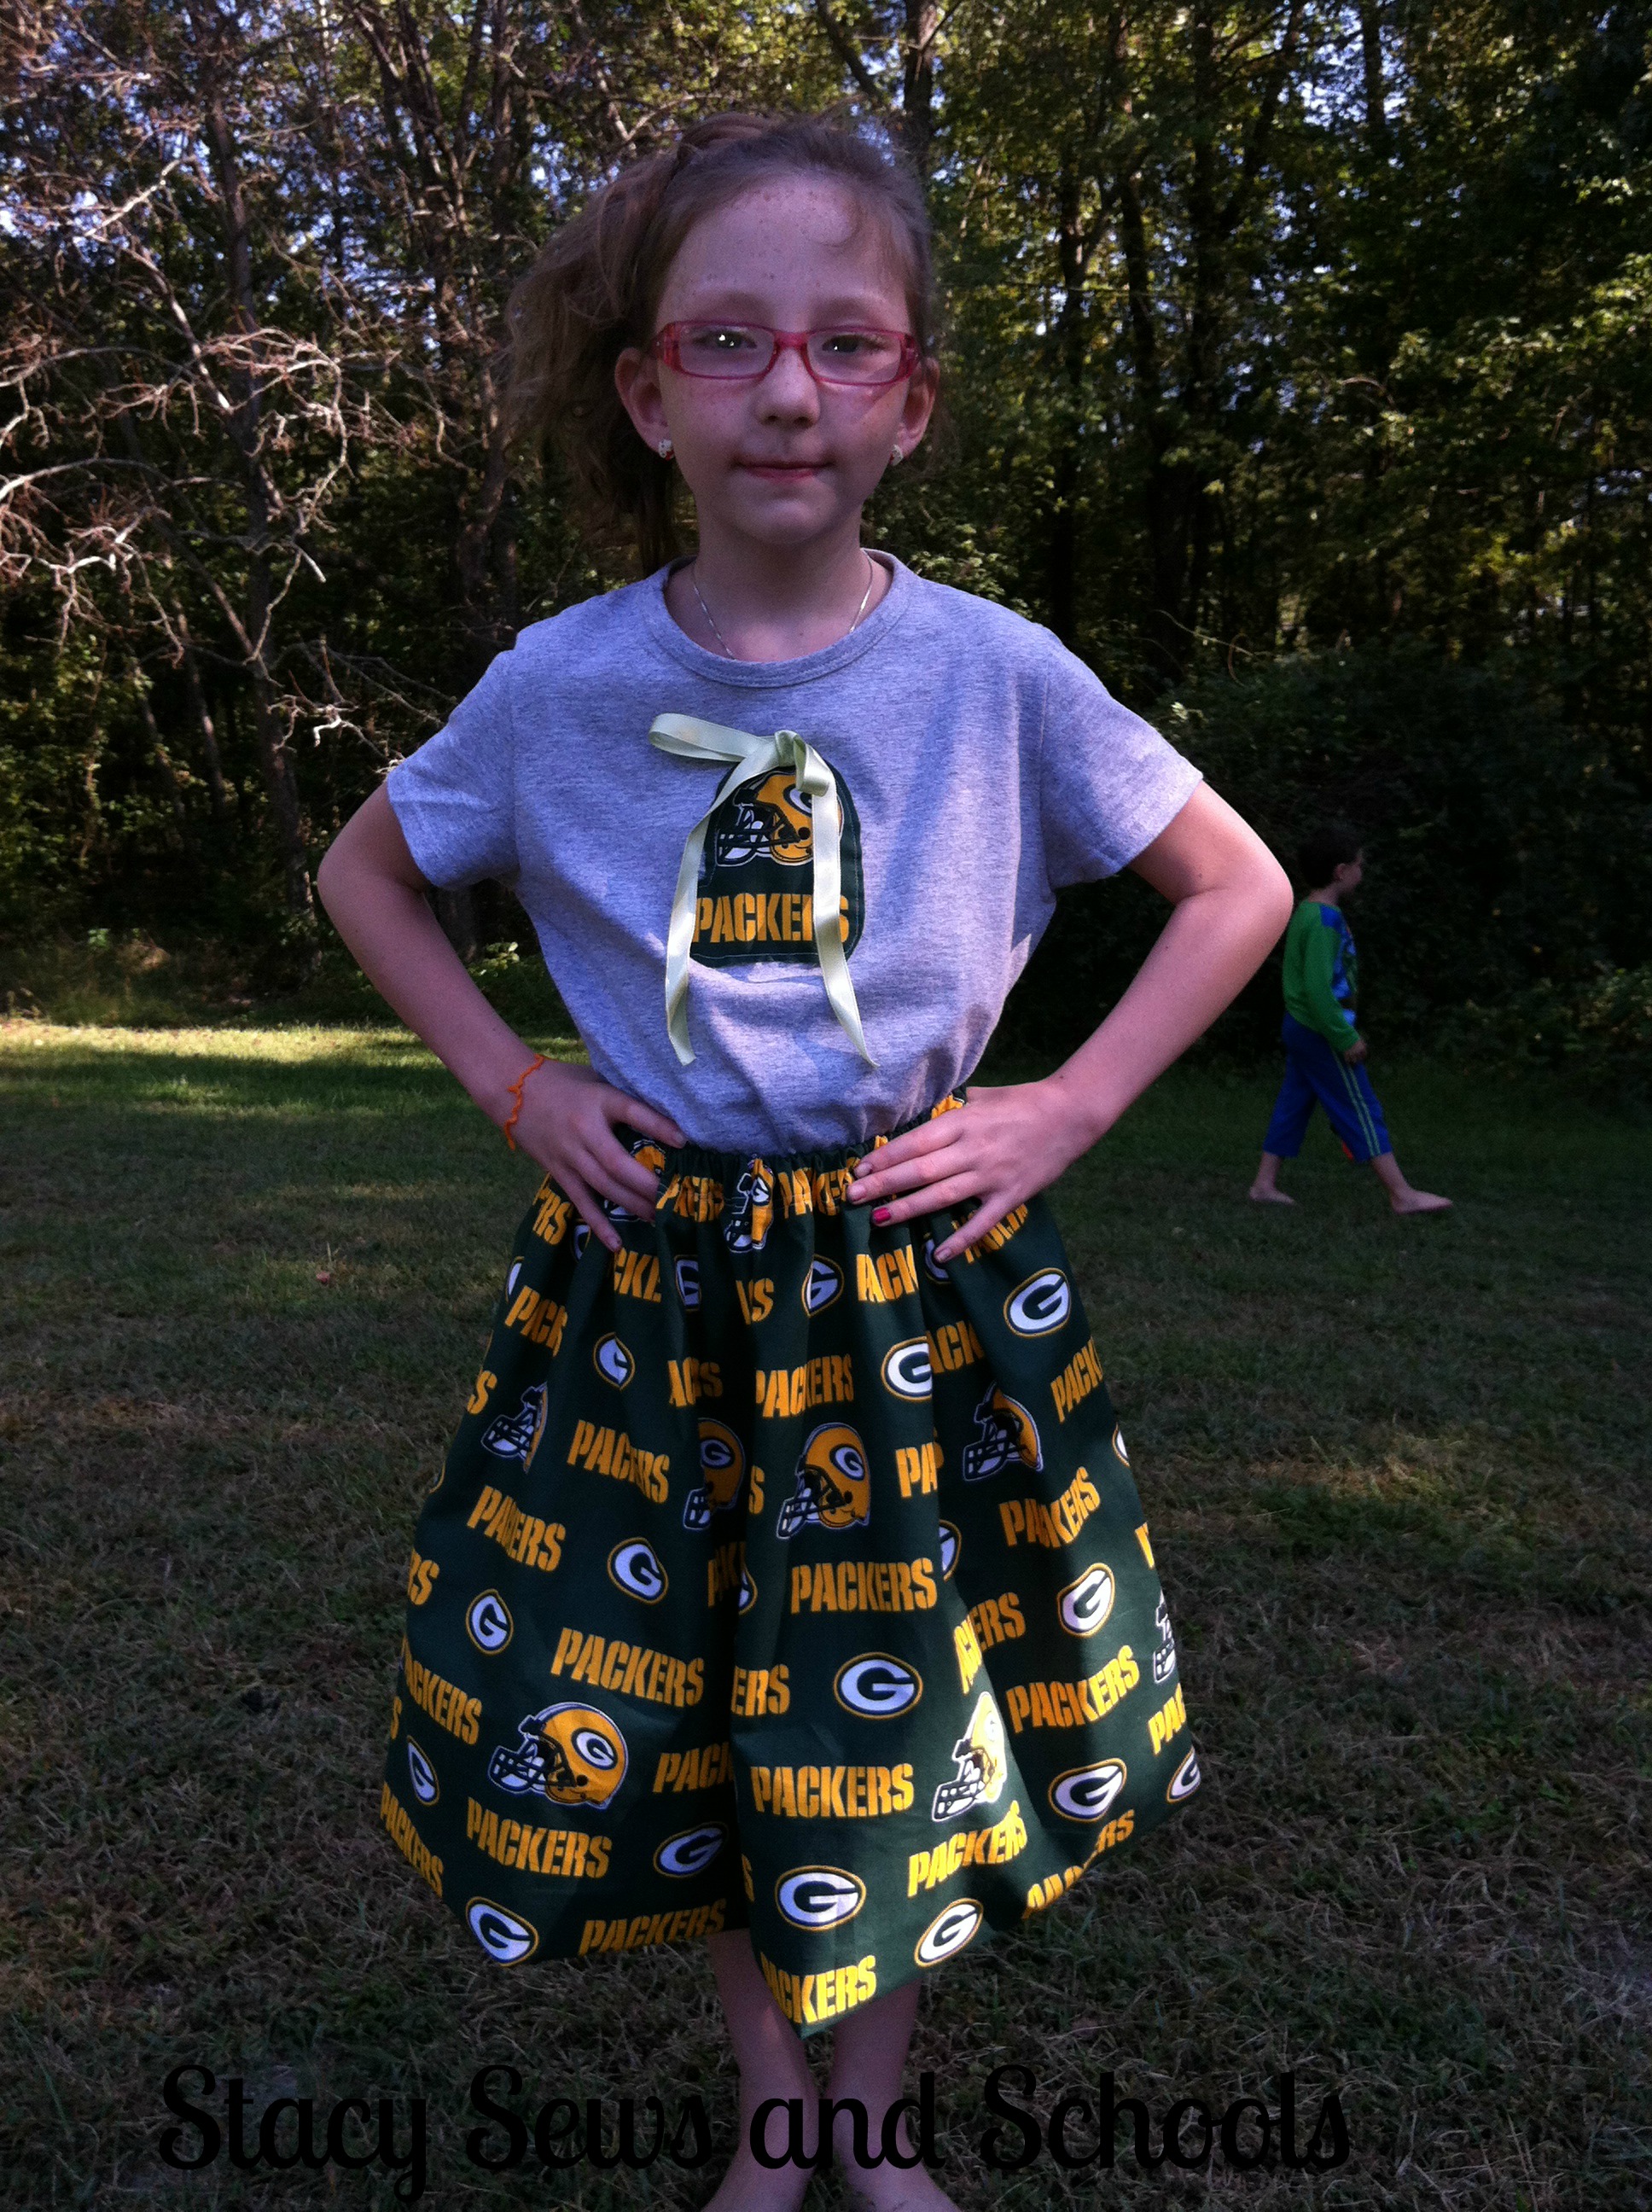
This was a lot faster to make than I thought it would be! LOL It only took a couple of hours for the whole outfit! Gotta love that!!


What I Used-

1 piece of main fabric 54" this way--------- by 26" long (waist down)

1 piece of lining fabric 54" this way--------- by 13" long

1" elastic

1 t-shirt

1 piece of ribbon


Step 1-


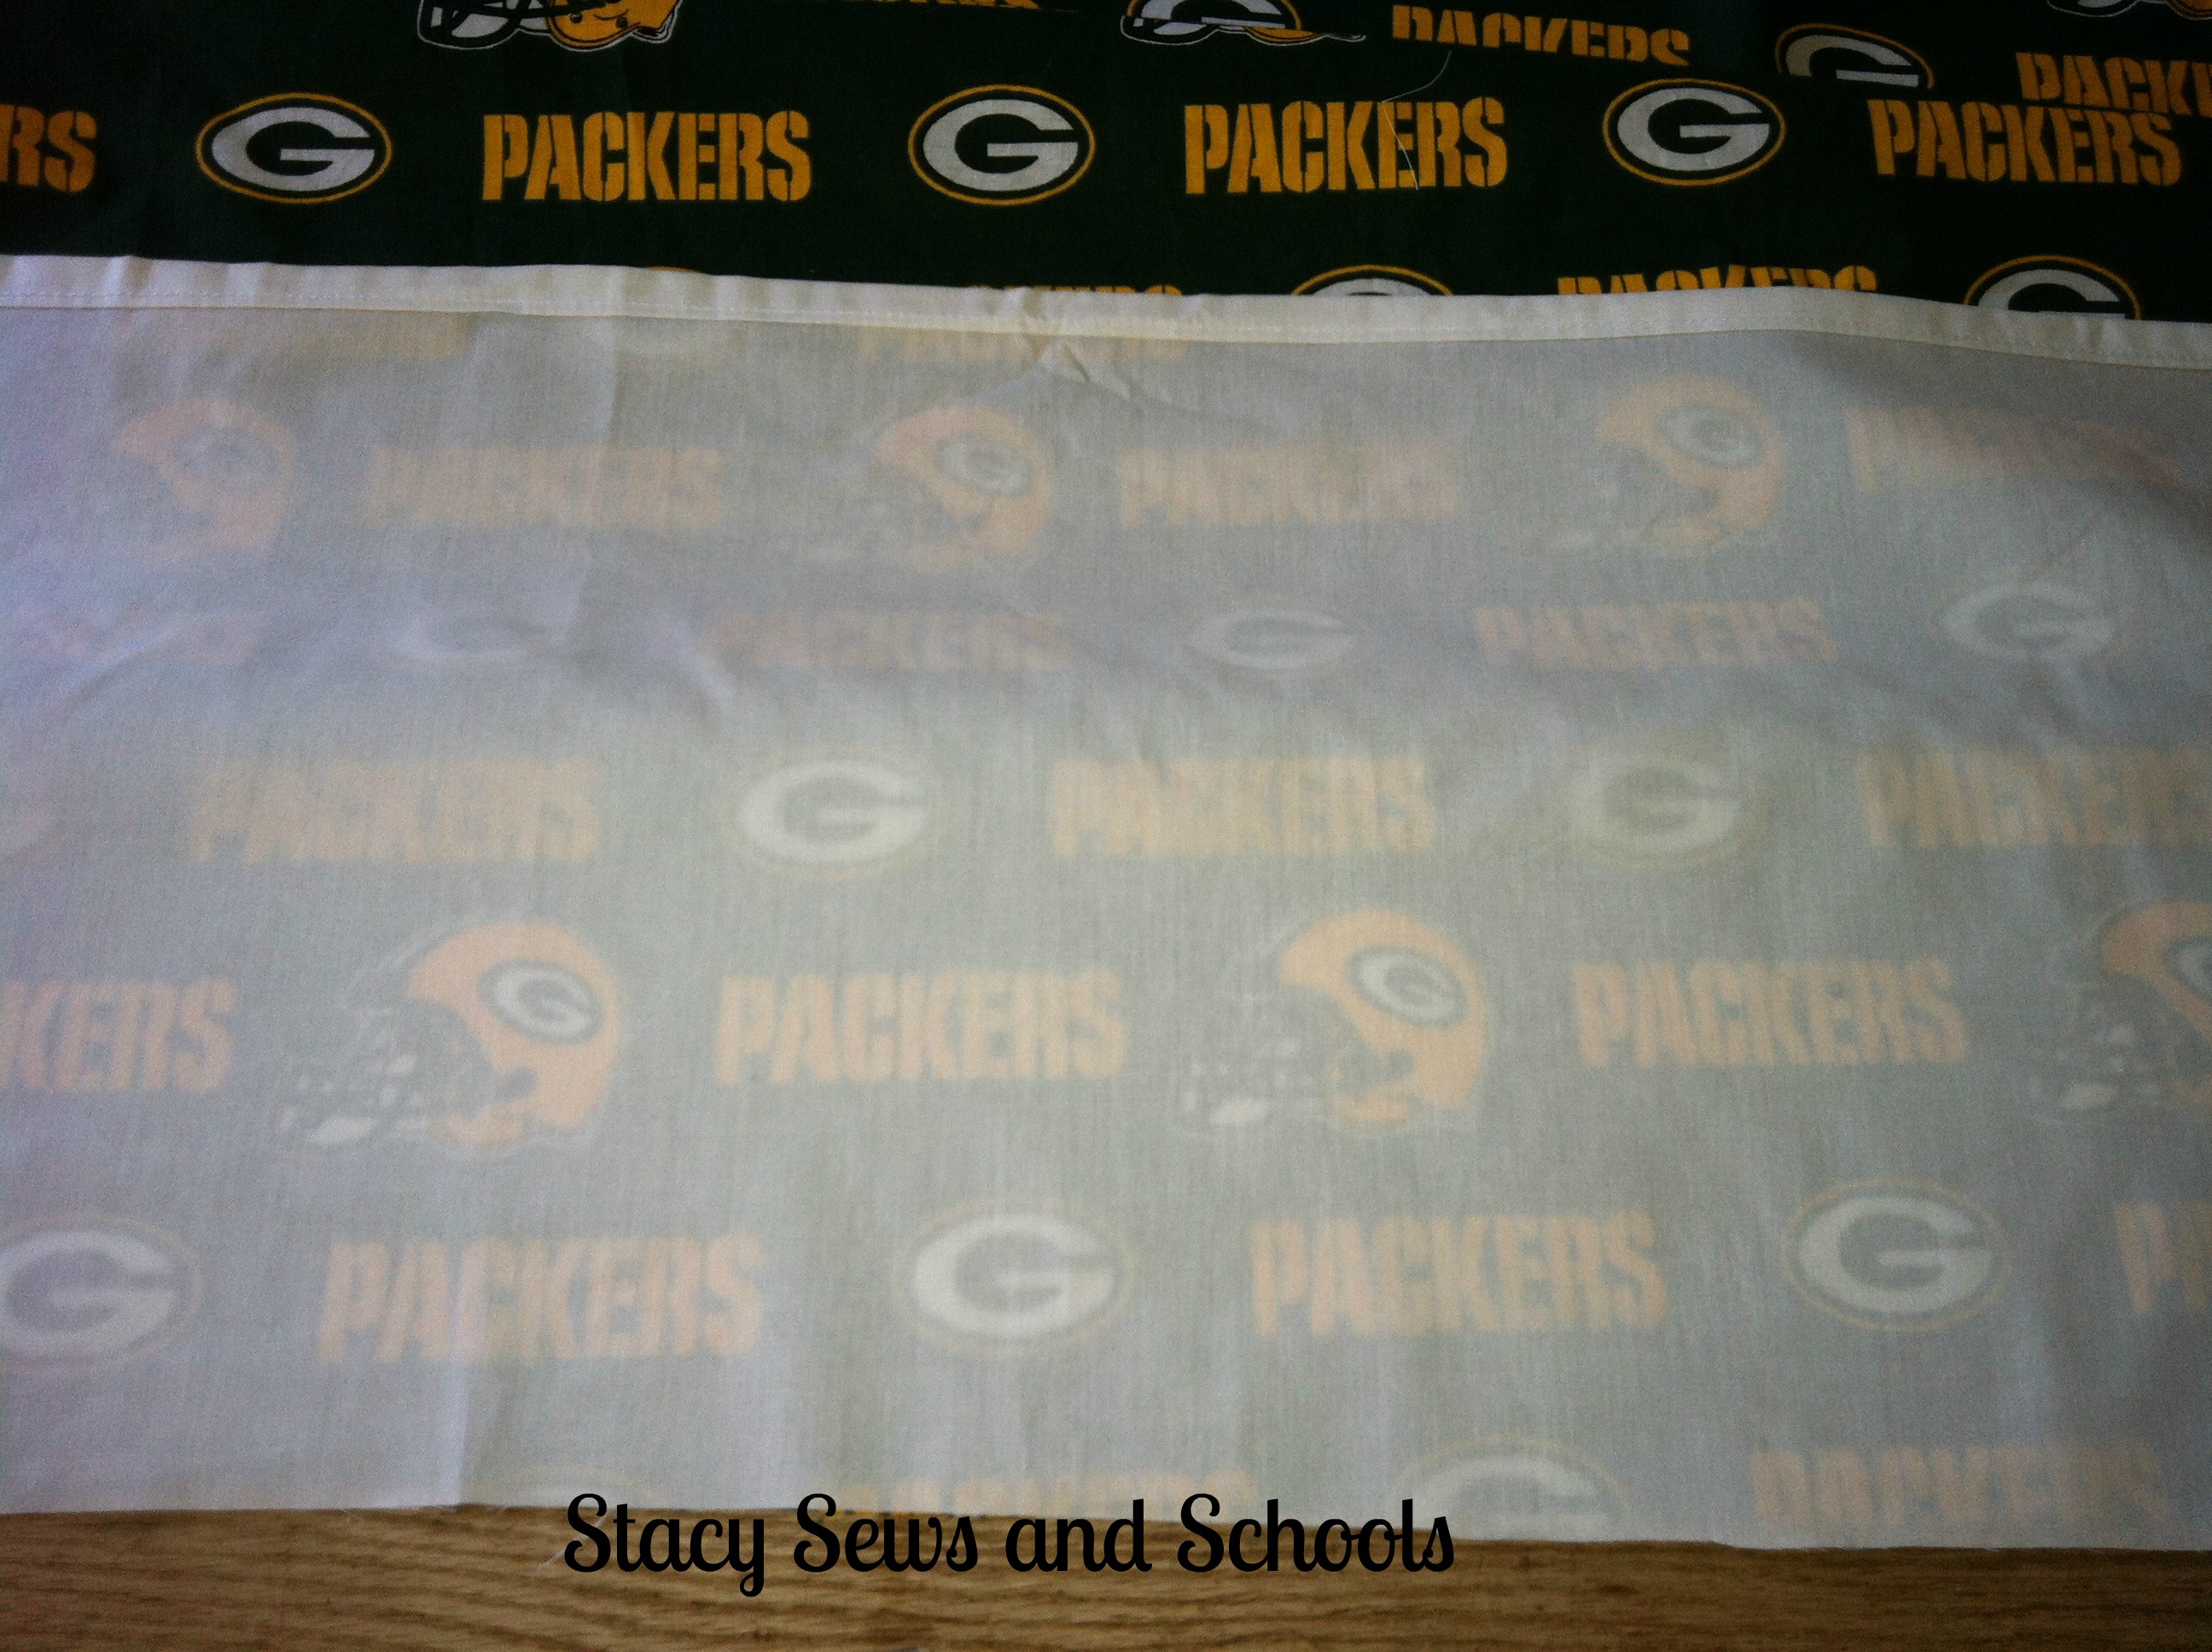
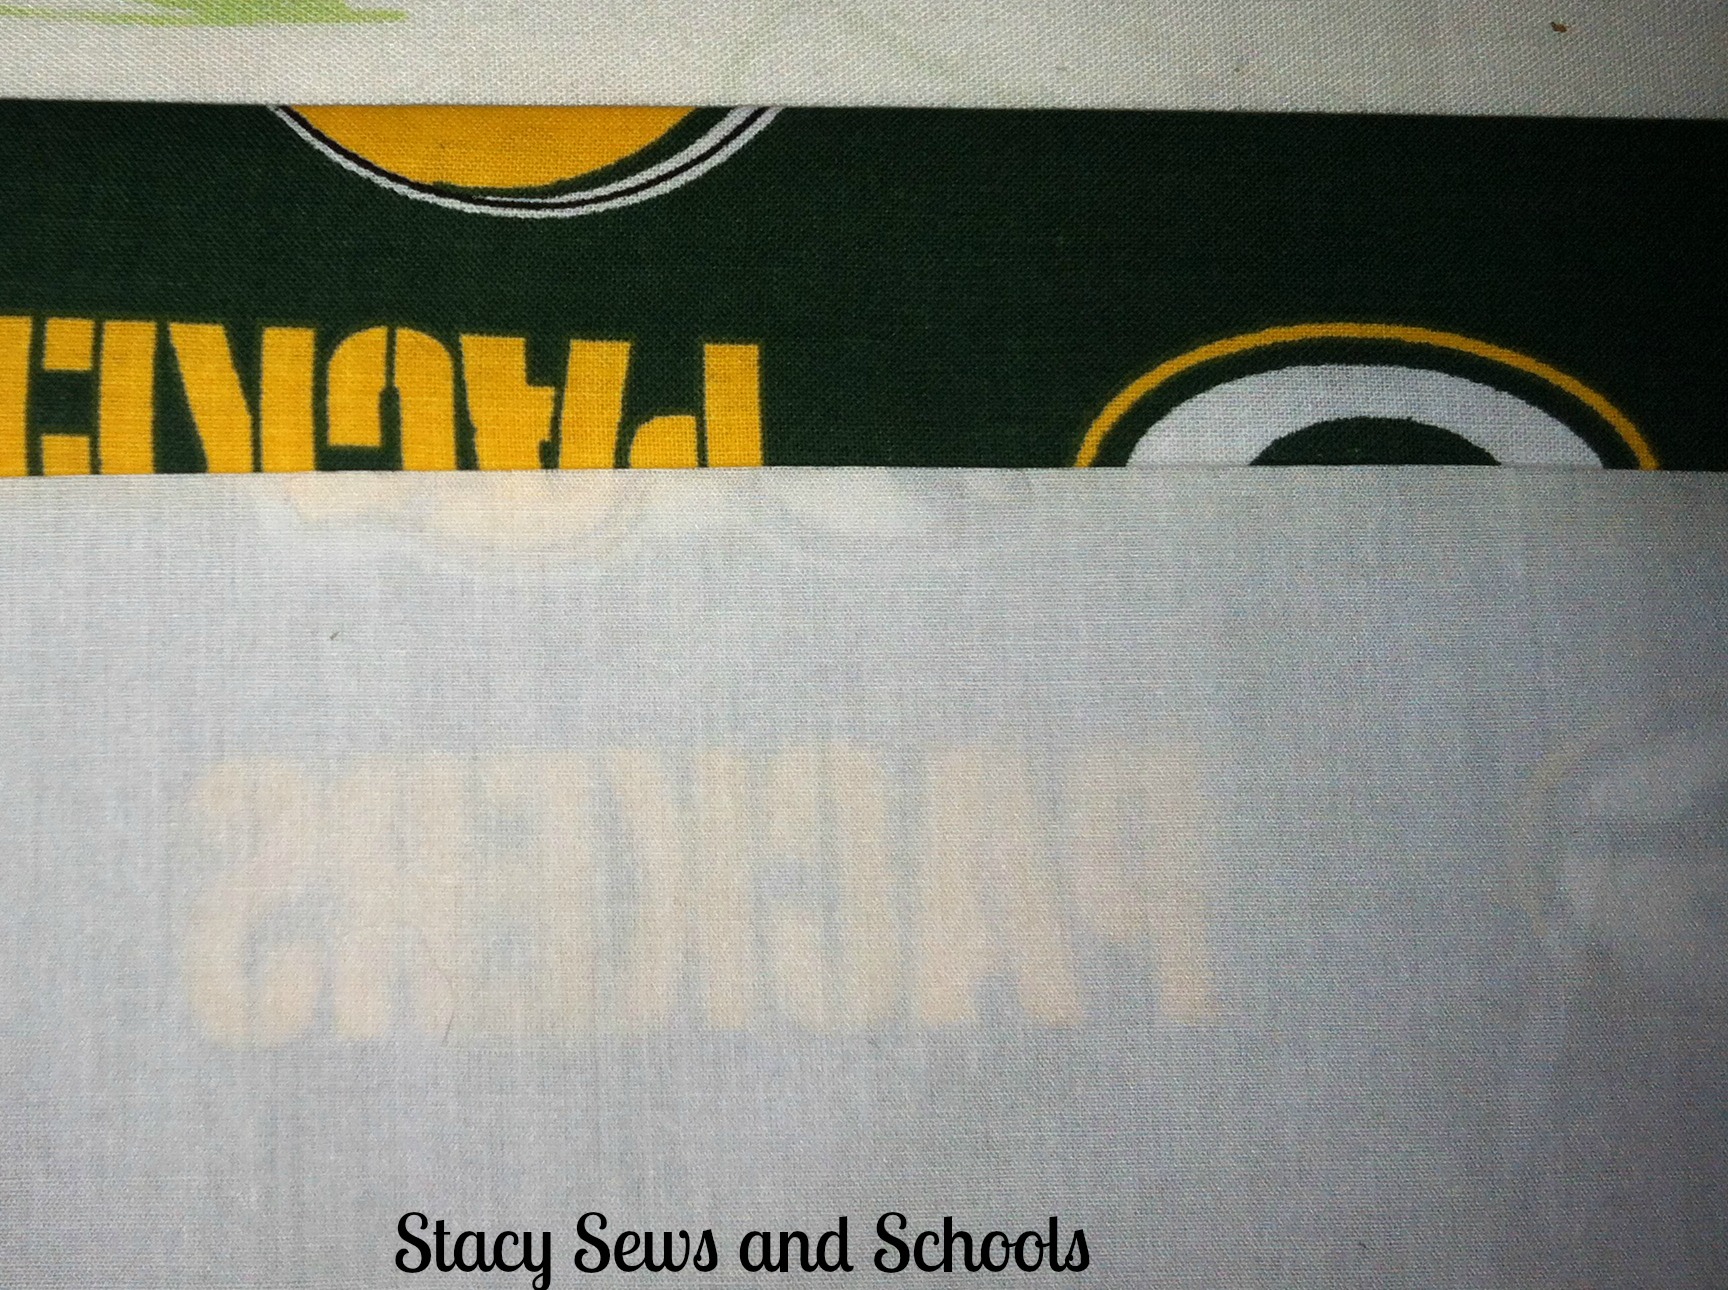
Place your lining and main fabric right sides together with bottom ends together. Pin, sew seam and press!


Step 2-


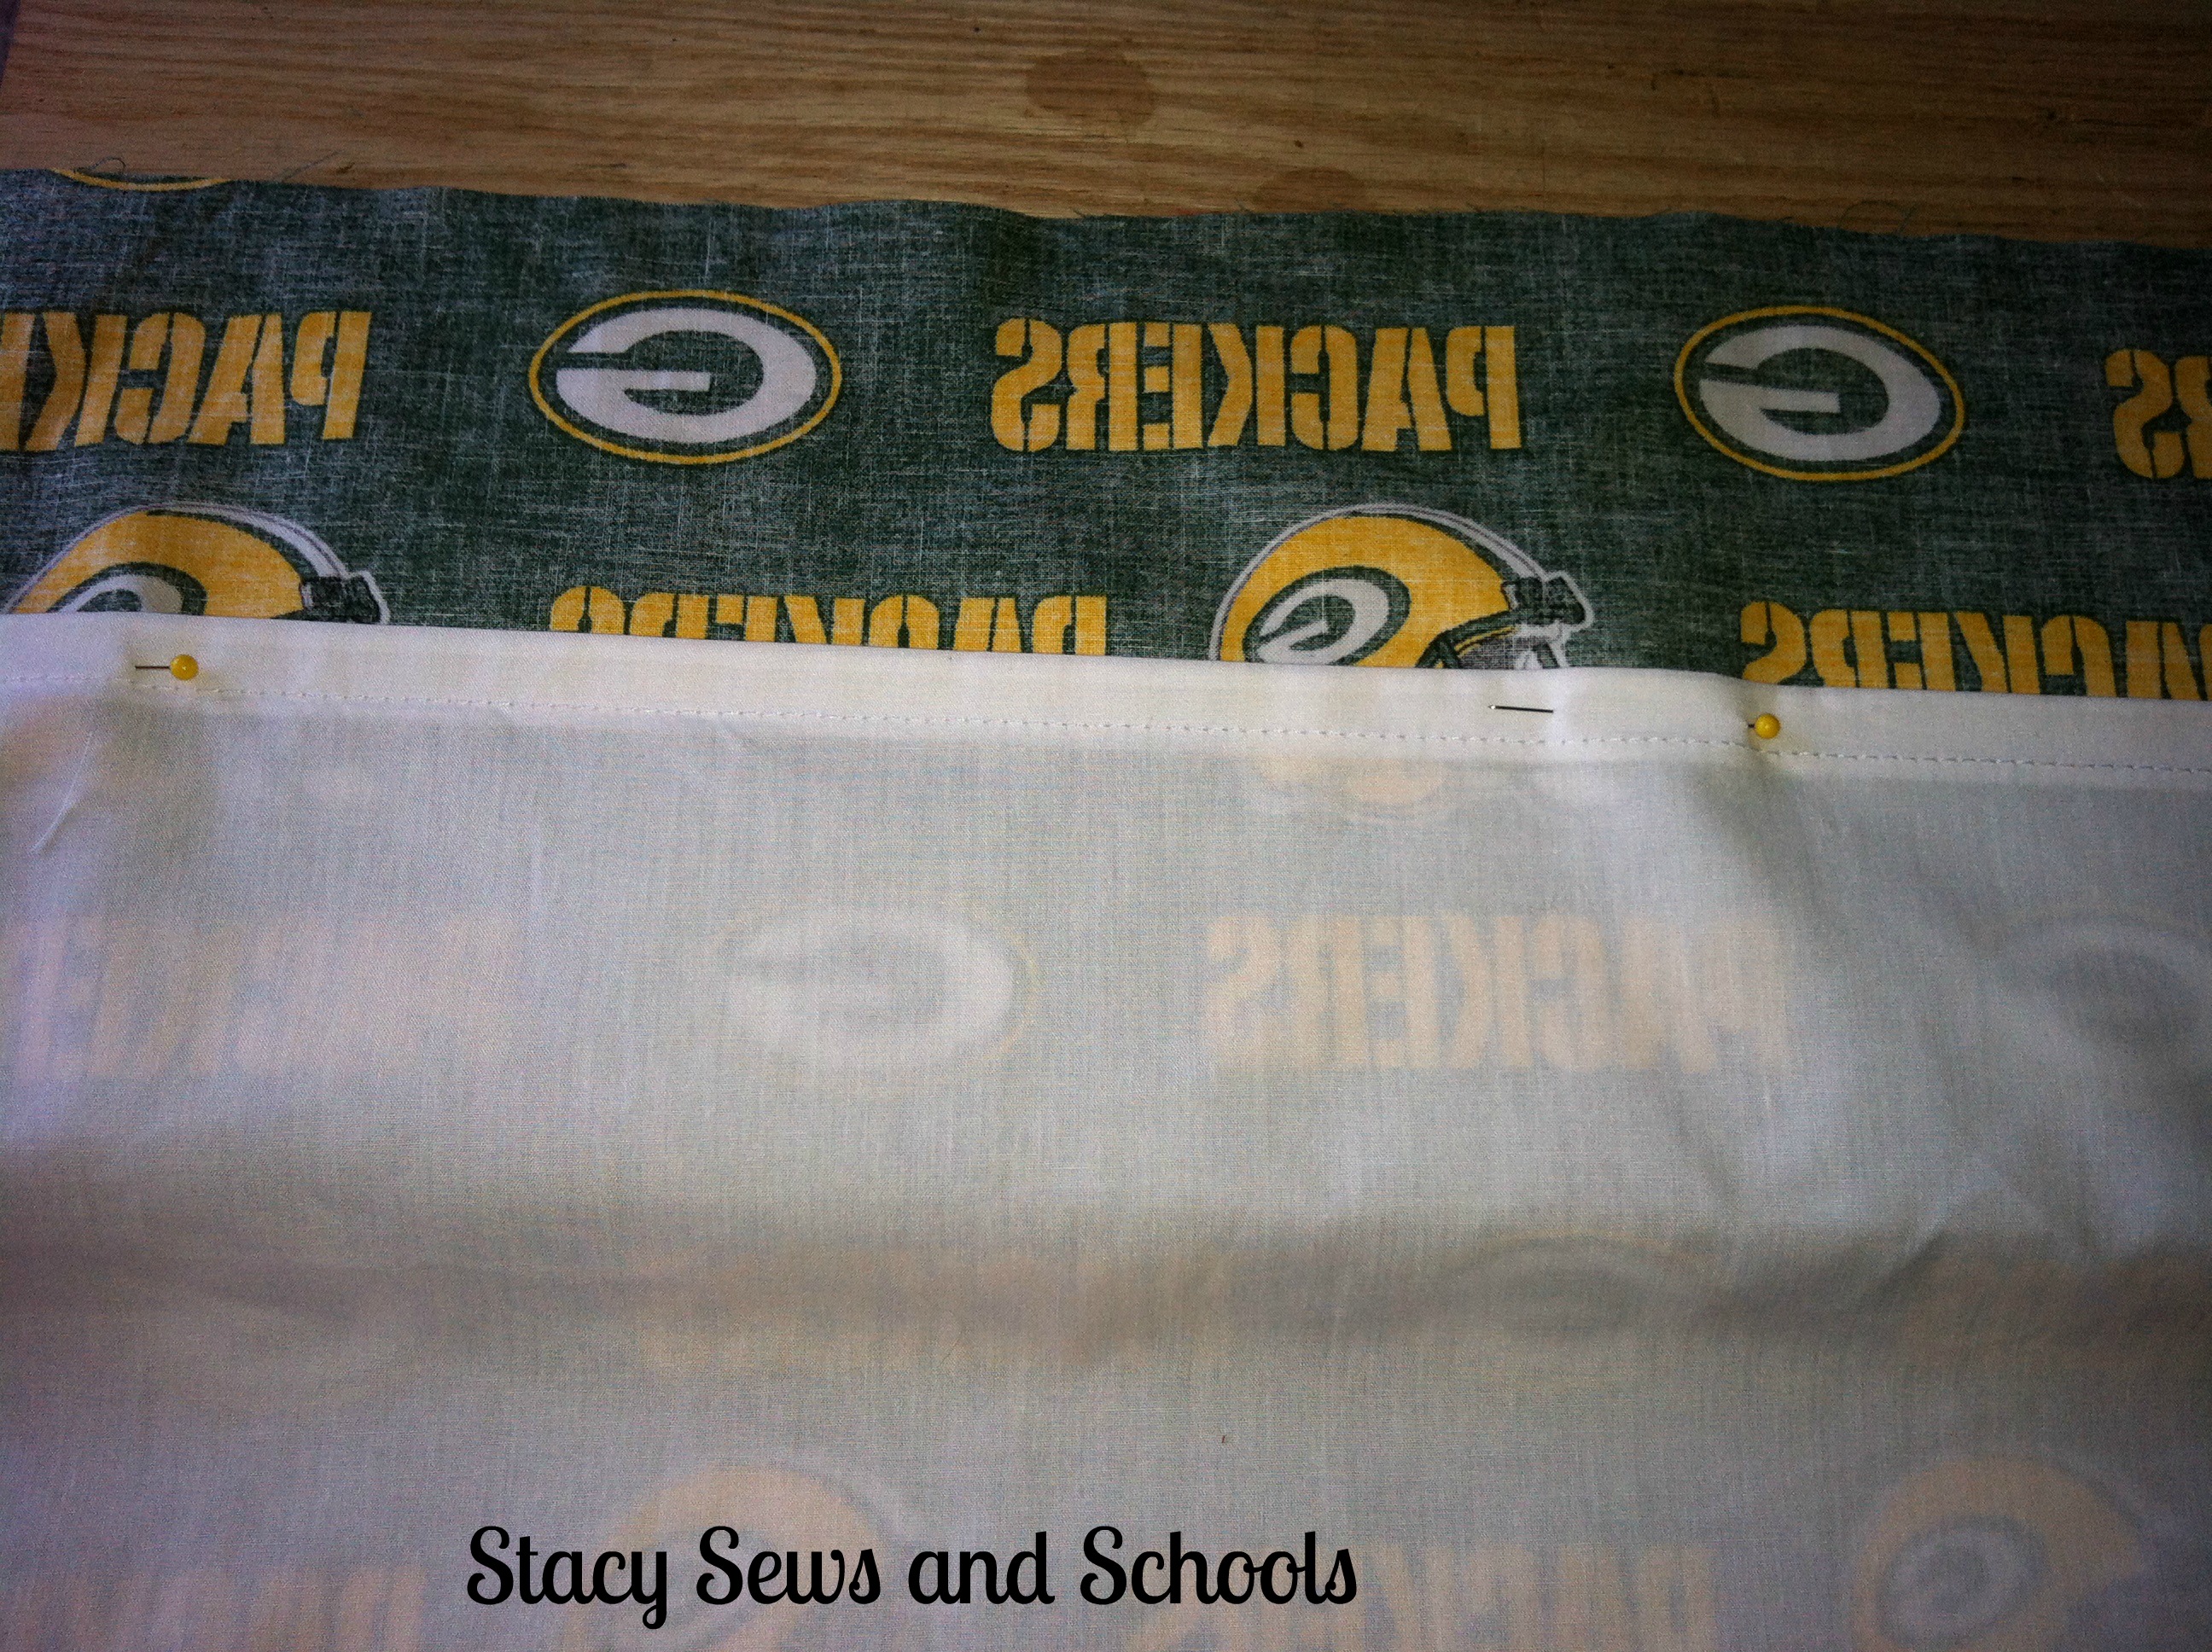
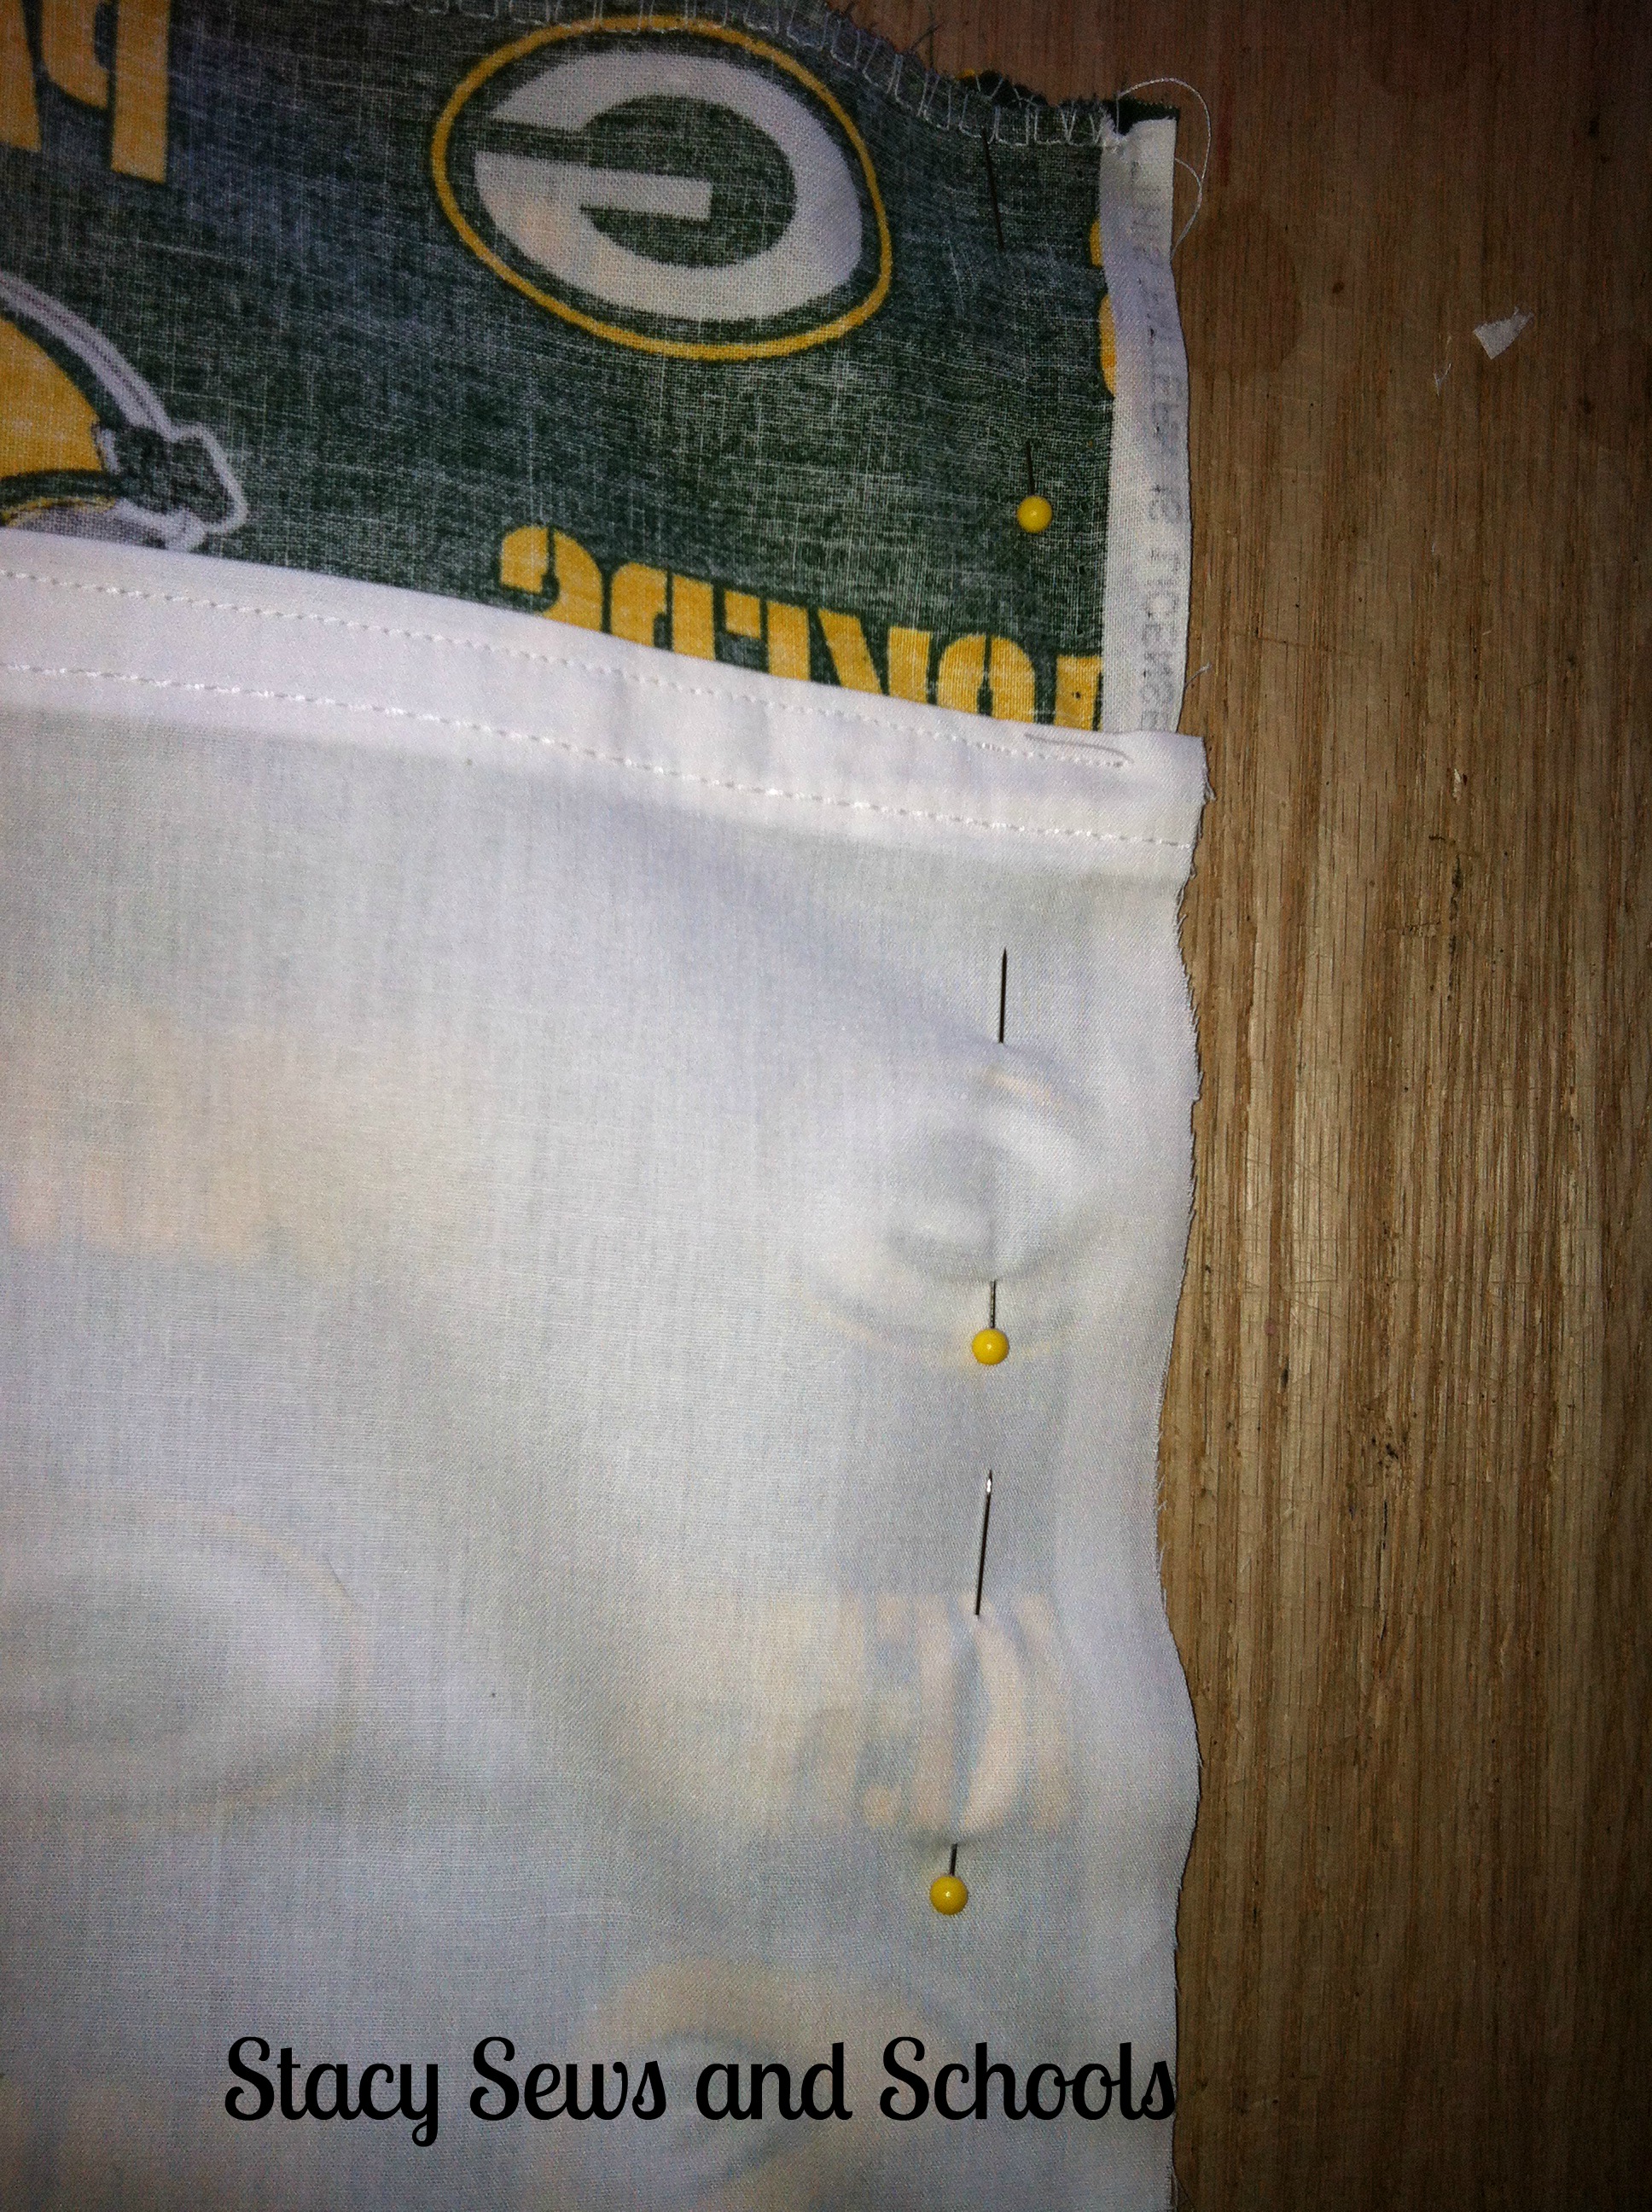
Flip the fabric over, pinning the lining 3" from the top of the WRONG side of the main fabric. Straight stitch together. If you have raw edges on your lining, run a finishing stitch across the edge first.  Press!


Step 3-


Finish the edges of the TOP of the main fabric. PRESS!


Step 4-


Pin the sides, right sides together. Sew up the seam. PRESS!


Step 5-


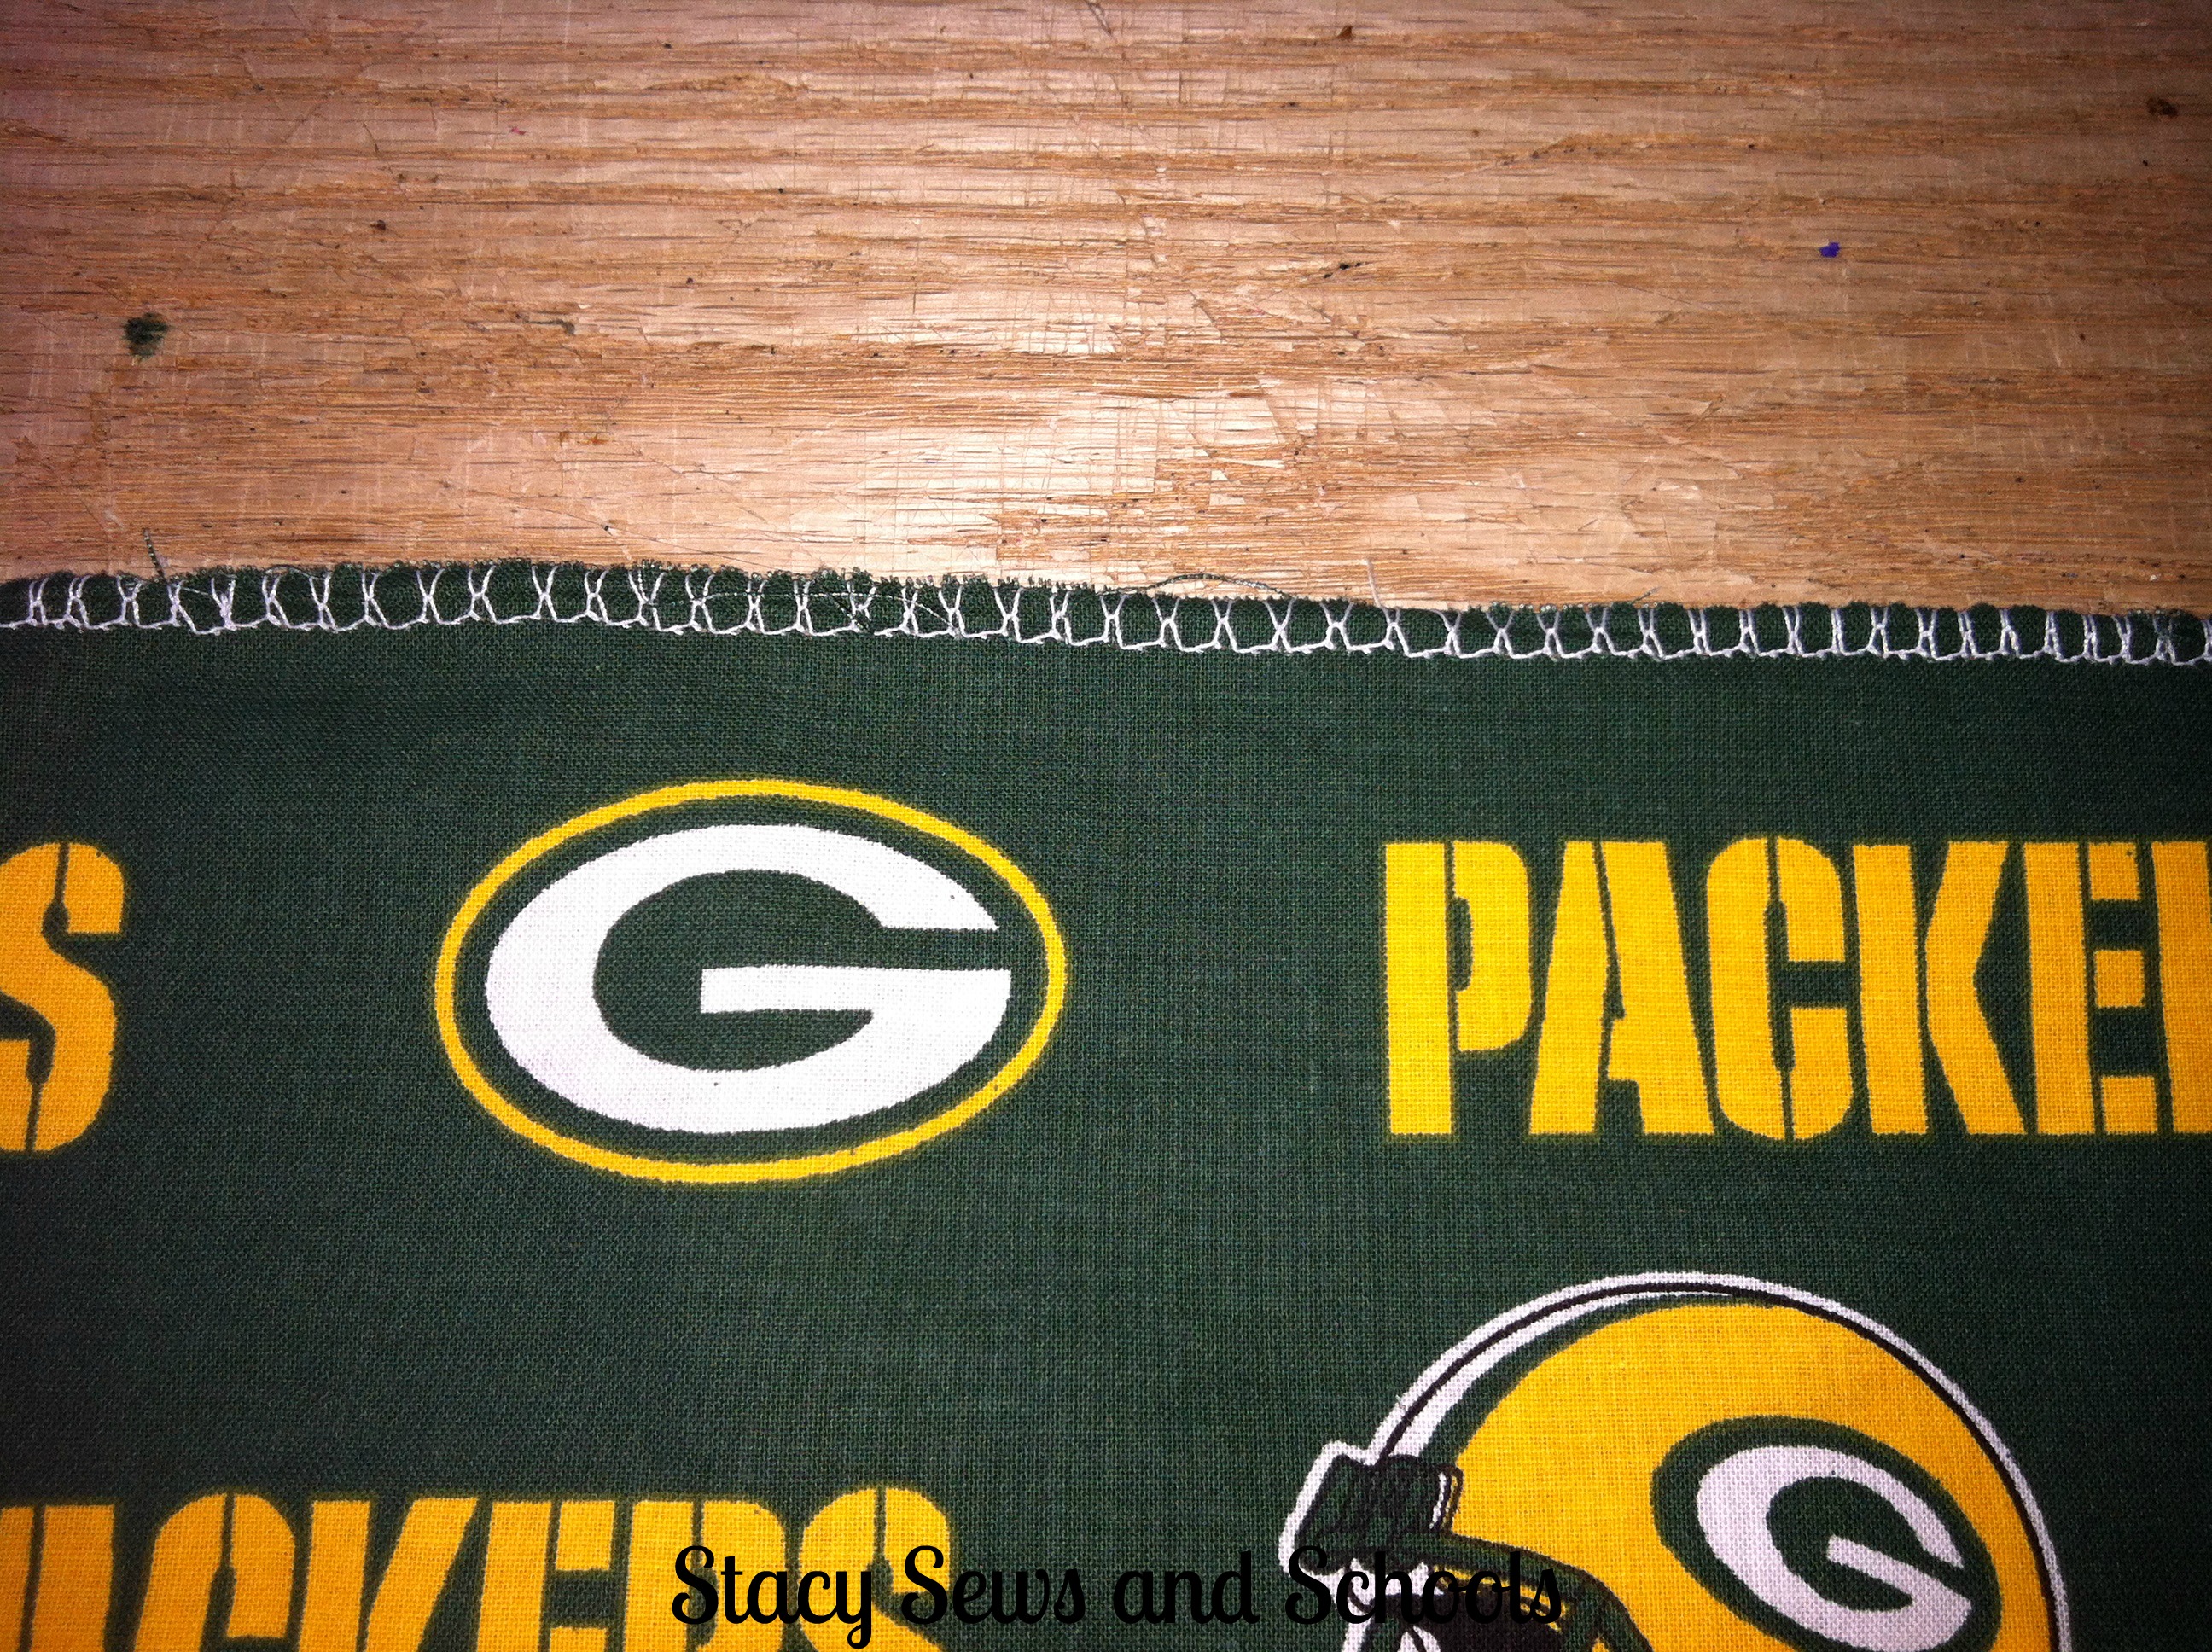
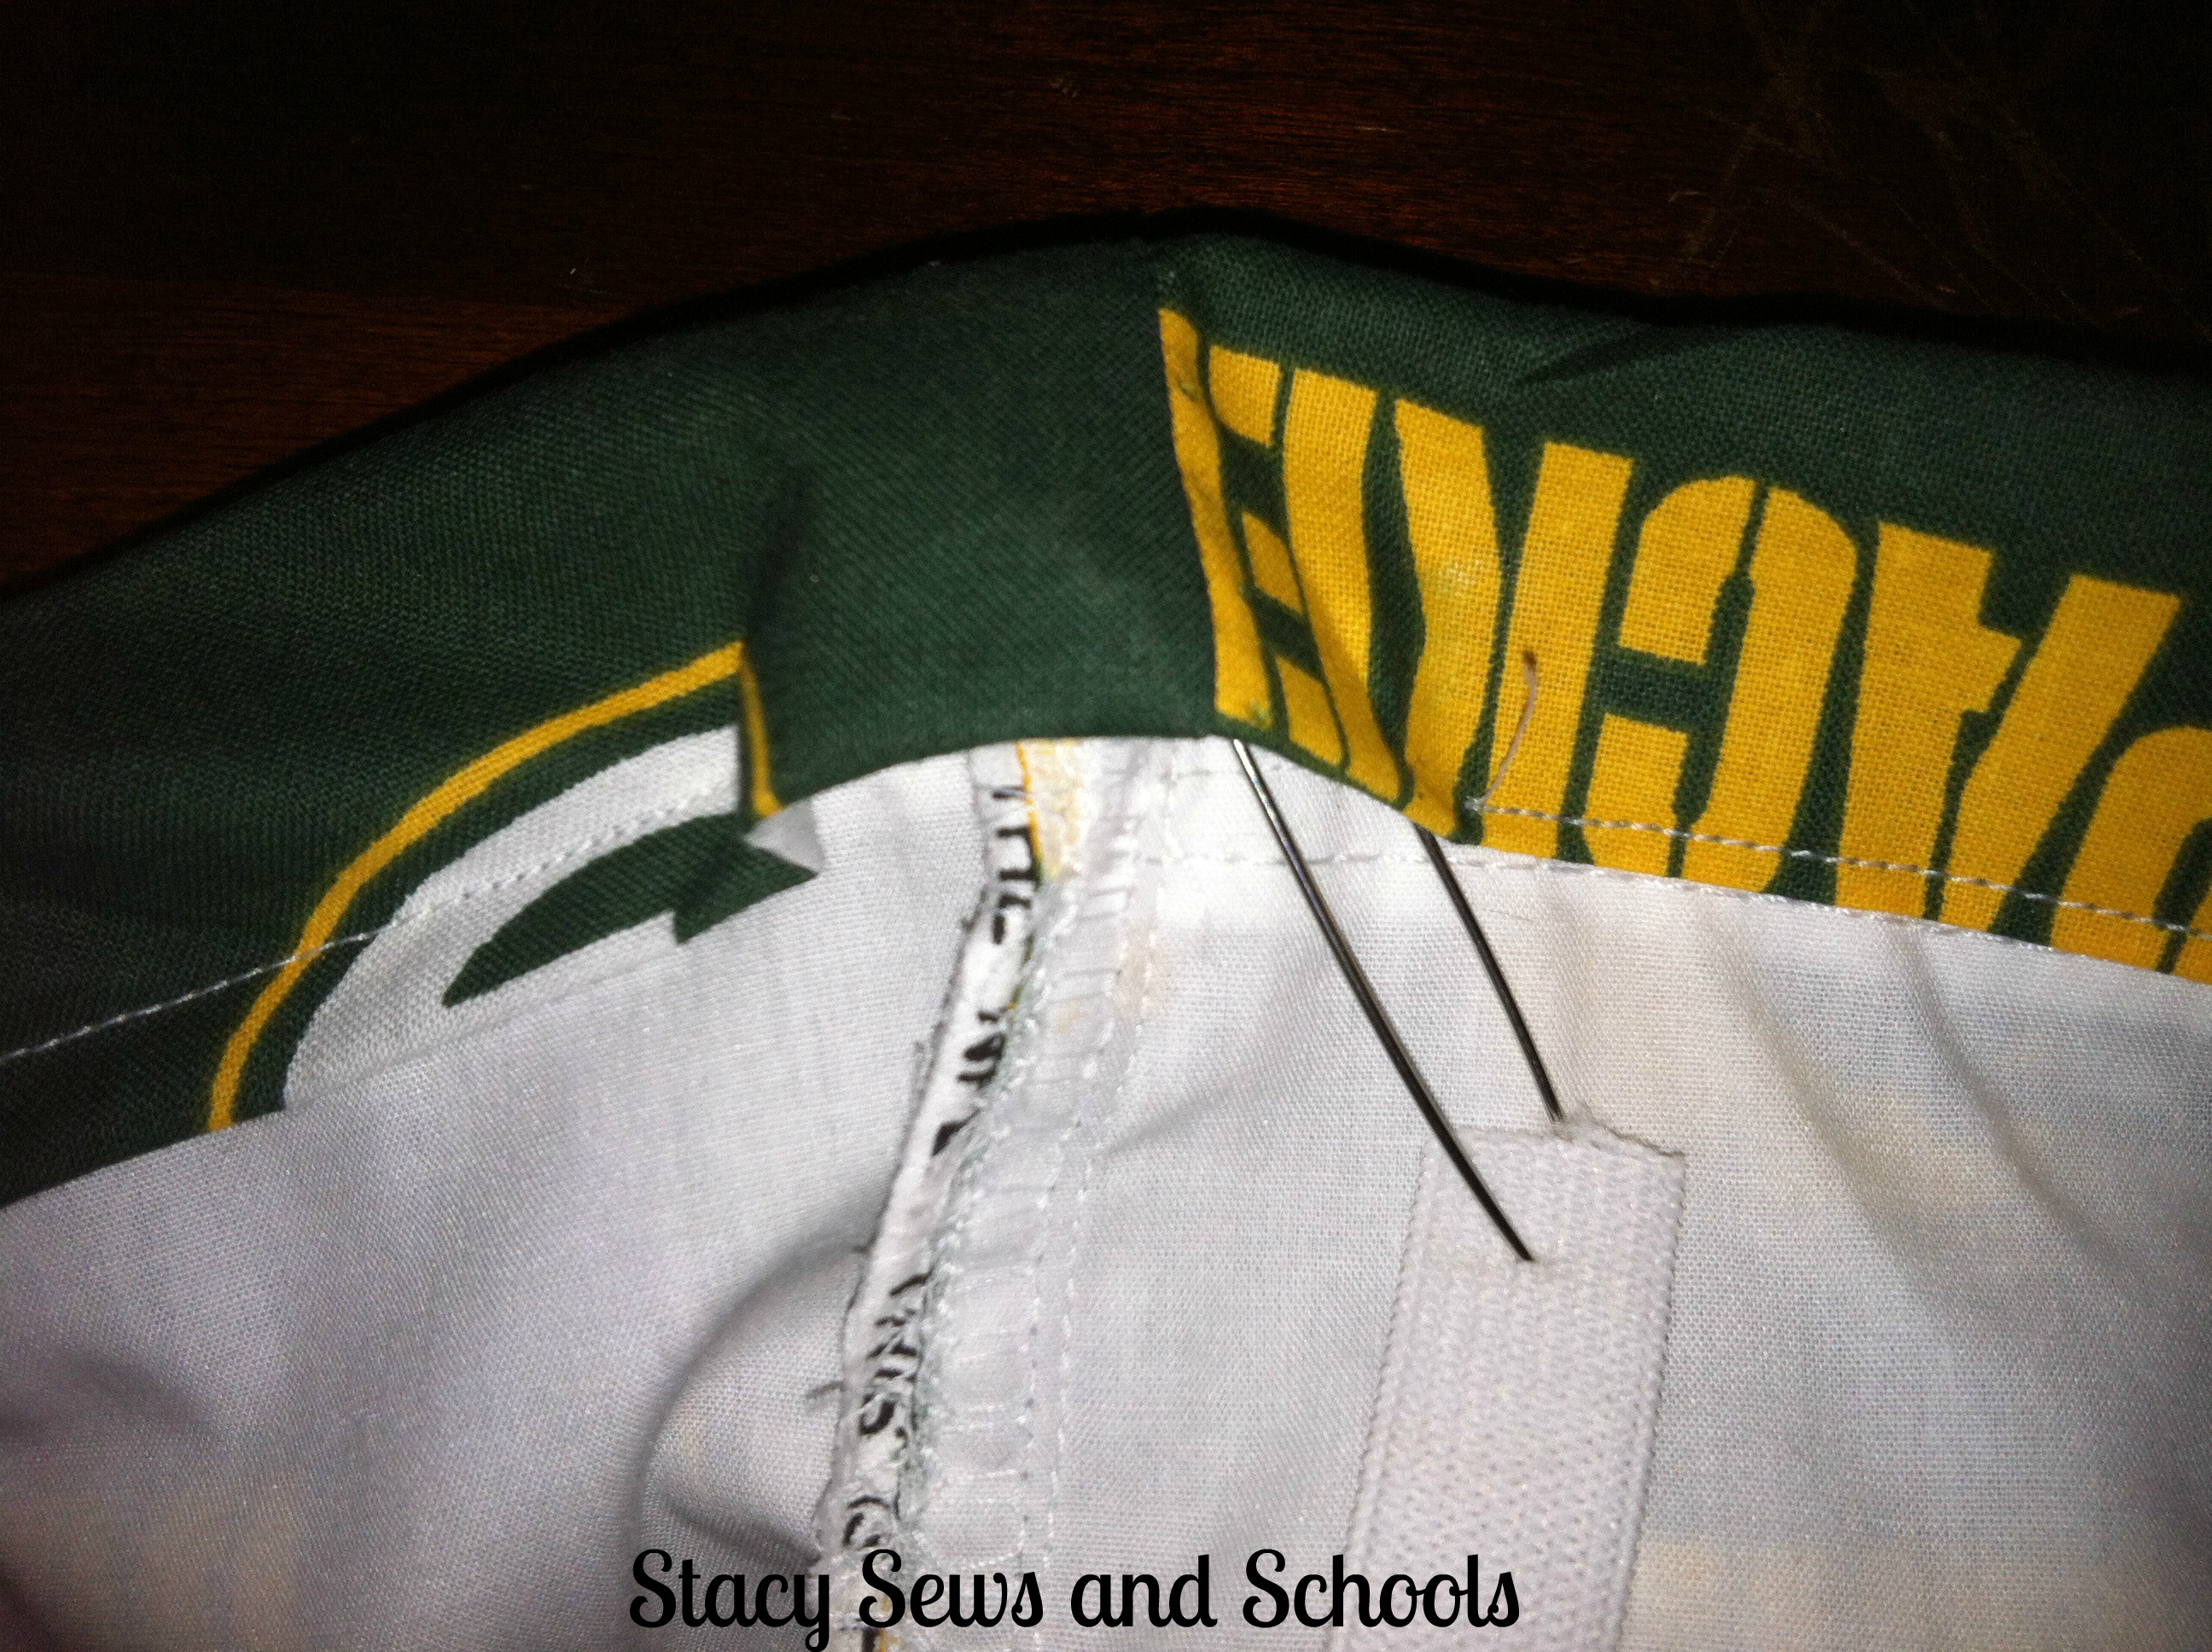
Fold over the top 1 " and press. Fold over 1 1/2", press, pin and sew the elastic casing. Make sure to leave an opening to put the elastic through.


Step 6-


Pin both ends of the elastic and either hold tightly or pin one end.  Insert the elastic into the elastic casing.


Step 7-


Sew the elastic casing closed!


Now the skirt is ALLLL done! On to the matching shirt! :)


Step 1-


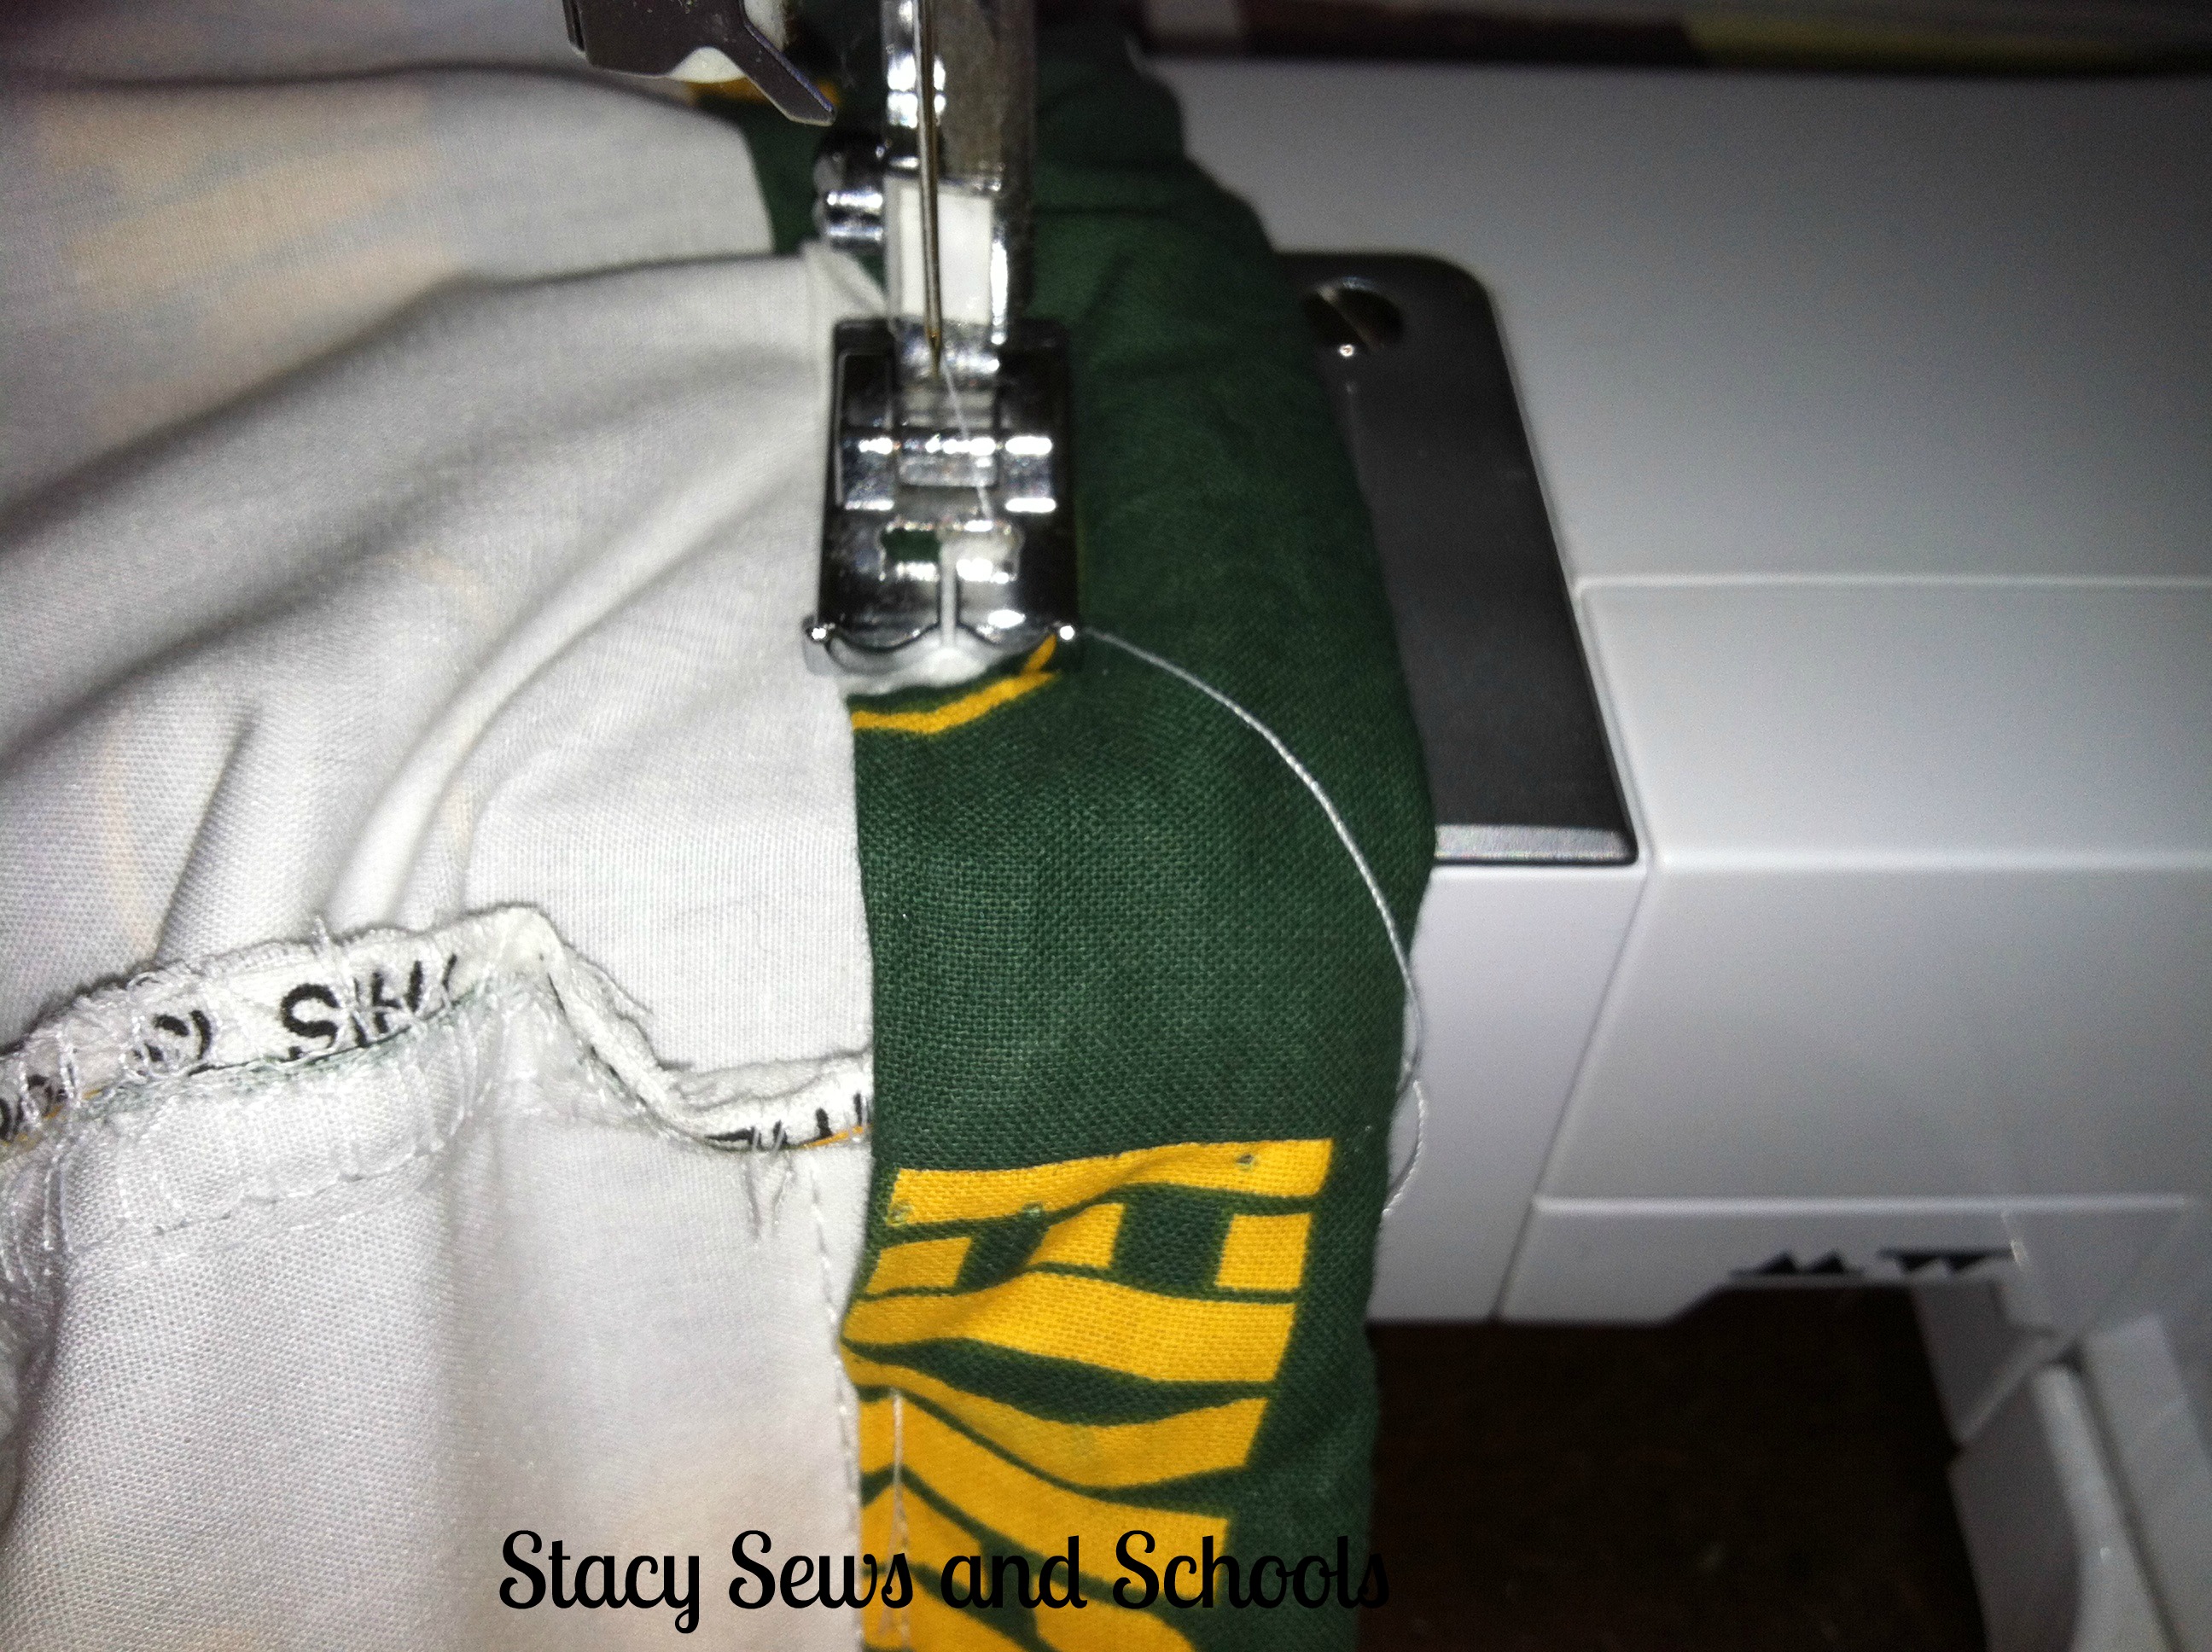
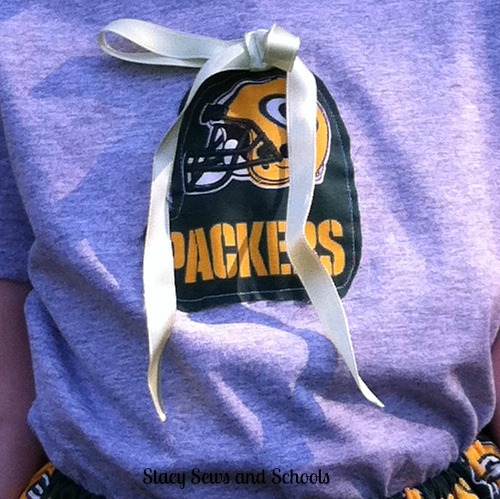
Cut out the part of the fabric that you want to use as an applique. Pin it to the front of your shirt.


Step 2-


Straight stitch around the edges. You can also use a zigzag stitch if you like that better. If you straight stitch it you have some fraying after it's washed. I happen to like the fraying.... LOL

Then I made a little bow from ribbon and stitch it on the shirt in the middle of the bow.


FAST, EASY and CUUUUTE! ;)


As always, let me know what you think. Was it easy to follow? Will you make one??? If you DO, let me know!!! :)


Tomorrow I will start on my first pattern for Squiggly Twigs Designs! I have the PERFECT fabric in mind!!! :)