Showing posts with label leggings. Show all posts

October 7, 2014

Candy Corn Cutie Tutorial


It's that time of year again!! Time to make Cailey a new Halloween outfit!!!

Here are the years past.

Happy Halloween Peasant Dress


Halloween Peasant Dress from last year. SIGH... It's now a tunic. 


This was the Ghostly Giggles Skirt from 2 years ago. 

Bigger SIGH.... It's now knee length. SIGH.... 

She has grown so much in the past 2 years. MAKE IT STOP!!! NOW!!!!! 

WAH!!!!!

At the end of this post is something super special!!! Karen from Baking in a Tornado has a faBOOlous recipe for Candy Corn Bread. OMG!! To die for!!!! 


On to the tutorial!!!

I ALWAYS ask Cailey's opinions on what I am making for her. In this case I asked her about sleeve length, top length and the looseness of the pants. She opted for looser pants over regular leggings. She also opted for long sleeves. 

WHAT I USED

1 yard of white cotton knit (didn't use the whole yard)

1/2 yard of yellow cotton interlock (used the whole thing)

1 1/2 yards of orange poly interlock  (that was the only orange knit I could find)(used most of it) 

3/4" elastic


STEP 1

I used the pattern piece that I made from one of Cailey's shirts and cut the front and back bodice pieces.

Make sure to cut on the fold.

Then I used the same pattern to cut the sleeves. 

Also cut them on the fold. 


STEP 2


Pin the shoulders together and sew the seams.


STEP 3


Lay out the bodice spread out with the right side up. 

Pin in the sleeve and sew the seam. 


STEP 4


Cut the 1/2 yard of yellow in half. 


STEP 5


Run a gathering stitch across the tops of both pieces of yellow.


STEP 6


With right sides together, pin the top of the yellow to the bottom of the white, adjusting gathers as needed. Sew the pieces together.


STEP 7


Turn it inside out and pin all the way up the sides and the sleeves.

Sew the seam.

STEP 8


Cut a piece of white that is about 4" wide and 17" long.
Fold in half and press. 


STEP 9 


With right sides together, pin the collar.

Sew the seam.

If you want you can go back and stitch in the ditch.


STEP 10


Instead of a normal hem, I did a zigzag stitch across the bottom of the top and the sleeves. If you pull slightly as you stitch it will give you a lettuce edge.


STEP 11


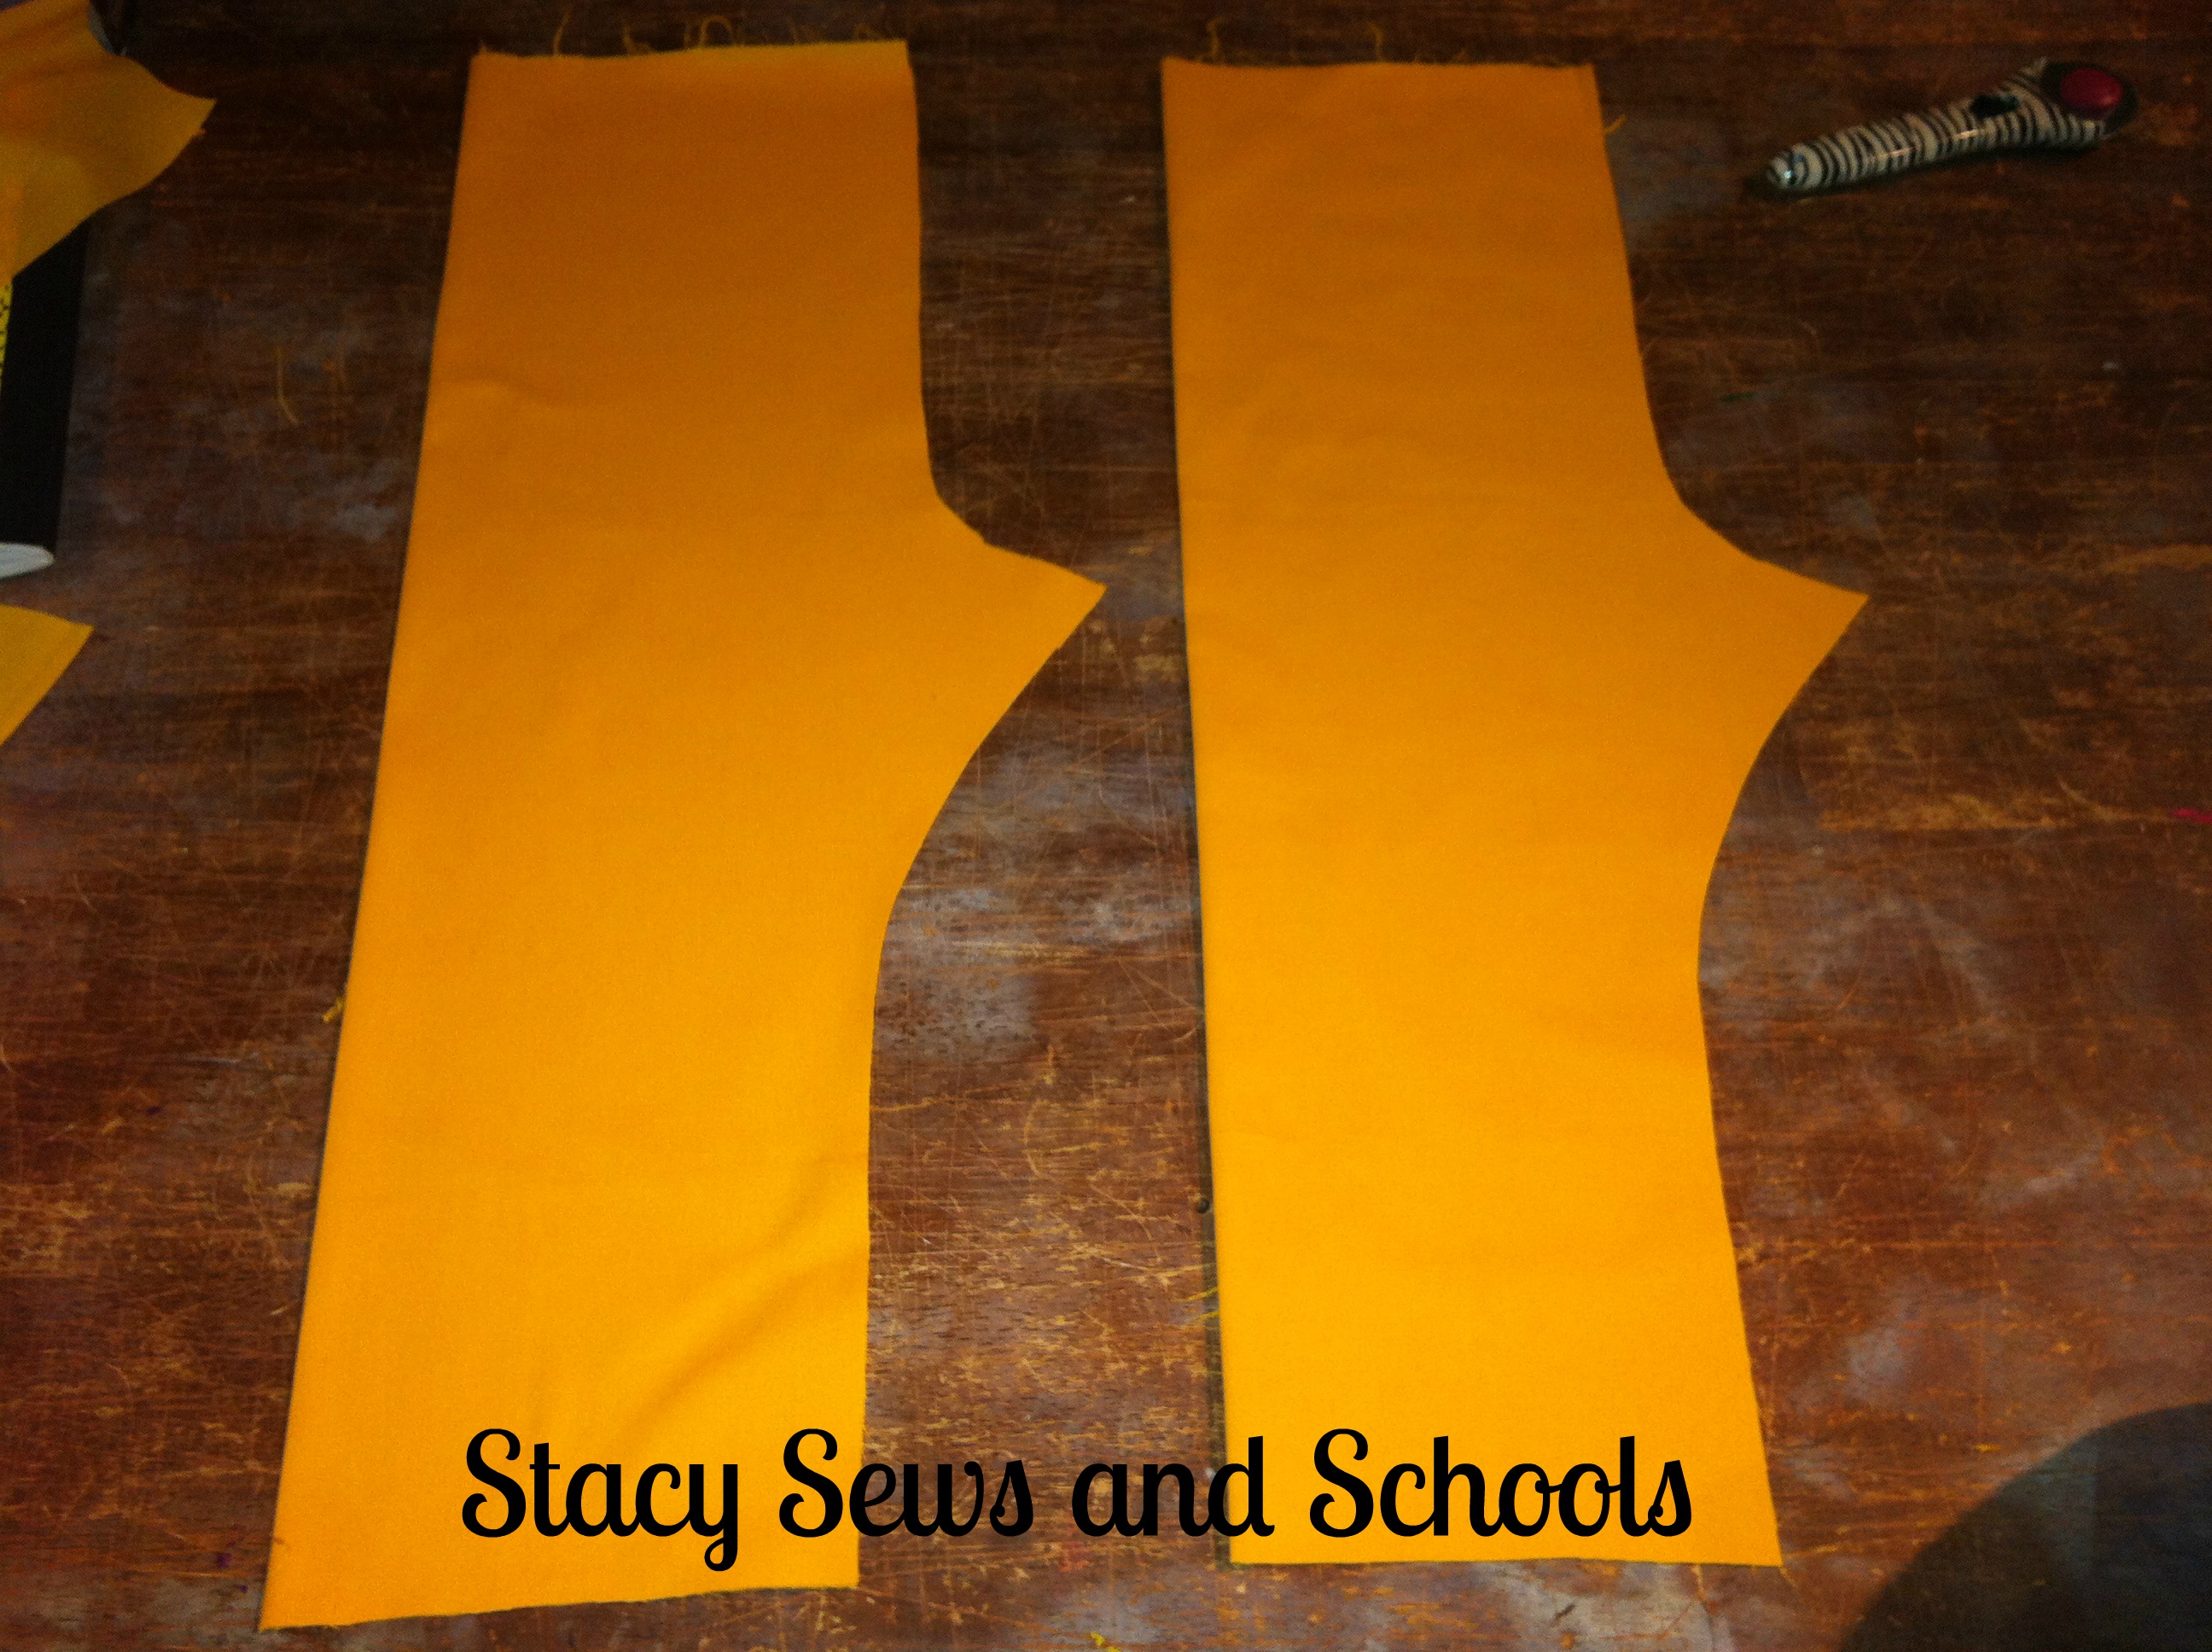
Take a pair of pants that fit your child well and use them as a guide for the pants.


STEP 12


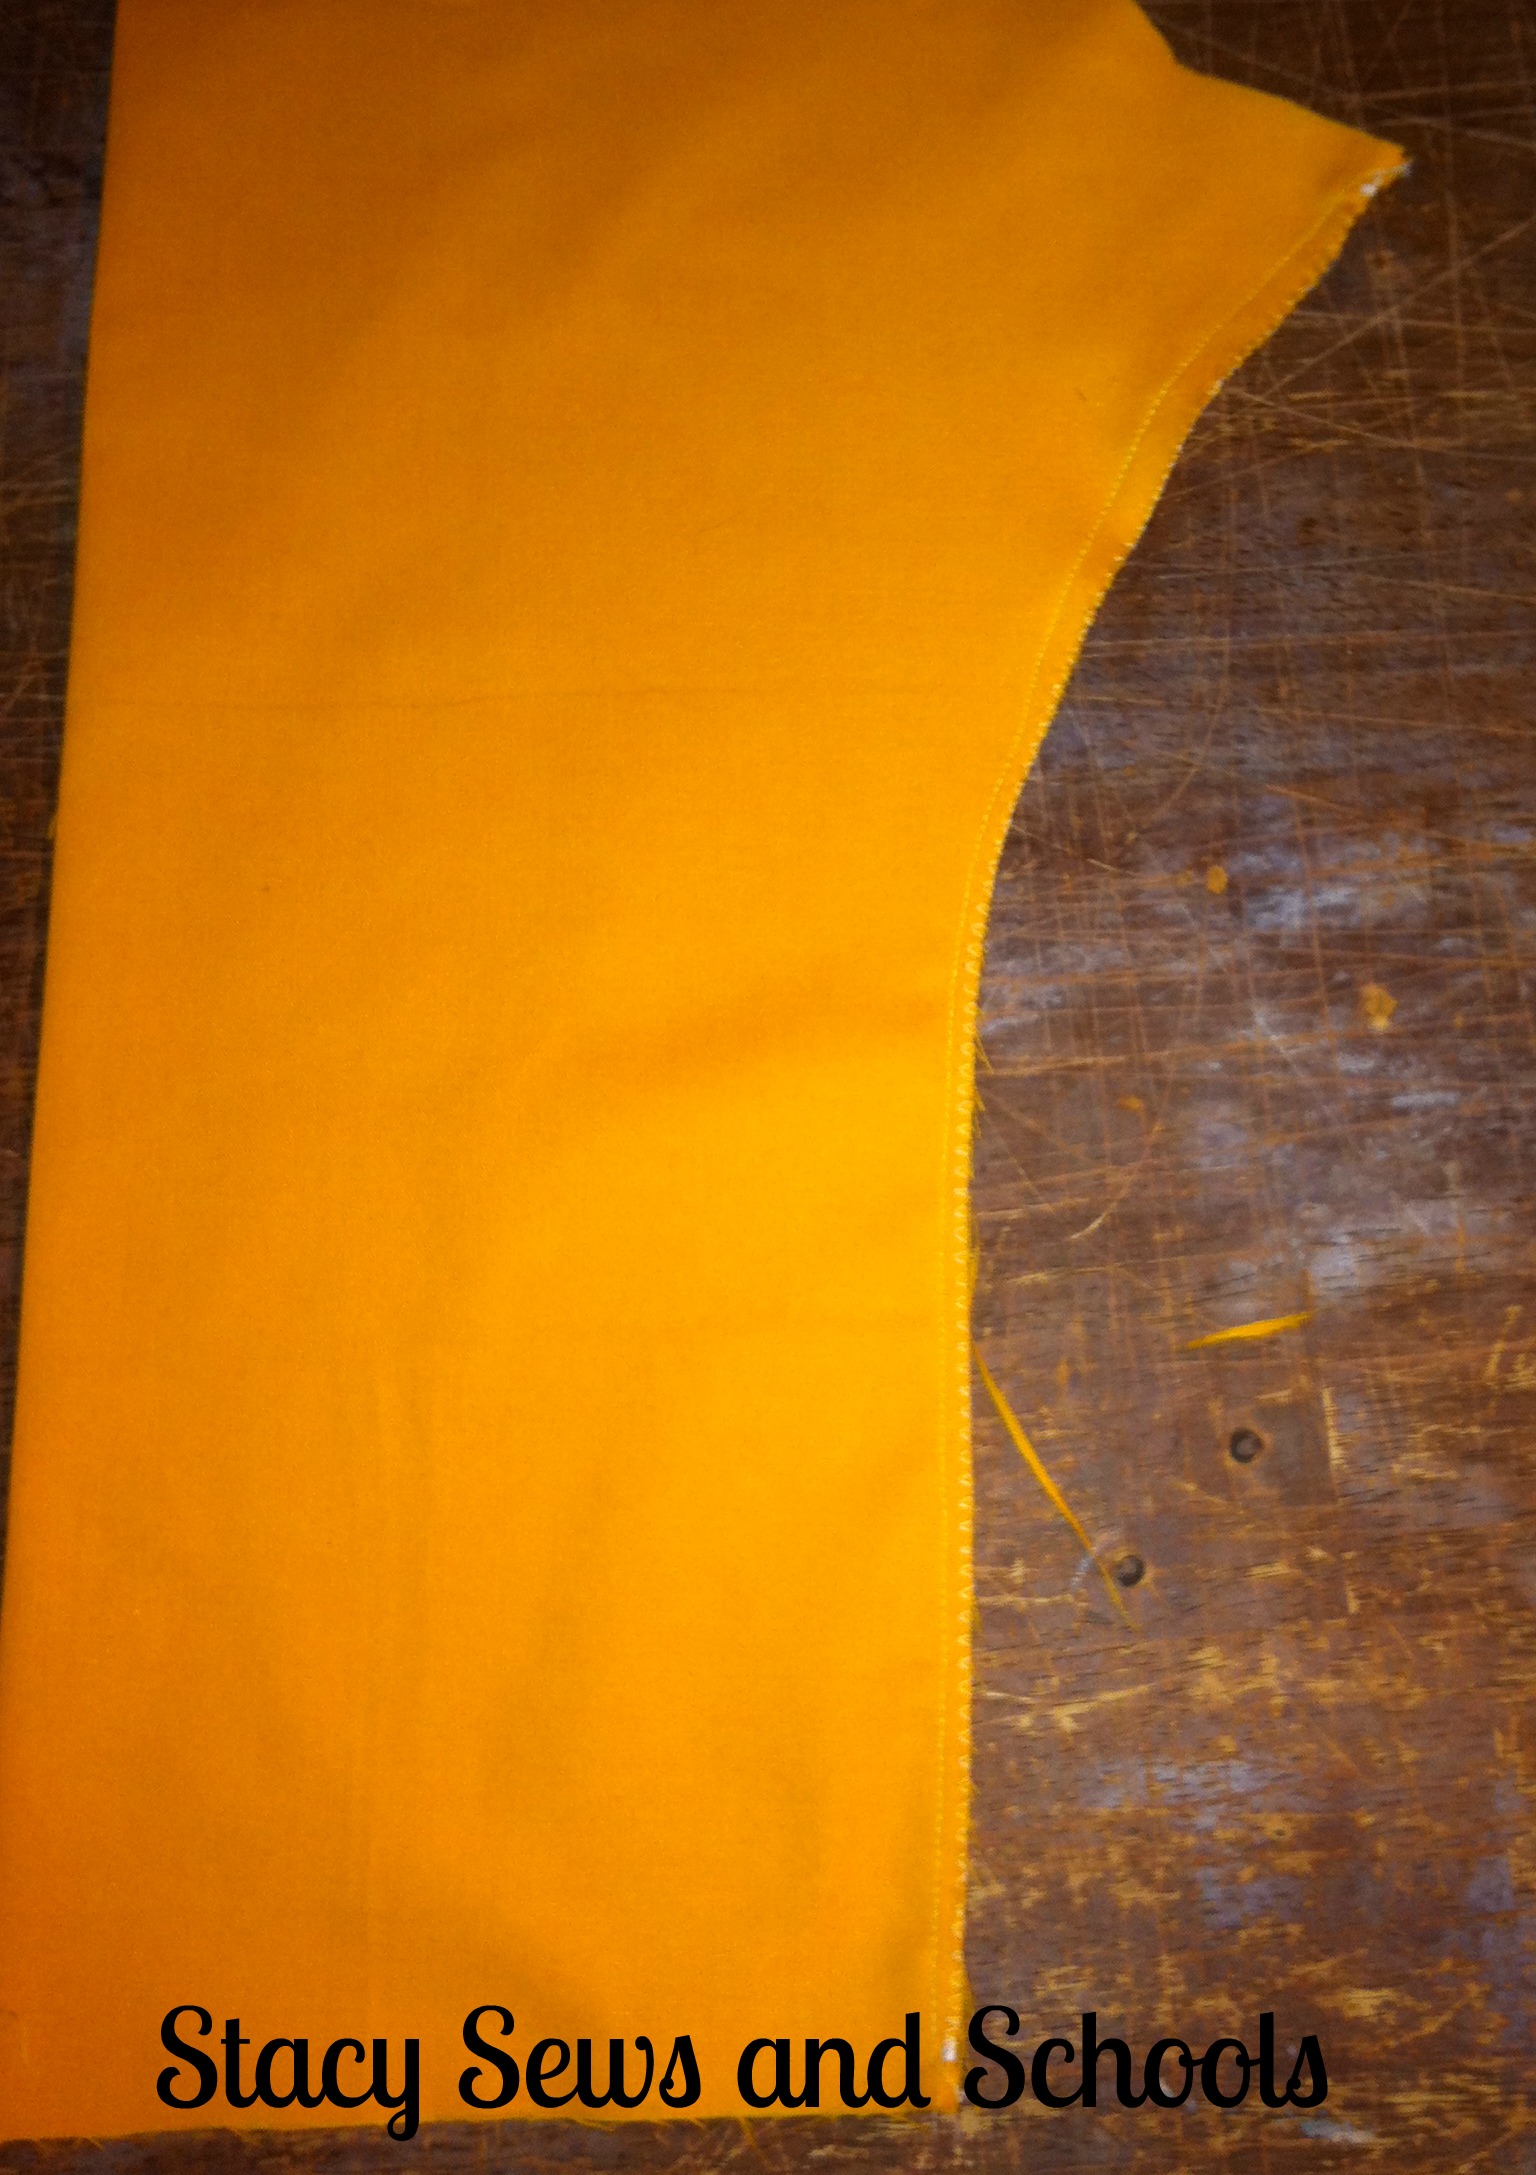
Pin from the point of the crotch to the ankle and sew the seam.


STEP 13


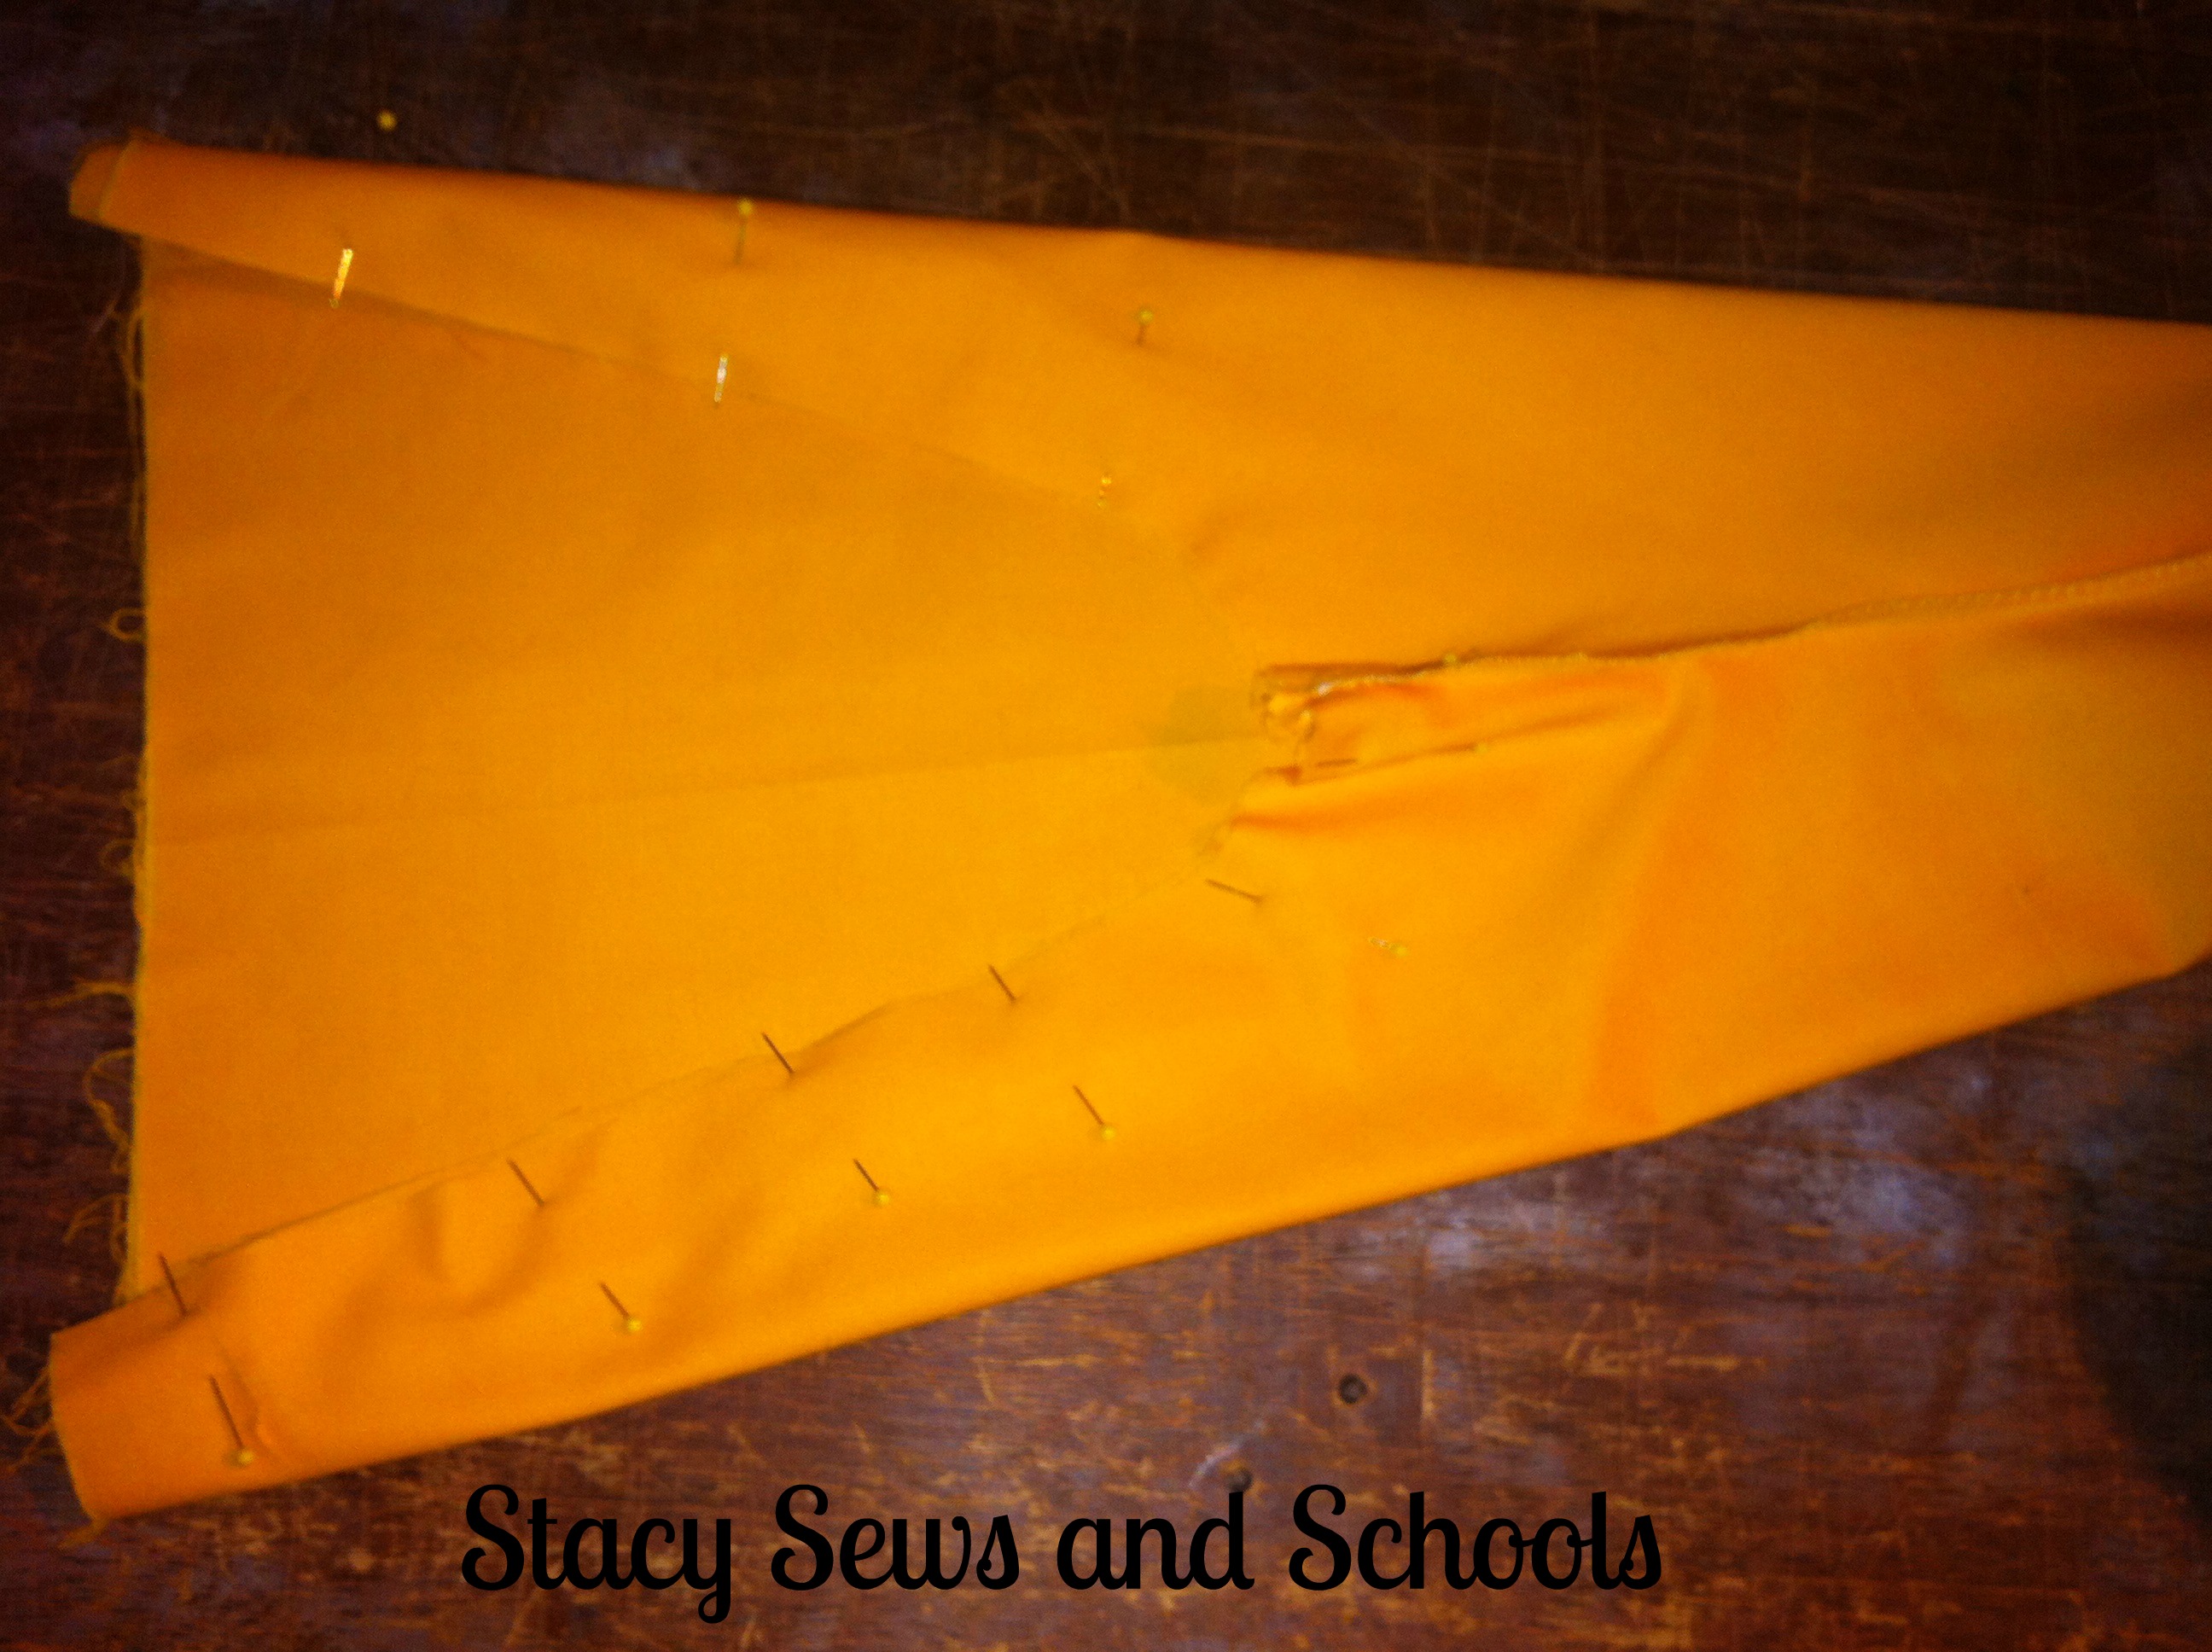
Turn one leg right side out and slide it into the other leg that is wrong side out.

Pin in place and sew the seam.


STEP 14


Since I was using a double needle, I turned the pants right side out to stitch the elastic casing.

Then I turned the top in 1" and pressed. Then I turned it in another inch and pressed.

Pin in place and sew the elastic casing, making sure to leave a space to insert the elastic.


STEP 15 


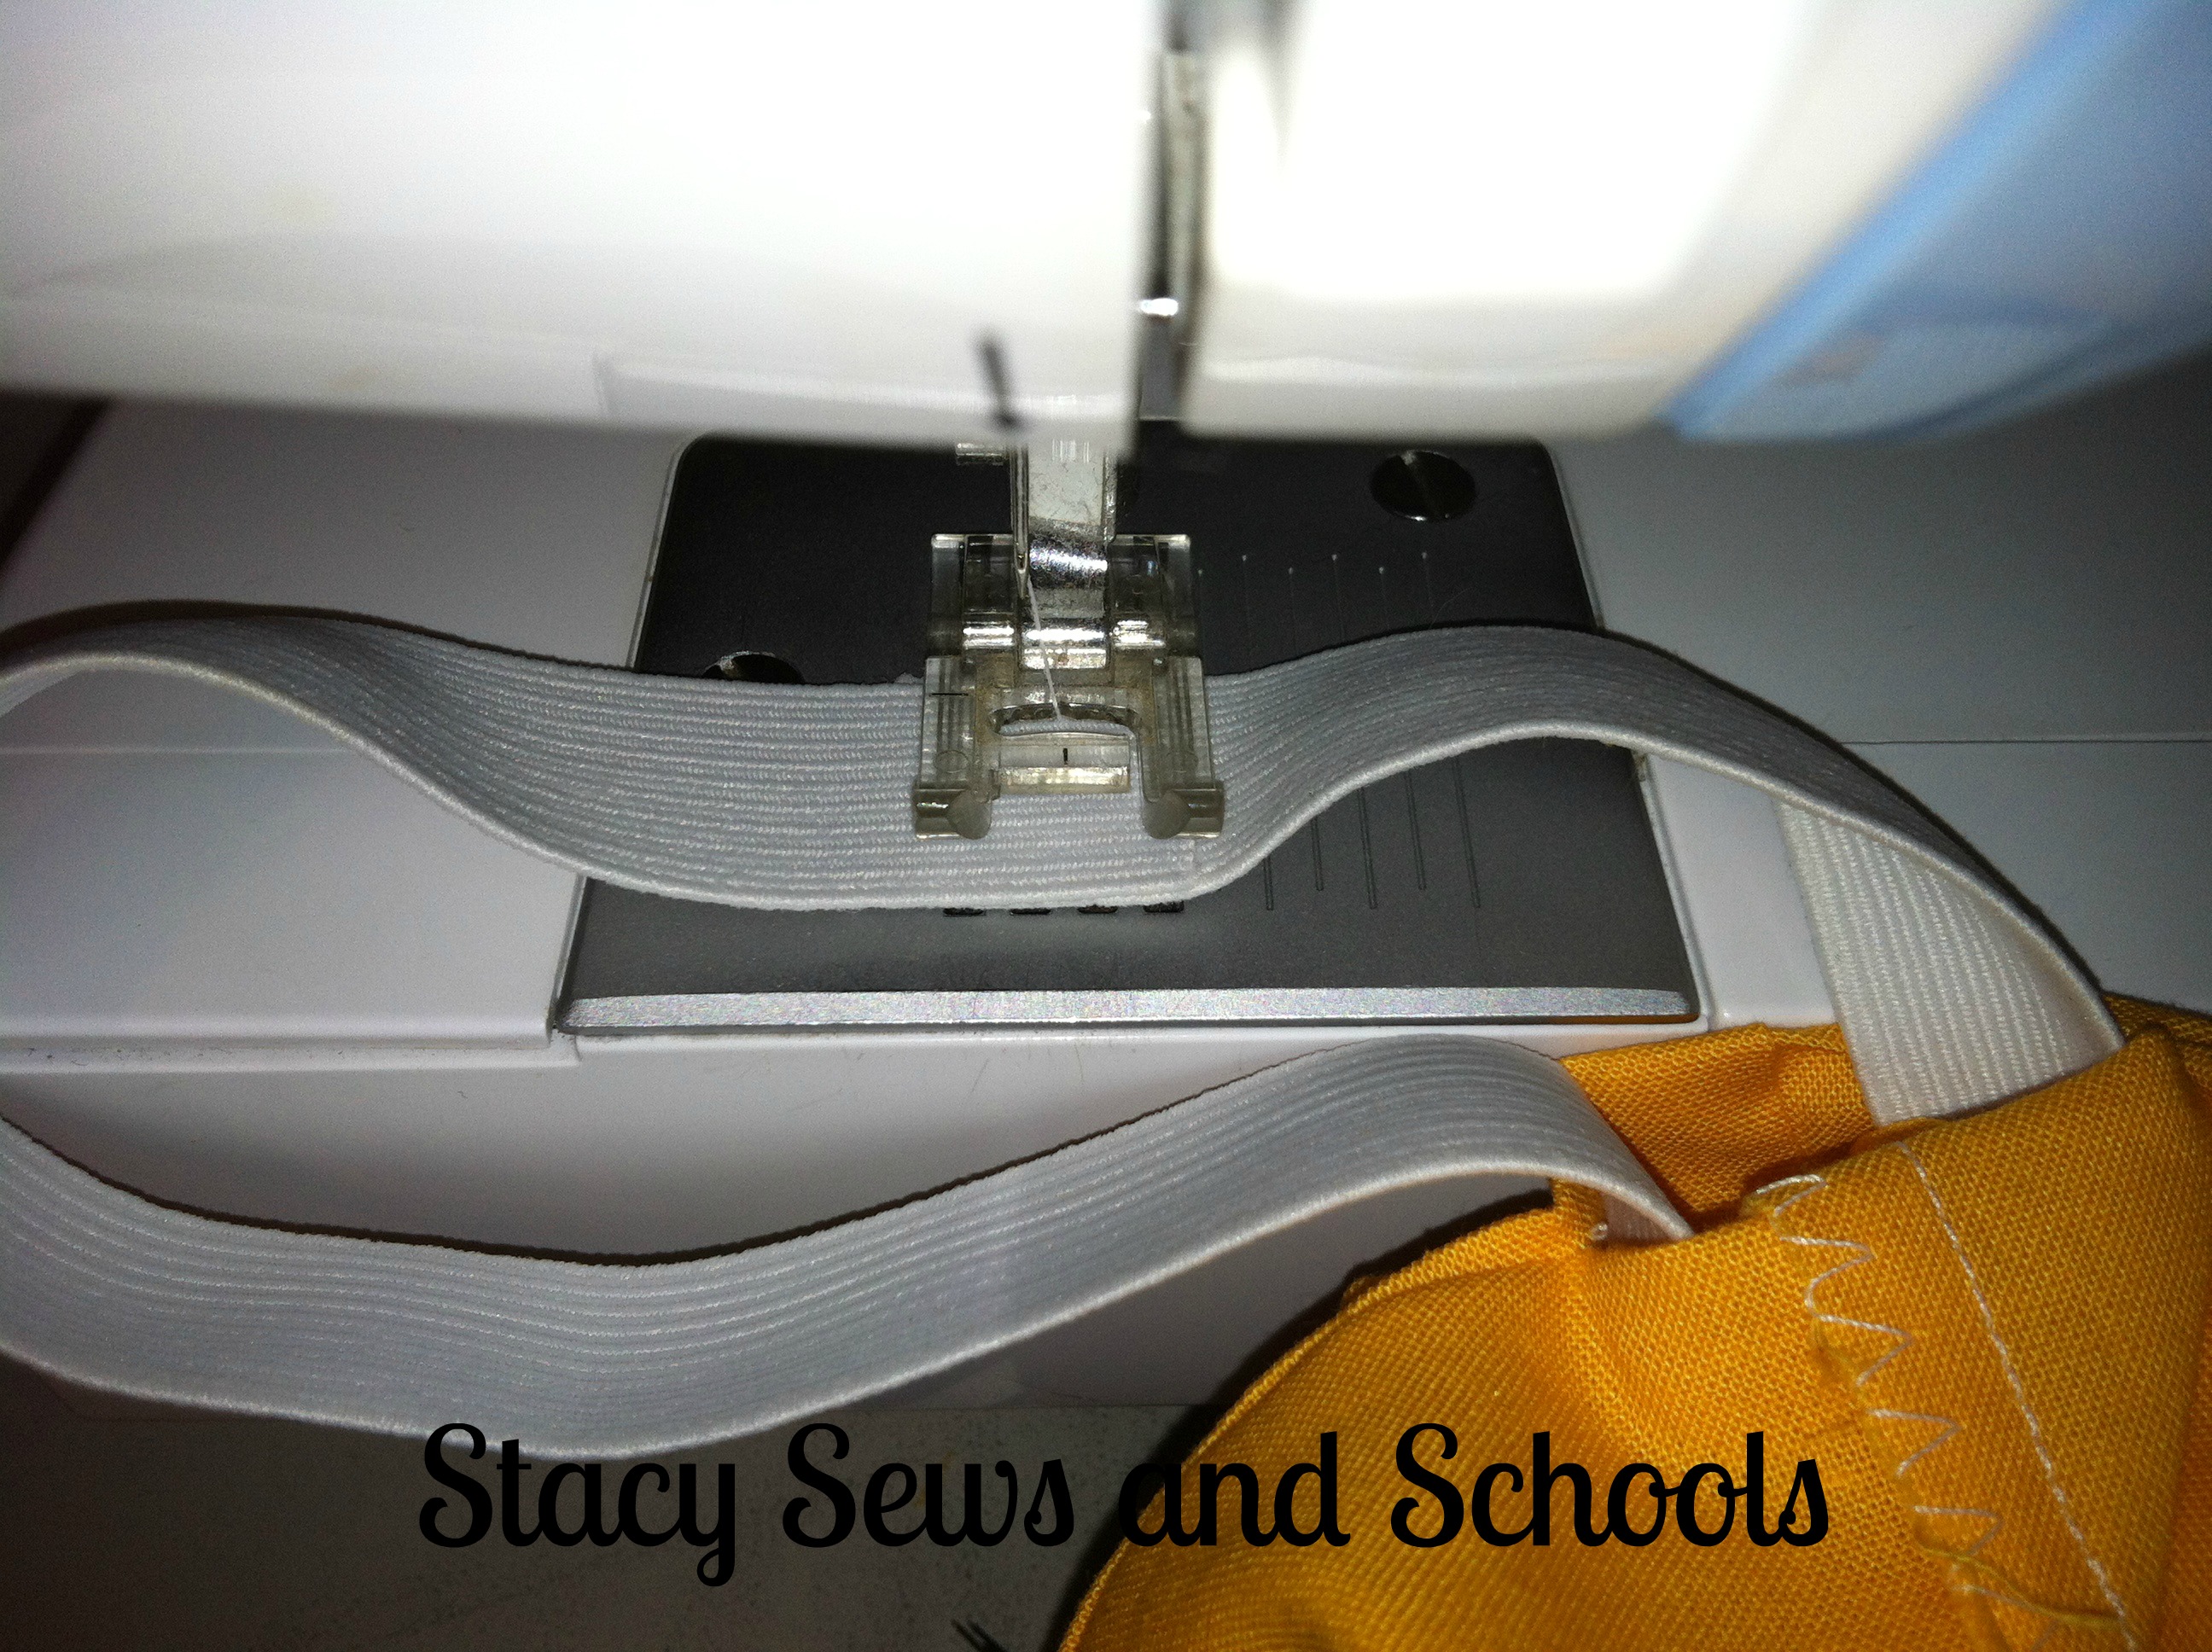
Insert the elastic into the casing.

Sew the ends of the elastic together.

Sew the opening closed.


While I was sewing the ends of the elastic together, my double needle broke. :/ I used a zigzag stitch to finish sewing the elastic casing closed.


STEP 16

Since I was upset about my double needle (I've broken 4 of them in the past couple of months), I forgot to take a picture of the hem of the pants.

I turned the ankles in by 1/2", pressed and using a zigzag stitch, I hemmed both. 


ALL DONE!!!

What I love most about this look is that you can change it up. A yellow, white or green legging and you have a Spring look! ;)


NOW for something REALLY special!!!!!


"Candy Corn" Bread | www.BakingInATornado.com

Now, head on over to Baking in a Tornado for some YUMMMMMMY Candy Corn Bread!!!


March 10, 2013

Reverse Applique Knee Patches Tutorial

Reverse Applique Knee Patches 034


Here is what I have been working on for so long.... A while ago my cousin (Sandra over at Rivas & Co.) commissioned me to make a t-shirt into short-alls and a pair of leggings with diamond shaped reverse appliqued knee patches with a matching bib. It took me FOREVER, or at least it felt that way!! I goofed SO many times on this.... I think I made 4 different sets!!! The first time my machine at the leggings. GRRRR!! The 2nd time I cut and/or sewed the patches in the wrong way. The print is a little crazy and the lines are not straight. I had to cut, pin and sew them JUUUST right. Then on the 3rd, I did every thing just right but when I went to cut the top layer over the patches, I cut the leggings instead!!! YILES!!!! Finally the 4th time was a charm! Good grief! LOL

So here is what I did.


Reverse Applique Knee Patches 020


The 2nd and 3rd attempts were made from this black t-shirt. The 4th attempt was from a different one. The 1st attempt was from some black jersey knit.

First I cut off the sleeves and collar. Then I cut the shoulders and sides. That left me with enough fabric to make 2 pairs of toddler leggings.


Reverse Applique Knee Patches 018


Then I cut the legs. These are for leggings so the legs are skinny and there is more room in the seat. ;)

When I cut them, I used the t-shirt hem for the leggings hems. ;)


Reverse Applique Knee Patches 025

Next, I cut the diamond shapes from 2 fabrics, 1 main and 1 for stabilizing.


Reverse Applique Knee Patches 029


Then I pinned and sewed the patches to the INSIDE of the leggings.

Next, I trimmed the excess from around the stitching. Be very careful here! THAT'S where I cut the hole in the leggings!!!


Reverse Applique Knee Patches 033


Now, I very carefully snipped the fabric from over the top of the patches and cut off the excess.

After that is done, you simply sew the leggings like you would any pair of pants. :)


Reverse Applique Knee Patches 037


This is the matching bib. :) I hope she loves them!!!


If you would like a step by step tutorial for making the leggings, you can follow my tutorial for the T-shirt Tunic and Leggings.

If you feel that you would prefer a pattern, try SquigglyTwigs Designs Quick Pants (you might recognize the model over there), just be sure to cut the legs narrower. :)


My next few projects will probably be very hush-hush. ;) I'll be working on my Pay It Forward gifts for 2013! I can't wait to get started!!

HAPPY SEWING!!!!!


March 3, 2013

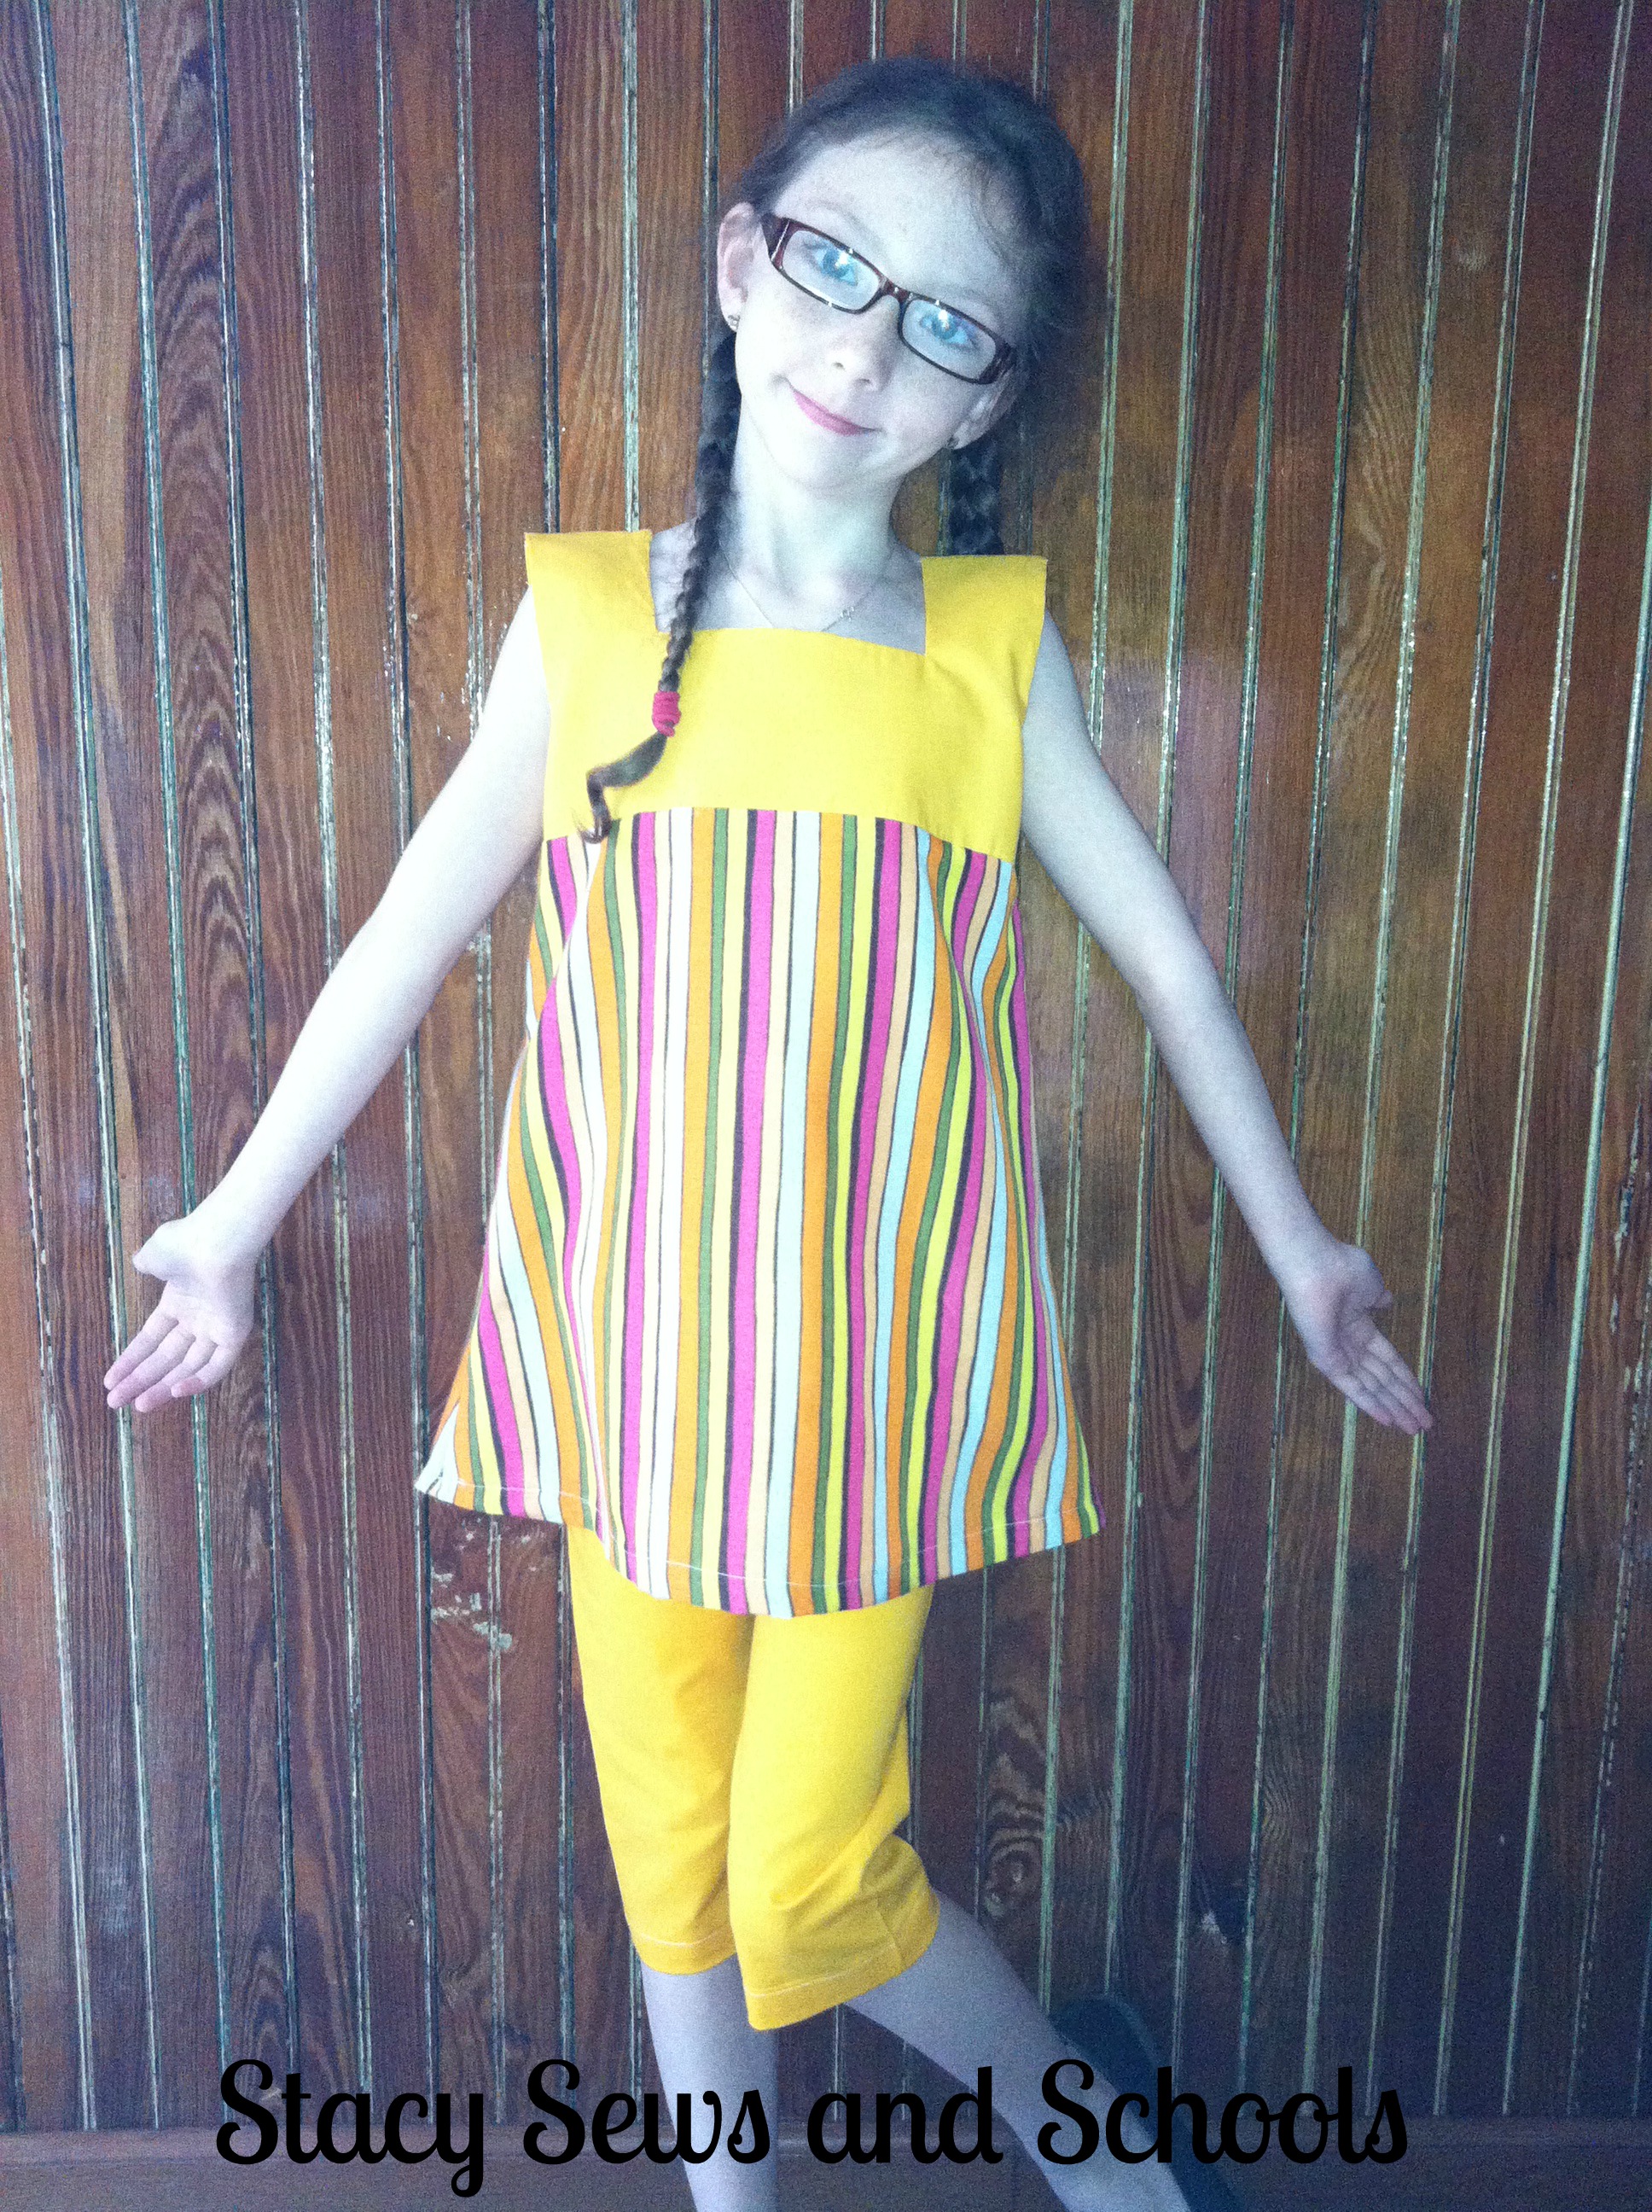
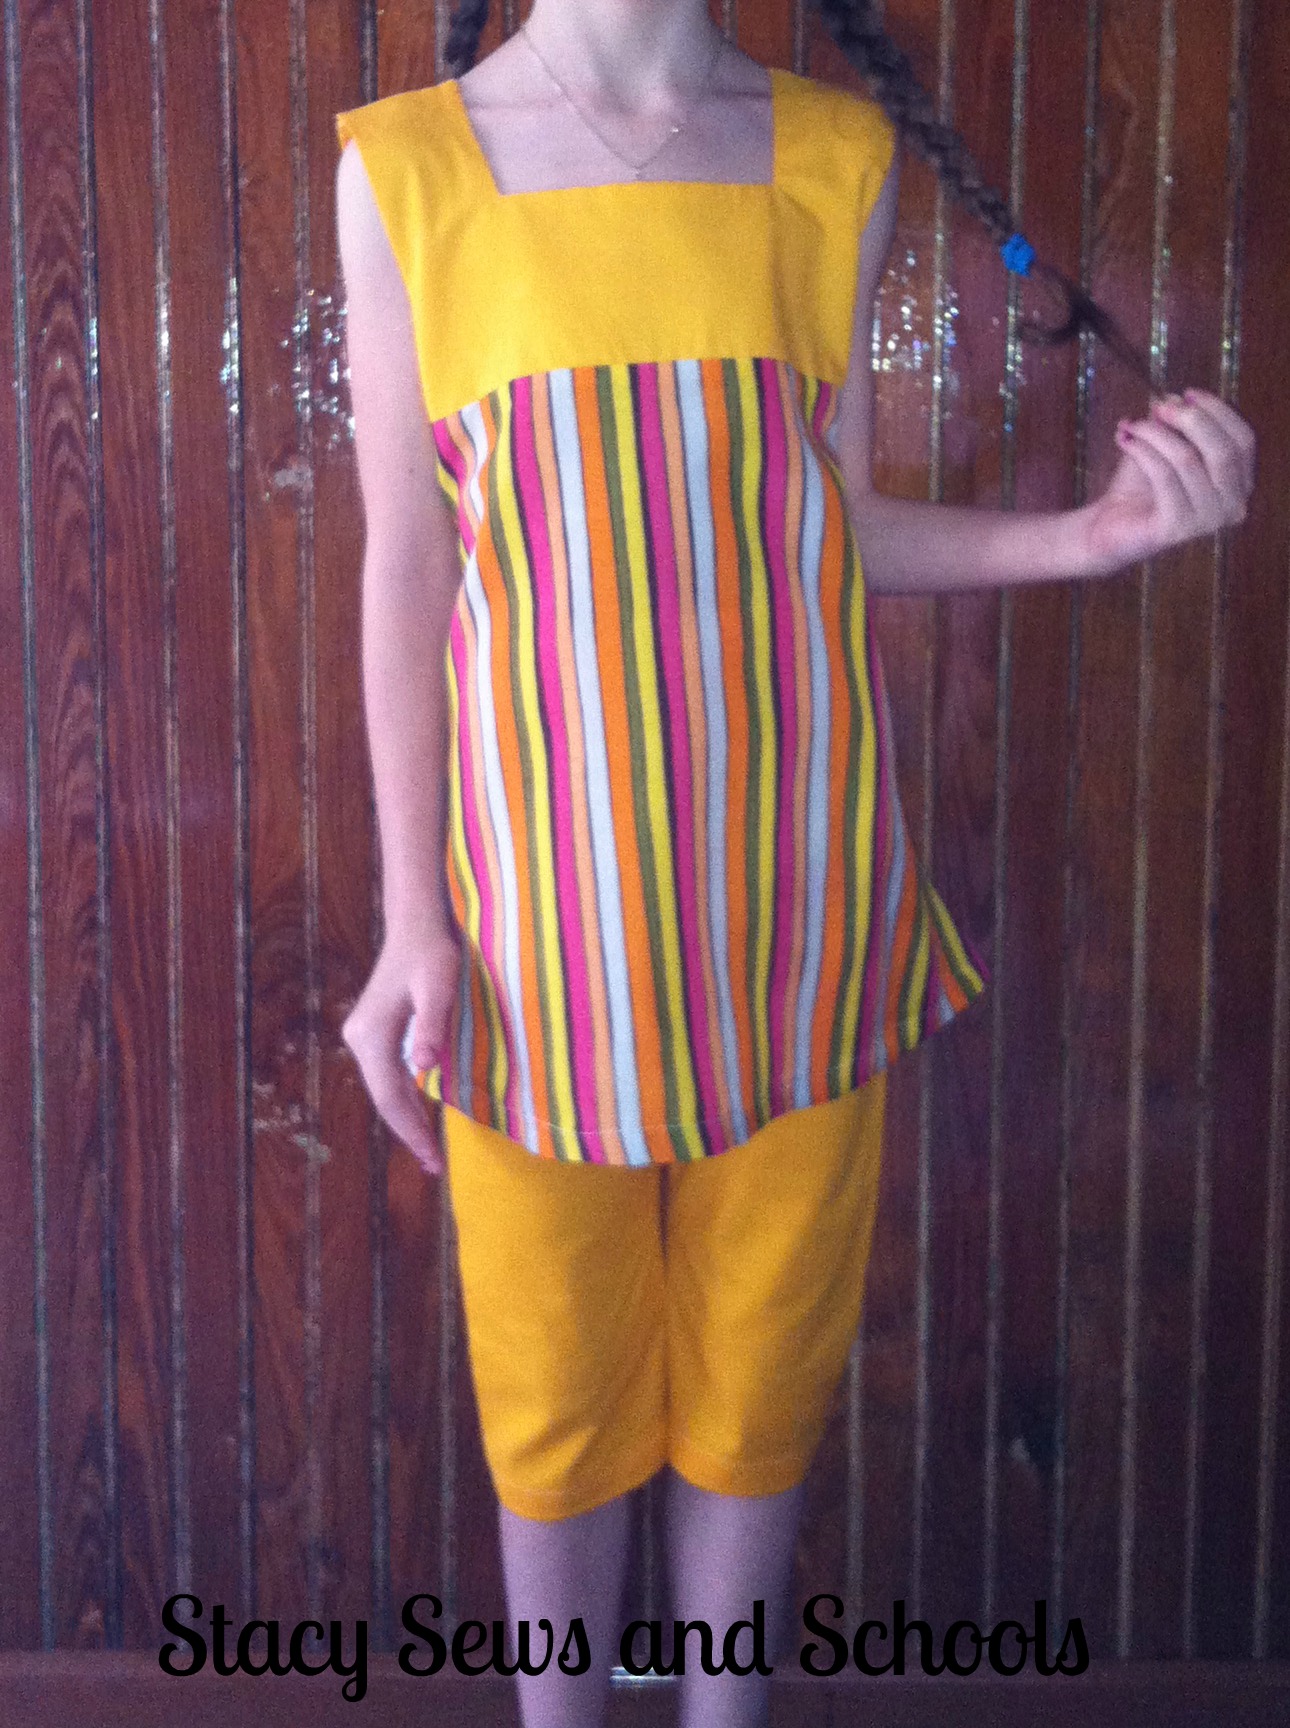
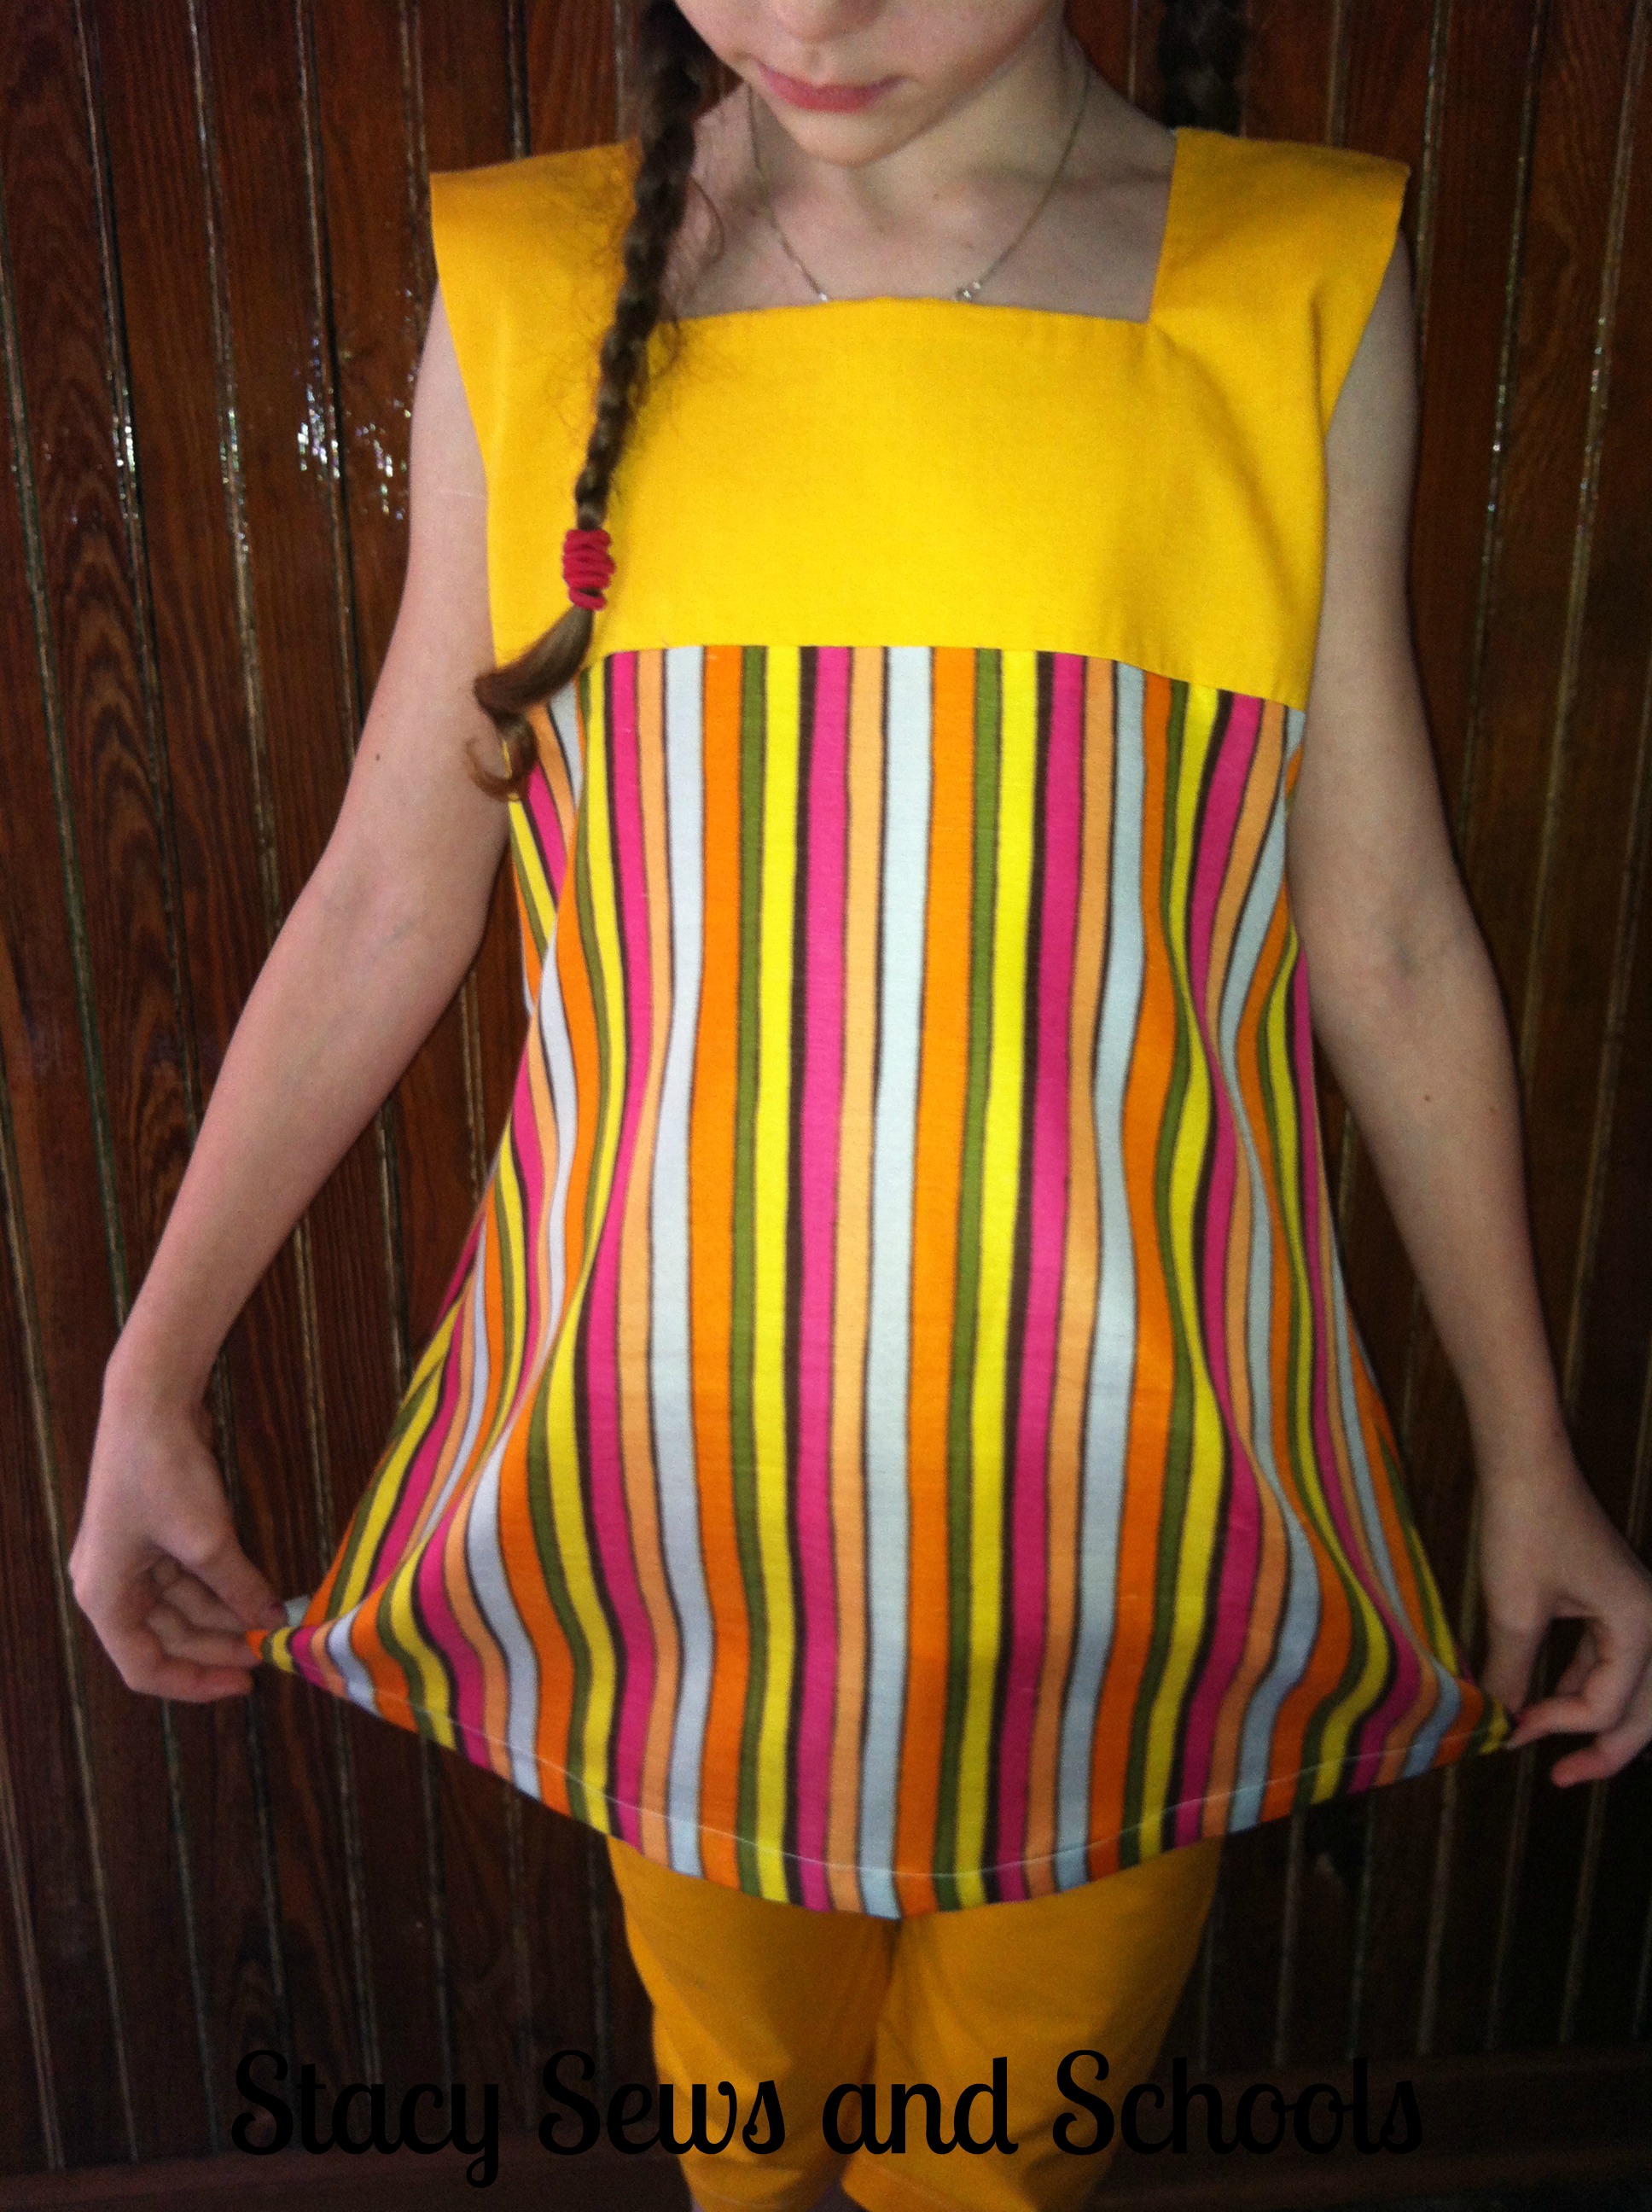
Sunshine Day Tunic and Clam Diggers - Tutorial

Sunshine Day Tunic and Clam Diggers 00100


Well, the name is Sunshine Day BUT the pictures for this were taken on the COLDEST day we have had since moving here!!!!! LOL There was no way I was going to make Cailey stand outside in 40 degrees.....


For some reason this outfit (or maybe just the striped fabric) reminds me of.......


http://www.youtube.com/watch?feature=player_detailpage&v=NaCCG7QkM_c


Y'all remember that, right??? LOL I loved watching Brady Bunch reruns after school when I was a kid.


ANYWAY.... Here is the tutorial.


What I used - 

3/4 yard of the stripes (very silky and flowy)

1/4 yard of the gold cotton for the yoke at the top

1 yard of heavier, stretchier cotton for the clam diggers

1" elastic


Sunshine Day Tunic and Clam Diggers 008

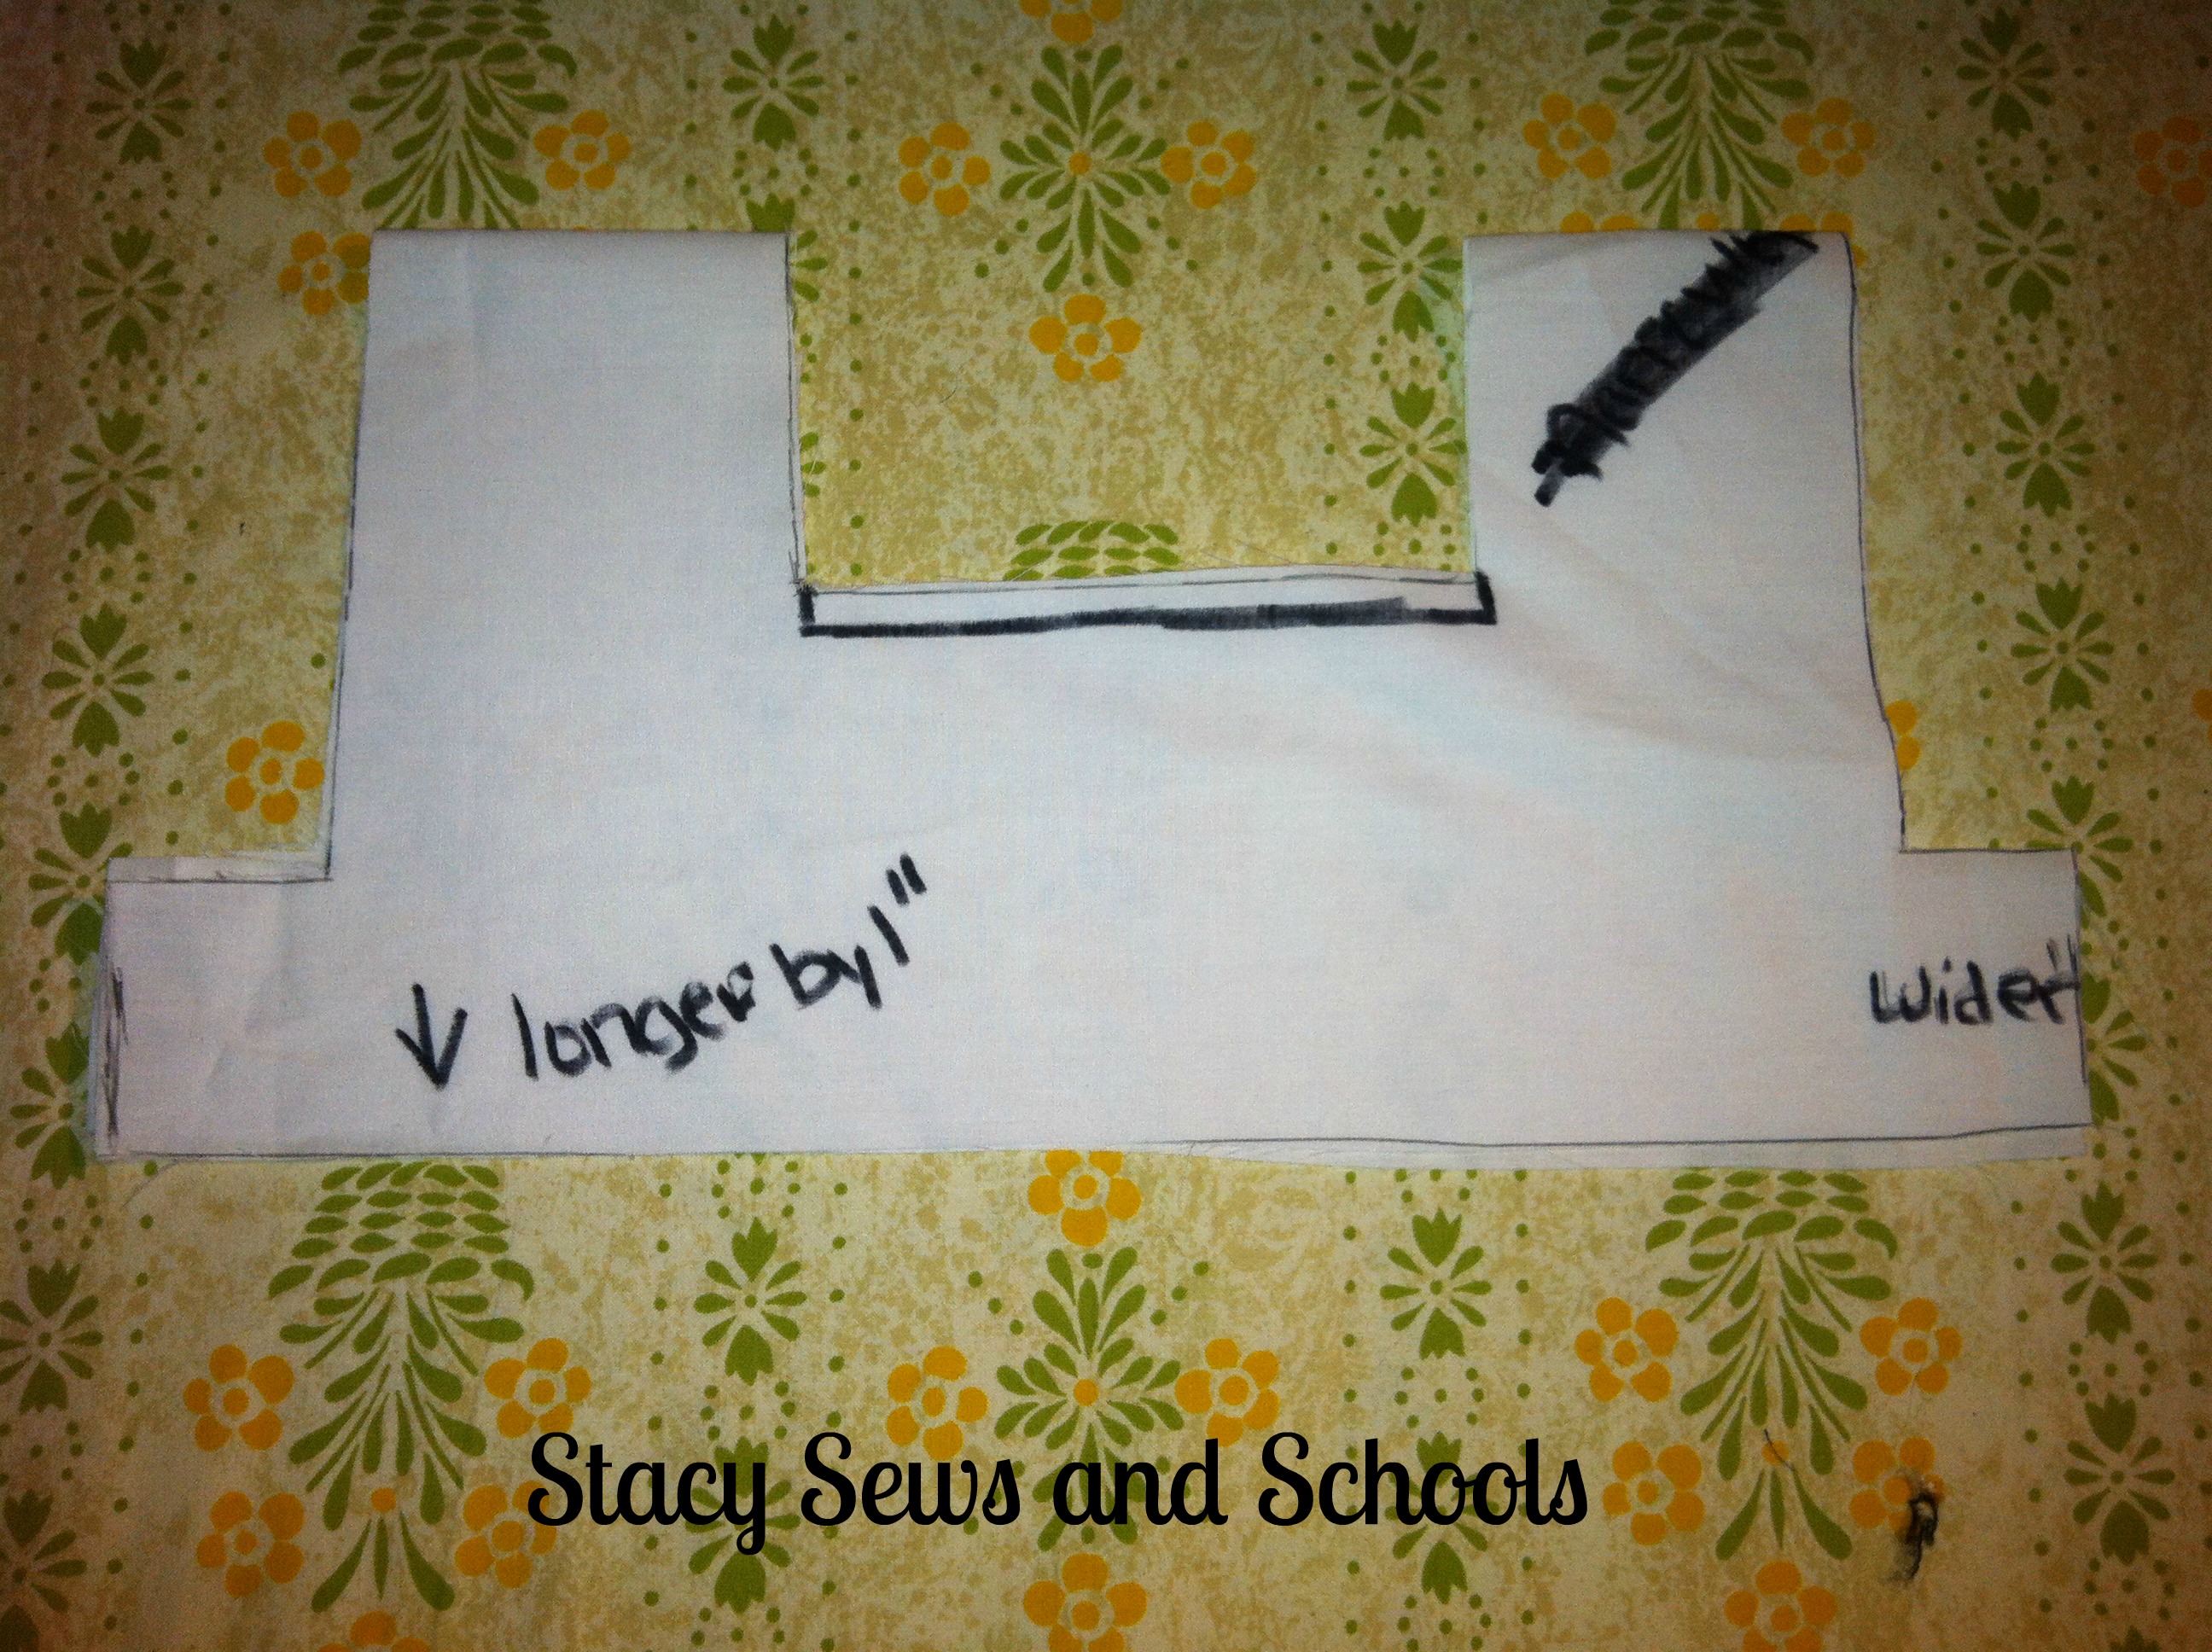
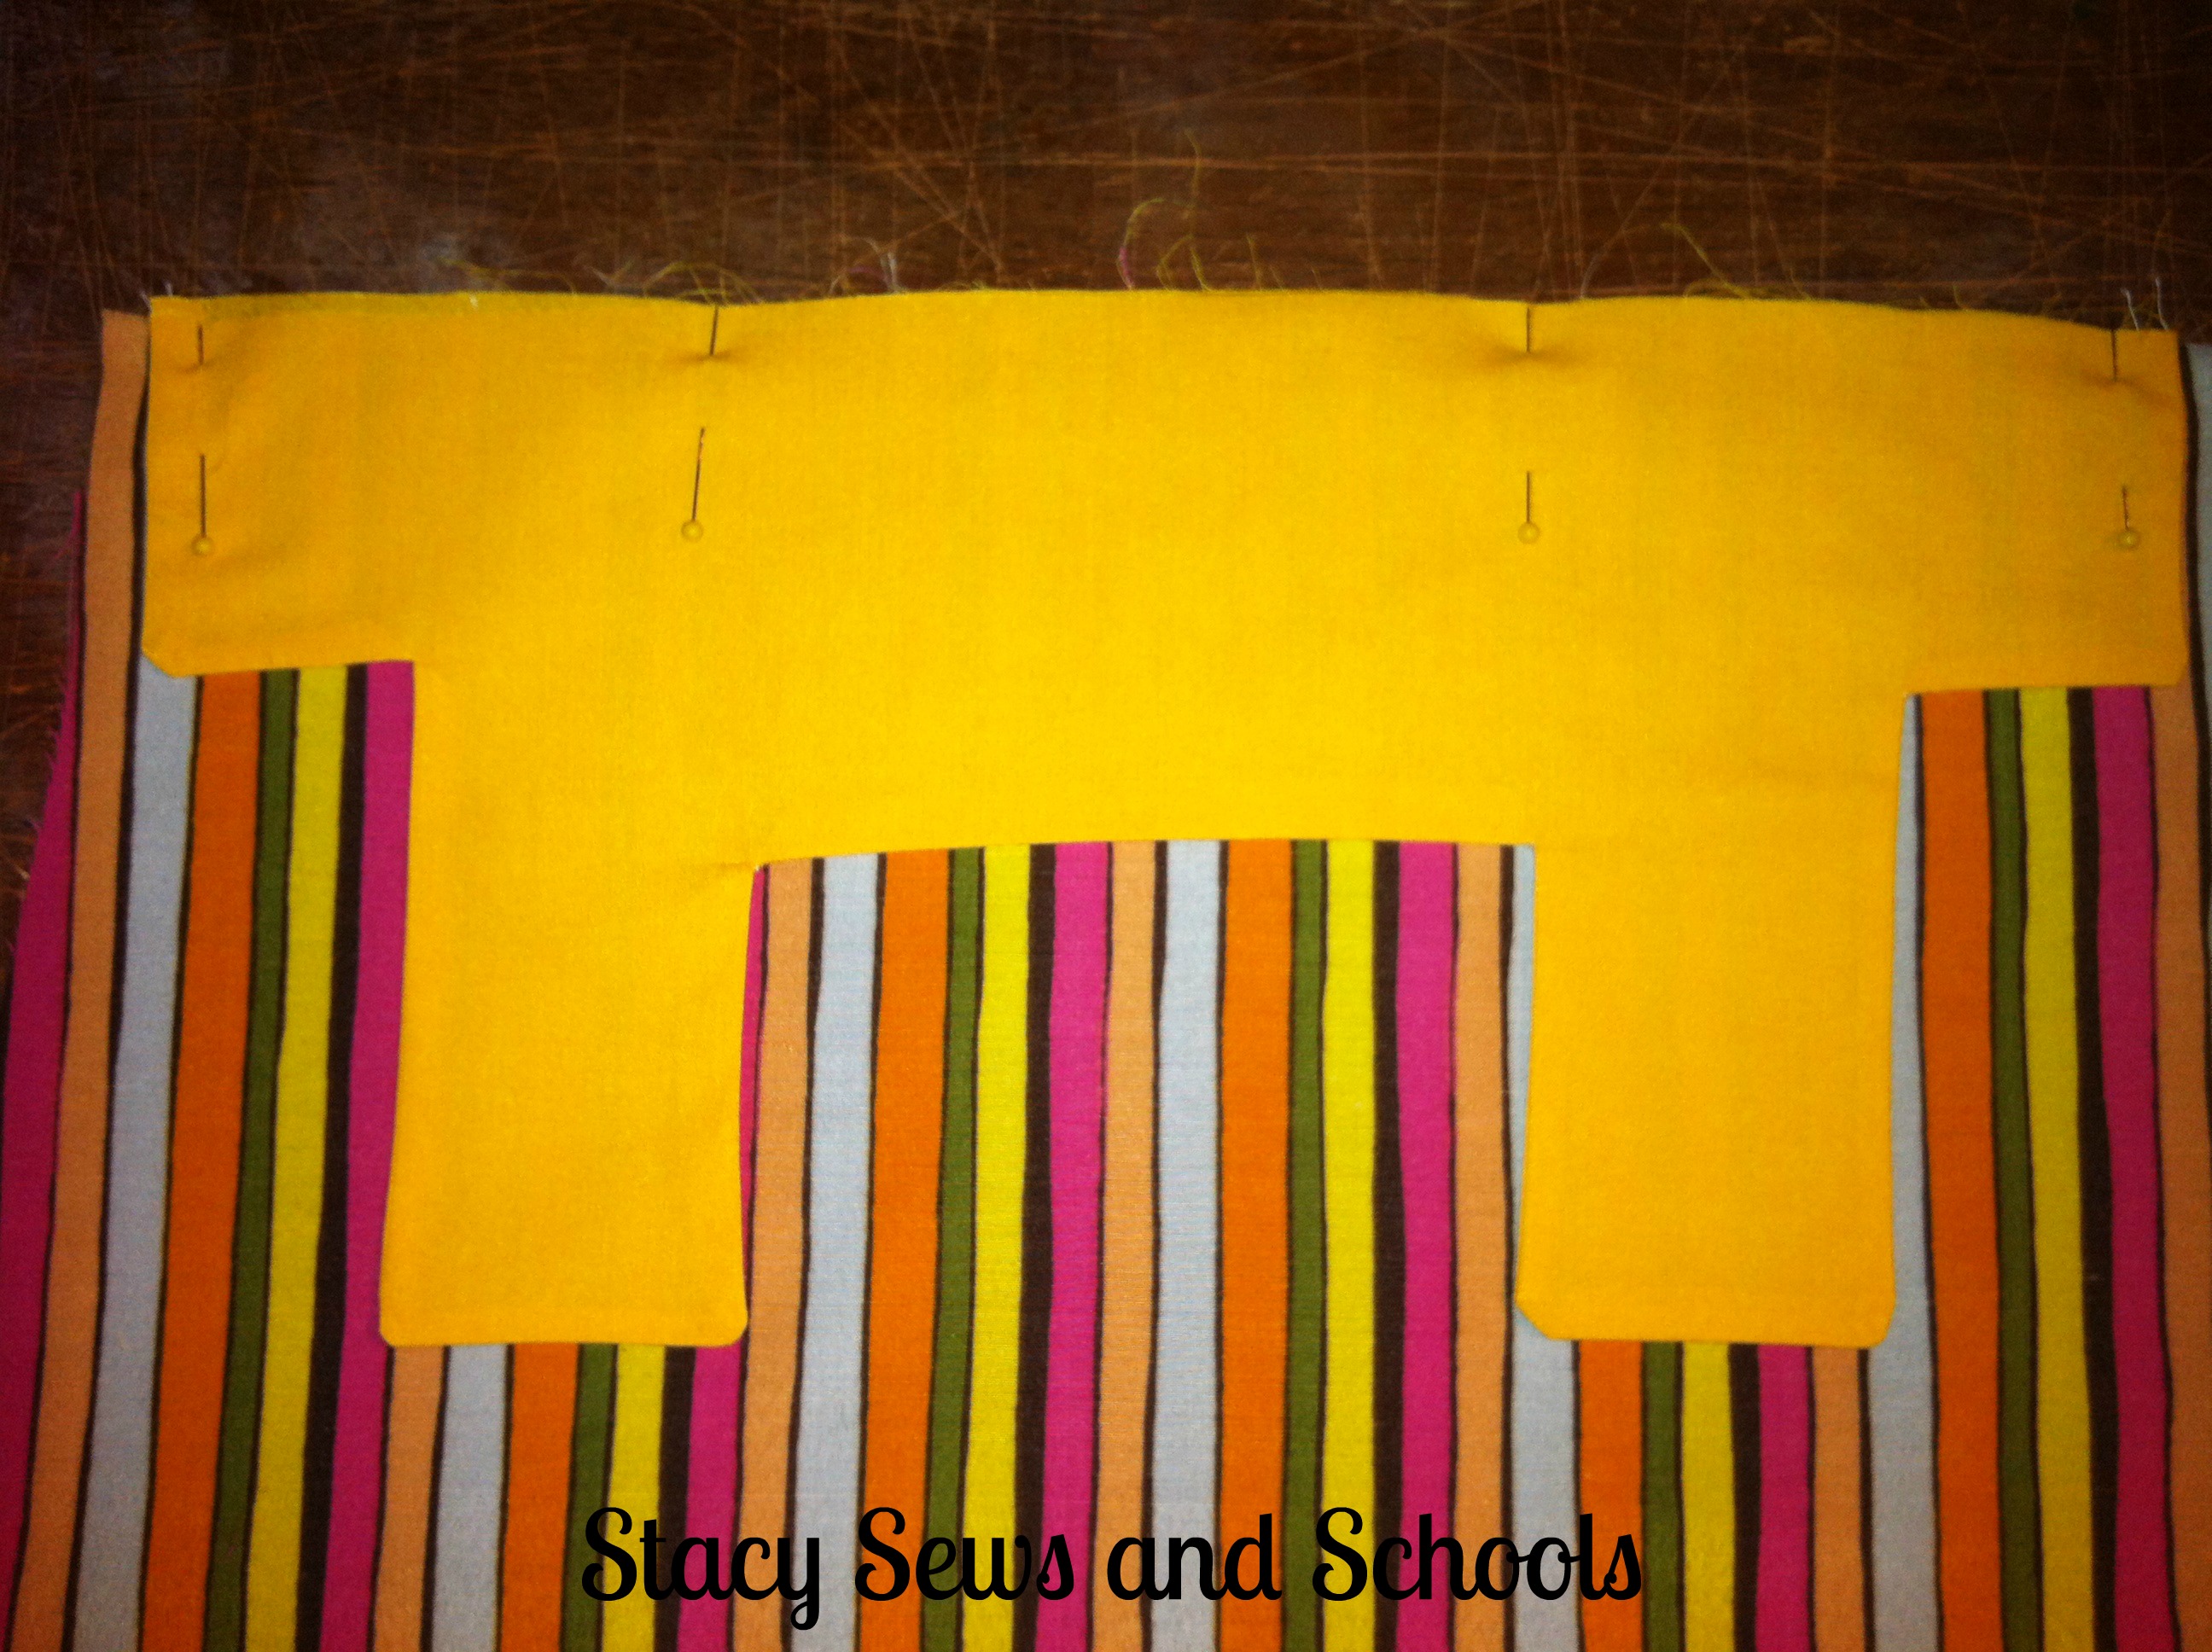
I had this idea... I was going to make the front and back yoke one piece.... with lining..... Yeah... I even cut a muslin (above).

It took me a bit to figure out the problem. LOL

One I realized that I wouldn't be able to turn it right side out after sewing the lining, I resigned myself to 4 pieces instead of 2.


Sunshine Day Tunic and Clam Diggers 006


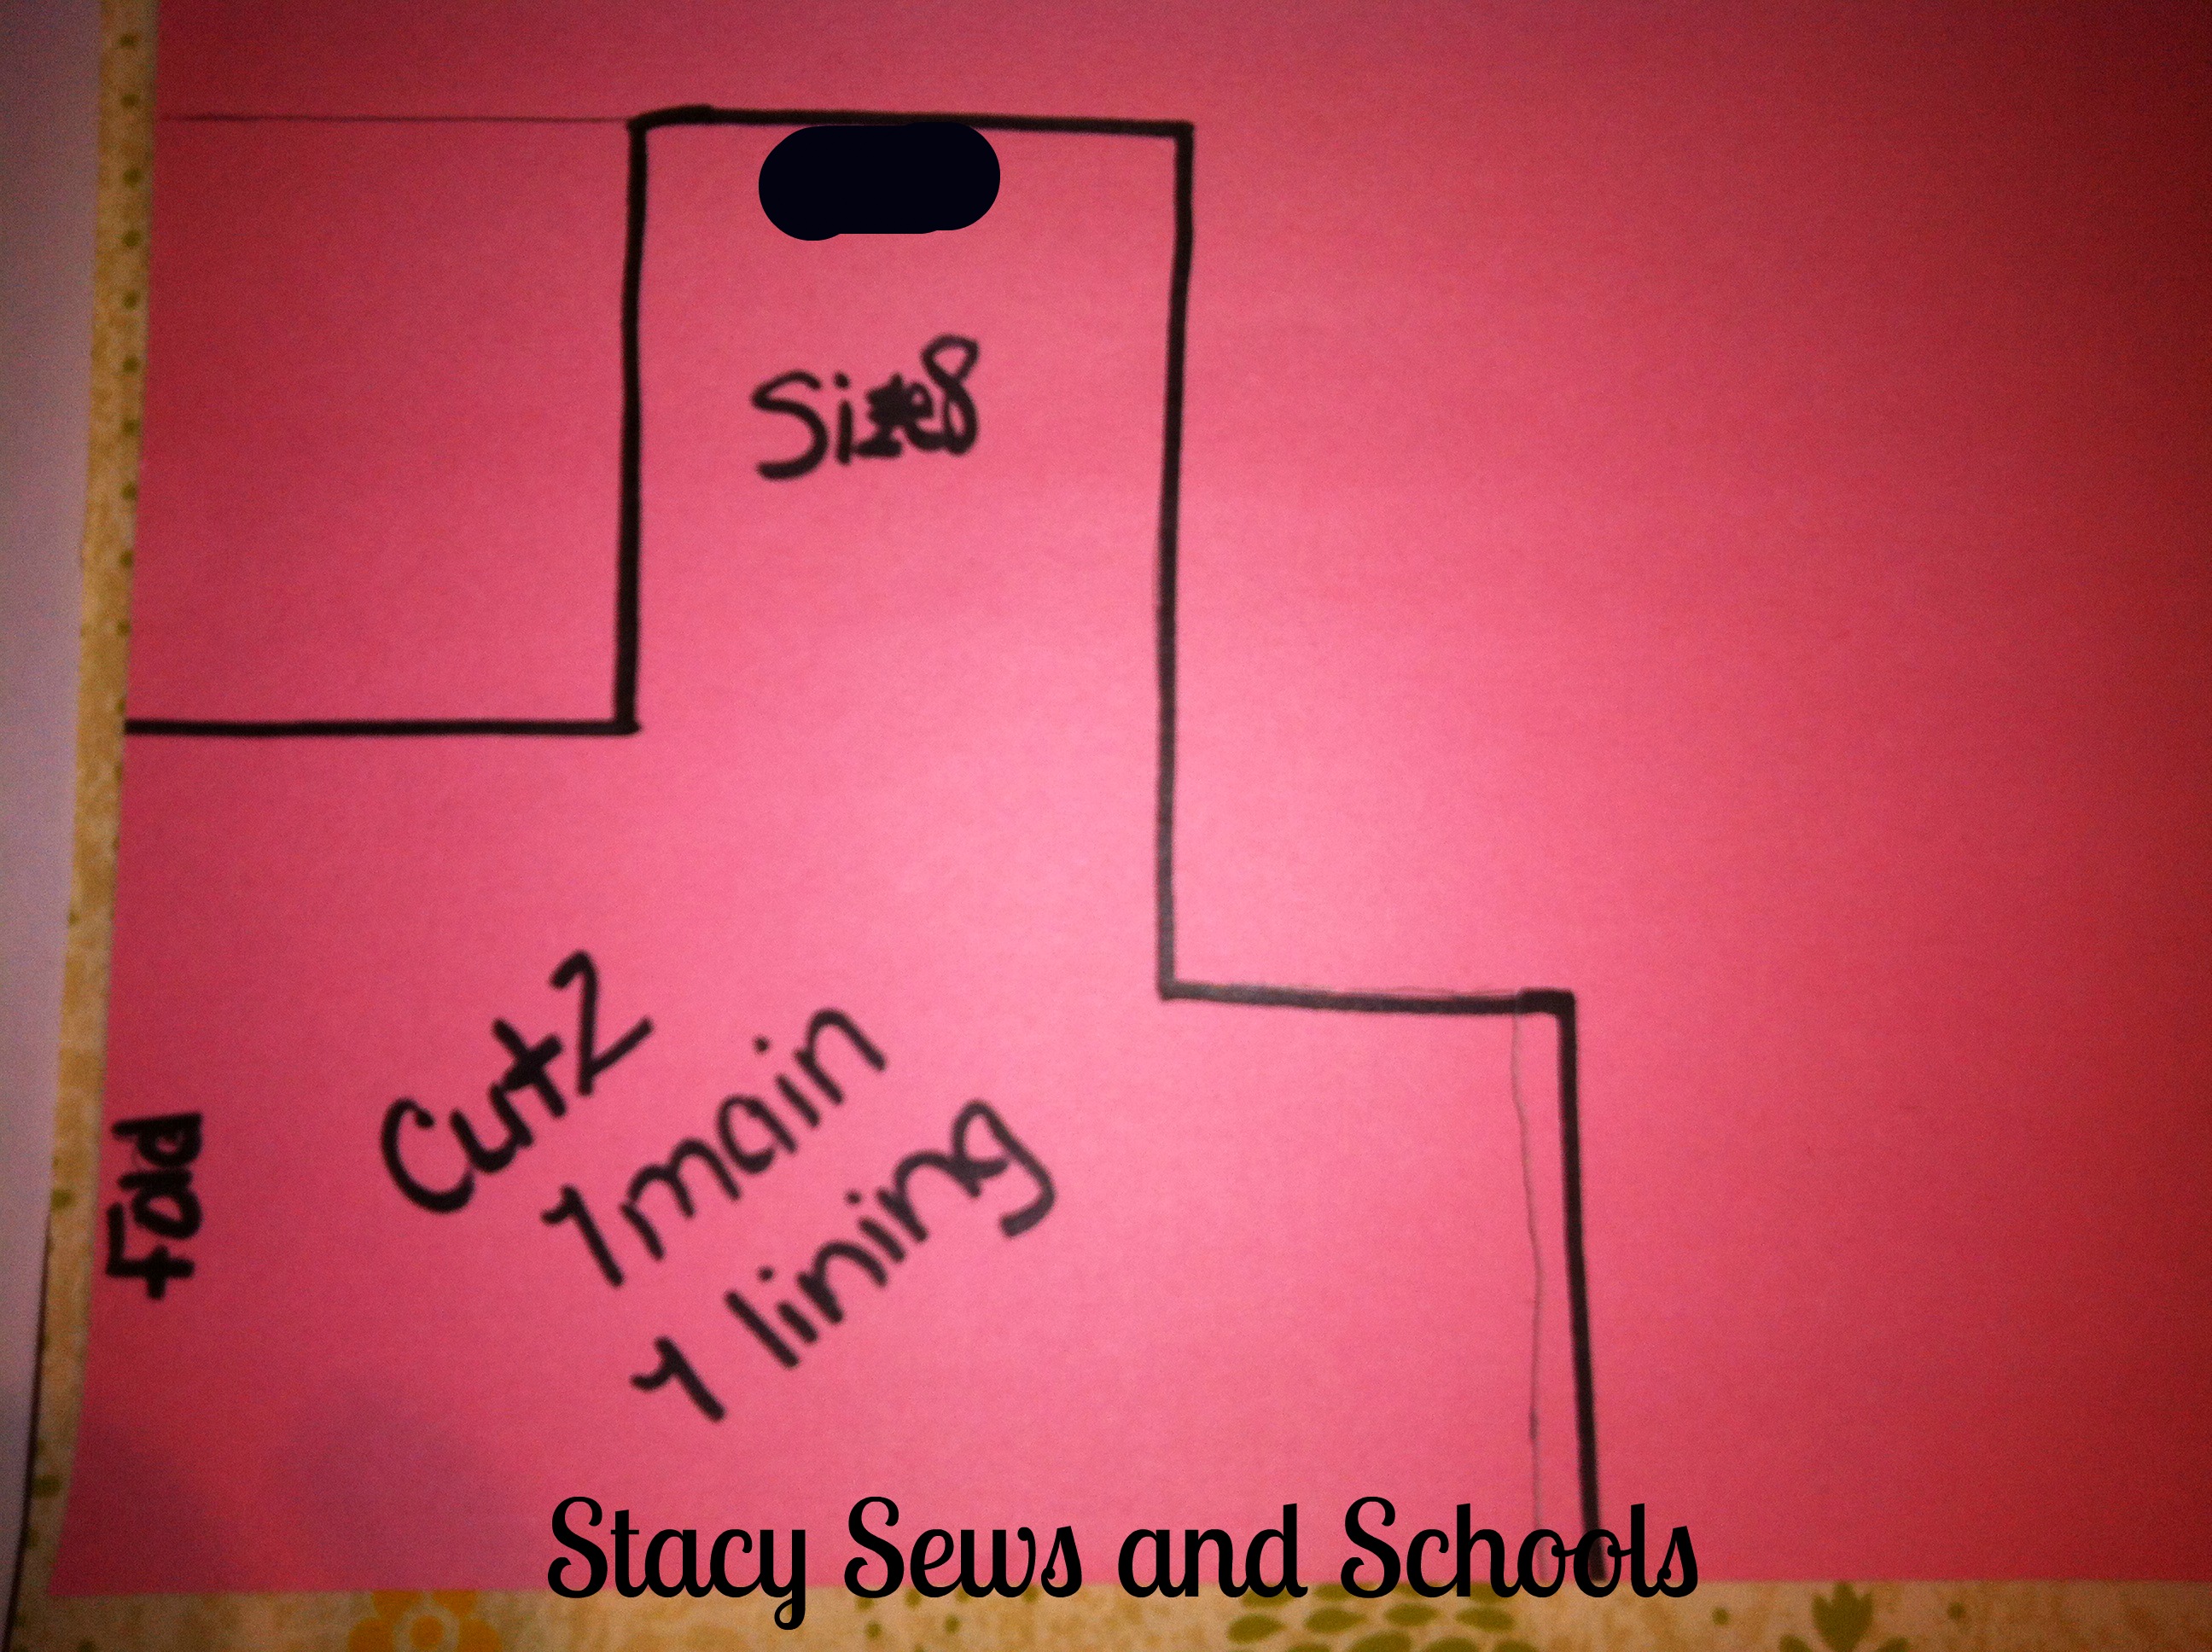
So, then I made a pattern piece after much measuring and figuring. LOL


Sunshine Day Tunic and Clam Diggers 010


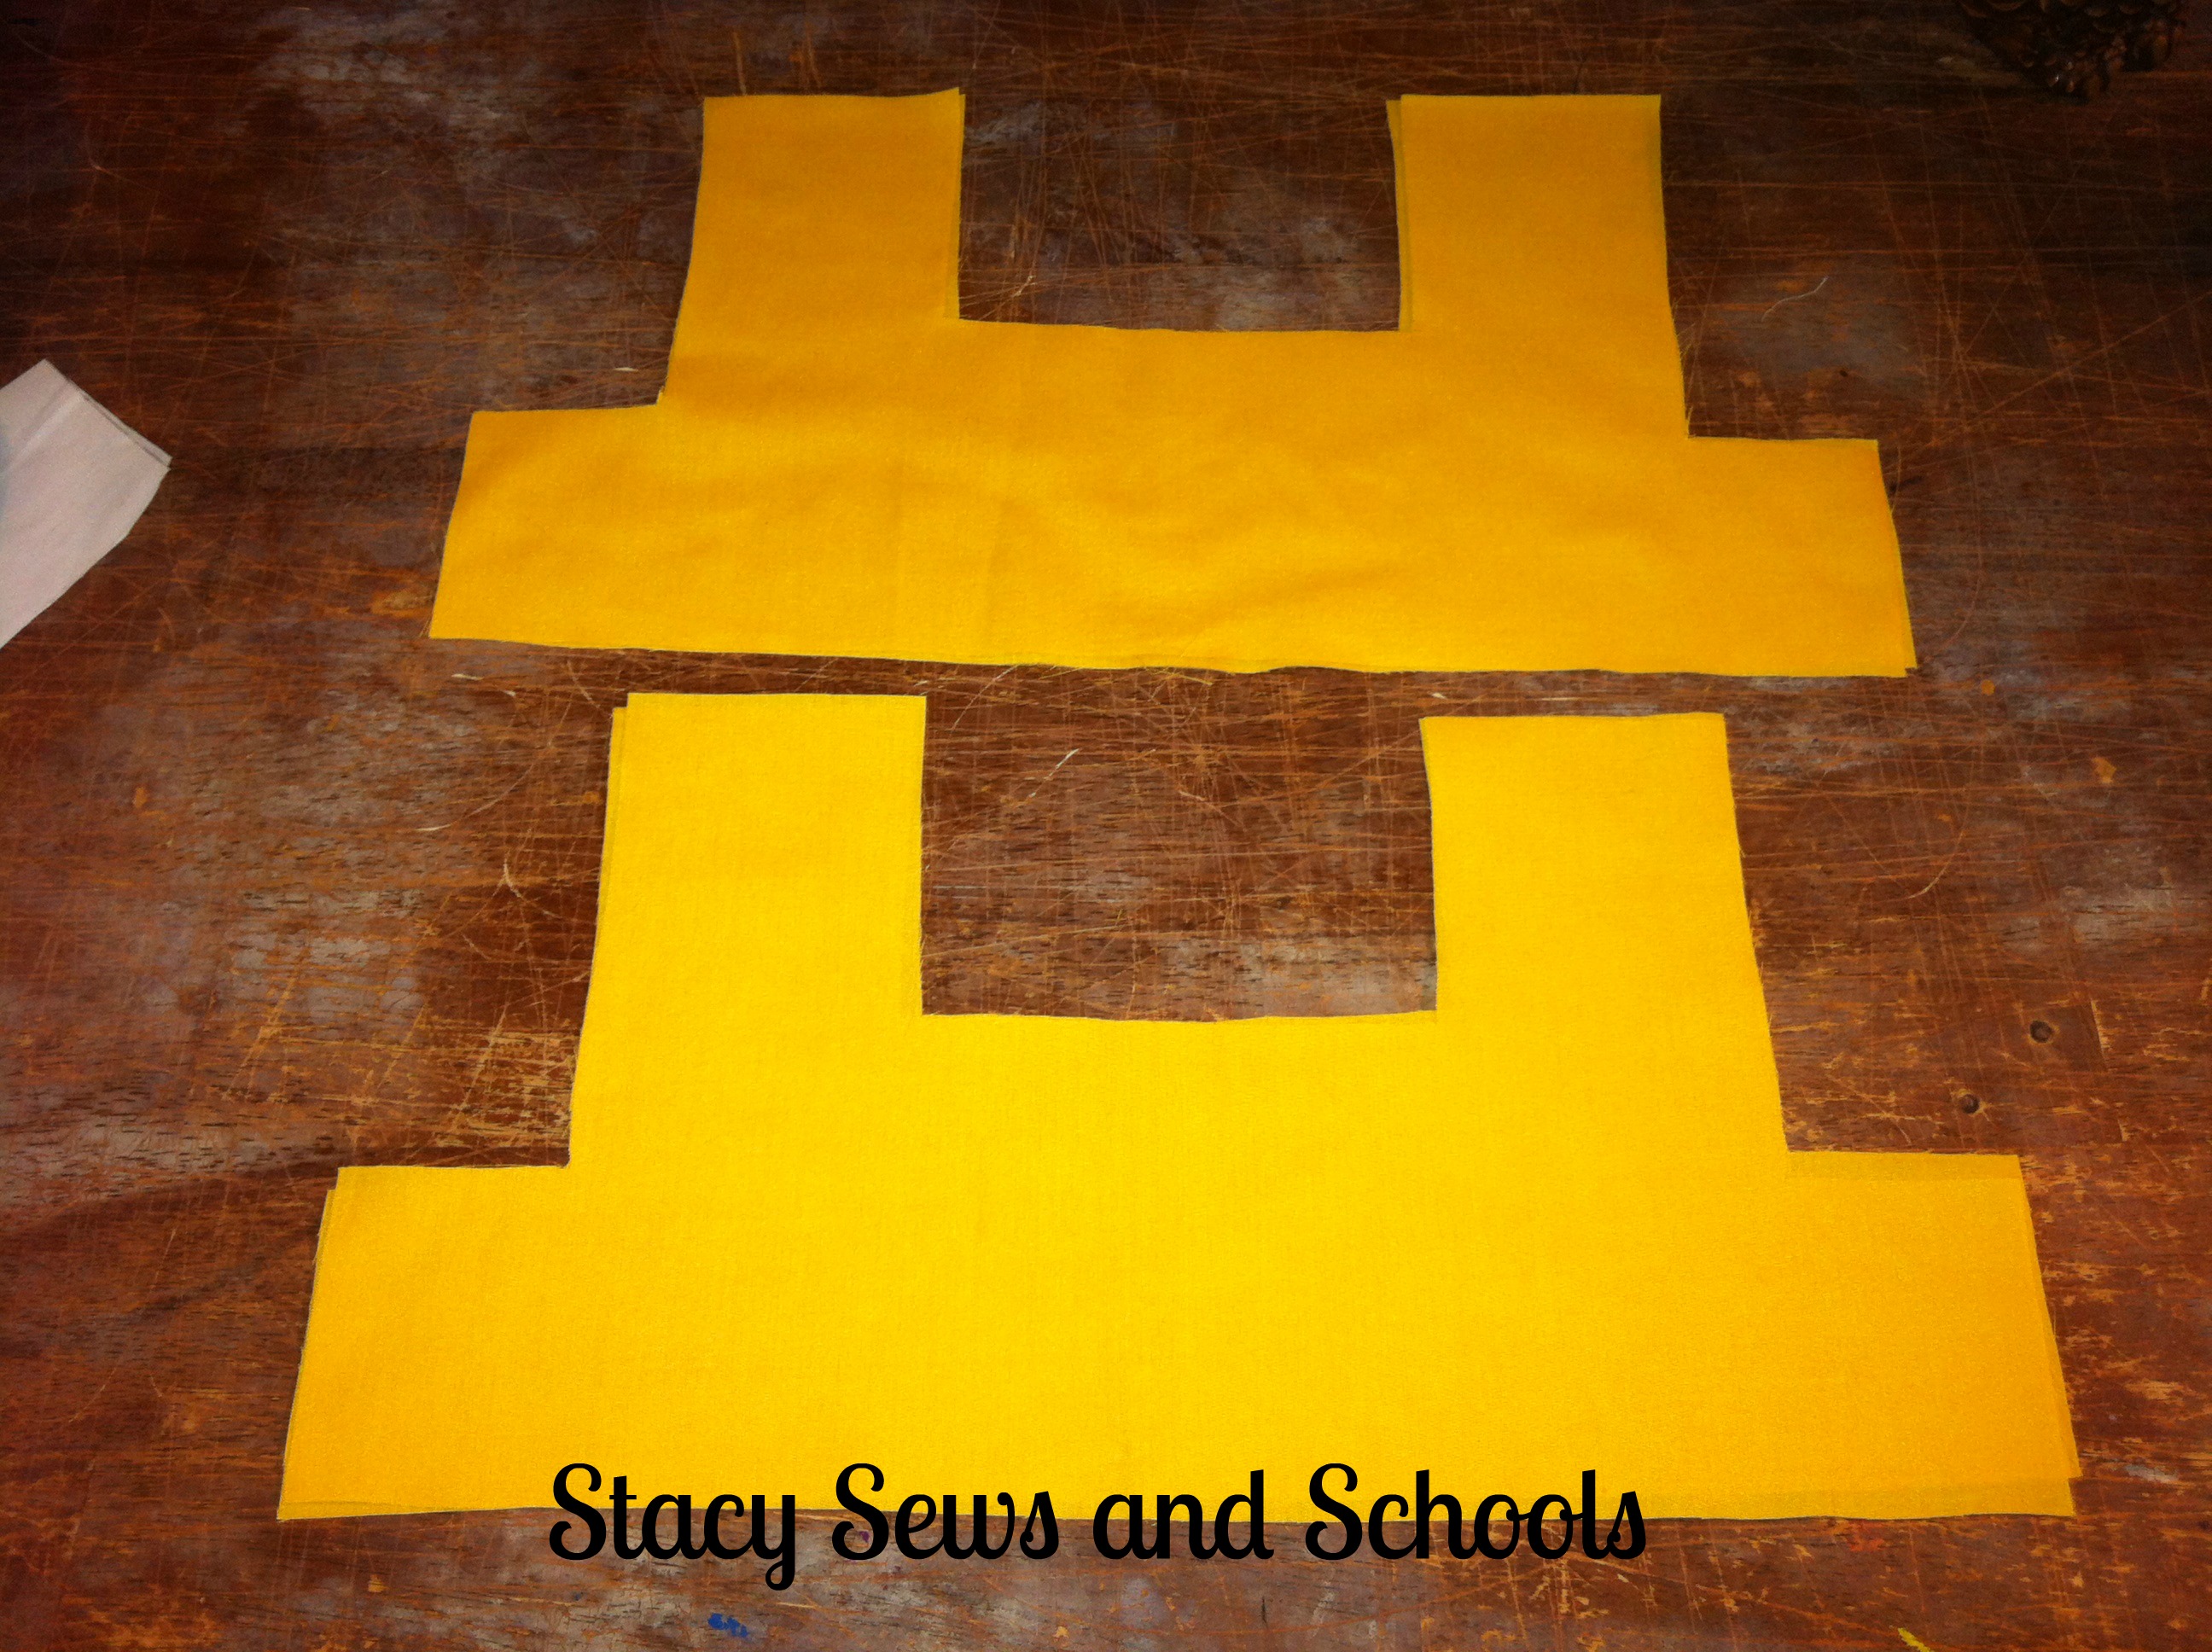
Pin the lining pieces to the main pieces and sew all around, leaving the bottom open.


Sunshine Day Tunic and Clam Diggers 017


Clip the corners, turn right side out and press.


Sunshine Day Tunic and Clam Diggers 019


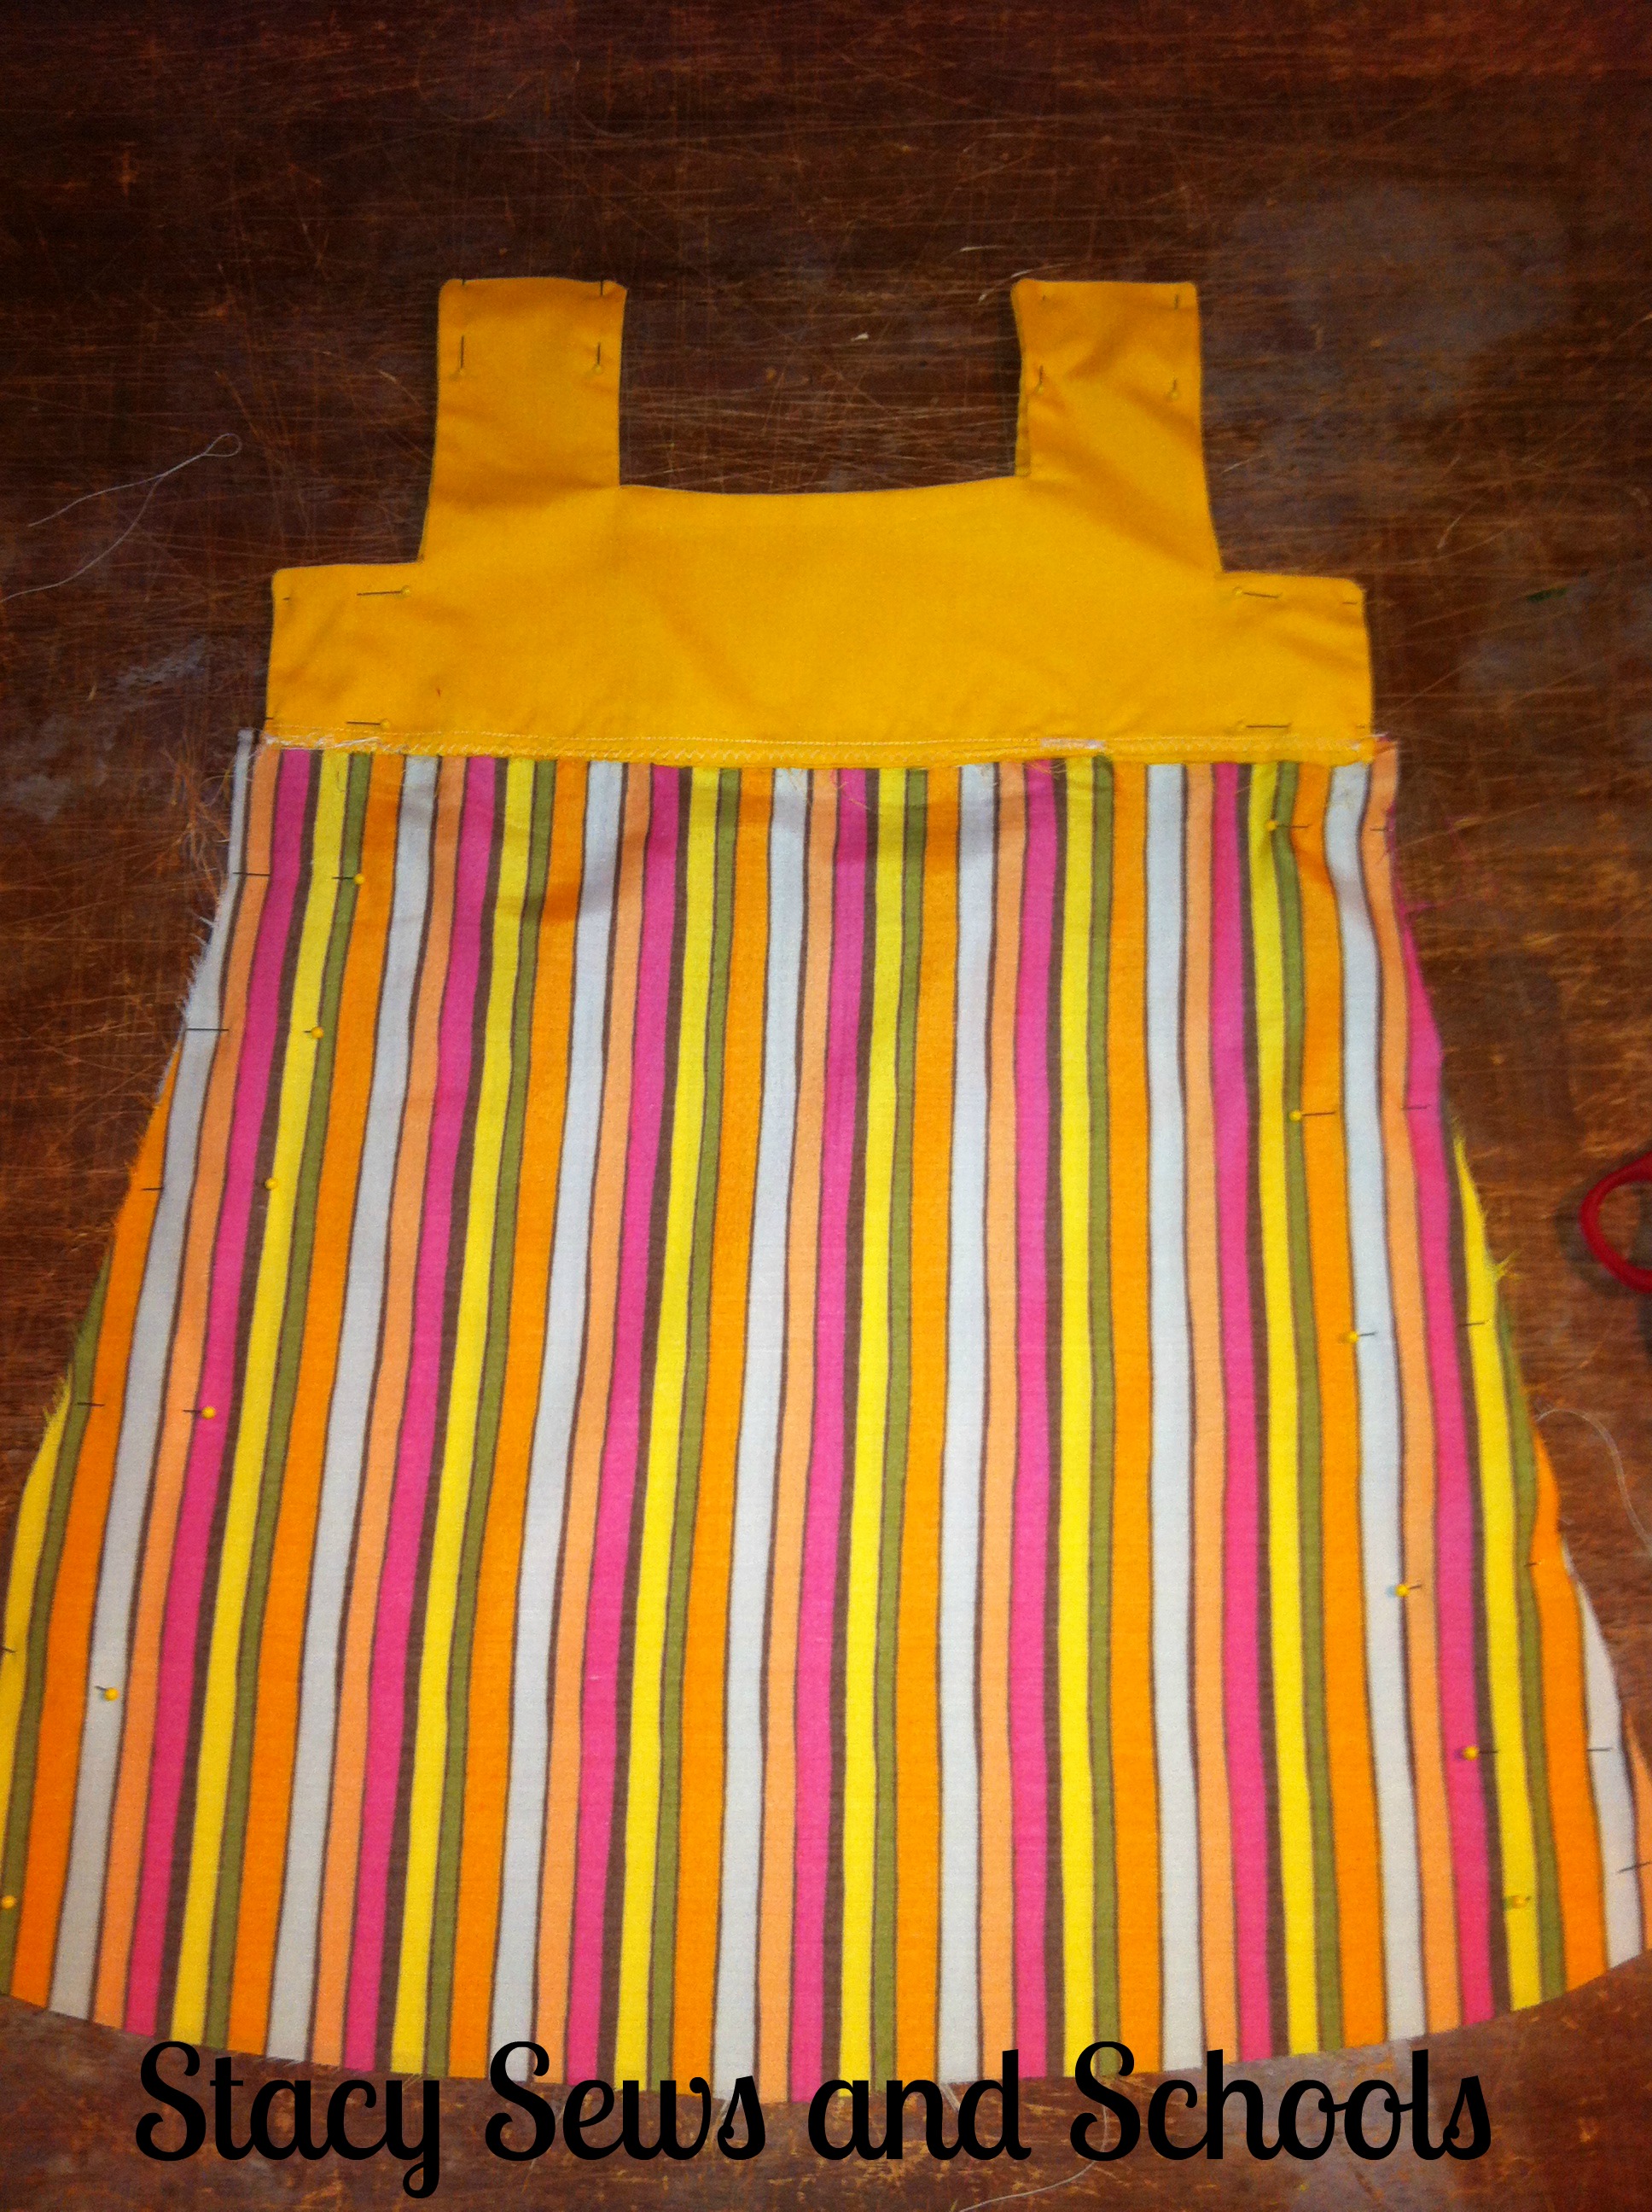
Cut the pieces for the bottom of the tunic. I cut the top of it about a 1/4" wider than the bottom of the yoke.

Make it as long as you like, widening as you go and curving the bottom.


Sunshine Day Tunic and Clam Diggers 020


Pin the bottom of the yoke to the top of the bottom piece, with right sides together. Sew then press your seams.


Sunshine Day Tunic and Clam Diggers 024


Now, pin the front to the back, with right sides together. Sew the shoulder and the sides.


Next, fold up and press 1/2" on the bottom. Then fold up and press 3/4". Sew the hem.


Sunshine Day Tunic and Clam Diggers 026


Remove the cat from your work space.


Sunshine Day Tunic and Clam Diggers 029


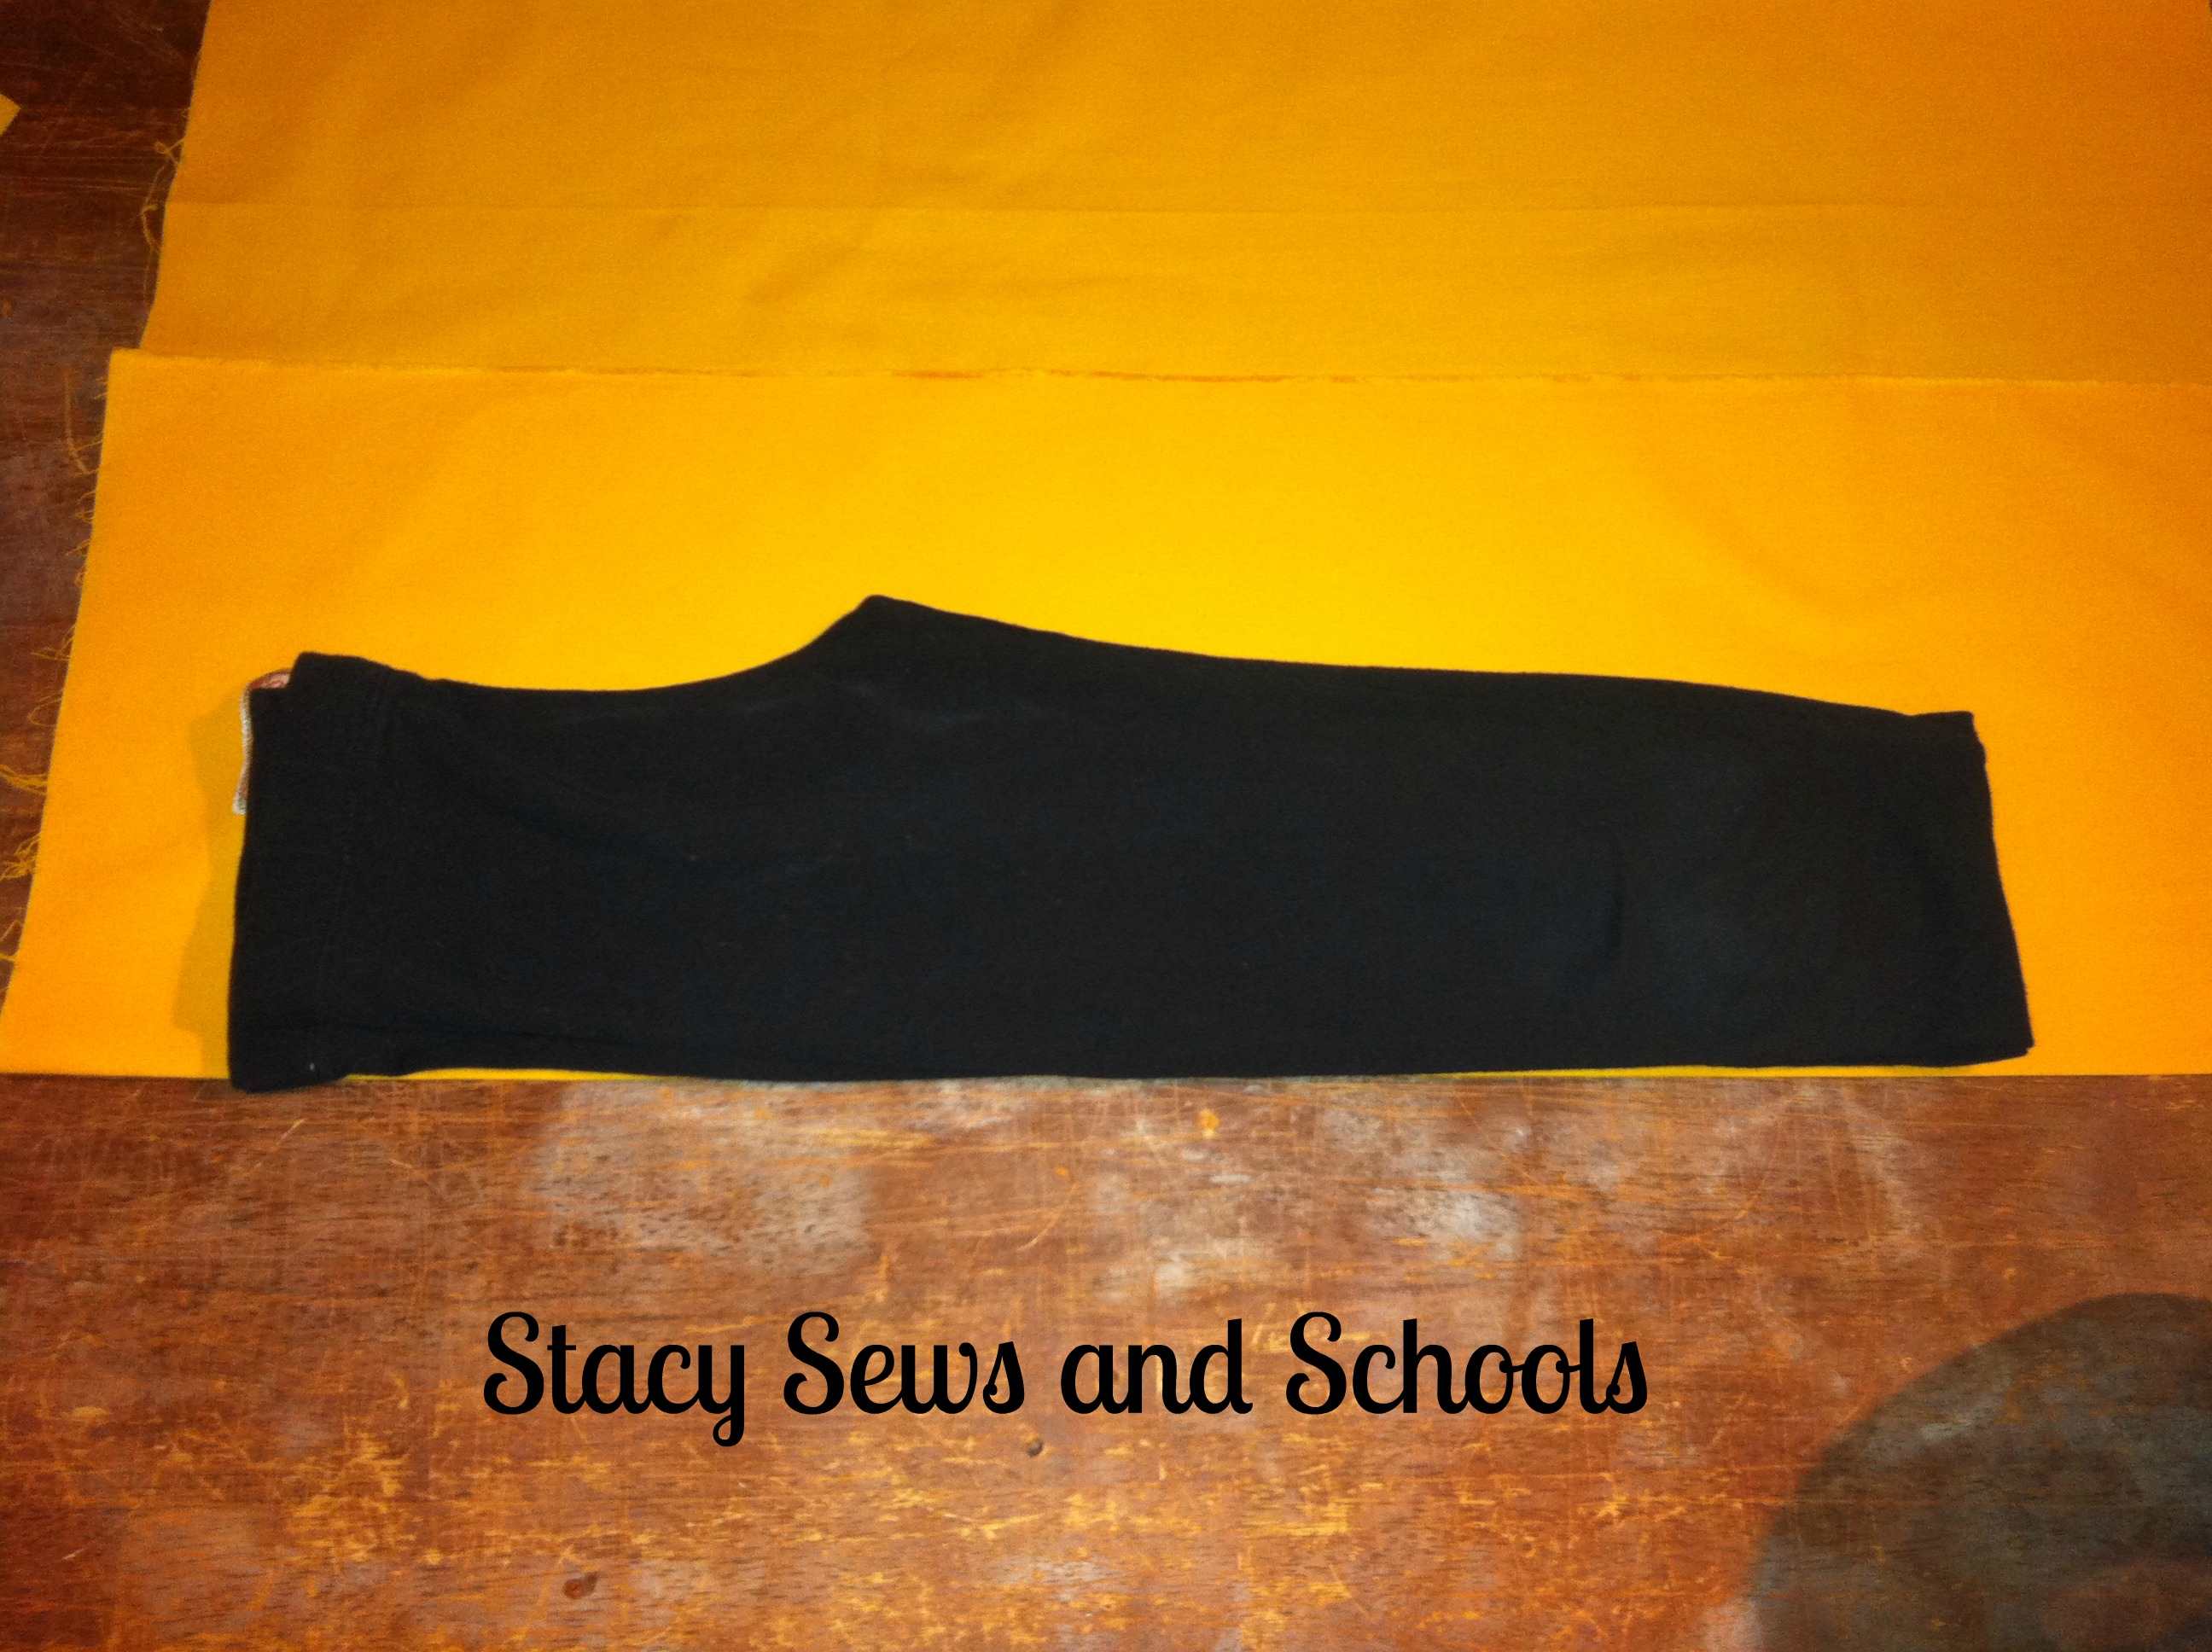
Grab a pair of your child's pants to use as a cutting guide for the clam diggers. Turn up the leg bottoms to your desired length.


Sunshine Day Tunic and Clam Diggers 030


If you have a right side/wrong side fabric, you will want to flip the pants guide over to cut the second leg.


Sunshine Day Tunic and Clam Diggers 032


Sew up the inseam from the bottom to the start of the crotch curve.

(If your child is very small, you will want to hem them first.)


Sunshine Day Tunic and Clam Diggers 035


Turn one leg right side out and slide it into the other leg. Pin and sew.


Sunshine Day Tunic and Clam Diggers 040


Now for the elastic casing. Fold over 1/4" and press. Fold over again by just over 1", press and sew the casing, making sure to leave a section open to insert the elastic.


Sunshine Day Tunic and Clam Diggers 043 Sunshine Day Tunic and Clam Diggers 045


Pin the ends of the elastic and insert into the opening.

Then pull both ends out and secure with zigzag stitches.

Sew the opening closed.


Sunshine Day Tunic and Clam Diggers 047


Fold up and press the bottom of the legs by 1/2". Fold up and press another 1/2" and sew the hem!


Turn right side out and press!


YOU ARE DONE!!!! :D


Sunshine Day Tunic and Clam Diggers 00300 Sunshine Day Tunic and Clam Diggers 00500 Sunshine Day Tunic and Clam Diggers 00700


As always, let me know if you have any questions. You can always use the Contact Me button at the top of the page.

I hope you enjoyed this tutorial!