This is for a very simple maxi skirt with a ruffle on the bottom.

I used 2 3/4 yards of fabric and a 9" invisible zipper. That's all you need! See? Very simple. ;)

You are going to start by cutting your waistband. You want it your waist measurement +1" and 4" wide.

Next you are going to cut the fabric into sections. Cut 2 sections the length you want your maxi skirt to be -12". I kept mine the width of my fabric which was 45".
The picture shows 4 sections. I started by cutting mine all the same length... LOL

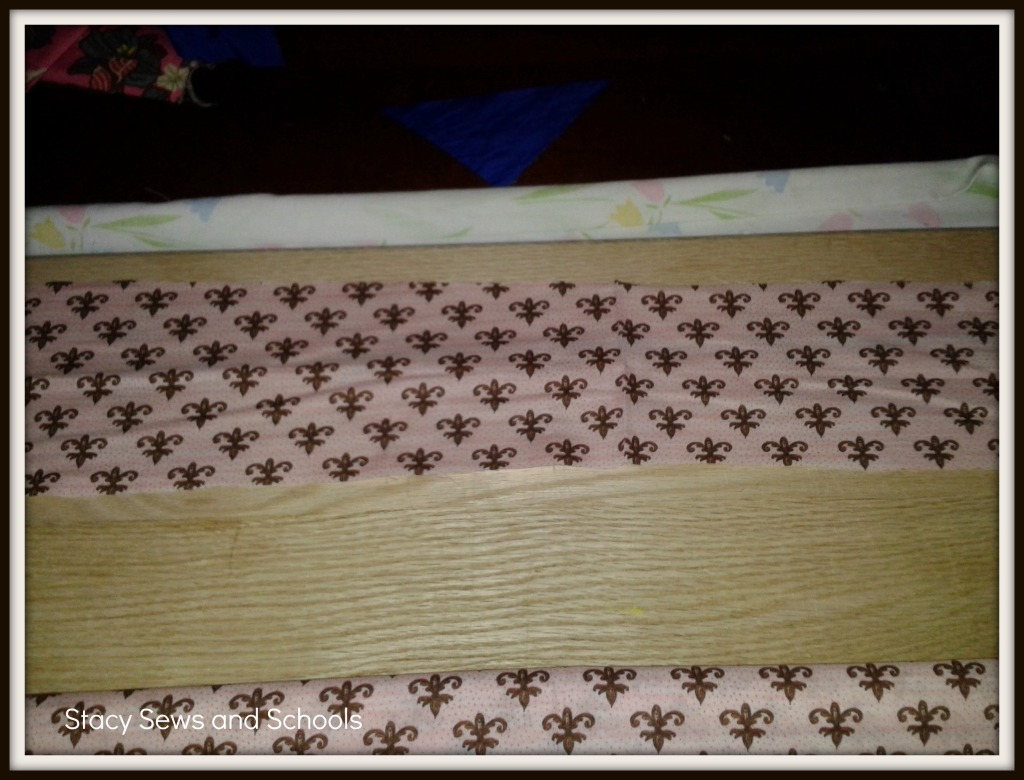
Next you are going to cut the remaining sections into 4 strips that are the width of the fabric long by 14" in width. Make sense?? They will be the width of the fabric this way ---------------------- And 14" inches this way
.
.
.
.
They will become the ruffles on the bottom of the skirt.

Now it's time to sew the front panel to the back panel. Just pin them with right sides together and sew the seam.

Next you are going to sew a gathering stitch into the top of the skirt. To sew a gathering stitch on my machine I set the stitch length and the distance length to the highest settings. Then I pull slightly on the unsewn fabric as it goes through the machine.

Now you are going to create your waistband. Fold your strip in half length wise and press. Fold in one edge a 1/4" and press.

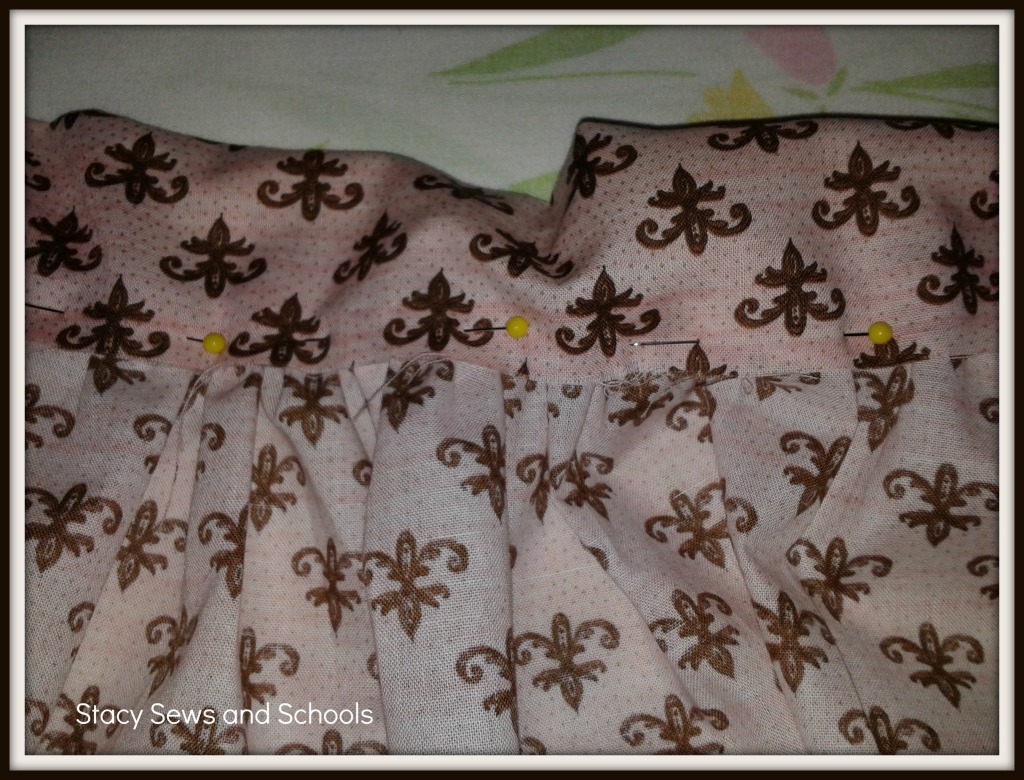
Next you are going to open up the waistband and pin it to your skirt top adjusting the gathers as you go. I usually pin both ends and then pin the middle. Then I will adjust the gathers in between the pins.

Now, sew the waistband on. Don't look tooooo closely at my stitches, please. My bobbin thread has been giving me all kinds of issues no matter what I do! GRRR!! I guess it's time to oil it!
Next, you are going to take your 4 strips and sew them together. But don't close them up. Leave the sides open.
And I forgot to take a picture of that part. Sorry!!

Now, you are going to sew a gathering stitch across the top.
Then with right sides together, pin it to the bottom of your skirt. Sew it together.

Remove the cat from your fabric. (There you go, Carol! LOL)

Now we are going to hem it! Fold up an inch and press. Fold up another inch and press. Pin it up and sew it up! :) (I actually folded mine 2 inches up and then another 2 inches, but you won't have to do that... LOL)

Now pin one side of your zipper to one side of your skirt and sew. You don't HAVE to have a zipper foot (I don't) but they make this step SOOOO much easier.
Then pin and sew the other side!

Now we are going to do our side seam. Starting at the bottom of the zipper, pin the 2 sides together (right sides together). Sew it up!
ALL DONE!!!

As always, let me know if this is easy to follow and if you make it LET ME KNOW!!! ;)
Tomorrow I will be working on a blouse to go with it. But first I need to get some fabric!! LOL I'm not sure if I want to go with the pink or the brown... What do you think??
I'll be using this pattern.

Linking up at Adorned From Above

Stacy, maybe it's me, but I didn't quite get this instruction:
ReplyDeleteNext you are going to cut the remaining sections into 4 strips that are the width of the fabric long by 14″ in width. Make sense??
Does that mean, they'll be the length you want the dress to be -12" (as the earlier instruction said) and 14" wide?
Sorry! I was afraid that might be confusing.
ReplyDeleteThey will be the width of the fabric this way ---------------------------------- (mine were 45")
And 14" this way
.
.
.
.
.
Does that help? The strips will become the ruffle at the bottom of the skirt.
OMGosh!! I forgot to add in the zipper!! YILES!!! Doing that now! :/
ReplyDeleteYes, that makes sense. I was too busy being befuddled by numbers to notice that these were the ruffle pieces.
ReplyDeleteThat's OK! Not sure how plain I made that... LOL
ReplyDeleteMy own personal "shout out" I'm so PROUD!!
ReplyDeleteROFL!!! Of, course!
ReplyDeleteGreat skirt. I wish I could sew like you do. Thanks for sharing at the All Star Block Party.
ReplyDeleteAww!! Thank you SO much!! You are too sweet!!!!!
ReplyDeleteAwesome job!
ReplyDeleteMrs. Delightful
www.ourdelightfulhome.blogspot.com
I don't sew (my Mom was an expert but I've never learned) but I must tell you that I LOVE this skirt. Very nice design and I'd love to wear it :
ReplyDeleteAnd you cracked me up with "Remove the cat from your fabric"
Beautiful job I also love the top pattern. I have a Blog Hop, and I would love it if you would link this post. You can find it at
ReplyDeletehttp://www.adornedfromabove.com/2012/07/3-face-masks-from-your-kitchen-and.html
It is called Wednesdays Adorned From Above Blog Hop.
I hope to see you there. Have a great Day.
Debi Bolocofsky
Adorned From Above
www.adornedfromabove.com
Thank you SO much, Winnie!!!
ReplyDeleteROFL!! My darn cats are ALWAYS in the way!!!
Thank you SO much!! On my way to link up! :)
ReplyDeleteThank you SO much!! :)
ReplyDeleteGreat tutorial Stacy! I LOVE the fabric too!
ReplyDeleteThank you, Christine!!! :)
ReplyDeleteYou really did a great job with this skirt. Thank you so much for linking with Wednesdays Adorned From Above's blog Hop.
ReplyDeleteDebi
www.adornedfromabove.com
THANK YOU!!!! :)
ReplyDeleteI'm glad you included the tip about the cat, I never know when to leave mine and when to remove her. I'd love for you to link this up at my party!
ReplyDeletehttp://www.chickenscratchny.com/2012/07/whats-cluckin-11.html
ROFLOL!!!!
ReplyDeleteOn my way to link up!! Thanks! :)
Very nice Stacy! I love that fabric, super cute! Thanks so much for sharing at The Fun In Functional!
ReplyDeleteTHANK YOU SO MUCH, Jessi!!! :)
ReplyDeleteVery pretty Stacy!
ReplyDeleteTHanks for sharing!
Thank you, Stacey!!! :)
ReplyDeleteGreat skirt pattern, and the blouse pattern you chose to go with it is stunning! I'll be looking for that pattern too. Thanks for sharing!
ReplyDeleteI am going to make this skirt. I love it. I am a bit confused about the 12'' thing but will probably figure it out when I get going. I think your top will look good in either color but the brown might be easier to match than the pink. This is my first time here and I will be back. Thanks for the cute pattern/tutorial.
ReplyDeleteThank you so much, Linda!!!! :)
ReplyDeleteTHANK YOU, JUDY!!!!!!
ReplyDeleteIt was a pain to try to match either one! LOL But I finally found some very pale pink that seems to be OK. Not what I was hoping for but it works. ;)
Great idea ! I think I can do this...your tutorial is great!'s Go with the brown shirt, summer's over and I think it would look amazing
ReplyDeleteTHANKS, Ter!!!!
ReplyDeleteGREAT idea!!
OHHH!!! I need to see if I can find some brown slub knit!!! That would be awesome!!
can someone tell me where I can get the Blouse pattern show above?
ReplyDeleteIt is McCall’s 6467. You can search for it on the McCall's site. I actually picked mine up for 99cents at either Joann's or Hancock's during a sale. ;)
ReplyDelete69 years old and a beginner at sewing. How would I change the waistband to elastic? I really like the skirt, but have no idea how to do it
ReplyDeleteTo change the waist band to elastic is fairly simple. You don't even have to cut a separate piece. Here is a link to show you how - http://stacysewsandschools.wordpress.com/2012/07/24/sewing-for-charity-part-3-the-skirts-tutorial/
ReplyDeleteFollow the maxi skirt instructions except for the parts about the waistband. For that go to the above link and follow the instructions for the elastic waist. :)
Good luck and welcome to sewing!!! :)
[…] ONE!!!!! – Fleur de Lis Maxi Skirt – July 3, 2012 4,992 […]
ReplyDeleteHello Stacy....thank you for the tutorial on the skirt! I too will probably make the one with the elastic waist because I hope to loose some weight and it might be more adaptable to my changing size. Thanks for making it look so easy! Karen
ReplyDeleteGOOD LUCK!!! With the skirt and the weight loss!!!!
ReplyDeleteI usually make my stuff with the elastic... You just never know... LOL
Loved the tutorial and I will be making this skirt but I think that it might be easier for me to hem the ruffle pieces first then gather and attach. (After removing the cat) Unless there is a reason you think that hemming first would be a mistake.
ReplyDeleteI think it would work just fine that way. I don't see any reason why it wouldn't. I just always hem last. ;)
DeleteSorry it took me so long to answer your question, I've been super busy.
Hey Stacey, FYI bobbin thread issues are generally caused by dull needles, swap out your needle, reset your bobbin thread tension and give it a try.
ReplyDelete