Once again, there seems to be a couple of steps missing in my pictures. I have been getting caught up in it and forgetting to take the pictures! SORRY!! But I can still walk you through those steps. ;)
What I Used -
1 yard of red poly blend knit - very light
1 1/2 yards of pink knit - thicker
1 yard of red jumbo rickrack
Headband -
1 group of fake roses from the Dollar Tree
1 stretchy headband from the Dollar Tree (sold in a group of 3)
hot glue gun
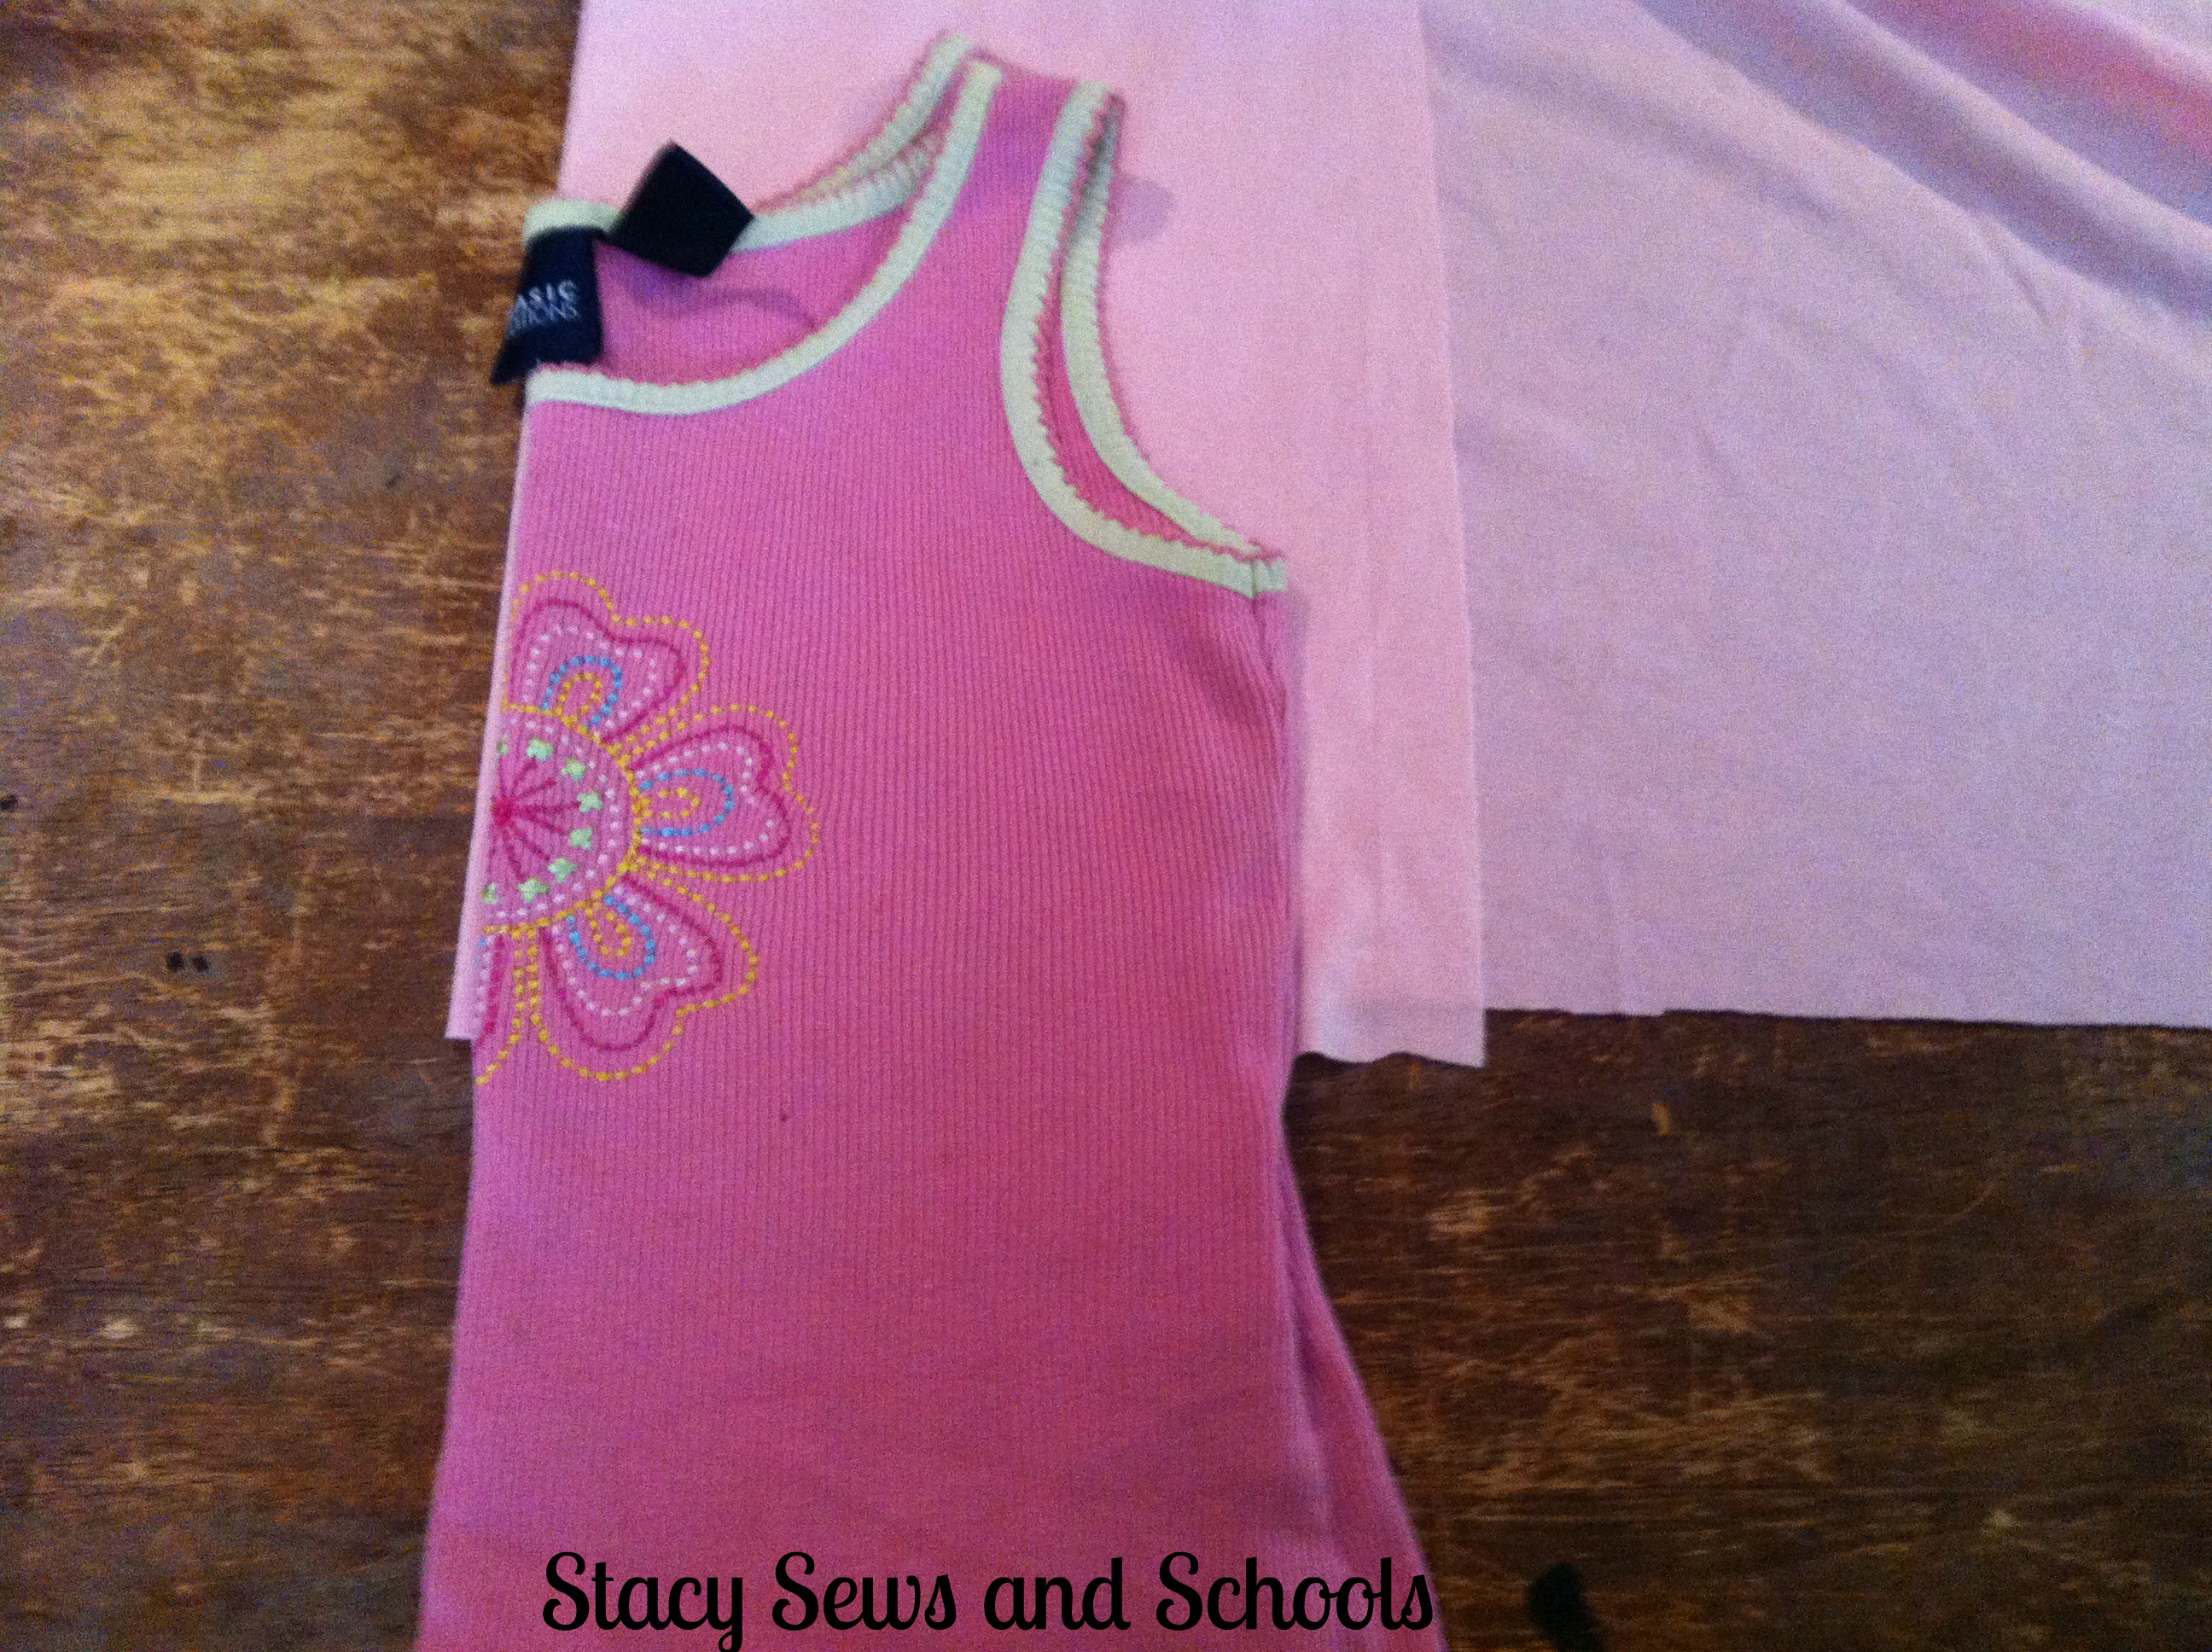
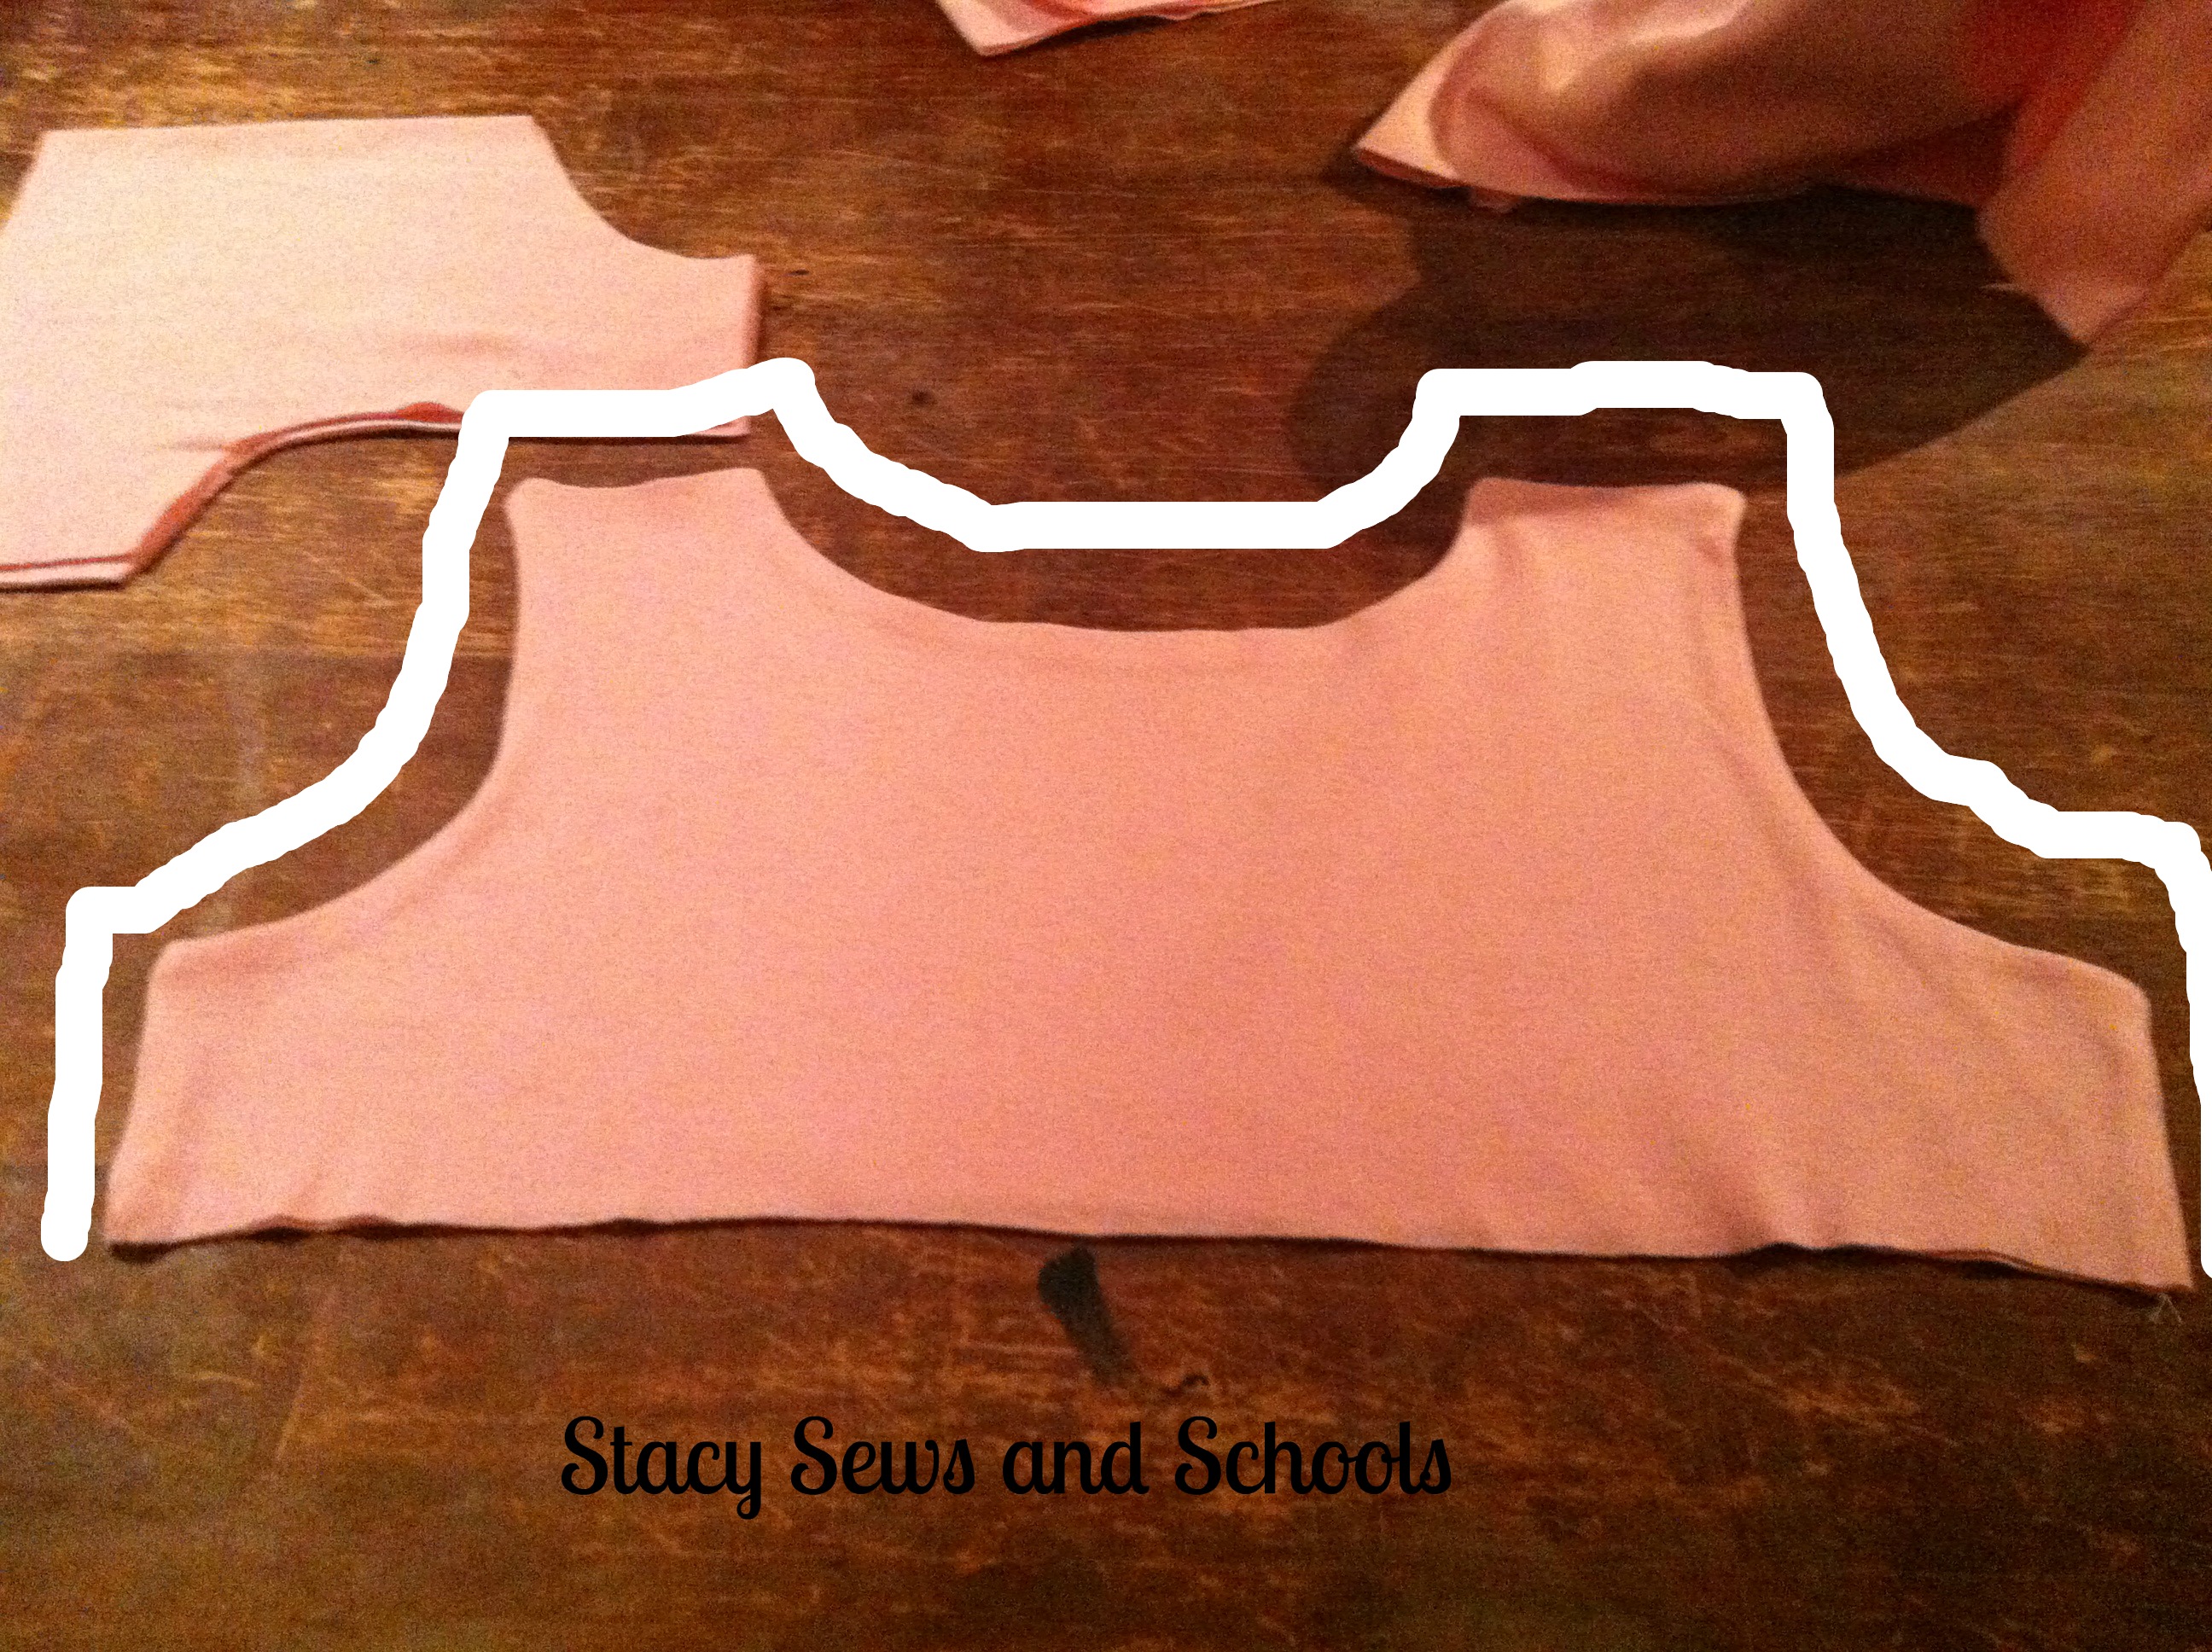
I took a tank that fits Cailey well and used it as my cutting guide. I wanted the top to have a very high waist so I let the top hang WAY off of the folded fabric.
Be sure to cut all the pieces on the fold!
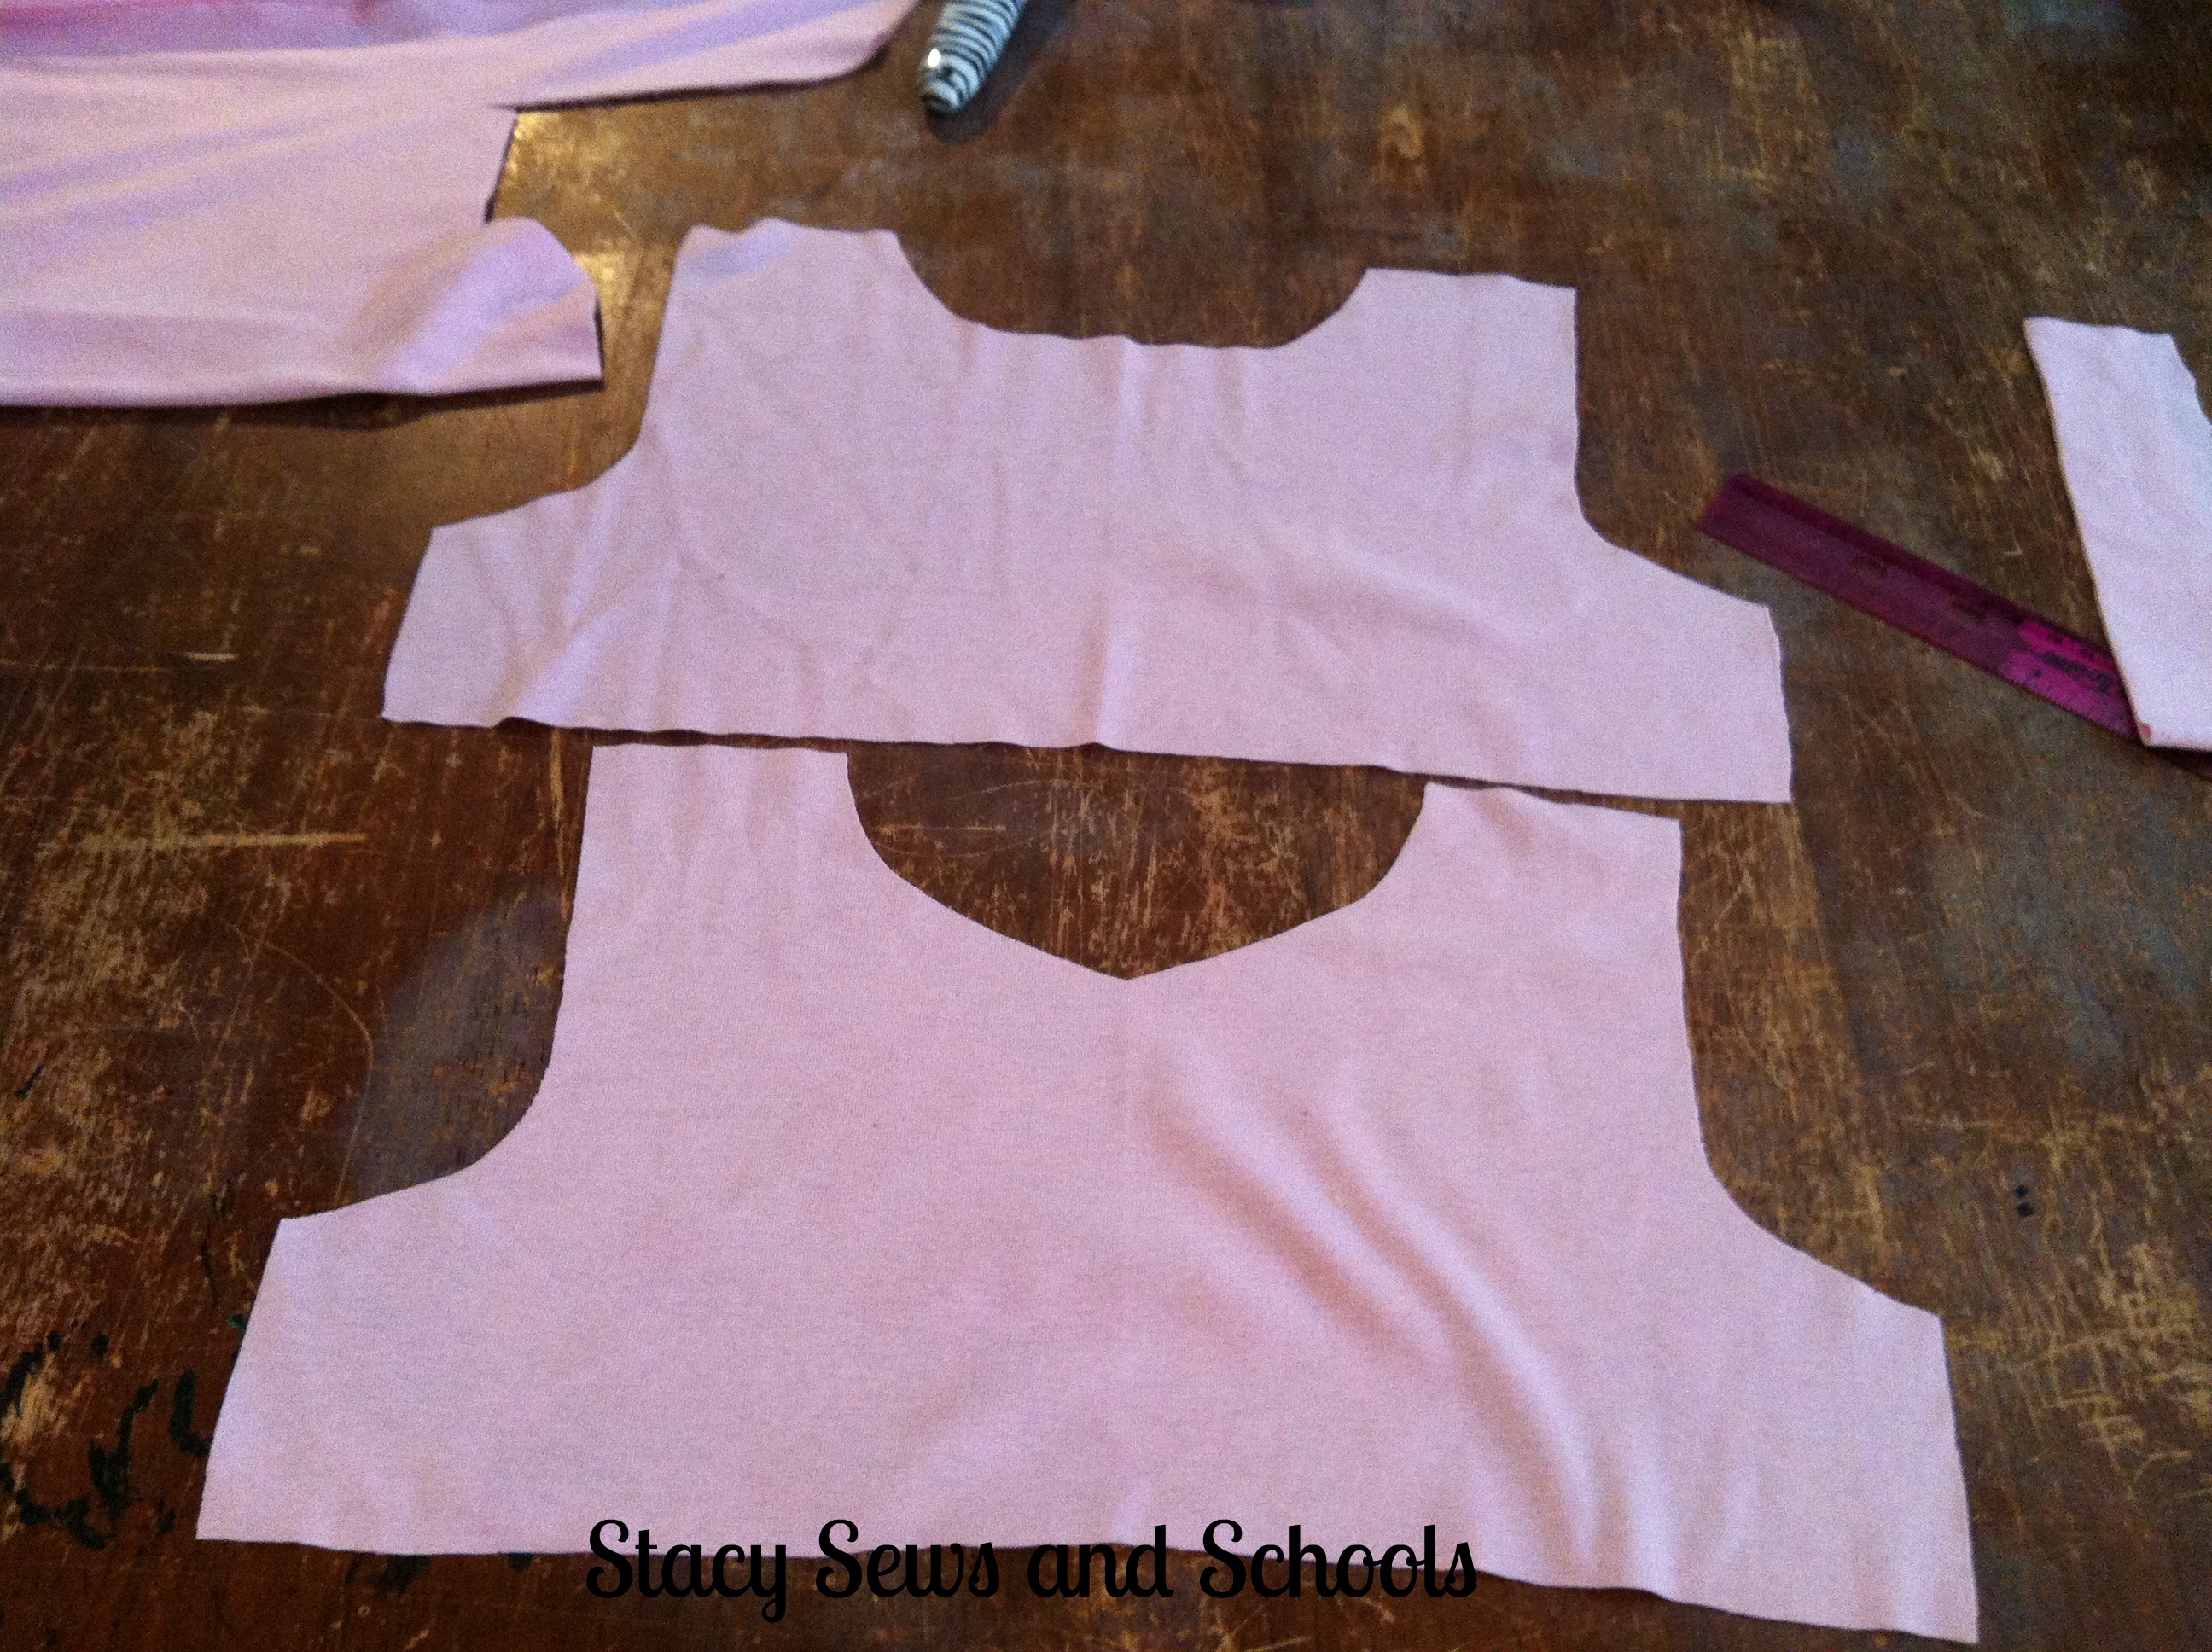
Cut 2 front bodice pieces and 2 back bodice pieces. (This shows 1 of each.)
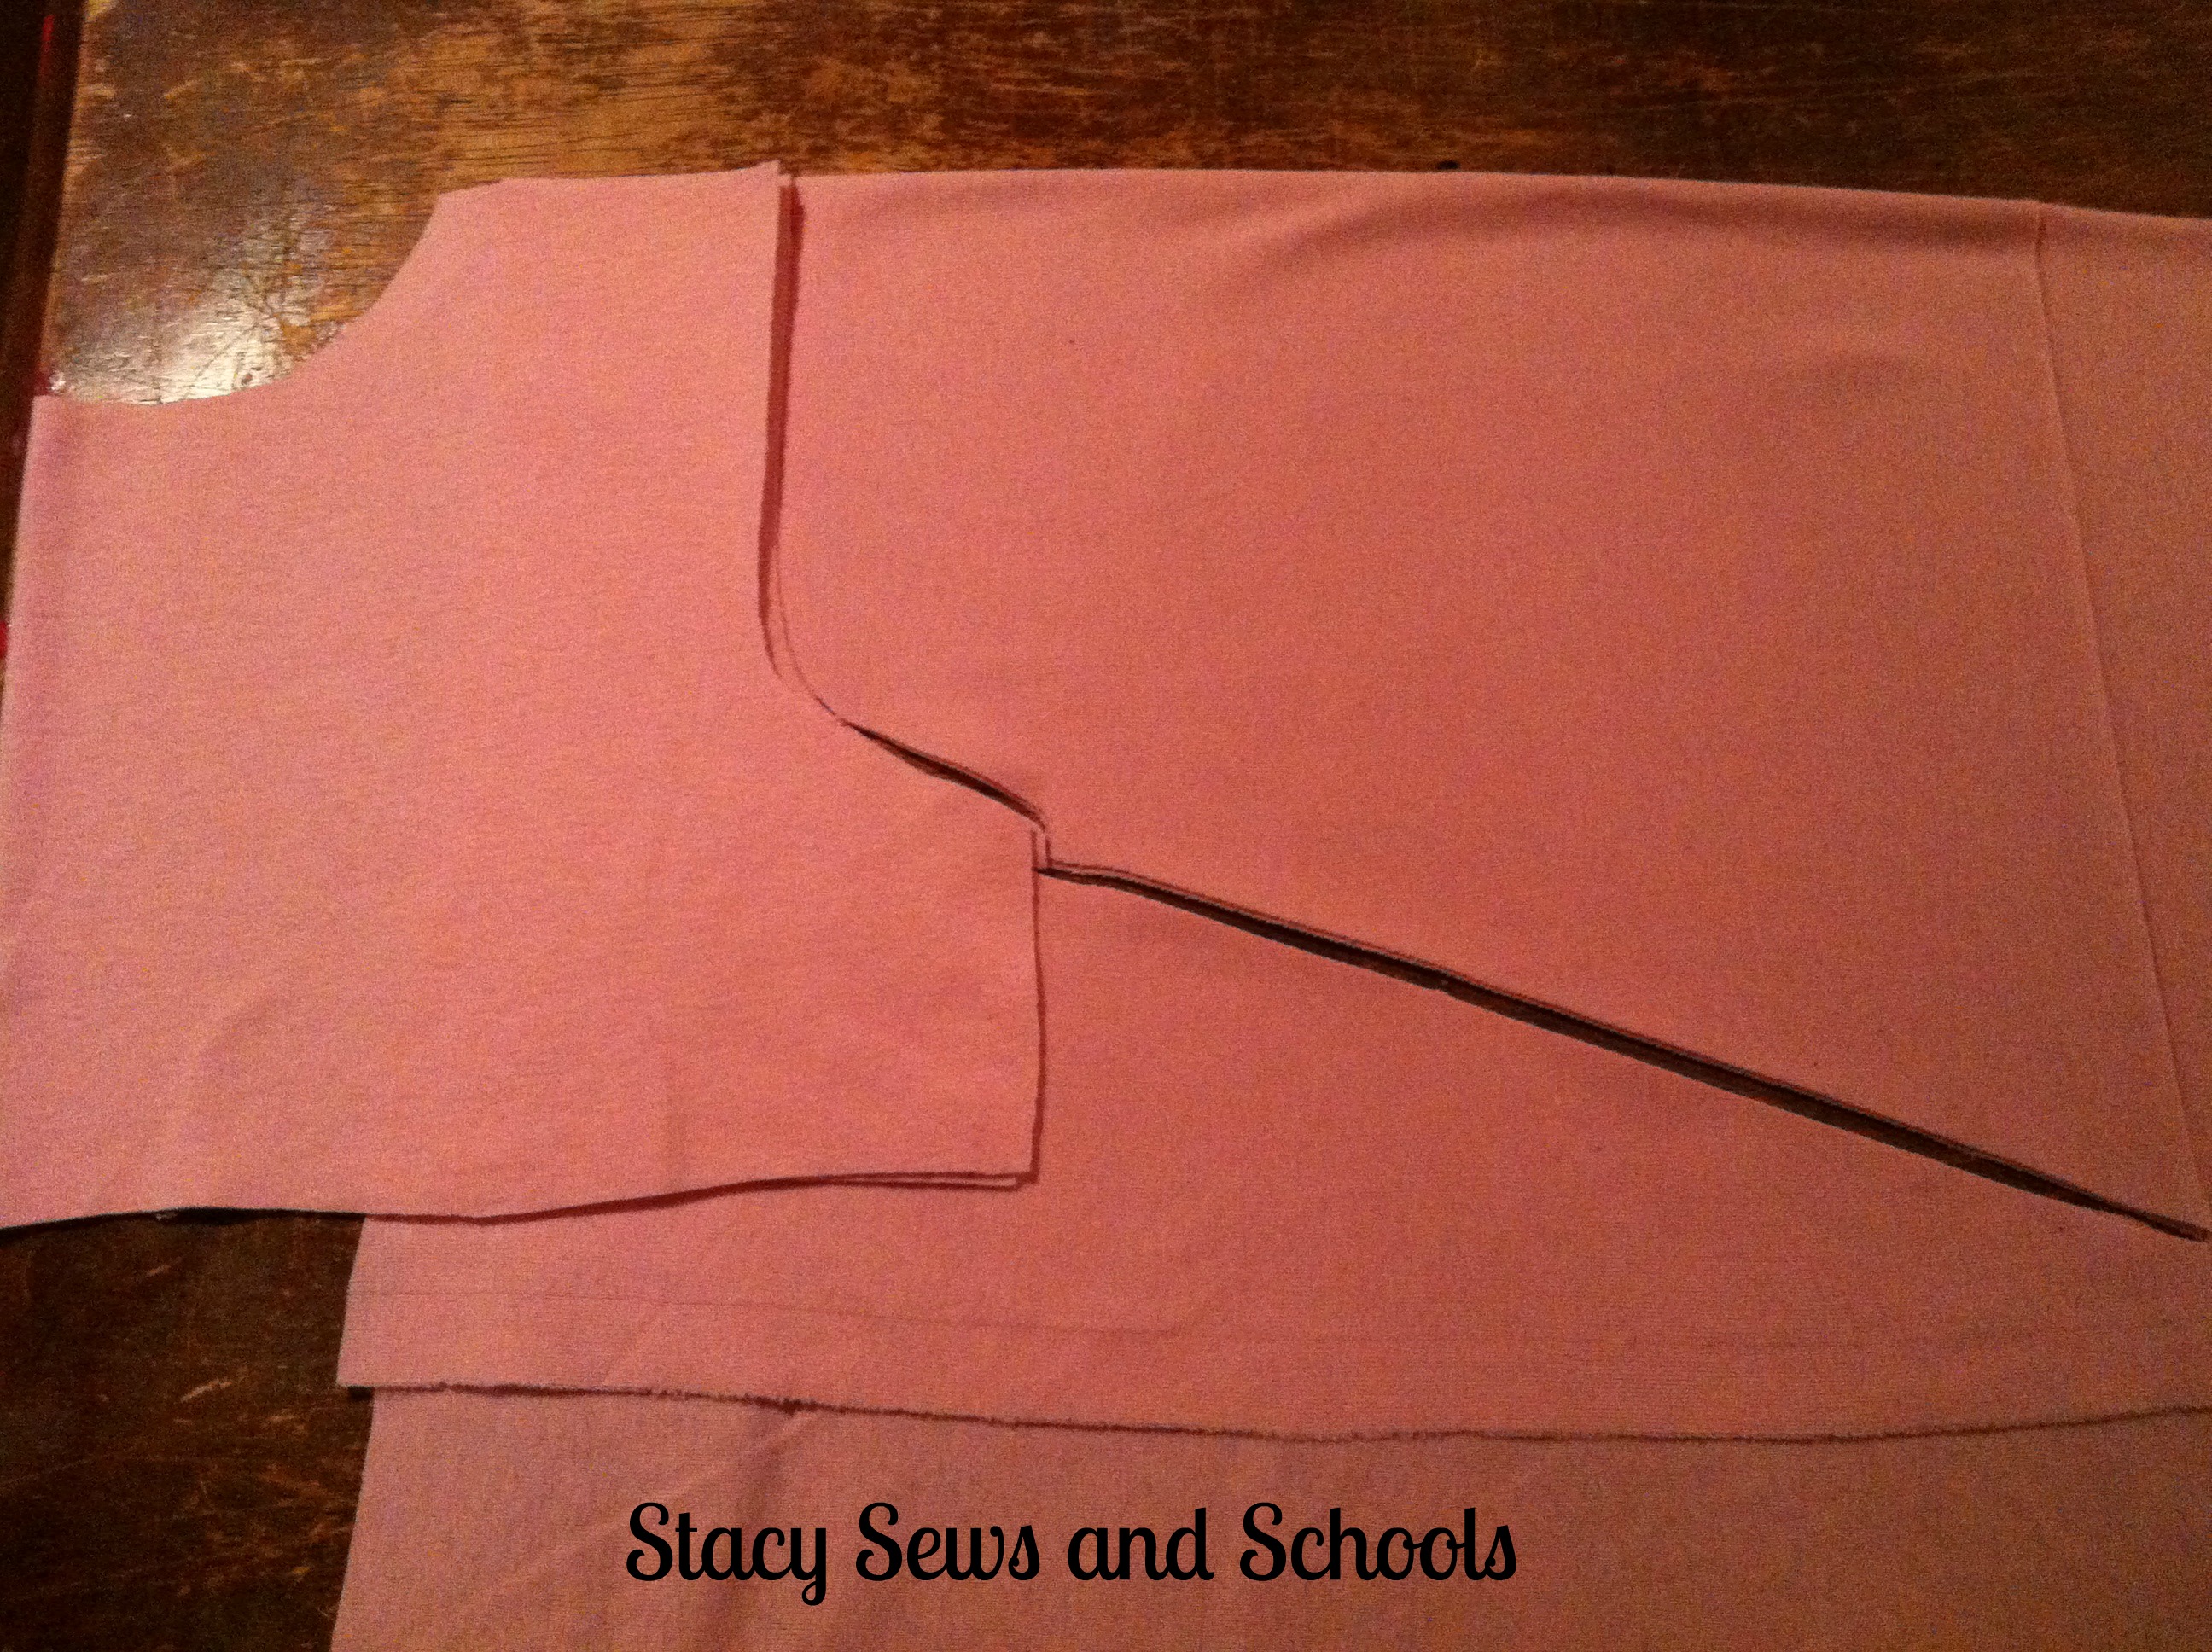
To cut the sleeves, place one of your bodice pieces on the folded fabric with the shoulder lined up with the fold. Then cut at a widening angle. This will create sleeves that get wider as it goes down the arm.
I cut them to hit just below the elbow, not quite 3/4 length.
The next part to cut is the part from the bodice down. I apparently forgot to take a picture of this part, but it's very easy. You want it to be 2 times the total width of the waist and the length can be as long or as short as you like. You just cut a large rectangle at those measurements.
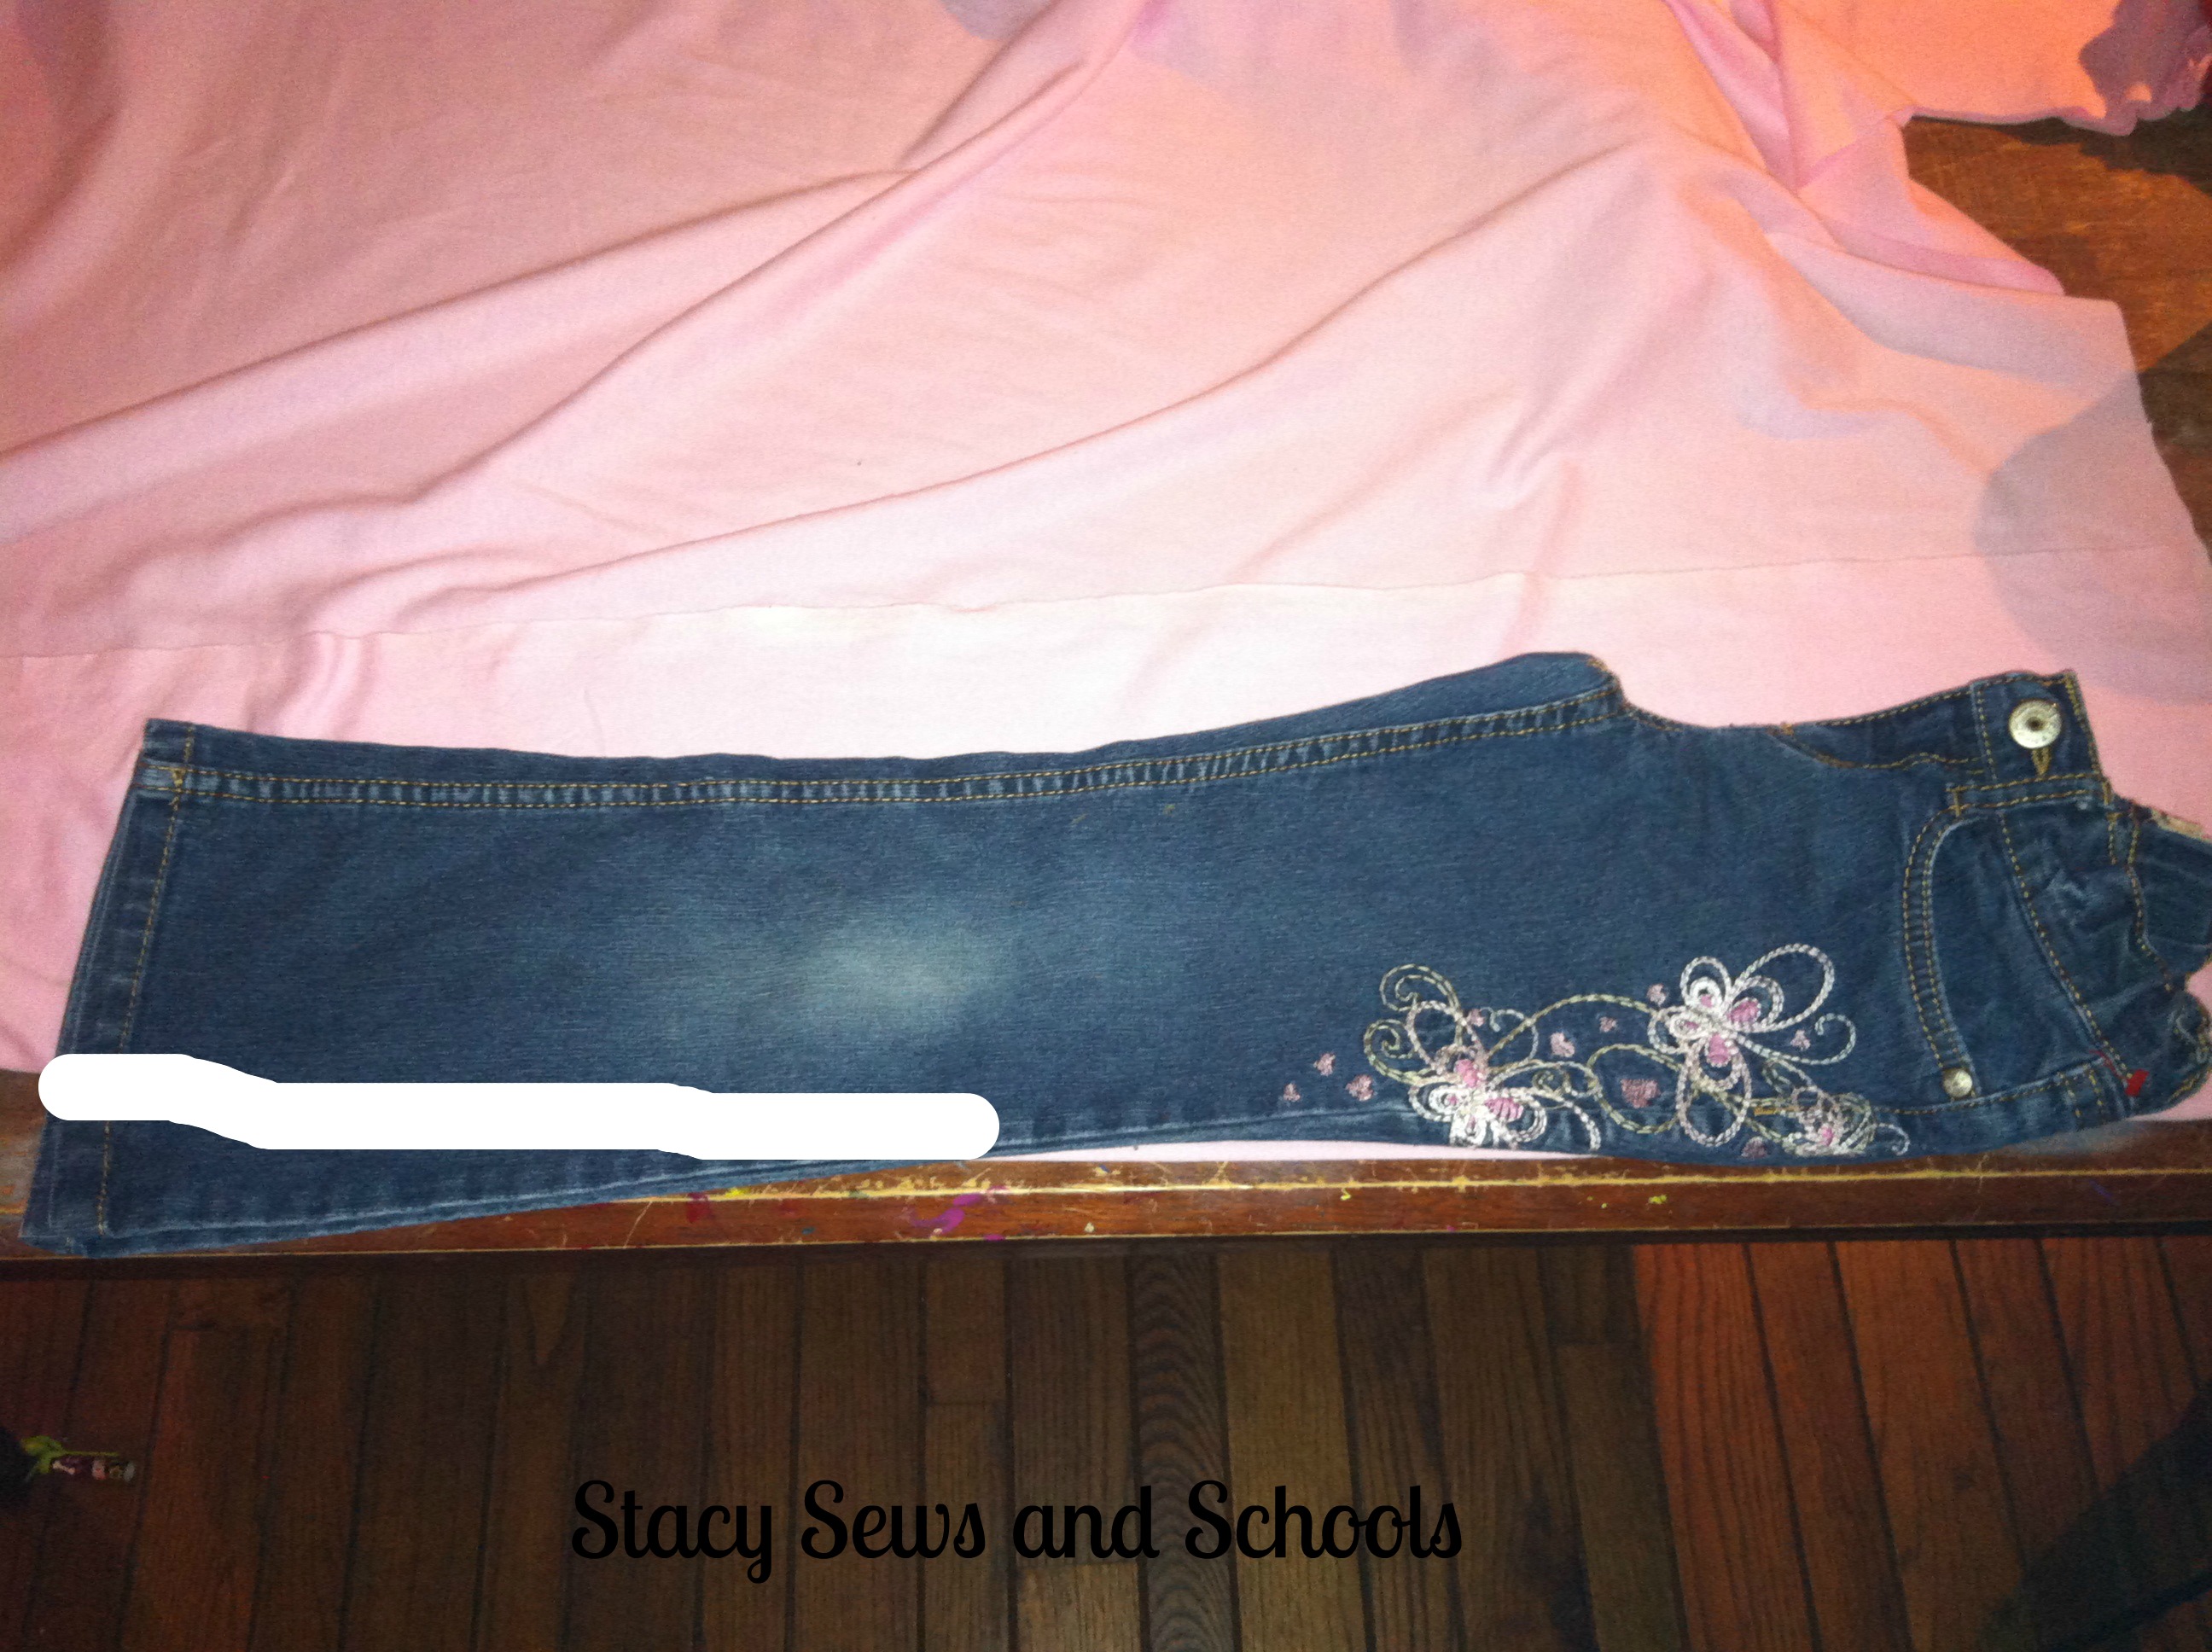
To cut the leggings I used a pair of pants that fit Cailey well. I wanted them cut straight instead of flared, so I let the side of the pants hang off the fabric at the fold. I cut them the same length as the pants, no seam allowance. Also, instead of cutting around and leaving a seam allowance, I cut right at the guide. This gives them a leggings fit instead of like a yoga pant.
For the pleats I cut 10 pieces of the red knit, 5" wide and the length was the total width of the fabric from selvage to selvage. Make sense? You are going to sew the pieces together at one end until you have 5 VERY long pieces to pleat. ;)
Now, on to the sewing!
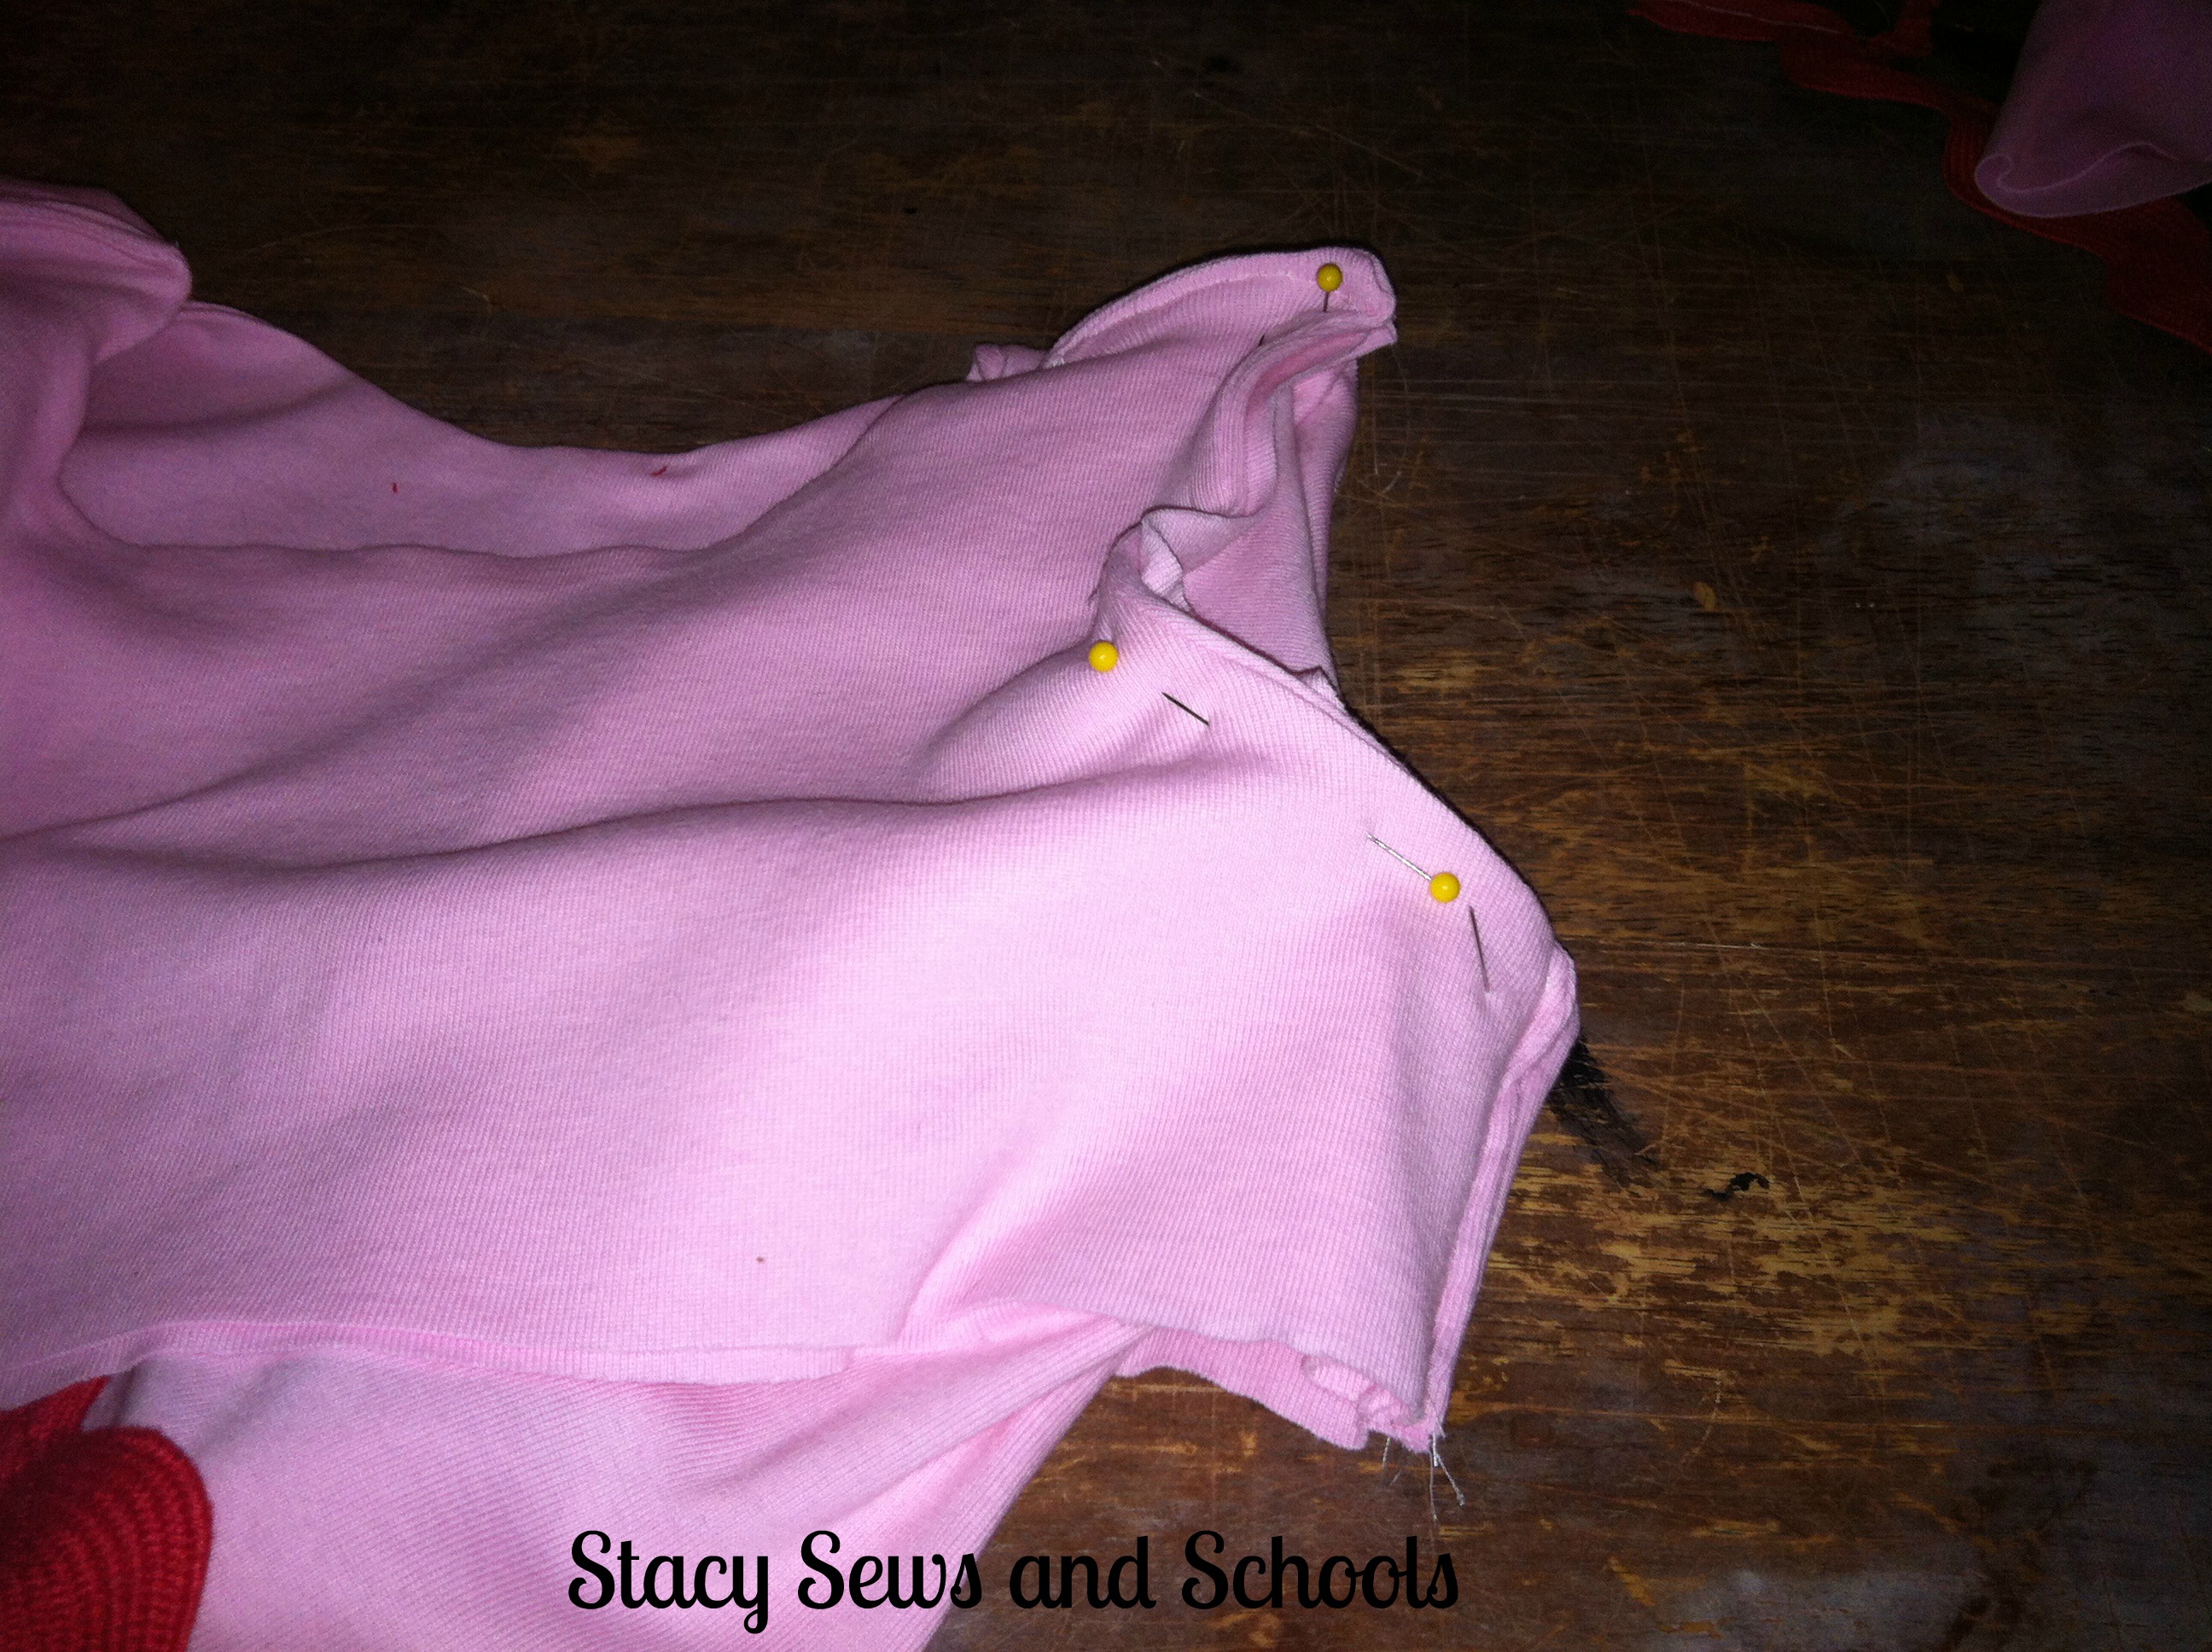
Pin and sew the 2 front bodice pieces together at the areas outlined, making sure to leave the bottom open. Turn right side out and press.
Do the same to the back bodice pieces (shown).
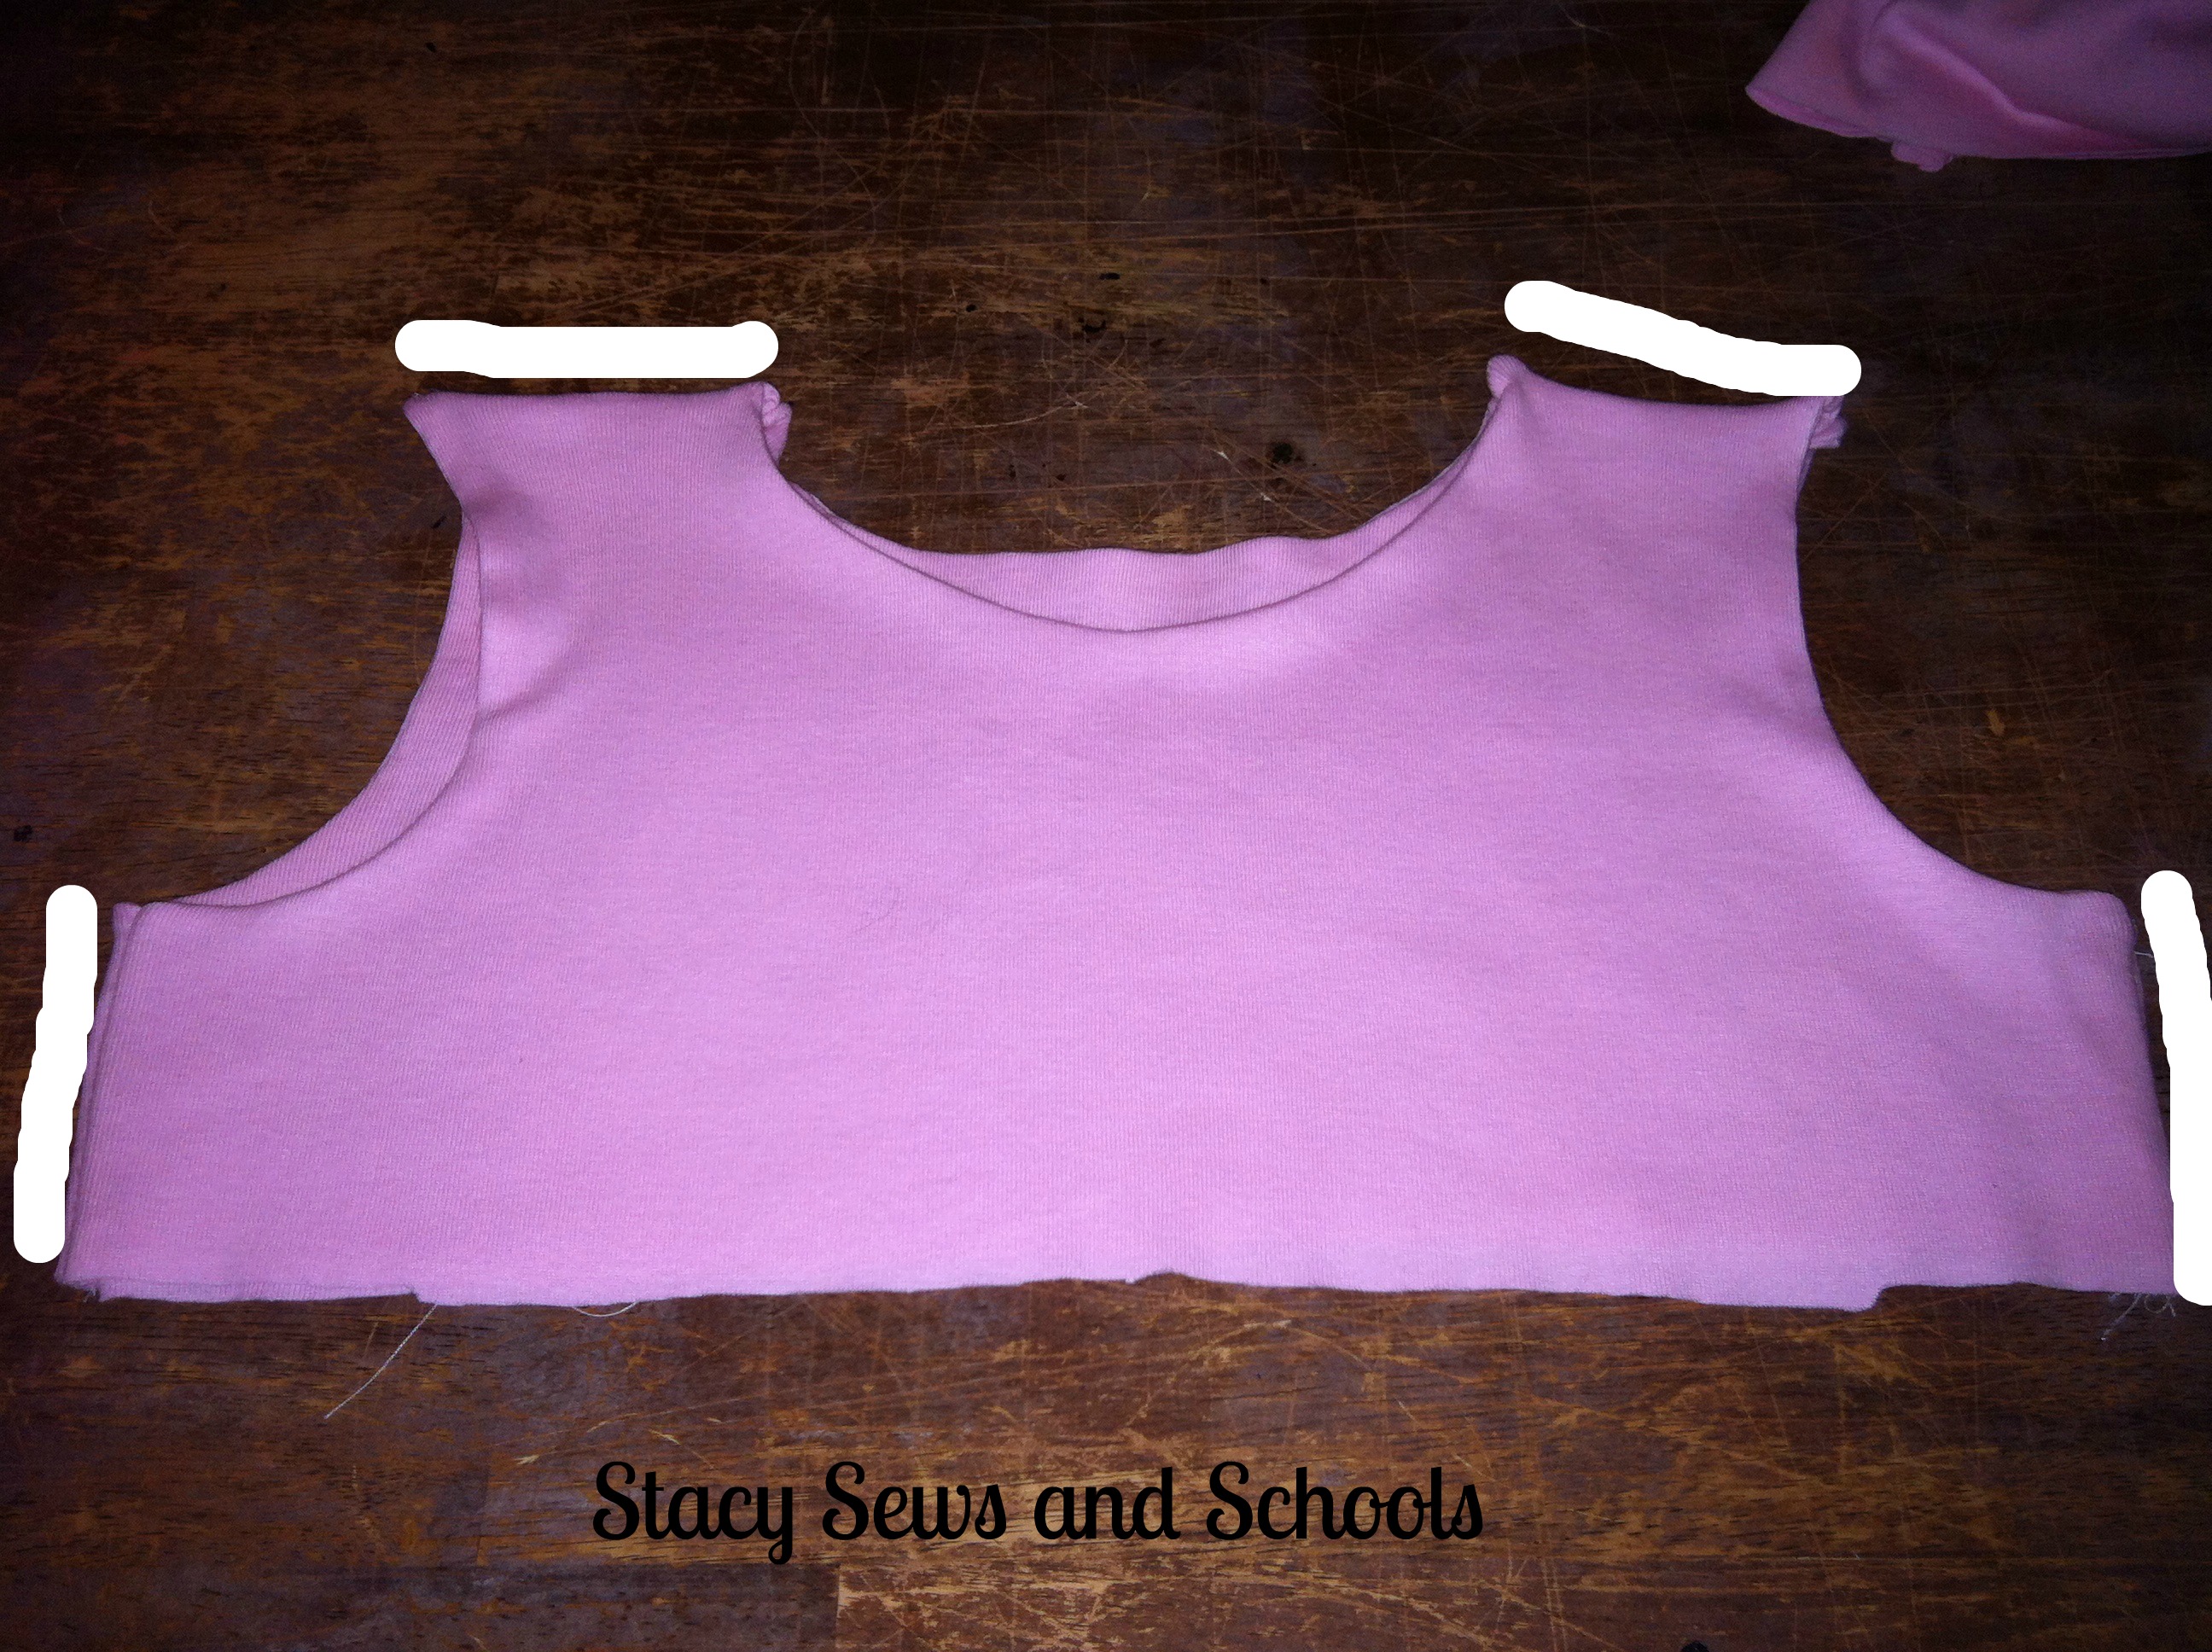
Sew the front bodice piece to the back bodice piece at the areas that are outlined.
Turn right side out and press.
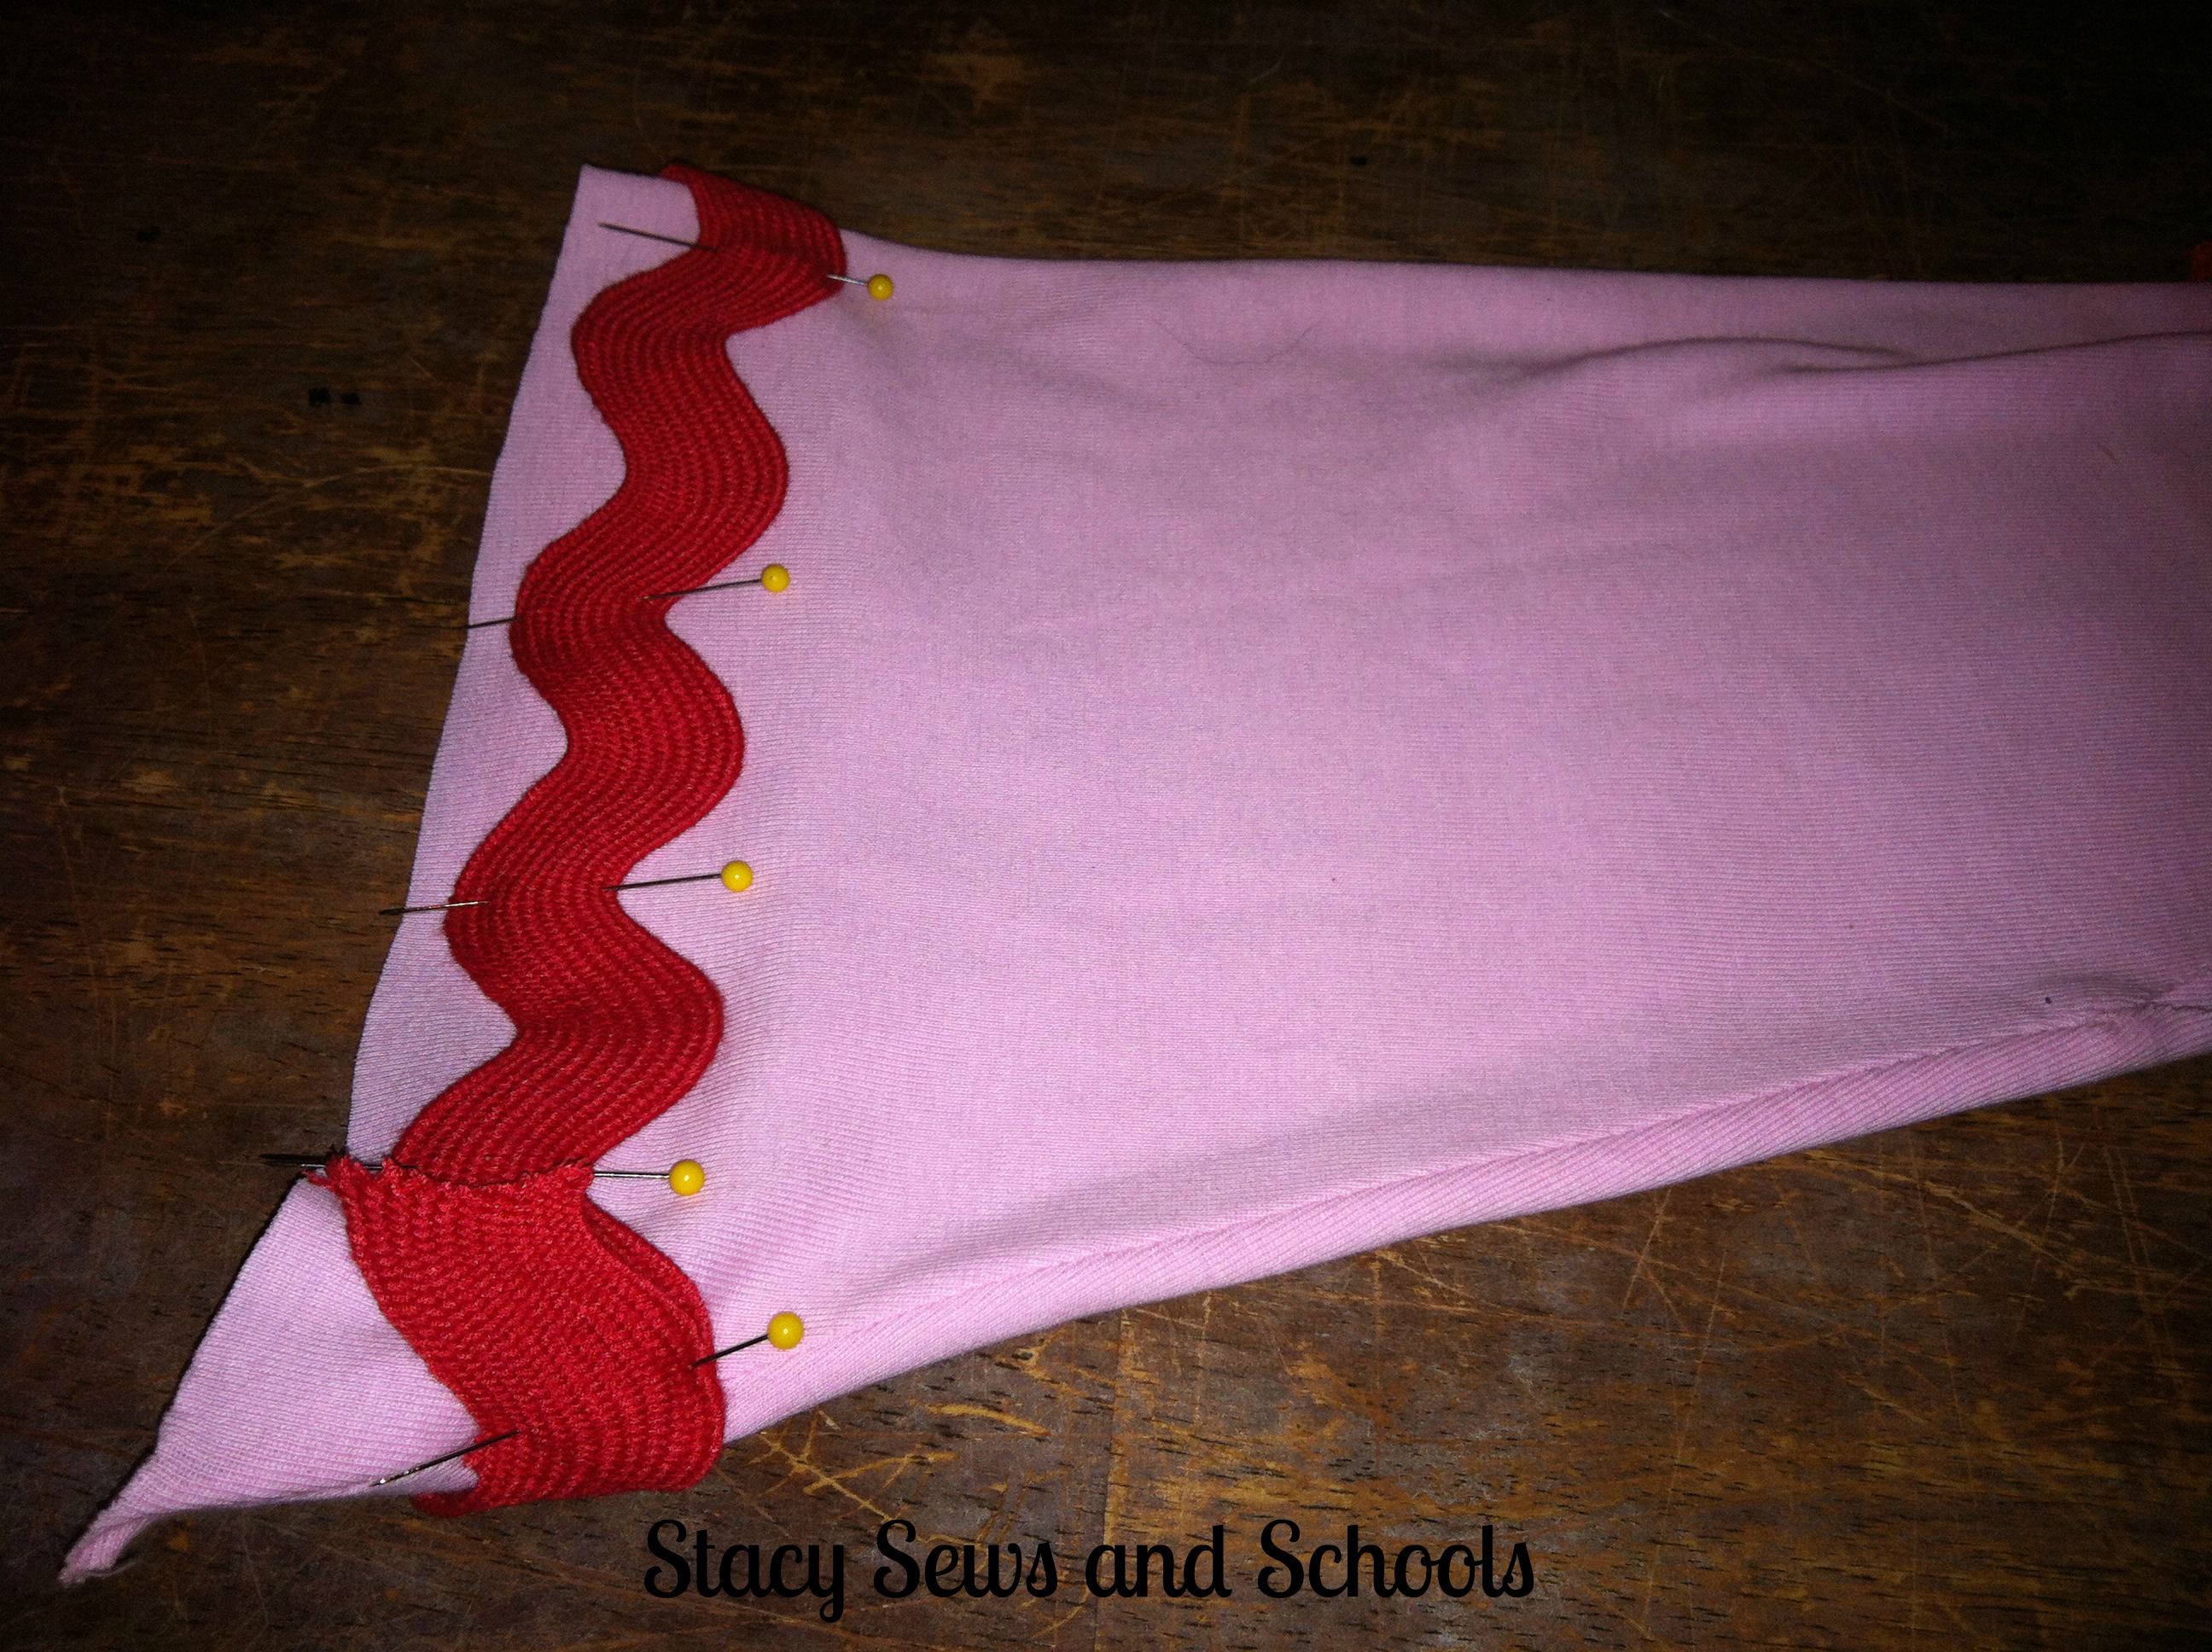
Here's a little hint... Sew the jumbo rickrack on BEFORE you sew the sleeves together..... LOL
I didn't decide to add the rickrack until the sleeves were already done....
Anyway, pin the rickrack to the bottom of the sleeve and sew on with a straight stitch.
THEN pin the edge of the sleeve and sew the seam. ;)
Open up the seam and press.
Turn the bodice inside out and then leaving the sleeve right side out, slide it into the arm hole. Pin and sew the seam.
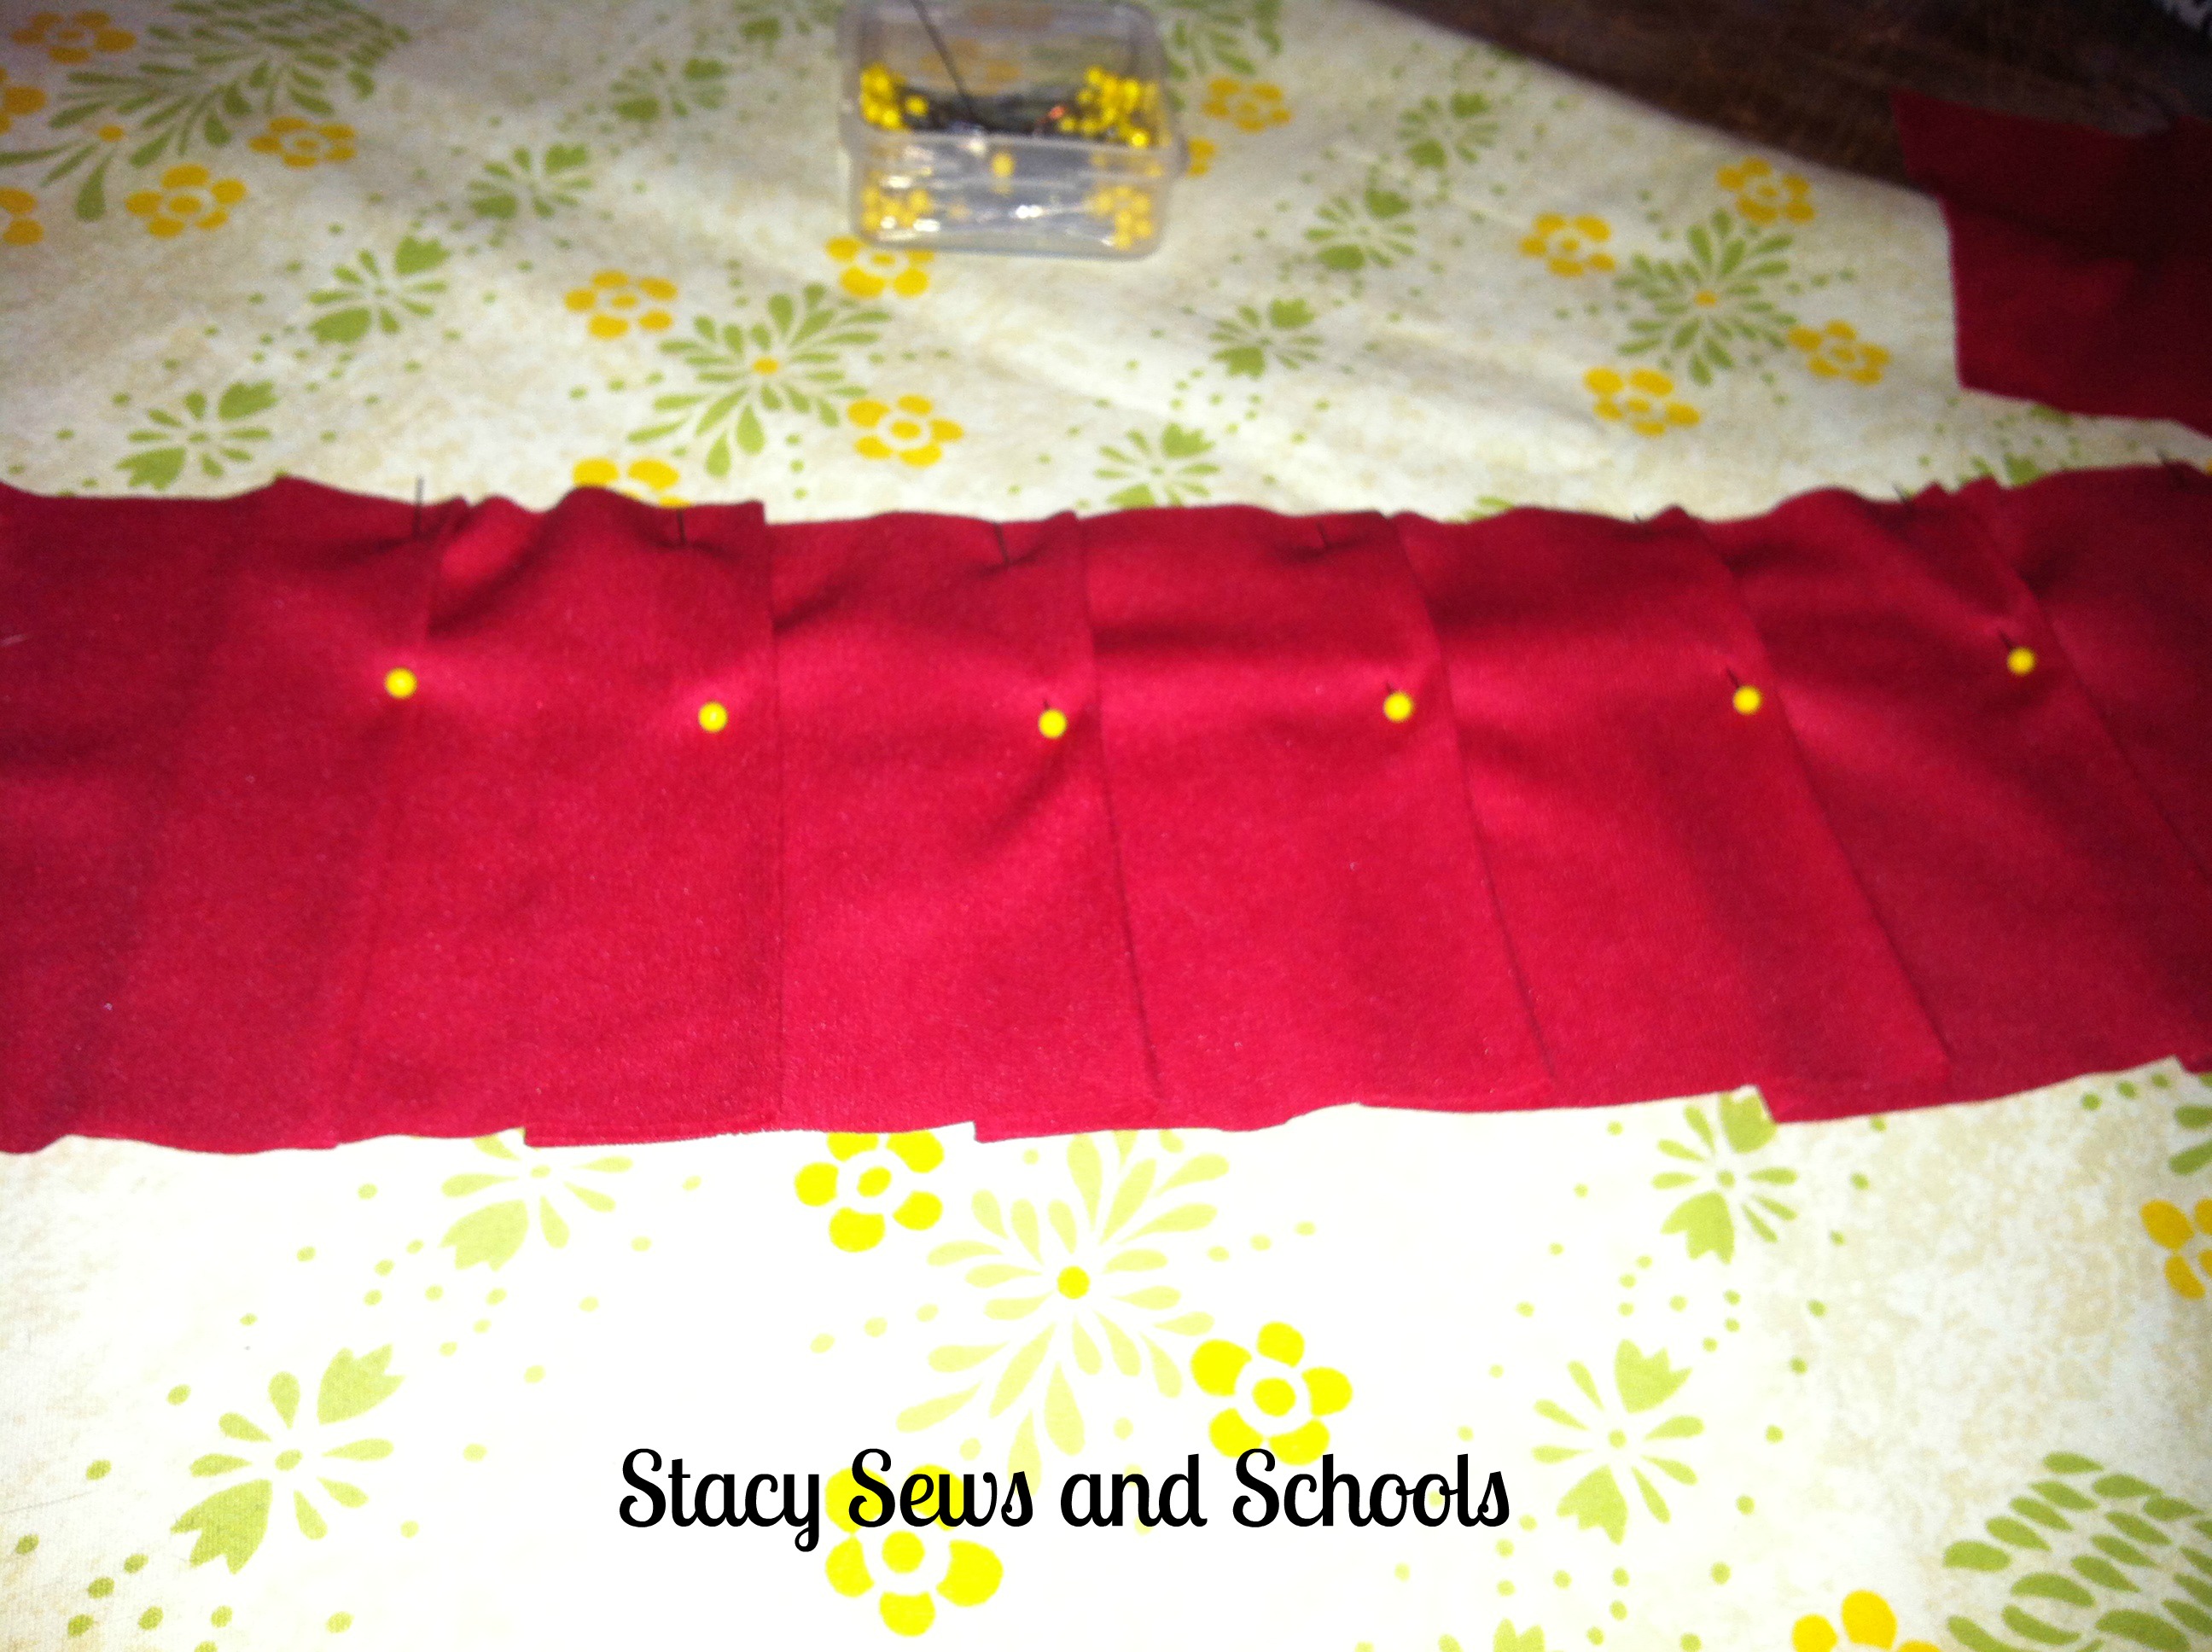
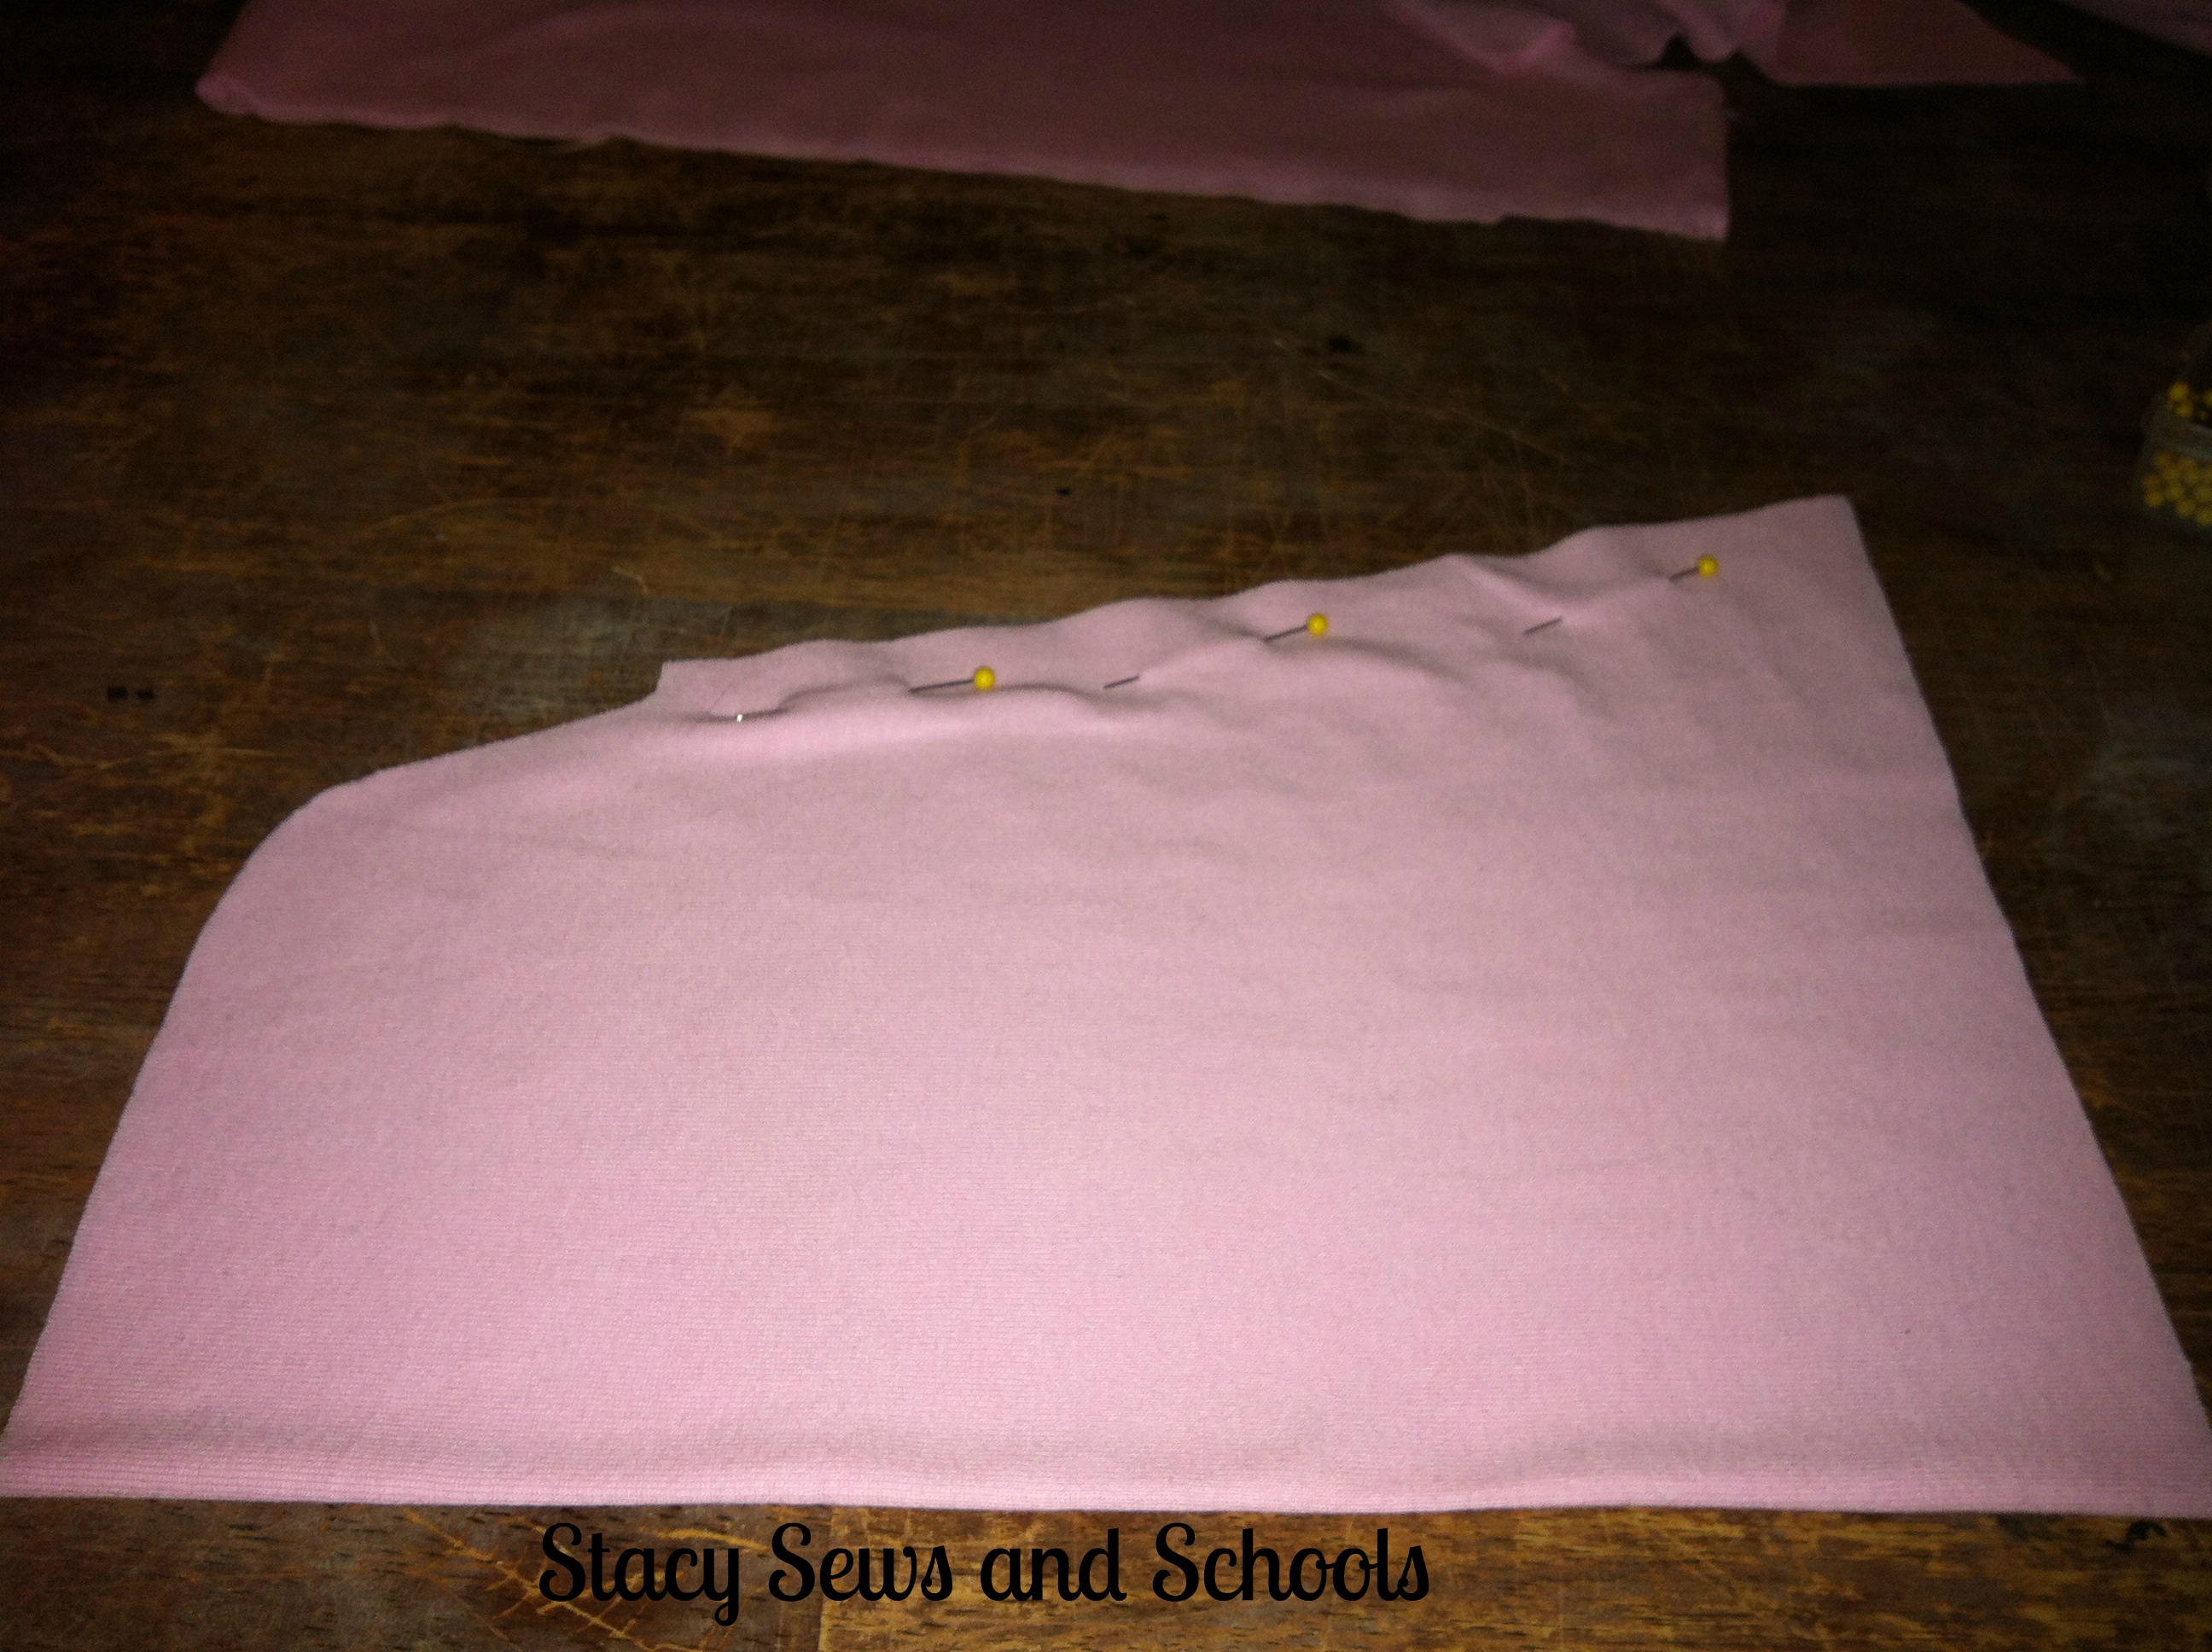
Now, take one of your 5 LOOOOONG strips and start pleating. Fold, press, pin. Fold, press, pin.... FOREVER!!!! No, just kidding. It only FEEL like forever. ;) LOL

To add the pleated strips to the bottom of the bodice you will pin the first set of pleats to the bottom of the fabric. Not the VERY bottom, though. Leave the the pleated strip hanging over the edge by 2 inches. Then sew across the top.
Keep adding the pleated strips until you reach the top, leaving each section hanging over the next by about 2 inches.
Depending on how long or short you want this part to be, you made need more or less of the pleated strips.
To add this part to the top of the bodice you will run a gathering stitch across the top (just under where you attached the last row of pleats). Then adjust the gathers to fit the bottom of the top bodice section.
Turn the top bodice inside out and slide it over the top of the pleated section. Pin in place where the bottom of the top of the bodice meets the top of the pleated section. Sew in place just below the line of gathers.
Now, turn the whole thing inside out and sew the side seam.
For the leggings I am going to refer you to the tunic and leggings tutorial I did about a month ago. The ONLY difference between the two sets are -
Before adding the rickrack to the bottom, turn under by 1 1/2" and press. Then pin the rickrack to the front and sew on with a straight stitch. This hems and adds the rickrack at the same time.
The rest of it is the same! :)

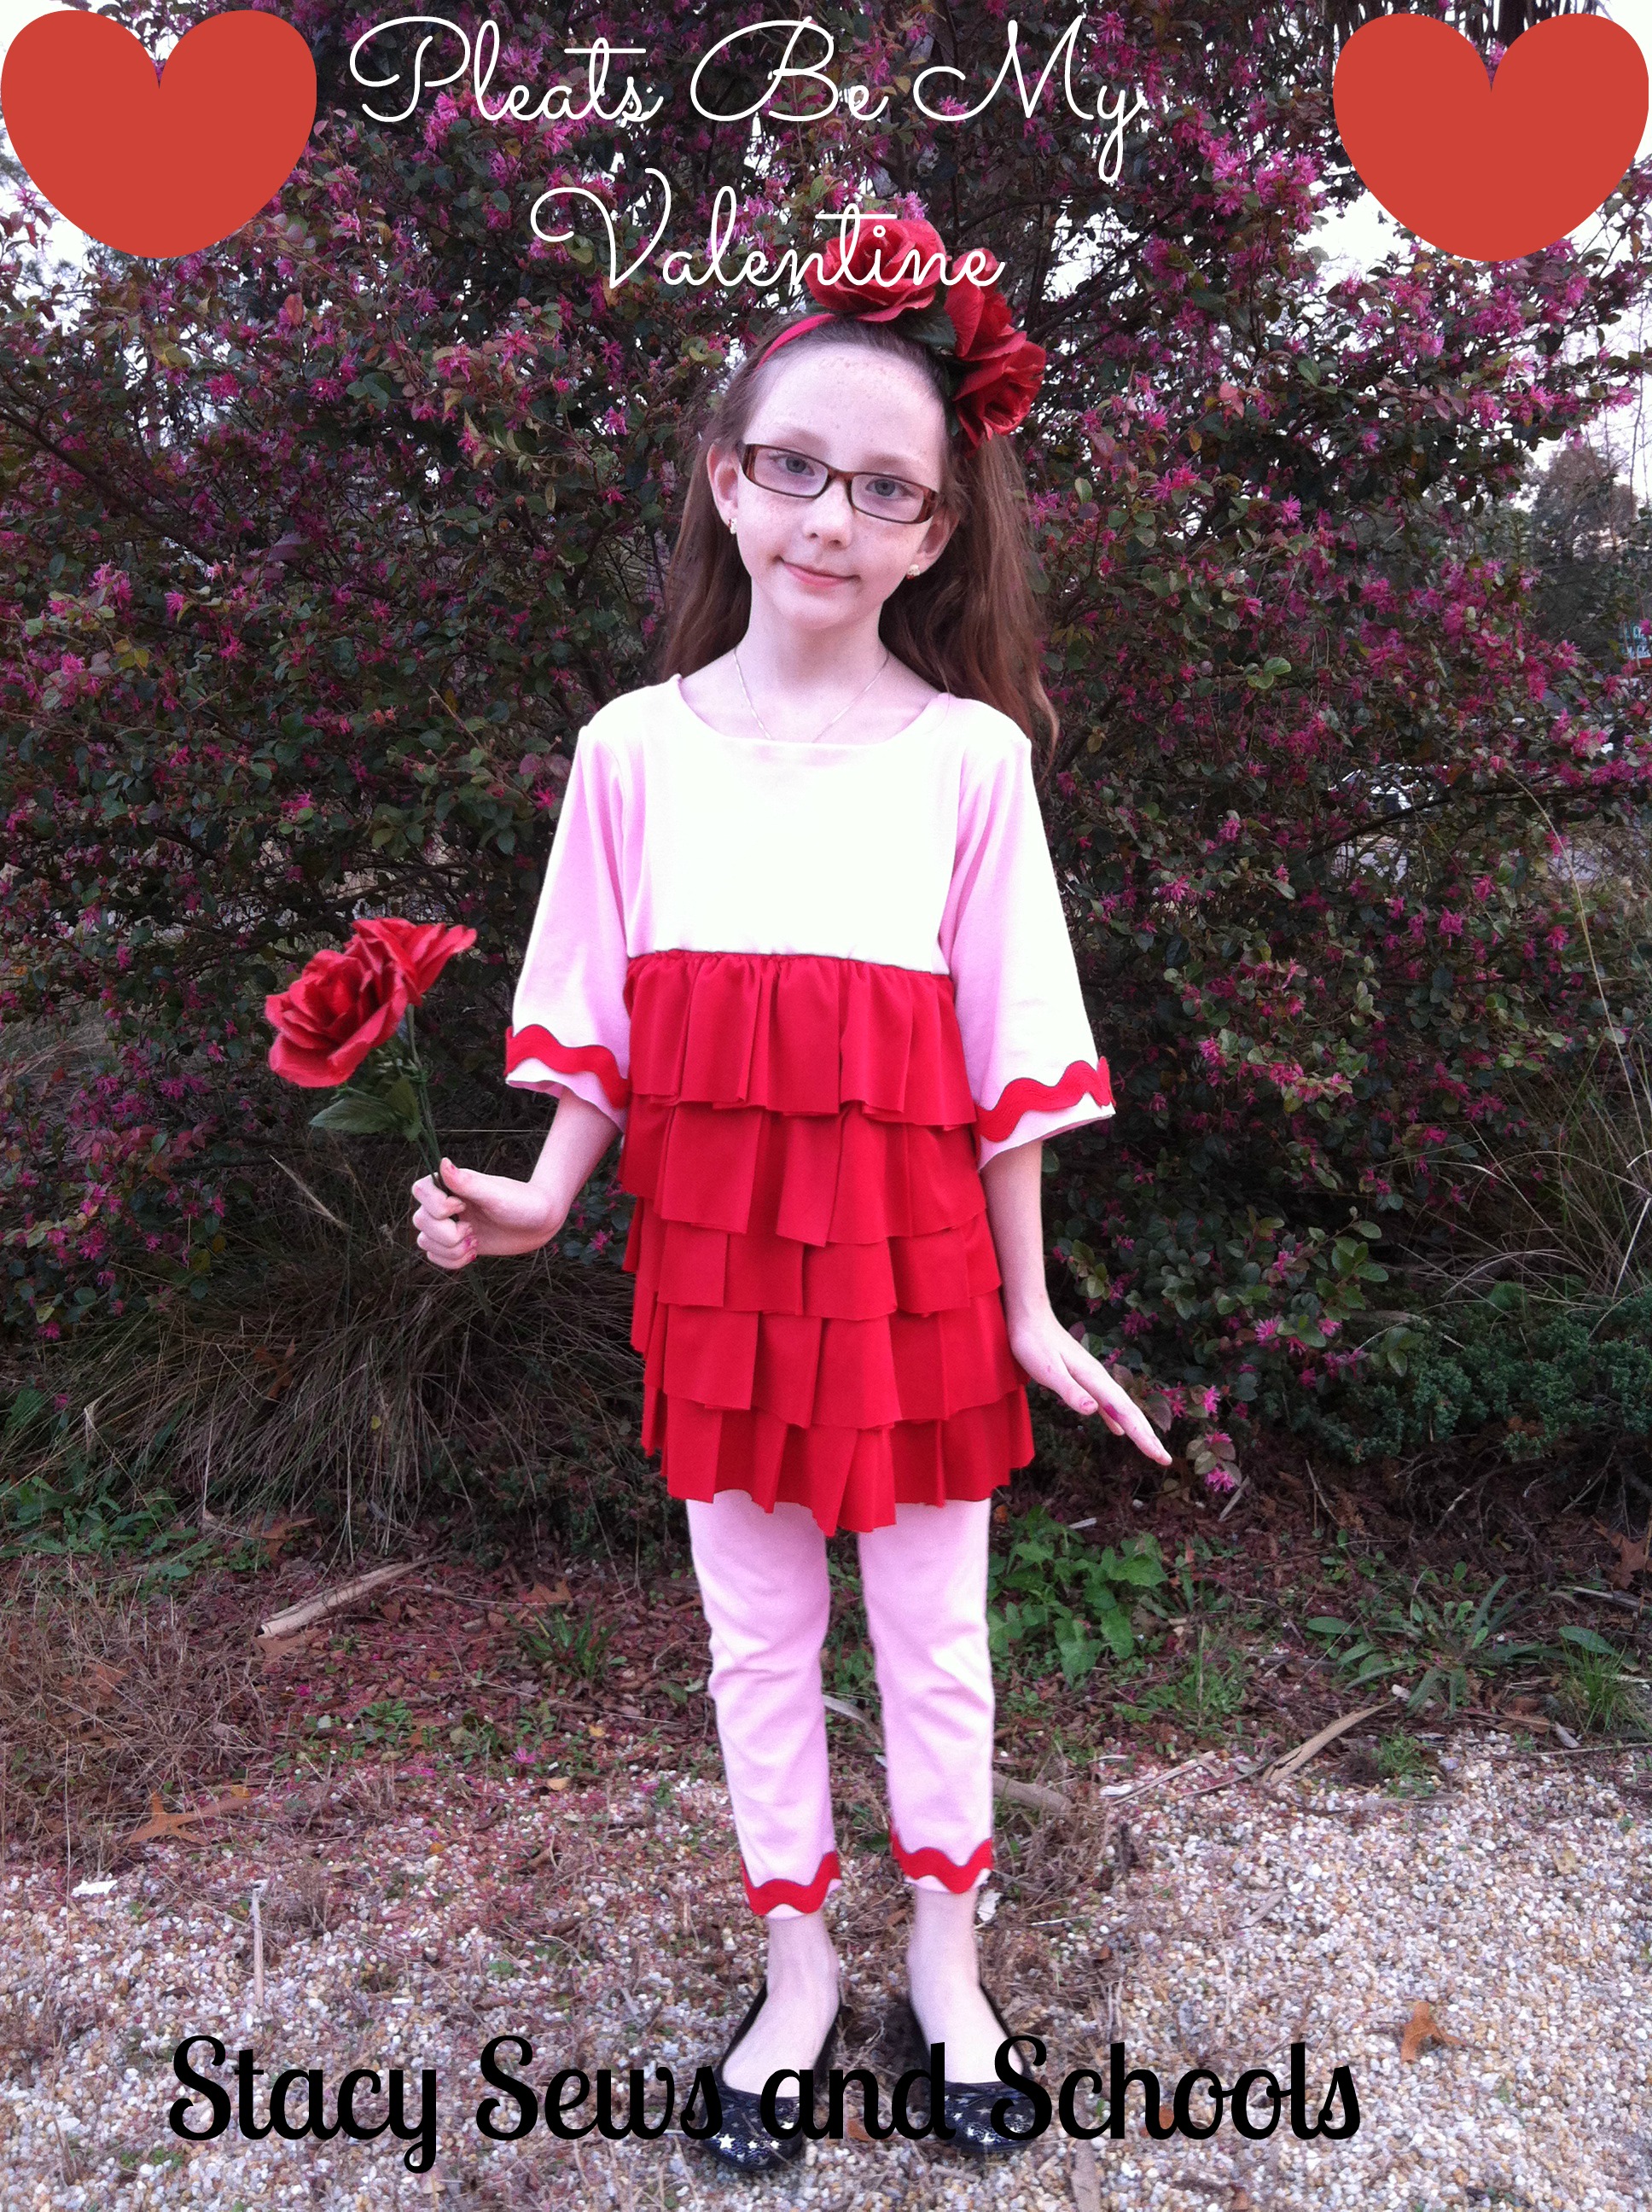
For the headband, I just pulled 3 roses and 3 sets of leaves off of the Dollar Store roses. Then I slide the leaves over the bottom of the roses and hot glued everything straight onto the stretchy headband. :)
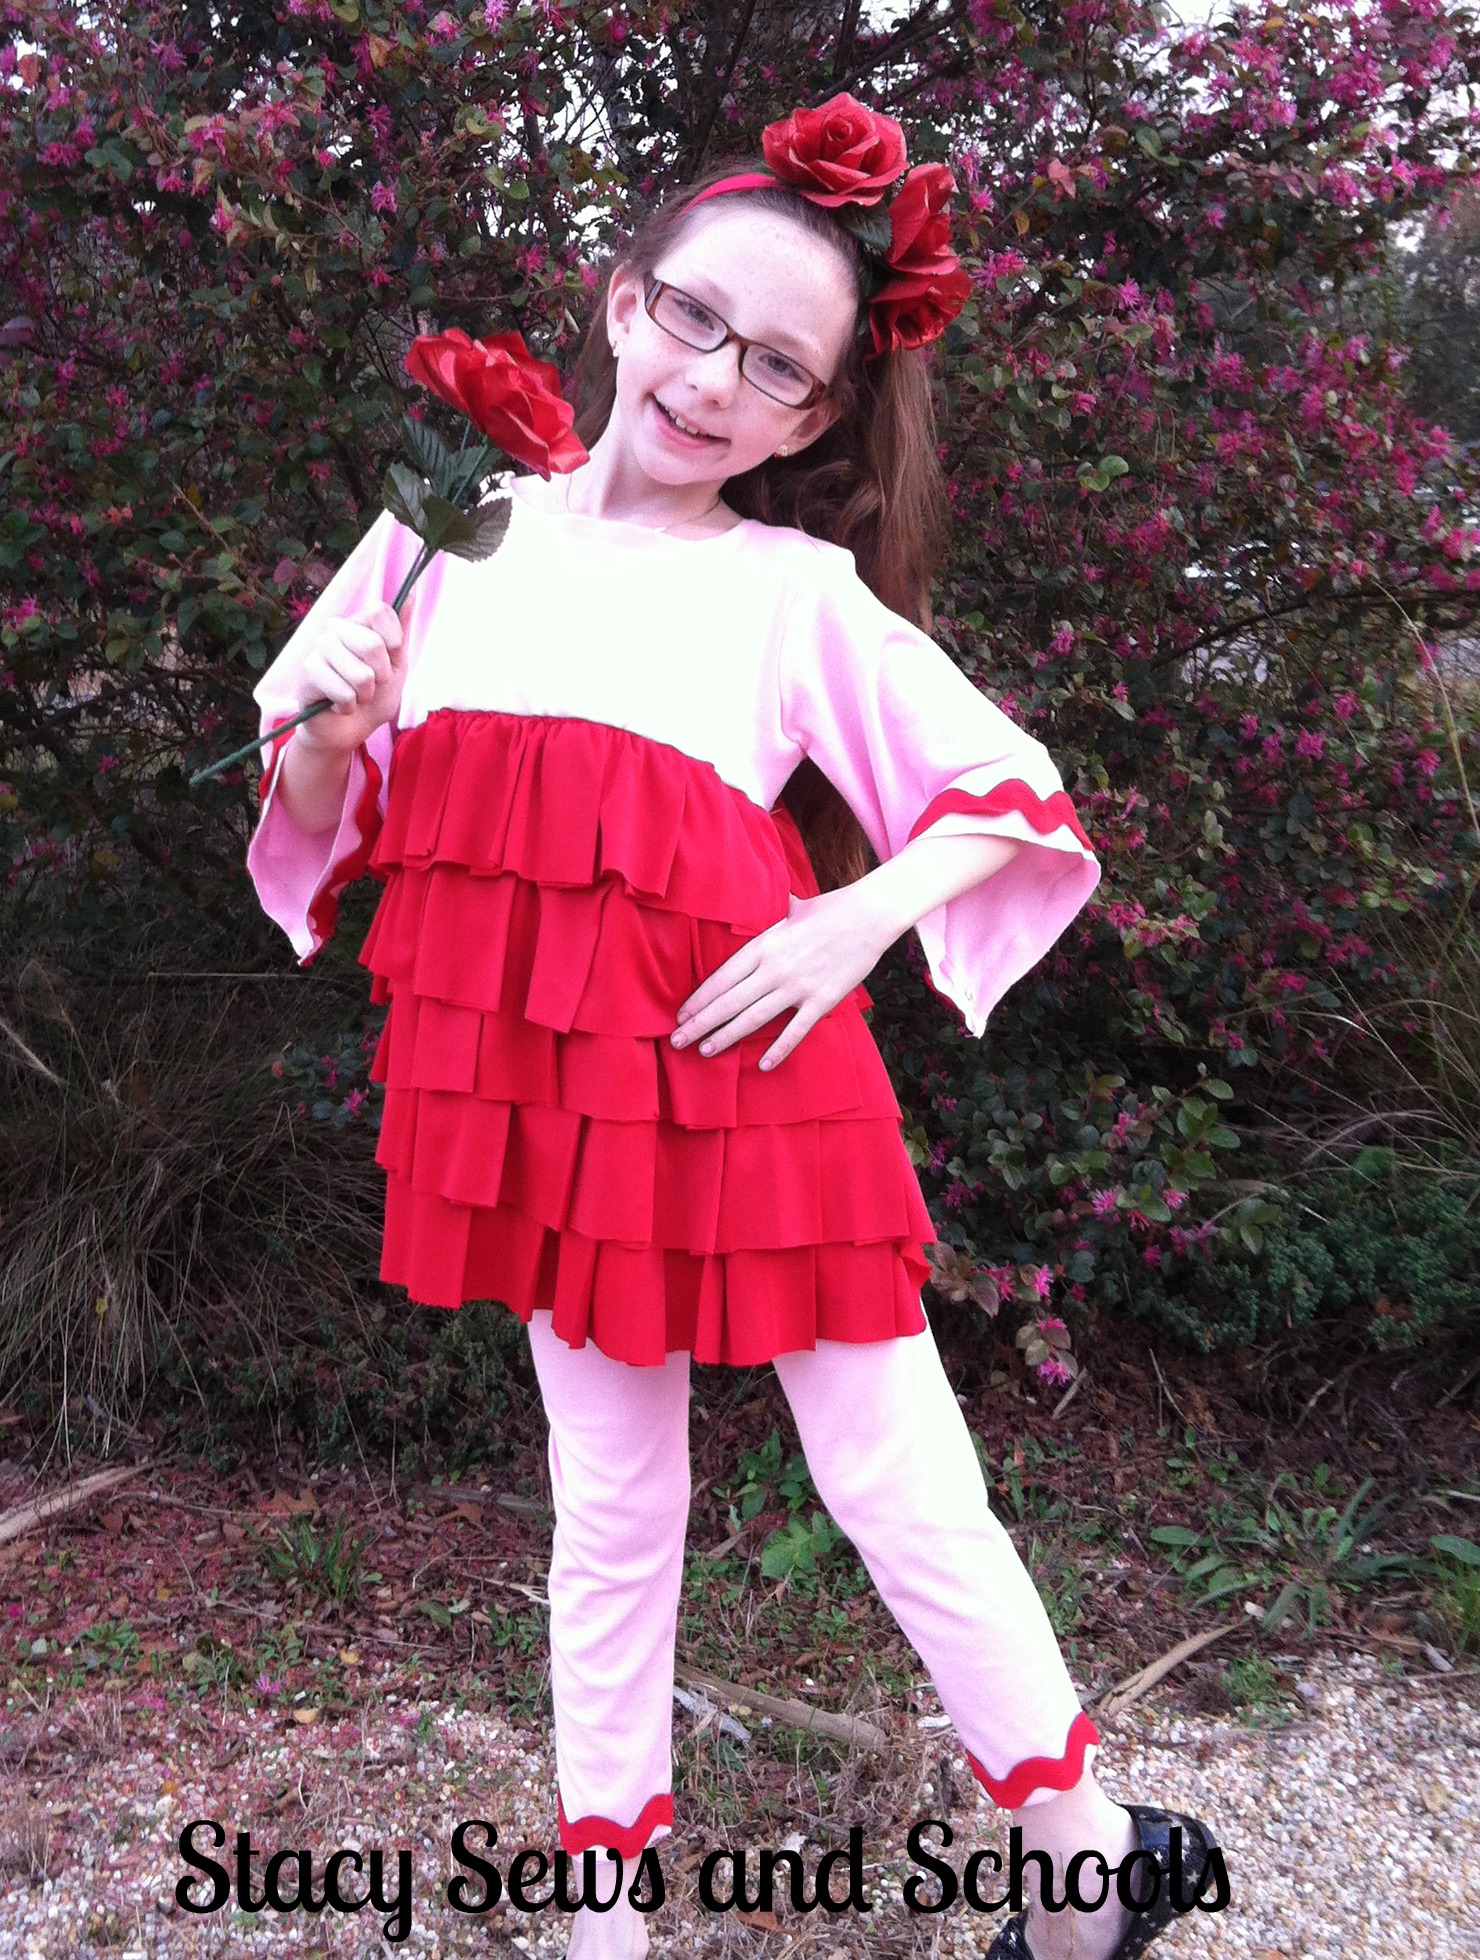
She's holding the rest of the roses. LOL

Let me know what you think, please!!
If you have ANY questions at all just click the Contact Me button at the top of the page and send me an e-mail! :)

Your daughter looks very pleased with her new outfit. :)
ReplyDeleteShe certainly is! LOL
ReplyDeleteI adore this look!!! The headband is super cute too! <3
ReplyDeleteThank you!!!!!!!! :D
ReplyDeleteYour daughter is adorable! Plus that outfit is so sweet. Thank you for linking up at Homa Style.
ReplyDeleteThank you VERY much!!!!!! :D
ReplyDeleteReally cute! Thank you.
ReplyDeleteThank you, Peggie! :)
ReplyDeleteYou're a STAR tonight over at I Gotta Create! Your post is adorable :)
ReplyDeletehttp://igottacreate.blogspot.com/2013/02/be-mine.html
Thanks so much for linking up,
<3 Christina
Thank you SOOOOOOOOO MUCH!!!!! YAY!!!!
ReplyDeleteThank you so much for visiting Homa Style and linking your Valentine outfit.
ReplyDeleteHave a wonderful Valentines Day!
Remember to visit again on the last Wednesday of February for the Inspire Me link party.
You amaze me!
Thank you VERY much!!! :)
ReplyDeleteWhat a darling and cute little outfit! I really love seeing your weekly creations.
ReplyDeleteThank you SO VERY much, Justine!! That means so much to me since I absolutely LOVE your blog and you creations!
ReplyDeleteTHANK YOU, again! :D
Thank you for linking up your awesome project! We've already got our next Showcase up, so come stop by and link up another project!
ReplyDeleteHave a great week!
Susie@bowdabra
http://bowdabrablog.com/2013/02/09/saturday-showcase-craft-project-linky-19/
Thank you, Susie!! :D
ReplyDelete