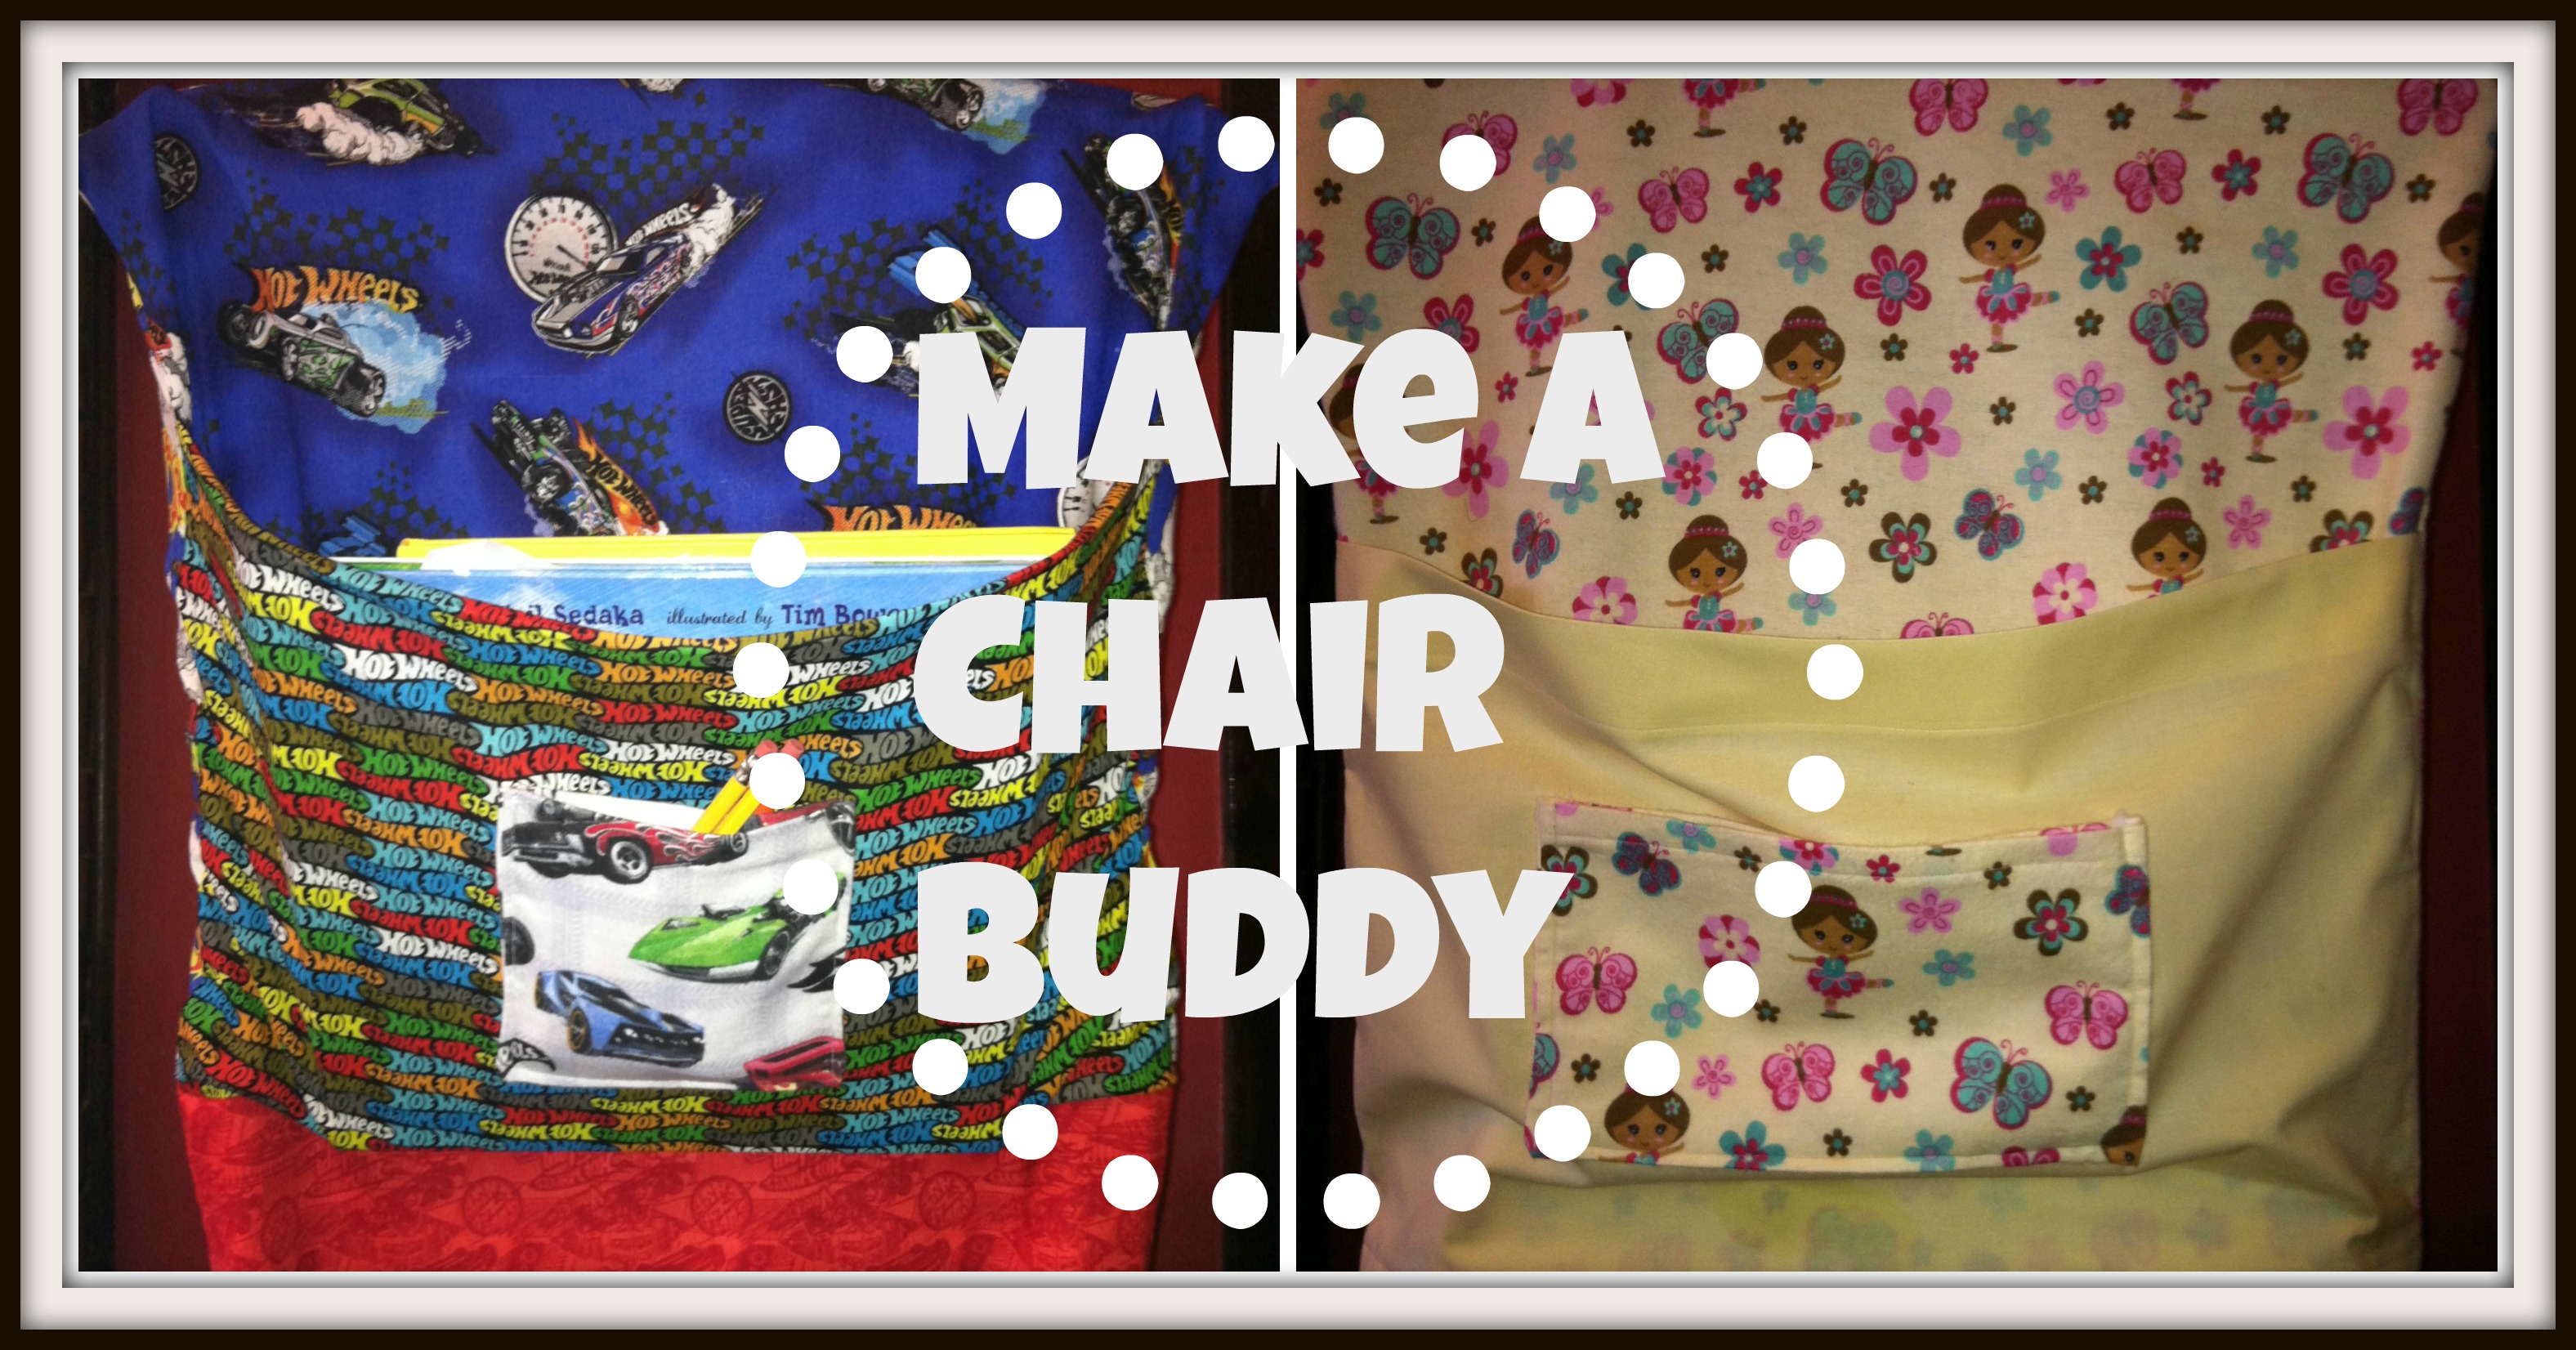
This year Colin will be doing full time Kindergarten. He isn't all that thrilled about it to tell the truth. So, I decided to make him something to help get him into the spirit! A chair buddy!!
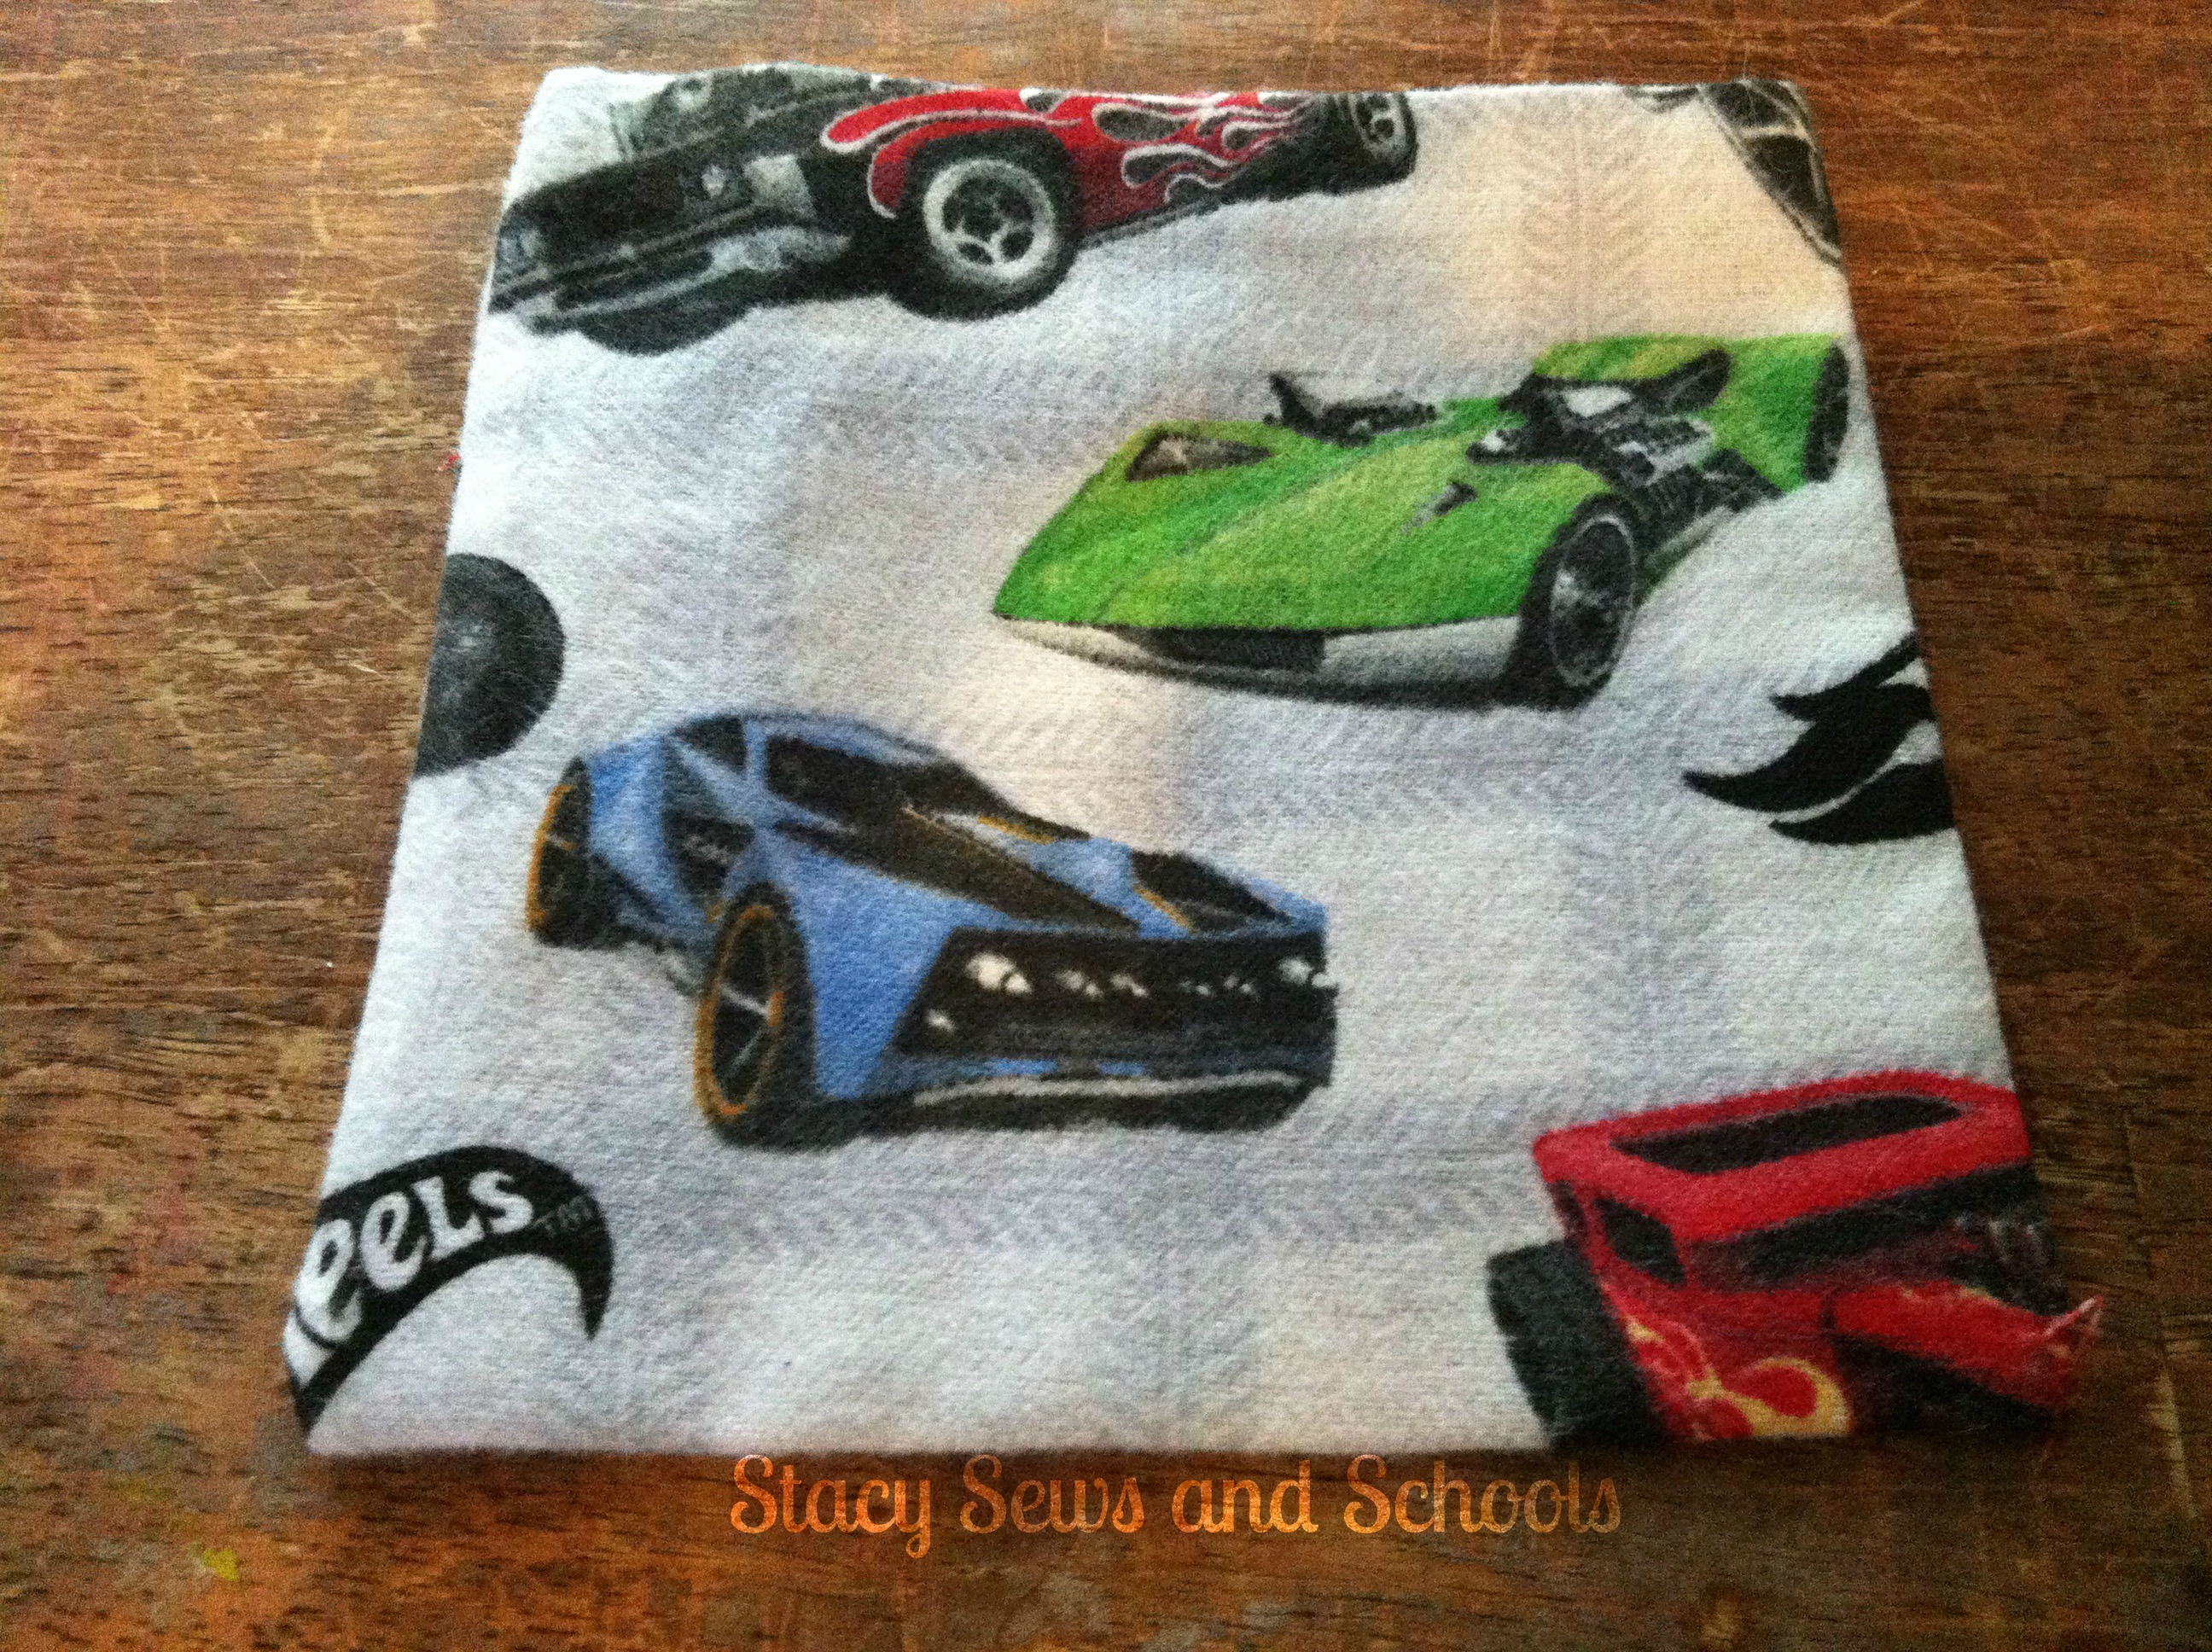
I had some Hot Wheels fat quarters sitting around and figured they would be perfect!
This project is super fast and easy! Thank goodness, because now Cailey wants one! LOL She has decided not to use her little desk this year. Maybe Colin will use both the desk and the chair buddy!
What I used for Colin's:
4 fat quarters
1 scrap (for the little pocket)
What I used for Cailey's
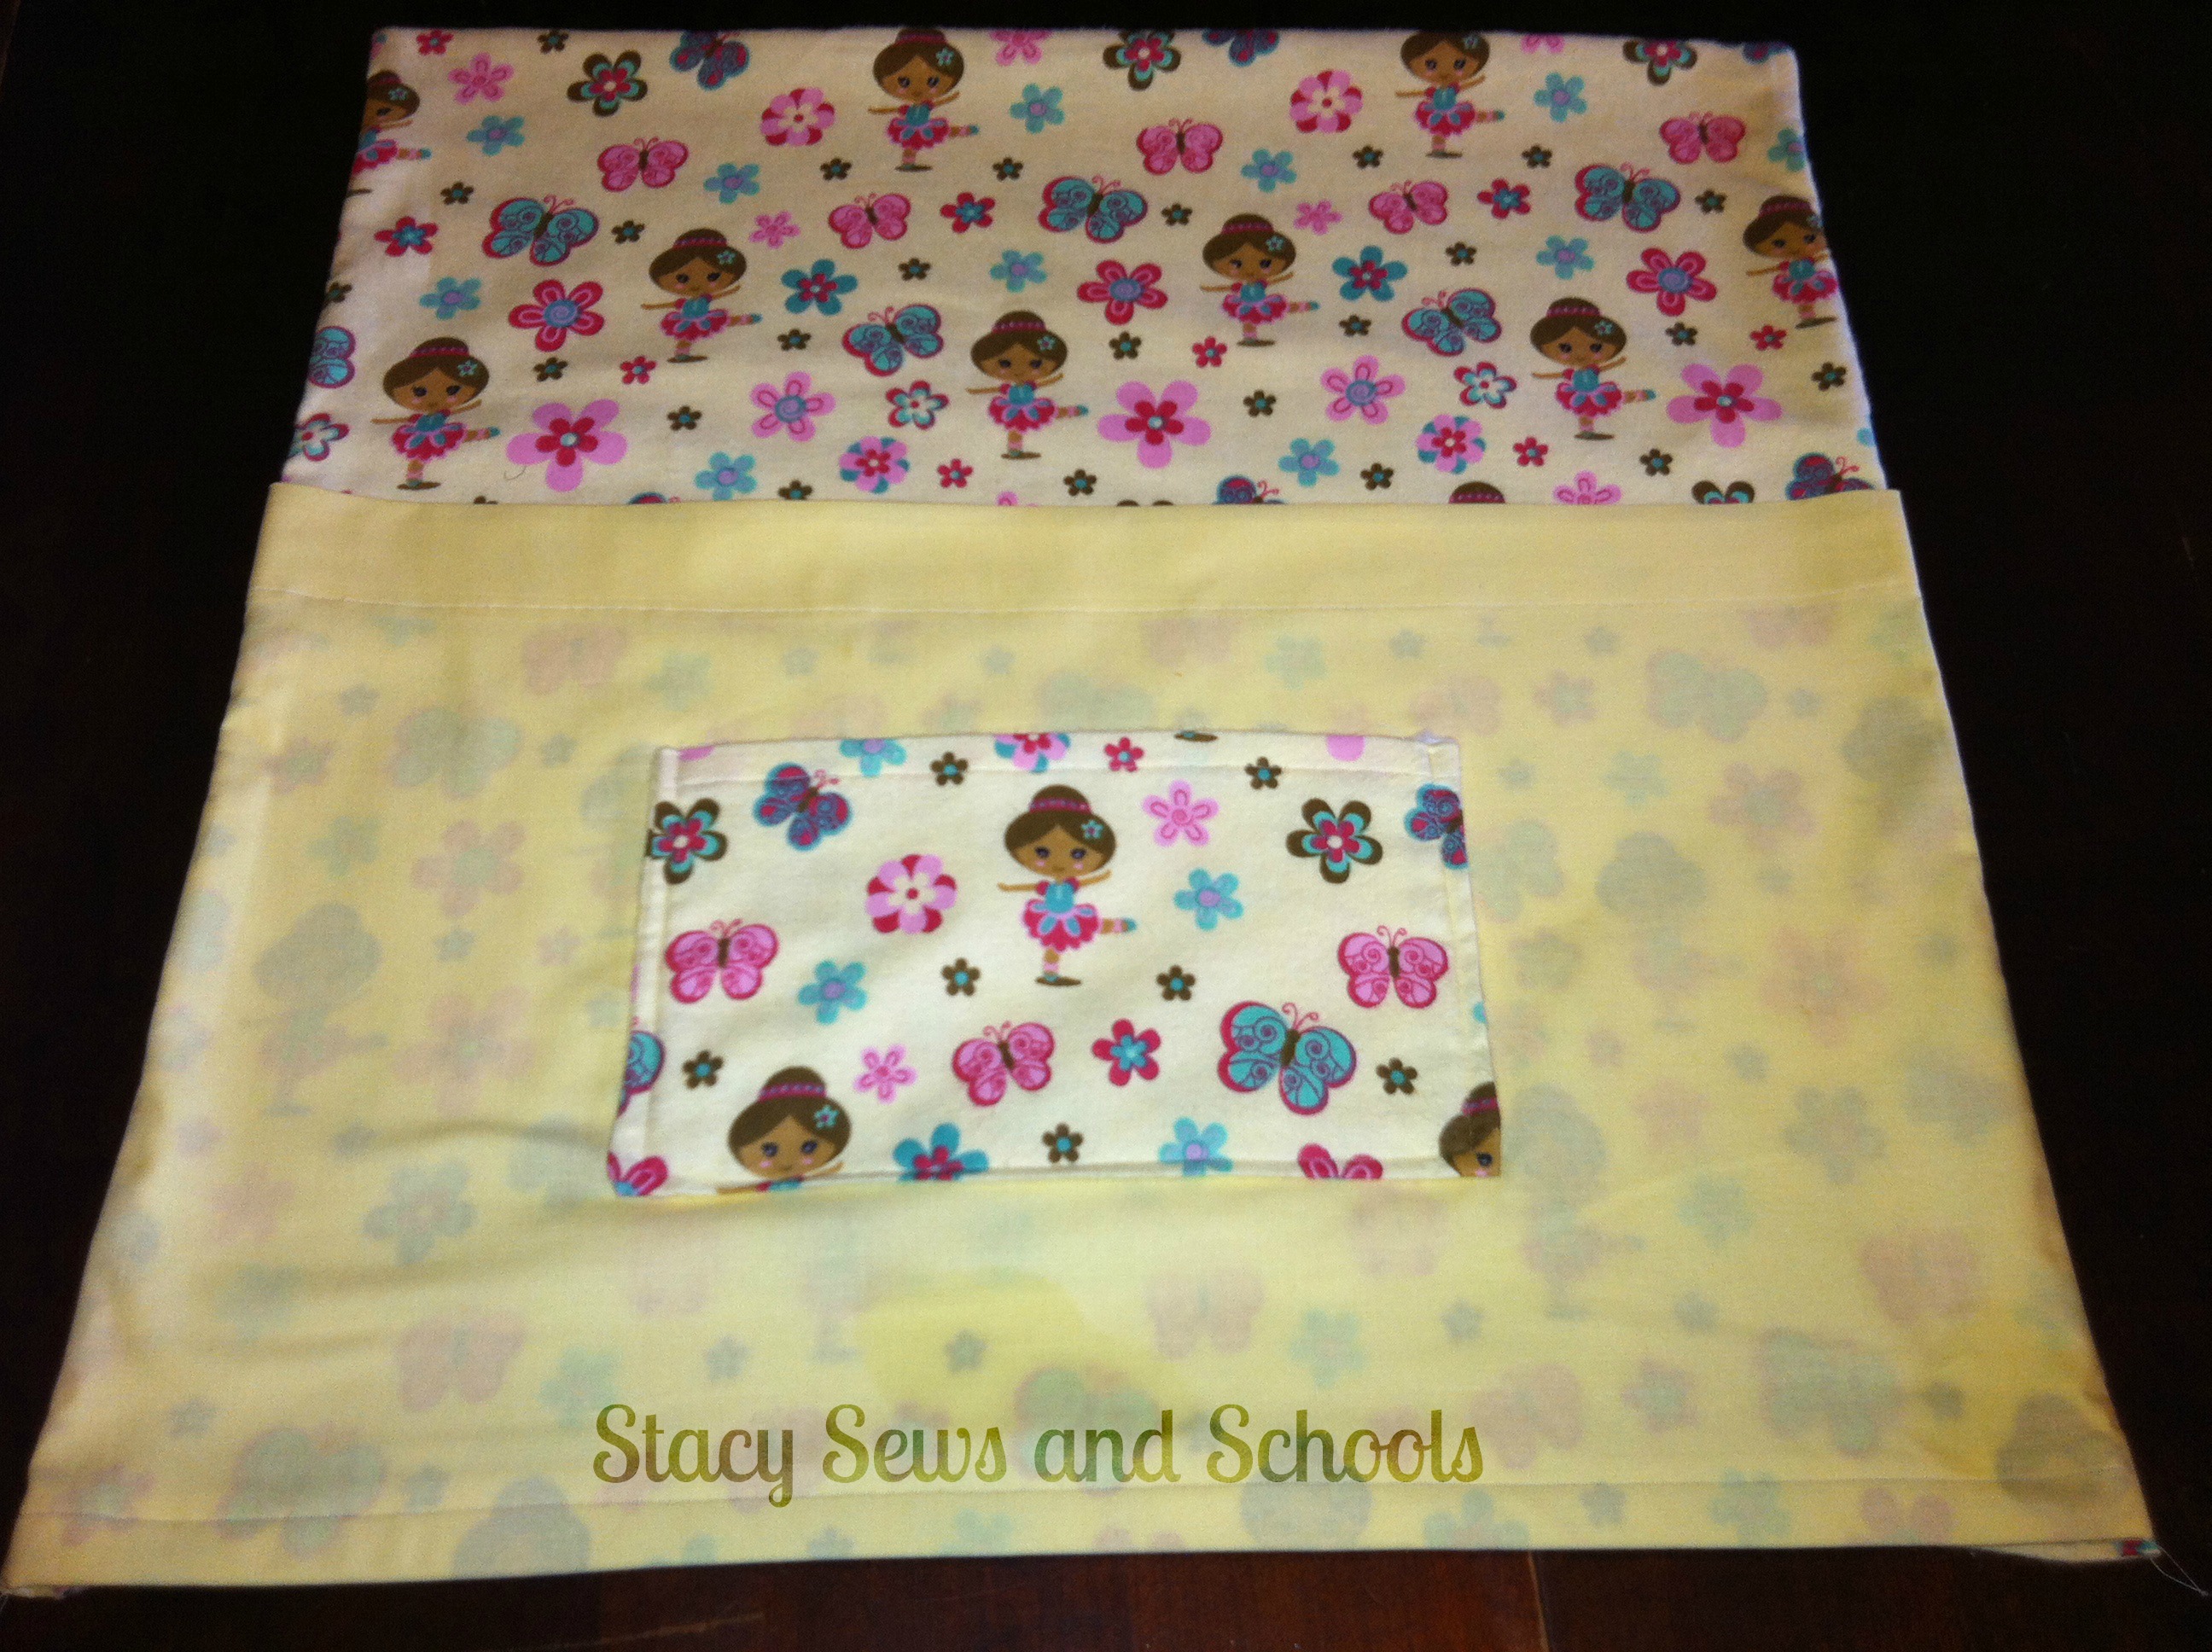
2 pieces of flannel - 21" x 23"
1 piece of yellow cotton - 21" x 19"
1 scrap (for the little pocket)
Step 1

Take the scrap piece for you little pocket, fold it in half and press. Next, fold over the top ends by 1/4" and press. Fold over again by 1/2" and press. Sew in place.
Then, with right sides together, sew up the sides, creating the pocket.
Turn right side out and press.
Step 2 -

Take the fat quarter that you are going to use for the large pocket and fold over the top by 2 1/2" and press. Fold again by 2 1/2" and press again.
Sew in place and press.
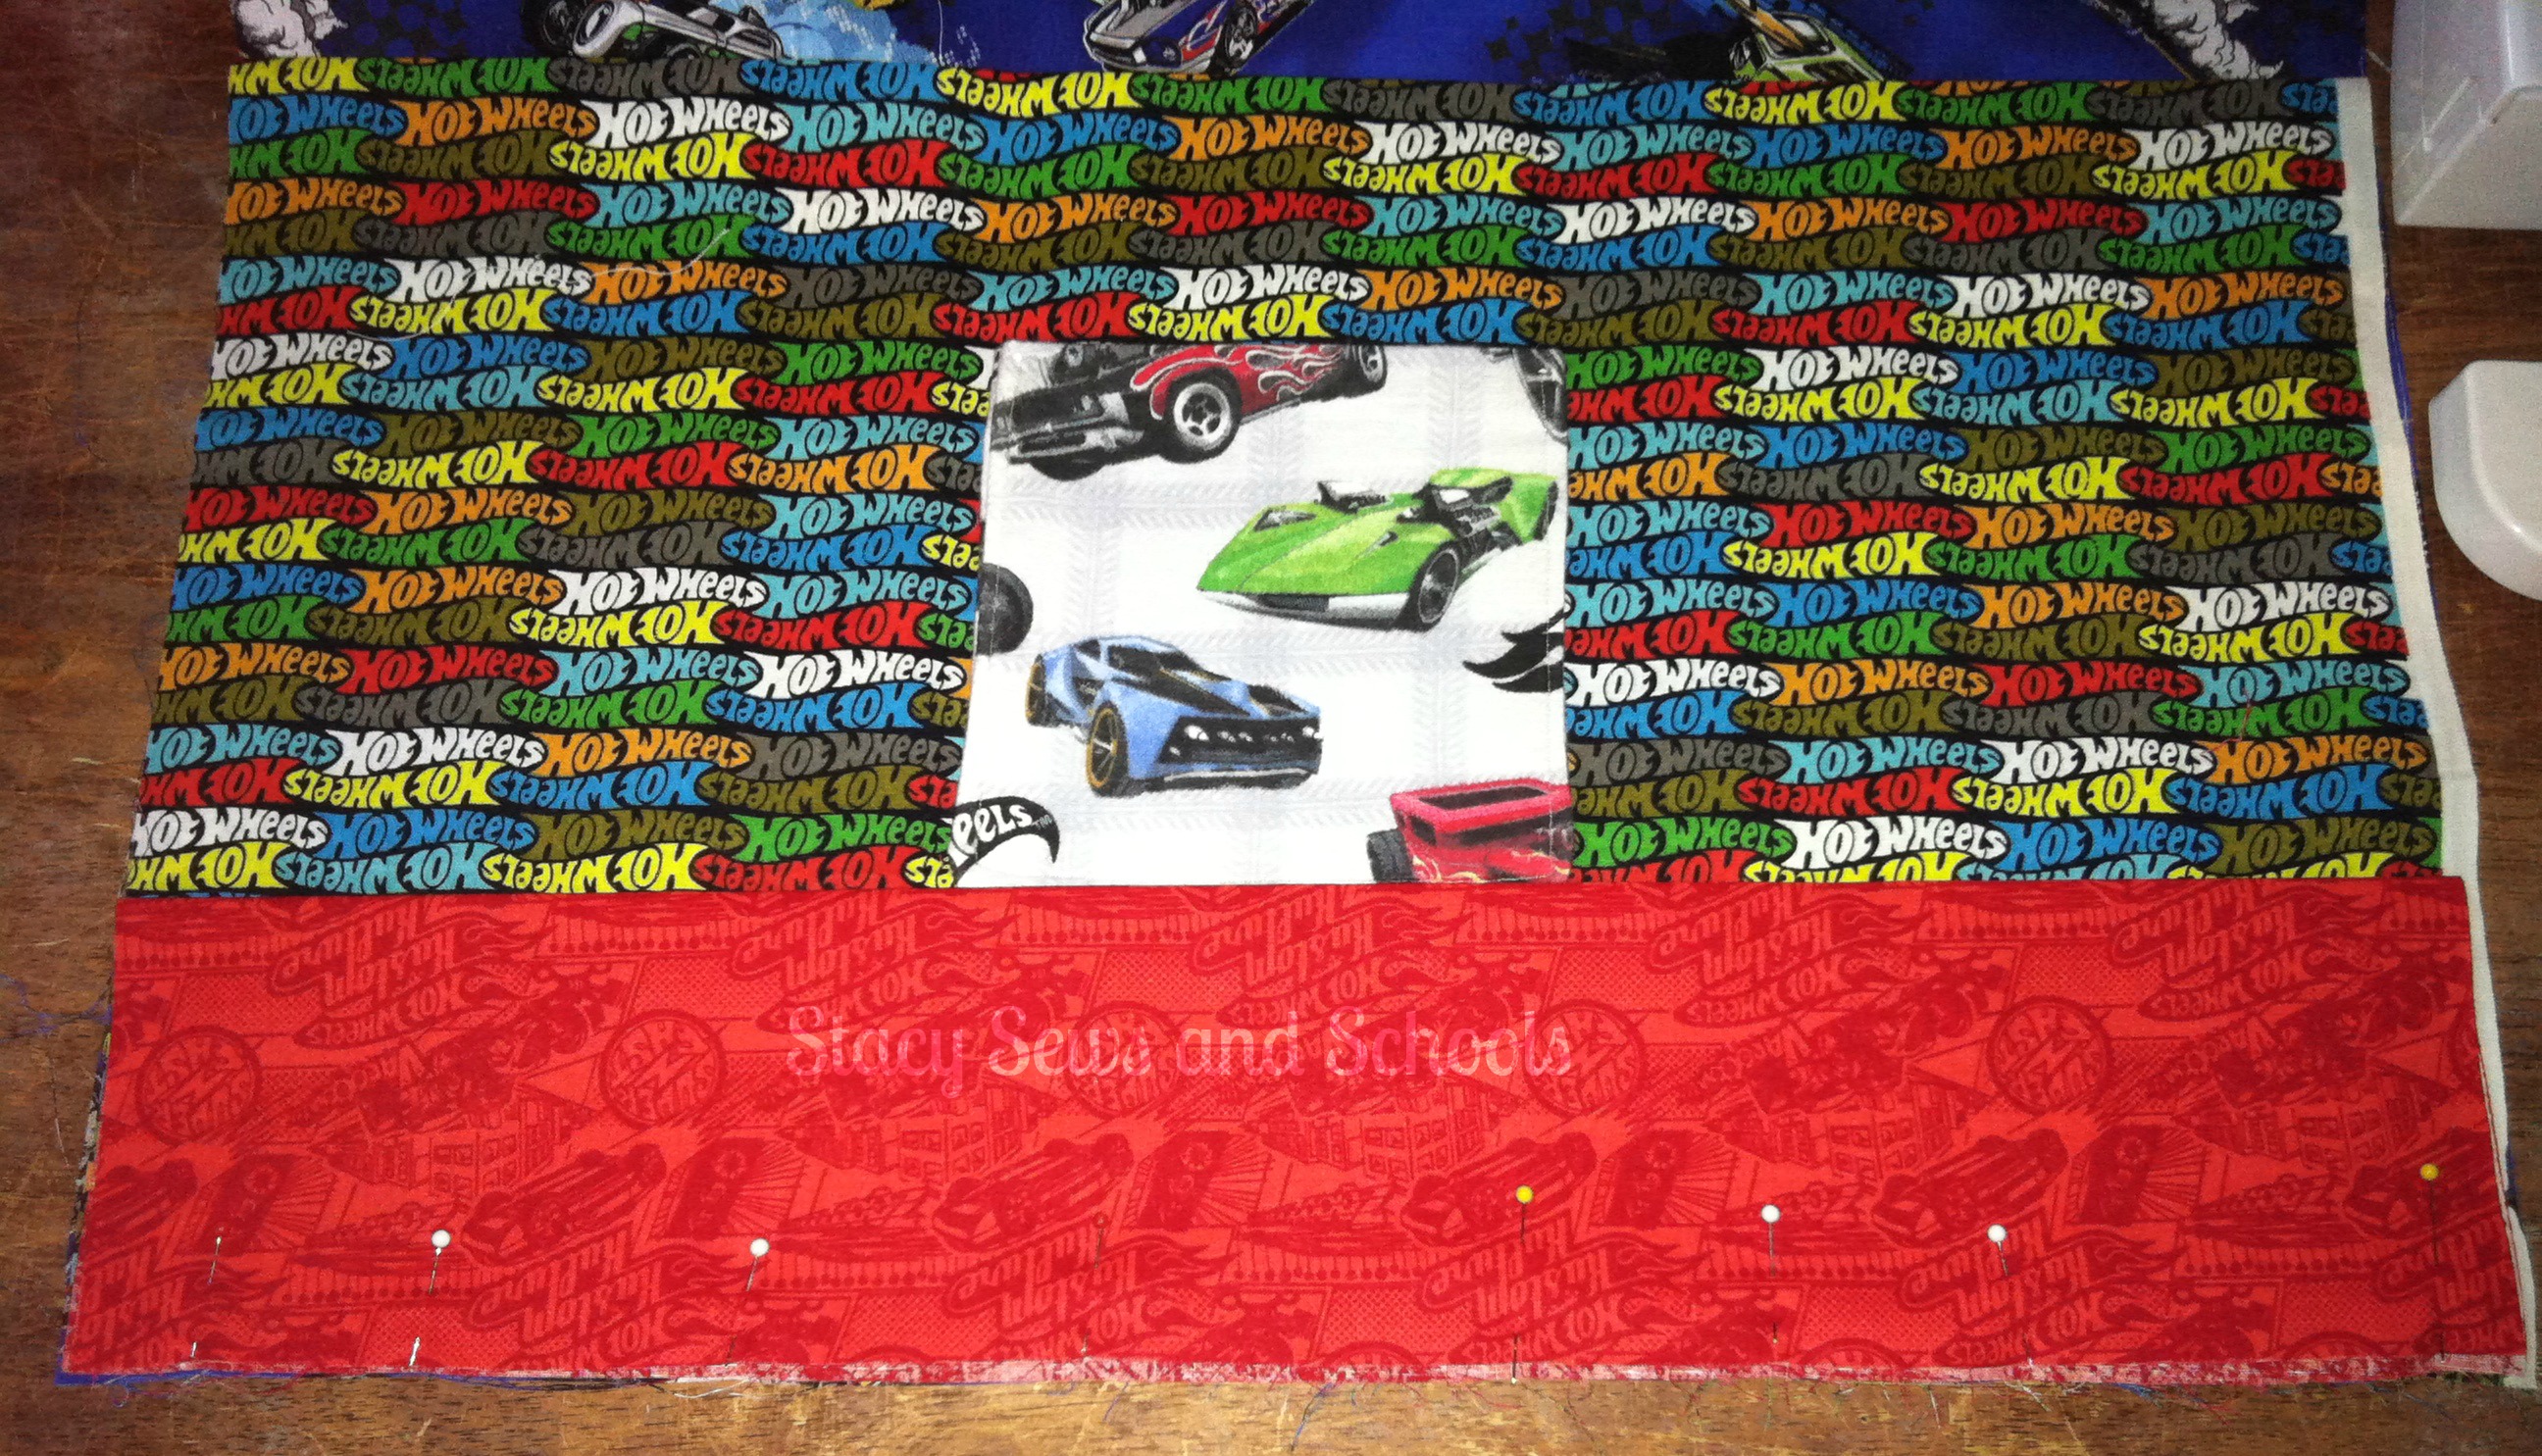
Step 3 -
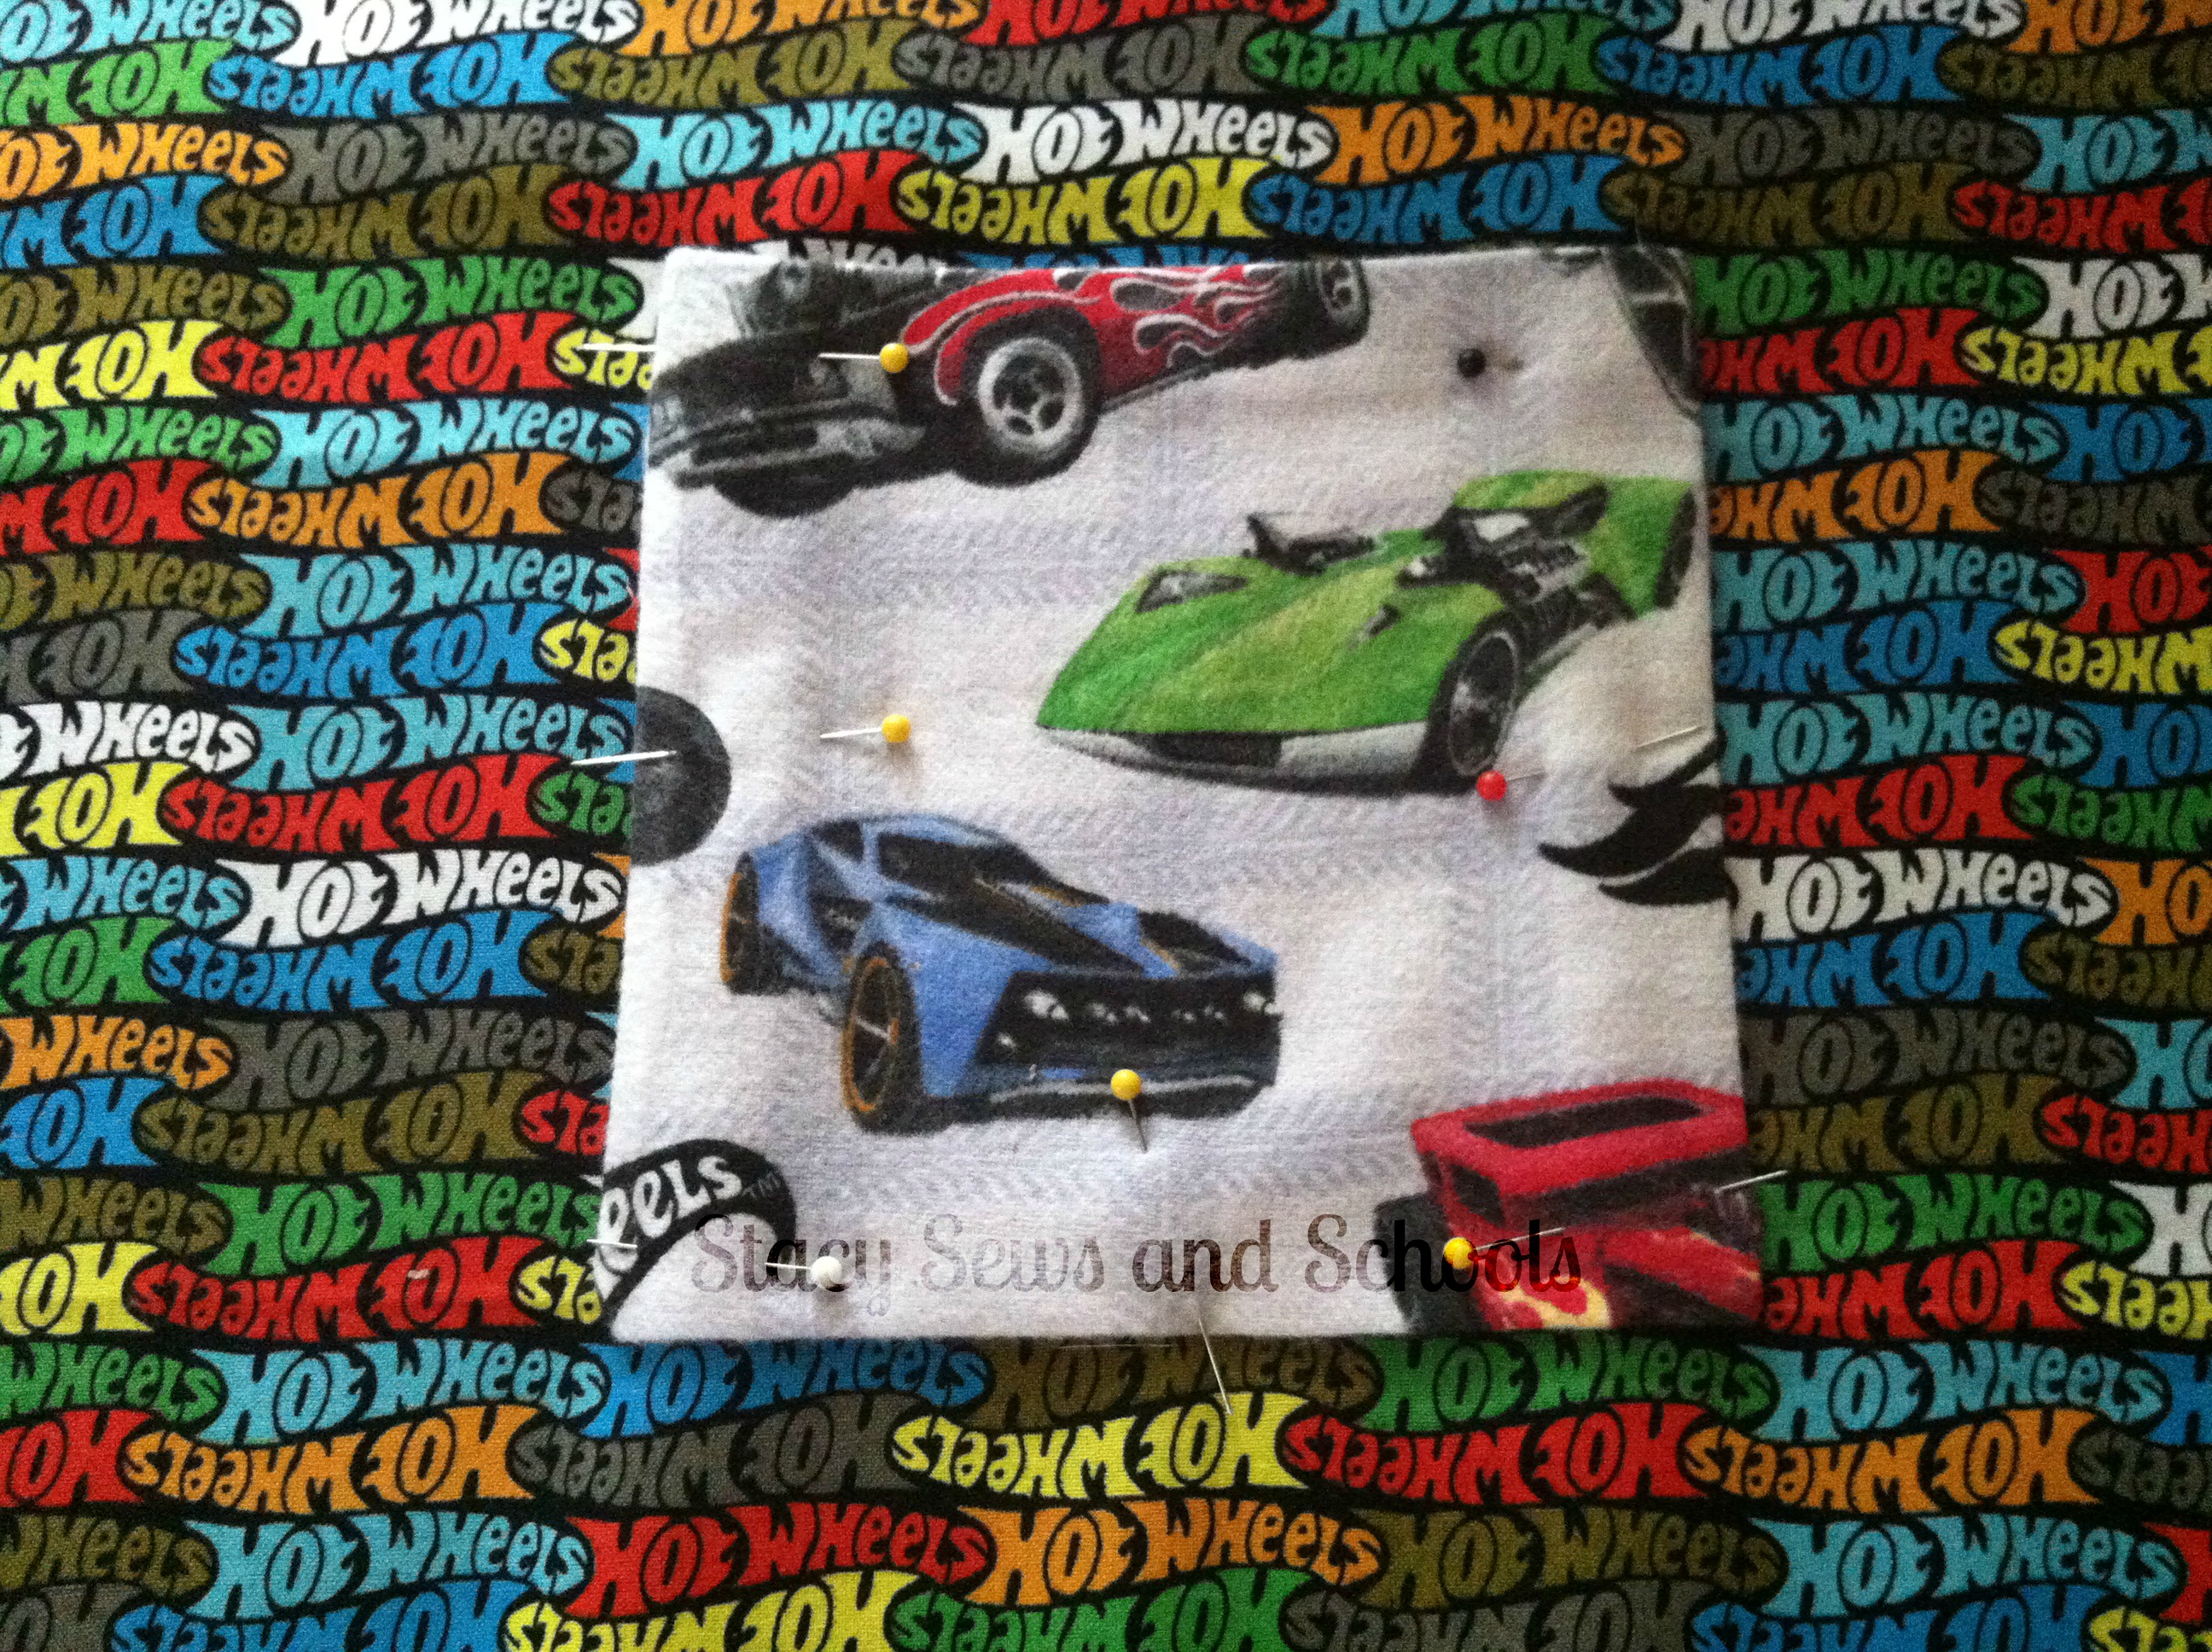
Pin the small pocket in place on the front of the fat quarter you will be using for the large pocket.
Sew in place and press.
You should now have 2 small pockets on the front.
Step 4 -
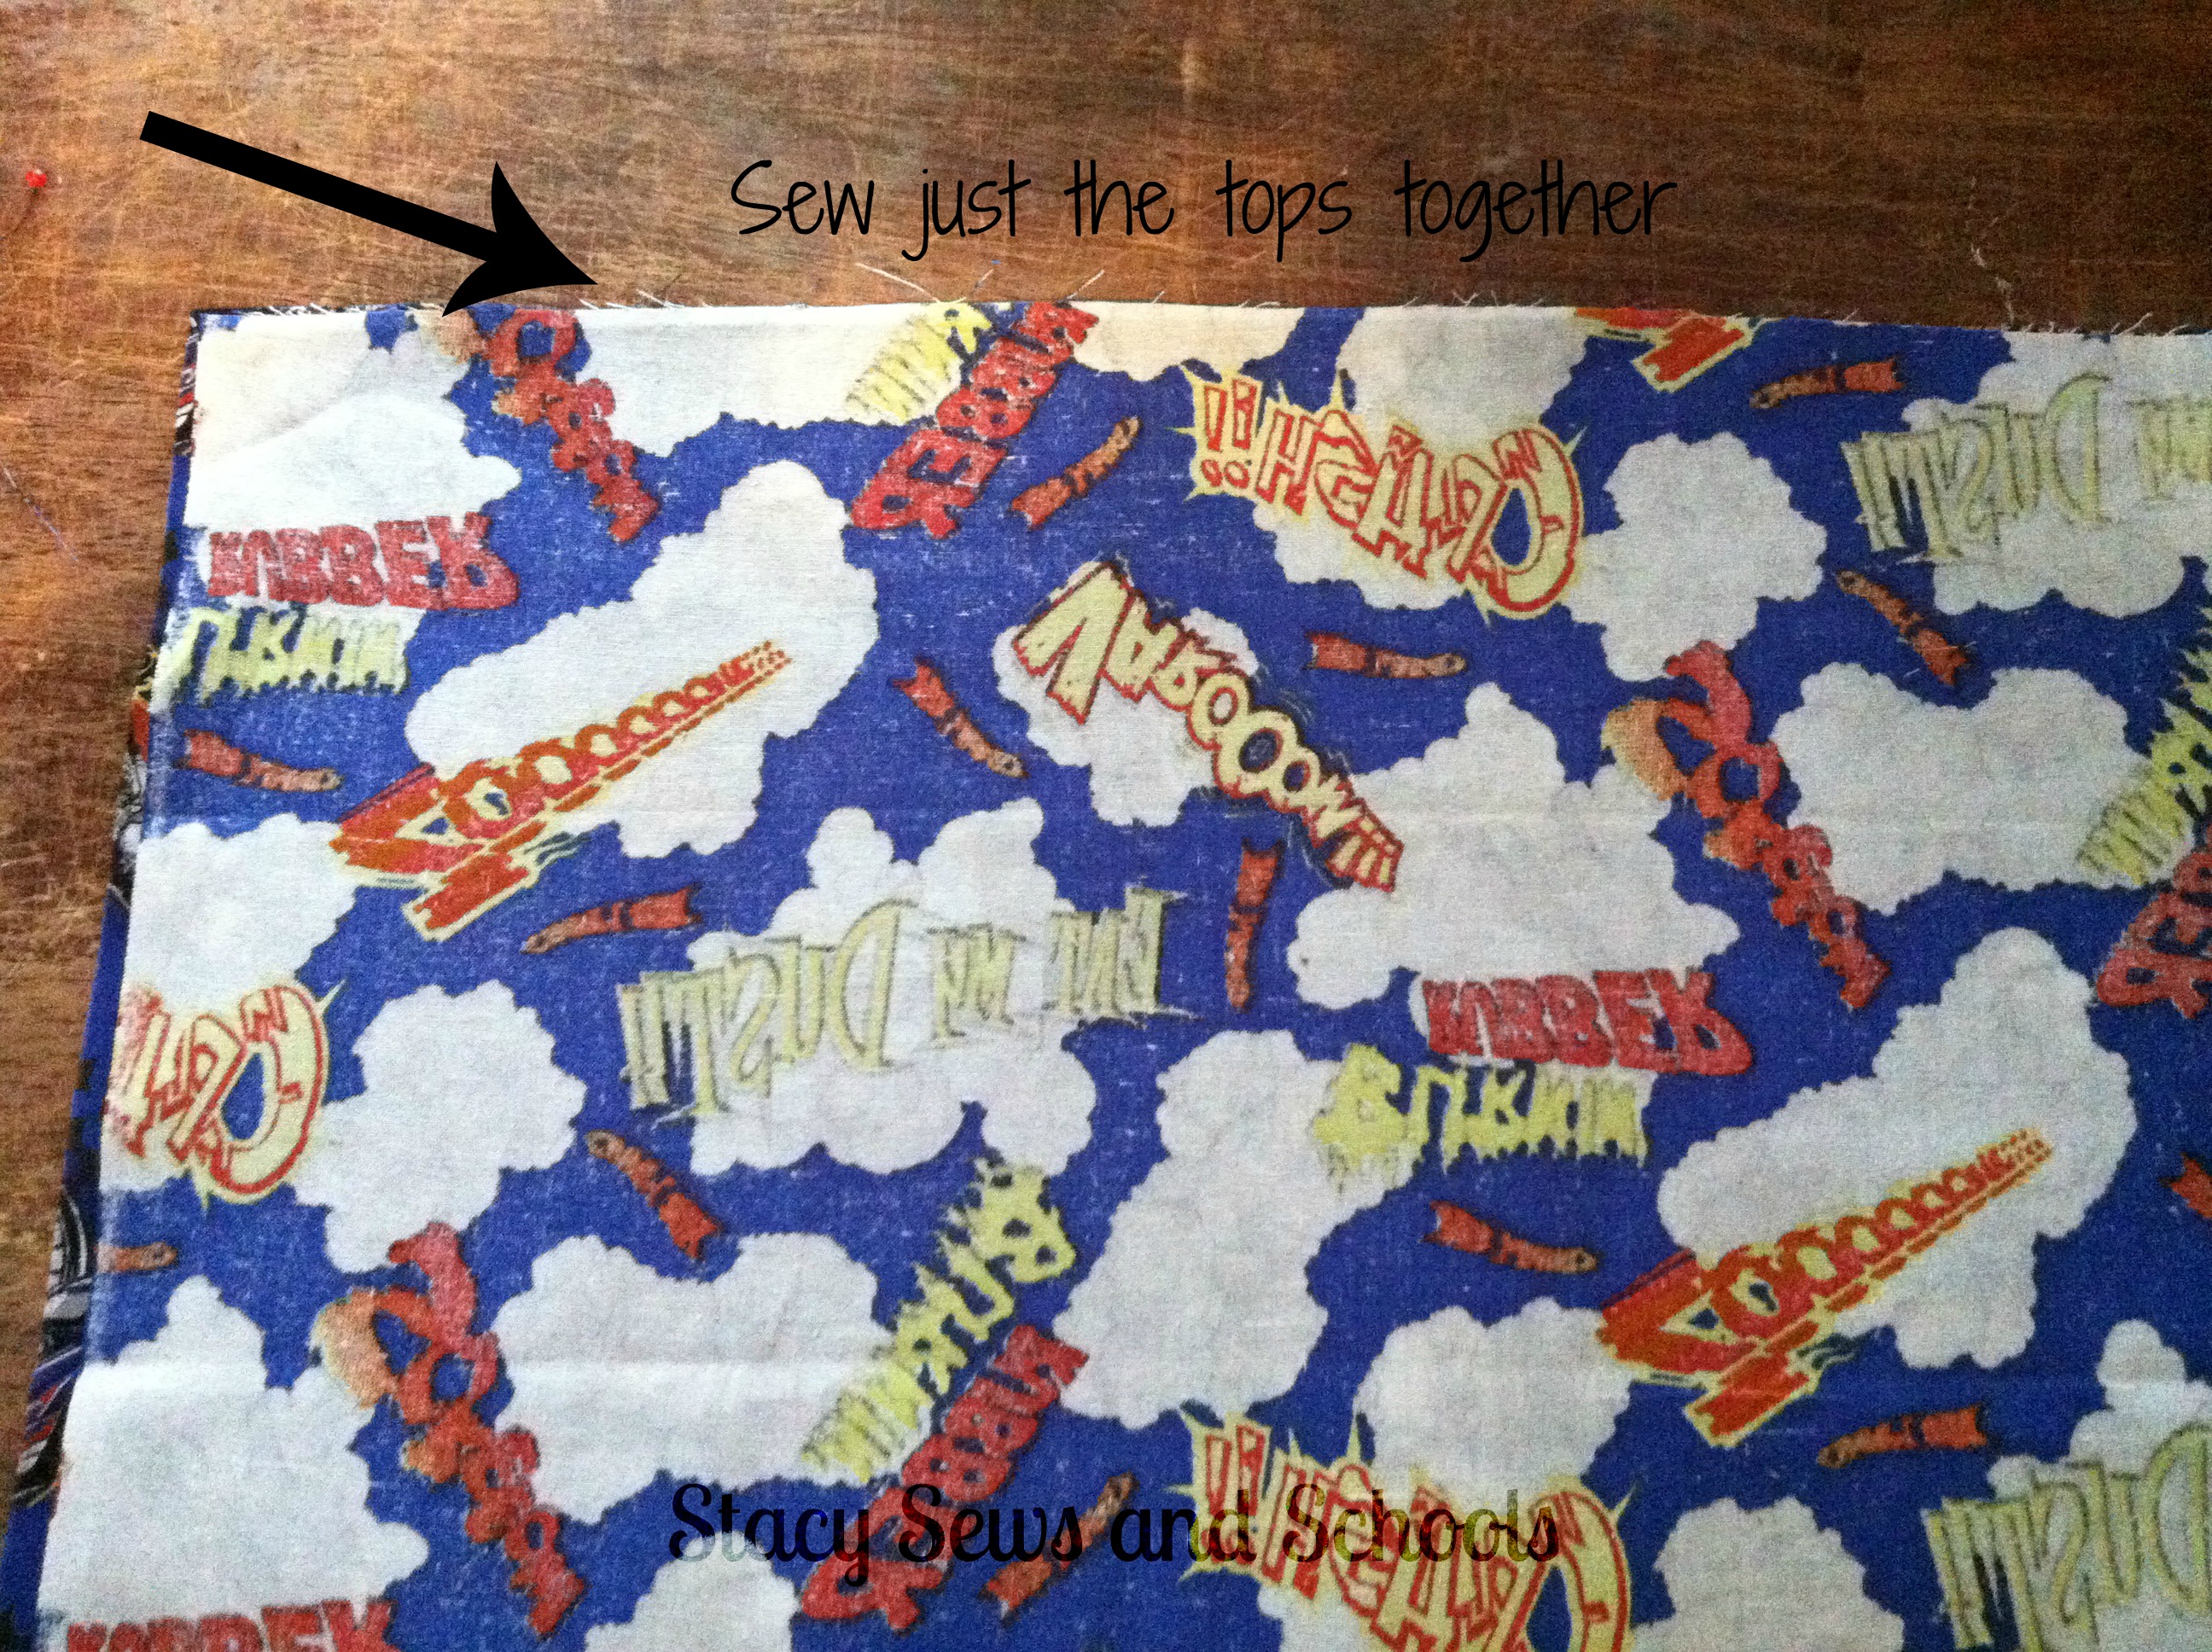
Take the 2 fat quarters you will be using as the body and sew the tops together.
Open it up and press the seam.
With right sides out, fold in half and press the seam from the outside.
Step 5 -
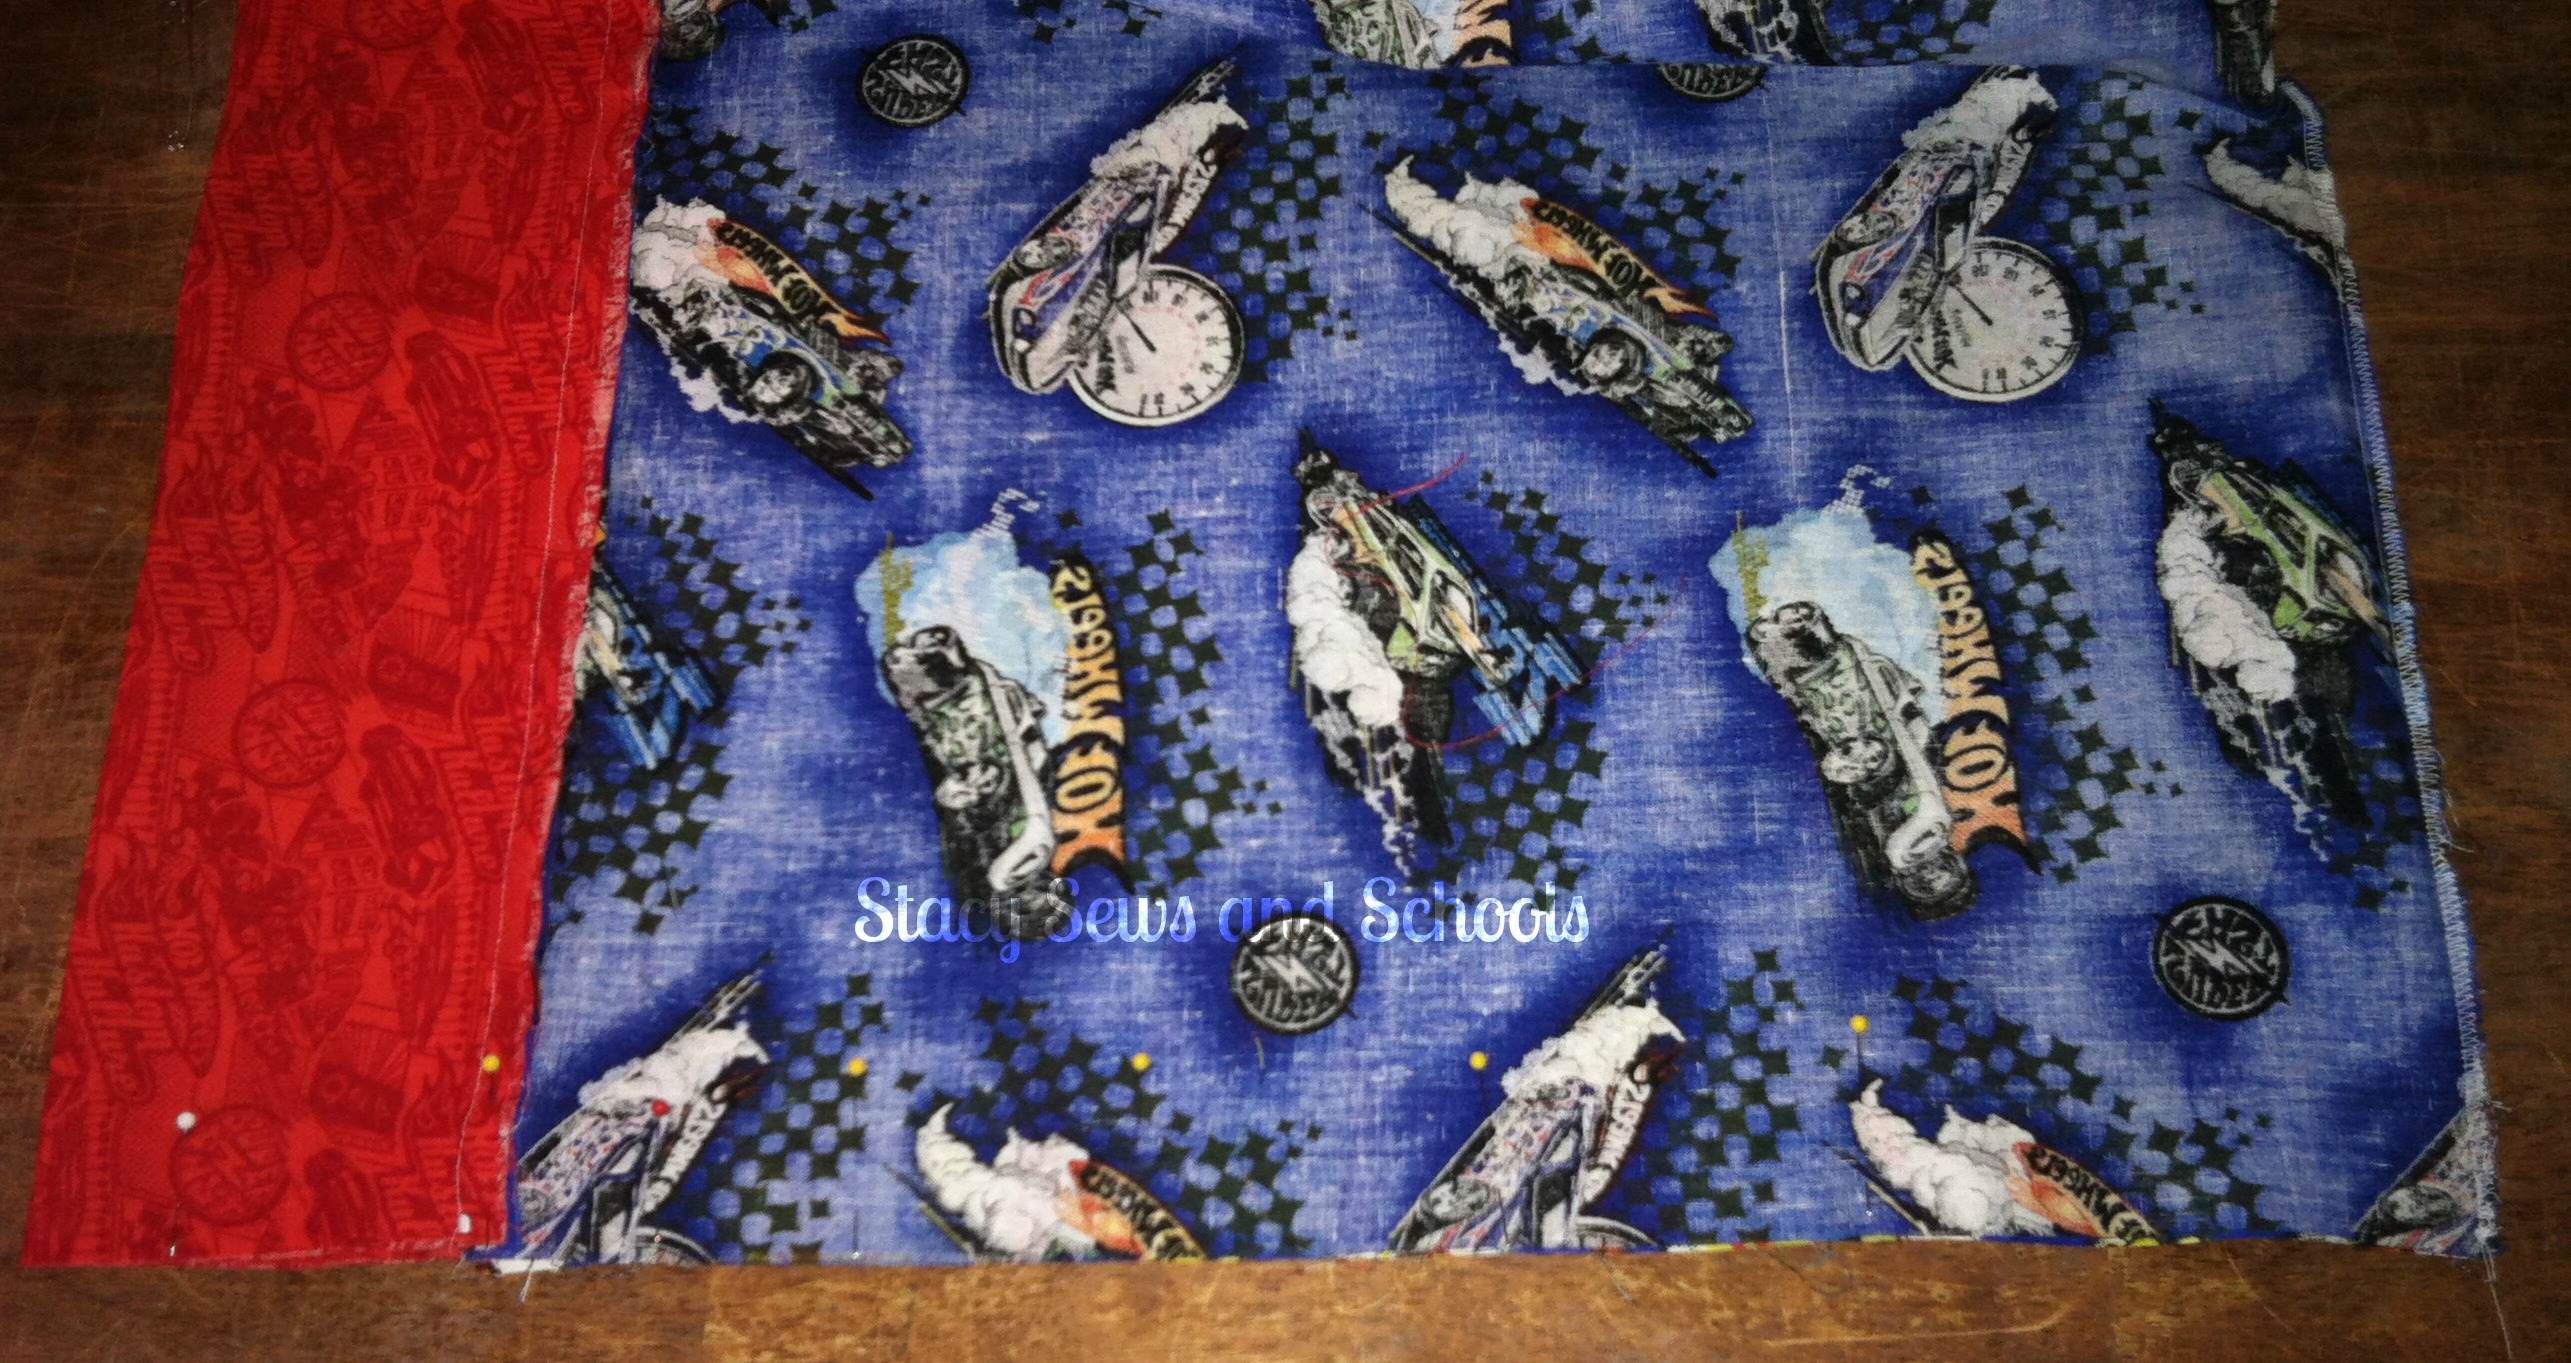
Take your last fat quarter and cut it in half. Fold the halves in the half and press (with right sides out).
Place your pockets on one side of the body and pin down the sides.
Take one of the halves and pin it with the raw edges against the raw edges of the bottom of the large pocket and main body. Pin in place.
Now sew all three pieces together.
Fold the bottom part down and press. (On the wrong side, press the seam up.)
Take the remaining half and sew it to the bottom of the other side of the main body, Repeat the pressing.
****If you are NOT using the fat quarters, you will lay the pocket fabric on top of the main and fold over 1/2" and press. Fold over another 1/2", press and hem.
Step 6 -
Now, fold the body in half with right sides together and pin the sides,
Sew the sides up!
Press!
Turn right side out and press again!
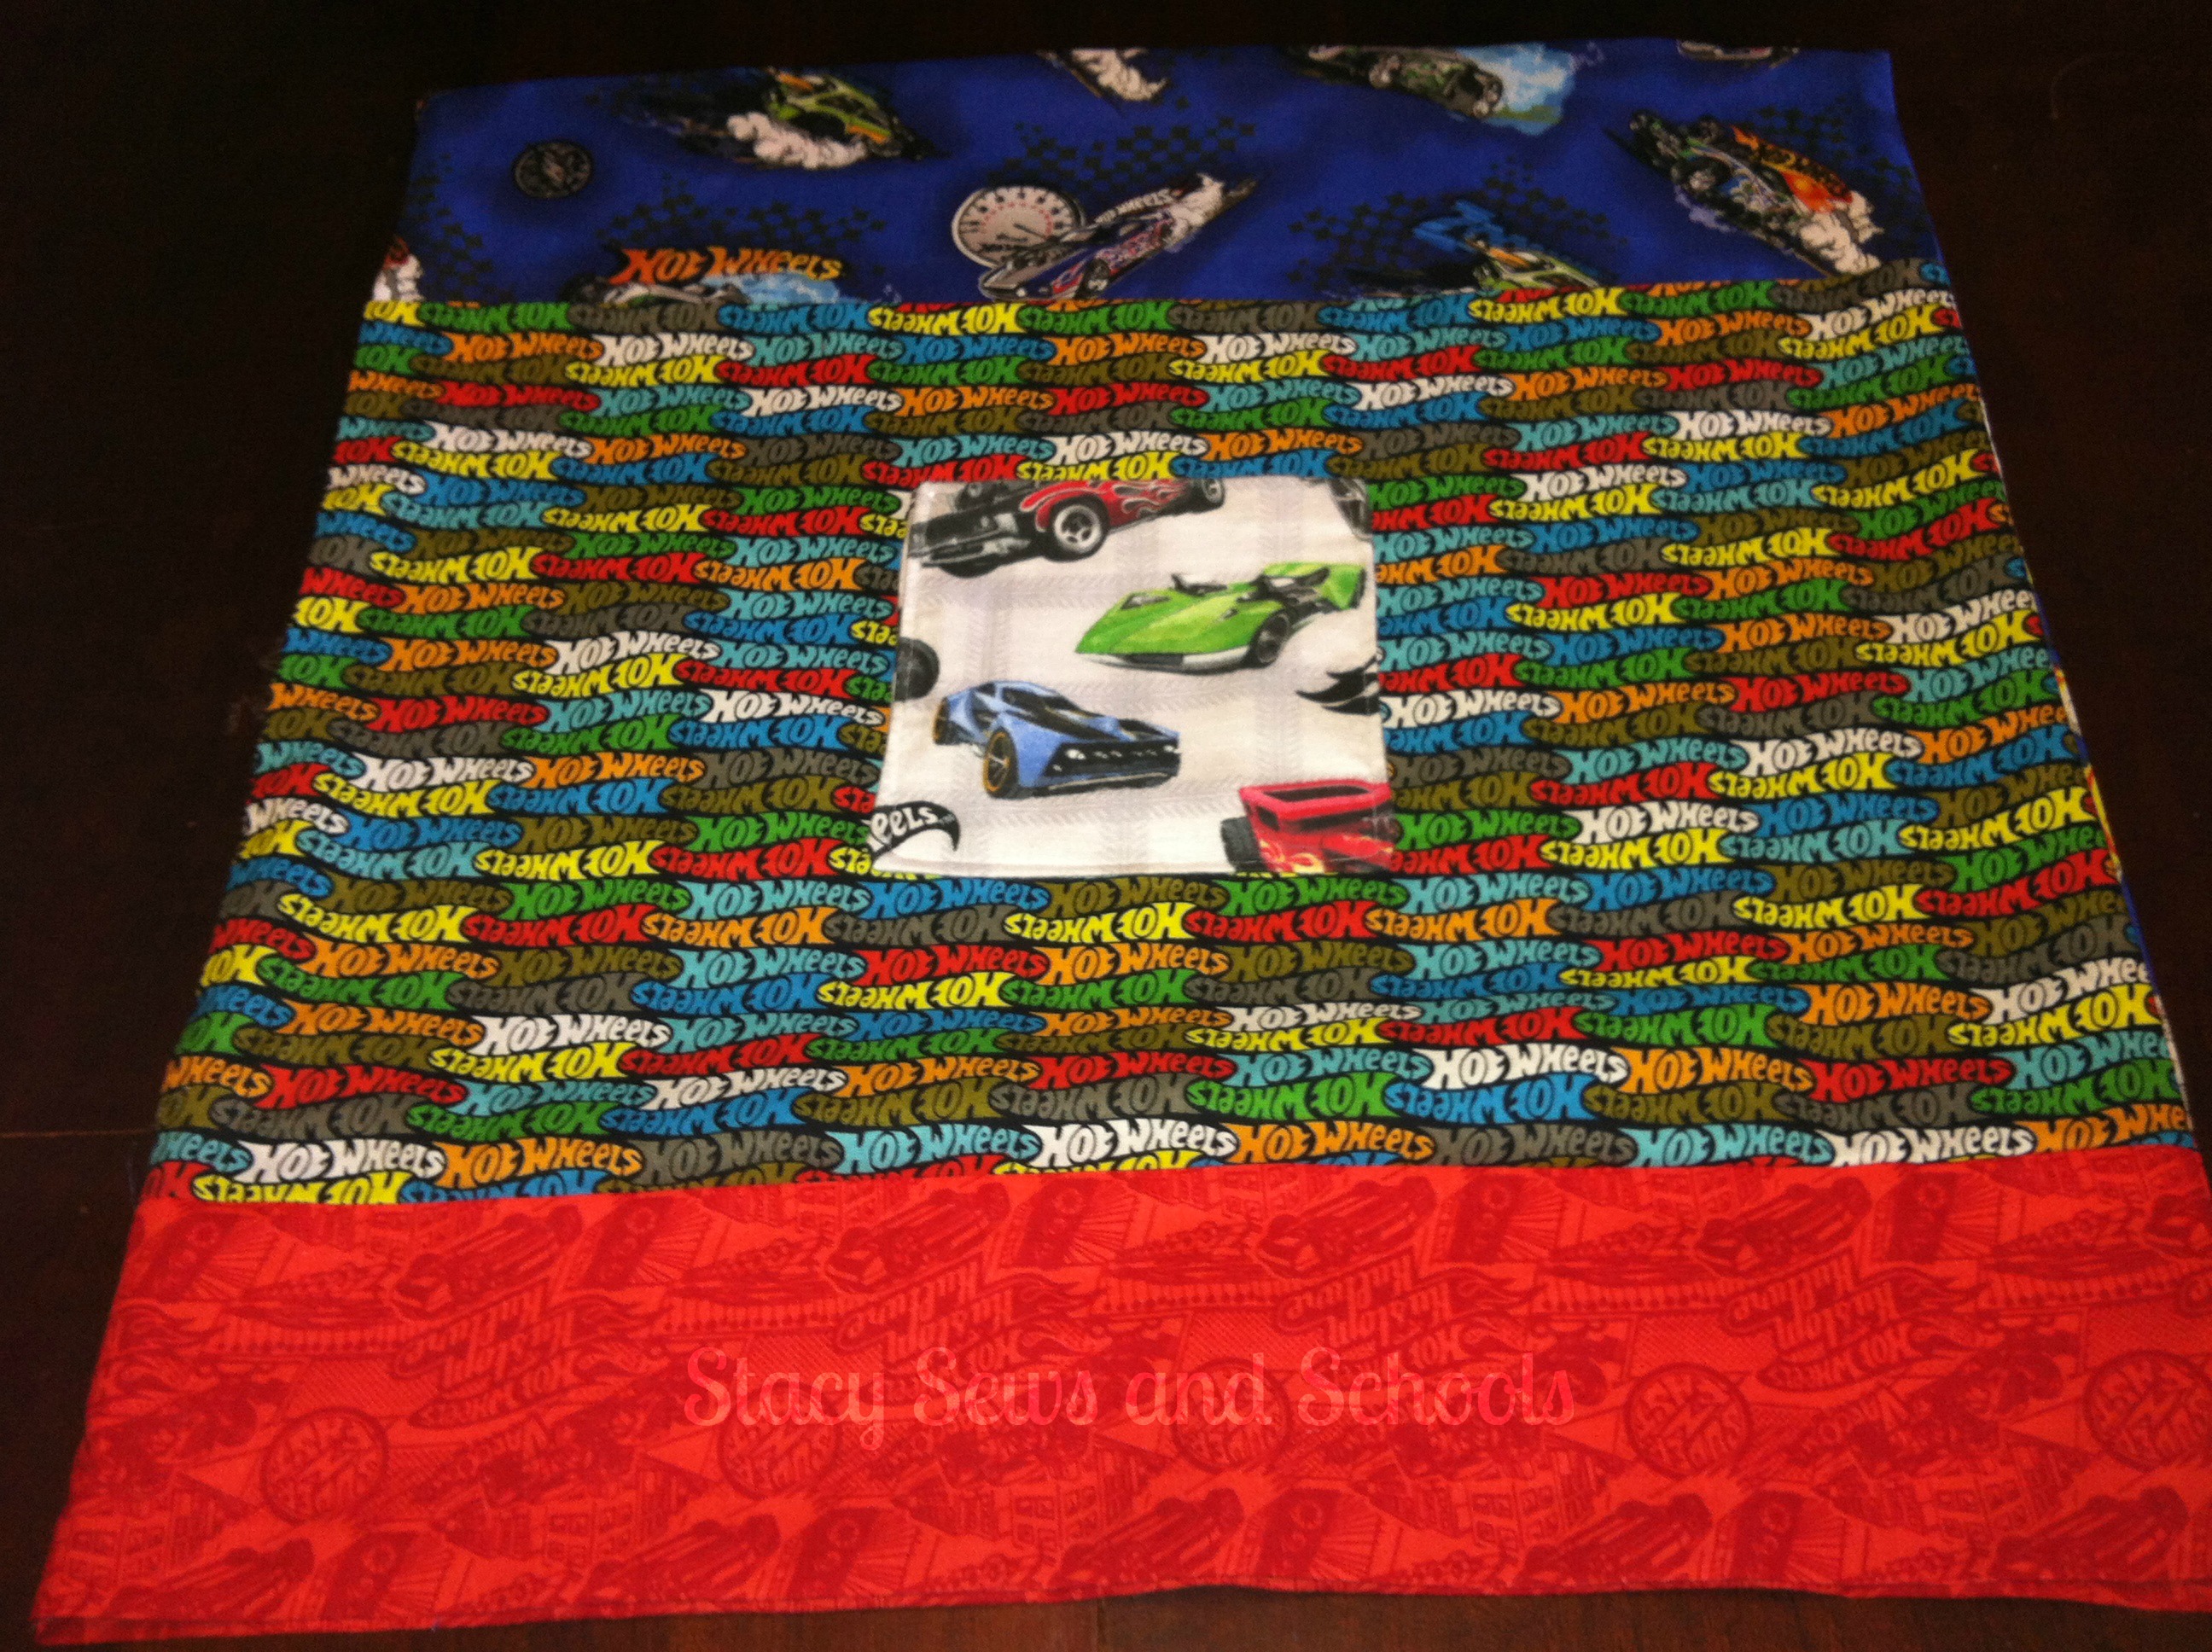
You are ALL DONE!!!
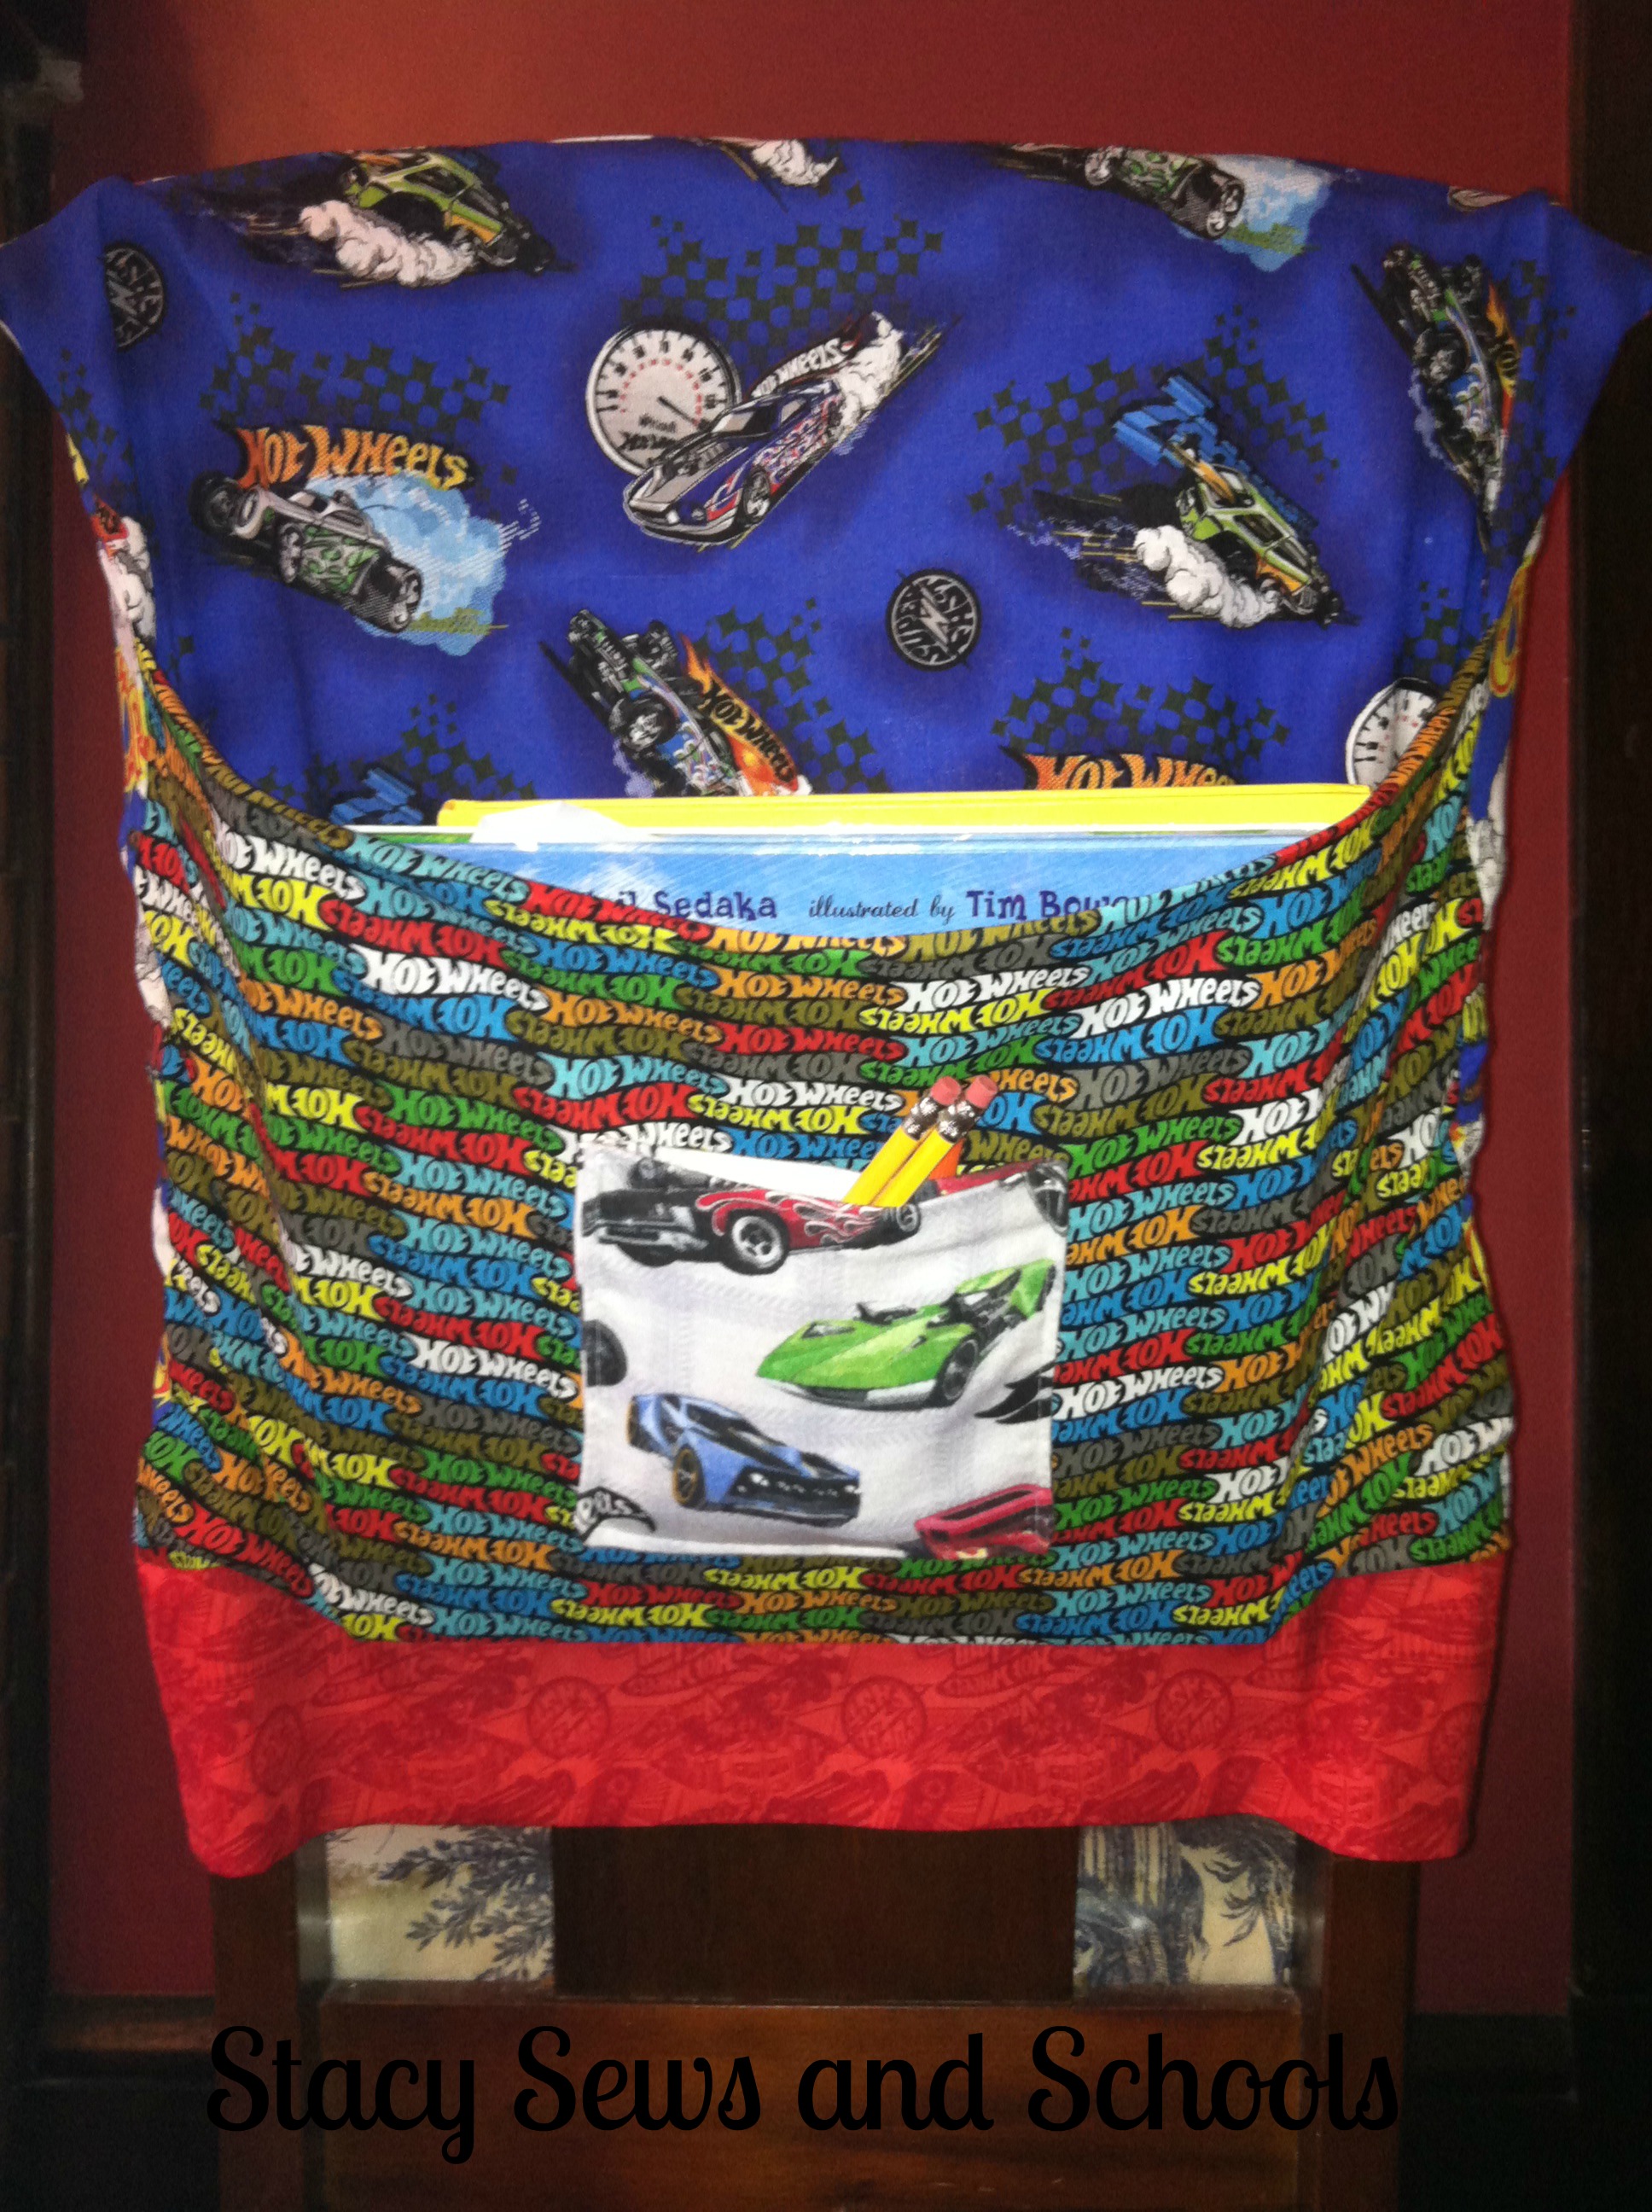
You now have yourself a Chair Buddy!!! YAY!!!
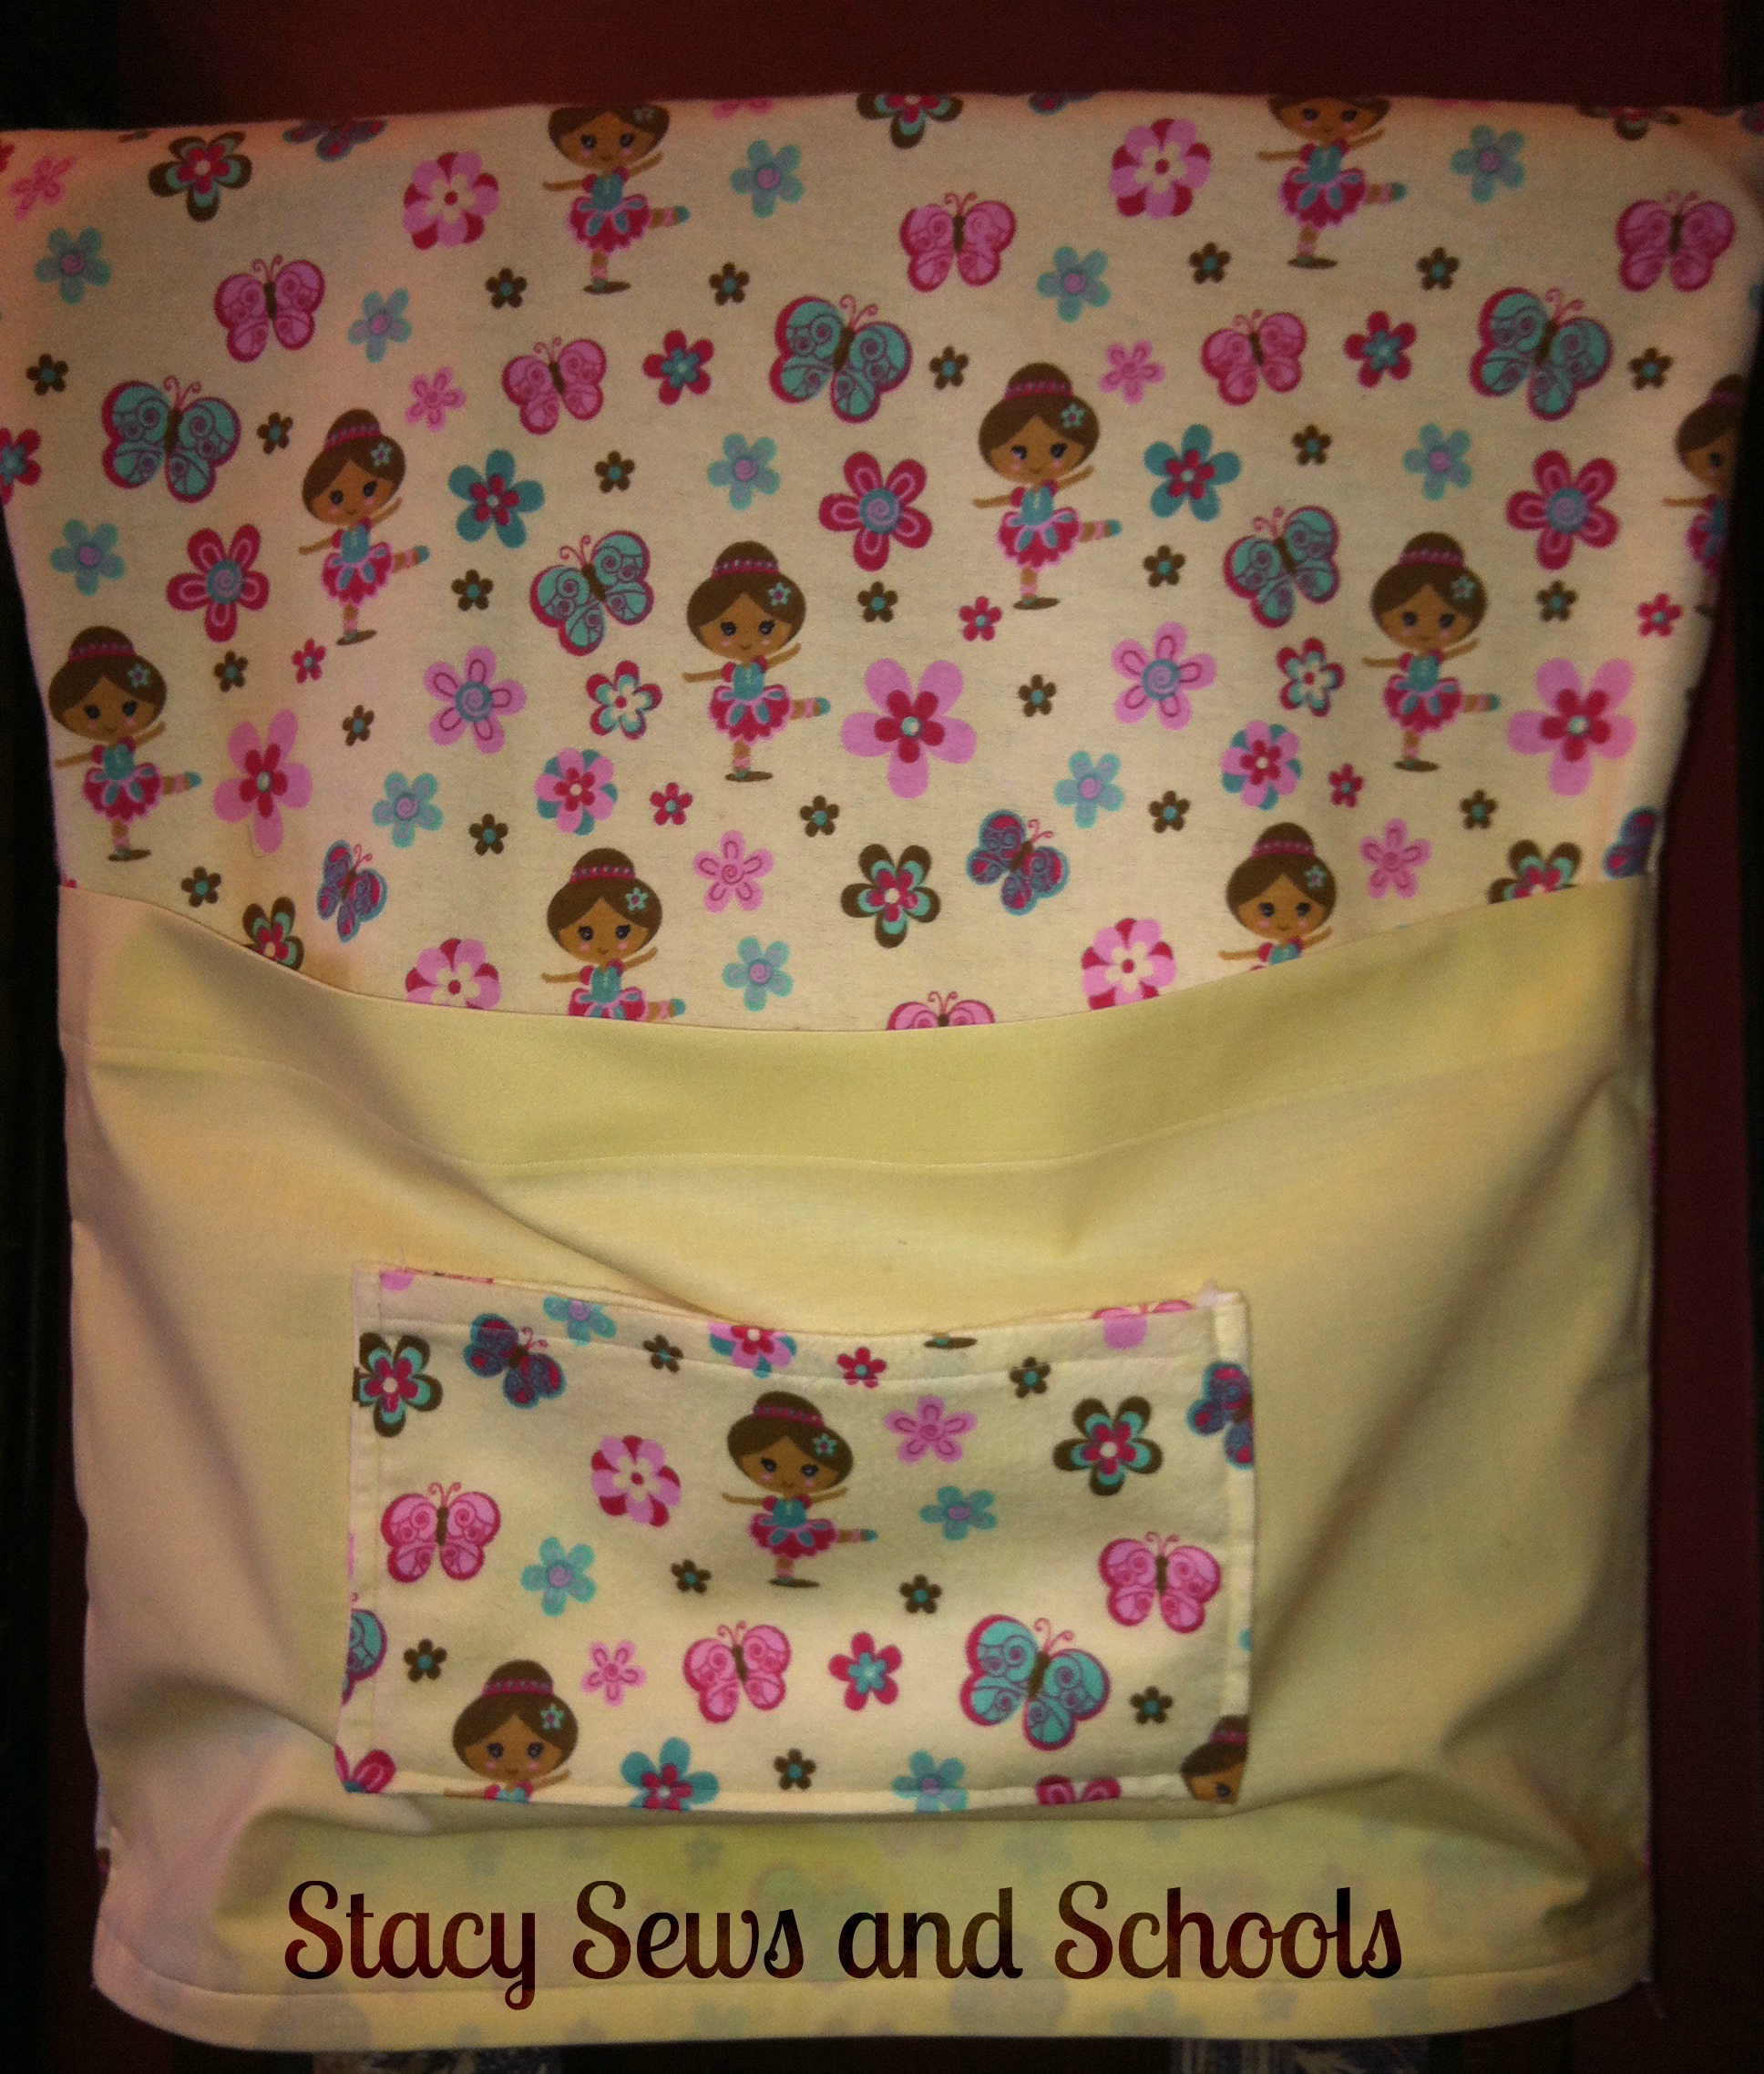
Here is Cailey's!
Let me know what you think! Have any questions? Just comment or shoot me an email by clicking the Contact Me button at the top of the page.
You can also find me on Twitter or Facebook - the links are over on the right side.
HAVE FUN SEWING!!!!

These are so cute... I just know Colin will be ready to start school now.. how fun!!!
ReplyDeleteThank you, Judy!!!!!! He loves it!!! :D
ReplyDeleteThank you for the great tutorial. I volunteered to make some for my daughter's 3rd grade class. Only 19 (lol) really needed the dimensions to make sure I got them the correct size. Thank you again for the great info.
ReplyDeleteWOW!!! That's a big job, Cindy!! LOL Good luck!! :D
ReplyDelete[…] are the 2 charts that I made. She keeps them in her Chair Buddy and pulls them out whenever she needs a little […]
ReplyDelete