Showing posts with label sewing for charity. Show all posts

July 9, 2013

Apron Skirt Tutorial

Apron skirt 1


This is such a simple and easy little skirt to make. I wanted to do something different than just a bunch of plain skirts for Skirting the Issue and this is one of them that I decided on.


I used about a 1/2 yard for the skirt and maybe an 1/8 for the little apron. A fat quarter would be great!! ;)


Step 1 - 

Apron skirt 007


Fold over the edges on 3 side by a 1/4", press and fold them again by 1/2"

Then  stitch them in place.

PRESS again!


Step 2 - 

Apron skirt 008


Next  cut out a heart from the main fabric, just like cutting a heart from paper. ;)

Then  pin it within an inch of its life and zigzag it all around.

PRESS!!


Step 3 -

Apron skirt 014


Set the little apron aside and fold and press your hem. Fold and press 1/2 " and then again by 3/4".

Then  stitch it in place and press again!


Step 4 - 

Apron skirt 018


Now, pin the apron to the skirt, wrong side of apron to right side of skirt.

Sew a line of stitches across the top to secure the 2 pieces together.


Step 5 -


Apron skirt 016


Next, pin and sew your back seam.

Press it.


Step 6 -

Apron skirt 021


Now, you are going to make your elastic casing.

Fold over the top of the skirt by 3/4" and press. Then fold it over by 1" and press.

Sew the casing but make sure to leave an opening to insert the elastic.

Pin one (or both ends) of the elastic with a large safety pin and thread it through the casing.

Sew the ends of the elastic together.

Sew the casing closed.

You are now DONE!!!!!!

Sit back and admire your pretty little appliqued apron skirt! ;)


As always, if you have any questions, just hit the Contact Me button at the top of the page and shoot me an email! I always answer back! ;)

Let me know if you find this easy to follow!


THANKS!!!!


HAPPY SEWING!


June 11, 2013

Monkey Business


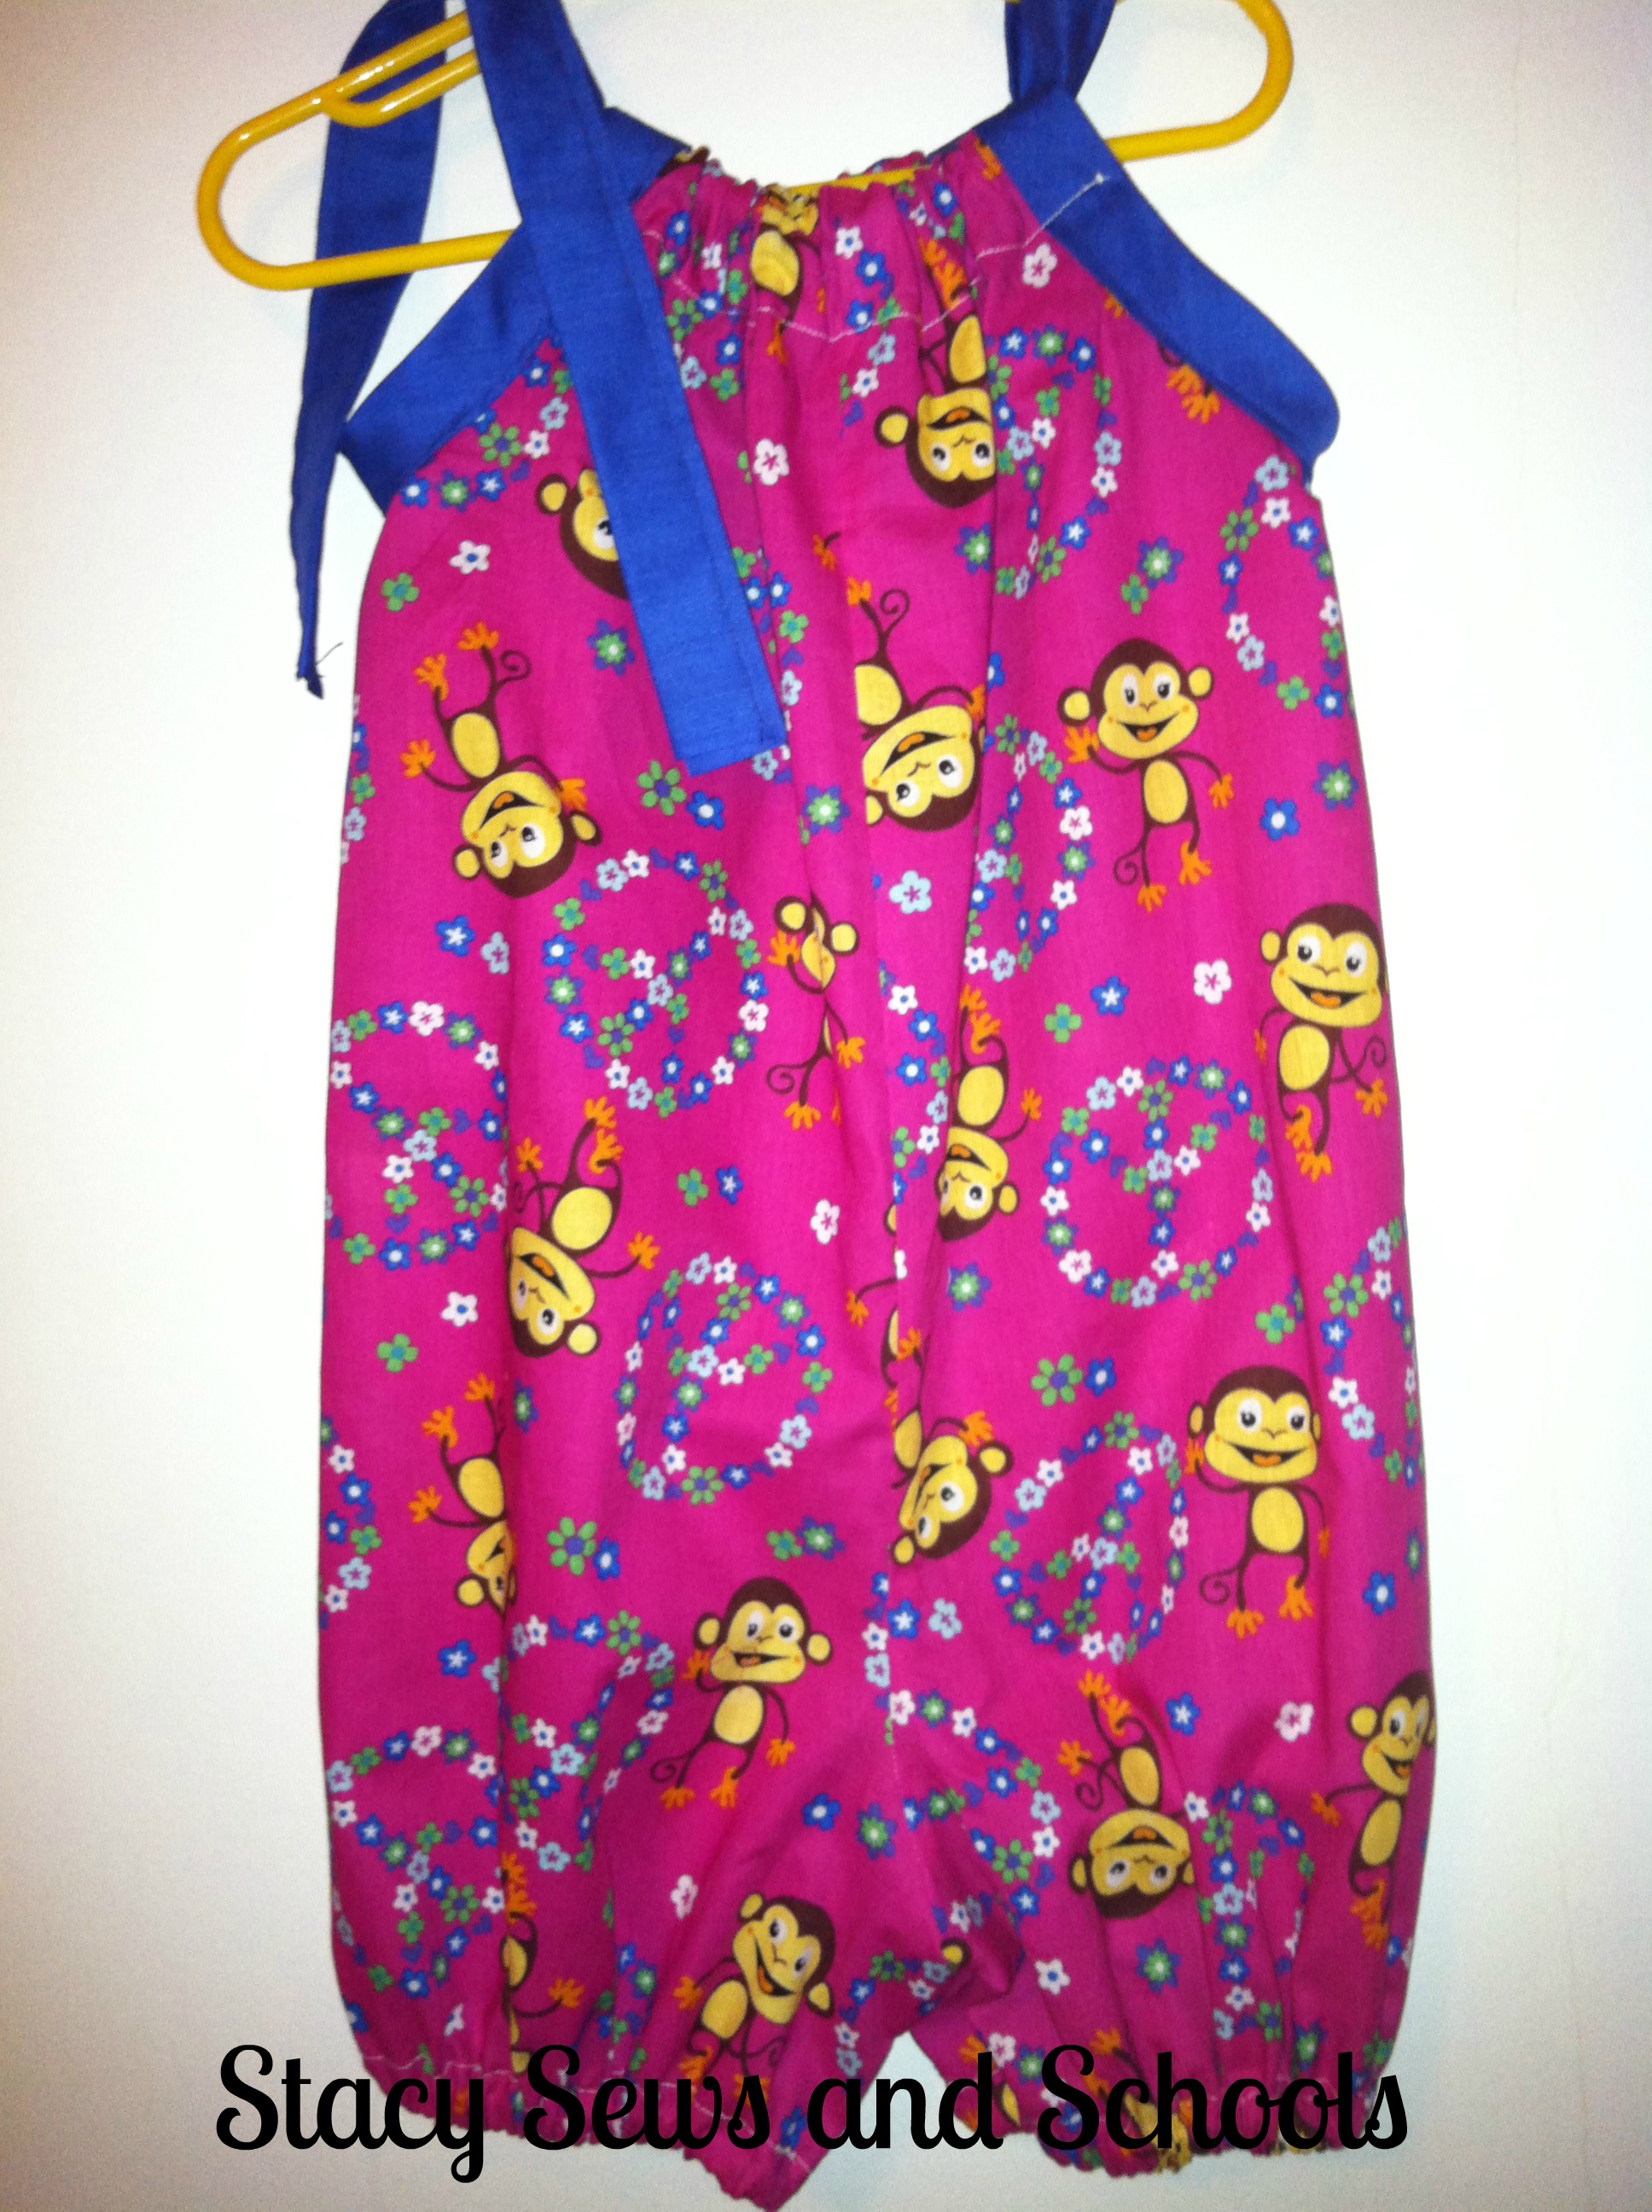
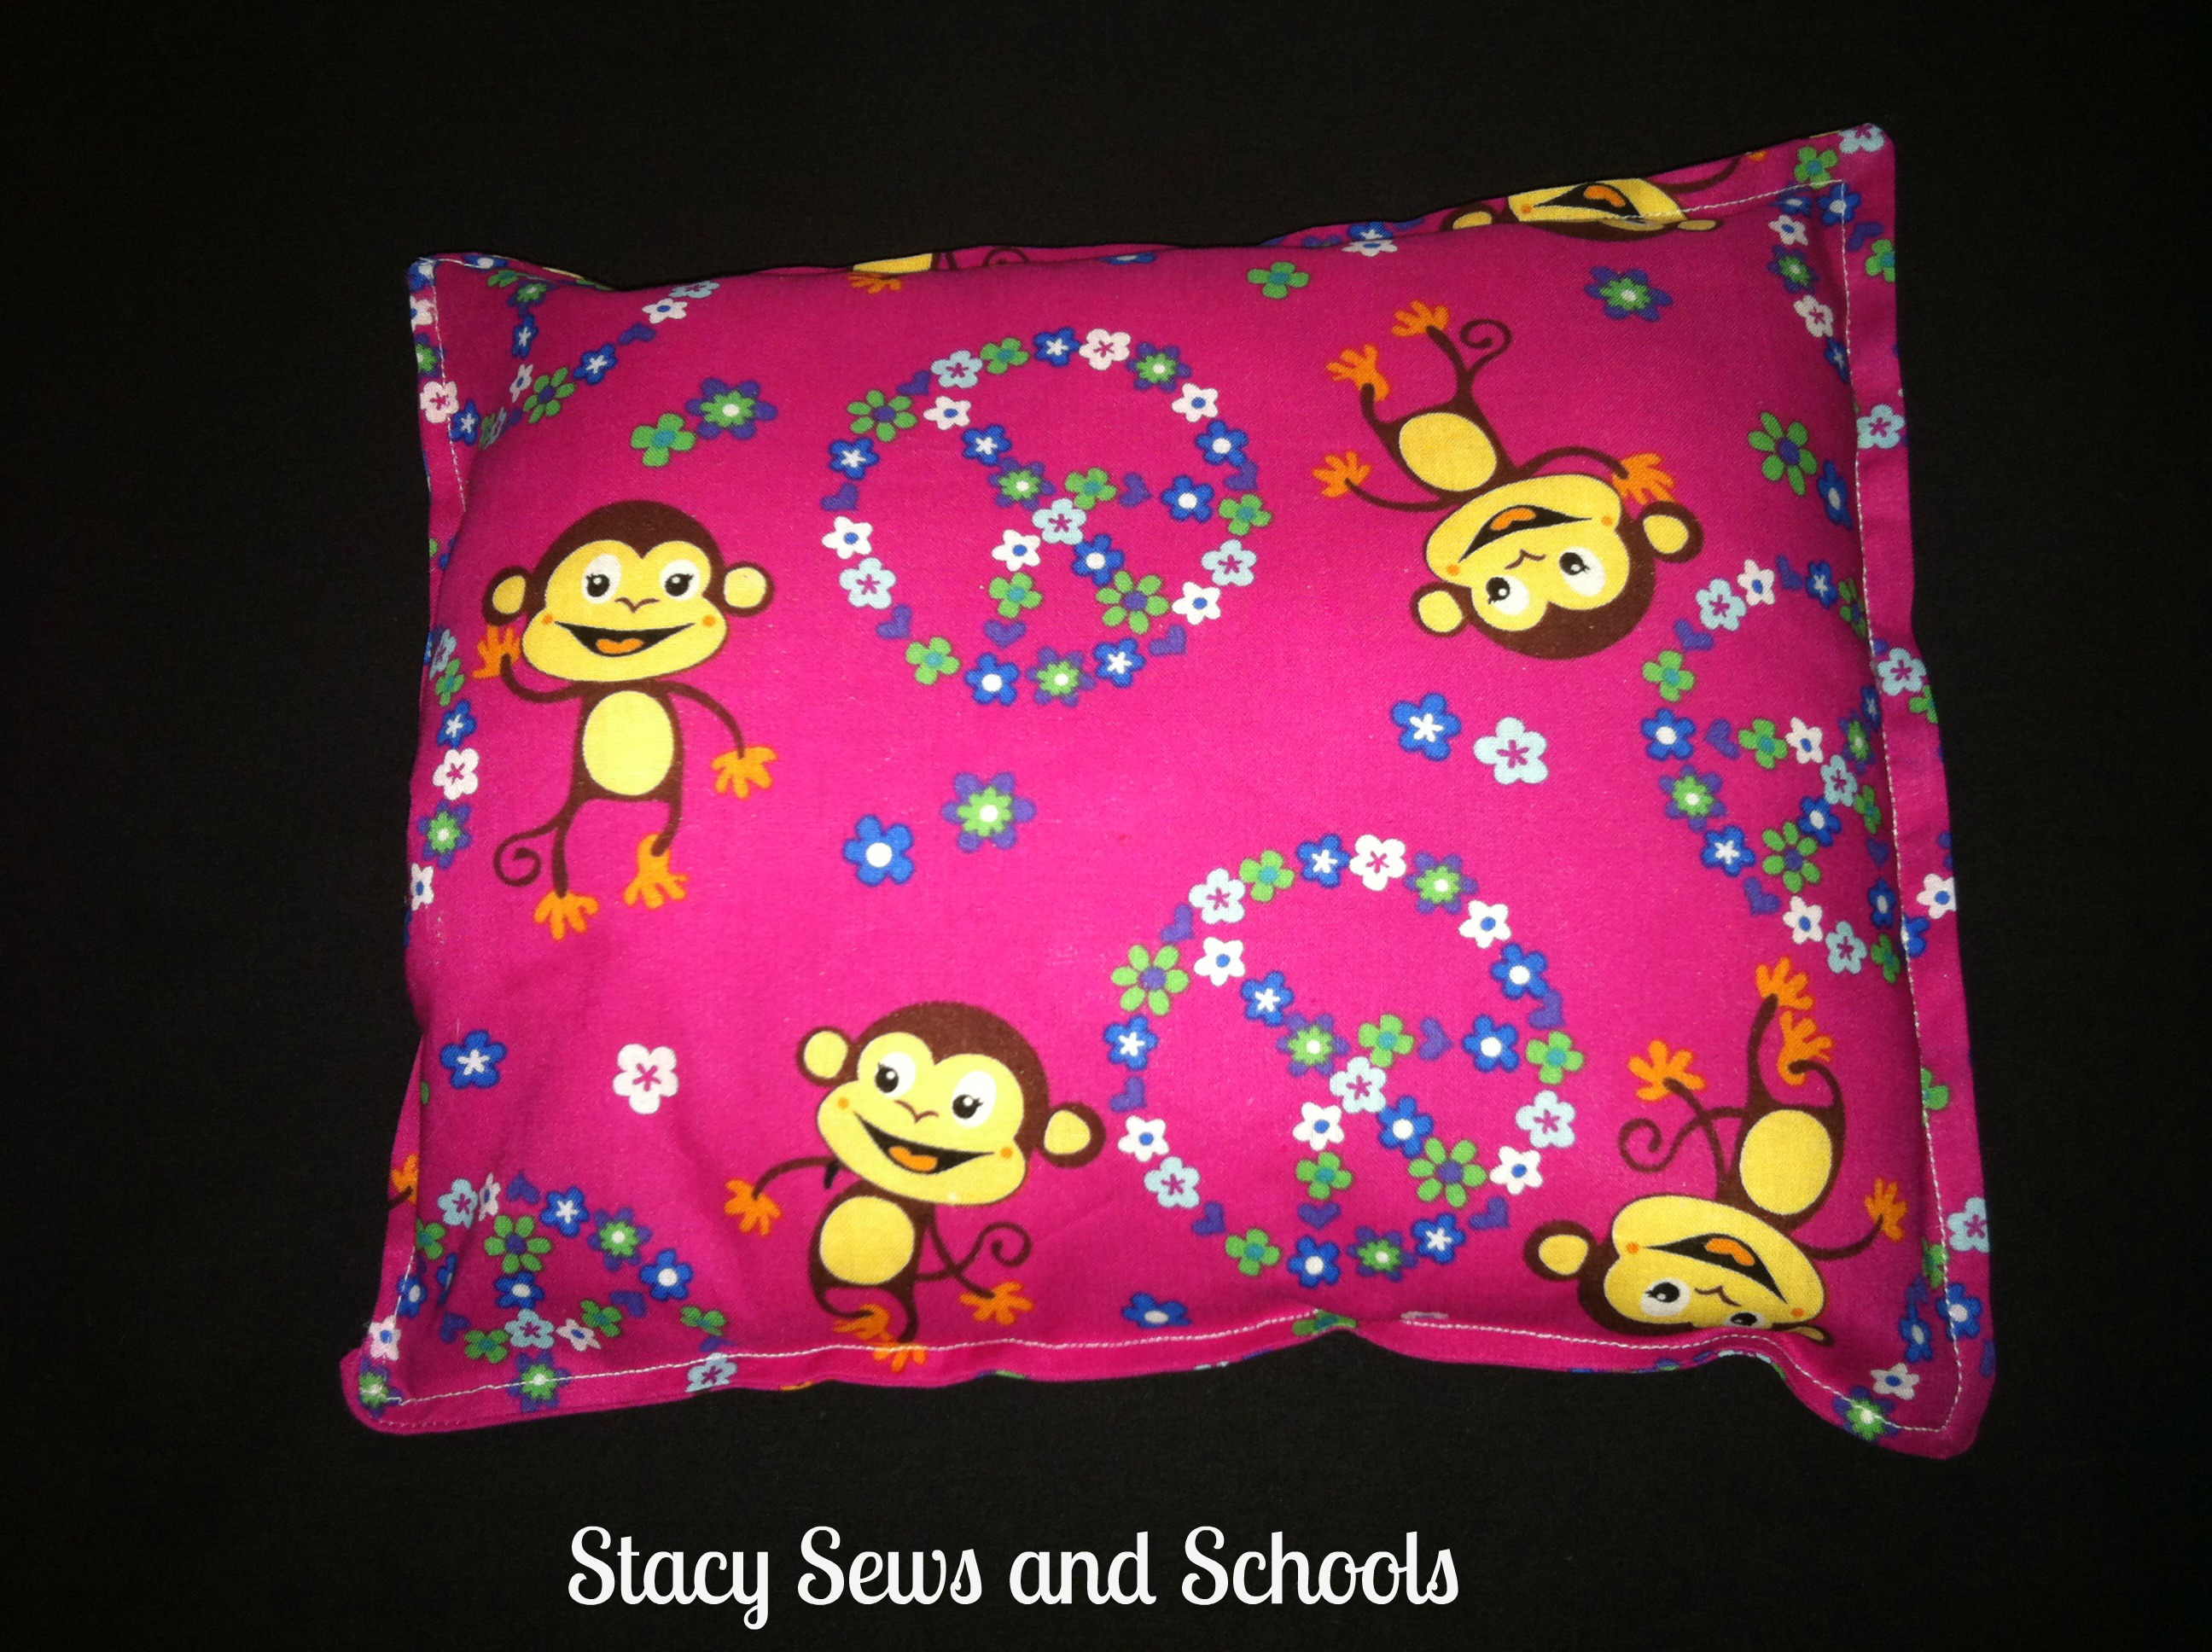
My latest set for Sewing to Rebuild has been taken over by monkeys!! LOL


Monkey Business 008


Monkey Business 004


Monkey Business 003


Next up (and last for the Sewing to Rebuild) will be another boy's set.


After that I will be getting busy sewing for MY kids. LOL Colin has been complaining that it has been too long since I made him something. It will be a part of Hopeful Threads June sewing project.

Hopeful Threads

I have some really cute knit that I have been thinking about making into PJs for Colin and a nightgown for Cailey. Colin also needs some new shorts! Then I think I will break out some patterns that I have been meaning to get to.


HAVE FUN SEWING!!! :D


June 9, 2013

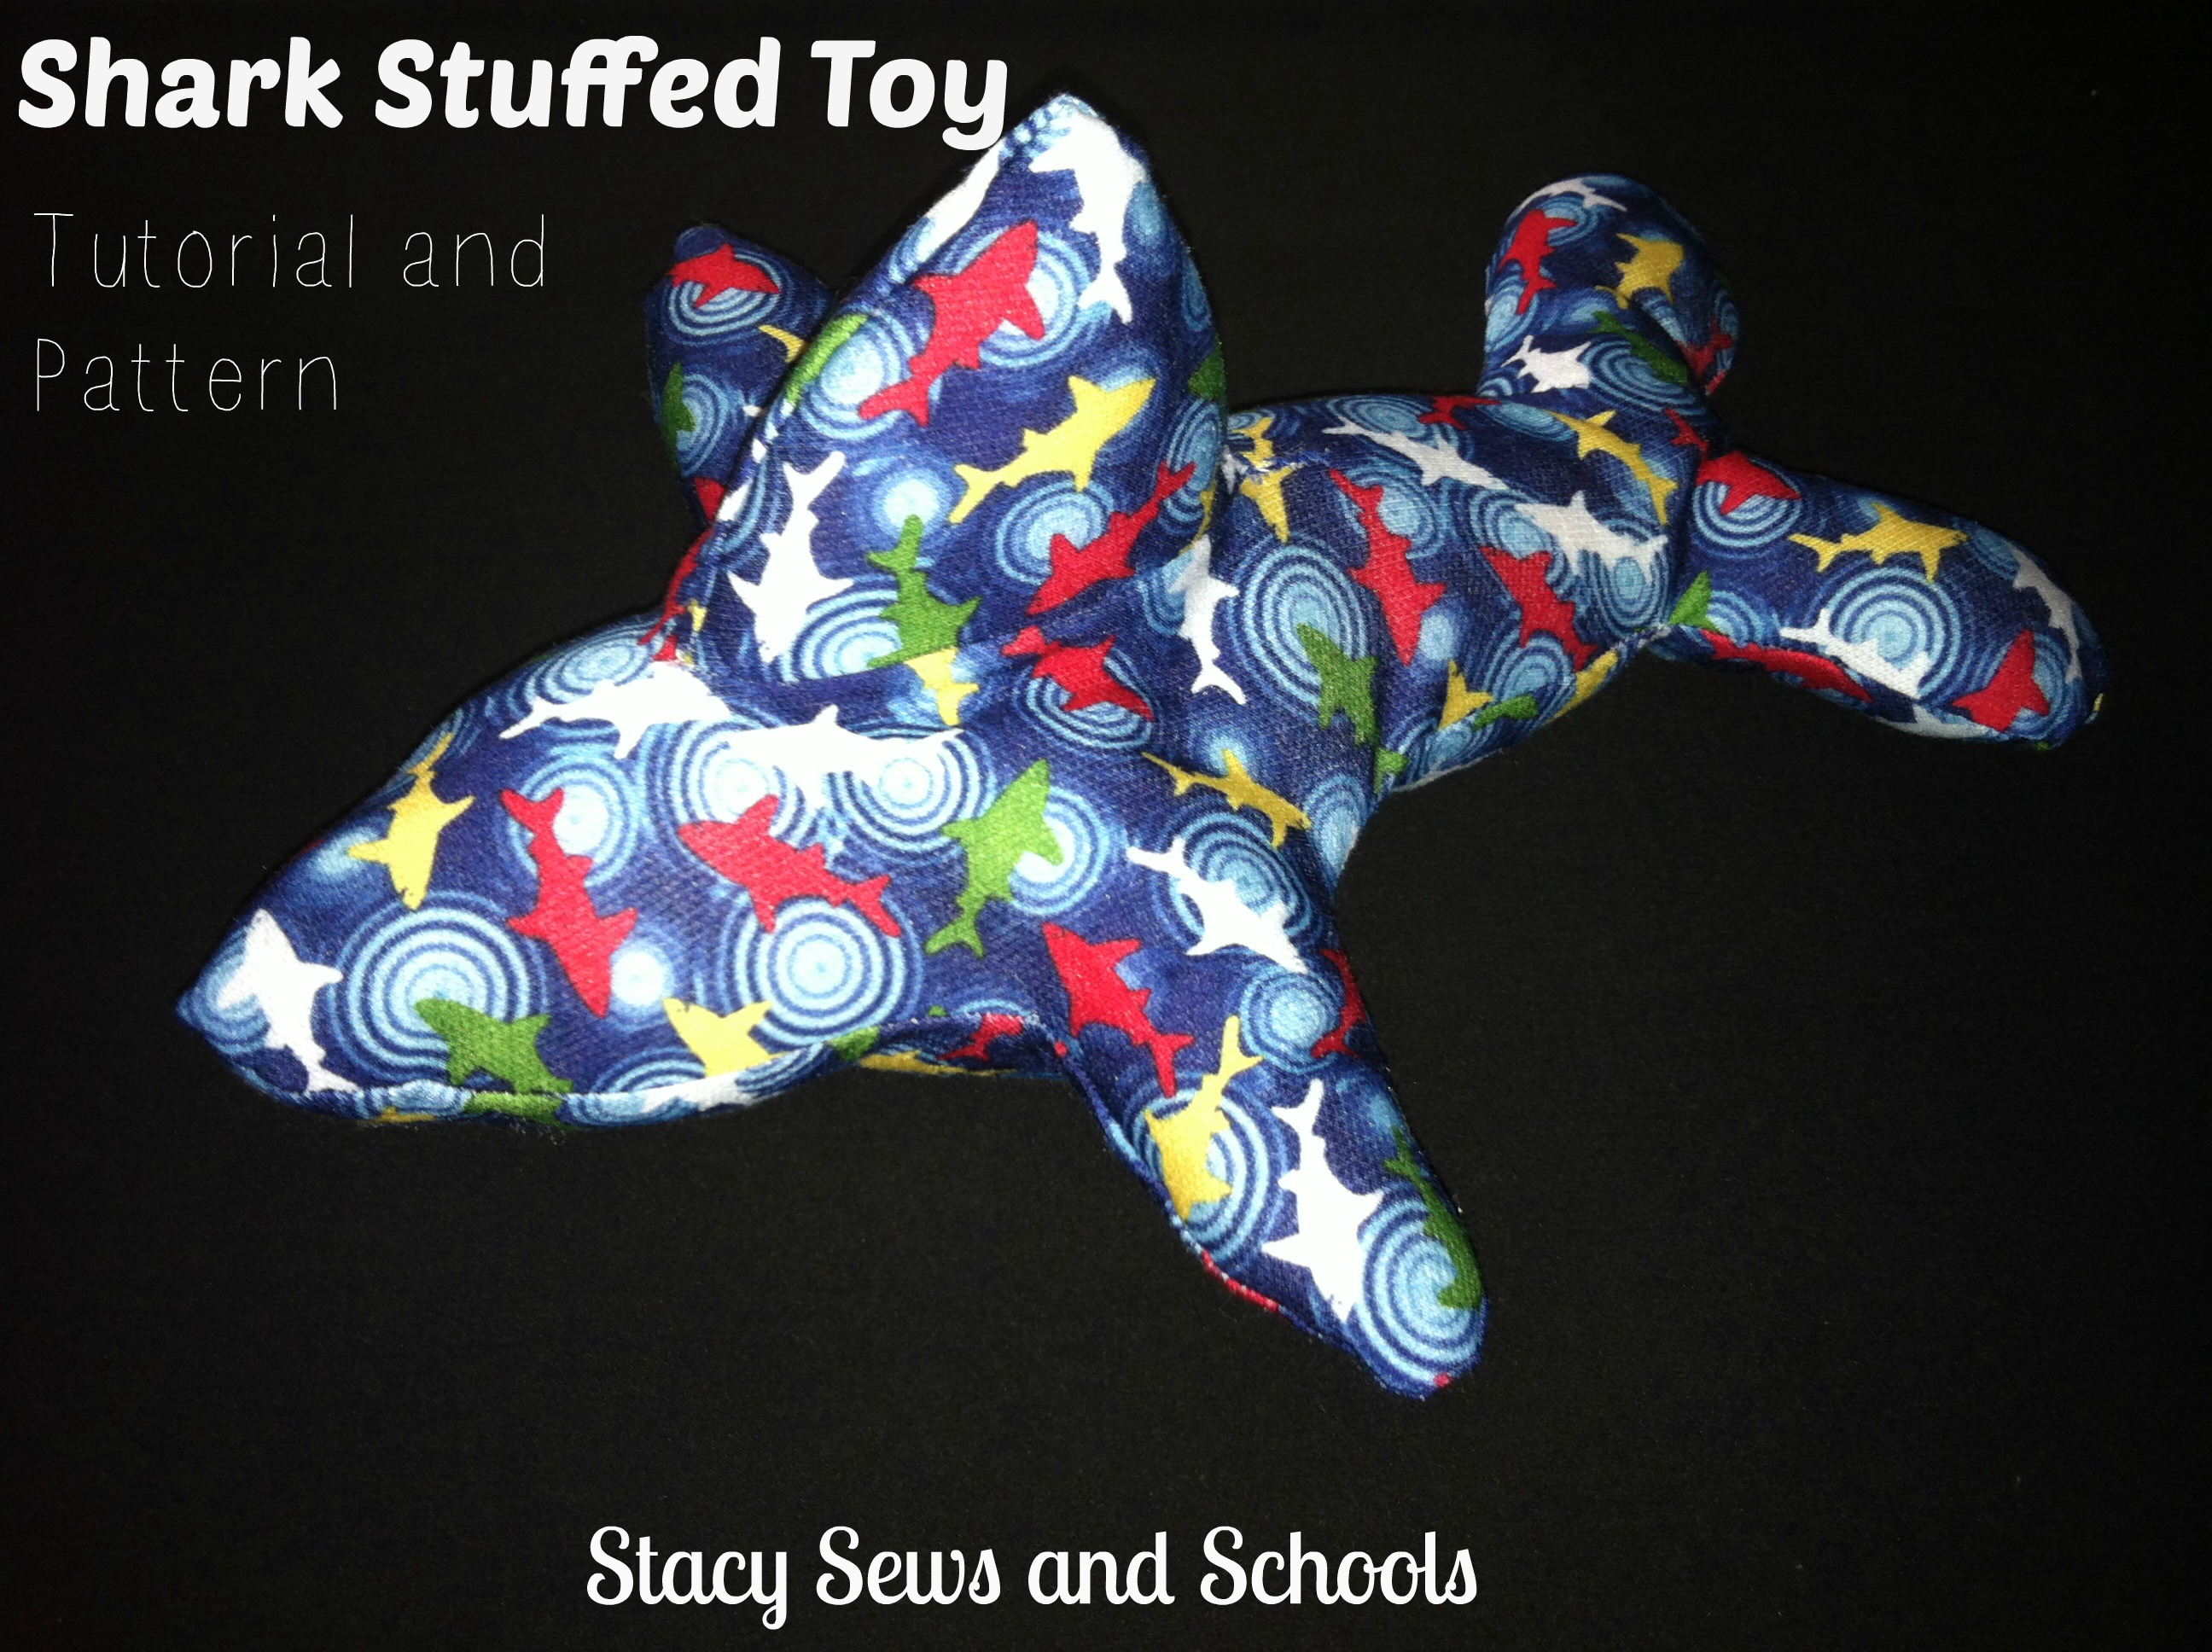
EASY Stuffed Shark Toy Tutorial AND Pattern

Sharky Stuffed Toy 1

I wanted to make a stuffed shark out of that cute shark knit for Sewing to Rebuild,  BUT I was a little intimidated by the free patterns I found. SOOO many pieces!! They all looked very complicated. Seeing as how I am so new to sewing stuffed toys, I thought I would try my hand at making my own pattern and that is what I came up with. Only 4 pieces total and very simple. Easy peasy!! ;)

Click Shark Stuffed Toy Pattern 1 and Shark Stuffed Toy Pattern 2  for the pattern!! (Hopefully the PDF will pop up like it's supposed to...)

After you print, cut and tape your pattern these will be the steps to sewing.

STEP 1

Sharky Stuffed Toy 2

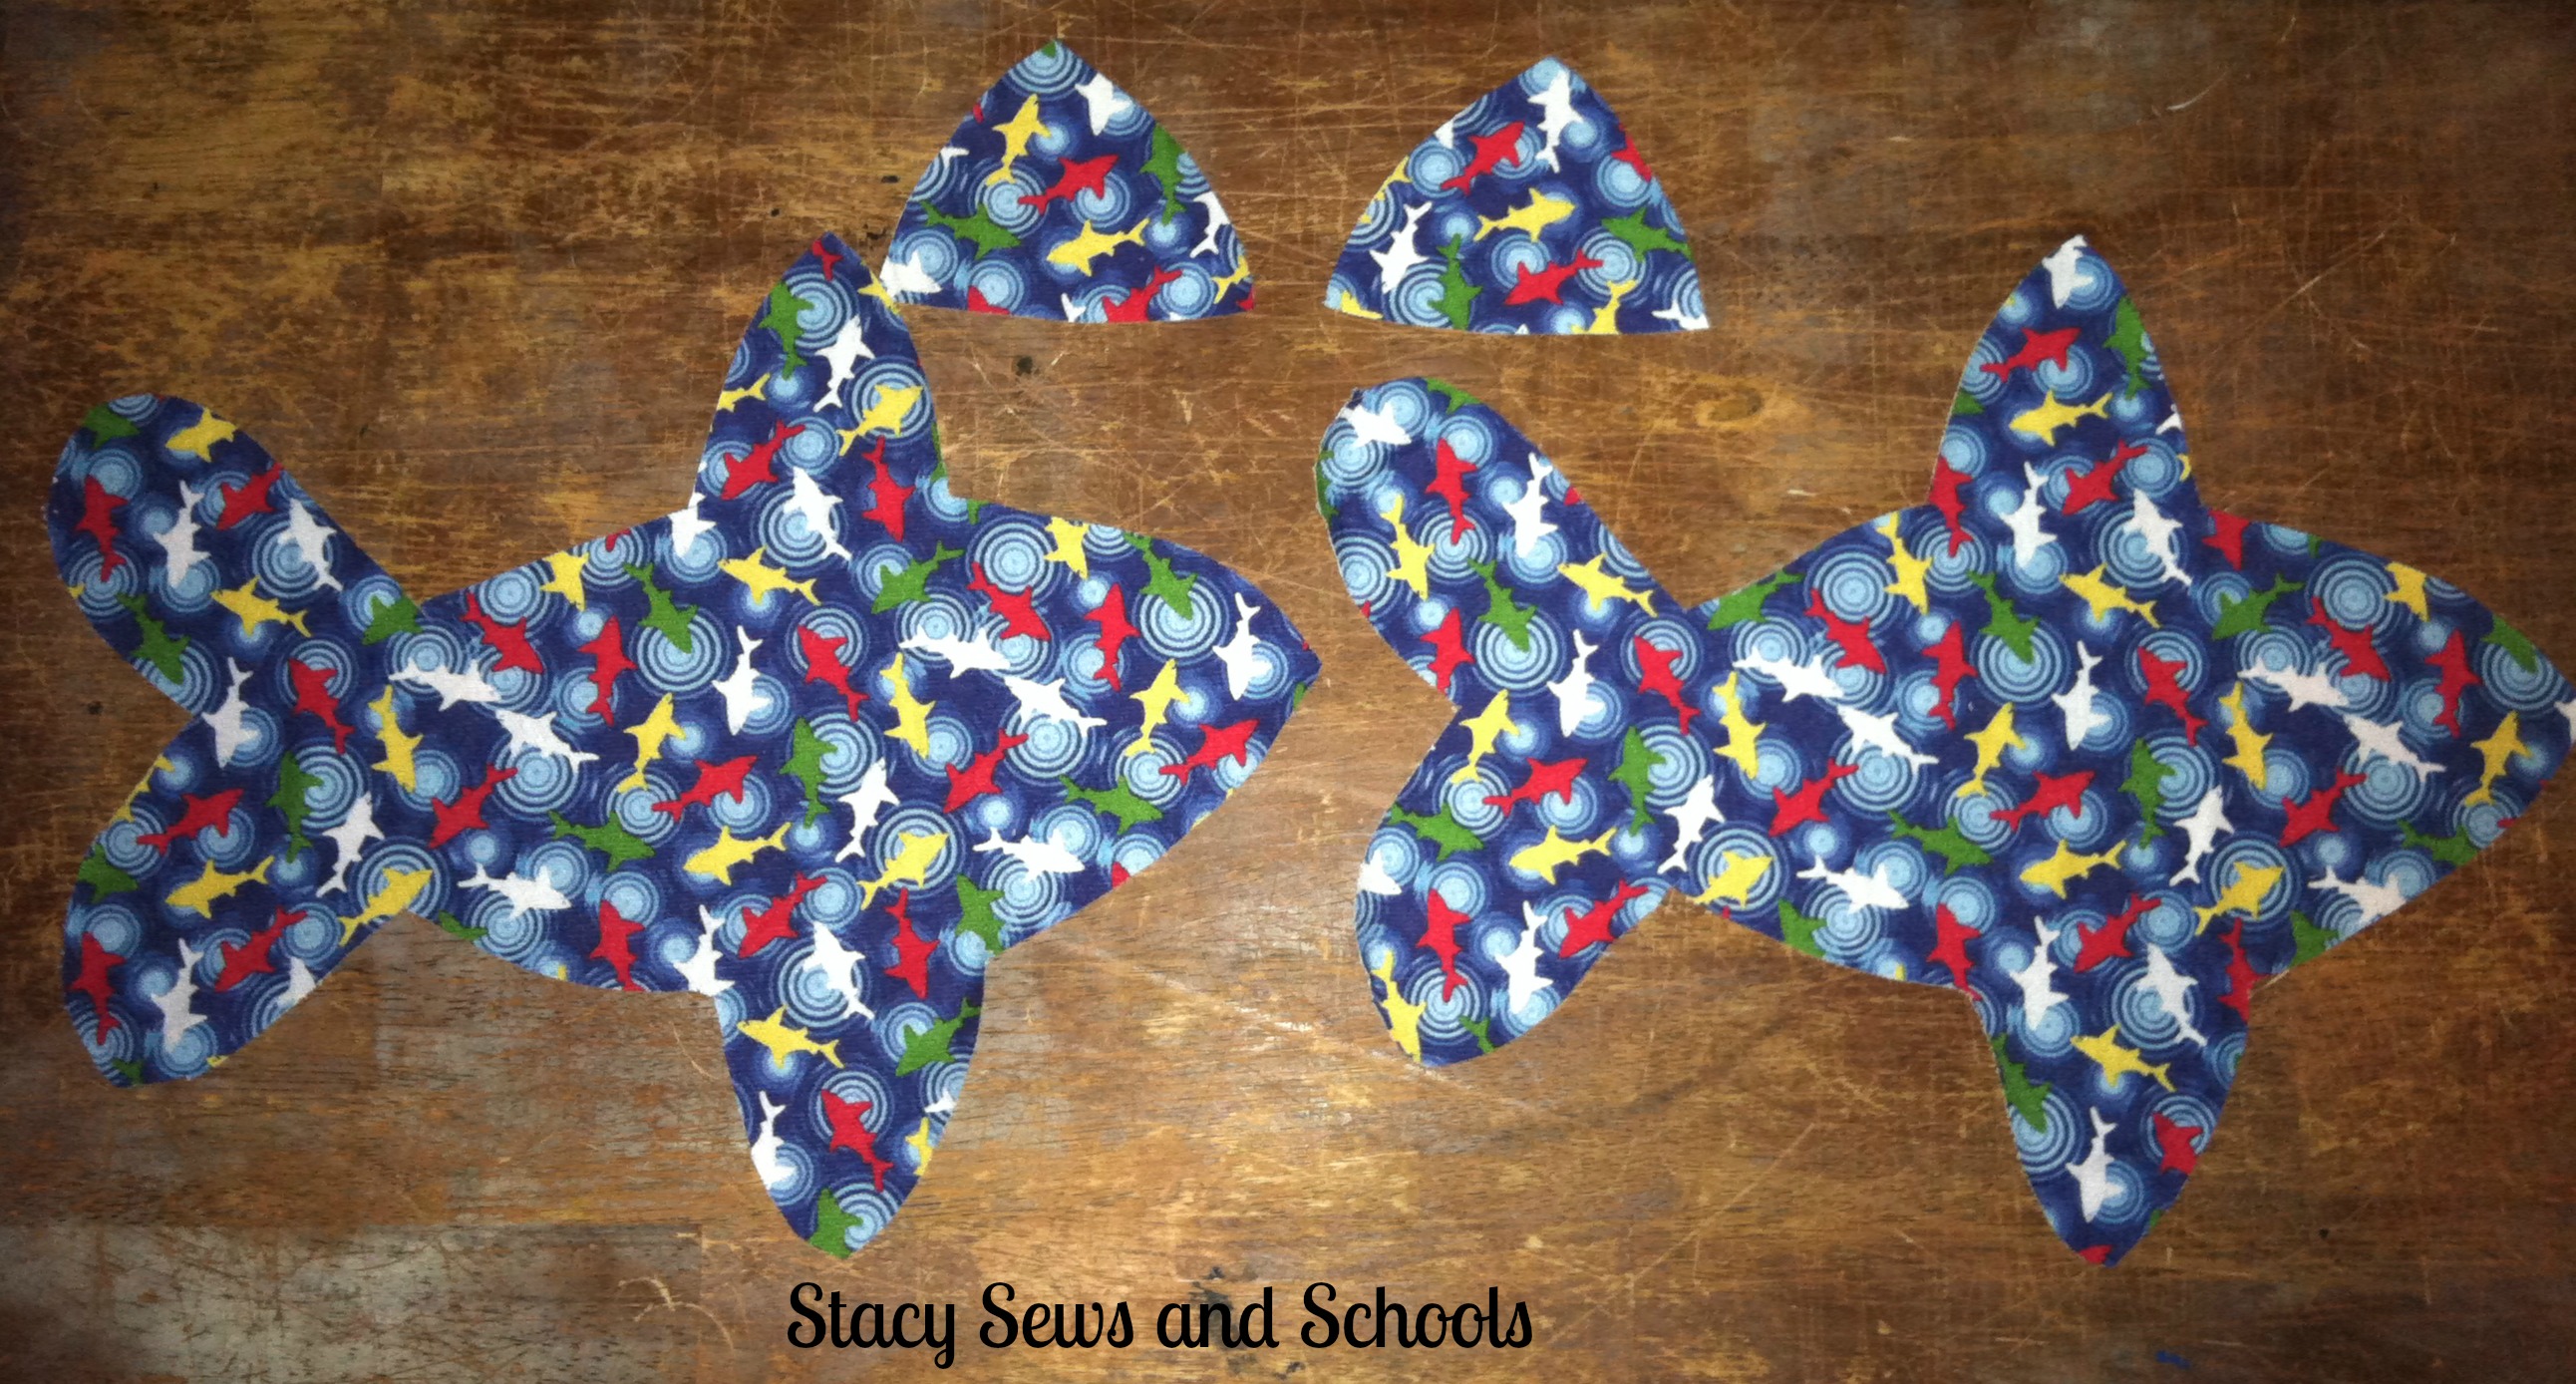
Cut your pieces. This is what they will look like.

STEP 2

Sew your fin together, right sides together, leaving the bottom open.

STEP 3

Sharky Stuffed Toy 3

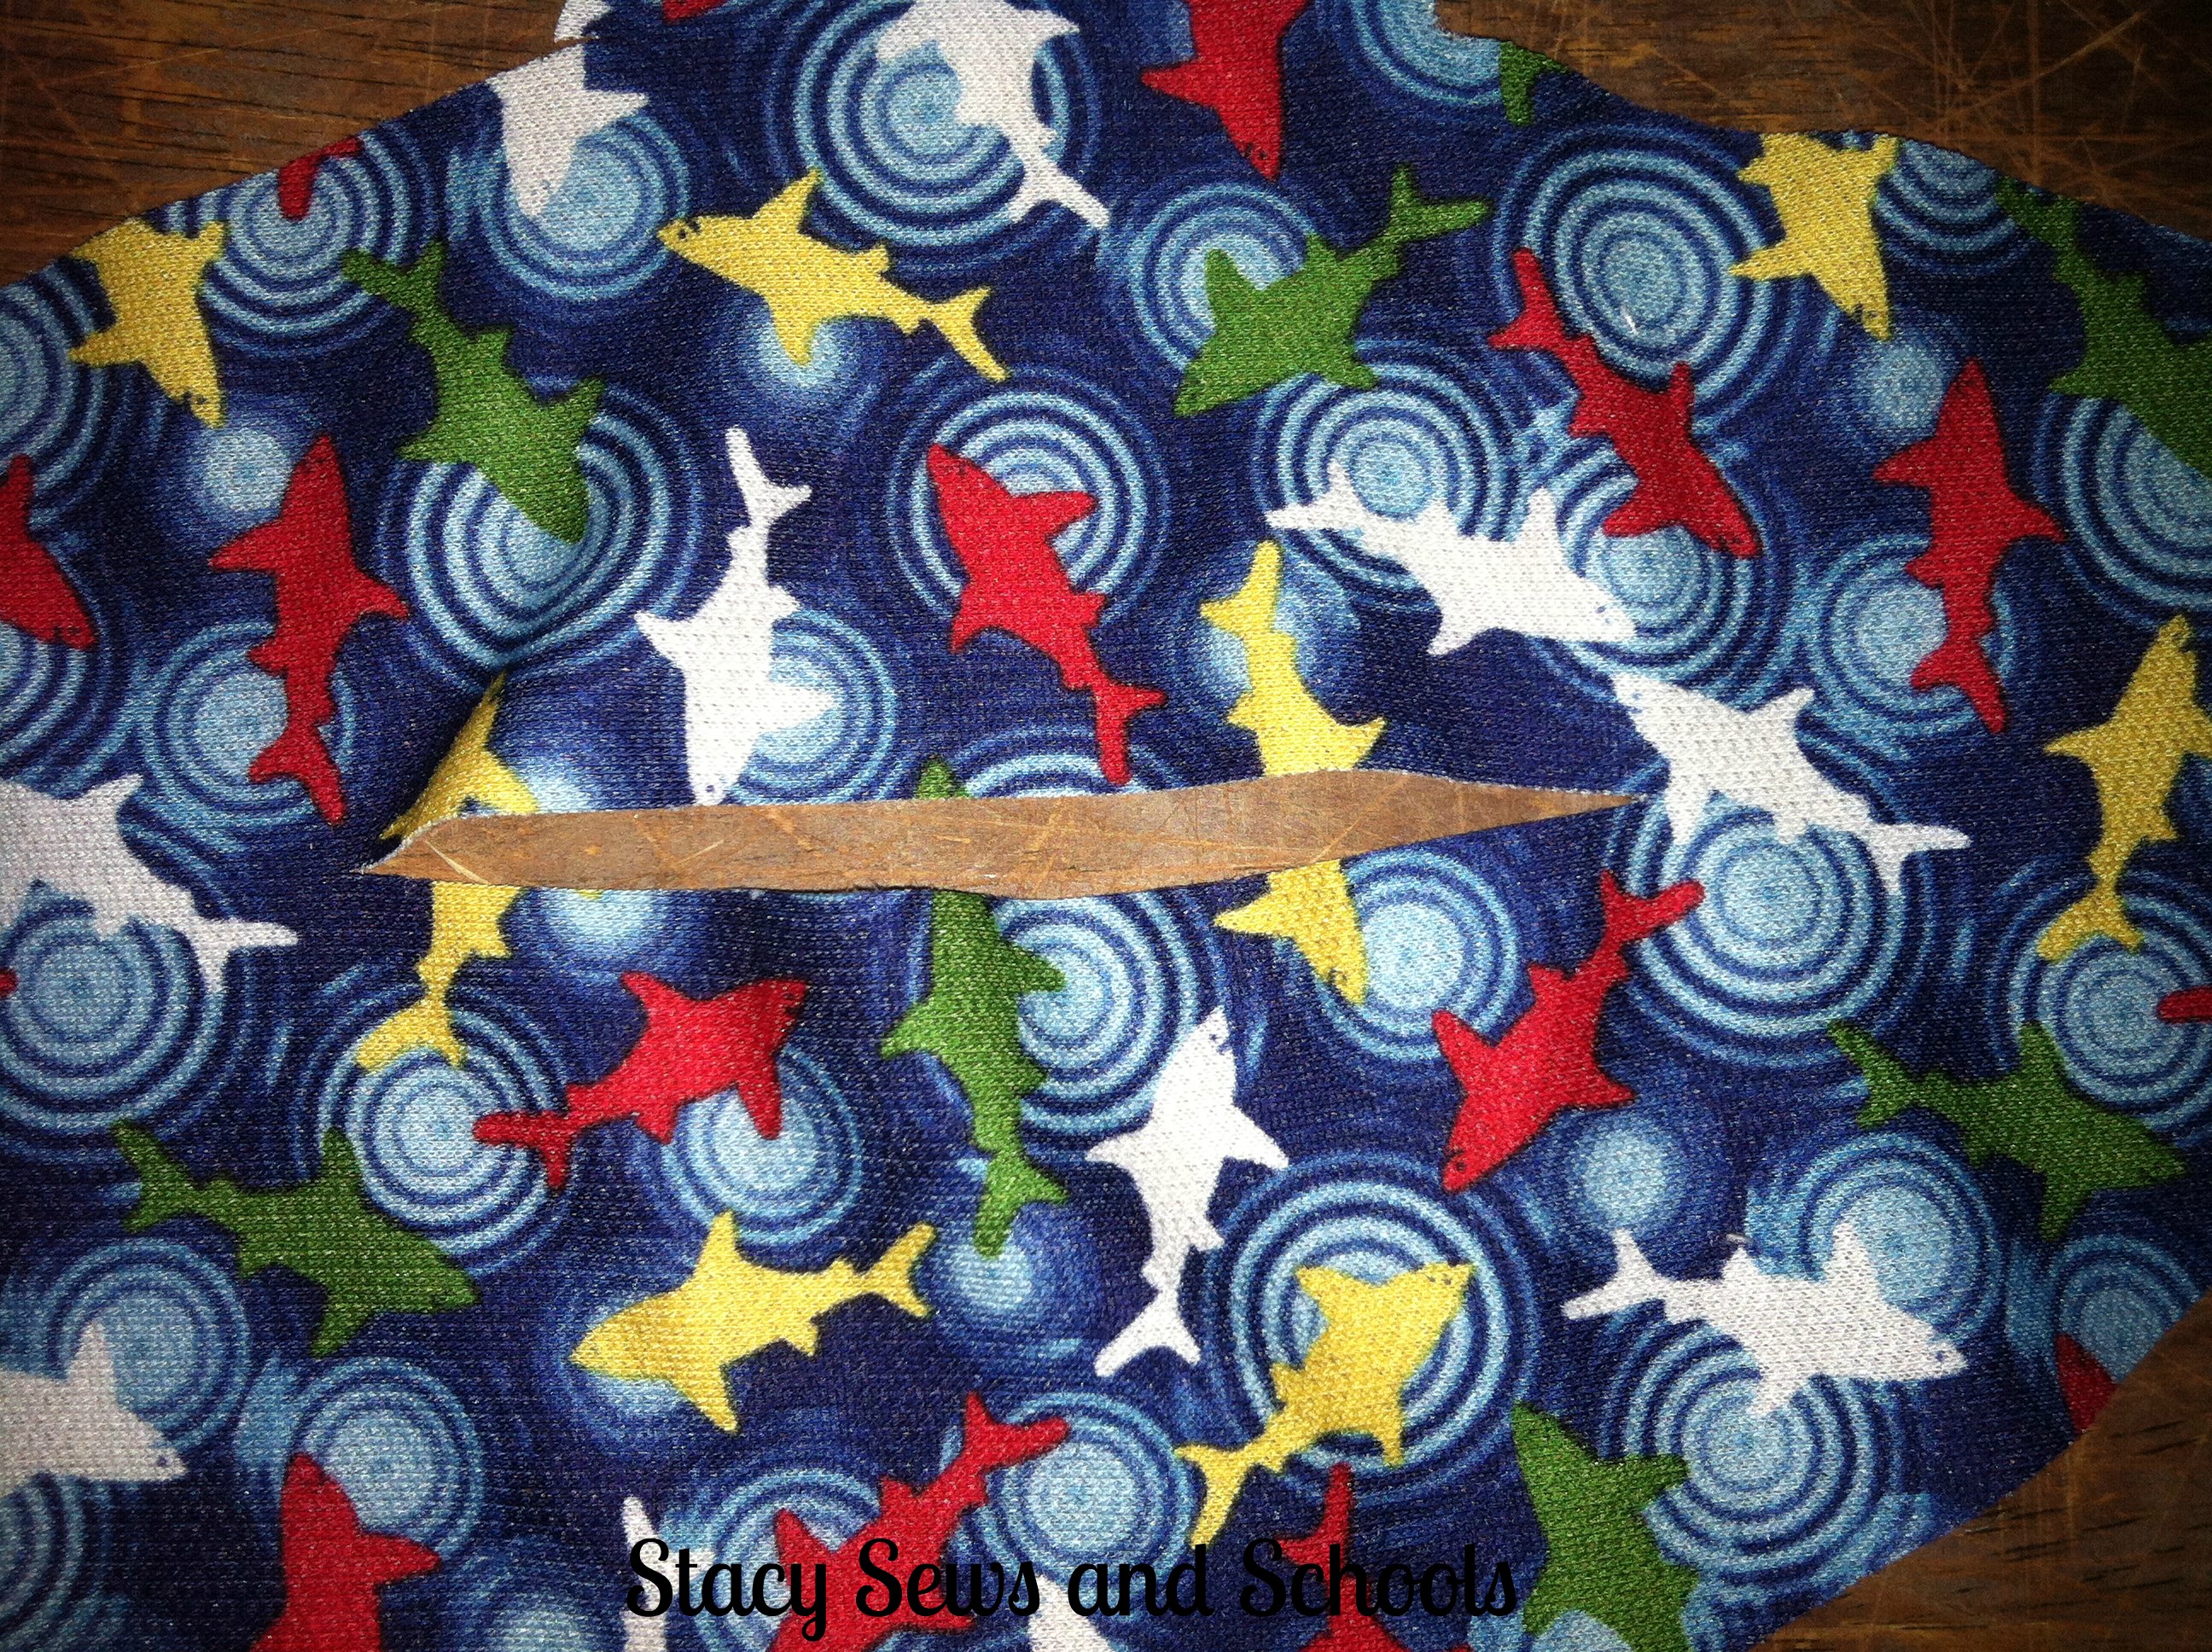
Cut the slit for your fin.

STEP 4

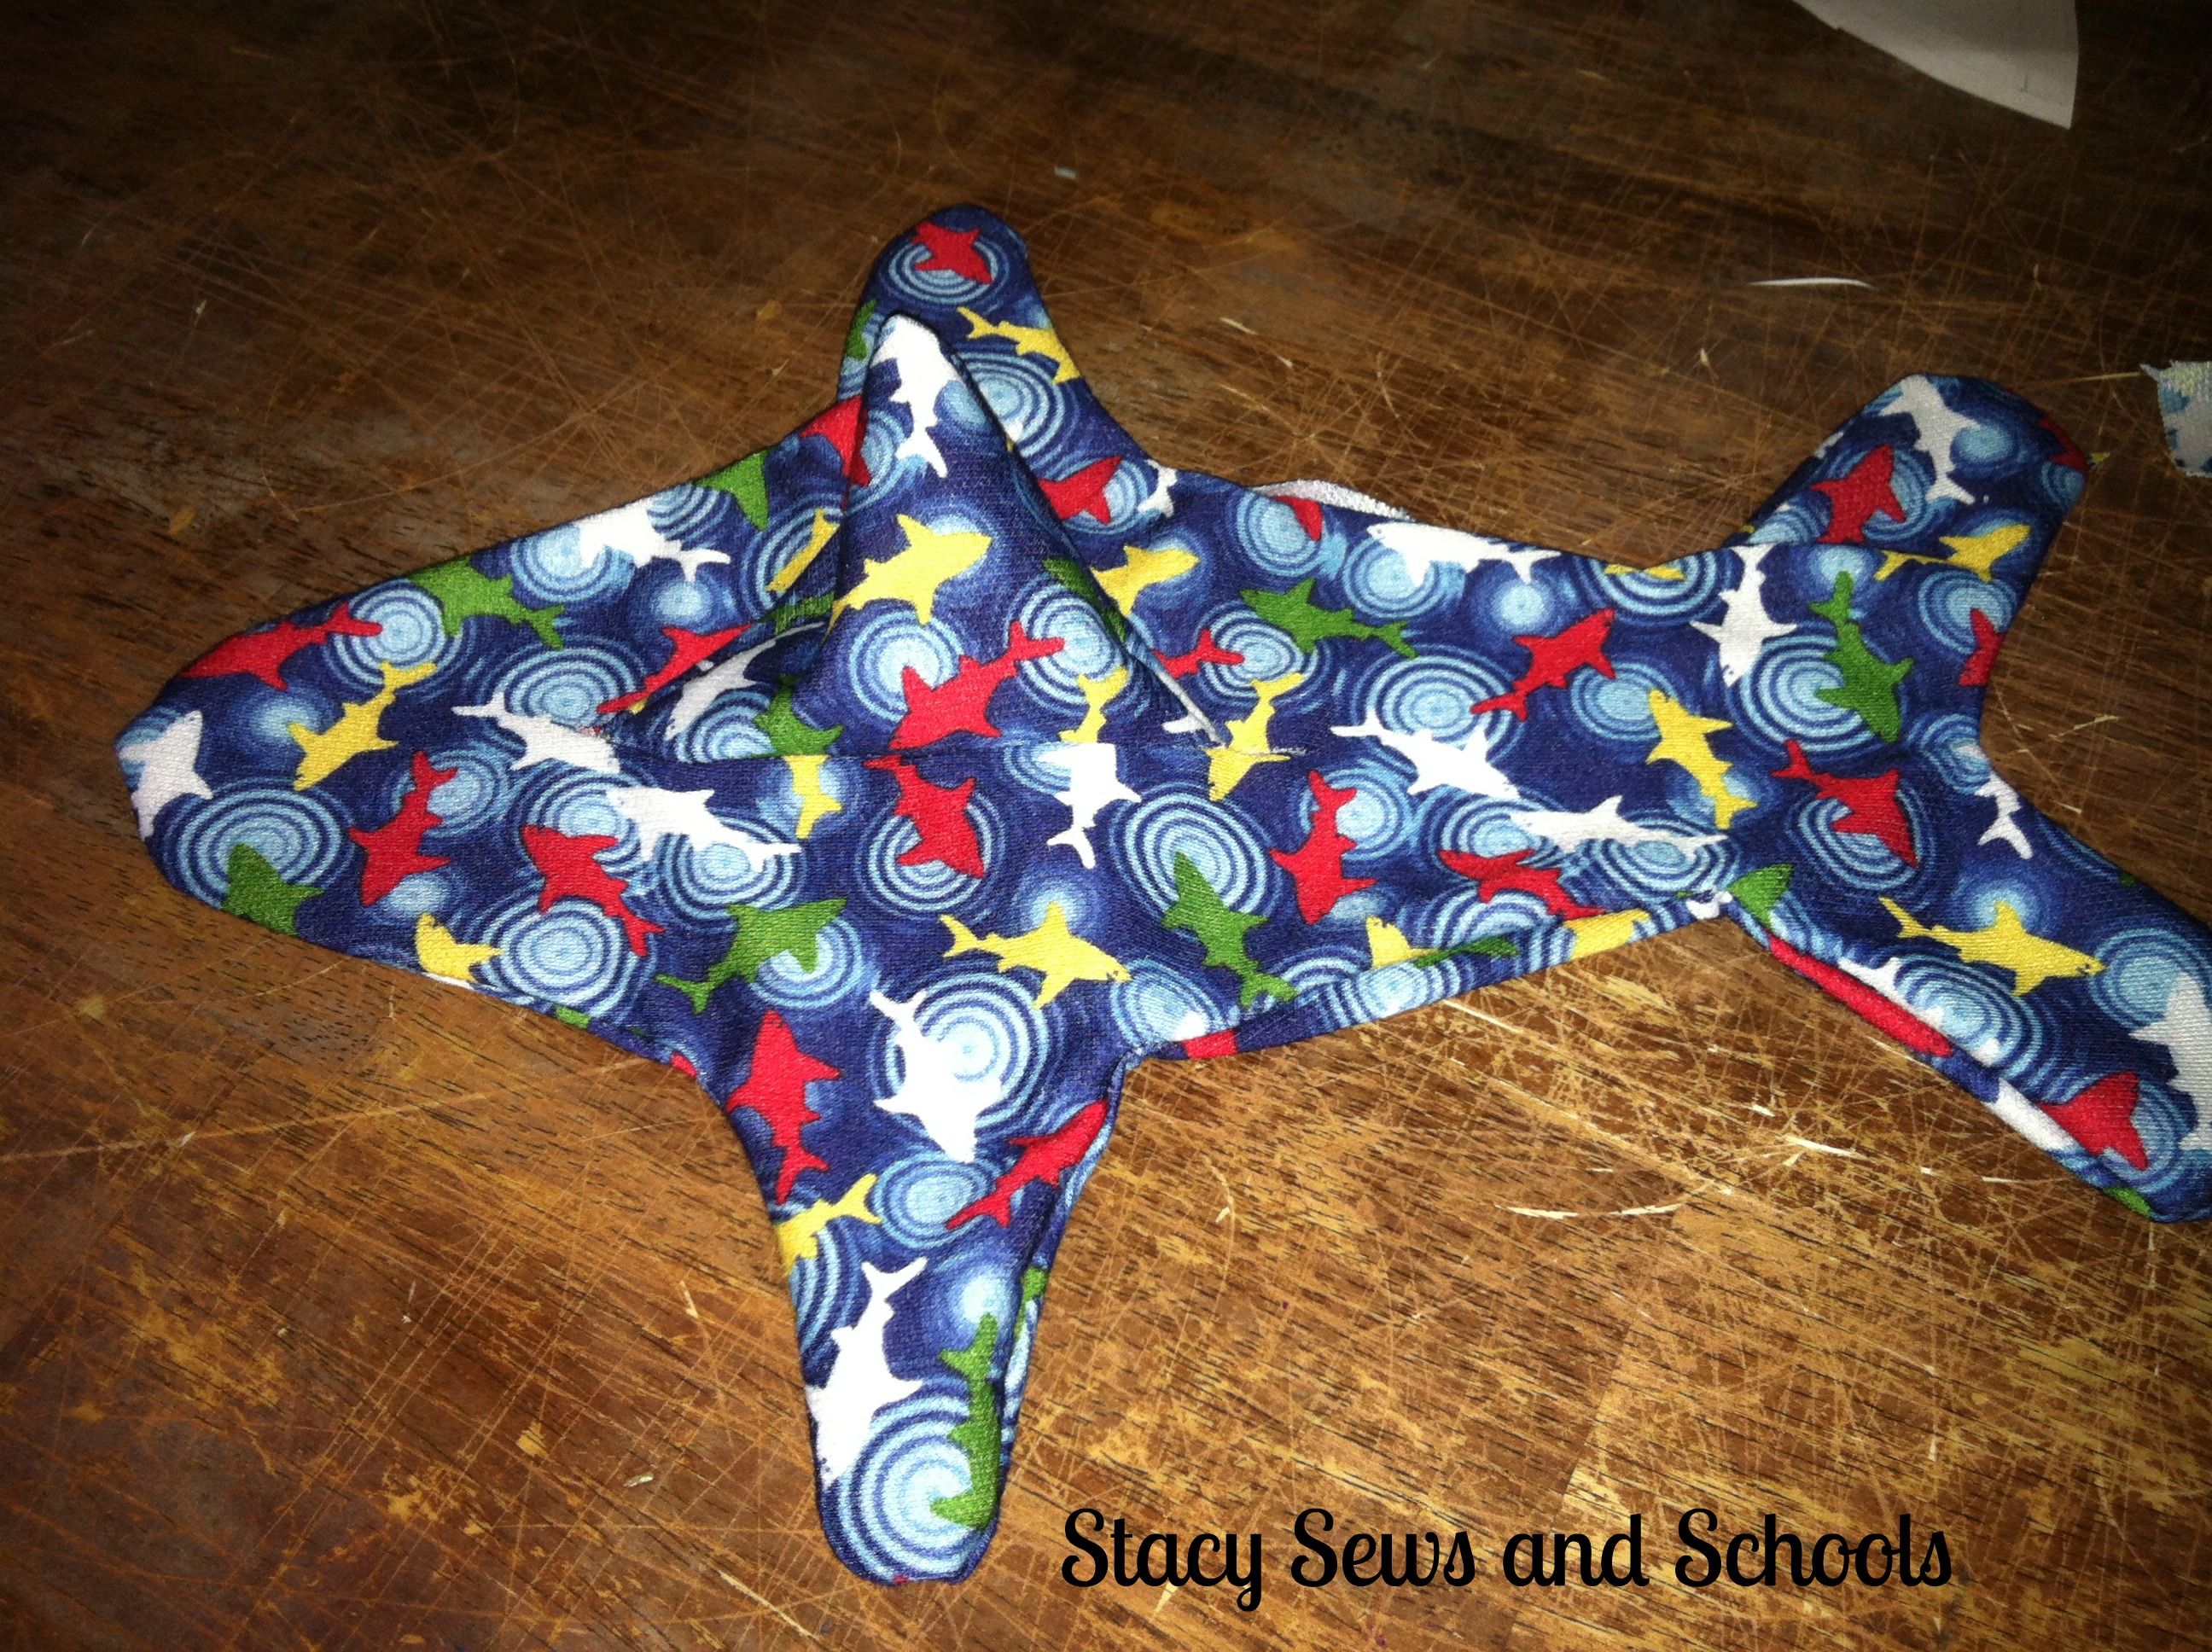
Sharky Stuffed  Toy 6

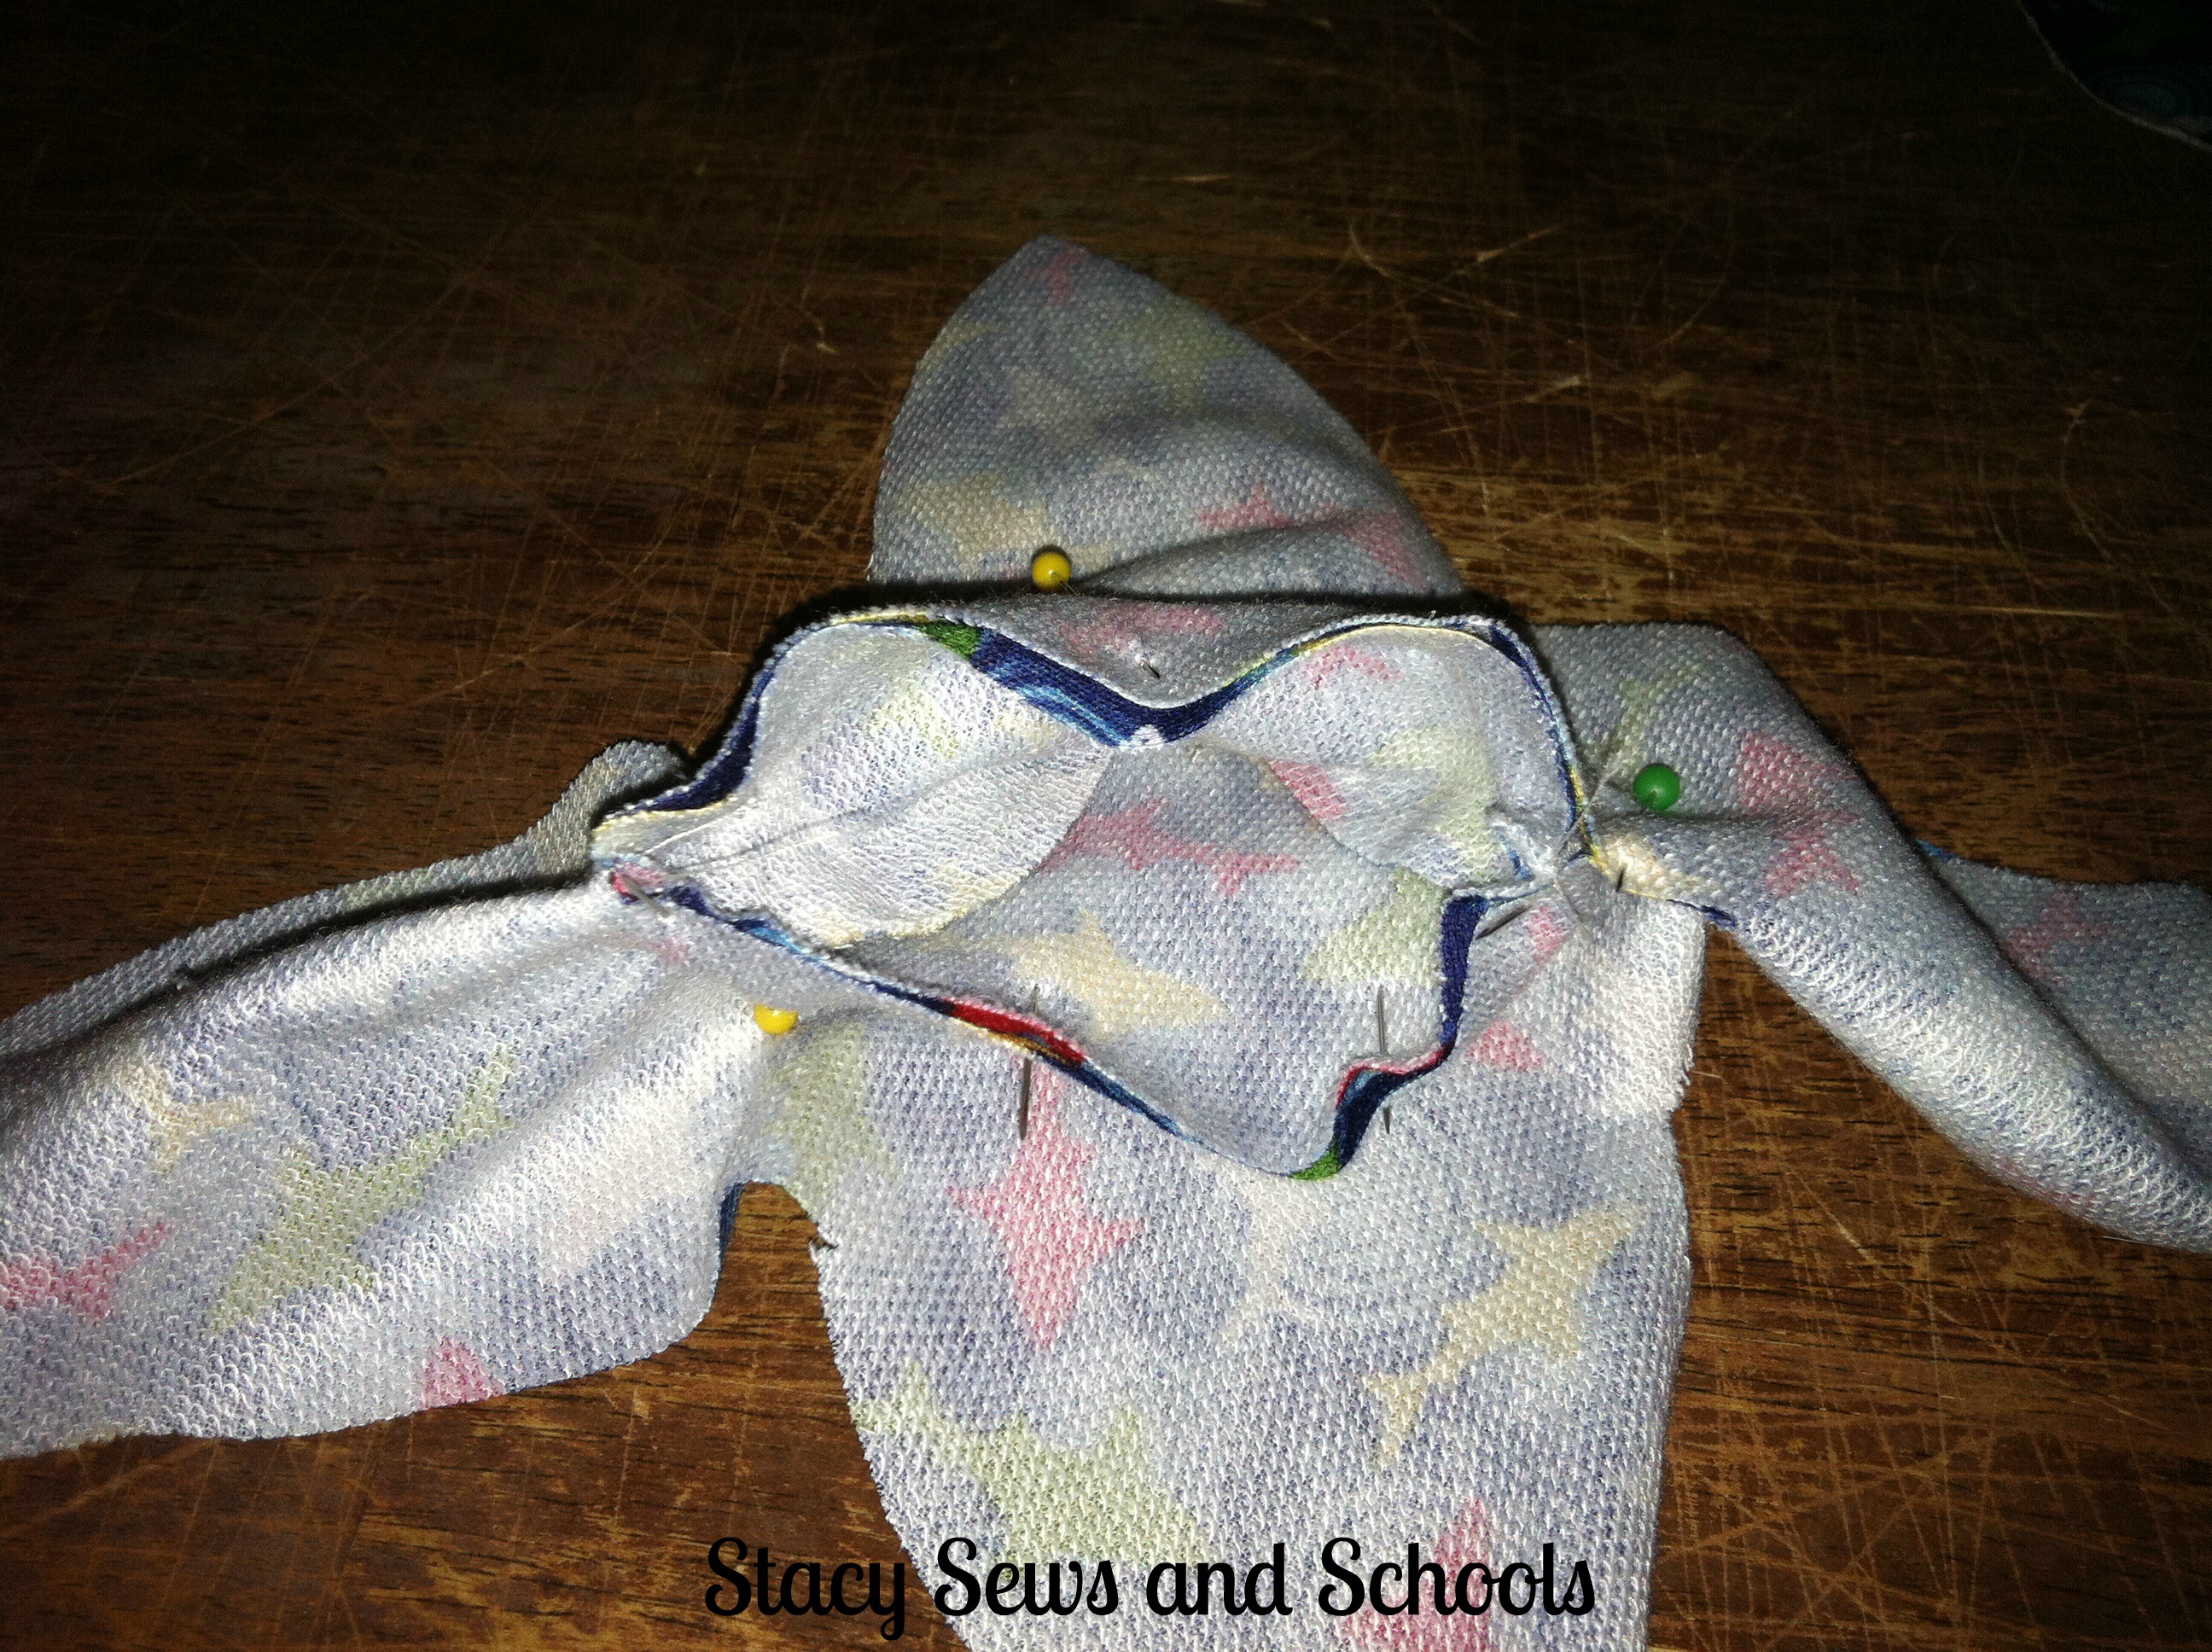
Turn the fin right side out. Insert it into the slit in the top of the shark body. Pin it in place and very slowly sew the bottom of the fin to the sides of the slit in the shark.  The fin will be open for the stuffing.

You COULD stuff the fin and then sew it into the slit. Whichever is easier for you to do.

Sharky Stuffed  Toy 8

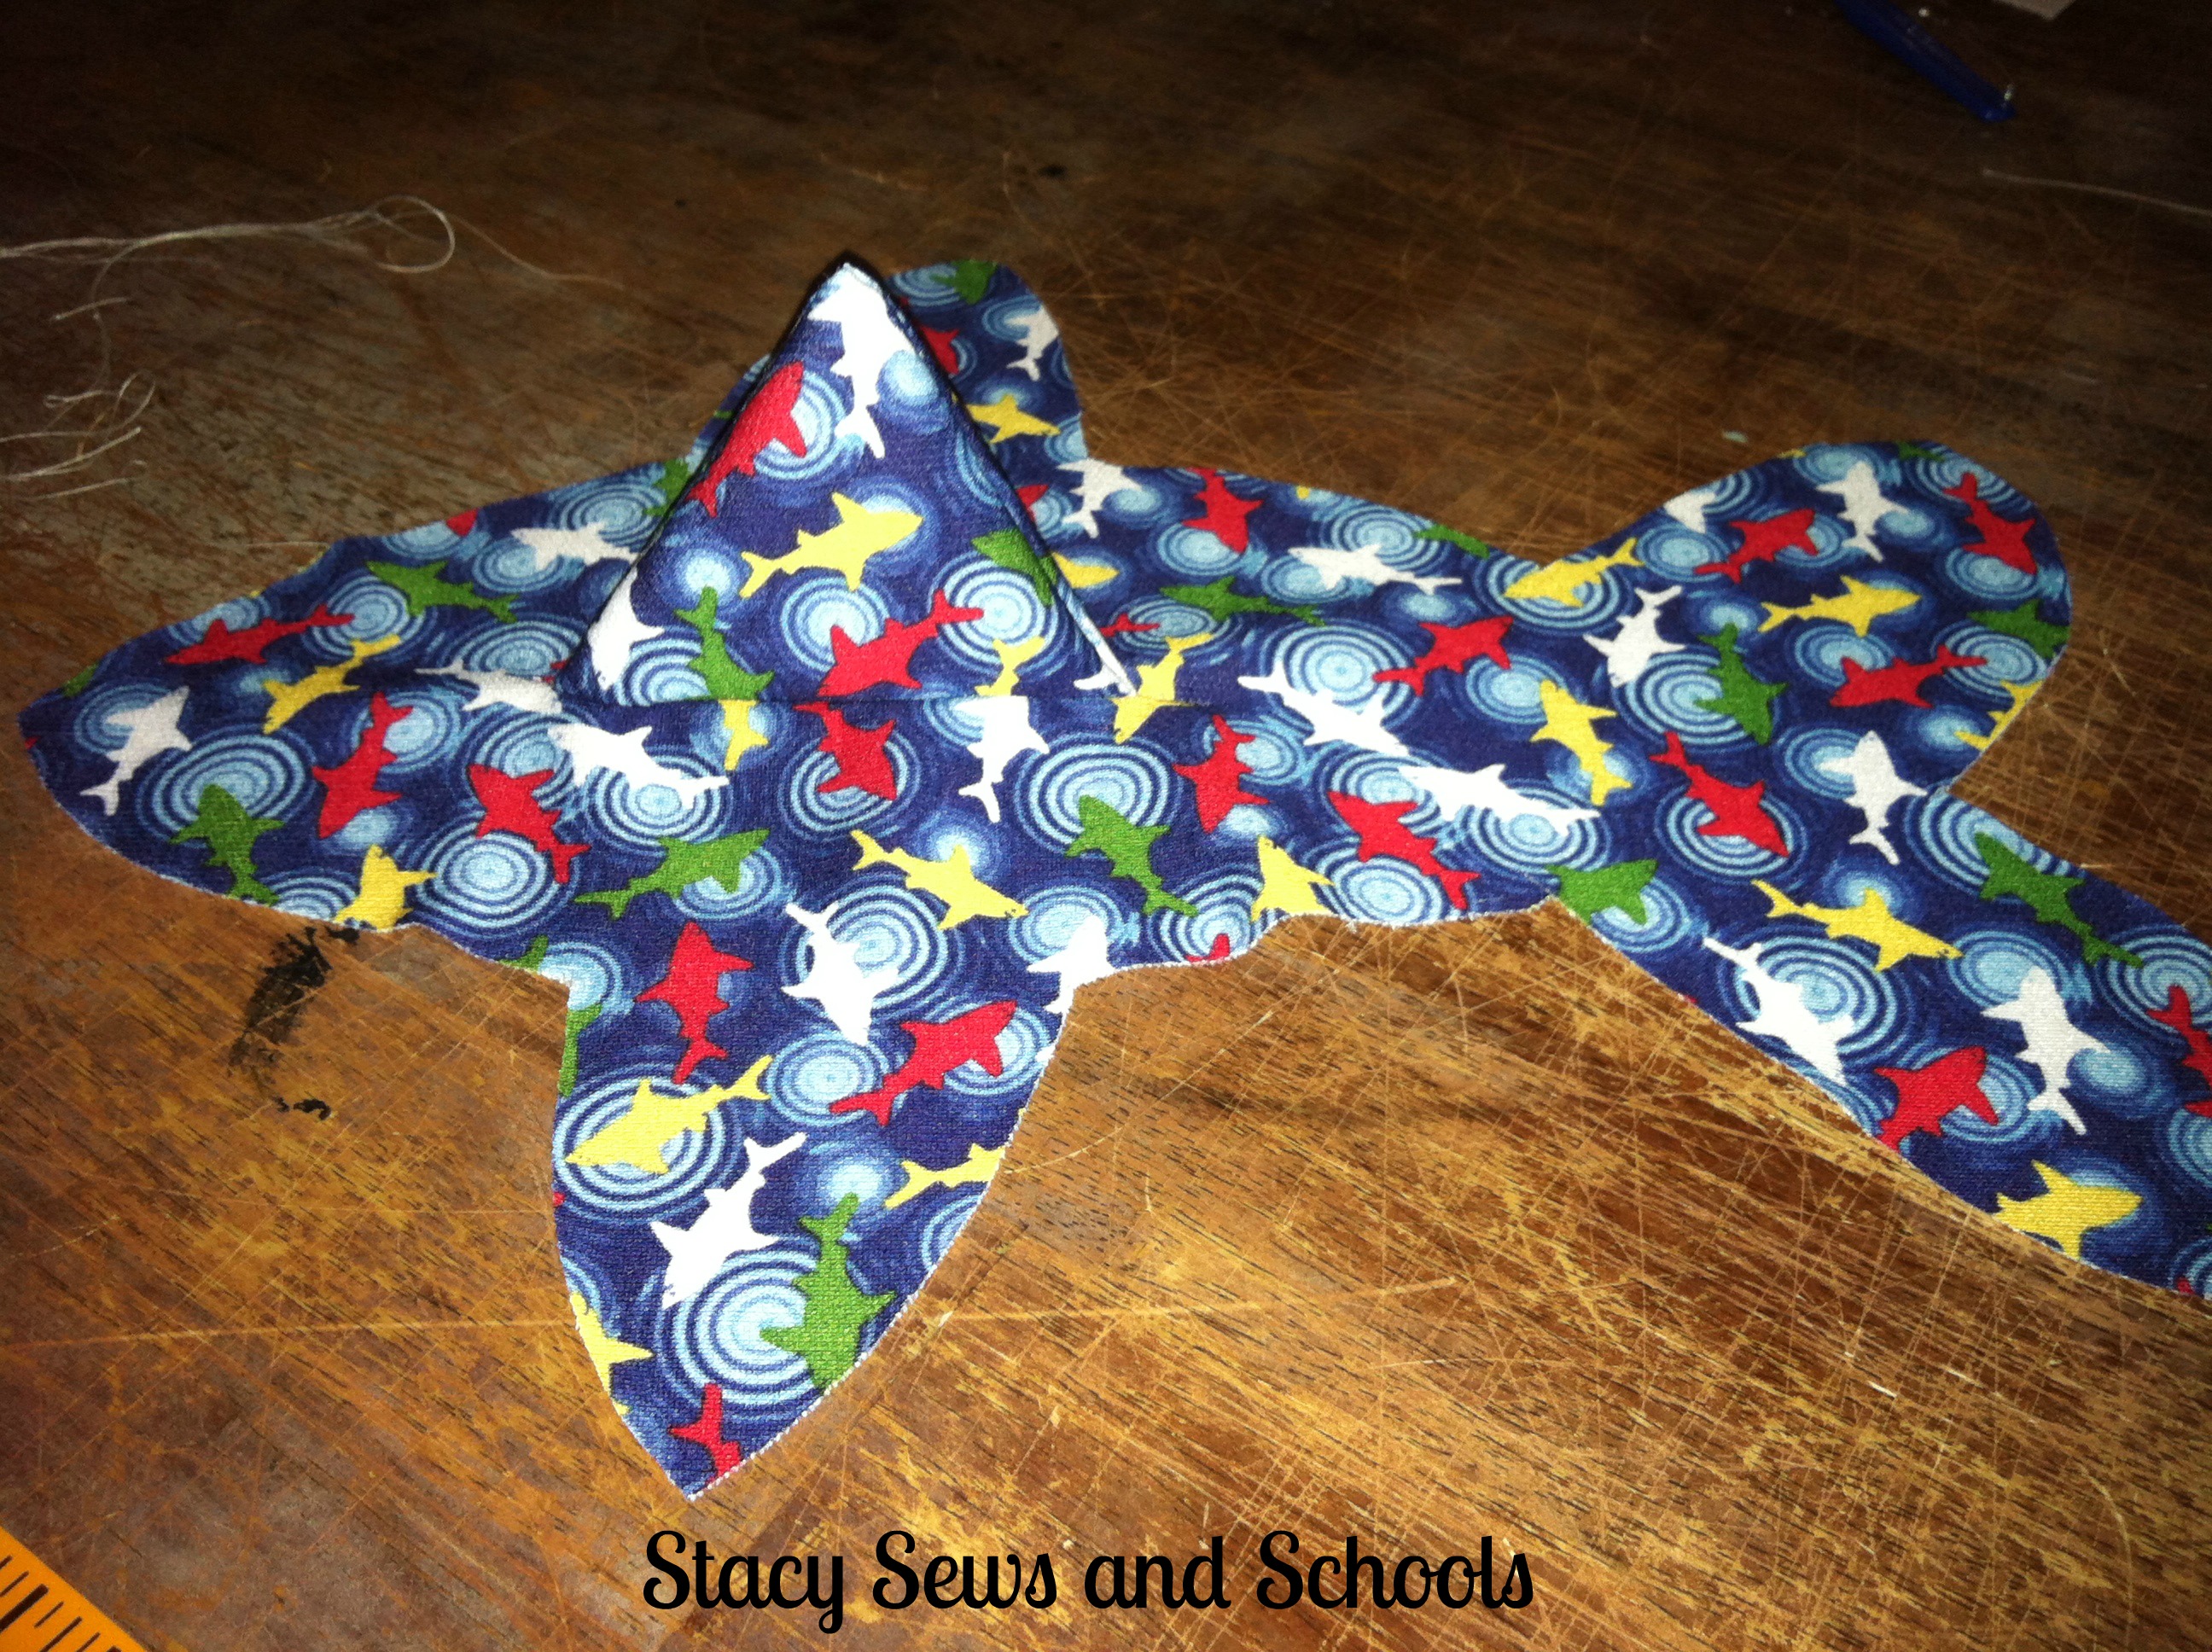
This is what it will look like when you are done.

STEP 6

Sharky Stuffed Toy 10

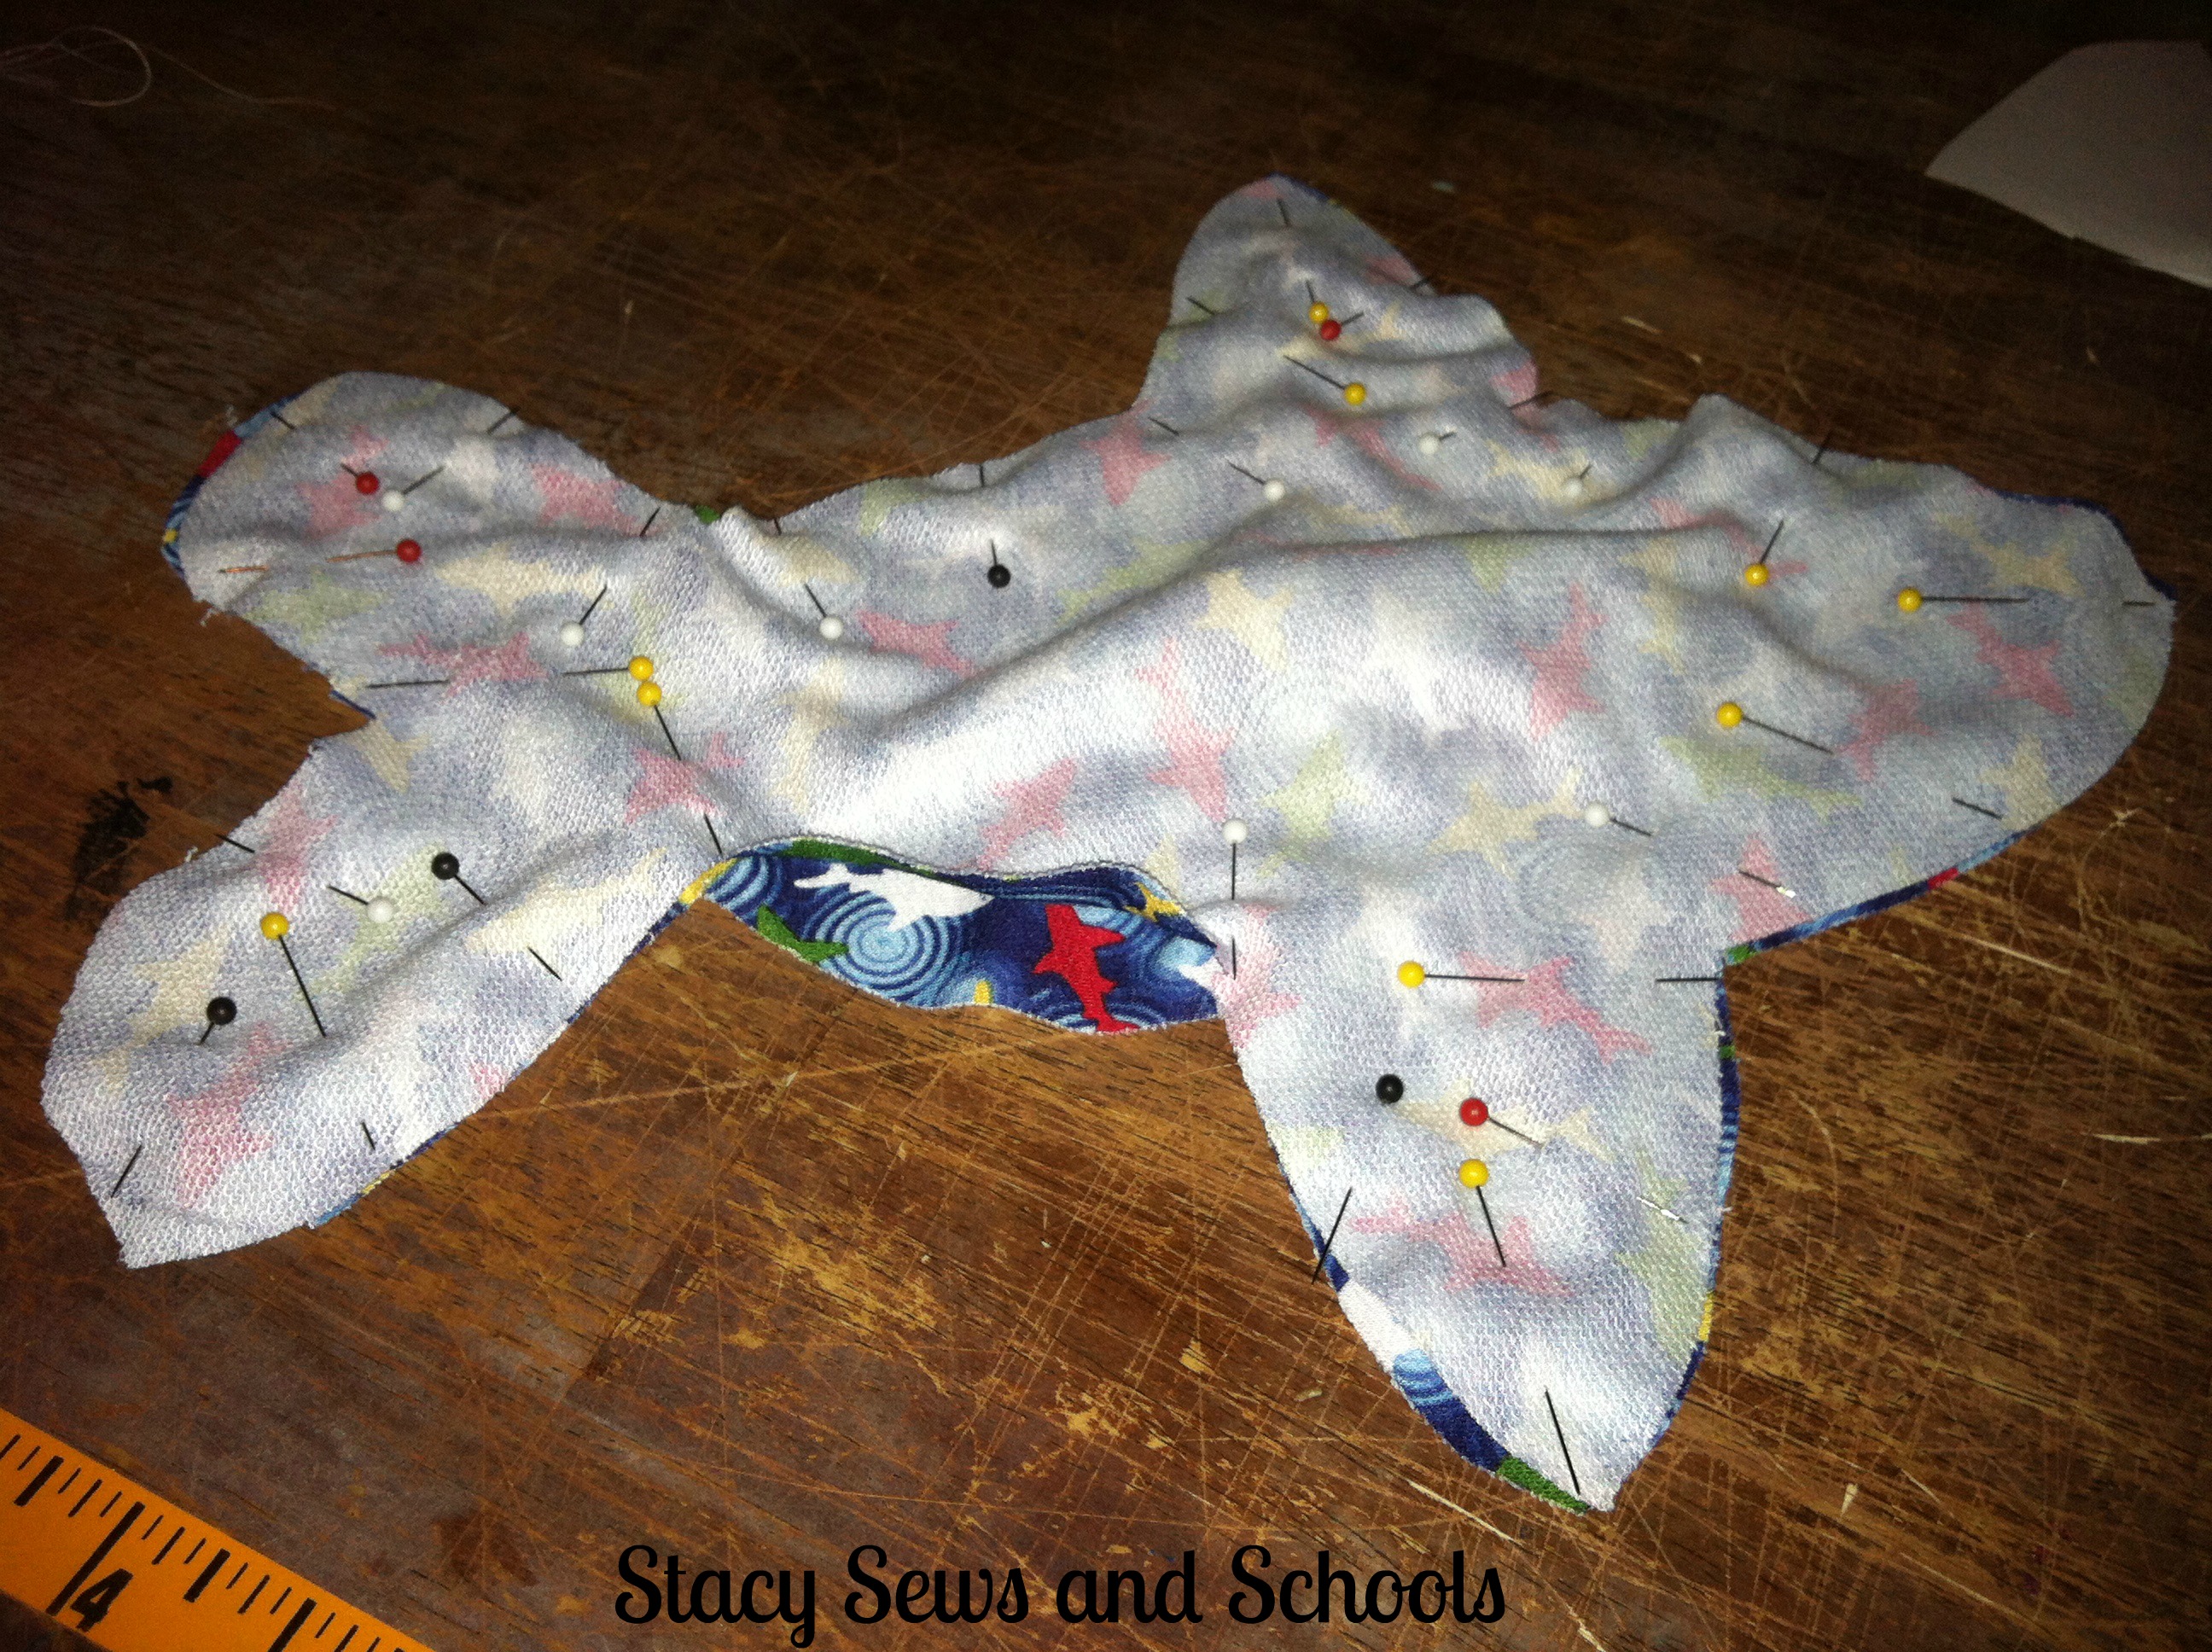
Pin the fin out of the way. Now, pin the shark body pieces with right sides together. Sew the pieces, making sure to leave an opening for the stuffing.

STEP 7

Sharky Stuffed Toy 13

Turn it right side out, stuff and sew the opening closed!! :)

Now you are all done!! YAY!!!!!!!!!!!!!!!!!

Sharky Stuffed Toy 14

Let me know what you think!! Are the steps easy to follow??