Showing posts with label tote bag. Show all posts

September 16, 2014

Fan Tote Tute with a Special Surprise


Today starts a series of special posts. My friend Karen from Baking in a Tornado and I are teaming up  to bring you some tailgating specials! 


Check out Karen's Raspberry Steak with Lemon Yogurt Sauce!


On to the tutorial!

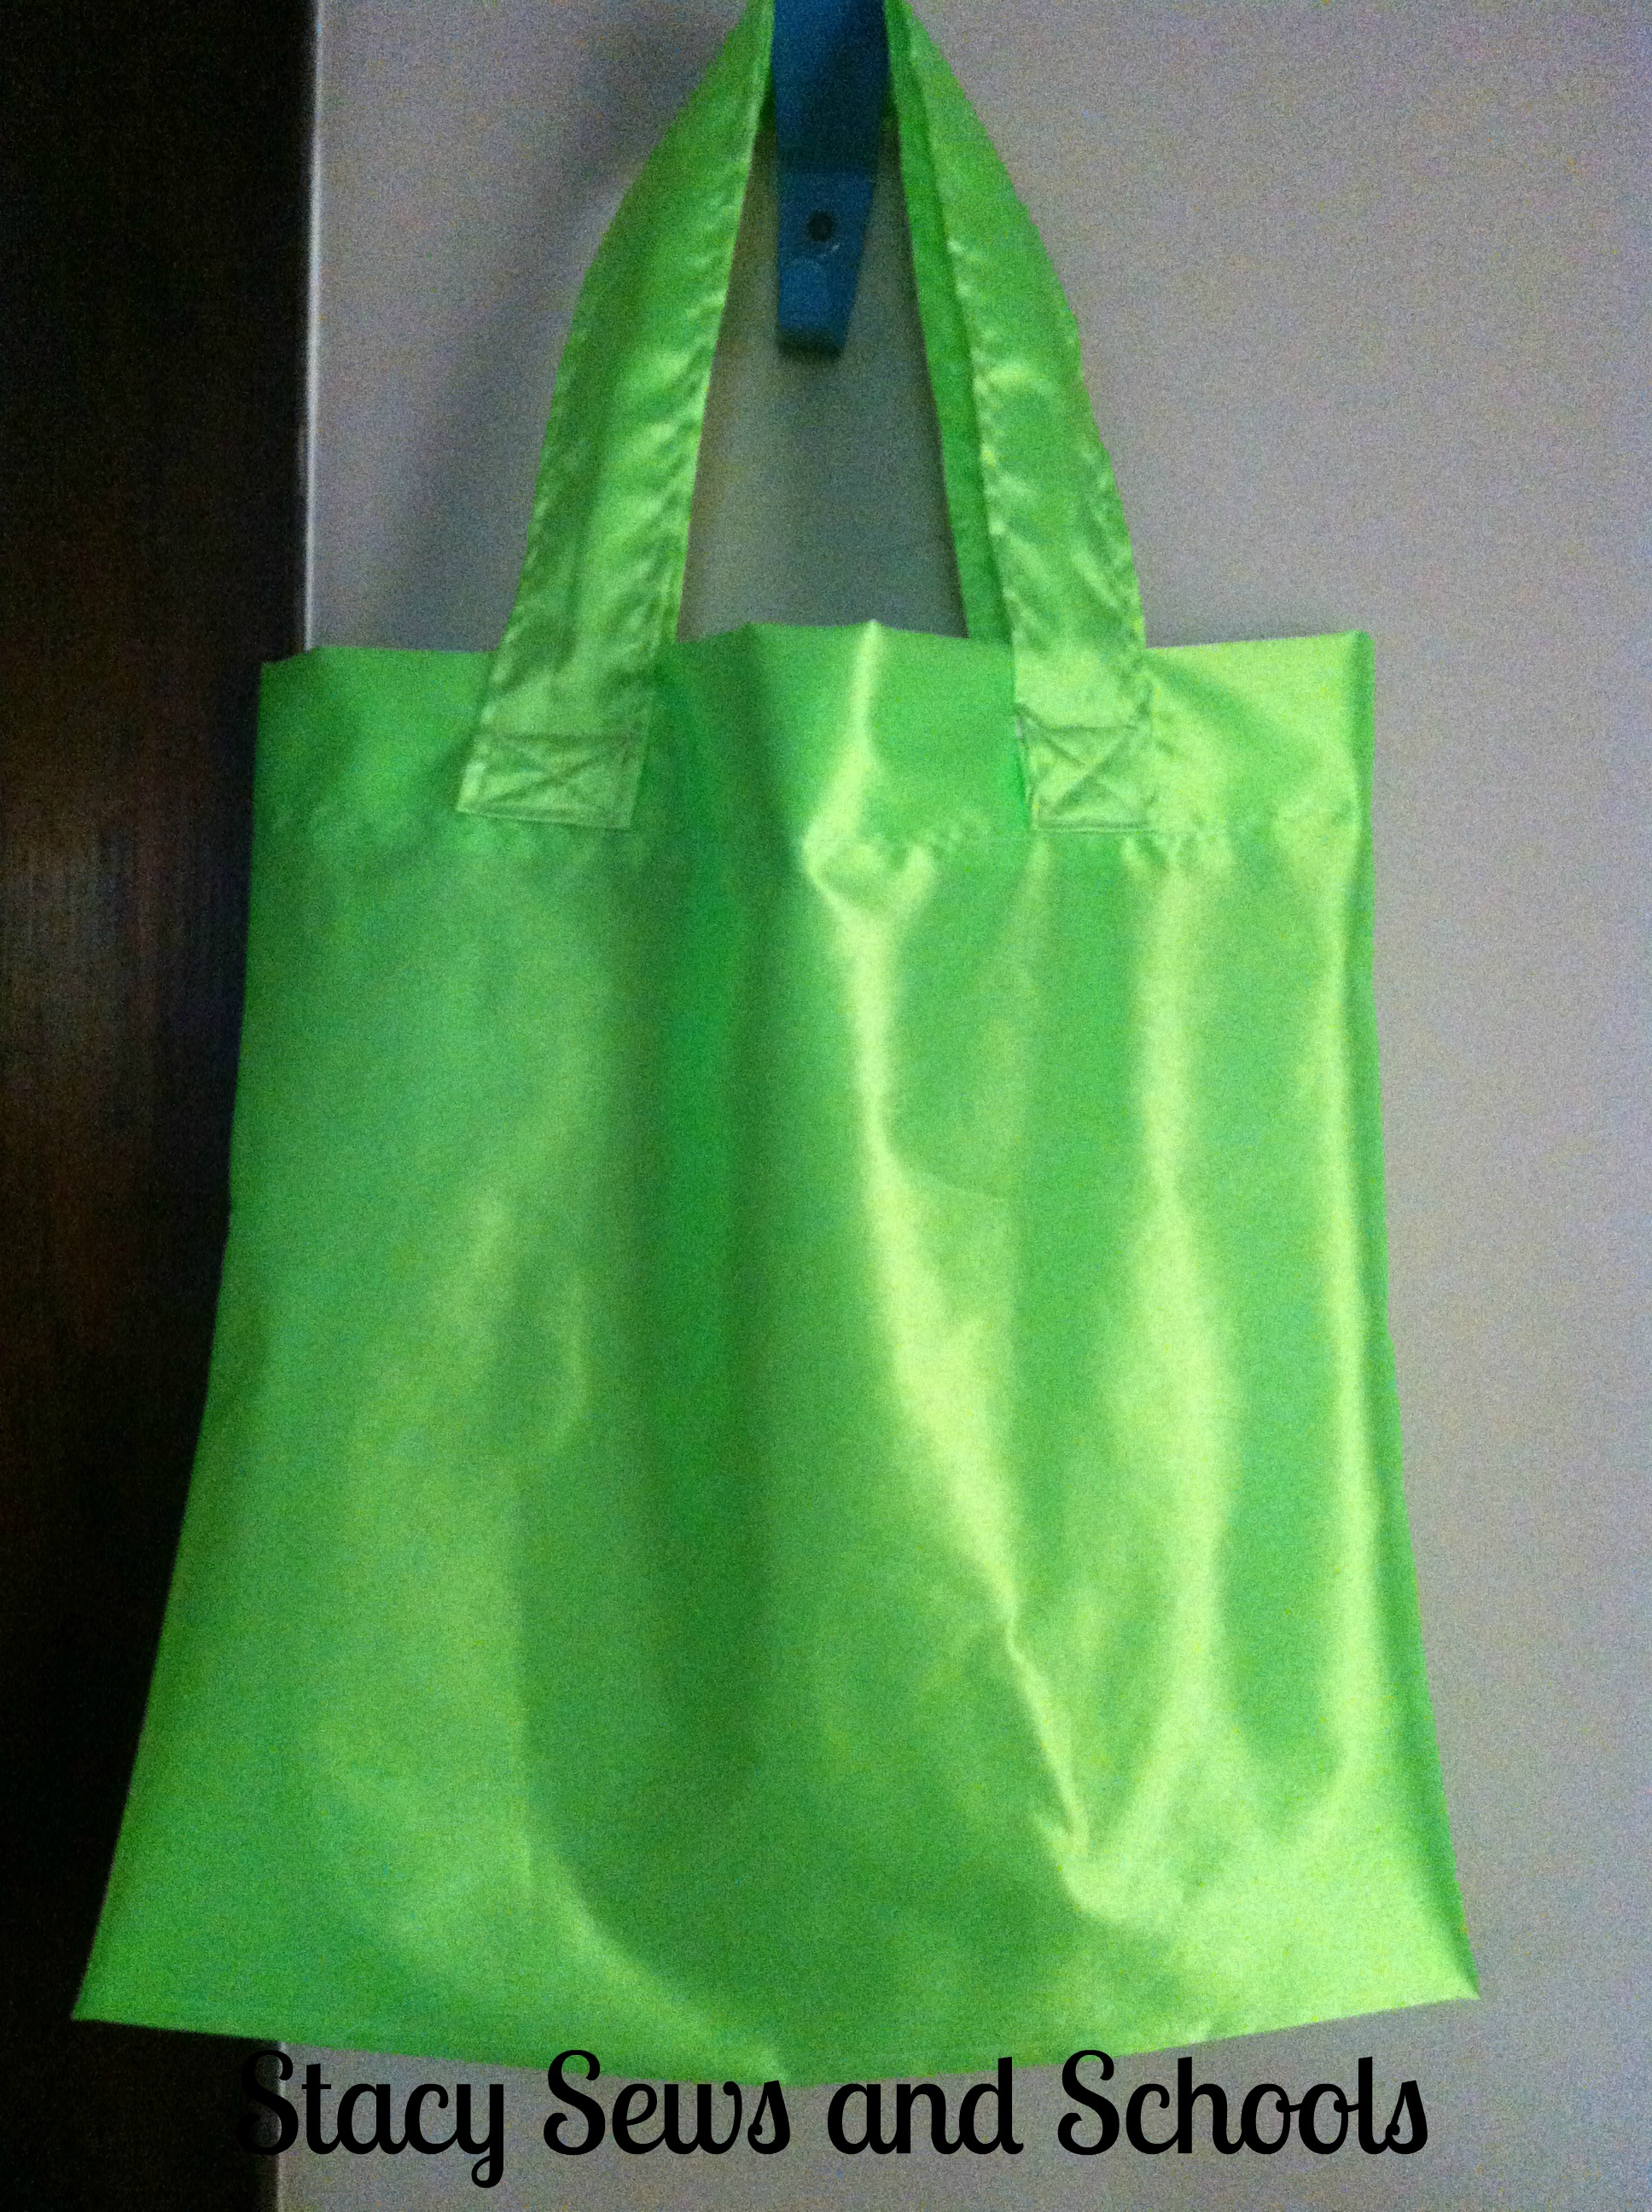
My contribution to the tailgating theme! A team tote to carry all your fan gear/tailgating supplies!! 

What I Used -

The equivalent of 4 fat quarters 
  2 for the body of the bag
  1 for the straps and pocket
  1 for the contrast at the top of the bag

Step 1
First I cut one fat quarter in half.
One half will be the handles and the other will be the pocket.
The half for the handles should be cut in half again.
Fold with right sides together and press. 
Sew up the long side of each.


Step 2 -
Turn the handles right side out and press.
Top stitch along the edges.
Remove the cat from your work space.
Press again. 


Step 3 -


I did NOT use fat quarters. I used a long strip of contrasting fabric. I folded it in half and pressed. Folded in half again and pressed.
If you use fat quarters -
Cut it in half. Sew the ends together to make a longer piece.
Fold in half and press. Do that again.


Step 4 -

If you are using fat quarters, this is where you will sew up one side ONLY. Pin the 2 fat quarters with right sides together and sew up one side seam.


Step 5 -
Now, with right sides together, pin the contrast strip at the top of your fabric.
If you are using fat quarters, line up the side seams.
Once you have sewn the contrast strip to the top, press the seam UP.
Now, top stitch or stitch in the ditch. 
*Stitch in the Ditch means to run a line of straight stitches on top of the fabric in the seam line. I did NOT stitch in the ditch. I top stitched instead. 


Step 6 -

Now we are going to attach the handles.
On the right side, pin the bottoms of the handles to the contrast strip. Your handles should be hanging upside down with the wrong side showing.
Line up the handles on the other side and pin in place.
Now, attach the handles.
Once you've attached all 4 ends, you are going to fold the handles up and pin them in place,
Now, sew a box with an X in the middle. That makes sure the handles stay on even if you are carrying a heavy load. 


Step 7 -
Take your remaining fat quarter half and fold it up into a pocket.
Turn the sides in and press.
Pin it to the front of your bag and stitch in place. 

Step 8 -
Pin and sew up the remaining side and bottom.
Clip your corners.
Turn the bag right side out and press.


YOU ARE DONE!!!!

If you have any questions, don't hesitate to ask!!!


Don't forget to check out Karen's DELICIOUS tailgating recipe!!! OMG, that looks sooooo good! I'm drooling on my keyboard. 


June 11, 2013

Monkey Business


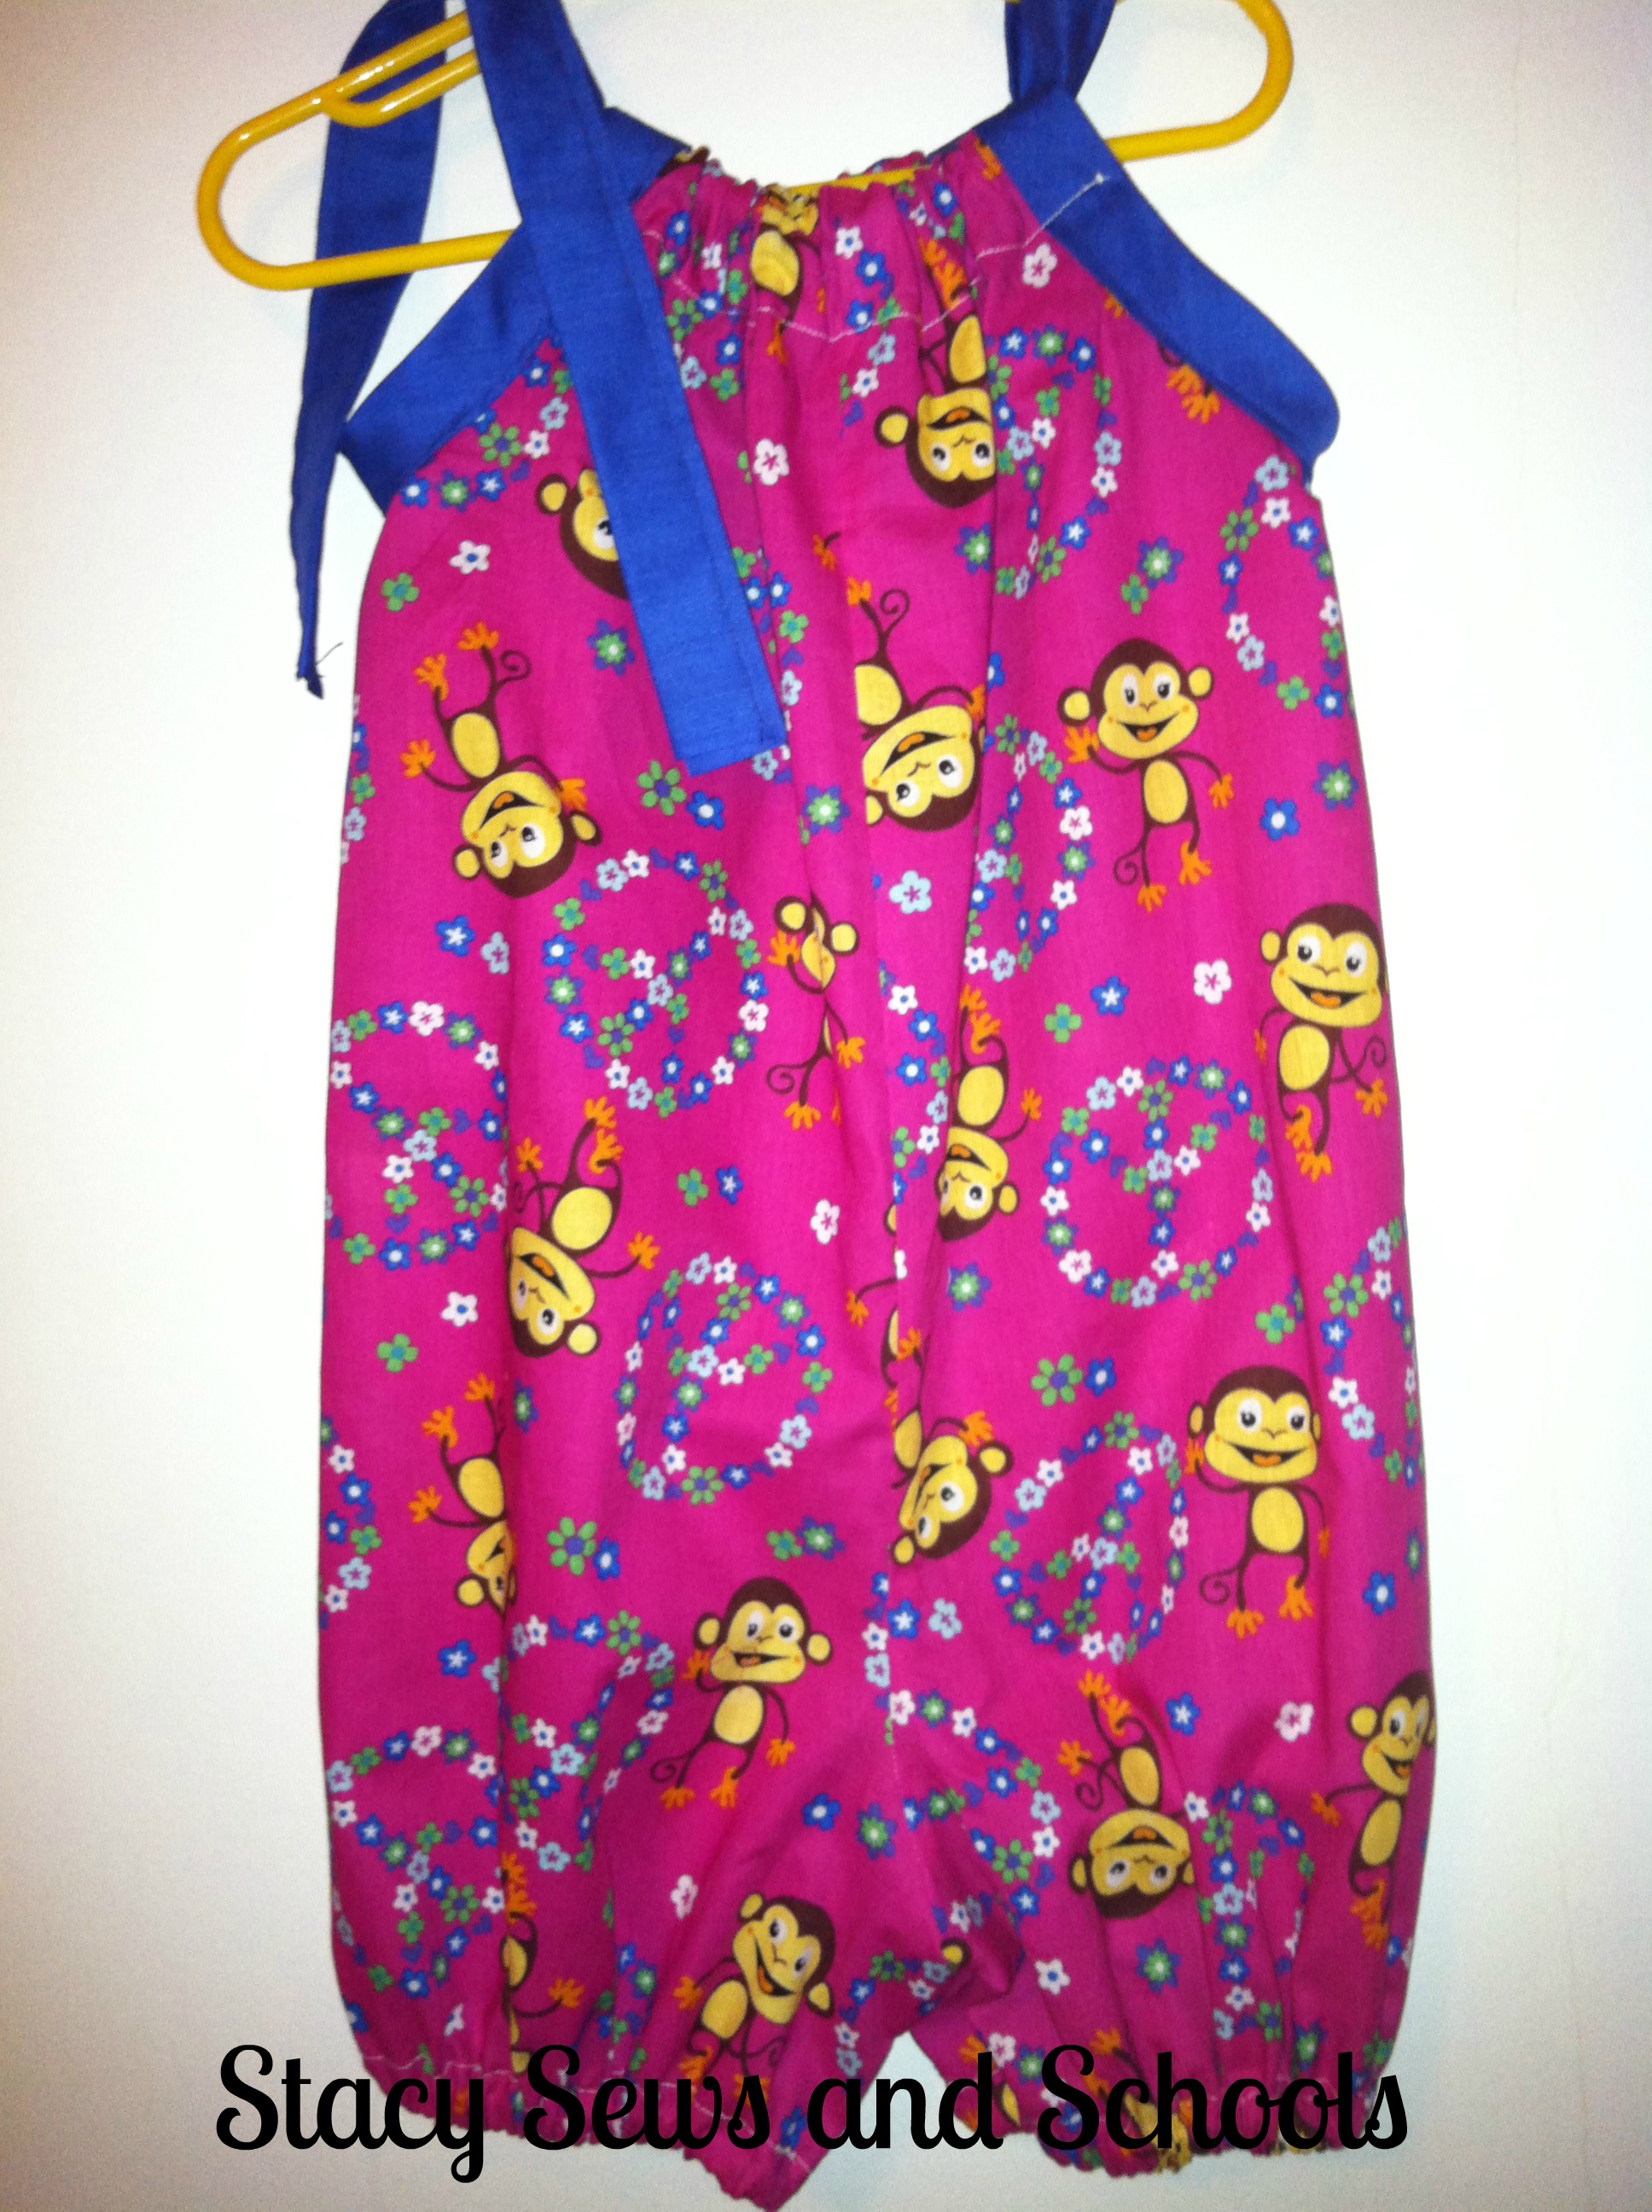
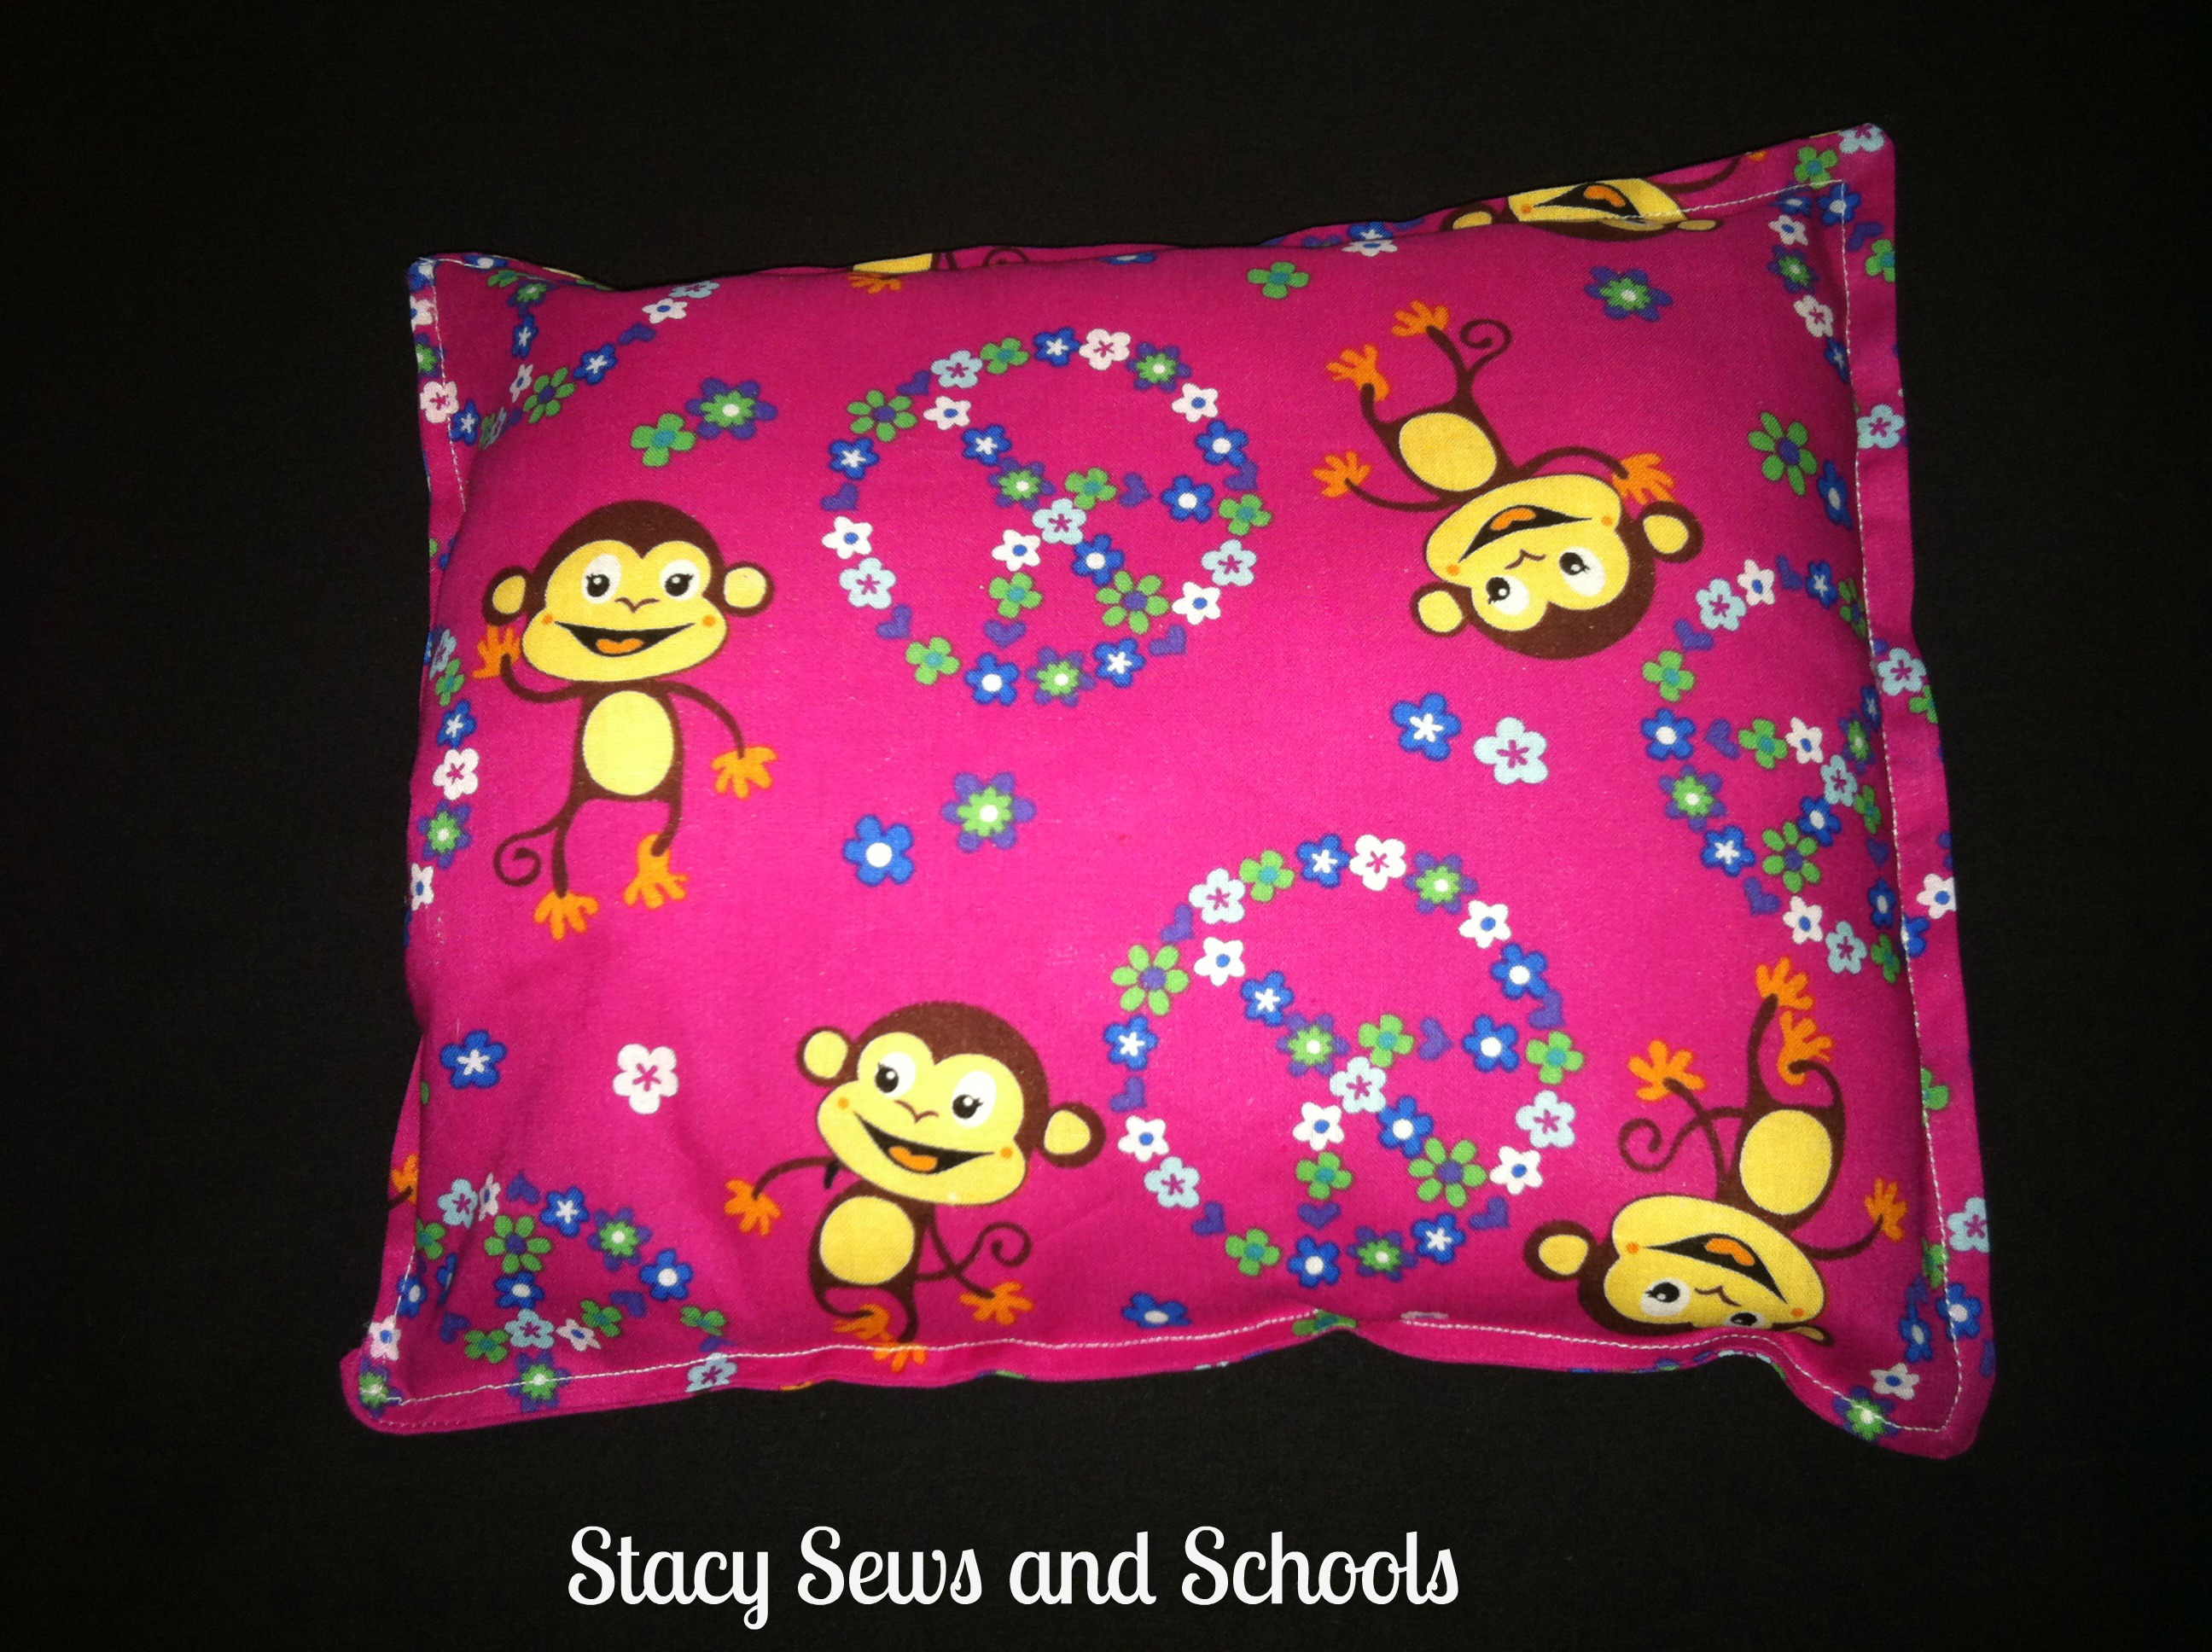
My latest set for Sewing to Rebuild has been taken over by monkeys!! LOL


Monkey Business 008


Monkey Business 004


Monkey Business 003


Next up (and last for the Sewing to Rebuild) will be another boy's set.


After that I will be getting busy sewing for MY kids. LOL Colin has been complaining that it has been too long since I made him something. It will be a part of Hopeful Threads June sewing project.

Hopeful Threads

I have some really cute knit that I have been thinking about making into PJs for Colin and a nightgown for Cailey. Colin also needs some new shorts! Then I think I will break out some patterns that I have been meaning to get to.


HAVE FUN SEWING!!! :D


June 5, 2013

Sew Busy Sewing


SHEW!!! I took a break from sewing yesterday. It was just one of those days. Fibro.

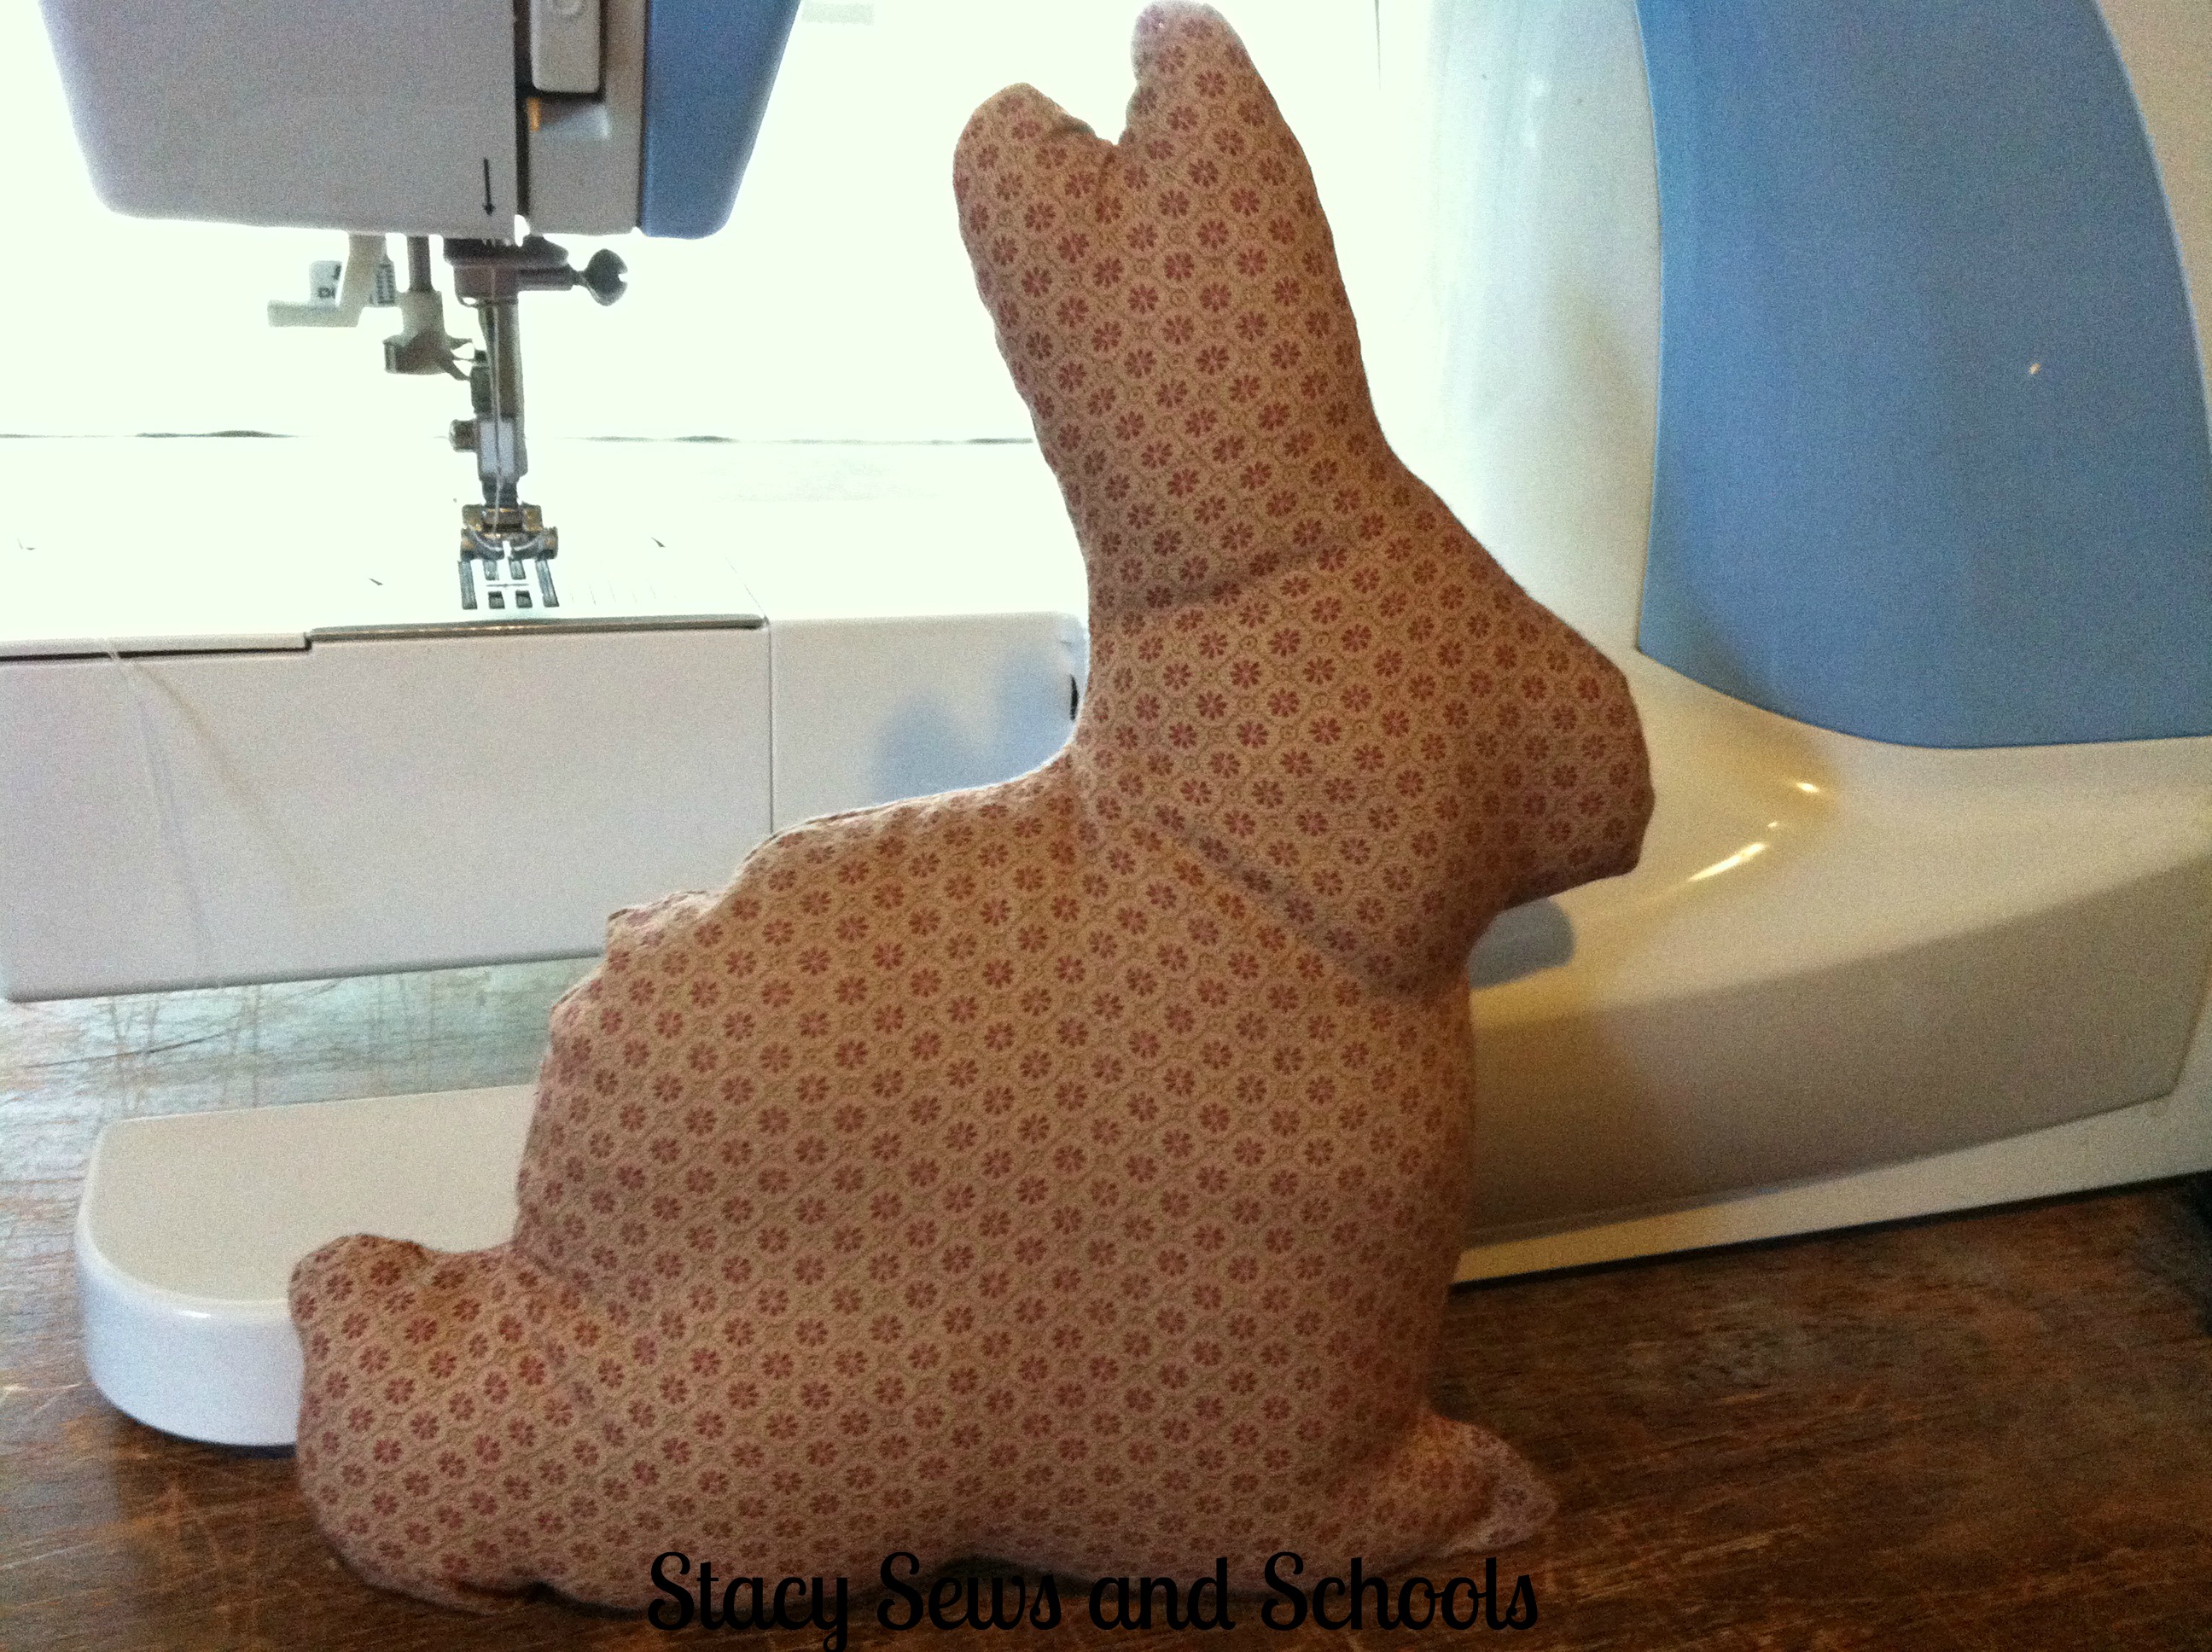
Here is what I have so far on the next set for Sewing to Rebuild.


Sewing to Rebuild 3005


Sewing to Rebuild 3007


For the little rabbit, I used a template from Crafty Cupboard.   It was very easy to make. I think I might need to make a bunch in spring prints for Easter decorations!! LOL
The only thing this set needs now is an outfit. I am thinking about making the Sunshine Days outfit in pink.  I hope to get started on it today after I get all my errands done.

Look what we say the other day!!

Rainbow 001

I wish the photo would show how bright and beautiful this was!! It was just behind our neighbor's house across the street.


Hope you are having fun sewing!!! :D


December 7, 2012

I Am a Sewing Machine!

Yep! That is what I am! LOL I finished 3 sewing projects today!! And I am patting myself on the back a little bit.... LOL ;)


Here they are!!


12-7-12 003


I made these pajama pants for a friend of mine. Another friend sent me the fabric just for these.  I hope they make her smile when she gets them. She has had a REALLLLY hard time lately. :(


12-7-12 004


I had enough fleece left over to make her a matching tote bag.


12-7-12 012


Then I made these Toy Story pajama pants for Colin. He had a Buzz Lightyear pajama shirt given to him by a friend but she couldn't find the pants. Enter a sale at Joann's! LOL I have had this fabric sitting in my pile for a while now.


12-7-12 013

One happy boy!!! Score a point for mom!!! LOL


And I wanted to show you Cailey's latest artwork. Usually she prefers to draw with ink so this is rare... LOL


12-7-12 008


I have a few ideas brewing. Hopefully I can get them worked out and have a few new tutorials coming up for you! :)