Showing posts with label shirt. Show all posts

March 3, 2013

Sunshine Day Tunic and Clam Diggers - Tutorial

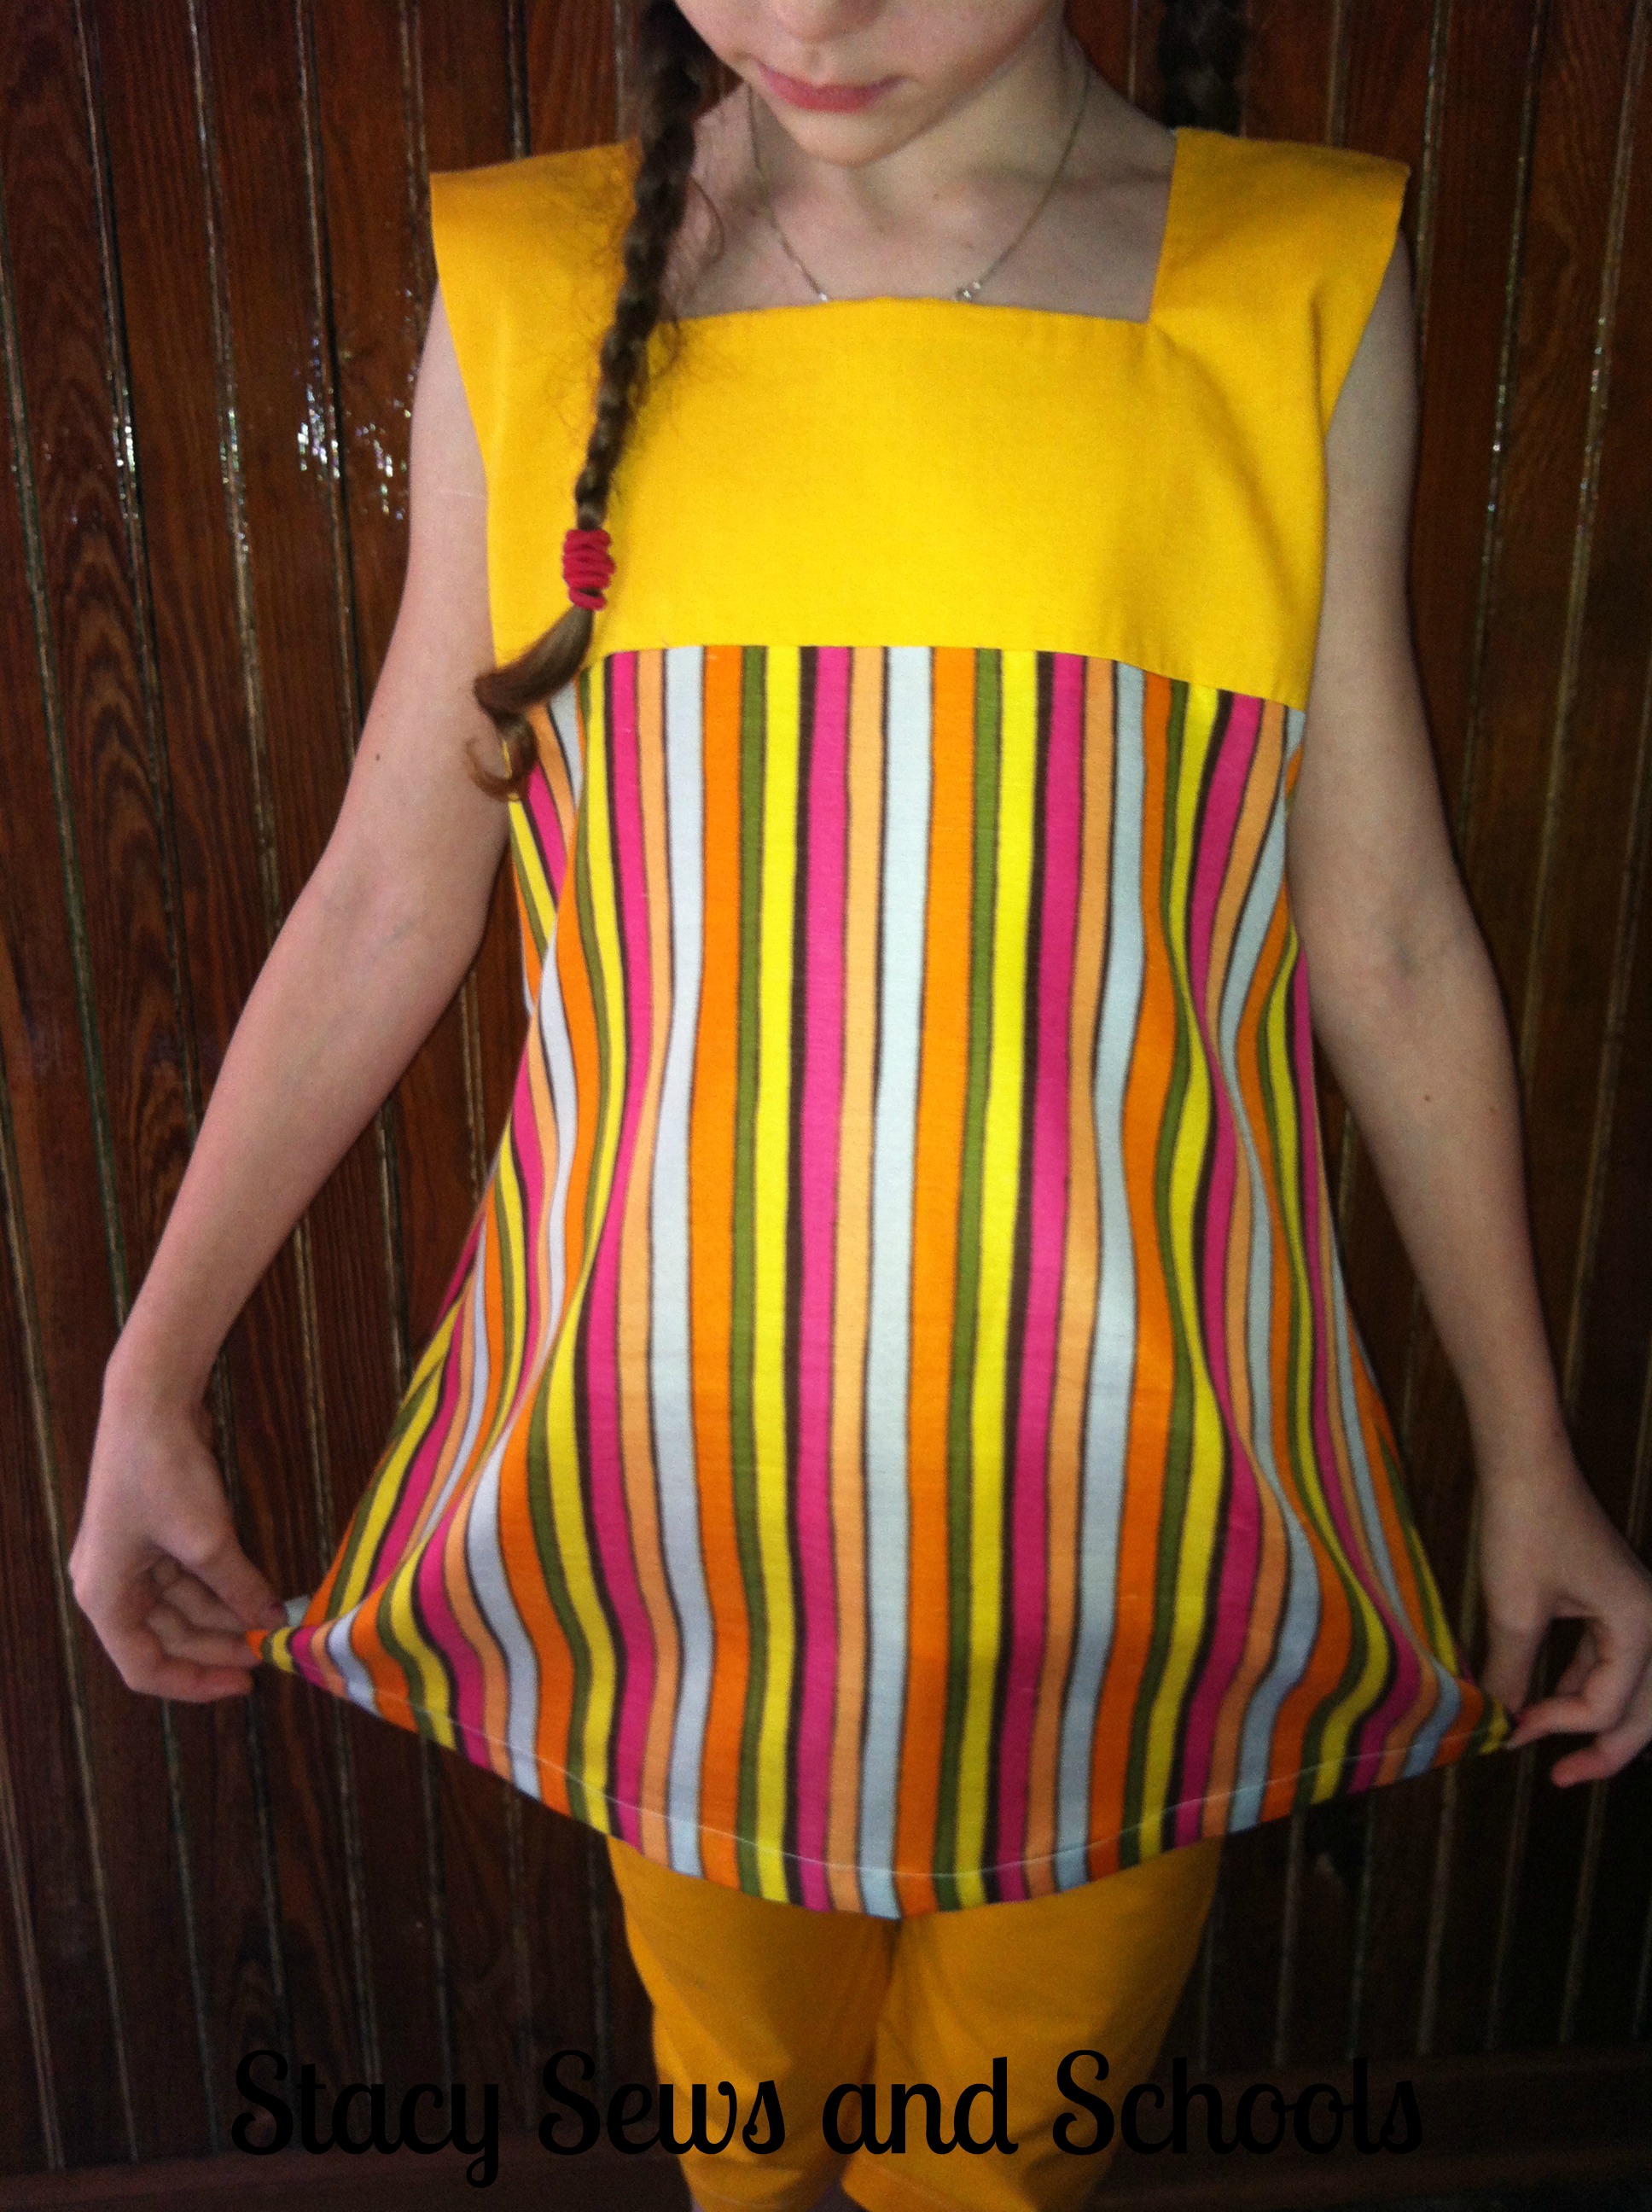
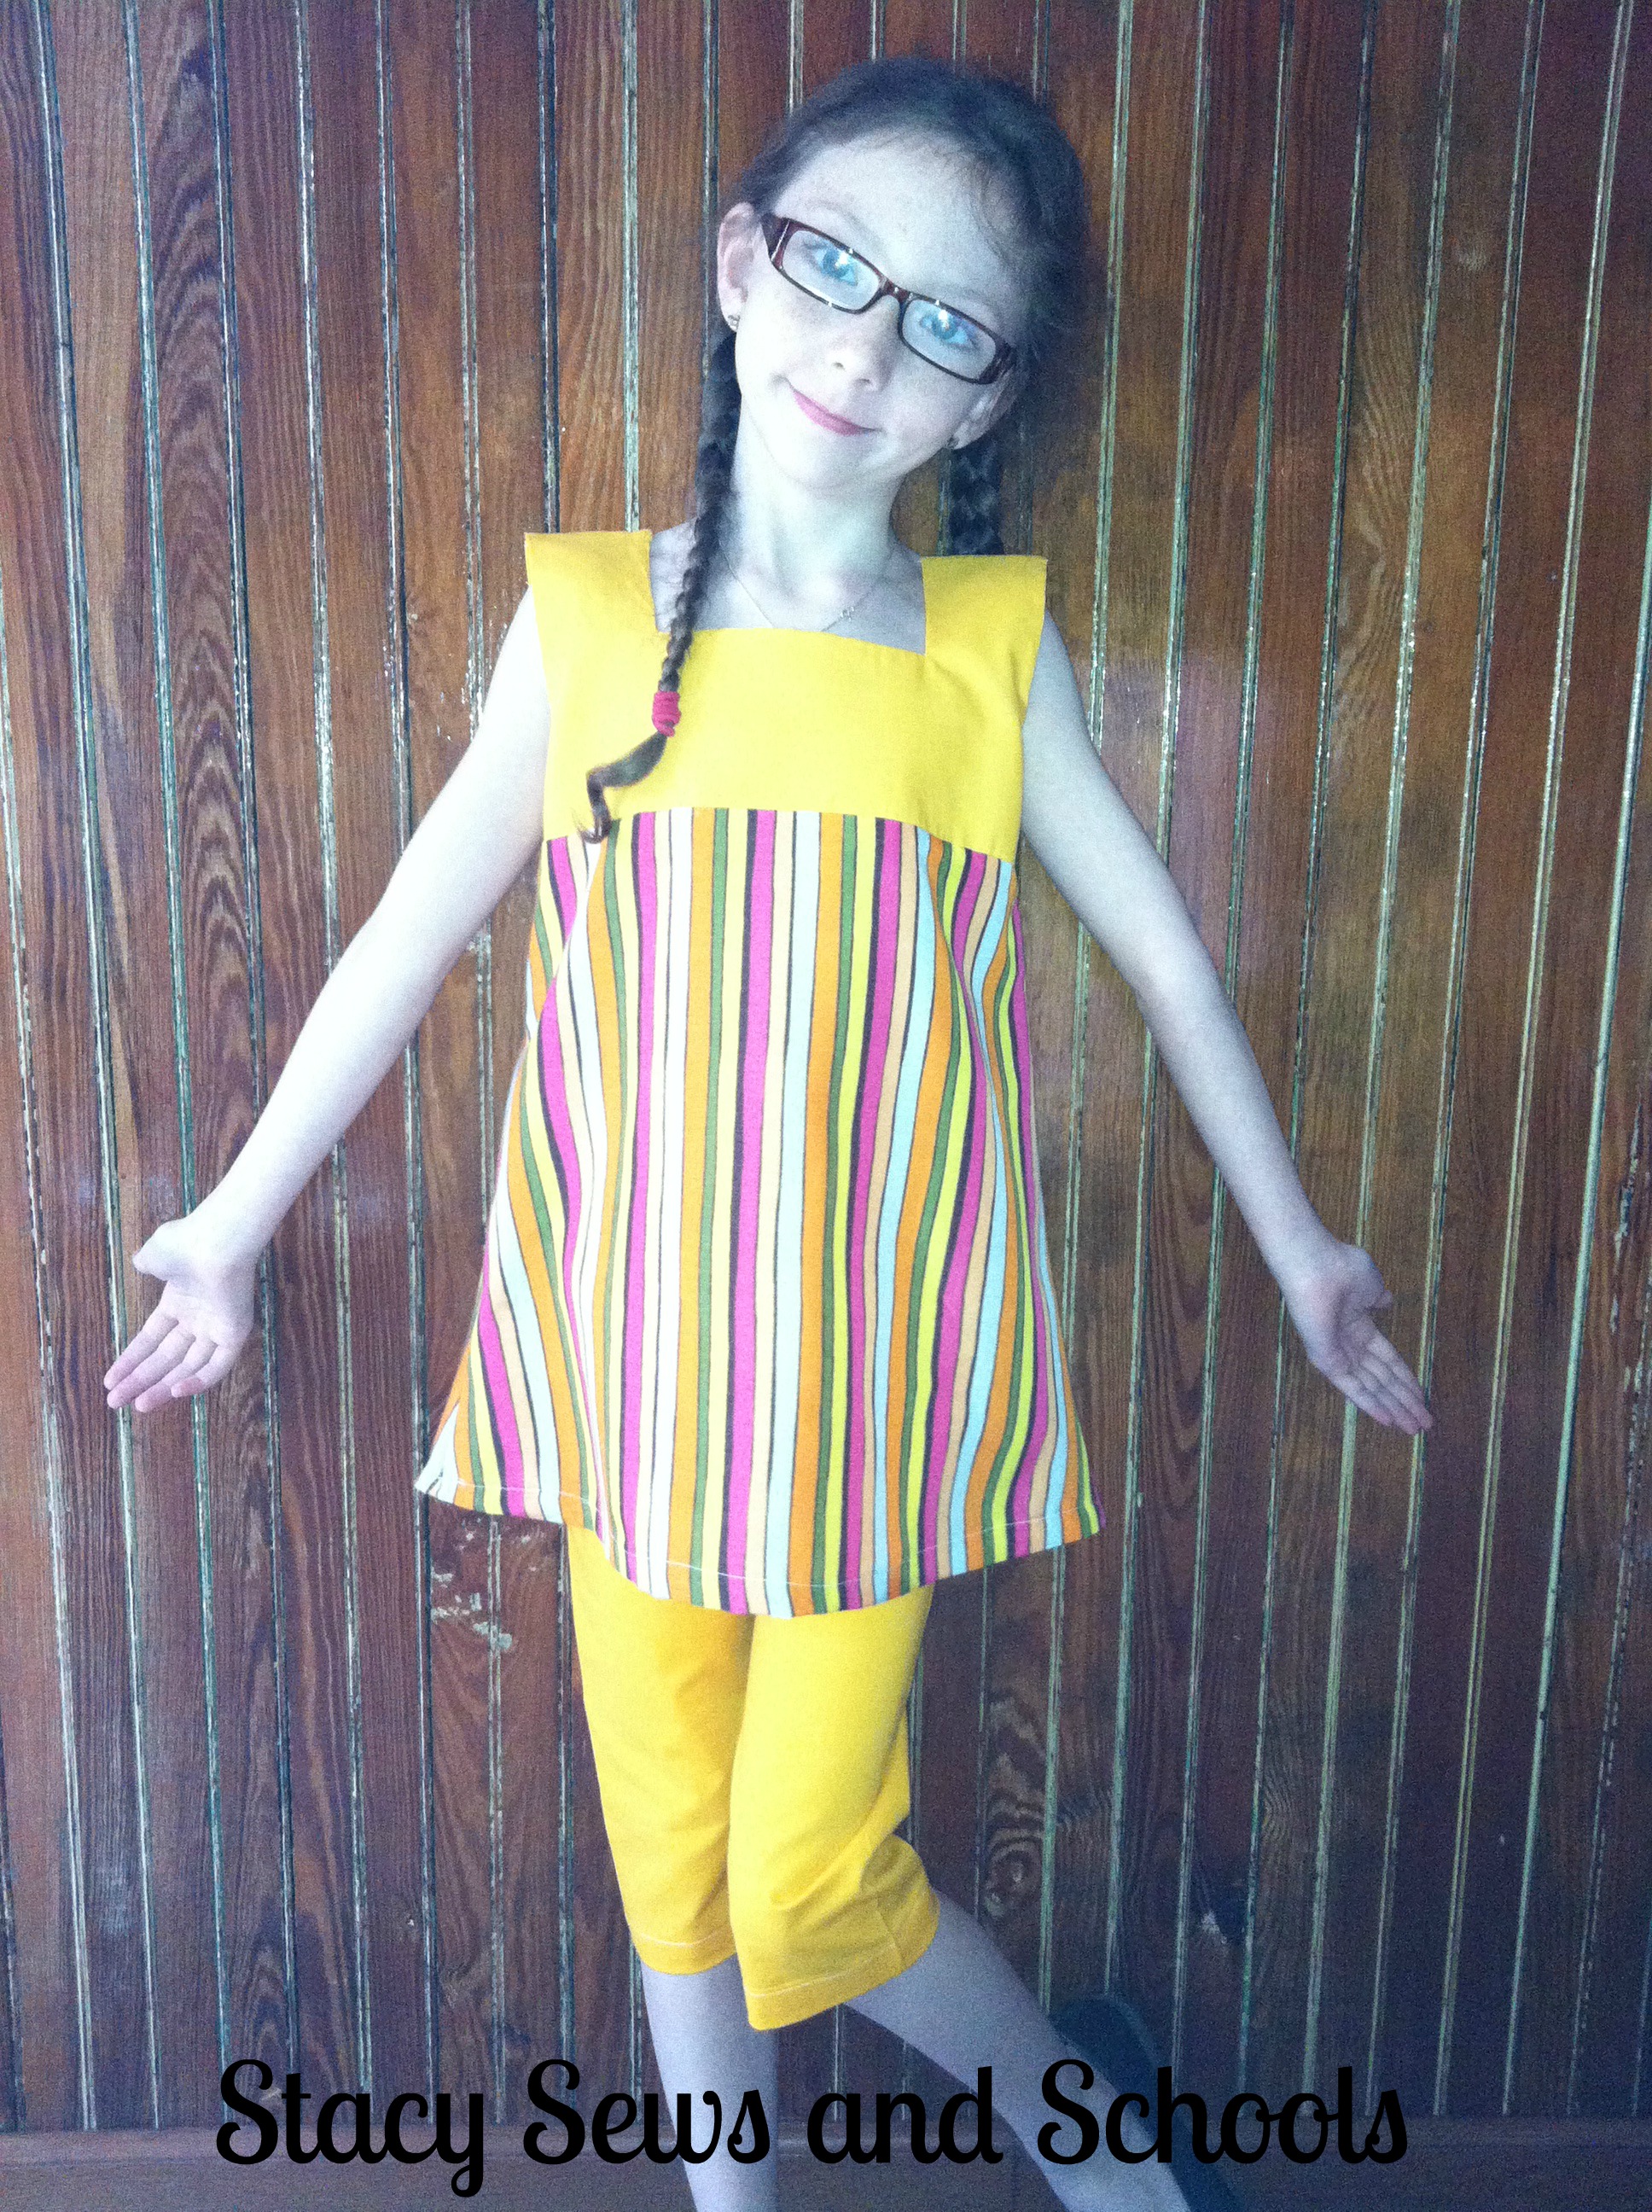
Sunshine Day Tunic and Clam Diggers 00100


Well, the name is Sunshine Day BUT the pictures for this were taken on the COLDEST day we have had since moving here!!!!! LOL There was no way I was going to make Cailey stand outside in 40 degrees.....


For some reason this outfit (or maybe just the striped fabric) reminds me of.......


http://www.youtube.com/watch?feature=player_detailpage&v=NaCCG7QkM_c


Y'all remember that, right??? LOL I loved watching Brady Bunch reruns after school when I was a kid.


ANYWAY.... Here is the tutorial.


What I used - 

3/4 yard of the stripes (very silky and flowy)

1/4 yard of the gold cotton for the yoke at the top

1 yard of heavier, stretchier cotton for the clam diggers

1" elastic


Sunshine Day Tunic and Clam Diggers 008

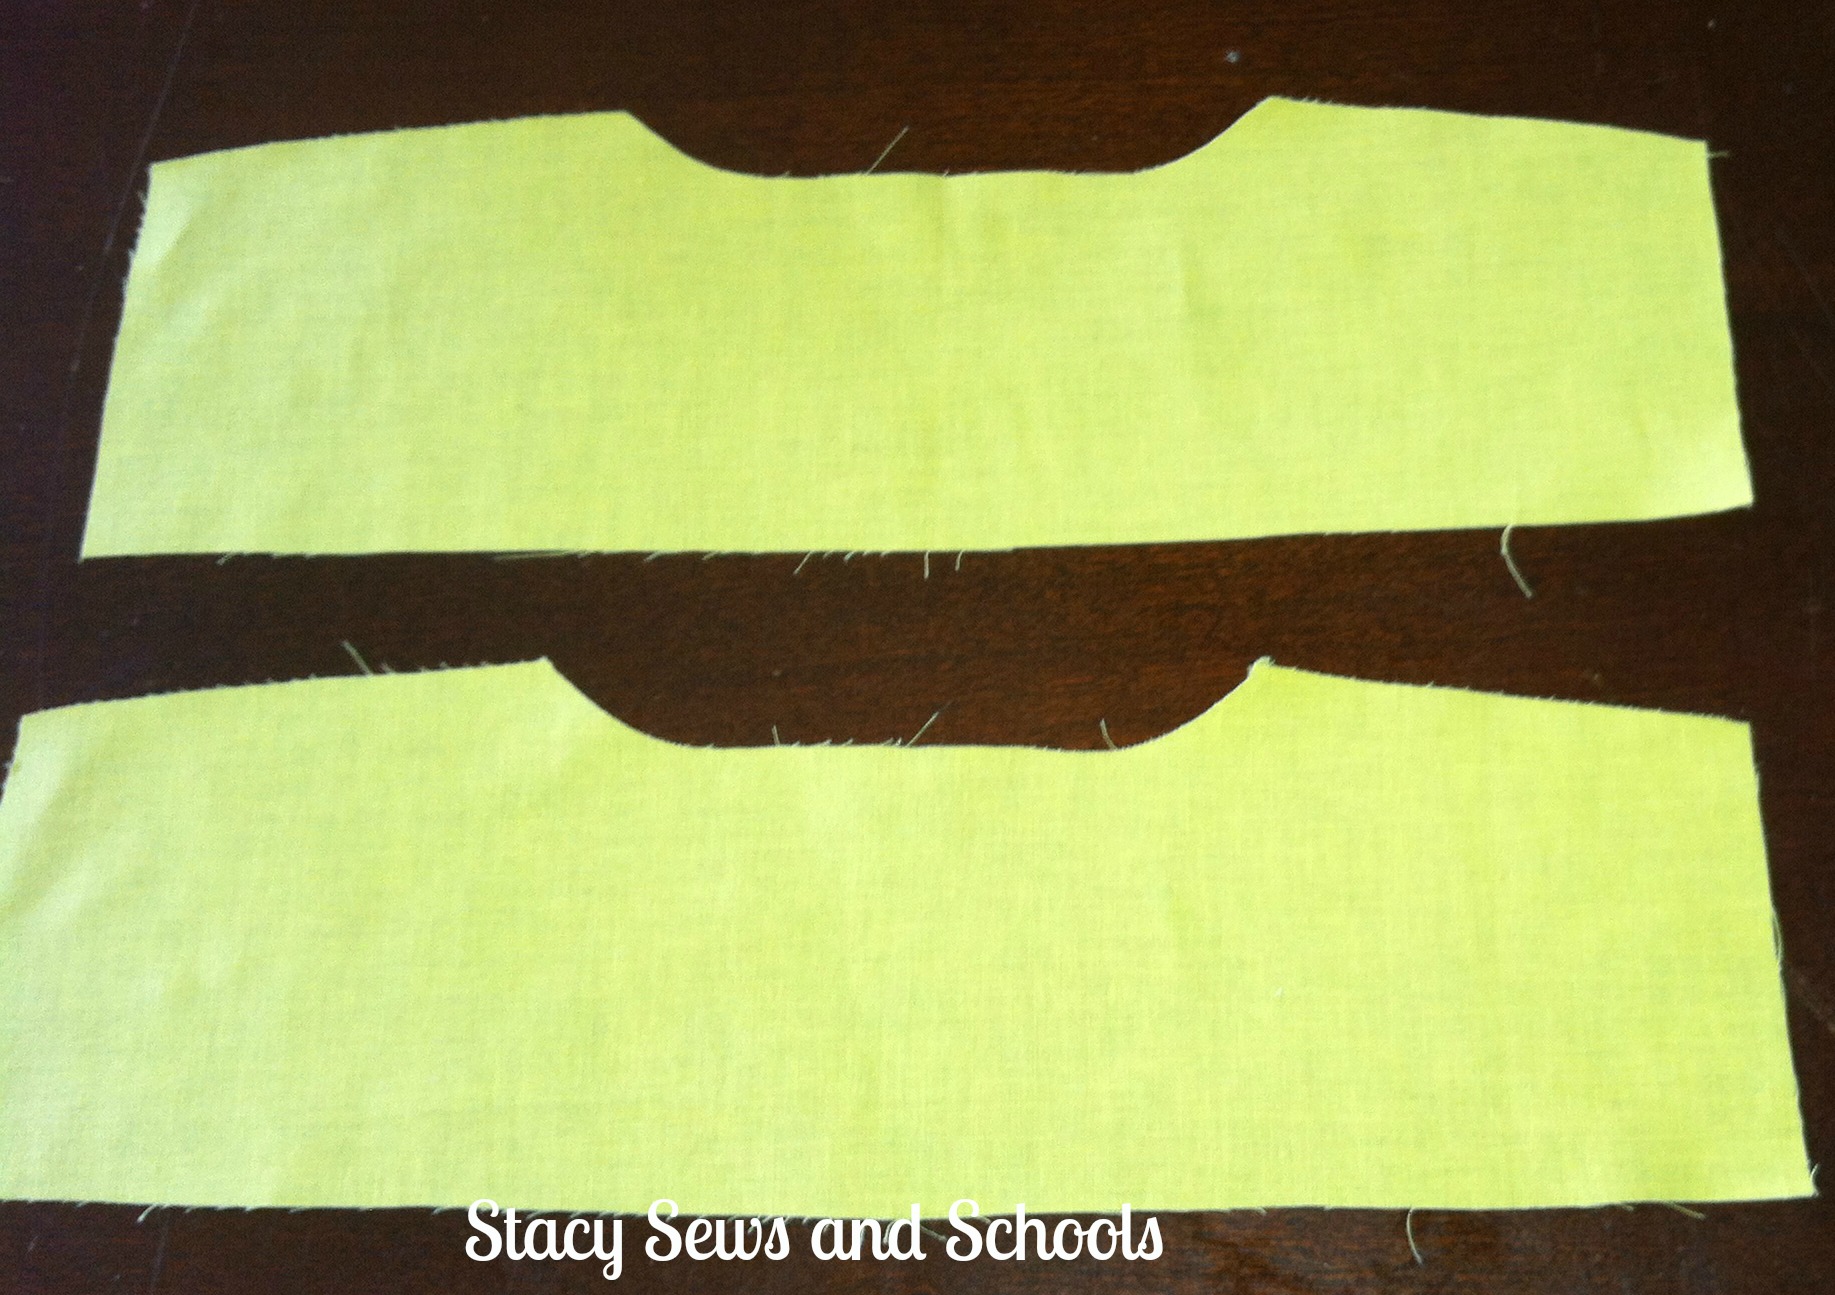
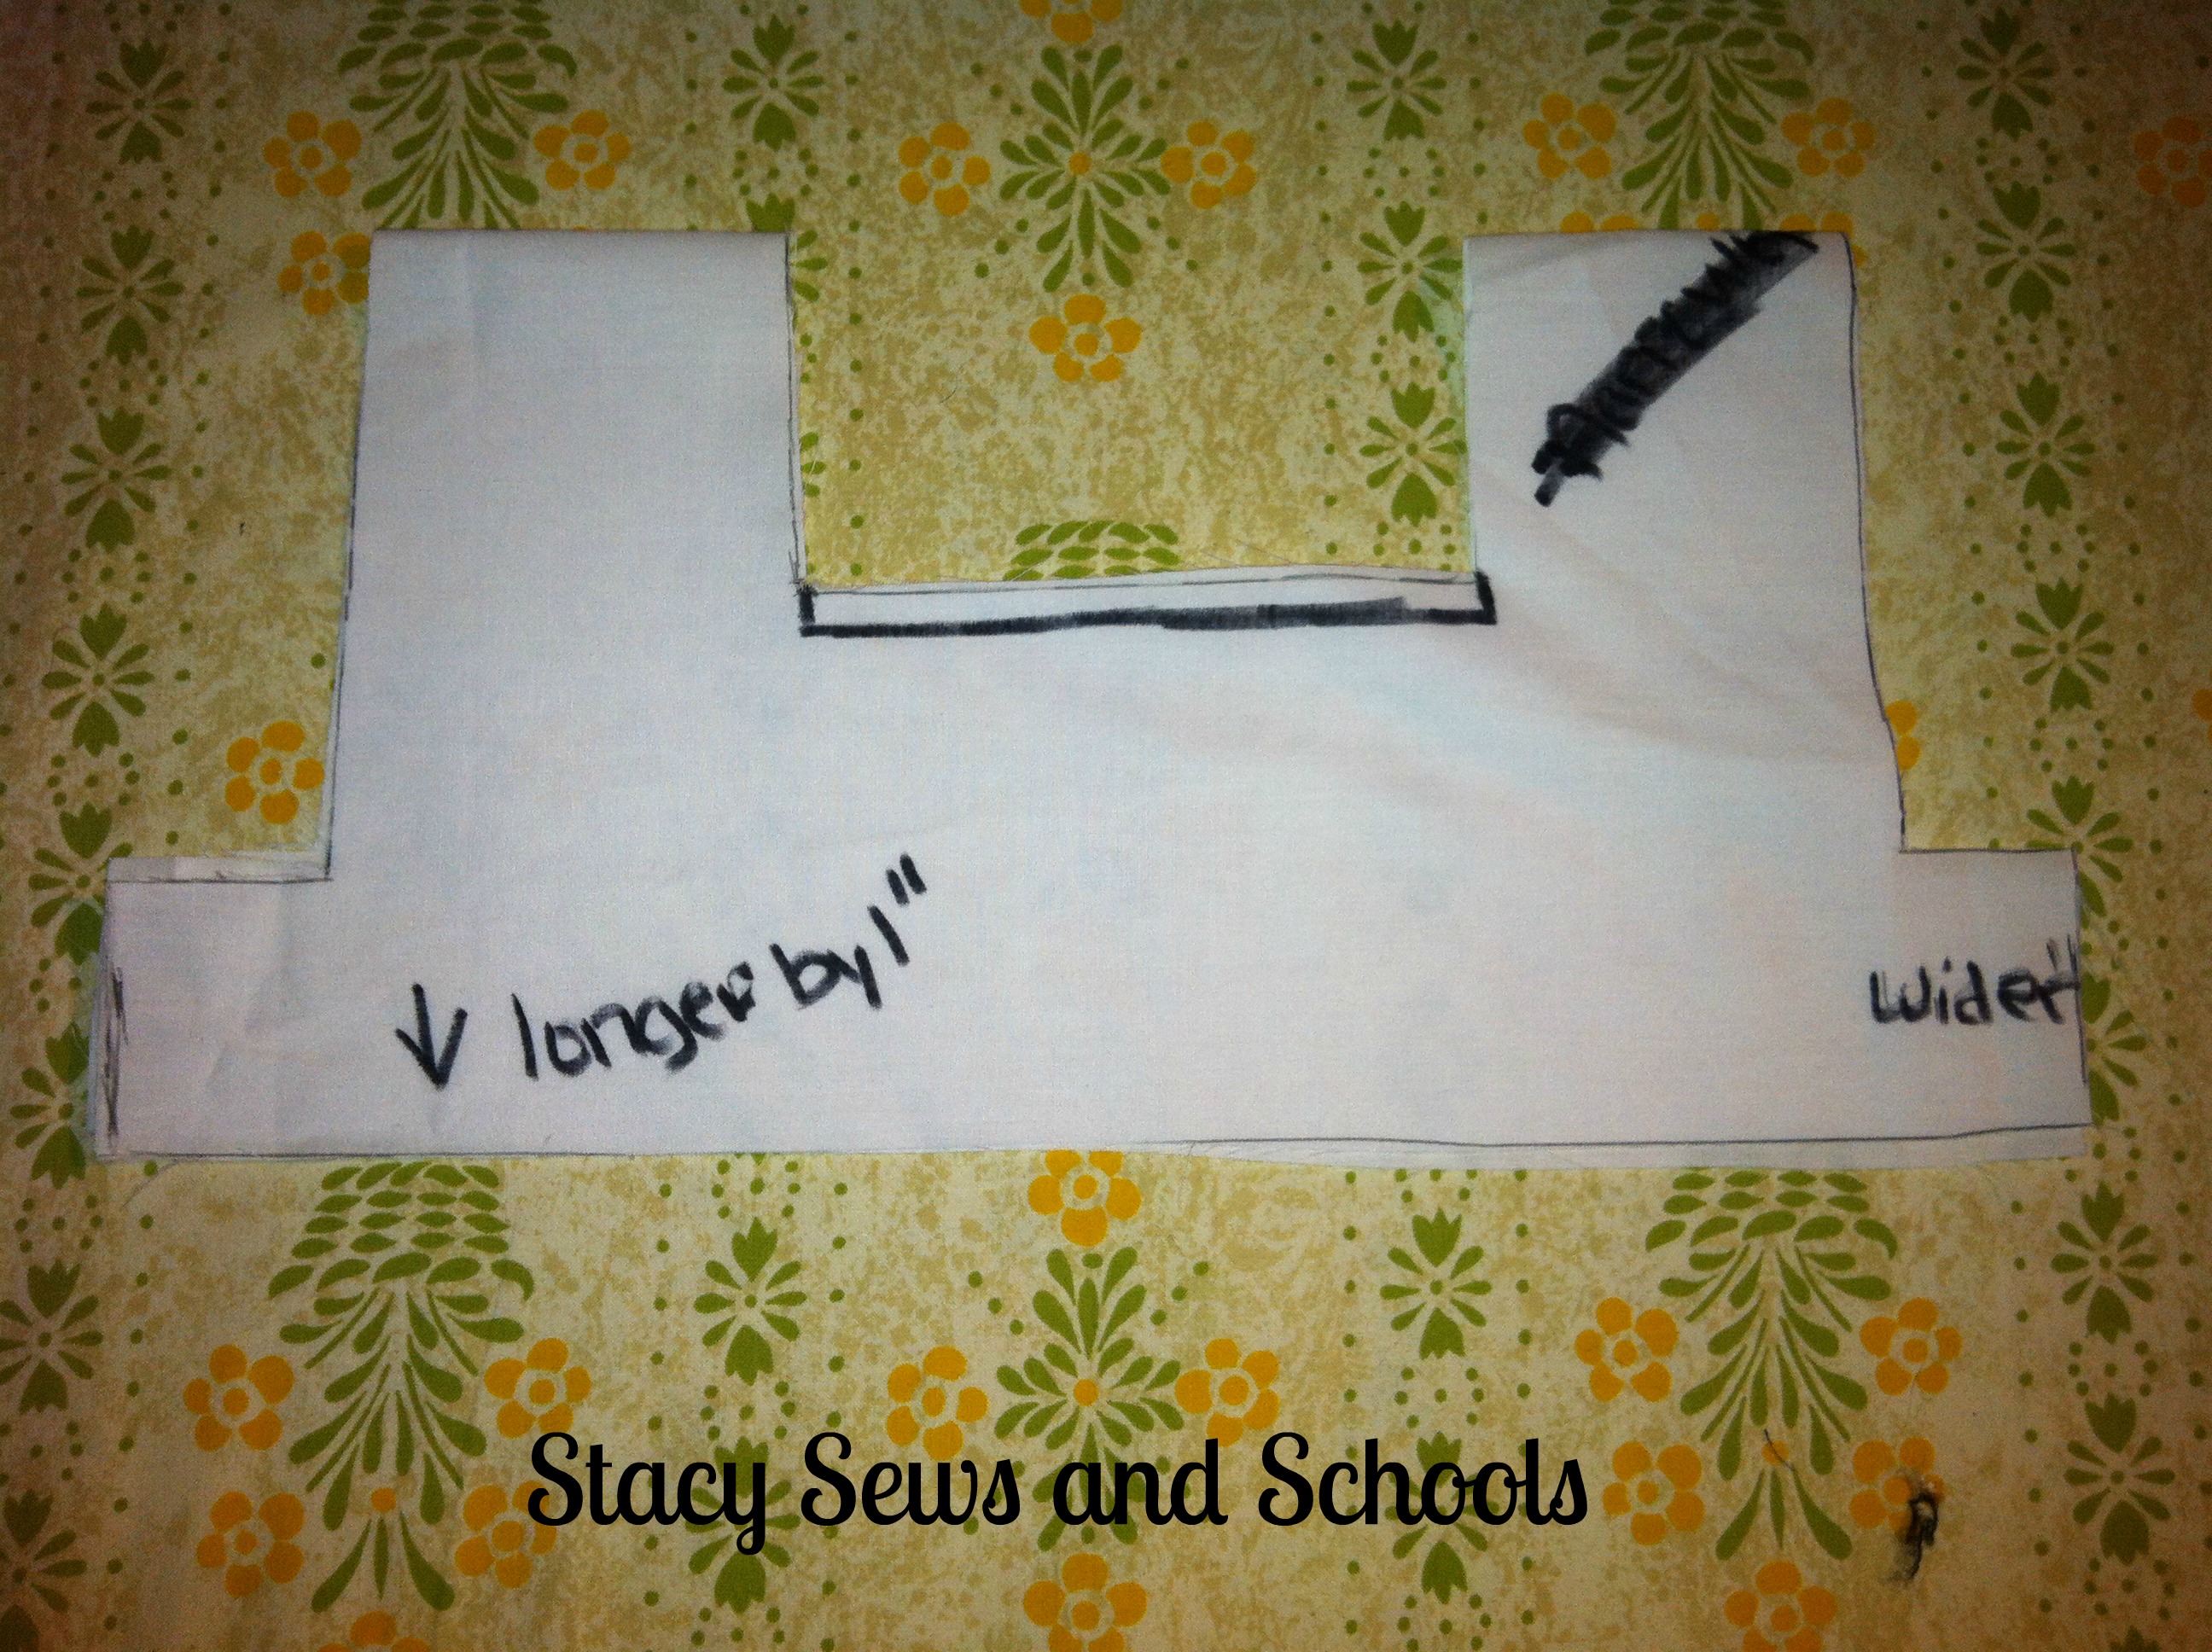
I had this idea... I was going to make the front and back yoke one piece.... with lining..... Yeah... I even cut a muslin (above).

It took me a bit to figure out the problem. LOL

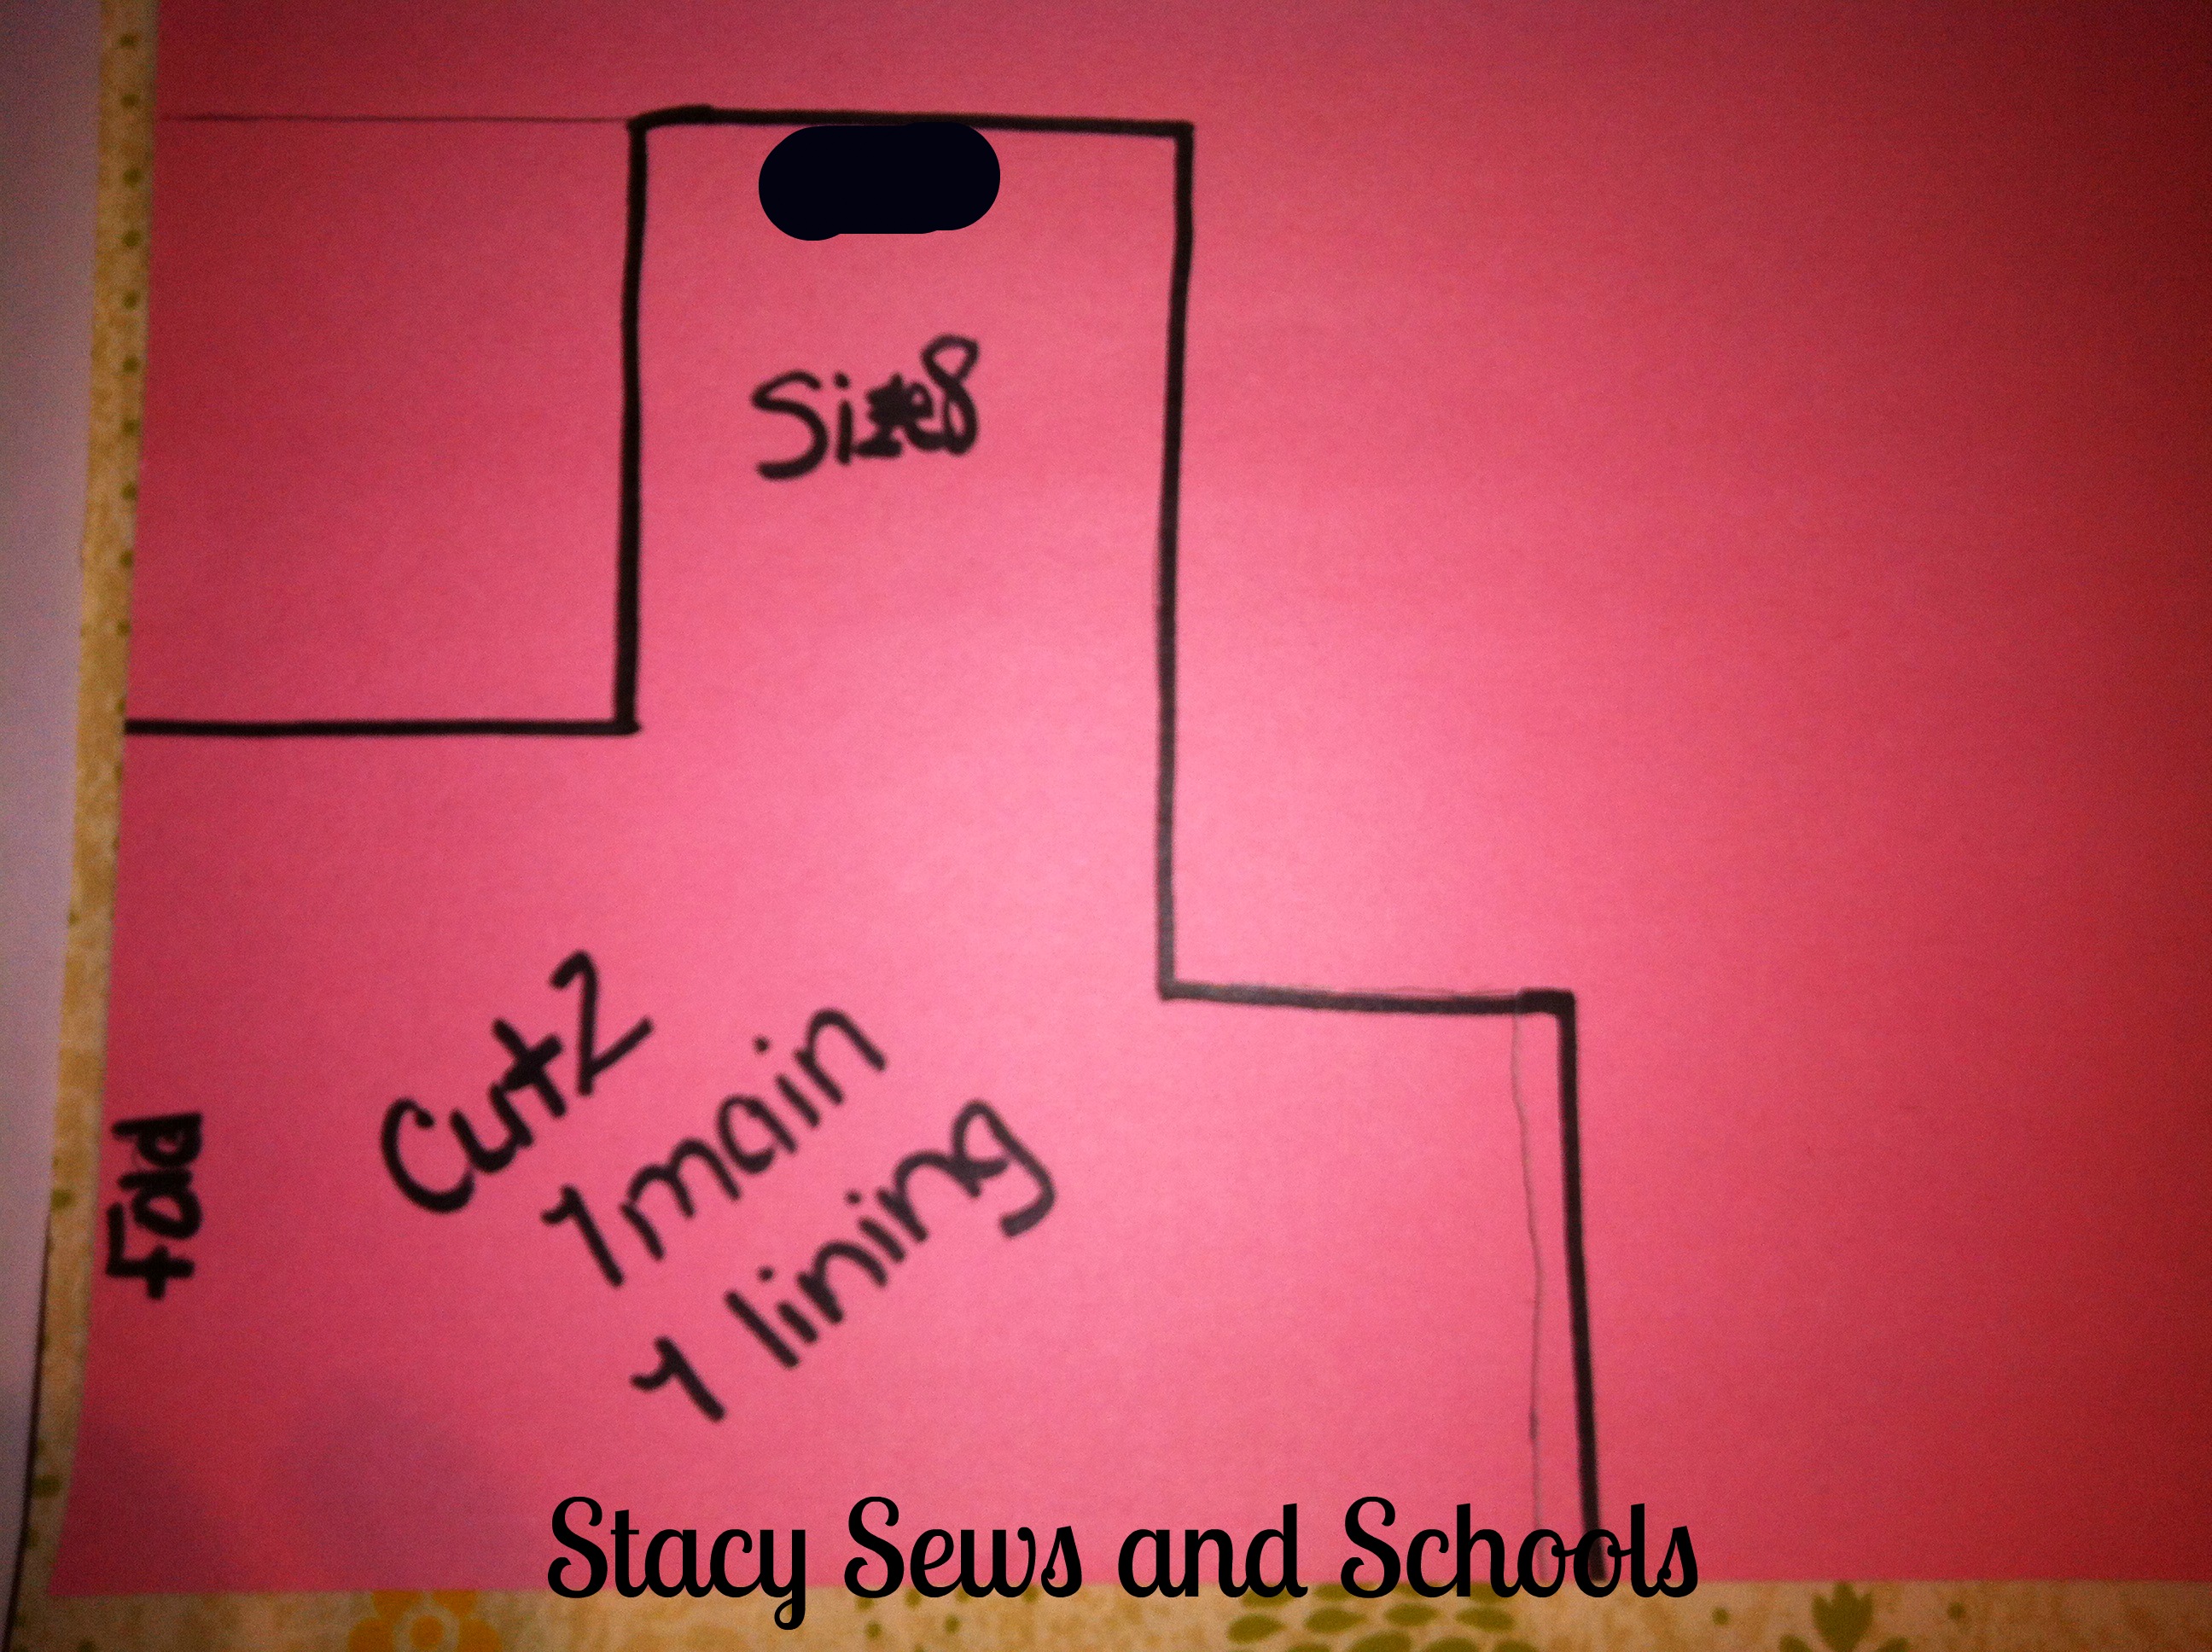
One I realized that I wouldn't be able to turn it right side out after sewing the lining, I resigned myself to 4 pieces instead of 2.


Sunshine Day Tunic and Clam Diggers 006


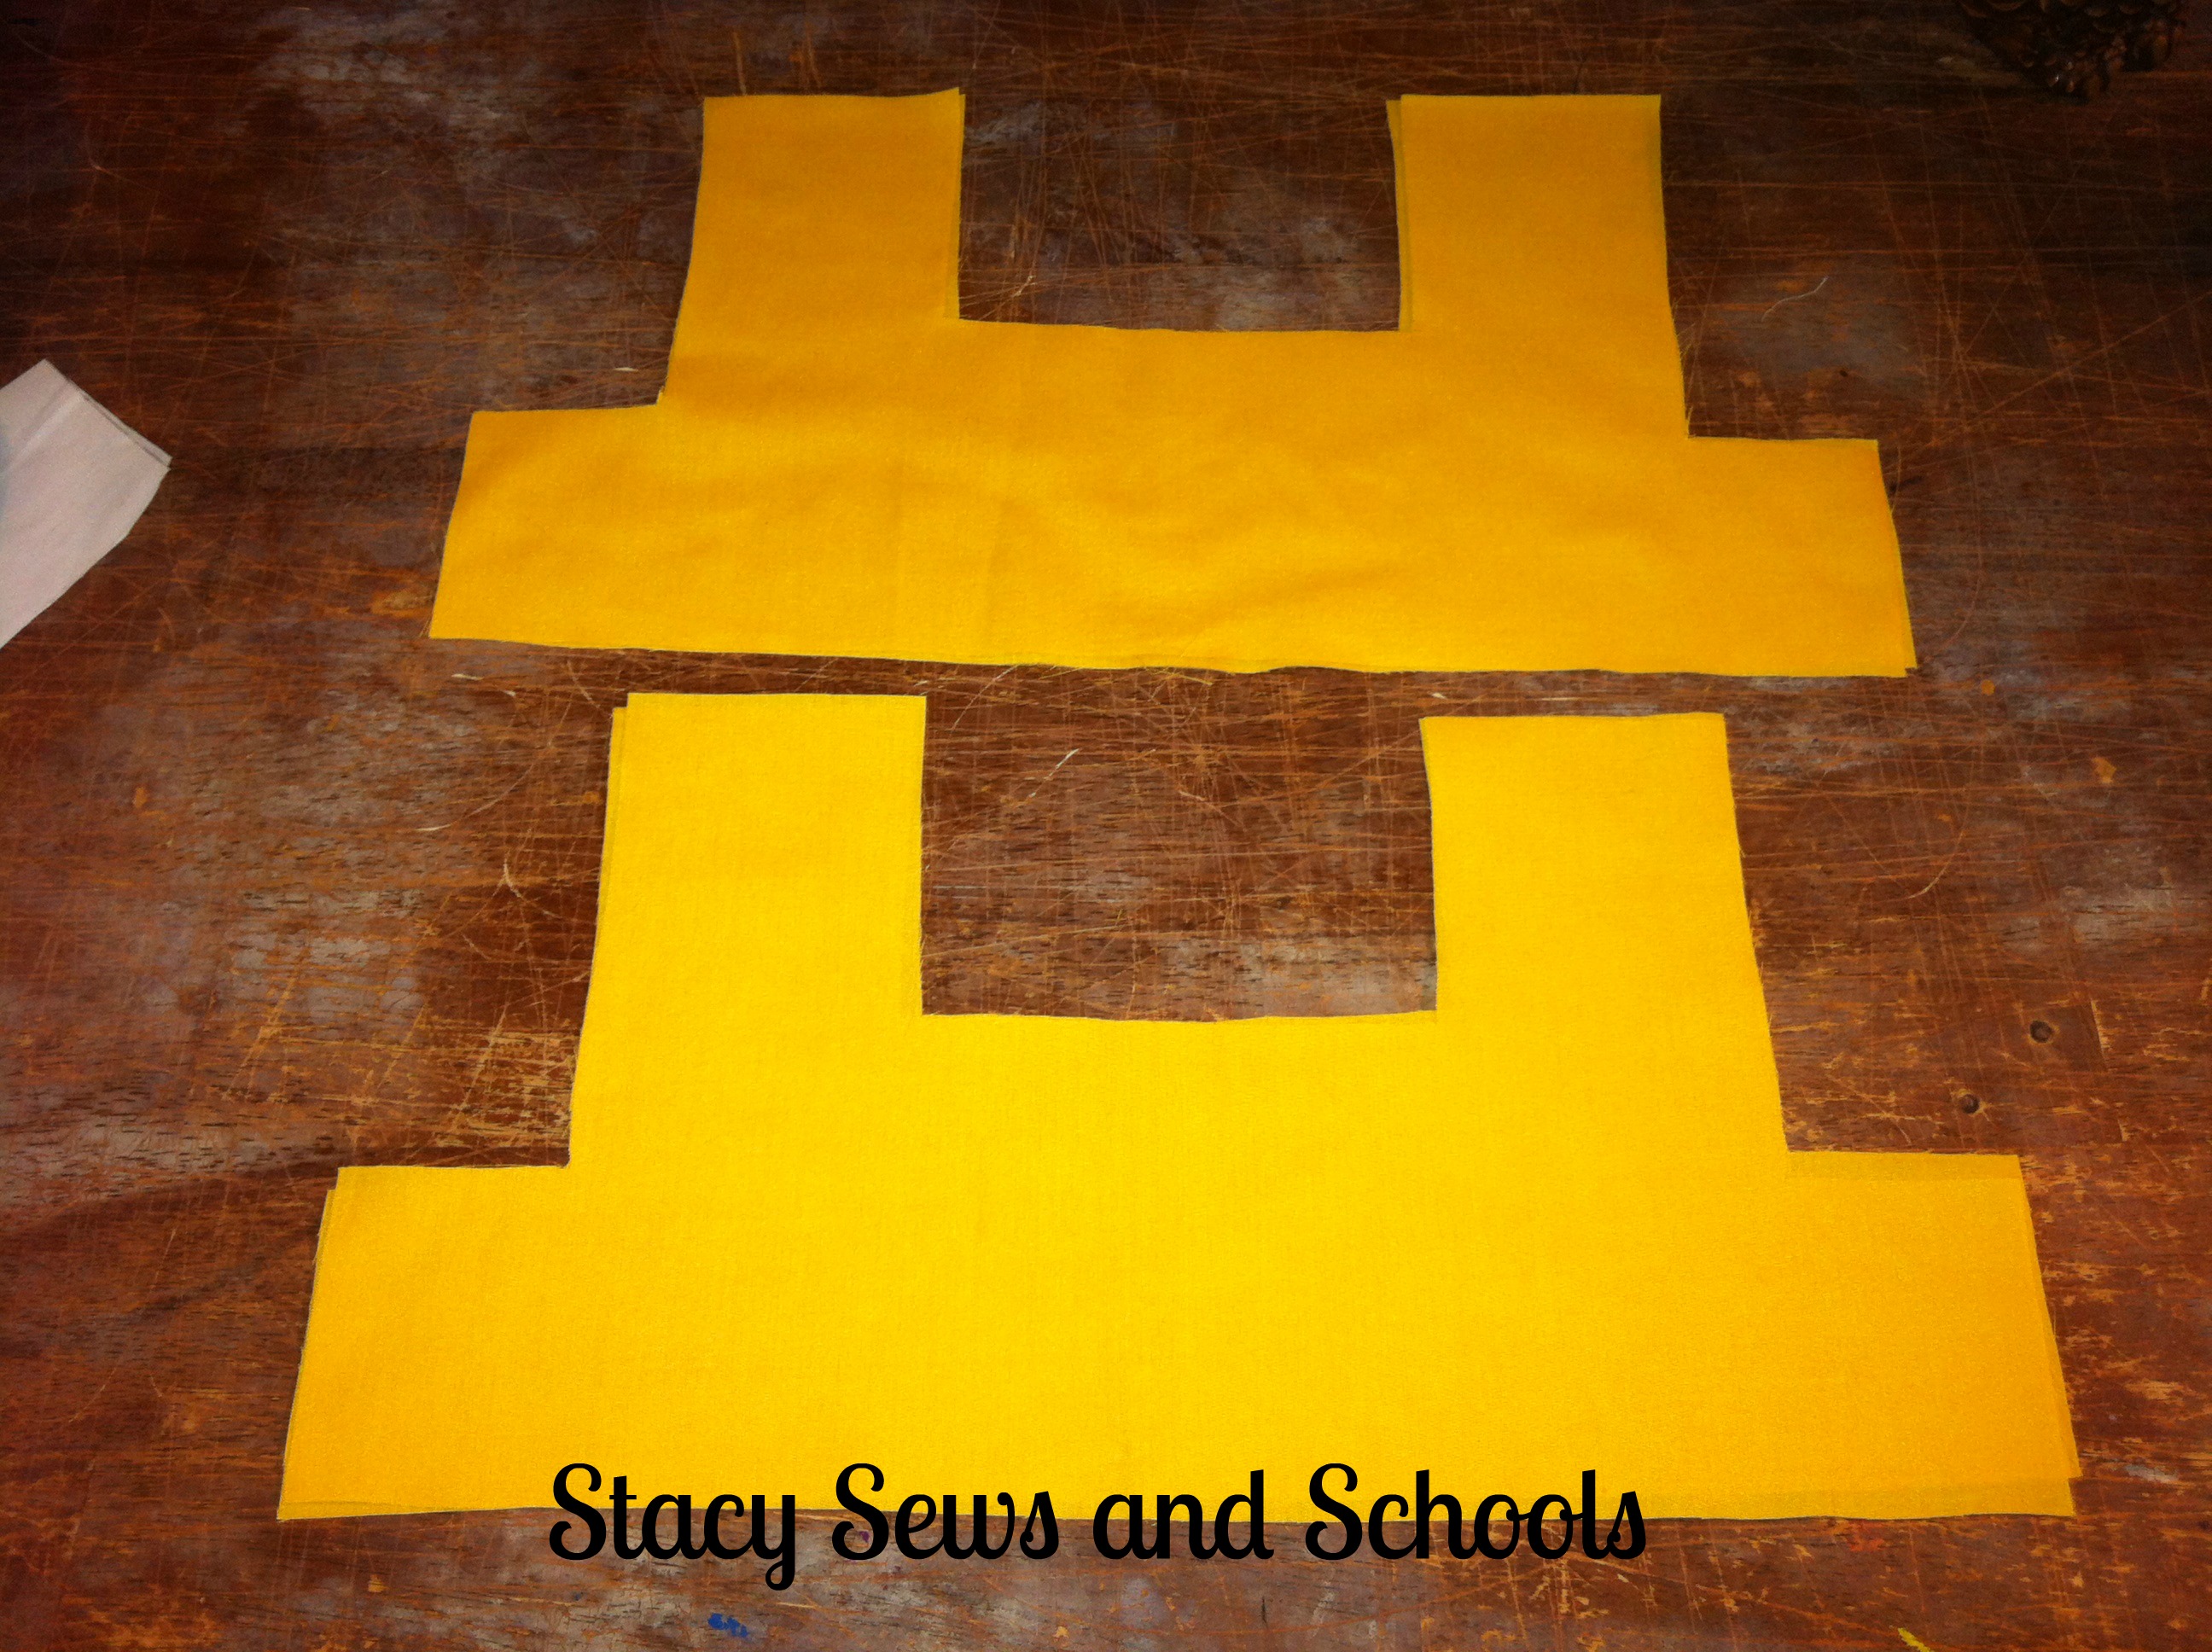
So, then I made a pattern piece after much measuring and figuring. LOL


Sunshine Day Tunic and Clam Diggers 010


Pin the lining pieces to the main pieces and sew all around, leaving the bottom open.


Sunshine Day Tunic and Clam Diggers 017


Clip the corners, turn right side out and press.


Sunshine Day Tunic and Clam Diggers 019


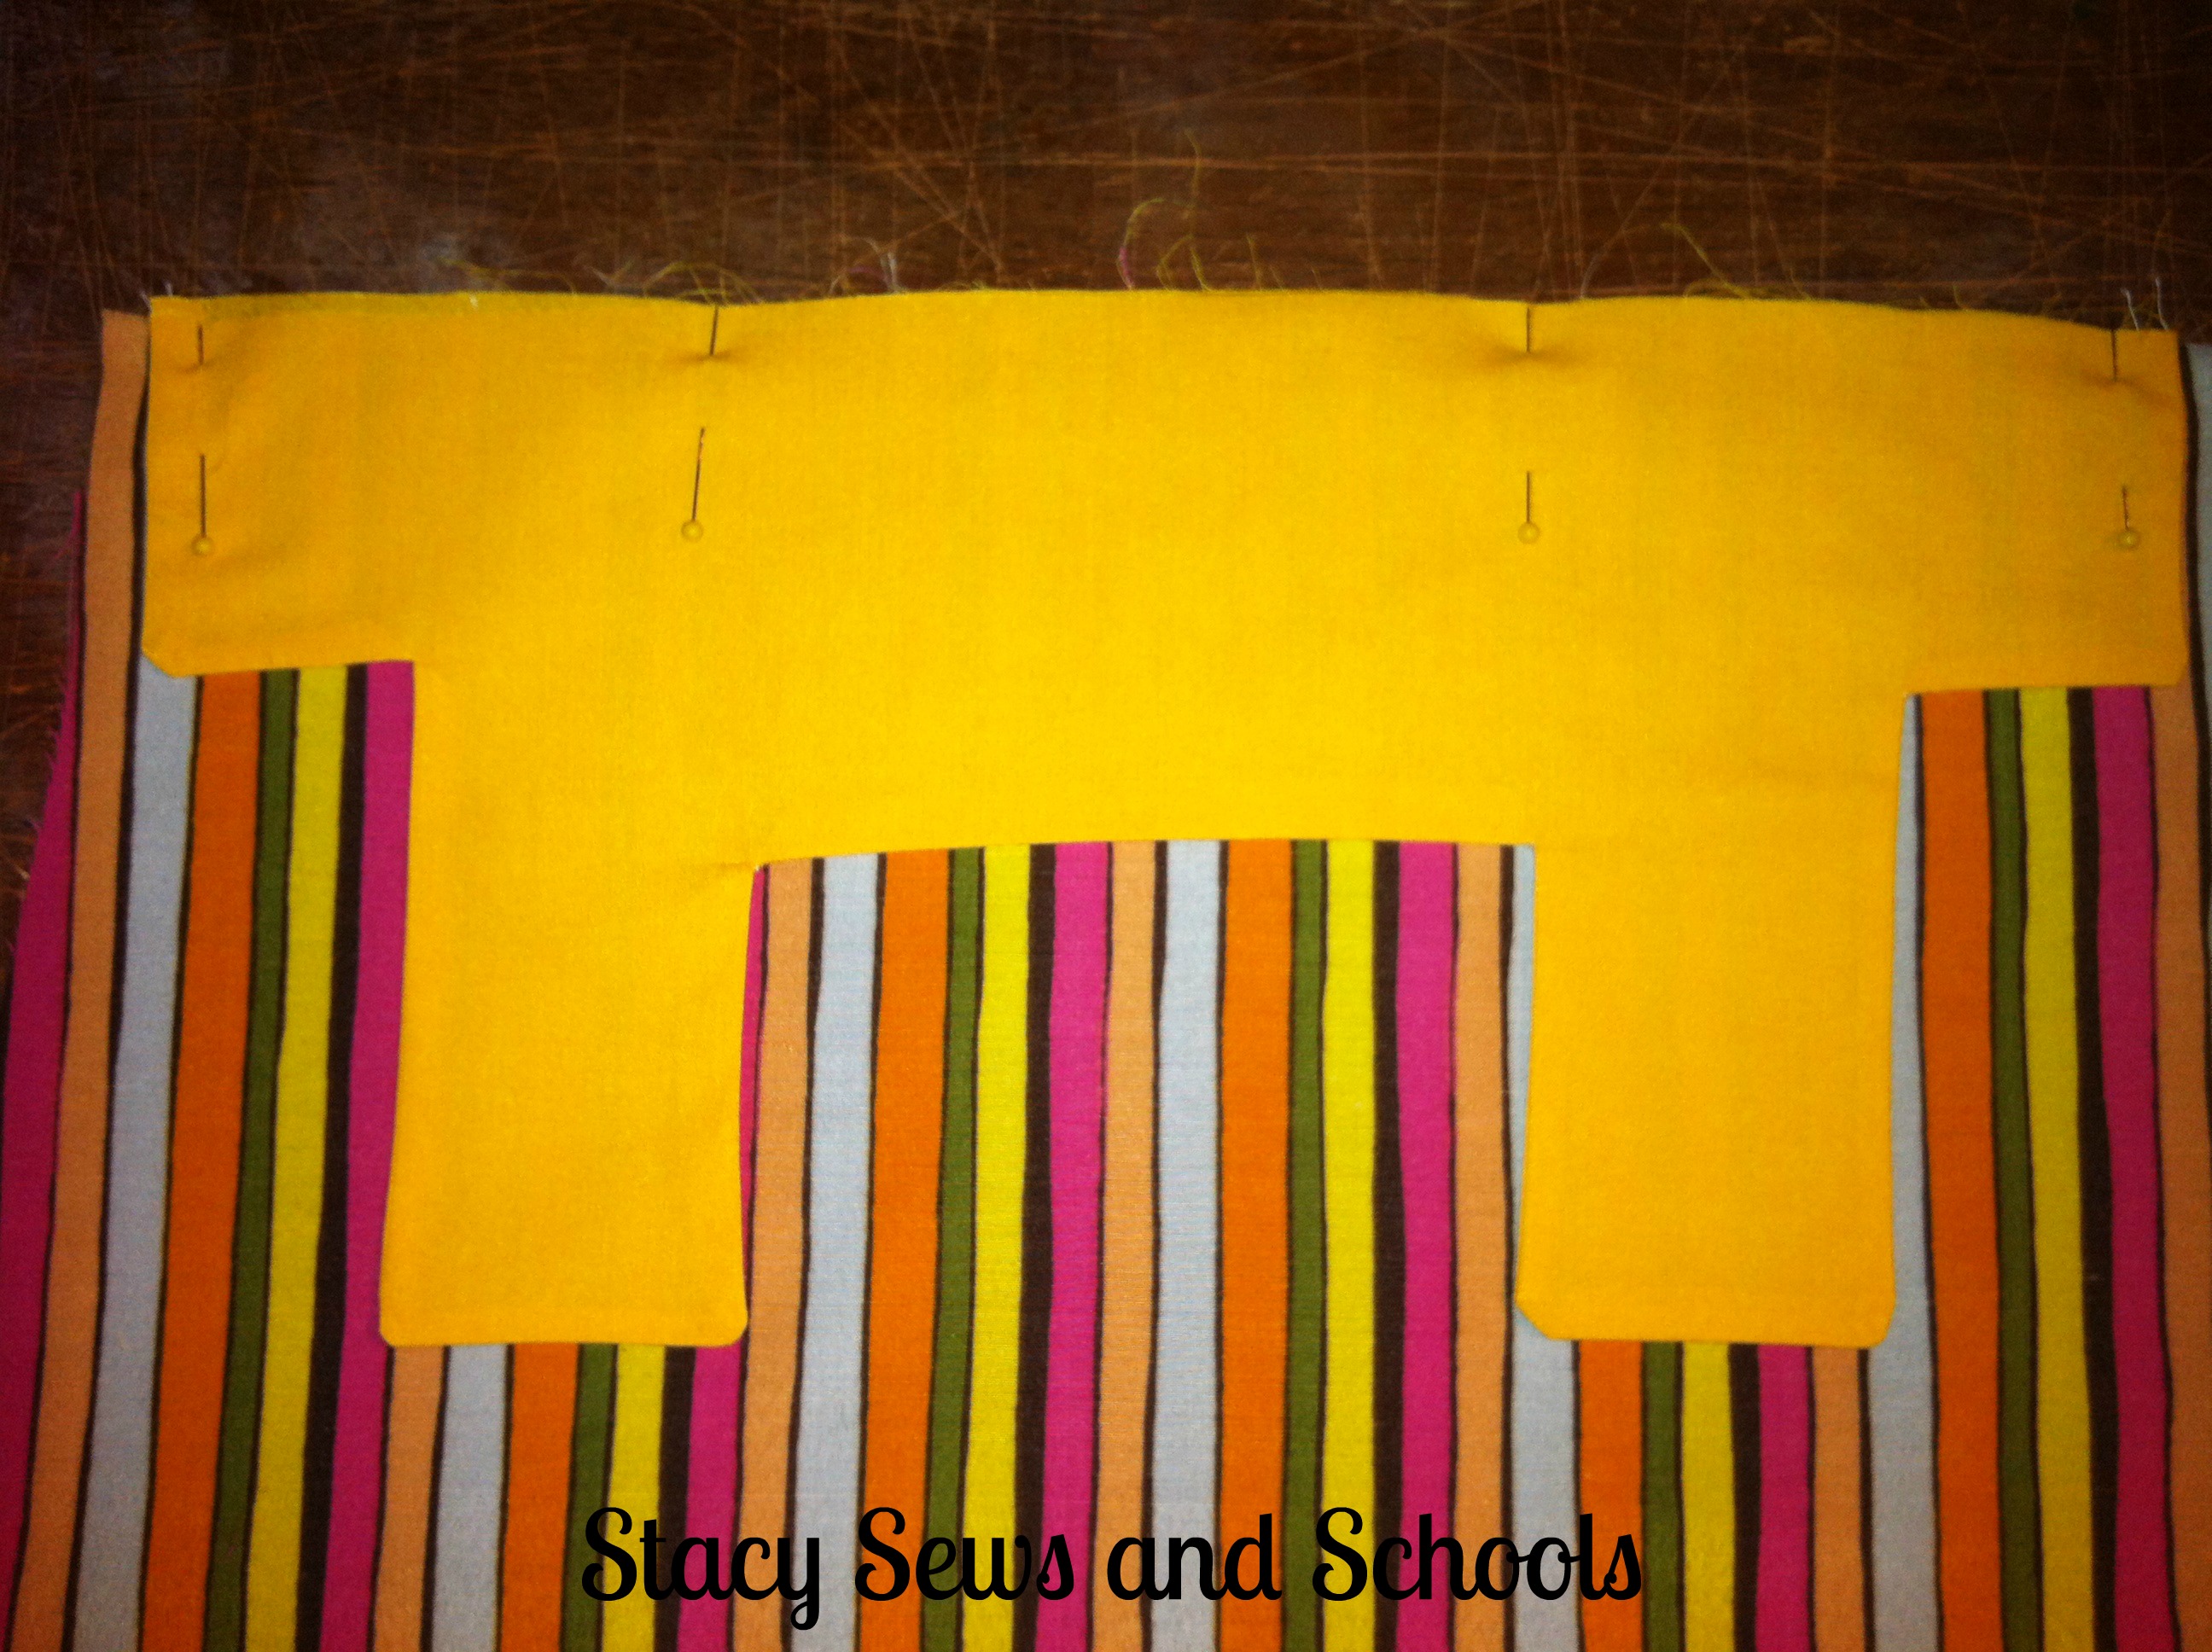
Cut the pieces for the bottom of the tunic. I cut the top of it about a 1/4" wider than the bottom of the yoke.

Make it as long as you like, widening as you go and curving the bottom.


Sunshine Day Tunic and Clam Diggers 020


Pin the bottom of the yoke to the top of the bottom piece, with right sides together. Sew then press your seams.
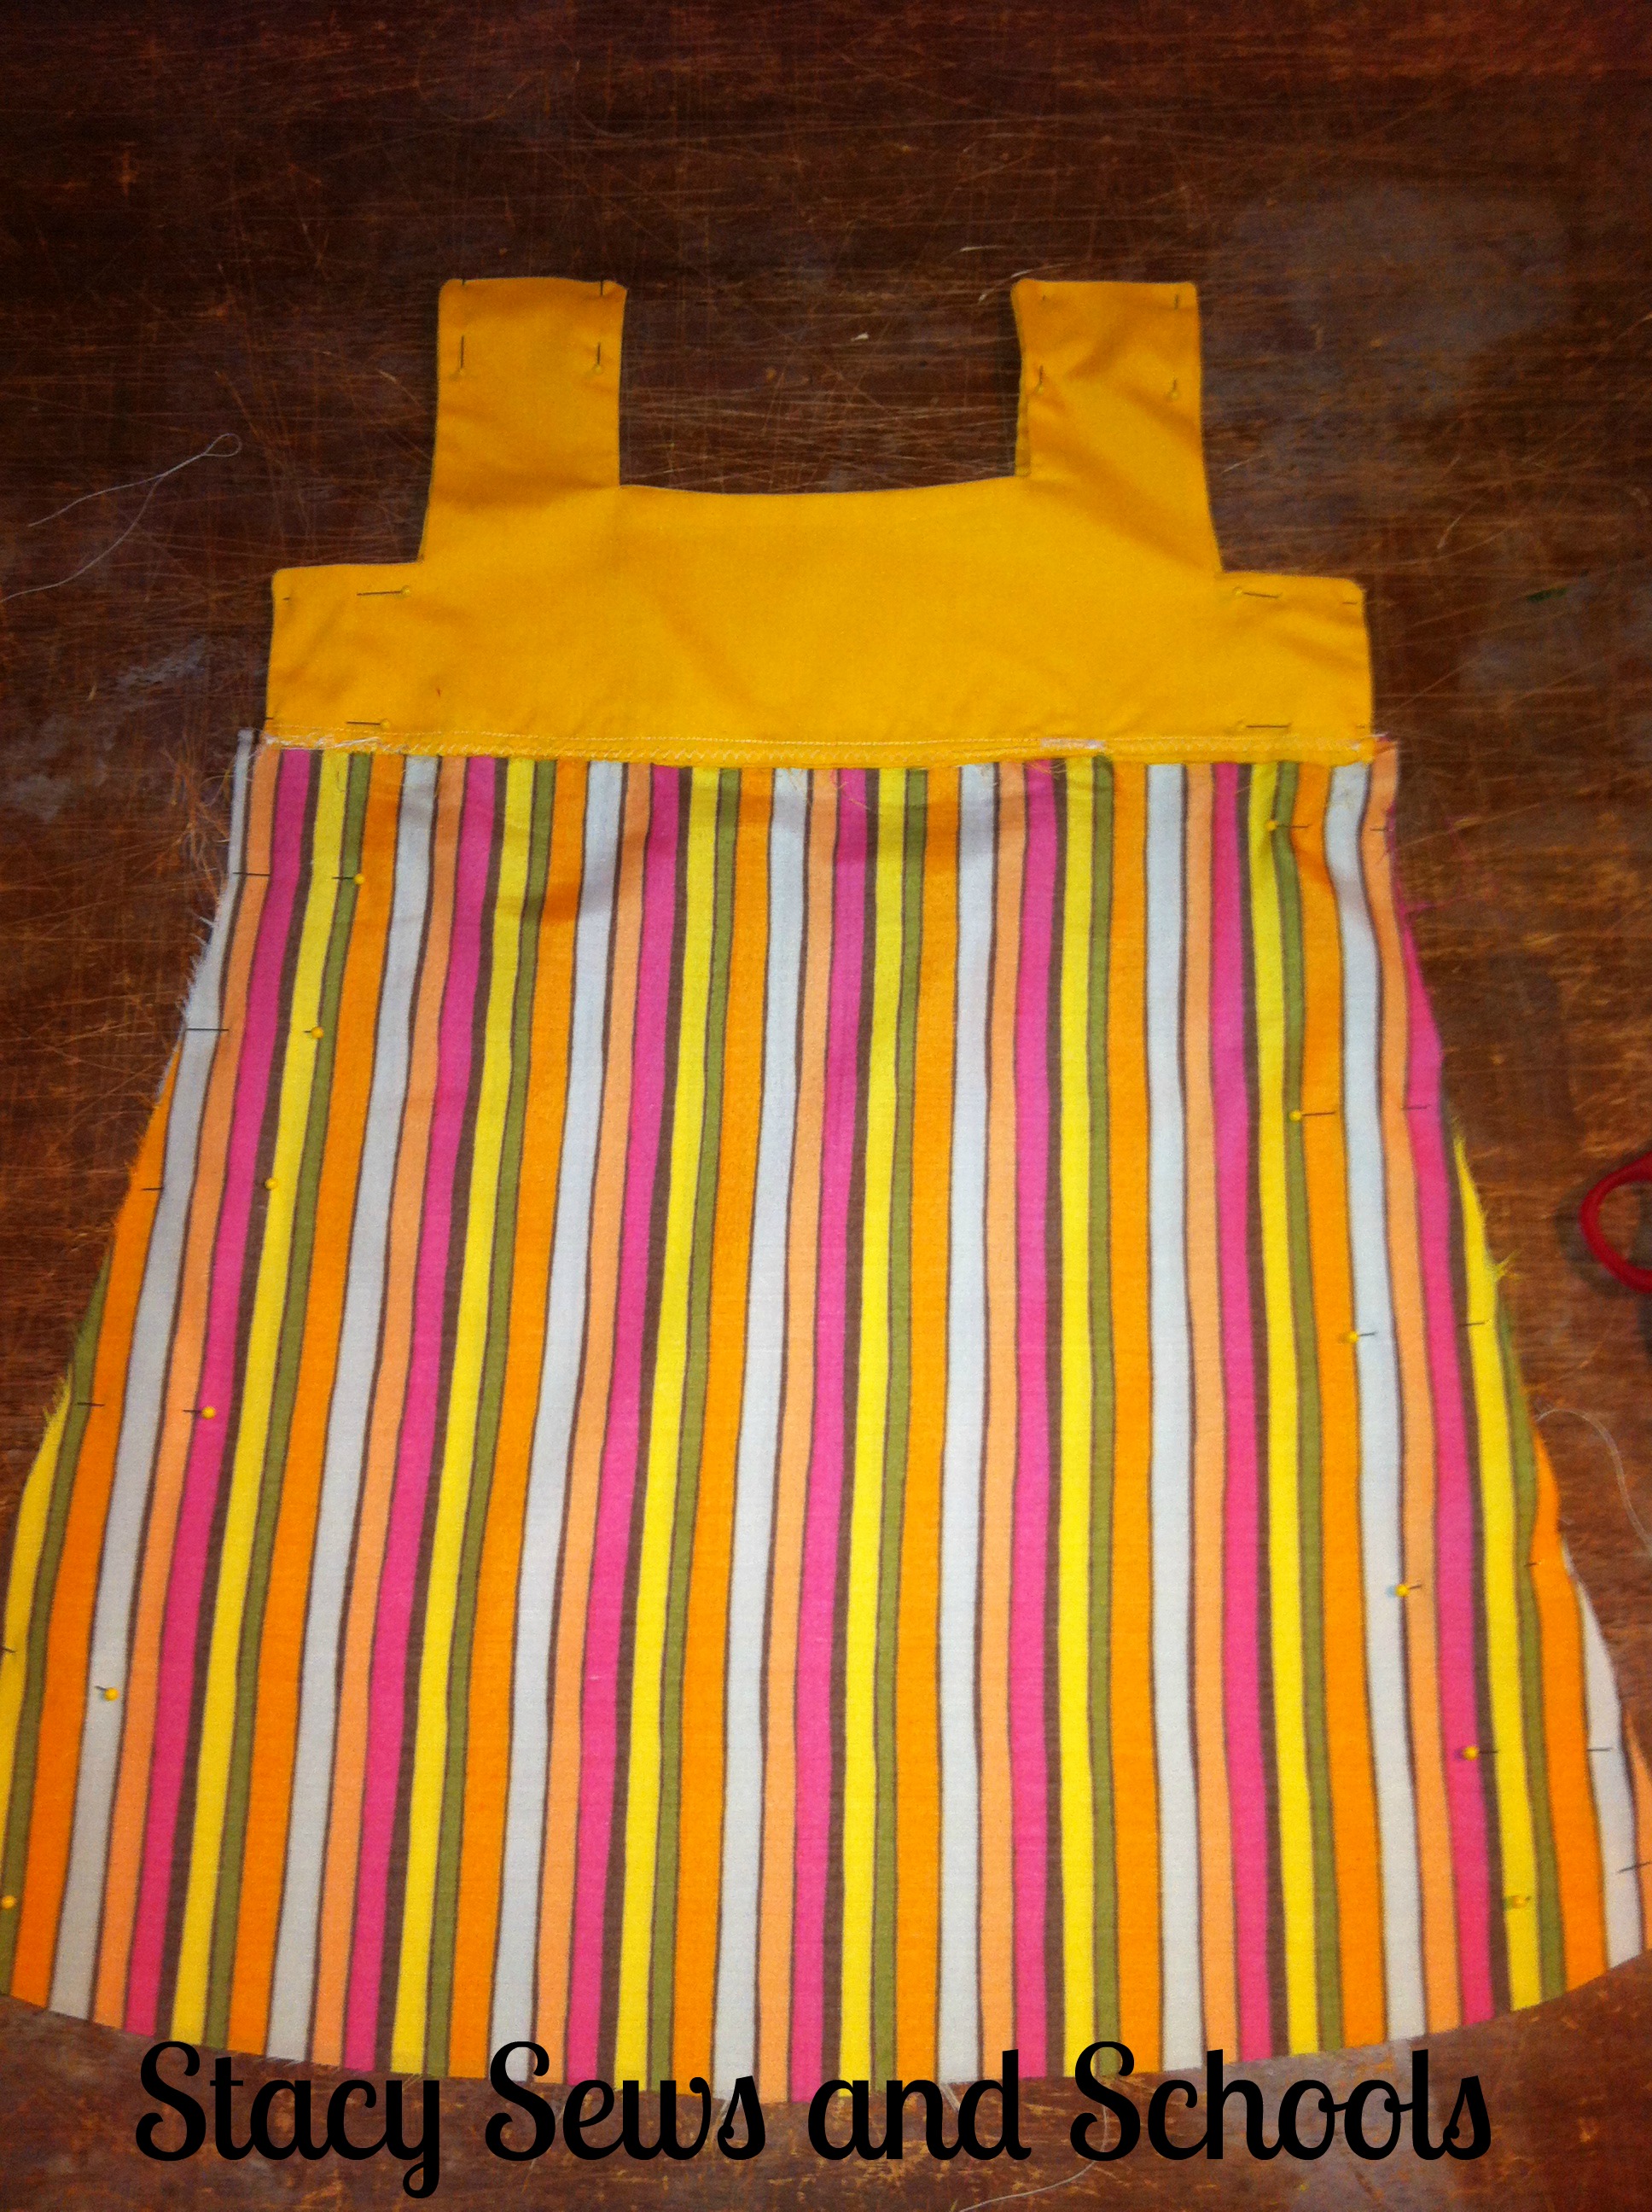


Sunshine Day Tunic and Clam Diggers 024


Now, pin the front to the back, with right sides together. Sew the shoulder and the sides.


Next, fold up and press 1/2" on the bottom. Then fold up and press 3/4". Sew the hem.


Sunshine Day Tunic and Clam Diggers 026


Remove the cat from your work space.


Sunshine Day Tunic and Clam Diggers 029


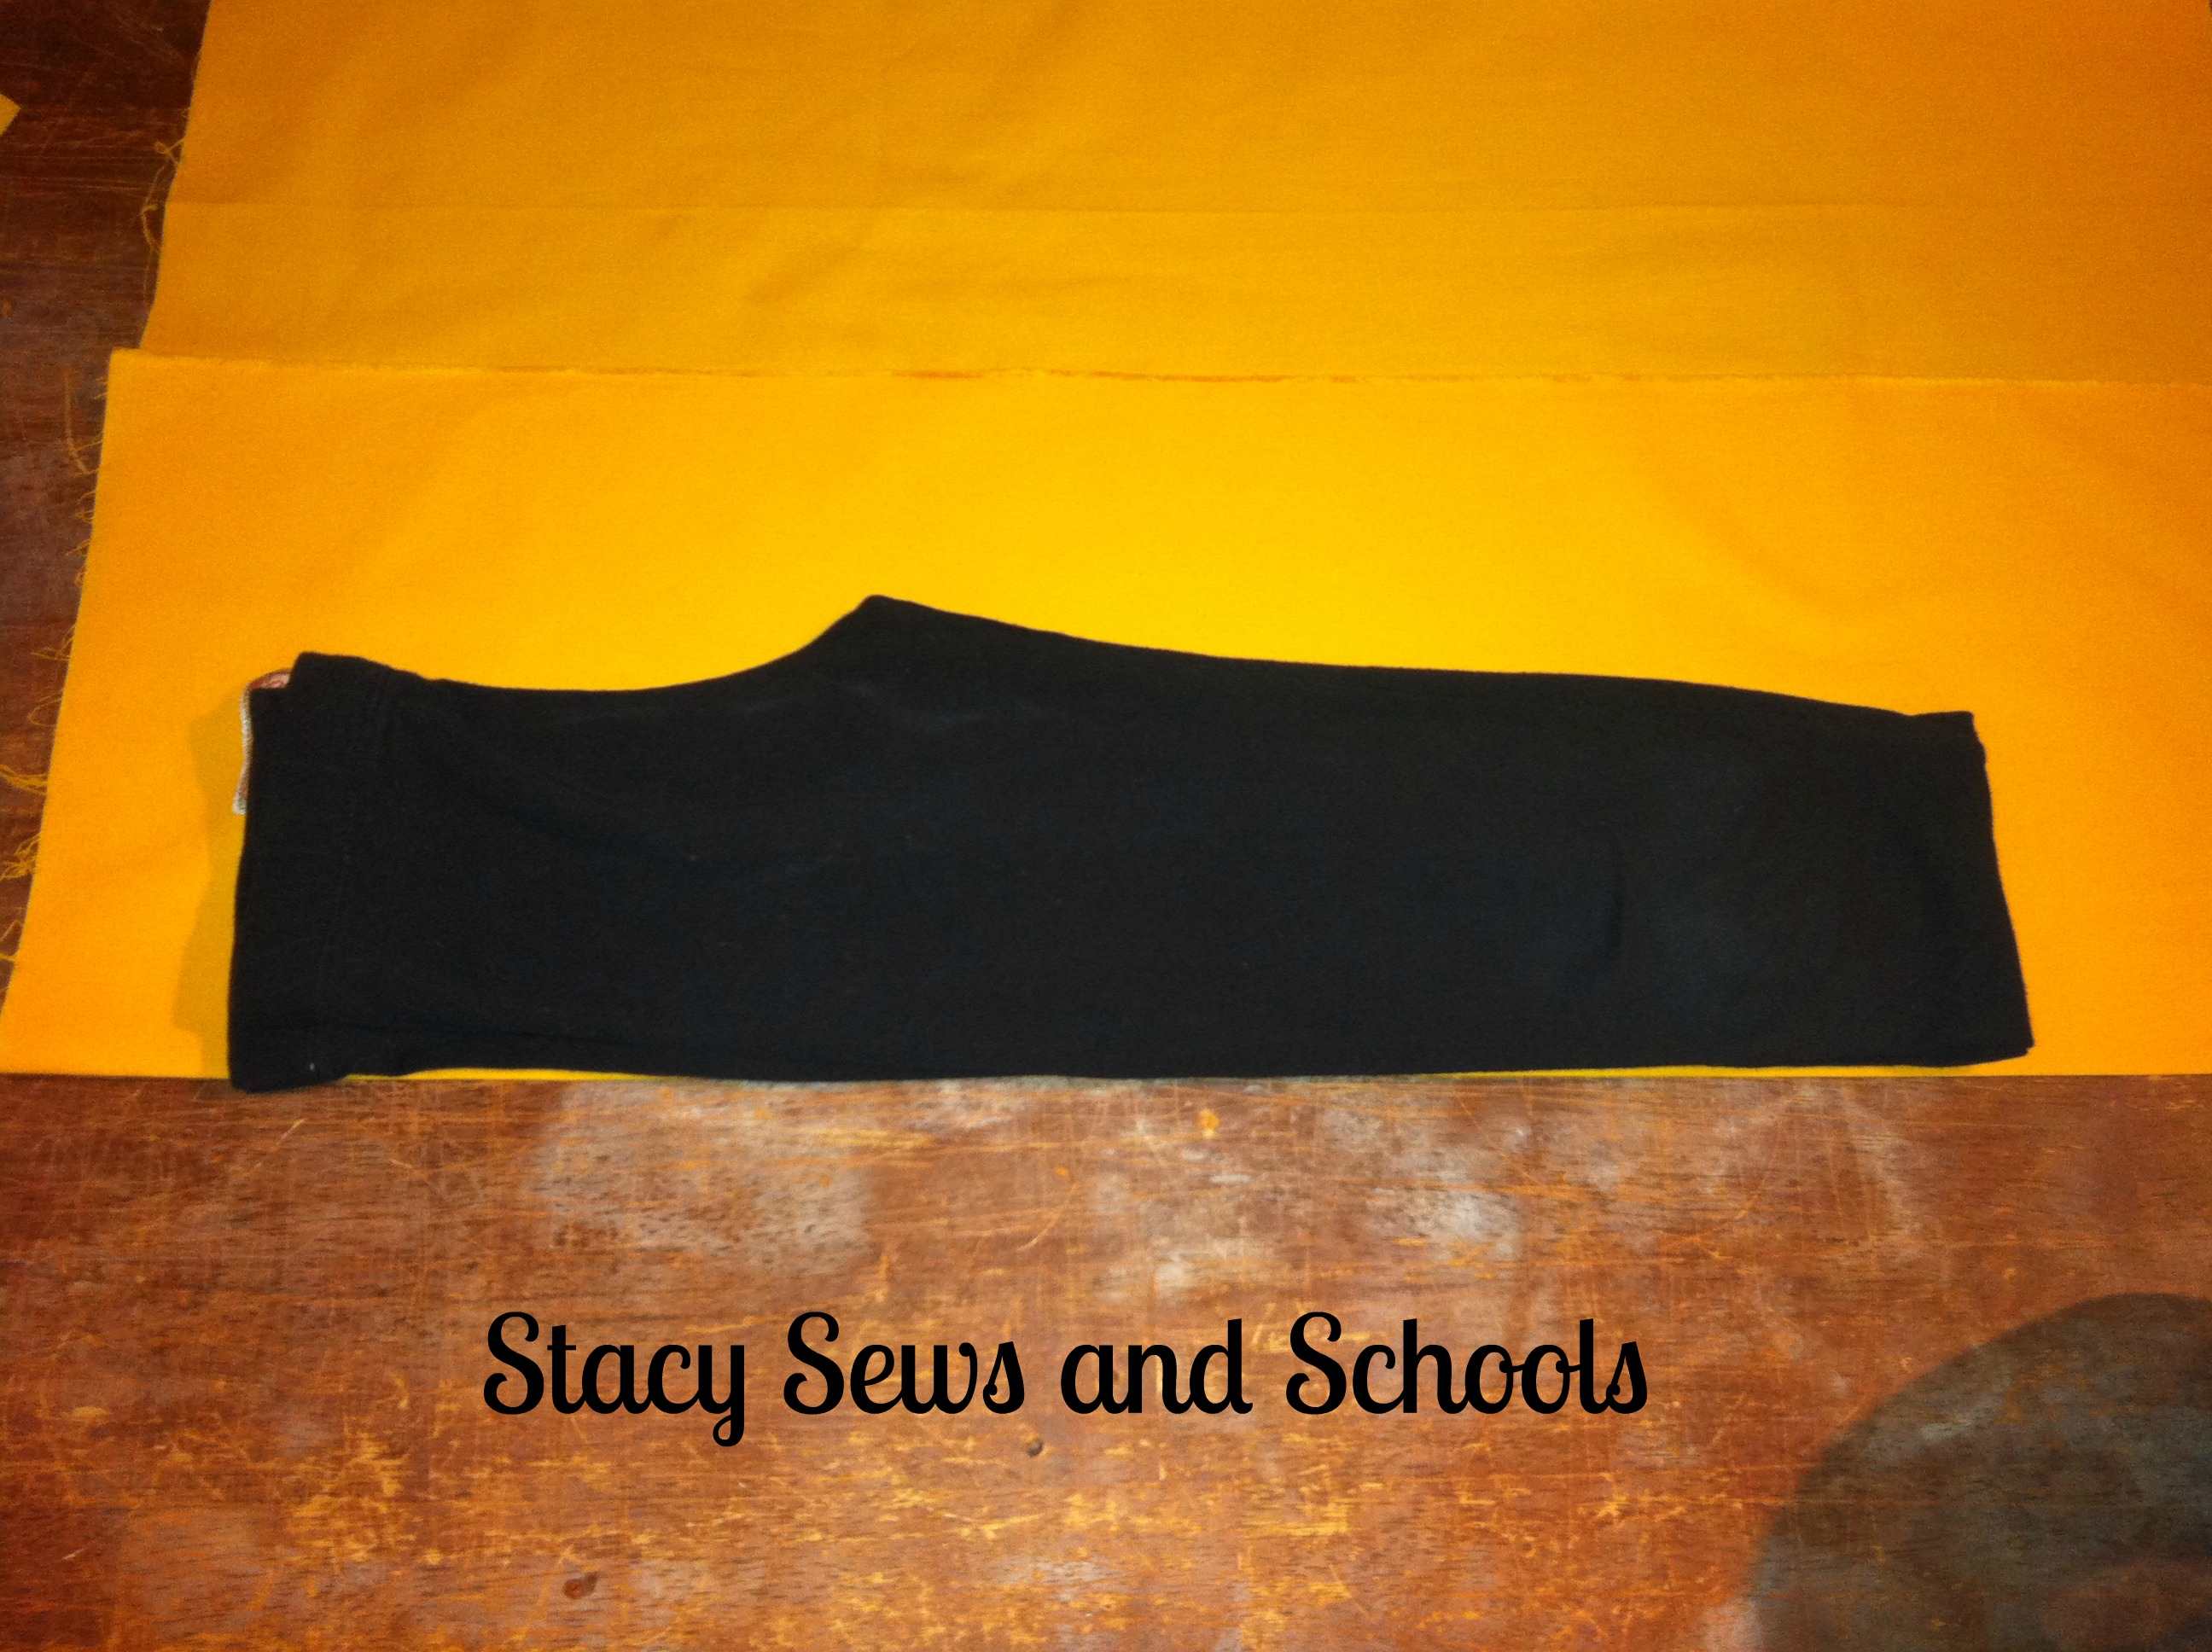
Grab a pair of your child's pants to use as a cutting guide for the clam diggers. Turn up the leg bottoms to your desired length.
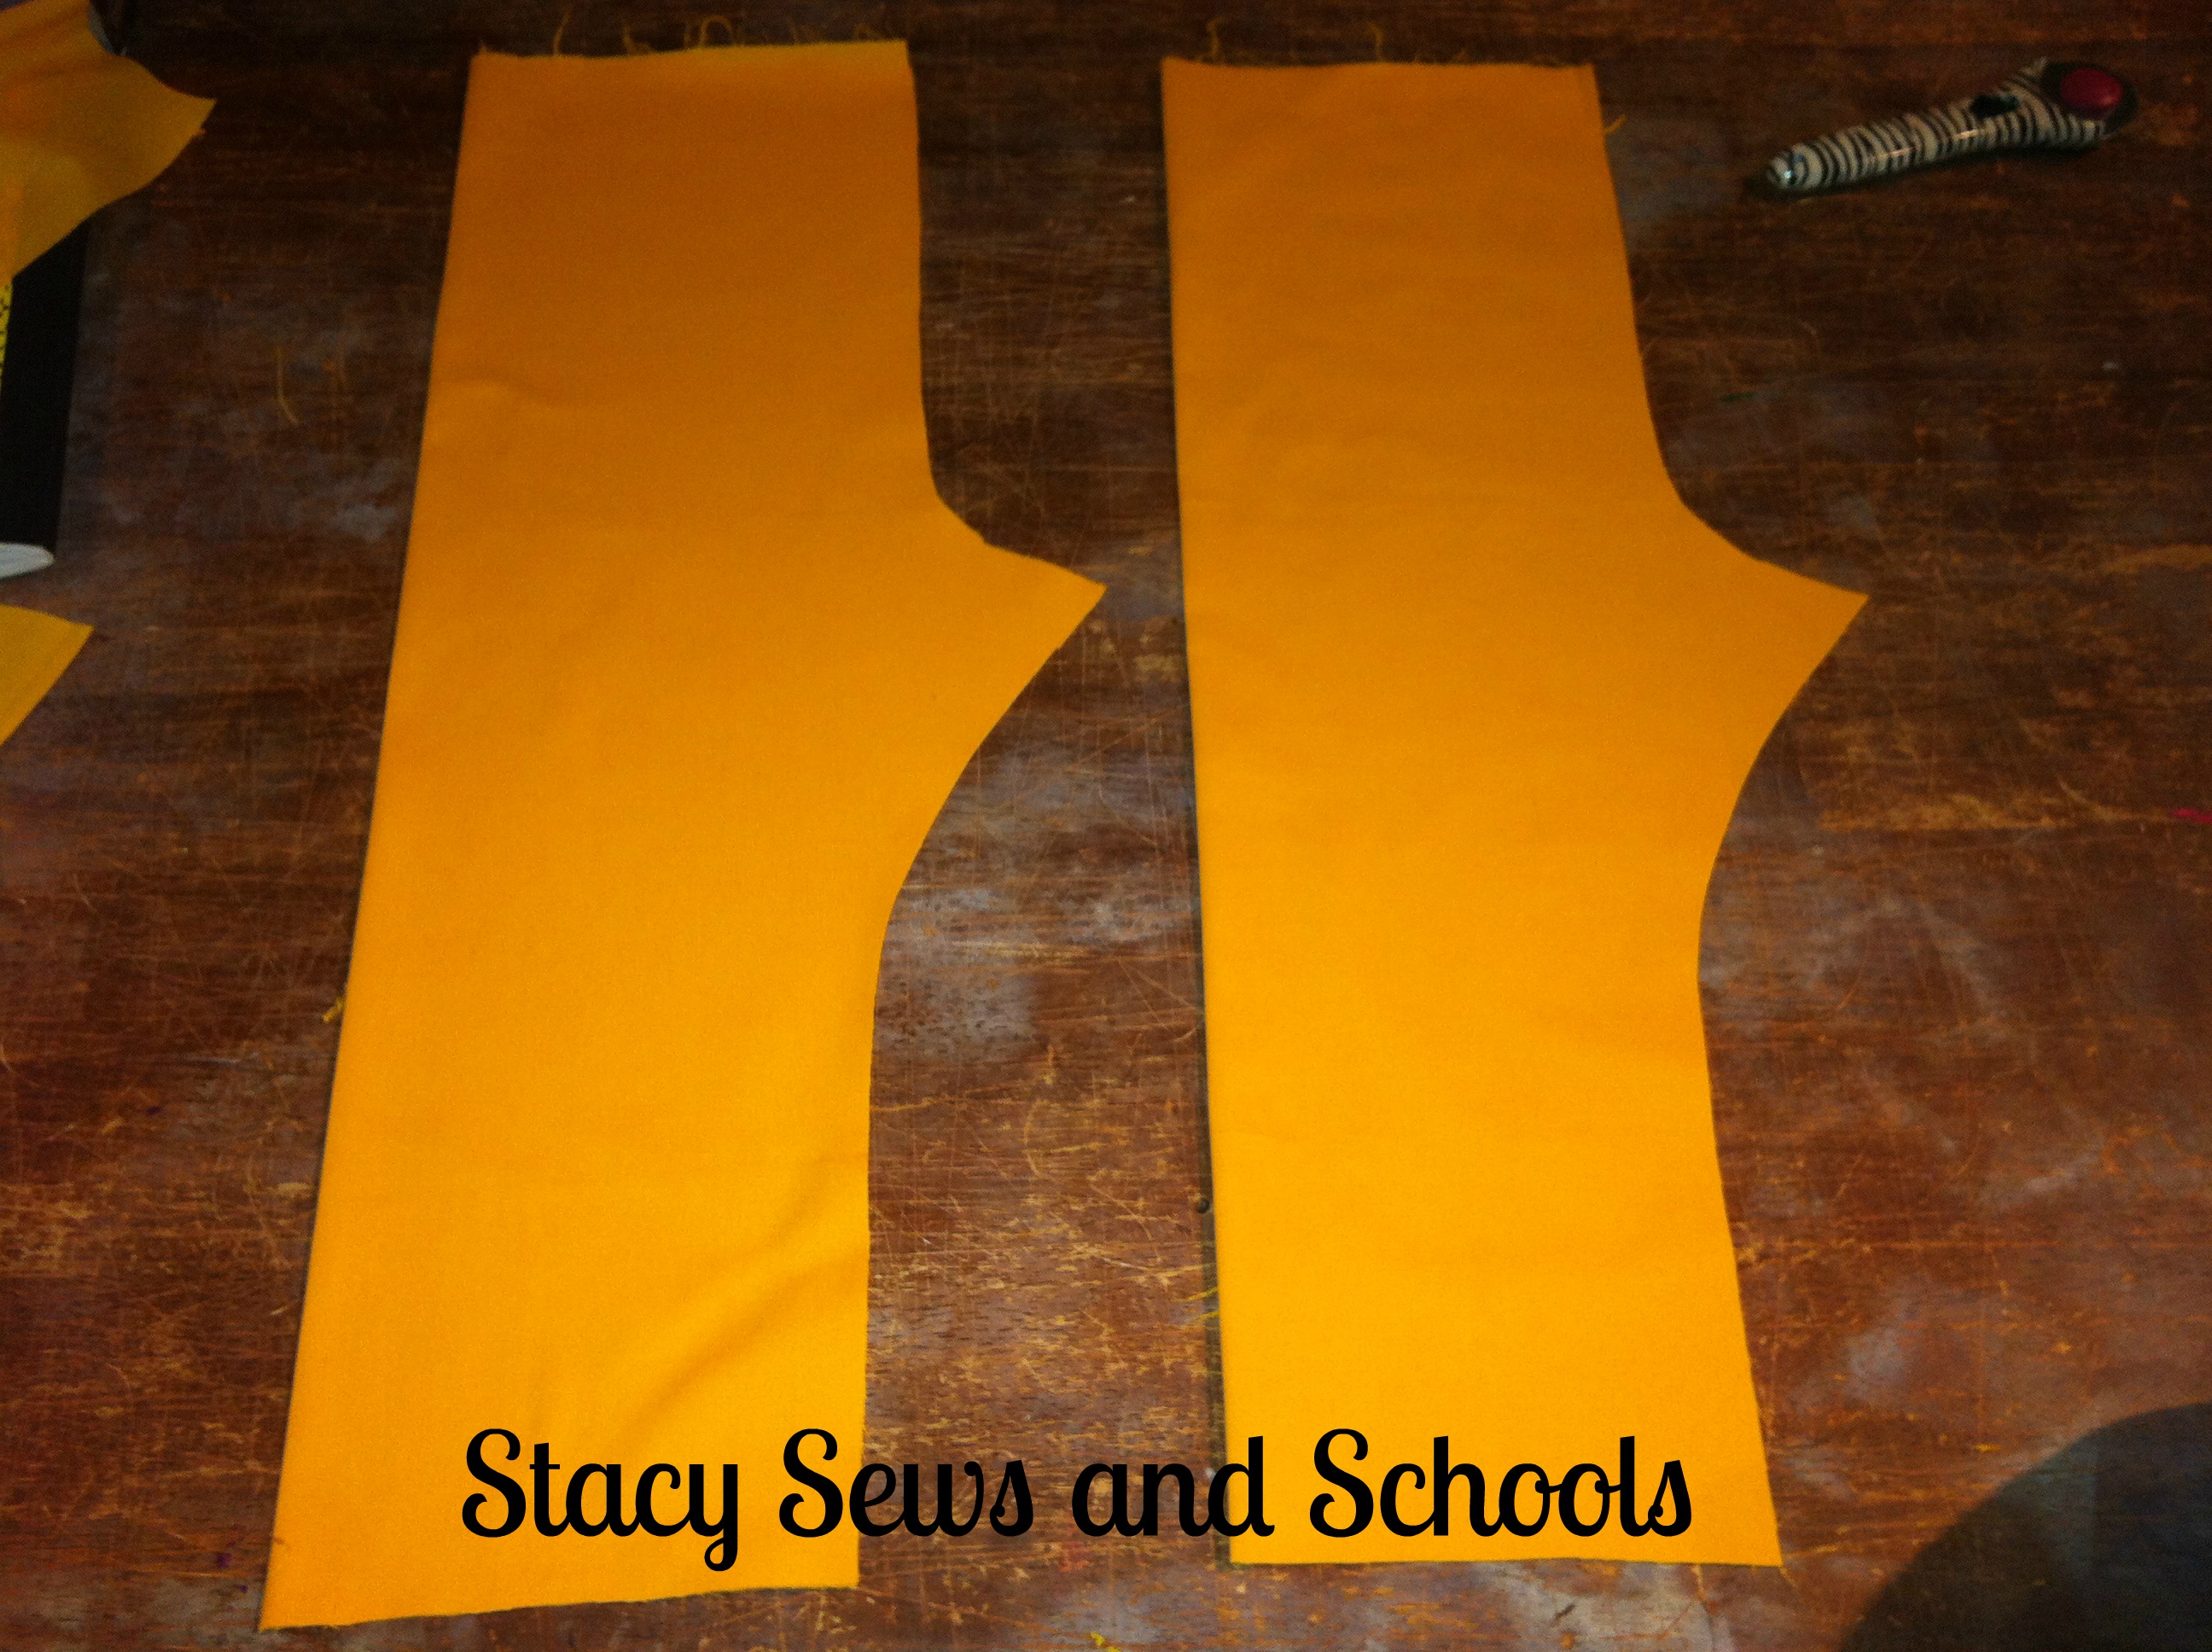


Sunshine Day Tunic and Clam Diggers 030


If you have a right side/wrong side fabric, you will want to flip the pants guide over to cut the second leg.
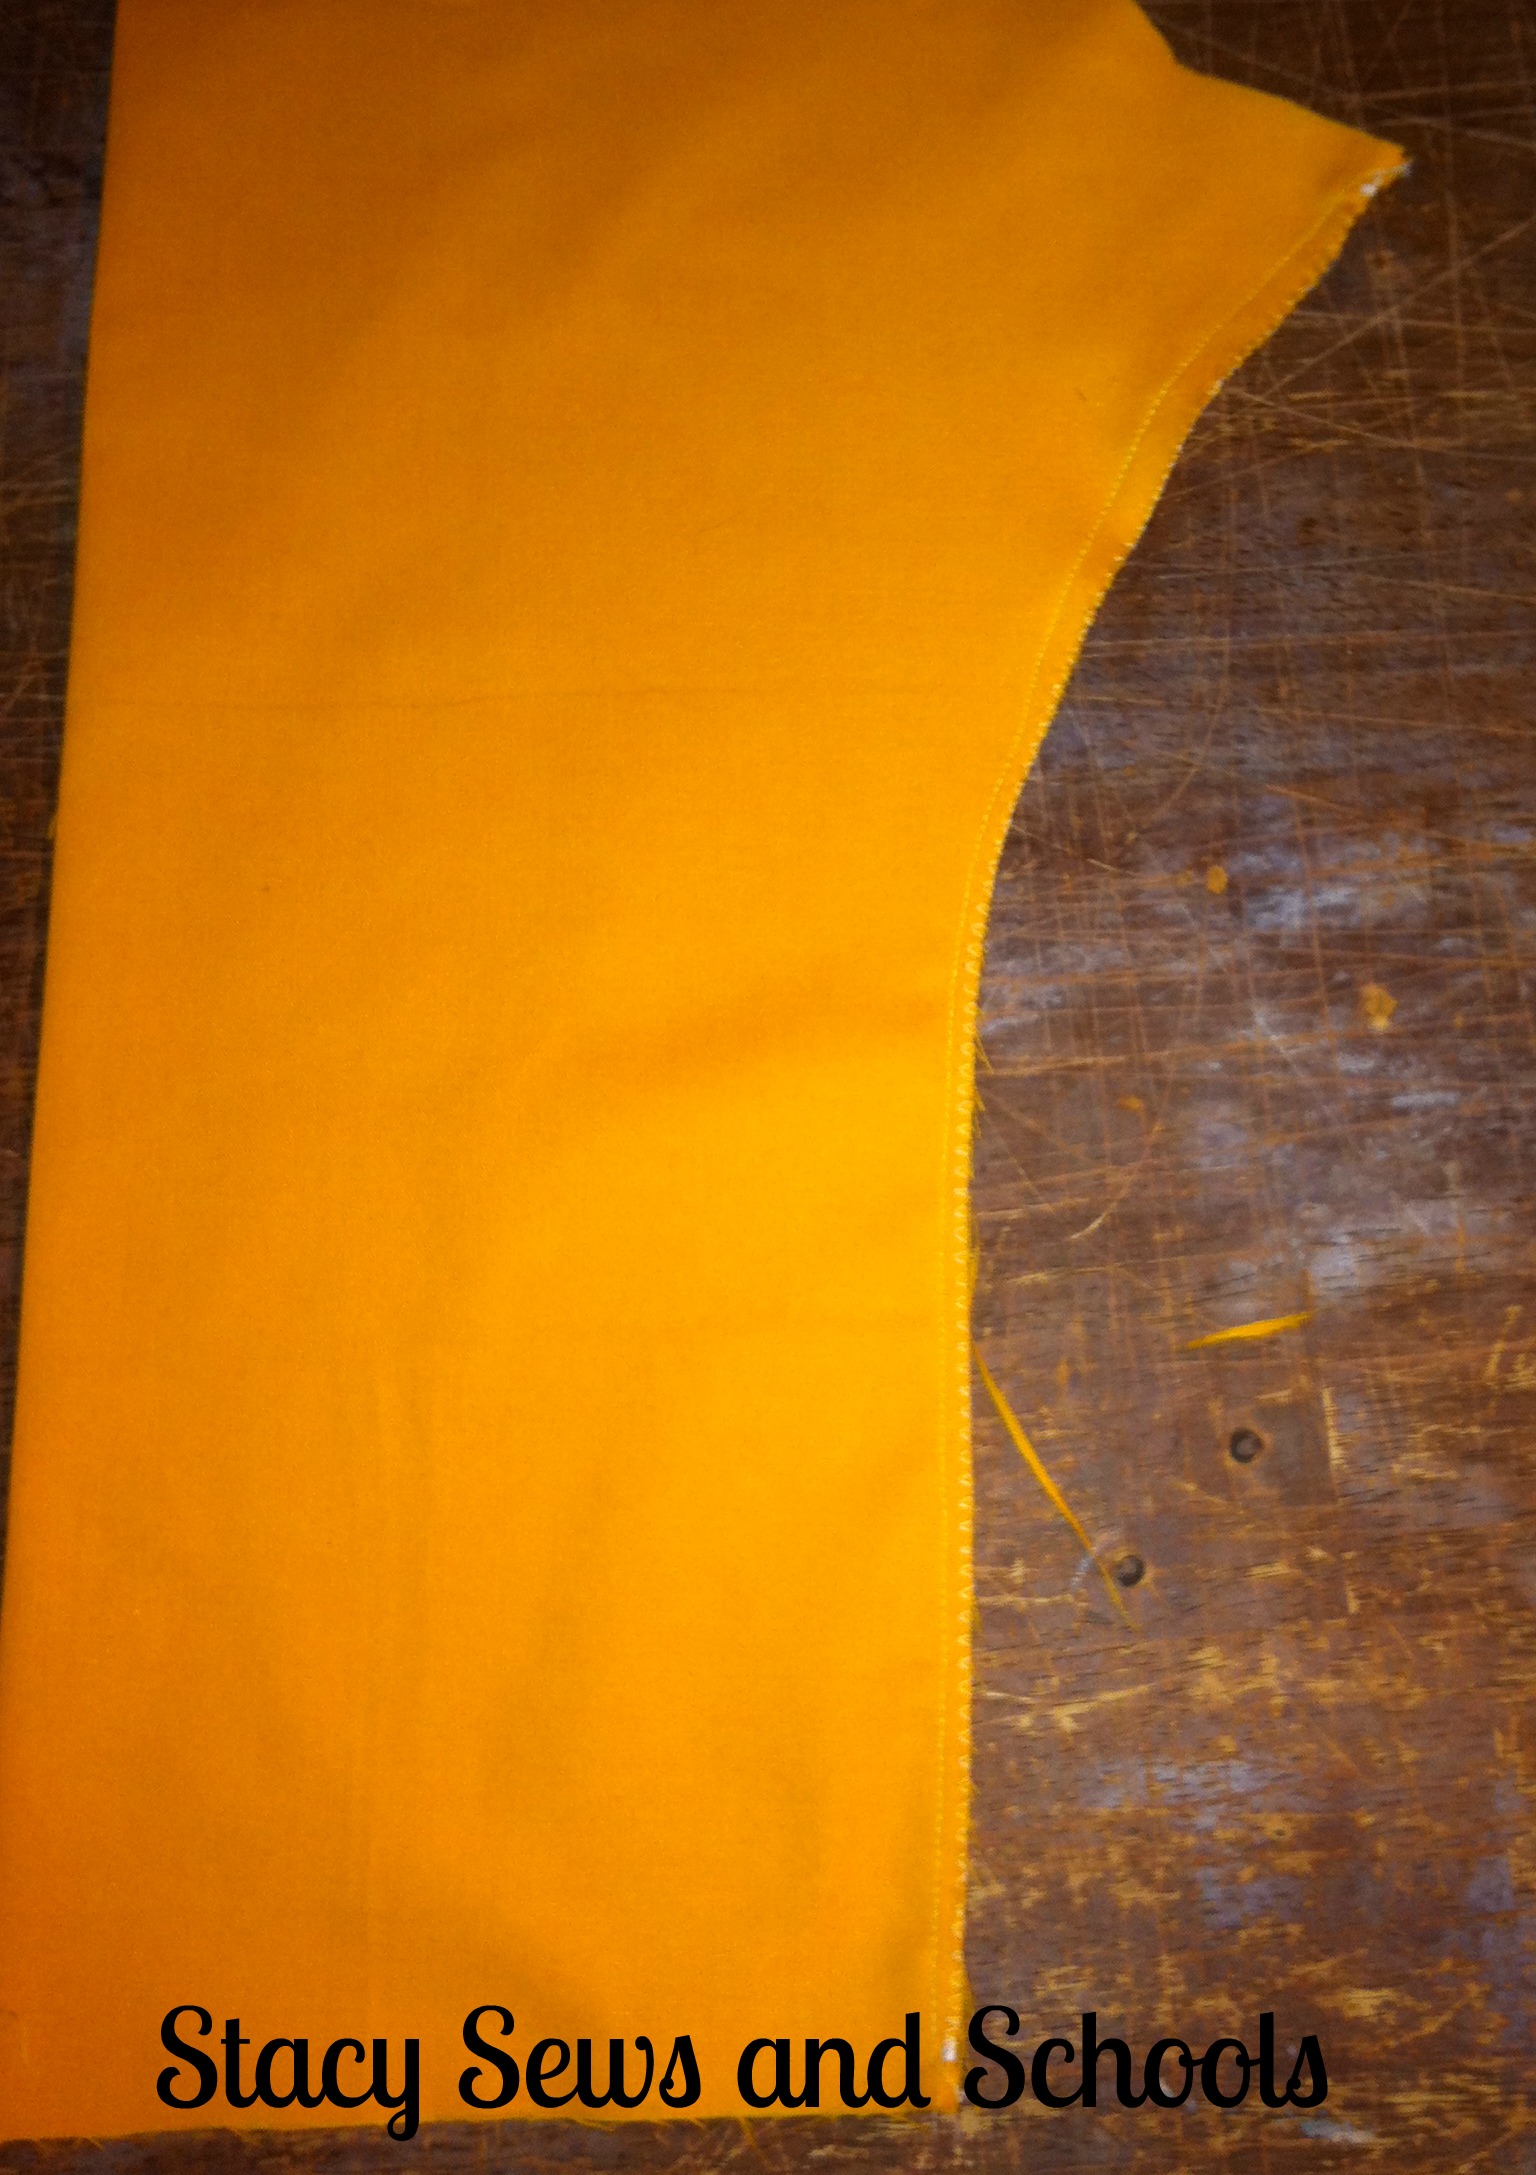


Sunshine Day Tunic and Clam Diggers 032


Sew up the inseam from the bottom to the start of the crotch curve.

(If your child is very small, you will want to hem them first.)
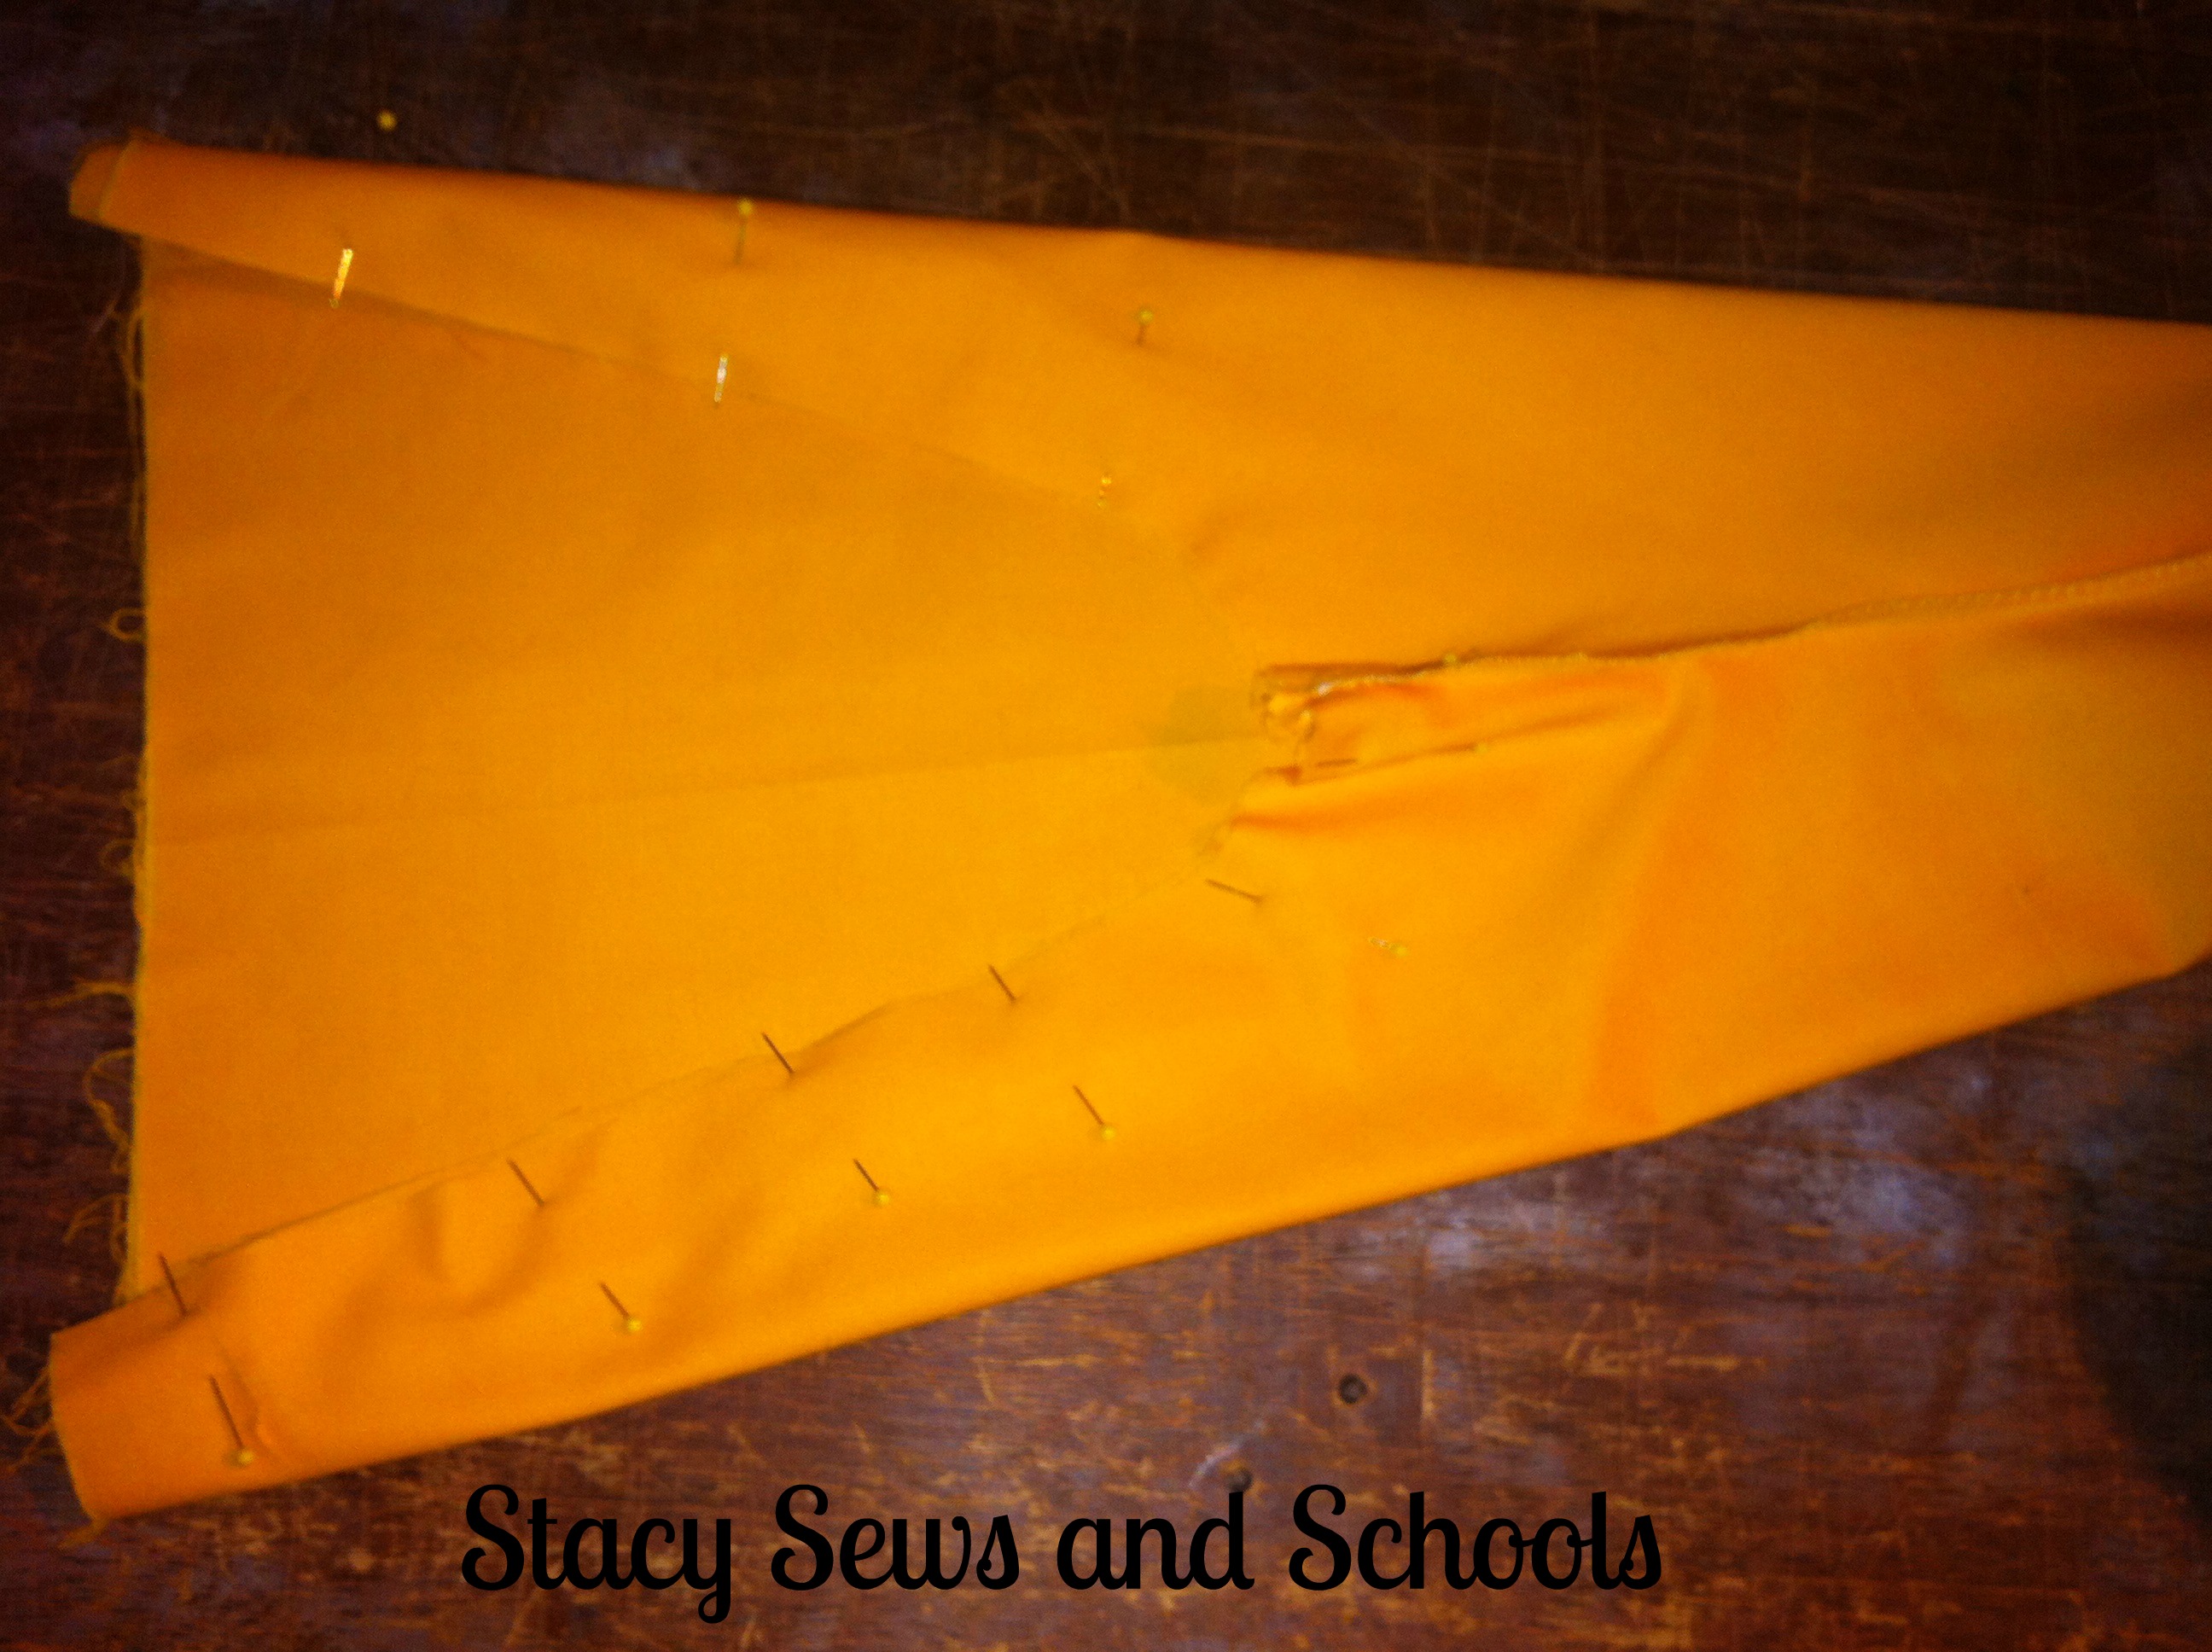


Sunshine Day Tunic and Clam Diggers 035


Turn one leg right side out and slide it into the other leg. Pin and sew.


Sunshine Day Tunic and Clam Diggers 040


Now for the elastic casing. Fold over 1/4" and press. Fold over again by just over 1", press and sew the casing, making sure to leave a section open to insert the elastic.

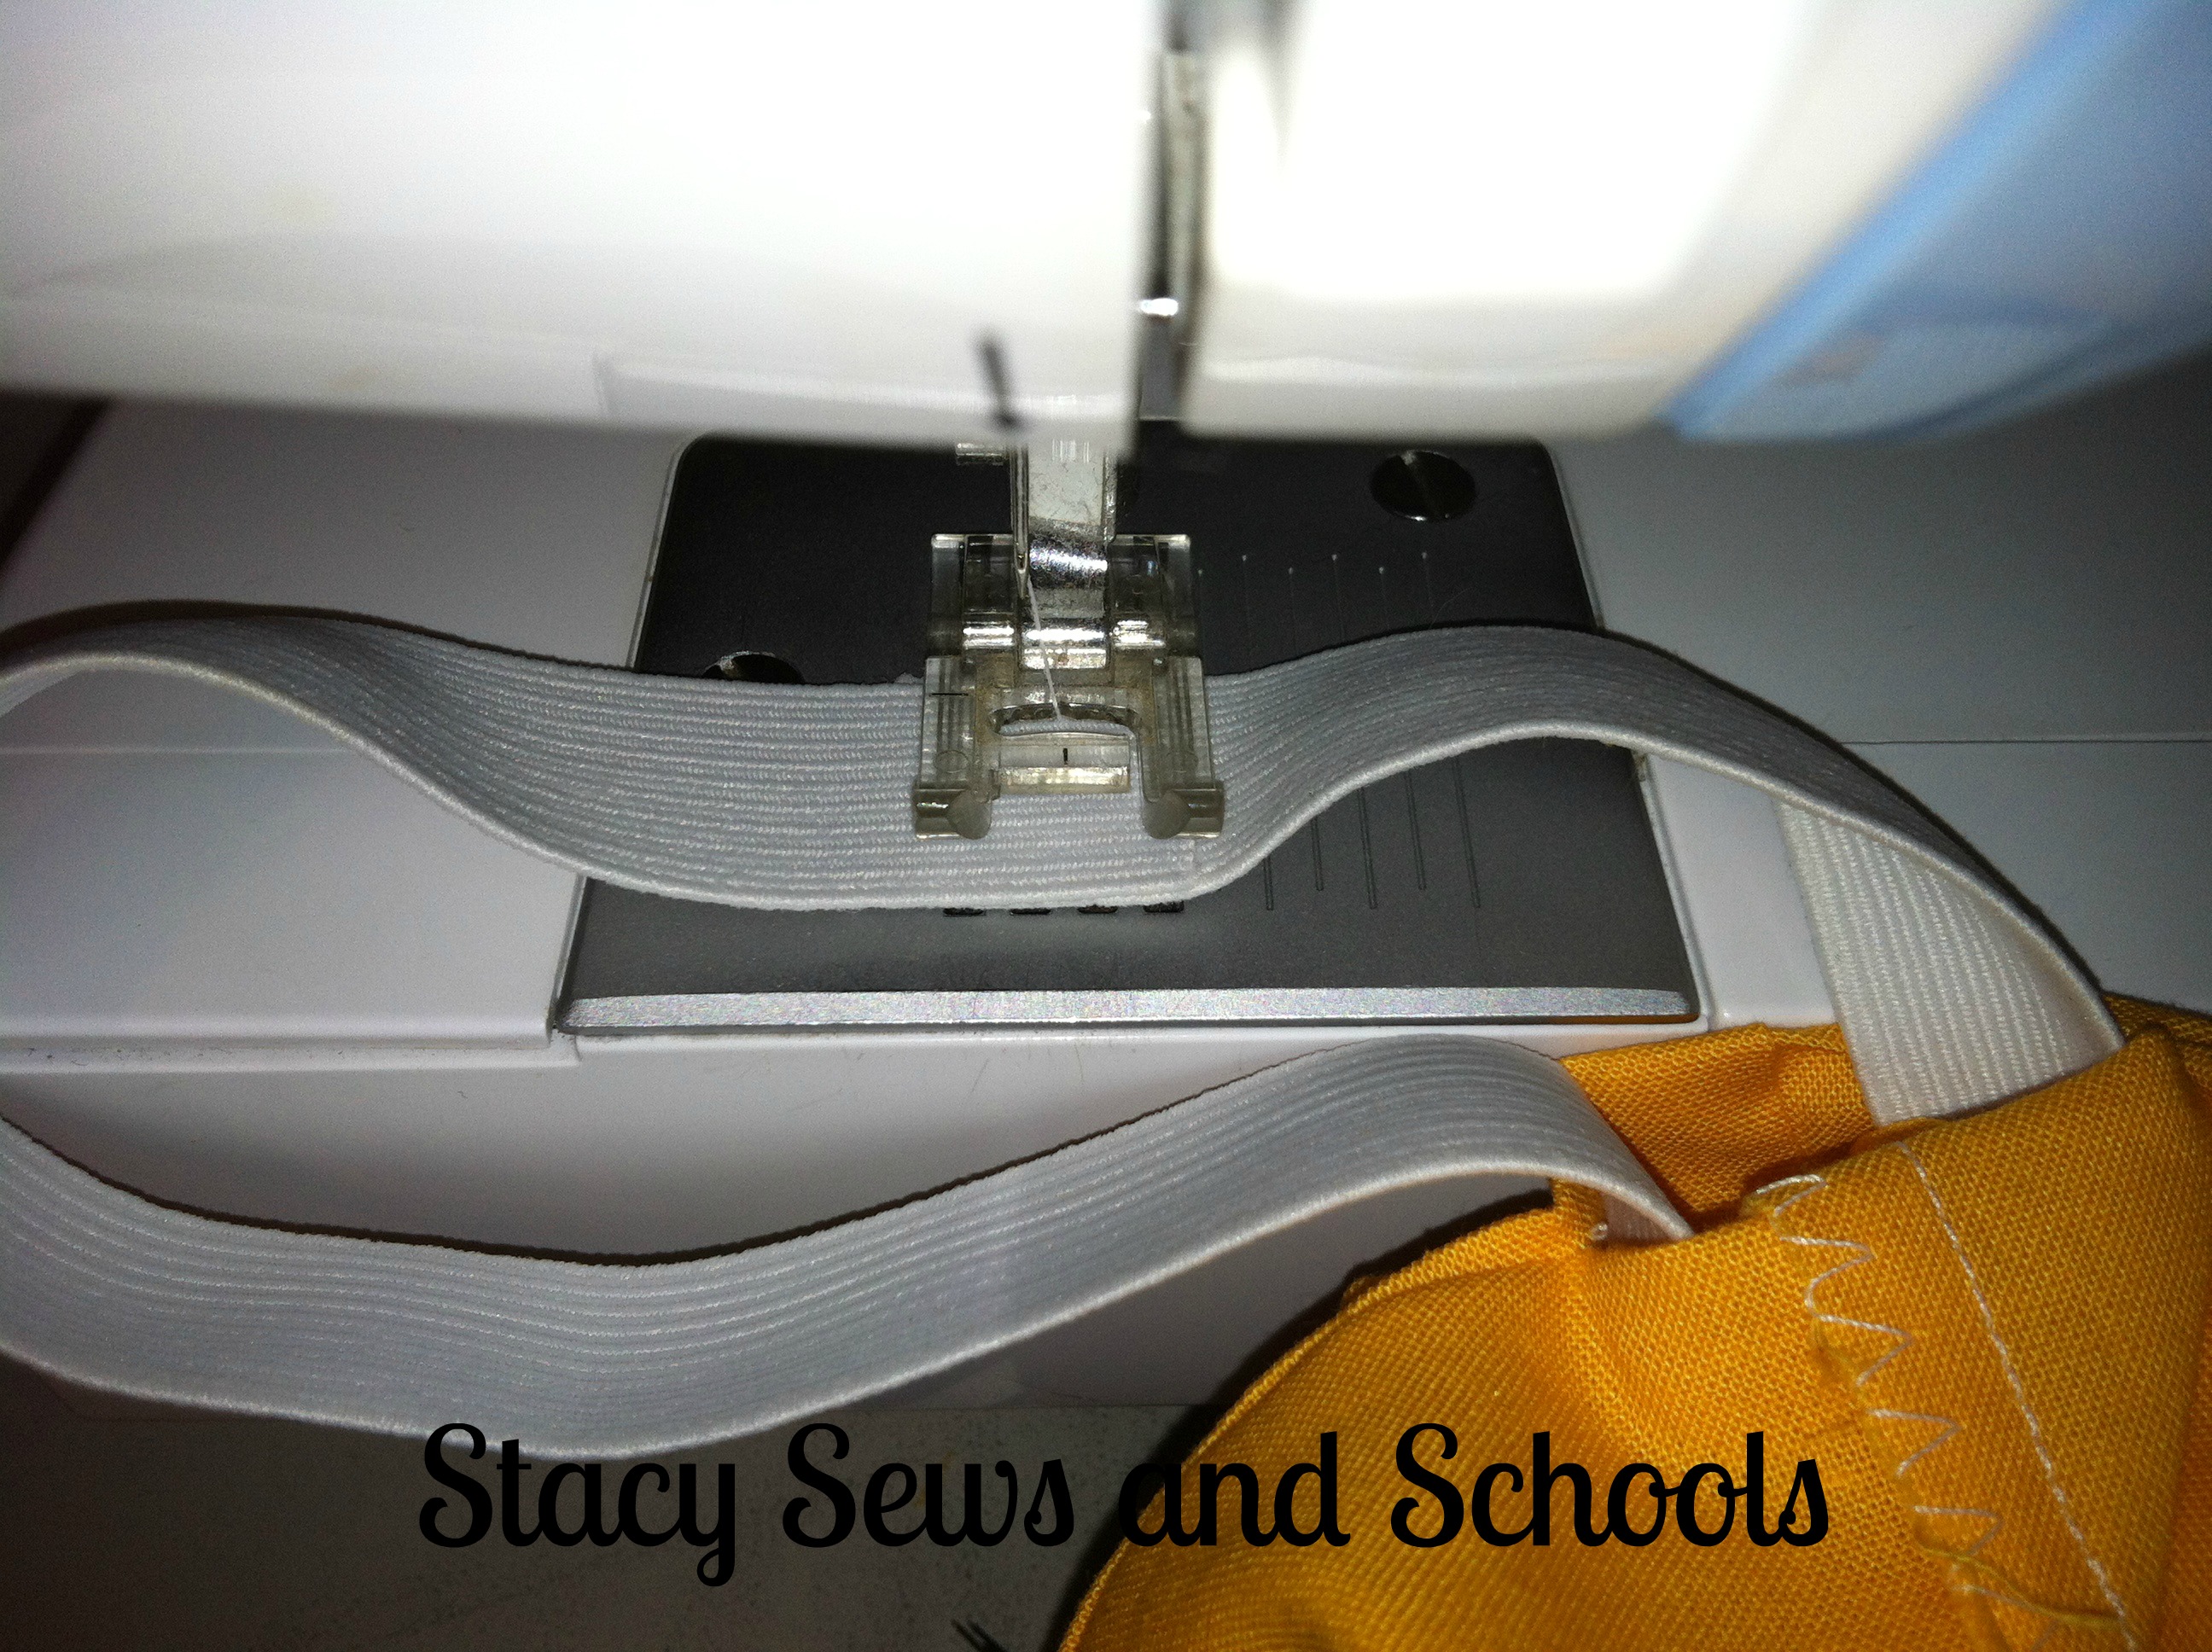


Sunshine Day Tunic and Clam Diggers 043 Sunshine Day Tunic and Clam Diggers 045


Pin the ends of the elastic and insert into the opening.

Then pull both ends out and secure with zigzag stitches.

Sew the opening closed.


Sunshine Day Tunic and Clam Diggers 047


Fold up and press the bottom of the legs by 1/2". Fold up and press another 1/2" and sew the hem!


Turn right side out and press!


YOU ARE DONE!!!! :D
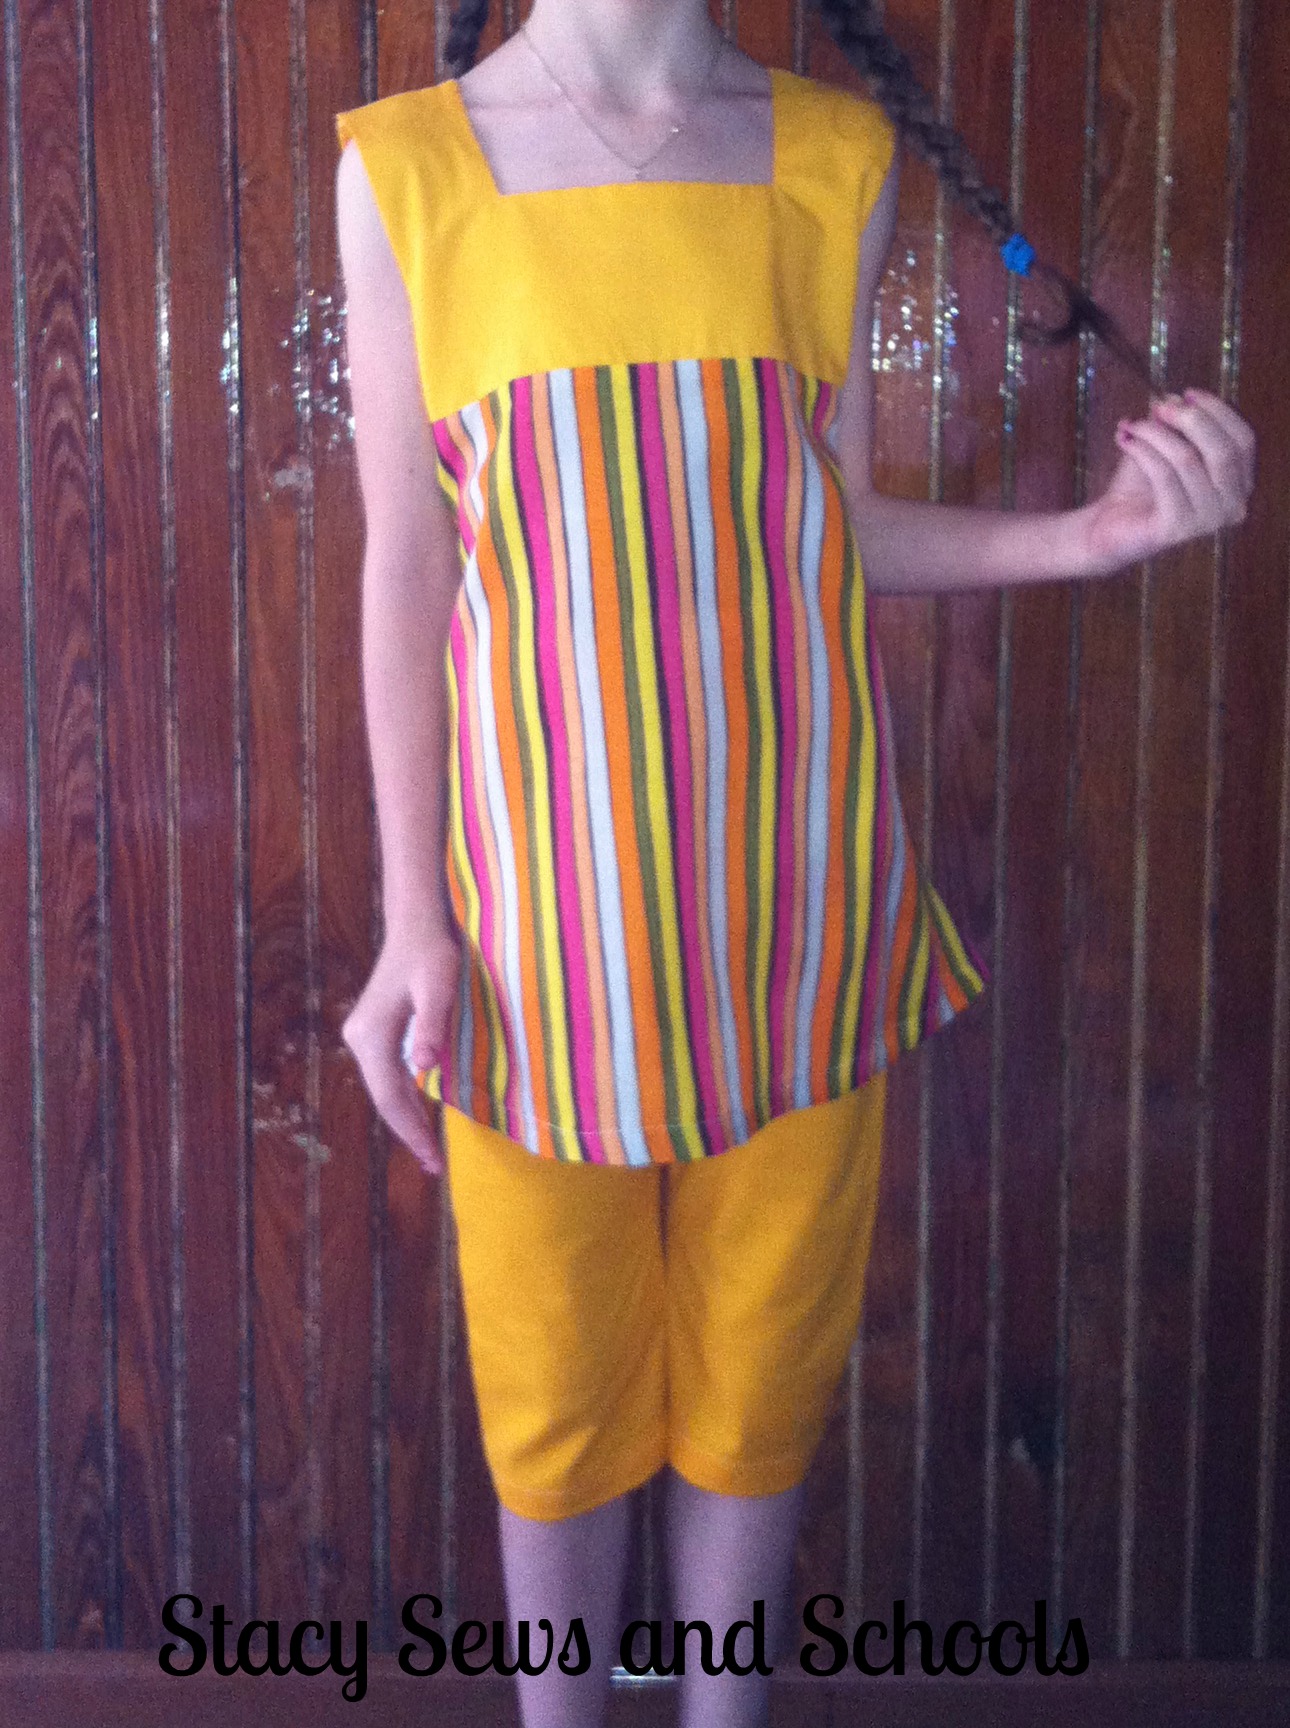


Sunshine Day Tunic and Clam Diggers 00300 Sunshine Day Tunic and Clam Diggers 00500 Sunshine Day Tunic and Clam Diggers 00700


As always, let me know if you have any questions. You can always use the Contact Me button at the top of the page.

I hope you enjoyed this tutorial!


December 1, 2012

Holiday Crushed Velvet Top Tutorial

Holiday Crushed Panne Shirt 0001


Here's a tutorial for a top to match the Pink Fig Designs Market Day Gauchos! :) Well, at least MY version of the Market Day Gauchos! LOL

I used the same colors of crushed panne (crushed velvet) for the top AND I made a little matching hair bow. For the bow I just tied scraps of the crushed velvet onto a ponytail holder. ;)


On to the tutorial!

You will need-

1/2 yard of main fabric

Scraps in the coordinating colors for the sleeve ruffles

A shirt that fits your child well to use as a cutting guide


Holiday Crushed Panne Shirt 001


Yes, yes.. I know... A Justin Bieber shirt but she's only 8, cut her some slack! LOL

Fold the t-shirt and place it on the folded fabric. Cut around the shirt leaving space on the side for seam allowance.


Holiday Crushed Panne Shirt 003


Here is what it will look like.


Holiday Crushed Panne Shirt 006


Place the shirt part that you just cut on the folded fabric and cut around it for the other piece.


Holiday Crushed Panne Shirt 007


Cut one of the necklines a little lower for the front of the top. Make sure not to take any off the shoulders. ;)


Holiday Crushed Panne Shirt 011


To cut the sleeves, place the shoulder even with the fold in the fabric and cut around the armhole. Then drop down a bit below the armhole and cut the rest of the sleeve.

At this point I was thinking long sleeves.... LOL I usually just fly by the seat of my pants when I start sewing. ;)


Holiday Crushed Panne Shirt 014


Here is where I decided to cut the black part of the sleeve shorter so that I could add the ruffles. I measured Cailey's arm from shoulder to wrist and then cut the sleeve at 8" . Her arm measured 15" but I knew some of the length of the sleeve would become seam allowance. ;)


Holiday Crushed Panne Shirt 015


Now, to cut the strips for the ruffles! I cut them 3" in width and 15" long. I cut 3 for each sleeve.


Holiday Crushed Panne Top 0020


Here is what they look like!

Now, you are going to pin those tops together! Then run a row of gathering stitches across the top.


Holiday Crushed Panne Top 0023


Pin the gathered edge to the bottom of the sleeve, right sides together, adjusting the gathers as needed.  Sew together!


Holiday Crushed Panne Top 0026


Here is what it looks like so far! :)


Holiday Crushed Panne Top 0027


Place the back on the front, right sides together, pin and sew the seam! :)


Holiday Crushed Panne Top 0028


This is that OTHER way to do sleeves... LOL Place the sleeves to the armholes, right sides together and pin like crazy! LOL Then sew the sleeves to the armholes!


Holiday Crushed Panne Top 0029


Here's what it looks like so far!


Holiday Crushed Panne Top 0030


Almost done!!! Pin up the sides of the top and the bottoms of the sleeves. Now, sew the side seams!!!!!


Turn right side out and you are ALLLLLLLL done!!!!! :)


Holiday Crushed Panne Shirt 203


Holiday Crushed Panne Top 317


Holiday Crushed Panne Top 125


Holiday Crushed Panne Shirt 207


Hope you like this! Let me know if the tutorial is easy to follow! If you have ANY questions, don't hesitate to leave me a message or use the Contact Me button at the top of the blog and shoot me an e-mail!


September 13, 2012

Cheesehead Tutorial


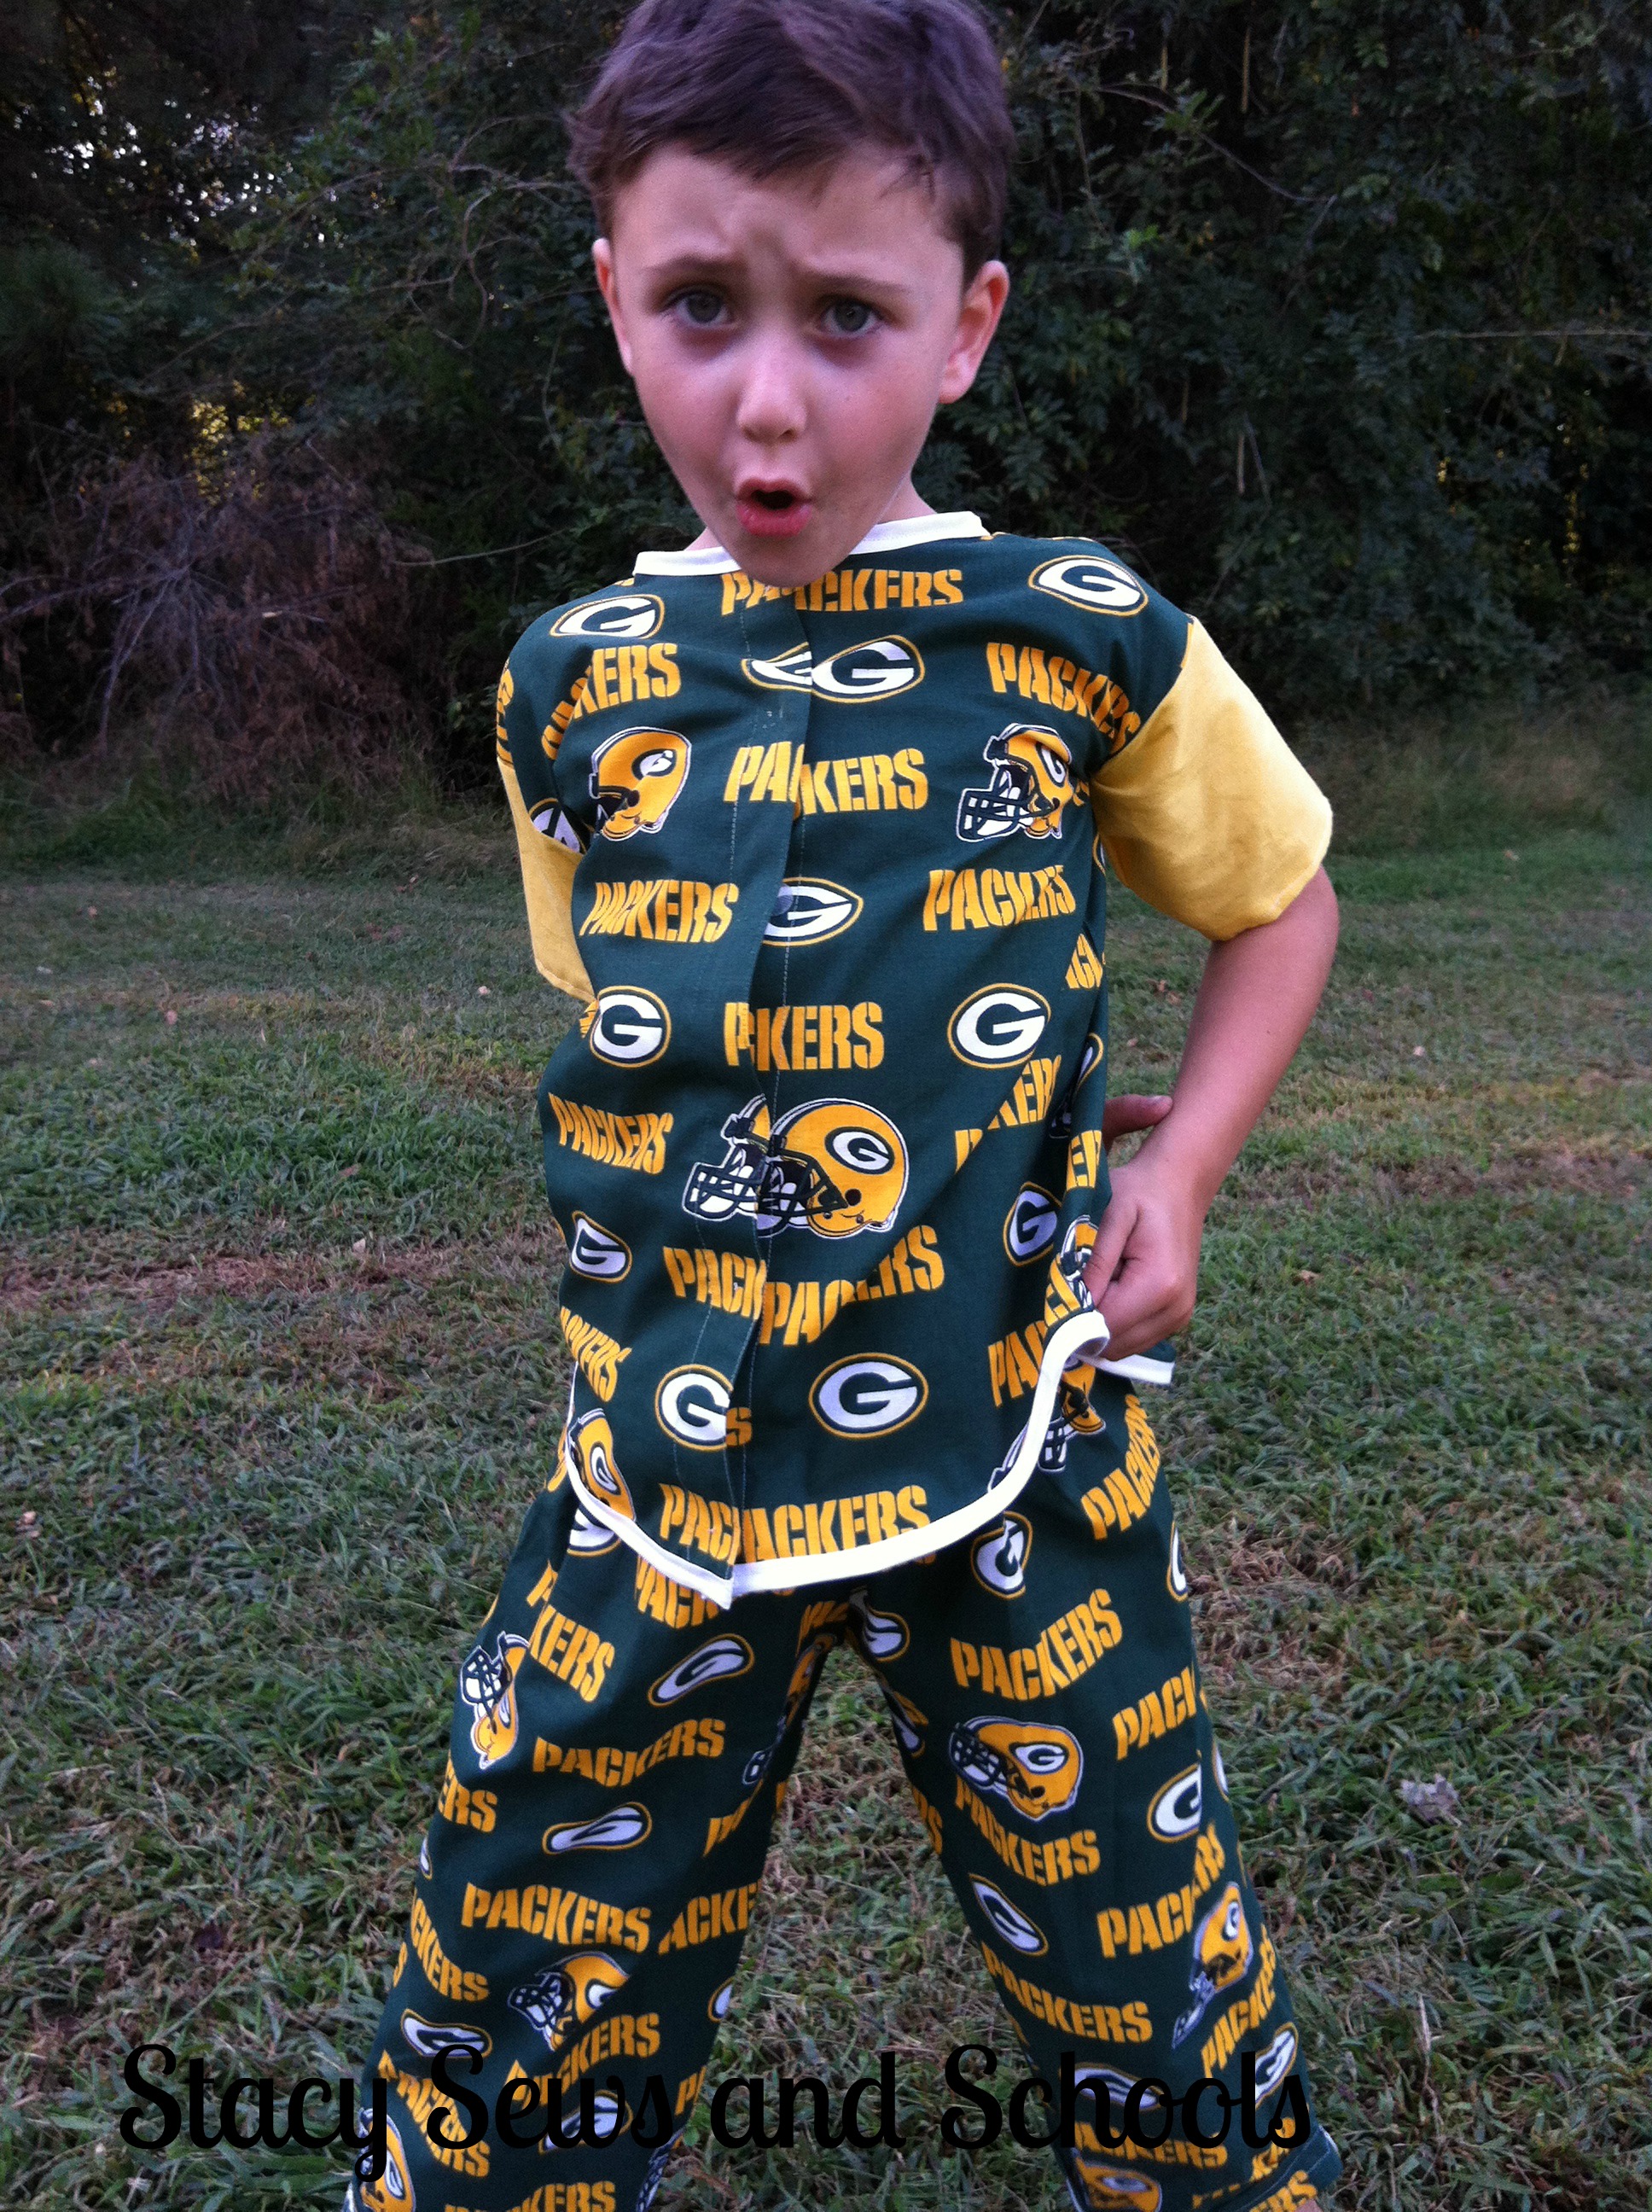
This tutorial is for the shirt. The pants are done the way I always do pants. LOL Just click the link and it will show you how. The only difference is, when I hemmed the bottoms I then turned the hem to the outside and top stitched.


On to the tutorial!
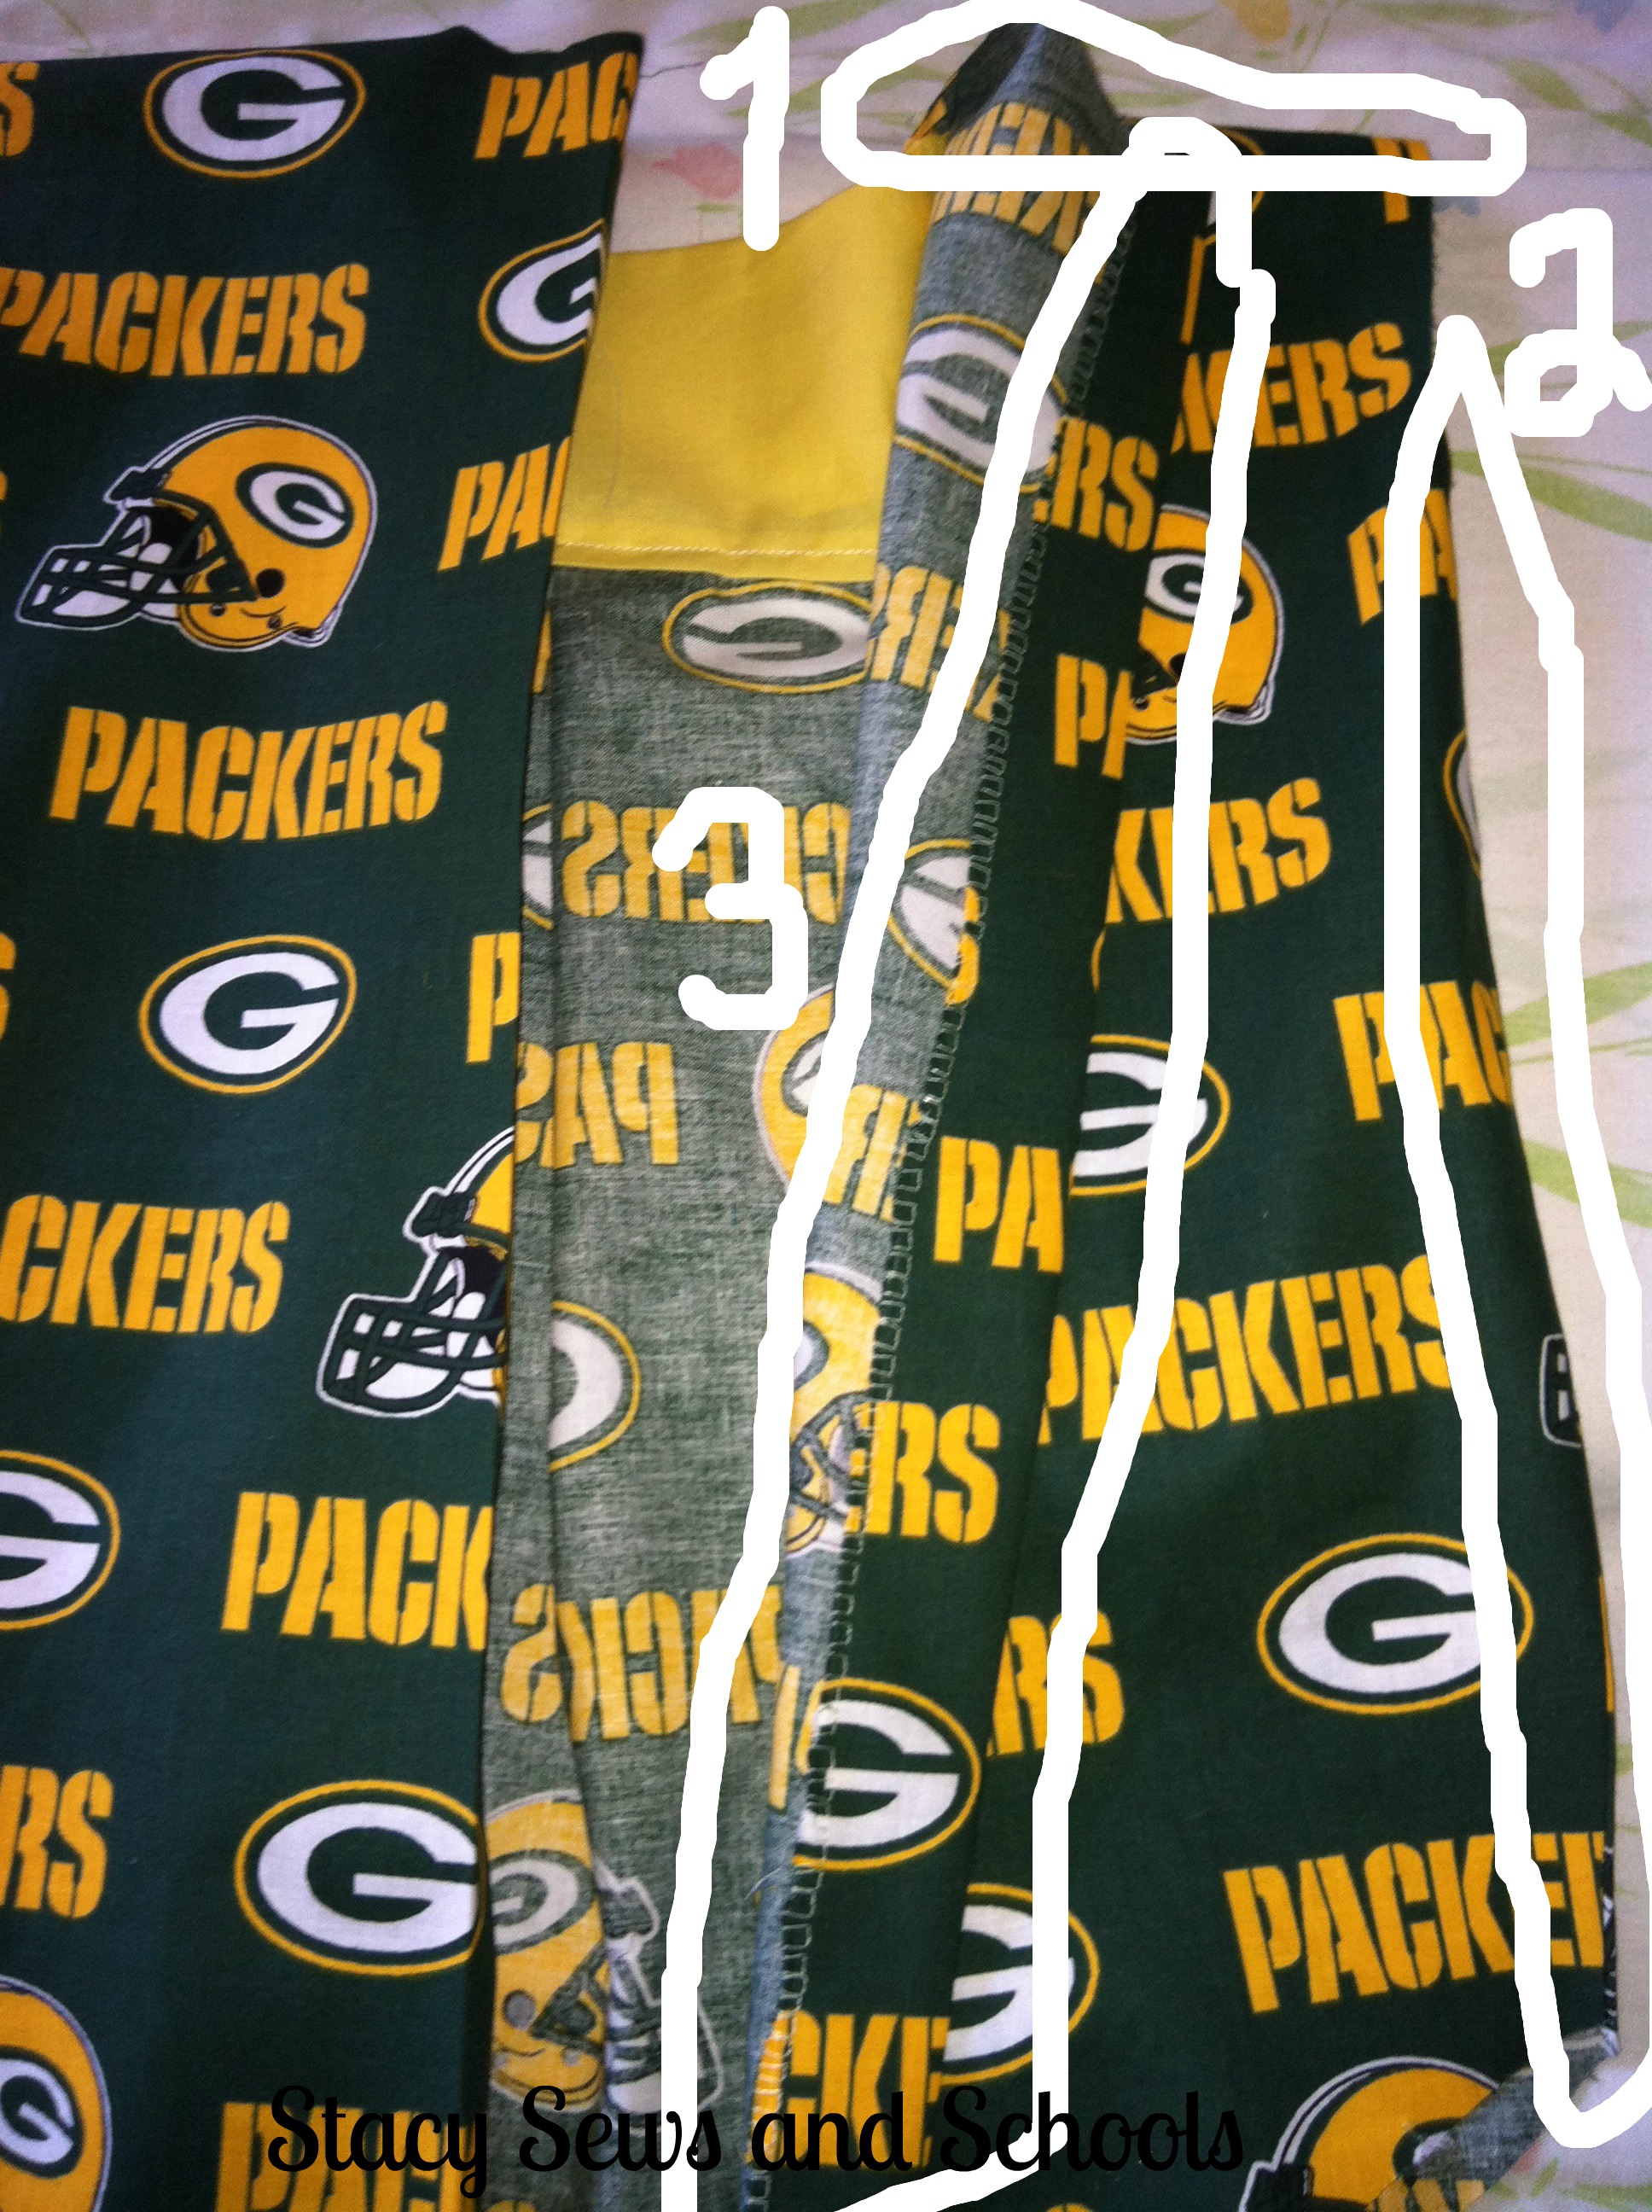
What I Used:

1 1/2 yards of main

1/2 yard of contrast

1 package of bias tape

1 package of Velcro circles

1" elastic (for the pants)

1 button-up shirt to use as a "pattern"


***Always remember to PRESS after doing any stitching***


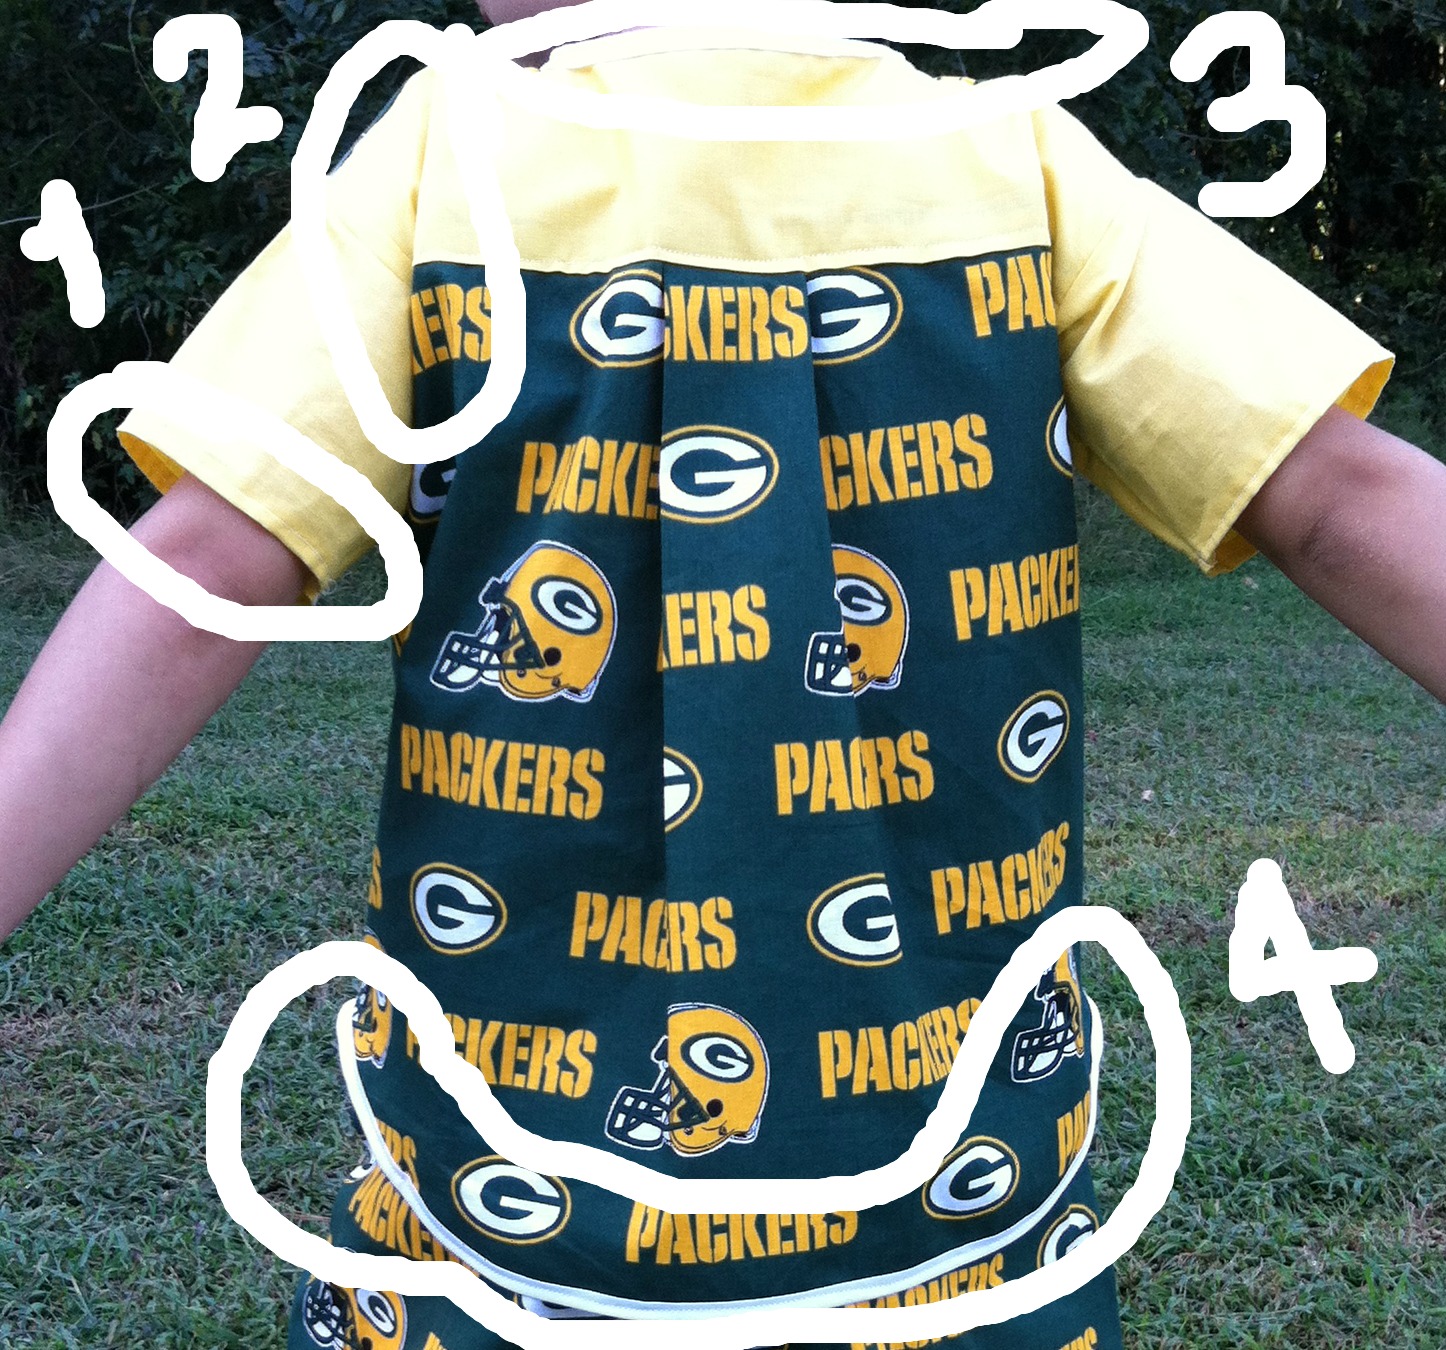
The first thing I did was study how a button-up shirt was put together.


I paid special attention to the back yoke, back pleat and the curve of the bottom.


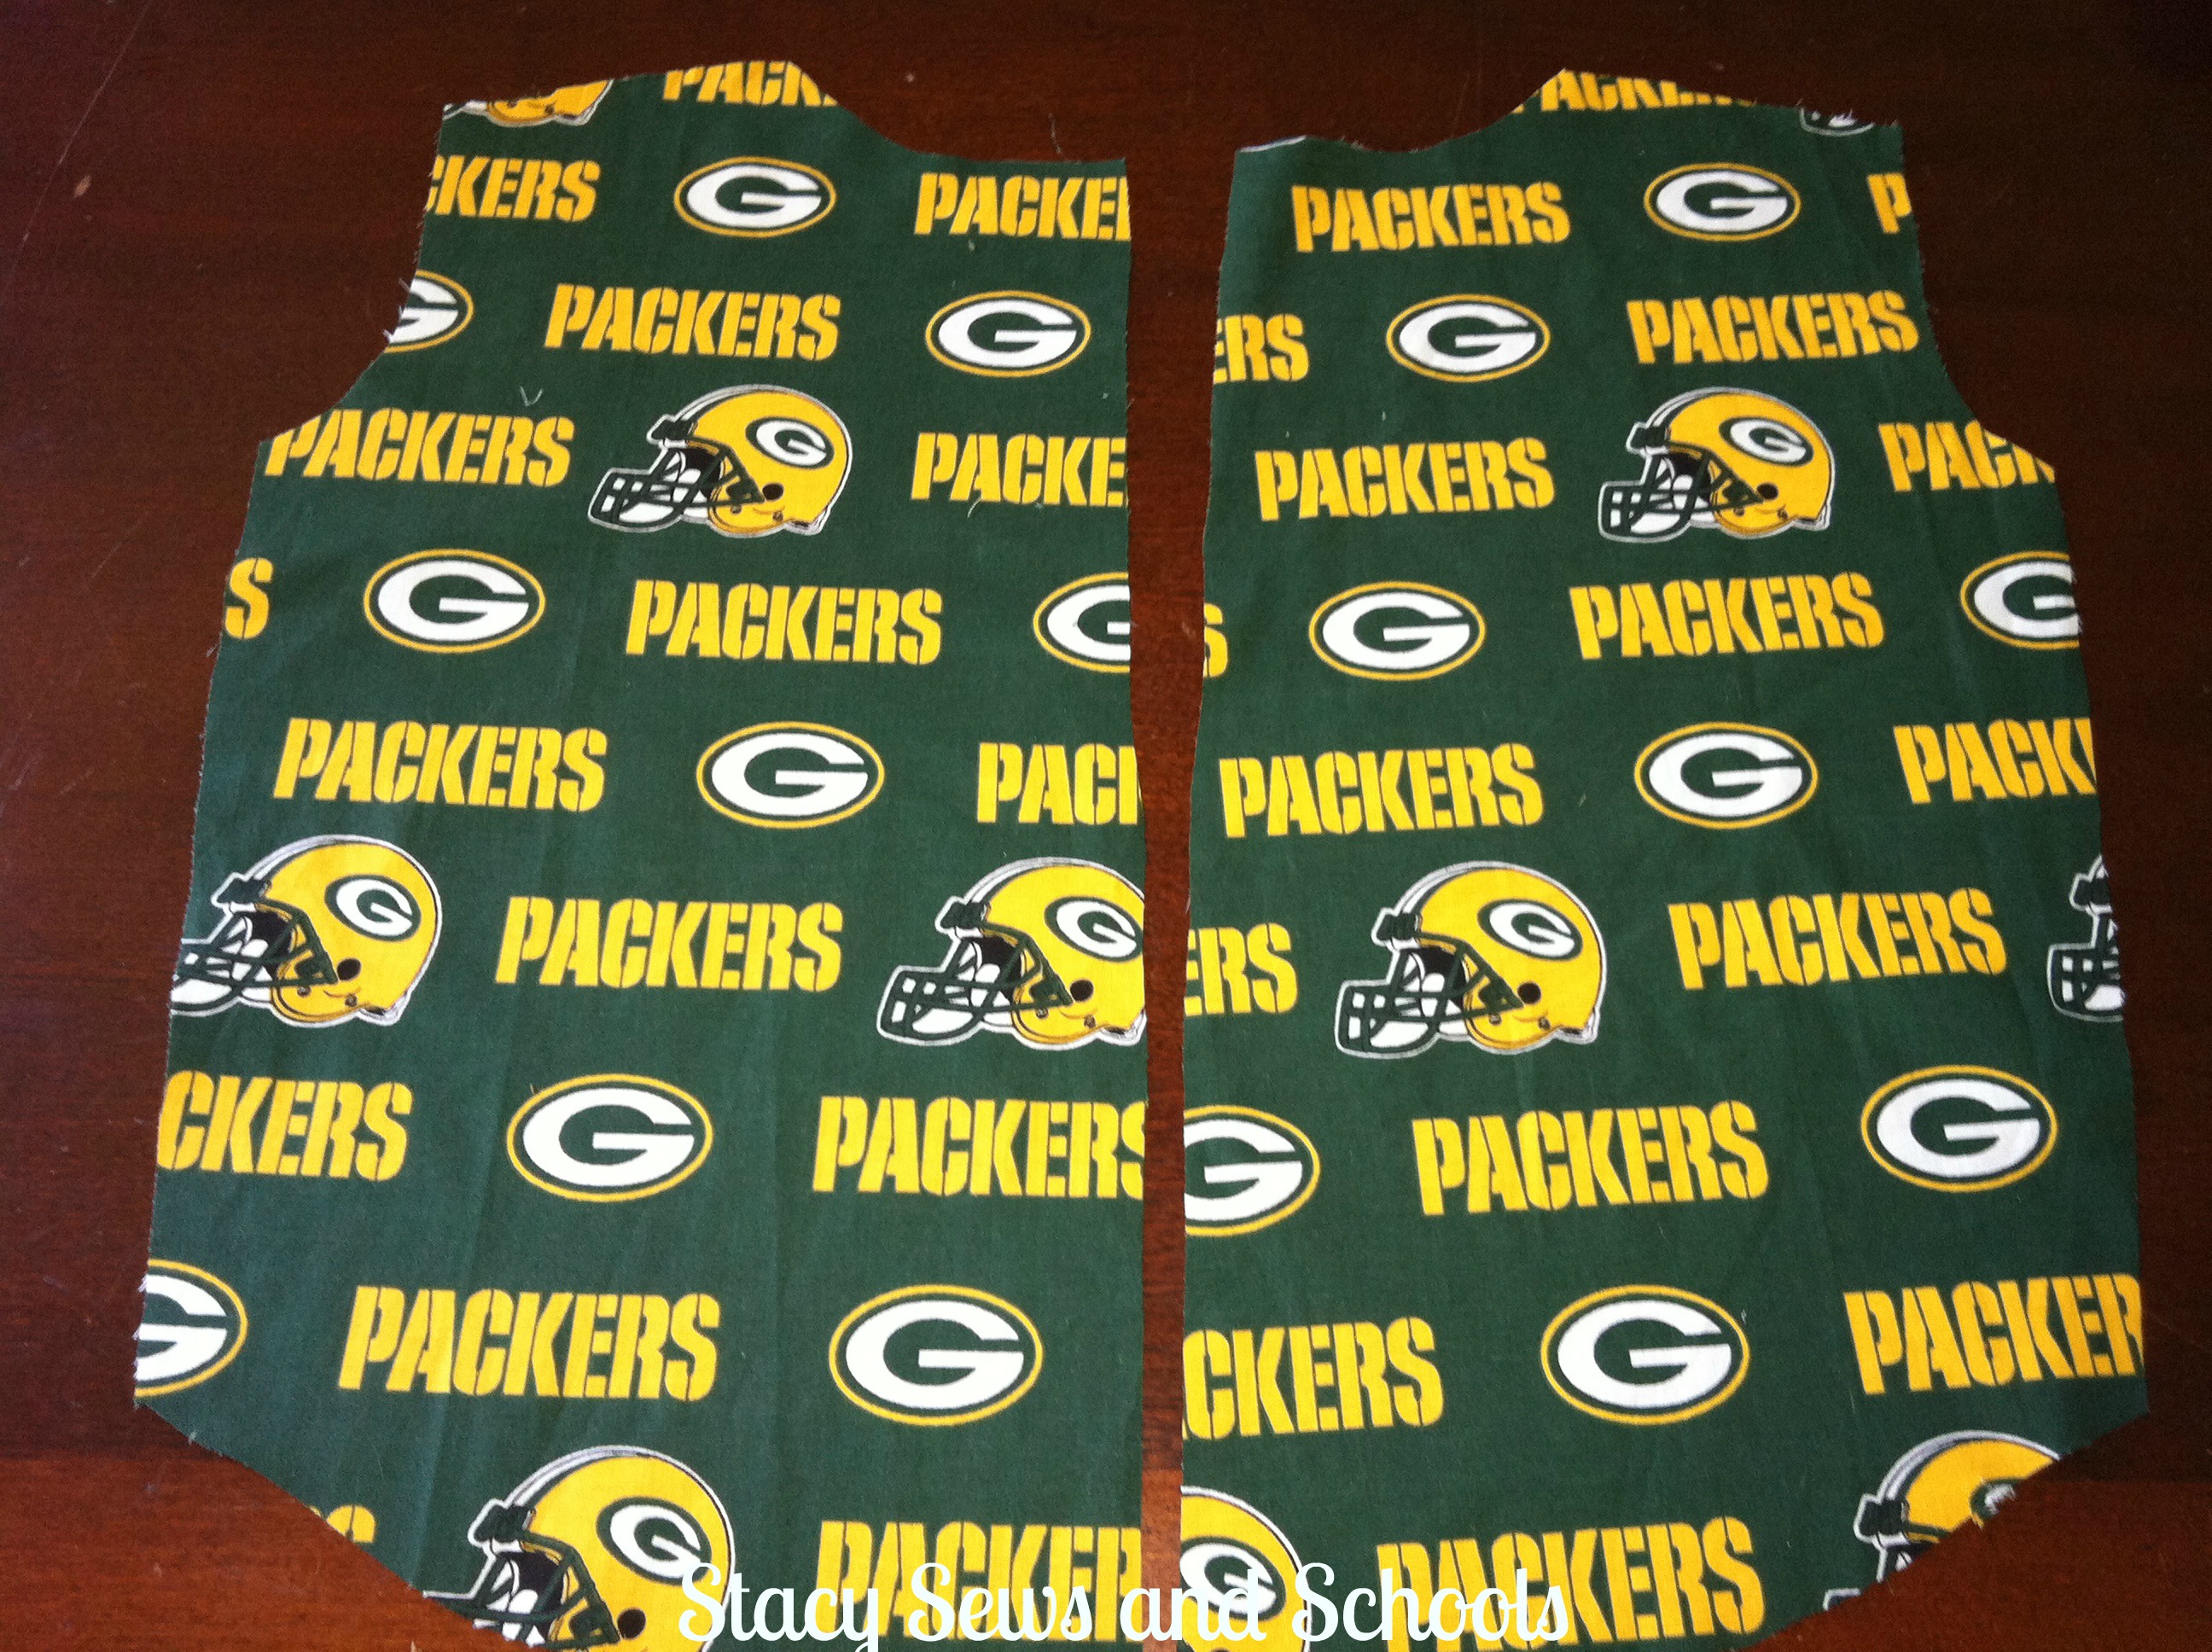
Here are the pieces you will need:


2 pieces for the back yoke in the contrasting color. You can draw out the back yoke on a piece of paper to use as a pattern, if you want.


2 pieces for the front out of the main fabric. You can use the button-up shirt as a guide when cutting, if you like.


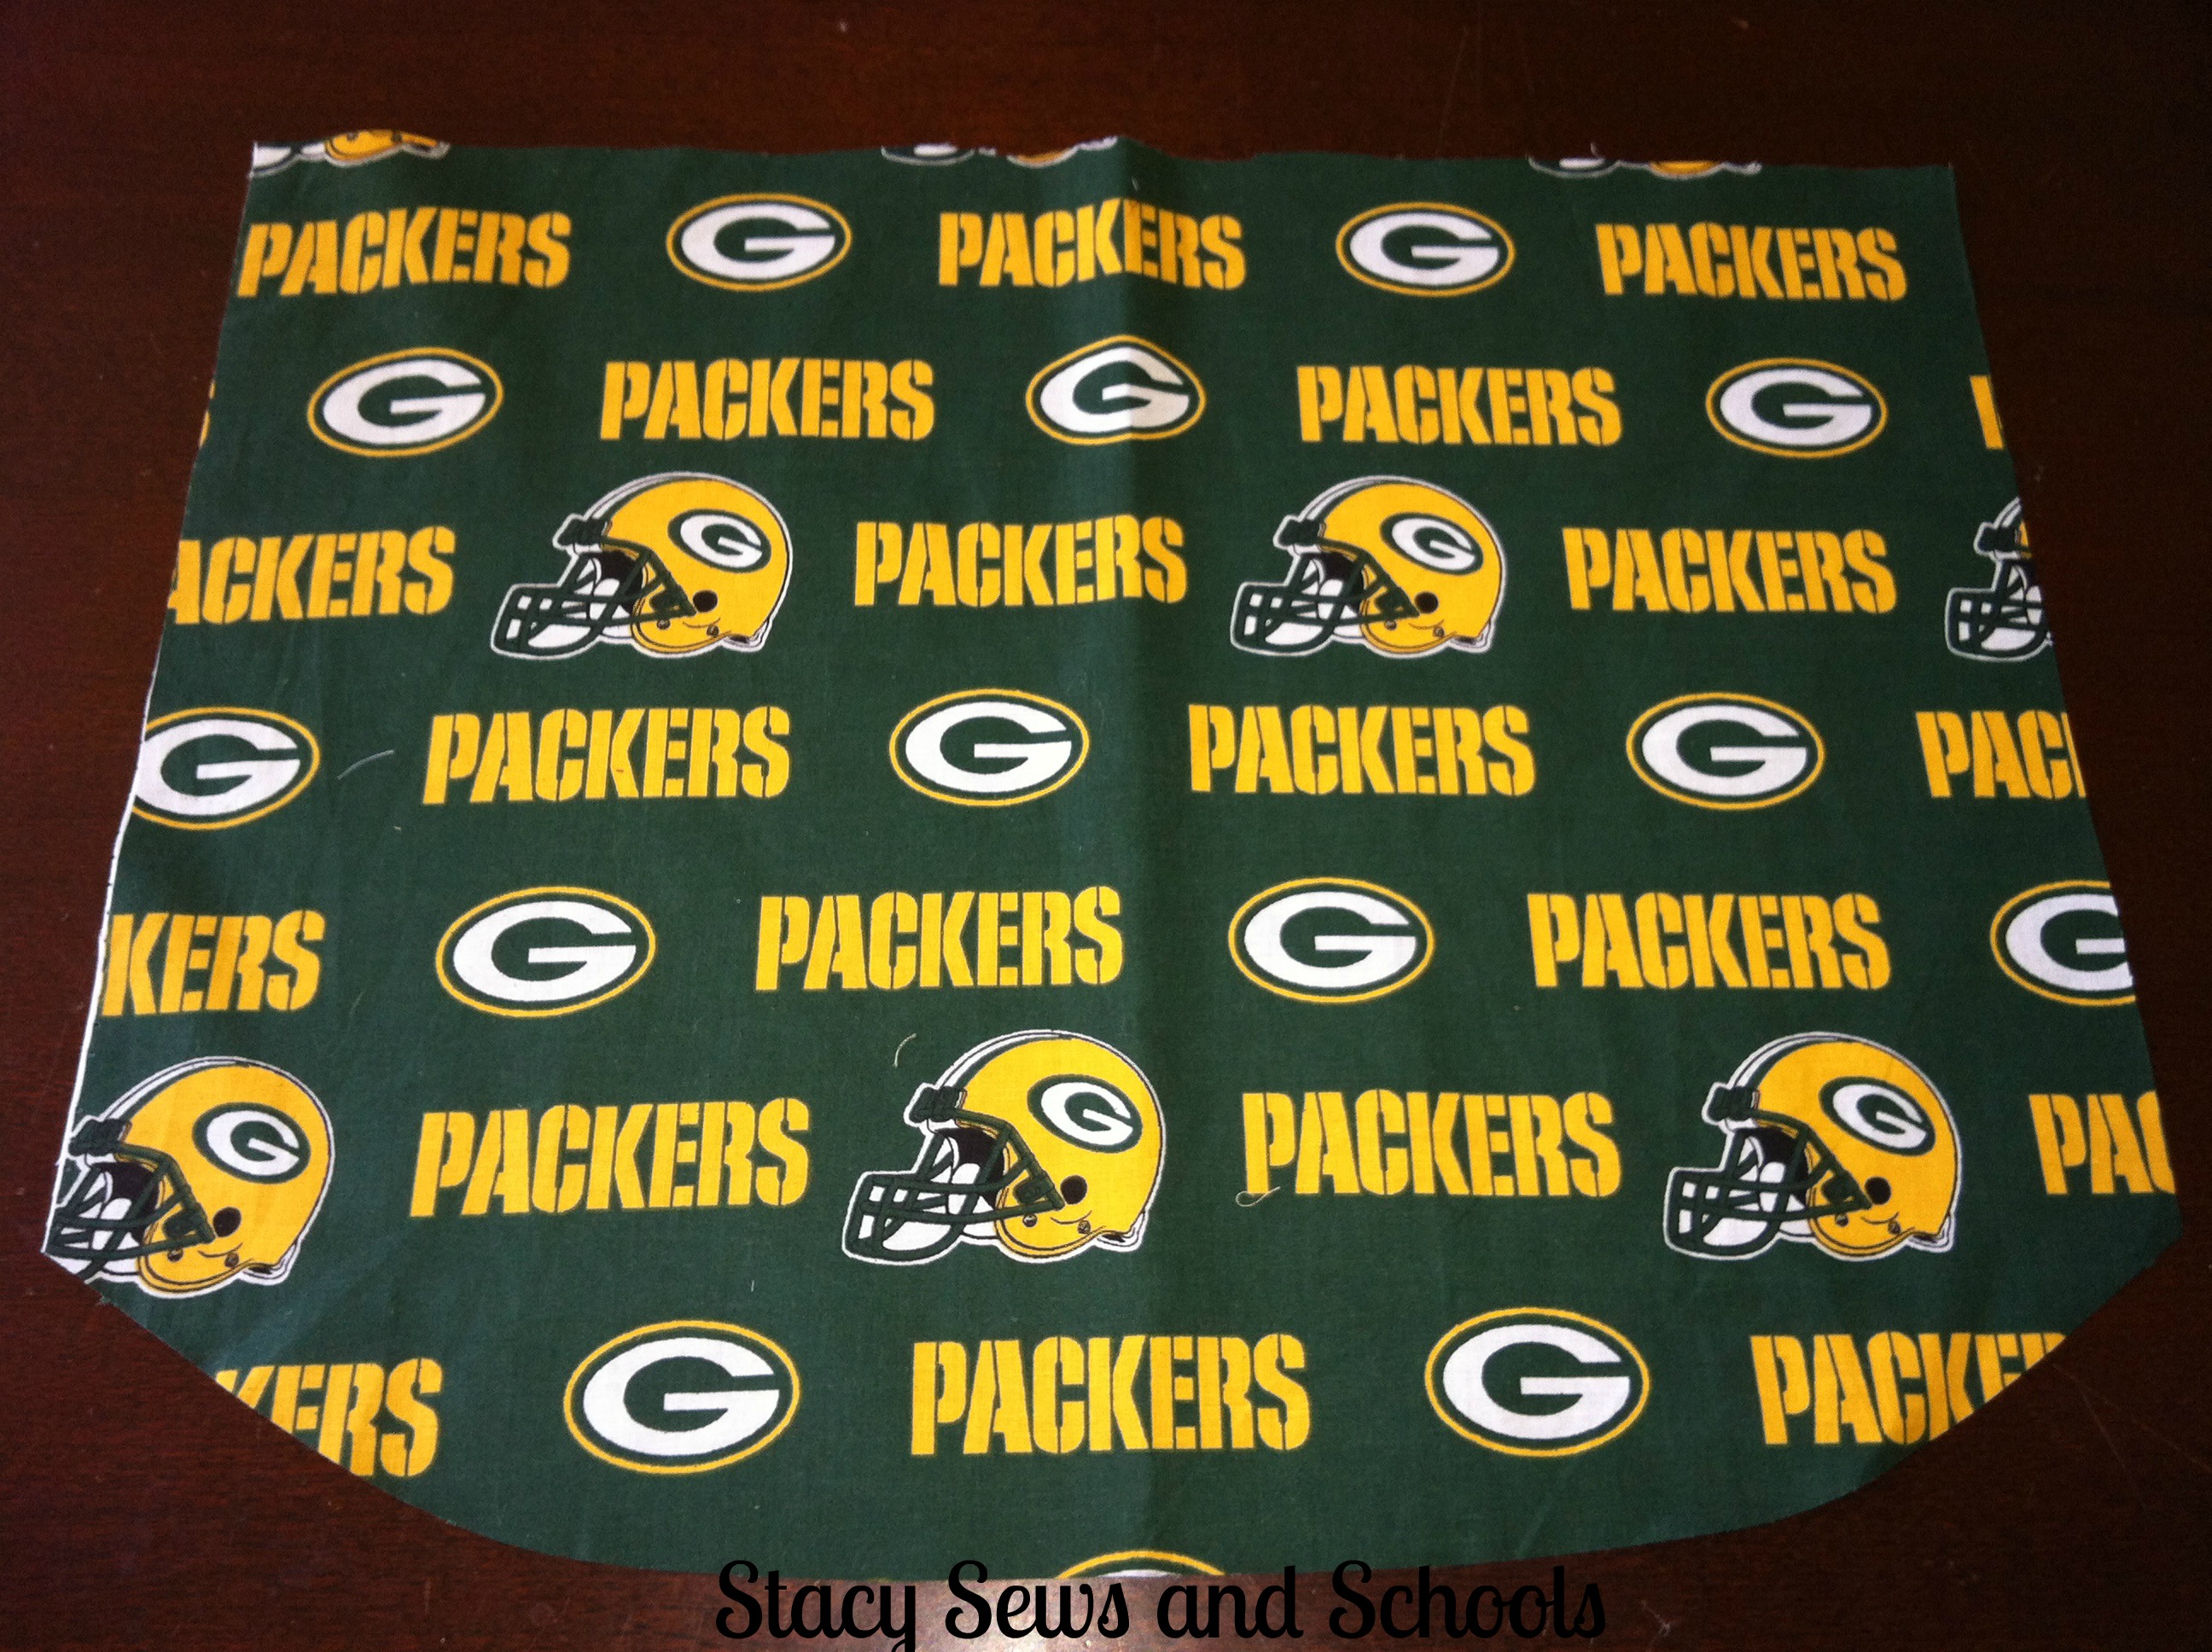
1 piece for the back. This will be shorter than the front pieces because it will be attached to the back yoke.


2 sleeves out of the contrasting fabric.


Sewing It All Together


Step 1 -


Sew the back yoke pieces together, leaving the bottom open.

Fold IN the bottom by 1/4 inch and press.


Step 2-


Put the back pleat in, lining up the sides with the back yoke, pin and press. Insert the bottom of the back INSIDE the back yoke, pin and top stitch closed.  Press.


Step 3-


Part 1 0f Step 3-

Attach the back to the front at the top (shoulders). I always do a finishing stitch first and then the straight stitch.

Part 2 of Step 3-

Pin the sides together and sew up the seam.

Part 3 of Step 3-

Sew and finishing stitch along the edges of the front pieces.  Fold over 1 1/2" and press.


Step 4-


Edge stitch and top stitch along the folded edges.


Step 5-


Part 1 of Step 5-

Hem the bottom of the sleeves by folding up 1/4", press, fold another 1/4" and press. Sew the hem.

Part 2 of Step 5-

Insert the sleeves into the arm holes and pin. Sew the seam.

Part 3 of Step 5-

Open the bias tape and pin into place around the neck line. Stitch the bias tape. This is not the "proper" way to do bias tape, but I have found that it is MUCH MUCH easier and works just as well, if not better. ;)

Open the bias tape and pin into place around the bottom. Stitch it on.


Step 6-


Stick your Velcro circles on the inside of one side and the outside of the other, lining them up to match the opposite side. Then you will need to put a couple of stitched into each piece.  Press.


You are all done!!!!


I apologize that this tutorial isn't as detailed as they usually are... I wasn't quite sure if I would be doing a tutorial for it and I kept forgetting to take the pictures. LOL

Anyway, I hope it is clear enough to help you!!!

I will be working on Cailey's Packers skirt and t-shirt today! Hopefully I will have a tutorial for you by Saturday! Tomorrow is my busy day, grocery shopping and bill paying... such fun. :/