June 4, 2012

What a Hoot Skirt and Tutorial

This is the best I can do by way of pictures tonight. I promise to take a better pic tomorrow and this time I will actually be wearing the skirt! ;) I just wanted to get this on here tonight!


So here we go!!


I started with 2 yrds of midnight blue taffeta. Then I gathered a few scraps to use for the tree, moon, leaves and owls. You will need at least a 4" zipper.


Step 1- Measure your waist.

Step 2- Find the middle of the fabric (while folded in half, long ways)

Step 3- Fold over again

Step 4- Mark your measurements on the fabric with pins (this will be 1/4 of the total measurement you took plus 1/4" for seams)


Step 5- From your measure take a straight edge and mark a slant on the fabric.


Step 6- Cut the slant.


Step 7- Open up and cut the pieces in 2 making the front and back of the skirt. Put the back aside for now.

Step 8- Grab a brown paper bag, wrapping paper or whatever you have to draw out your tree pattern. Draw it and cut it out.

Step 9- Take your tree pattern and place it on your green scraps. Cut a half circle around the branches.


Step 10- Now pin and cut your tree from your brown fabric.


Step 11- Find something round to trace your moon onto your yellow fabric. Cut it out and then cut it into a crescent.


Step 12- Cut out your owls or birds from your scraps.


Step 13- Pin your green "leaves" to the front of your skirt. Zig-zag stitch all the way around.


Step 14- Pin your tree to the front of the skirt and over part of the leaves. Zig-zag around.


Step 15- Pin your moon and zig-zag it to your skirt.

Step 16- Pin your owls, birds, whatever and zig-zag those to the branches of the tree.


Step 17- Grab the back of your skirt and pin one side to the front with right sides together. Sew your seam.

Step 18- Take the whole measure of your waist and cut a long strip in that length by about 4". This will be your waistband.

Step 19- Fold waistband in half and press.


Once again, remove cat from fabric. SIGH.....


Step 20- Pin the waistband to top of skirt, right sides together. Stitch.


Step 21- Grab a 4" zipper and pin then stitch to the other side of the skirt (where you haven't sewn a seam yet)


Some people sew the seam first, I prefer to do the zipper first. It's much easier for me that way.

Step 22- Pin and stitch the other seam.

Step 23- Pin and hem!

Turn it right side out, press your hem and you are DONE!!! :) Easy peasy!

I left the edges raw instead of zig-zagging right on top of them. I think I like the look of it better that way.

I hope you like it! Give it try!

Let me know if this was easy to follow or not. I never know if I am clear enough or take too many (or not enough) pics! LOL


I DID IT!! I DID IT!!!

Praise the Lord! I DID IT! I finalllllllllly finished the Retro Butterick '56!!!

Image

SHEW!!!!!!!!!!!!! There are a couple of little things that I need to adjust here and there but other than that IT IS DONE!! And it fits wonderfully!! :)) I cut it a size smaller than my measurements suggested. ;) I'm also thinking about taking the zipper out. It really doesn't need it and I think it messes with the flow of the material. It probably would be fine with something other than a knit, though.

The rest of the day I will be working on an A-line skirt and tutorial to go with it. Skirts are pretty quick sews so I might be able to post the tutorial later tonight! :) YAY!!!!

I am sooooo relieved to have that dress done! It was starting to feel like it would never happen! LOL


June 3, 2012

One of THOSE Days.....

Ever have one of those days that passes you by in the blink of an eye? Where you haven't been able to accomplish ANYTHING?? That was today for me. SIGH.... I got absolutely nothing done.  Day 2 of not touching the Retro Butterick '56. SIGH... I will finish that dress tomorrow if it's the last thing I do!!! LOL Barring a natural disaster! ;)

Here's the pic of c2 in the eyelet tank and the May Flowers skirt!

Image

Have a great evening! Hopefully I will have more to share tomorrow! Like the finish of the Retro Butterick '56!!!


June 2, 2012

Eyelet Tank Tutorial

Here it is! The tutorial I didn't plan on! LOL

Image

So here we go!

Supplies!

Image

If you are doing a young child's size you will probably need less than a 1/2 yard of eyelet (or whatever) and less than a 1/2 yard of lining. C1 is a 5 in waist and chest but an 8 in length if that helps you any.

You will need a tank that fits your child to use as a template. Brown paper or wrapping paper (or whatever) to cut as a pattern.

And your basic sewing stuff. ;)

Step 1- place your child's tank on the paper and trace around it leaving room for seam allowance.

Image

Step 2- Cut out your pattern

Image

Step 3- Pin your newly made pattern to your lining material on the fold.

Image

Step 4- Cut 2

Image

Step 5- Pin your pattern to your eyelet on the fold.

Image

Remove cat from eyelet

Image

Step 6- Cut 2

Image

Step 7- Pin right sides together one eyelet and one lining

Image

Step 8- Start at one end and sew continuously around to the other end, leaving the bottom open

Image

Step 9- Do the other eyelet and lining.

Step 10- Turn right side out and press and trim seams (if needed)

Image

Step 11- Pin front to back with right sides together

Image

Step 12- Sew top of straps together

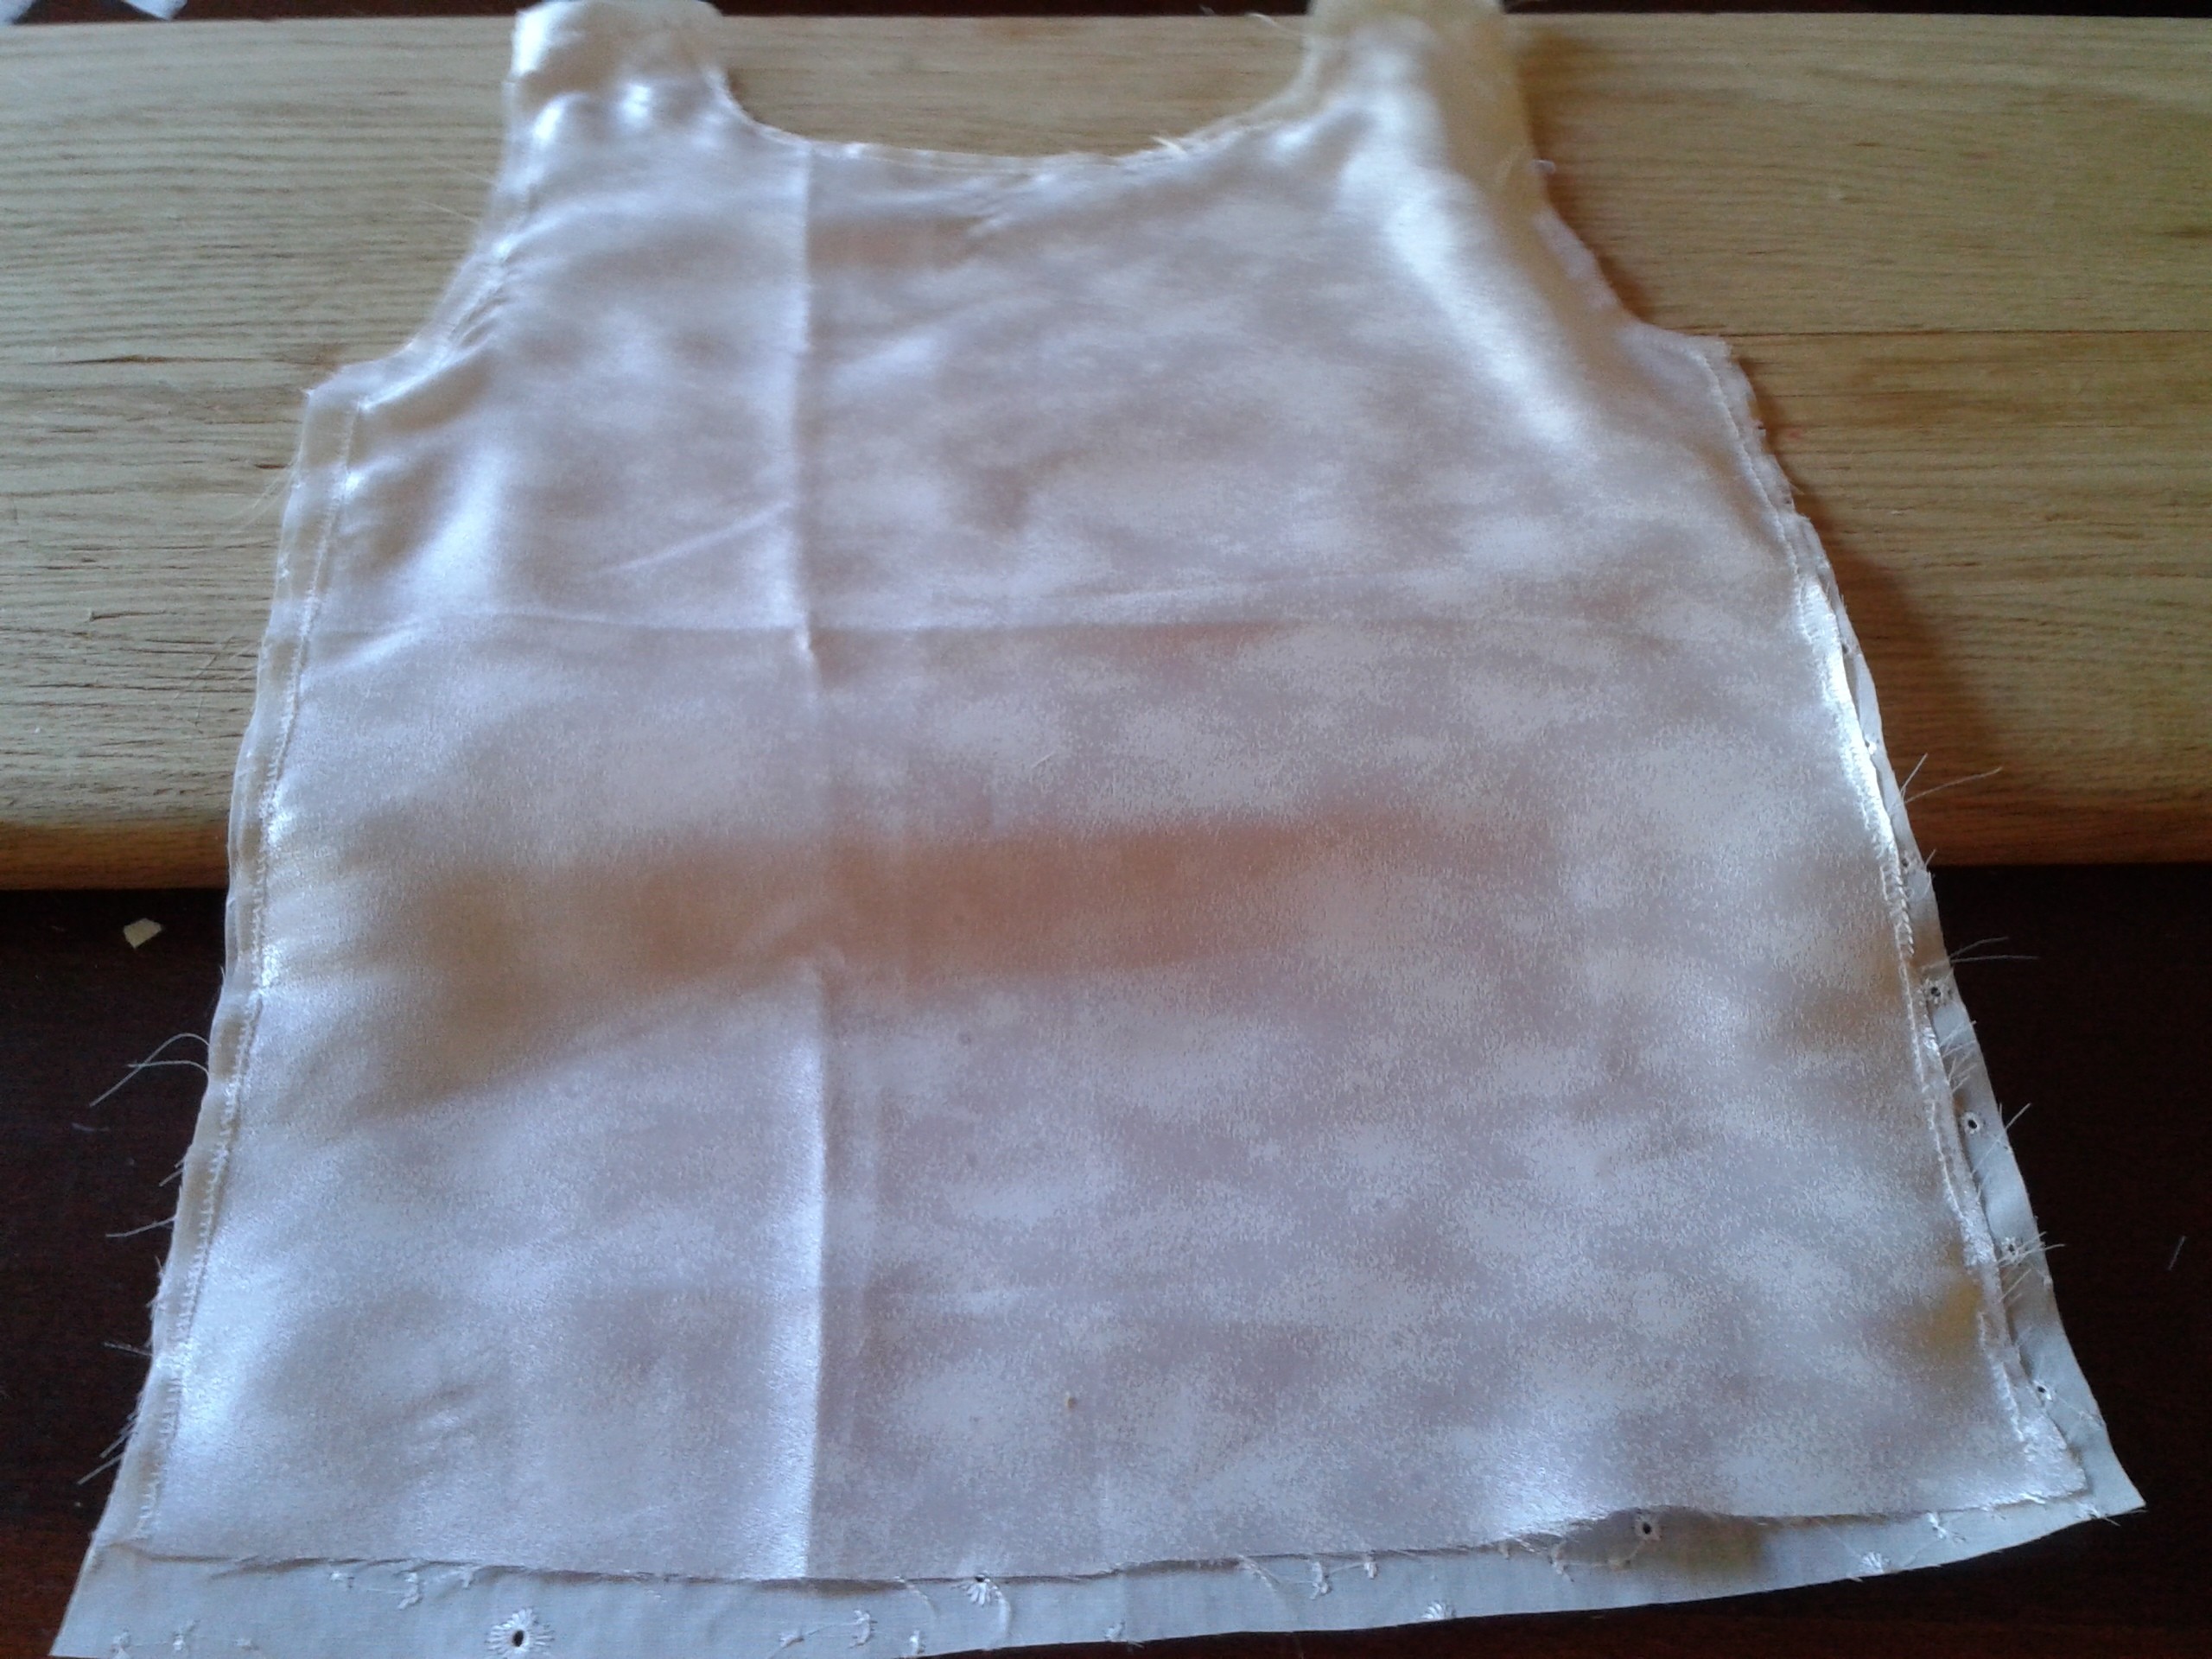
Step 13 - Sew sides together

Image

Step 14- Pin and hem the bottom

Image

Step 15- Turn right side out and press seams

Image

Congratulations! You just made the eyelet tank! So simple and cool for summer! And it goes with ANYTHING!

I'll be sure to take pics of c1 in her tank and May Flowers skirt tomorrow morning! :)

In other news... LOL I haven't been able to sew a stitch on the Retro Butterick '56. I've been WAY too busy today. BUT I did hit another fabric sale at Hancock's!! I got some awesome deals!!!

Butch and Sundance are warming up to us! Here is Butch headbutting a carrot....

Image

And here is c2 playing with them while j2 and d walk them!

Image

Hope you all have a great evening! See after church tomorrow! :)


Progress!!! And About Time, Too!!

Here is where the Retro Butterick '56 stands this morning!

Image

I have the bodice and the skirt pinned together!! WOOOO HOOO!! I can see the end! It's getting close! LOL

If I were to do a review of this pattern I would give 2 out of 5 stars so far..... I think I am going to LOVE the dress when it's all said and done but the process is ARGH!!!! LOL The instructions and pictures for the bodice are not clear AT ALL! Even the part about attaching the bodice to the skirt could be a lot clearer! I would have to say that this pattern is definitely not for beginners unless you enjoy banging your head on the wall! LOL It makes me a little leery of the other Retro Buttericks I have! LOL

I should be finishing it up today. Fingers crossed!! Then I will be able to start that A-line!

When you get towards the end of a project do you start to get anxious for it to be over so you can move on to something else?? Maybe it's just because this one is taking me so long.... SOOOOOOO long.

The Goat Brothers are doing well this morning. Still a little skittish but they are starting to relax enough to play around with it each other in our presence. :) They are soooo stinkin' cute!!!! LOL They are head butting each other and climbing over one another. I have given up on the bottle feeding. They just aren't interested. :( I'm a little sad about that. It would have been so sweet to have fed them like that.

Tomorrow I will be wearing this to church-


I can't wait!!!

OH!! That reminds me! I will be taking a short break from the Retro Butterick '56 today. I need to make c1 a blouse to wear with her May Flowers Skirt! She wants to wear it to church in the morning. I'm thinking eyelet! ;) So there may be a surprise tutorial headed your way! ;) She starts to get a little sad if I'm not making her at least one thing a week! LOL It's OK, though, it lets me know she appreciates the things I make her. :)

Time to get busy!!


June 1, 2012

Retro Butterick '56 Will Be the Death of Me!

Image

SIGH... It has now taken me 2 days to figure that collar out! My goodness!!! GRRR!! The directions in the pattern aren't clear at all. But that's OK... I figured it out. I still need to pick out the threads and do a little tweaking but for now I will be moving on the skirt part! SHEW!!! I should have this finished up tomorrow! YAY!!! It has never taken me this long to sew a dress! LOL

The pattern called for interfacing for the collar and of course I didn't have any so I came up with an alternative. ;) I had just bought a white sheet that I planning to turn into a petticoat. So this is what I did -

Image

I cut it out of the sheet! It worked wonderfully! :)

I promised D that I would show off the cute manicure she did. Tiger stripes!

Image

It was a no-go again on bottle feeding Butch and Sundance this morning but we spent a lot of time holding and loving on them. They are SOOOOO cute. c2 is a little afraid of them, I think. He would touch them but not hold them. I think he will come around, though.

Here are a couple of past projects I have worked on.


My fairy garden!!


It's full of weeds right now. I guess I need to take care of that... Darn lazy fairies! You would think the least they could do is a little weeding after I took the time to make this for them! ;)

Cupcake Soap -


Making soap is a lot of fun. There's so many ways to do it! I haven't made any in a while. More projects for Christmas presents! LOL


My coat rack!! We needed this in a BAD way!! Everyone would just hang their coats on the banister! It was driving me crazy!! LOL


It was very simple to make. I took a plain board and spray painted it almond. After that dried I stick some letters on. Then I went over it with a couple coats of terracotta rose. When it was dry I peeled the letters off. Then I took some 25 cent hooks and spray painted them with the almond. Once dry I had The Hubby help me hand screw them in. All-in-all it took 2 days.

My Harry Potter Nook cover! This was before my sewing machine so it was hand-stitched.


Well, that's it for now! Wish me luck on finishing the dress!! LOL The darn light is still out on my sewing machine. GRR!!!


googled8e75b255bd3b19e.html