
I am very proud to be a part of Stringtown Home's Christmas in July! YAY!!!!! For my part I am going to show you how to make a cute book cover for a gift. :) They are very easy to make and you can customize them for your friends and relatives by the different fabrics and embellishments you use.
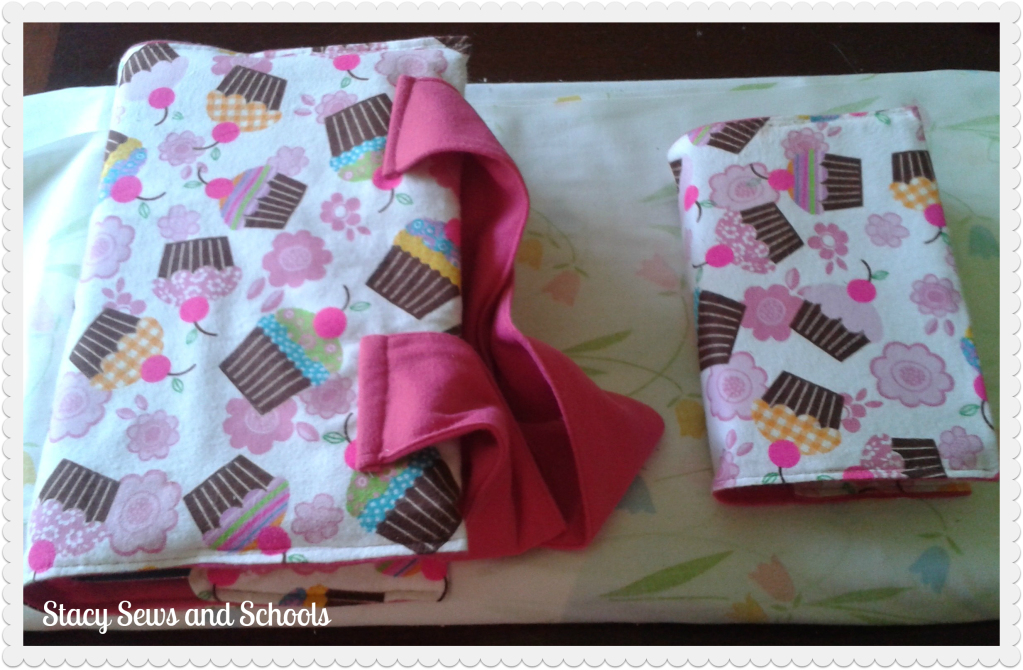


What you will need -
1/2 yard of main fabric (will make both covers)
1/2 yard of contrast fabric (will make both covers)
Any embellishments that you might want to add
Hot glue gun to add embellishments
Step 1 -
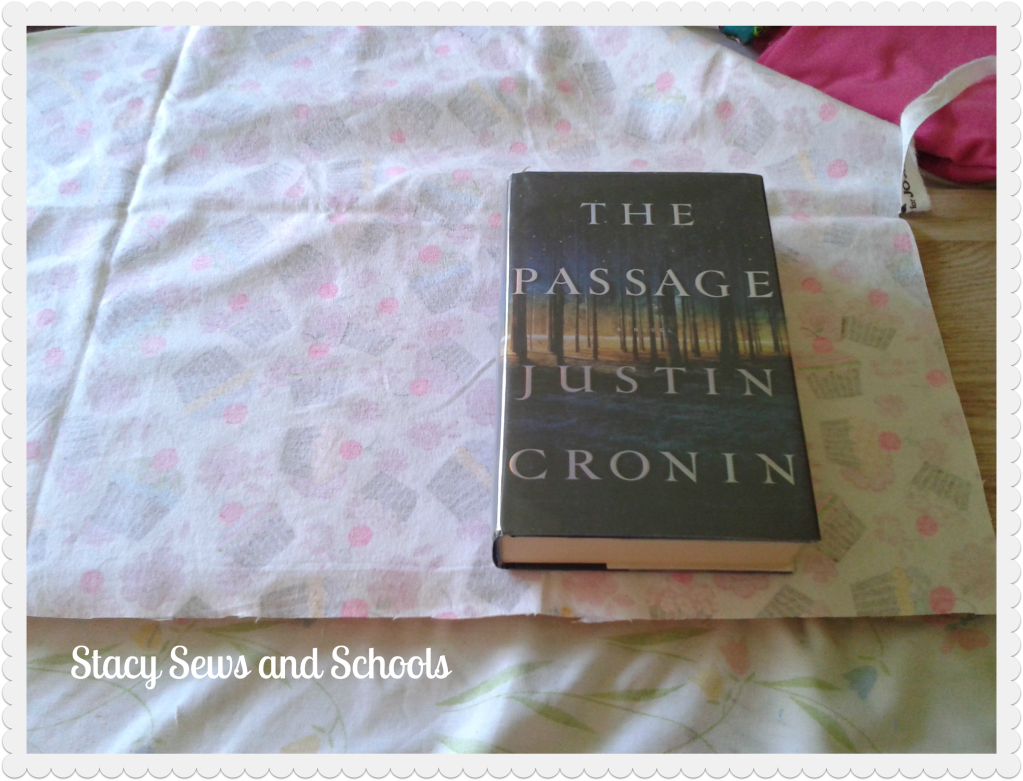
Take out a large book and use it as a guideline when cutting. When you cut leave about 3/4" at the top and bottom for seam allowance. The measurements are about 23" by 11".
Step 2 -

Make sure that your fabric will cover it just right, with the sides going over the cover of the book.
Step 3 -
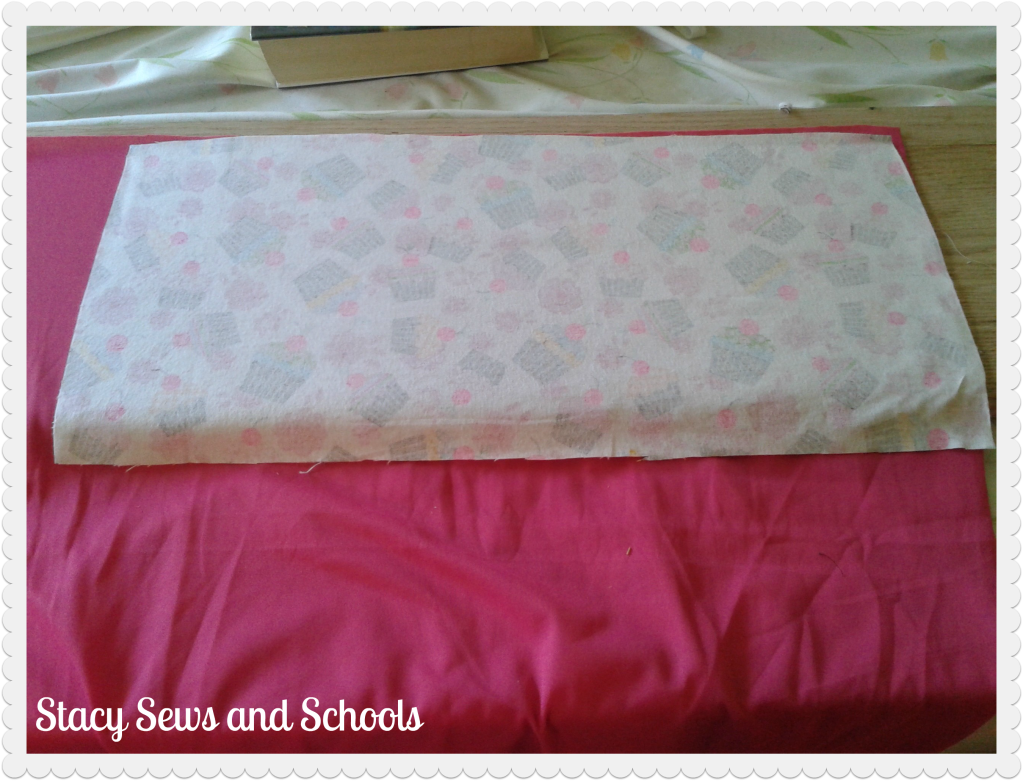
Use the part you just cut as a pattern to cut your contrast fabric.
Step 4 -
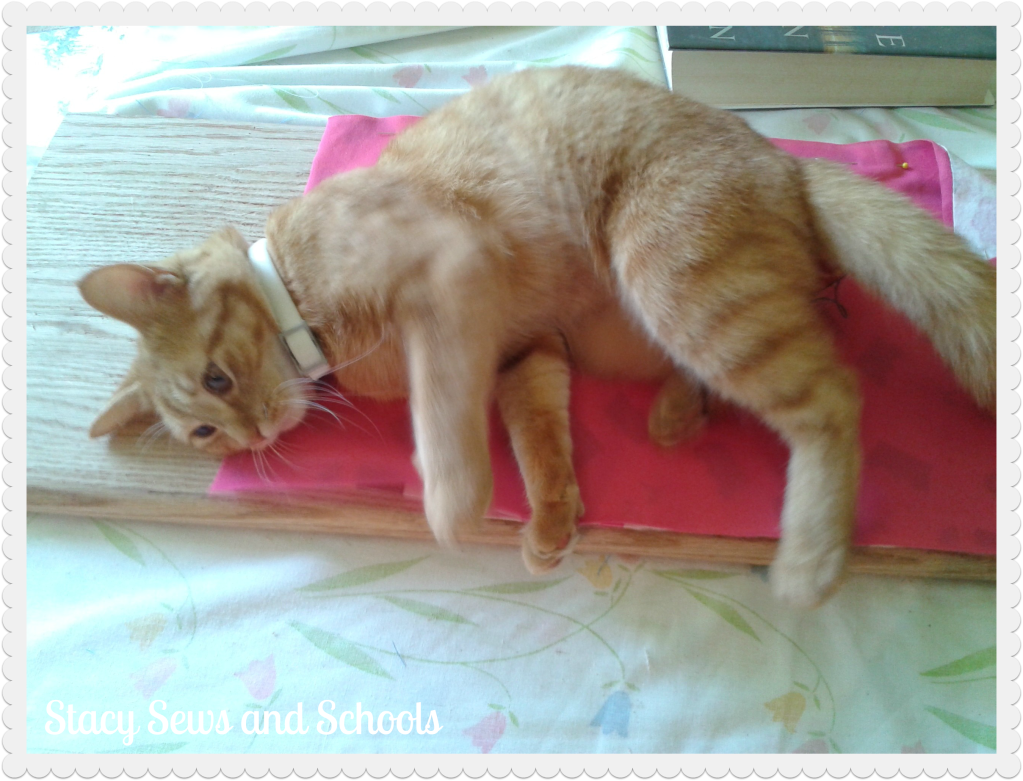
Remove the cat from the fabric and dust off the cat fur.... SIGH.....
Step 5 -

Pin your main fabric to your contrast fabric, right sides together. Then sew the seam on 3 sides, leaving one end open.
LOL! You can see my messy pin cushion! I always end up with tangled threads in it!
Step 6 -
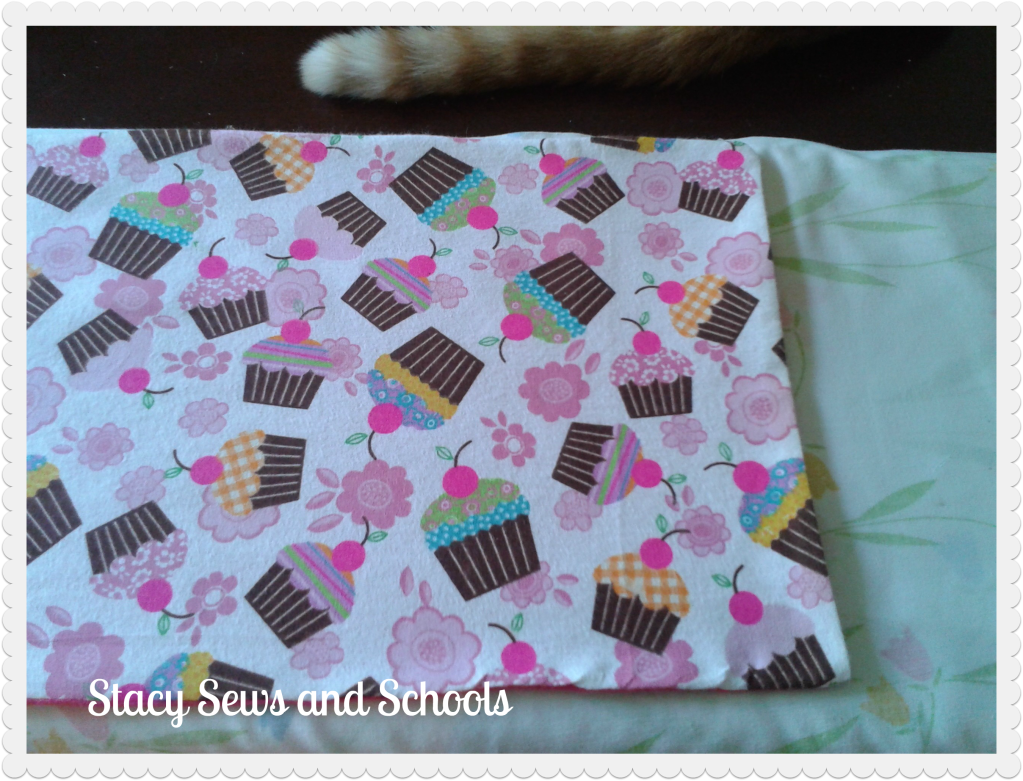
Turn right side out and press.
Step 7 -
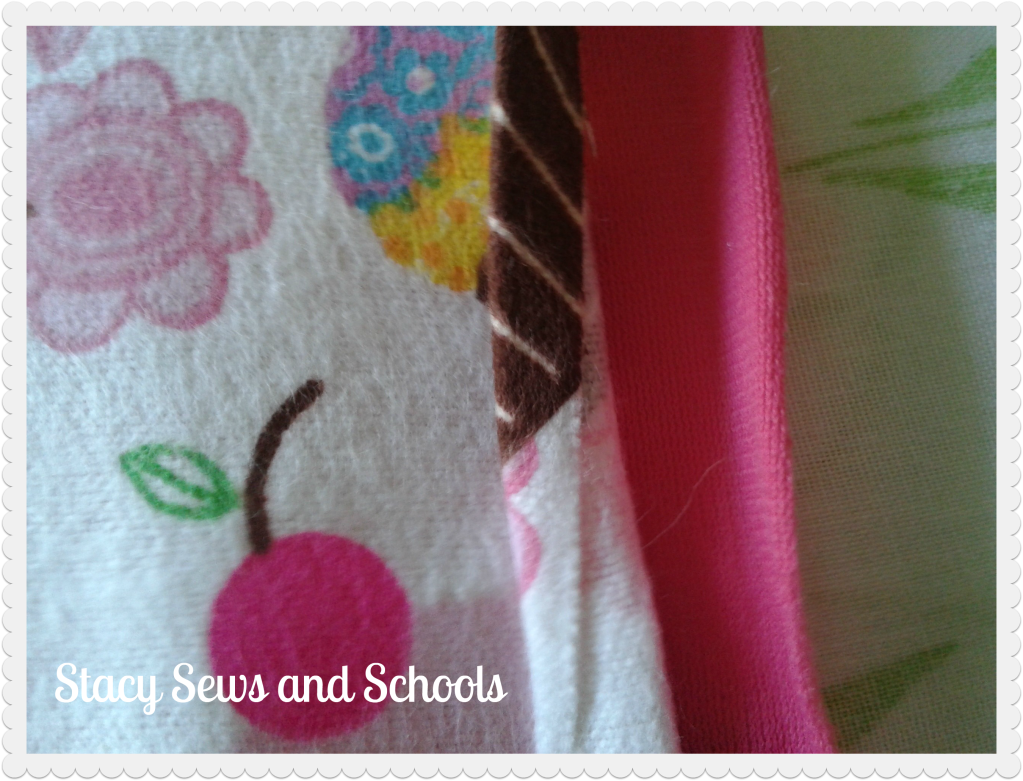
Fold in the ends that you left open about a 1/4" and press.
Step 8 -

Top stitch along the top of the entire cover.
Step 9 -

Cut 2 pieces of your contrast fabric 10" long by 6" wide.
Step 10-

Fold over the side edges 1" and press. Fold down the middle and press. Top stitch down both sides.
Step 11-

Place your handles where you want them and pin, making sure NOT to pin the flap that is tucked inside the book.
Step 12-
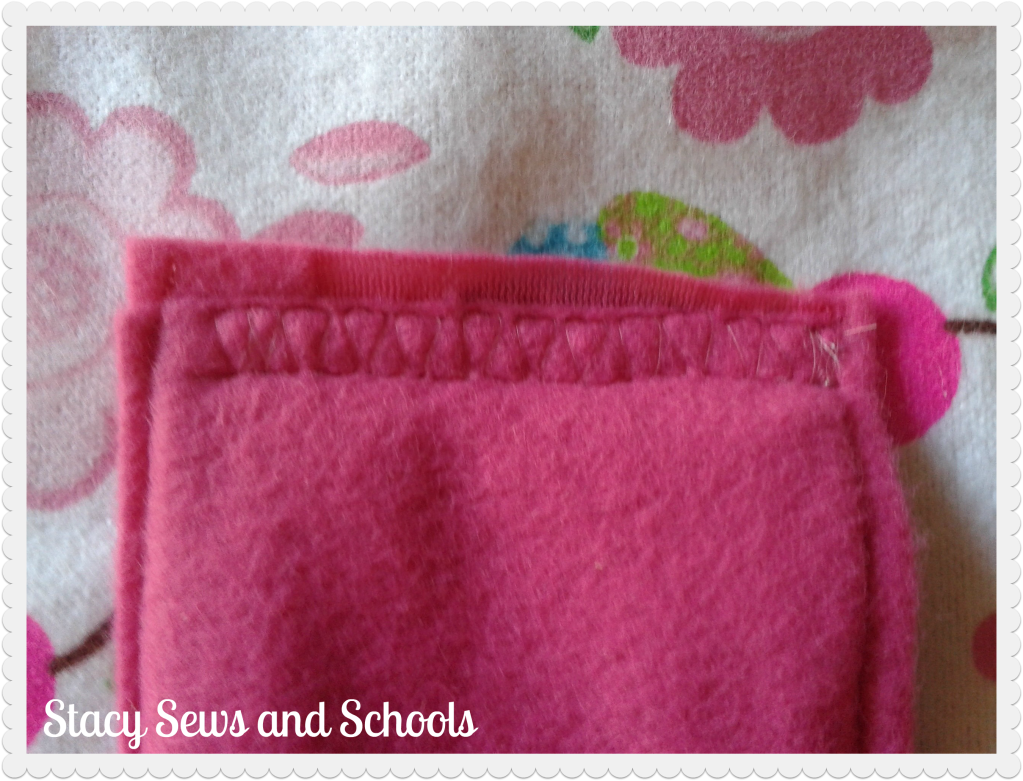
Stitch your handle end on with it facing down toward where the spine of the book would be. Do that to all 4 ends.
Step 13 -

Fold the handle end over the part you just stitched and top-stitch it into place. Do that to all 4 ends.
Step 14-

Fold over the ends of the book cover and press. Pin in place and stitch just down the sides.
Press.
ALL DONE!!!! :)

Hmmm... Looks like my handles are a little off.. I'll have to fix that....
The small book covers are even easier. Follow the same steps but omit the handles. :)
So, what do you think?? Would they make good presents?
As always, let me know if the tutorial was easy to follow or not. And I am always happy to answer any questions! :)
Thanks!
And thank you to Heather!! This was so much FUN!! :) This was my first ever guest slot! :)

What a cute idea.. I will have to make some for the grandkids. They would love them.. I love the cupcake fabric..so cute..[Is that flannel fabric?] Happy sewing.
ReplyDeleteThank you!!!
ReplyDeleteYes, it is flannel! I used what I had left over from D's pj pants. I got it on sale at Joann's. ;)
Such a great idea! Thanks for sharing at the All Star Block Party.
ReplyDeleteThank you so much, Holly! :)
ReplyDeleteI love those... I've made one before, but it's starting to wear out, so I guess it's time to make another, lol! Plus, one for my hardcovers would be very nice.
ReplyDeleteThanks!!!
ReplyDeleteI'm thinking about adding a little tab with Velcro to help keep the large ones closed....
Lucky recipient of the gift exchange to receive this great project. Thanks for sharing at the All Star Block Party.
ReplyDeleteThank you VERY much!!! :)
ReplyDeleteThose are awesome! It's a great way to carry around books, and the fabric makes it fun and cute! Thanks so much for sharing this at The Fun In Functional!
ReplyDeleteThank you!!! :) I had a lot of fun making them.
ReplyDeleteThis is AWESOME!!! I want one!!
ReplyDeleteThanks so much for sharing this at The DIY Dreamer.. From Dream To Reality!!
LOL!! Thanks, Christine!!! That is an awesome compliment!! :)
ReplyDeleteCute project! And your cat reminds me of my dog. She has to get in the middle of every sewing project. Thanks for sharing at I Made It! Monday. Can't wait to see what you link up this week.
ReplyDeleteThank you so much, Amanda!!
ReplyDeleteAren't they rotten?? LOL I just had to remove her from my fabric AGAIN!! It looked like she was trying to dig through it to reach China! LOL
Love them, Stacy! I do think the Velcro tab you mentioned would be a great idea!
ReplyDeleteThanks, Cathy!!! :) I will definitely be adding it to the new ones I make! And maybe some little pockets inside? If I can work it out...
ReplyDelete[...] and http://stacysewsandschools.wordpress.com/2012/07/23/christmas-in-july-a-book-cover-tutorial/ [...]
ReplyDelete[…] Book Covers […]
ReplyDelete[…] else would work? I bet you could make a fabric cover for them, too. You could probably even use my book cover tutorial to help with that! LOL Then there’s tying ribbons to the spiral section like I listed in my […]
ReplyDelete[…] here is the sewing cover tutorial that I did a while […]
ReplyDelete