
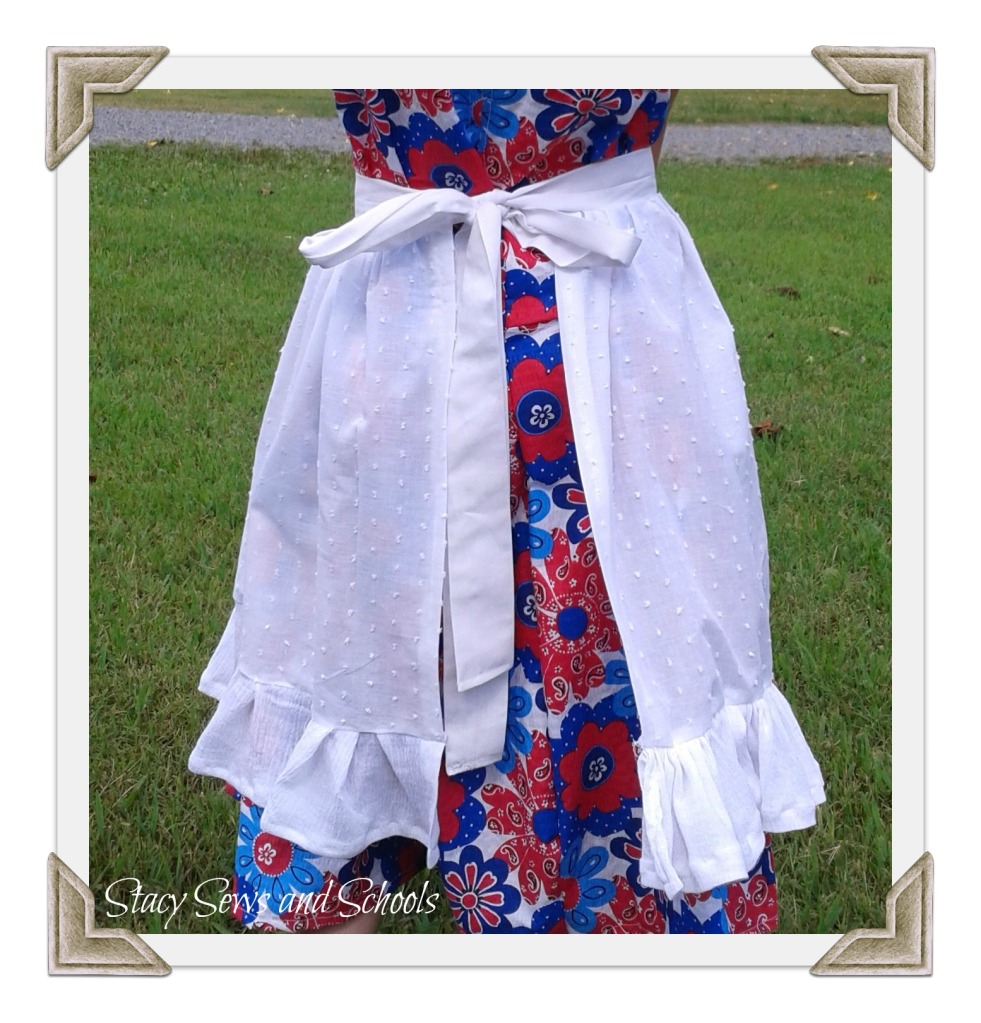
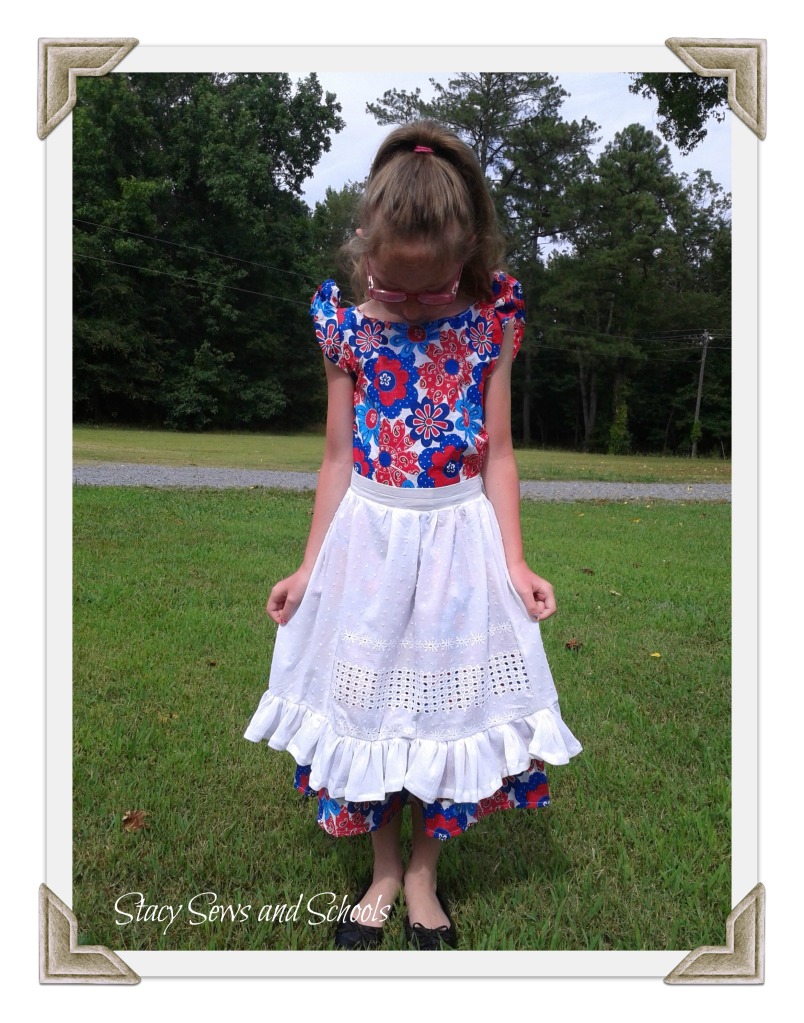
Here it is!! The part 2! :) Actually, I was going to do a pinafore but when I saw how well the apron turned out I decided to leave it. What do YOU think?? Should I leave it as is or go ahead and turn it into a pinafore?? Leave me a comment and let me know!
What I used -
1 yard by 12" cotton Swiss dot eyelet stuff (I am soooo technical!) I got it for a $1 at Hancocks in the remnants bin!! ;)
3 yards by 5" cotton gauze (leftovers)
2 yards by 4" cotton sheet (leftovers)
So in all this little apron cost me a dollar. ONE DOLLAR!!! :)
When I take pictures for the tutorials I usually take 3 shots per step just in case. Well, in this case all 3 shots of the first few steps were blurry. GRRRR!! I think I must have had something on the lens. SIGH... So, I will be telling how but I won't be able to SHOW you for the first couple of steps. But don't worry! This is super easy!!!
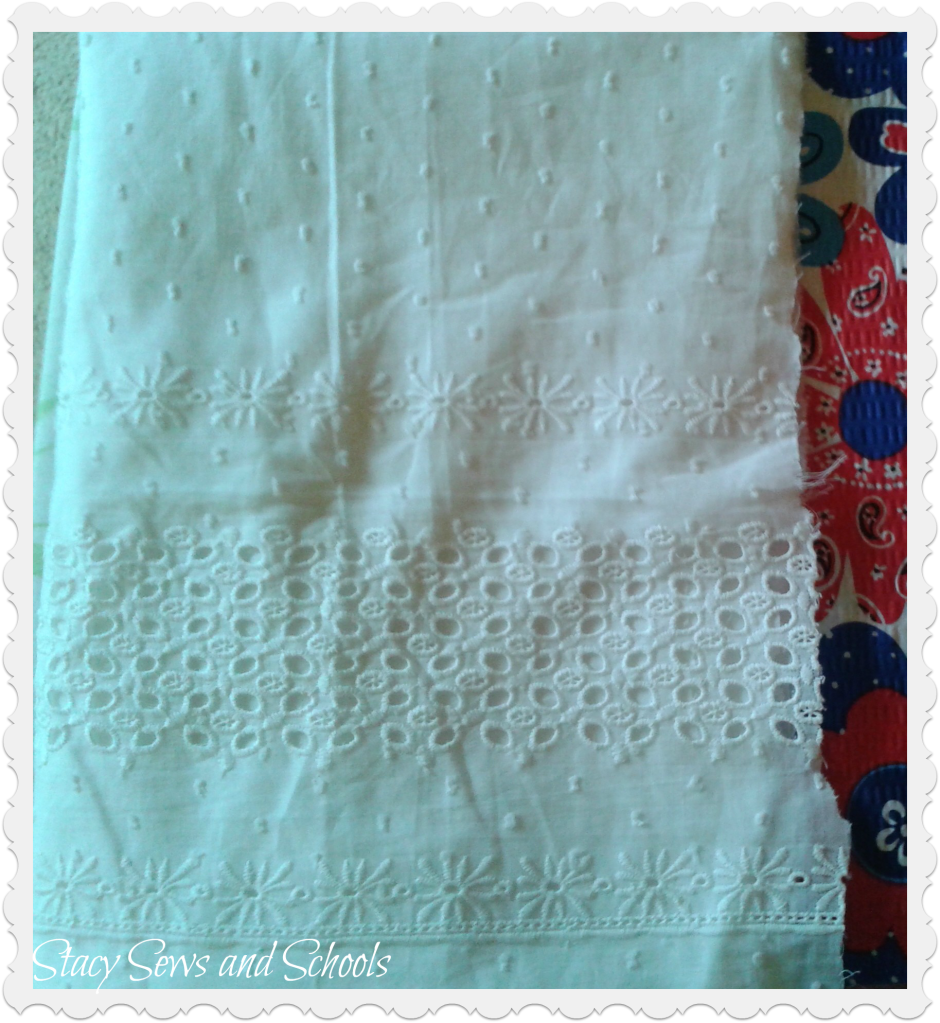
Step 1 - I cut my yard of Swiss dot stuff into 4 equal sections.
Step 2 - Sew 3 of the pieces together with the lace part in the middle. (You can look at the pic of the apron above to see what I mean).
Step 4 - Sew a hem on the 2 sides. NOT the top and bottom.

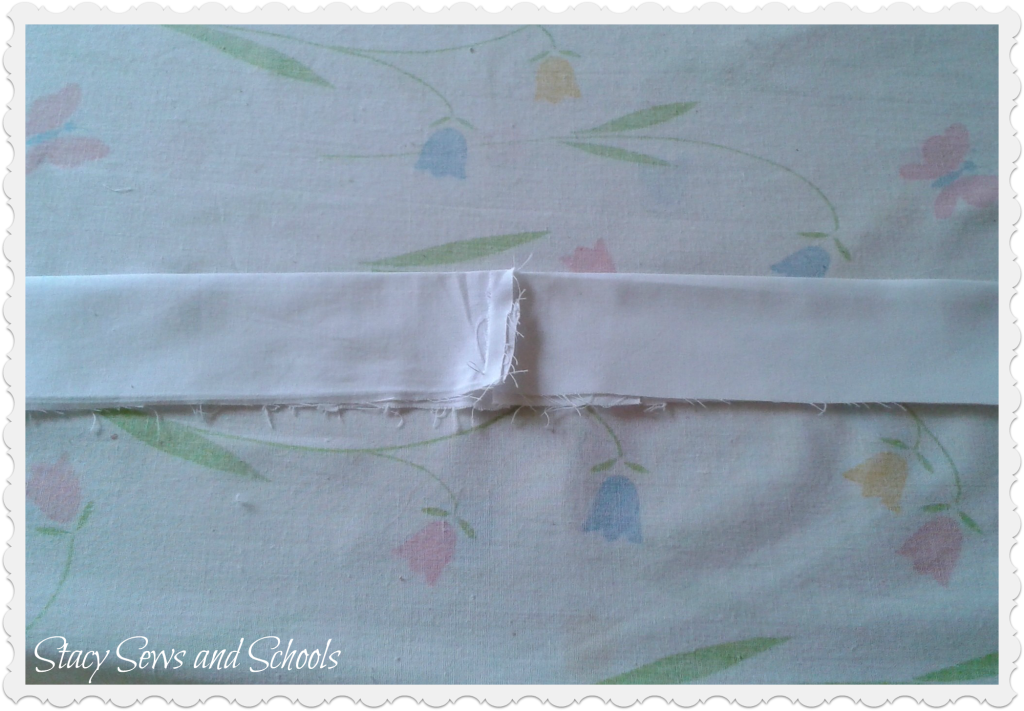
Step 5 - My 2 yards of leftover cotton sheet was in 2 pieces so I needed to sew those together.
Step 6 - Then I folded it down the middle lengthwise and pressed. Pin and sew the sides together. If you had to use more than one piece to get the 2 yards make sure your seam is on the outside when you sew the sides together.

Step 7 - Turn fabric tube right side out (SORRY!! I hate that part, too!!) and press with the seam in the middle.
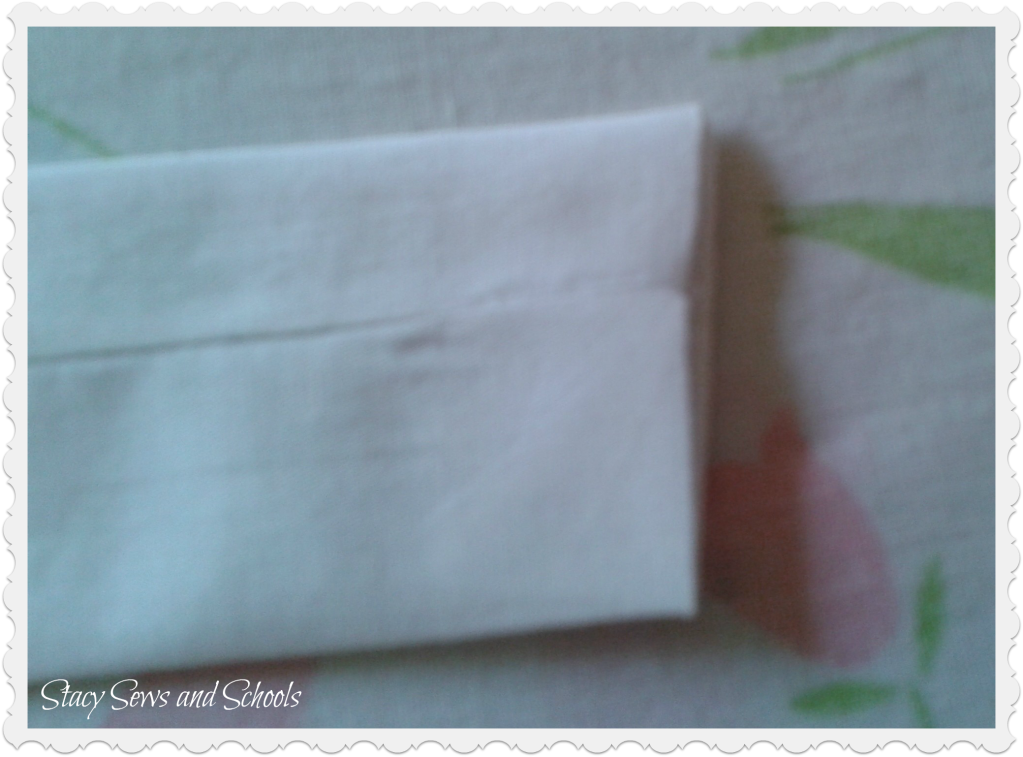
Step 8 - Tuck in the ends, press and sew closed. Sorry this one is blurry. :/

Step 9 - My 3 yards of cotton gauze was in 3 pieces so I had to sew the ends together.
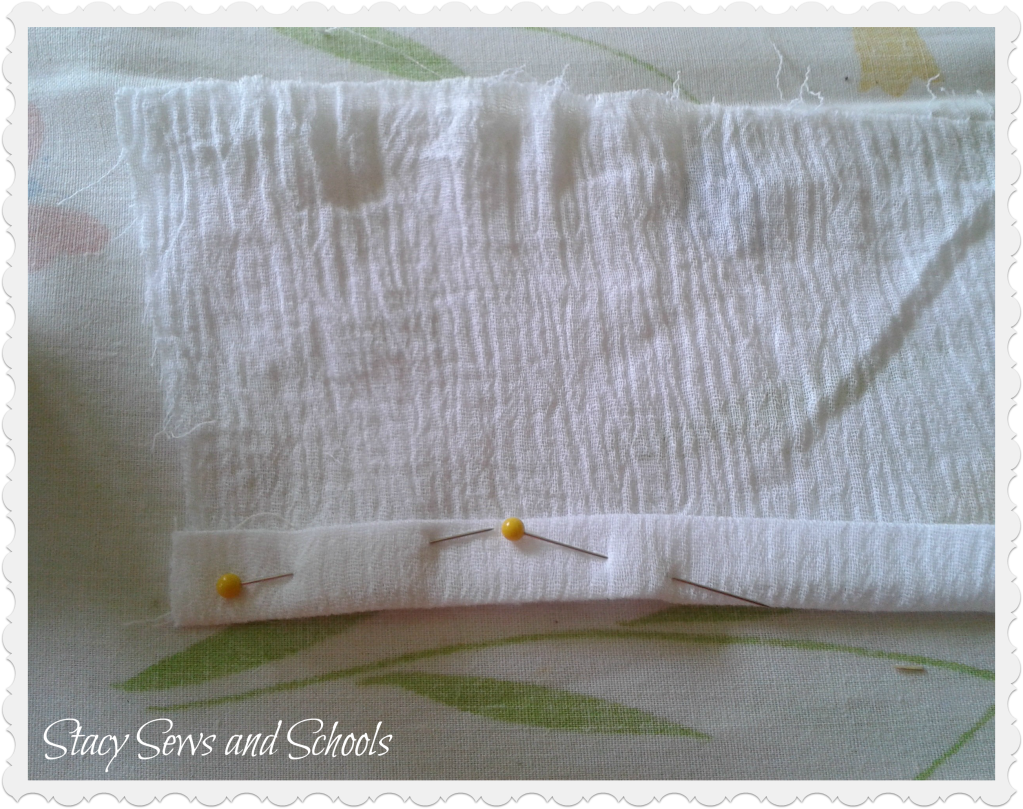
Step 10 - Fold up 1/2", press, fold up another 1/2" press, pin and sew hem. Do the same to the 2 sides.
Step 11 - Sew a gathering stitch across the top of the gauze strip. To sew a gathering stitch on my machine I set both stitch dials to the highest setting.
Step 12 - Remove the DARN CAT!!
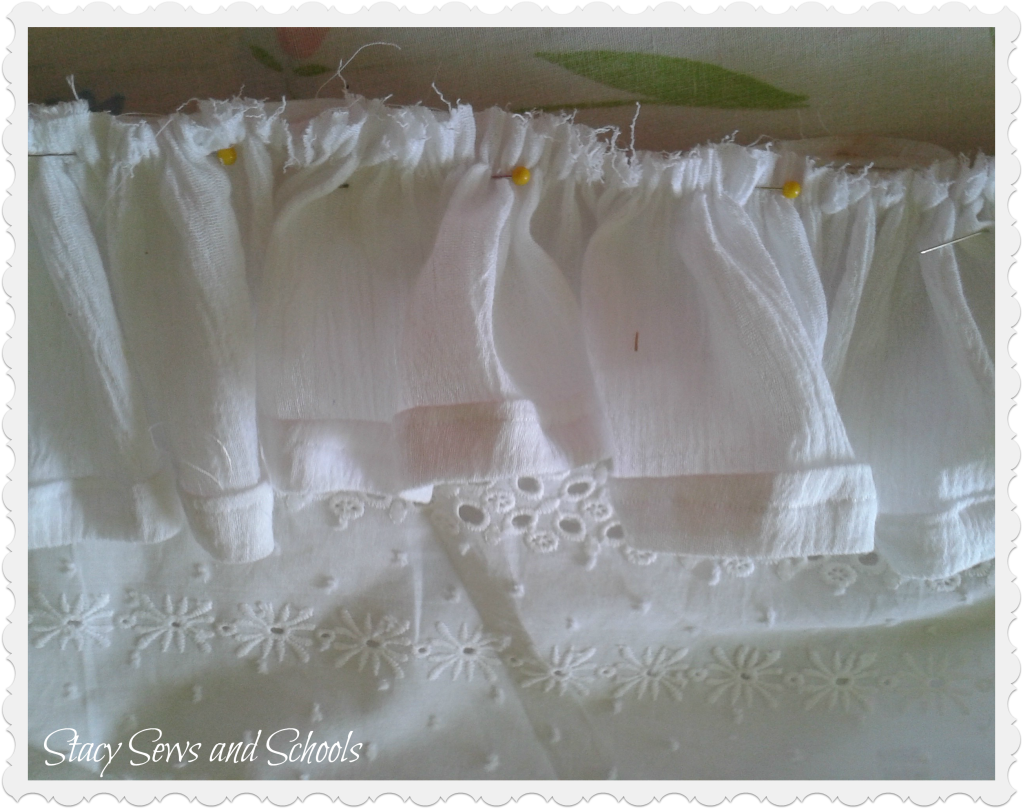
Step 13 - Pin the top of the ruffle to the bottom of the apron with right sides together, adjusting gathers as needed. Sew.
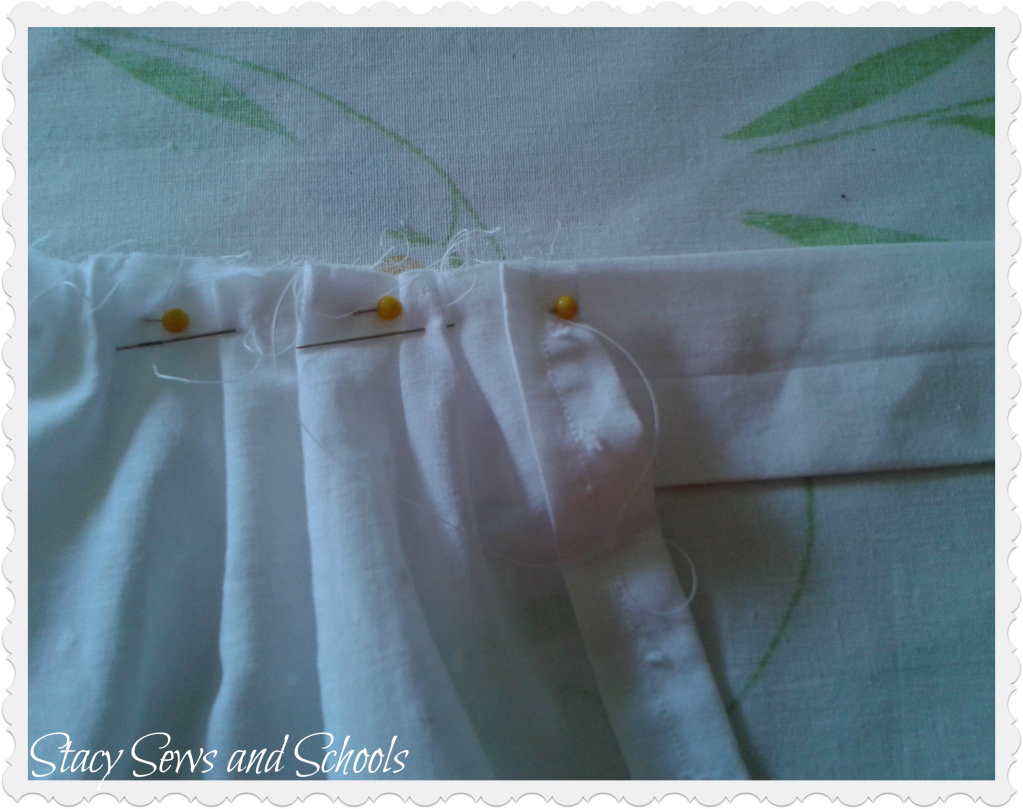
Step 14 - Run a gathering stitch across the top of the apron. Pin top of apron to the bottom of the ties, right sides together, adjusting gathers as you go.

Step 15 - Flip over and press the back side.
YOU'RE ALL DONE!!! :)
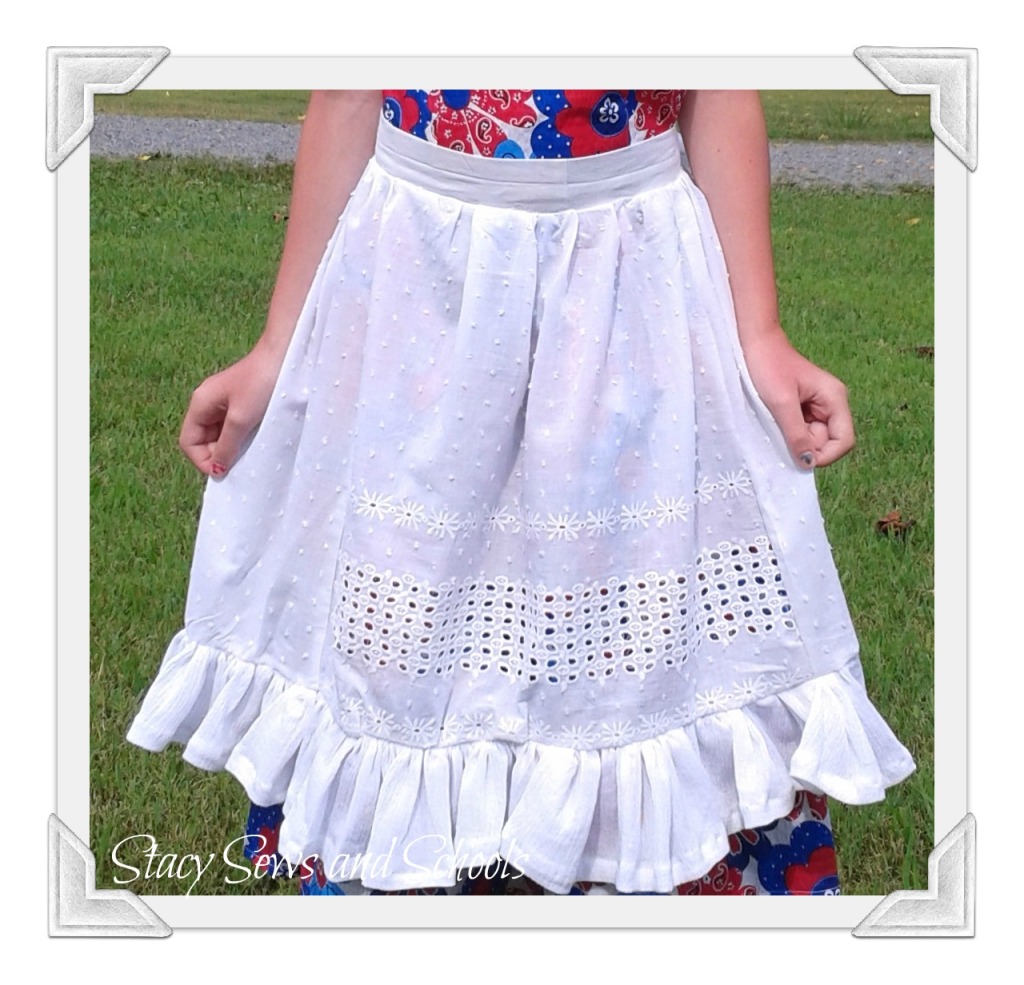
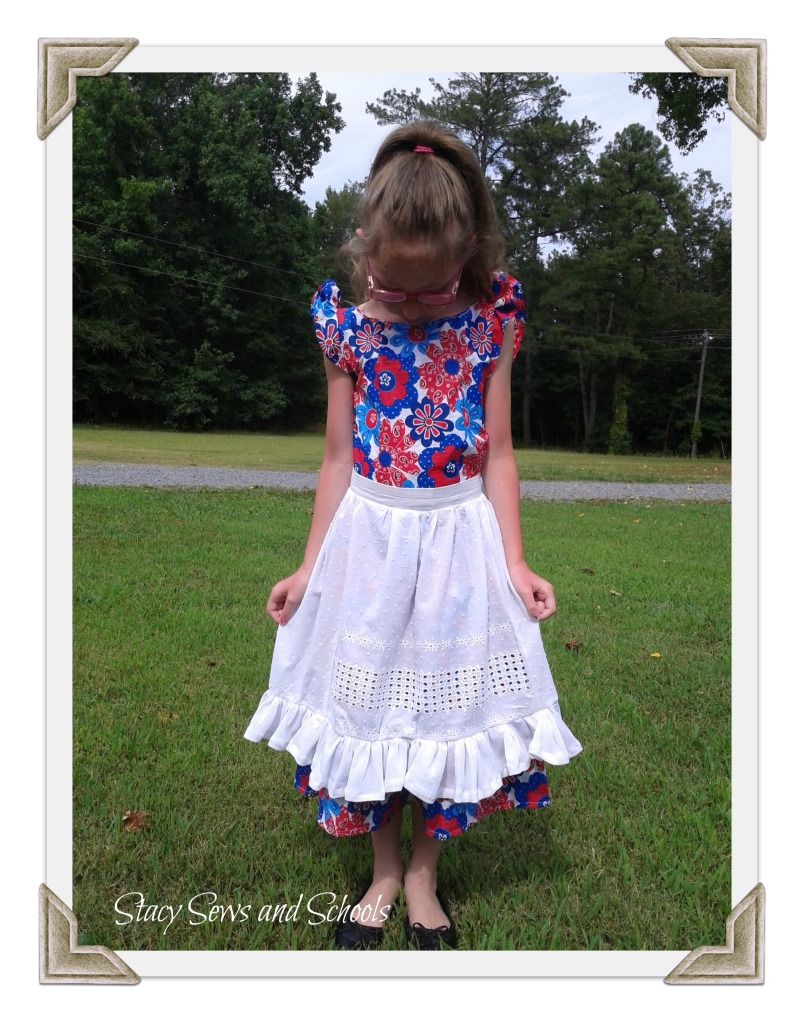
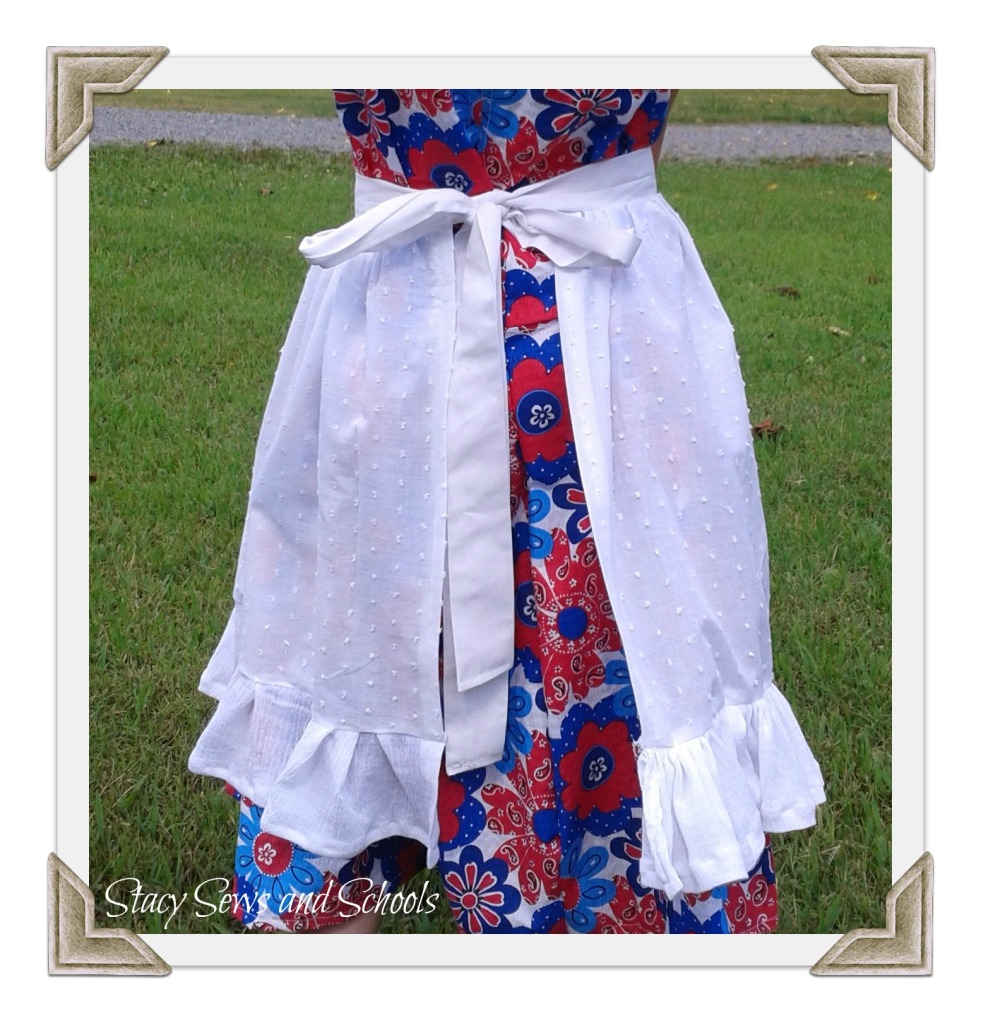

I think the apron gives the dress a vintage/retro/old-fashioned look. What do you think??
As always, let me know what you think. Was this easy to follow? If you have ANY questions, just ask! I would be more than happy to answer them.
Let me know if you make this!! I would love to see it!!

Adorable!! I like it so much with the apron !
ReplyDeleteThanks, Lambie!!! It turned out SO much better than I expected it to! LOL ;)
ReplyDeleteThat turned out so sweet! I'd leave it alone, personally.
ReplyDeleteThanks!!! That's what I was thinking.... LOL I have some broadcloth that I can make into a pinafore. And then I'll need to make another dress to go with it! ;) LOL
ReplyDeleteLike the apron. IMO it makes the dress a more complete outfit.
ReplyDeleteThanks, LaVonne!! :)
ReplyDeleteI really like the fabric you chose for the apron or pinafore. I think it would look very cute as a pinafore on this dress, but the apron looks nice too. So, since it is finished and you have lots of other project ahead of you, I would say move on to the next or the muslin pinafore and can't wait to see what you make for the dress. Happy sewing!
ReplyDeleteI absolutely love this dress and apron.. One of my favorite things you have done for her.
ReplyDeleteShe looks so cute in it.. And I am so "jealous" that you found that beautiful fabric for $1.00!!!ha I would leave the apron alone..It is so cute.. and more of the beautiful dress
fabric show this way...
I am going to Hancocks today..oh no!!! Patterns are on sale again... and I hope I find some great fabric buys too.[Yes....... I really need to stay away from fabric stores.ha]
Thank you, Victoria!!
ReplyDeleteI think that's what I will do. I have to admit that I am also a little scared of messing it up! LOL
Thank you SO much, Judy!!
ReplyDeleteI hope you find TONS of great patterns and fabric!!!
Hmmm...I do need some thread.... Maybe I ought to swing by there, too... LOL
So cute, and the ruffle on the bottom is super fun! Thanks for sharing at The Fun In Functional!
ReplyDeleteThank you, Jessi! :)
ReplyDeleteI really liked this - my daughter thinks it cute too - it has been added to my "to do" project list!
ReplyDeleteI saw you on Made U look Link 32 @ Made in a Day. Thanks for sharing!
I love the ruffle made from the cotton gauze! The lightness makes it really pretty.
ReplyDeleteWe'd love for you to link up to our Finished Friday Blog Party!
YAY!! That is GREAT!! Let me know when you make it! I would love to see it!!
ReplyDeleteThank you SO much, Allyson!! I certainly will! :)
ReplyDeleteStacy, I think your apron is wonderful! I love the swiss dot and tulip fabrics...oh, they bring me back to my youth and sewing with my mom. She was a terrific seamstress.
ReplyDeleteBlessings for a delightful day,
Marianne
Thank you SO much, Marianne!! I hope I am building wonderful memories for my youngest daughter. :)
ReplyDeleteYou did not take the time and the care needed to make the ruffle perfect. It must be even all around and not tuck anywhere. You have to sew the ruffles up you can't let yourself get tucks. Keep working on it don't just rush through, good sewing takes a lot of time and energy there aren't very many fast things in sewing. It is all about attention to detail. Nice idea poor execution.
ReplyDeleteOk. Umm... Thanks???? LOL
ReplyDeleteI welcome constructive criticism.
This is darling!
ReplyDeleteWow! If I strived for absolute perfection in everything I made, I would
ReplyDeleteA) Never get anything finished because I would obsess and B) Lose the fun in the process.
I guess I should envy people who are so skilled that they are able to construct their projects just-so and then give "helping hints" to others, but really, I prefer to enjoy my hobbies.
Thank you SO much, Laura! I really appreciate that! :)
ReplyDeleteEXACTLY, Lambie!!!
ReplyDeleteBesides, perfection is in the eye of the beholder. Quite frankly the apron is perfect for my needs! ;) And if I spent weeks or months on it I wouldn't want my 8 year old wearing it to play in. ;)
Well said, Lambie! I want a 'Like' button, lol!
ReplyDeleteDitto!
ReplyDeleteI just love how this turned out Stacy! Featuring tonight at Mom On Timeout - thanks for sharing!
ReplyDeleteOMGosh!!! THANK YOU!!!! YIPPEEE!!! :)
ReplyDeleteVery cute!! Stopping by from Saturday Showcase linky party. Here is what I shared this week: http://craftybrooklynarmywife.blogspot.ca/2012/07/bow-pleated-purse.html
ReplyDeleteThanks, Alisha!!!
ReplyDeleteOff to check yours out! :)
SO sweet and I see your cat crafts like ours does ;) Thanks for sharing this at the {what's shakin' link party} this week!!
ReplyDeleteLOL! Thanks, Keri!!! :)
ReplyDeleteLOLing the "Remove the darn cat." You are correct, the cat would have just weighed down the ruffles and been most difficult to attach to the skirted piece. Just kidding.
ReplyDeleteLove the apron. Simple, but SO cute!
LOL!!!
ReplyDeleteThank you!!!! :)
Super Cute!!!
ReplyDeleteMy favorite step is Step 12...
HAHAHAHA!
Take care!
Dee
LOL!!! Thank you!!!! :)
ReplyDelete[…] 6 - Easy Peasy Apron Tutorial - July 11, 2012 – 1,859 views […]
ReplyDelete